This post may contain affiliate links. Please read my full disclosure policy.

Unlocking the Zesty Charm: What is Orange Curd?
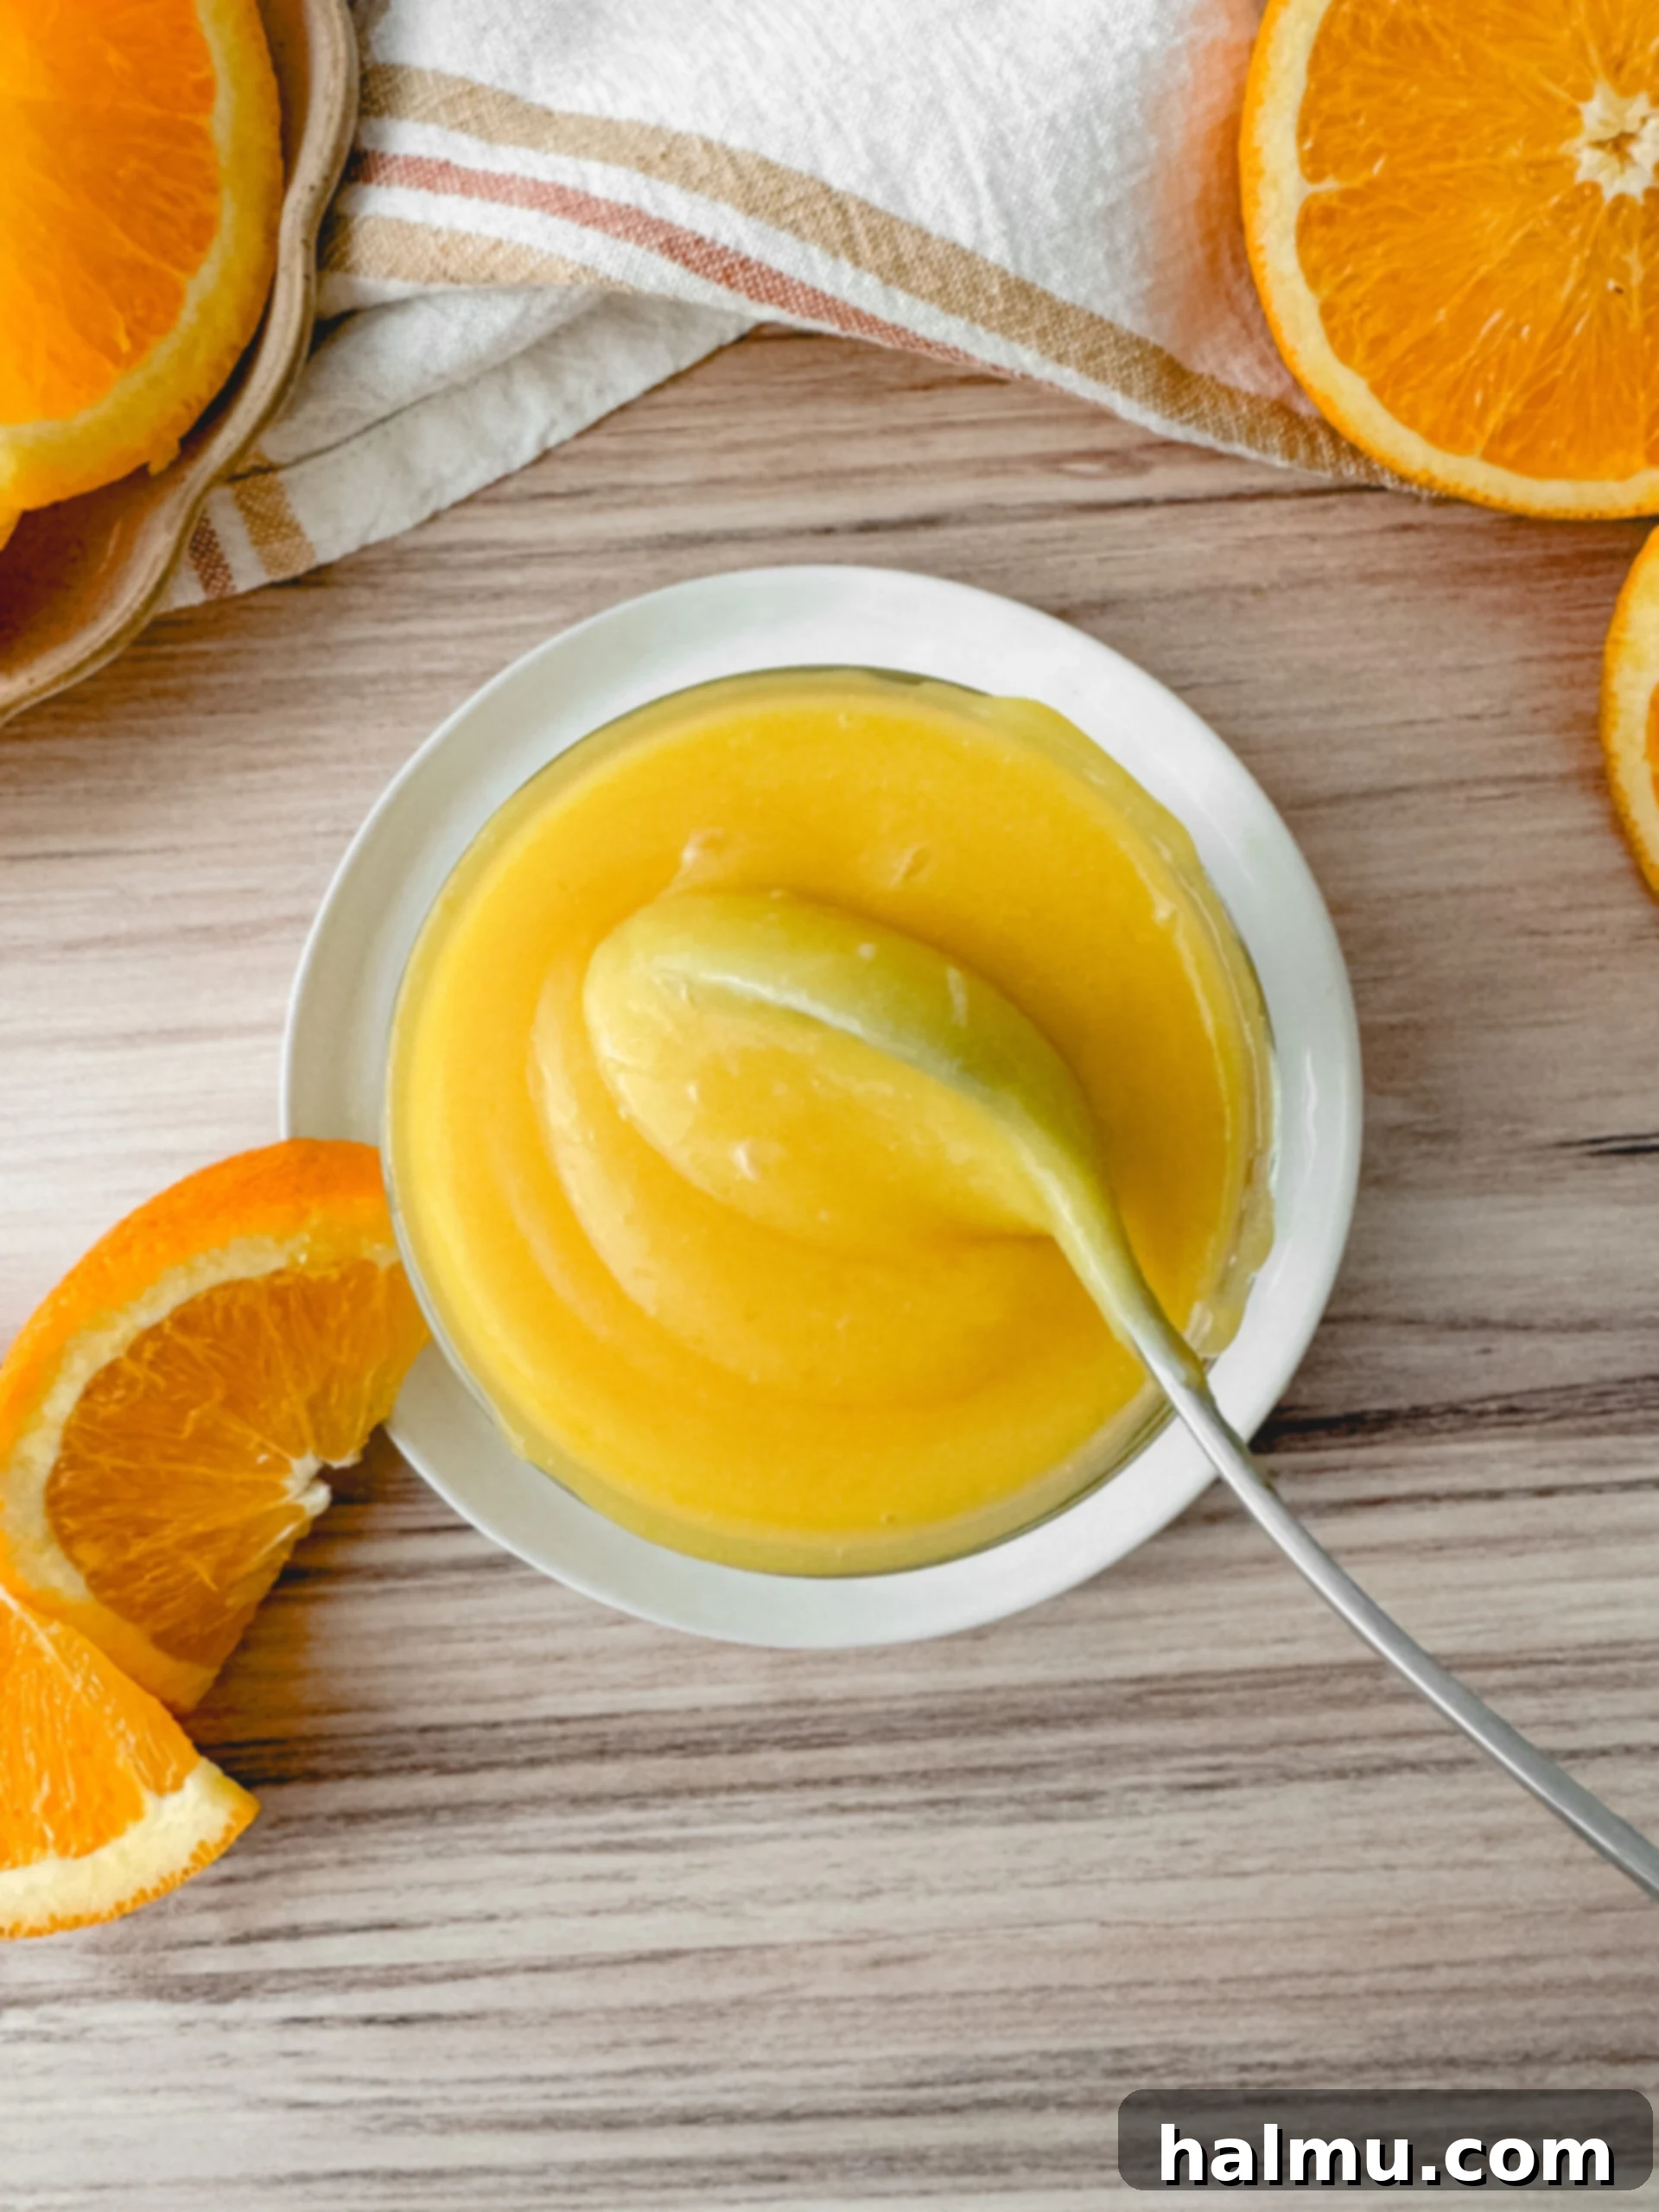
Orange curd is a delightfully vibrant and creamy spread, a true testament to the simple elegance of citrus desserts. Much like its popular cousin, lemon curd, this luscious concoction is primarily composed of fresh citrus juice—in this case, orange juice—along with sugar, rich egg yolks, and butter. The magic happens as these ingredients are gently cooked over low heat, transforming into a thick, silken, and intensely flavored topping or filling. Once chilled, it sets into a smooth, luxurious consistency, perfect for enhancing a wide array of sweet treats.
While lemon curd often takes the spotlight, orange curd offers a unique and equally captivating flavor profile. It strikes a beautiful balance between sweet and tangy, with the distinctive bright notes of fresh oranges shining through. It’s less sharp than lemon curd, offering a slightly sweeter, sunnier disposition that can elevate everything from delicate pastries to hearty pound cakes. This smooth, silky, and refreshingly citrusy spread is an indispensable addition to any baker’s repertoire, promising to infuse your desserts with a burst of sunshine.
Why You Should Make Homemade Orange Curd
While store-bought options exist, creating your own homemade orange curd offers unparalleled benefits that truly shine through in the final taste and texture. Here’s why taking the extra step to make this citrus delight from scratch is always worth it:
- Unmatched Freshness and Flavor: The most significant advantage of homemade orange curd is the vibrant, authentic flavor. You control the quality of your ingredients, especially the fresh oranges and lemons, which contribute immensely to the curd’s bright and zesty profile. Store-bought versions often lack this intensity and can taste artificial.
- Control Over Sweetness: Commercial curds can sometimes be overly sweet. Making it yourself allows you to adjust the sugar content to your preference, achieving that perfect sweet-tart balance that makes orange curd so irresistible.
- No Artificial Additives or Preservatives: You know exactly what goes into your curd – just a few simple, natural ingredients. This means no unnecessary fillers, artificial colors, or preservatives often found in mass-produced products.
- Superior Texture: Homemade curd boasts an incredibly smooth, velvety, and luxurious texture that’s difficult to replicate with pre-made options. The careful cooking and straining process ensures a truly silky finish.
- A Rewarding Culinary Experience: There’s immense satisfaction in creating something so delicious from basic ingredients. The process of whisking, thickening, and watching the curd transform is a delightful culinary journey.

Crafting the Perfect Orange Curd: A Step-by-Step Guide
Making orange curd is a straightforward process that yields incredibly rewarding results. Follow these steps for a smooth, tangy, and utterly delicious homemade orange curd.
- Prepare the Citrus-Infused Sugar: Begin by zesting one orange directly into your granulated sugar. This vital first step helps to release the aromatic oils from the orange zest, infusing the sugar with a deeper, more concentrated orange flavor. Use your fingertips to gently rub the zest and sugar together for a minute or two. This simple technique enhances the overall citrus punch of your curd significantly. Once infused, transfer this fragrant orange sugar to a medium saucepan.
- Combine Wet Ingredients: Into the saucepan with the orange sugar, whisk in your egg yolks, cornstarch, freshly squeezed orange juice, and a crucial splash of fresh lemon juice. Whisk everything thoroughly until the mixture is smooth and lump-free. The cornstarch acts as a stabilizer, helping to achieve that desirable thick texture while preventing the eggs from curdling too easily.
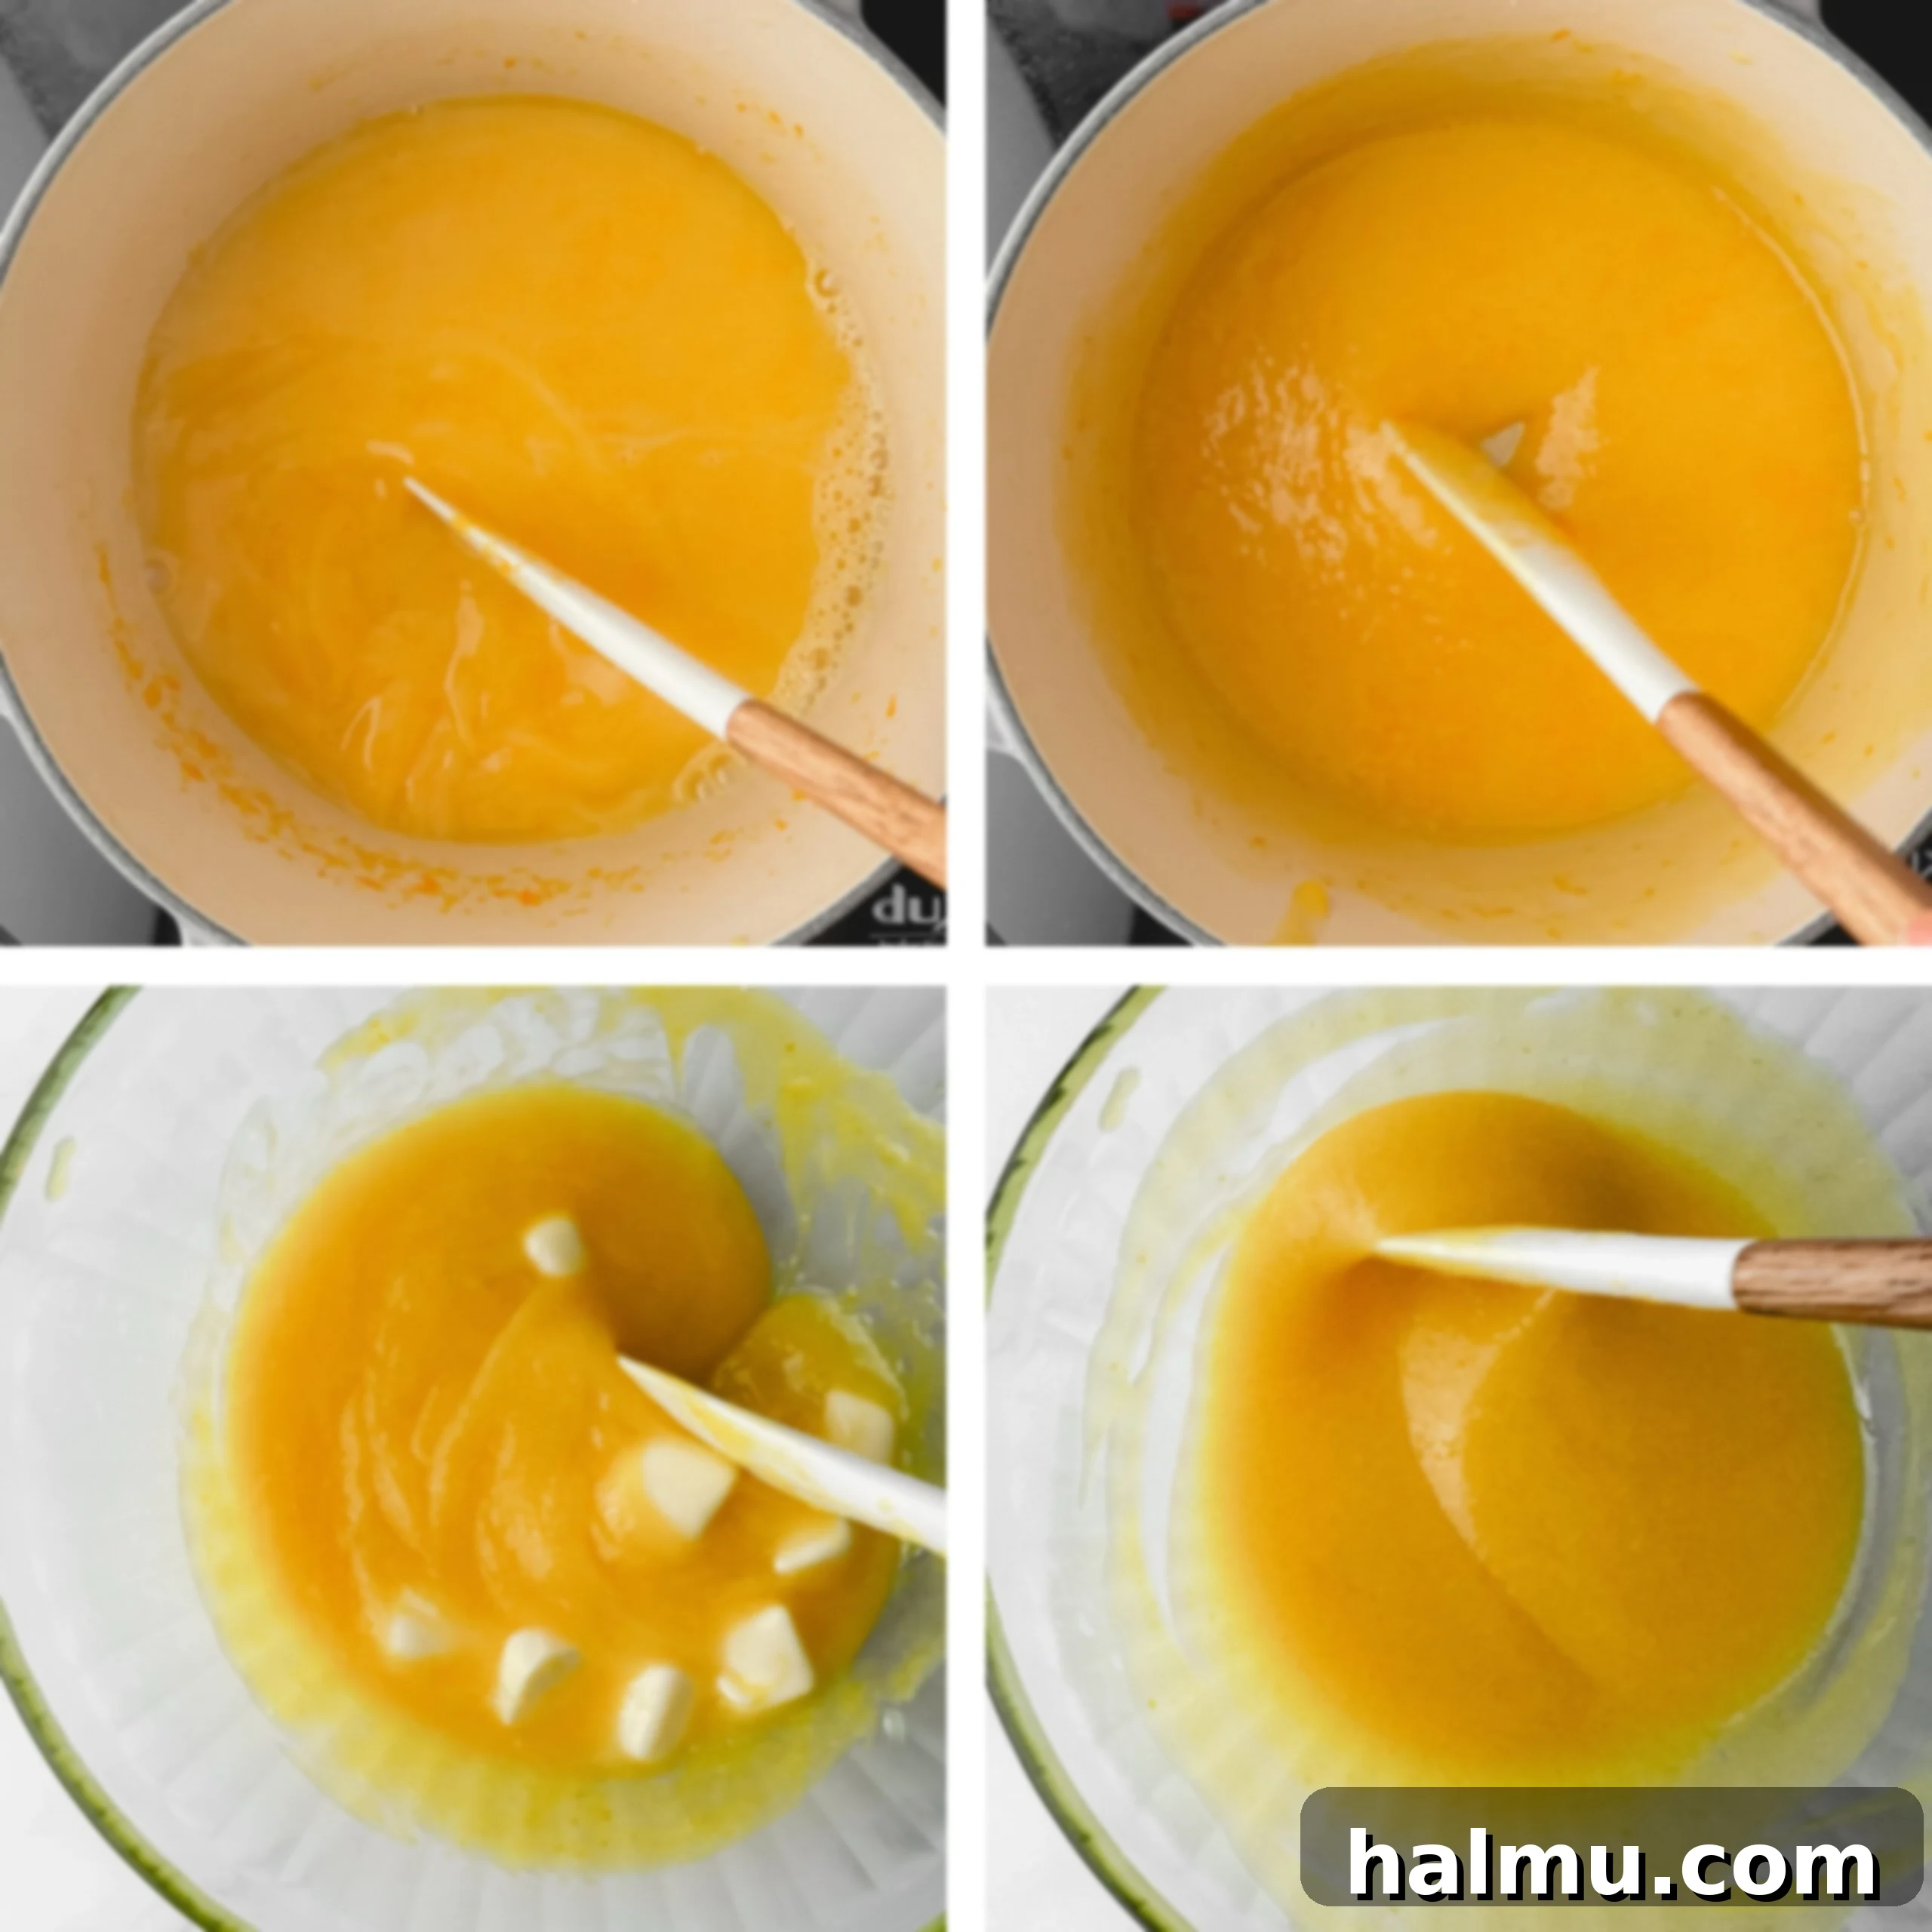
- Cook the Curd Gently: Place the saucepan over low heat on your stove. This is where patience is key. Continuously stir the mixture with a heat-safe rubber spatula, making sure to scrape the bottom and sides of the pan. This constant stirring prevents the egg yolks from scrambling or sticking, ensuring a smooth consistency. Continue cooking until the mixture thickens enough to coat the back of a spoon or spatula, leaving a clear path when you run your finger across it. This typically takes about 10-12 minutes. Avoid boiling, as this can lead to a grainy texture.

- Enrich with Butter and Strain for Silkiness: While the curd is still warm, cut room-temperature butter into small cubes and place them in a clean glass bowl. Immediately strain the hot orange curd through a fine-mesh sieve directly into the bowl with the butter. This step is crucial for achieving an incredibly silky smooth texture. The sieve catches any bits of cooked egg or lingering orange zest, ensuring a refined finish. Stir the mixture until the butter has completely melted and is fully incorporated, making the curd even richer and glossier.
- Chill for Perfect Consistency: To prevent a skin from forming on top of your beautiful orange curd, press a piece of plastic wrap directly onto its surface, ensuring it touches every part of the curd. Refrigerate the curd until it is completely cooled and well-chilled, which usually takes at least 3 hours. As it cools, the curd will thicken considerably, reaching its ideal spreadable consistency. For best results, it’s often recommended to chill it overnight.

Expert Tips for the Best Orange Curd Every Time
Achieving a perfectly smooth, tangy, and flavorful orange curd is easier with a few insider tips. These recommendations will help you elevate your homemade curd from good to absolutely sublime.
- Always Use Fresh Orange Juice: This cannot be stressed enough. The quality of your orange juice directly impacts the flavor of your curd. Store-bought, concentrated juice simply won’t yield the same vibrant, natural taste. Squeeze fresh juice from navel oranges, Cara Cara oranges, or even blood oranges for a unique twist. The difference in flavor is truly remarkable and worth the effort.
- Don’t Skip the Lemon Juice: It might seem counterintuitive to add lemon juice to orange curd, but it plays a critical role in balancing the flavors. Orange juice alone can sometimes be too sweet or lack the necessary acidity to create that classic tangy curd profile. Lemon juice adds a much-needed tartness, preventing the curd from being overly sweet and brightening the overall citrus notes. It truly enhances the complexity of the flavor.
- Cook Over Low Heat and Stir Constantly: This is arguably the most crucial tip. Since egg yolks are the primary thickening agent, they can easily scramble if heated too quickly or unevenly. Cooking the mixture “low and slow” over gentle heat, with constant stirring, allows the proteins in the egg yolks to cook gradually and thicken smoothly without curdling. Patience here will be rewarded with a silky, lump-free curd.
- Avoid Reactive Metal Pans: Steer clear of aluminum or unlined copper pans when making citrus curds. The high acidity from the orange and lemon juice can react with these metals, potentially imparting an unpleasant metallic aftertaste to your delicate curd. Opt for non-reactive cookware such as stainless steel or glass saucepans to ensure the pure flavor of the citrus shines through.
- Strain the Curd for Ultimate Smoothness: After removing the curd from the heat and before incorporating the butter, always pass the hot mixture through a fine-mesh sieve. This step is essential for eliminating any tiny cooked egg bits that may have formed, as well as removing the orange zest. The result is an incredibly smooth, uniform, and luxurious orange curd that melts in your mouth.
- Use Room Temperature Butter: Ensure your butter is at room temperature and cut into small cubes before adding it to the hot curd. This allows it to melt quickly and incorporate smoothly into the warm mixture, creating a stable and luscious emulsion. Cold butter can cool down the curd too rapidly and make it harder to achieve a uniform texture.
- Plastic Wrap Direct Contact: Once your curd is strained and butter is incorporated, immediately press plastic wrap directly onto the surface of the curd before chilling. This prevents a “skin” from forming as the curd cools, which can lead to a chewy or rubbery layer on top.
Common Orange Curd Making Mistakes and How to Avoid Them
Even with careful steps, sometimes things can go slightly awry. Here are a few common issues encountered when making orange curd and how to prevent them:
- Curd Not Thickening: If your curd remains too runny, it likely hasn’t been cooked long enough or at a consistent low heat. Ensure you cook it until it coats the back of a spoon. Remember, it will thicken significantly more as it chills in the refrigerator. Resist the urge to crank up the heat; gentle cooking is key.
- Scrambled Eggs in Your Curd: This happens if the heat is too high or if you don’t stir constantly. The egg yolks cook too quickly. To avoid this, always cook on low heat and continuously scrape the bottom and sides of the pan with your spatula. If you notice small bits, straining will help, but prevention is best.
- Metallic Taste: As mentioned in the tips, using reactive metal pans like aluminum or copper can cause this. Always use stainless steel or glass cookware for citrus curds.
- Grainy or Lumpy Texture: This is often a result of overcooked egg bits or not straining the curd thoroughly. Always strain your curd through a fine-mesh sieve after cooking to ensure a perfectly smooth finish.
- Curd is Too Sweet or Not Tangy Enough: This indicates an imbalance in the citrus. Ensure you’re using fresh, vibrant oranges and, crucially, don’t skip the lemon juice. The lemon juice is vital for that piquant balance.

Storing Your Delicious Orange Curd
Proper storage is essential to maintain the freshness and quality of your homemade orange curd.
- Refrigeration: Store orange curd in a clean, airtight container in the refrigerator for up to 2 weeks. Ensure the container is well-sealed to prevent it from absorbing other odors from the fridge.
- Freezing: Yes, you can freeze orange curd! Transfer the completely cooled curd into a freezer-safe, airtight container or heavy-duty freezer bag. It can be frozen for up to 3 months. When you’re ready to use it, thaw the curd overnight in the refrigerator. Give it a good stir before serving, as the texture might change slightly after freezing and thawing, but the flavor will remain excellent.
Creative Ways to Enjoy Orange Curd
The versatility of orange curd makes it a fantastic addition to countless desserts and dishes. Its bright, tangy-sweet flavor can elevate simple treats and add a gourmet touch to more elaborate creations. Here are some delightful ways to incorporate orange curd into your culinary adventures:
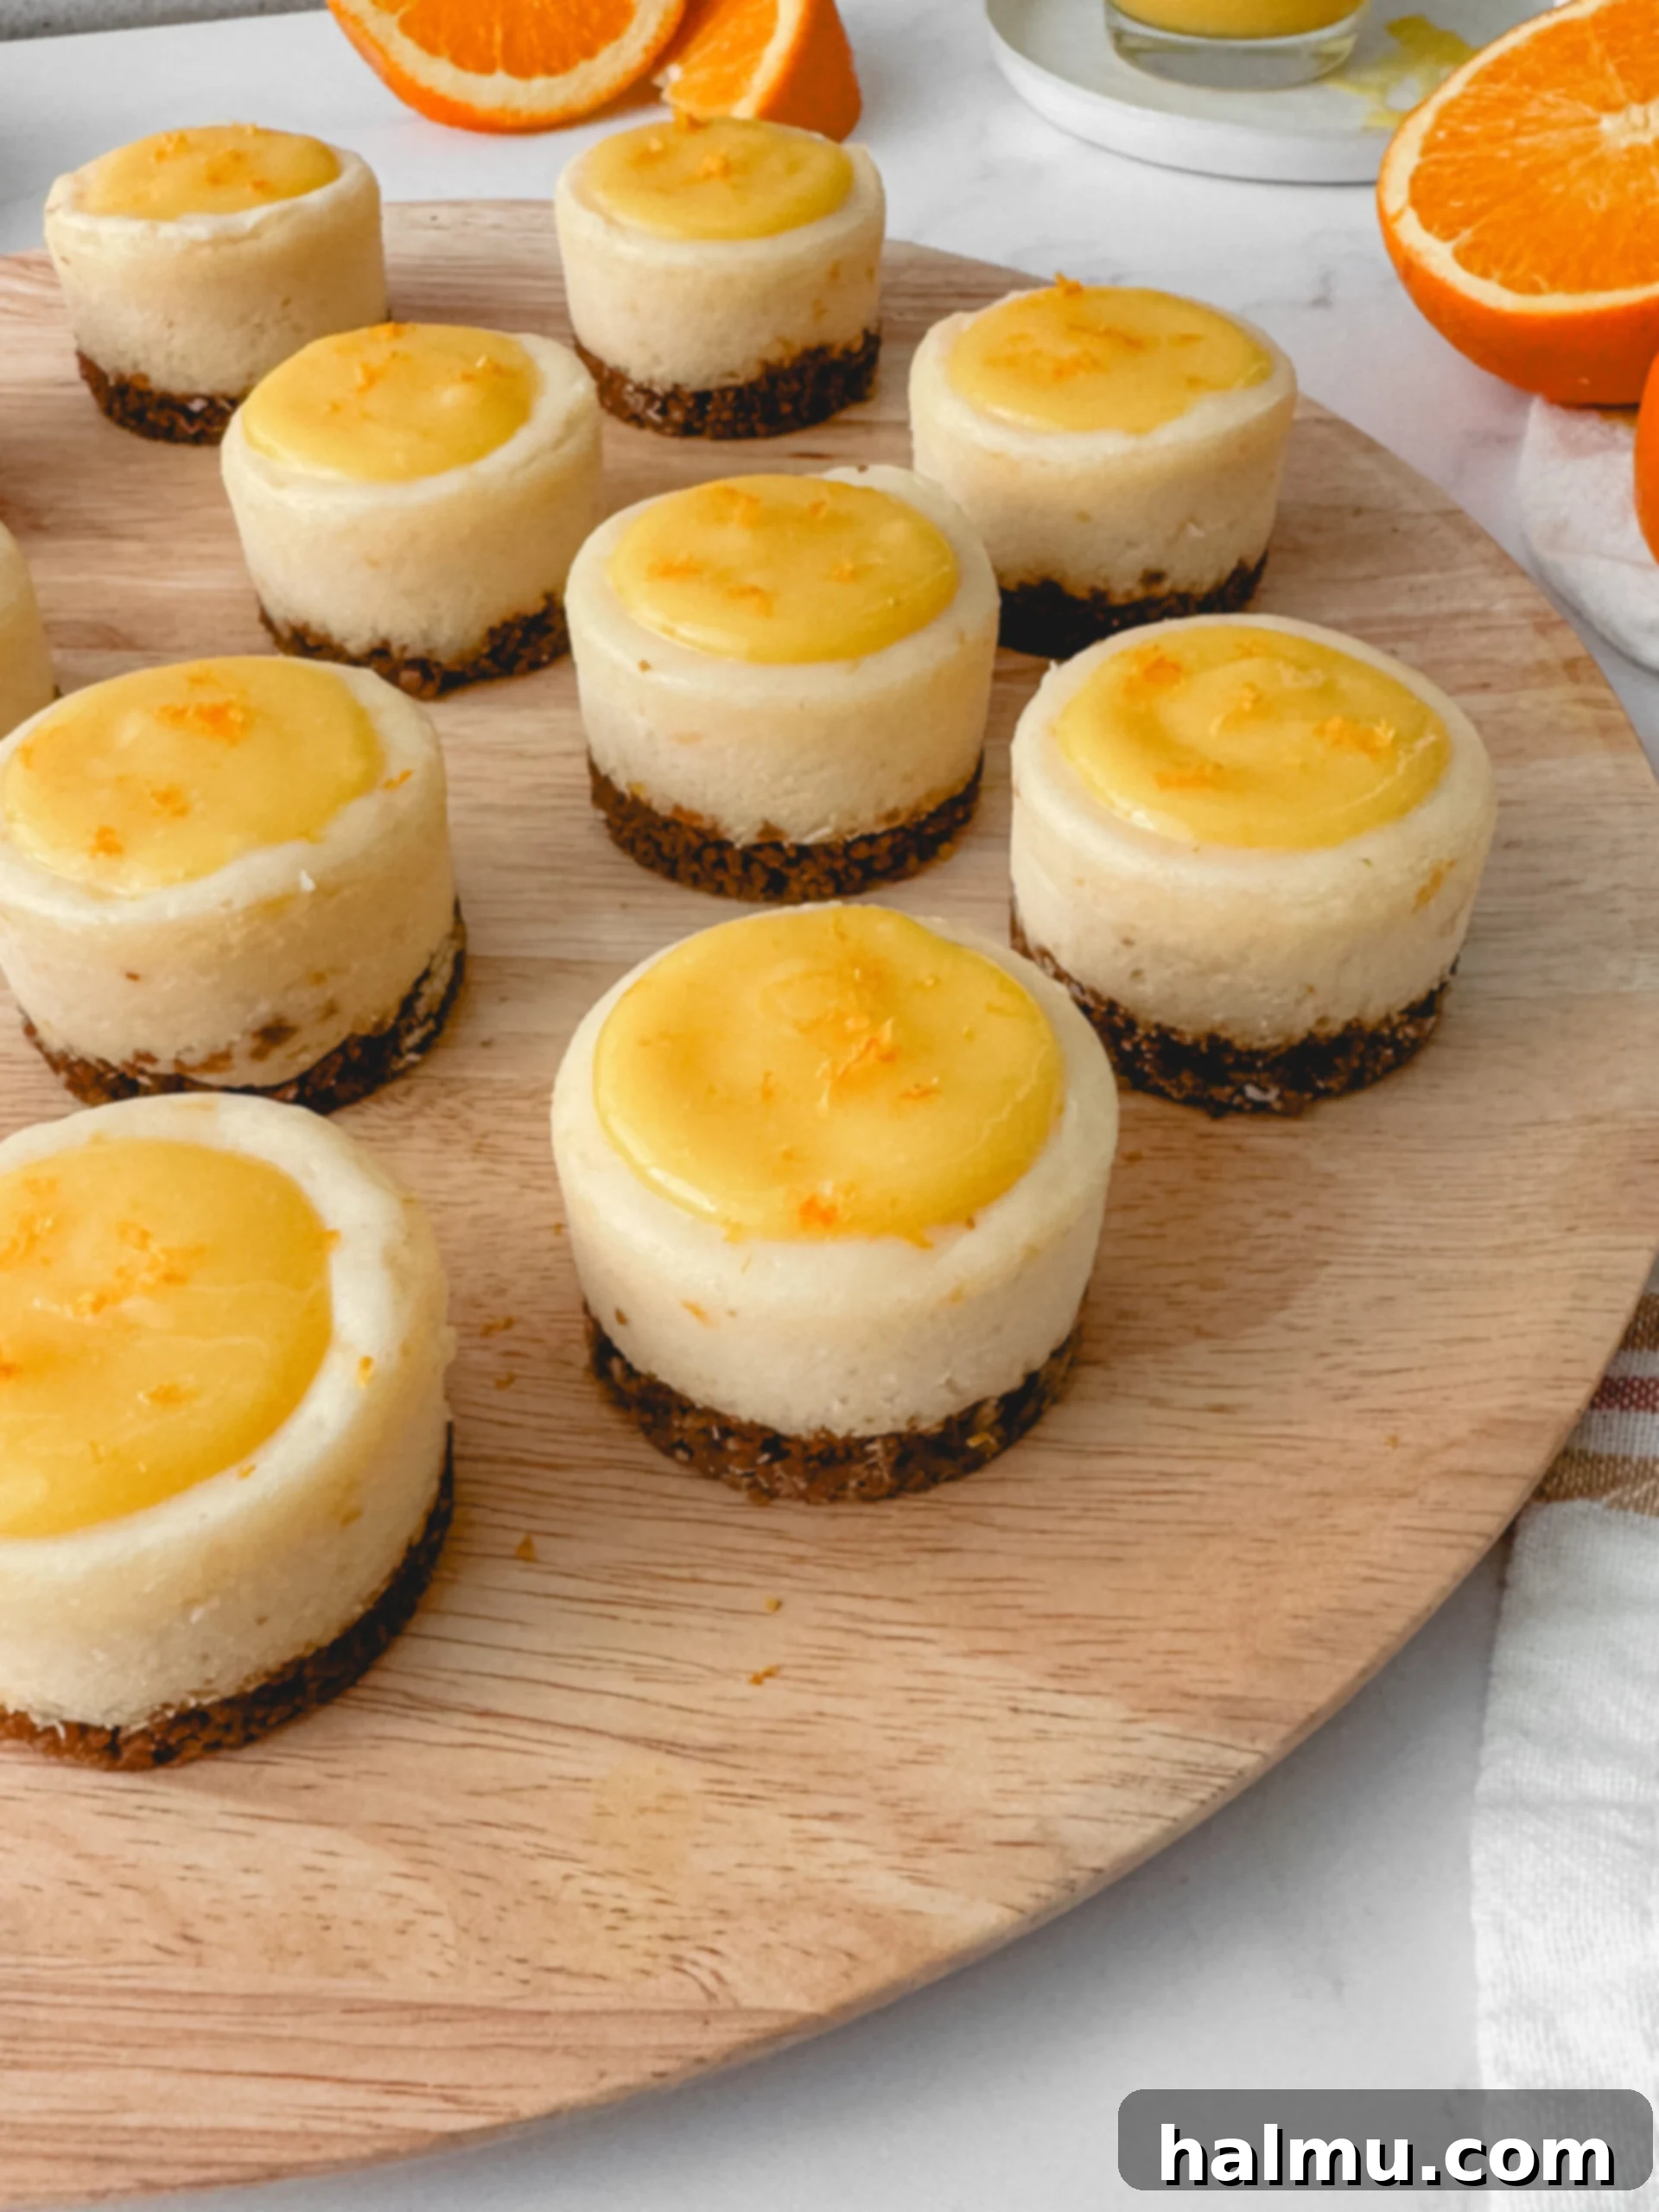
- Mini Orange Cheesecakes: (As featured in our recipe!) A spoonful of orange curd is the perfect topping for individual cheesecakes, adding a vibrant citrus burst that complements the creamy cheesecake beautifully. Find the recipe here: Mini Orange Cheesecakes
- Cake or Cupcake Filling: Use orange curd as a luscious filling between cake layers or inside cupcakes. Pair it with vanilla, chocolate, or even other fruit-flavored sponges for a delightful contrast. It’s especially good with a light buttercream or whipped cream.
- Crepes, Pancakes, or Waffles: Drizzle warm orange curd over freshly made crepes, pancakes, or waffles for a luxurious breakfast or brunch. A dollop of whipped cream on top makes it even more decadent. You can even make an elegant Crepe Cake with layers of curd and cream.
- Ice Cream Topping: Transform a simple scoop of vanilla ice cream into a gourmet dessert by spooning warm or cold orange curd over it. The contrast of cold ice cream and tangy curd is simply divine.
- Serve with Pound Cake or Angel Food Cake: A slice of fluffy pound cake or light angel food cake becomes extraordinary with a generous serving of orange curd. It’s a simple yet elegant dessert that highlights the curd’s flavor. For a delightful pairing, check out our Yuzu Strawberry Pound Cake – imagine orange curd with that!
- Scones or Toast Spread: Forget jam! Spread orange curd on warm scones, buttered toast, or English muffins for a sophisticated and flavorful breakfast or afternoon tea treat.
- Yogurt or Oatmeal Mix-in: Stir a spoonful of orange curd into your morning yogurt or oatmeal for a burst of citrus flavor and natural sweetness. It’s a wonderful way to brighten up your breakfast.
- Tart or Pie Filling: Orange curd makes an exquisite filling for tarts, complementing a buttery shortbread crust beautifully. It can also be used as a filling for meringue pies, similar to lemon meringue pie.
- Macaron or Cookie Filling: Use this vibrant curd as a delightful filling for homemade macarons or other delicate sandwich cookies.
Ready to Brighten Your Day?
With its intoxicating aroma and captivating blend of sweet and tart, homemade orange curd is a dessert essential that promises to add a touch of sunny sophistication to any occasion. Whether you’re a seasoned baker or just starting out, this recipe is incredibly rewarding and surprisingly simple to master. The silky texture and bright flavor are truly unmatched by anything store-bought.
We encourage you to try this recipe and experience the delightful difference of homemade orange curd. It’s a versatile, elegant, and incredibly delicious spread that your loved ones are sure to adore. If you make this recipe and love it, be sure to leave a comment below and share your creations. Happy curd making!

Orange Curd
This silky smooth orange curd is tart, tangy, and sweet. It’s bursting with fresh orange flavor and makes the perfect topping for cakes, crepes, and so much more!
Author: Rachel
Print Recipe
Rate This Recipe
Prep Time: 10 mins
Cook Time: 10 mins
Chill Time: 2 hrs
Total Time: 2 hrs 20 mins
Yield: 6 ounces (about 3/4 cup)
Ingredients
- ½ cup (107g) granulated sugar
- Zest of 1 orange
- 4 large egg yolks
- 1 teaspoon cornstarch
- ½ cup (116g) fresh orange juice
- 1 Tablespoon fresh lemon juice
- ¼ cup (57g) butter, at room temperature and cut into cubes
Instructions
- Combine sugar and orange zest, rubbing the mixture between your fingers to help release the oils. Whisk together the sugar mixture with the egg yolks, cornstarch, orange juice, and lemon juice in a medium saucepan.
- Place the mixture on the stove over low heat. Stir constantly with a heat-safe spatula and cook on low until the mixture thickens enough to coat the back of a spoon, about 10 minutes.
- Once the orange curd has thickened, remove from heat and strain with a fine mesh sieve. Stir in the butter until melted. Place plastic wrap directly on top of the curd and refrigerate for at least 2 hours, or until completely chilled.
Shop Ingredients
Did you make this recipe?
Be sure to tag @sweetkitchencravings on Instagram!

HI THERE!
I’m Rachel
I’m the dessert lover, recipe developer, and content creator behind Sweet Kitchen Cravings. Here you’ll find classic yet special recipes that are sure to impress your loved ones!
MORE ABOUT RACHEL
