This post may contain affiliate links. Please read my full disclosure policy.
Effortless Zest: Delightful No-Bake Lemon Meringue Pie Cups
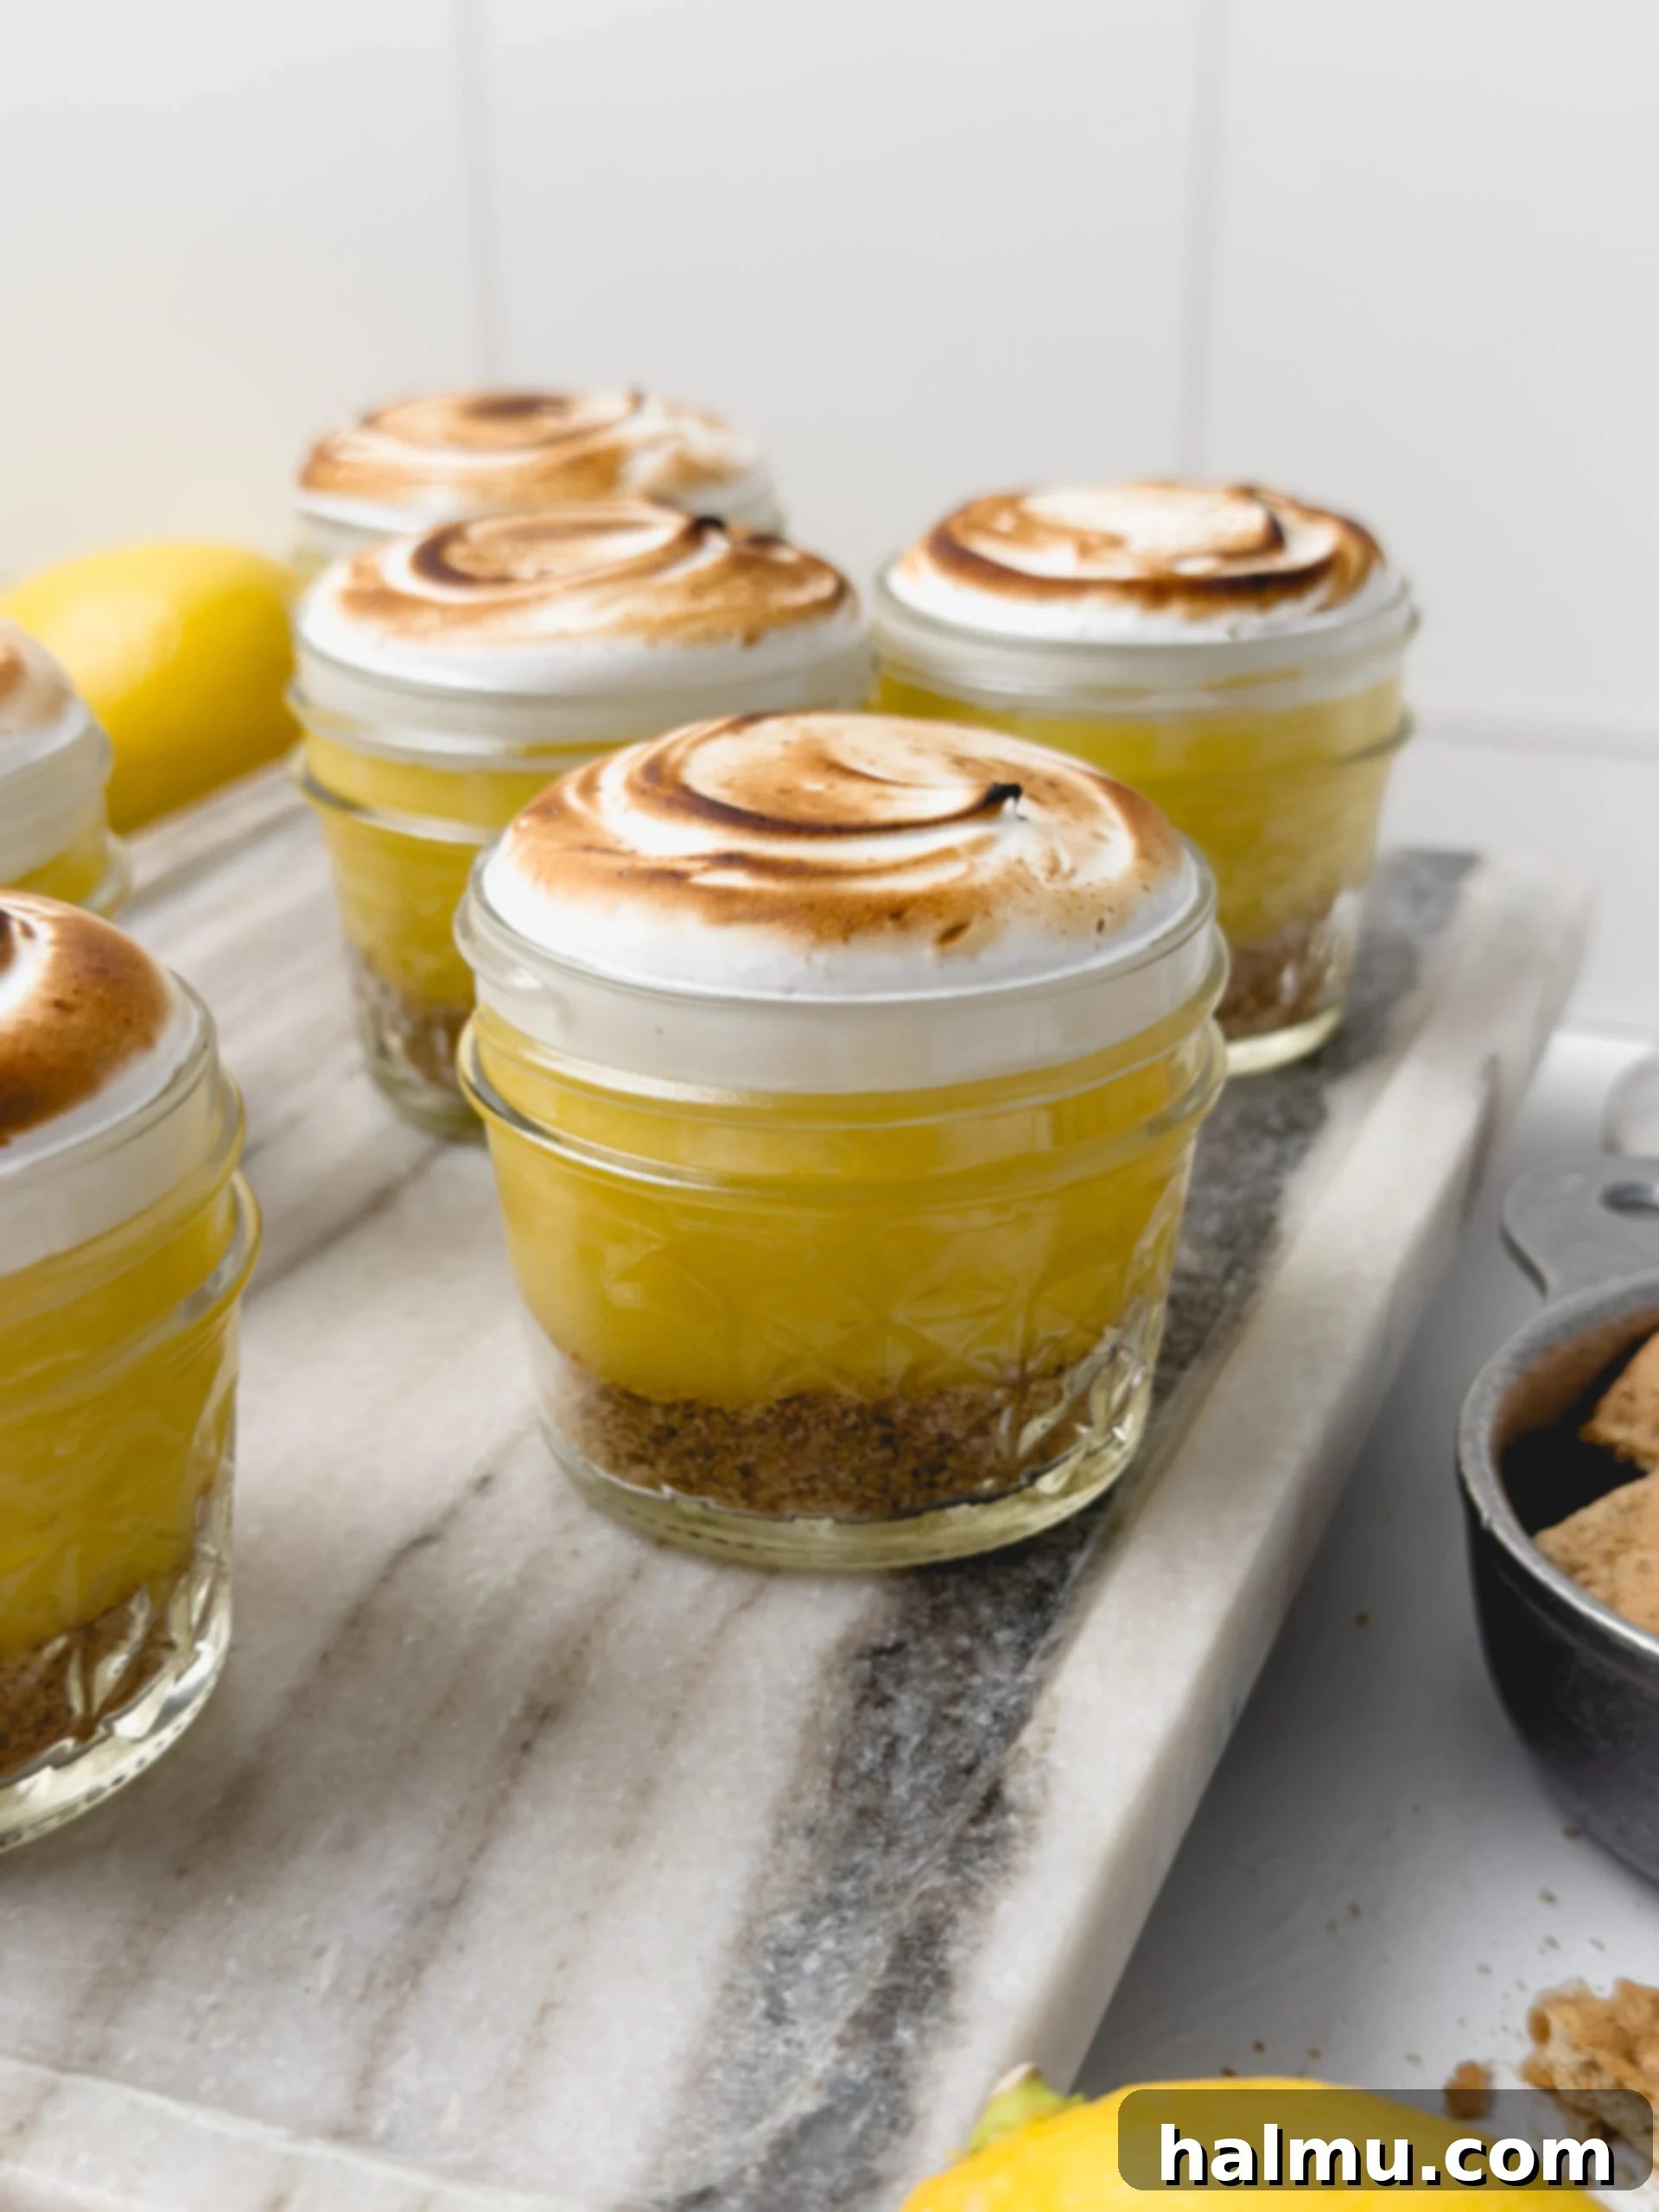
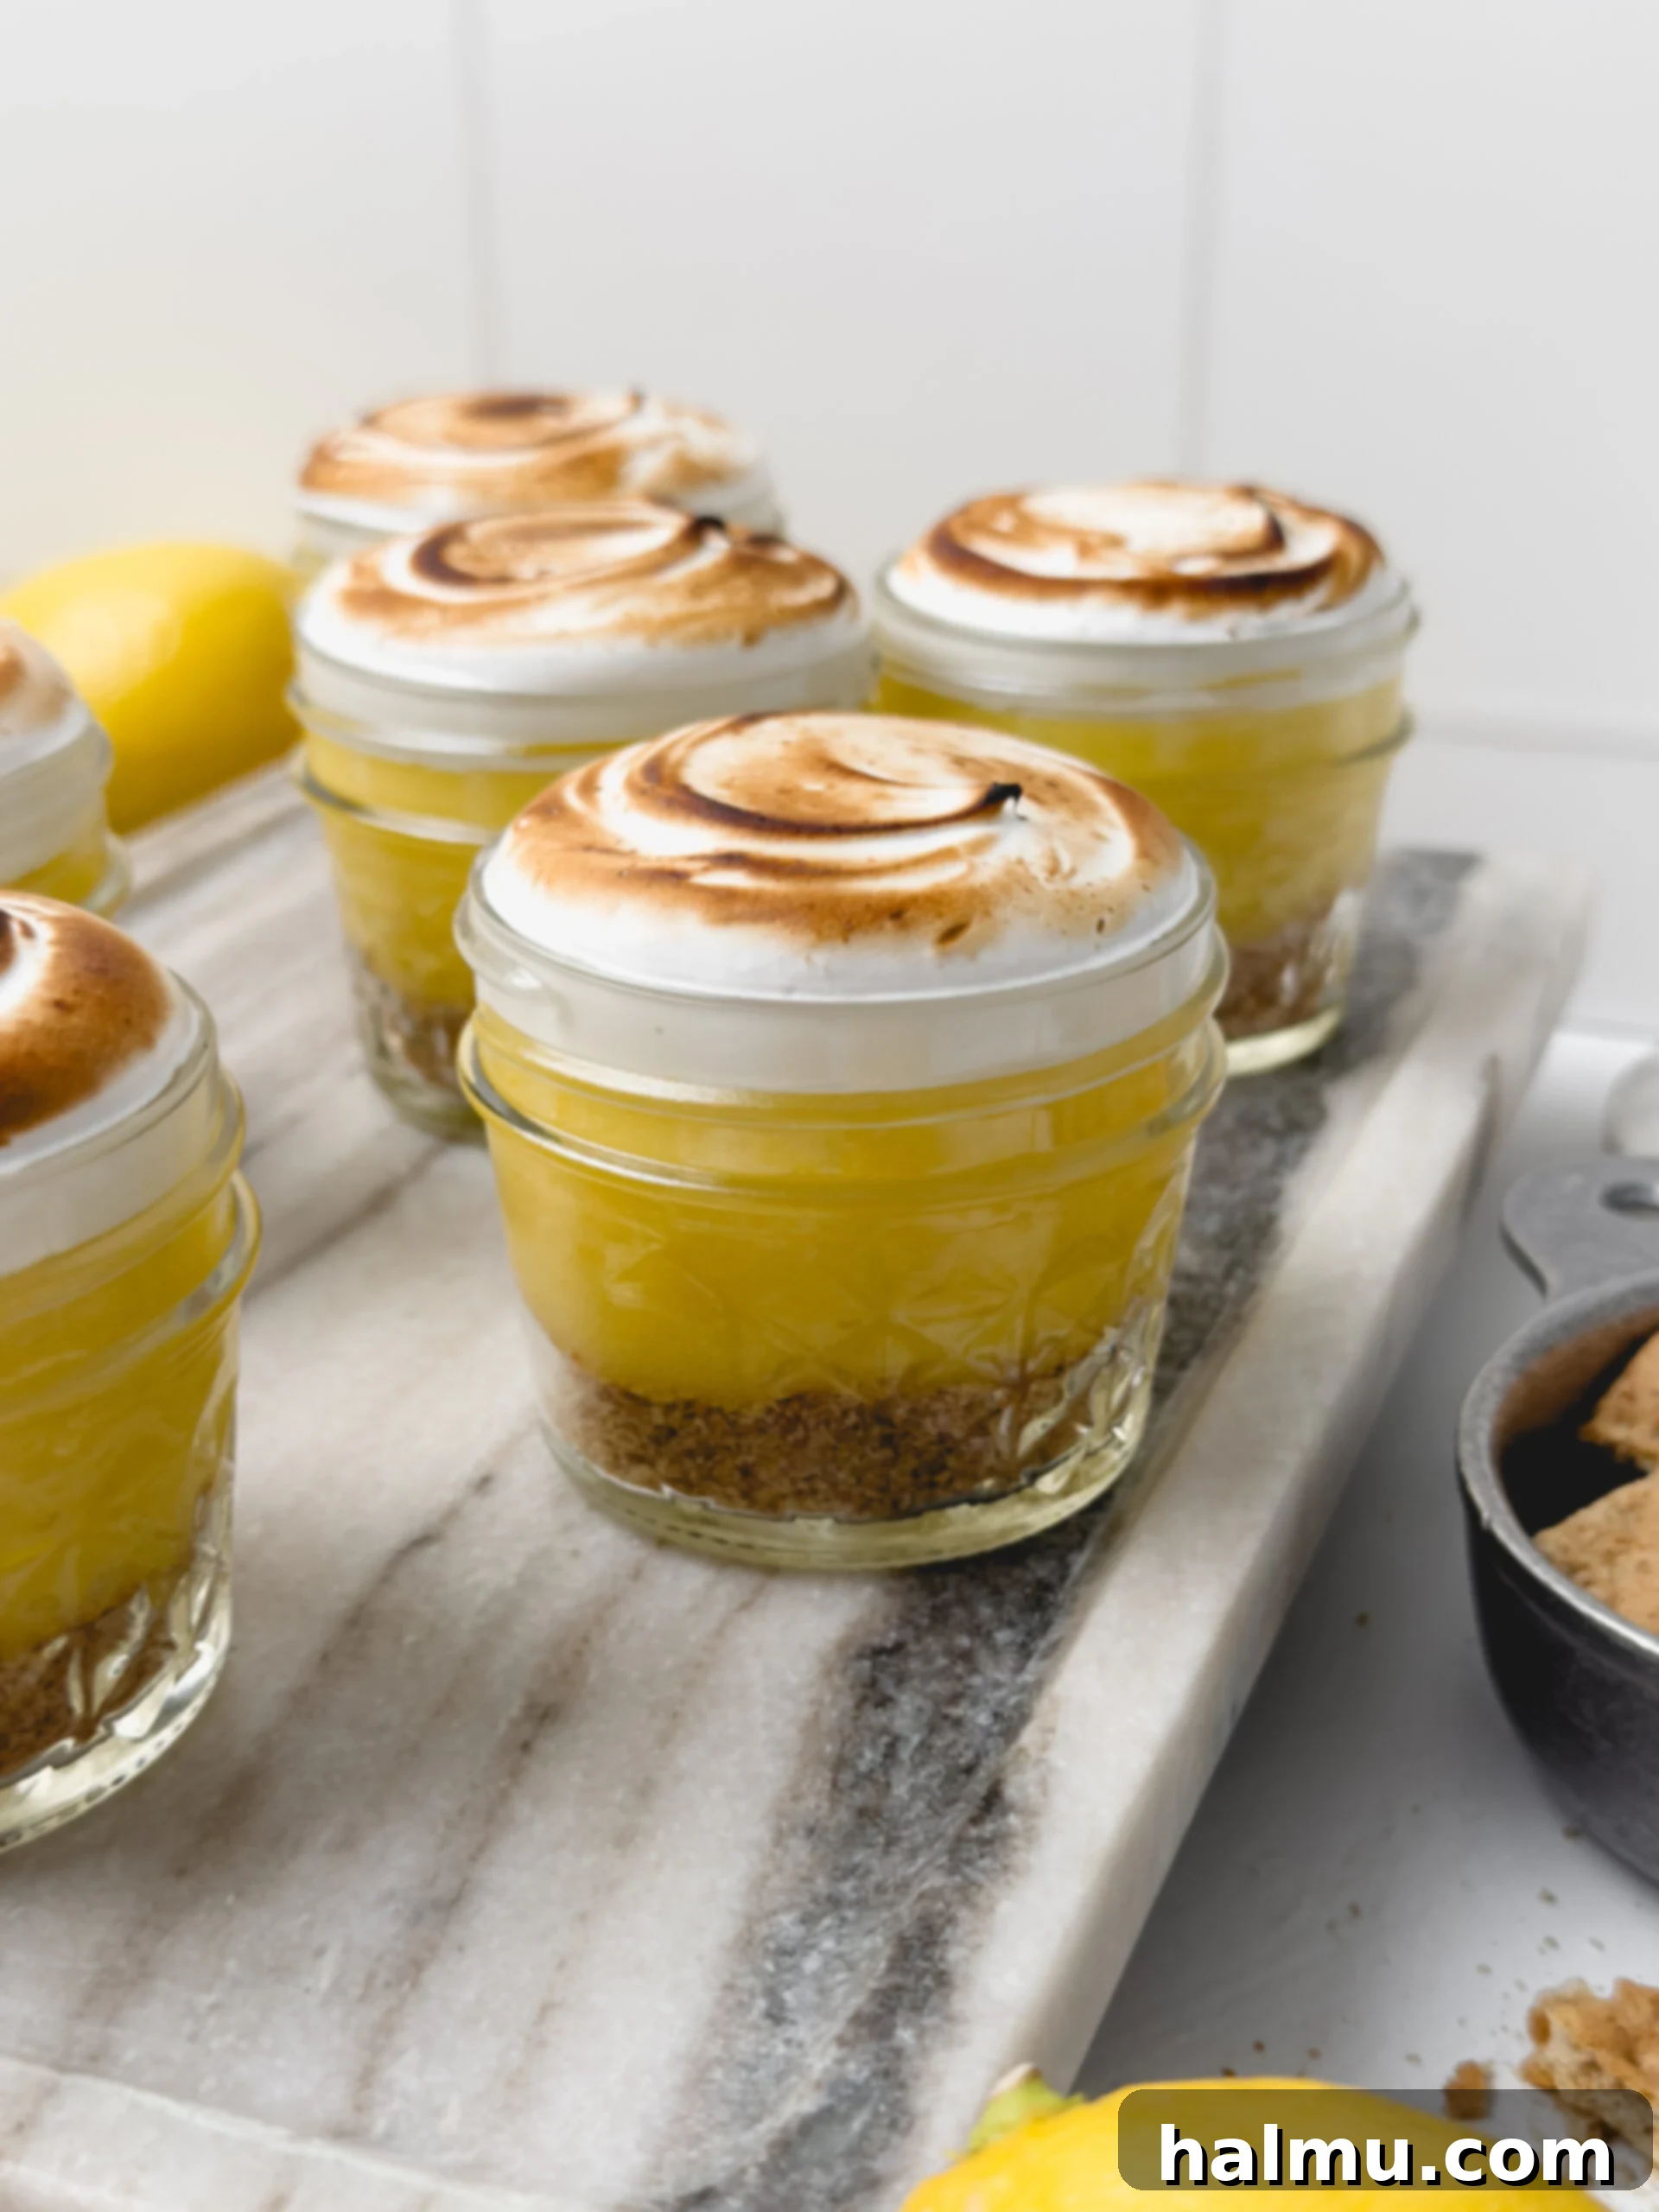
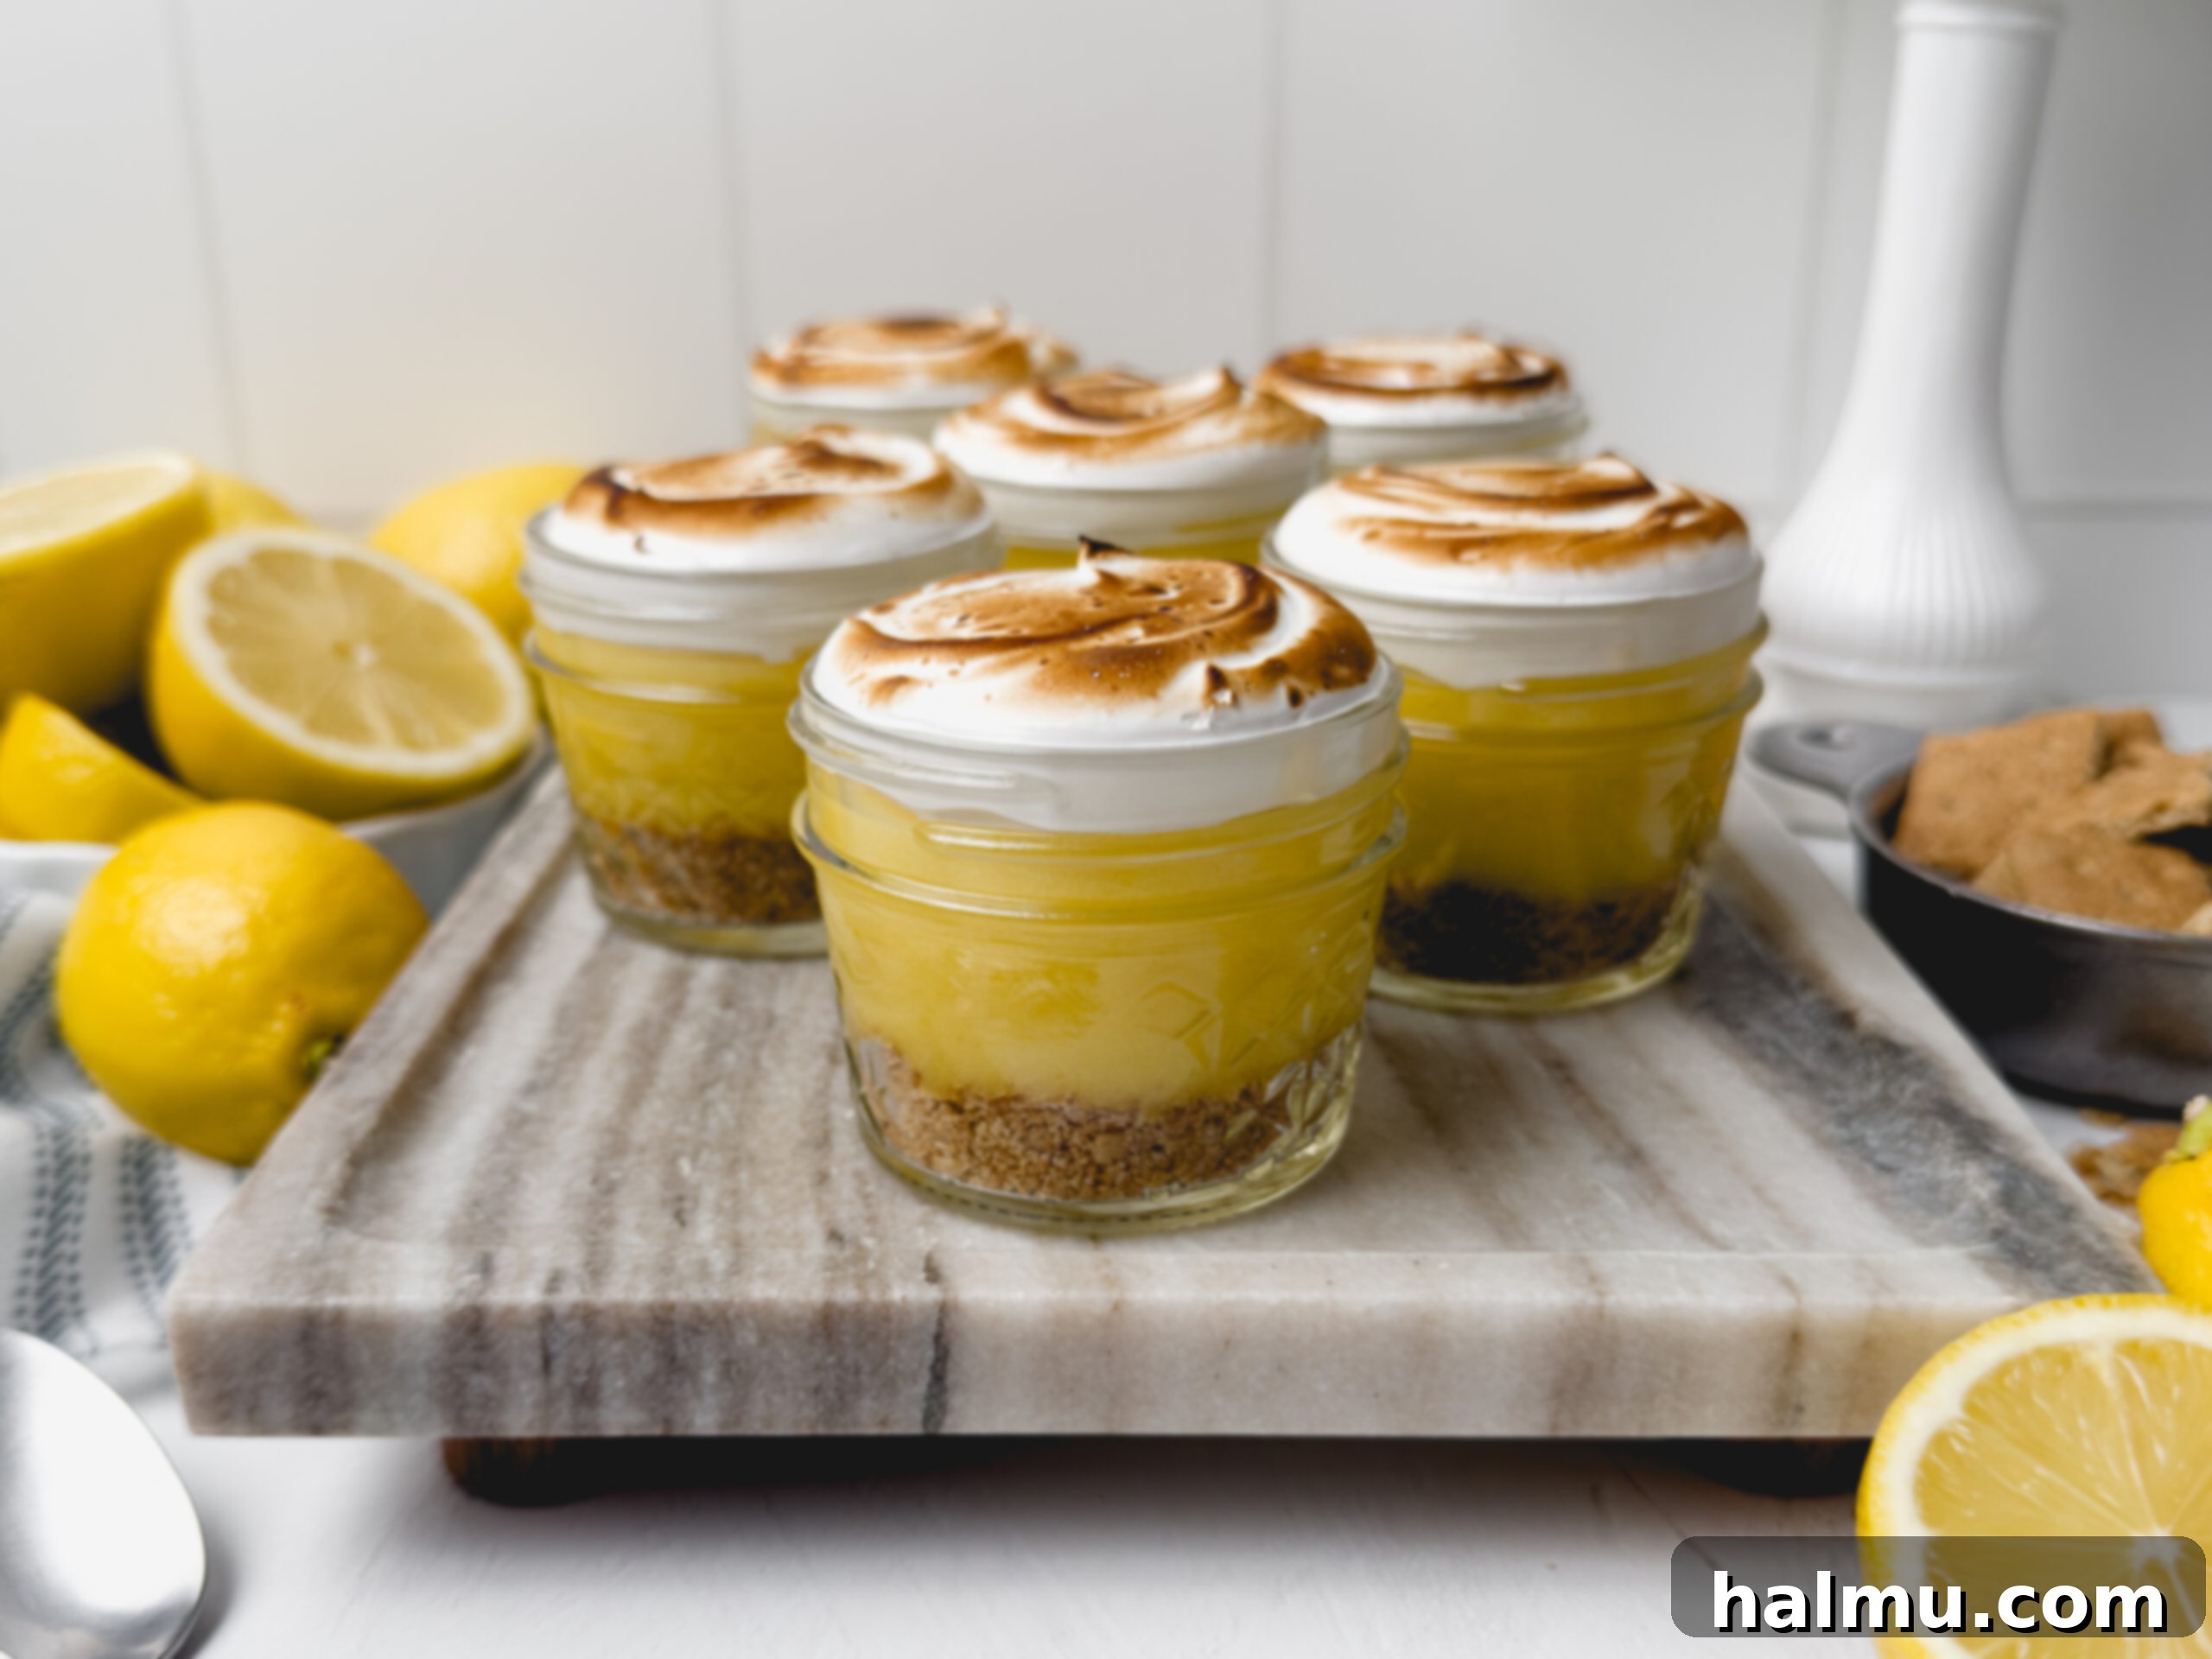
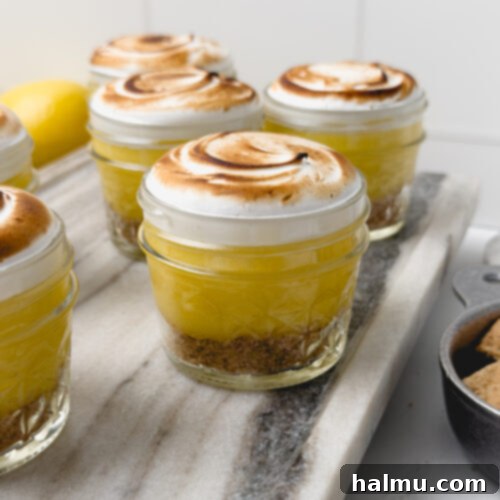
Indulge in the bright, tangy flavors of a classic lemon meringue pie without the hassle of baking a traditional crust. These delightful No-Bake Lemon Meringue Pie Cups transform the beloved dessert into charming individual servings, perfect for any occasion. Each cup features a rich, buttery graham cracker crust, a velvety smooth and zesty lemon curd, and a fluffy, perfectly toasted meringue topping. They are an ideal choice for effortless entertaining, refreshing summer picnics, or simply a delightful weeknight treat that comes together with remarkable ease.
Why These Lemon Meringue Pie Cups Will Be Your New Favorite Dessert
- Quick & Easy Preparation: Say goodbye to the complexities of a traditional pie crust and the stress of oven baking. This recipe streamlines the process, allowing you to layer each delicious component directly into individual jars or dessert cups. It’s a remarkably simple and stress-free way to create an impressive dessert.
- Perfectly No-Bake: Enjoy a refreshing dessert without ever needing to turn on your oven! The vibrant lemon curd thickens beautifully on the stovetop, achieving a silky smooth consistency. The elegant golden-brown finish on the meringue is effortlessly created with a kitchen torch. This makes these pie cups an absolute lifesaver during hot summer days or when your oven is already occupied.
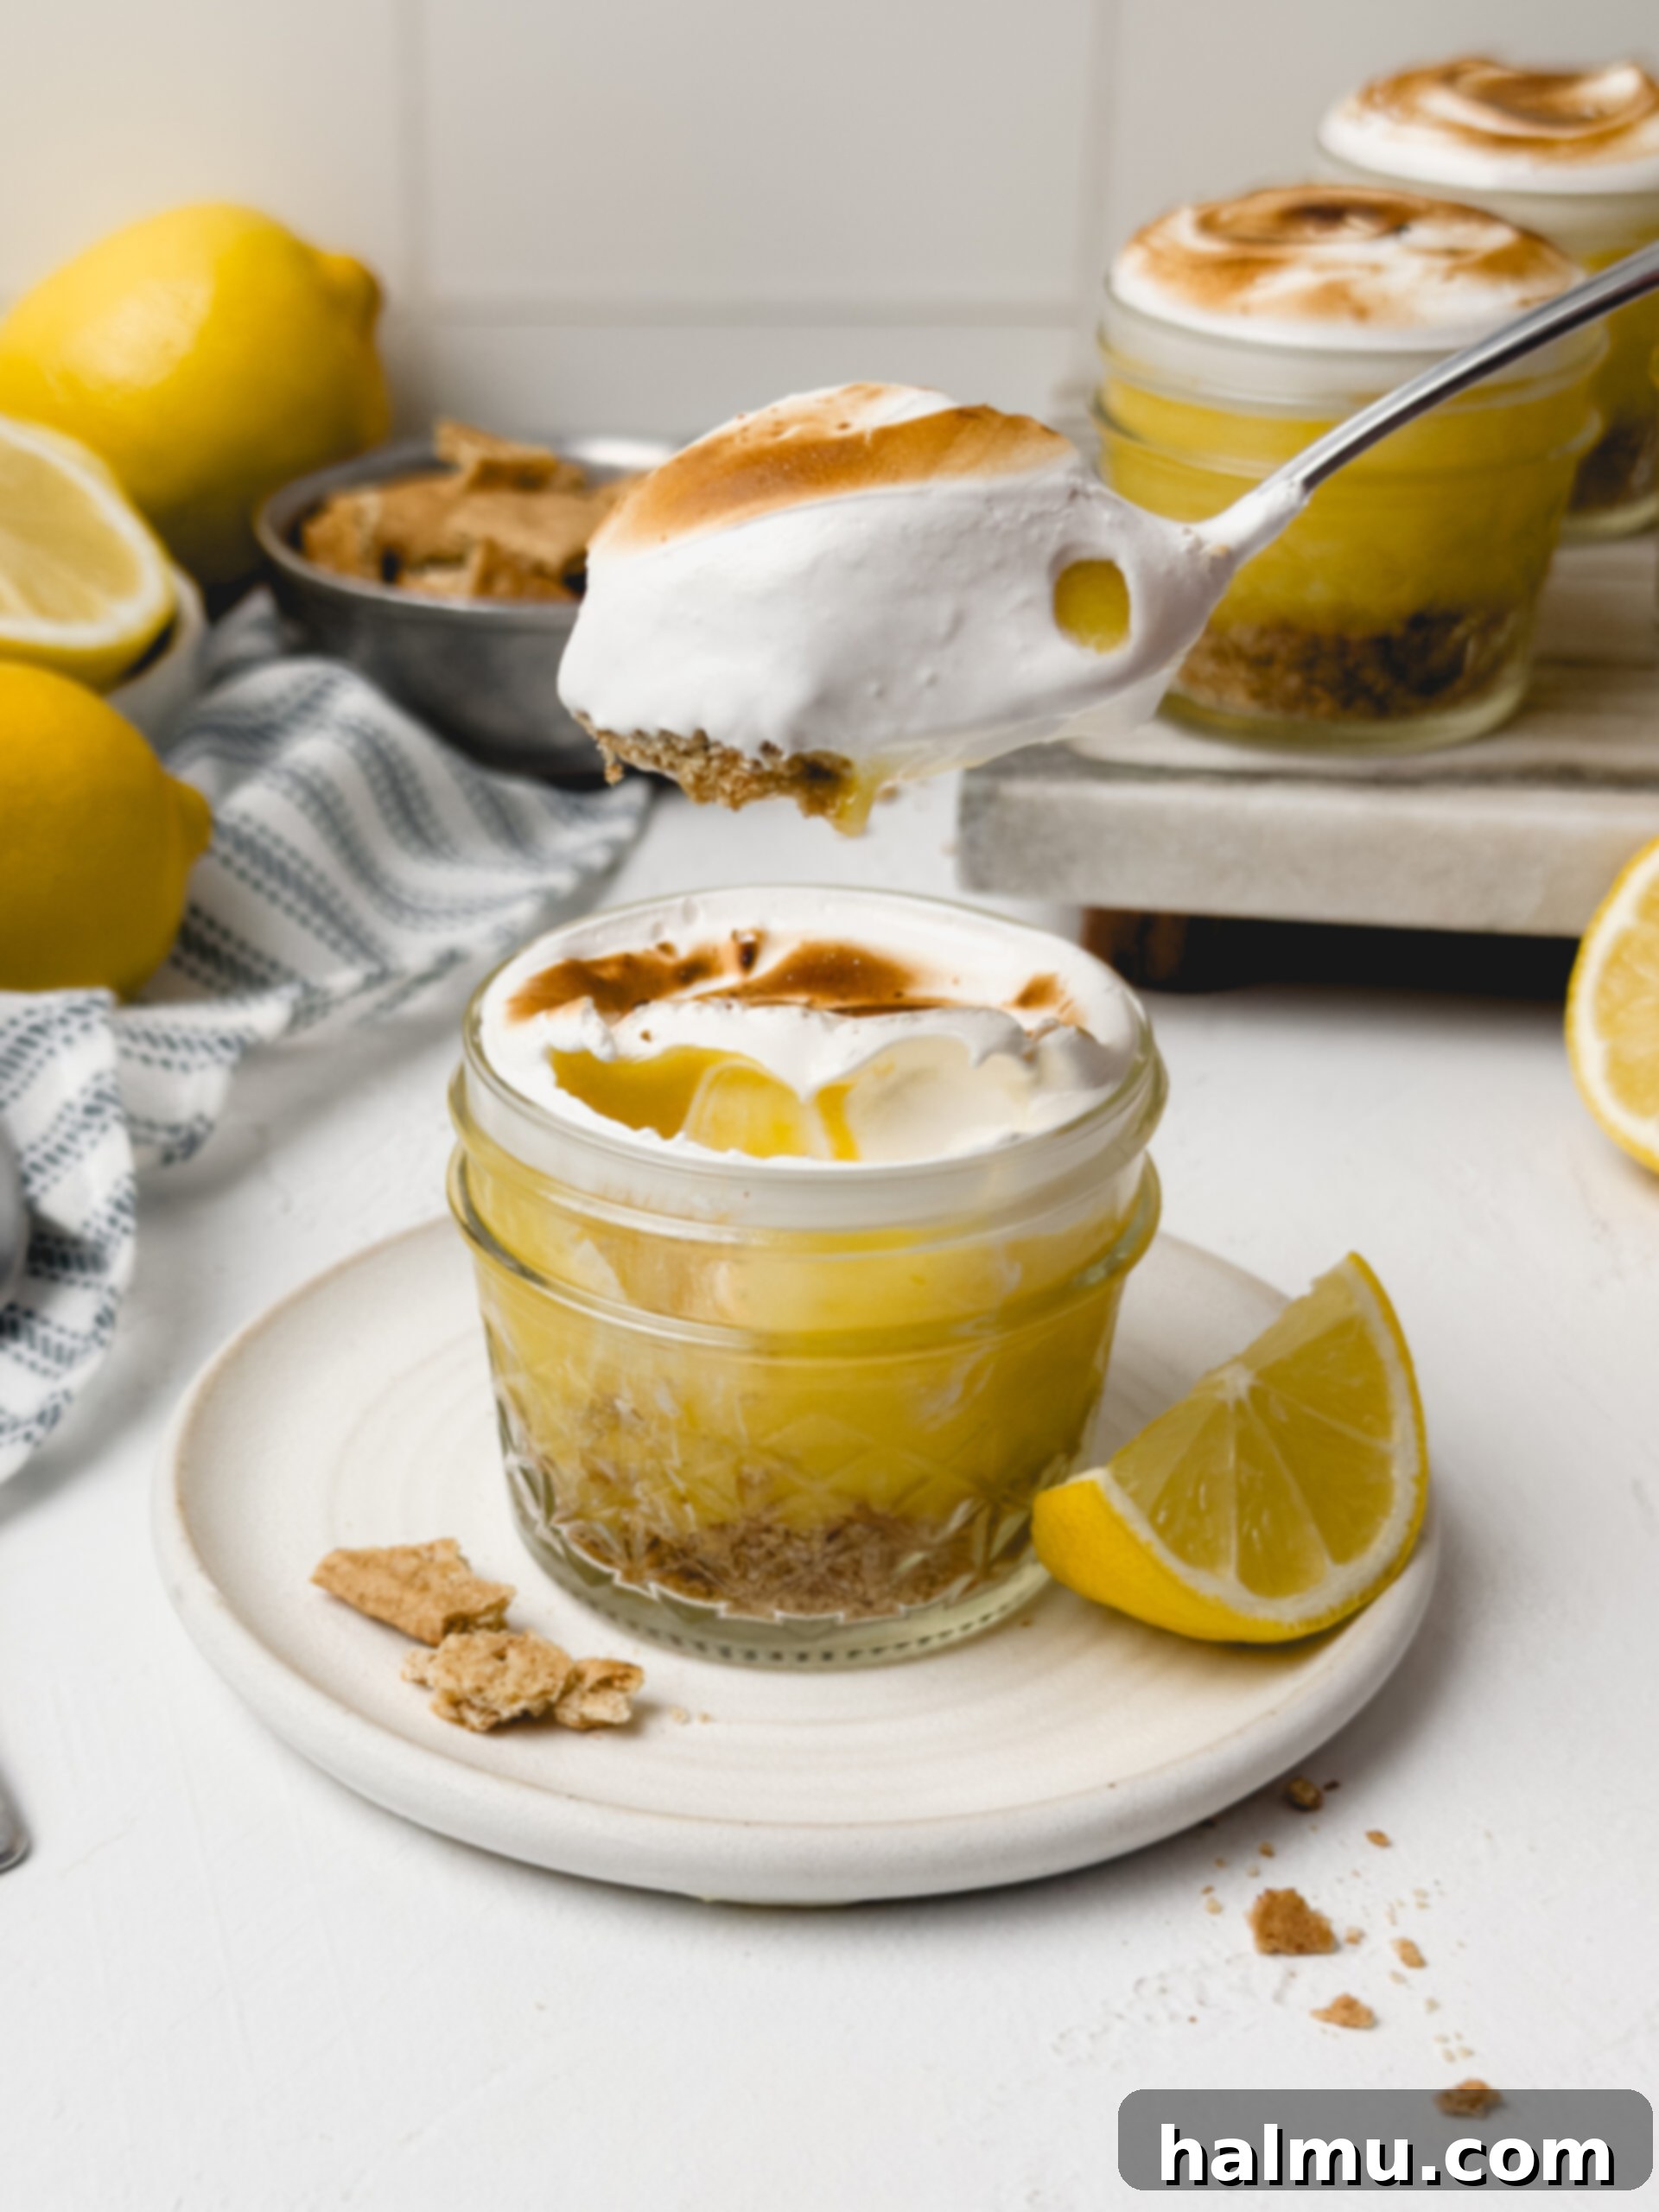
- Charming Individual Portions: Served in cute glass jars or elegant dessert cups, these treats offer ultimate convenience and a touch of sophistication. There’s no need for messy slicing or serving; guests can simply grab a spoon and enjoy their perfectly portioned dessert. This also makes them ideal for potlucks, parties, or when you want to control portion sizes.
- Irresistible Flavor & Texture Combination: Experience a symphony of flavors and textures in every bite. The sweet and tart lemon curd perfectly balances the crispy, buttery graham cracker base, while the light, airy, and slightly caramelized meringue adds a cloud-like finish. It’s a delightful contrast that will leave your taste buds craving more.
Crafting Your Easy Lemon Meringue Pie Cups: A Step-by-Step Guide
Creating these individual dessert masterpieces is simpler than you might imagine. We’ll break down the process into three key components: the crunchy graham cracker crust, the luscious lemon curd, and the billowy toasted meringue. Each step is designed for ease and maximum flavor.
Building the Perfect Graham Cracker Crust
The foundation of these delicious pie cups begins with a simple, yet irresistible graham cracker crust. Start by finely grinding your graham crackers using a food processor for consistent crumbs, or achieve a rustic texture by crushing them in a zip-top bag with a rolling pin. Aim for fine crumbs with no large pieces. Once crushed, combine these crumbs with melted butter. The butter binds the crumbs together and imparts a wonderful richness. Evenly distribute this buttery mixture into your chosen 4-ounce glass jars or parfait cups. Gently press the crumbs down to form a firm, even layer at the bottom of each cup. A tart tamper or the back of a spoon works perfectly for this task, ensuring a stable base for your lemon curd.
Whipping Up the Silky Lemon Curd
The heart of these pie cups is a vibrant, tangy, and incredibly smooth lemon curd. To prepare it, whisk together granulated sugar and fresh lemon zest. Rubbing the sugar and zest together with your fingers before adding other ingredients is a pro tip that helps release the aromatic oils from the zest, intensifying the lemon flavor. Next, incorporate the egg yolks and a pinch of salt, whisking until the mixture becomes lighter in color and slightly fluffy. Gradually stream in the fresh lemon juice, ensuring continuous whisking to prevent the eggs from scrambling.
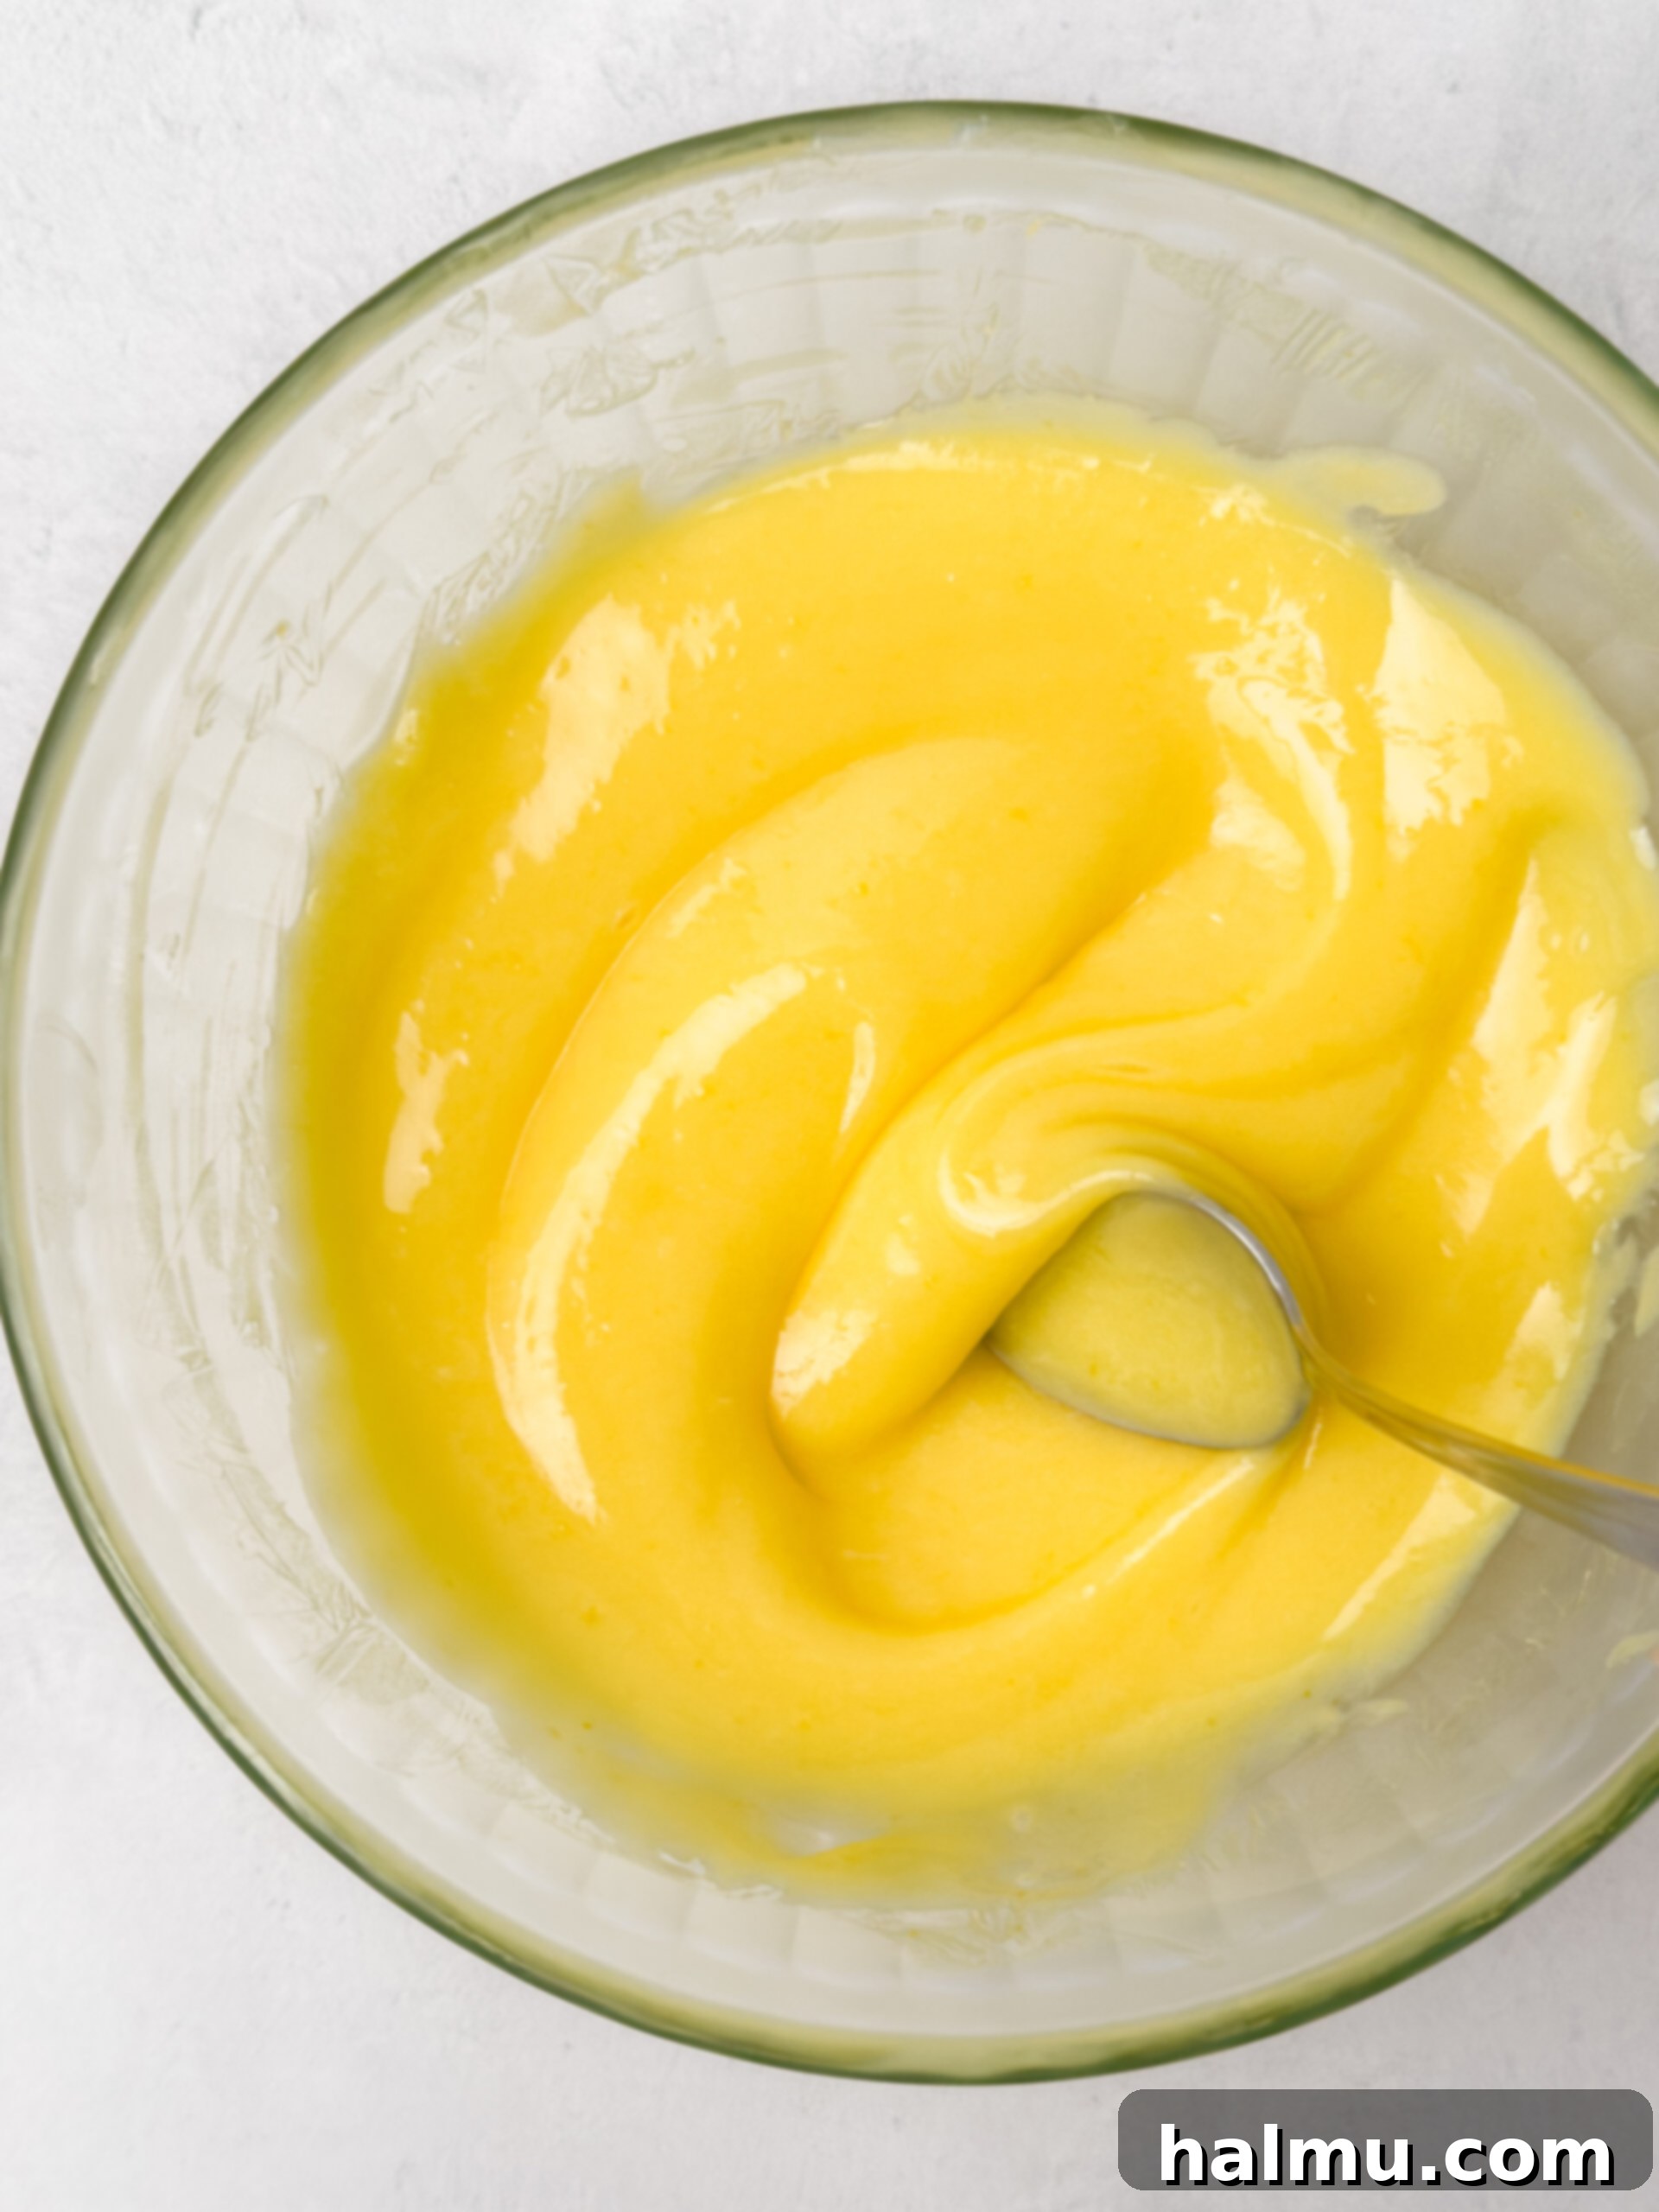
Transfer the mixture to a saucepan and cook it over low heat, stirring constantly with a heatproof spatula. This gentle cooking process is crucial for thickening the curd without scorching. Continue cooking for about 7-10 minutes, or until the mixture reaches a temperature of 170°F (up to 180°F for a thicker curd) on an instant-read thermometer. The curd should be thick enough to coat the back of a spoon, and when you draw a line through it with your finger, the line should hold its shape. Once thickened, remove the pan from the heat and immediately strain the curd through a fine-mesh sieve. This step ensures a perfectly smooth, zest-free consistency. Finally, stir in the small cubes of unsalted butter until they are completely melted and incorporated. The butter and egg yolks are natural thickeners, so no cornstarch is needed for this rich curd. Allow the lemon curd to chill in the refrigerator for at least 2 hours, or until thoroughly cooled and thickened. Once chilled, transfer it to a piping bag for neat layering over the graham cracker crust.
For even more detailed instructions and expert tips on mastering this essential component, don’t forget to check out my comprehensive Lemon Curd recipe post!
Creating the Fluffy Toasted Meringue Topping
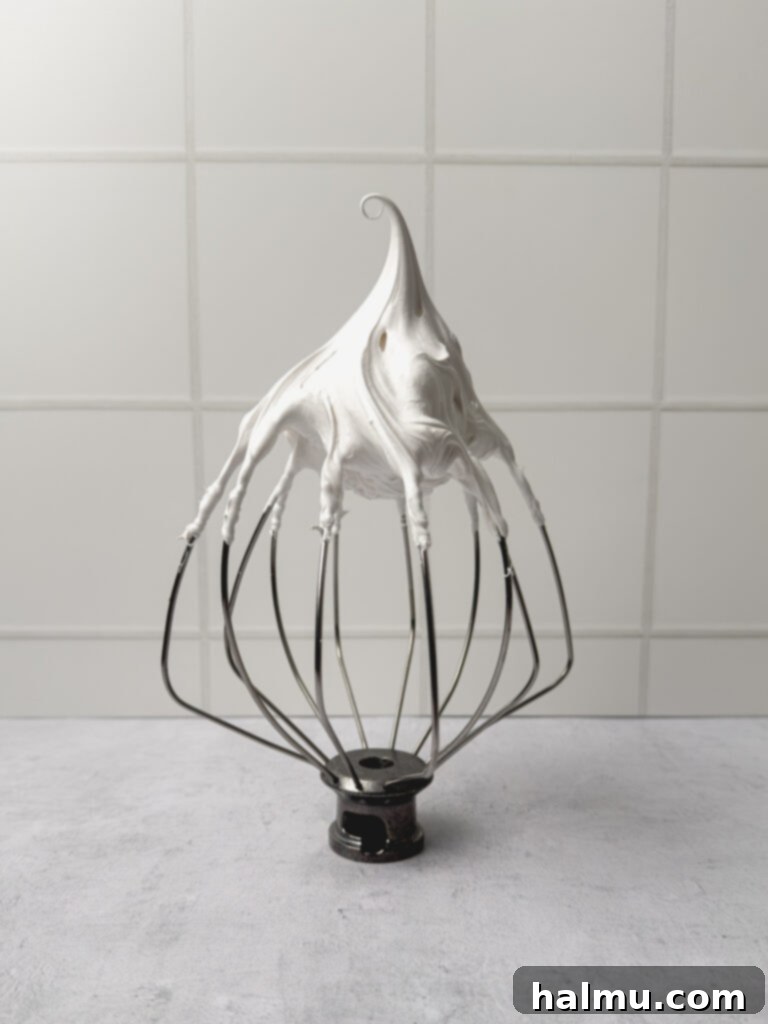
The crowning glory of these pie cups is the light, airy, and beautifully toasted meringue. We’ll be using the Swiss meringue method, which involves gently heating the egg whites and sugar over a double boiler. This technique ensures the sugar fully dissolves and the egg whites are safely pasteurized, resulting in a stable and glossy meringue. Combine egg whites, granulated sugar, and cream of tartar in a heatproof bowl set over a pot of simmering water (make sure the bottom of the bowl doesn’t touch the water). Whisk constantly until the sugar completely dissolves and the mixture reaches 165°F. You can test for dissolved sugar by rubbing a small amount between your fingers; it should feel smooth, not gritty. Remove the bowl from the heat, wipe the bottom dry, and transfer the mixture to the bowl of a stand mixer fitted with a whisk attachment. Add vanilla extract and whip on high speed until the meringue forms stiff, glossy peaks. This usually takes about 5 minutes. The meringue should hold its shape firmly when the whisk is lifted.
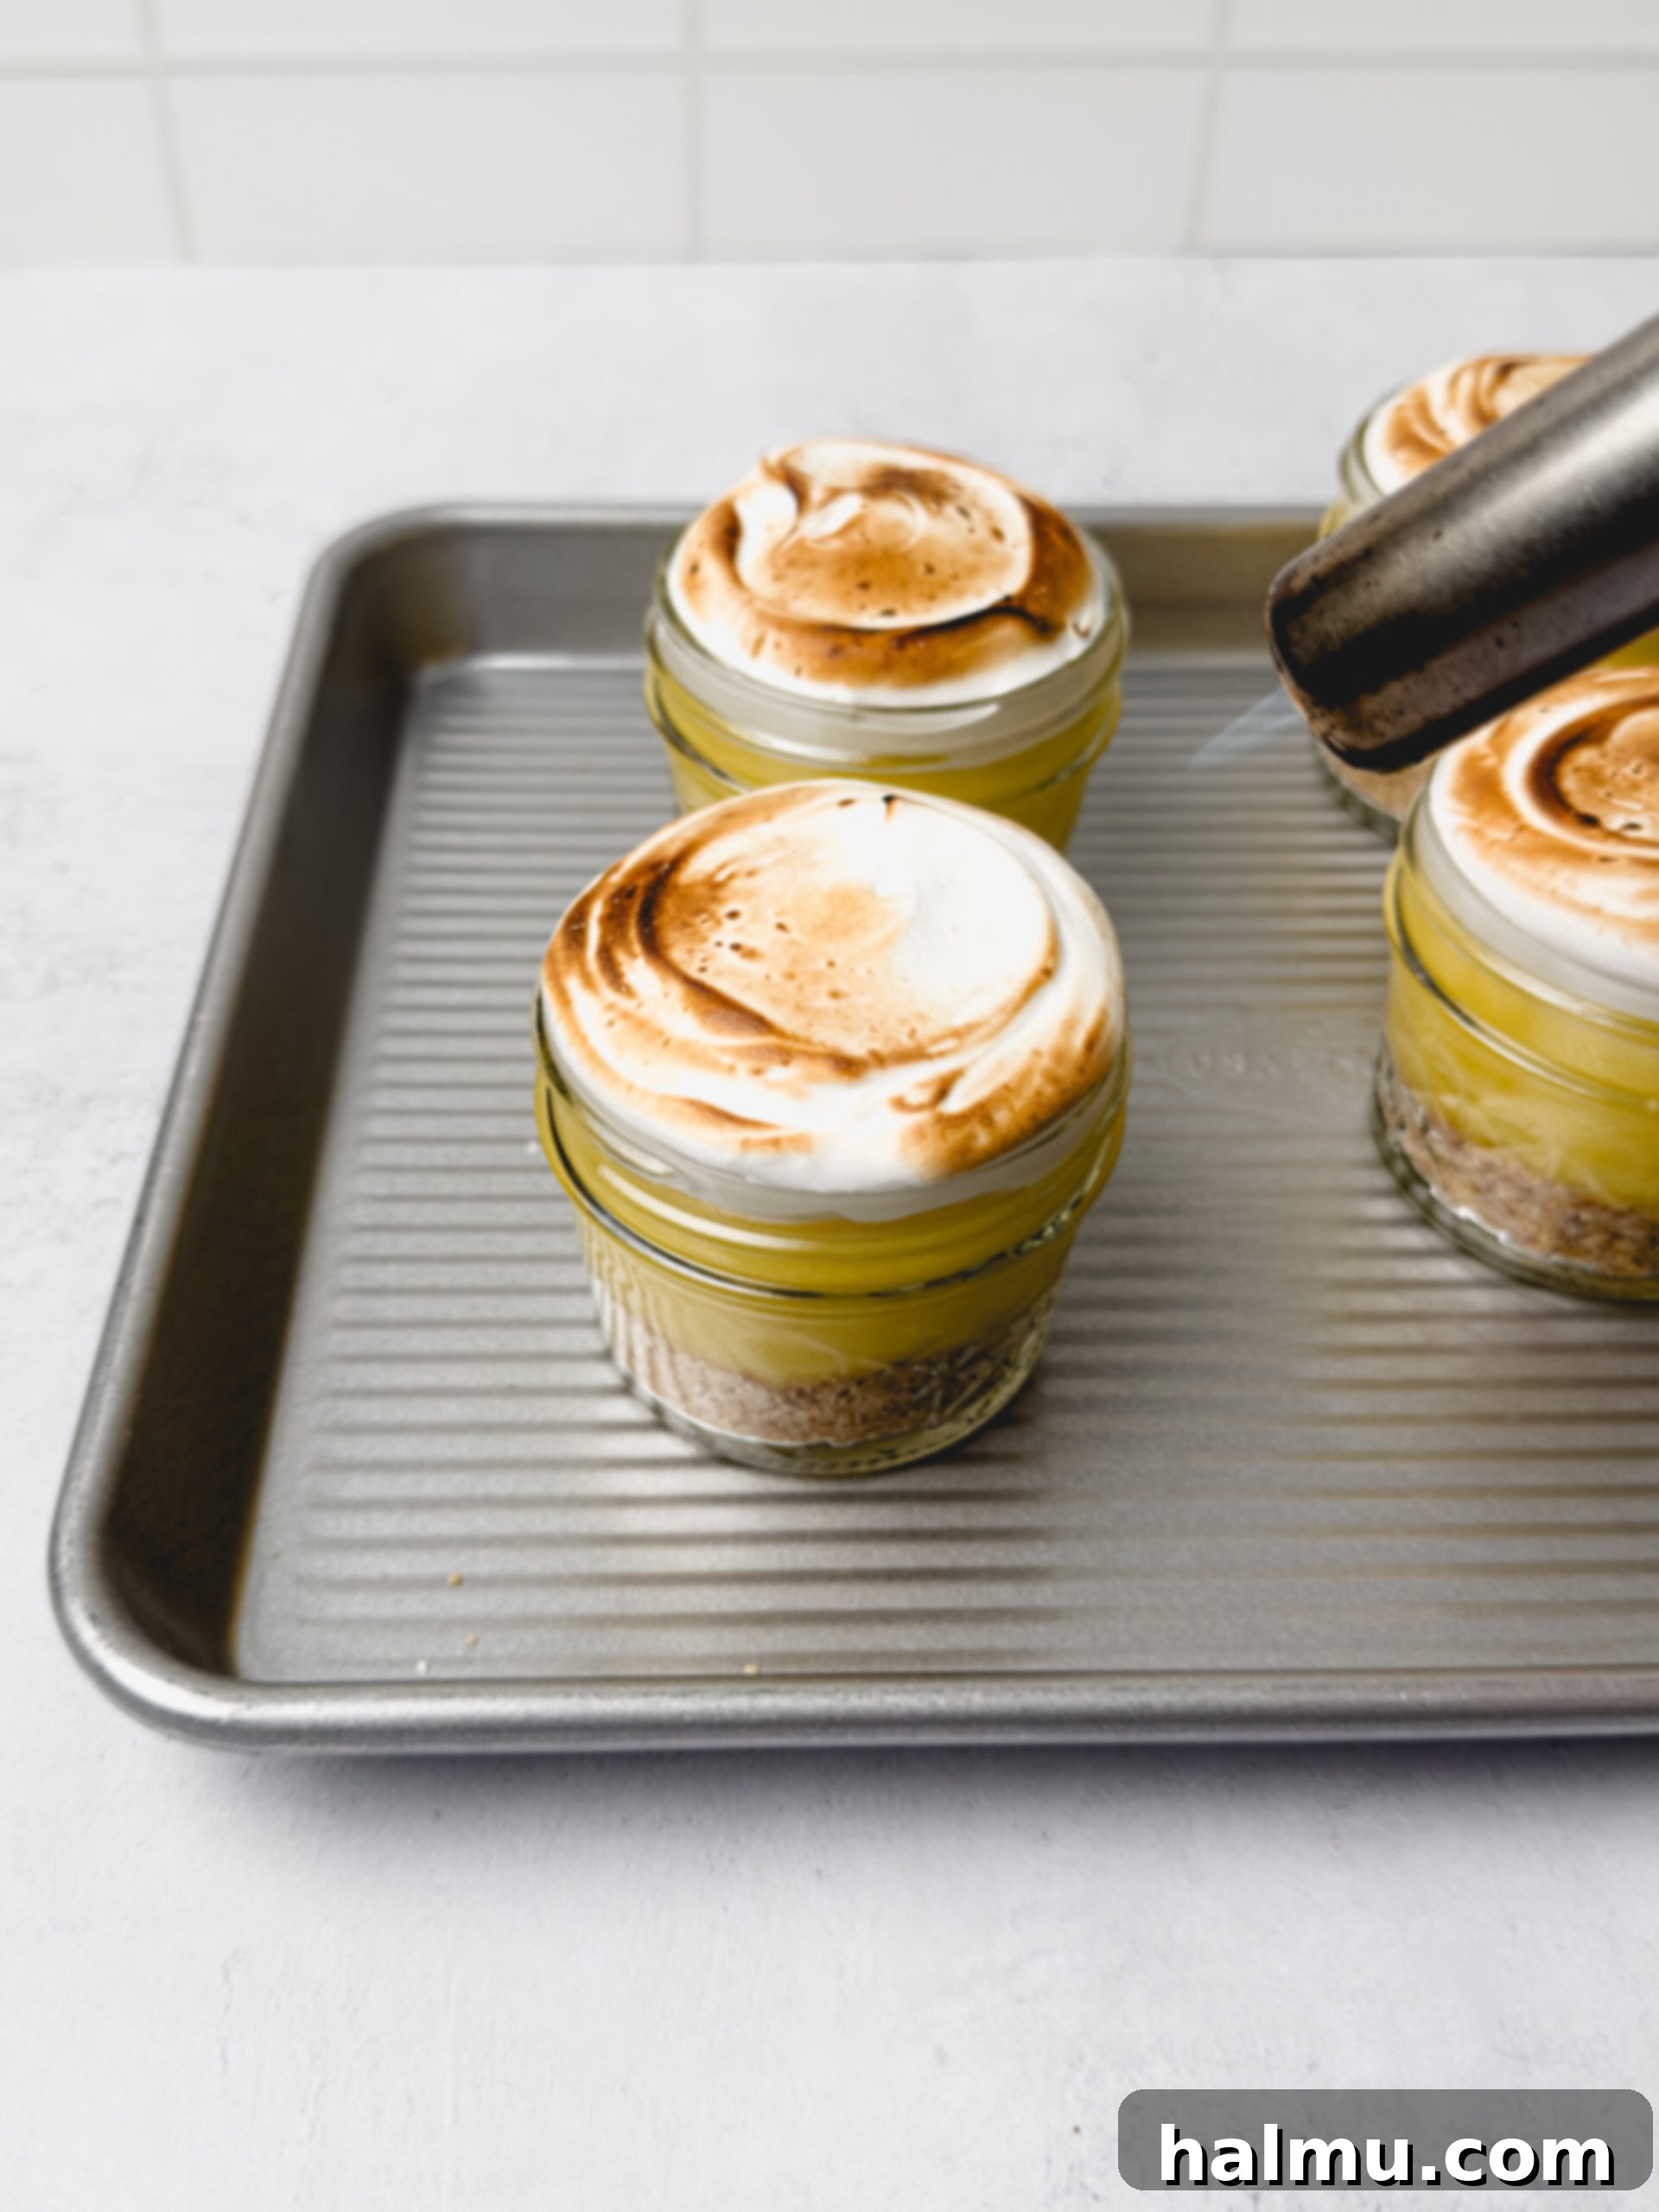
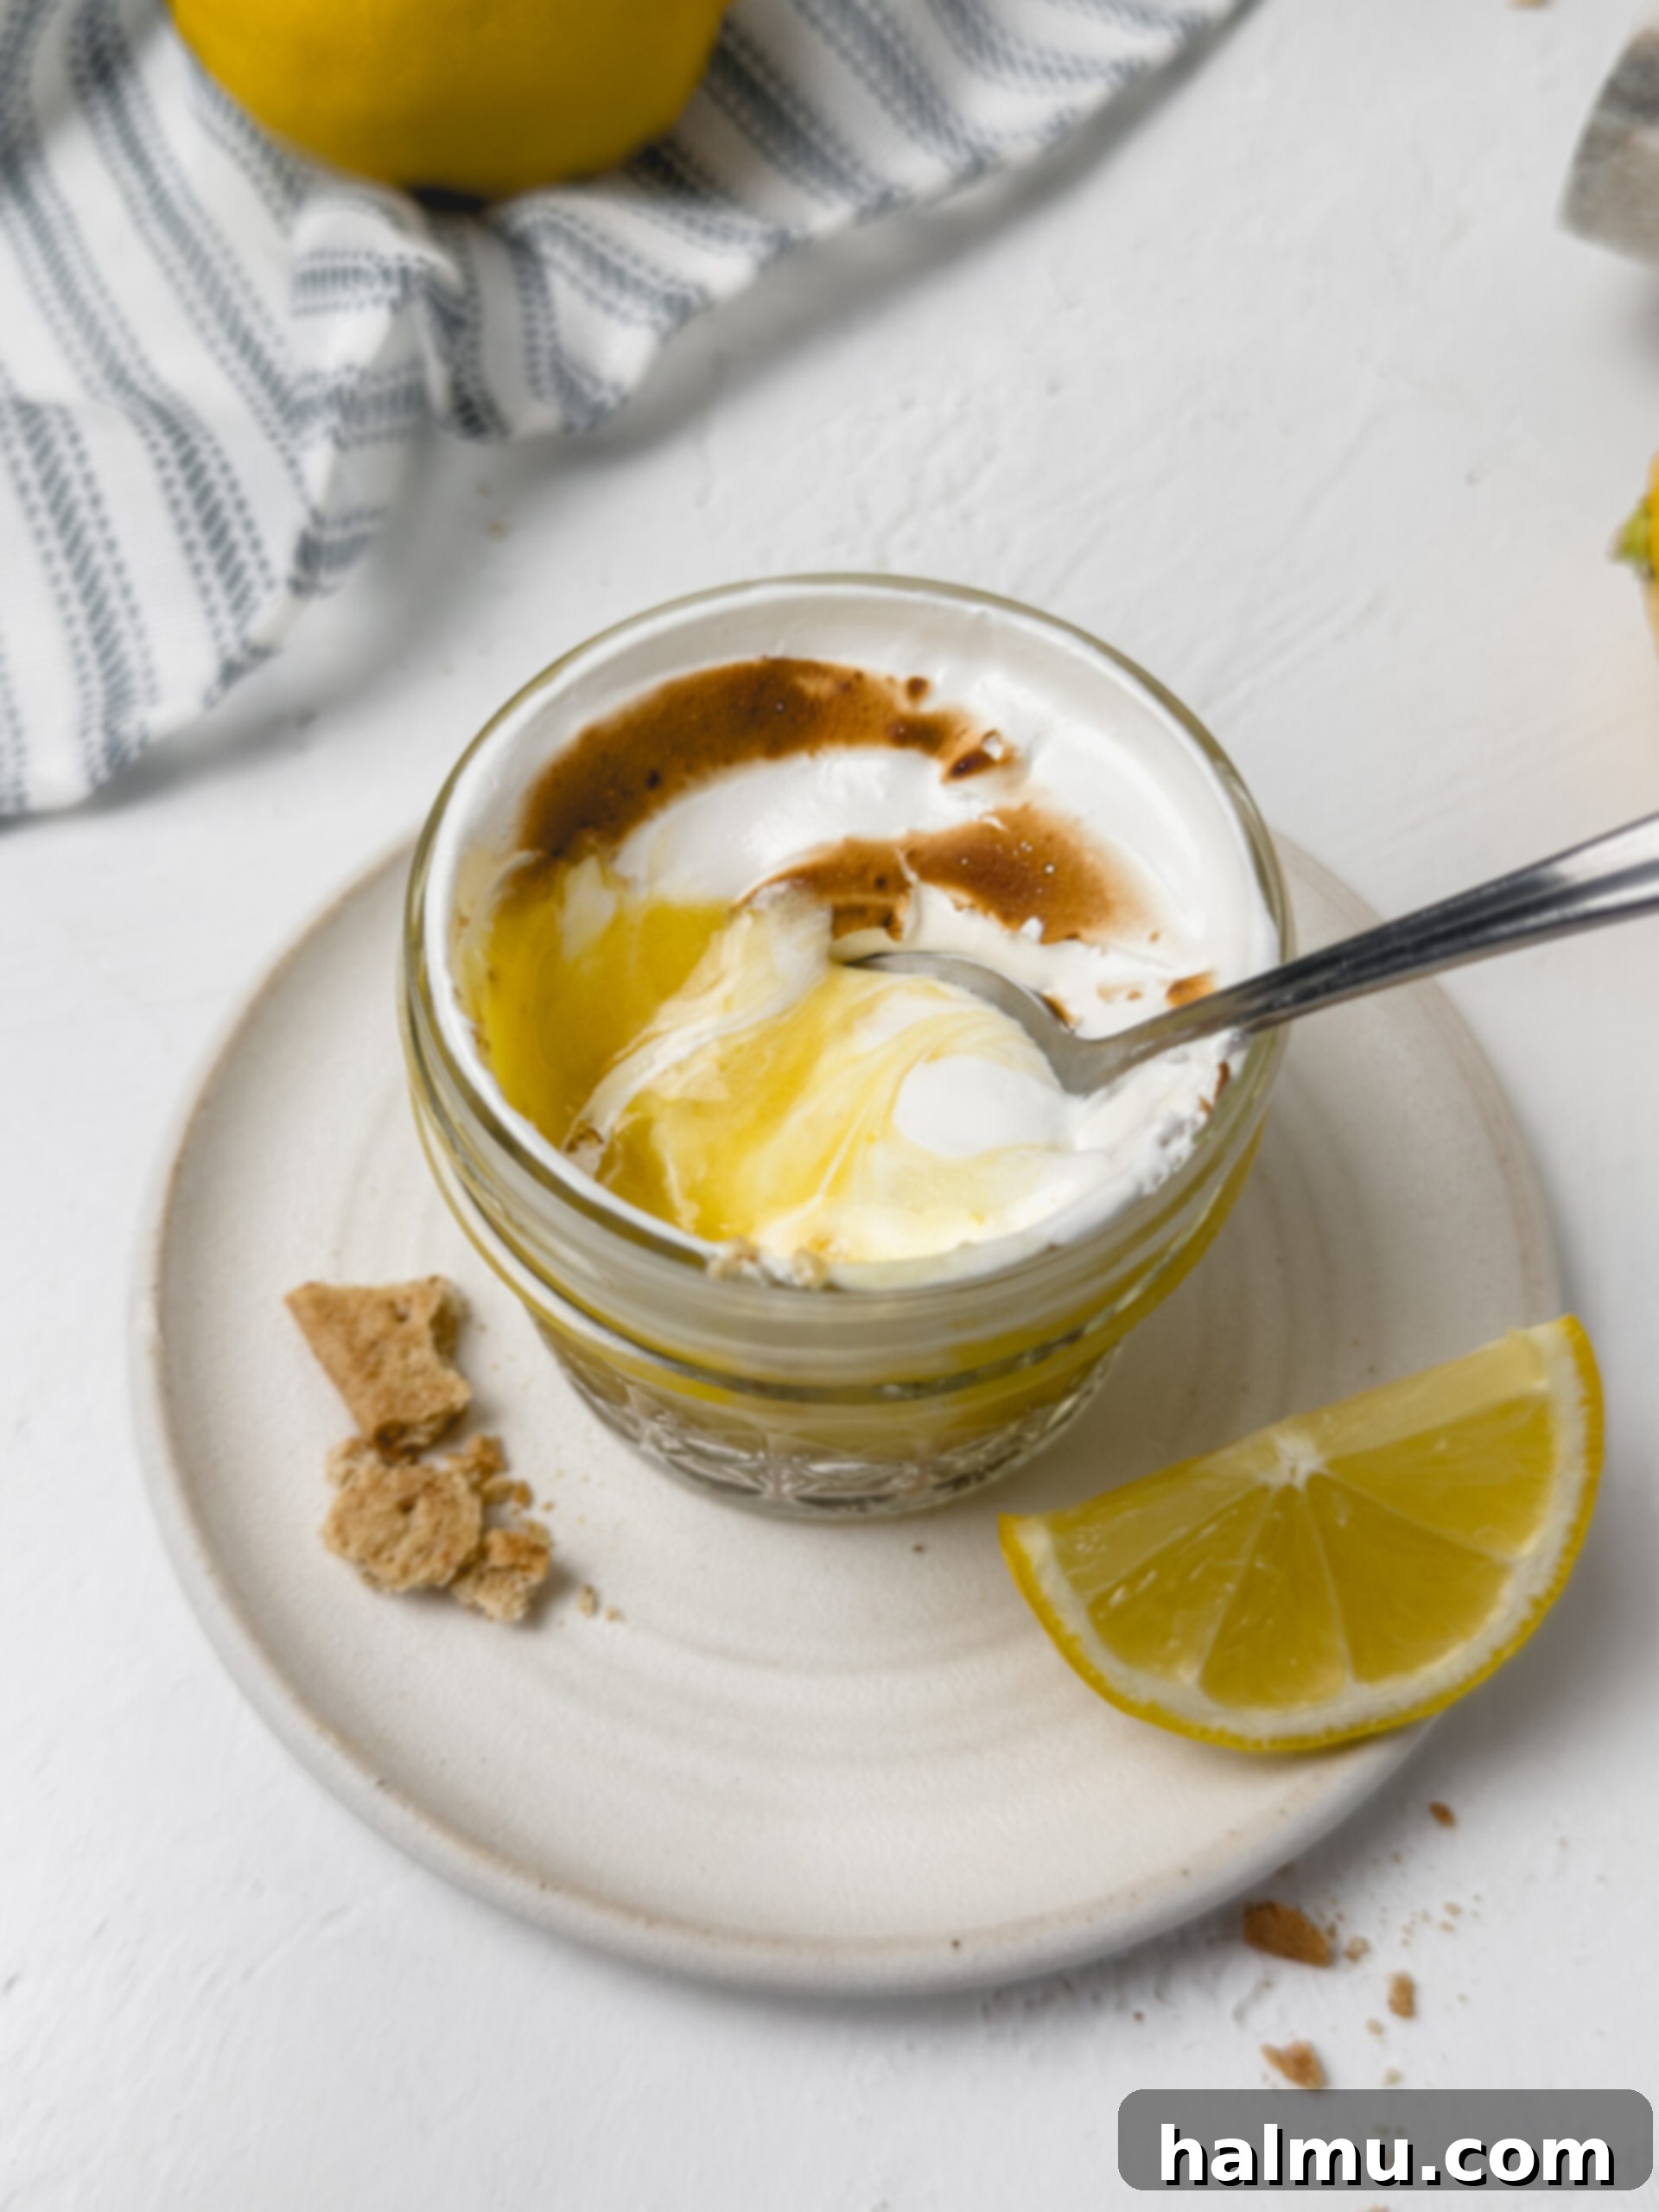
Once your meringue is ready, divide it generously among the prepared jars, piping or spooning it on top of the chilled lemon curd. The final touch is to toast the meringue using a kitchen torch. This creates that iconic golden-brown, caramelized crust that adds both visual appeal and a delicious flavor dimension. Be careful to move the torch continuously to achieve an even toast and prevent burning. For safety, ensure the jars are placed on a heat-safe surface, such as a metal baking sheet, while torching.
Storage and Make-Ahead Brilliance
While these beautiful Lemon Meringue Pie Cups are truly at their best when enjoyed immediately after being topped with meringue and torched, there are smart ways to prepare components in advance. If you need to store them with the meringue already torched, they can be kept in the refrigerator for one to two days. However, be aware that the meringue may start to “weep” over time, releasing moisture and potentially making the cups a bit watery. This is a common characteristic of meringue and doesn’t affect flavor, but the texture might change.
For optimal freshness and presentation, I highly recommend preparing the lemon curd and graham cracker crumbs ahead of time. The chilled lemon curd can be stored in an airtight container in the refrigerator for up to 3-4 days, allowing its flavors to meld beautifully. The graham cracker crumble can be kept at room temperature in a zip-top bag or airtight container for up to a week. Assemble the pie cups with the lemon curd and meringue just before serving to ensure the crispest crust and fluffiest, most stable meringue. This strategy makes entertaining a breeze, as most of the work can be done in advance.
Essential Kitchen Tools for this Recipe
Expert Tips for Lemon Meringue Pie Cup Perfection
- Always Use Fresh Egg Whites: For the most stable and voluminous meringue, it’s crucial to use fresh egg whites from whole eggs, not carton egg whites. Carton whites are often pasteurized in a way that can prevent them from whipping up properly, leading to a flat or unstable meringue. Fresh is truly best here for consistent results.
- Ensure a Fat-Free Environment for Egg Whites: Meringue is highly sensitive to fat. Even a tiny speck of egg yolk or grease can prevent your egg whites from whipping to stiff peaks. When separating eggs, do so carefully. Furthermore, ensure that your mixing bowl (preferably glass or metal) and whisk attachment are impeccably clean and completely dry before you begin. Washing them with soap and water, then wiping with a lemon slice or vinegar, can help eliminate any invisible fat residue.
- Mastering the Swiss Meringue Technique: The recipe calls for a Swiss meringue, where egg whites and sugar are gently heated over a double boiler. This step is vital for two reasons: it fully dissolves the sugar, creating a smooth and less grainy meringue, and it safely pasteurizes the egg whites. To test if the sugar is dissolved, rub a small amount of the mixture between your fingers; it should feel smooth without any grittiness. Heating to 165°F (74°C) with a digital thermometer ensures safety and optimal texture.
- Torch Meringue on a Heat-Safe Surface: When using a kitchen torch to caramelize the meringue, always place your jars on a heat-safe surface. A metal baking sheet is ideal. This prevents the concentrated heat from damaging your countertops or other surfaces underneath. Avoid using parchment paper, as it can easily catch fire under the direct flame of a torch.
- Don’t Overcook the Lemon Curd: While you want the lemon curd to thicken, overcooking it can result in a grainy texture due to the egg yolks curdling. Keep the heat low, stir constantly, and remove it from the heat as soon as it coats the back of a spoon and reaches the target temperature.
- Chill Time is Crucial: Allow ample time for the lemon curd to chill completely in the refrigerator. This not only allows it to set and achieve its thick, luscious consistency but also deepens its vibrant lemon flavor. Rushing this step will result in a runny curd.

Baking Tip: Embrace the Precision of Weighing Your Ingredients!
For truly consistent and professional-level results in your baking, I cannot recommend a kitchen scale enough. Weighing your ingredients, particularly flour and sugar, is far more accurate than using measuring cups, which can vary wildly depending on how ingredients are packed. This precision leads to a better success rate with all your recipes, ensuring they turn out perfectly every time. As an added bonus, using a scale often means fewer measuring cups to wash, making cleanup a breeze! I provide gram measurements in all my recipes because of this, and this is the reliable scale I personally love and use in my kitchen.
Frequently Asked Questions (FAQs)
- Can I make these lemon meringue pie cups ahead of time?
- Absolutely! For the best texture, prepare the graham cracker crust and lemon curd in advance and store them separately. The lemon curd can be refrigerated for 3-4 days, and the crumbs for up to a week at room temperature. Assemble and torch the meringue just before serving for optimal freshness and a perfectly crisp meringue.
- What if I don’t have a kitchen torch?
- While a kitchen torch gives the best control for browning the meringue, you can carefully use your oven’s broiler. Place the assembled cups on a baking sheet and broil for a very short time (1-2 minutes) until golden brown. Keep a close eye on them, as meringues can burn quickly under the broiler!
- Can I use store-bought lemon curd to save time?
- Yes, you can certainly use good quality store-bought lemon curd for a shortcut. This will make the recipe even quicker to assemble. Just be sure to choose a brand with a flavor profile you enjoy.
- Are there any alternative crust ideas?
- Definitely! Instead of graham crackers, you could use crushed shortbread cookies, vanilla wafers, or even gingersnaps for a spiced twist, especially during the holidays. The key is to mix them with melted butter to form a pressable crust.
- How many servings does this recipe make?
- This recipe is designed to make 6 individual servings in 4-ounce jars. You can easily scale the recipe up or down depending on the number of guests you’re serving.
More Zesty Lemon Delights You’ll Love
- Lemon Curd Cake: A stunning layer cake featuring luscious lemon curd.
- Lemon Mascarpone Tart: An elegant and creamy tart with a delicate balance of sweet and tangy.
- Strawberry Lemonade Cookies: A refreshing cookie bursting with fruity and citrusy notes.
- Lemon Brûlée Bars: Classic lemon bars elevated with a delightful caramelized sugar topping.
- Lemon Curd Cookies: Soft and chewy cookies with a bright lemon curd filling.
If you create this recipe and fall in love with these delightful no-bake lemon meringue pie cups, please be sure to leave a comment below and share your experience! Your feedback is always appreciated. Happy baking (or rather, no-baking)!
Easy Lemon Meringue Pie Cups
With layers of buttery crushed graham crackers, tangy lemon curd, and fluffy toasted meringue, these Easy Lemon Meringue Pie Cups are sure to be a hit!
Rachel
Print Recipe
RATE THIS RECIPE
35 minutes
15 minutes
3 hours
3 hours
50 minutes
6
servings
Ingredients
For the Lemon Curd
-
1
cup
(200g) granulated sugar
-
zest of 3 lemons
-
6
large
egg yolks
-
¼
teaspoon
salt
-
½
cup
(120ml) fresh lemon juice
,
from about 3 large lemons -
½
cup
(1 stick or 113g) unsalted butter
,
cut into small cubes
For the Graham Cracker Crumbs
-
4
full sheets
(60g) graham crackers
-
1½
Tablespoons
(21g) unsalted butter
,
melted
For the Meringue Topping
-
3
large
egg whites
-
¾
cup
(150g) granulated sugar
-
¼
teaspoon
cream of tartar
-
1
teaspoon
vanilla extract
SHOP INGREDIENTS
Instructions
- Lemon Curd: Combine the sugar and lemon zest in a medium saucepan. Use your fingers to rub the mixture together; this helps to release the aromatic oils from the zest, intensifying the lemon flavor. Add the egg yolks and salt, then whisk until the mixture becomes lighter in color and well combined.
- Slowly stream in the fresh lemon juice while continuously whisking to ensure smooth incorporation and prevent the egg yolks from curdling. Mix until thoroughly combined.
- Place the saucepan over low heat. Stir the mixture constantly with a heatproof spatula. Continue cooking for about 7-10 minutes, or until the curd visibly thickens and reaches a temperature of at least 170°F (77°C) on an instant-read thermometer (you can go up to 180°F / 82°C for an even thicker curd). The curd should be thick enough to coat the back of a spoon, and when you draw a line through it with your finger, the line should hold without the curd running back together.
- Immediately remove the pan from the heat. Press the hot curd through a fine-mesh sieve into a clean bowl; this crucial step removes any zest and ensures a perfectly smooth, silky texture. Stir in the small cubes of unsalted butter until completely melted and fully incorporated into the curd. Cover the surface of the curd directly with plastic wrap to prevent a skin from forming. Refrigerate for at least 2 hours, or until the curd is completely chilled and set. It will continue to thicken as it cools.
- Graham Cracker Crumbs: Place the graham crackers in a sturdy zip-top bag and use a rolling pin to crush them into fine crumbs. Alternatively, use a food processor for a quicker and more uniform result. Transfer the graham crumbs to a bowl, add the melted butter, and mix until the crumbs are evenly moistened and combined. Portion approximately 1½ Tablespoons of the buttery crumbs into the bottom of each of 8 (4-ounce) glass jars or dessert cups. Use the back of the tablespoon or a tart tamper to lightly press the crumble down, forming a compact and even layer. Set these aside while you prepare the other components.
- Meringue Topping: Begin by adding about an inch of water to a medium saucepan and bringing it to a gentle simmer. Select a heatproof mixing bowl (preferably metal or glass) that fits snugly on top of the pot without its bottom touching the simmering water; this creates a double boiler setup.
- In the mixing bowl, combine the large egg whites, granulated sugar, and cream of tartar. Place this bowl over the simmering water. Whisk the mixture constantly as it heats. Continue whisking until the sugar granules are completely dissolved (test by rubbing a small amount between your fingers—it should feel smooth) and the temperature reaches 165°F (74°C) on a digital thermometer. This usually takes about 4 minutes.
- Carefully remove the bowl from the heat and wipe off any excess water or condensation from its bottom. Pour the warm egg white mixture into the clean, dry mixing bowl of a stand mixer fitted with the whisk attachment. Add the vanilla extract. Whip the mixture on high speed until the meringue becomes glossy, thick, and forms stiff peaks. This process typically takes about 5 minutes. When you lift the whisk from the bowl, the meringue should hold its firm, upright shape.
- Assembly: Retrieve your chilled lemon curd. Fill a piping bag with the lemon curd (or use a cookie scoop for simpler application) and pipe it evenly over the graham cracker layer in each jar, filling each cup approximately ¾ full. Next, use a large ice cream scoop or a piping bag to add a generous dollop of the freshly whipped meringue on top of the lemon curd in each cup. Place the assembled cups on a heat-safe surface, such as a metal baking sheet. Using a kitchen torch, carefully toast the meringue until it achieves a beautiful golden-brown color. Move the torch continuously to ensure even browning and prevent any spots from burning.
- For optimal enjoyment, chill the assembled jars for about one hour after torching to allow the flavors to fully meld, then serve them immediately and savor every delicious bite!
Did you make this recipe?
Be sure to tag @sweetkitchencravings on Instagram!

HI THERE!
I’m Rachel
I’m the dessert lover, recipe developer, and content creator behind Sweet Kitchen Cravings. Here you’ll find classic yet special recipes that are sure to impress your loved ones!
MORE ABOUT RACHEL
