This post may contain affiliate links. Please read my full disclosure policy.
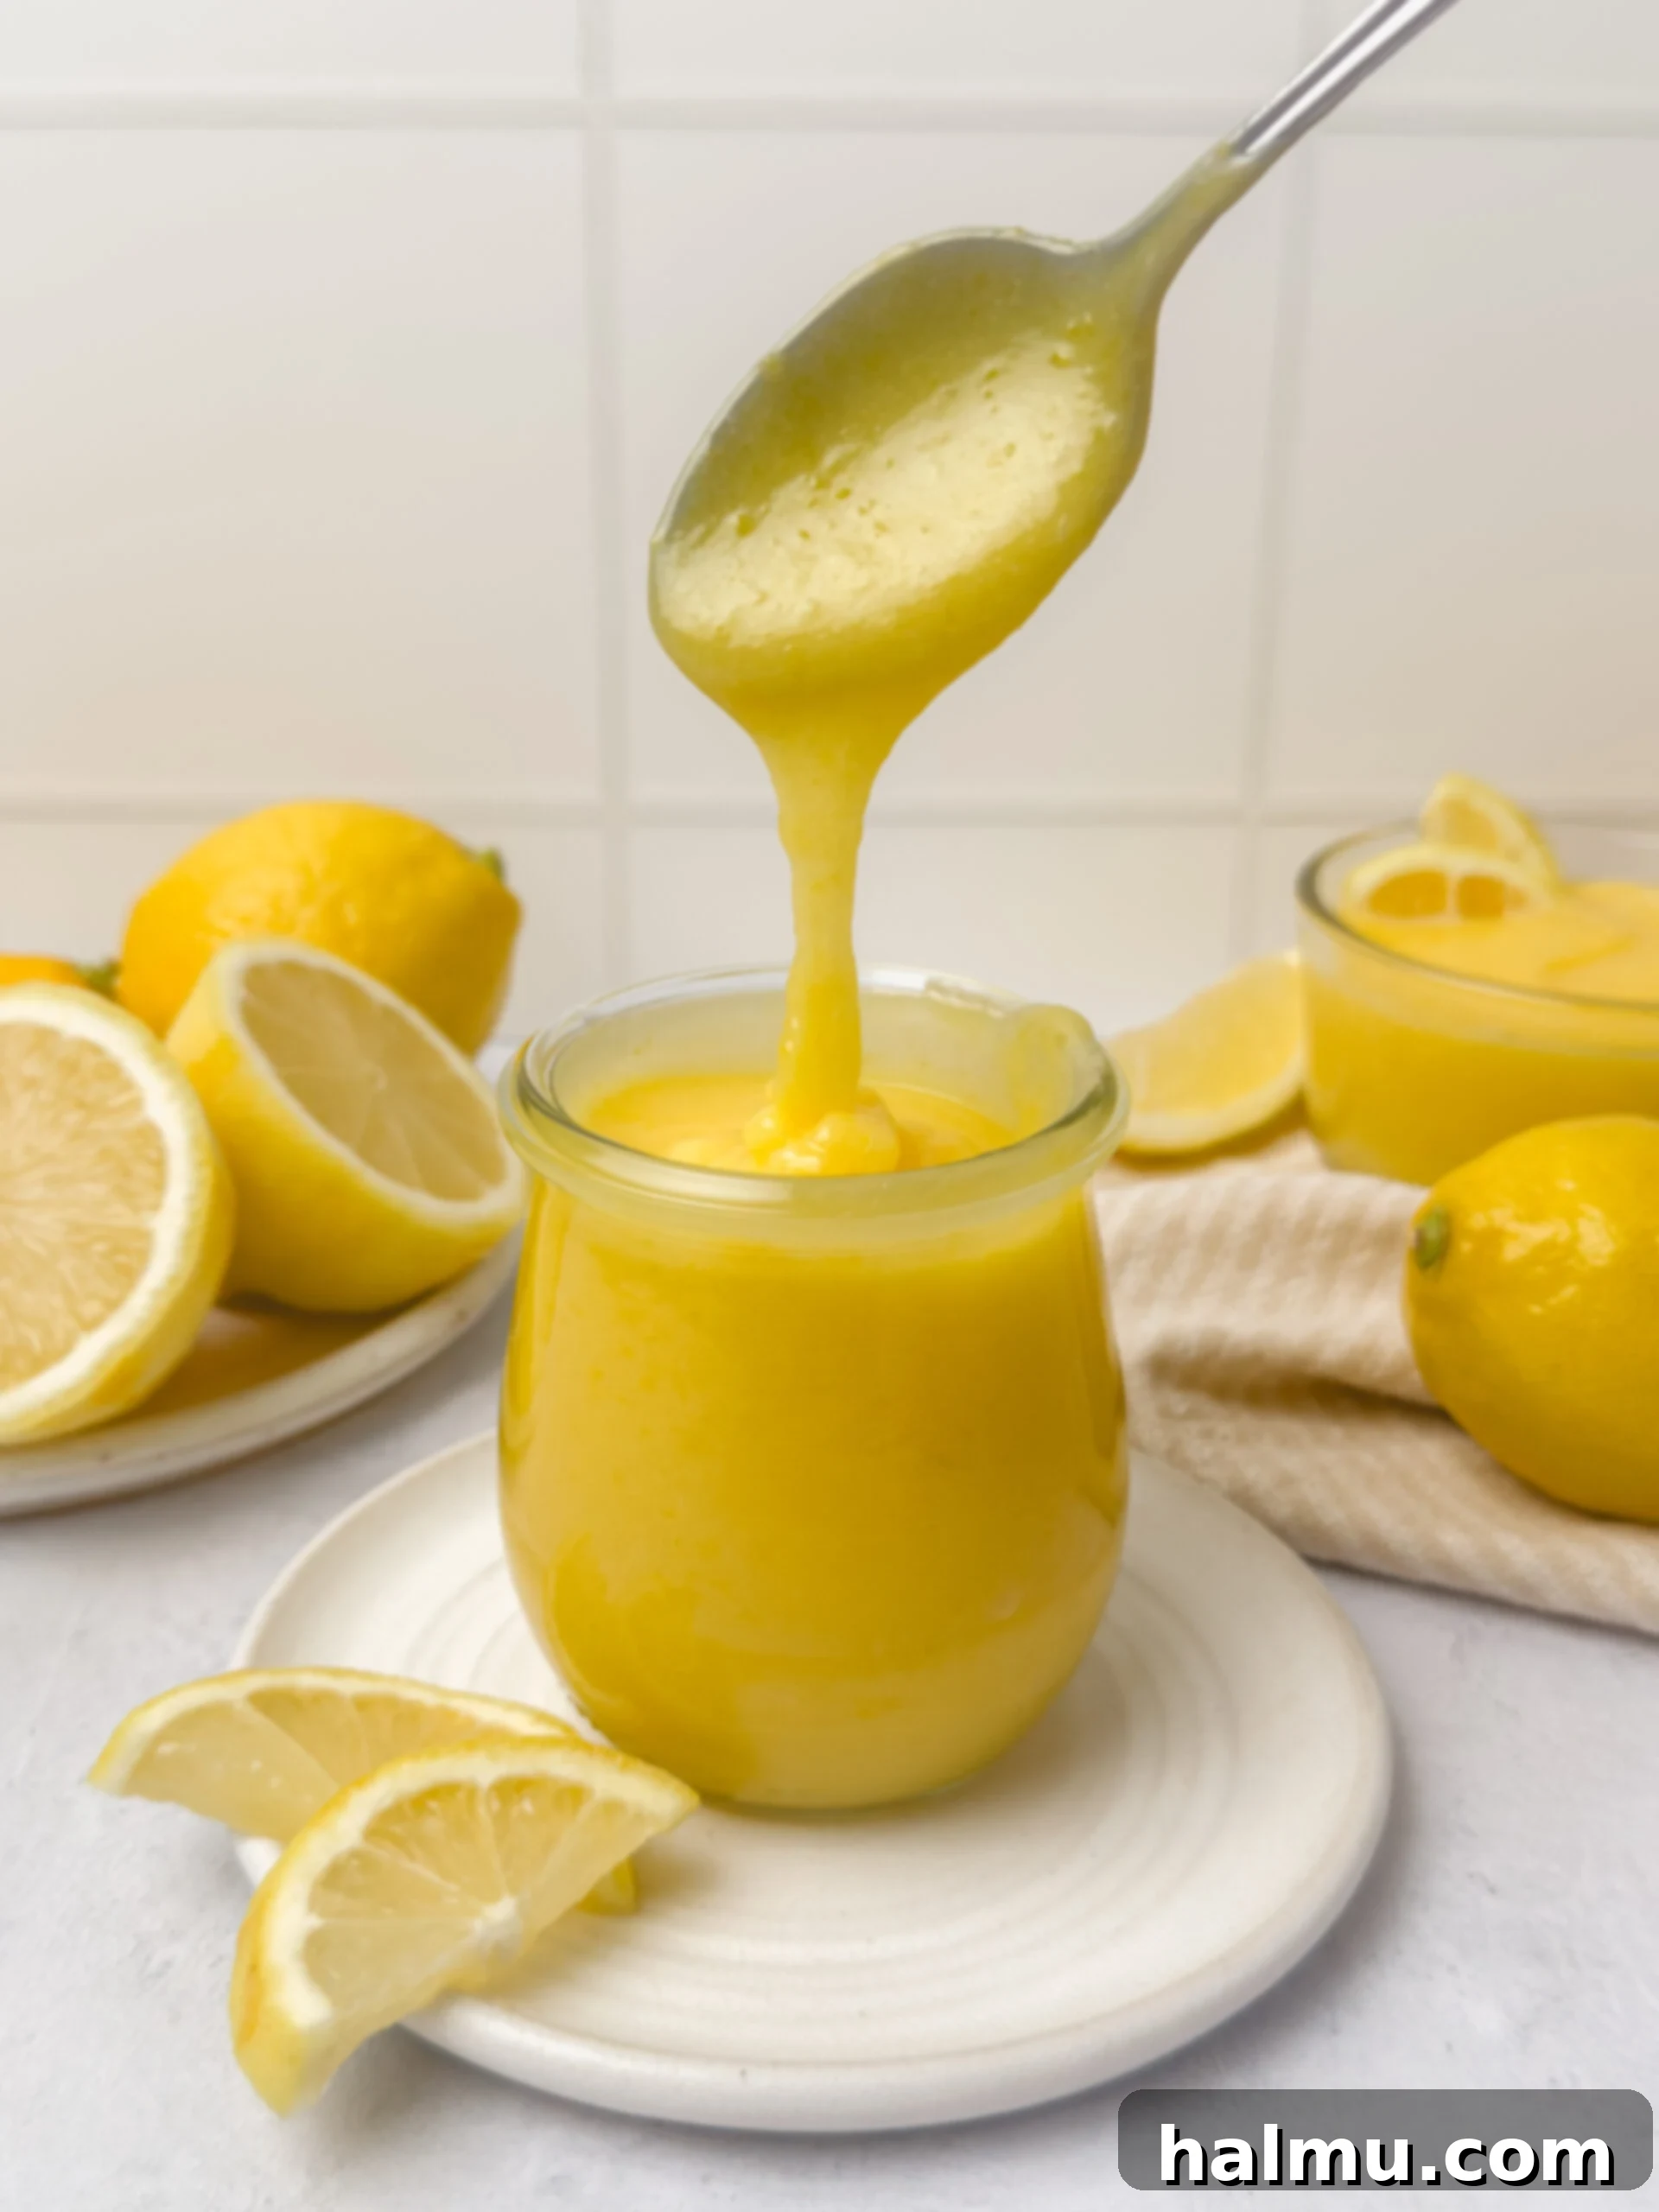
Homemade Lemon Curd: A Zesty Delight for Every Dessert
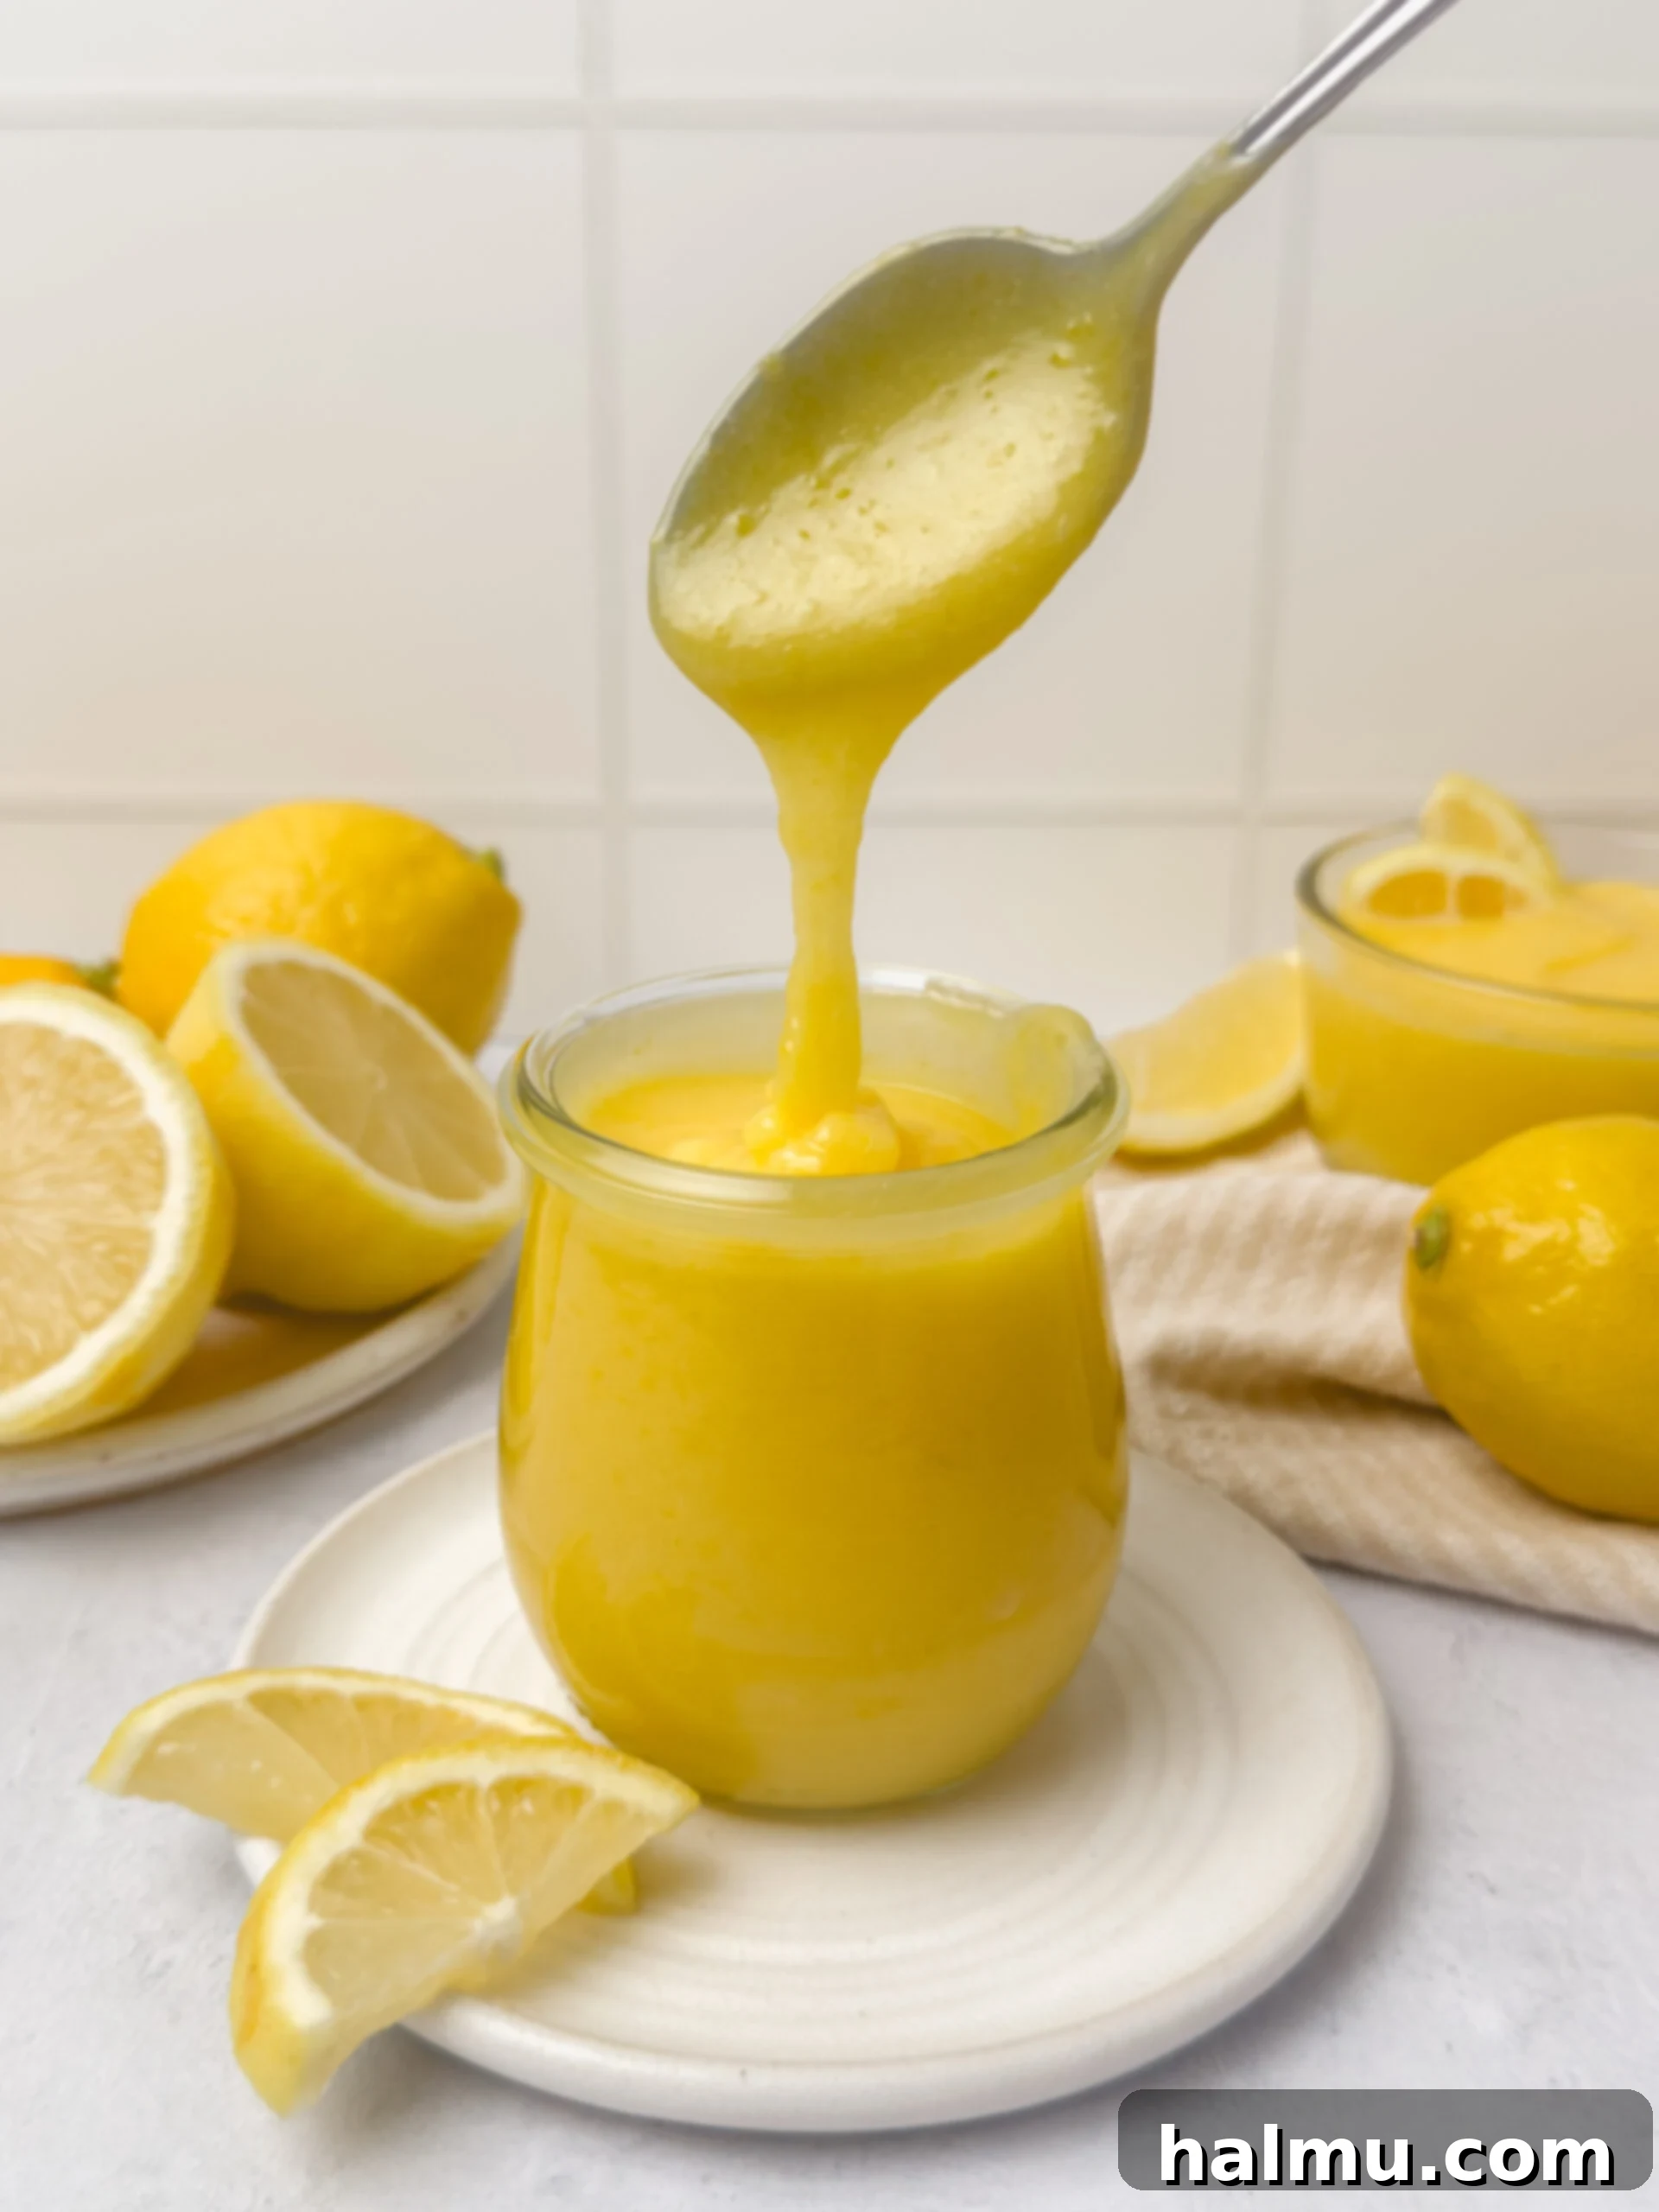
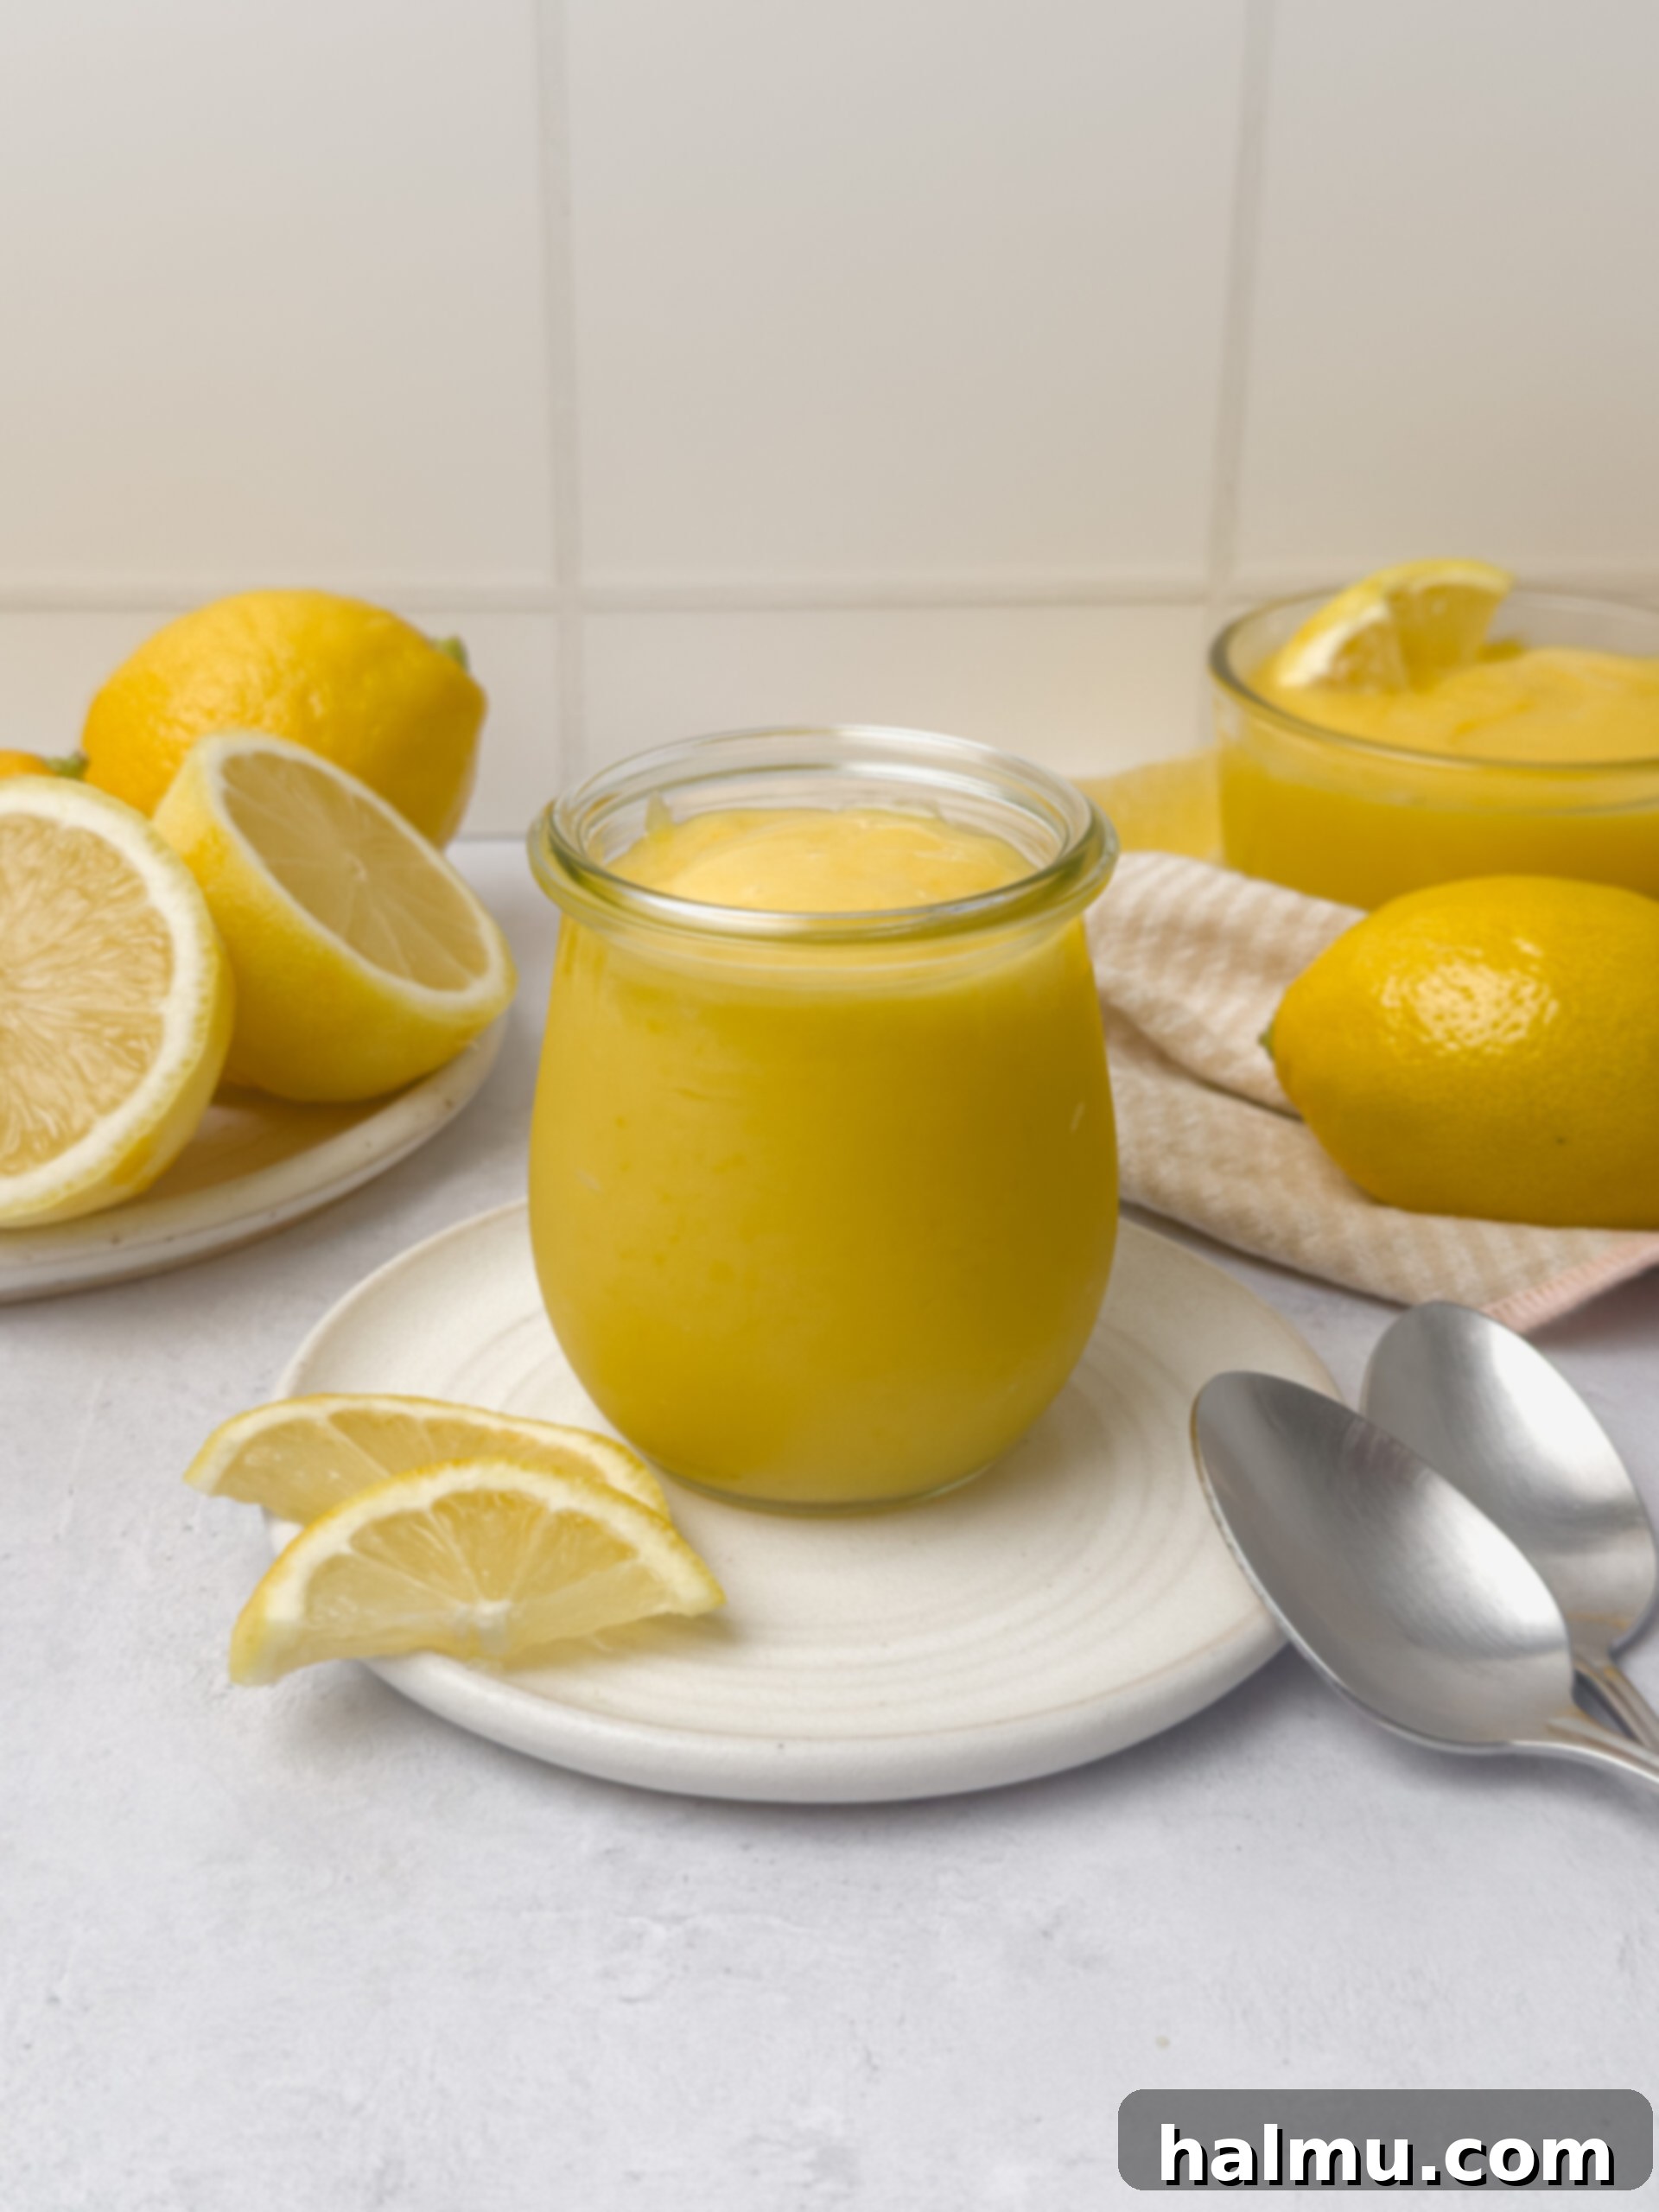
There’s an undeniable magic to fresh, homemade lemon curd. Unlike its store-bought counterparts, homemade lemon curd boasts an unparalleled natural lemon flavor that dances on your palate. Its texture is a dream: luxuriously creamy, perfectly thick, wonderfully rich, and exquisitely tangy. Whether you’re dreaming of a show-stopping cake filling, a delightful pie, or a bright accompaniment to your brunch spread, this simple recipe promises love at first taste. Prepare to transform your desserts and elevate your everyday treats with this vibrant, versatile lemon delight.
What Exactly Is Lemon Curd?
Lemon curd is a traditional British sweet spread or topping, often likened to a rich custard but with a more intense, bright fruit flavor. It’s a staple in many dessert traditions, known for its smooth, velvety texture and distinct tangy-sweet profile. At its heart, lemon curd is a beautifully balanced concoction made from fresh fruit juice – in this case, vibrant lemon juice – combined with sugar, egg yolks, and butter. While lemon zest is typically added during the cooking process to infuse maximum aroma and flavor, it’s usually strained out at the end to achieve that signature silky smoothness.
The magic happens slowly over low heat as the mixture gently thickens, thanks to the emulsifying power of the egg yolks and butter. Once cooked to perfection, it’s chilled in the refrigerator, allowing it to firm up into a luscious spread that’s perfect for a myriad of culinary applications. It’s distinct from jam, which uses whole fruit and pectin, or custard, which often includes milk or cream. Lemon curd stands out as a pure celebration of lemon, offering a bright, sunny burst of flavor in every spoonful.
Essential Ingredients for Perfect Lemon Curd
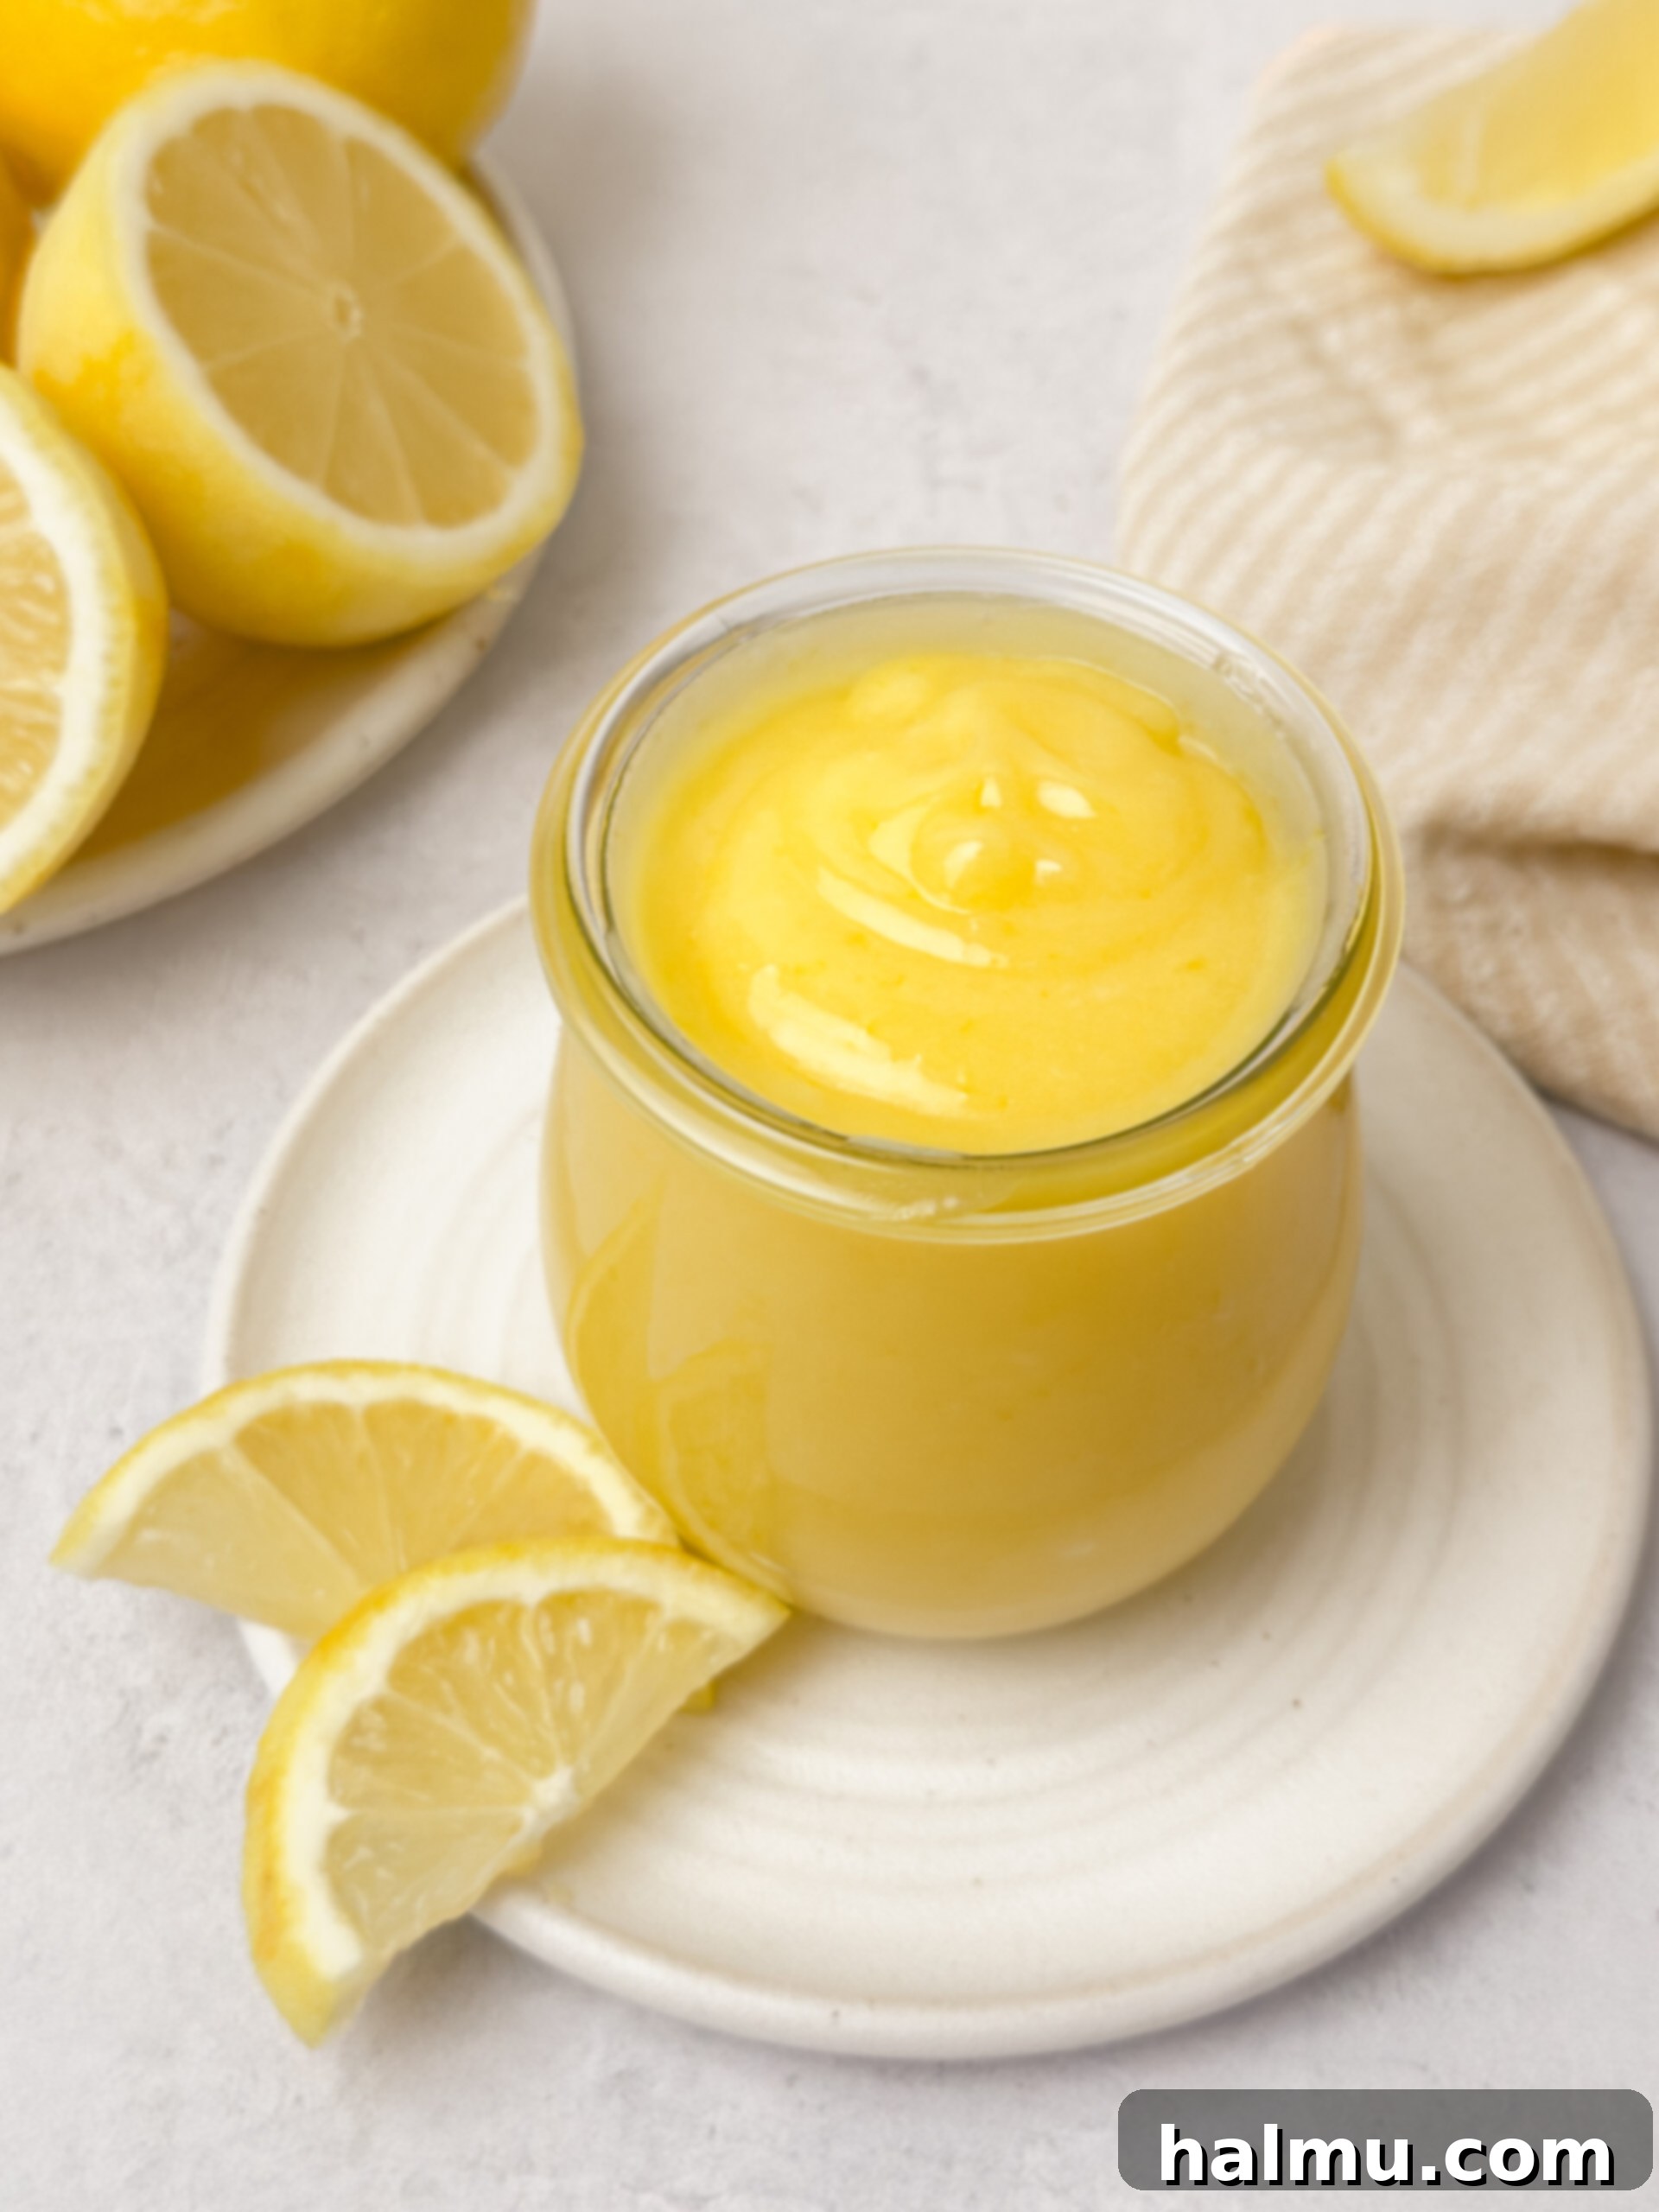
Crafting the perfect lemon curd begins with understanding the role each ingredient plays in creating its unique flavor and texture. Here’s a detailed look at the core components:
Fresh Lemons: Zest and Juice
The star of the show! You’ll need the zest and juice of approximately 3 medium to large lemons, which should yield about ½ cup of fresh lemon juice. Always opt for fresh lemons over bottled juice for an incomparable, bright, and authentic flavor. The zest is crucial for infusing the curd with intense lemon aroma and flavor, as it contains potent essential oils. Rubbing the sugar with the zest before adding other ingredients helps to release these oils, maximizing the lemony punch.
Granulated Sugar
More than just a sweetener, granulated sugar plays a vital role in balancing the tartness of the lemon juice, ensuring your curd is deliciously palatable rather than overly sour. It also contributes to the curd’s smooth texture and helps prevent the egg yolks from scrambling during the cooking process by gently denaturing the proteins.
Egg Yolks
Only the yolks are used in this recipe, and for good reason. Egg yolks are the emulsifiers and thickeners that give lemon curd its rich, creamy consistency. They contain lecithin, a natural emulsifier that helps bind the fat from the butter and the liquid from the lemon juice together, preventing separation. They also contribute to the beautiful golden hue and luxurious mouthfeel. Don’t discard those egg whites; they’re perfect for meringues, like my Easy Lemon Meringue Pie Jars!
Fine Sea Salt
A tiny pinch of fine sea salt might seem insignificant, but it’s a flavor enhancer. It subtly balances the intense sweetness and tartness, making the lemon flavor even more vibrant and complex, rather than merely salty.
Unsalted Butter
Butter is essential for achieving the curd’s signature silky, smooth texture and adding a decadent richness. When cut into small cubes and whisked into the warm mixture off the heat, it melts beautifully, creating a stable emulsion and helping the curd set into a thick, luxurious spread as it chills. Using unsalted butter gives you control over the overall saltiness of the curd.
Delightful Ways to Enjoy Your Homemade Lemon Curd
The versatility of homemade lemon curd is truly remarkable. Once you’ve mastered this recipe, you’ll find endless opportunities to incorporate its bright, tangy flavor into your culinary creations. Here are some inspiring ideas:
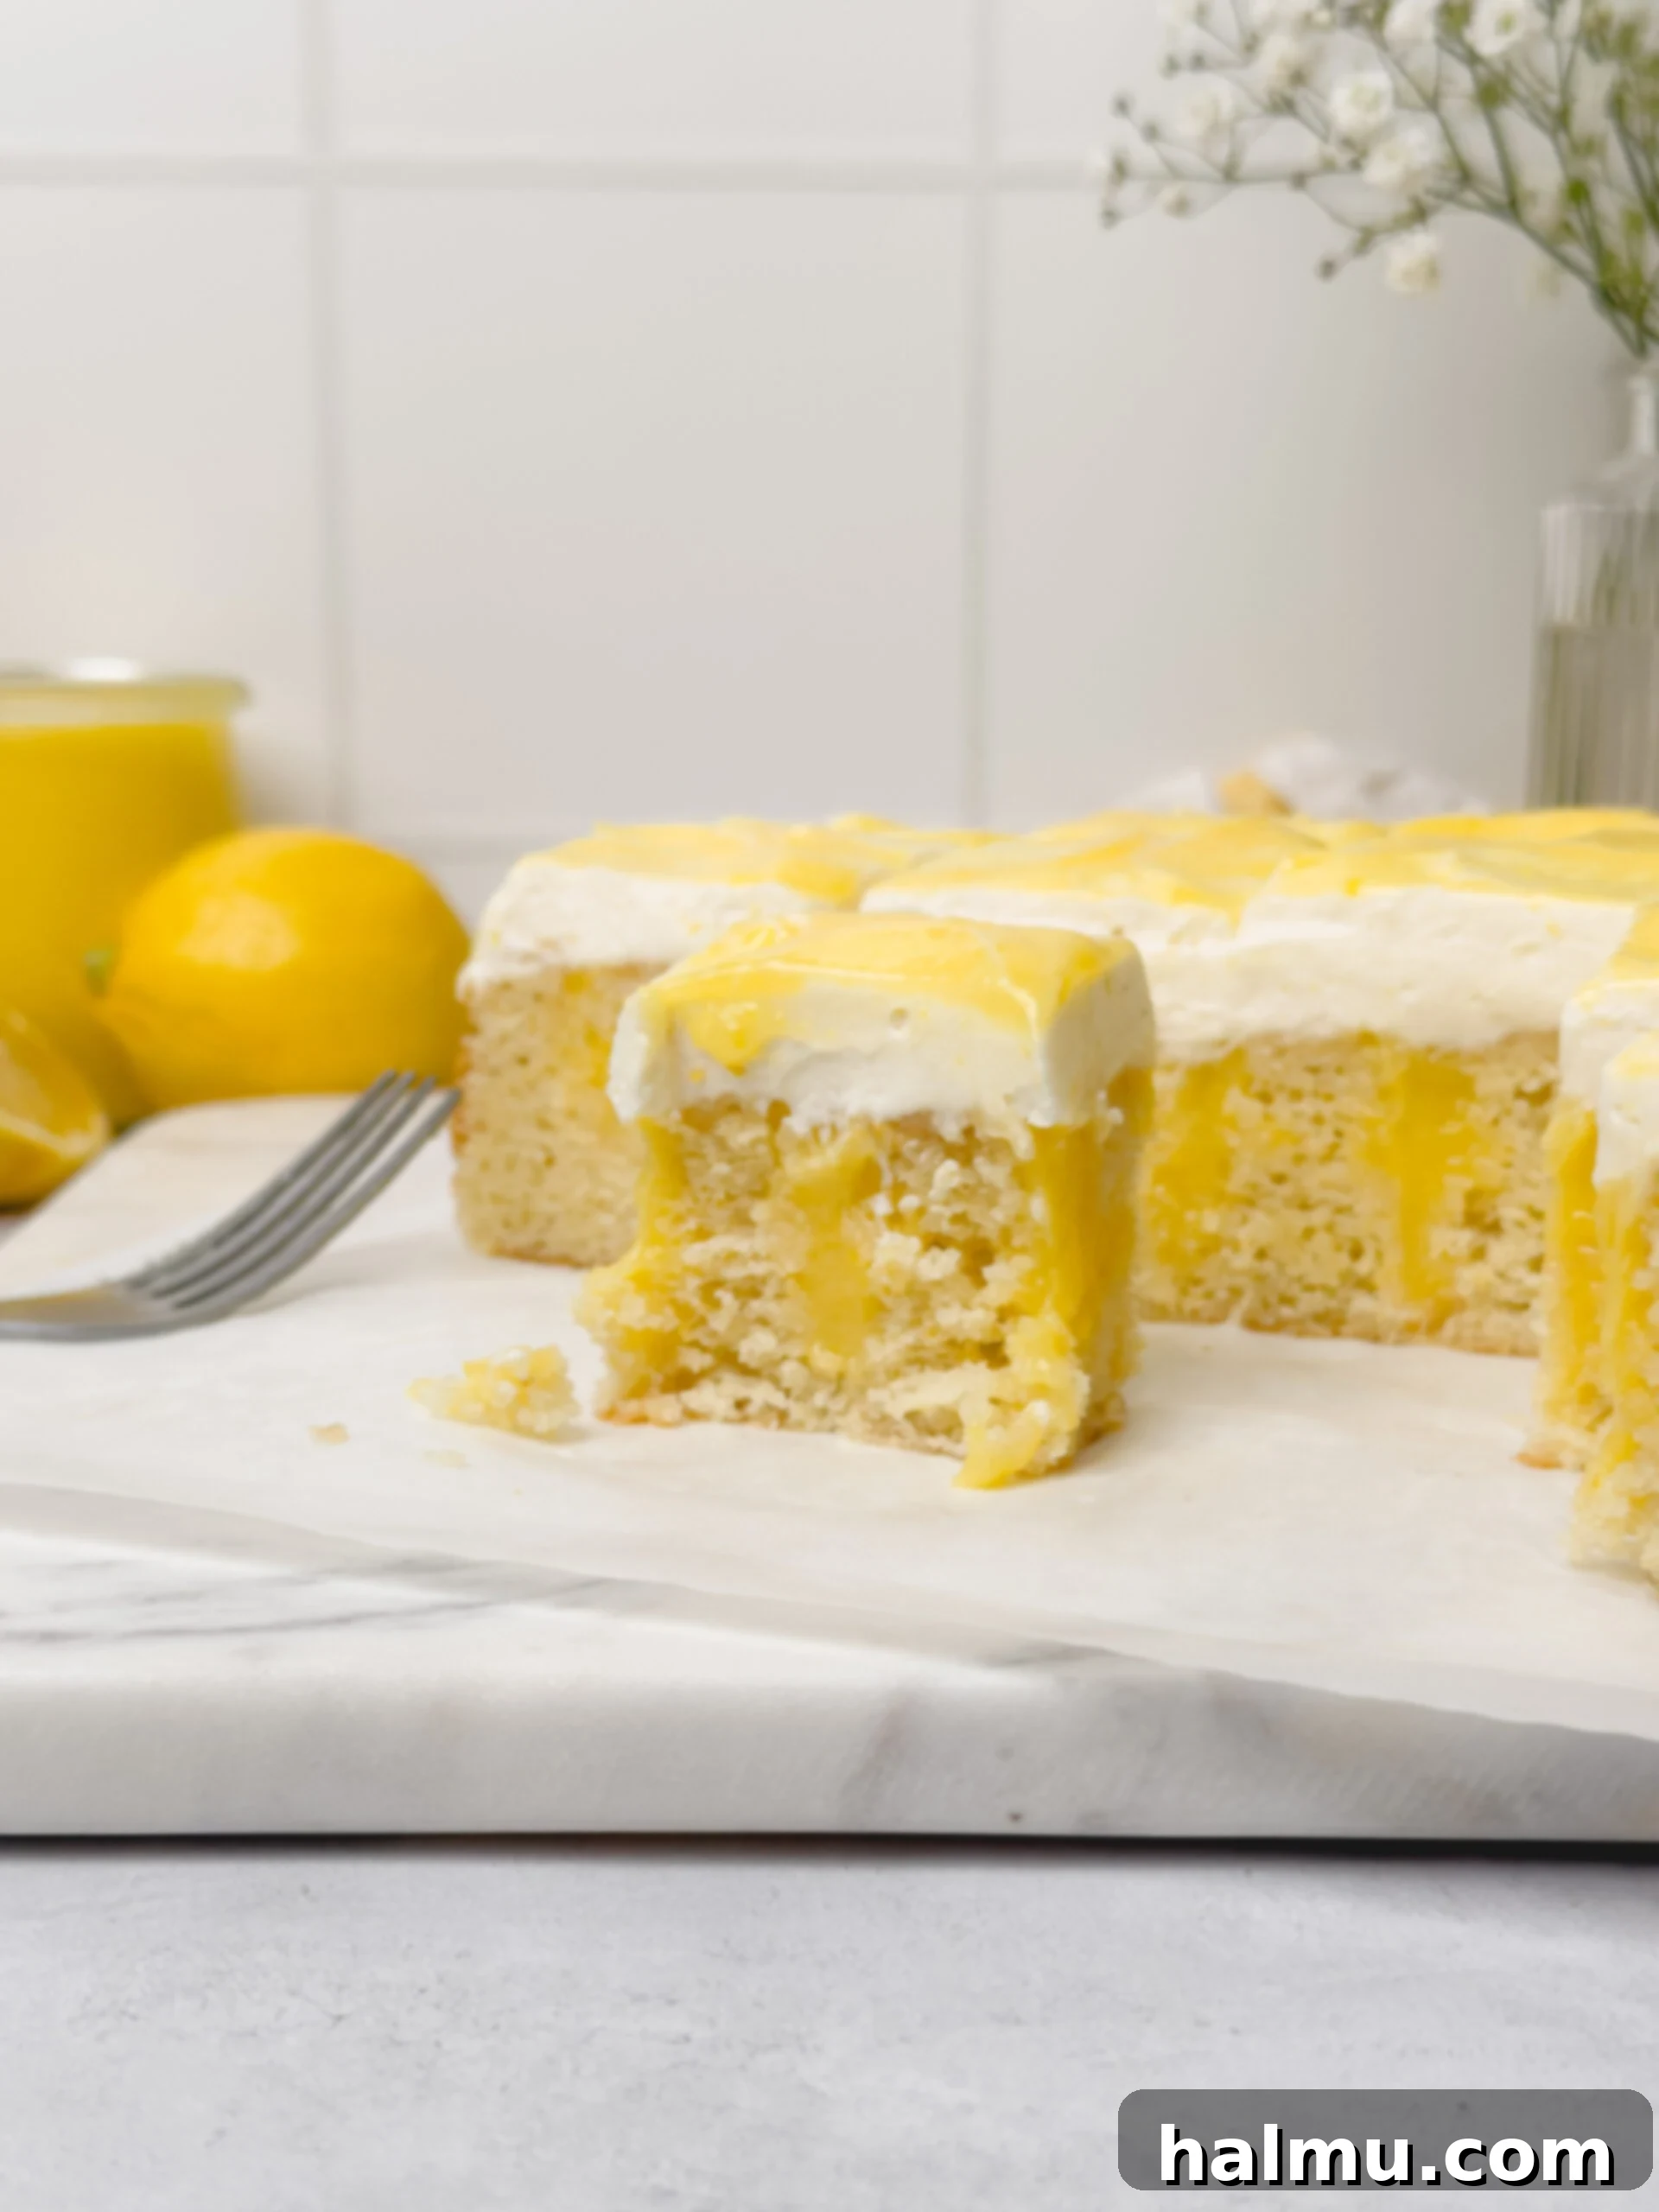
- Elevate Baked Goods: Use it as a luscious filling for cakes, cupcakes, or tarts. My Lemon Curd Cake and Lemon Curd Cookies are absolute must-tries!
- Brunch Favorites: Spoon generously over warm pancakes, waffles, French toast, or crepes for a zesty breakfast or brunch.
- Cheesecake Topping: A vibrant layer of lemon curd transforms a classic cheesecake into a showstopper.
- Ice Cream Enhancement: Drizzle over vanilla ice cream for a refreshing and sophisticated dessert.
- Scones and Pastries: Serve alongside freshly baked scones, flaky croissants, or other pastries for a delightful afternoon tea experience.
- Yogurt Parfaits: Layer with Greek yogurt and crunchy granola for a wholesome and flavorful breakfast or snack.
- Fruit Tarts and Trifles: Integrate it into fruit tarts, parfaits, or traditional English trifles for an added layer of flavor and texture.
- Simple by the Spoonful: Sometimes, the best way to enjoy homemade lemon curd is straight from the spoon!
Mastering the Art of Making Lemon Curd: A Simple Guide
Making homemade lemon curd is a surprisingly straightforward process, yielding incredibly rewarding results. Here’s a general overview of the steps involved, designed to guide you to a silky-smooth, perfectly tangy creation:
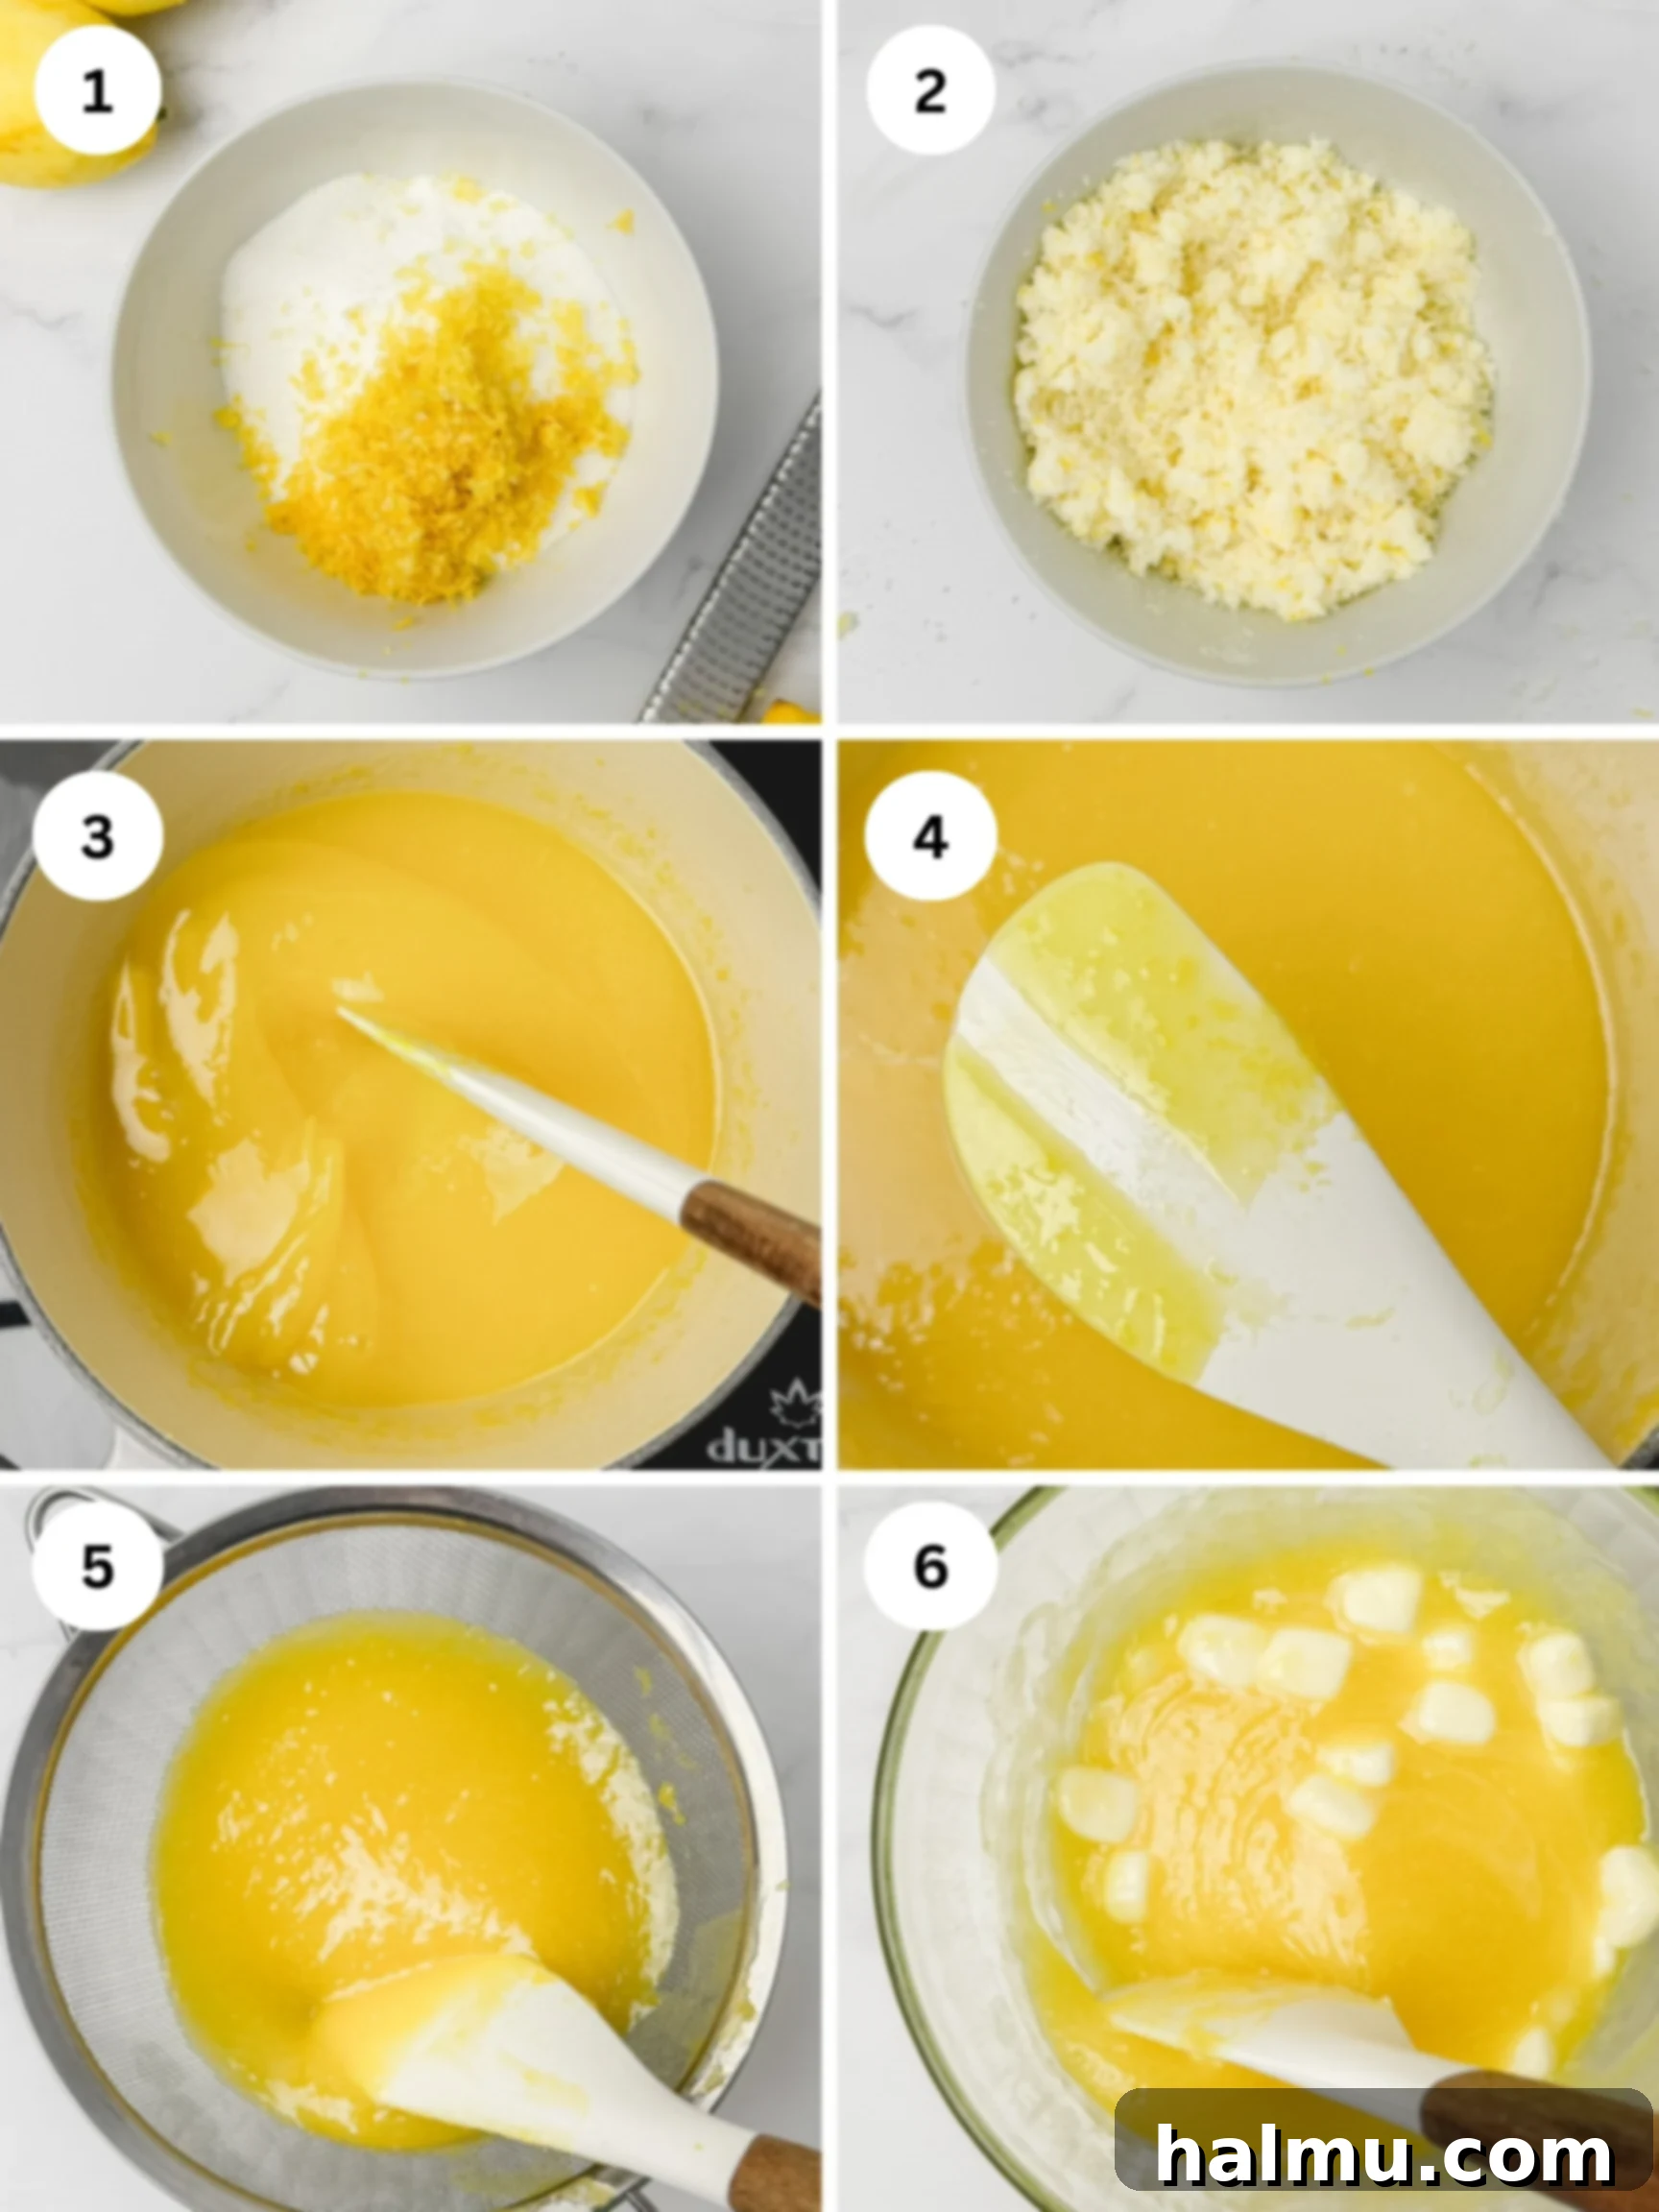
- Prepare the Base: Start by combining granulated sugar and fresh lemon zest in a medium saucepan. Take a moment to rub these two ingredients together with your fingers; this crucial step helps release the aromatic oils from the zest, infusing the sugar with intense lemon flavor.
- Whisk in Yolks and Salt: Add the egg yolks and a pinch of salt to the sugar-zest mixture. Whisk vigorously until the mixture becomes lighter in color and slightly fluffy, indicating that the sugar has started to dissolve and the yolks are well incorporated.
- Introduce Lemon Juice: Gradually whisk in the fresh lemon juice. It’s important to add it slowly to ensure a smooth, homogenous mixture, preventing any sudden temperature changes that could shock the eggs.
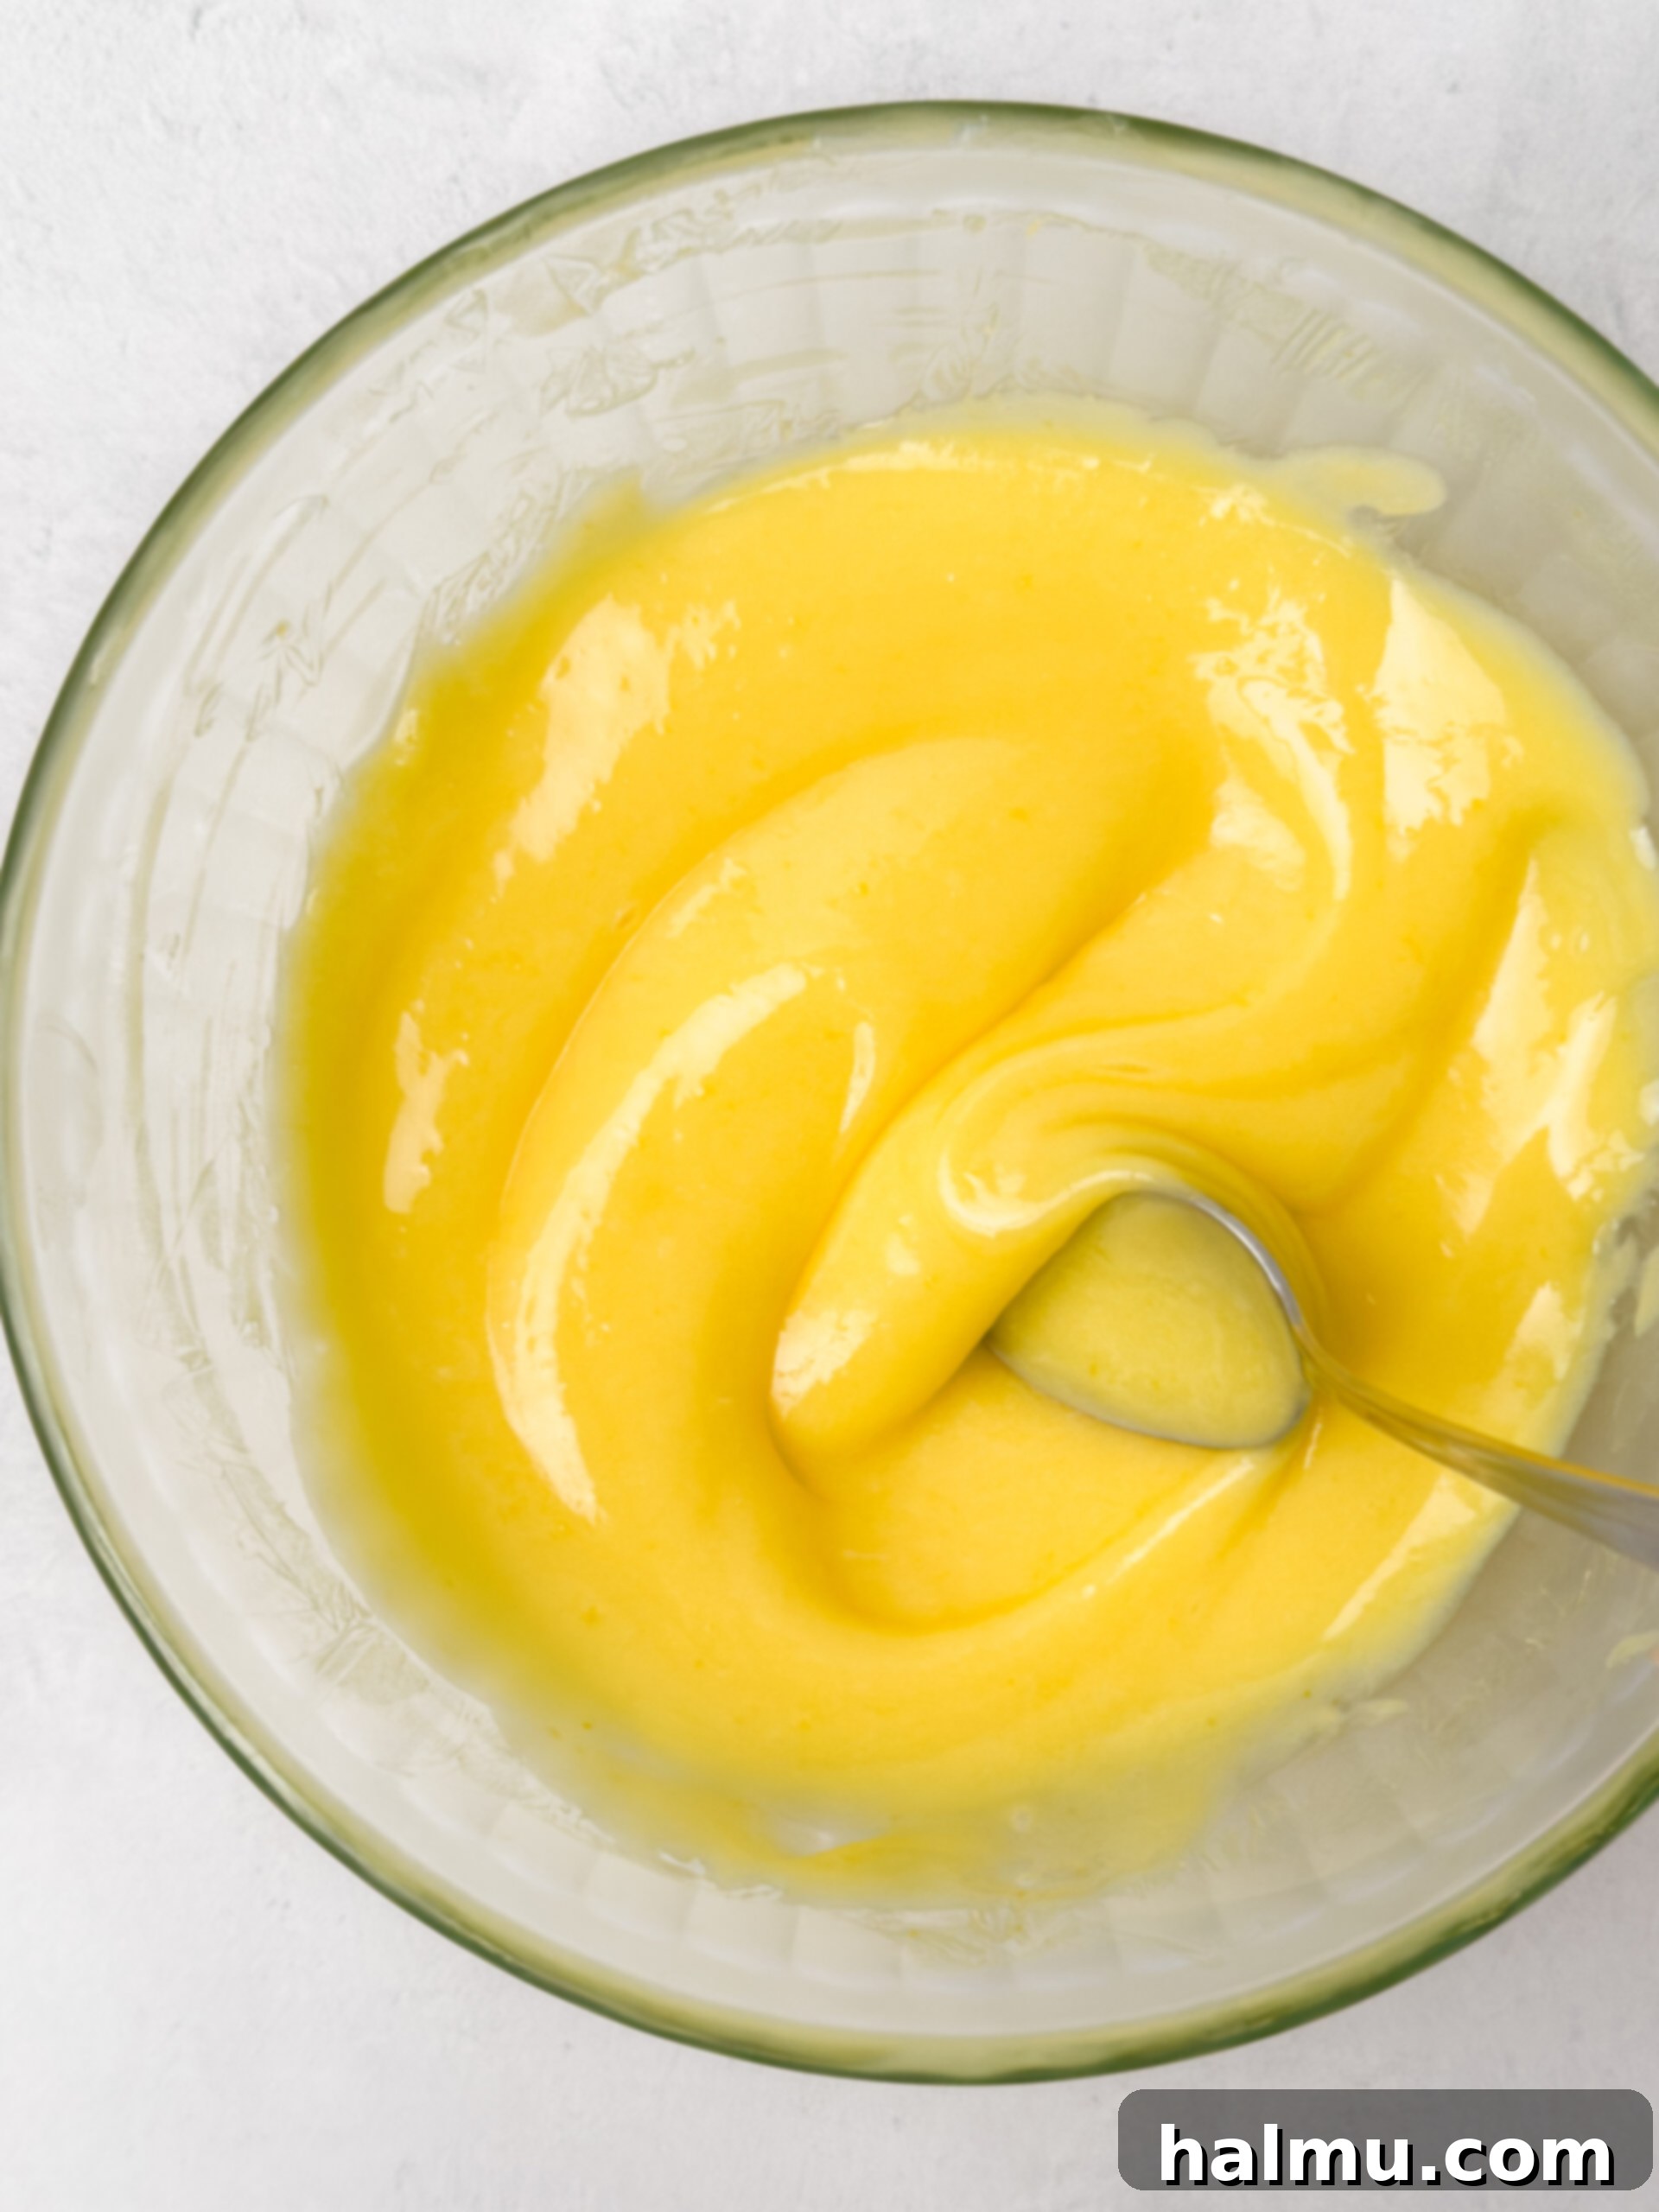
- Gentle Cooking for Thickness: Place the saucepan over low heat. This is where patience is key! Cook the mixture, stirring constantly with a heatproof spatula or a silicone whisk. The goal is to gently thicken the curd without scrambling the eggs. Continue cooking until it reaches a temperature of 170°F to 180°F (77°C to 82°C) and coats the back of a spoon, holding a distinct line when you run your finger through it.
- Strain for Silky Smoothness: Once thickened, immediately remove the pan from the heat. Pour the hot curd through a fine-mesh sieve into a clean bowl. This step is vital for removing any cooked egg bits or lemon zest, ensuring your curd is incredibly smooth and velvety.
- Incorporate Butter: Add small cubes of cold unsalted butter to the strained curd. Whisk gently until the butter is completely melted and fully incorporated, giving the curd its final richness and gloss.
- Chill to Perfection: To prevent a skin from forming, place a piece of plastic wrap directly onto the surface of the warm curd, ensuring it touches the entire surface. Refrigerate for at least 2 hours, or until thoroughly chilled. As it cools, the butter will solidify, and the curd will thicken further, achieving its ideal spreadable consistency.
- Serve and Enjoy: Once chilled, your homemade lemon curd is ready to be enjoyed! Serve it creatively with your favorite desserts, pastries, or simply by the spoonful.
Favorite Tools for Making Lemon Curd
See more in my Amazon Storefront
Baking Tip: Why You Should Weigh Your Ingredients!
For truly consistent and professional-level baking results, I cannot recommend using a kitchen scale enough. Weighing your ingredients rather than relying on volume measurements (like measuring cups) is the most accurate way to bake. This precision ensures that your recipes turn out perfectly every single time, giving you a significantly better success rate with all your baking endeavors. As an added bonus, using a scale often means fewer measuring utensils to wash, making cleanup a breeze! In all my recipes, I provide gram measurements, and this is the kitchen scale I absolutely love and recommend.
Lemon Curd Recipe FAQ
Do I need to use a double boiler for lemon curd?
No, you absolutely don’t need a double boiler for this recipe, making it even more accessible! While a double boiler (a bowl set over a pot of simmering water) can provide very gentle, indirect heat, it’s entirely possible to cook lemon curd directly on the stove. The key is to keep the heat on a very low setting and stir the mixture constantly. This continuous movement and low temperature will prevent the egg yolks from curdling or scorching, ensuring a smooth and velvety curd without the extra equipment.
How can I tell when my lemon curd is perfectly cooked?
Knowing when your lemon curd is done is crucial for achieving the right consistency. The most reliable method is to use an instant-read digital thermometer: the curd should reach an internal temperature of at least 170°F (77°C) for optimal thickening and food safety. For a slightly thicker consistency, you can cook it up to 180°F (82°C). Beyond temperature, you can also use a visual test: the curd should noticeably thicken and coat the back of a spoon. If you run your finger across the spoon and the line holds its shape without the curd running back together, it’s ready.
How long does homemade lemon curd last in the fridge?
Proper storage is essential for enjoying your homemade lemon curd safely. Once cooled, transfer the lemon curd into a clean, airtight glass jar or container. Stored this way, it will last beautifully in the refrigerator for up to 2 weeks. Always ensure the container is sealed tightly to prevent any absorption of refrigerator odors or premature spoilage.
Can I freeze lemon curd for later use?
Absolutely! Lemon curd freezes exceptionally well, making it perfect for preparing ahead or saving leftovers. Once the curd has completely cooled, transfer it to an airtight freezer-safe container, leaving a little headspace for expansion. It can be stored in the freezer for up to 2 months. To use, simply thaw the frozen lemon curd overnight in the refrigerator. After thawing, give it a good stir to restore its smooth consistency before serving.
What if my lemon curd is too thin or doesn’t thicken?
If your lemon curd is too thin, it’s usually because it hasn’t reached the correct temperature during cooking. Don’t despair! You can gently reheat it over low heat, stirring constantly, until it reaches 170-180°F (77-82°C) and coats the back of a spoon. Avoid high heat, which can scramble the eggs. If it’s still too thin after reaching temperature, it might be due to incorrect ingredient ratios, especially if liquid measurements were off. Next time, consider using a kitchen scale for precise measurements.
My lemon curd has small lumps. What went wrong?
Lumps in lemon curd typically occur if the eggs cooked unevenly or if the mixture wasn’t stirred constantly enough. While it’s best to prevent this, if you do find small lumps, straining the curd through a fine-mesh sieve immediately after cooking is your best defense. This step filters out any cooked egg bits or zest, ensuring a perfectly smooth and silky final product.
Top Tips for Making the Best Homemade Lemon Curd
Achieving a consistently perfect batch of lemon curd is simple when you follow a few key principles:
Chill Thoroughly: Patience is a virtue, especially when it comes to chilling your lemon curd. Allowing the curd to cool and set in the refrigerator for at least 2 hours (or until completely chilled) is absolutely imperative for it to achieve its ideal thick, creamy consistency. As the curd cools, the butter and egg proteins solidify, transforming the liquid mixture into that wonderfully spreadable texture you desire.
Opt for Non-Reactive Cookware: When making lemon curd, it’s crucial to avoid using metal pans made of aluminum or copper. These metals can react with the high acidity of the lemon juice, potentially imparting an undesirable metallic aftertaste to your delicate curd. Instead, choose a non-reactive saucepan, such as stainless steel, glass, or ceramic. I also highly recommend using a silicone-coated whisk to protect your cookware and ensure smooth stirring.
Maintain Low Heat and Constant Stirring: The golden rule for cooking lemon curd is low heat and continuous stirring. This technique is vital to prevent the egg yolks from curdling, which would result in a lumpy, unpleasant texture. While it requires a little patience to allow the mixture to thicken gradually, resisting the urge to increase the heat will save you from ending up with unfortunate “scrambled eggs” in your curd. Stirring ensures even cooking and a silky-smooth result.
Strain for Ultimate Smoothness: Even with the most careful cooking, small bits of cooked egg or lemon zest can sometimes remain in the curd. To guarantee a truly luxurious, silky-smooth finish, always pass your freshly cooked lemon curd through a fine-mesh sieve into a clean bowl. This quick step removes any impurities, including the zest (if you prefer a zest-free curd), ensuring every spoonful is pure bliss.
Use Fresh, Quality Ingredients: The flavor of your lemon curd is directly proportional to the quality of your ingredients. Always use fresh, ripe lemons for their vibrant juice and fragrant zest. High-quality unsalted butter and fresh eggs will also make a noticeable difference in the richness and overall taste of your curd.
Don’t Forget the Zest Rub: As mentioned in the instructions, rubbing the sugar and lemon zest together before adding the liquid ingredients is a small but impactful step. This mechanical action helps to extract maximum aromatic oils from the zest, infusing the sugar with a deeper, more pronounced lemon flavor that will shine through in the final curd.

Baking Tip: Weigh Your Ingredients!
I highly recommend using a kitchen scale to weigh your ingredients rather than using measuring cups because it is the most accurate way to bake. Weighing your ingredients will give you more consistent results with your recipes and a better success rate, every time. Using a scale also saves you dishes which means easier cleanup! I provide gram measurements in all my recipes and this is the scale I love to use.
More Fruit Curds and Compotes You’ll Love
If you’ve fallen in love with homemade lemon curd, explore these other delightful fruit spreads and compotes to expand your repertoire:
- Orange Curd
- Cherry Compote
- Easy Apple Compote
- Peach Compote
If you make this recipe and love it as much as I do, be sure to leave a comment below and share your creations! Happy baking!

Lemon Curd
Rachel
Print Recipe
10 minutes
10 minutes
2 hours
2 hours
20 minutes
1.5
cups (about 16 ounces)
Ingredients
-
1
cup
(200g) granulated sugar -
zest
of 3 lemons -
6
large
egg yolks -
¼
teaspoon
salt -
½
cup
(120mL) fresh lemon juice,
from about 3 large lemons -
½
cup
(1 stick or 113g) unsalted butter,
cut into small cubes
SHOP INGREDIENTS
Instructions
- Combine the sugar and lemon zest in a medium saucepan, rubbing the mixture between your fingers to help release the oils. Add the egg yolks and salt and whisk until the mixture lightens in color.
- Slowly stream in the lemon juice while whisking and mix until combined.
- Place the mixture over low heat, stirring constantly with a heatproof spatula, until it thickens and reaches at least 170°F on an instant-read thermometer (up to 180°F for a thicker curd), about 7-10 minutes. The curd should coat the back of a spoon, and when you run your finger through it, the line should hold its shape without the curd running.
- Remove the pan from the heat and strain with a fine mesh sieve to filter out the lemon zest. Stir in the cubes of butter until melted and fully combined. Place plastic wrap directly on the surface of the curd and refrigerate for at least 2 hours or until completely chilled. The curd will continue to thicken as it cools.
- Serve over ice cream, fill cakes and pastries, or enjoy by the spoonful. Store in a jar or an airtight container in the fridge for up to 2 weeks.
Did you make this recipe?
Be sure to tag @sweetkitchencravings on Instagram!

HI THERE!
I’m Rachel
I’m the dessert lover, recipe developer, and content creator behind Sweet Kitchen Cravings. Here you’ll find classic yet special recipes that are sure to impress your loved ones!
MORE ABOUT RACHEL
More Info
