This post may contain affiliate links. Please read my full disclosure policy.
Berry Chantilly Tiramisu: The Ultimate No-Bake Summer Dessert
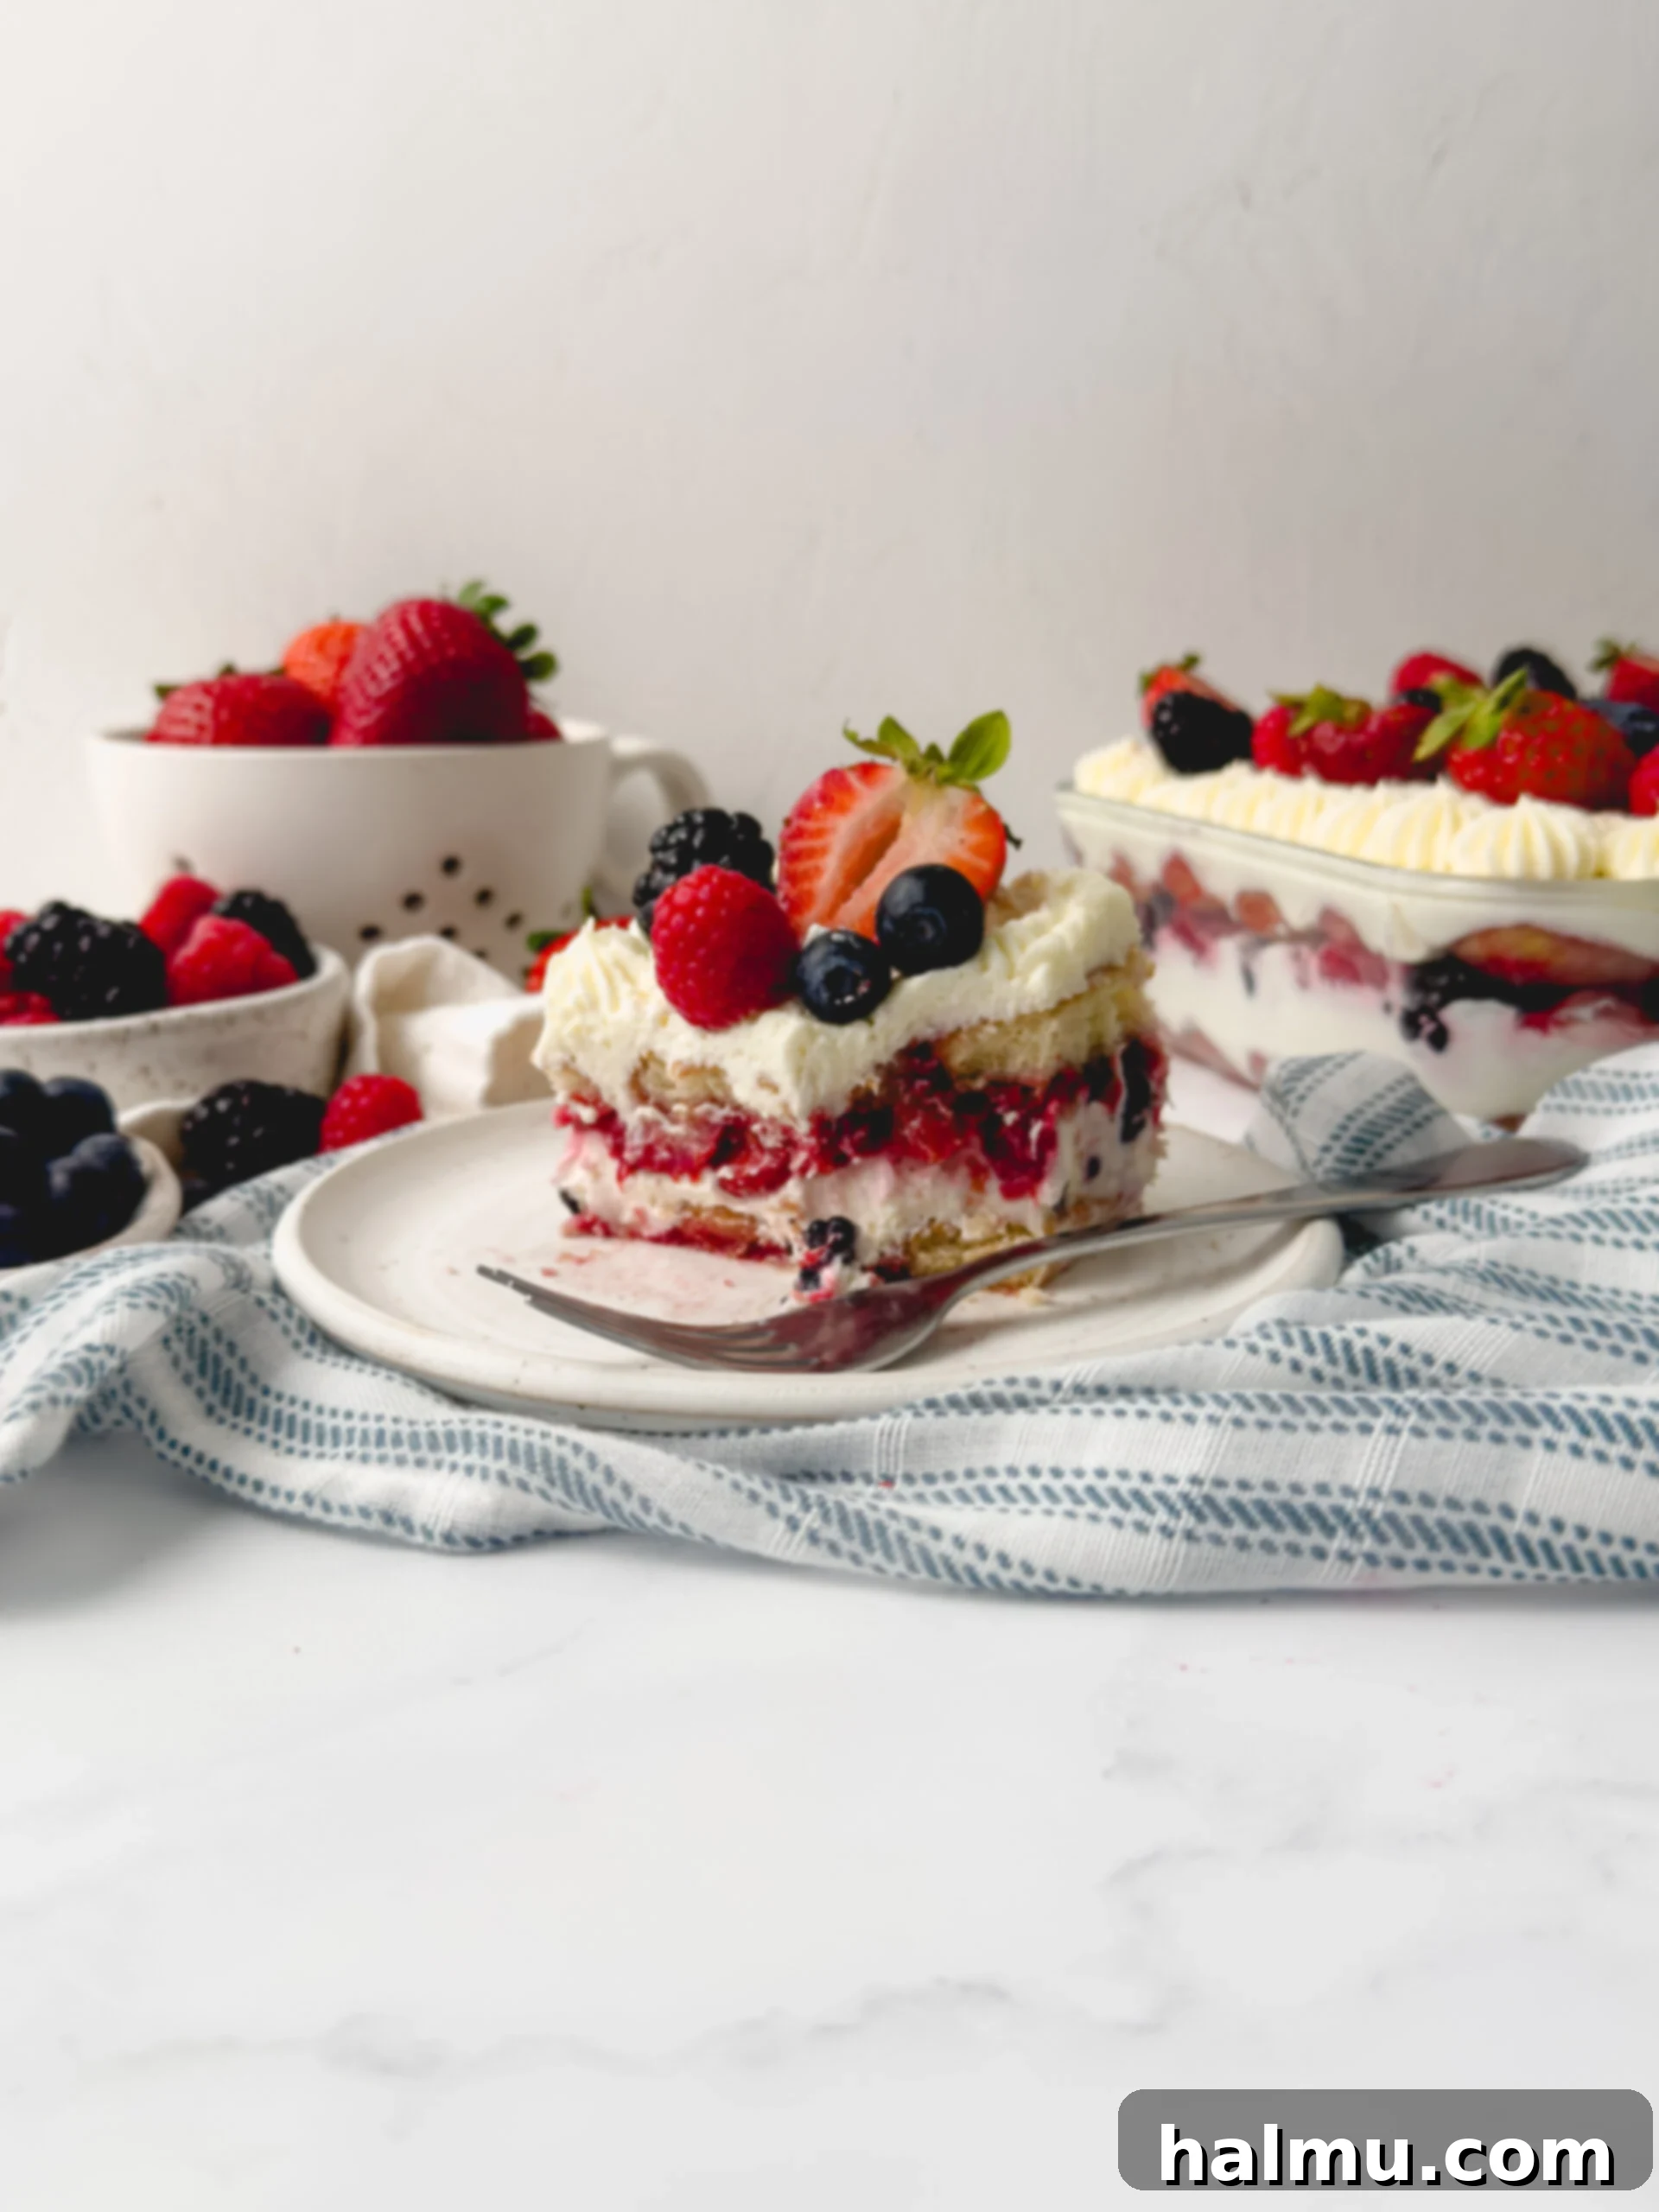
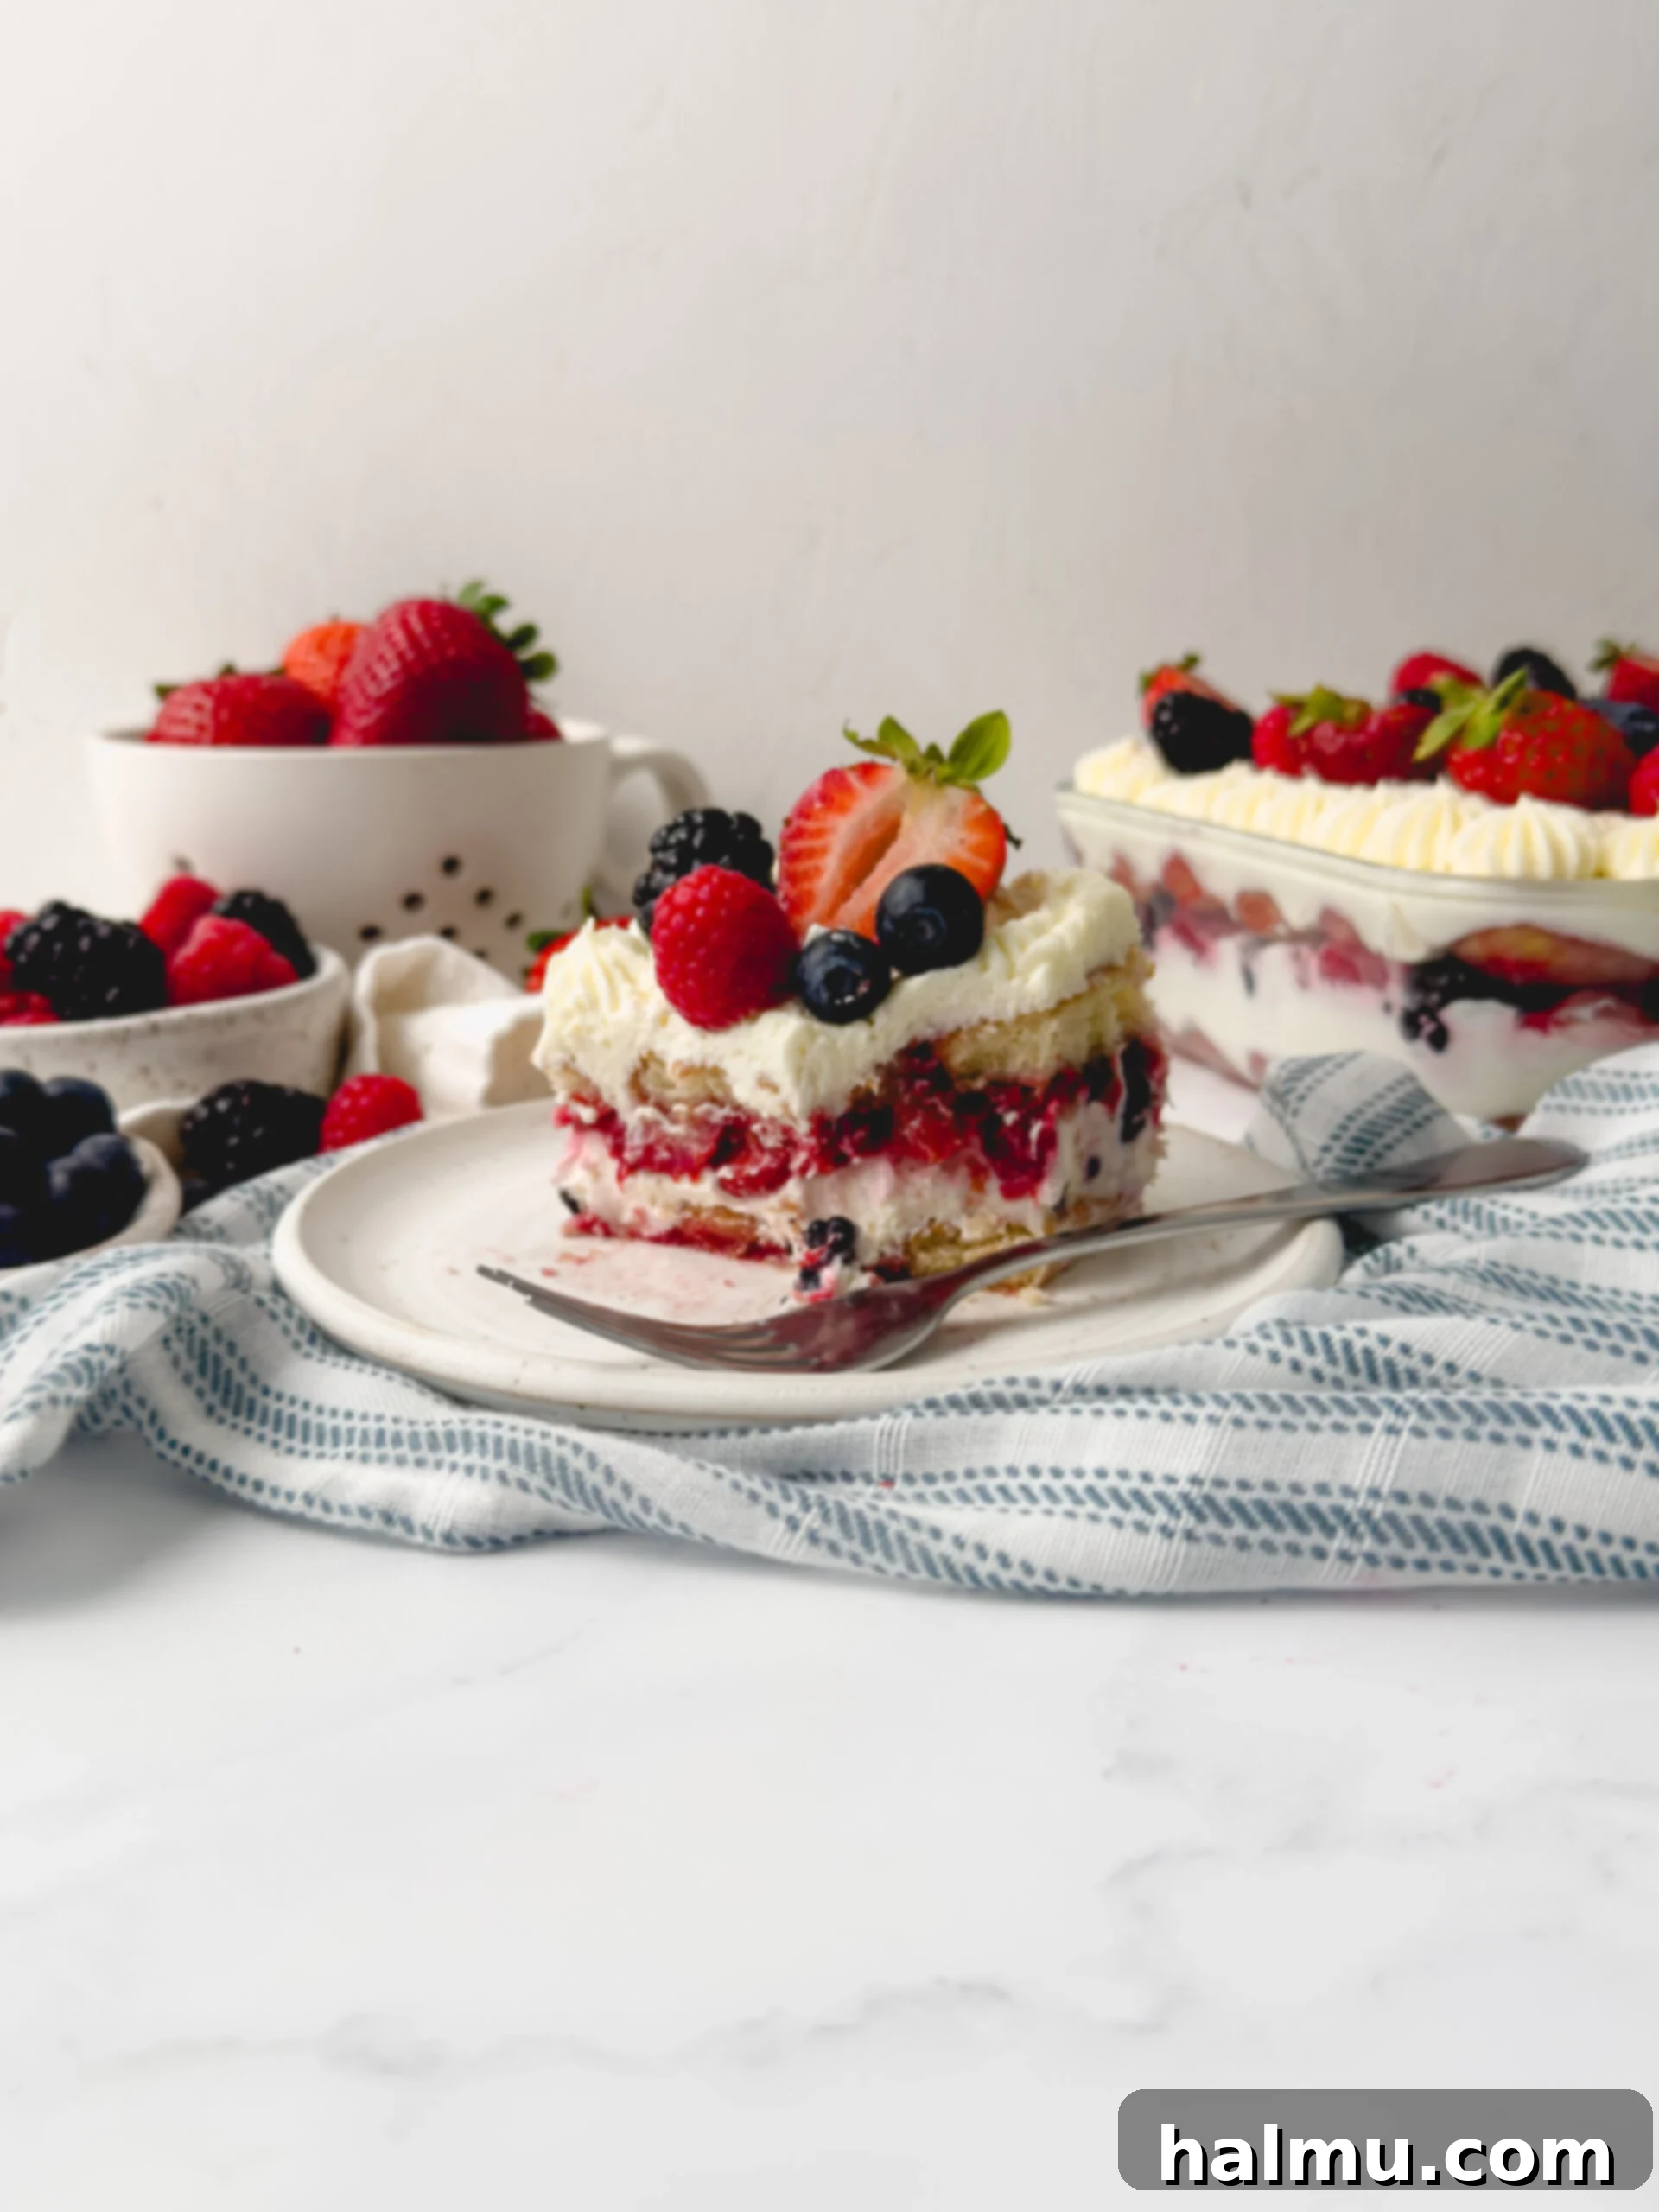
Prepare to be enchanted by the Berry Chantilly Tiramisu, a dessert that perfectly embodies the spirit of summer. This exquisite no-bake treat is a vibrant twist on the classic Italian tiramisu, trading the traditional coffee and cocoa for a bright, refreshing, and utterly irresistible fruity medley. Imagine delicate layers of raspberry-soaked ladyfingers, pillowy almond-infused mascarpone frosting, and a generous scattering of fresh, seasonal berries. It’s light, luscious, and designed to impress without ever needing to turn on your oven.
Many dessert enthusiasts are familiar with the iconic Berry Chantilly Cake, particularly the beloved version from Whole Foods. That cake is celebrated for its harmonious blend of fresh berries and rich, almond-scented Chantilly cream. Our Berry Chantilly Tiramisu captures all those enchanting flavors and textures, transforming them into an effortlessly elegant, no-bake dessert that rivals (and daresay surpasses) any store-bought creation. Crafting this tiramisu at home ensures unparalleled freshness, allowing you to customize the berry selection and savor a truly bespoke summer indulgence. If you adore these delightful flavors, be sure to explore our other tempting recipes like Berry Chantilly Cupcakes and the sophisticated Chantilly Crepe Cake.
Crafting Your Berry Chantilly Tiramisu: A Step-by-Step Guide
Making this delightful Berry Chantilly Tiramisu is a joyful culinary experience. Each component comes together seamlessly, building layers of flavor and texture that result in a truly memorable dessert. Let’s delve into the process:
1. The Raspberry Syrup: A Sweet & Fruity Soak
The foundation of our fruity tiramisu begins with a simple yet flavorful raspberry syrup. This syrup infuses the ladyfingers with a bright, tangy sweetness that beautifully complements the creamy mascarpone. To create it, you’ll combine your favorite raspberry jam with a small amount of hot water. Whisk these two ingredients together until the jam thins out and becomes a smooth, pourable syrup. For the best texture and a truly refined taste, I highly recommend using a seedless raspberry jam. However, if a jam with seeds is all you have on hand, simply strain the mixture through a fine-mesh sieve after mixing to achieve that silky-smooth consistency. This syrup is crucial, as it’s what transforms the dry ladyfingers into moist, sponge-like layers, perfectly preparing them to absorb all the delicious flavors of the tiramisu.
2. The Luscious Chantilly Frosting: Creamy Perfection
The heart of this Berry Chantilly Tiramisu is its incredibly light and fluffy Chantilly frosting. This isn’t just any whipped cream; it’s a stabilized, almond-infused mascarpone dream that holds its shape beautifully and melts in your mouth. To prepare it, you’ll start by combining softened mascarpone cheese and cream cheese in a stand mixer. The cream cheese adds a delightful tang and stability, while the mascarpone provides that signature richness and smooth texture. These cheeses are mixed until just combined and silky smooth, ensuring no lumps remain. Next, almond and vanilla extracts are added, imparting a complex and aromatic flavor profile that is characteristic of classic Chantilly desserts. Powdered sugar is then incorporated to sweeten the frosting to perfection. Finally, heavy cream is slowly streamed into the mixture while the mixer is running, and then whipped until the frosting transforms into a thick, airy, and stable whipped cream. The key here is to whip it until it forms stiff peaks, creating a frosting that’s both robust enough for layering and wonderfully delicate on the palate.
3. The Fresh Berry Medley: A Burst of Summer Flavor
What truly makes this tiramisu a summer sensation is the vibrant array of fresh berries. I typically use a colorful combination of sliced strawberries, juicy raspberries, plump blueberries, and halved blackberries. This mix not only provides a beautiful aesthetic but also offers a delightful range of textures and tart-sweet flavors. When preparing the berries, I slice the larger strawberries and cut the blackberries in half. This ensures that the berries are evenly distributed throughout each layer, allowing every bite to be bursting with fruity goodness. While this combination is my go-to, feel free to get creative with your selection! Any variety of fresh berries would be absolutely delicious. For those looking for an even bolder summer twist, consider incorporating other seasonal fruits like sweet cherries, ripe peaches, or succulent nectarines in place of (or alongside) the berries. The key is to use fresh, high-quality fruit to truly elevate the dessert.
4. Assembling the Layers: Building Your Dessert Masterpiece
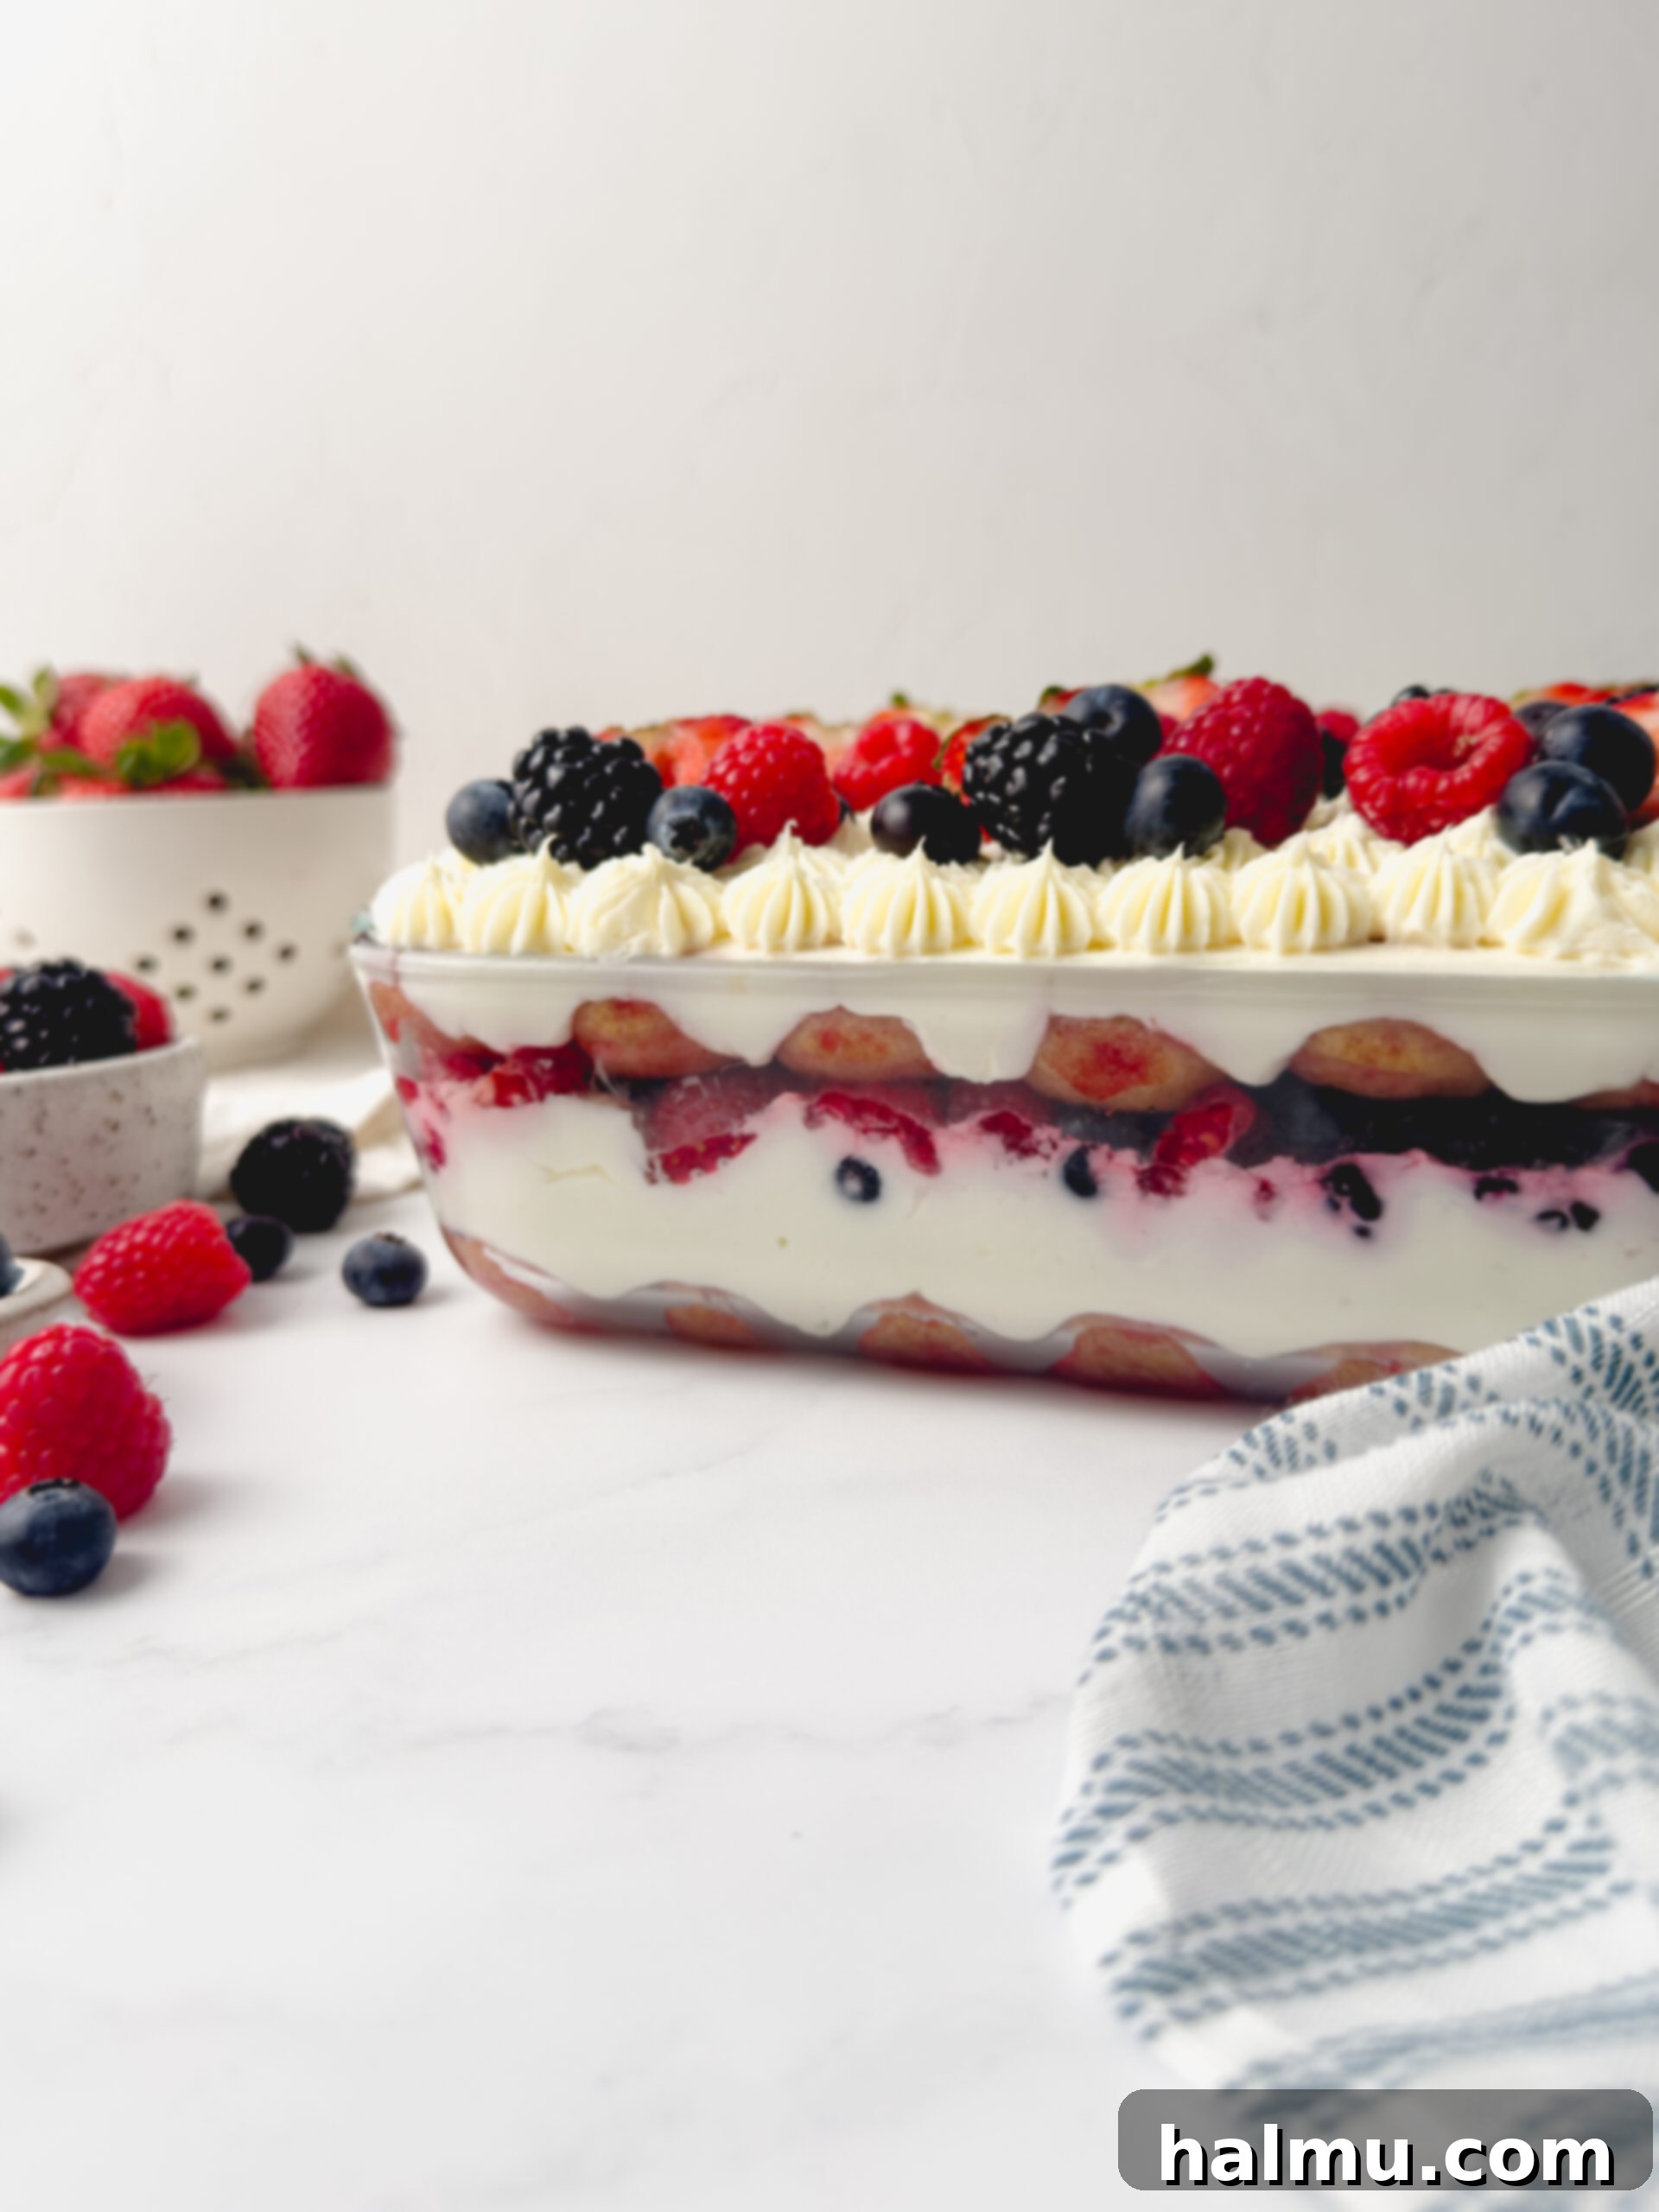
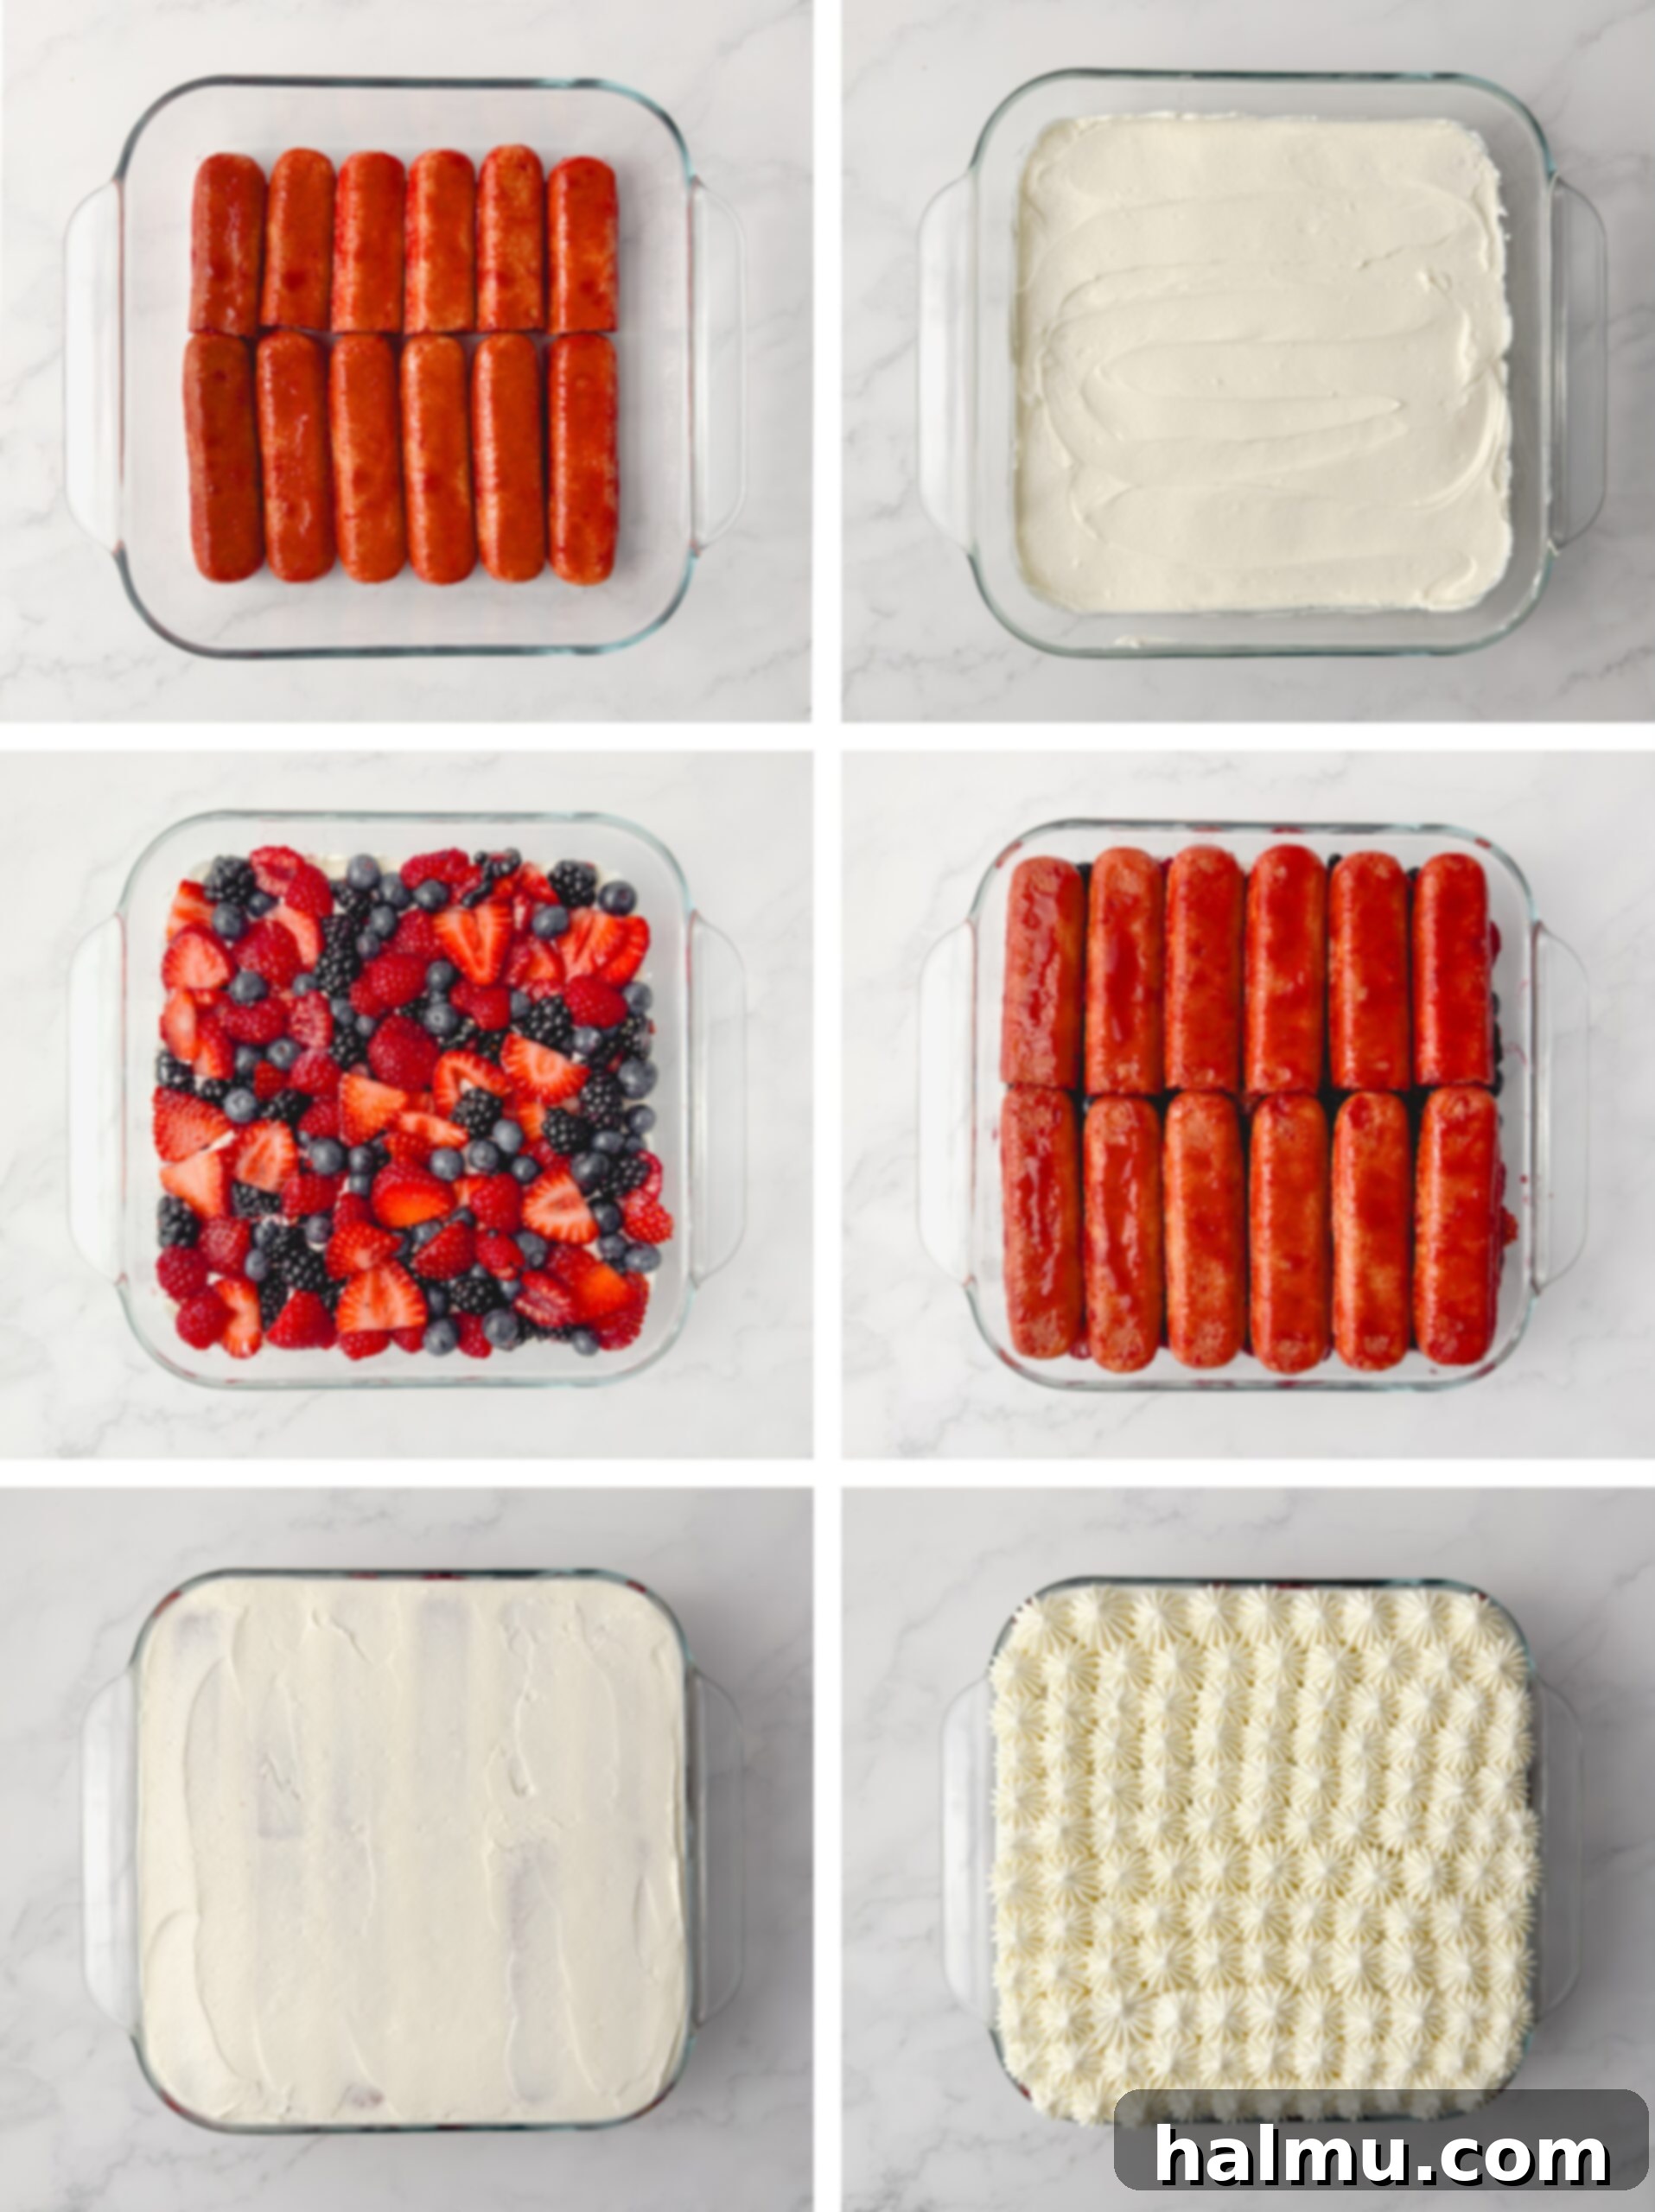
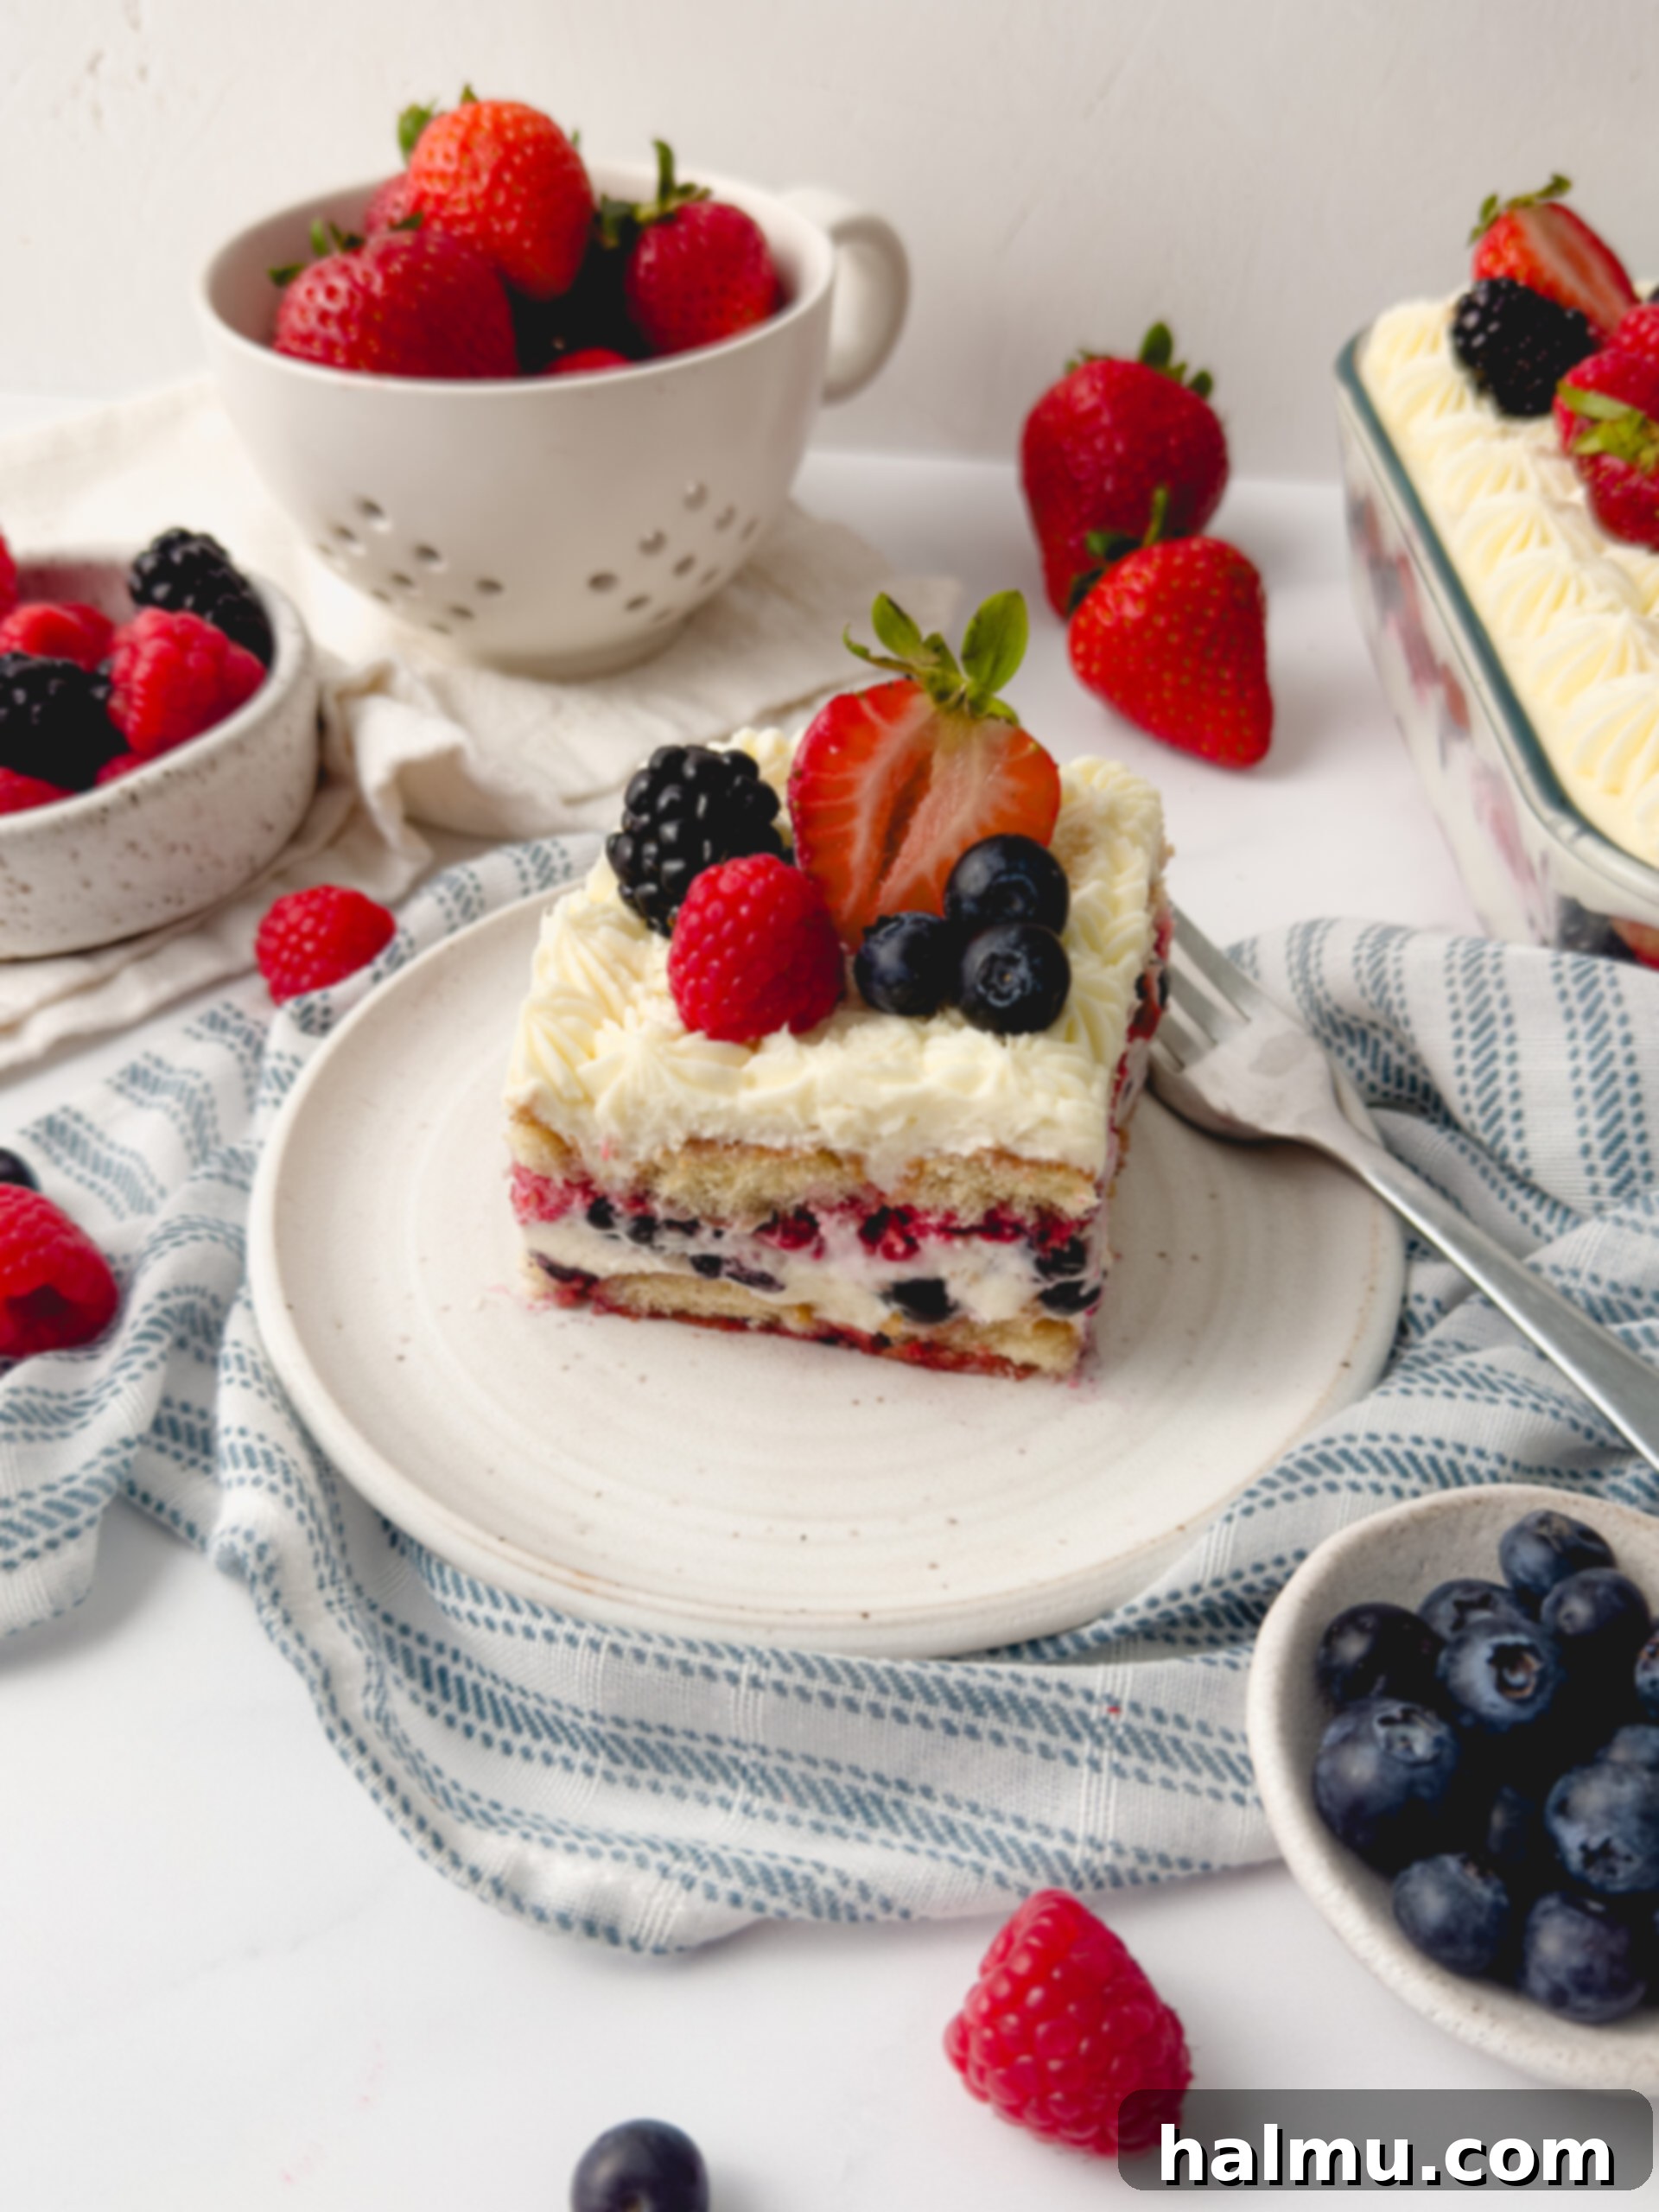
With all your components ready, the assembly process is straightforward and incredibly satisfying. Begin by taking each ladyfinger and briefly submerging it in the prepared raspberry syrup. You want them to be nicely soaked but not soggy. Layer these raspberry-infused ladyfingers one by one into the bottom of an 8-inch by 8-inch square pan, trimming them as needed to create an even base. Next, spread a generous layer of the Chantilly frosting evenly over the ladyfingers. On top of this creamy layer, carefully arrange a medley of your fresh mixed berries, gently pressing them into the frosting to secure them. This creates a beautiful and flavorful berry layer. Follow this with another layer of raspberry-soaked ladyfingers, ensuring they are placed evenly. Finally, top this second layer of ladyfingers with a thinner, smooth layer of the remaining Chantilly frosting. This meticulous layering ensures that every slice offers a perfect balance of fruit, creamy frosting, and tender ladyfingers.
5. Decorating and Chilling: The Final Touches for Perfection
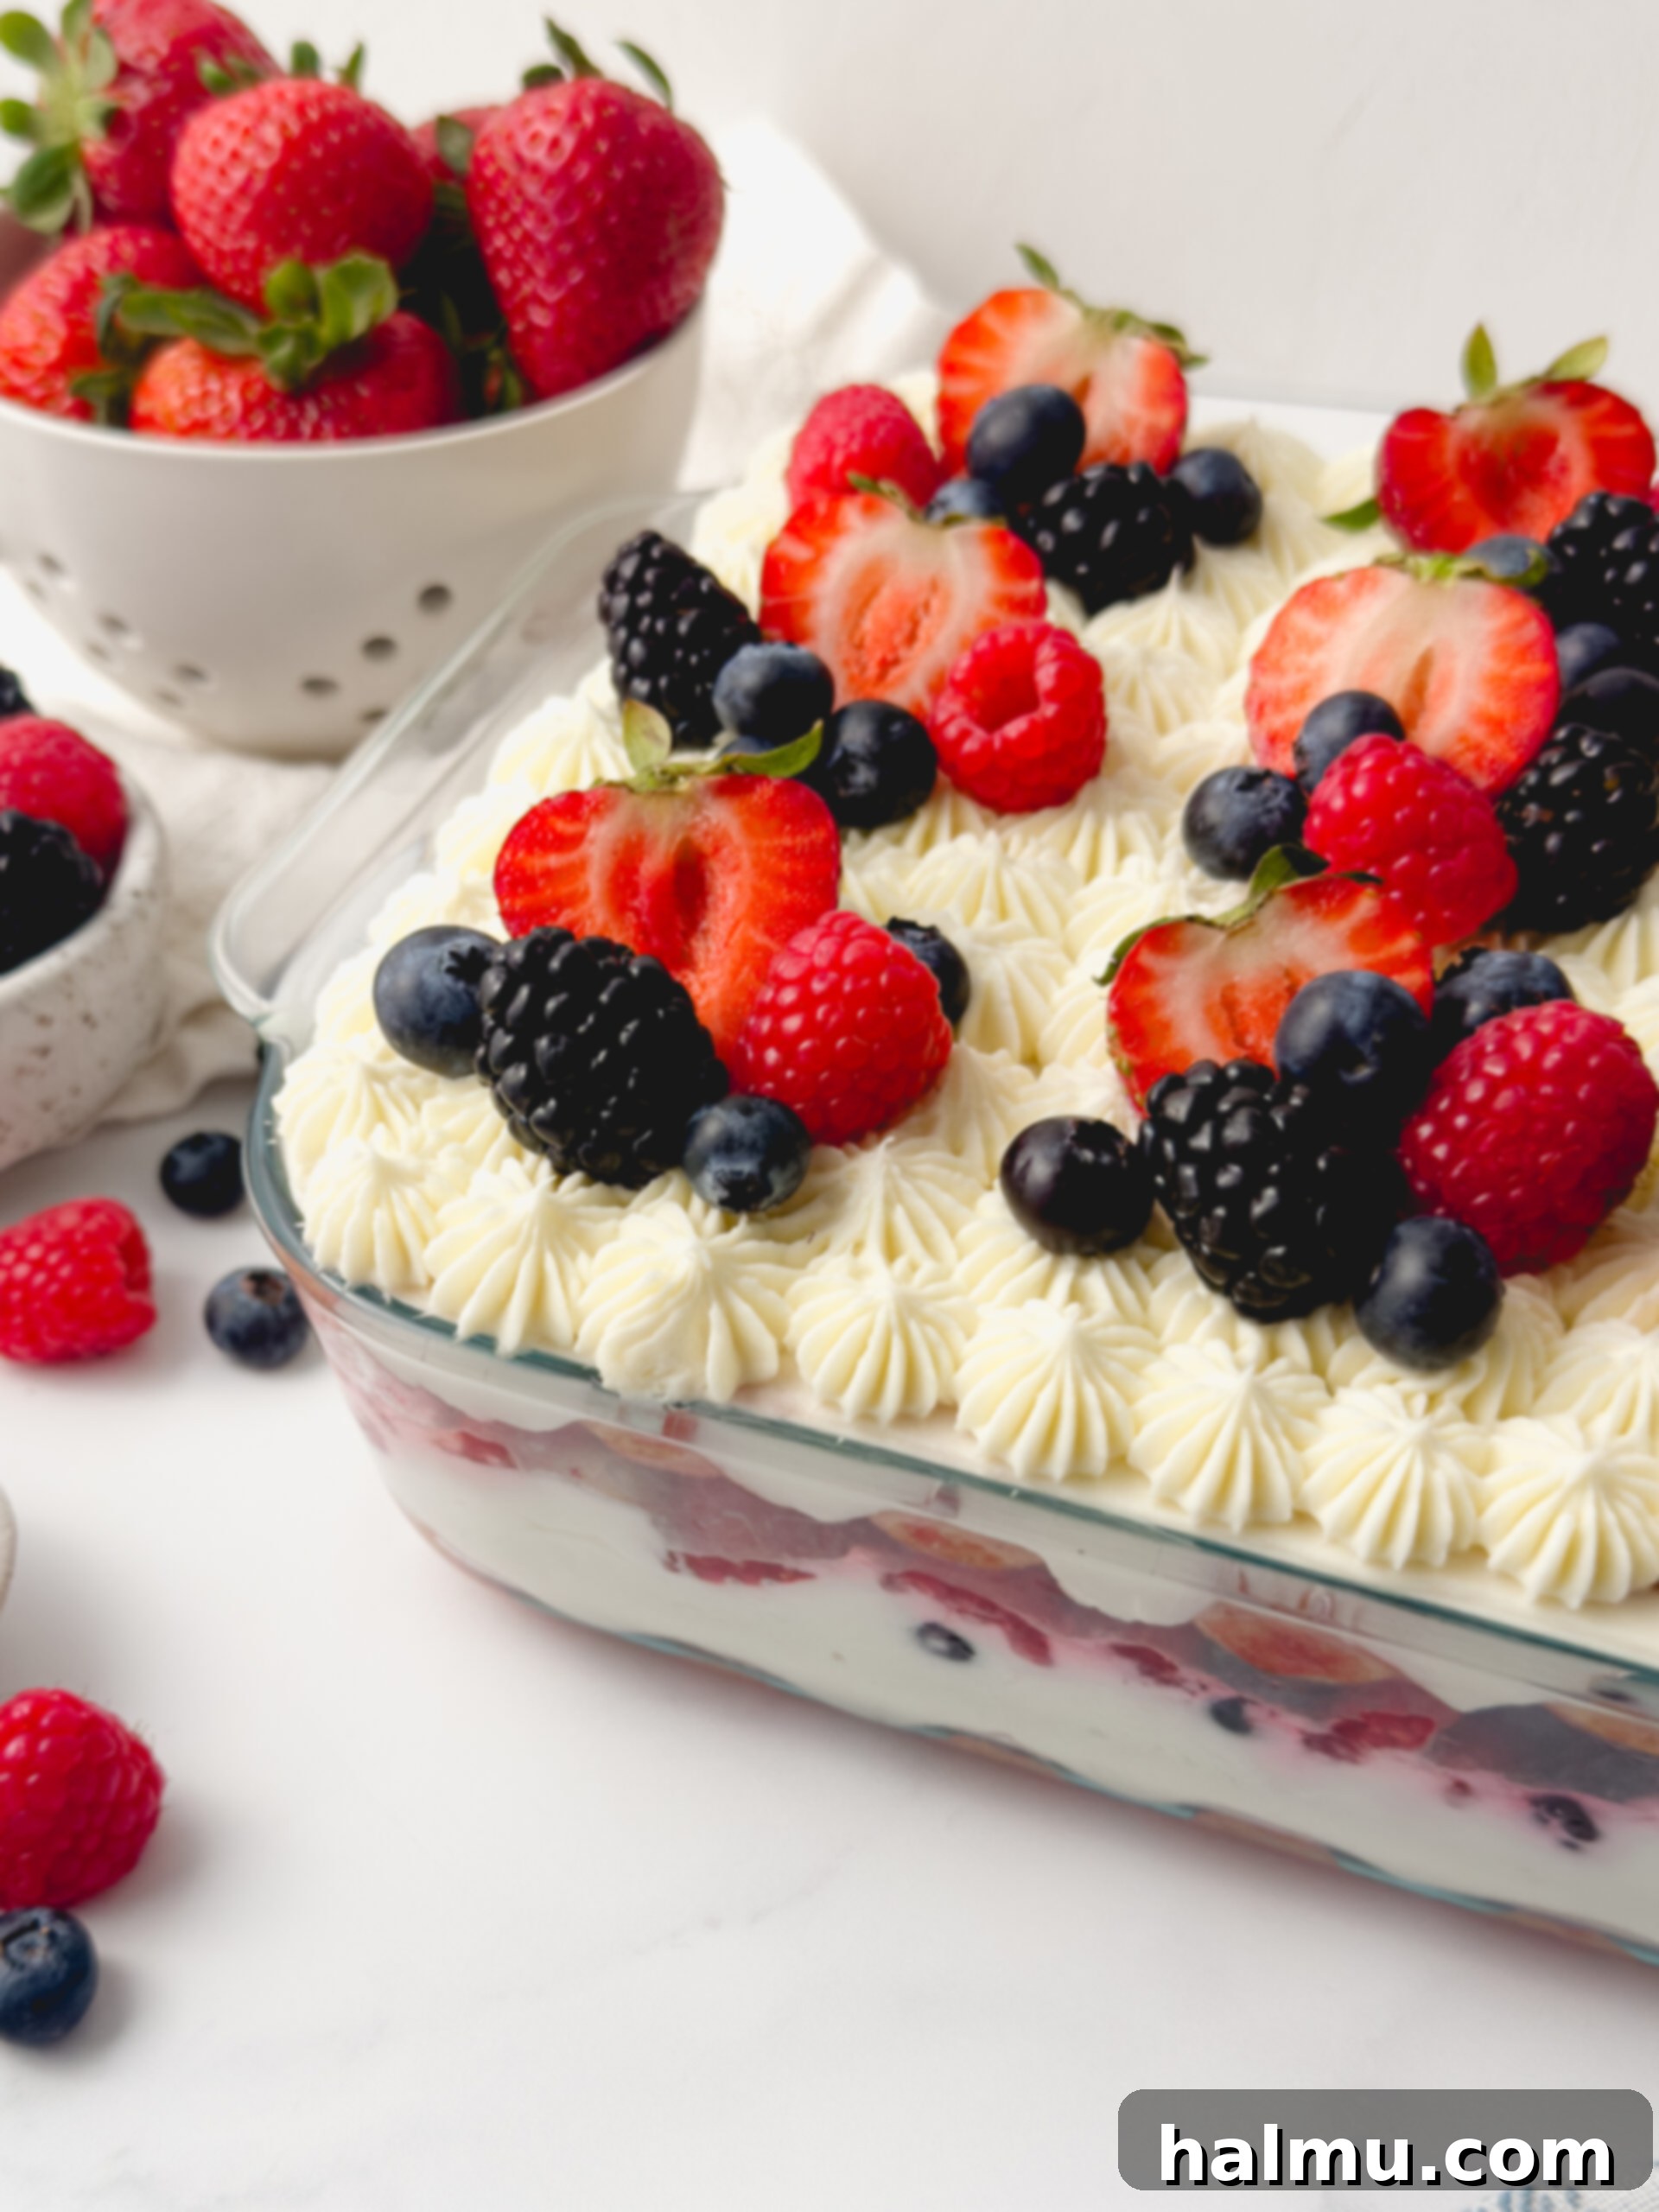
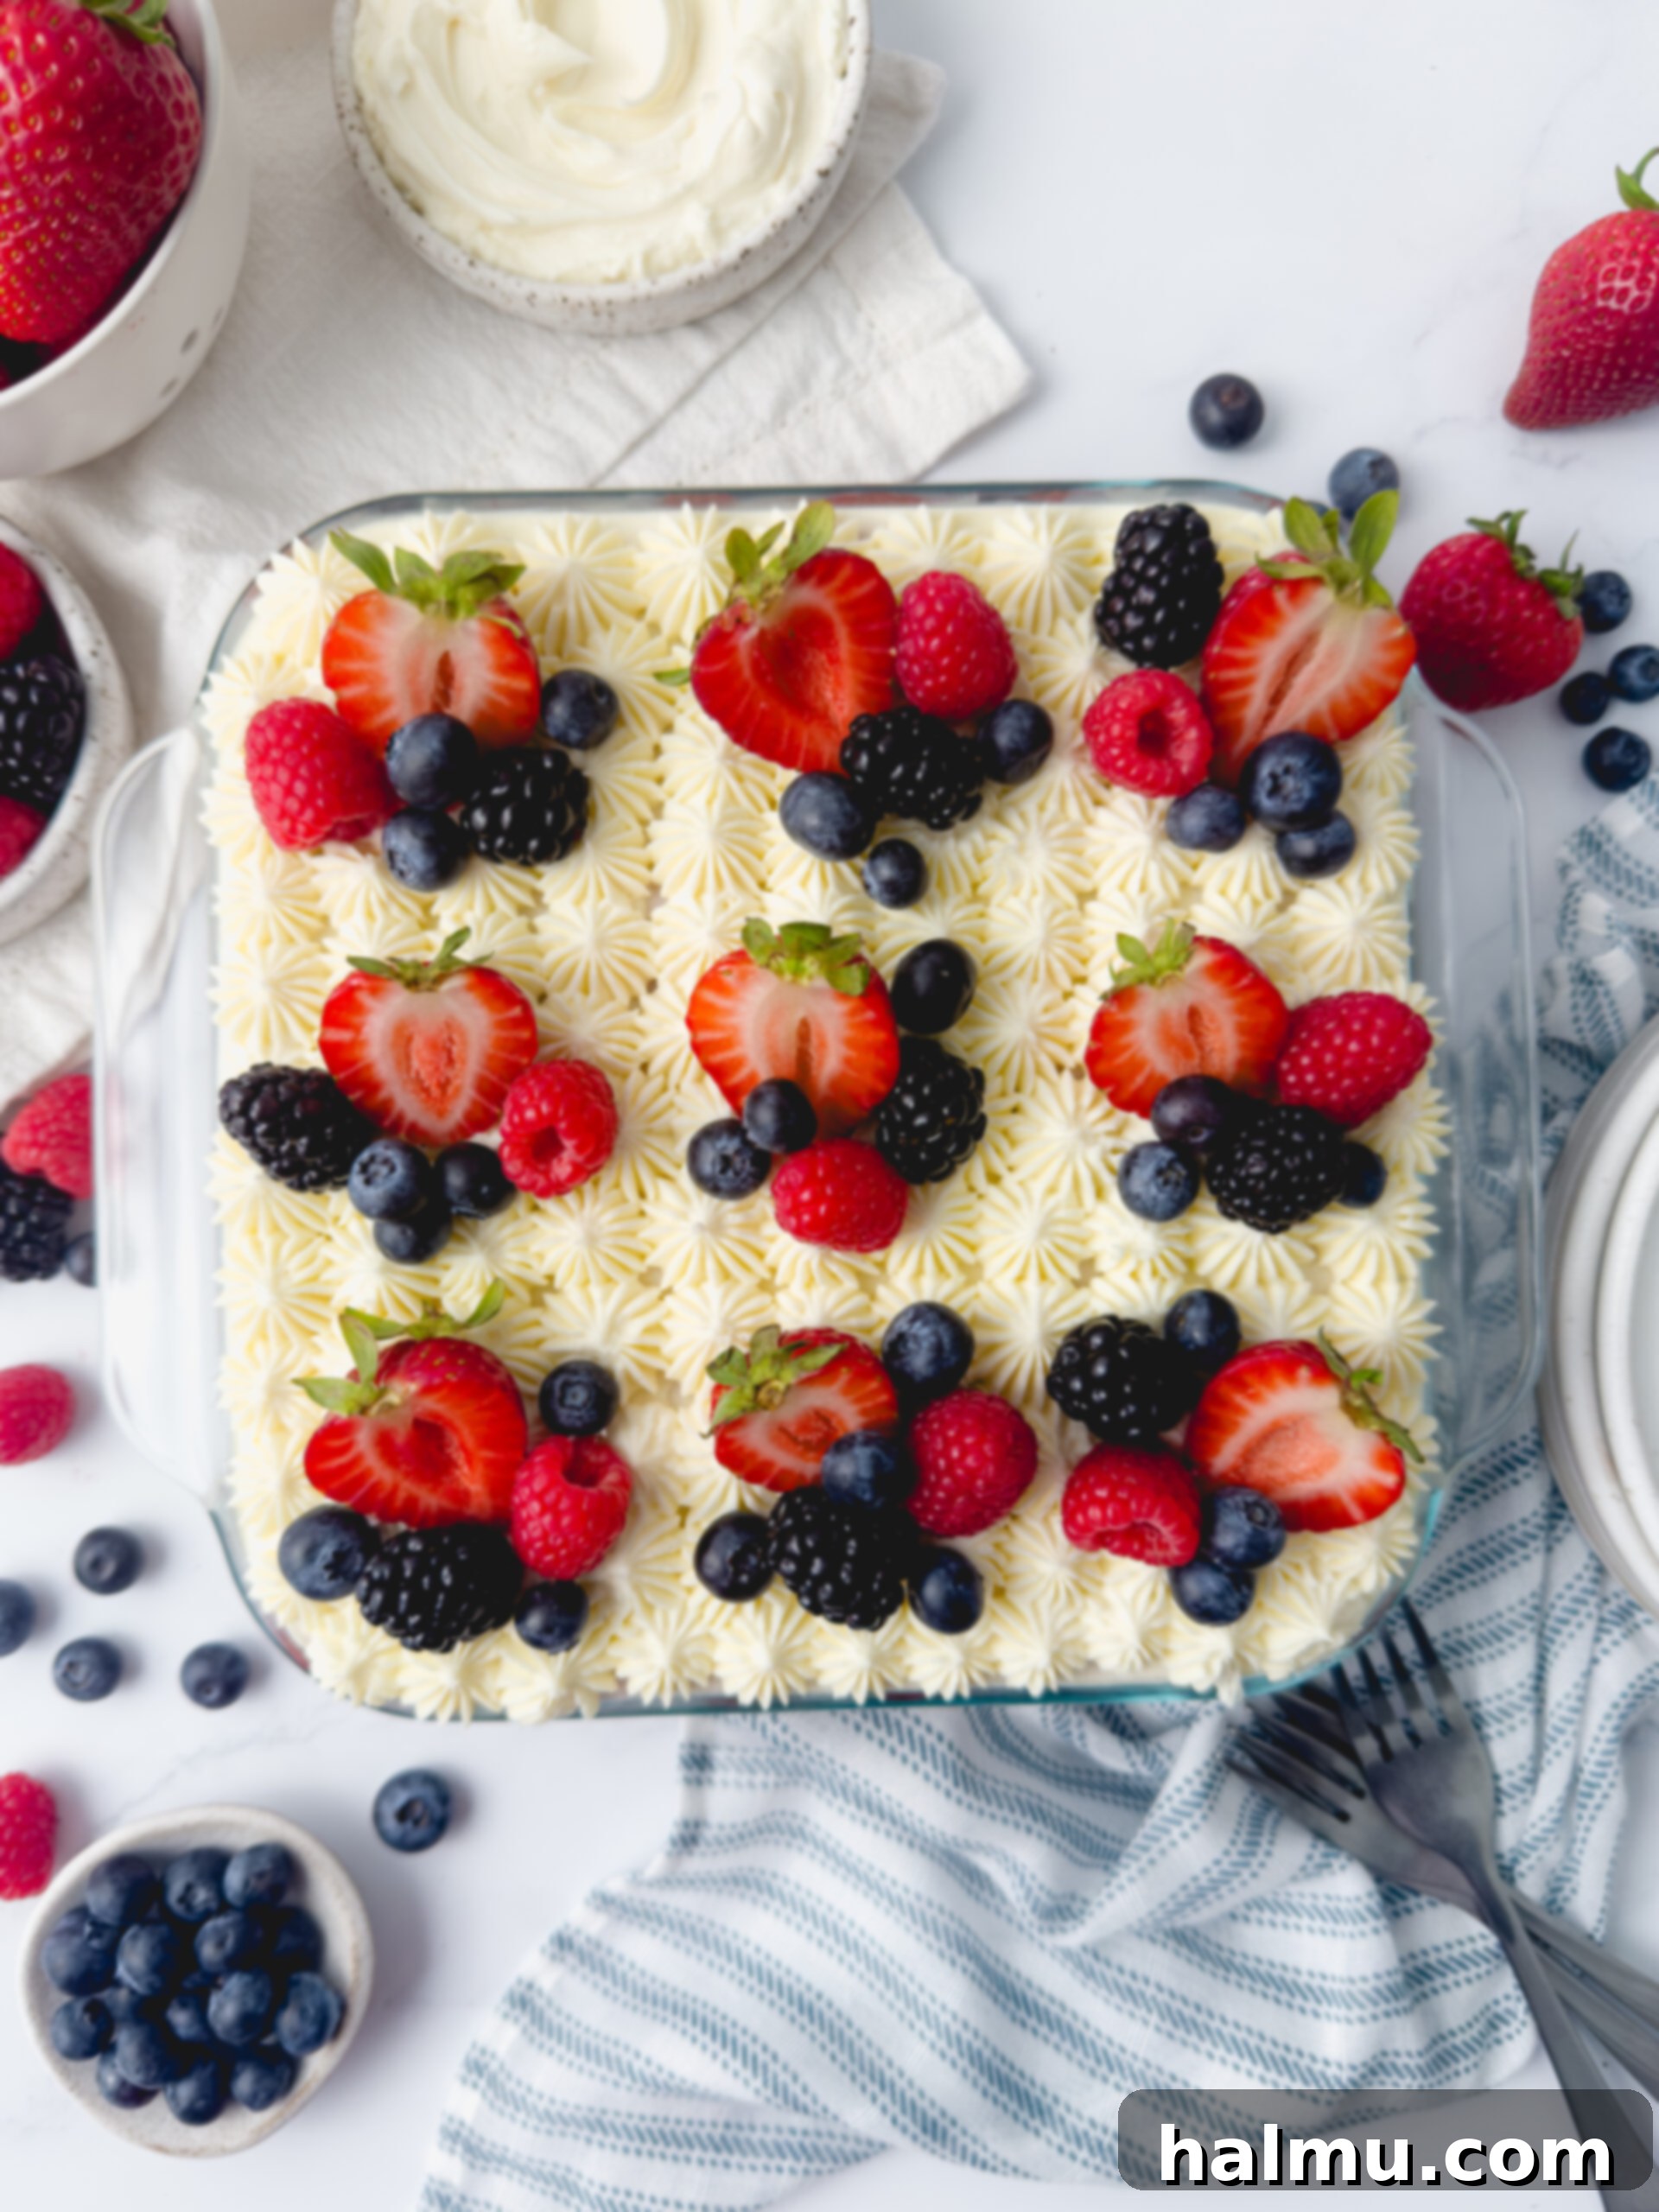
Once the layers are assembled, it’s time for the artistic touch: decorating. The tiramisu is finished with the remaining Chantilly frosting. For a truly elegant presentation, I like to transfer the frosting into a piping bag fitted with a French star tip. This allows for beautifully detailed star shapes to be piped all across the top surface of the tiramisu, adding an extra layer of visual appeal and texture. After decorating, the tiramisu must chill in the refrigerator for several hours – ideally overnight. This crucial chilling period allows the ladyfingers to fully soften and absorb the raspberry syrup, transforming them into a cake-like consistency, and gives all the flavors ample time to meld and deepen. The anticipation is worth it, as the flavors become richer and more harmonious with time. Just before serving, garnish with an extra scattering of fresh, vibrant berries to add a final burst of color and freshness that perfectly complements this delightful dessert.
Essential Tools & Ingredients for Success
Having the right tools and high-quality ingredients can make all the difference in achieving tiramisu perfection. Here are some of my favorite essentials:
See more in my Amazon Storefront
Chantilly Tiramisu FAQs: Your Questions Answered
To help you perfect your Berry Chantilly Tiramisu, here are answers to some frequently asked questions:
What is the best way to store Berry Chantilly Tiramisu?
To maintain its freshness and delightful texture, the Berry Chantilly Tiramisu should always be stored in the refrigerator. Ensure it is tightly covered with plastic wrap or placed in an airtight container. When properly stored, it will remain delicious for up to 3 days. However, for optimal flavor and texture, I recommend enjoying it within the first 2 days.
How far in advance can Berry Chantilly Tiramisu be made?
One of the best qualities of tiramisu is that it actually benefits from a good chill. I highly recommend preparing this tiramisu the day before you plan to serve it. This extended chilling time allows the ladyfingers to fully absorb the raspberry syrup and soften beautifully, taking on a cake-like consistency. More importantly, it gives all the individual flavors – the tangy berries, the rich mascarpone, and the sweet raspberry – ample time to meld together, resulting in a more harmonious and decadent dessert experience.
Can I use frozen berries instead of fresh ones for this recipe?
While fresh berries are highly recommended for their vibrant flavor and firm texture, I understand they may not always be in season or readily available. If frozen berries are your only option, there’s a crucial step you should take to prevent your tiramisu from becoming watery. Frozen berries release a significant amount of liquid when they thaw. To counteract this, I recommend cooking them down slightly over low heat to thicken their juices into a jammy consistency. This process reduces excess moisture and concentrates their flavor, ensuring your tiramisu maintains its intended texture and richness.
Expert Tips for the Best Berry Chantilly Tiramisu
Achieving the perfect Berry Chantilly Tiramisu is easy with a few insider tips. Follow these recommendations to ensure your dessert is a showstopper every time:
- Perfecting the Raspberry Syrup Consistency: The consistency of your raspberry syrup is key to how well the ladyfingers soak it up. If you find the syrup is too thick, or if the ladyfingers aren’t absorbing it adequately, simply whisk in a bit more warm water, one teaspoon at a time, until it reaches a looser, more absorbent texture. Remember, the thickness of jams can vary, so adjust as needed. For consistently smooth results, my personal favorite is seedless raspberry freezer jam, which always thins beautifully.
- The Magic of an Overnight Chill: While this tiramisu should chill for a minimum of 6 hours, truly exceptional results come from an overnight refrigeration. This extended chilling time is transformative. It allows the ladyfingers ample opportunity to fully soften and absorb all the moisture and flavor from the raspberry syrup, developing a tender, sponge-cake-like texture. Furthermore, it gives all the distinct flavors – the creamy mascarpone, the tangy berries, and the sweet raspberry – the chance to meld and deepen, creating a more harmonious and complex flavor profile. This is truly a dessert that tastes even better the next day!
- Avoid Overwhipping the Frosting: The Chantilly frosting is delicate, and overmixing can be its downfall. Mascarpone cheese, in particular, can become grainy if beaten for too long. To prevent this, combine the cream cheese and mascarpone just until they are smooth and fully incorporated, then stop. Similarly, when whipping the heavy cream into the mixture, keep a watchful eye. Once the frosting starts to thicken and form stiff peaks, cease mixing immediately. Continuously scrape down the sides and bottom of the bowl with a rubber spatula throughout the process to ensure all ingredients are evenly incorporated without overworking any single component.
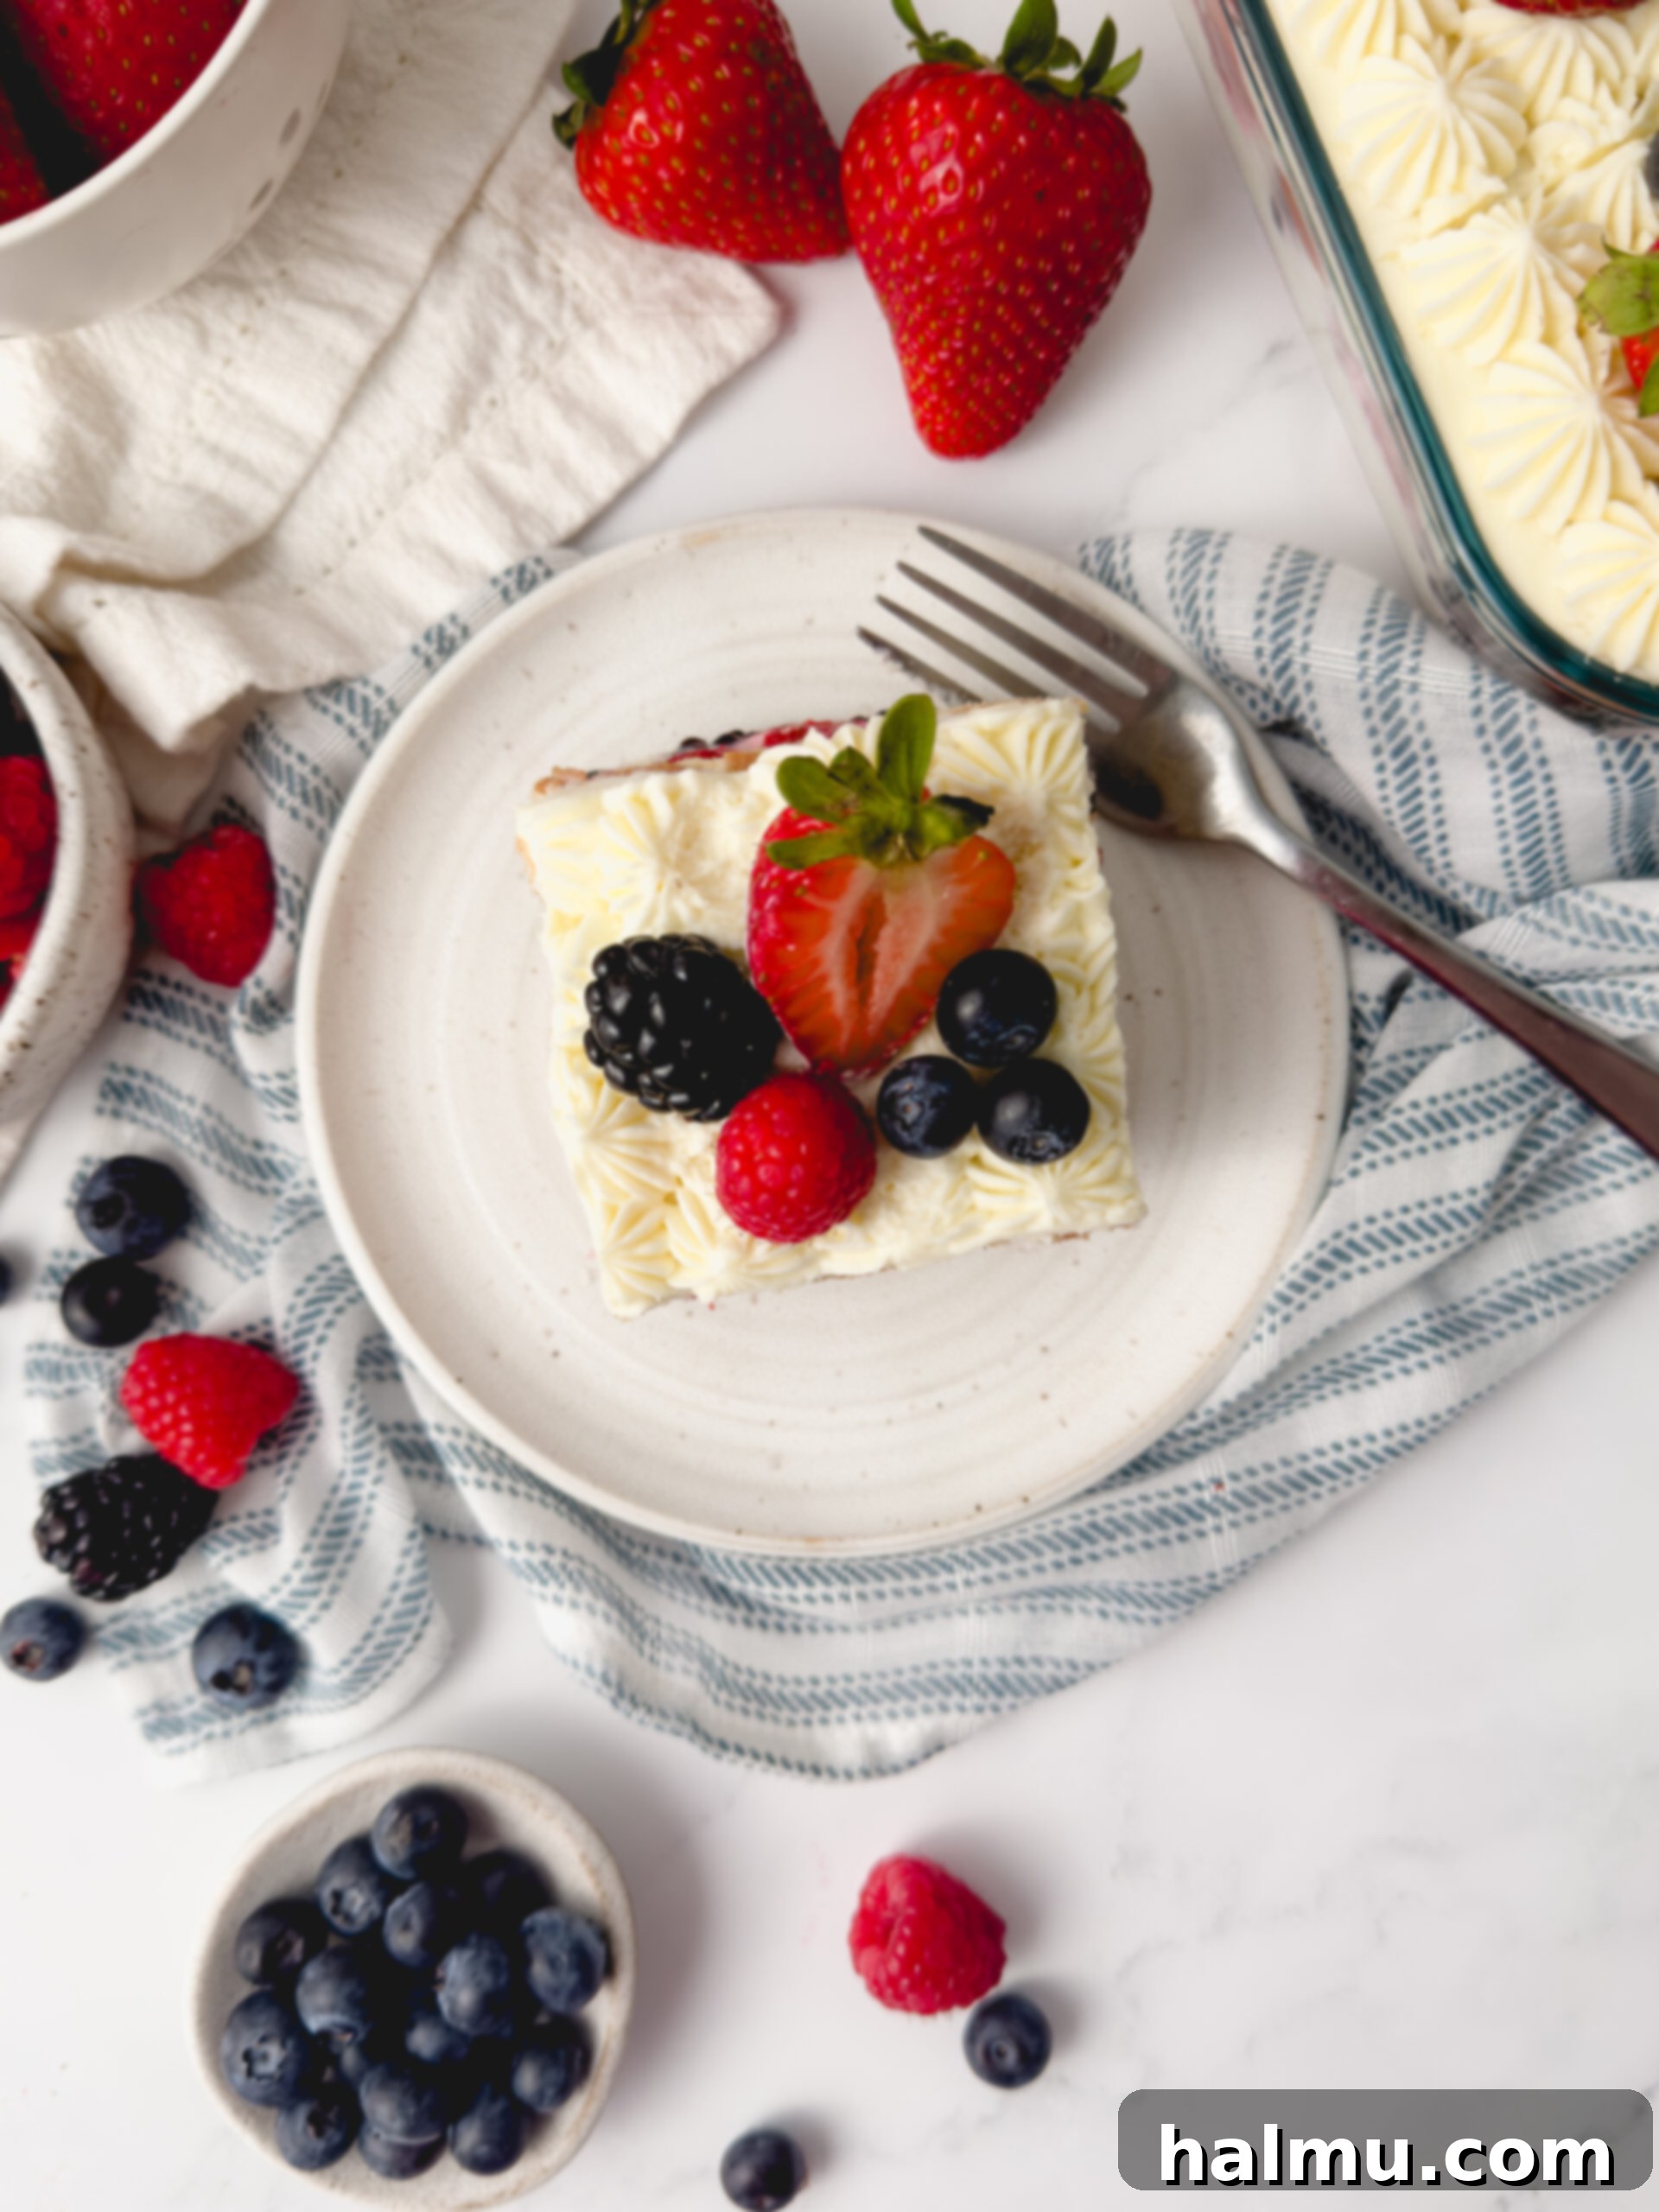
- Garnish Just Before Serving for Optimal Freshness: Since this tiramisu requires a significant chilling period, it’s best to hold off on adding the final fresh berry garnish until just before you plan to slice and serve. Berries can sometimes dry out or lose their vibrant appeal when exposed to the refrigerator air for too long. By adding them at the last minute, you ensure they are perfectly fresh, juicy, and visually stunning, providing a beautiful contrast to the creamy white frosting and enhancing the overall appeal of your Berry Chantilly Tiramisu.

Baking Tip: Weigh Your Ingredients!
For consistent and professional-level baking results, I cannot stress enough the importance of using a kitchen scale to weigh your ingredients. This method is far more accurate than using traditional measuring cups, which can lead to variations in density and volume. Weighing your ingredients ensures precision, resulting in more consistent outcomes for your recipes and a higher success rate every single time you bake. An added bonus? Using a scale often means fewer dishes to wash, making cleanup a breeze! I include gram measurements in all my recipes for this very reason, and this is the scale I love and recommend.
More Irresistible No-Bake Recipes You’ll Love
If you’re a fan of easy, delicious desserts that don’t require an oven, you’re in luck! Here are some other no-bake delights from Sweet Kitchen Cravings that are sure to satisfy your sweet tooth:
- Lemon Gingersnap Tiramisu: A zesty and spiced twist on the classic.
- Strawberry Rice Krispie Treats: A fun, fruity upgrade to a childhood favorite.
- S’more Pudding Cups: All the flavors of a campfire treat in a convenient cup.
- Mini Oreo Cheesecakes: Bite-sized indulgence that’s rich and creamy.
- Chocolate Mint Cream Pie: A refreshing and decadent pie for mint and chocolate lovers.
We hope you enjoy making and sharing this Berry Chantilly Tiramisu as much as we do. If you try this recipe and fall in love with its flavors, please be sure to leave a comment below to share your experience. Happy baking (or rather, no-baking)!

Berry Chantilly Tiramisu
Light and creamy Berry Chantilly Tiramisu has layers of delicate ladyfingers, almond mascarpone frosting, and fresh mixed berries. A sweet summer twist on the classic Italian dessert.
Rating: 5 from 1 vote
Author: Rachel
Recipe Details
- Prep Time: 40 mins
- Chill Time: 6 hrs
- Total Time: 6 hrs 40 mins
- Yield: 9 servings
Ingredients
Raspberry Syrup
- ½ cup (160g) seedless raspberry jam
- ¼ cup (60g) hot water
Chantilly Frosting
- 8 oz (226g) cream cheese
- 8 oz (226g) mascarpone cheese
- 1 teaspoon almond extract
- ½ teaspoon vanilla extract
- 1 ½ cups (180g) powdered sugar, sifted
- 2 cups (480mL) heavy cream
For the Berry Layer
- 6 oz fresh strawberries, sliced
- 4 oz fresh blueberries
- 3 oz blackberries, cut in half
- 3 oz raspberries
For Assembling & Decorating
- 1 (7 oz) package ladyfingers
- fresh berries, for decorating
Print Recipe | Shop Ingredients
Instructions
- Raspberry Syrup: Whisk the raspberry jam and hot water together in a shallow dish until the mixture is well combined. Set aside to cool completely.
- Chantilly Frosting: In the bowl of a stand mixer fitted with a whisk attachment, combine the cream cheese and mascarpone cheese. Mix on medium speed just until combined and smooth, scraping the bowl with a rubber spatula once or twice.
- Add the almond extract, vanilla extract, and sifted powdered sugar to the cheese mixture. Mix on low speed until just combined, then scrape the bowl again to ensure everything is fully incorporated.
- With the mixer running at medium-low speed, slowly stream in the cold heavy cream. Continue to mix until the frosting begins to thicken slightly. Stop the mixer and scrape well to the bottom of the bowl.
- Increase the mixer speed to high and whip the mixture until it becomes thick, forms stiff peaks, and has no lumps remaining. Be careful not to overmix, as mascarpone can become grainy if overworked.
- Berry Layer: In a separate mixing bowl, gently combine the sliced strawberries, blueberries, halved blackberries, and raspberries.
- Assembly: Working with half of the ladyfingers, quickly dunk each one individually into the cooled raspberry syrup until fully submerged and softened, but not soggy. Arrange these soaked ladyfingers in a single, even layer at the bottom of an 8-inch by 8-inch square pan, trimming them as needed to fit snugly.
- Evenly spread a little less than half of the prepared Chantilly frosting over the ladyfingers. Then, gently add the mixed berry layer on top, spreading them out evenly and lightly pressing them into the frosting.
- Repeat with the remaining ladyfingers: submerge each one in the raspberry syrup and create a second layer over the berries. Gently press down on the ladyfingers if necessary to create a flat, even surface.
- Spread about one-third of the remaining Chantilly frosting over the second ladyfinger layer, extending it evenly to the edges of the pan. It’s perfectly fine if some of the ladyfingers are still visible through this thinner layer.
- Decorating: Fill a piping bag, fitted with a large French piping tip, with the final portion of Chantilly frosting. Pipe decorative stars or swirls all across the top surface of the tiramisu for an elegant finish.
- Carefully cover the top lightly with plastic wrap, being mindful not to disturb the piped frosting. Refrigerate the tiramisu for several hours, with overnight chilling being highly recommended for the best flavor and texture development.
- Just before serving, garnish the tiramisu with an abundance of fresh berries. Slice, serve, and savor this delightful, refreshing dessert!
Did you make this recipe?
Be sure to tag @sweetkitchencravings on Instagram!

HI THERE!
I’m Rachel
I’m the dessert lover, recipe developer, and content creator behind Sweet Kitchen Cravings. Here you’ll find classic yet special recipes that are sure to impress your loved ones!
MORE ABOUT RACHEL
More About Rachel
TikTok
