This post may contain affiliate links. Please read my full disclosure policy.
The Ultimate Guide to Homemade Chocolate Pudding: Creamy, Rich, and Nostalgic
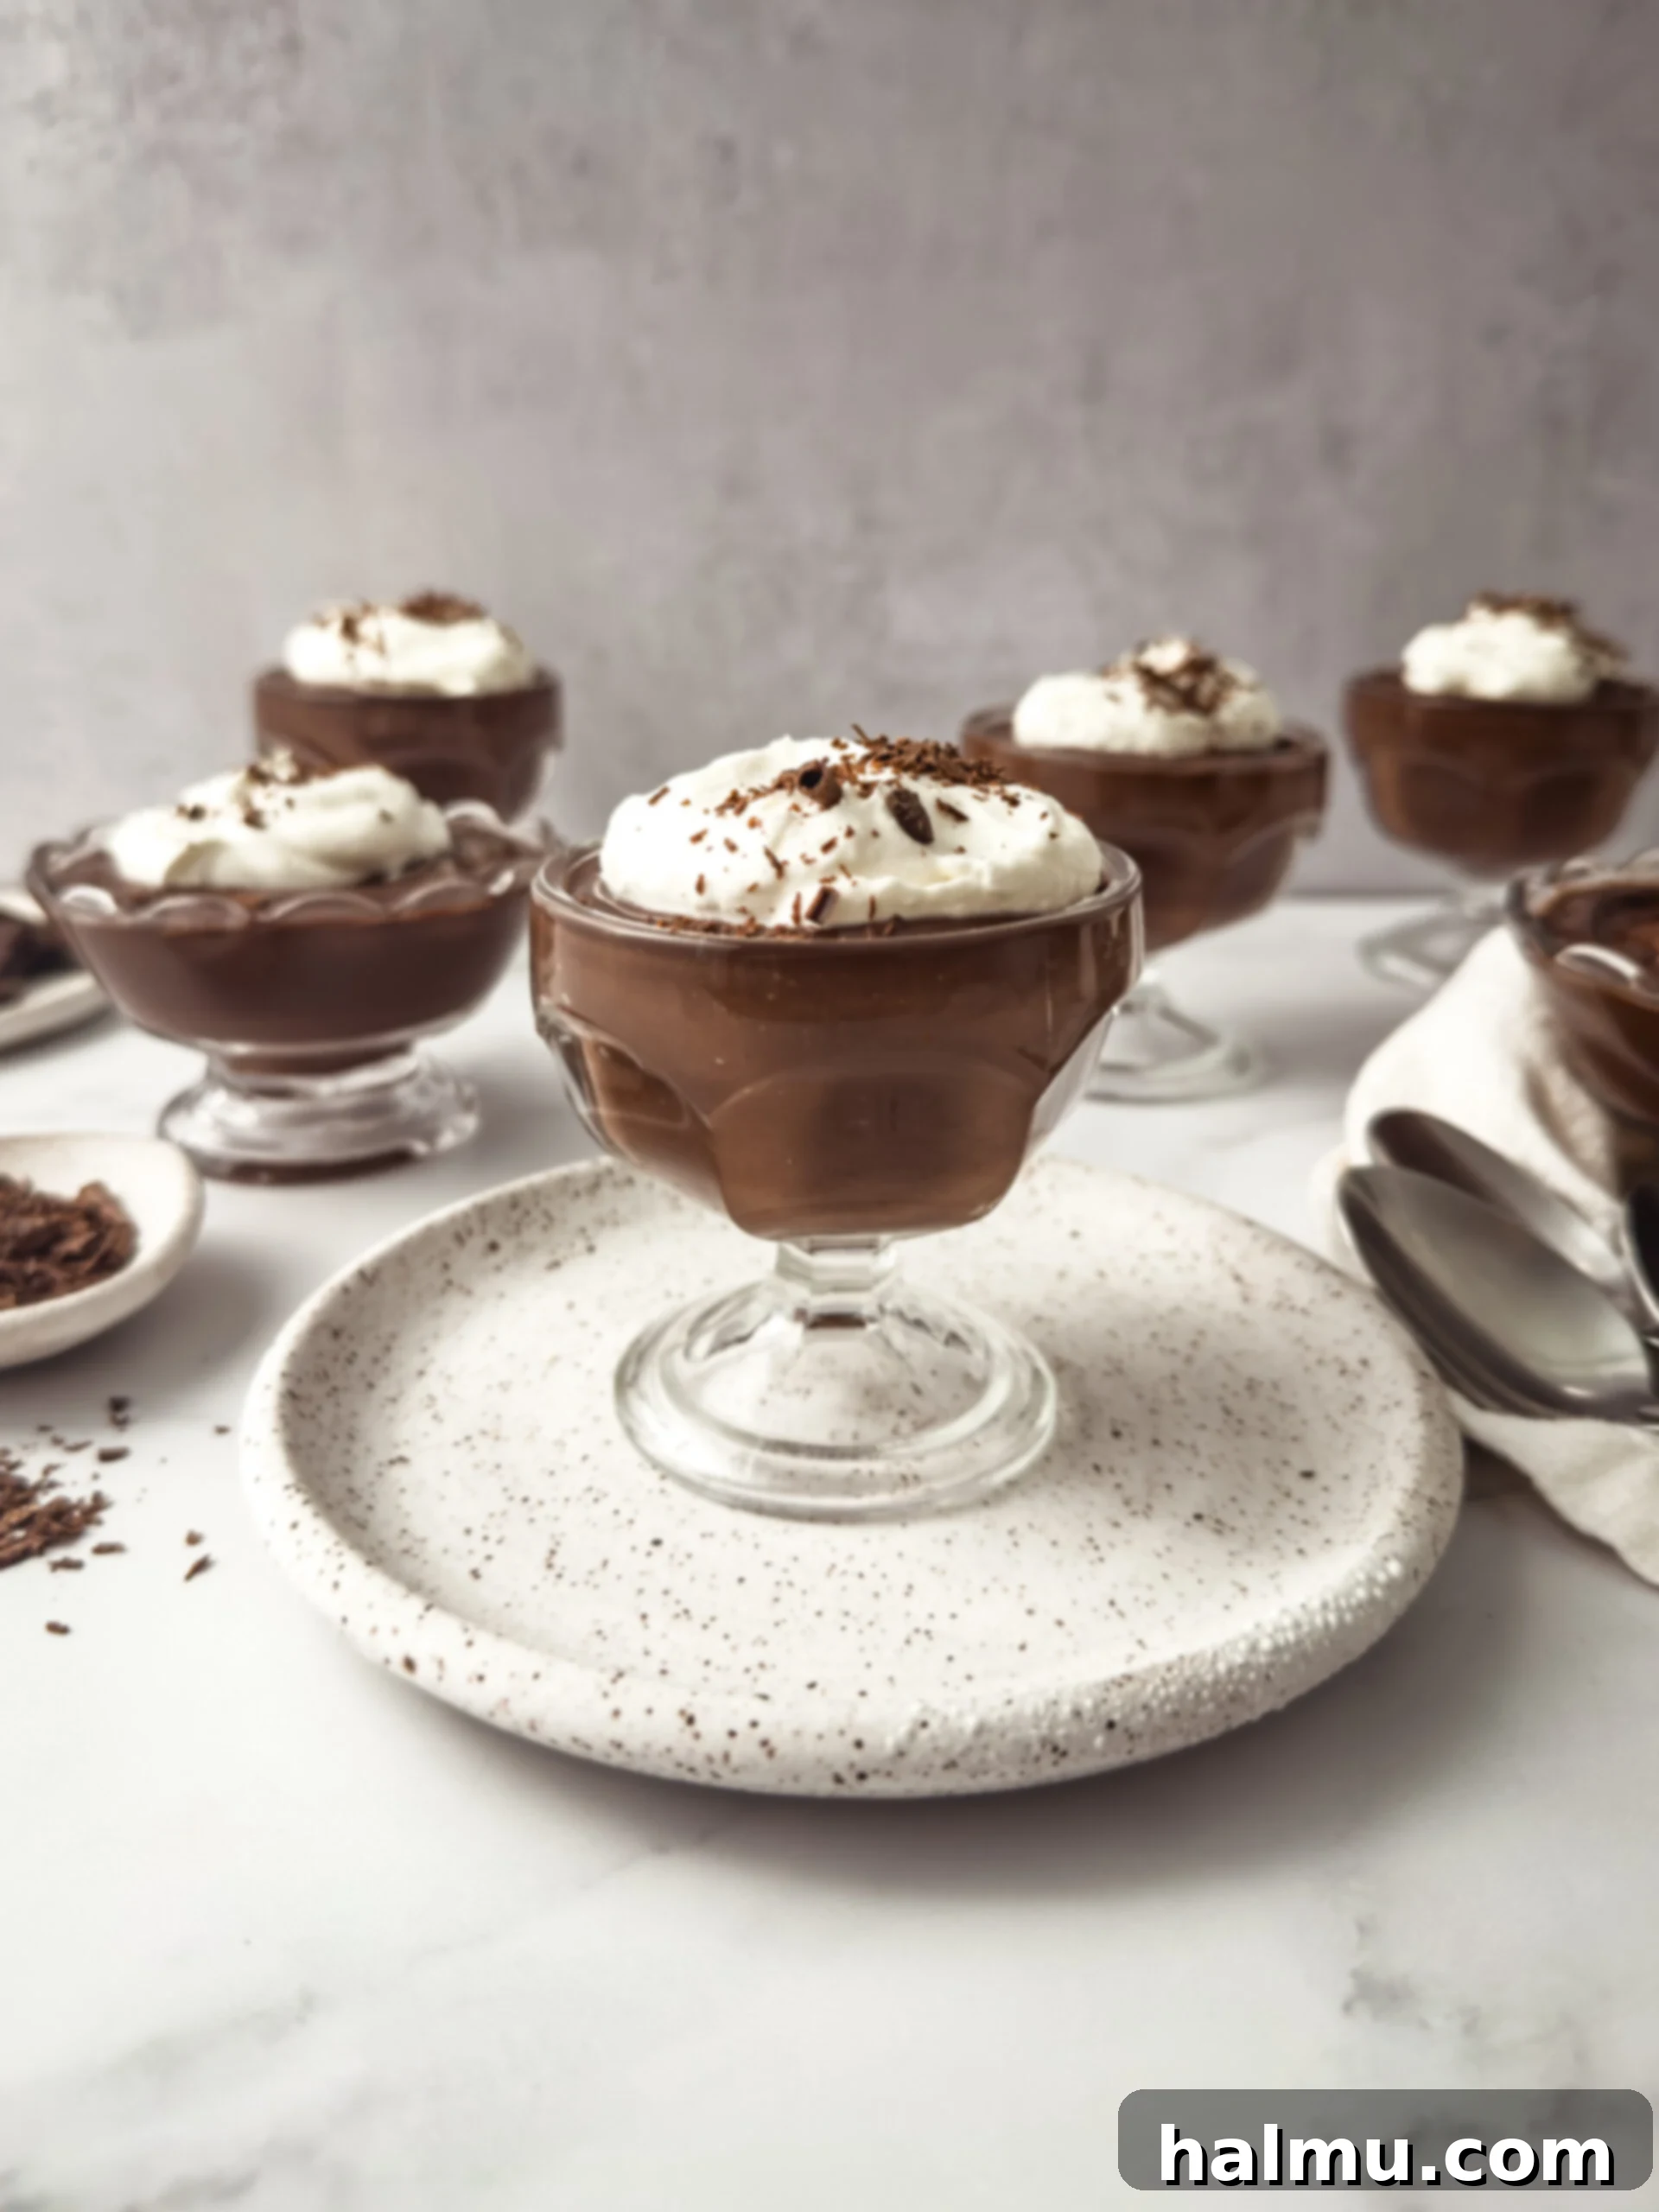
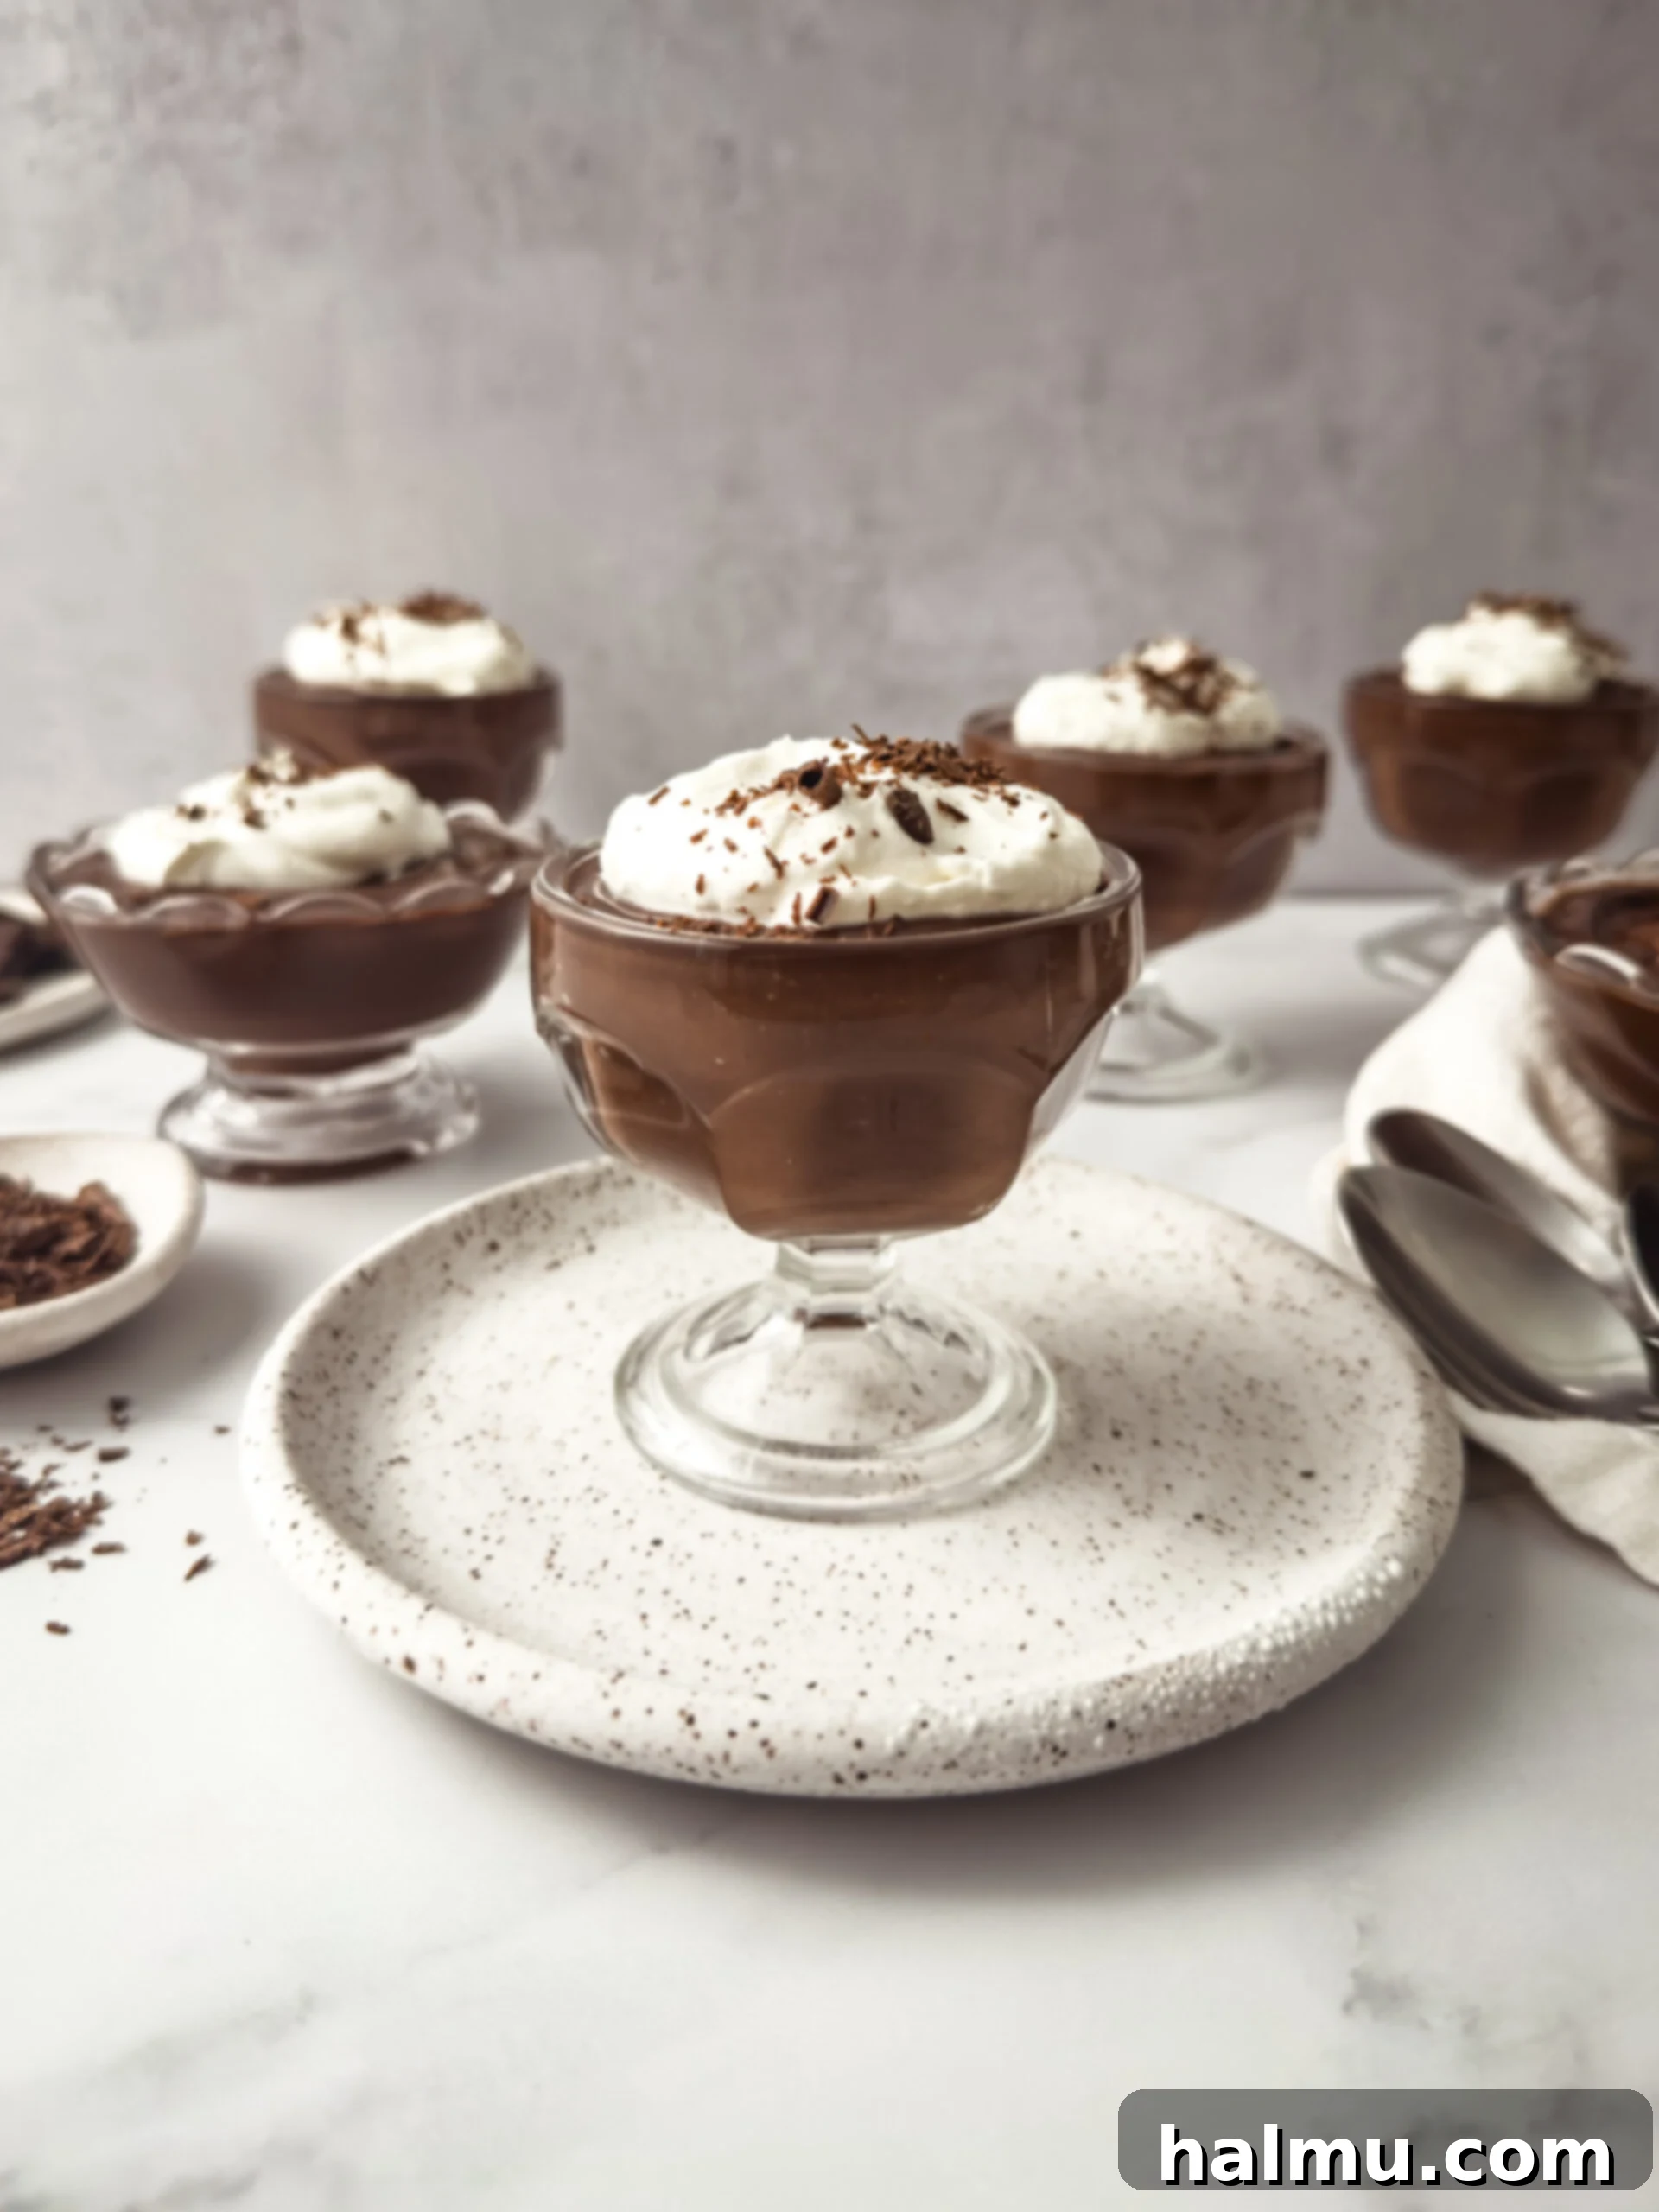
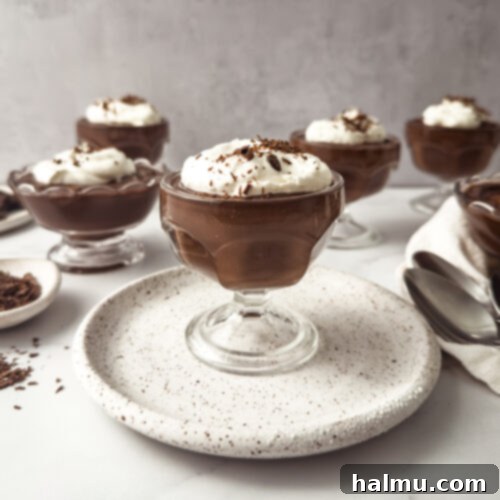
There’s something truly magical about a classic dessert that instantly transports you back to childhood. For many, that’s a bowl of rich, creamy chocolate pudding. This homemade chocolate pudding recipe is not just any recipe; it’s a journey back to those cherished memories, reminding me exactly of the delightful treat my Mom would portion into small glass dessert cups. Forget the box mixes of yesteryear; this version is made completely from scratch, boasting an unparalleled depth of chocolate flavor and a velvety-smooth texture that simply melts in your mouth. Best of all, it’s surprisingly easy to whip up with only six essential ingredients.
Crafting pudding from scratch allows you to control the quality of every ingredient, ensuring a superior taste that pre-packaged mixes simply can’t replicate. You avoid artificial flavors, excessive preservatives, and often a lackluster texture. The result is a dessert that’s not only incredibly delicious but also a healthier, more wholesome treat you can feel good about. Whether you’re a seasoned baker or a curious beginner, this recipe promises a rewarding experience and a dessert that will impress everyone at your table with its rich, authentic chocolate essence.
Why Choose Homemade Chocolate Pudding Over Box Mixes?
The allure of homemade chocolate pudding extends far beyond simple nostalgia. While convenience might tempt you towards a box mix, the advantages of a from-scratch recipe are undeniable. Here’s why homemade is always the better choice:
- Superior Flavor Profile: Store-bought mixes often rely on artificial flavorings and a generic cocoa blend. When you make pudding from scratch, you have the freedom to select high-quality Dutch-processed cocoa powder, pure vanilla extract, and fresh whole milk. These ingredients combine to create a much richer, deeper, and more authentic chocolate taste that artificial flavors simply cannot replicate.
- Unmatched Texture: The texture of homemade pudding is in a league of its own. It’s incredibly silky, smooth, and luxurious, a testament to the natural thickeners like cornstarch and the richness of whole milk and butter. Boxed puddings can often be gummy or gelatinous, lacking that melt-in-your-mouth quality that defines truly great pudding.
- Control Over Ingredients: Making it yourself gives you complete control over what goes into your dessert. You can avoid high-fructose corn syrup, artificial colors, and preservatives commonly found in packaged versions. This is particularly appealing for those with dietary concerns or who simply prefer a cleaner ingredient list.
- Customization Options: Homemade pudding is a blank canvas for customization. Want a hint of mint? Add mint extract. Prefer it spicier? A pinch of cayenne pepper works wonders. You can easily adjust the sweetness, add different chocolate types, or experiment with flavorings that are impossible with a pre-made mix.
- The Joy of Creation: There’s immense satisfaction that comes from creating something so delicious with your own hands. The process, from whisking the ingredients to watching it thicken on the stove, is a rewarding experience in itself. Serving a dessert you made from scratch adds a personal touch that your family and friends will appreciate.
Essential Ingredients for Your Perfect Pudding
Achieving that perfect homemade chocolate pudding requires just a handful of quality ingredients. Each plays a crucial role in developing the rich flavor and smooth, thick consistency we all crave. Let’s take a closer look at what you’ll need and why each component is important.
- Unsweetened Cocoa Powder: This is the heart of your chocolate pudding, providing that classic, deep chocolate flavor we all love. For the best results and a truly nostalgic taste, I highly recommend using a high-quality Dutch-processed cocoa powder. Dutch-processed cocoa has been treated with an alkali to neutralize its acidity, resulting in a darker color and a milder, less bitter chocolate flavor that’s incredibly smooth. This also helps it dissolve more easily, preventing a chalky taste. Be sure to sift your cocoa powder before adding it to the mixture to prevent any lumps, ensuring a perfectly smooth pudding from the start.
- Cornstarch: In this recipe, cornstarch is your primary thickening agent. Since we’re not using eggs, the pudding relies solely on cornstarch to achieve its desirable rich and thick consistency. It works by absorbing liquid and swelling when heated, creating a gel-like structure. It’s crucial to whisk it thoroughly with the dry ingredients first, then gradually incorporate the milk to prevent lumps, as direct heat can cause it to clump instantly.
- Granulated Sugar: Sugar not only provides the essential sweetness that balances the bitterness of the cocoa but also contributes to the pudding’s overall texture. It dissolves as the pudding cooks, creating a smooth, luscious base and preventing a grainy mouthfeel. The right amount of sugar ensures the chocolate flavor shines without being overly sweet.
- Whole Milk: For a truly rich, creamy, and thick pudding, whole milk is non-negotiable. Its higher fat content is key to achieving that luxurious mouthfeel and contributes significantly to the pudding’s body. Low-fat or non-fat milk simply won’t yield the same indulgent results and may produce a thinner, less satisfying pudding. While you could experiment with plant-based or nut milks for a dairy-free alternative, keep in mind that the final texture and flavor might vary due to different fat and protein compositions, as I haven’t personally tested these variations.
- Unsalted Butter: A small amount of butter added at the end makes a significant difference. It enriches the pudding, giving it a beautiful silky sheen and contributing to its smooth, melt-in-your-mouth texture. It also helps the pudding to set up beautifully when chilled and adds a subtle depth of flavor. Always use unsalted butter to control the overall saltiness of your dessert.
- Vanilla Extract: Just like salt enhances the flavor of savory dishes, vanilla extract elevates the chocolate in this pudding. It perfectly complements the cocoa, adding depth, warmth, and a touch of aromatic sweetness without overpowering the main flavor. Use a good quality pure vanilla extract for the best flavor, as imitation vanilla can have an artificial taste.
Crafting Your Homemade Chocolate Pudding: A Step-by-Step Guide
Making this creamy dessert from scratch is simpler than you might think. Follow these detailed steps for a consistently perfect batch every time, ensuring that nostalgic flavor and silky texture.
1. Prepare the Dry Mix and Initial Liquid Incorporation
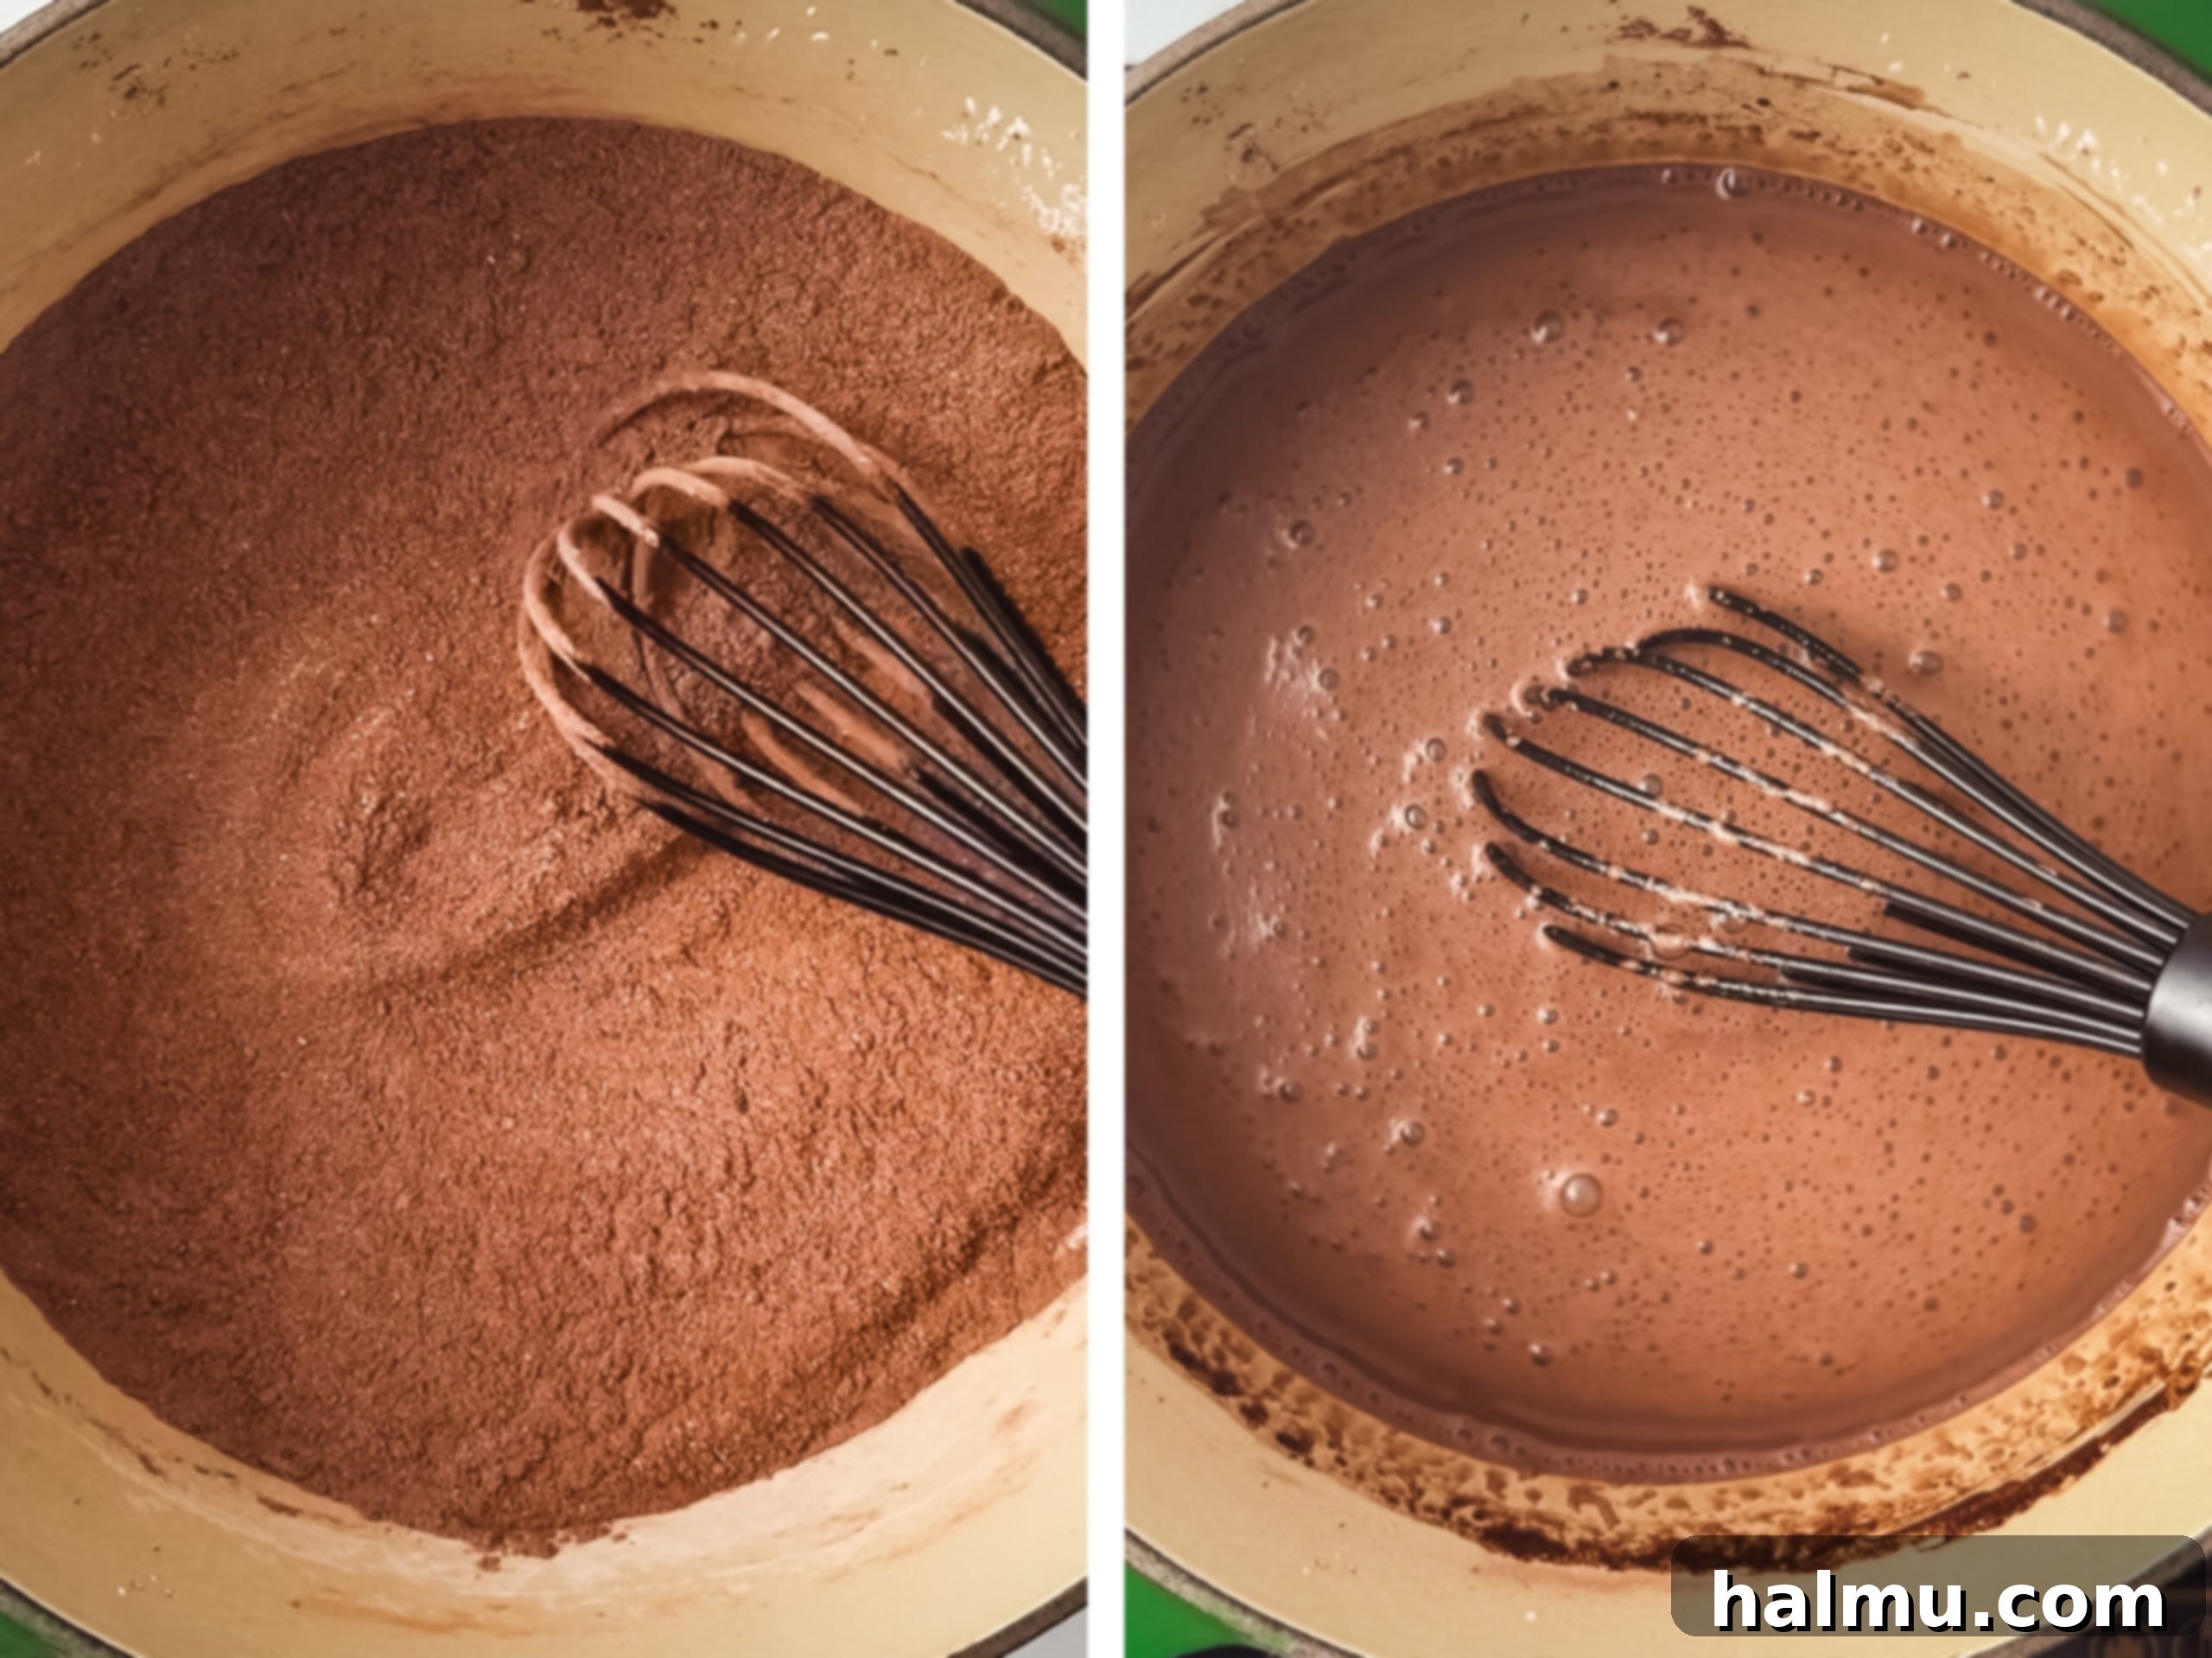
Begin by combining the granulated sugar, unsweetened cocoa powder, and cornstarch in a medium-sized, heavy-bottomed saucepan. Using a heavy-bottomed pan is crucial as it helps distribute heat more evenly and prevents scorching. It’s essential to thoroughly whisk these dry ingredients together. Pay particular attention to sifting the cocoa powder, as it tends to clump, and lumps are notoriously hard to get rid of once liquid is added. Whisk everything until it’s perfectly uniform.
Next, slowly stream in about half of the measured whole milk into the dry mixture while continuously whisking. This gradual addition, combined with vigorous whisking, is key to creating a smooth slurry and dissolving the cornstarch and cocoa without forming any unwanted lumps. Once this initial half is fully incorporated and smooth, add the remaining milk and continue to whisk until the entire mixture is completely combined and uniform in color and texture.
2. Cook the Pudding to Perfection
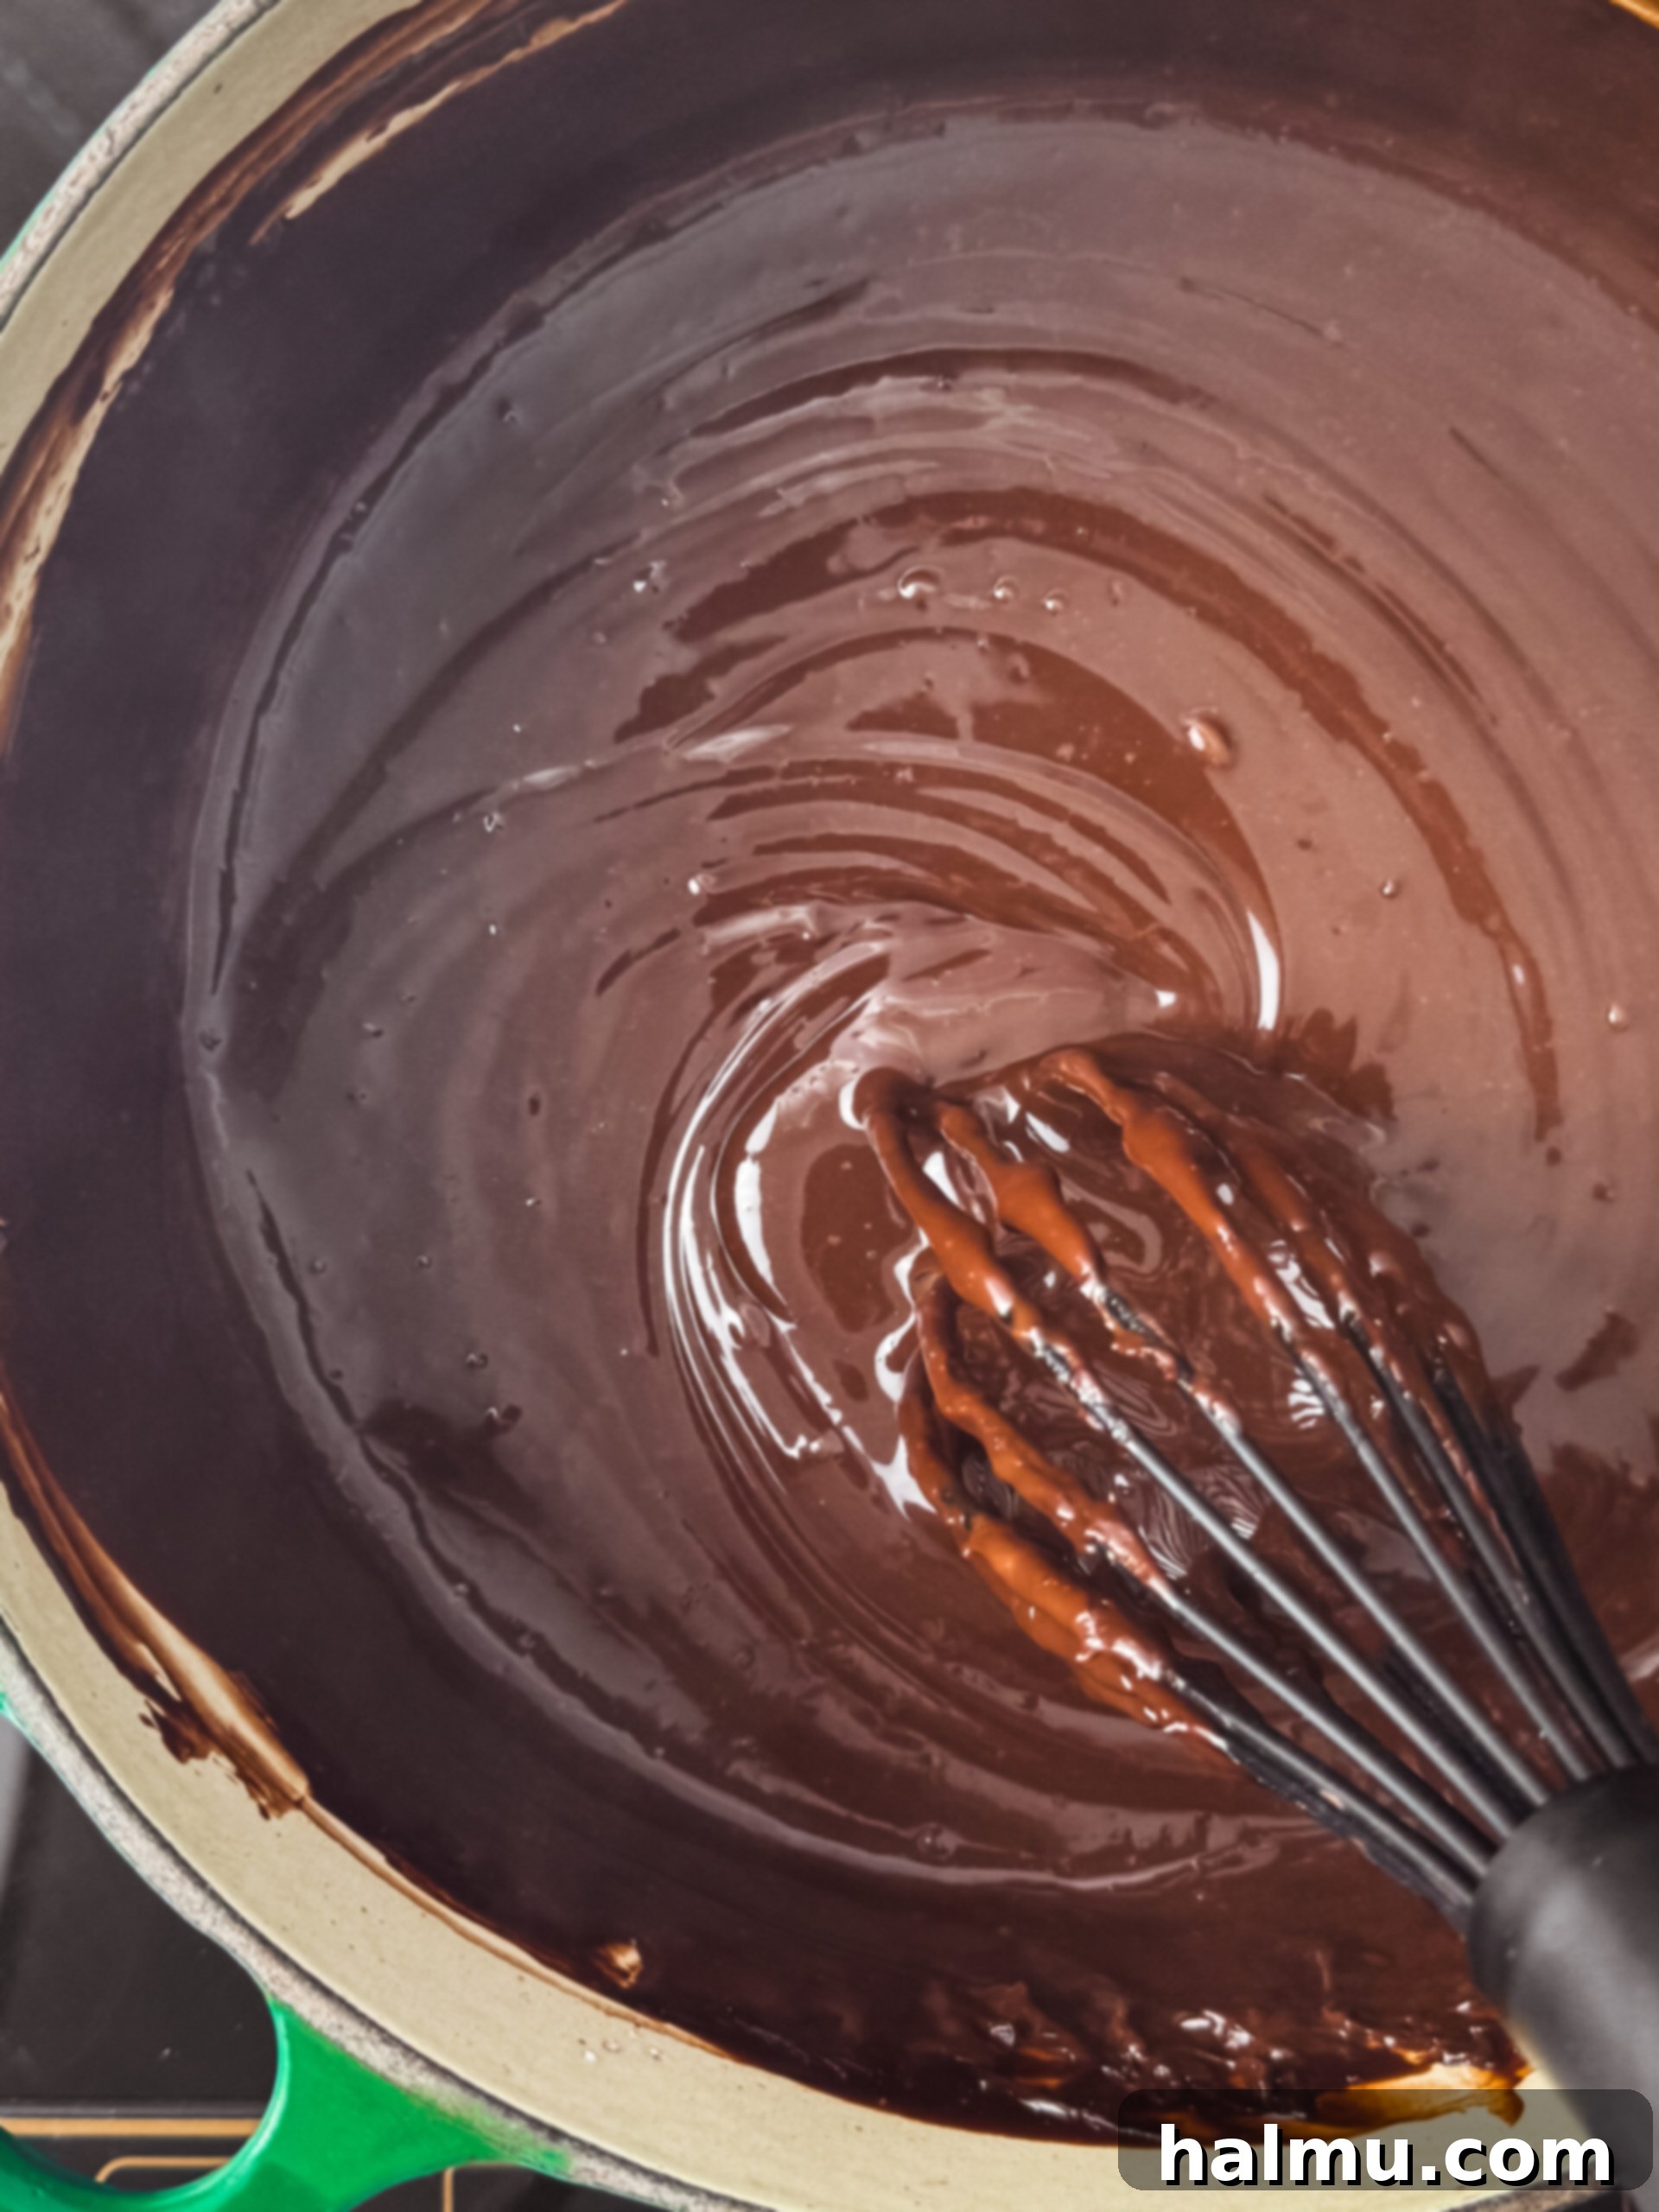
Place your saucepan with the liquid mixture over medium-low heat on your stove. This step requires patience and constant attention. Whisk the mixture continuously as it heats up. This isn’t merely to combine; it’s to prevent the pudding from sticking to the bottom of the pan and scorching, which would impart an unpleasant burnt flavor. Constant whisking also ensures even heat distribution, which is vital for the cornstarch to thicken properly and consistently.
The pudding will gradually thicken and eventually come to a gentle boil. This process typically takes about 10 minutes, but don’t rush it by increasing the heat. Once the pudding begins to boil, continue to cook and whisk for one additional minute. This extra minute is absolutely vital. It ensures that the cornstarch fully activates and cooks out any starchy flavor, allowing it to achieve its maximum thickening power and ensuring your pudding sets perfectly when chilled. You’ll notice a significant change in consistency during this final minute.
3. Finish with Flavor and Achieve Silky Smoothness
Immediately remove the pudding from the heat once it has finished cooking. The residual heat is perfect for the next additions. Stir in the unsalted butter and vanilla extract. The butter will quickly melt into the hot pudding, adding incredible richness, a beautiful silky sheen, and an even smoother texture. The vanilla extract will infuse the pudding with a warm, aromatic depth that perfectly complements the chocolate. Stir vigorously until the butter is completely melted and the mixture appears smooth and glossy.
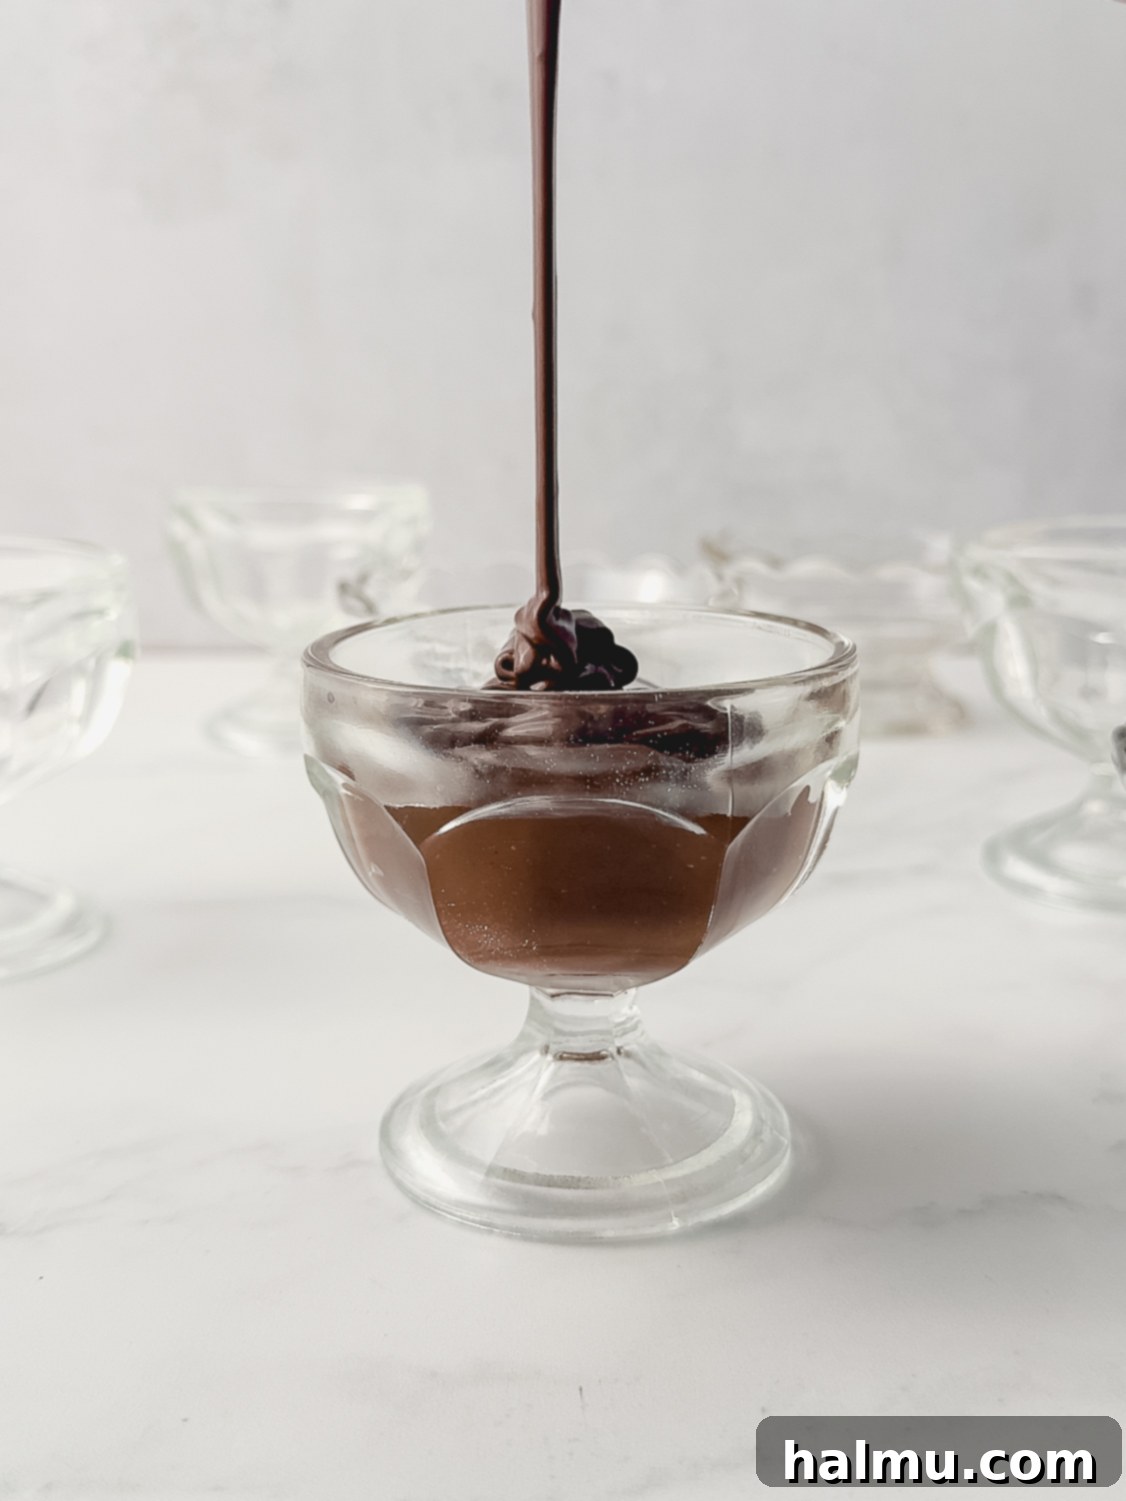
For an absolutely flawless, restaurant-quality silky-smooth pudding, a step that truly sets homemade apart, strain the mixture using a fine mesh sieve. Place the sieve over a clean bowl or directly over your serving glasses. Carefully pour the pudding through the sieve; this will catch any tiny lumps of cocoa or cornstarch that might have formed despite your best whisking efforts, leaving you with an incredibly luxurious texture. Divide the warm pudding evenly among six small glass dessert cups or jars, reminiscent of those delightful childhood treats.
4. Cover, Chill, and Let Flavors Develop
To prevent a “skin” from forming on the surface of the pudding as it cools—a common occurrence with dairy-based desserts that can be unappetizing—you must act quickly. Immediately press a piece of plastic wrap directly onto the top surface of the pudding in each individual glass. Ensure the plastic wrap is in full contact with the pudding across the entire surface to block any air from reaching it. This small step makes a huge difference in maintaining a uniform, smooth texture.
Once covered, refrigerate the pudding cups until they are completely chilled and set. The chilling time will vary depending on the size and material of your serving glasses, but typically, this takes at least 2 to 3 hours. As it cools, the pudding will continue to set up and thicken, transforming into that perfect scoopable, creamy, and delightfully cool dessert. Patience during this chilling phase is key to achieving the ultimate pudding experience, allowing the flavors to meld and the texture to firm up beautifully.
Baking Tip: Weigh Your Ingredients for Consistent Results!
For truly consistent and successful baking, I highly recommend using a kitchen scale to weigh your ingredients rather than relying on volumetric measuring cups. Weighing ingredients in grams is the most accurate method, leading to more precise results every single time. This eliminates variables like how densely flour or cocoa powder is packed, giving you a better success rate with your recipes. Plus, using a scale often means fewer measuring cups to wash, making cleanup easier! This is the scale I personally love and use in my kitchen.
Storing Your Homemade Chocolate Pudding
Proper storage is key to maintaining the creamy texture and fresh taste of your homemade chocolate pudding. Initially, it’s crucial to store the pudding cups in the fridge with plastic wrap pressed directly onto the top surface of the pudding. This is the best way to prevent the dreaded “skin” from forming as it cools and sets.
If you opted to chill your pudding in one large batch rather than individual glasses, the same rule applies: press plastic wrap directly onto the surface. Once the pudding has completely chilled and set, typically after 2-3 hours, it can be transferred to an airtight container. Stored this way in the refrigerator, your delicious homemade chocolate pudding will remain fresh and delightful for 3 to 4 days. It’s an excellent make-ahead dessert for parties, family gatherings, or simply to enjoy throughout the week!
Favorite Kitchen Tools for Pudding Perfection
Having the right tools can make all the difference in your baking endeavors. Here are some of my go-to items that make preparing this chocolate pudding a breeze and ensure the best results:
Explore more essential baking tools and ingredients in my Amazon Storefront!
Expert Tips for the Best Homemade Chocolate Pudding
While this recipe is straightforward, a few key tips can elevate your chocolate pudding from simply good to absolutely phenomenal. These little details make all the difference in achieving that perfect creamy consistency and rich flavor.
- Keep Whisking Constantly: This is arguably the most important tip. Pudding, especially one thickened with cornstarch, can easily stick to the bottom of the pan and scorch if not continuously stirred. Constant whisking ensures even heat distribution, prevents lumps, and ensures a smooth consistency throughout the cooking process. Maintain a medium-low heat setting to avoid burning, as high heat can make the milk solids stick to the bottom quickly.
- Sift Dry Ingredients and Strain the Finished Pudding: Don’t skip these crucial steps! Sifting the cocoa powder and cornstarch before mixing helps break up any small lumps, making it easier to achieve a smooth base. Even with diligent whisking, tiny aggregates can sometimes remain. Straining the fully cooked pudding through a fine mesh sieve at the very end, after adding butter and vanilla, is your secret weapon for a truly silky-smooth, velvety texture that rivals any professional dessert. It removes any last stubborn lumps or bits of cooked milk.
- Cover with Plastic Wrap Directly: As soon as you’ve poured the warm pudding into its serving dishes, immediately press a piece of plastic wrap directly onto the surface of the pudding. This prevents a rubbery “skin” from forming as it cools, keeping the top as smooth and appealing as the rest of the pudding. Ensure the plastic touches every part of the surface, creating an airtight seal that blocks air and condensation from affecting the texture.
- Patience is a Virtue (Especially for Chilling): While the aroma of warm chocolate pudding is incredibly tempting, resist the urge to dive in too soon. The chilling process is essential not only for setting the pudding to its firm, creamy texture but also for its flavors to fully meld and deepen. Allow at least 2-3 hours for it to become perfectly firm, creamy, and wonderfully cool. Rushing this step will result in a softer, less satisfying pudding.
- Use a Heavy-Bottomed Saucepan: A heavy-bottomed saucepan distributes heat more evenly across its base, which significantly reduces the risk of scorching your pudding. Thin-bottomed pans tend to create hot spots, making it easier for the pudding to stick and burn. This small investment can save you a lot of hassle and ensure a perfectly cooked batch every time.
- Don’t Overcook the Cornstarch: While cooking for an extra minute after boiling is important, overcooking can make the pudding too thick or even break the starch, resulting in a thinner pudding. Keep an eye on the consistency and time accurately.
Delicious Serving Suggestions to Elevate Your Pudding
While homemade chocolate pudding is delightful on its own, it also serves as a fantastic base for various toppings and accompaniments that can elevate it into an even more indulgent treat:
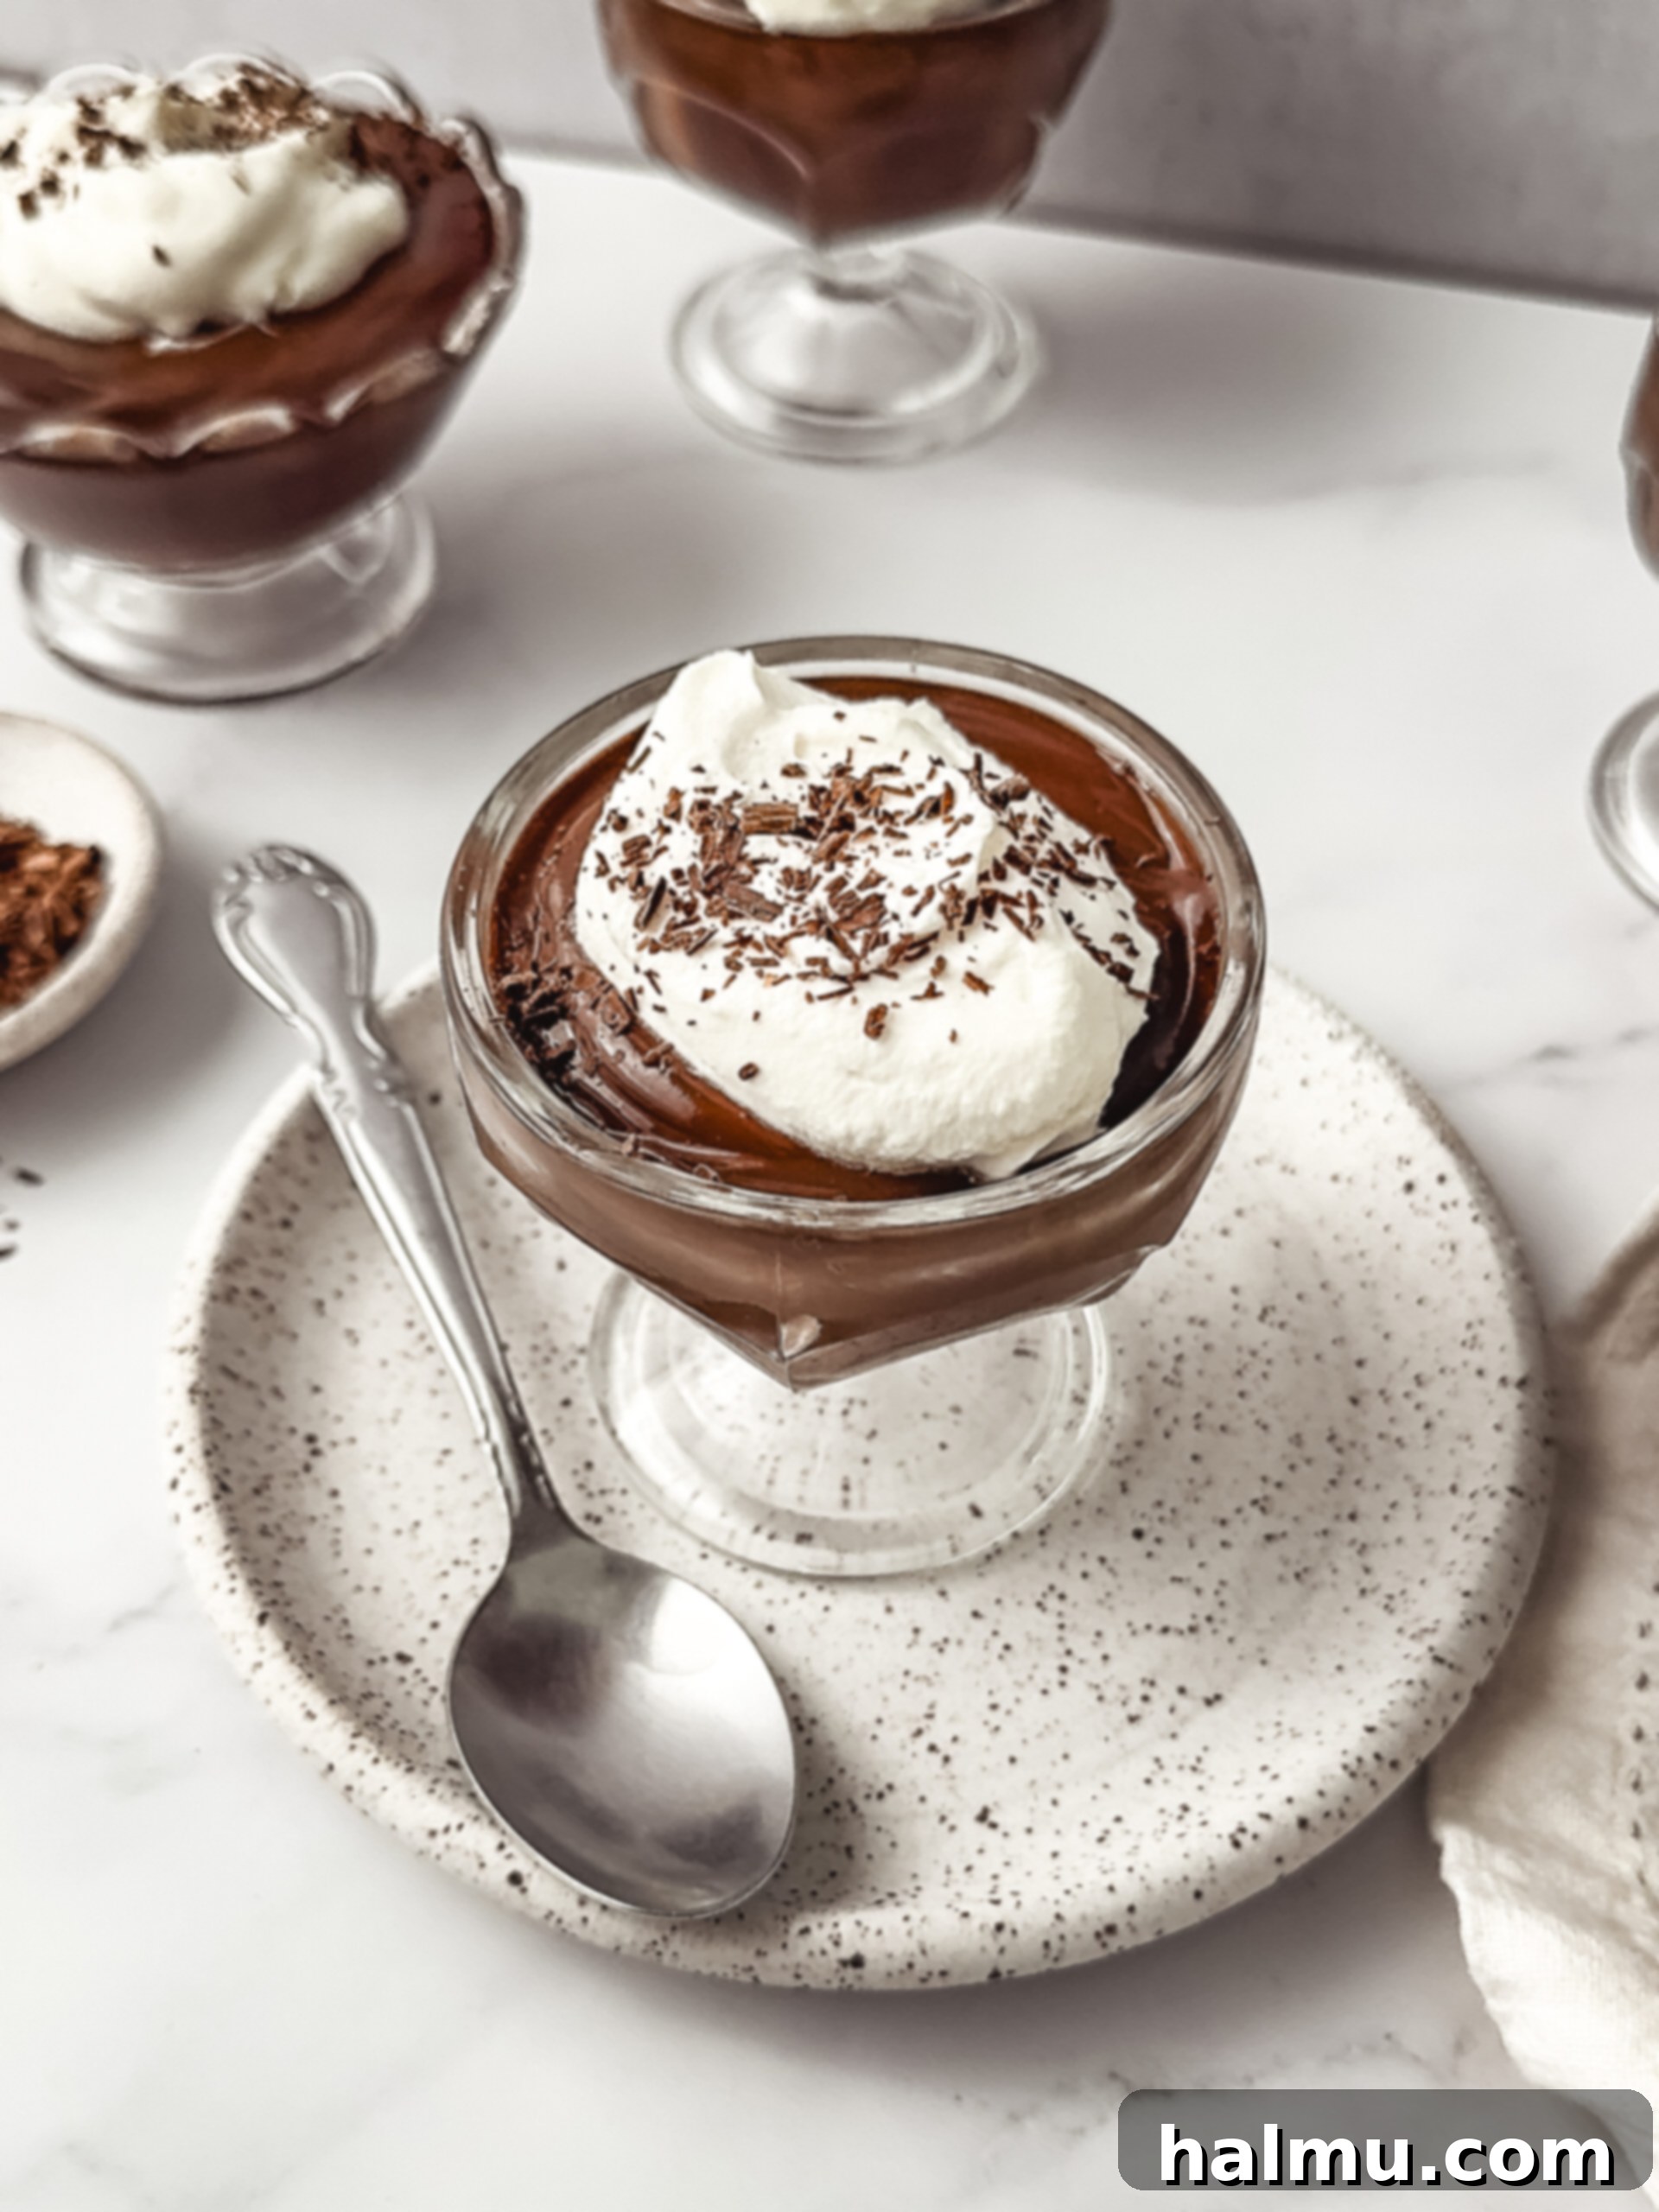
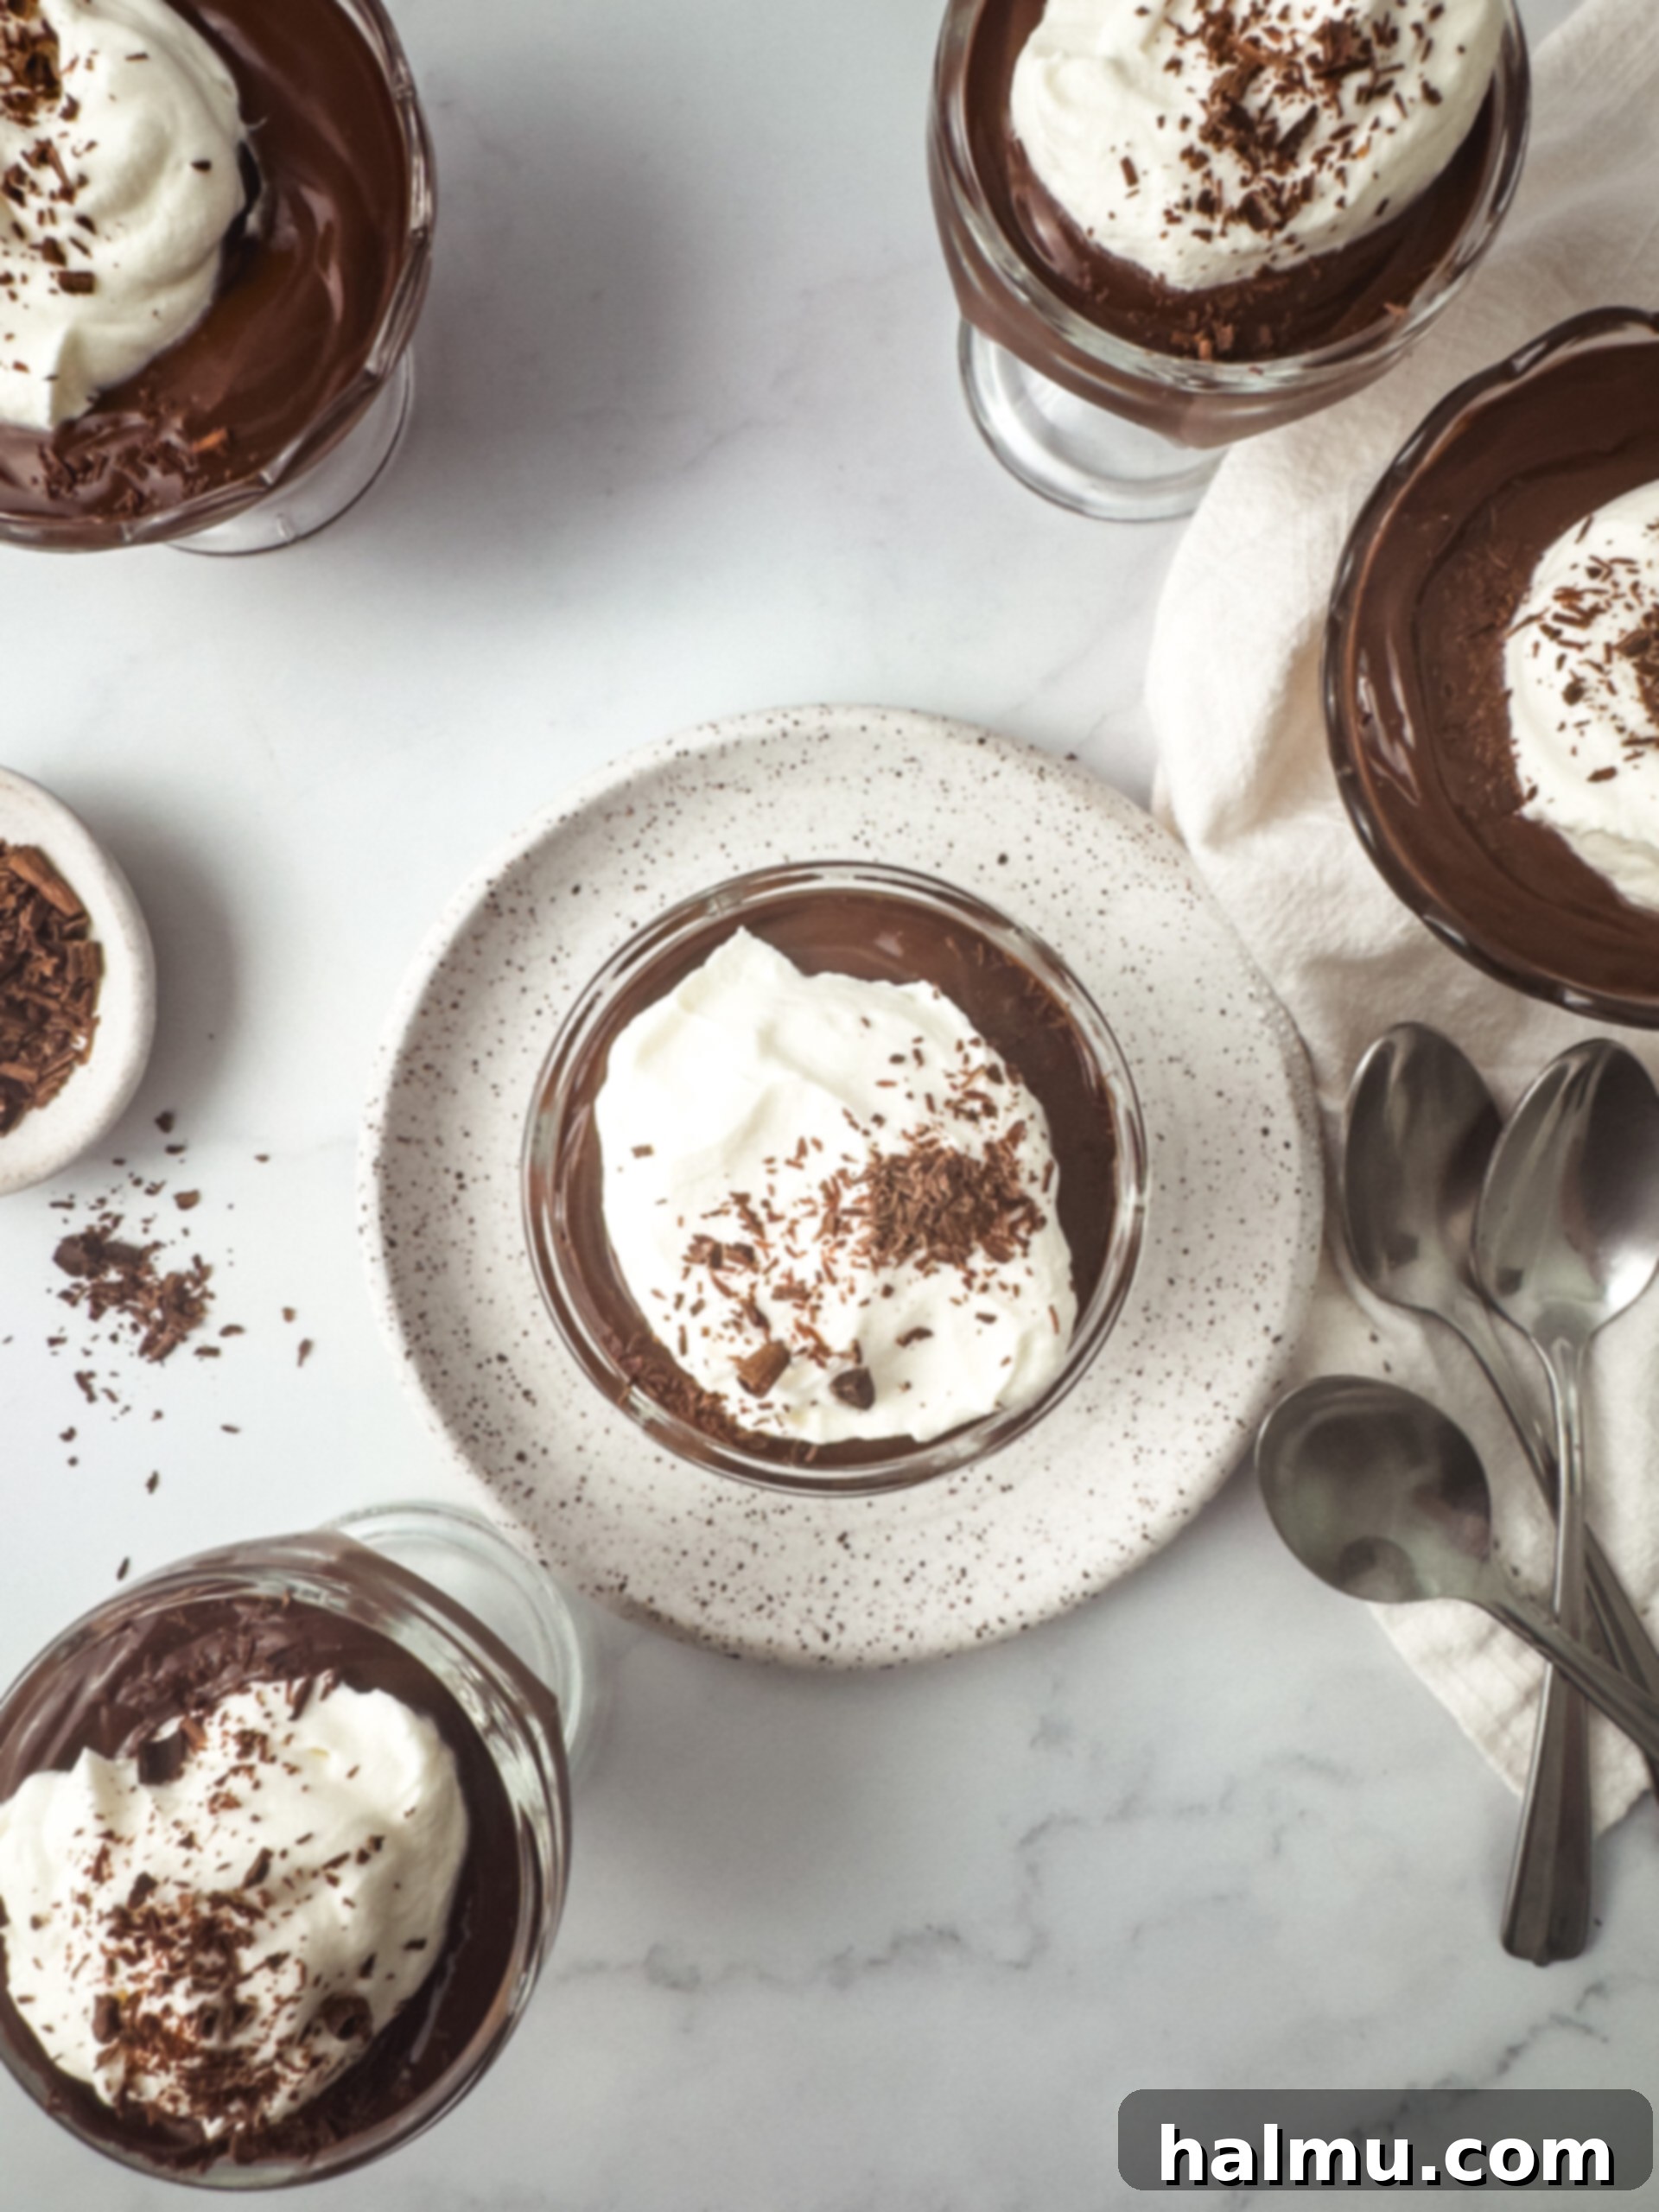
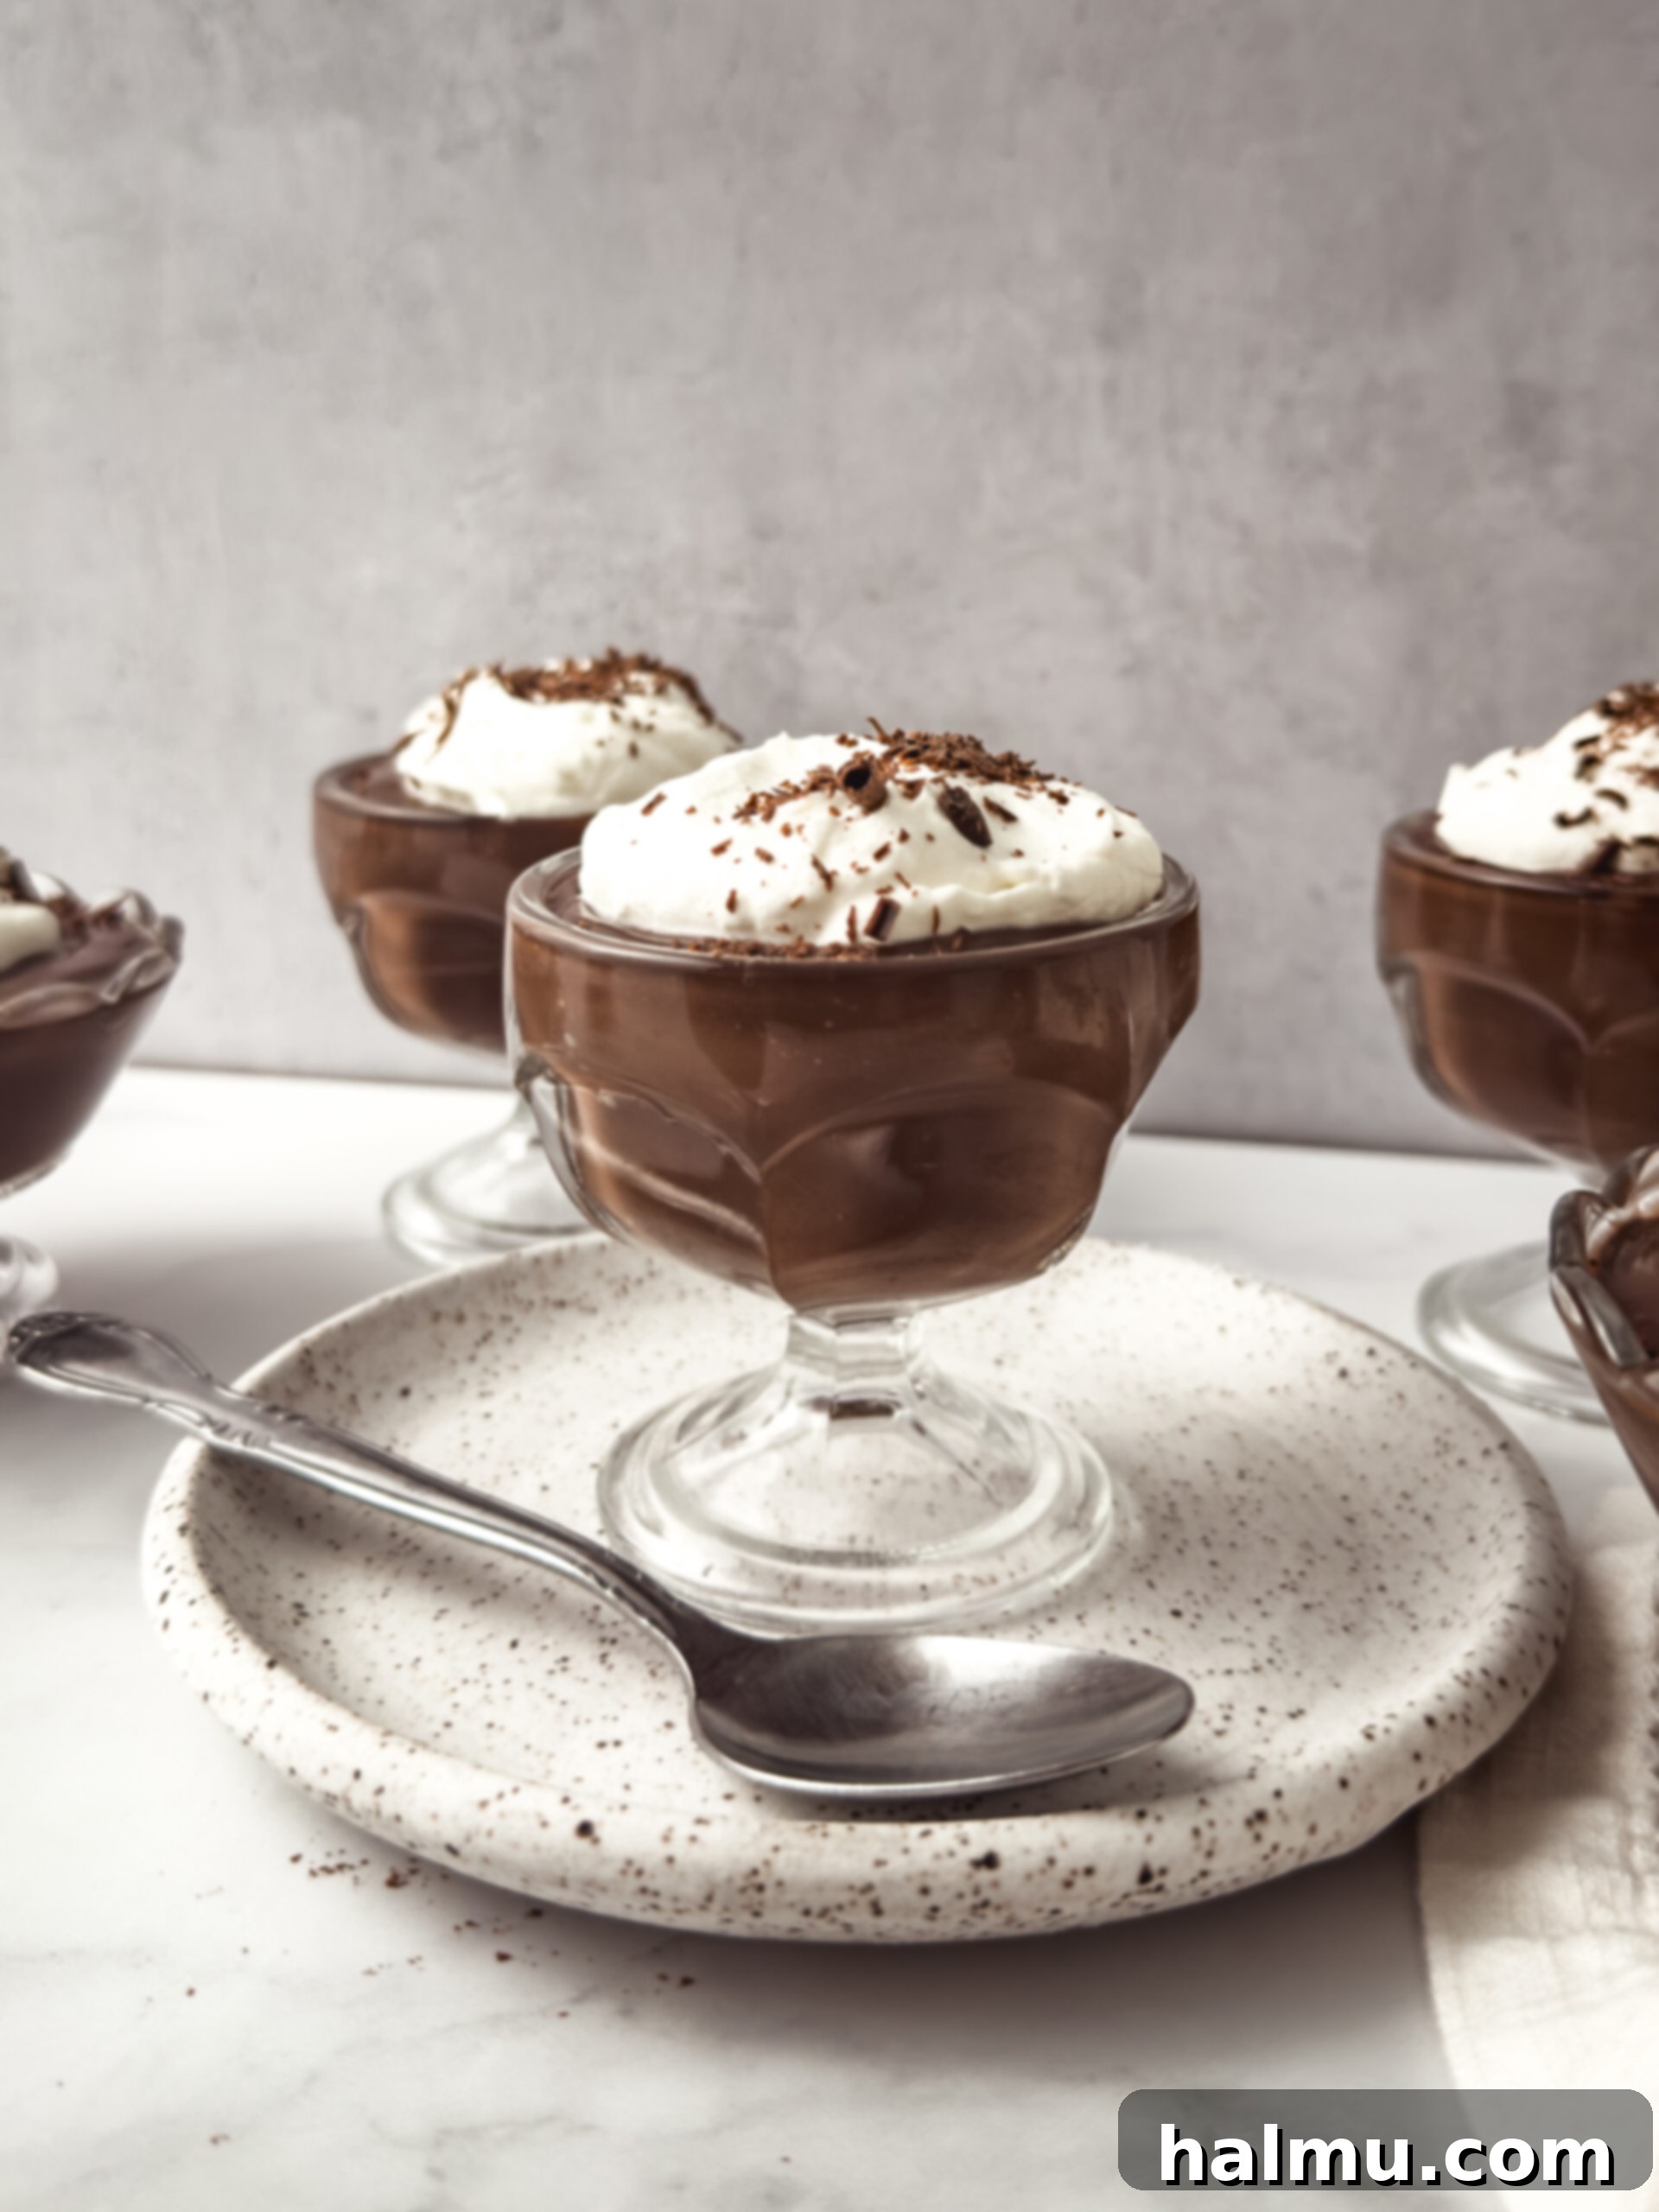
- Classic Fresh Whipped Cream: A generous dollop of freshly whipped cream is a timeless pairing. Sweeten it lightly with powdered sugar and a touch of vanilla extract for a perfect complement to the rich chocolate.
- Chocolate Shavings or Chips: For an extra layer of chocolatey goodness and a touch of elegance, sprinkle some finely shaved chocolate or mini chocolate chips over the top. Dark chocolate shavings can add a sophisticated bittersweet note.
- Fresh Berries: Strawberries, raspberries, or blueberries provide a beautiful color contrast and a refreshing tartness that cuts through the richness of the pudding. The natural sweetness and juiciness of berries are a perfect match.
- Cookie Crumbles: Add a delightful textural crunch with crushed Oreos, graham crackers, shortbread cookies, or even crunchy biscotti. This creates a pleasing contrast with the smooth pudding.
- Sea Salt Flakes: A tiny sprinkle of flaky sea salt can dramatically enhance the chocolate flavor, bringing out its complexities and adding a sophisticated, modern touch.
- Espresso Powder: A pinch of instant espresso powder or finely ground coffee mixed into the pudding (or sprinkled on top) can deepen the chocolate flavor beautifully without making the pudding taste like coffee. It intensifies the cocoa notes.
- Toasted Coconut Flakes: For a tropical twist, lightly toast some shredded coconut and sprinkle it over the chilled pudding.
- Caramel or Fudge Sauce: Drizzle warm caramel sauce or an extra layer of chocolate fudge sauce for an even more decadent experience.
Troubleshooting Common Chocolate Pudding Problems
Even with simple recipes, sometimes things don’t go exactly as planned. Don’t worry, many common pudding problems have easy solutions or can be avoided with a bit of foresight. Here’s how to troubleshoot common issues:
- Pudding is Too Thin: This usually means the cornstarch didn’t fully activate or wasn’t cooked long enough at a boil. If your pudding is still warm and hasn’t set, you can try returning the mixture to medium-low heat and whisking continuously for a few more minutes until it visibly thickens. If it’s already chilled and too thin, you might need to make a small slurry of cornstarch (1-2 tablespoons mixed with an equal amount of cold milk), temper it into the pudding (by whisking a small amount of hot pudding into the slurry first), then gently reheat the entire batch until it thickens.
- Pudding is Lumpy: This often happens if the cocoa or cornstarch wasn’t properly sifted or whisked into the milk gradually enough. The best preventative measure is to sift all dry ingredients and make a smooth slurry with part of the milk before adding the rest. If lumps appear after cooking, straining the cooked pudding through a fine mesh sieve (as suggested in the instructions) is the most effective fix to achieve a smooth texture.
- Pudding Tastes Scorched: Unfortunately, a burnt taste is hard to fix once it’s permeated the entire batch. This is usually due to cooking on too high a heat or insufficient whisking, allowing solids to stick and burn on the bottom of the pan. To avoid this, always cook on medium-low heat and stir constantly. If only a small amount on the very bottom is burnt, carefully transfer the unburnt portion of the pudding to a new, clean pan, leaving the scorched part behind.
- A “Skin” Formed on Top: This is why pressing plastic wrap directly onto the surface is so important. If a skin forms despite your efforts, you can usually peel it off and discard it. Then, gently whisk the top layer of the pudding to smooth it out before serving. It won’t affect the flavor, but the texture will be less uniform.
- Pudding is Too Thick: If your pudding has become too firm, you can gently whisk in a tablespoon or two of milk or cream at a time until it reaches your desired consistency. Do this slowly, especially if the pudding is cold, to avoid breaking its structure.
More Chocolate Delights You’ll Love
If you’re a true chocolate enthusiast and enjoyed crafting this homemade pudding, you’ll definitely want to explore these other fantastic recipes that celebrate the rich, irresistible flavor of chocolate:
- Chocolate Pudding Cake: A decadent and moist cake with a hidden layer of creamy chocolate pudding baked right in, offering a delightful surprise with every bite.
- S’more Pudding Cups: All the nostalgic flavors of a campfire s’more—toasted marshmallow, rich chocolate, and crunchy graham cracker—reimagined in a convenient and delicious pudding cup.
- Chocolate Custard Brioche Donuts: Indulge in fluffy, golden brioche donuts generously filled with a luscious, smooth chocolate custard, a perfect treat for breakfast or dessert.
Ready to make this incredible homemade chocolate pudding? Here’s the full recipe card to guide you, complete with ingredients and step-by-step instructions. Happy baking!
Homemade Chocolate Pudding
Creamy homemade Chocolate Pudding is silky smooth and full of rich chocolate flavor. Top with a dollop of fresh whipped cream plus a sprinkle of chocolate shavings and this classic childhood treat will become a family favorite.
Ingredients
For the Chocolate Pudding
- ⅔ cup (135g) granulated sugar
- ½ cup (46g) unsweetened cocoa powder
- ¼ cup (40g) cornstarch
- 2 ½ cups (600g) whole milk
- 2 Tablespoons (28g) unsalted butter
- 1 teaspoon vanilla extract
For the Whipped Cream
- 1 cup (240mL) heavy cream
- 3 Tablespoons (23g) powdered sugar
- ½ teaspoon vanilla extract
For Finishing
- chocolate shavings (optional)
Instructions
- Chocolate Pudding: Add the granulated sugar to a medium, heavy-bottomed saucepan, then sift in the cocoa powder and cornstarch. Whisk these dry ingredients together thoroughly until well combined. Slowly stream in about half of the whole milk while continuously whisking to create a smooth, lump-free slurry. Once combined, add the remaining milk and mix until everything is fully incorporated.
- Place the saucepan over medium-low heat. Whisk continuously until the mixture thickens significantly and begins to boil. This process typically takes about 10 minutes. Once the pudding reaches a boil, continue to cook and whisk for an additional minute to ensure the cornstarch is fully activated and the pudding achieves its desired thickness and smooth texture.
- Remove the saucepan from the heat. Immediately stir in the unsalted butter and vanilla extract. Continue stirring until the butter is completely melted and the mixture is smooth and glossy. For an exceptionally silky texture, strain the entire pudding mixture through a fine mesh sieve into a clean bowl or directly into your serving cups, catching any tiny lumps.
- Divide the warm pudding evenly among 6 small dessert cups or glass jars (typically 3½ oz – 4 oz capacity). To prevent a skin from forming, immediately press a piece of plastic wrap directly onto the surface of the pudding in each cup, ensuring full contact. Refrigerate the pudding cups for at least 2-3 hours, or until completely chilled and set.
- Whipped Cream: In the bowl of a stand mixer fitted with a whisk attachment (or using a handheld mixer), add the heavy cream, powdered sugar, and vanilla extract. Whip the mixture until soft peaks form. Be careful not to over-whip, or it will turn grainy.
- Once the chocolate pudding is thoroughly chilled and set (after at least 2 hours), top each serving with a generous dollop of fresh whipped cream and a sprinkle of chocolate shavings, if desired. Serve immediately and enjoy this delightful homemade treat!
Did you make this recipe? Be sure to tag @sweetkitchencravings on Instagram! We’d love to see your creations!

HI THERE!
I’m Rachel
I’m the dessert lover, recipe developer, and content creator behind Sweet Kitchen Cravings. Here you’ll find classic yet special recipes that are sure to impress your loved ones!
MORE ABOUT RACHEL
