This post may contain affiliate links. Please read my full disclosure policy.
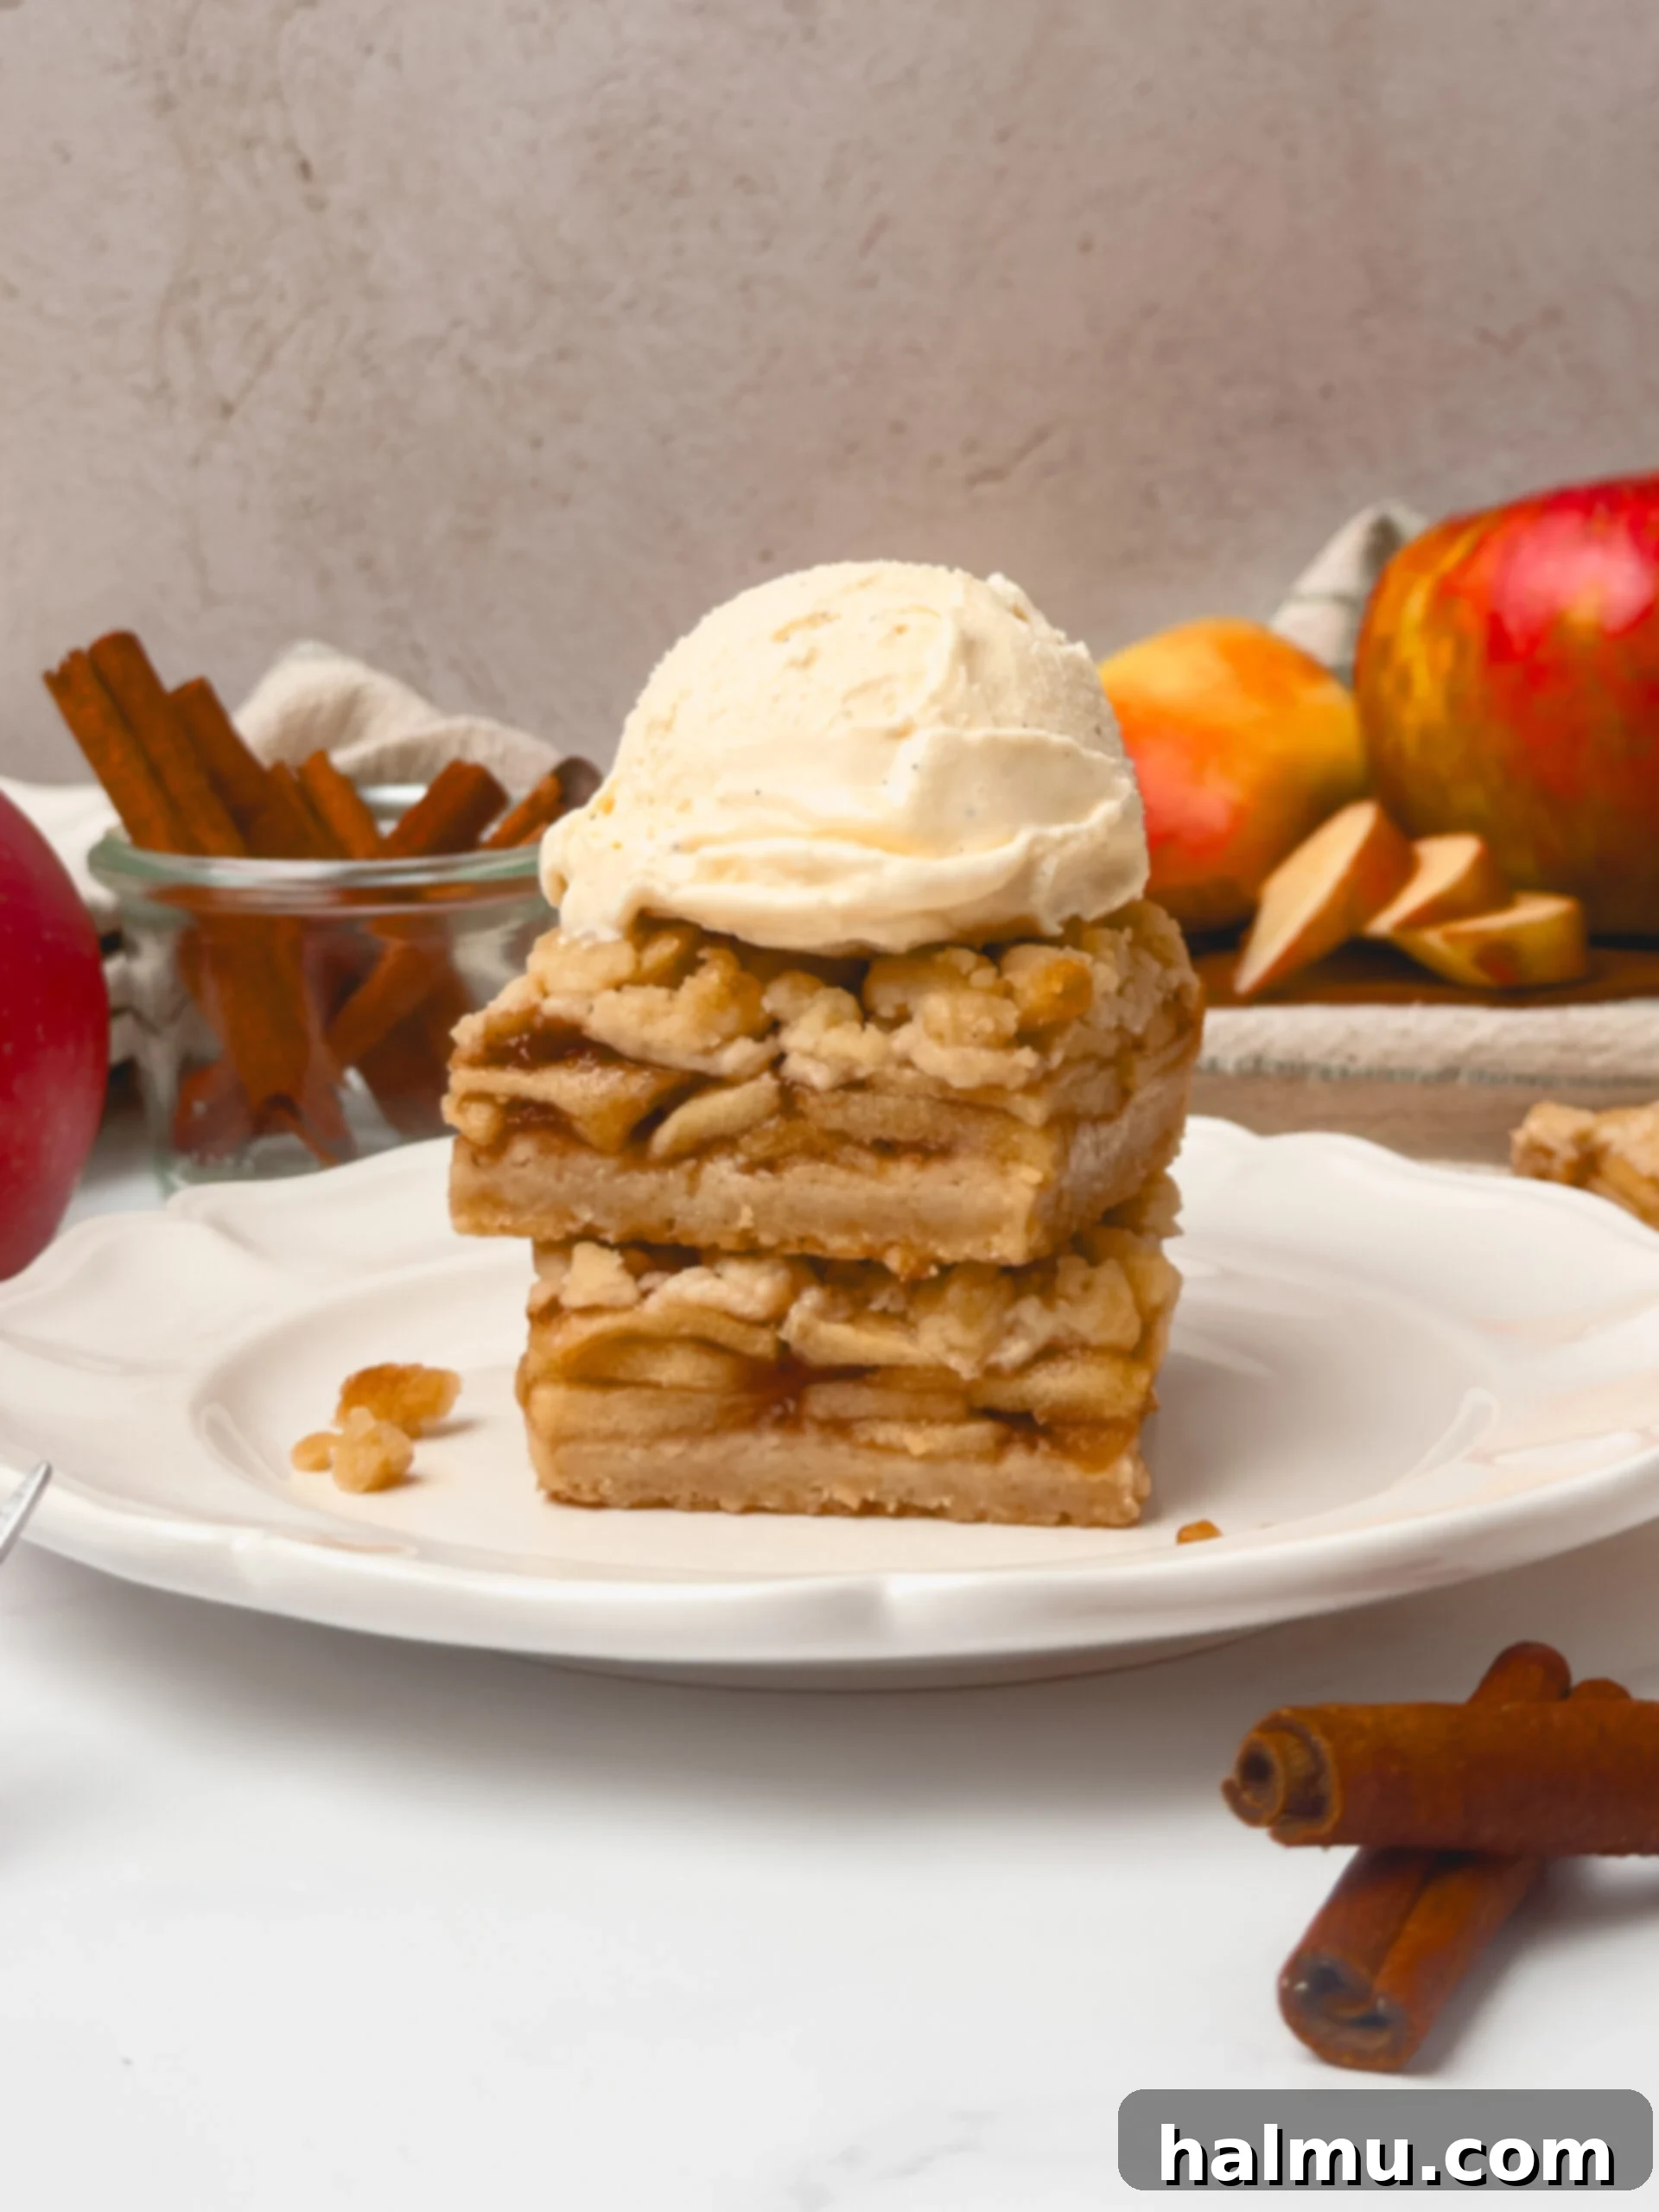
Irresistible Apple Pie Bars with Crumb Topping: Your Ultimate Fall Dessert
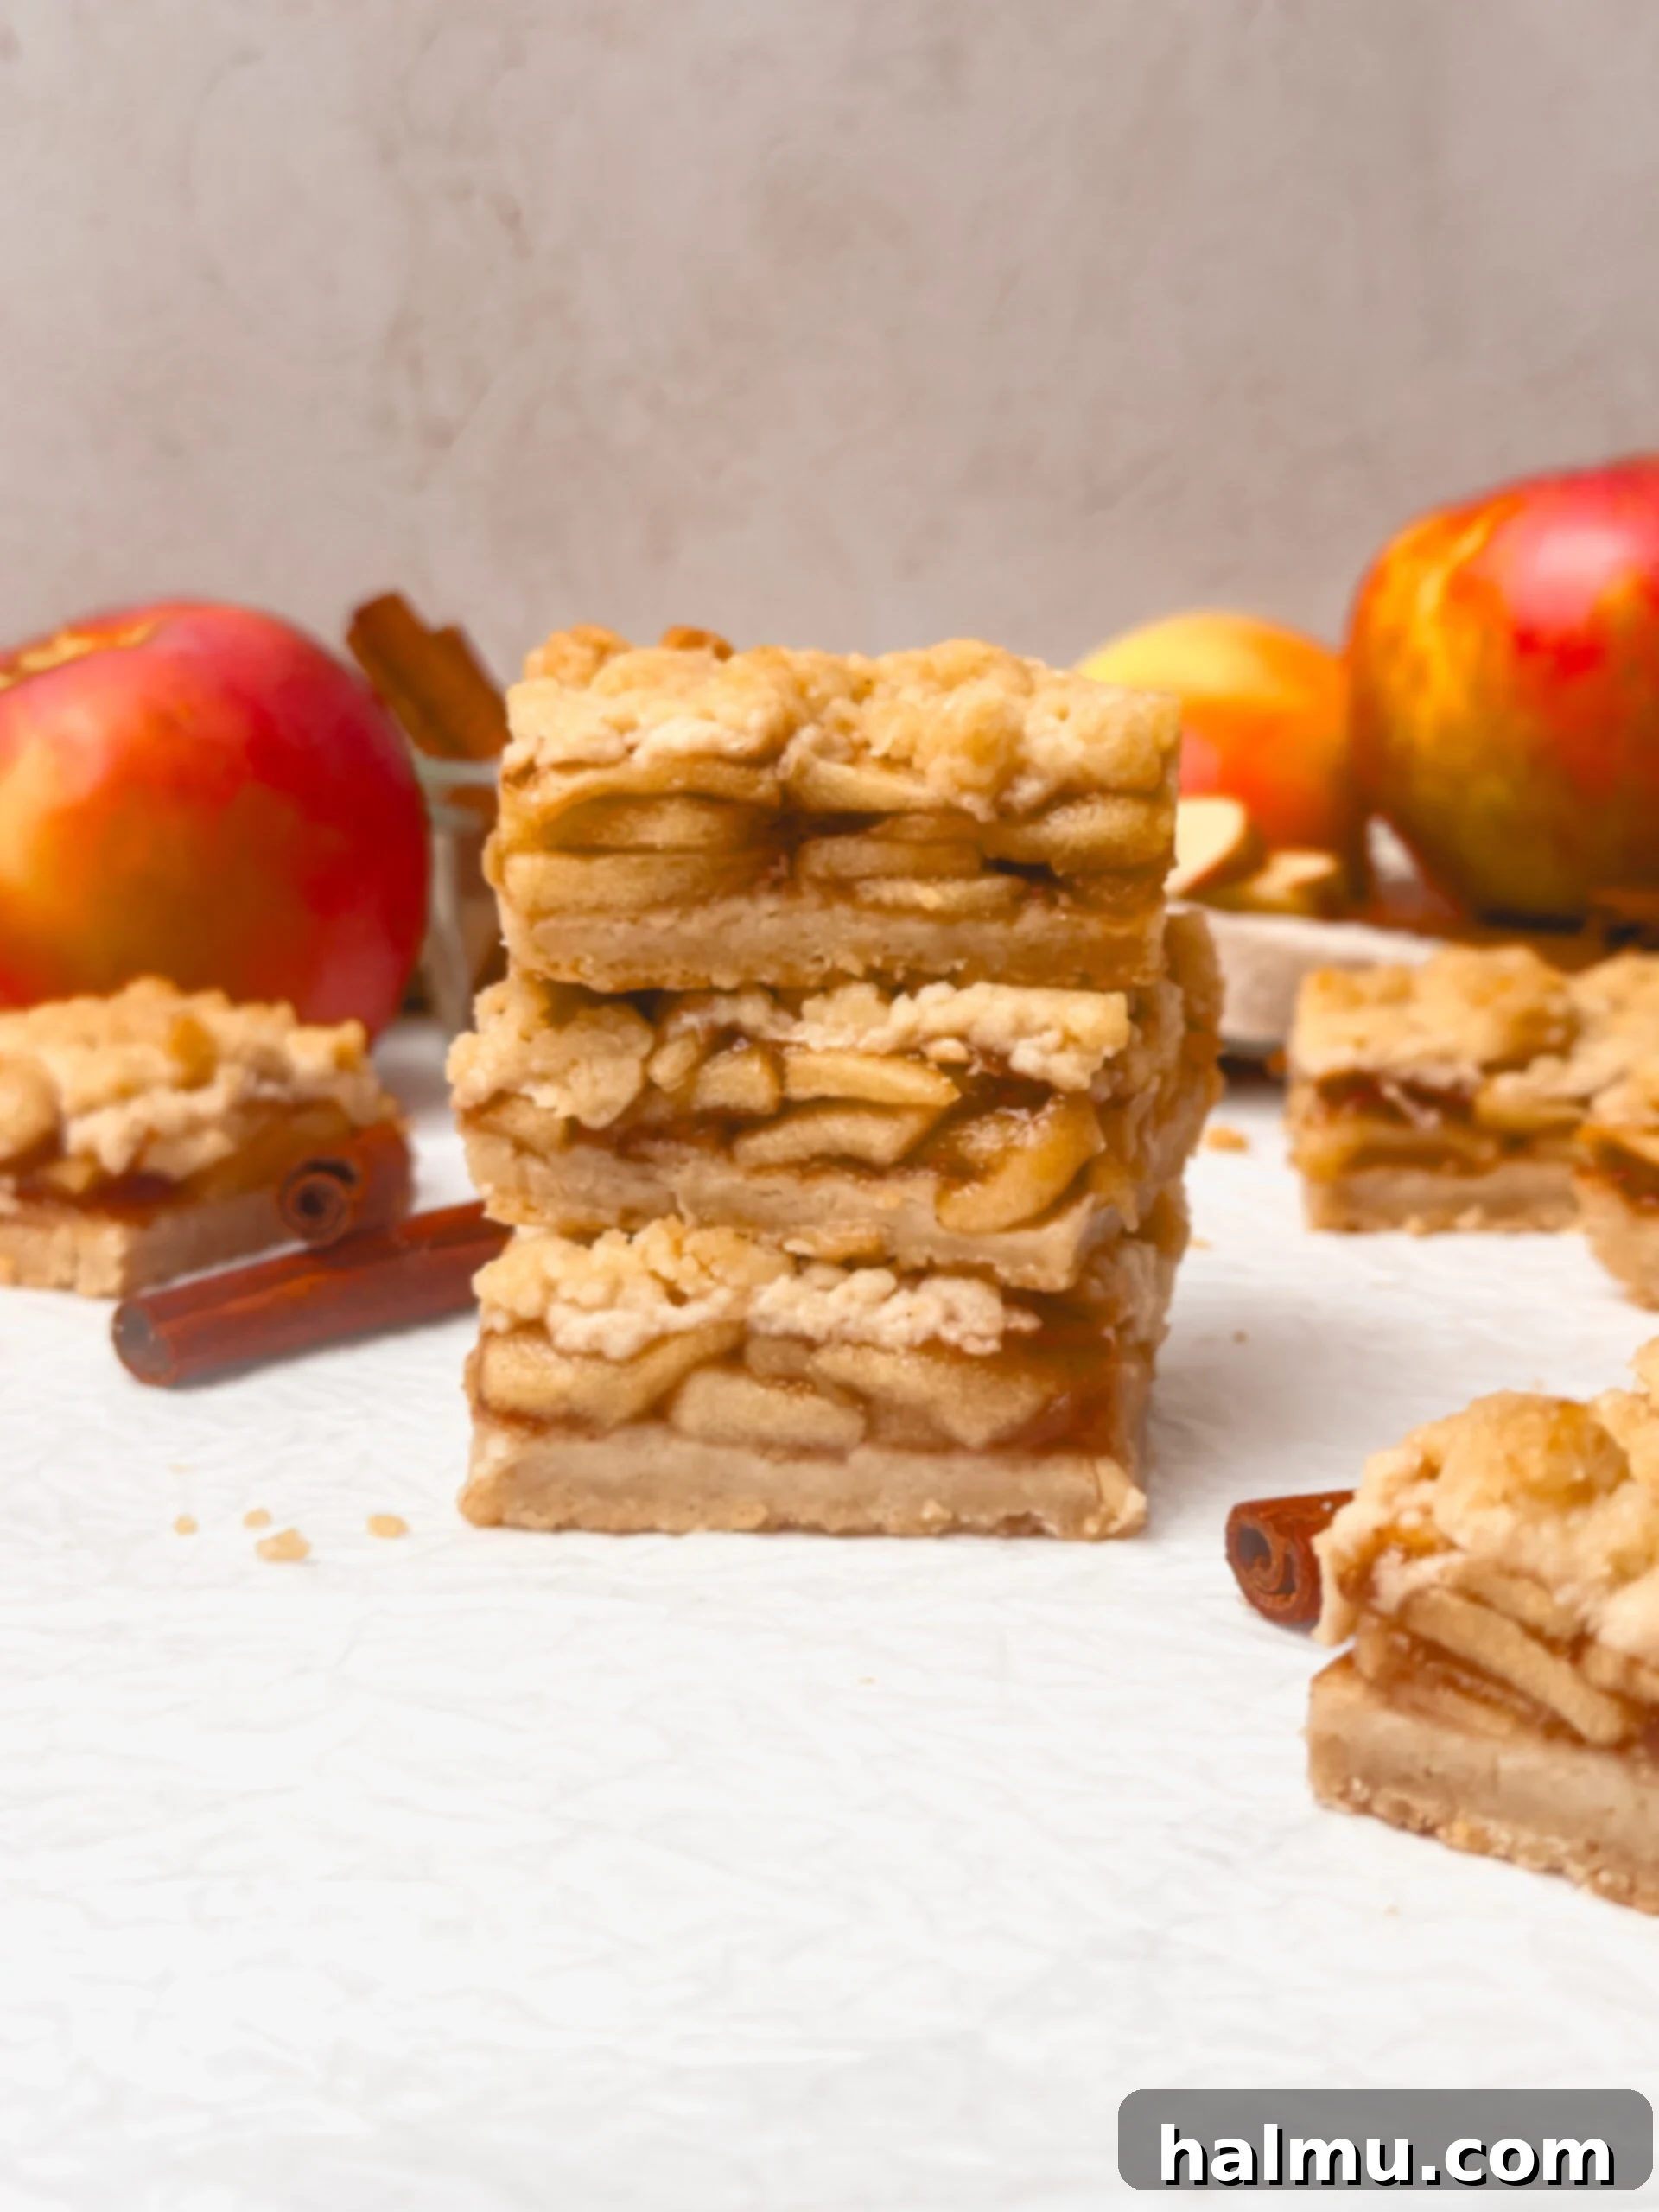
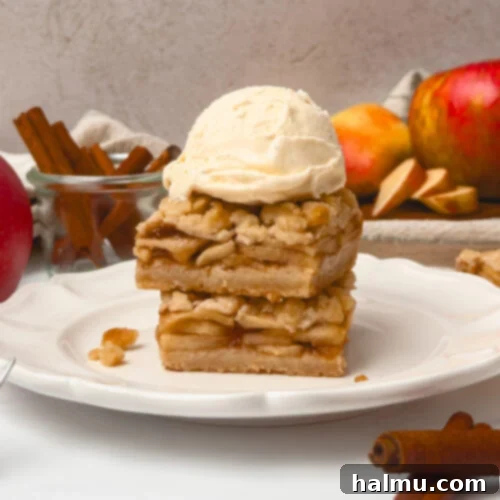
As the leaves begin to turn and a crispness fills the air, nothing quite captures the essence of autumn like the comforting aroma of apple pie. But what if you could enjoy all that classic flavor in a much easier, more convenient form? These homemade Apple Pie Bars are the perfect solution, offering a delightful twist on a traditional favorite. Imagine a golden, crumbly, buttery shortbread crust generously topped with tender, thinly sliced apples bathed in a sweet, jammy cinnamon filling, all crowned with more of that irresistible shortbread crumble. It’s a dessert that’s not only incredibly flavorful but also incredibly easy to prepare and share. Prepare yourself for endless compliments and requests for the recipe!
Why These Apple Pie Bars Will Be Your New Go-To Dessert
These Apple Pie Bars aren’t just a delicious treat; they’re designed for convenience, crowd-pleasing appeal, and pure autumnal bliss. Here’s why this recipe will quickly become a cherished favorite in your baking repertoire:
- Effortless Entertaining for Any Crowd – Forget the stress of individual slices! This recipe consistently yields 16 generous servings, making it ideal for holiday gatherings, potlucks, or simply feeding a hungry family. Their sturdy bar form also makes them incredibly easy to transport, ensuring your delicious dessert arrives intact and ready to impress at any event.
- Buttery Shortbread Perfection – The magic of these bars lies in their versatile shortbread recipe, which brilliantly serves a dual purpose: a firm, rich crust at the bottom and a delightful, crumbly streusel topping. This eliminates the need for rolling and chilling delicate traditional pie crusts, saving you valuable time and effort in the kitchen without sacrificing flavor or texture.
- Cozy Cinnamon-Spiced Apples – Experience the quintessential taste of fall with perfectly tender apple slices enveloped in a sweet, subtly spiced cinnamon filling. The apples are cooked just enough to soften, developing that beloved jammy consistency characteristic of a classic apple pie, creating a comforting and flavorful core to each bar.
- Quick & Simple Preparation – Say goodbye to cumbersome electric mixers and complex techniques. This recipe is designed for simplicity. Utilizing melted butter in the shortbread crust means the dough comes together effortlessly with just a fork, ensuring a smooth and enjoyable baking process from start to finish.
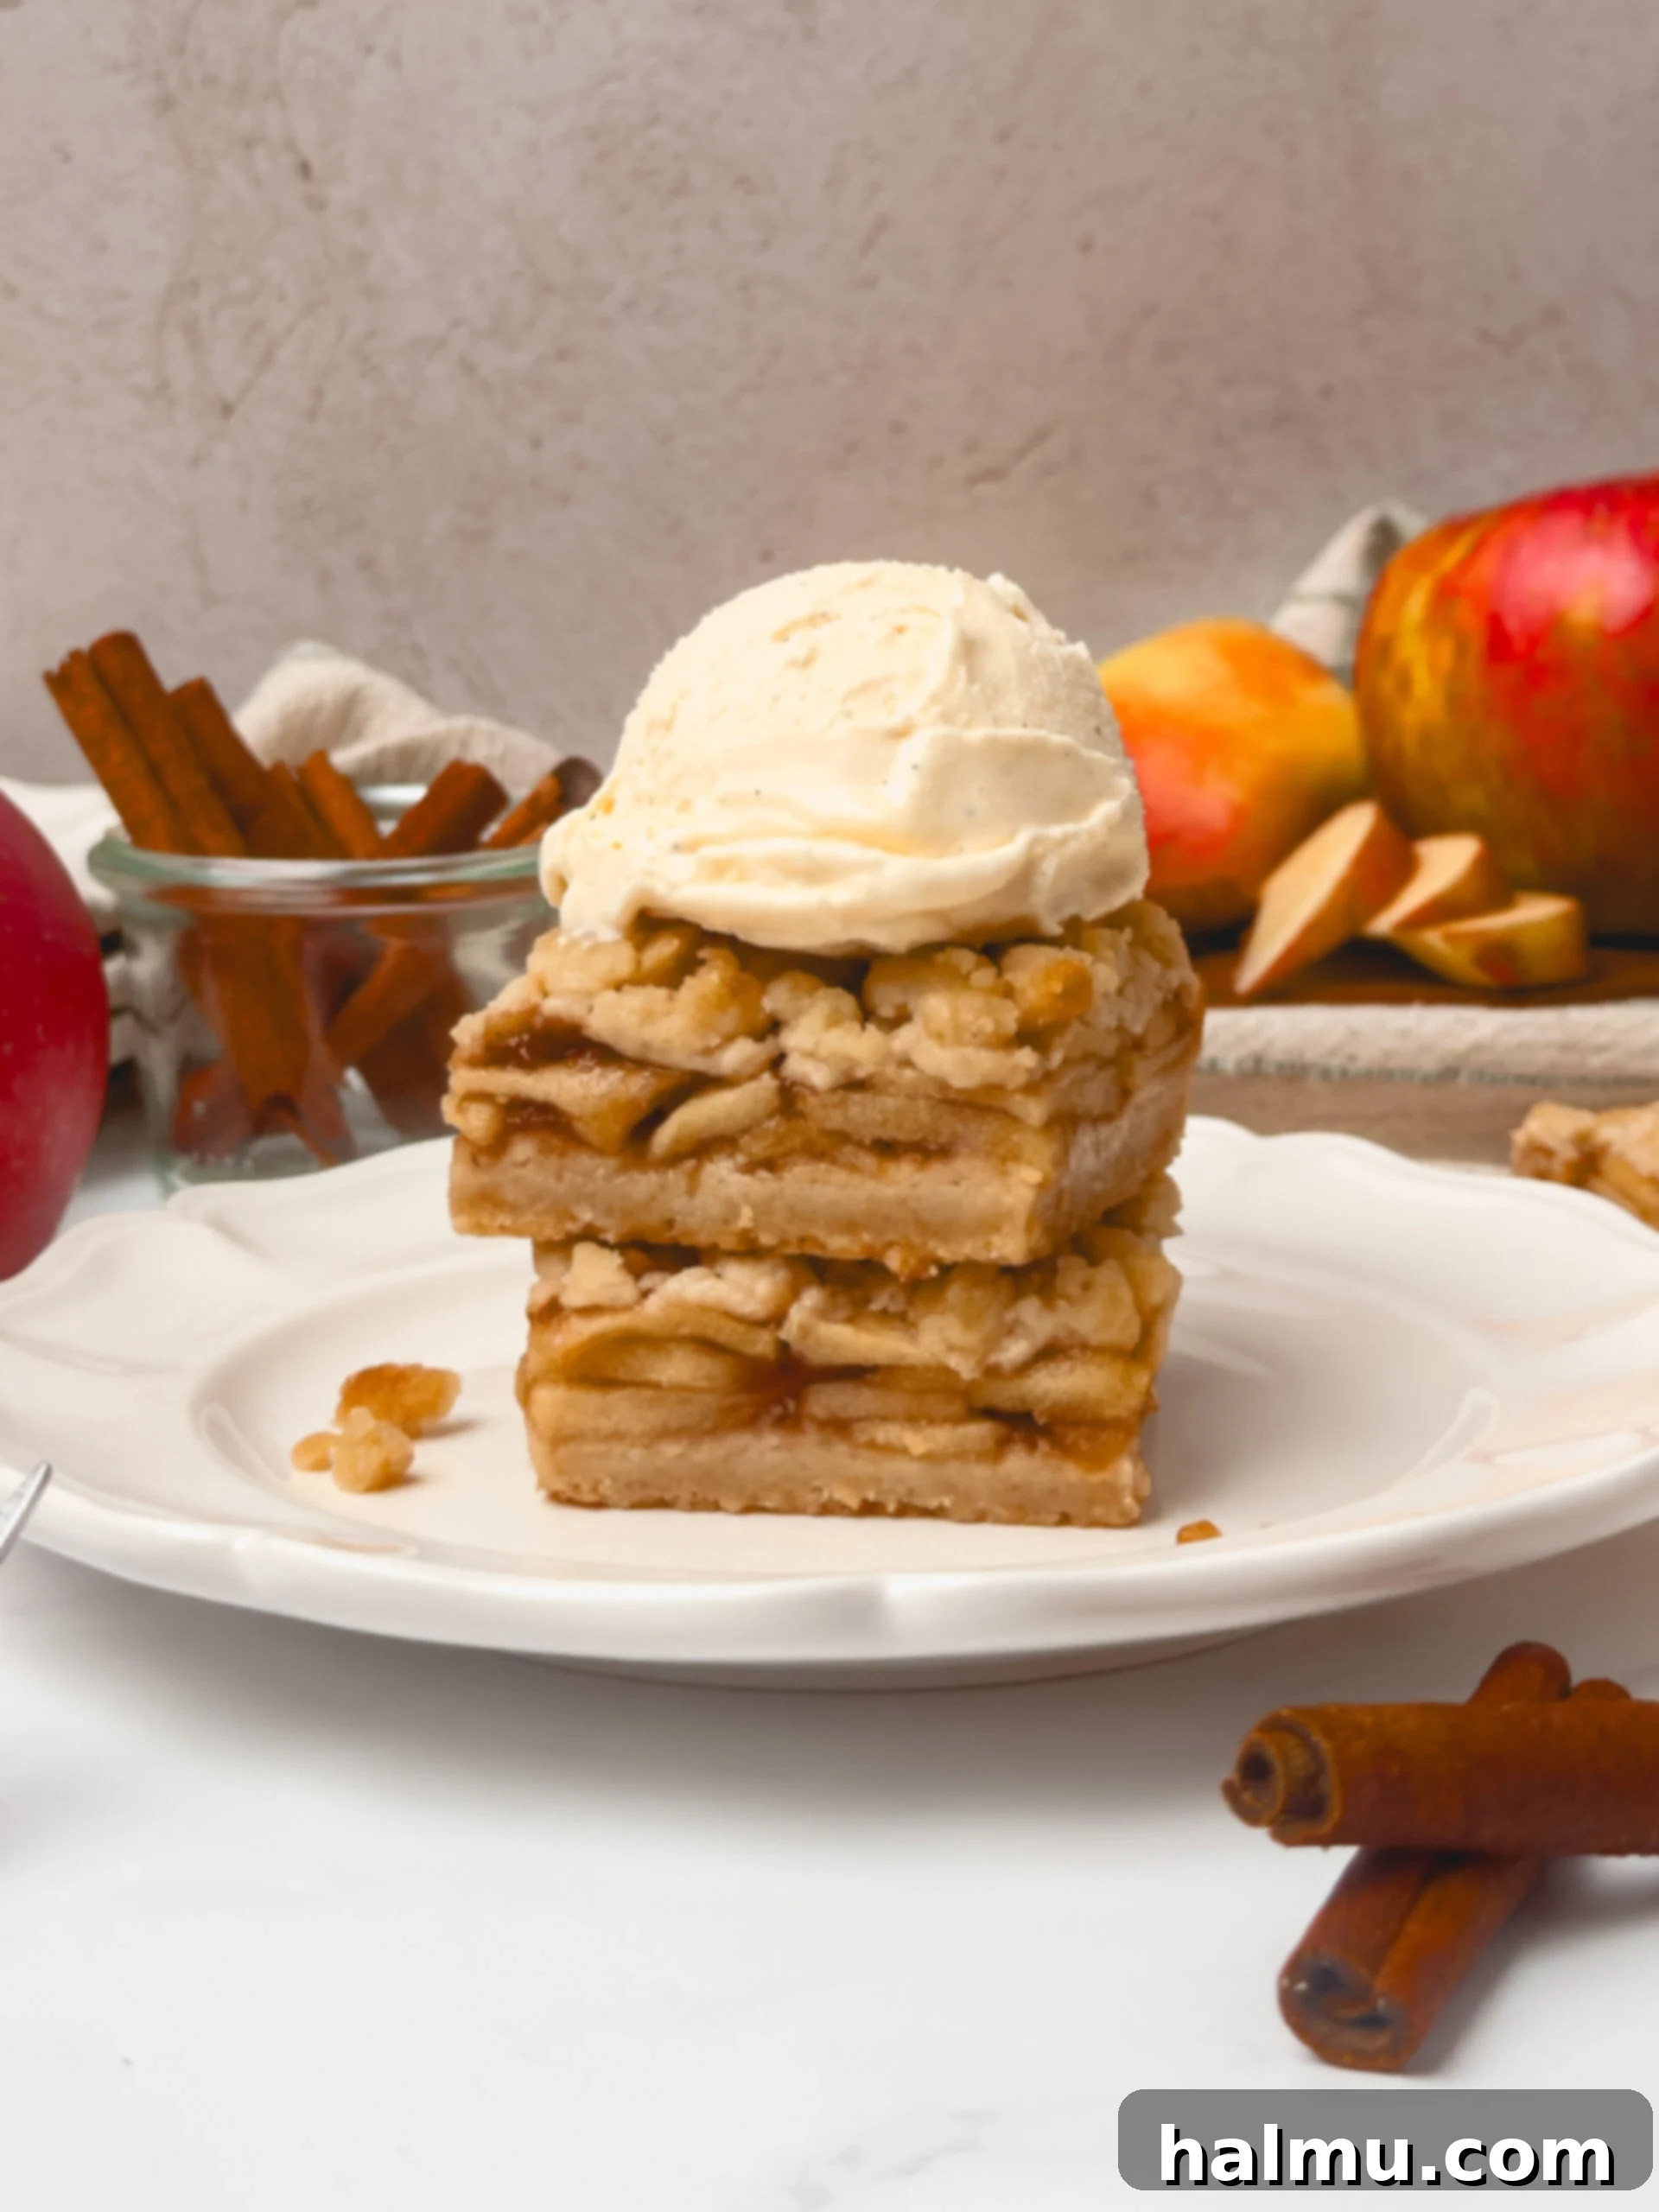
- Versatile Serving Options – Whether you prefer them warm, chilled, or at room temperature, these bars are incredibly adaptable. They are delightful on their own, or even better when paired with a scoop of vanilla ice cream or a drizzle of caramel sauce for an elevated dessert experience.
Looking for more easy and festive treats? Be sure to explore my delightful Pecan Pie Bars, comforting Pumpkin Pie Bars, and vibrant Cranberry Cheesecake Bars!
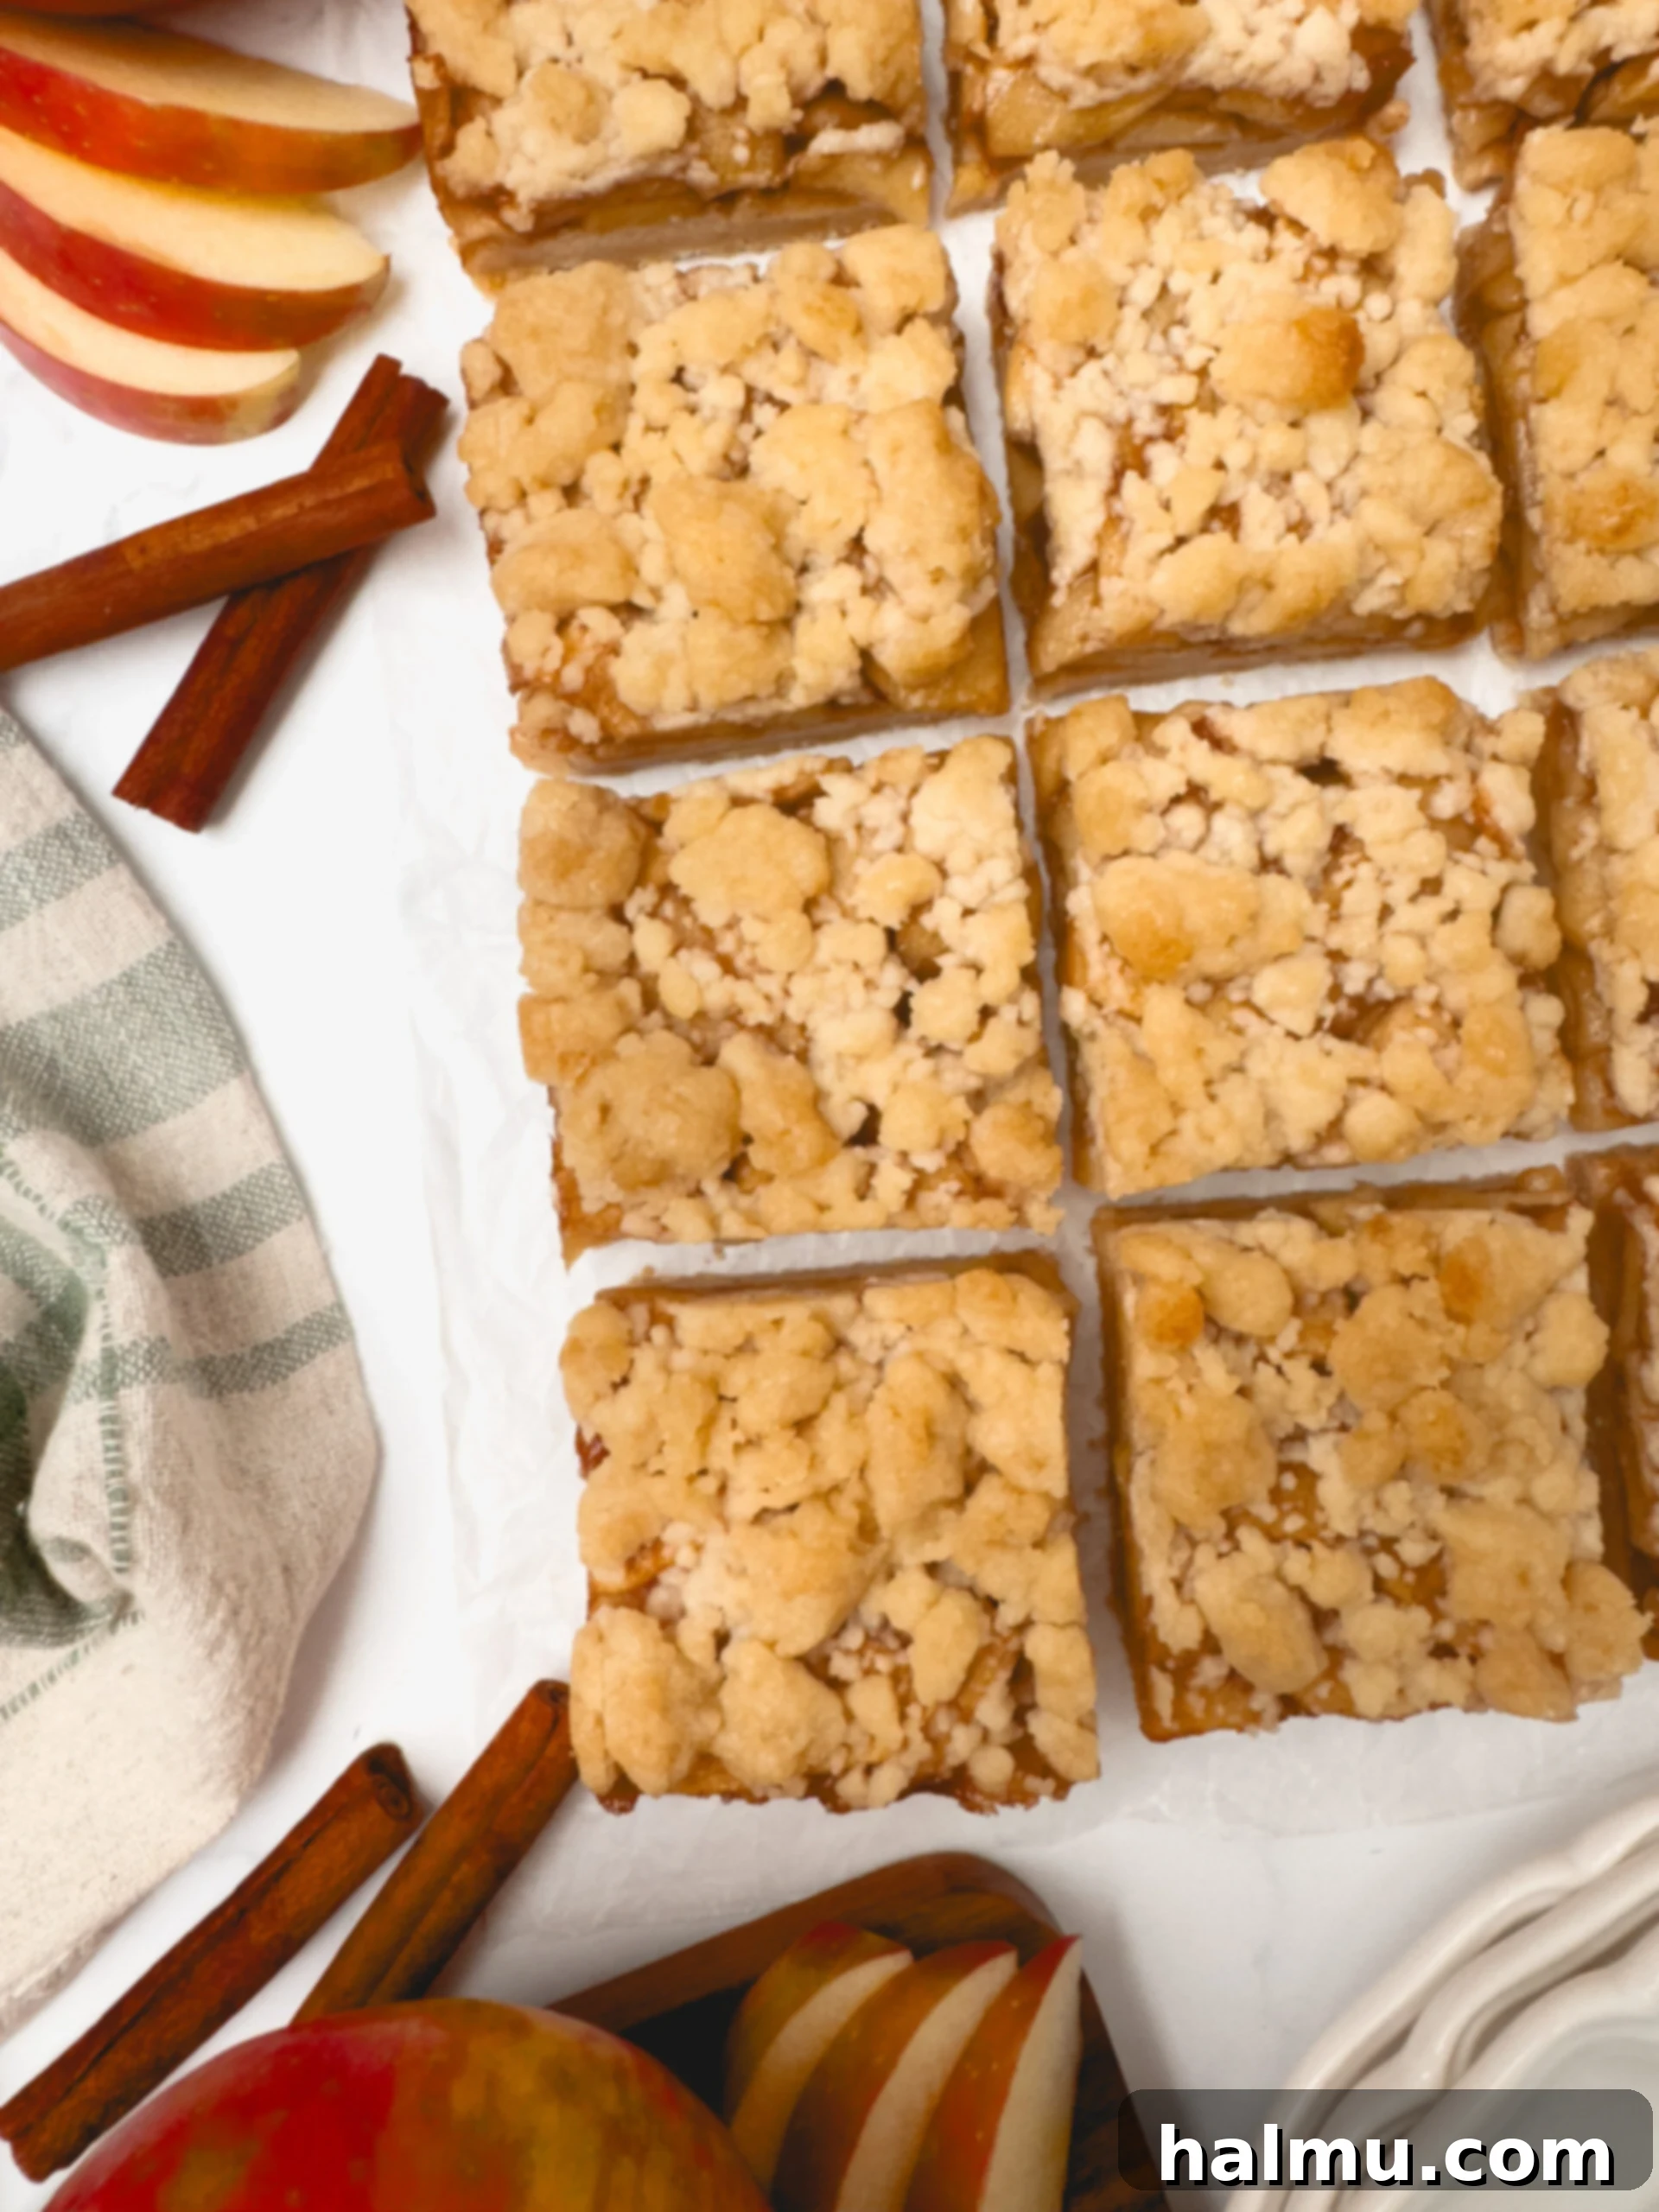
Essential Ingredient Insights for Perfect Apple Pie Bars
Crafting the perfect Apple Pie Bar begins with selecting the right ingredients. Here’s a deeper dive into the key components that give these bars their exceptional flavor and texture:
- Apples: The Heart of the Bar – The choice of apple is paramount for a successful apple dessert. You’ll want a crisp variety that can withstand baking without turning into an unappealing mush. Honeycrisp apples are my absolute favorite for their perfect balance of sweetness and tartness, and their ability to hold their shape beautifully. Other excellent options include Cosmic Crisp, Fuji, or Pink Lady apples, which offer similar desirable textures and flavors. If you prefer a bolder, more tart apple profile to cut through the sweetness, Granny Smith is an ideal choice, often preferred by those who love a classic sour apple pie. Aim for approximately 2 pounds of apples before peeling and coring for the best filling consistency.
- Brown Sugar: Deepening the Sweetness – Brown sugar brings a wonderful depth of flavor and a subtle molasses note that granulated sugar alone cannot provide. I personally lean towards dark brown sugar for its richer, more pronounced caramel-like flavor, which complements the apples beautifully. However, light brown sugar will also work perfectly well, yielding a slightly milder sweetness.
- Cornstarch: The Secret to a Jammy Filling – This humble pantry staple is crucial for achieving that luscious, jammy consistency in your apple filling, preventing it from being watery and ensuring it sets beautifully. Cornstarch acts as a thickener, transforming the apple juices and brown sugar into a thick, glossy syrup that clings to the apples and, perhaps most importantly, helps prevent the shortbread crust from becoming soggy.
- Cinnamon: The Quintessential Fall Spice – While I love to keep the spice profile simple and classic with just cinnamon, its warm, aromatic notes are essential for evoking that comforting apple pie feeling. If you enjoy a more complex spice blend, feel free to add a pinch of freshly grated nutmeg, a dash of allspice, or even a touch of ground cloves to enhance the autumnal flavors.
- Unsalted Butter: The Foundation of Flavor – Using unsalted butter allows you to control the overall salt content of your dish. Melting the butter for the shortbread crust not only simplifies the mixing process but also contributes to the tender, crumbly texture that makes these bars so addictive.
For the complete list of ingredients and precise measurements, please refer to the detailed recipe card located at the conclusion of this post!
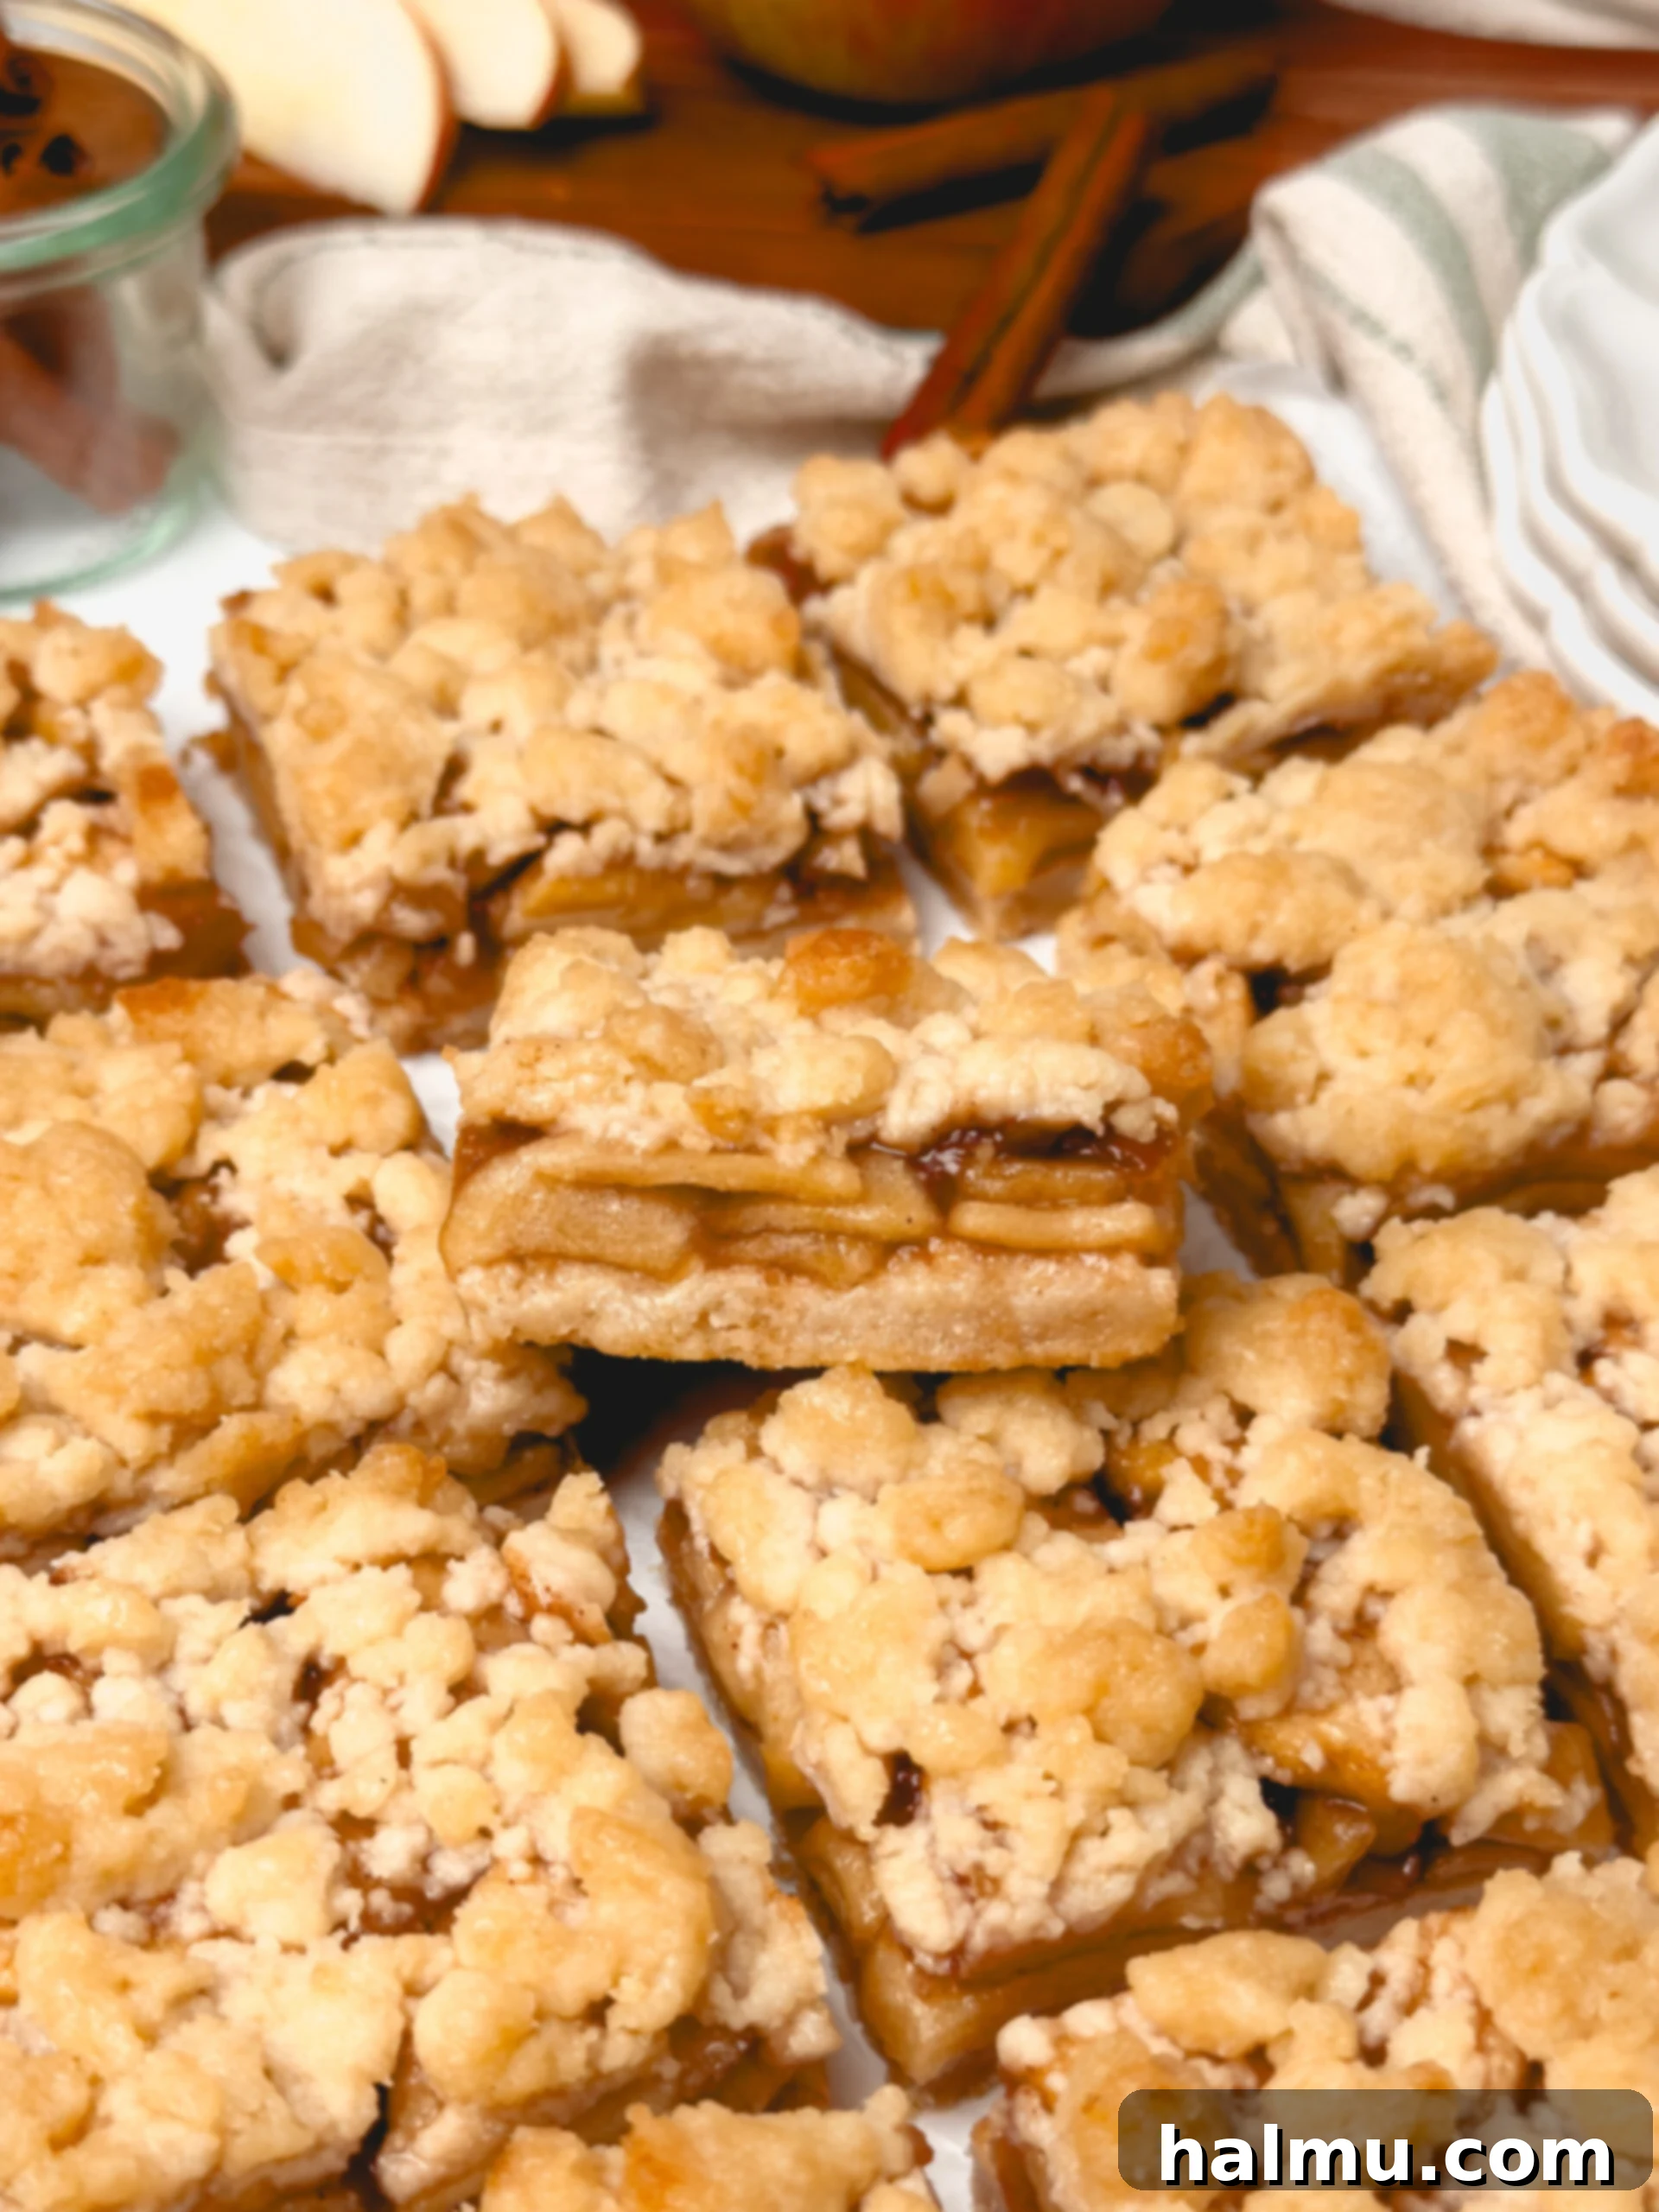
Step-by-Step Guide: How to Bake Amazing Apple Pie Bars
Creating these delightful Apple Pie Bars is a straightforward process, even for novice bakers. Follow these simple steps for a perfect autumn treat:
- Prepare Your Apples with Precision. Begin by carefully peeling and coring your chosen apples. For an optimal texture that cooks evenly and is easy to eat, slice them thinly, aiming for approximately ⅛-inch thick pieces. Once sliced, cut these pieces in half again to create smaller, more manageable apple chunks that distribute beautifully throughout the filling and fit perfectly in each bar. This prep ensures every bite is filled with tender apple goodness.
- Whip Up the Buttery Shortbread Crumble. In a spacious mixing bowl, combine the dry ingredients for your shortbread: all-purpose flour, granulated sugar, baking powder, and salt. Use a fork to gently whisk these together until they are well combined. Next, pour in the melted unsalted butter and a touch of vanilla extract. Continue mixing with your fork, working the ingredients until a delightful, crumbly mixture forms. This process is surprisingly quick and requires no special equipment.
- Lay the Foundation: Bake the Crust. Take about two-thirds of your freshly made shortbread crumble mixture and spread it evenly across the bottom of a 9-inch square baking dish. To ensure a firm and uniform base, press the mixture down evenly. You can use your fingers, the flat bottom of a measuring cup, or even a drinking glass to achieve a tightly packed crust. Place this into a preheated oven at 350°F (175°C) and bake for approximately 10 minutes, or until the edges begin to turn a light golden brown. This pre-baking step is essential for a crisp, not soggy, bottom crust.
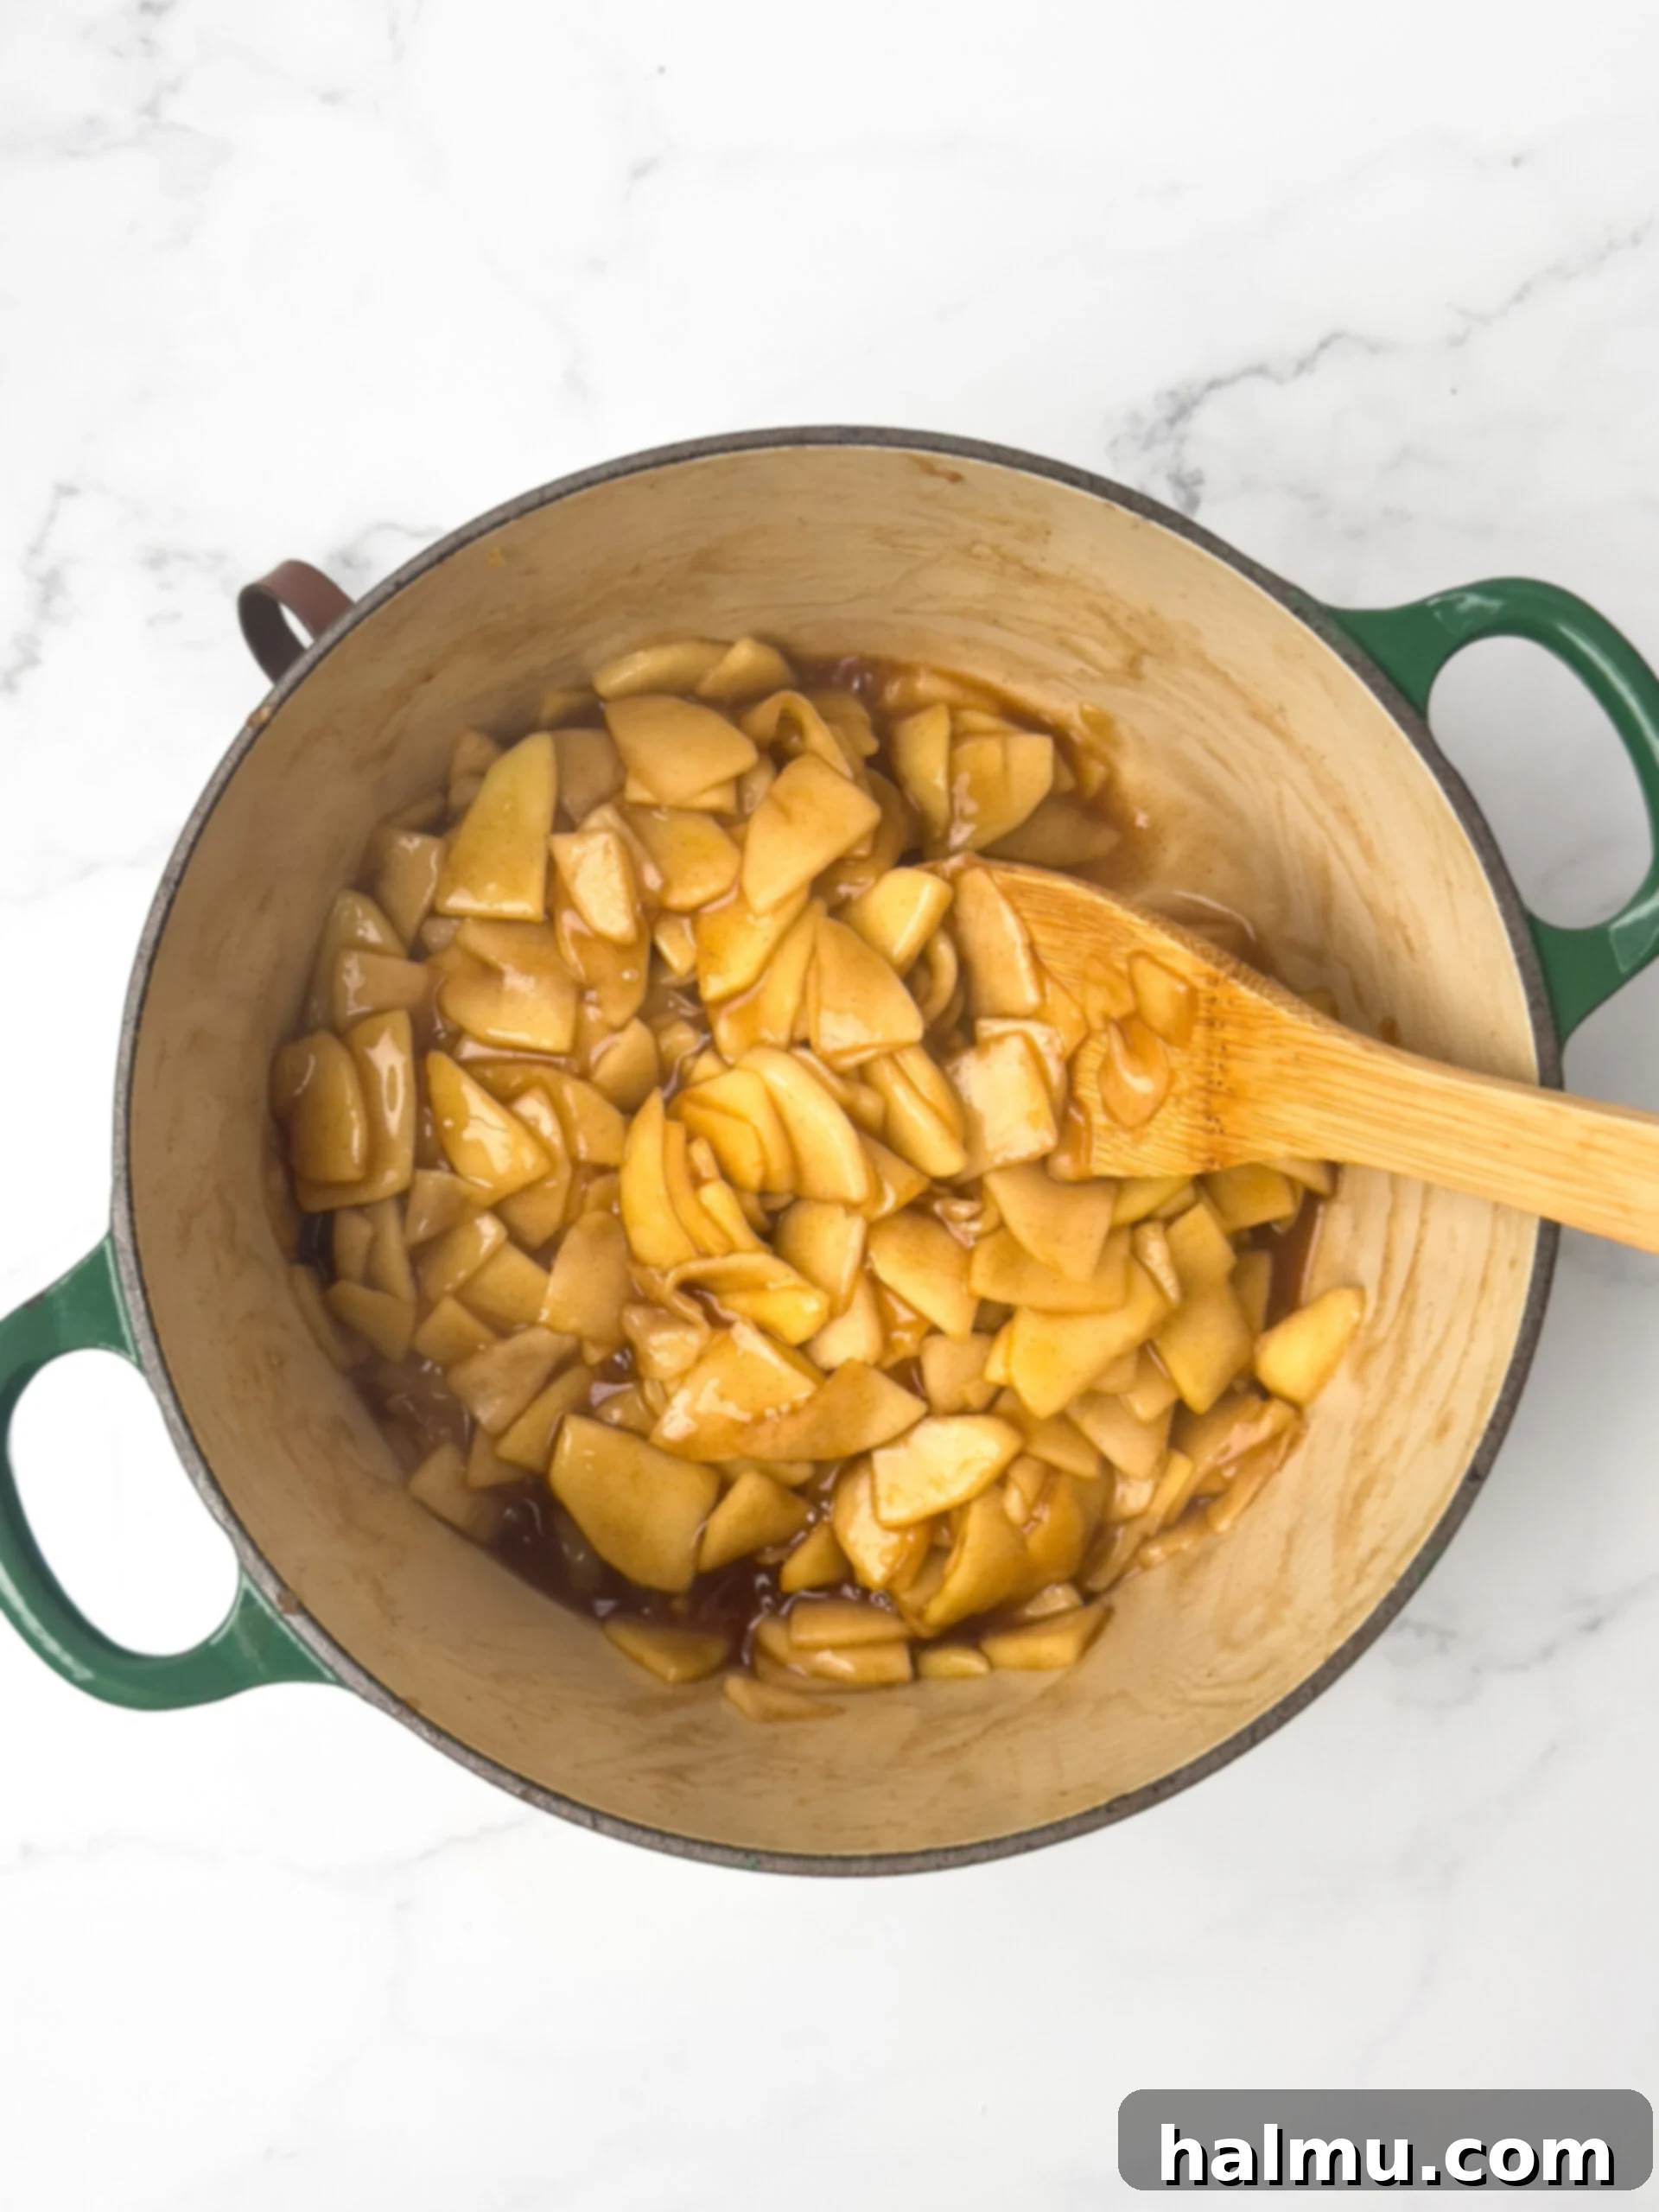
- Craft the Irresistible Apple Filling. While your crust is pre-baking, gather your prepared apple slices and place them into a large pot. Add the brown sugar, cornstarch (our secret to a jammy consistency), a splash of lemon juice to brighten the flavors, and the comforting cinnamon. Stir all these ingredients together to ensure the apples are thoroughly coated. Place the pot over medium-low heat and cook the mixture gently, stirring frequently to prevent sticking or burning. Continue to cook until the apple slices have softened to your liking and the syrup has noticeably thickened, usually around 8-10 minutes. The frequent stirring is key to an evenly cooked and flavored filling.
- Assemble Your Delicious Bars. Once the bottom crust is lightly golden and out of the oven, carefully spoon the warm, jammy apple filling over it. Spread the filling out evenly, ensuring it reaches all the way to the edges and into the corners of the pan. Next, take the remaining one-third of the shortbread crumble mixture you set aside earlier. Gently sprinkle this crumble evenly over the top of the apple layer, creating that iconic streusel topping that adds both texture and flavor.
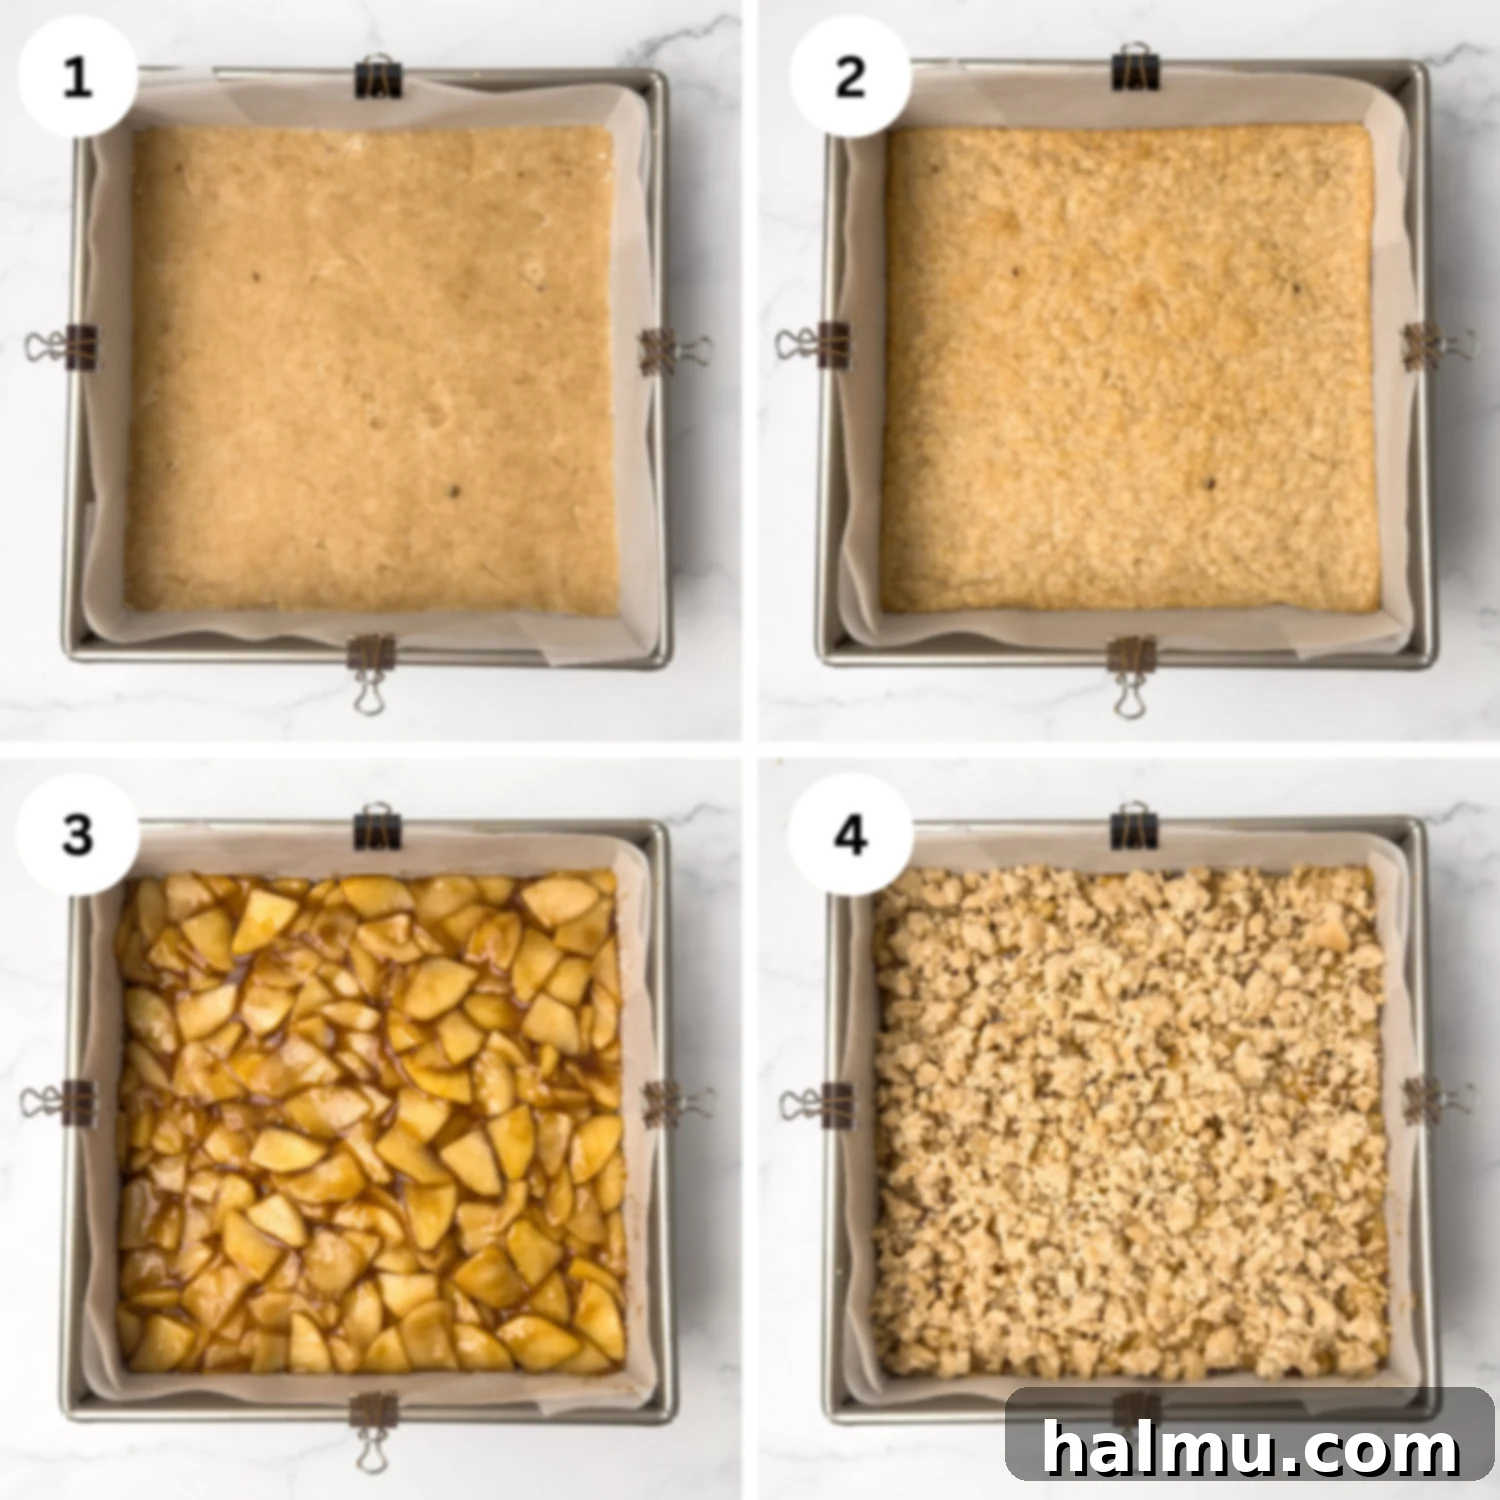
- The Final Bake. Return your assembled Apple Pie Bars to the preheated 350°F (175°C) oven. Bake for approximately 40 minutes. You’ll know they’re ready when the crumb topping achieves a beautiful golden-brown hue across its entire surface, and you can see the luscious apple filling bubbling enticingly around the sides and edges of the pan. This bubbling indicates the filling has fully set and is perfectly cooked.
- Cool and Serve with Joy. After baking, remove the pan from the oven and allow the Apple Pie Bars to cool completely before slicing and serving. While they are tempting straight out of the oven, cooling them will help the filling set properly, making for cleaner cuts. However, if immediate gratification is your goal, they are absolutely divine enjoyed warm, perhaps with a generous scoop of creamy vanilla ice cream on top!
Frequently Asked Questions About Apple Pie Bars
What is the best way to store Apple Pie Bars?
To maintain their freshness and delicious texture, store your Apple Pie Bars in an airtight container. They will keep beautifully in the refrigerator for up to 3-4 days. While you can certainly serve them chilled directly from the fridge, many find that allowing them to come to room temperature for about 15-20 minutes before serving enhances their flavors and softens the crust slightly. If you’re stacking layers of bars in your container, remember to place a sheet of parchment paper in between each layer. This simple trick prevents them from sticking together and keeps the crumb topping intact.
Can these Apple Pie Bars be prepared in advance?
These Apple Pie Bars are best enjoyed within 1-2 days of baking to ensure the crumb topping remains delightfully crisp. Beyond that, the topping may start to soften slightly due to moisture from the apple filling. However, you can definitely prepare the apple filling ahead of time! Cook the filling as directed, then allow it to cool completely before transferring it to an airtight container. It can be stored in the refrigerator for up to one week. When you’re ready to bake, simply let the filling come to room temperature before layering it onto your baked crust and topping it with fresh crumbs.
Recommended Kitchen Tools for Baking Success
Having the right tools can make all the difference in your baking journey. Here are some of my favorite kitchen essentials that I find invaluable for making these Apple Pie Bars and other delightful treats:
A high-quality 9-inch square baking pan is essential for achieving the perfect thickness and shape for your bars. Look for one with good heat distribution.
A good rubber spatula is indispensable for mixing ingredients, scraping down bowls, and spreading fillings smoothly. Silicone spatulas are heat-resistant and won’t scratch your bakeware.
A set of sturdy glass mixing bowls is fundamental for any baker. They are versatile, easy to clean, and allow you to see your ingredients clearly as you mix.
What is the best way to serve these delicious Apple Pie Bars?
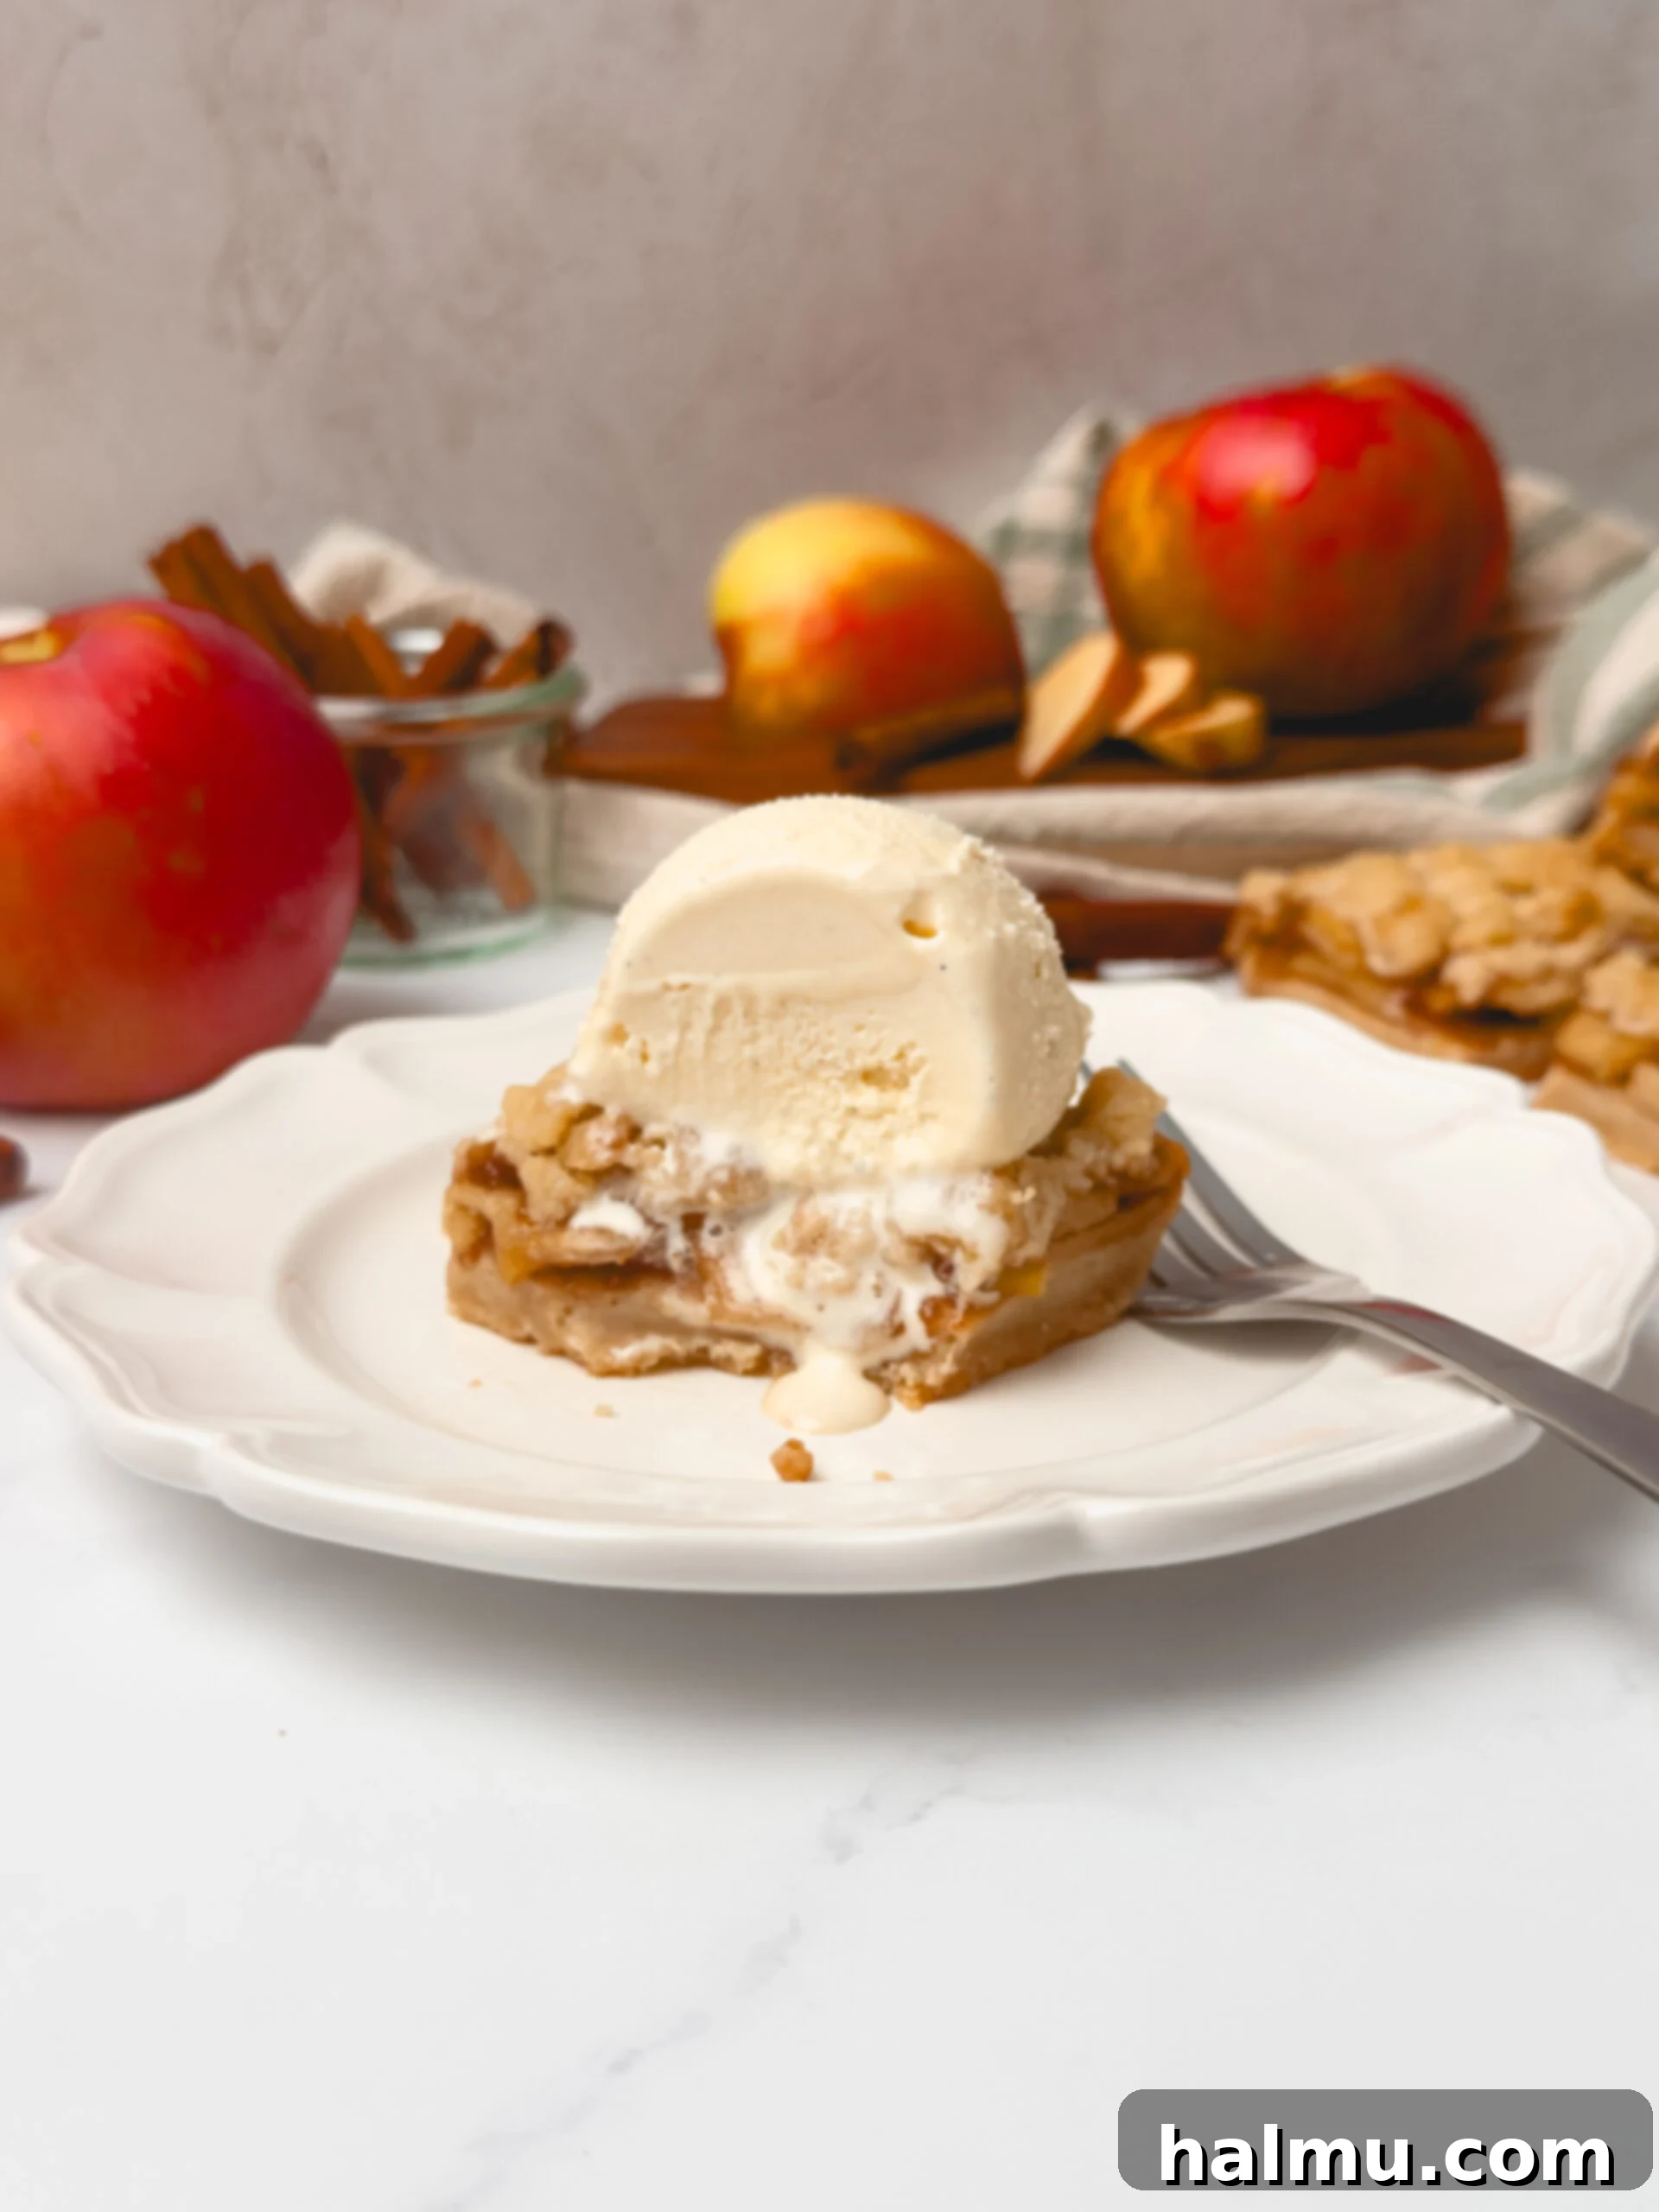
These Apple Pie Bars are wonderfully versatile and can be served in several ways, each offering a unique experience. They are absolutely delightful at room temperature, making them perfect for potlucks or as a simple dessert after a meal. Chilled straight from the fridge, they offer a firmer texture and a refreshing contrast. However, my personal favorite way to enjoy them is warmed slightly, perhaps in the microwave for 15-20 seconds, and then crowned with a generous scoop of rich vanilla ice cream. The warm apples and cold ice cream create a magical combination that is simply irresistible! A drizzle of homemade caramel sauce or a sprinkle of powdered sugar can also elevate your serving.
Can I make these Apple Pie Bars in a different-sized pan?
Absolutely! The recipe is written for a standard 9-inch by 9-inch square pan, which yields bars of a good thickness. If you opt for a slightly smaller 8-inch by 8-inch square pan, your bars will come out a bit thicker, providing an even more substantial treat. Just keep an eye on the baking time, as thicker bars might need an extra 5-10 minutes. For a larger crowd or a family-sized dessert, you can easily double this recipe and bake it in a 9-inch by 13-inch pan. When doubling, ensure all ingredients are doubled and be prepared to adjust your baking times accordingly, as the increased volume might require a slightly longer cook time. Always look for that golden-brown topping and bubbling filling as indicators of doneness.
Exciting Variations to Elevate Your Apple Pie Bars
While these Apple Pie Bars are phenomenal on their own, don’t hesitate to get creative with these delightful variations to suit your taste or occasion:
- Drizzle with Decadent Caramel: For an extra layer of rich, buttery flavor, finish your cooled bars with a generous drizzle of my Homemade Caramel Sauce. This transforms them into an even more indulgent dessert, reminiscent of classic caramel apples.
- Transform into Apple Pie Cheesecake Bars: Indulge in a creamy twist by adding a cheesecake layer! Simply prepare the cheesecake filling from my Peaches and Cream Bars recipe. After baking the shortbread crust, spread the cheesecake filling evenly over it before adding the apple layer and crumb topping. This creates a luxurious, multi-textured dessert that’s truly extraordinary.
- Experiment with Seasonal Fruits: Apples are fantastic, but these bars are incredibly adaptable to other fruits. Swap out the apples for juicy pears in the fall, or sweet blueberries in the summer for a different flavor profile. The crumbly shortbread pairs wonderfully with almost any fruit. Don’t forget to check out my other popular crumb bar recipes, like the tangy Cherry Crumb Bars and the sweet Strawberry Crumb Bars, for more inspiration.
- Add a Nutty Crunch: Incorporate finely chopped pecans or walnuts into the shortbread crumble topping for an extra layer of texture and a toasted, nutty flavor that complements the apples perfectly.
- Spice It Up: Beyond cinnamon, consider adding a pinch of ground ginger, allspice, or cloves to your apple filling for a deeper, more complex warming spice blend, especially during the colder months.

Pro Tip: Embrace Accuracy with a Kitchen Scale!
For consistent and professional-level baking results every single time, I cannot stress enough the importance of using a reliable kitchen scale to weigh your ingredients. While measuring cups can be convenient, they often lead to inaccuracies due to variations in how ingredients are scooped and packed. Weighing ingredients in grams is by far the most accurate method, ensuring your recipes turn out perfectly consistent and predictably delicious. This precision not only significantly increases your success rate in baking but also dramatically reduces the number of dirty dishes, making cleanup a breeze! I make it a point to provide gram measurements in all my recipes, and this is the kitchen scale I personally love and recommend.
More Delicious Apple Recipes You’ll Adore
If you’re an apple enthusiast, you’ll love exploring these other fantastic recipes that celebrate the versatile fruit:
- Cranberry Apple Crisp: A delightful blend of sweet apples and tart cranberries under a crunchy oat topping.
- Apple Cheesecake Pop-Tarts: A nostalgic treat with a creamy, fruity twist.
- Caramel Apple Cheesecake Pie: The ultimate decadent dessert combining classic pie with rich cheesecake and caramel.
- Easy Apple Compote: A simple, flavorful apple sauce perfect for breakfast or dessert.
- Apple Cider Donut Loaf Cake: All the flavors of an apple cider donut in a moist, easy-to-slice cake.
- Apple Pie Cinnamon Rolls: Your favorite breakfast pastry infused with warm apple pie spices and filling.
I hope you thoroughly enjoy creating and tasting these delectable Apple Pie Bars. If you try this recipe and fall in love with it, please consider leaving a comment below and sharing your experience. Happy baking!
Apple Pie Bars
Print Recipe
RATE THIS RECIPE
Ingredients
For the Shortbread Crust & Crumbs
- 2 cups (260g) all-purpose flour
- ¾ cup (150g) granulated sugar
- ¾ teaspoon baking powder
- ¼ teaspoon salt
- ¾ cup (1½ sticks or 170g) unsalted butter, melted
- 1 teaspoon vanilla extract
For the Apple Pie Filling
- 4 medium apples* (about 2 pounds before peeling and coring)
- ⅓ cup (67g) brown sugar
- 3 Tablespoons (24g) cornstarch
- 1 Tablespoon (15g) lemon juice
- 1 teaspoon cinnamon
SHOP INGREDIENTS
Instructions
- Preheat your oven to 350°F (175°C). Prepare a 9-inch x 9-inch square baking pan by lining it with parchment paper, allowing for an overhang on all four sides. This “parchment sling” will make it easy to lift the baked bars out of the pan later.
- For the Shortbread Crust & Crumbs: In a large mixing bowl, thoroughly combine the dry ingredients: flour, granulated sugar, baking powder, and salt, using a fork to ensure they are well distributed. Pour in the melted unsalted butter and vanilla extract. Continue mixing with a fork until the mixture is fully combined and has developed a wonderfully crumbly texture.
- Take approximately two-thirds of the prepared shortbread mixture and spread it evenly across the bottom of your parchment-lined pan. Press down firmly and uniformly using your fingers, or the flat bottom of a measuring cup or drinking glass, to create a compact crust. Set aside the remaining one-third of the mixture; this will be used for the crumb topping later (you should have about 6½ ounces of crumbs remaining).
- Bake the prepared shortbread crust in the preheated oven at 350°F (175°C) for about 10 minutes, until it just begins to turn a light golden brown around the edges. While the crust is baking, proceed with preparing your delicious apple filling.
- For the Apple Pie Filling: Start by peeling and coring your chosen apples. Then, carefully cut them into thin ⅛-inch slices. For smaller, more manageable pieces that are easier to eat in bars, I recommend cutting these slices in half as well.
- In a medium saucepan, combine the sliced apples, brown sugar, cornstarch, lemon juice, and cinnamon. Stir all the ingredients together until the apples are well coated. Place the saucepan over medium-low heat. Cook the mixture, stirring frequently to prevent it from sticking or burning, until the apples have softened to your desired tenderness and the liquid has thickened into a rich, jammy syrup, which typically takes about 10 minutes.
- Once the crust is baked, pour the hot apple filling evenly over it, spreading it carefully to reach all edges and corners of the pan. Next, take the reserved shortbread crumbs, break them into small pieces if needed, and sprinkle them uniformly over the top of the apple layer.
- Return the assembled bars to the preheated 350°F (175°C) oven. Continue baking for approximately 40 minutes, or until the crumb topping is gloriously golden brown all over, and the apple filling is visibly bubbling around the edges of the pan, indicating it’s fully cooked and set.
- Allow the Apple Pie Bars to cool completely in the pan before slicing them into squares and serving. Cooling is important for the filling to fully set, making for cleaner cuts. However, if you simply can’t wait, they are also wonderfully delicious enjoyed warm, perhaps with a scoop of creamy vanilla ice cream on the side!
Notes
Storing Your Bars – To keep your Apple Pie Bars fresh and flavorful, store them in an airtight container in the refrigerator. They will maintain their quality for 3-4 days. If you’re layering them, place parchment paper between each layer to prevent sticking.

HI THERE!
I’m Rachel
I’m the dessert lover, recipe developer, and content creator behind Sweet Kitchen Cravings. Here you’ll find classic yet special recipes that are sure to impress your loved ones!
MORE ABOUT RACHEL
Craving More?
Get the newest recipes delivered straight to your inbox!
Sign up for our newsletter to receive new recipes directly in your inbox!
