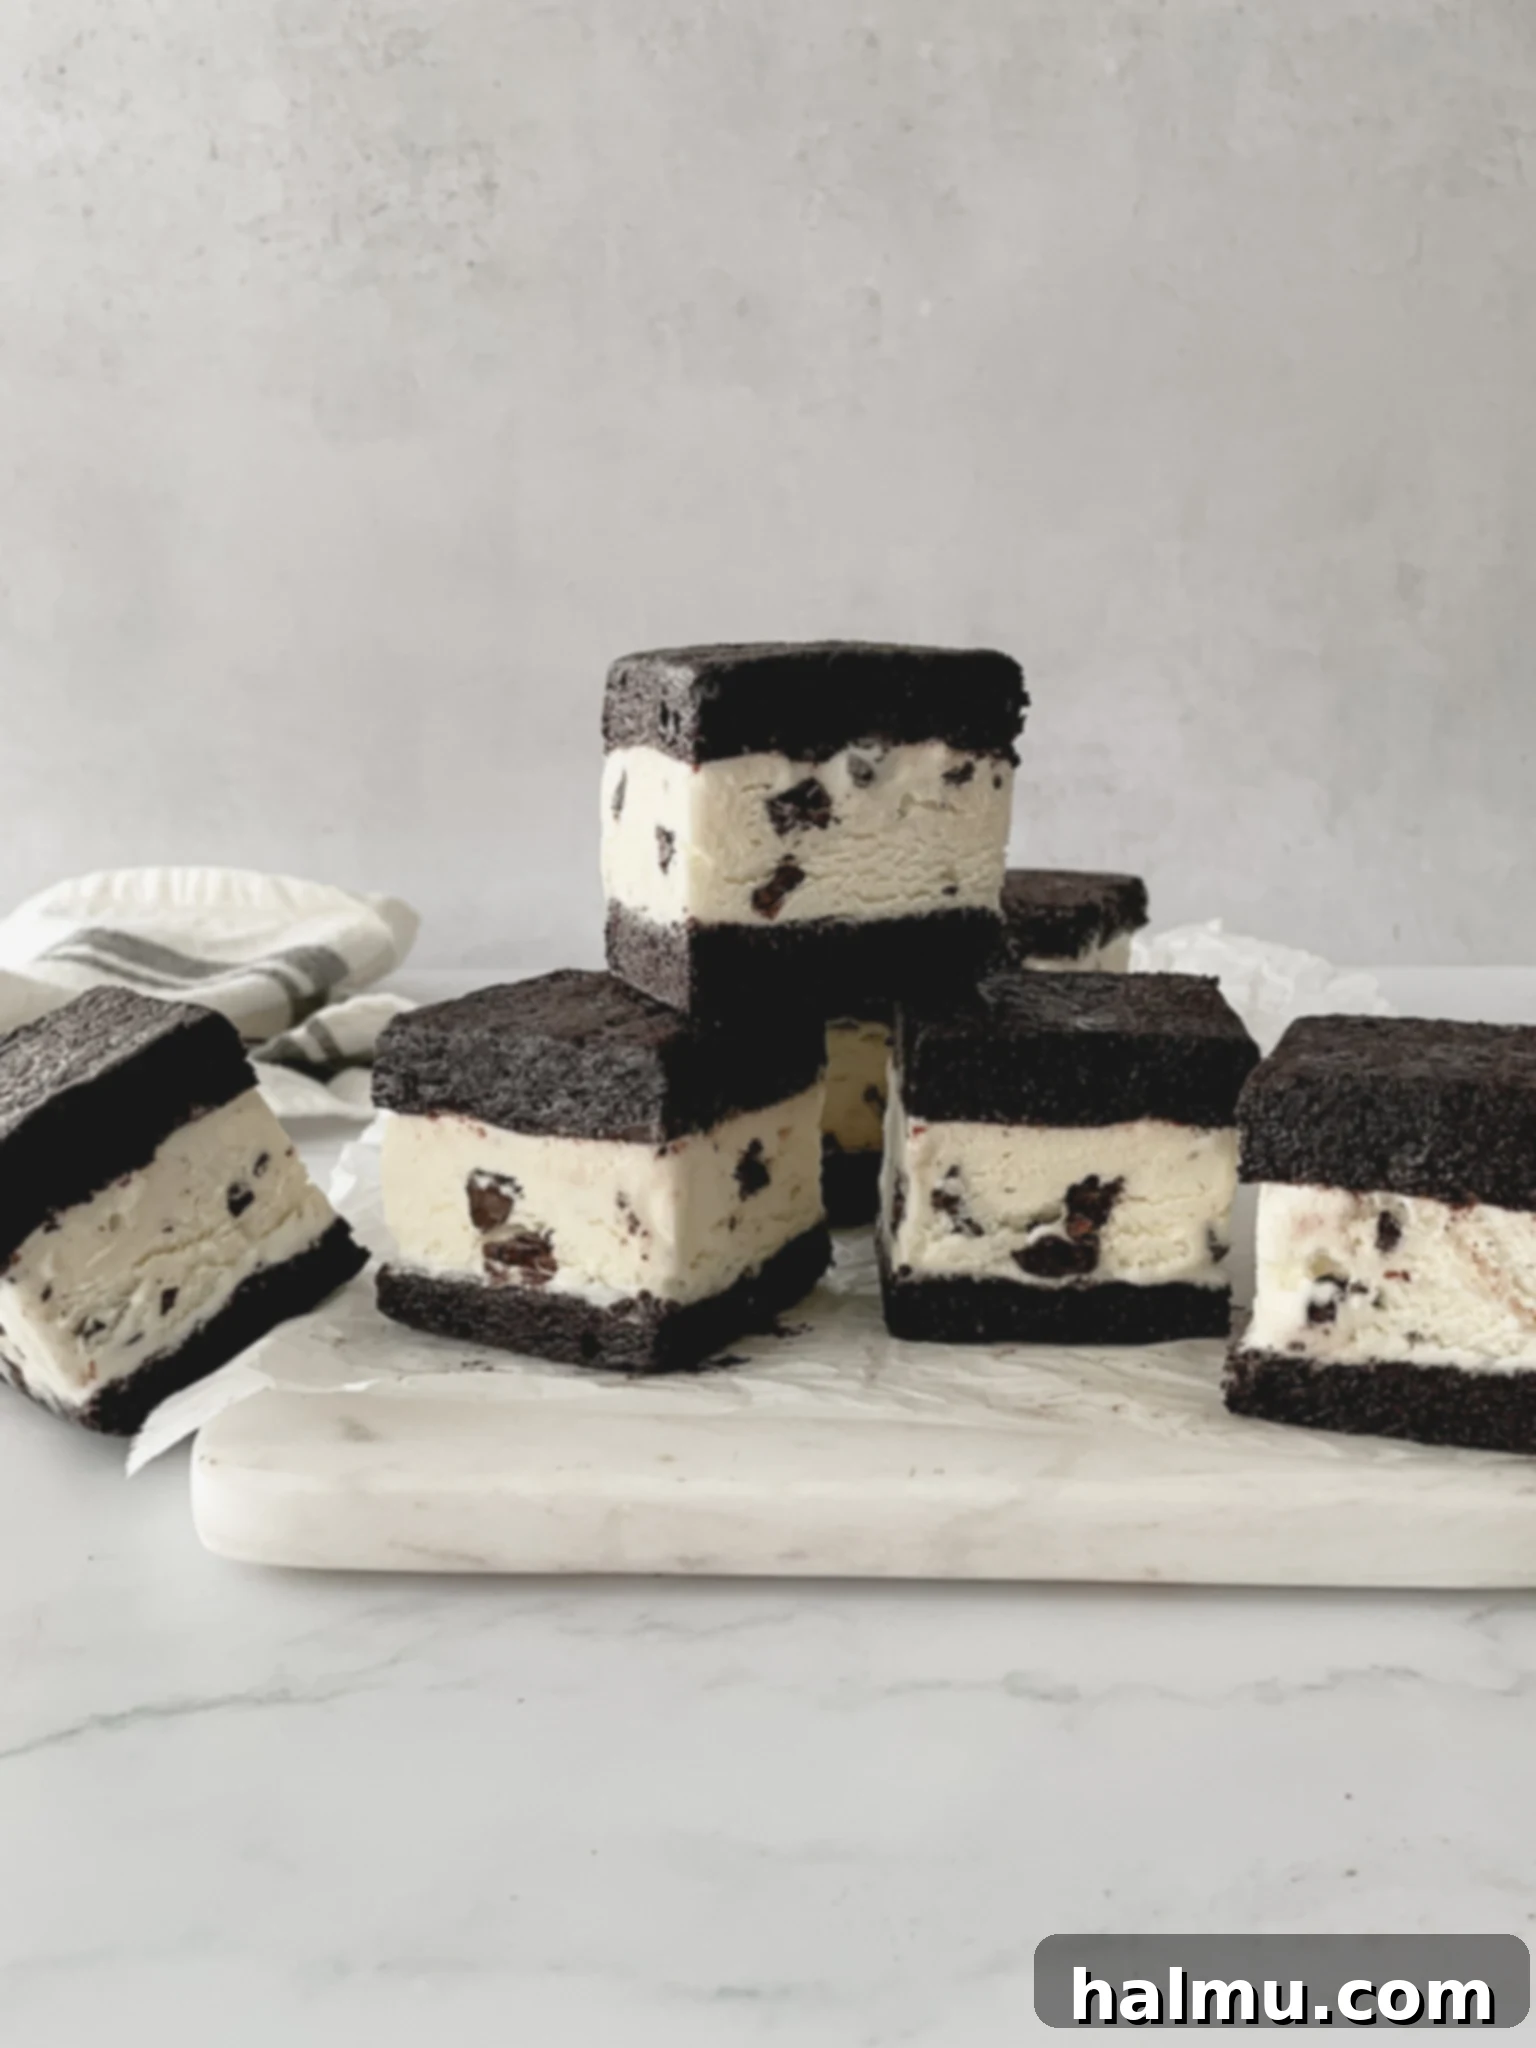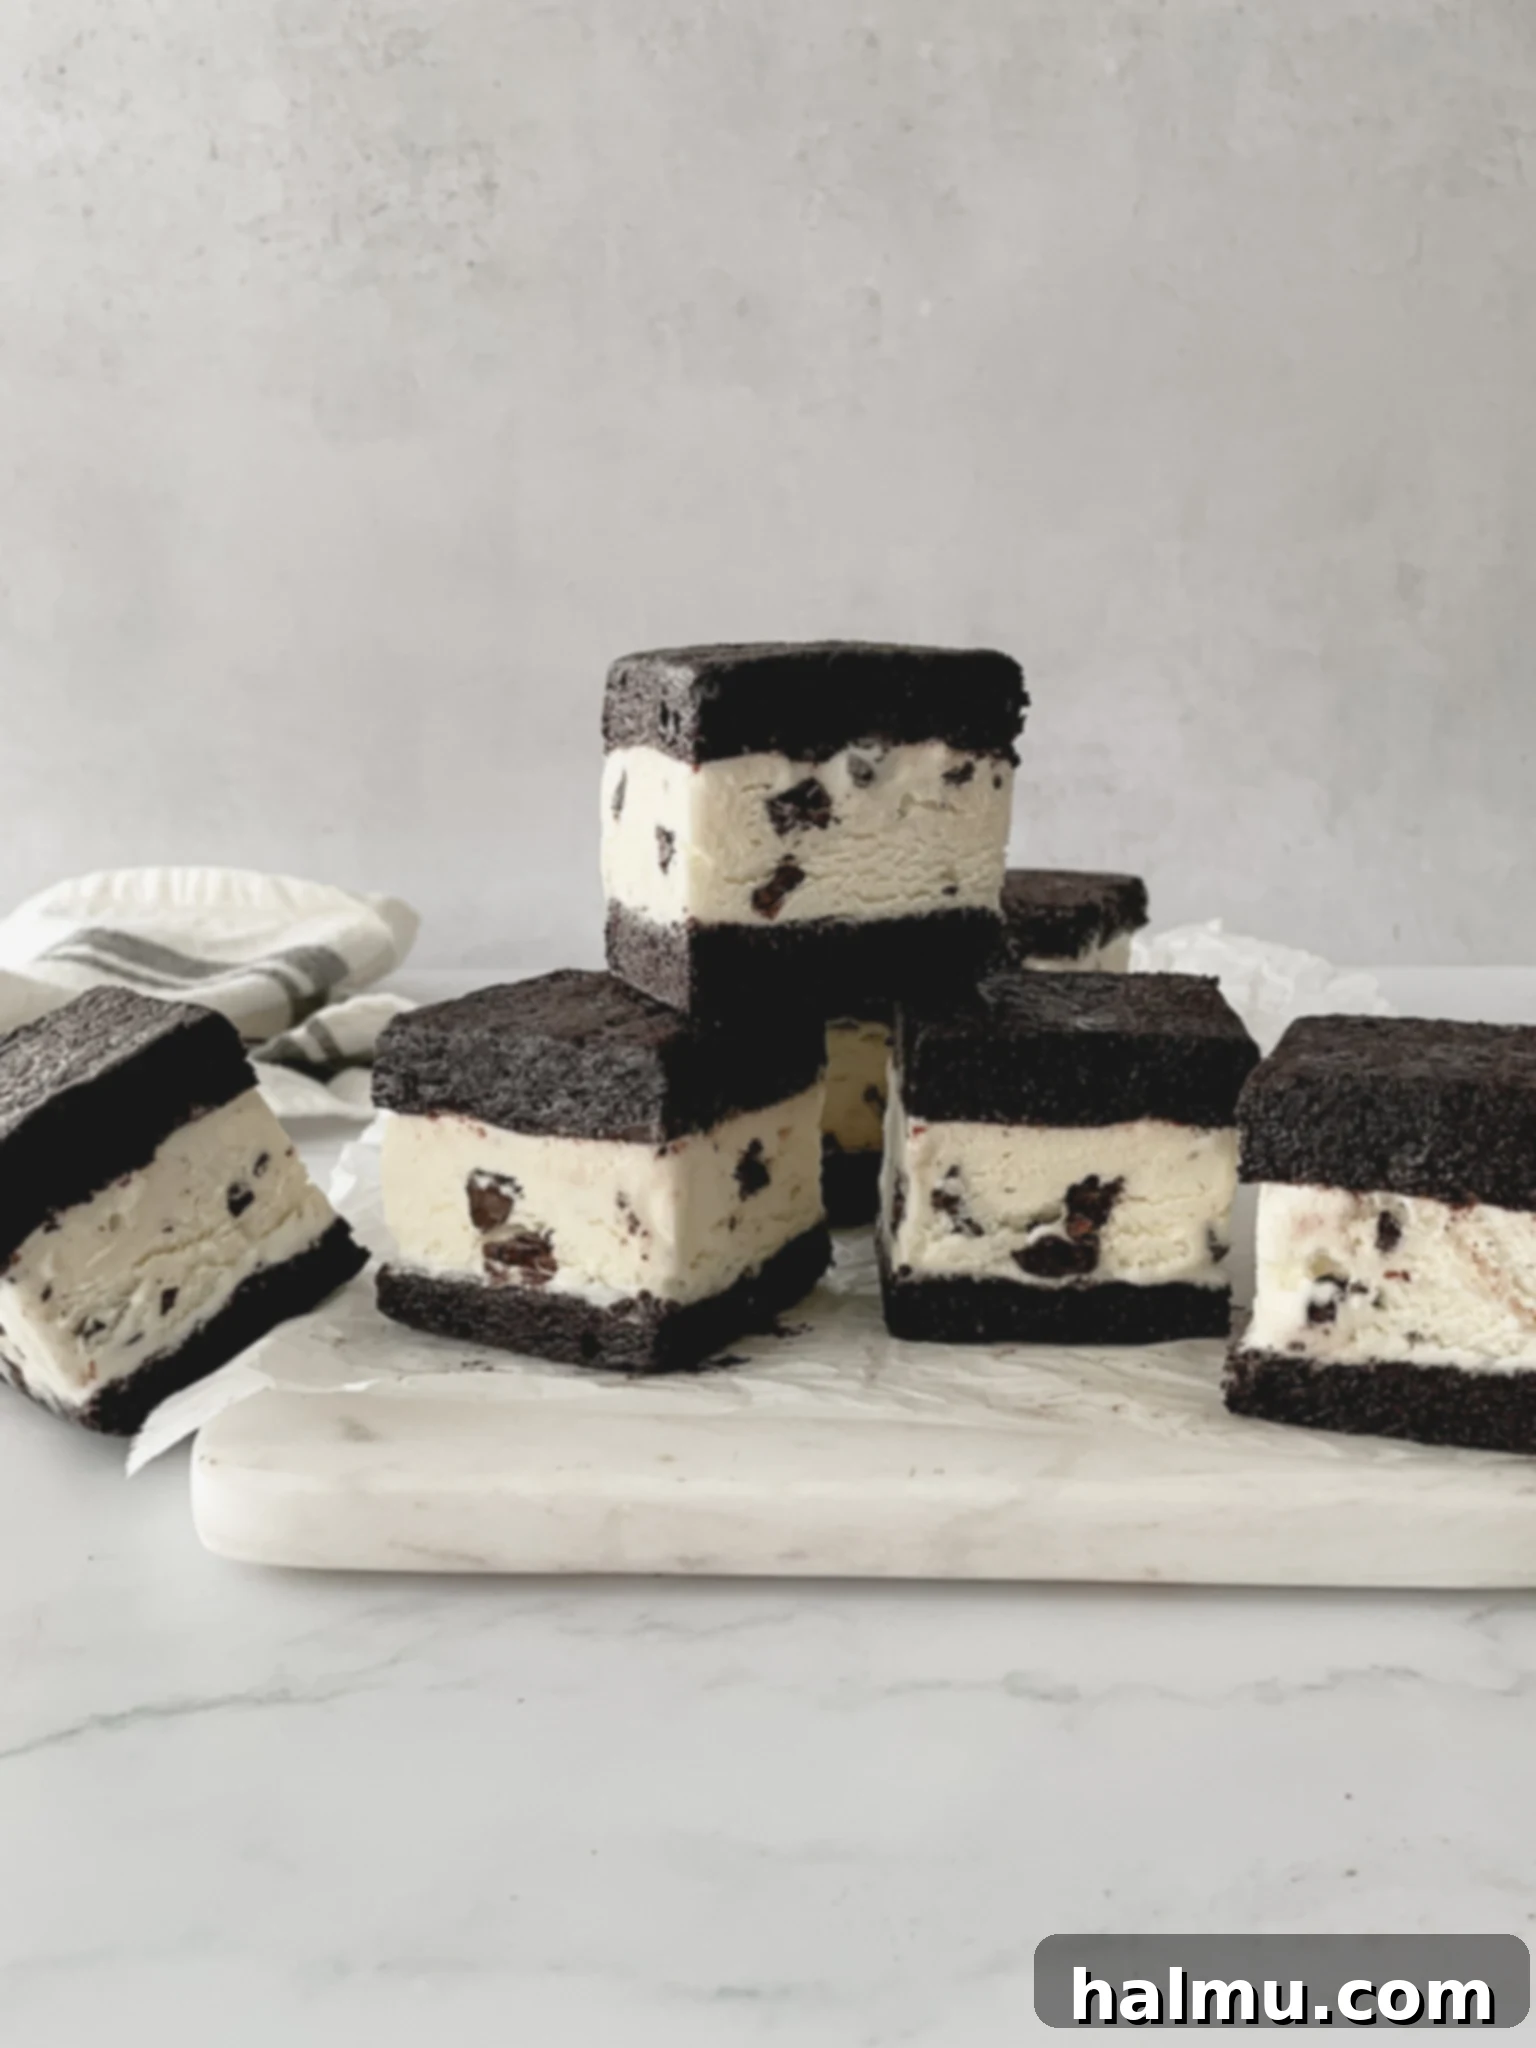
Decadent Homemade Mint Chocolate Chip Brownie Ice Cream Sandwiches: Your Ultimate Summer Treat
Summer days call for cool, refreshing treats, and what could be better than a classic ice cream sandwich? Forget those thin, spongy wafer cookies from your childhood! We’re elevating the experience with luscious, homemade fudgy brownies cradling a generous layer of creamy, vibrant mint chocolate chip ice cream. This isn’t just a dessert; it’s a gourmet delight designed to deliver pure bliss on even the hottest day.
These aren’t your average freezer aisle finds. Imagine biting into a perfectly soft, chewy, and rich chocolate brownie that surprisingly remains tender even when frozen, instantly followed by the cool, invigorating rush of mint chocolate chip ice cream. The combination is simply irresistible – a symphony of textures and flavors that will make this your go-to summer indulgence. Whether you’re hosting a backyard BBQ, looking for a special treat for the kids, or simply craving something extraordinary, these homemade brownie ice cream sandwiches are guaranteed to impress.
Crafting the Perfect Brownie Base for Your Ice Cream Sandwich
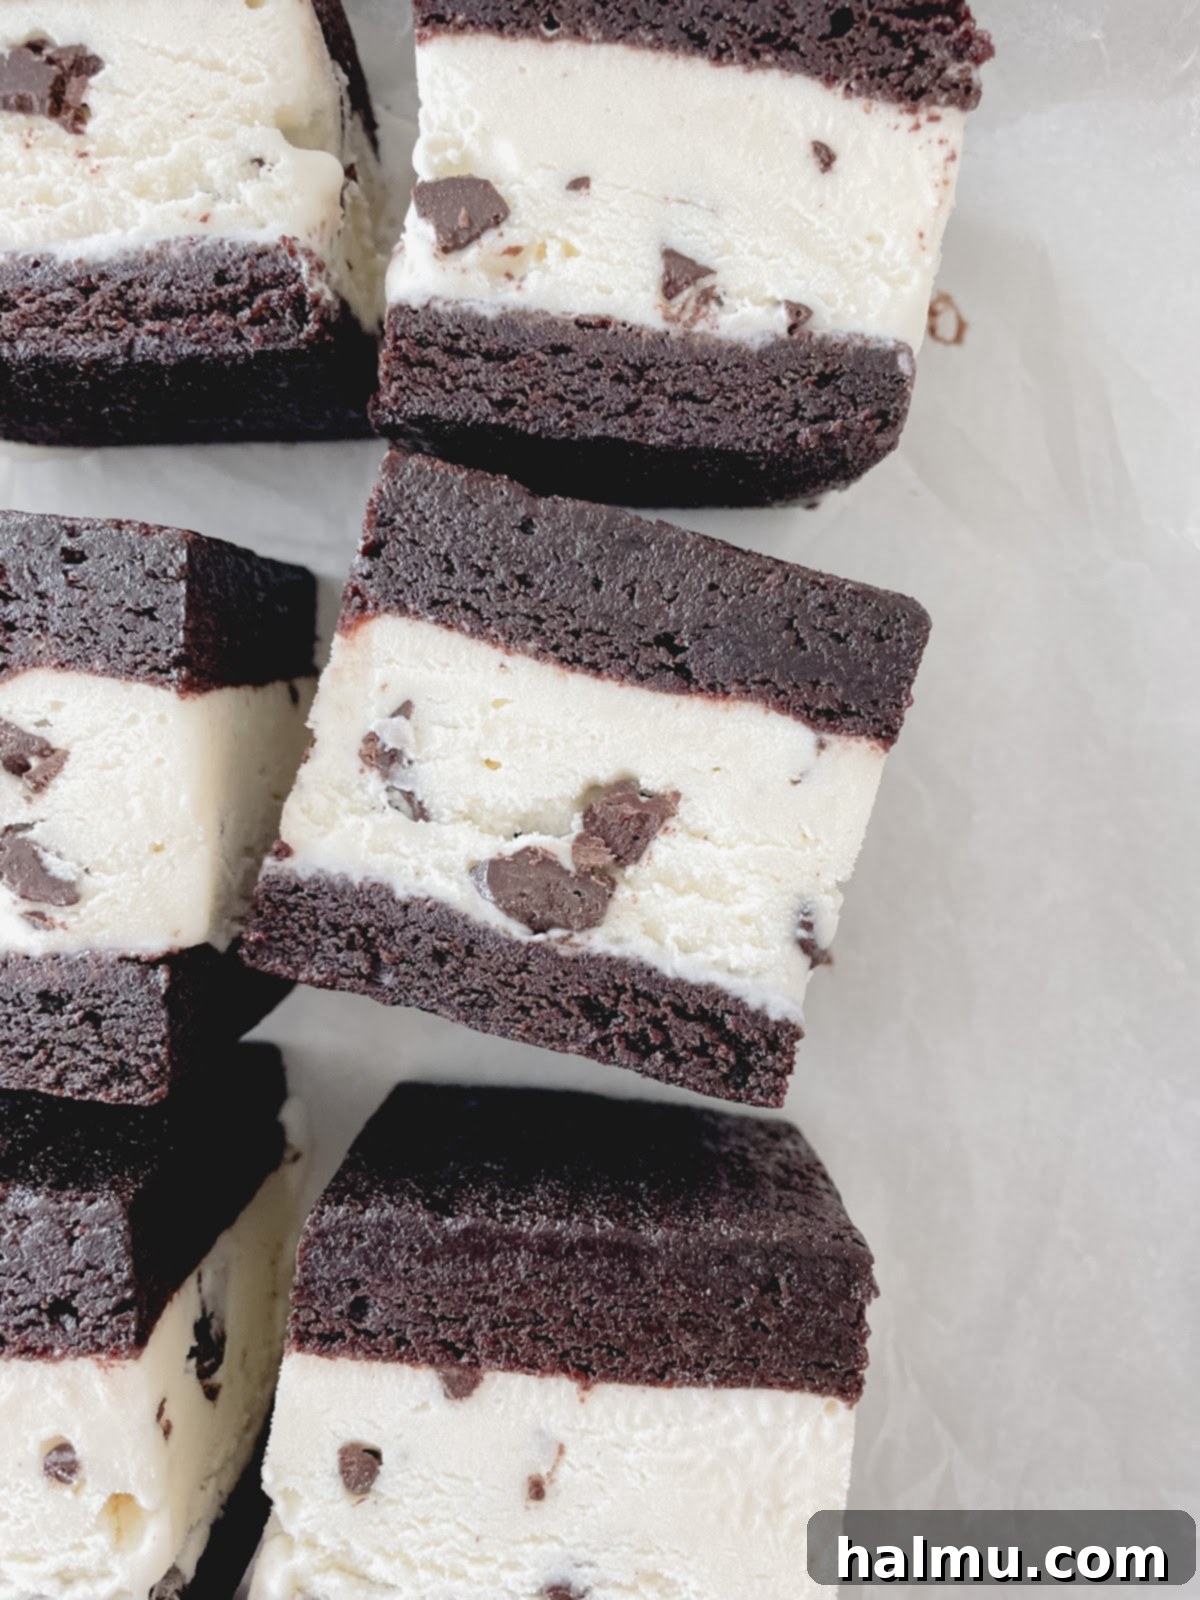
The secret to an exceptional ice cream sandwich lies in its foundation, and for us, that means a perfect brownie. Our recipe features fudgy, soft homemade brownies that stay wonderfully chewy and easy to bite into, even straight from the freezer. This is a crucial detail often overlooked in conventional ice cream sandwich recipes, where the brownie or cookie can turn rock-hard when frozen. To achieve this ideal texture, we’ve adapted a beloved brownie recipe, specifically swapping traditional butter for oil.
This simple change prevents the brownie layers from becoming unpleasantly stiff at freezing temperatures, ensuring every bite is as delightful as the first. The result is a profoundly chocolatey brownie that perfectly complements the cool mint ice cream without competing with it. While we love the classic taste of Tillamook Mint Chocolate Chip ice cream for its creamy texture and balanced flavor, the beauty of this recipe is its versatility. Feel free to unleash your creativity and choose any ice cream flavor or brand that tantalizes your taste buds – the possibilities for personalization are truly endless!
How to Make Mint Chocolate Chip Brownie Ice Cream Sandwiches
Creating these delightful frozen treats is simpler than you might think. Follow these straightforward steps to assemble your very own batch of homemade mint chocolate chip brownie ice cream sandwiches.
- Prepare the Fudgy Brownie Batter: The brownie batter is wonderfully straightforward, designed for maximum fudginess and resilience to freezing. Begin by thoroughly whisking together the wet ingredients: oil, large eggs (preferably at room temperature for better emulsion), and pure vanilla extract in a medium bowl until the mixture is smooth and well-combined. In a separate, larger mixing bowl, combine all the dry ingredients: all-purpose flour, granulated sugar, rich cocoa powder, and a pinch of salt. Using a rubber spatula, gently fold the wet ingredients into the dry ingredients. Mix just until everything is fully incorporated and no streaks of flour remain. Be careful not to overmix, as this can lead to a tougher brownie texture.
- Bake and Cool the Brownie Layers: Lightly grease a 9” x 9” square baking pan with nonstick cooking spray, then line it with parchment paper, leaving an overhang on all sides. This “parchment sling” will make removing the baked brownie much easier later. Spread the prepared brownie batter evenly into the pan using an offset spatula to ensure a consistent thickness. Bake in a preheated oven at 350°F (175°C) for just 13-15 minutes. These brownie layers are purposefully thin, so they bake quickly. It’s crucial not to overbake them; you want them set but still wonderfully soft and chewy. A toothpick inserted into the center should come out with moist crumbs, not completely clean. Once baked, allow the brownie to cool completely in the pan on a wire rack before attempting to handle it or assemble the ice cream sandwiches. A warm brownie will melt your ice cream!
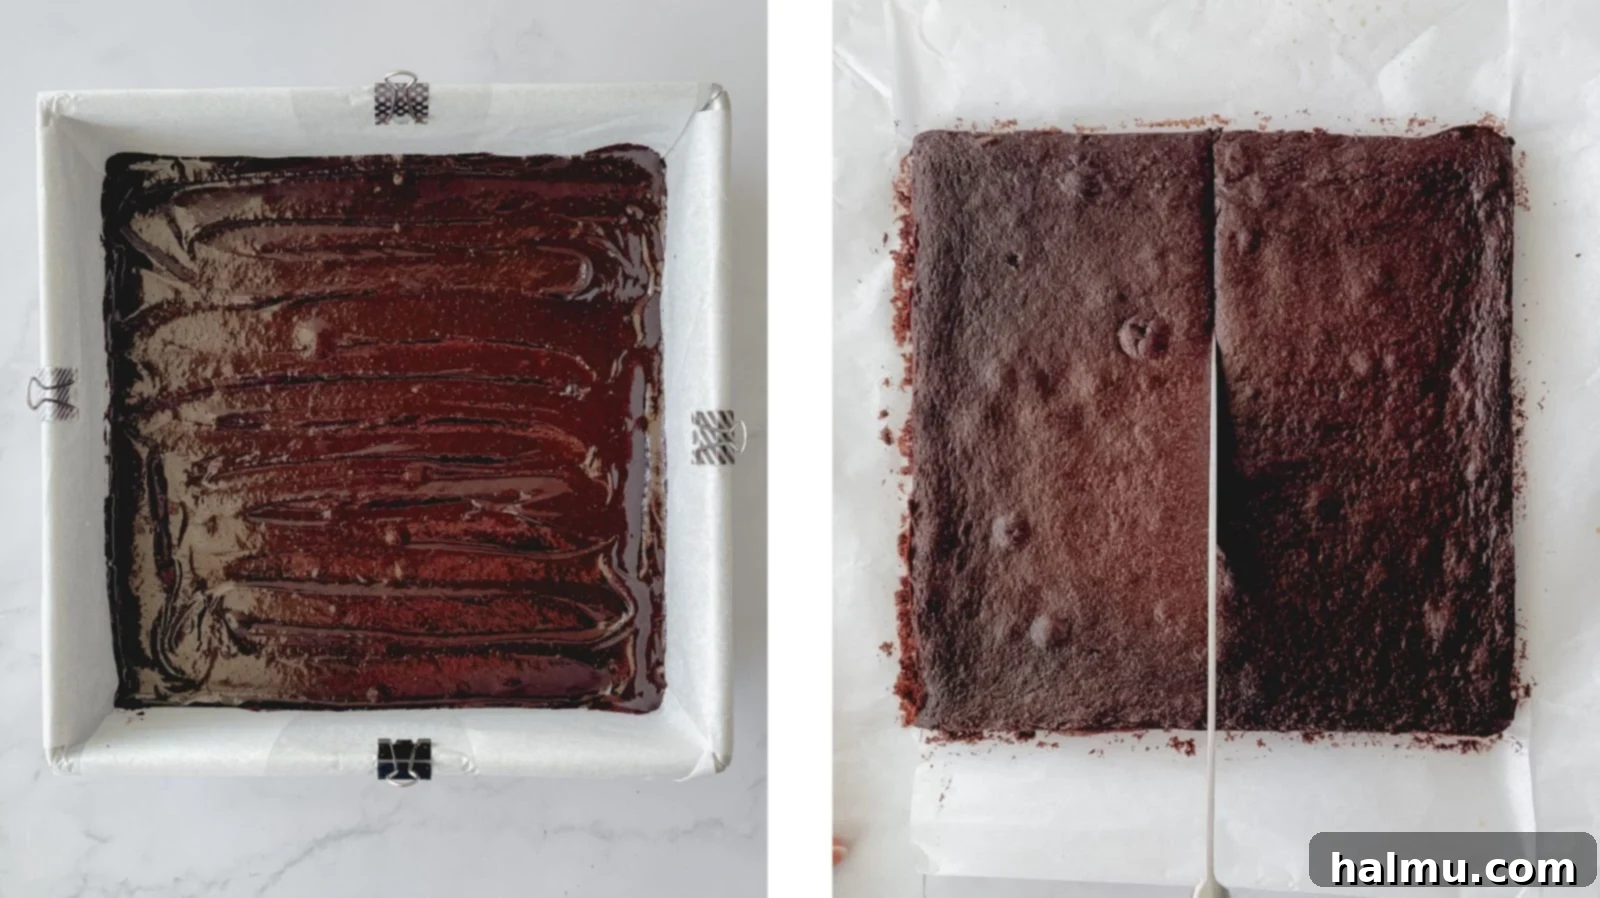
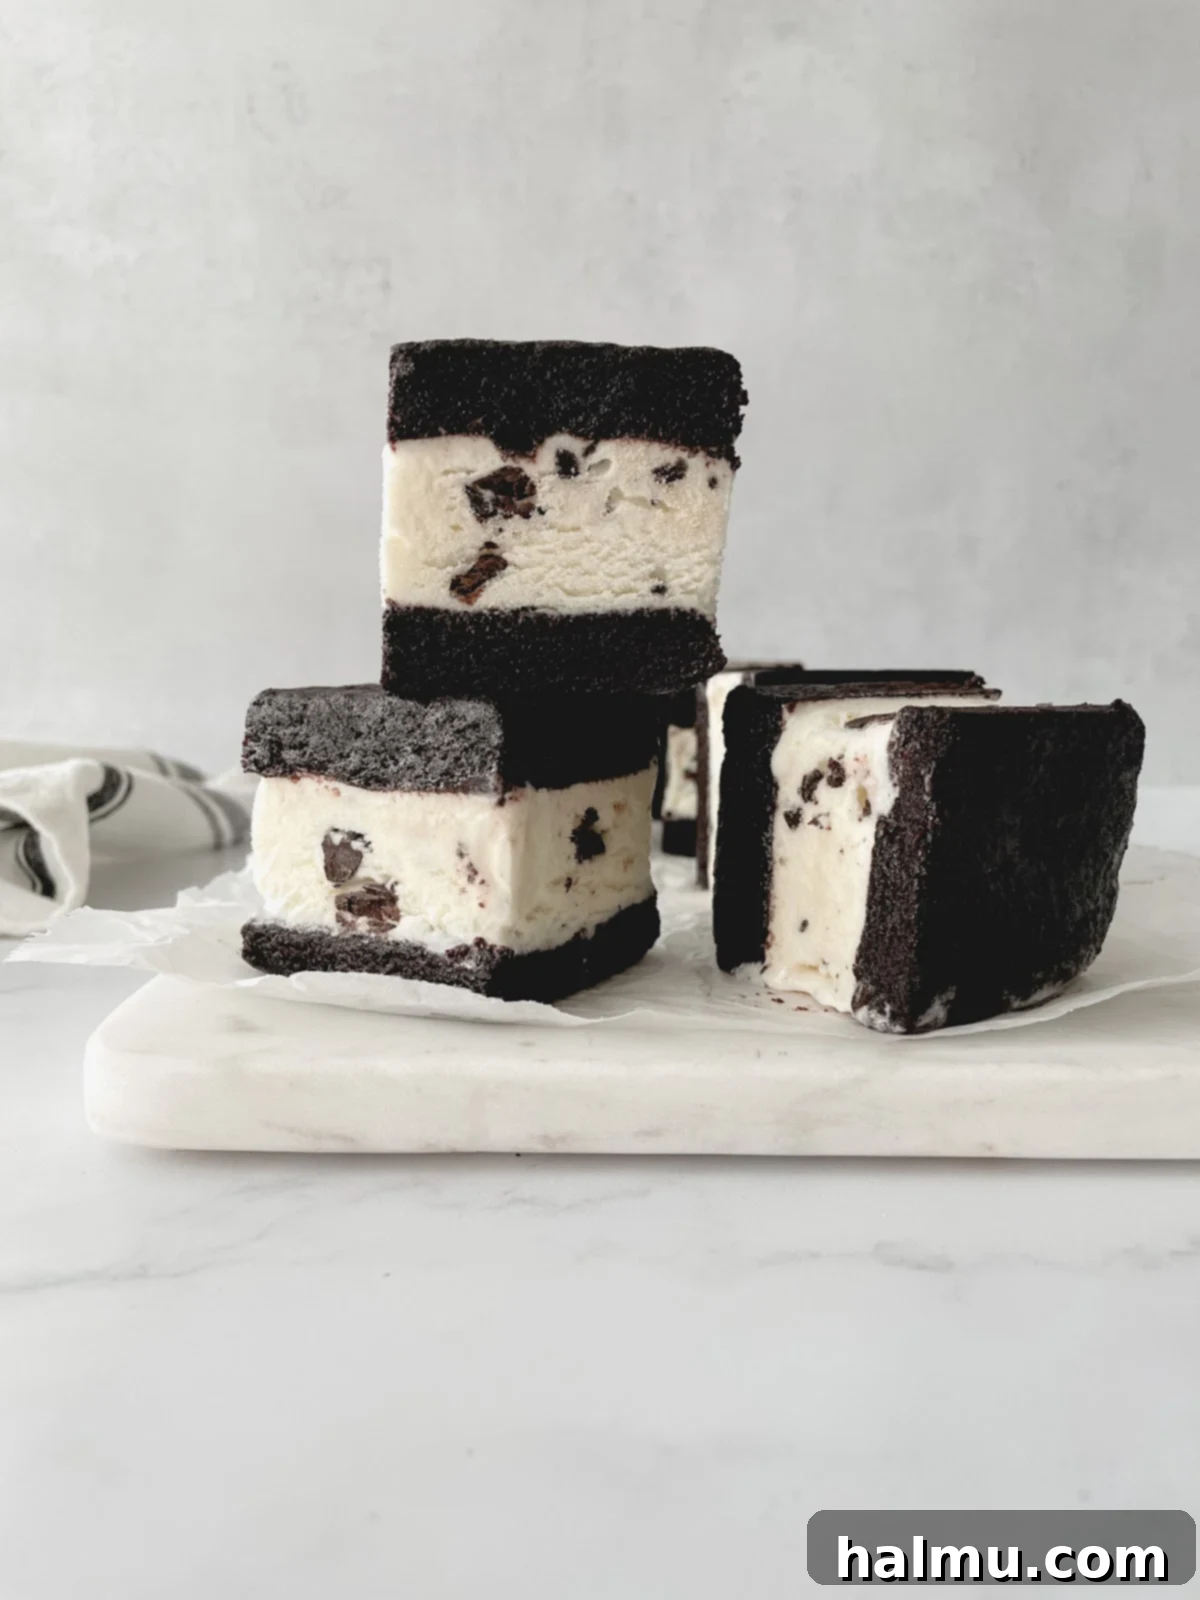
- Assemble Your Decadent Sandwiches: Once your brownie layer is completely cool, carefully remove it from the pan using the parchment paper overhang. Slice the brownie evenly in half to create two perfect rectangles. Now, prepare your assembly vessel: line a large 9” x 5” loaf pan with a fresh piece of parchment paper or plastic wrap, ensuring plenty of overhang on all sides to act as a lifting sling. Place one of the brownie rectangles snugly at the bottom of the lined loaf pan. Allow your mint chocolate chip ice cream to soften slightly at room temperature for about 5-10 minutes – this makes it much easier to scoop and spread. Scoop approximately two-thirds of a 1 ½ quart carton of the softened ice cream directly onto the brownie base. Working quickly, use a spatula to spread the ice cream evenly across the entire brownie layer, making sure it reaches all the way to the edges of the pan. Gently place the second brownie rectangle on top of the ice cream layer, pressing down lightly but firmly to ensure good contact and a compact sandwich.
- Freeze for Perfection: This step is vital for achieving perfectly firm and sliceable ice cream sandwiches. Once assembled, cover the loaf pan with plastic wrap or foil, or place it in a freezer-safe container. Transfer the entire assembly to your freezer. Allow the ice cream bar to freeze for a minimum of 6 hours, or ideally, overnight. This extended freezing time ensures the ice cream is thoroughly firm and the brownie layers are properly chilled, preventing a messy outcome when you go to slice them. Patience is a virtue here, leading to a much more satisfying final product!
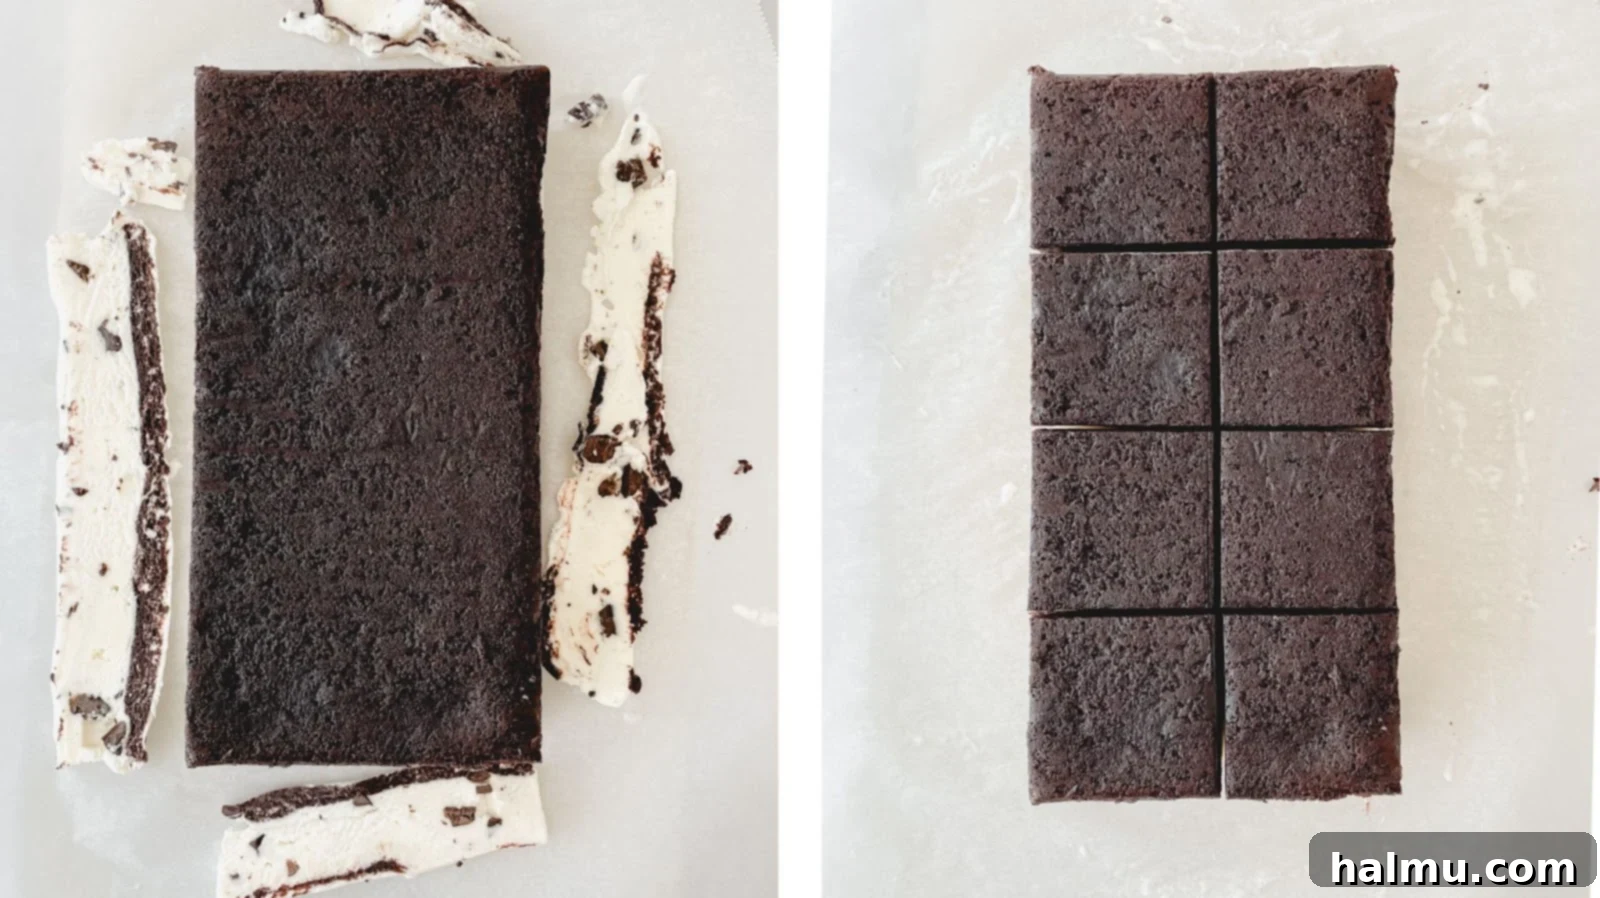
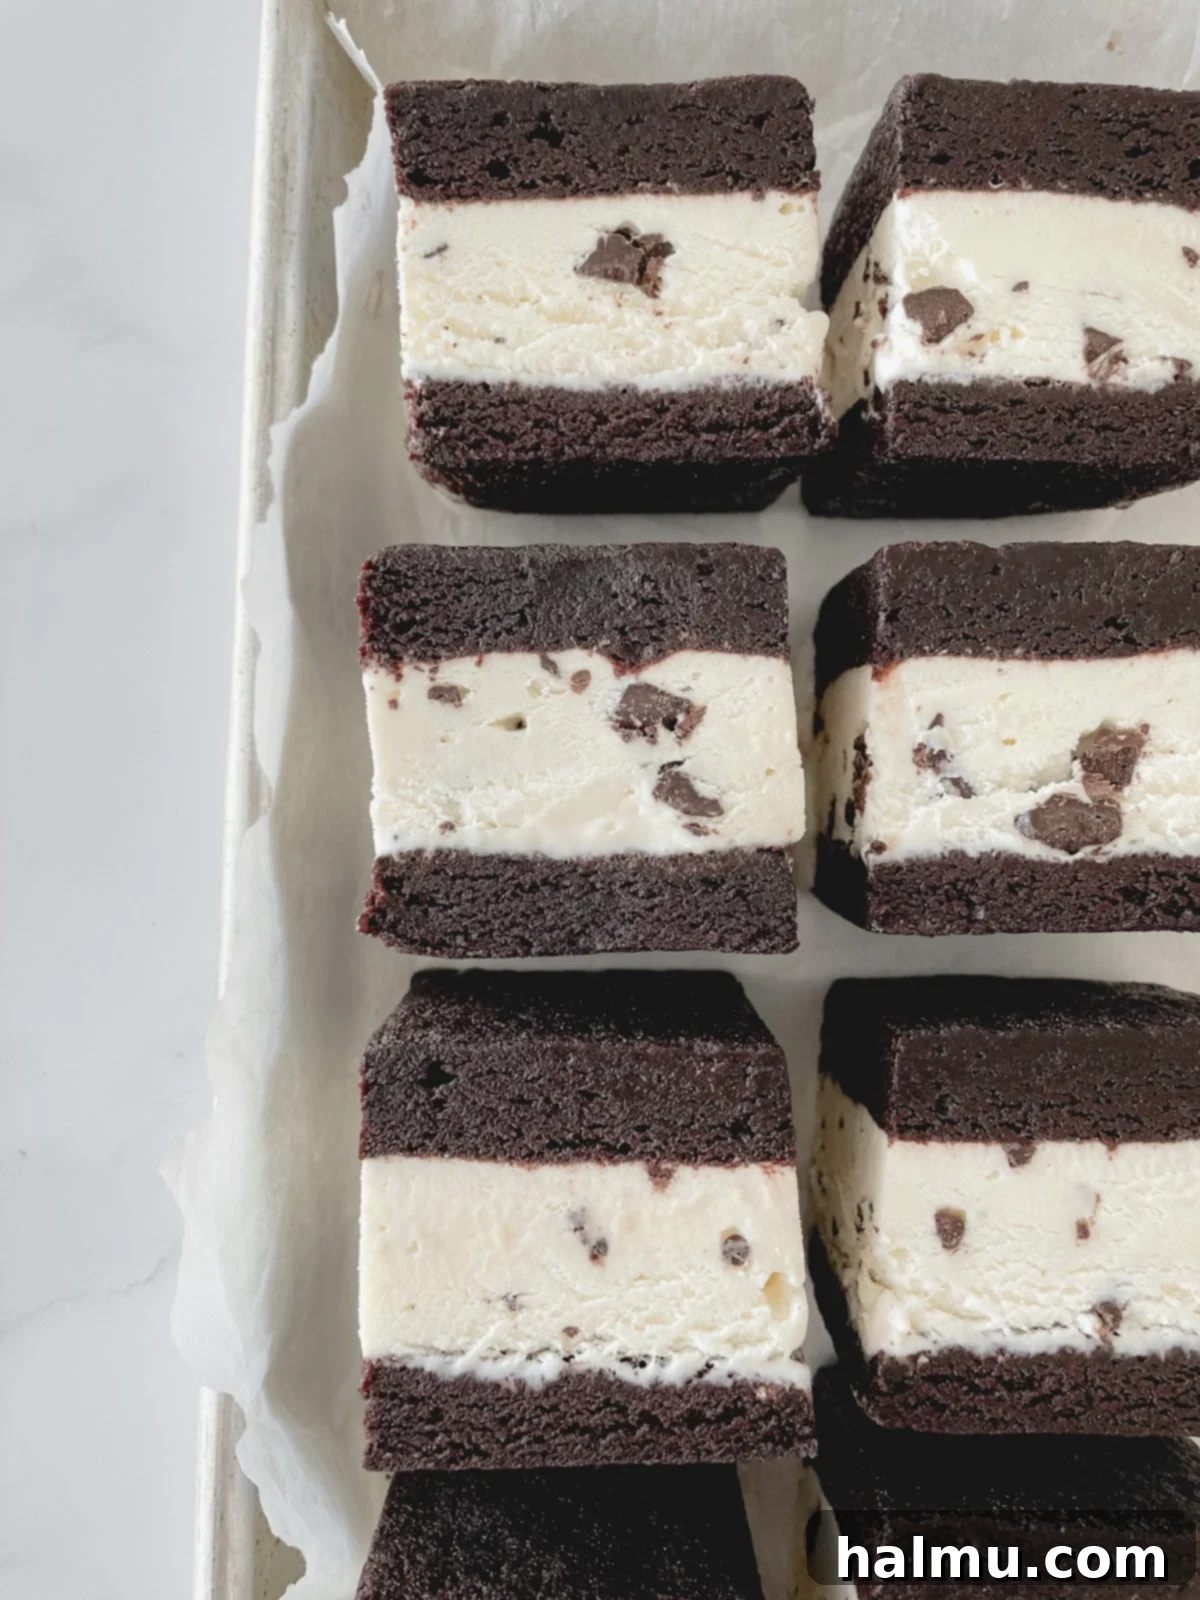
- Slice, Serve, and Savor: When your ice cream bar is thoroughly frozen, it’s time for the grand reveal! Use the parchment paper or plastic wrap overhangs as handles to carefully lift the entire frozen block out of the loaf pan. Place it on a clean cutting board. Using a large, sharp knife (you can warm it slightly under hot water and wipe it dry for cleaner cuts), trim off any uneven edges to create a perfectly rectangular block. Then, cut the brownie ice cream bar into 8 equal squares. For the best experience, enjoy these magnificent treats right away! If you have any leftovers (which is unlikely!), wrap each individual ice cream sandwich tightly in plastic wrap or wax paper and return them to the freezer. They will keep beautifully for up to one month, ready to be enjoyed whenever a craving strikes.
Expert Tips for the Best Fudgy Brownie Layers
Creating the perfect brownie base for your ice cream sandwiches is key to their success. Here are some expert tips to ensure your brownies are fudgy, chewy, and ideal for freezing:
- Ensure Even Batter Distribution: Because these brownie layers are intentionally thin, achieving an even thickness across the entire pan is paramount. Use an offset spatula or the back of a spoon to gently spread the brownie batter all the way to the edges of your baking pan. A uniform layer ensures that both brownie halves will be the same size and bake consistently, preventing some parts from becoming too crispy or undercooked. This attention to detail contributes to a professional-looking and evenly textured ice cream sandwich.
- Avoid Overbaking at All Costs: This is perhaps the most crucial tip for fudgy brownies. Overbaking is the enemy of a soft, chewy texture. Start checking your brownies at the minimum recommended baking time of 13 minutes. You’re looking for the edges to be set, but the center should still look slightly moist and perhaps jiggle ever so slightly when gently shaken. A toothpick inserted into the center should come out with moist crumbs clinging to it, not completely clean. If the toothpick comes out clean, your brownies are likely overbaked and will be dry. If needed, add just 1-2 minutes of baking time at a stretch until you reach that perfect “just set” stage.
- Allow for Complete Cooling: Patience is truly a virtue when it comes to assembling these treats. The brownie layer must be completely cooled before you even think about layering it with ice cream. Attempting to handle a warm or even slightly warm brownie will not only make it prone to tearing and breaking but will also cause your ice cream to melt prematurely and create a sloppy mess. To expedite the cooling process, once the brownie has cooled for about 15-20 minutes at room temperature, you can carefully transfer the pan to the freezer for an additional 10-15 minutes. This quick chill will bring the temperature down rapidly, making it safe to proceed with assembly.
- The Magic of Oil: As mentioned, using oil instead of butter in this brownie recipe is a deliberate choice for frozen desserts. Butter solidifies and becomes very firm at cold temperatures, which would make your brownie layers rock-hard and difficult to bite into when frozen. Oil, on the other hand, remains more pliable and tender even when frozen, ensuring that your brownie base stays perfectly soft and chewy, providing a delightful contrast to the creamy ice cream filling.
Mint Chocolate Chip Ice Cream Sandwich FAQs
Got questions about making these sensational frozen treats? We’ve got answers to help you perfect your homemade ice cream sandwiches!
Can I bake the brownie layers in two loaf pans instead of one square pan?
Absolutely! If you happen to have two loaf pans of the same size (e.g., two 9” x 5” pans), you can certainly divide the brownie batter evenly between them. This eliminates the need to slice a larger brownie in half. If you go this route, be aware that the bake time may need to be reduced slightly, as thinner layers will cook faster. Start checking for doneness a few minutes earlier. For the best assembly, we recommend building the ice cream bar in one of the loaf pans you used to bake the layers, as it will perfectly fit the shape.
What other ice cream flavors pair well with these brownies?
The beauty of these homemade ice cream sandwiches is their incredible adaptability! While mint chocolate chip is a phenomenal choice, these fudgy brownie layers are incredibly versatile and complement a wide array of ice cream flavors. Don’t hesitate to experiment and customize them with your personal favorites. Some fantastic ice cream flavors that would create equally delicious brownie sandwiches include:
- Classic Vanilla Bean: For a timeless, elegant pairing that highlights the rich chocolate of the brownie.
- Sweet Strawberry: A fruity, refreshing contrast that’s perfect for warm weather.
- Fun Birthday Cake: Adds a festive, celebratory vibe with sprinkles and cake batter flavor.
- Bold Coffee: Creates a sophisticated mocha-like experience, irresistible for coffee lovers.
- Rich Caramel Swirl: The gooey caramel ribbons add another layer of sweetness and texture.
- Beloved Cookies & Cream: A crowd-pleaser that adds crunchy cookie bits and creamy goodness.
- Peanut Butter Cup: For an indulgent combination of chocolate and nutty flavors.
- Raspberry Swirl: A tart and sweet option that beautifully cuts through the richness of the brownie.
How should I store these homemade ice cream sandwiches to keep them fresh?
Proper storage is key to preventing freezer burn and maintaining the delicious quality of your homemade ice cream sandwiches. After slicing them into individual servings, it’s best to wrap each sandwich tightly. Use plastic wrap or wax paper to create a snug seal around each one. This individual wrapping helps protect the ice cream and brownie from direct exposure to cold, dry freezer air. For an extra layer of protection against freezer burn and to maintain their shape, place the individually wrapped ice cream sandwiches into a large zip-top freezer bag or an airtight freezer-safe container. Stored this way, they will remain wonderfully fresh and delicious in your freezer for up to one month, making them a fantastic make-ahead dessert!
Can I make these brownies gluten-free or dairy-free?
Yes, with a few adjustments! For a gluten-free version, simply substitute the all-purpose flour with a high-quality 1:1 gluten-free baking flour blend that contains xanthan gum. The rest of the brownie ingredients are naturally gluten-free. For a dairy-free option, ensure your ice cream choice is dairy-free (many excellent plant-based options are available now!). The brownie recipe itself is already dairy-free, as it uses oil instead of butter. Always double-check ingredient labels for any hidden dairy or gluten to ensure full compliance with dietary needs.
More Refreshing Summer Recipes to Cool Off With
If you’re loving these cool and delicious treats, check out some of our other favorite recipes perfect for beating the summer heat:
- Chocolate Sprinkle Cookie Ice Cream Sandwiches
- Espresso Oreo Ice Cream
- Decadent Chocolate Pudding Cake
- Dreamy Strawberry Crunch Cheesecake
- Bright Lemon Brûlée Bars
We hope you enjoy crafting and savoring these incredible Mint Chocolate Chip Brownie Ice Cream Sandwiches. They are truly a game-changer for summer desserts! If you make this recipe and love it as much as we do, please consider leaving a comment below and sharing your experience. Happy baking, and even happier eating!
Mint Chocolate Chip Ice Cream Sandwiches
If you haven’t tried a Mint Chocolate Chip Ice Cream Sandwich, you are missing out! These are made up of two soft and fudgy brownie layers sandwiched with creamy mint chip ice cream. A decadent treat to cool off with on a scorching summer day.
Author: Rachel
Prep Time: 20 mins
Cook Time: 15 mins
Freeze Time: 6 hrs
Total Time: 6 hrs 35 mins
Yield: 8 servings
Ingredients
For the Fudgy Brownies
- ½ cup (110g) canola or vegetable oil
- 2 large eggs, at room temperature
- 2 teaspoons vanilla extract
- ¾ cup (98g) all-purpose flour
- 1 cup (200g) granulated sugar
- ½ cup (44g) cocoa powder
- ¼ teaspoon salt
For the Ice Cream Sandwiches
- 1 ½ quarts mint chocolate chip ice cream, or your favorite flavor
Instructions
- Preheat oven to 350°F (175°C). Lightly grease a 9” x 9” square pan with cooking spray. Line with parchment paper to create a sling, with an overhang on all four sides.
- Brownies: In a mixing bowl, whisk together oil, eggs, and vanilla until fully combined. In a separate mixing bowl, combine the flour, sugar, cocoa powder, and salt. Mix the wet ingredients into the dry with a rubber spatula until everything is well combined, being careful not to overmix.
- Pour the brownie batter into the prepared pan and spread it out evenly with an offset spatula to ensure uniform thickness. Bake at 350°F (175°C) for 13-15 minutes, just until the brownies are set but still fudgy. Cool completely in the pan on a wire rack before assembling the sandwiches.
- Assembly: Once the brownies are cool, carefully lift the brownie layer out of the pan using the parchment sling. Cut the layer in half vertically so you end up with two equal rectangles. Line a large 9” x 5” loaf pan with fresh parchment paper or plastic wrap, again leaving an overhang for easy removal. Allow the ice cream to soften slightly at room temperature, about 5-10 minutes, for easier spreading.
- Place one layer of brownie in the bottom of the prepared loaf pan. Scoop about ⅔ of the carton of softened ice cream on top of the brownie base. Working quickly, use a spatula to press down the ice cream and smooth it out into an even layer that completely covers the brownie. Place the remaining brownie layer on top and gently press it down to form a compact sandwich. Freeze for at least 6 hours or, for best results, overnight, until the ice cream is completely firm.
- Once the ice cream is thoroughly frozen, remove the entire ice cream bar from the loaf pan using the parchment/plastic wrap sling. Place it on a clean cutting board. Use a large, sharp knife to trim any uneven edges, then cut the brownie ice cream bar into 8 equal squares. Enjoy immediately, or individually wrap each sandwich tightly in plastic wrap or wax paper and store in an airtight container or zip-top bag in the freezer for up to one month.
Did you make this recipe?
Be sure to tag @sweetkitchencravings on Instagram! We love seeing your delicious creations!
