This post may contain affiliate links. Please read my full disclosure policy.
Irresistible Strawberry Rice Krispie Treats: A Sweet Twist on a Classic
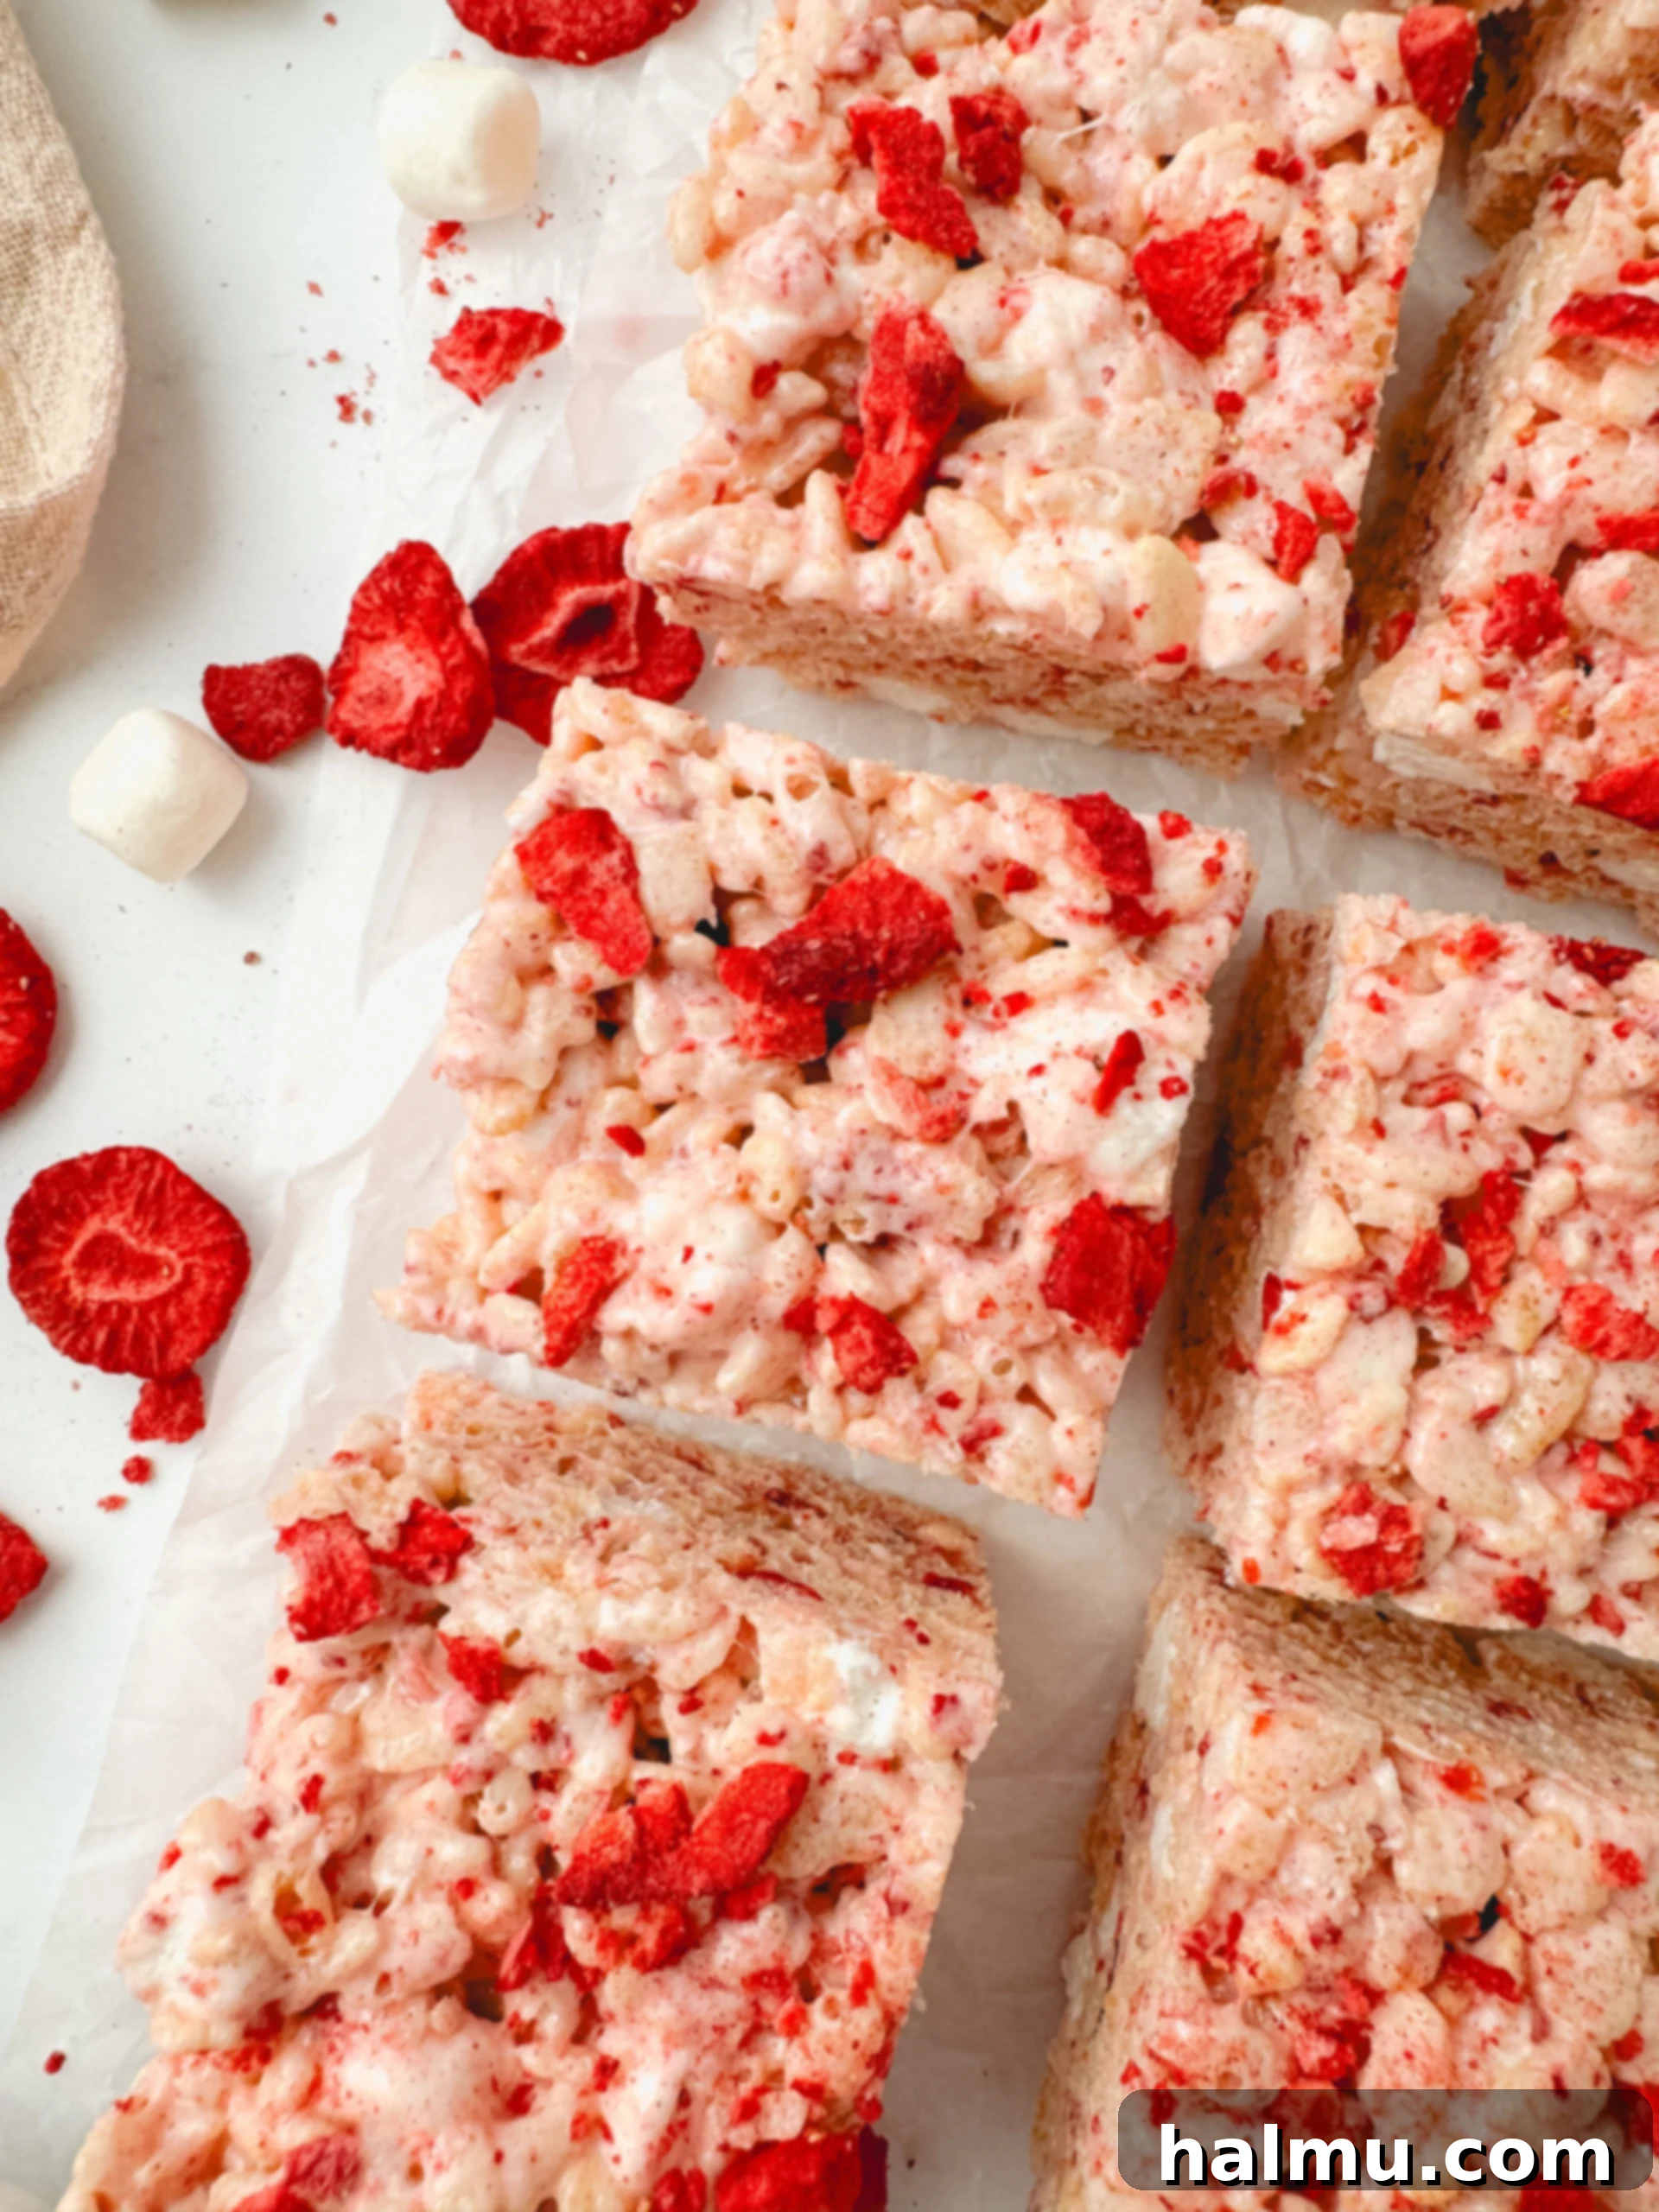
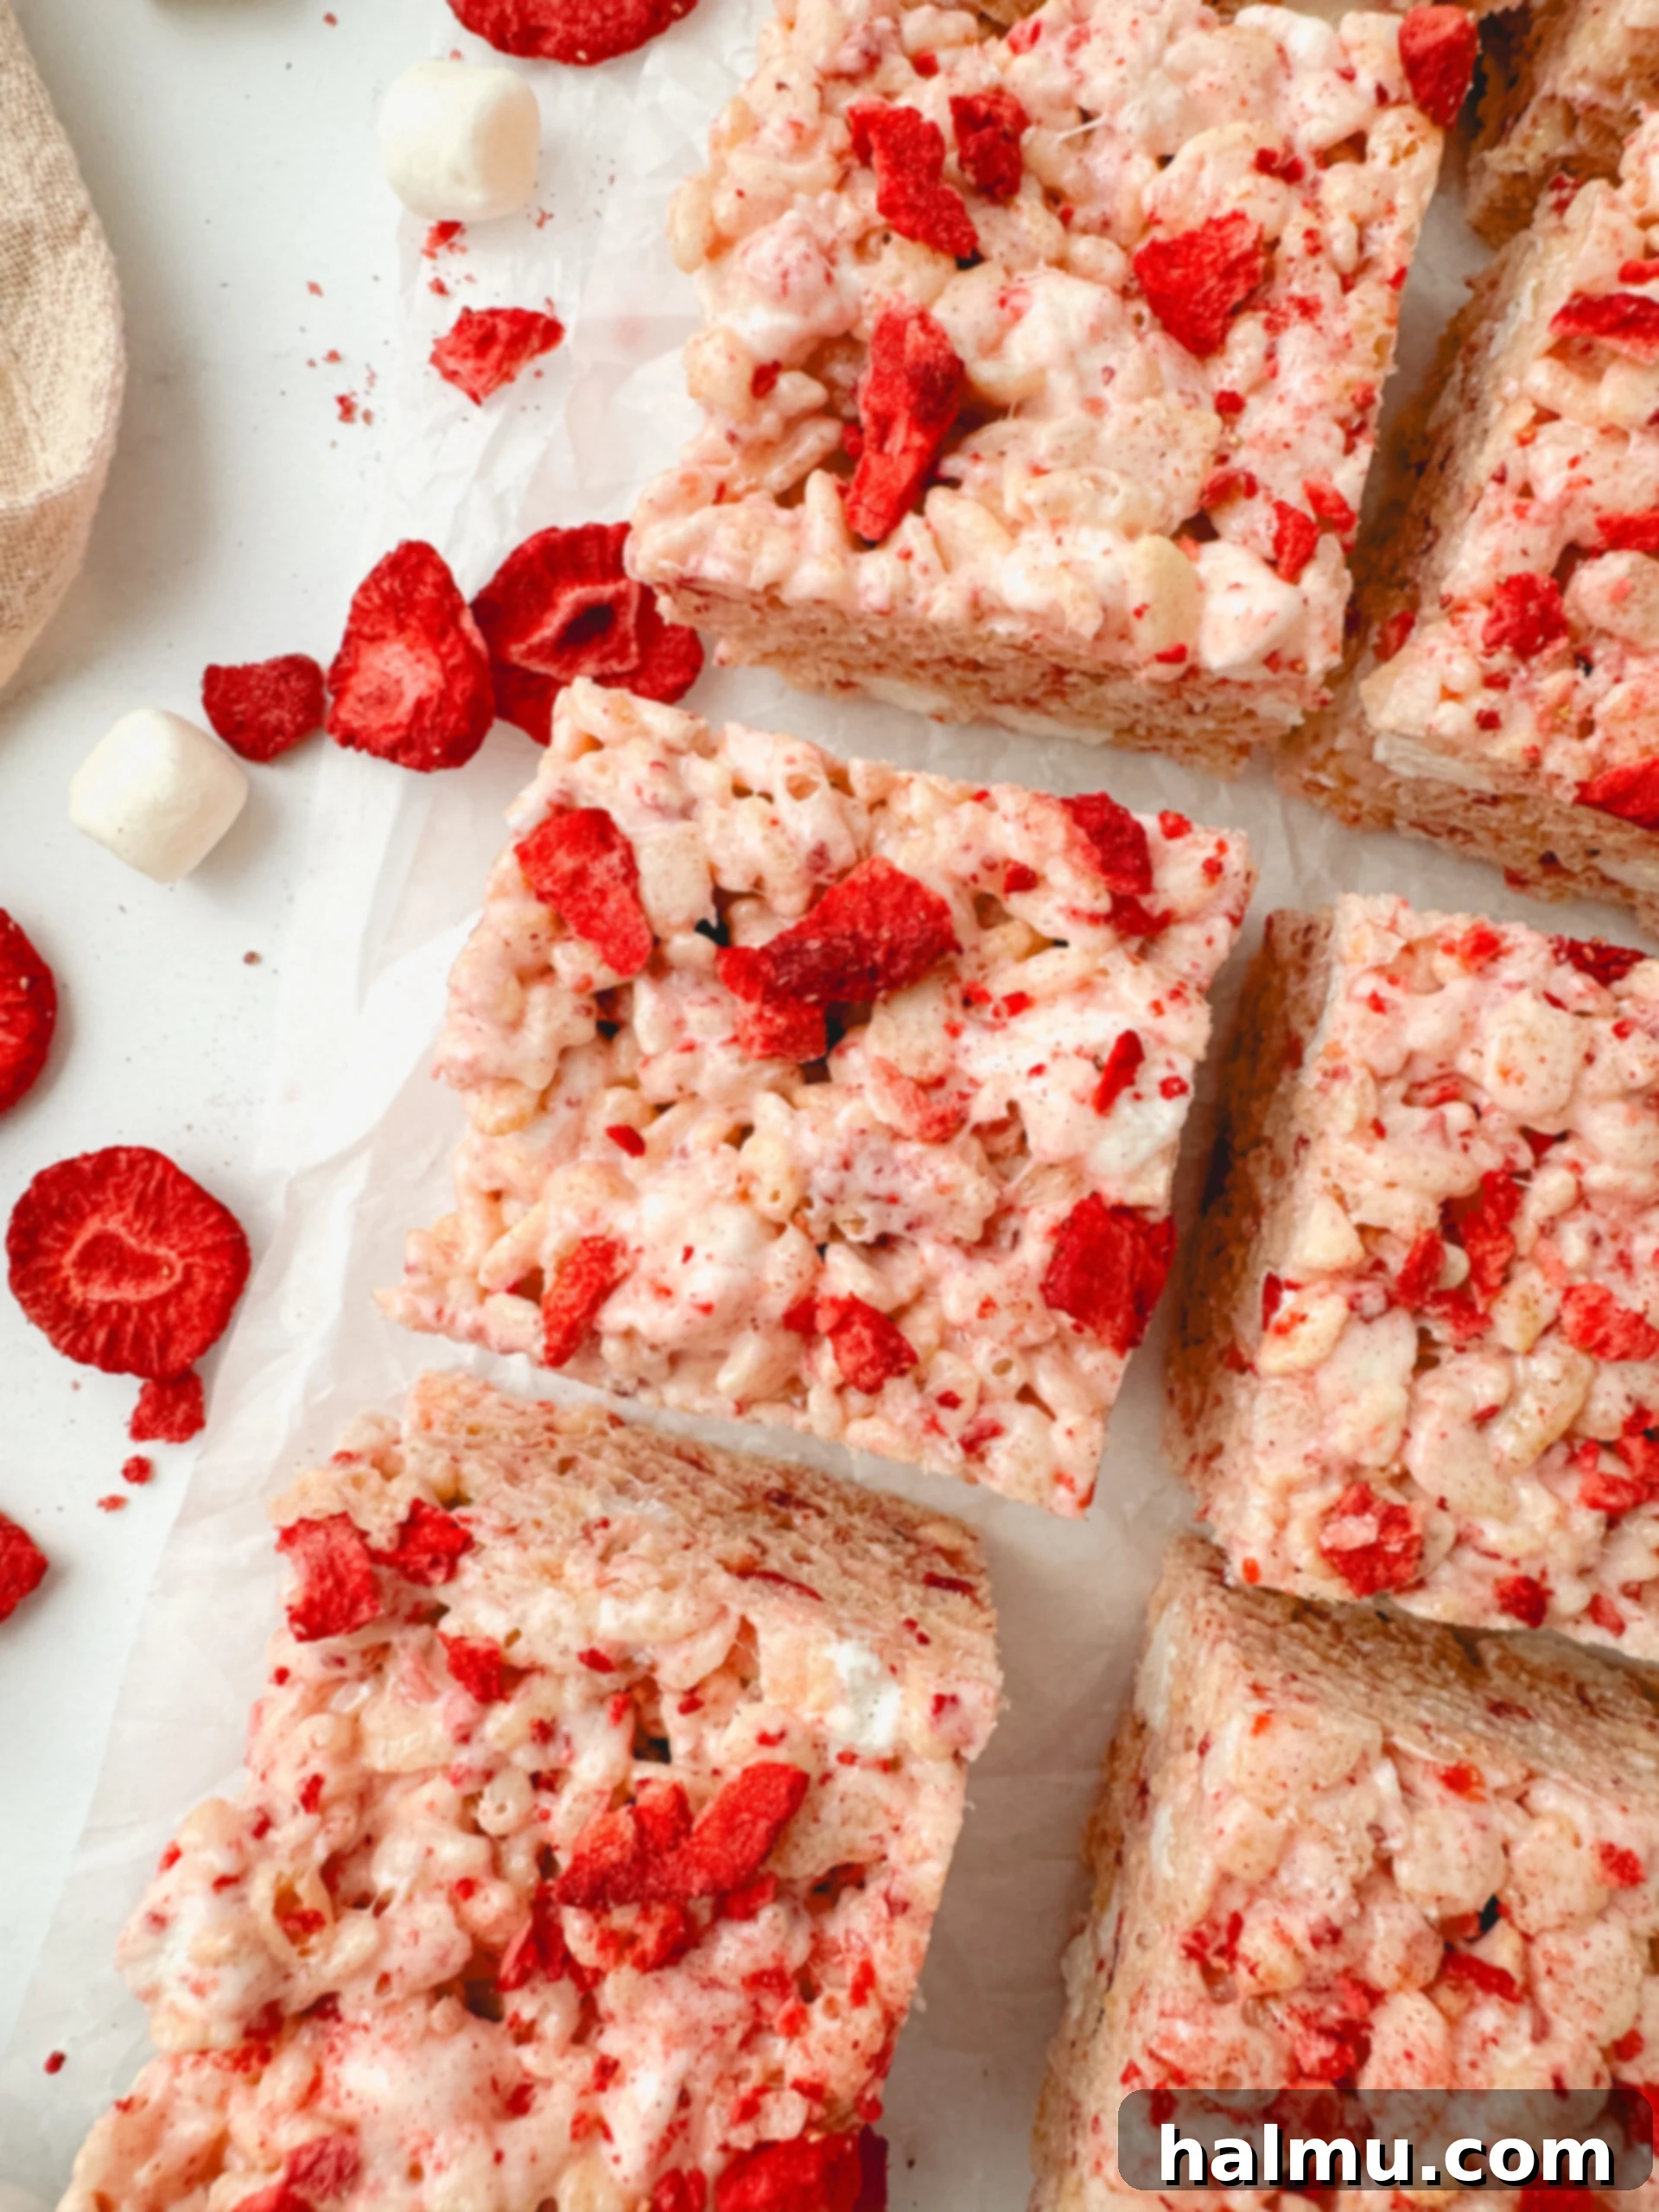
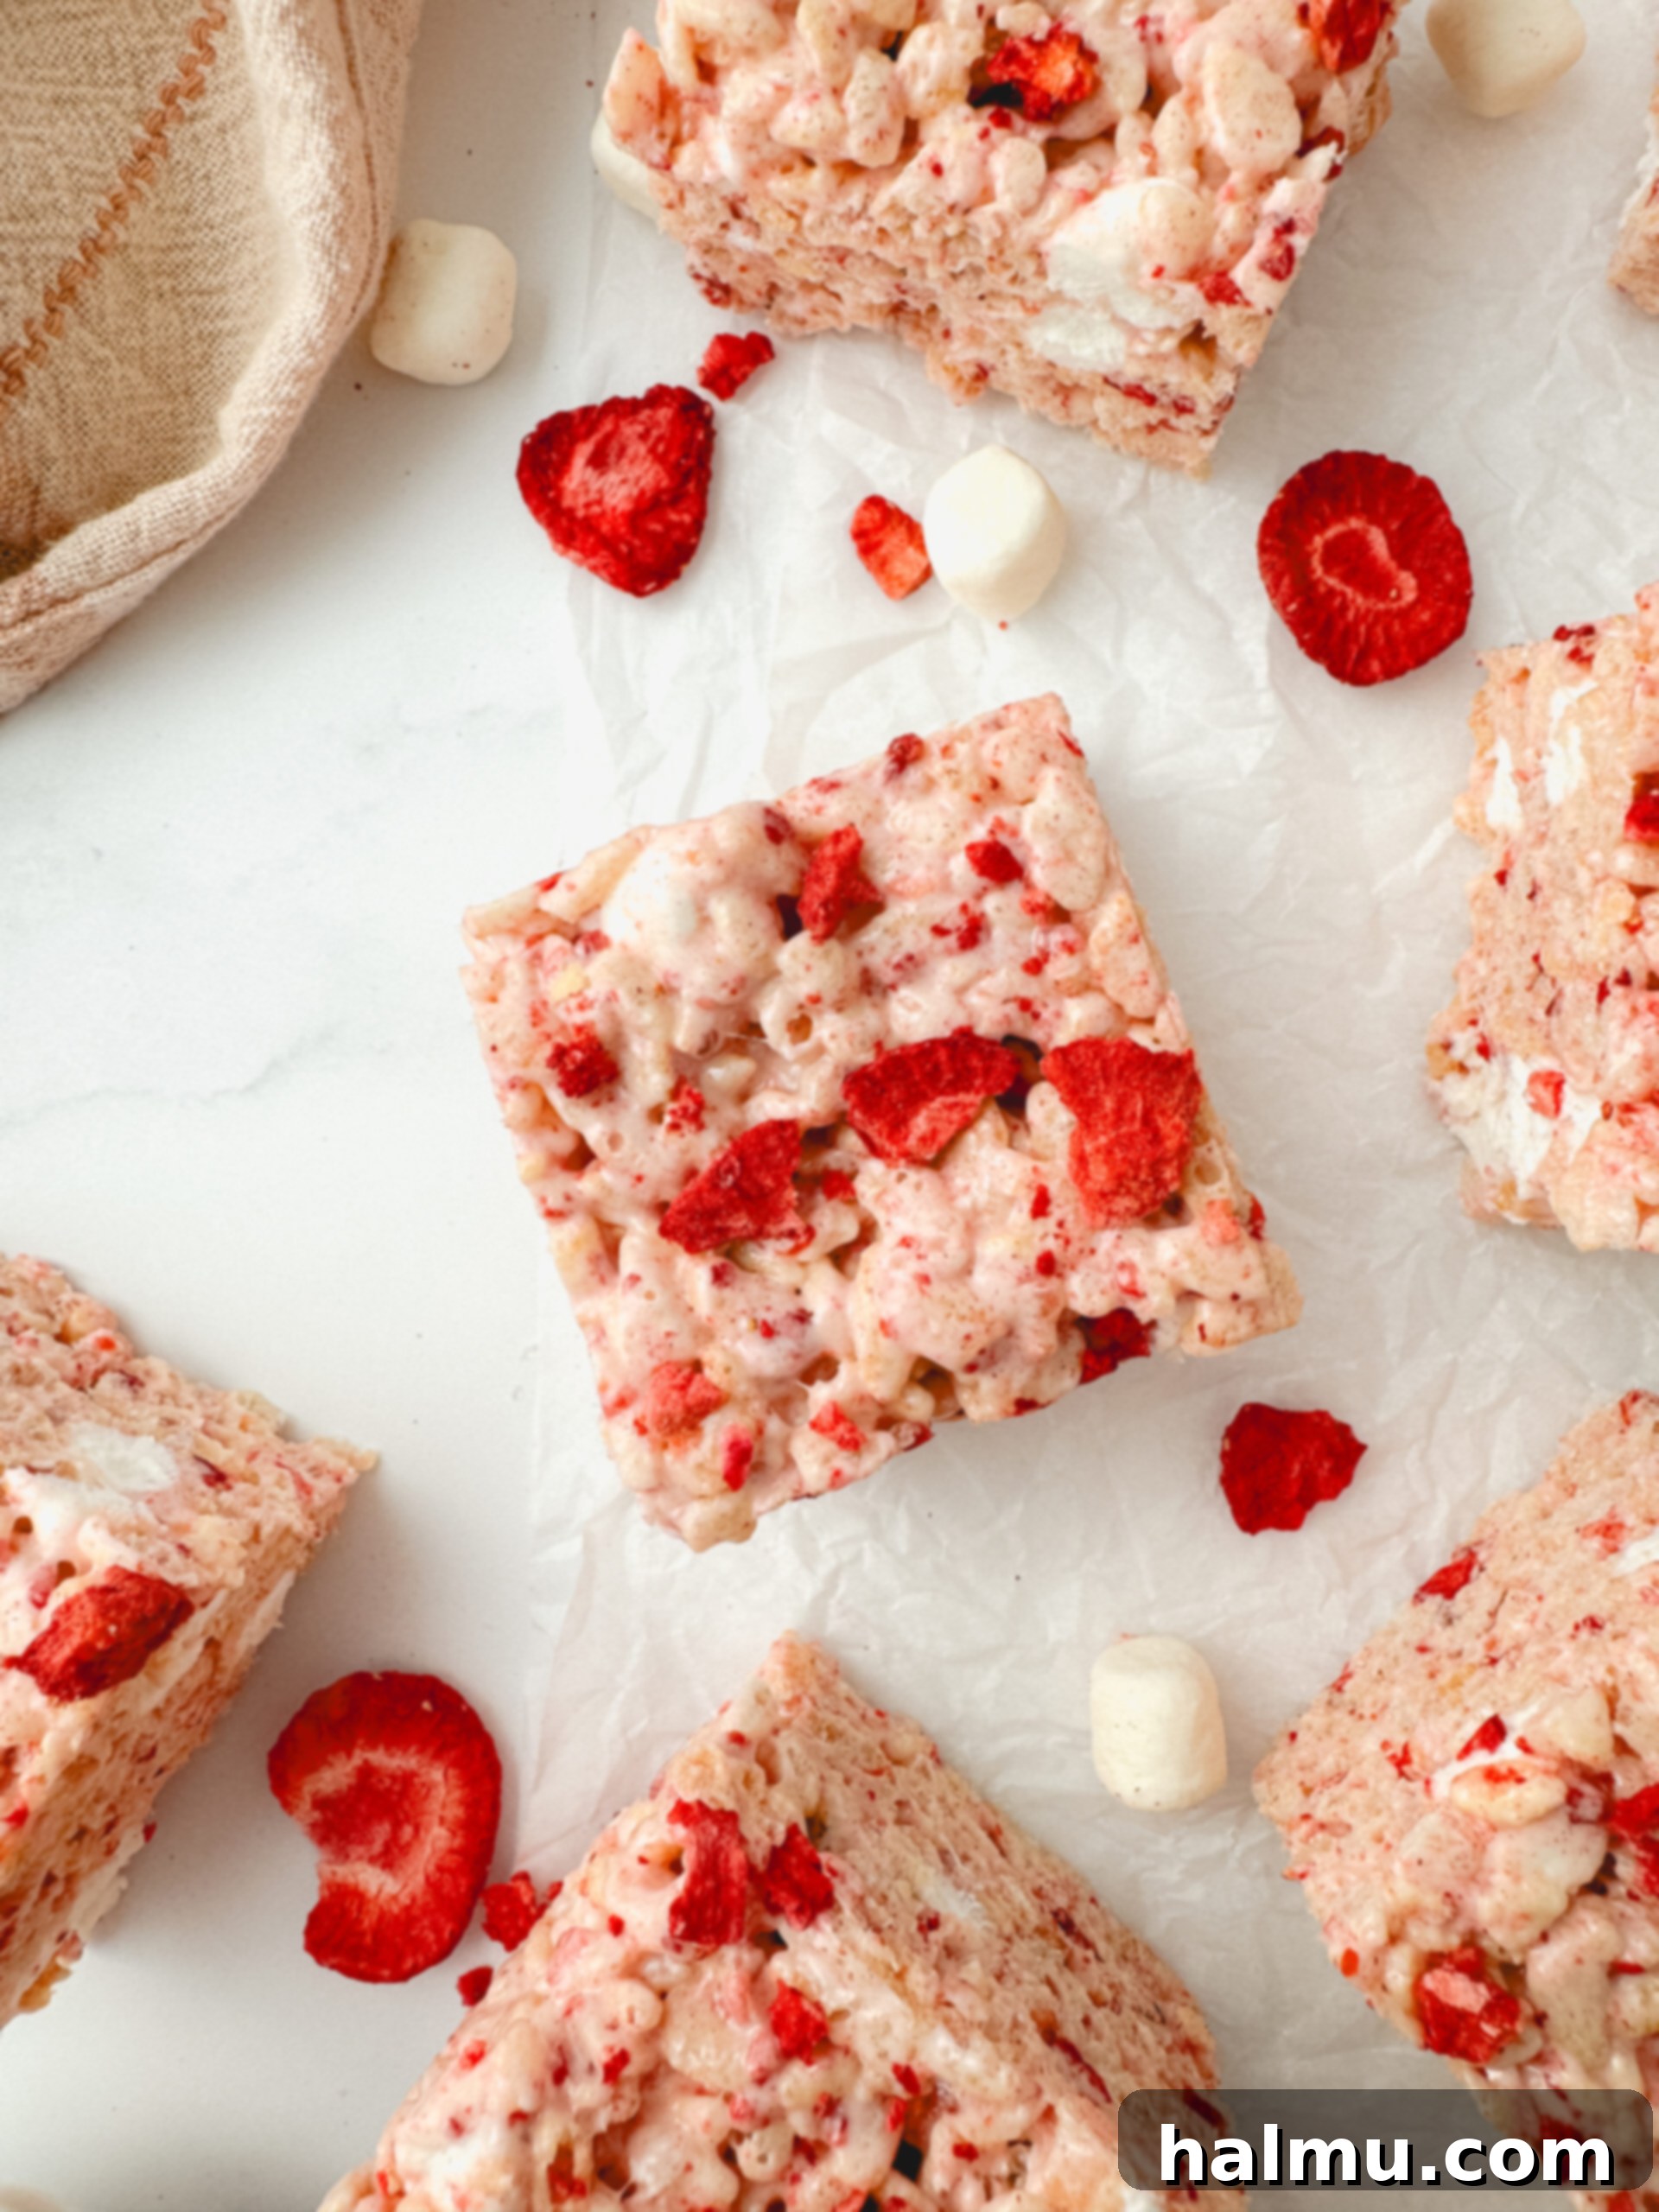
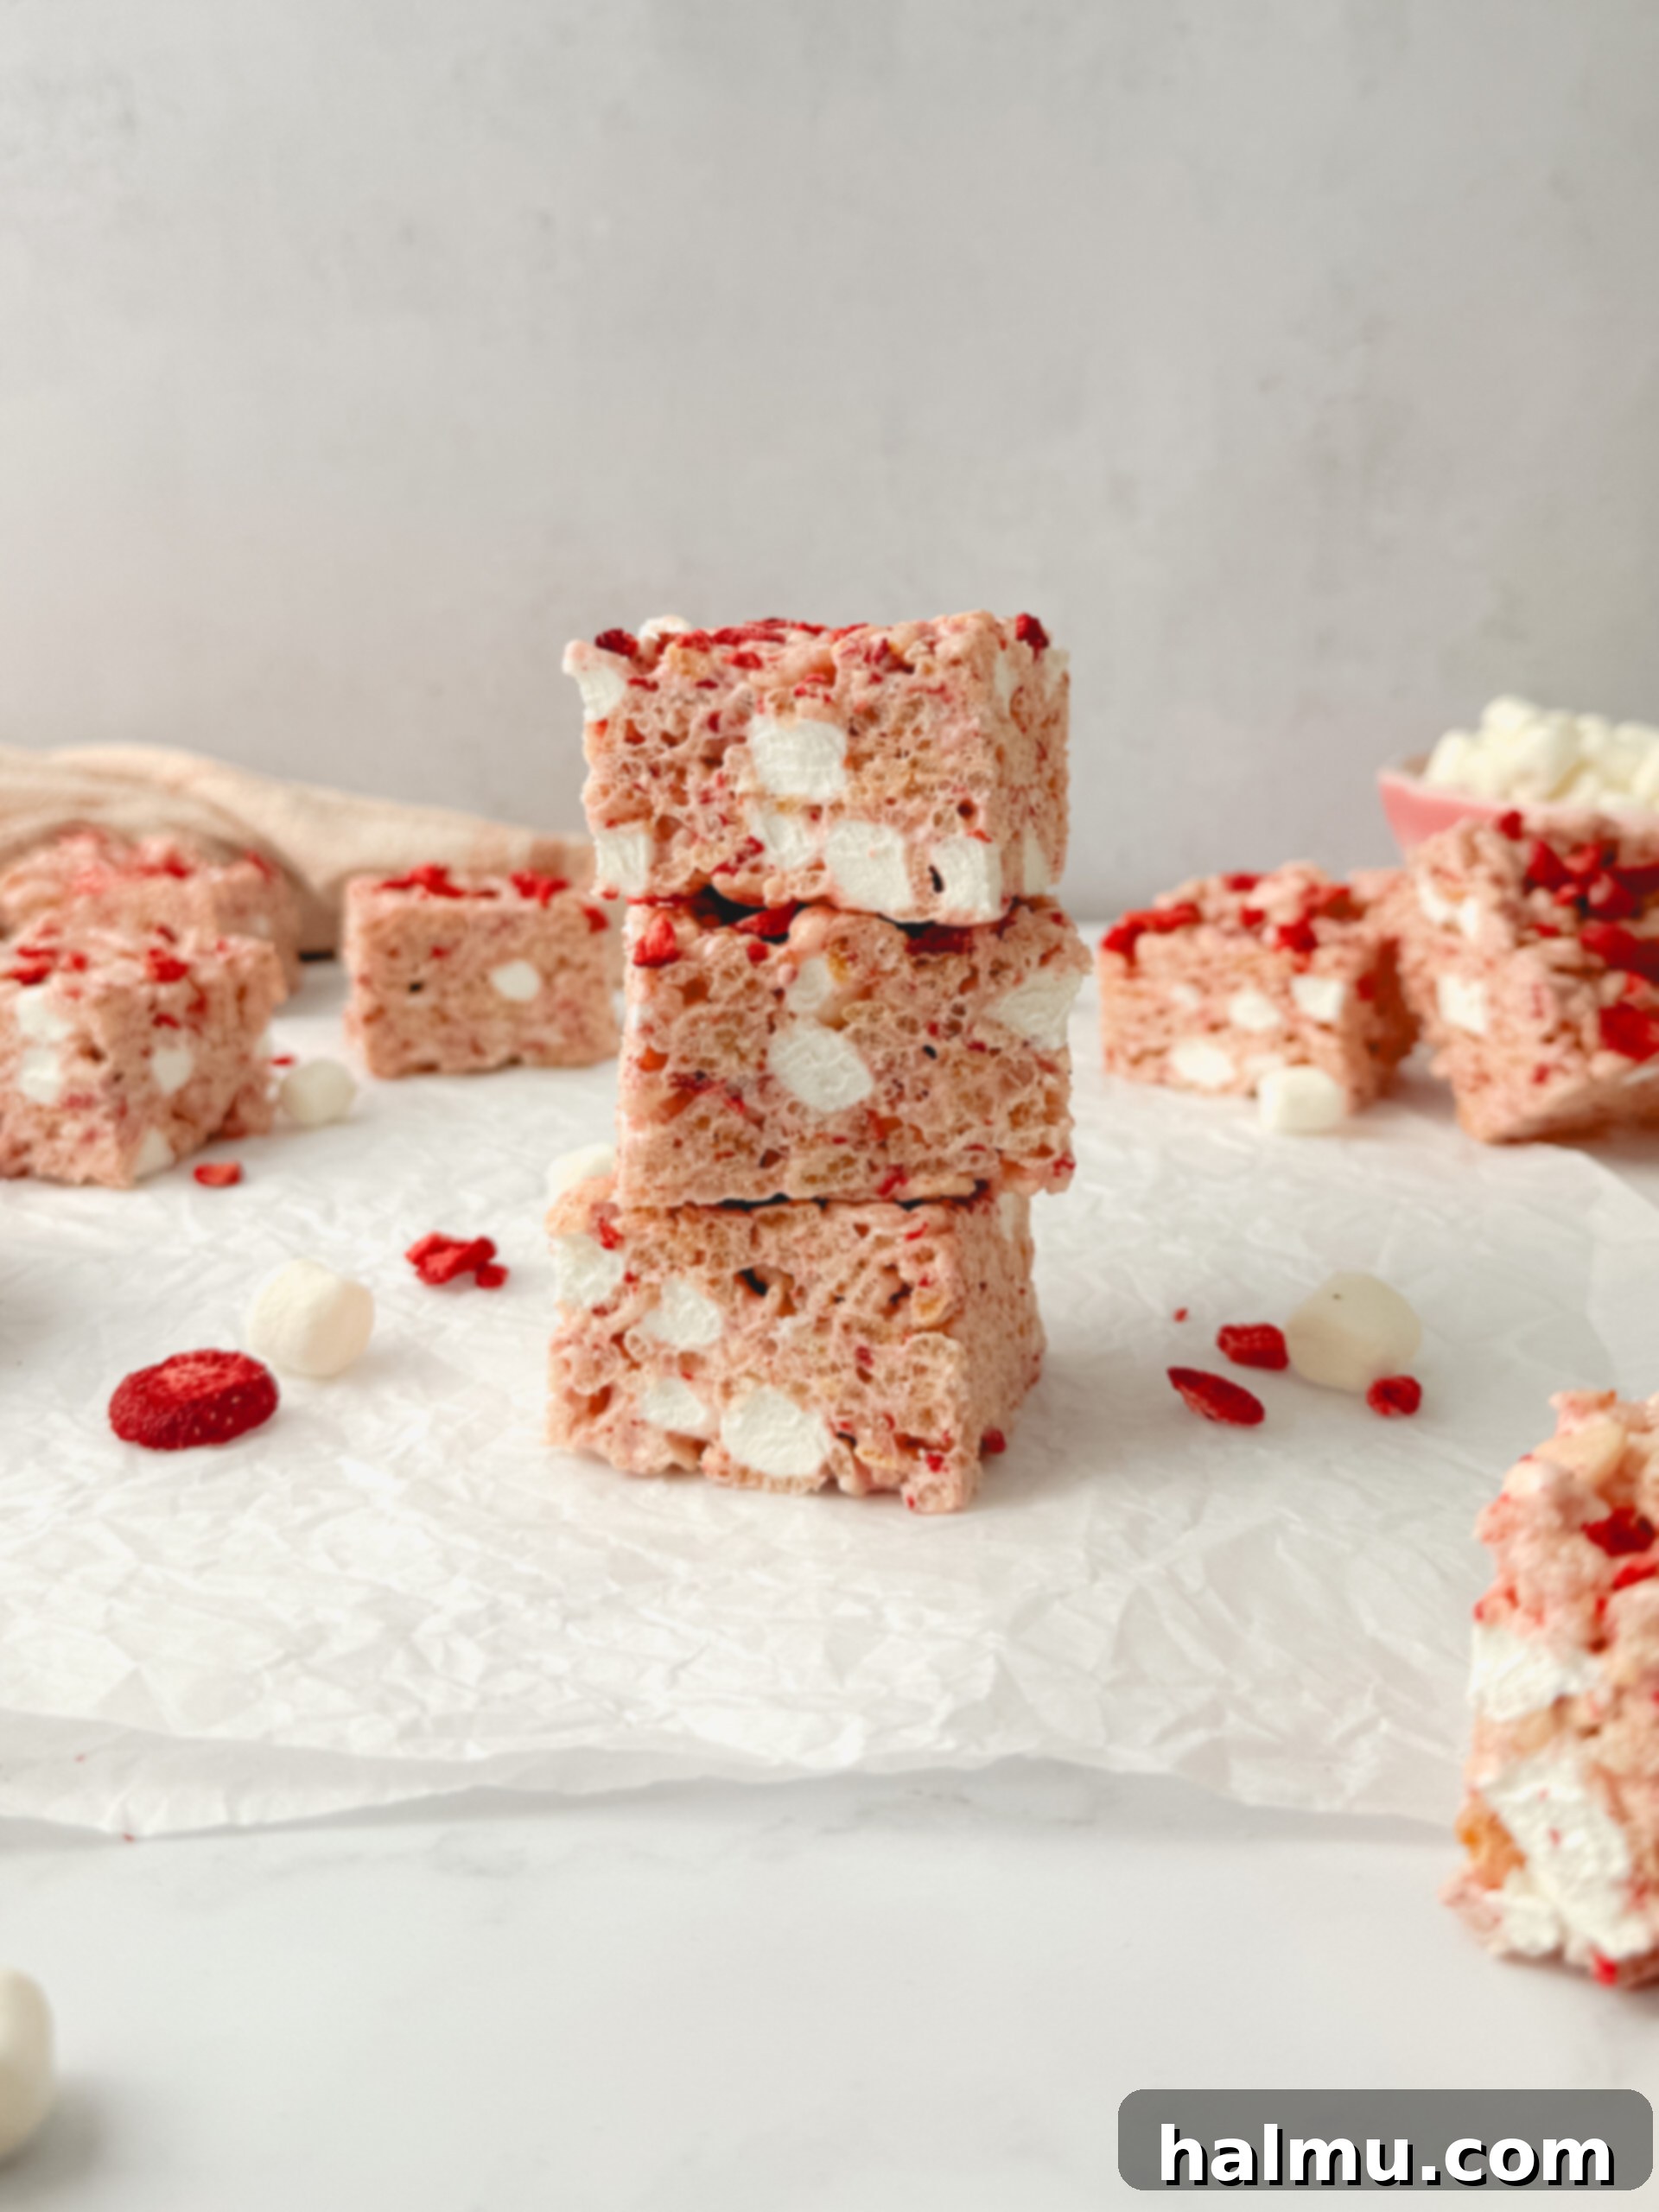
Prepare to fall in love with these Strawberry Rice Krispie Treats, where crispy rice cereal meets gooey marshmallows, infused with the intense and vibrant flavor of freeze-dried strawberries. This isn’t just another dessert; it’s a delightful reinvention of a beloved classic, promising a burst of natural strawberry goodness in every chewy bite. If you’re searching for a simple yet show-stopping treat that appeals to all ages, look no further!
My recent obsession with freeze-dried berries has led to a culinary adventure, incorporating them into a variety of sweet delights. The magic of freeze-dried strawberries lies in their ability to deliver a robust, authentic fruit flavor without introducing excess moisture, which can compromise the crispy texture of these treats. The result is an incredibly bold strawberry essence and a gorgeous, natural pink hue that makes these Krispie treats as visually appealing as they are delicious. They’re perfect for parties, lunchboxes, or simply satisfying that sweet craving!
If you’re a fan of the ultimate ooey-gooey, chewy texture of Rice Krispie Treats, you’ll definitely want to explore more exciting variations. Be sure to try my Lucky Charms Krispie Treats for a touch of whimsy, indulge in the nutty, chocolatey goodness of Reese’s Pieces Krispie Treats, or savor a nostalgic taste of summer with my S’mores Krispie Treats. Each recipe offers a unique spin on the classic, guaranteeing a new favorite for every occasion!
Key Ingredients for Perfectly Pink Strawberry Rice Krispie Treats
Creating these delightful Strawberry Rice Krispie Treats requires just a few essential ingredients. Each plays a crucial role in achieving that perfect balance of crispy, chewy, and intensely strawberry-flavored goodness. Here’s a closer look at what you’ll need and why these choices matter:
Unsalted Butter
For this recipe, I always recommend using unsalted butter. A full stick (4 ounces or 113g) is needed to create the rich, buttery foundation for our marshmallow mixture. Unsalted butter gives you complete control over the salt content in your treats. Different brands of salted butter can vary significantly in their sodium levels, which might lead to an overly salty taste. By starting with unsalted butter, you can precisely measure the small amount of salt needed to perfectly balance the sweetness, enhancing all the flavors without overwhelming them.
Fresh Mini Marshmallows
Marshmallows are the heart of any good Krispie treat, and for these strawberry delights, freshness is key! I prefer using mini marshmallows because they melt down more quickly and evenly, creating a smoother, more consistent coating for the cereal. However, larger jumbo marshmallows will also work; they just might take a little longer to melt. It’s crucial to use fresh marshmallows. Older marshmallows, which often get stuck together in the bag or become slightly stiff, tend to struggle with melting properly, resulting in a lumpy, less appealing texture. Always grab a fresh bag for the best results!
Freeze-Dried Strawberries
These are the star of our Strawberry Rice Krispie Treats! Freeze-dried strawberries provide an incredibly concentrated, authentic strawberry flavor that’s simply unmatched by fresh or frozen berries. Unlike fresh or frozen fruit, they add no extra moisture, which is vital for keeping the rice cereal crisp and preventing the treats from becoming soggy. Their vibrant red color also naturally enhances the visual appeal, giving the treats a beautiful, bright pink hue. Don’t forget to crush a few extra to sprinkle on top; they act like natural, flavor-packed sprinkles!
Crisp Rice Cereal
The foundation of these treats, crisp rice cereal, provides that characteristic light and airy crunch. Whether you opt for a name brand or a store brand, the results will be equally delicious. The key is to ensure your cereal is fresh and hasn’t gone stale, as this will significantly impact the final texture of your Krispie treats. This staple ingredient perfectly complements the sweet marshmallow and tart strawberry flavors.
Vanilla Extract & Salt
Never underestimate the power of these two seemingly small additions! A couple of teaspoons of vanilla extract deepens the overall flavor profile, adding a warm, aromatic note that elevates the sweetness of the marshmallows and strawberries. A small pinch of kosher salt (about ¼ teaspoon) is equally important. It acts as a crucial counterpoint, cutting through the sweetness and bringing all the flavors into perfect harmony. Without it, the treats can taste one-dimensional and overly sugary.
See the full list of ingredients and precise measurements in the recipe card below for your convenience!
How to Craft Your Delicious Strawberry Rice Krispie Treats
Making these Strawberry Rice Krispie Treats is a wonderfully straightforward process, perfect for bakers of all skill levels. Follow these simple steps to create perfectly gooey, chewy, and flavorful treats:
Step 1: Prepare Your Pan and Strawberries
Before you begin melting, take a moment to prepare your baking pan. A 9” x 9” square pan works perfectly for these treats. Lightly grease the bottom and sides of the pan with cooking spray or butter. This crucial step prevents the sticky marshmallow mixture from adhering, making removal and cutting much easier later on. Next, get your freeze-dried strawberries ready. You can either crush them by hand in a zip-top bag using a rolling pin or roughly chop them. Set these aside, as you’ll be adding them to the melted marshmallow mixture and as a topping.
Step 2: Gently Melt the Butter
Choose a large, heavy-bottomed pot. It needs to be spacious enough to comfortably hold all the marshmallows and 6 cups of cereal, with ample room for stirring. Place the pot over medium-low heat and add your unsalted butter. Allow the butter to melt slowly and completely, swirling the pot occasionally to ensure even melting. Don’t rush this step; a gentle melt prevents the butter from browning too quickly, which can alter the flavor of your treats.
Step 3: Incorporate and Melt the Marshmallows
Once the butter is fully melted, immediately turn off the heat. Add 16 ounces of your mini marshmallows to the pot, reserving the remaining 4 ounces for later. The residual heat from the melted butter and the warm pot should be sufficient to melt the marshmallows. Stir vigorously and continuously with a heat-resistant spatula until the marshmallows are completely smooth and gooey. If they seem reluctant to melt fully, you can briefly turn the heat back to very low, but be extremely careful not to overheat them. Overheated marshmallows can become tough and rubbery, affecting the texture of your treats.
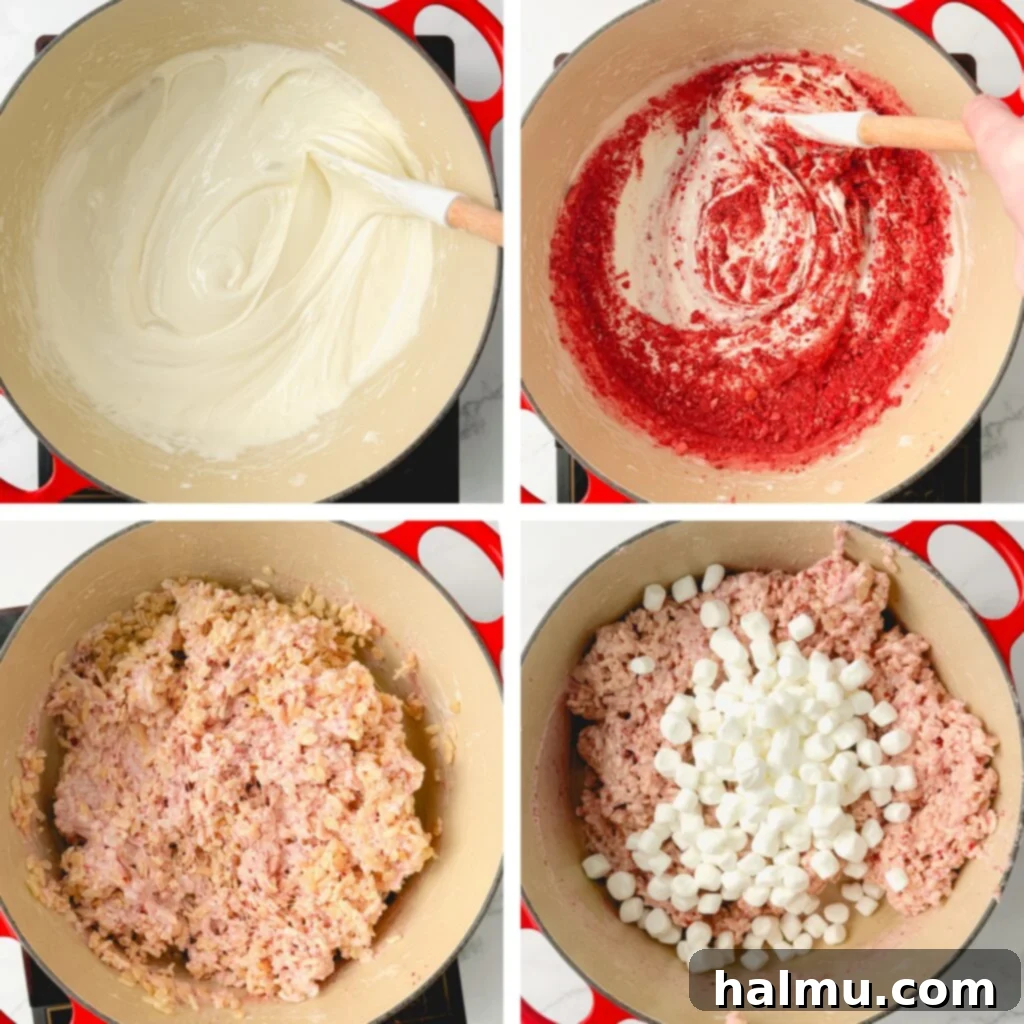
Step 4: Infuse with Strawberry Flavor and Cereal
With the marshmallows perfectly melted, it’s time to add the flavor. Stir in the crushed freeze-dried strawberries, vanilla extract, and kosher salt until everything is thoroughly combined. The mixture should take on a lovely pink hue. Next, add the 6 cups of crisp rice cereal to the marshmallow mixture. Gently fold and stir until the cereal is almost completely coated. Finally, add the remaining 4 ounces of mini marshmallows. These should be folded in just enough to distribute them evenly without melting completely, giving your treats delightful pockets of whole, soft marshmallow goodness amidst the chewy base.
Step 5: Press into the Prepared Pan
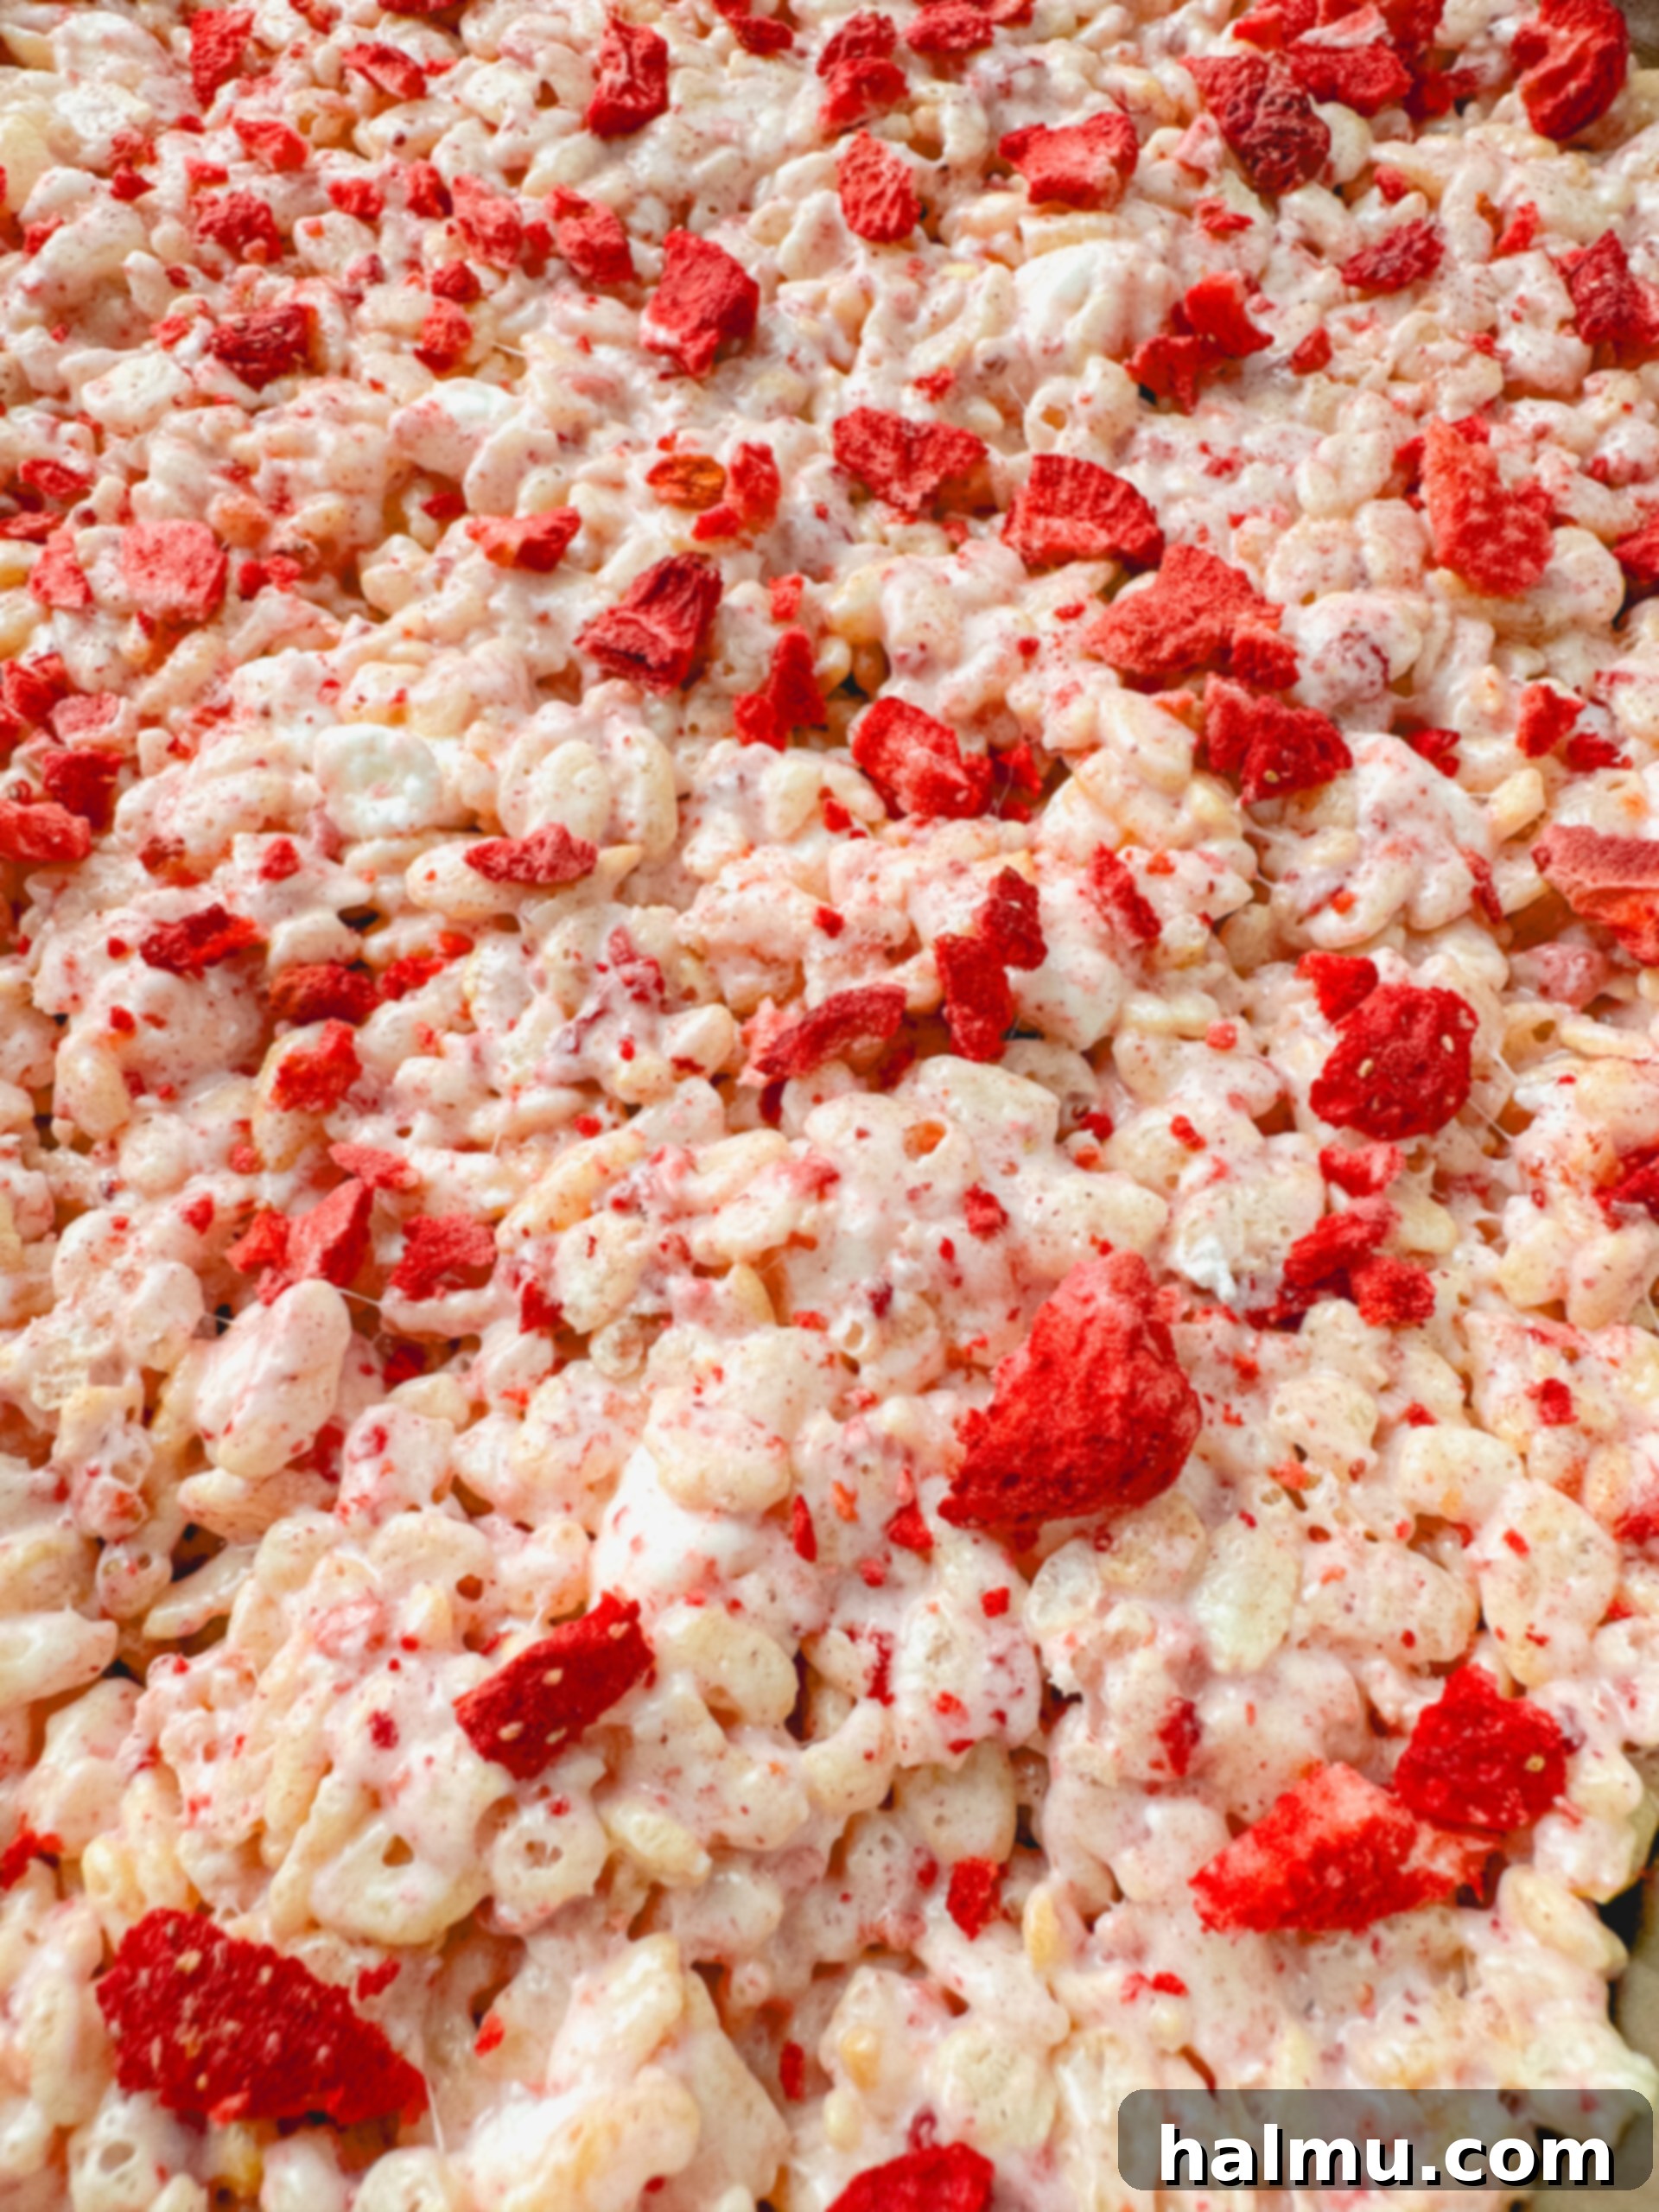
Working quickly is important here as the marshmallow mixture sets up fast as it cools. Pour the entire krispie mixture into your greased 9” x 9” pan. Using a rubber spatula that has been lightly sprayed with nonstick cooking spray (or a piece of greased parchment paper), gently press the mixture down to create an even layer. Avoid pressing too firmly, as this can compress the cereal and result in a dense, hard treat instead of a light and chewy one. For an extra touch of strawberry magic and visual appeal, sprinkle additional crushed freeze-dried strawberries over the top and gently press them into the surface. Now, let the treats cool completely at room temperature.
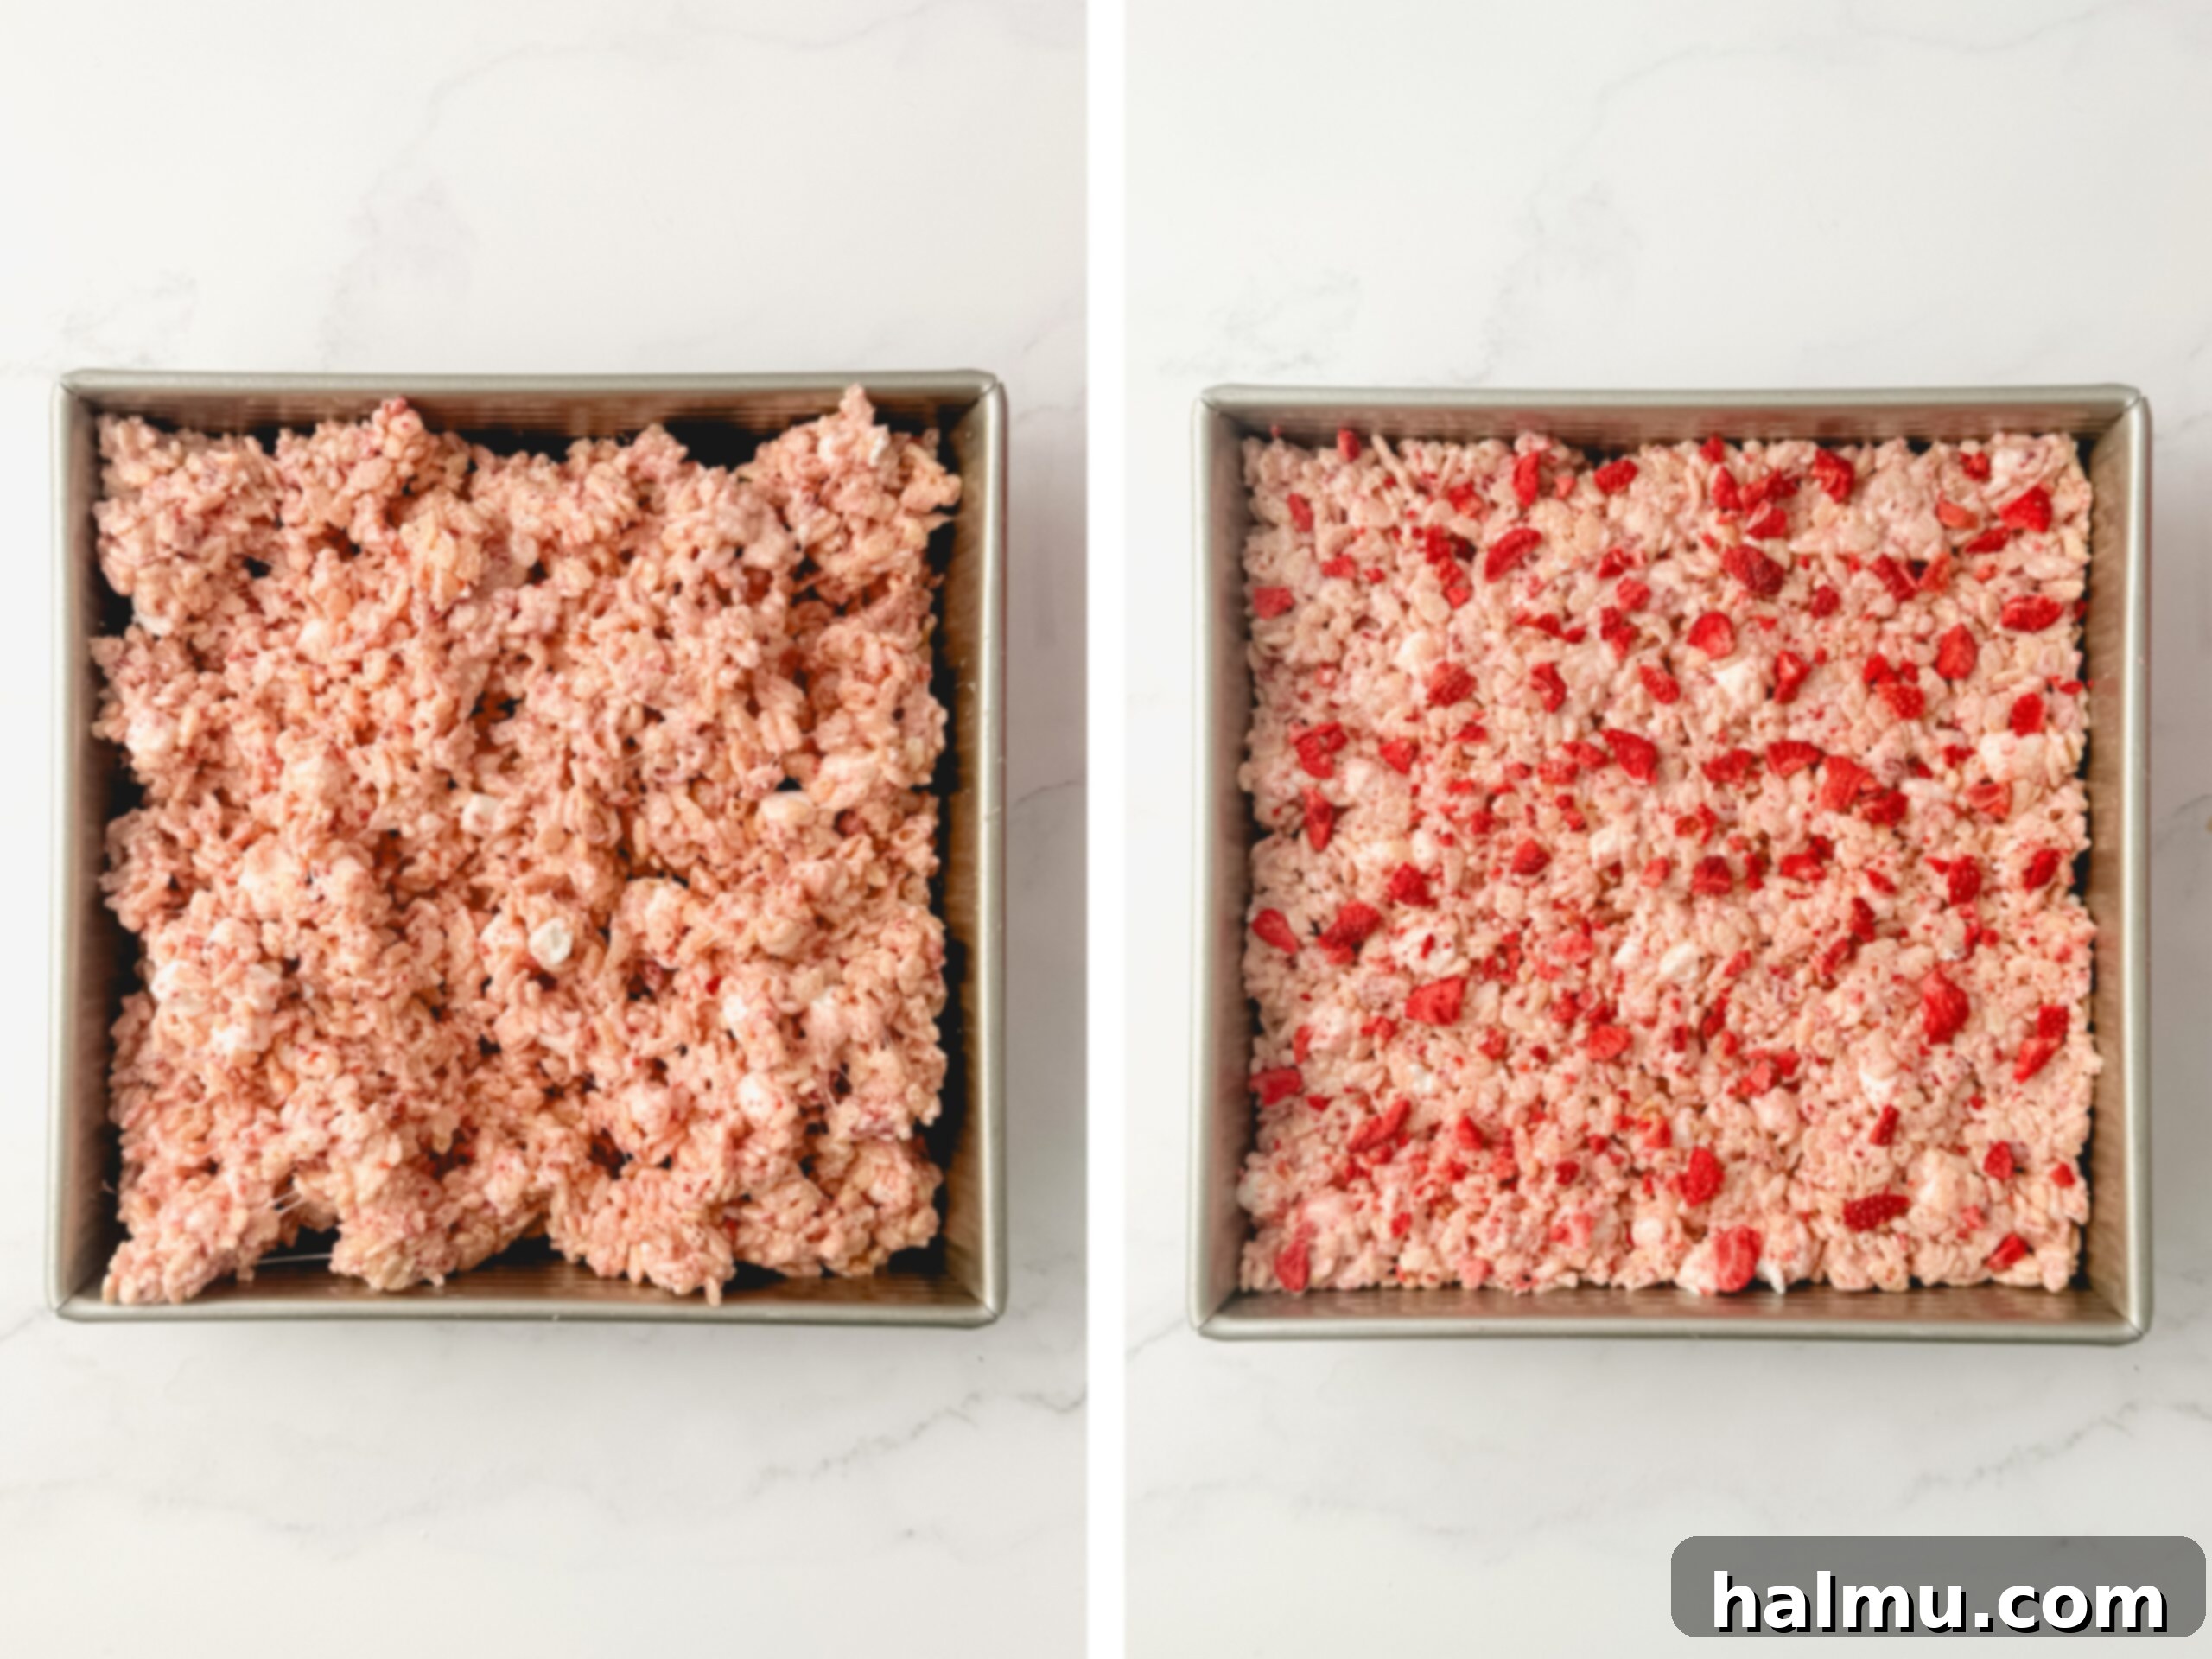
Step 6: Slice and Savor!
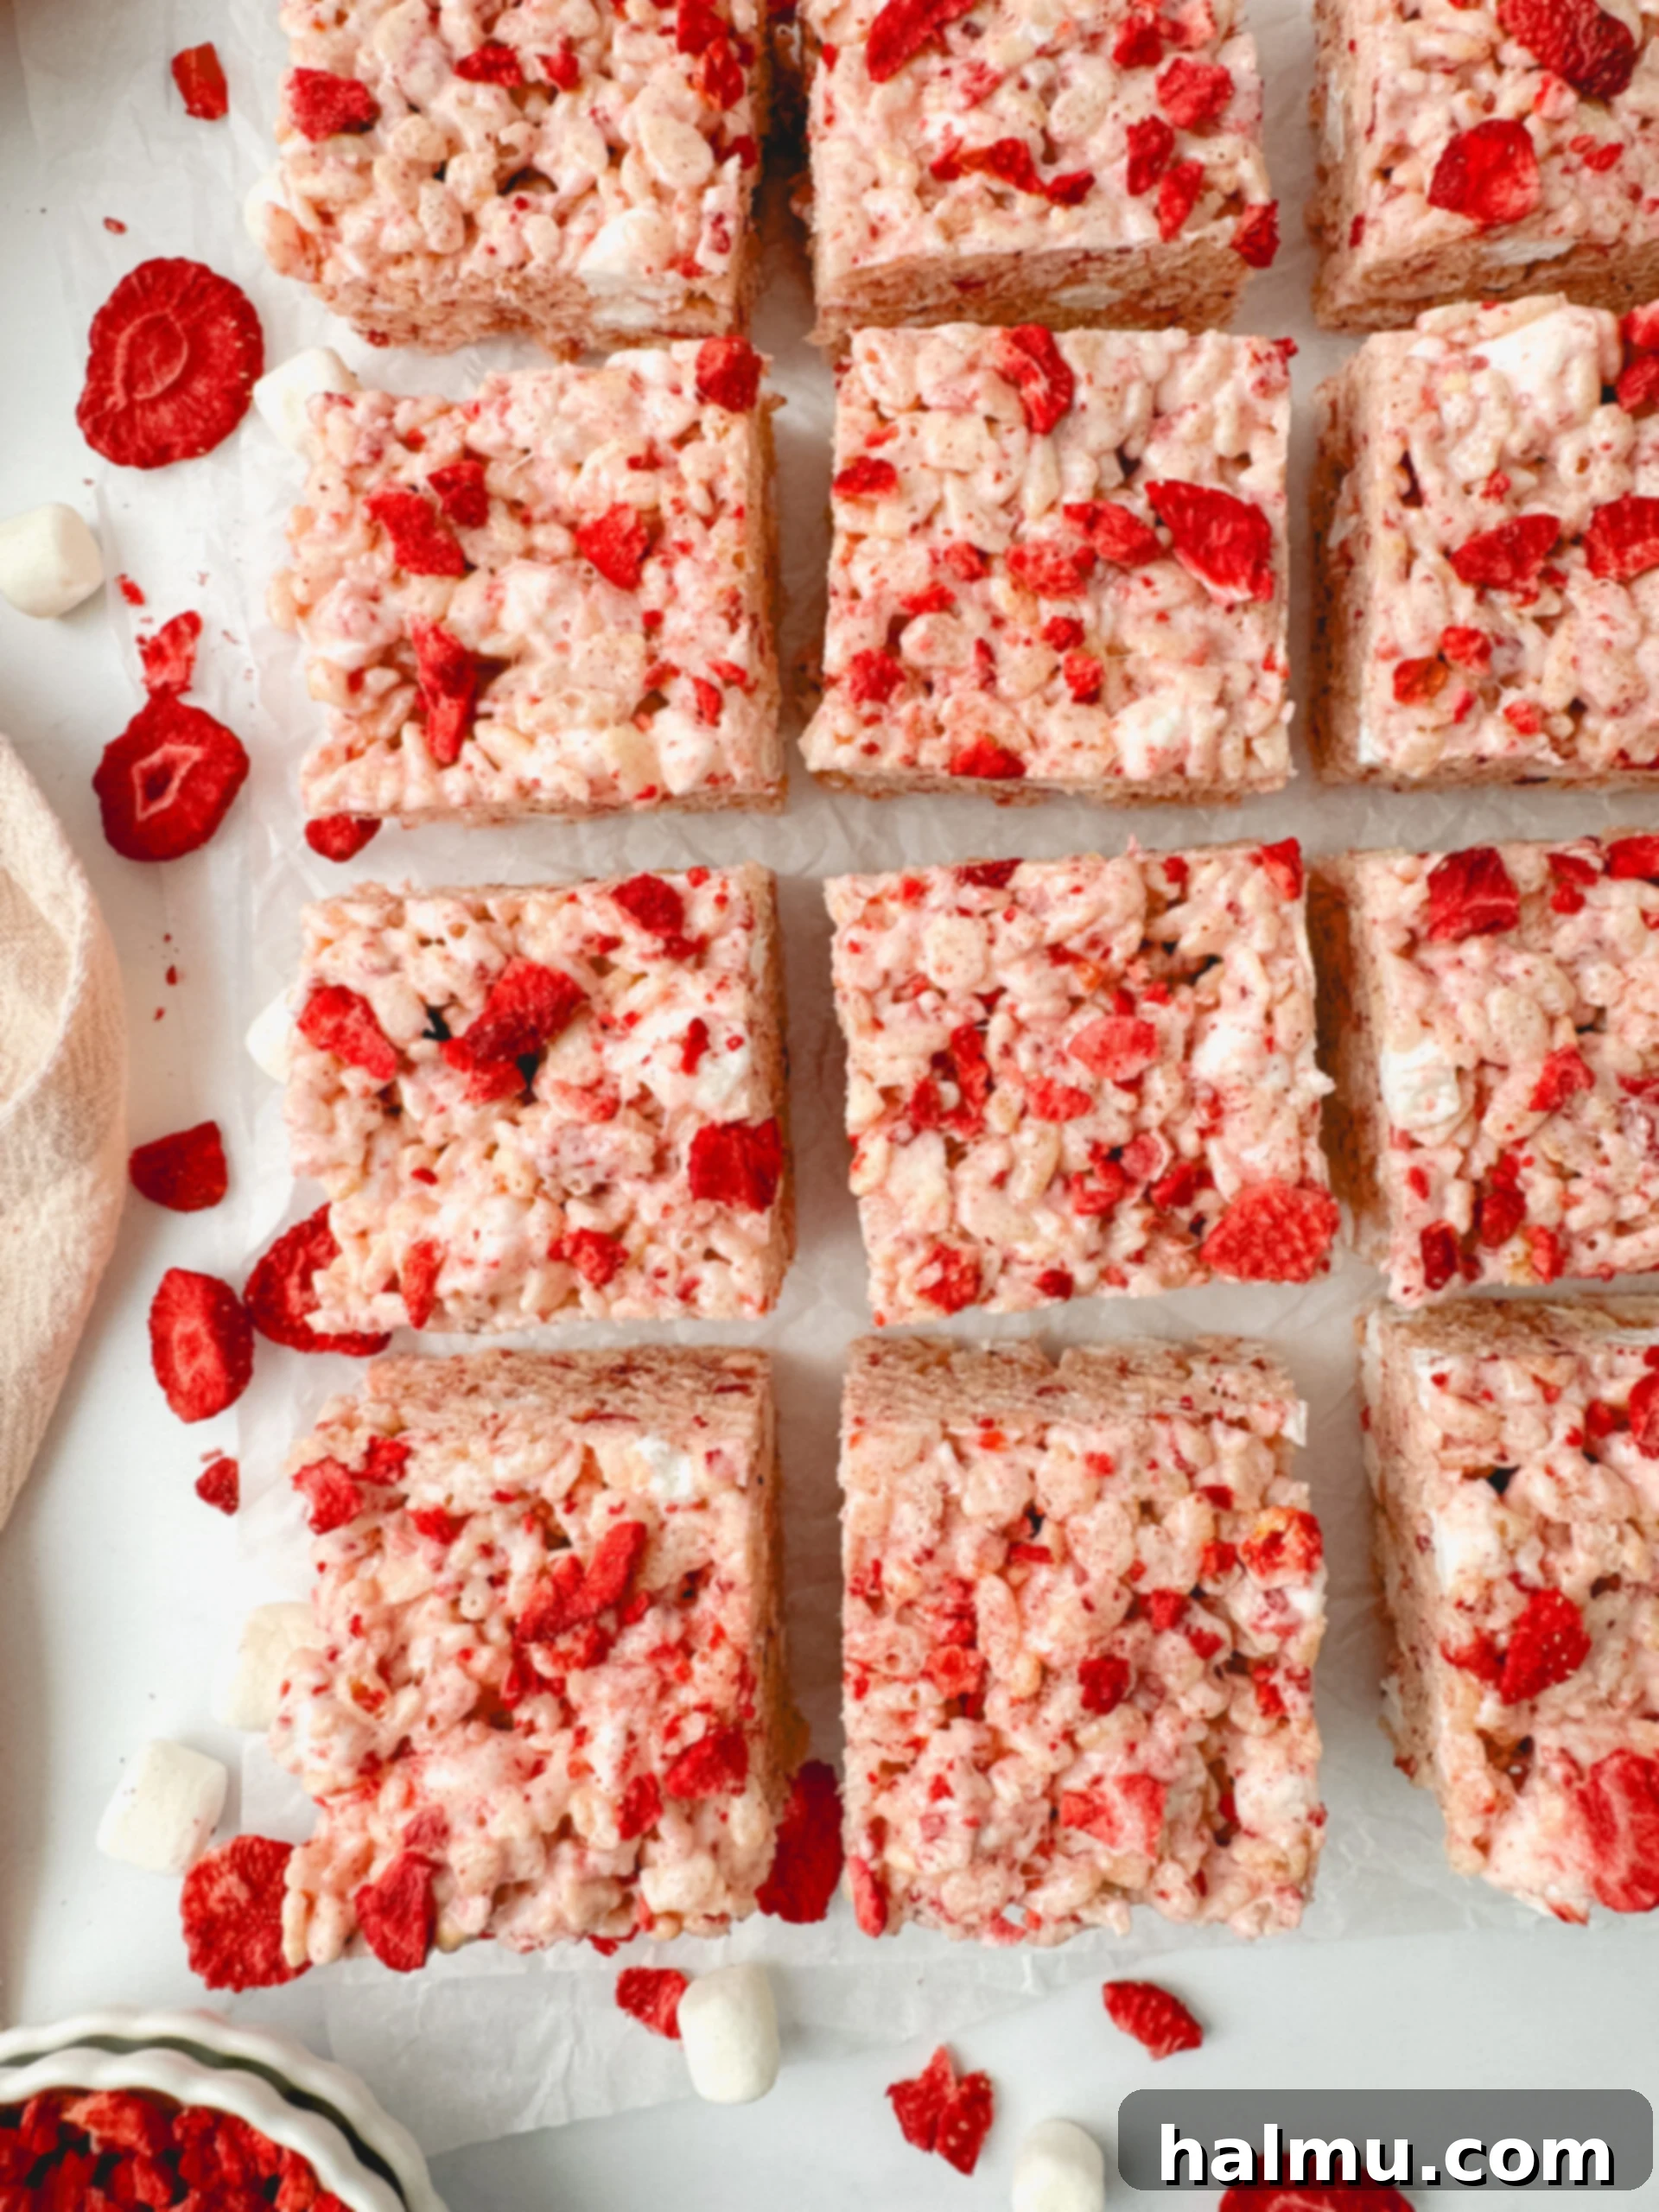
Patience is a virtue when making these treats! Allow them ample time to cool and set completely, which typically takes about 1-2 hours at room temperature. Once firm, run a knife or a metal offset spatula around the edges of the pan. If the treats are still a bit stubborn, you can carefully invert the pan onto a cutting board and tap firmly to release them. Use a sharp, lightly greased knife to cut them into squares or your desired shapes. Now they’re ready to be enjoyed! Store any leftovers in an airtight container to maintain their freshness.

Pro Baking Tip: The Power of a Kitchen Scale!
For consistent, bakery-quality results in all your baking endeavors, I cannot stress enough the importance of using a kitchen scale to weigh your ingredients. While measuring cups are convenient, they are prone to inaccuracies. The density of ingredients can vary significantly, meaning a “cup” of flour might be vastly different depending on how it’s scooped. Weighing, on the other hand, provides an exact measurement in grams or ounces every single time, eliminating guesswork and ensuring your recipes turn out perfectly consistent.
This precision leads to a higher success rate with your recipes, guaranteeing the ideal texture and flavor profile. Beyond accuracy, using a kitchen scale also simplifies cleanup; you’ll have fewer measuring cups and spoons to wash! I always provide gram measurements in all my recipes because of these undeniable benefits. This is the scale I personally use and highly recommend for its reliability and ease of use.
Your Questions Answered: Strawberry Rice Krispie Treats FAQs
You’ve got questions about these delicious treats, and I’ve got answers! Here are some common inquiries to help you master your Strawberry Rice Krispie Treats:
What Is The Best Way To Store Krispie Treats?
To keep your Strawberry Rice Krispie Treats soft, chewy, and fresh, proper storage is essential. Once they have completely cooled and set, transfer them to an airtight container or a zip-top bag. Store them at room temperature, away from direct sunlight or heat, for up to 3 days. Refrigerating them can make them firm and slightly hard, so room temperature is always best for maintaining that perfect gooey texture. For longer storage, consider freezing them.
Can I Freeze the Treats?
Absolutely! Rice Krispie Treats, including this strawberry version, freeze exceptionally well. This is a fantastic option if you want to make a big batch ahead of time or simply save some for later. To freeze, wrap individual treats tightly in plastic wrap, then place them in a freezer-safe zip-top bag or an airtight container. They will stay fresh in the freezer for up to 3 months. When you’re ready to enjoy them, simply remove them from the freezer and allow them to thaw at room temperature overnight. They’ll be as good as freshly made!
Do I Need To Use Parchment Paper In The Pan?
While many recipes call for parchment paper, I’ve found it’s not strictly necessary, and sometimes even makes the process more cumbersome with these sticky treats. The most effective method is to generously grease the bottom and sides of your baking pan with cooking spray or butter. This creates a non-stick surface that allows the treats to release easily once they’re cooled. Once the treats have fully set, run a thin knife or a metal offset spatula around all the edges of the pan. Then, confidently flip the pan upside down onto a cutting board and give it a firm tap on a hard surface. The entire block of treats should release cleanly, ready for slicing.
What If My Marshmallows Aren’t Melting Properly?
This is a common issue, and usually, it’s a sign of overheating or rushing the process. The key is gentle heat. My preferred method is to melt the butter over medium-low heat, then immediately turn off the burner before adding the marshmallows. The residual heat from the pot and butter should be enough to melt the marshmallows, especially if you stir them continuously and vigorously. Constant stirring helps distribute the heat evenly and prevents scorching. If, after a few minutes of stirring, you still have stubborn lumps, turn the heat back on to the absolute lowest setting possible and continue stirring until smooth. Watch them carefully and remove from heat as soon as they are melted to avoid them becoming a rubbery, unmanageable blob.
Achieving Perfection: Top Tips for Your Best Strawberry Krispie Treats
To ensure your Strawberry Rice Krispie Treats are nothing short of spectacular, pay attention to these crucial tips. These small details can make a big difference in the final taste and texture of your homemade delights:
- Crush the Strawberries Effectively: The texture of your freeze-dried strawberries plays a significant role. For the best results, place the freeze-dried strawberries in a sturdy zip-top bag. Use a meat mallet, rolling pin, or even the bottom of a heavy glass to crush them into a mix of fine powder and small, coarse pieces. While a food processor can grind them, it often turns them into a very fine powder. I find that a combination of fine powder and coarser bits provides a more interesting texture and a fuller, more dynamic strawberry flavor throughout the treats.
- Avoid Overheating the Marshmallows: This is arguably the most critical tip for perfectly chewy Krispie treats. I’ve made this mistake many times, and it results in a thick, rubbery, and difficult-to-work-with marshmallow mixture that won’t properly coat the cereal. The ideal scenario is to melt your butter over medium-low heat, then turn off the heat entirely before adding the marshmallows. The residual heat from the warm pot and melted butter should be sufficient to melt them. Stir constantly until they are fully smooth and gooey. If necessary, turn the heat to the absolute lowest setting for just a moment, but never let them get too hot and bubbly.
- Work Quickly and Efficiently: Once your marshmallows are melted and flavored, the clock starts ticking! The marshmallow mixture is incredibly sticky and begins to set quite rapidly as it cools. For this reason, it’s essential to have all your ingredients pre-measured and your pan prepared beforehand. As soon as the marshmallows are ready, mix in the cereal and remaining marshmallows swiftly, then transfer the mixture to your prepared pan and gently press it down evenly. The faster you work, the easier it will be to spread and the better the final texture will be.
- Press the Treats Down Lightly: When transferring the Krispie treat mixture into the pan, resist the urge to compact it too much. Using excessive pressure to flatten the mixture will compress the rice cereal, making your treats dense and hard instead of light, airy, and wonderfully chewy. For that classic soft and tender texture, use a lightly greased rubber spatula or a piece of greased parchment paper to gently press the mixture into an even layer. The goal is to fill the pan, not to pack it tightly.
Explore More Irresistible Strawberry Recipes You’ll Love
If you’re as enamored with the sweet and tangy flavor of strawberries as I am, you’re in for a treat! Here are some other fantastic strawberry-inspired recipes that are sure to become new favorites:
- Strawberry Lemonade Cookies
- Strawberry Buttercream
- Strawberry Yuzu Pound Cake
- Strawberry Crunch Cheesecake
Each of these recipes brings its own unique charm and flavor profile, proving just how versatile and delicious strawberries can be in baking. Enjoy expanding your strawberry repertoire!
If you make this delightful Strawberry Rice Krispie Treat recipe and fall in love with its simple charm and bold flavor, please take a moment to leave a comment below and share your experience. Your feedback is truly appreciated! Happy baking!
Strawberry Rice Krispie Treats
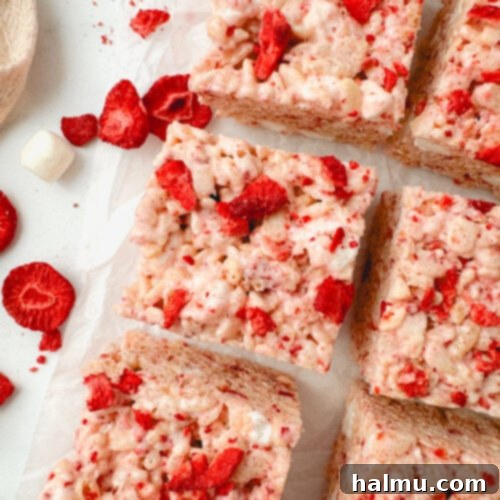
Strawberry Rice Krispie treats are soft and gooey, loaded with marshmallows and bold strawberry flavor from freeze-dried strawberries. A berry delicious twist on a classic treat!
Author: Rachel
Prep Time: 15 mins
Cook Time: 5 mins
Total Time: 20 mins
Yield: 16 servings
Ingredients
- 2 cups (44g) freeze-dried strawberries, plus more for topping
- ½ cup (1 stick or 113g) unsalted butter
- 20 oz mini marshmallows, divided
- 2 teaspoons vanilla extract
- ¼ teaspoon kosher salt
- 6 cups (160g) crisp rice cereal
Instructions
- Grease a 9” x 9” square baking pan with cooking spray. Set aside. Crush or roughly chop the freeze-dried strawberries and set aside.
- In a large pot, add the butter and melt over medium-low heat. Once the butter is melted, turn off the heat and add 16 ounces of marshmallows to the pot, reserving the remaining 4 ounces. Stir until the marshmallows have completely melted.
- Add the crushed freeze-dried strawberries, vanilla, and salt and mix until combined.
- Add the cereal to the marshmallow mixture and mix until the cereal is almost completely coated. Add in the 4 ounces of remaining marshmallows. Stir until they are evenly distributed throughout the mixture.
- Pour the krispie treat mixture into the prepared pan. Spread the mixture out evenly and press down lightly, using a greased rubber spatula or piece of parchment paper, to even out the top. Press the additional freeze-dried strawberries into the top.
- Allow the rice krispie treats to cool completely, then remove from the pan, cut into squares, and enjoy!
Did you make this recipe?
Be sure to tag @sweetkitchencravings on Instagram!

HI THERE!
I’m Rachel
I’m the dessert lover, recipe developer, and content creator behind Sweet Kitchen Cravings. Here you’ll find classic yet special recipes that are sure to impress your loved ones!
MORE ABOUT RACHEL
