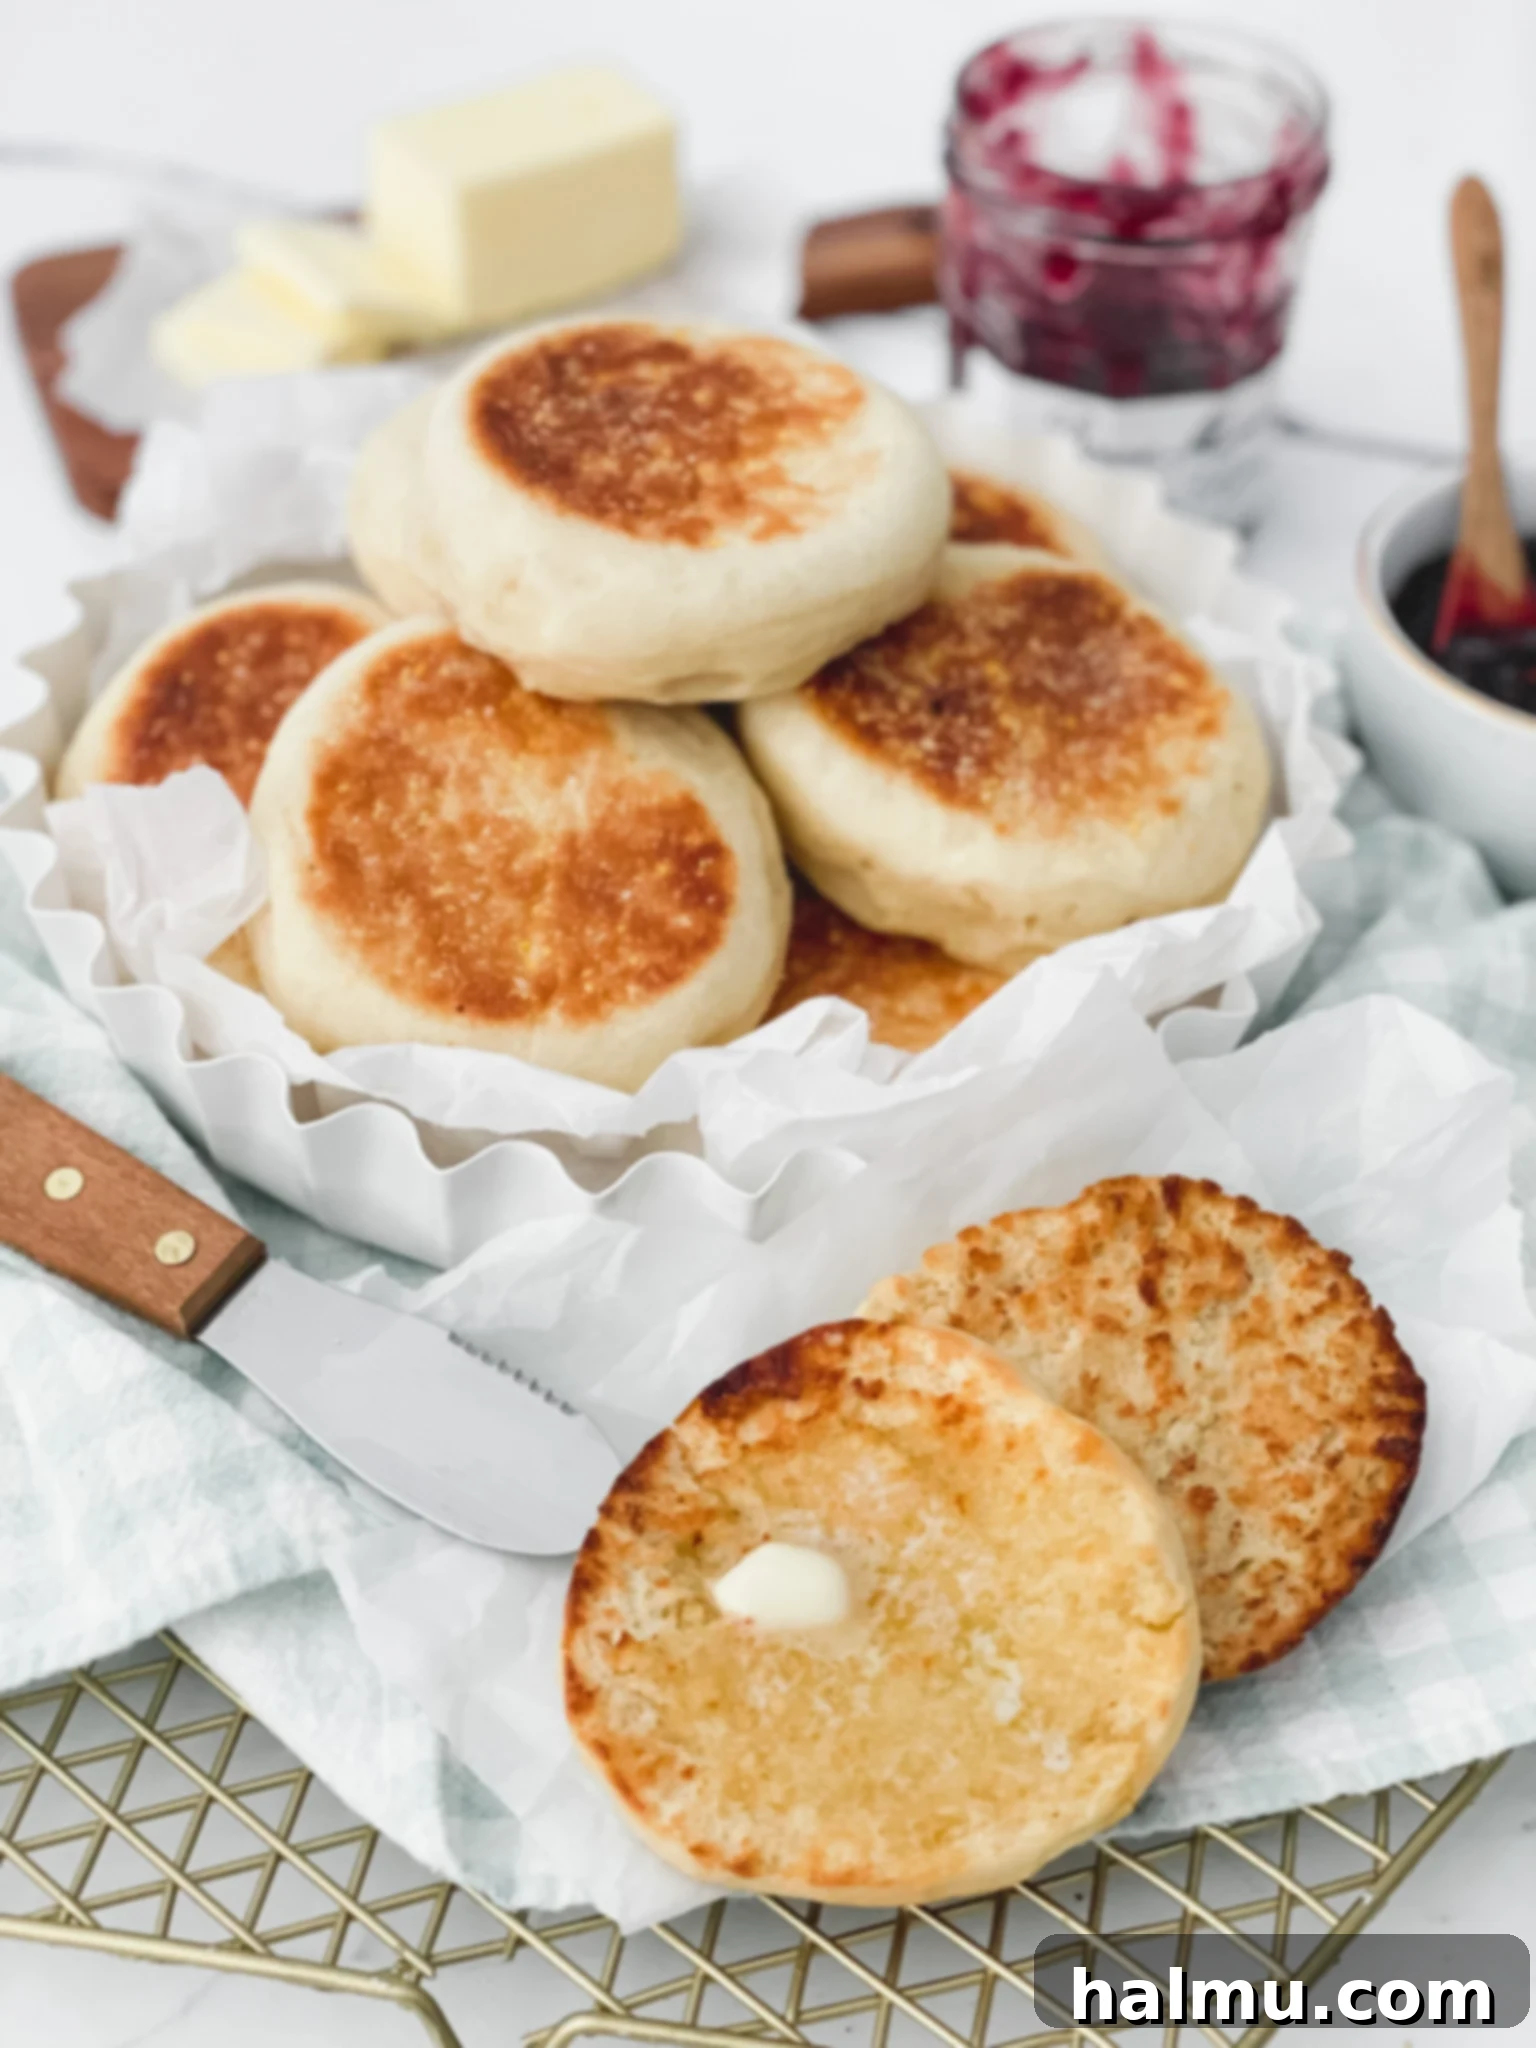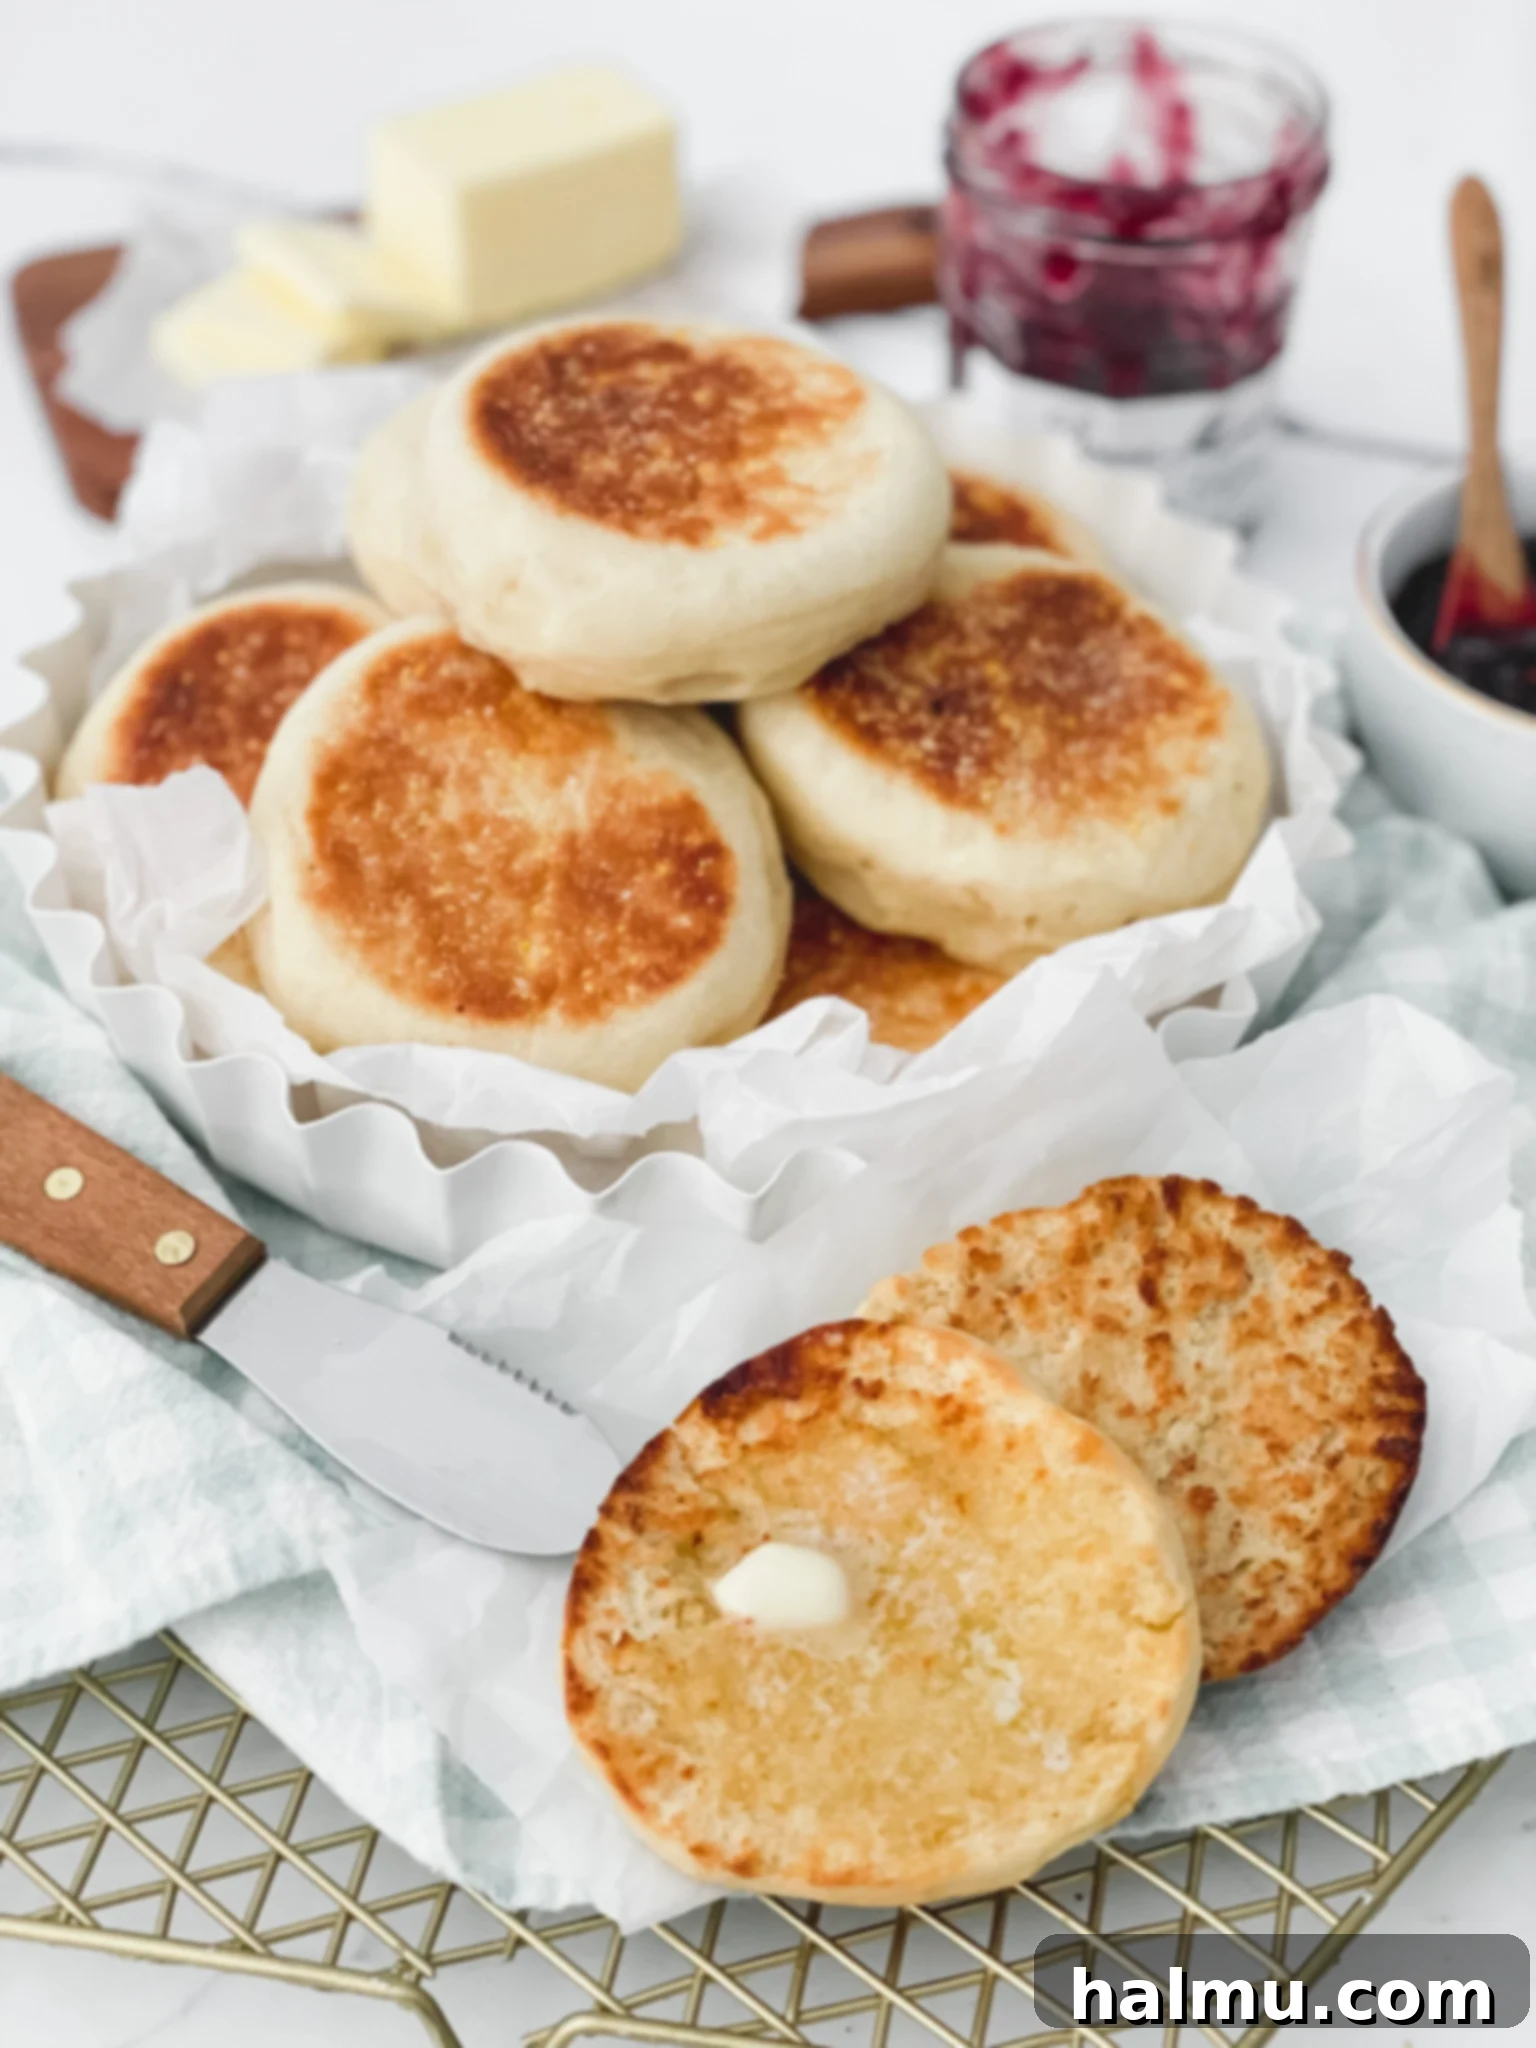
Imagine biting into a freshly baked English Muffin, still warm from the griddle, its distinctive “nooks and crannies” ready to absorb every last drop of butter or jam. For many, this is a treat reserved for a diner breakfast or a quick supermarket run. But what if you could recreate this incredible experience right in your own kitchen? These pillowy soft Homemade English Muffins promise just that – those perfect divots and pockets you crave, ideal for your favorite toppings to fill and melt into. They boast a delightful combination of fluffy lightness, a satisfyingly slight chewiness, and just the right amount of crispy texture on the outside, a hallmark of truly authentic English muffins. While store-bought versions are readily available, there’s an unparalleled joy and flavor in making them from scratch, enjoying them mere moments after they’ve finished cooking. It’s an experience you simply can’t get anywhere else!
My journey into making English muffins began with curiosity, and I can confidently say the results exceeded all expectations. They turned out even better than I’d imagined, were surprisingly straightforward to prepare, and the flavor surpassed any store-bought variety I had ever encountered. This recipe is destined to become your new favorite lazy weekend baking project, far simpler than you might initially think. You’re just seven common ingredients away from savoring these delightful homemade treats, and chances are, most of these items are already stocked in your pantry and refrigerator. Dive into the world of homemade bread with this accessible and rewarding recipe!
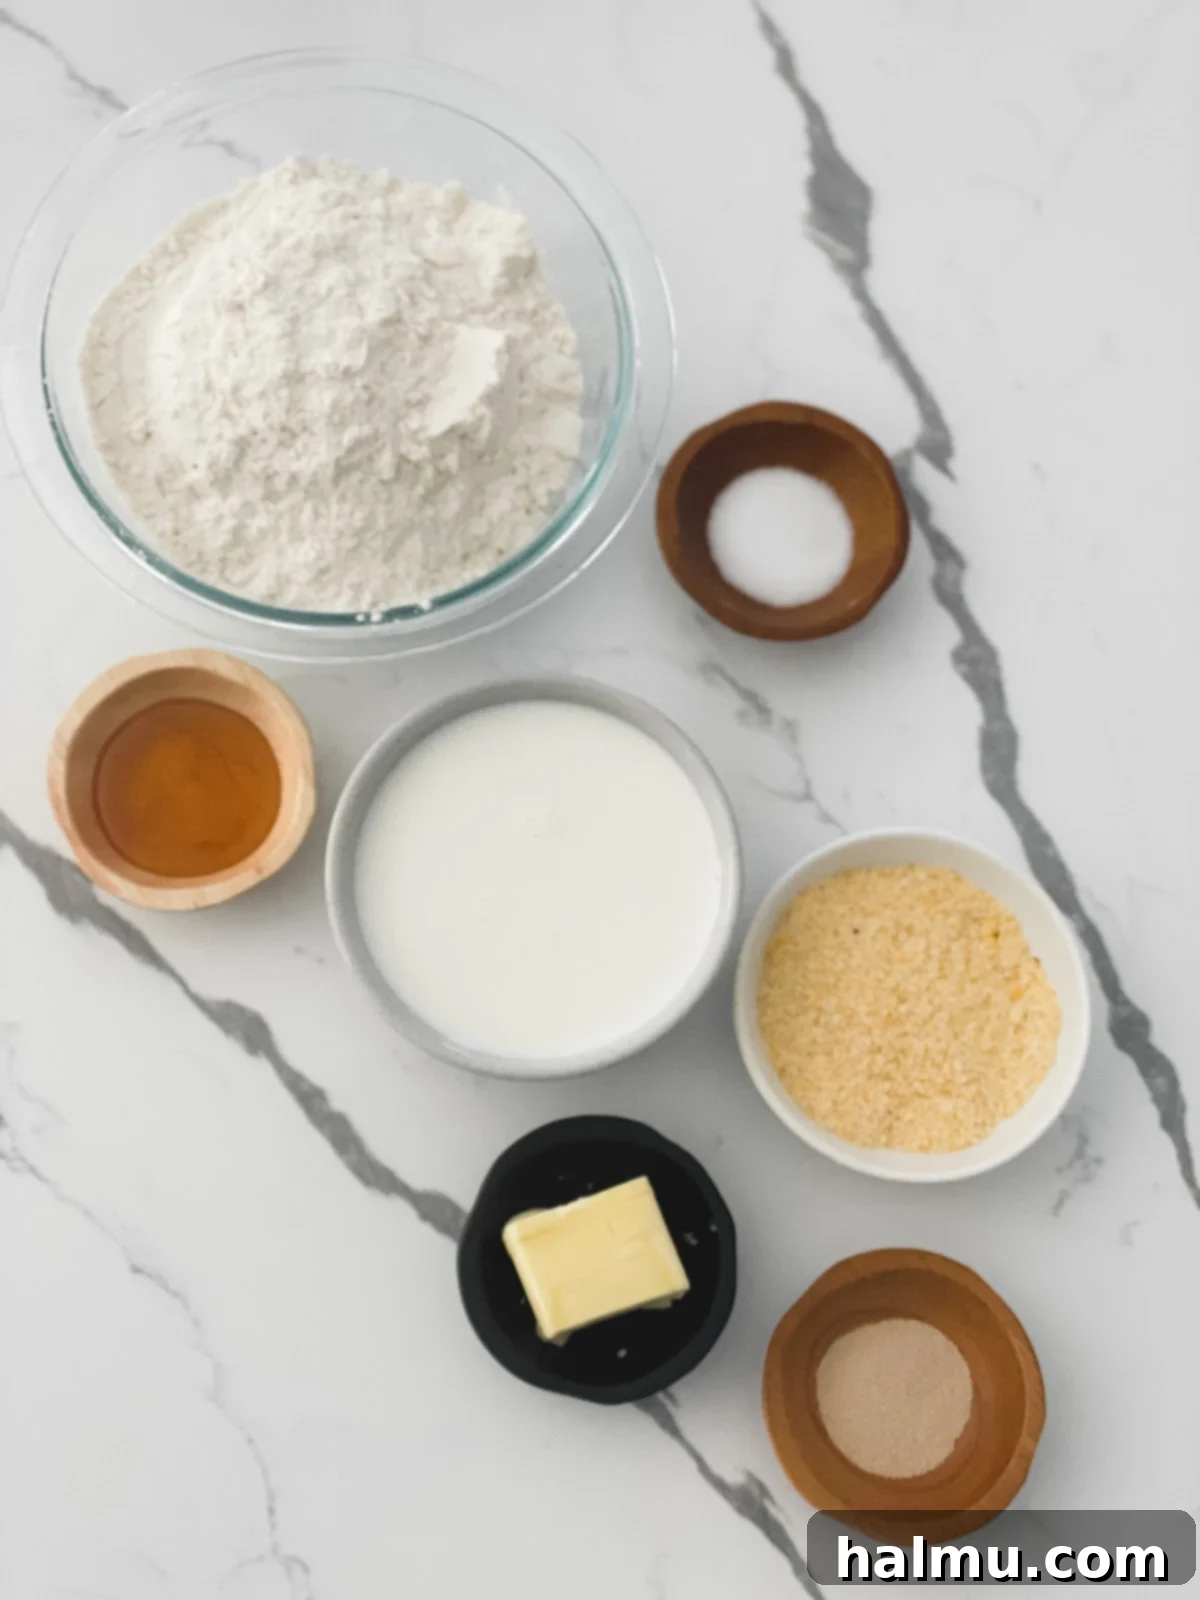
The Essential 7 Ingredients for Perfect Homemade English Muffins
Crafting delicious English muffins requires only a handful of staple ingredients. Each plays a crucial role in achieving that signature texture and flavor:
- Milk: The liquid base for our dough, milk is key to imparting a wonderfully soft crumb and ensuring the muffins remain moist. I typically opt for whole milk for its richness, which contributes to a more tender texture. However, feel free to use low-fat milk, or even your preferred dairy-free alternative like almond or soy milk; they will work equally well. Just ensure it’s warmed gently to the correct temperature to activate the yeast.
- Yeast: The magical leavening agent that gives English muffins their characteristic airy structure. I always reach for instant yeast because of its convenience – no need to activate it separately before mixing with other ingredients. If you only have active dry yeast, simply activate it first by dissolving it in the warm milk for about 5-10 minutes until it becomes foamy, indicating it’s active and ready to use.
- All-purpose Flour: For this recipe, all-purpose flour is the ideal choice. Its protein content strikes the perfect balance, yielding a dough that results in wonderfully soft and fluffy muffins, yet still retains that desired slight chewiness without being overly dense. There’s no need for high-protein bread flour here.
- Butter: A small amount of unsalted butter goes a long way in enriching the dough. It adds a lovely depth of flavor and contributes to the overall tenderness and richness of the final product. Make sure it’s softened to room temperature for easier incorporation into the dough.
- Honey: Beyond just adding a subtle hint of sweetness, honey plays a vital role in feeding the yeast, encouraging it to rise beautifully. Its natural enzymes also contribute to the browning and flavor development during cooking.
- Salt: Essential in almost any bread recipe, salt isn’t just for seasoning. It enhances all the other flavors, controls the yeast’s activity, and strengthens the gluten structure in the dough, leading to better texture.
- Cornmeal: While technically optional, a generous sprinkling of cornmeal on both sides of the dough rounds before cooking is highly recommended. This small step makes a significant difference, preventing sticking and giving the muffins that authentic, rustic texture and appearance, just like the beloved English muffins you find in artisanal bakeries or grocery stores. It creates a slightly crisp bottom and top that adds to the sensory experience.
The Unique Way Homemade English Muffins Are Crafted
One of the most fascinating aspects of English muffins, and often a surprise to many home bakers, is that they are not traditionally baked in an oven. Instead, these delightful rounds are cooked on a griddle or in a pan directly on the stovetop, typically with a touch of butter. This unique cooking method is what gives them their distinctive golden-brown crust and ensures their soft, porous interior. When I first discovered this, I was truly intrigued, as it deviates from conventional bread making. This pan-frying technique allows for a more controlled cooking process, resulting in those perfectly crispy exteriors and tender insides.
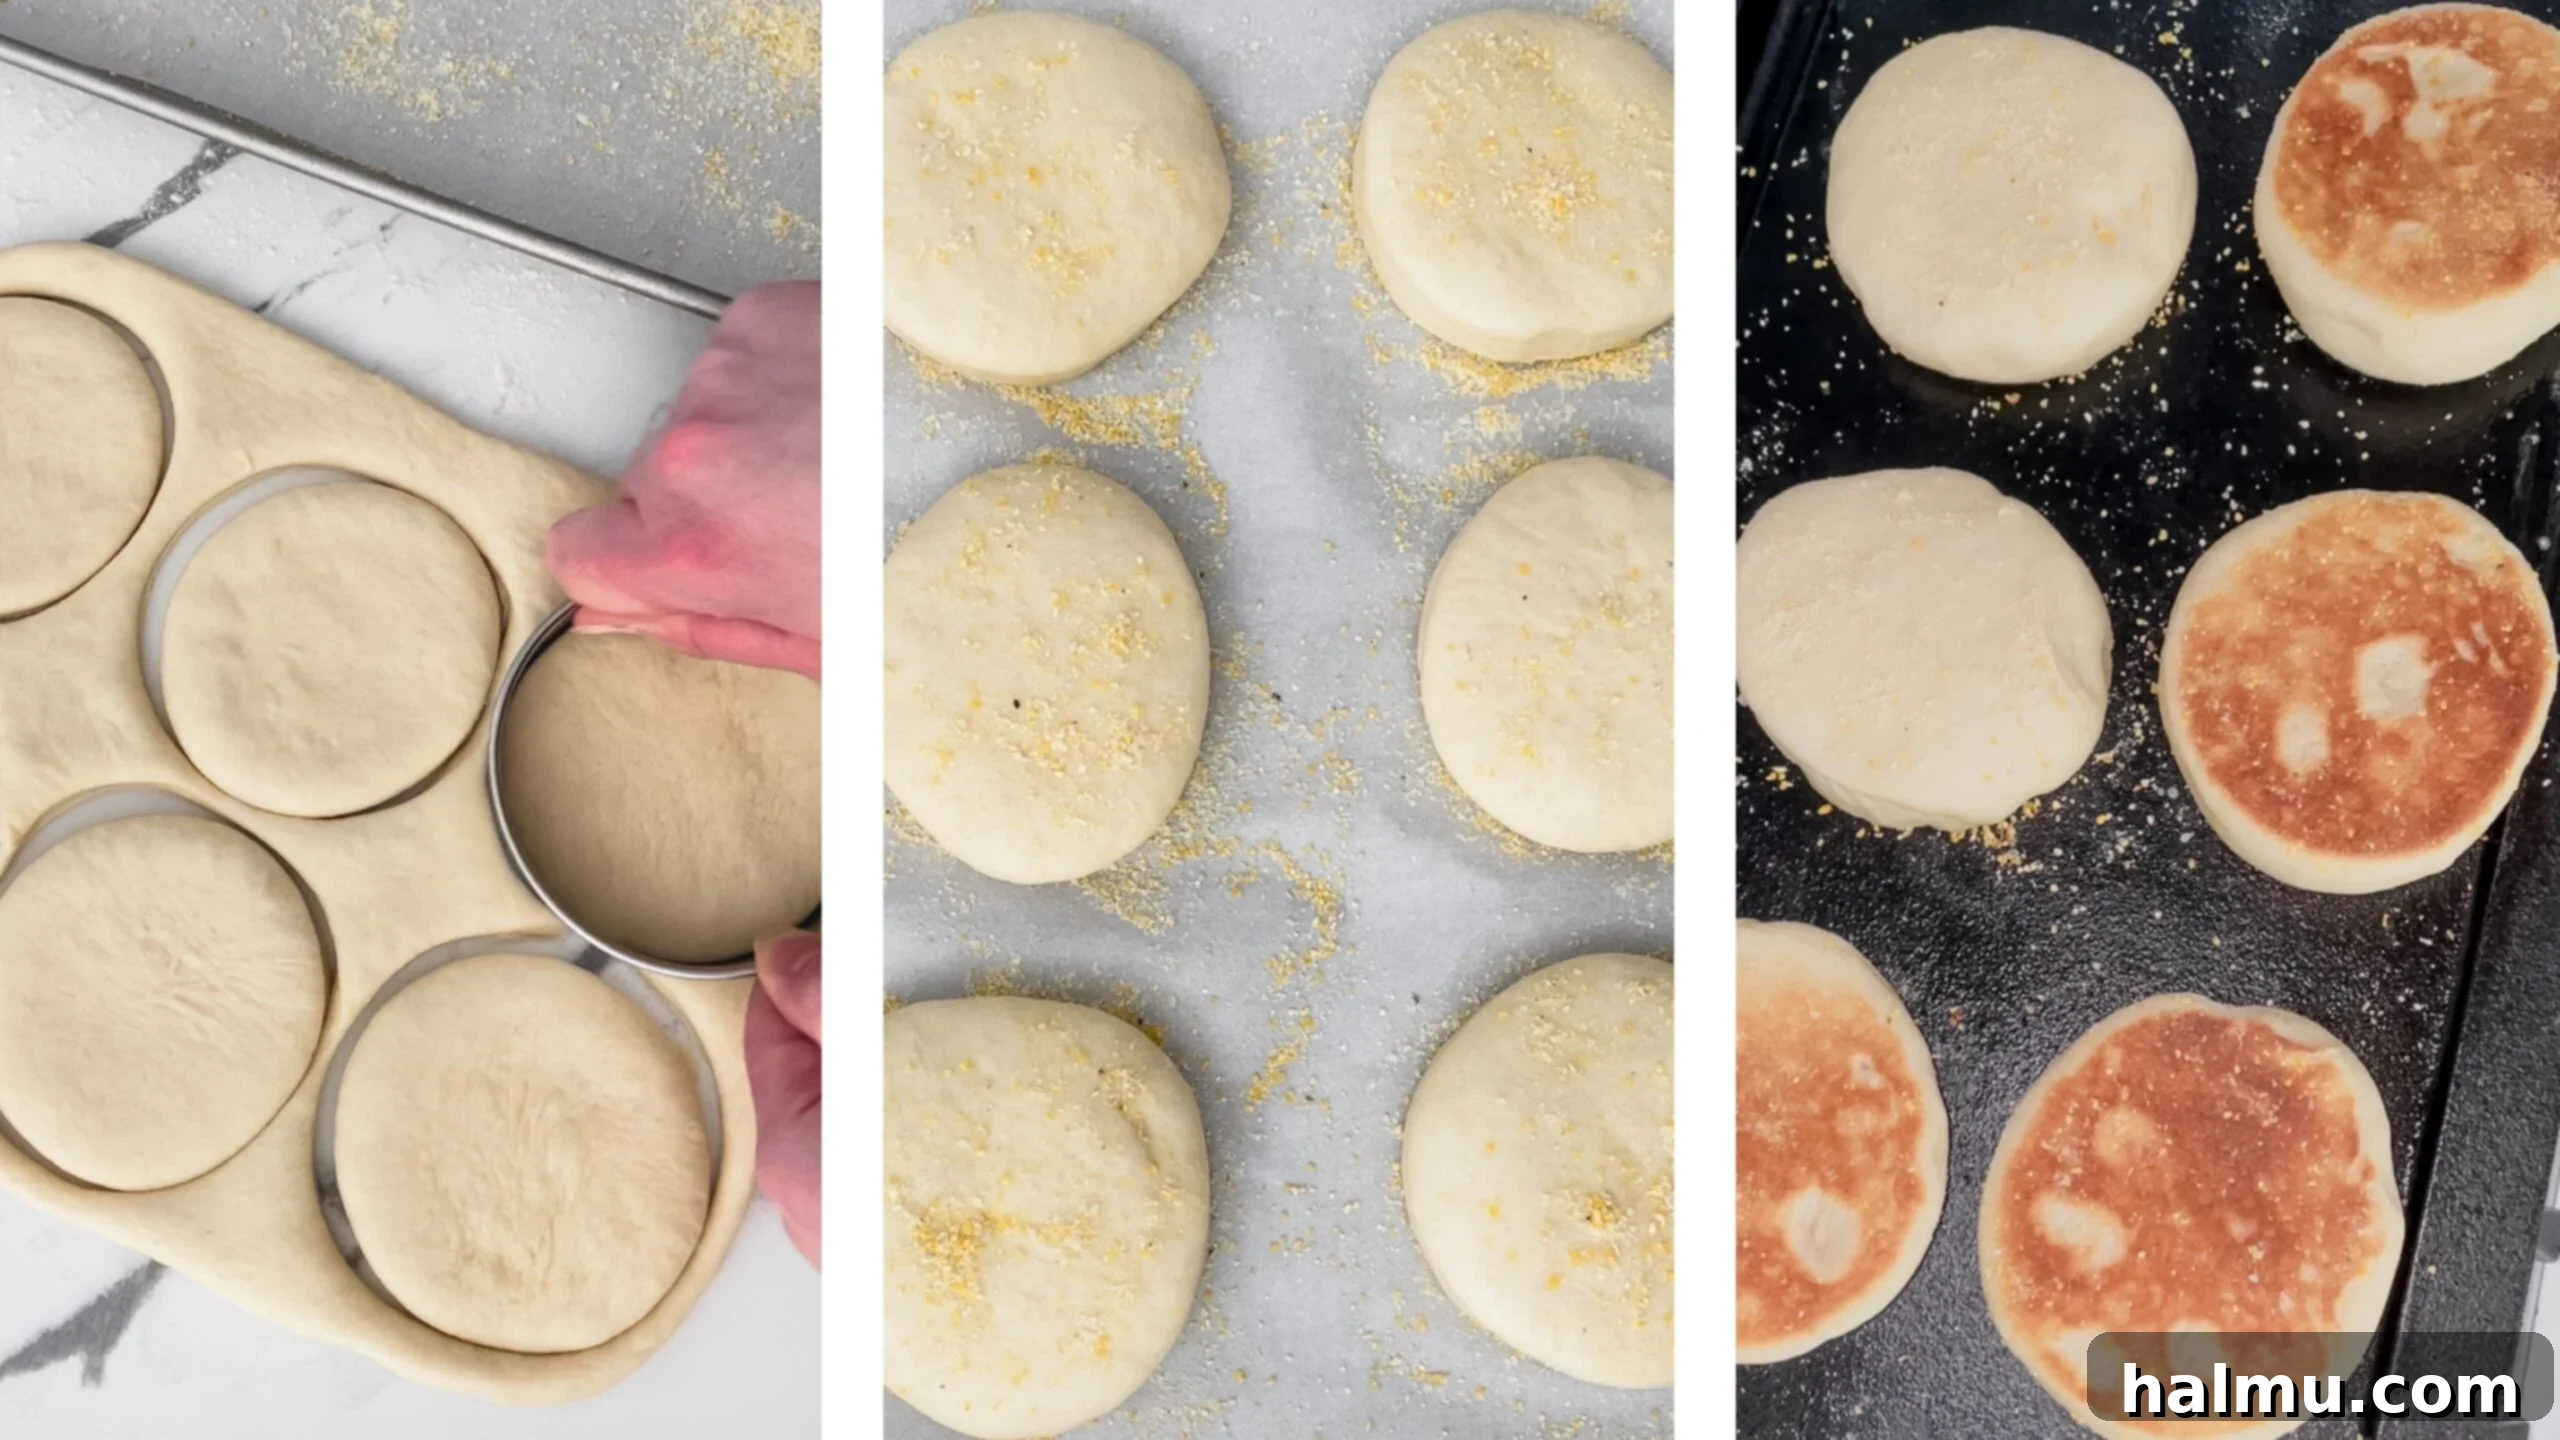
When it comes to shaping the dough into perfect circles, there are a few popular techniques. Some recipes suggest rolling the dough into small balls by hand, which can be a bit rustic. Others recommend using metal ring molds placed directly on the griddle, which helps achieve a uniform shape and thickness. For this particular recipe, however, I prefer a simpler, more accessible method: rolling out the dough and then cutting it into neat circles using a cookie or biscuit cutter. This approach ensures a clean, crisp edge that I find visually appealing and consistent. Plus, it eliminates the need for specialized ring molds that you might not otherwise use in your kitchen, making the process more straightforward and less cluttered. The uniform shape also contributes to even cooking, guaranteeing each muffin is cooked to perfection.
Understanding the Art of the “Fork Split”
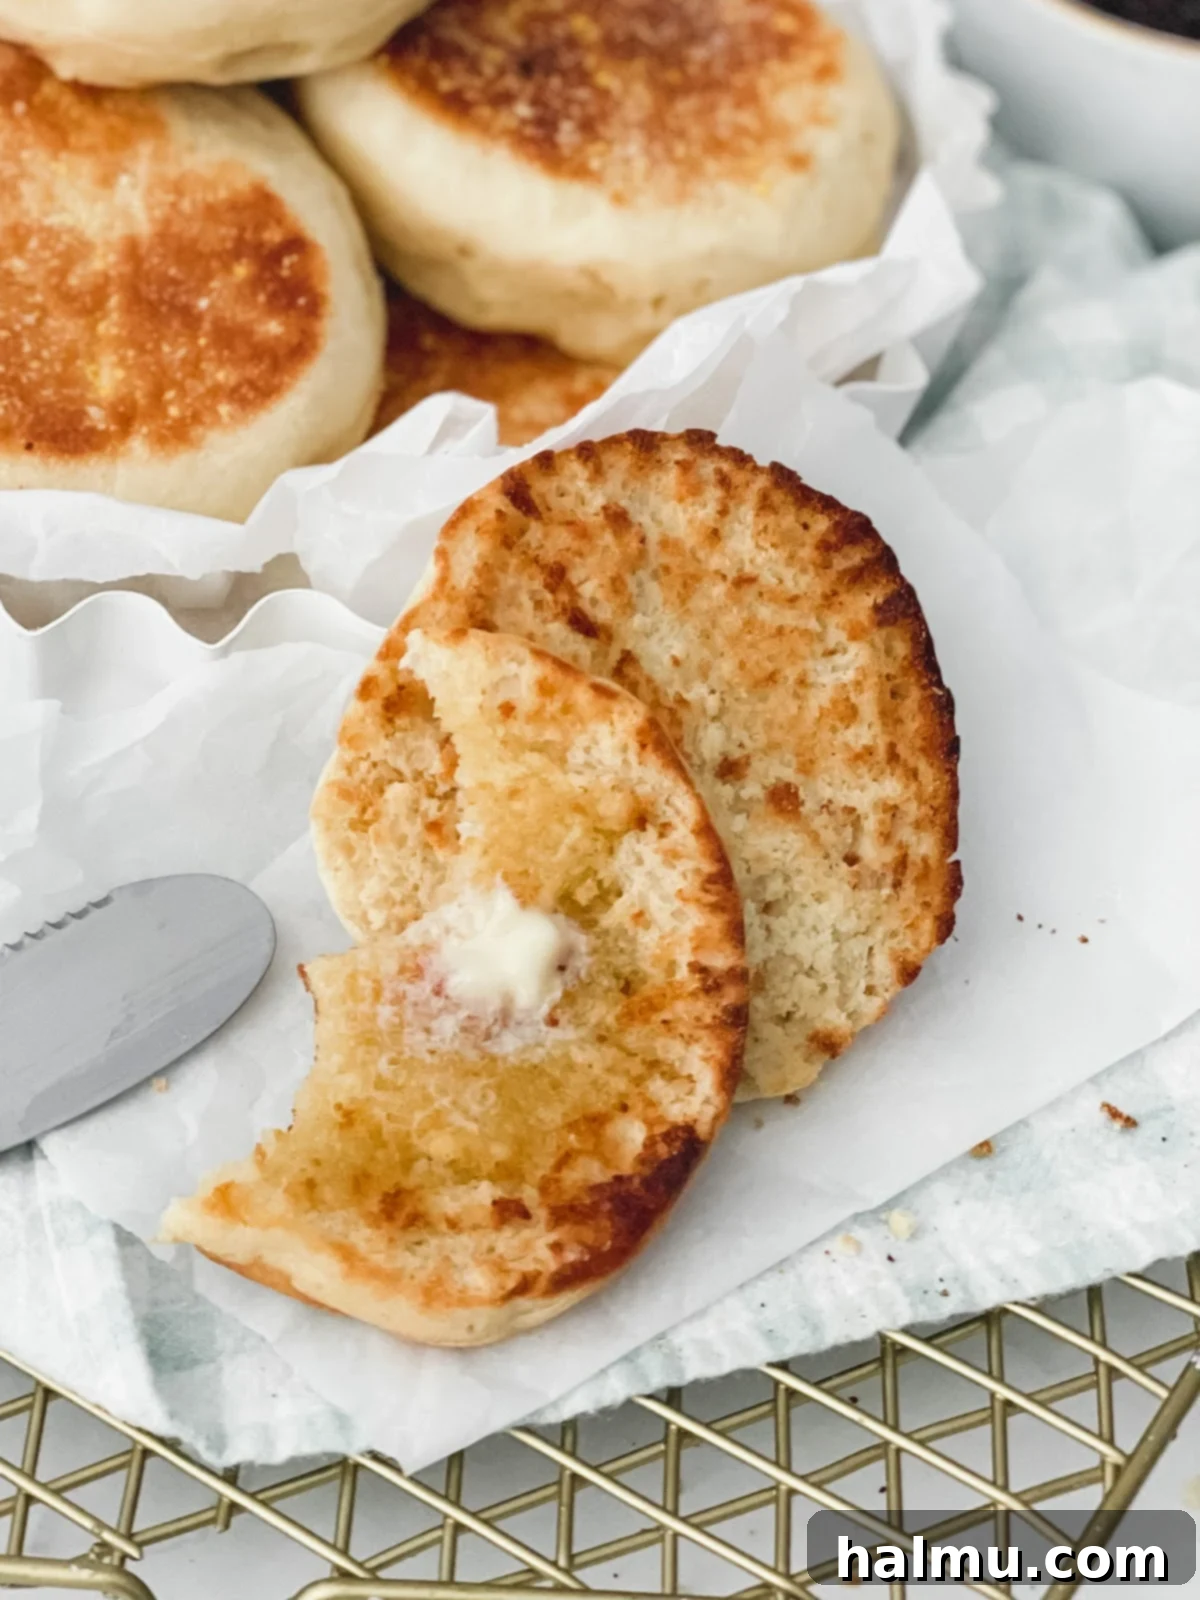
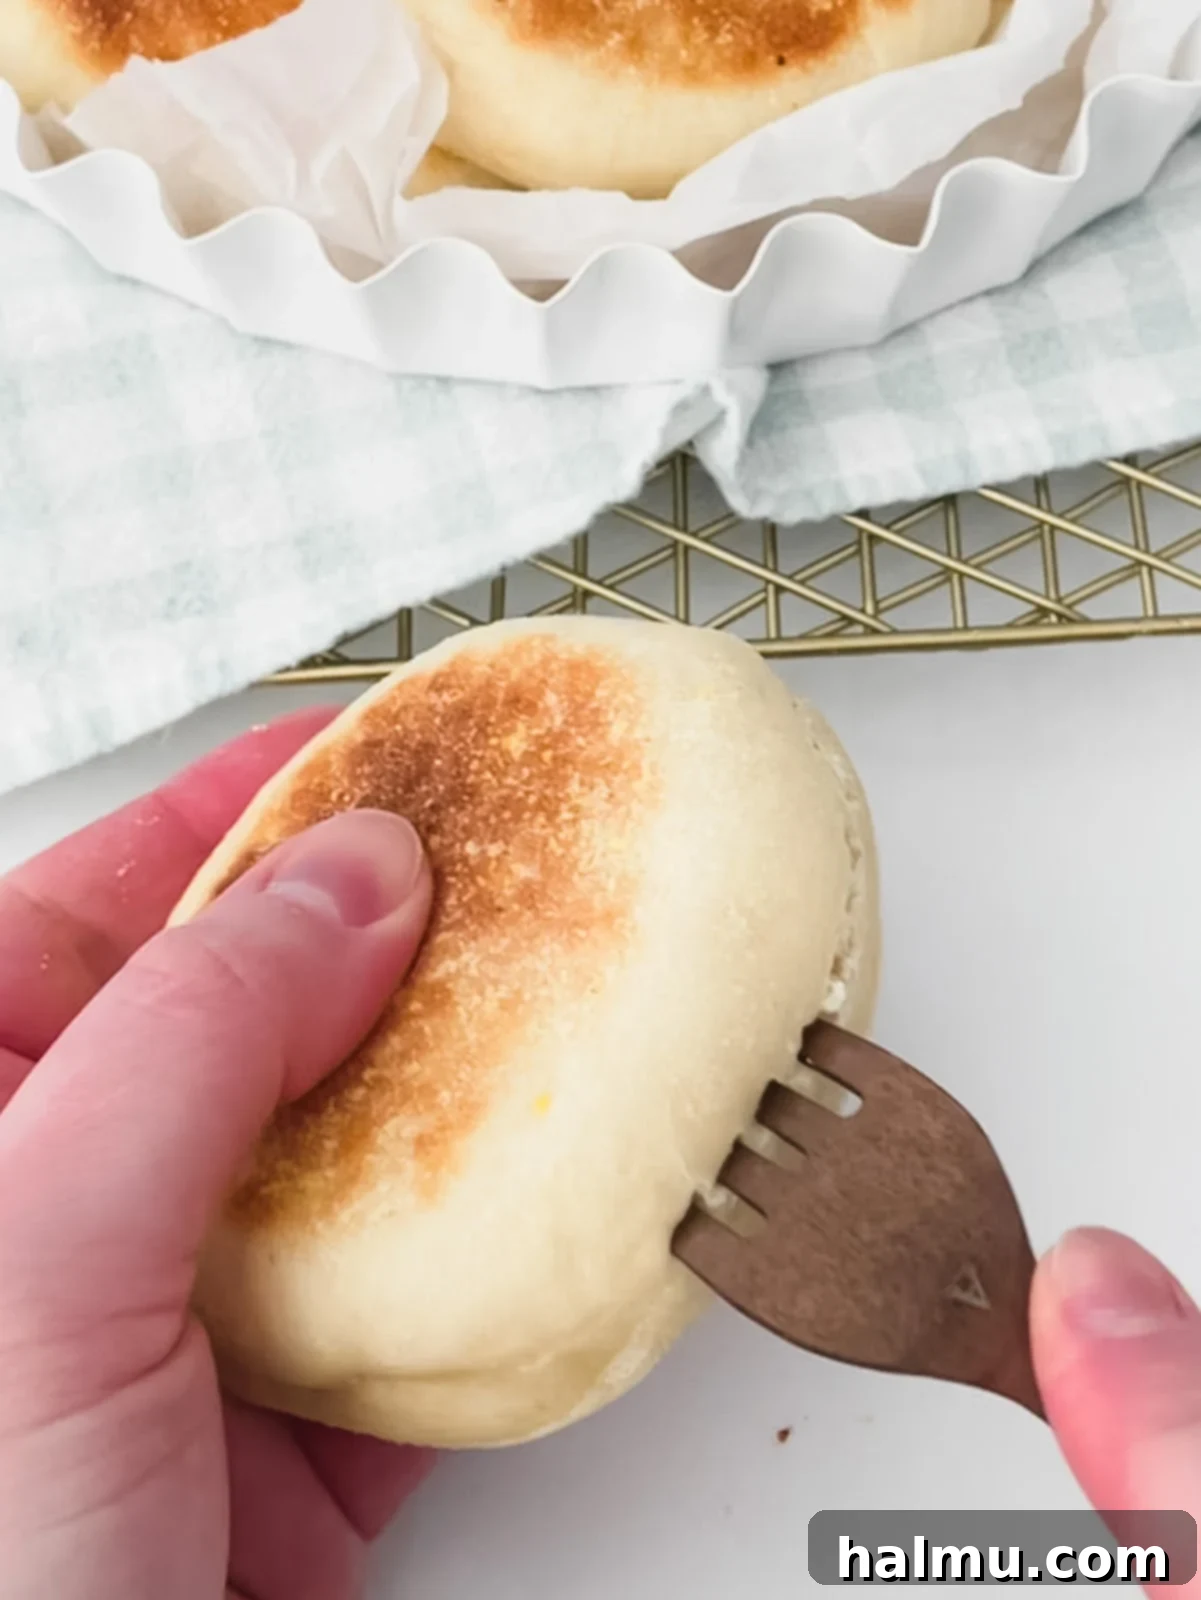
You’ve probably seen the phrase “fork split” proudly displayed on packages of English muffins at the grocery store, perhaps without truly understanding its significance. It wasn’t until I began making my own English muffins at home that I fully grasped the genius behind this simple instruction. The method of using the tines of a fork to gently pry open an English muffin, rather than slicing it cleanly in half with a knife, is paramount to preserving its unique, rugged interior texture – the coveted “nooks and crannies.”
When you cut an English muffin with a knife, the blade compresses the delicate air pockets and smooths out the irregular surface that is so characteristic of a classic English muffin. This effectively destroys the very texture that makes them ideal for catching and holding butter, jam, or any other delicious topping. By contrast, a fork gently tears the muffin apart, creating a craggy, uneven surface that maximizes the number of small crevices. These nooks and crannies are not just for show; they are designed to absorb melted butter, creamy avocado, or sticky jam, enhancing the flavor and texture of every bite. To achieve the perfect fork split, simply insert the tines of a fork into the side of a cooled English muffin, working your way around the circumference while gently pulling it open. This technique guarantees you’ll experience the authentic texture and full enjoyment that homemade English muffins have to offer.
Creative and Delicious Ways to Enjoy Your Homemade English Muffins
Once you’ve experienced the unparalleled taste of a fresh, homemade English muffin, the possibilities for enjoying them are truly endless. Their versatile nature makes them a perfect canvas for both sweet and savory creations, suitable for any meal of the day. One of my personal favorites is the inventive Hot Honey and Pepperoni English Muffin Pizza – it’s an absolute flavor explosion and a quick, satisfying option for a snack or light lunch. Don’t be afraid to get creative and experiment with combinations that suit your taste! To inspire you, here are a few more ideas for spreads and transformations to elevate your plain English muffin into something extraordinary:
- Classic Butter: Sometimes, simplicity is key. A generous slab of quality butter, melting into those warm nooks and crannies, is pure bliss.
- Jam or Jelly: From strawberry to apricot, a dollop of your favorite fruit preserve adds a touch of sweetness and fruity brightness.
- Honey or Honey Butter: A drizzle of golden honey, or a creamy blend of honey and softened butter, offers a comforting, naturally sweet indulgence.
- Cream Cheese + Jam: A luxurious combination, the tanginess of cream cheese paired with the sweetness of jam creates a delightful contrast.
- Peanut Butter: For a protein-packed start to your day or a satisfying snack, smooth or crunchy peanut butter is always a winner.
- Breakfast Sandwich (McMuffin Style): Transform your English muffin into an iconic breakfast sandwich. Layer it with a fried egg, crispy bacon or sausage, and a slice of melty cheese for a homemade version that rivals any fast-food offering.
- Avocado Toast Reinvented: Mash ripe avocado with a pinch of salt and chili flakes, then spread it generously over your toasted English muffin for a trendy and nutritious meal.
- Eggs Benedict: Elevate your brunch game by using homemade English muffins as the base for classic Eggs Benedict, topped with poached eggs, Canadian bacon, and luscious hollandaise sauce. It’s a gourmet twist that truly showcases their versatility.
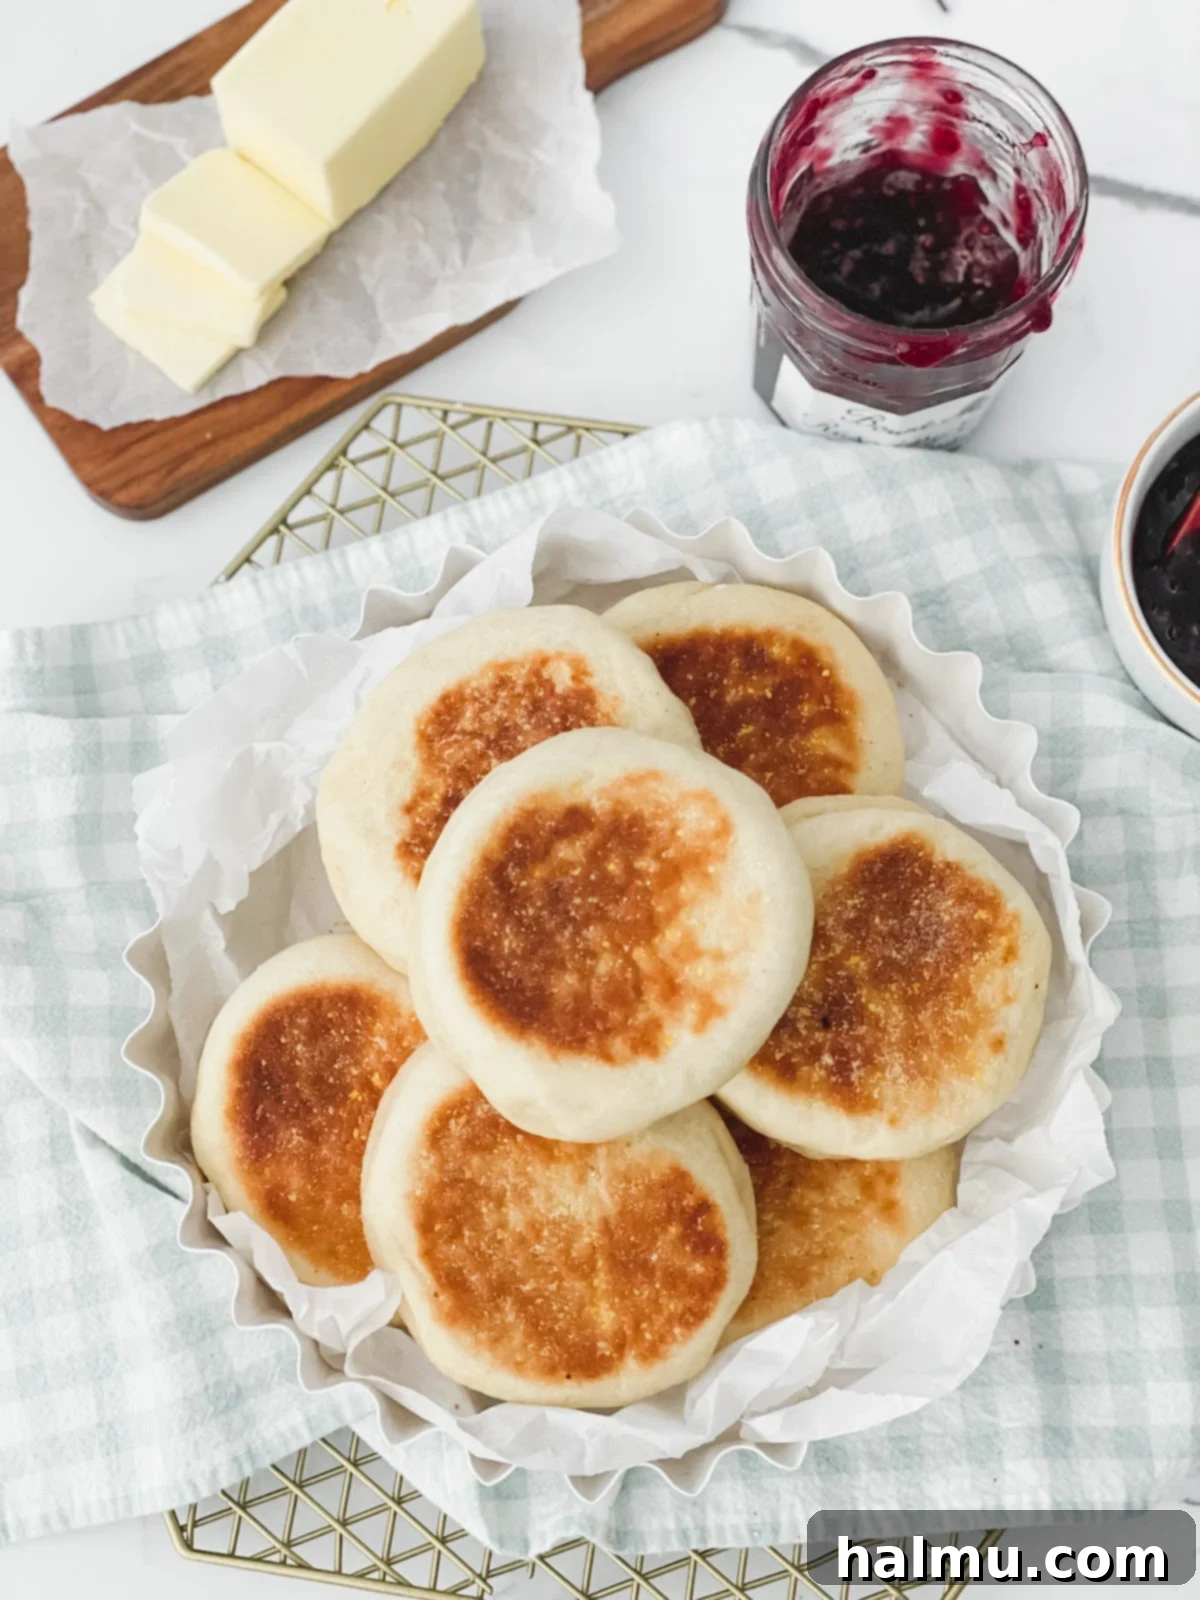
I sincerely hope you find as much joy in making (and devouring!) these homemade English muffins as I have. They are a testament to the simple pleasures of baking and the reward of enjoying something truly fresh and delicious made with your own hands. Happy English Muffin making!

Homemade English Muffins
Discover how easy it is to create these incredibly tasty, 7-ingredient Homemade English Muffins. You’ll achieve those perfect “nooks and crannies” just like the store-bought versions, but with an unparalleled freshness and flavor that makes them truly superior. Prepare for the most delicious English muffins you’ve ever tasted!
Rachel
30 mins
15 mins
2 hrs 15 mins
3 hrs
8
servings
Ingredients
- 1 cup (227ml) milk
- 1 teaspoon (3g) instant yeast
- 2 ½ cups (312g) all-purpose flour
- 3 Tablespoons (42g) unsalted butter, softened and cut into pieces, plus 1 Tablespoon (14g) for greasing the pan
- 1 Tablespoon (20g) honey
- 1 teaspoon salt
- ¼ cup (40g) cornmeal, for sprinkling
Instructions
- Heat milk in a small saucepan on the stove over low heat until the temperature reaches 80-90 degrees F (27-32°C), or use the microwave. This step is merely to take the chill off the milk; be careful not to overheat it, as excessive heat will kill the yeast and prevent your dough from rising.
- In the bowl of a stand mixer fitted with a dough hook attachment, add the ingredients in the following order: warm milk, yeast, flour, softened butter, honey, then salt. Mix on low speed until all ingredients are just combined, then increase the speed to medium and continue mixing for 10 minutes. At the end of this process, the dough should appear smooth, feel slightly tacky to the touch, and stick just a little to your fingers, indicating the perfect consistency.
- Lightly grease a large clean bowl with cooking spray or a touch of oil. Transfer the dough into this bowl. Cover the bowl snugly with plastic wrap and allow the dough to rise in a warm spot, or at room temperature, until it has visibly doubled in size. This typically takes about 1 hour, but can vary depending on room temperature.
- Prepare a baking sheet by lining it with parchment paper or a silicone mat. Generously sprinkle a light, even layer of cornmeal over the prepared surface. This cornmeal layer will prevent the dough from sticking and contribute to the muffins’ authentic texture.
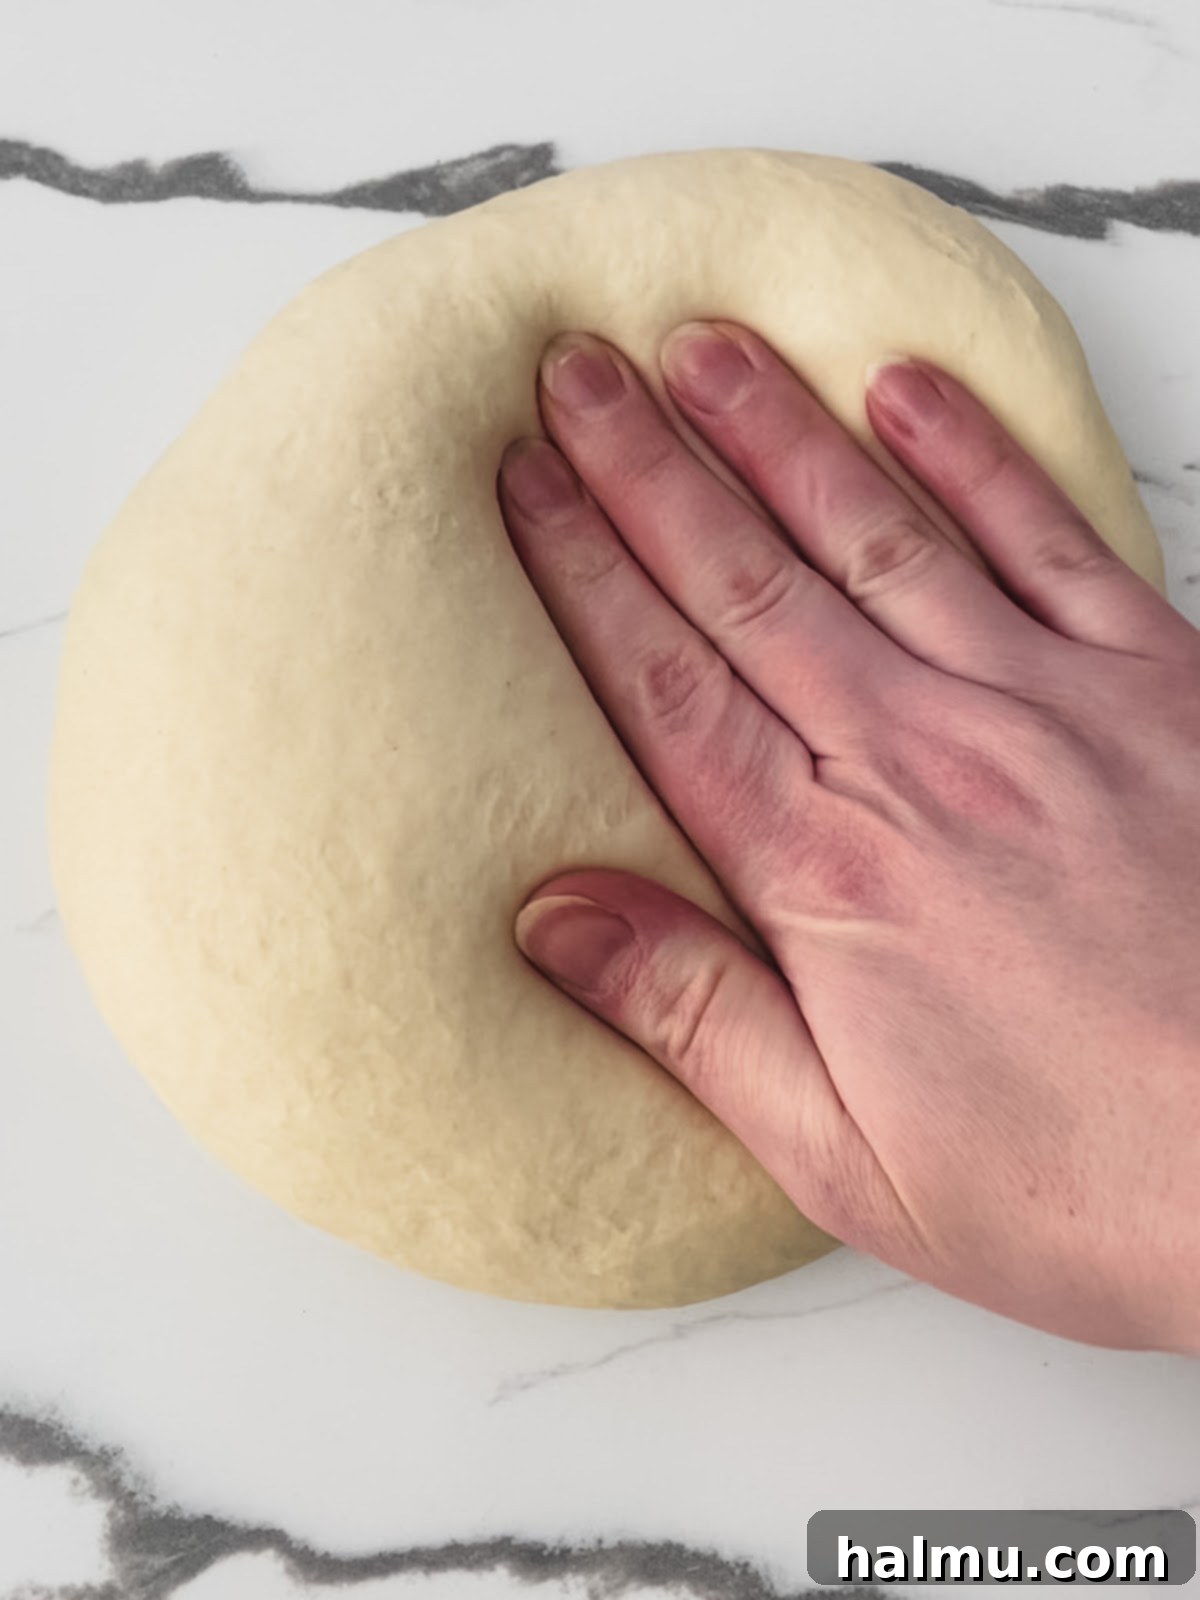
- Once the dough has risen, gently remove it from the bowl and place it onto a lightly floured surface. Using your hands, gently press out any large air bubbles from the dough. Then, form the dough into a rectangular shape, approximately 8 inches (20 cm) wide by 12 inches (30 cm) long, and about ¼ inch (0.6 cm) thick. You can use a rolling pin if preferred, but be careful not to roll the dough too thin.
- Lightly dust a 3 ½-inch (9 cm) round cookie or biscuit cutter with flour to prevent sticking. Use the cutter to cut out 6 rounds from the dough. It’s normal for the dough to slightly shrink back after being cut. Carefully place these dough pieces on the cornmeal-dusted baking sheet, ensuring they are spaced about 2 inches (5 cm) apart. Dust the tops of the dough pieces with more cornmeal. Loosely cover them with plastic wrap and allow them to rise again for approximately 45 minutes, or until they are about ¾ inch (1.9 cm) high.
- For any remaining scraps of dough, gently gather them, knead them together briefly, and form them into a disk. Cover this disk with plastic wrap and let it rest for at least 30 minutes to allow the gluten to relax. After resting, roll out the dough large enough to yield 2 more rounds and repeat step 5. This will give you a total of 8 English muffins.
- Preheat a griddle, a cast-iron skillet, or a good quality non-stick frying pan over medium-low heat. You’ll know the pan is ready when a small drop of water sizzles and evaporates upon contact. Maintaining a consistent, lower heat is crucial for even cooking and preventing the muffins from burning before cooking through.
- Lightly grease the preheated pan with the remaining butter. Carefully place the English muffins into the greased pan, working in batches if necessary to avoid overcrowding. Cook the muffins until the bottom is beautifully browned, which usually takes about 8-10 minutes. Then, gently flip the muffins over and cook the other sides until they are also golden brown, approximately 5-7 minutes more. For perfectly cooked muffins, the internal temperature should reach around 190°F (88°C).
- Once cooked, transfer the English muffins to a wire rack to cool completely. For the best traditional texture, use the prongs of a fork to split the muffins open (as described in the “Fork Split” section above). Toast them lightly and serve immediately with butter, your favorite jam, or any delicious topping you desire!
Did you make this recipe?
Be sure to tag @sweetkitchencravings on Instagram! We love seeing your delicious creations.
