This post may contain affiliate links. Please read my full disclosure policy.
Irresistible Oreo Rice Krispie Treats: Your Ultimate No-Bake Dessert Guide

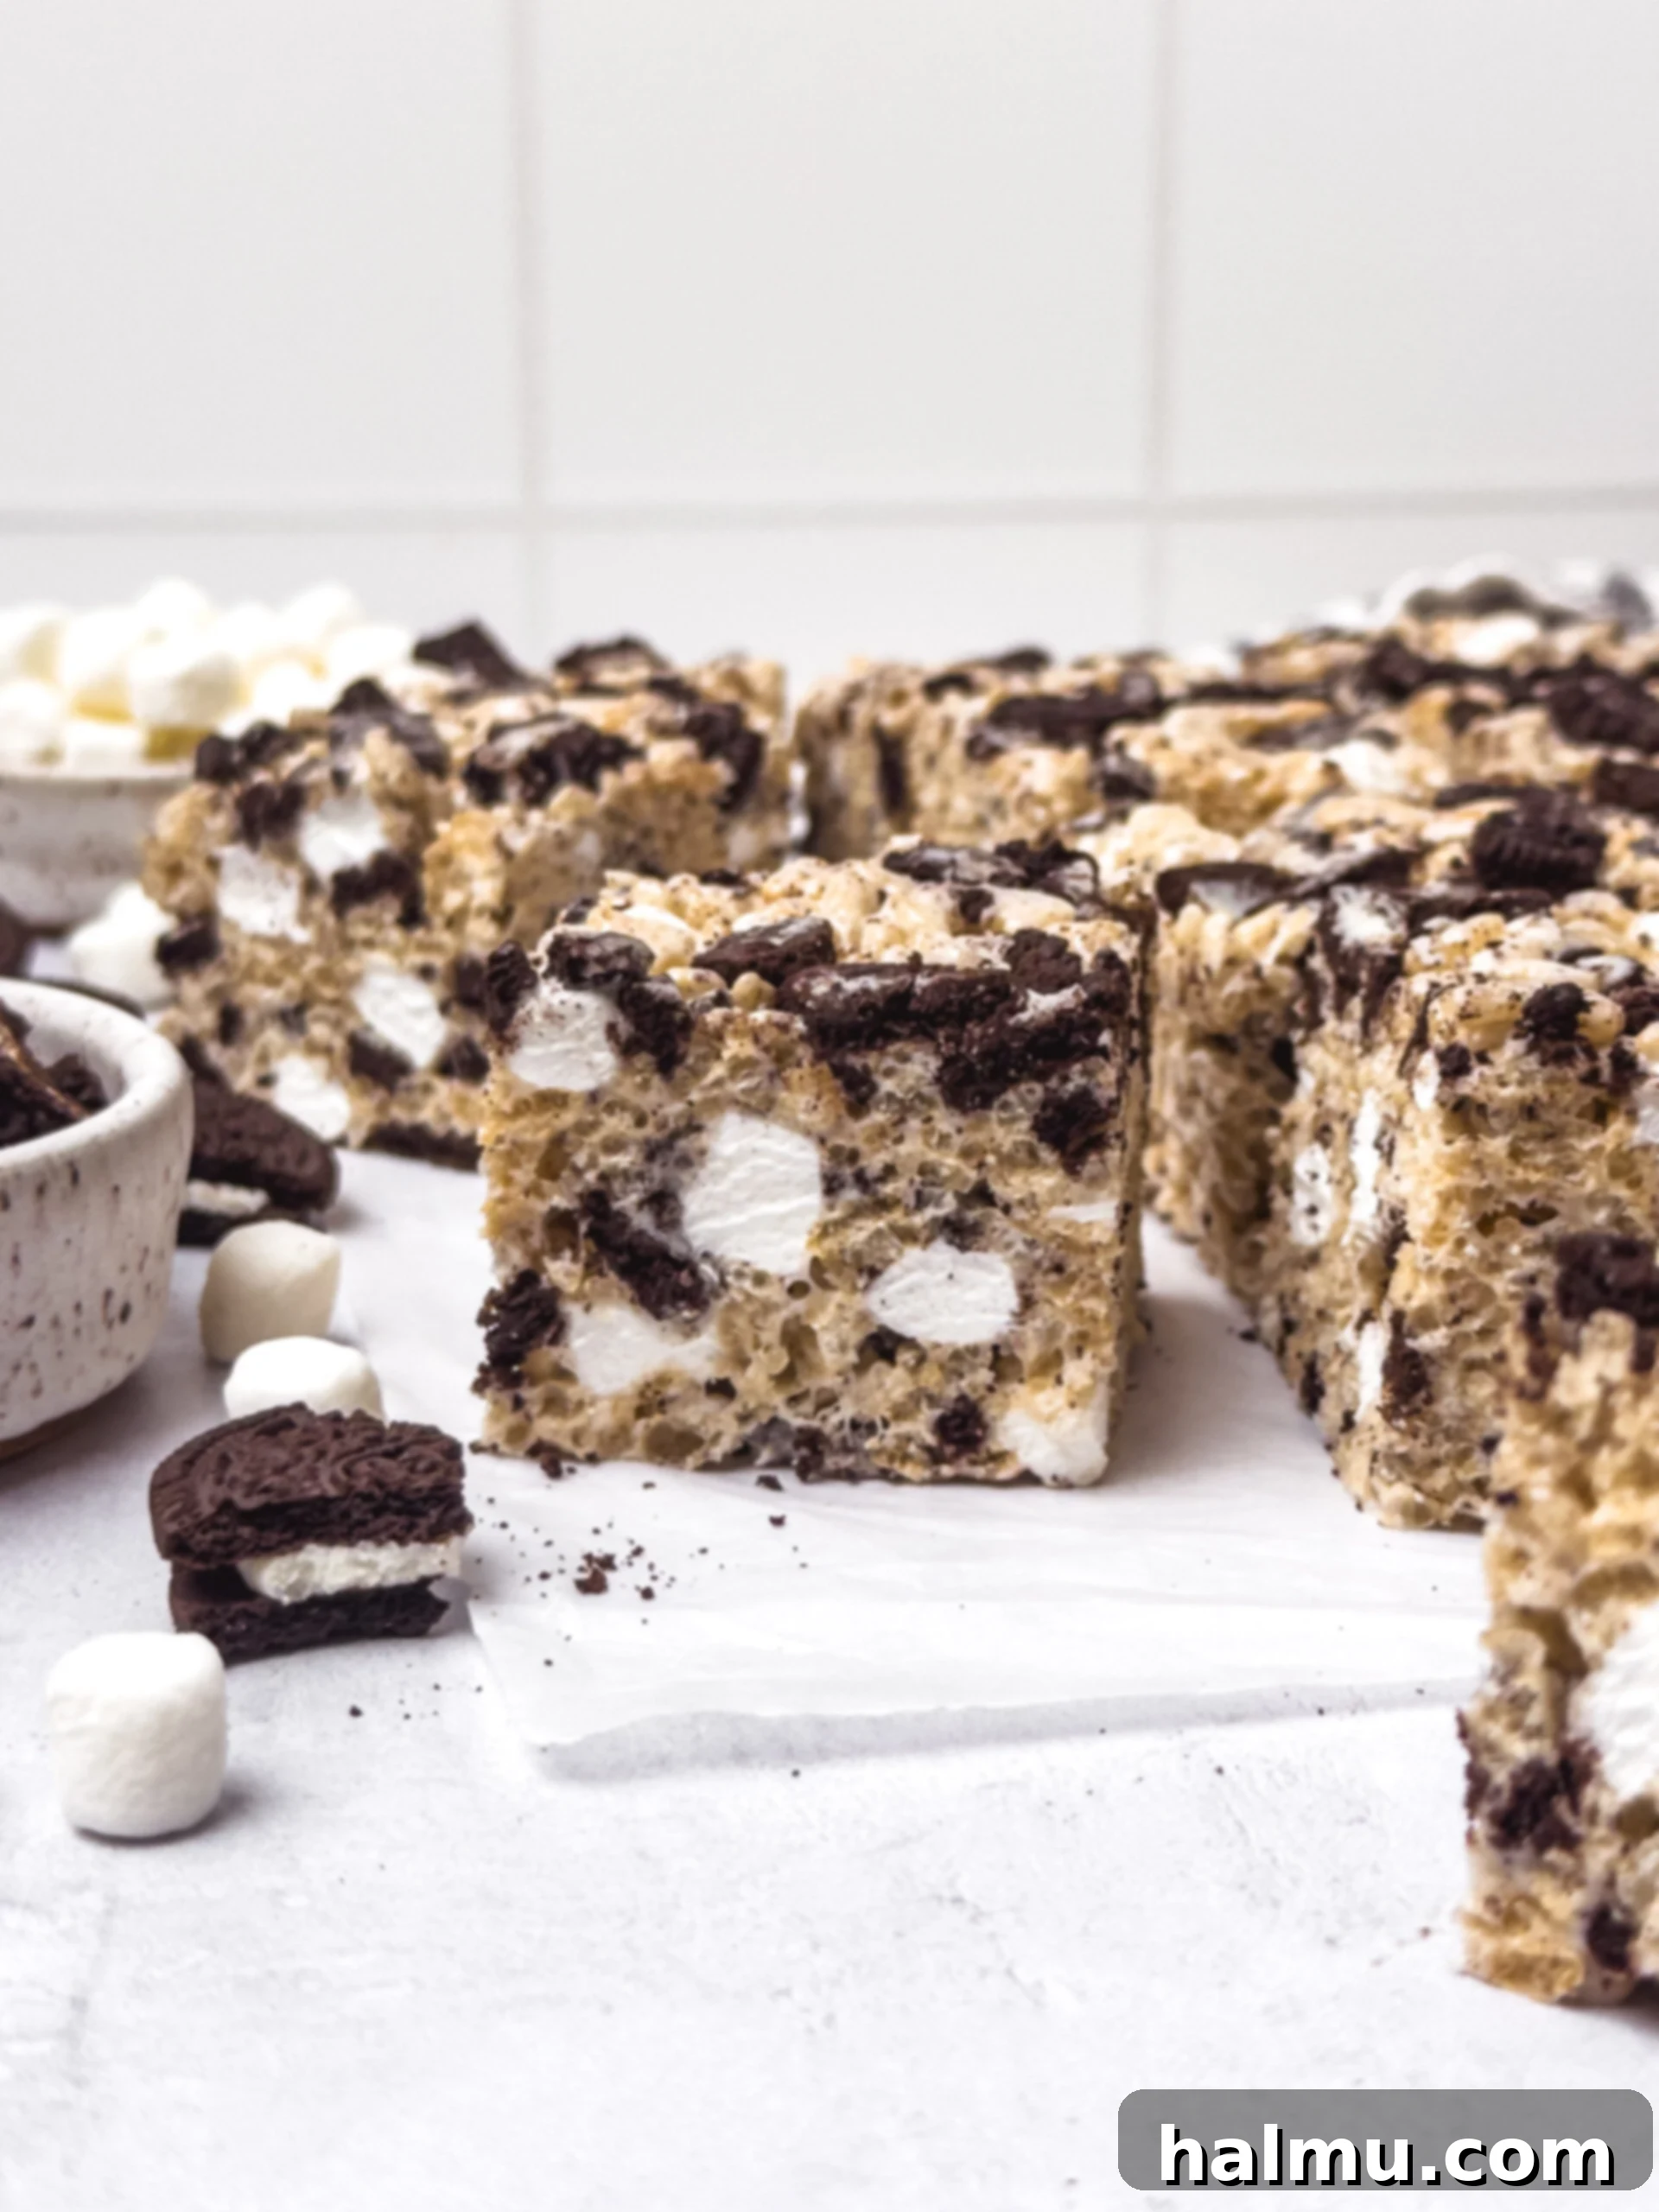
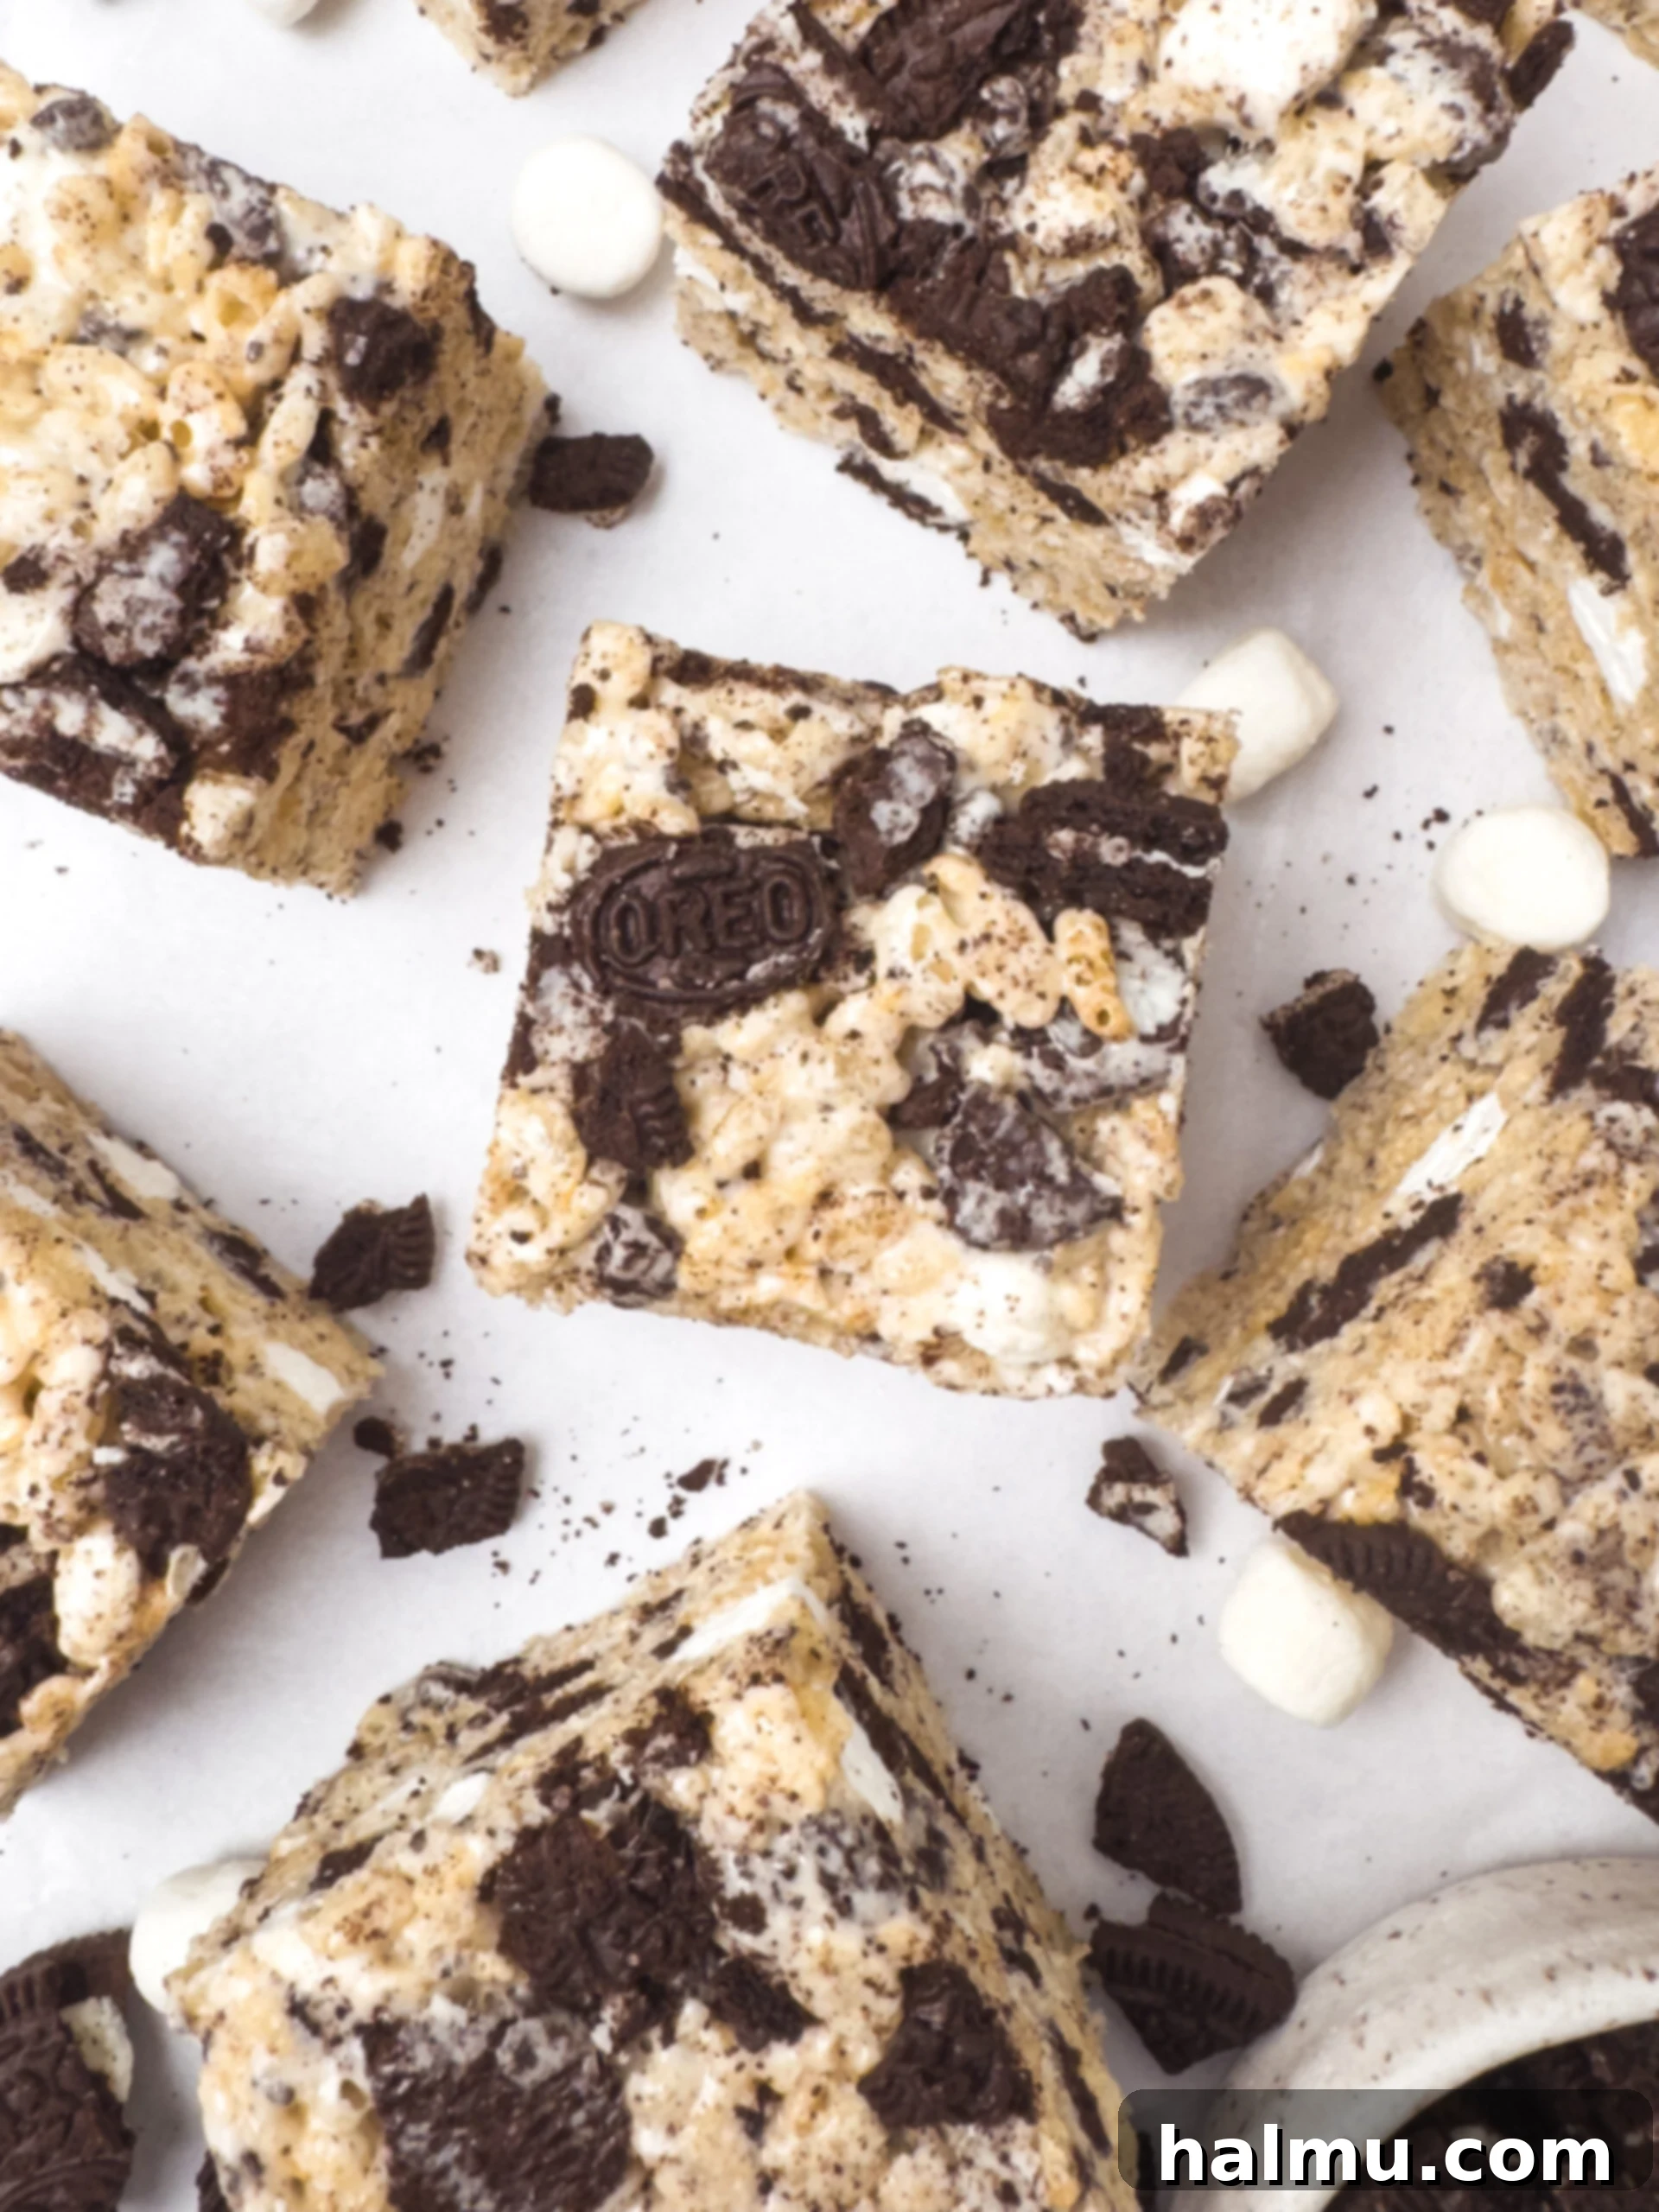
Prepare to delight your taste buds with these truly irresistible Oreo Rice Krispie Treats! Imagine the perfect combination of ooey-gooey marshmallows enveloping crispy rice cereal, all generously studded with chunks of America’s favorite cookie. Soft, delightfully chewy, and bursting with that iconic cookies-and-cream flavor, these treats are an instant crowd-pleaser that will disappear as fast as you can make them. This incredibly easy, no-bake recipe is a guaranteed hit, beloved by everyone from the youngest family members to the most discerning adults. Whether you’re planning a party, need a quick snack, or simply crave a sweet indulgence, these Oreo Rice Krispie Treats are the answer. Forget complicated baking; these simple squares bring maximum flavor with minimal effort, making them a perfect addition to any dessert table.
Why These Oreo Rice Krispie Treats Are a Must-Try
There’s something uniquely satisfying about Rice Krispie treats, and when you infuse them with the magic of Oreo cookies, you elevate them to an entirely new level. These aren’t just any treats; they are a celebration of contrasting textures and complementary flavors. The light, crispy crunch of the cereal perfectly balances the soft, melted marshmallow, while the rich, chocolatey notes of the Oreo cookies add a delightful depth and a familiar sweetness. Beyond their incredible taste, these treats shine because they require absolutely no baking, making them ideal for any time of year and perfect for novice cooks or busy parents. They’re quick to prepare, incredibly versatile, and always bring a smile to anyone who takes a bite. Get ready for rave reviews!
Essential Ingredients for Your Perfect Treats
Crafting the best Oreo Rice Krispie Treats starts with understanding each component. While simple, the quality and type of your ingredients can make a significant difference in the final texture and flavor. Here’s a deeper dive into what you’ll need to create these delectable squares:
Rice Cereal
The foundation of our treats! While the name-brand Rice Krispies cereal is a classic choice, any puffed rice cereal will work wonderfully. The key is its light, airy structure, which absorbs the marshmallow mixture beautifully to create that signature chewy-crispy texture. Ensure your cereal is fresh for optimal crunch.
Oreo Cookies
The star of the show! I typically use classic regular Oreo cookies for that timeless chocolate and cream flavor. However, don’t be afraid to experiment! Golden Oreos can offer a vanilla twist, peanut butter Oreos provide a nutty richness, or even birthday cake Oreos for an extra festive touch. Roughly chopped cookies are best as they provide substantial bites of cookie in every square, adding both texture and intense flavor.
Butter
Unsalted butter is my preferred choice as it gives you full control over the salt content in the recipe. If you only have salted butter on hand, you can certainly use it, but be sure to omit the additional salt listed in the recipe card. For an extra layer of nutty, caramelized flavor, consider browning your butter before adding the marshmallows. This simple step can elevate your treats to gourmet status!
Marshmallows
Mini marshmallows are ideal for this recipe. They melt more quickly and evenly, ensuring a smooth, cohesive marshmallow base. You’ll use a larger quantity of marshmallows that are fully melted, and a smaller portion of mini marshmallows mixed in with the cereal and cookies. These unmelted mini marshmallows provide extra pockets of soft, gooey chewiness throughout the treats, enhancing their texture significantly. Always use fresh marshmallows for the best results, as stale ones can become tough and harder to melt.
Vanilla Extract
A splash of pure vanilla extract is crucial for rounding out the flavors. It adds a warm, aromatic depth that complements both the marshmallow and the Oreo cookies, enhancing the overall sweetness without making it cloying. Don’t skip this ingredient!
Salt
Just a pinch of kosher salt (or a tiny bit less if using salted butter) is essential. It might seem counterintuitive to add salt to a sweet treat, but it acts as a flavor enhancer, balancing the sweetness of the marshmallows and Oreos, preventing the treats from being overly sugary, and bringing out all the delicious nuances.
See the full list of ingredients and measurements in the recipe card at the end of this post!
How to Make Irresistible Oreo Rice Krispie Treats: Step-by-Step
Creating these delightful Oreo Rice Krispie Treats is surprisingly simple, making it a perfect activity for all skill levels. Follow these clear steps to achieve perfect, gooey, and crunchy results every time:
- Prepare Your Baking Pan. Start by lightly greasing a 9-inch square baking pan with nonstick cooking spray. For even easier removal and cleanup, line the greased pan with parchment paper, leaving an overhang on two sides. This acts as a convenient sling to lift the entire batch out once cooled.
- Chop the Oreos. The size of your Oreo pieces affects the texture of the final treat. You can roughly chop the Oreo cookies with a sharp knife for larger, more defined chunks. Alternatively, for a quicker method, place the Oreos in a zip-top bag and crush them using a rolling pin. Aim for a mix of fine crumbs and small, recognizable pieces to give your treats both integrated flavor and delightful cookie bits.
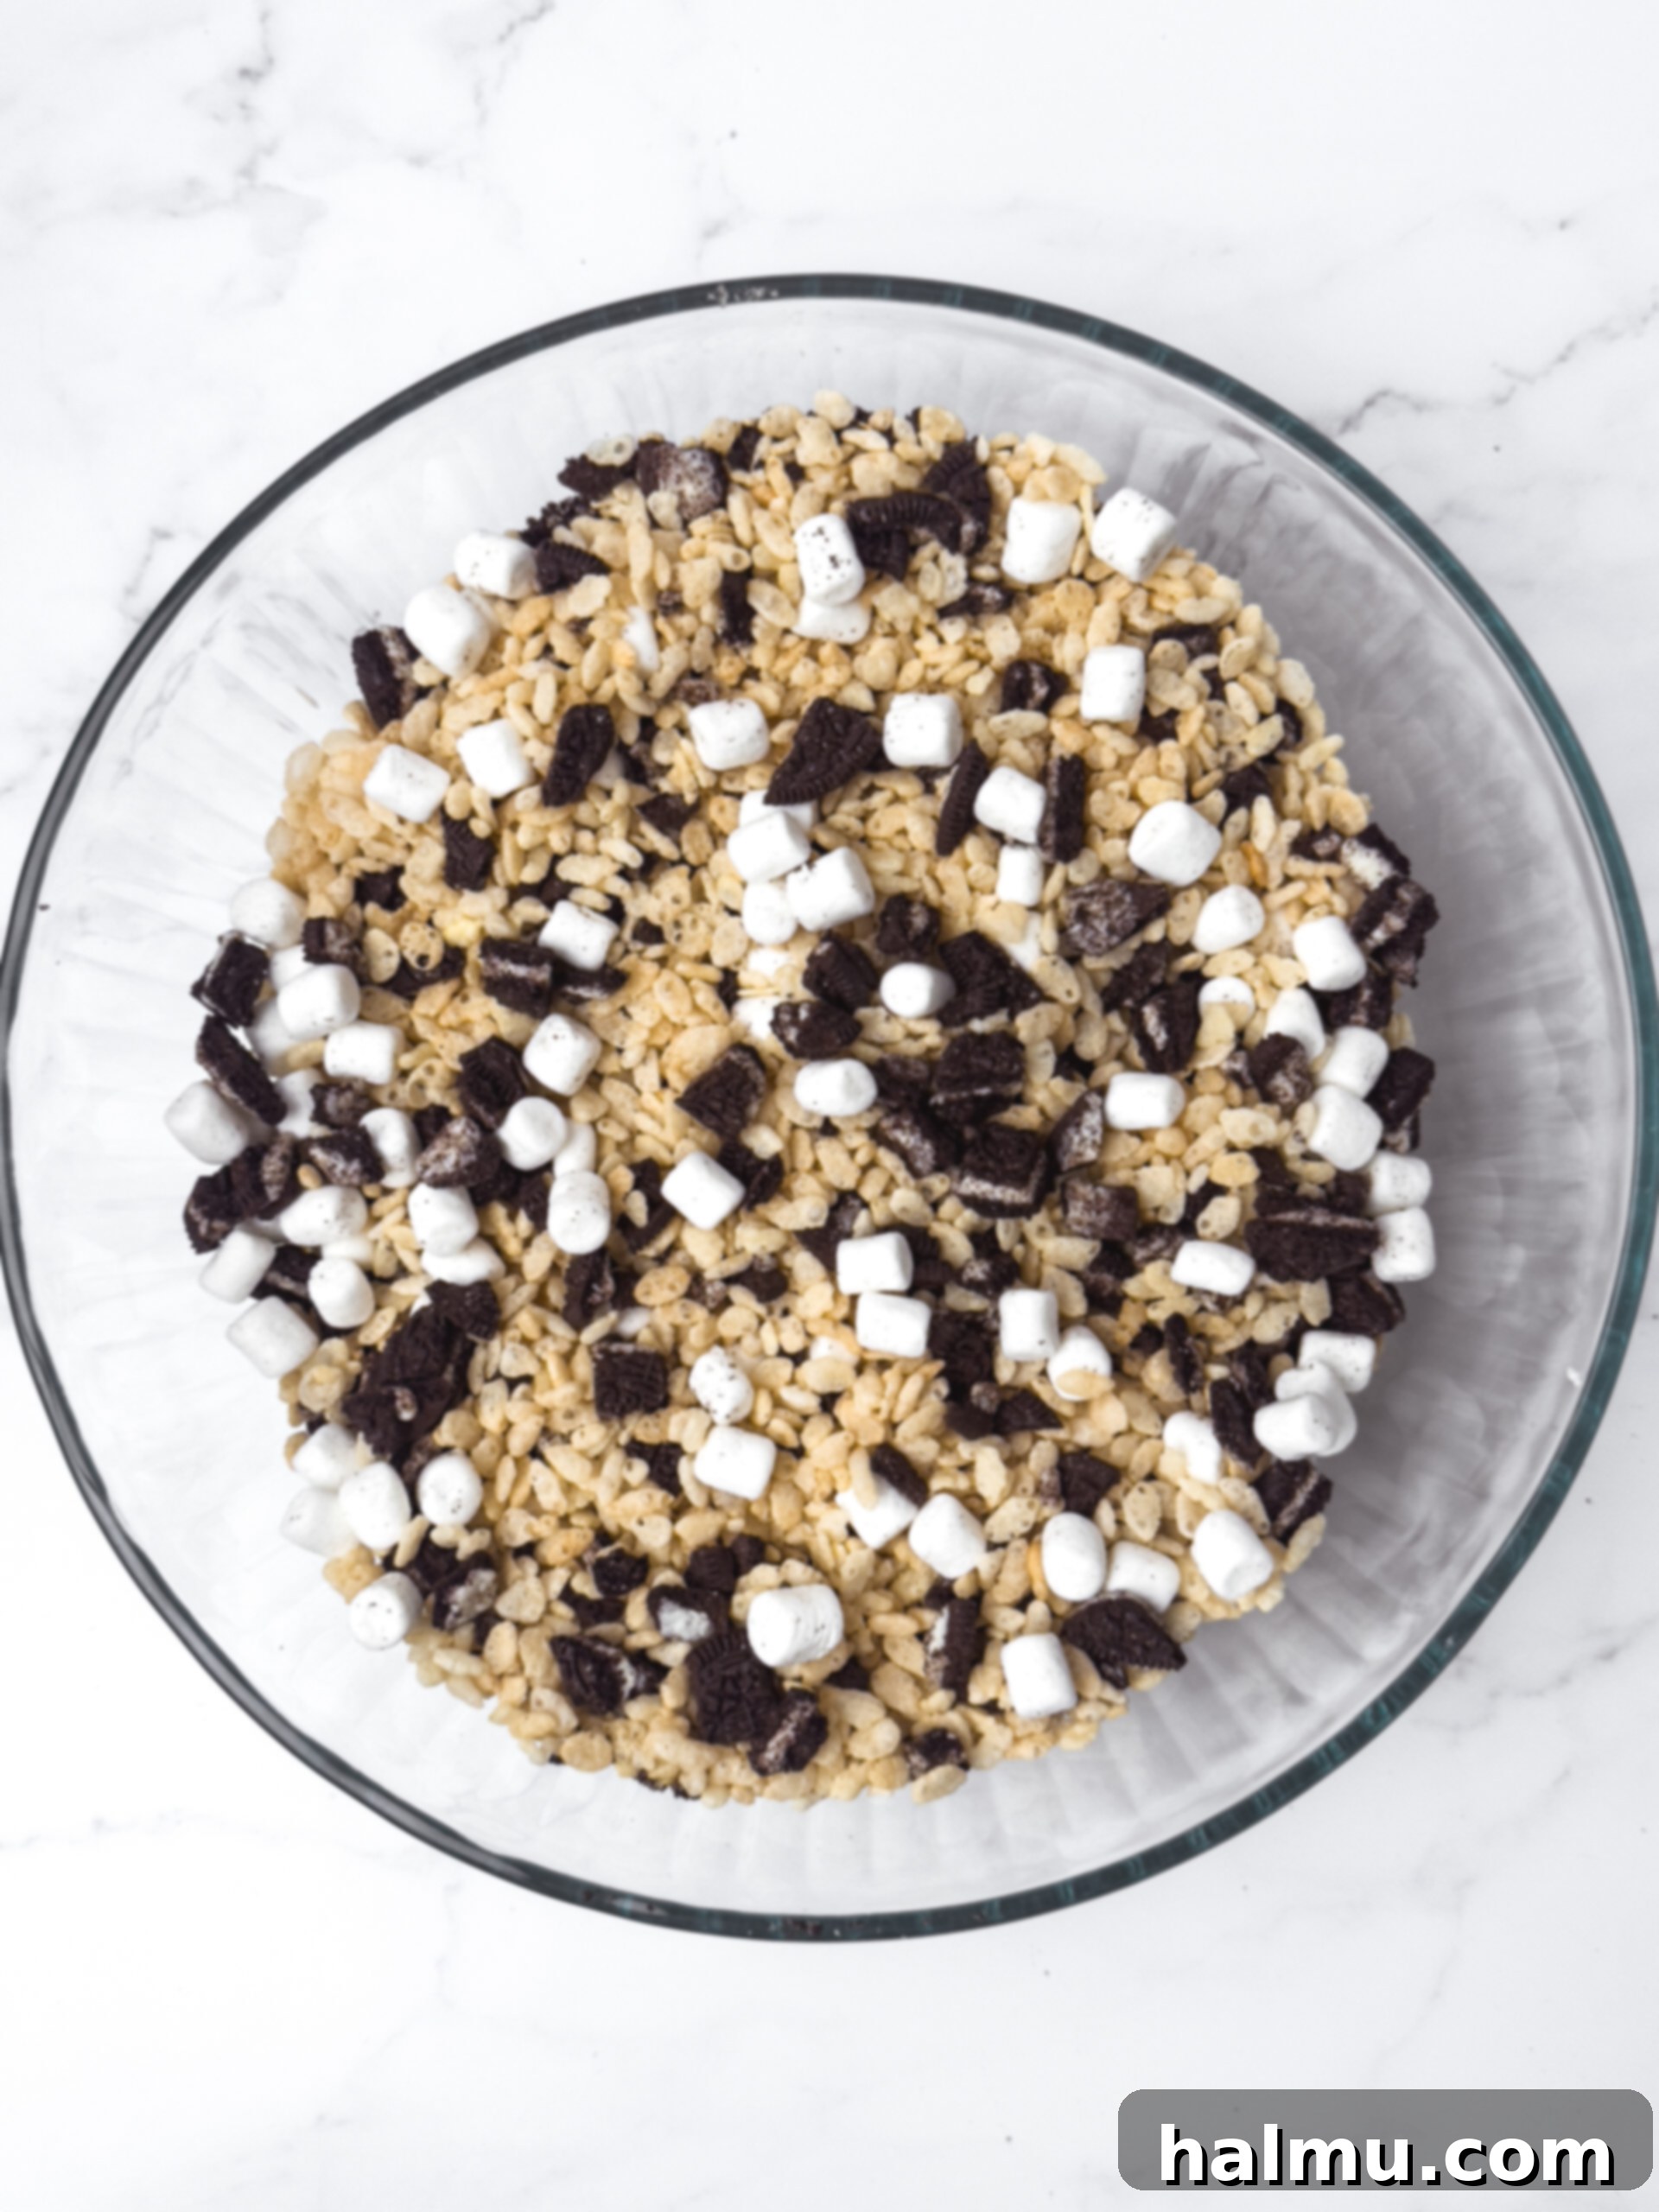
- Combine Dry Ingredients. In a very large mixing bowl, gently combine the rice cereal, your prepared chopped Oreos, and 4 ounces (approximately 1 cup) of mini marshmallows. Set this mixture aside. This step ensures that once the melted marshmallow mixture is ready, you can quickly incorporate it without scrambling to measure or chop, which helps prevent the marshmallow from cooling too much.
- Melt the Butter. In a large, heavy-bottomed pot or Dutch oven, melt 4 ounces (which is typically one stick or ½ cup) of unsalted butter over medium-low heat. Melting the butter slowly helps prevent it from burning and creates a smoother base for your marshmallows. If you’re opting for brown butter, continue to cook the butter gently, stirring occasionally, until it turns a rich golden-brown and small, fragrant brown specks appear at the bottom of the pot. Be careful not to burn it!
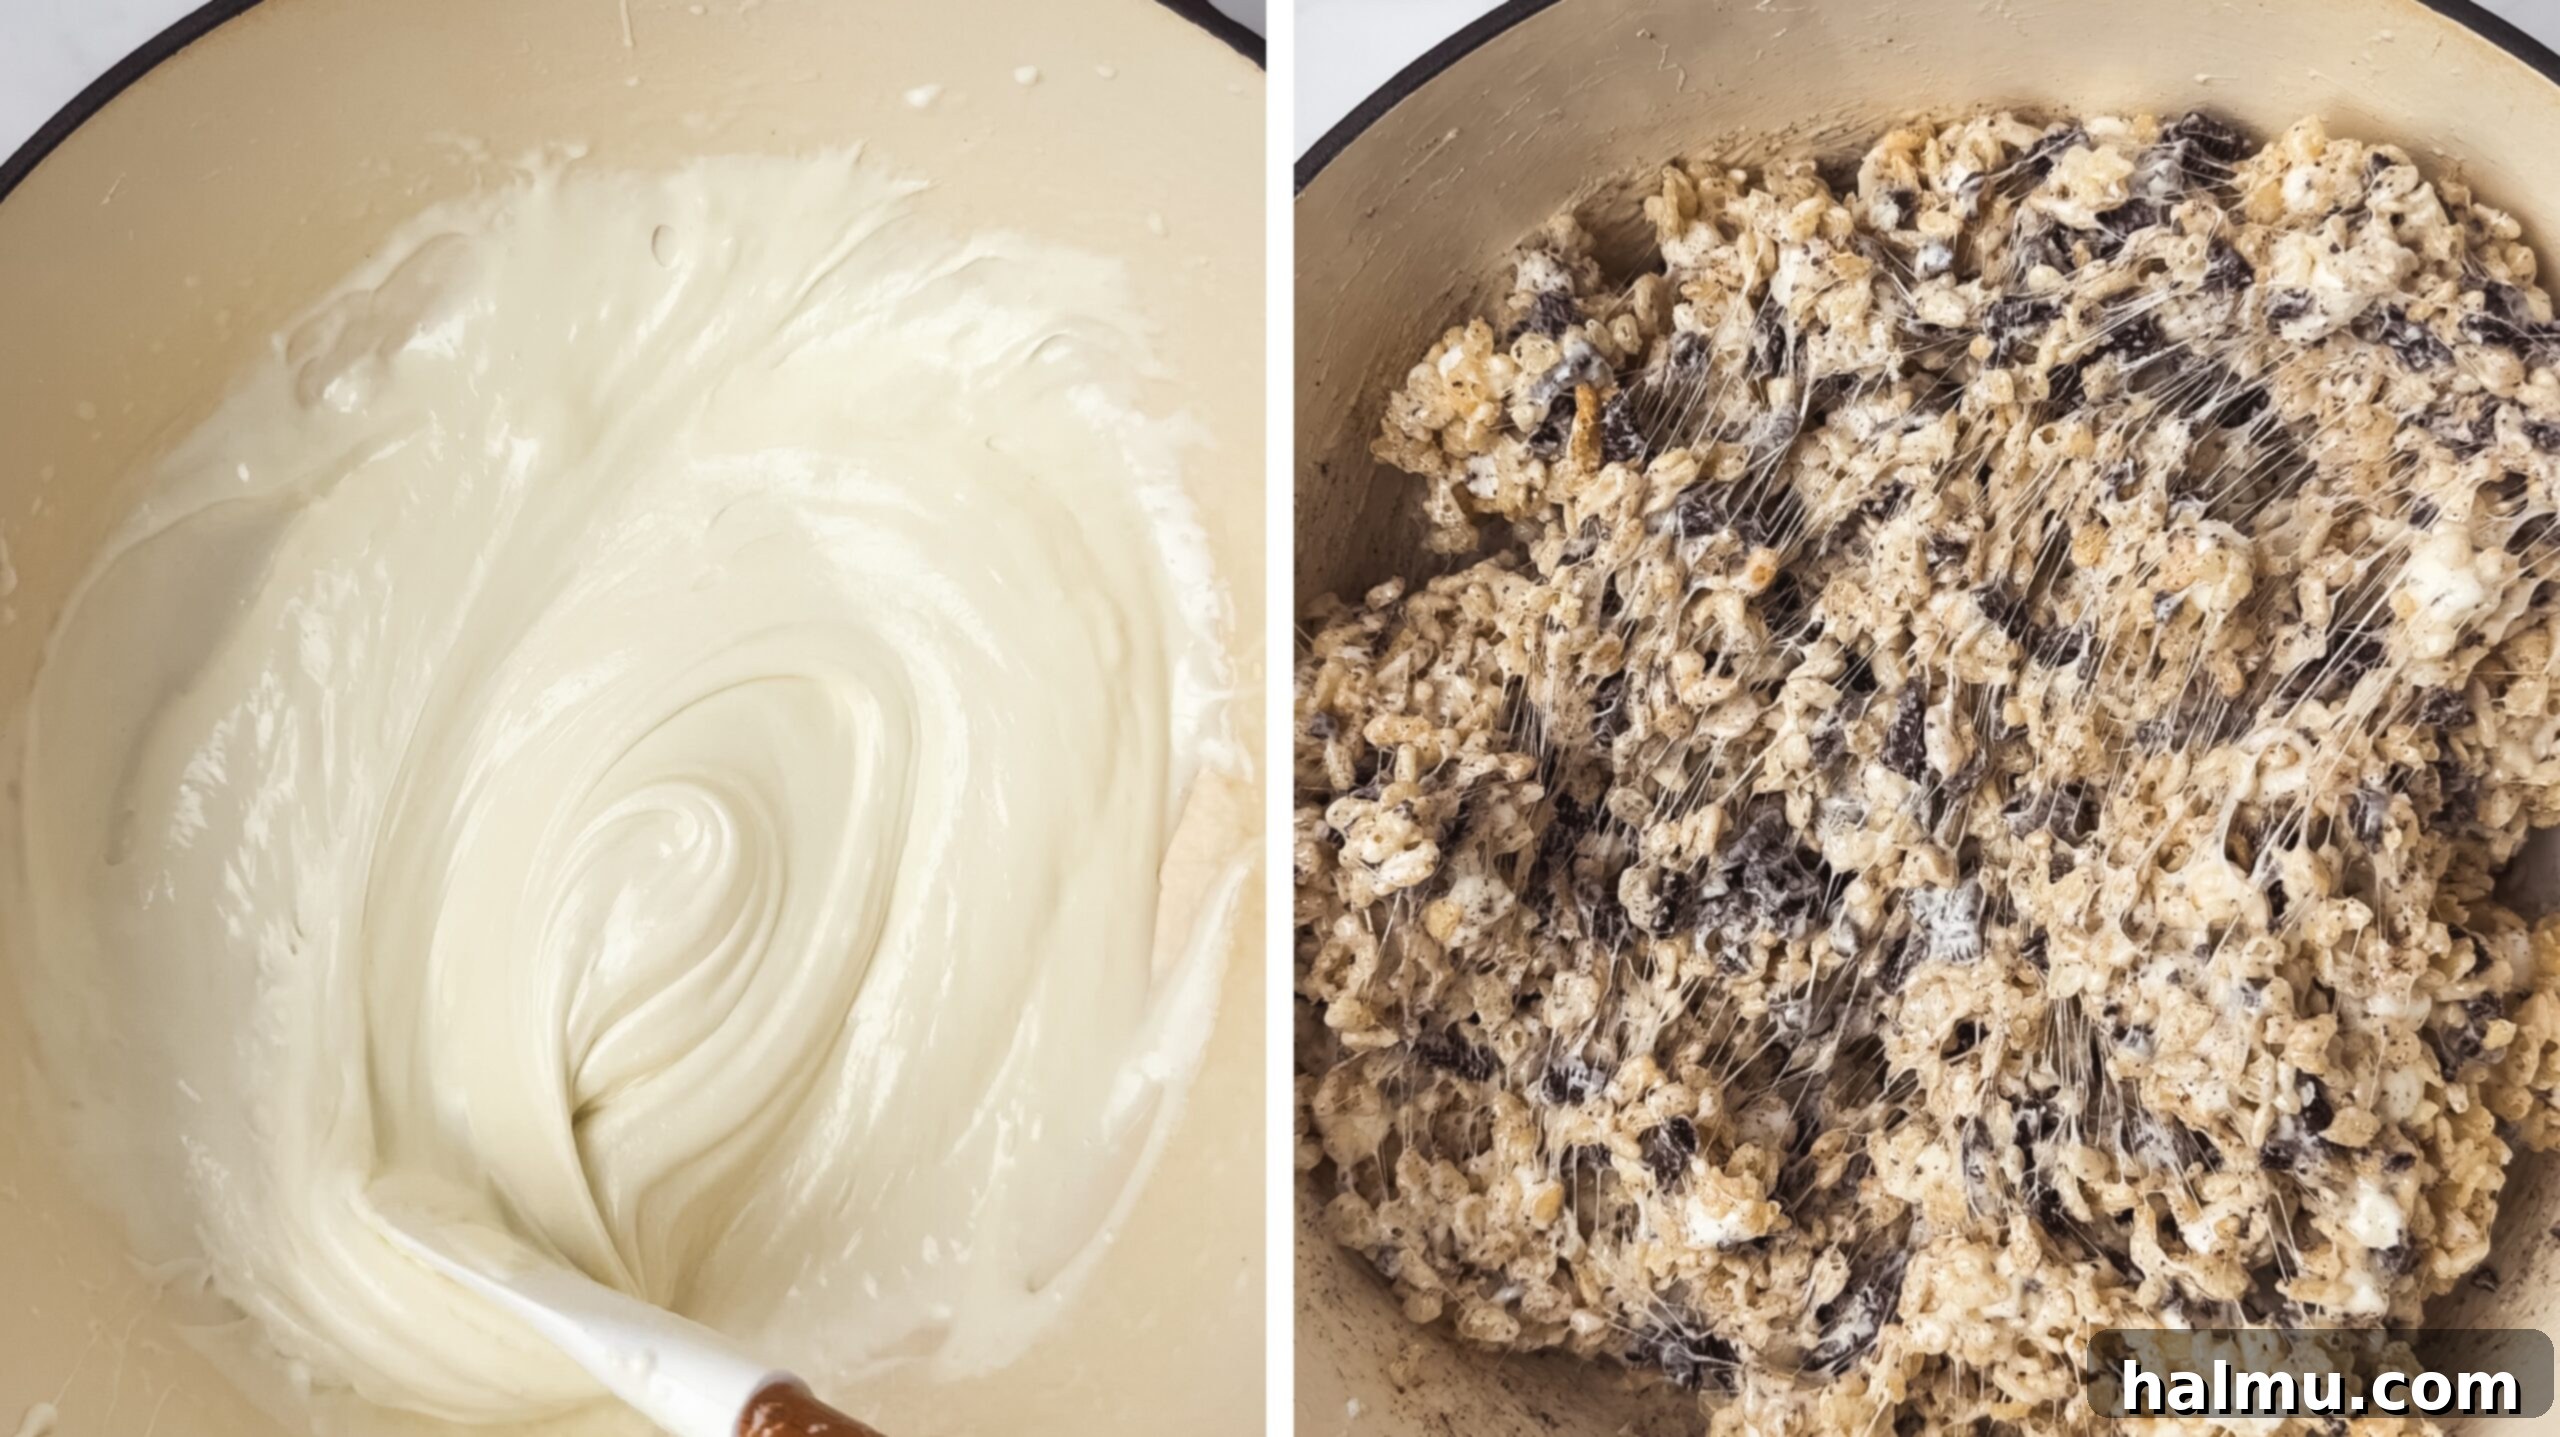
- Add Marshmallows and Melt. Once the butter is melted (and optionally browned), immediately add the remaining marshmallows (20 ounces, or about 5 cups) to the pot. Turn off the heat. The residual heat from the pot and melted butter will be enough to gently melt the marshmallows. Stir continuously with a rubber spatula until the marshmallows are completely smooth and free of lumps. Patience is key here to achieve that perfect gooey consistency.
- Incorporate Vanilla and Salt. Once the marshmallows are fully melted and smooth, stir in the vanilla extract and salt. Mix thoroughly to ensure these flavor enhancers are evenly distributed throughout the marshmallow mixture. The vanilla adds a warm aroma, and the salt balances the sweetness, making the treats even more appealing.
- Combine Cereal and Marshmallow. Now, add the prepared cereal, Oreo, and mini marshmallow mixture from your large bowl into the pot with the melted marshmallows. Working quickly but gently, use your rubber spatula to fold and combine everything until the rice cereal and Oreos are completely coated in the marshmallow mixture. The goal is to evenly coat without crushing the cereal too much, maintaining its crispness.
- Press into the Pan. Transfer the warm, sticky treat mixture into your prepared 9-inch square pan. To press the mixture evenly into the pan without it sticking to your hands, lightly coat a rubber spatula or a piece of parchment paper with nonstick cooking spray. Gently but firmly press the mixture into an even layer, ensuring it fills all corners. Avoid over-compressing, as this can lead to hard treats. Finally, sprinkle additional chopped Oreos over the top for extra visual appeal and a boost of cookie flavor, pressing them lightly into the bars.
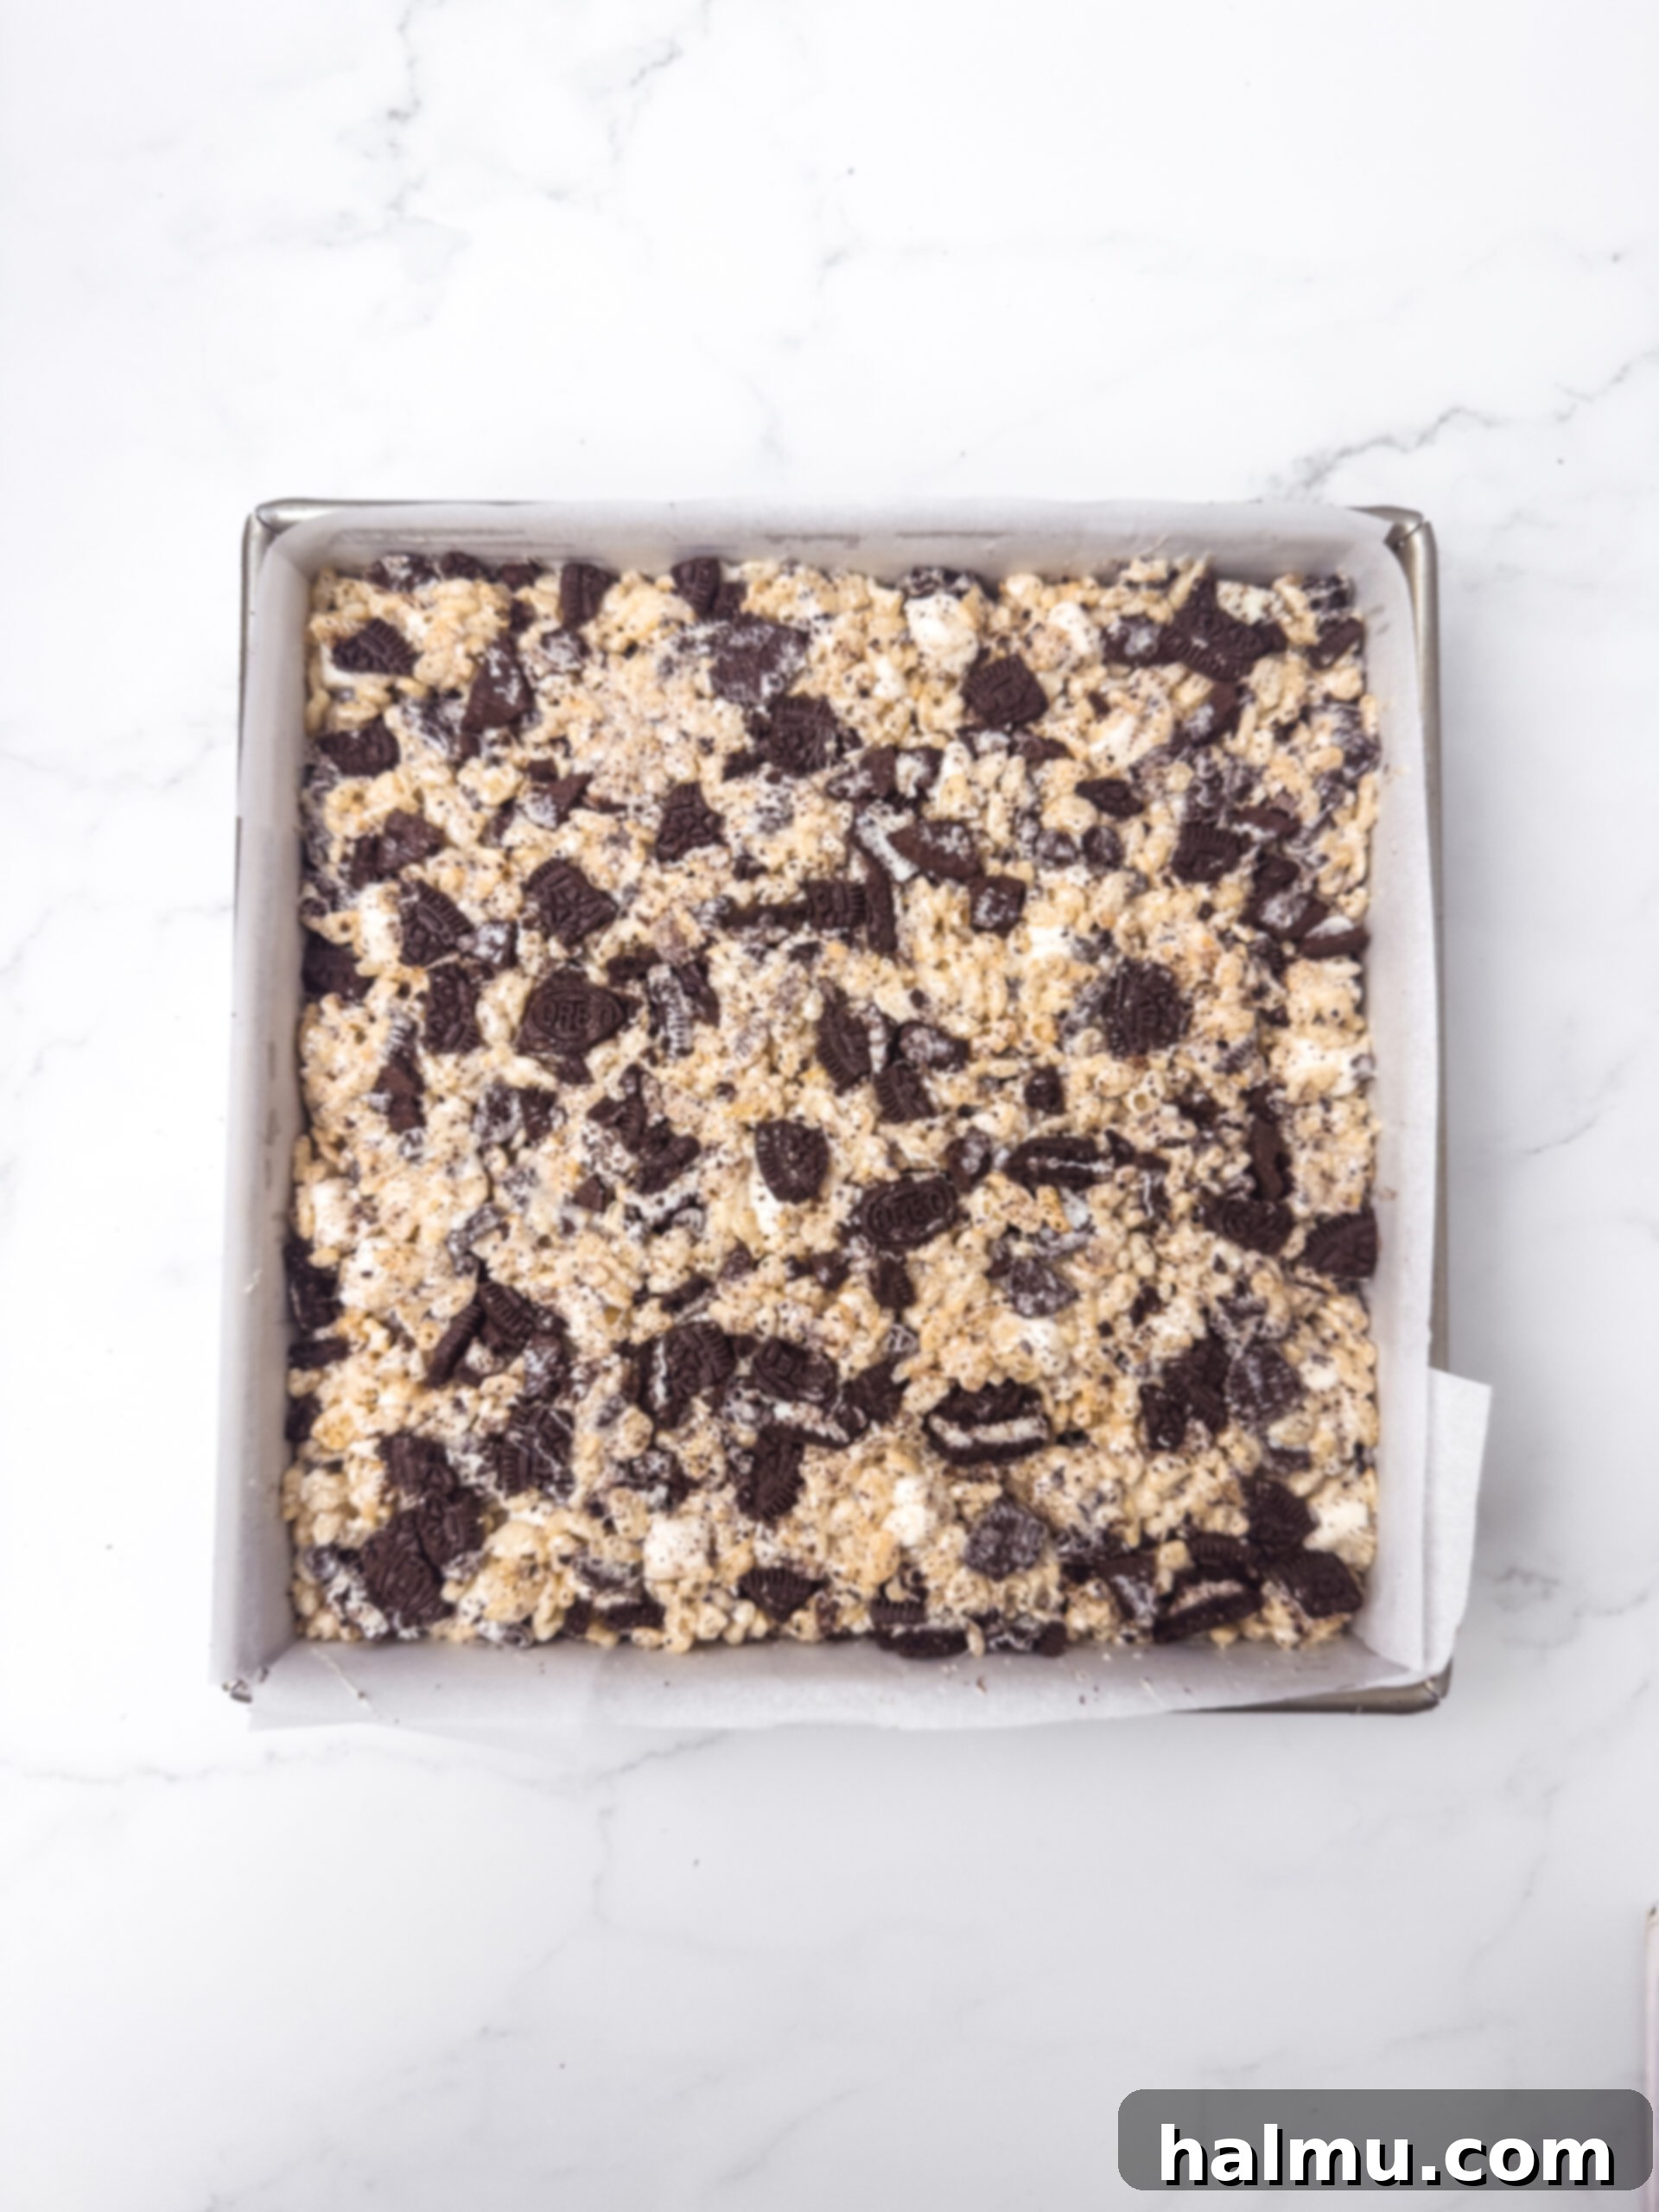
- Cool, Cut, and Serve. Allow the bars to cool completely at room temperature, which typically takes about 30-60 minutes. For a quicker set, you can pop them into the refrigerator for 15-20 minutes, but be careful not to chill them for too long as they can become too firm. Once cooled and set, use the parchment paper overhang to lift the entire slab out of the pan. Place it on a cutting board and use a sharp, greased knife to cut into even squares. Now, these glorious Oreo Rice Krispie Treats are ready to be devoured!
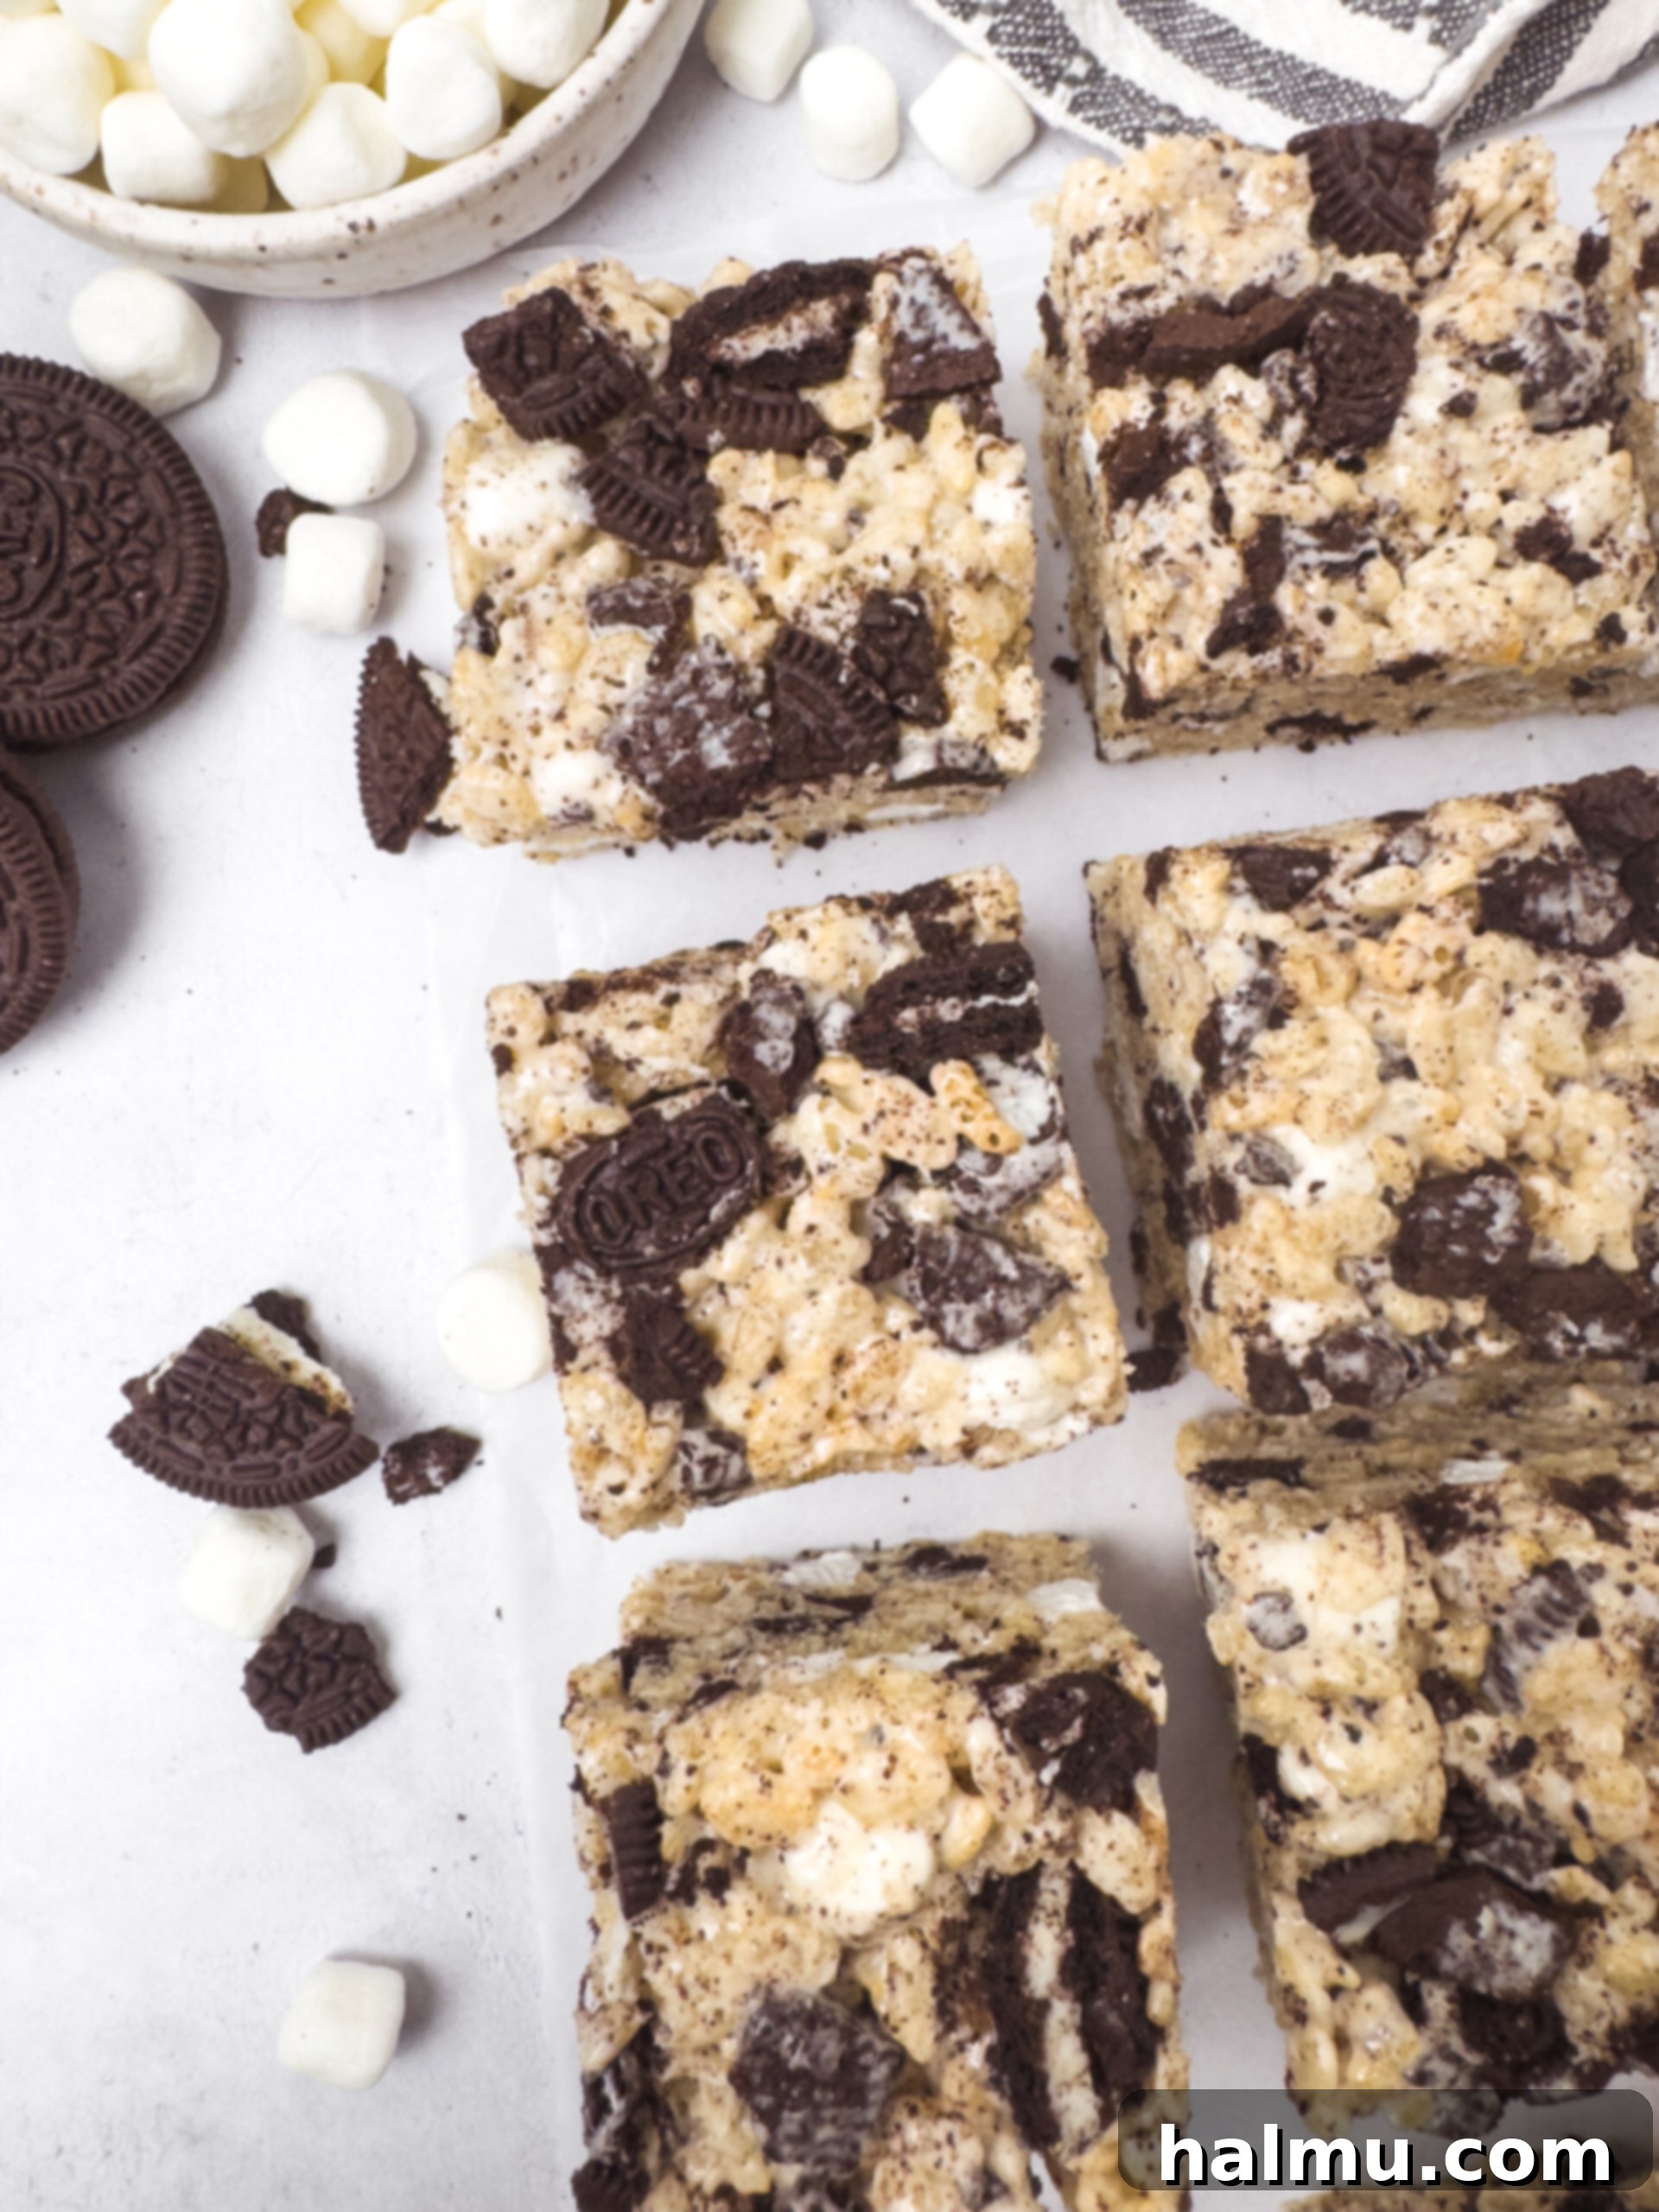
Tips for Success and Delicious Variations
While making Oreo Rice Krispie Treats is straightforward, a few key tips and creative twists can make them even better, ensuring a perfectly textured and flavorful snack every time.
Achieving the Perfect Texture
- Don’t Over-Compress: When pressing the mixture into the pan, be gentle. Over-compressing the treats can make them hard and dense instead of soft and chewy. Use a lightly greased spatula or a piece of greased parchment paper to gently flatten them evenly.
- Low and Slow for Marshmallows: Always melt your butter and marshmallows over medium-low heat. High heat can cause the marshmallows to seize up, become grainy, or even burn, leading to tough treats. Turn off the heat as soon as the marshmallows are almost fully melted, and stir until smooth with the residual heat.
- Fresh Marshmallows Are Key: Old or stale marshmallows tend to be harder and don’t melt as smoothly, which can affect the overall texture. Always use fresh mini marshmallows for the best gooey results.
Flavor Variations Beyond Classic Oreo
The beauty of Rice Krispie treats lies in their versatility. While classic Oreos are fantastic, consider these exciting variations:
- Golden Oreo Treats: Swap regular Oreos for Golden Oreos for a vanilla-forward treat that’s equally delicious.
- Mint Oreo Delights: Use Mint Oreos for a refreshing twist, especially around holidays. A few drops of peppermint extract in the marshmallow mixture would enhance this further.
- Peanut Butter Oreo Obsession: Incorporate Peanut Butter Oreos for a rich, nutty flavor profile. You could even swirl in a tablespoon of peanut butter to the melted marshmallow mixture.
- Birthday Cake Fun: Birthday Cake Oreos add sprinkles and a distinct cake batter flavor, making these treats extra festive for celebrations.
Adding Extra Mix-ins
Elevate your treats further with additional mix-ins:
- Chocolate Chips: Stir in mini chocolate chips (milk, dark, or white) along with the cereal and Oreos for an extra layer of chocolatey goodness.
- Sprinkles: Add colorful sprinkles to the mixture or sprinkle them on top while the treats are still warm for a fun, celebratory look.
- Candy Bits: Crushed candies like M&M’s, Reese’s Pieces, or even chopped candy bars can be folded in for more texture and flavor.
Frequently Asked Questions About Oreo Rice Krispie Treats
Got questions? We’ve got answers to help you master your Oreo Rice Krispie Treats and ensure they’re perfect every time.
How should I store these treats?
Store your Oreo Rice Krispie Treats in an airtight container at room temperature. They are best enjoyed within 2-3 days for optimal freshness and chewiness. If stacking multiple layers, place a sheet of parchment paper between them to prevent sticking. Avoid refrigerating for extended periods, as it can make them quite firm; if you do chill them, let them come to room temperature for a softer bite.
Can these be made in a 9” x 13” pan instead?
Absolutely! This same recipe can be easily adapted for a larger 9″ x 13″ rectangular baking pan. When using a larger pan, your treats will naturally be thinner than those pictured in this post. However, this is a great way to yield more servings, perfect for larger gatherings or when you want to share with more people. Just be sure to still grease and line your pan as directed.
What kind of Oreos should I use?
While the classic regular Oreo cookie is my go-to for its balanced chocolate and cream flavor, the beauty of this recipe is its flexibility! For a delightful variation, feel free to use any flavor of Oreo that sparks your interest. Golden Oreos would offer a lovely vanilla base, peanut butter Oreos would add a rich, nutty dimension, and even seasonal varieties like Mint or Birthday Cake Oreos would be absolutely delicious and add a fun twist to these treats.
Can these be made with brown butter?
Yes, absolutely! Brown butter would be a truly exquisite addition to these treats, imparting a nutty, caramelized depth of flavor that is simply divine. To make brown butter, after melting the butter in your pot, continue cooking it over medium-low heat. Stir frequently, watching closely as the butter will foam and then begin to turn golden, eventually forming small, amber-colored specks at the bottom of the pot. Once it reaches a rich, nutty aroma and a beautiful brown color, immediately turn off the heat and proceed with adding the marshmallows, following the rest of the recipe instructions.
Why are my Rice Krispie treats hard?
There are a few common reasons why your treats might turn out hard instead of wonderfully gooey. The most frequent culprit is cooking the marshmallows over too high a heat or for too long. Overcooked marshmallows become stiff once cooled. Another reason is over-compressing the mixture into the pan; pressing too hard crushes the air out of the cereal, resulting in dense, hard bars. Also, using stale marshmallows or insufficient butter can contribute to a tougher texture. Remember to melt slowly, stir gently, and press lightly!
Can I make these treats ahead of time?
Yes, these Oreo Rice Krispie Treats are an excellent make-ahead dessert! They hold up beautifully for a few days when stored properly. You can prepare them a day or two in advance and keep them in an airtight container at room temperature. This makes them perfect for parties, lunchboxes, or a convenient sweet treat throughout the week. For the freshest taste and texture, try to enjoy them within three days of making them.
Can I freeze Oreo Rice Krispie Treats?
While it’s generally best to enjoy Rice Krispie treats fresh, you can freeze them for longer storage. To freeze, individually wrap each treat tightly in plastic wrap, then place them in an airtight freezer-safe bag or container. They can be frozen for up to 6 weeks. When ready to enjoy, simply thaw them at room temperature for an hour or two. Note that the texture might be slightly different after freezing and thawing, possibly a little less crispy, but they will still be delicious.
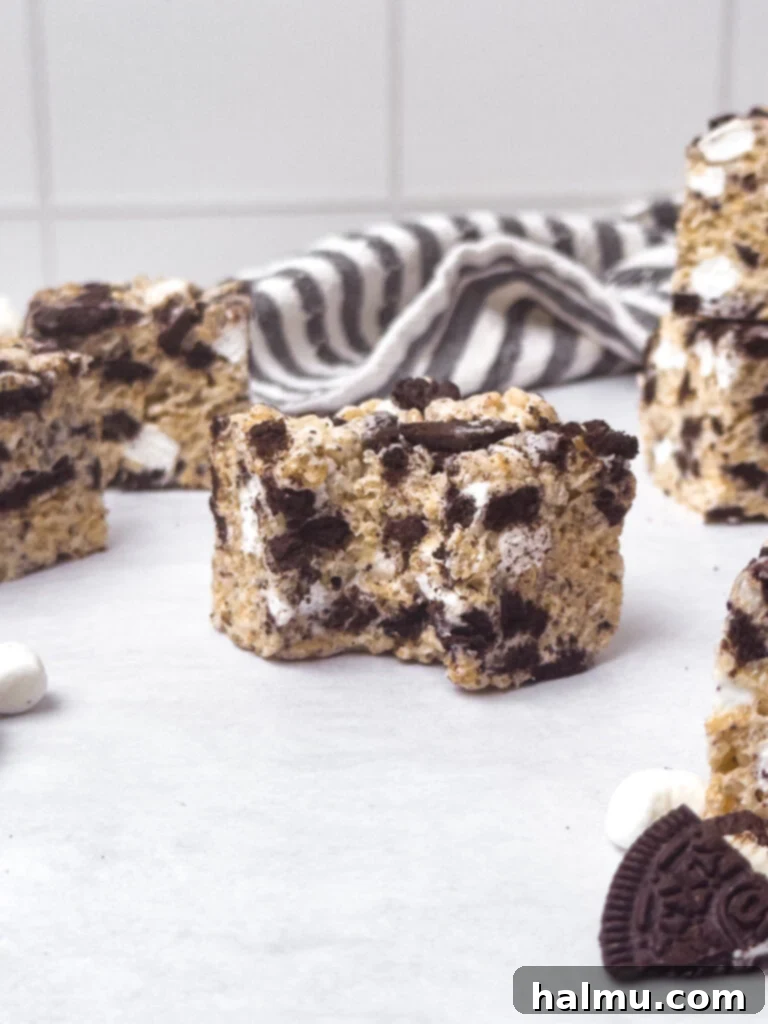
Recommended Kitchen Tools

Baking Tip: Weigh Your Ingredients!
For the most consistent and professional results in your baking, I highly recommend using a kitchen scale to weigh your ingredients rather than relying on measuring cups. This method is incredibly accurate, leading to perfectly consistent outcomes for all your recipes and a much higher success rate every single time you bake. As an added bonus, weighing ingredients often means fewer dirty dishes, which translates to an easier cleanup! I provide precise gram measurements in all my recipes, and this is the reliable scale I personally love and use in my kitchen.
More Delicious Rice Krispie Treat Recipes to Explore
If you loved these Oreo Rice Krispie Treats, you’re in for a treat! The world of no-bake, marshmallow-infused desserts is vast and exciting. Expand your repertoire with these other fantastic Rice Krispie treat variations, perfect for any occasion or craving:
- Reese’s Pieces Rice Krispie Treats: A peanut butter and chocolate lover’s dream, packed with colorful candy.
- Strawberry Rice Krispie Treats: A fruity, vibrant twist that’s perfect for spring and summer.
- Lucky Charms Rice Krispie Treats: Bring some magic and colorful marshmallows to your dessert table.
- S’mores Rice Krispie Treats: All the campfire goodness without the campfire, featuring graham crackers and chocolate.
If you try this delightful recipe and fall in love with these Oreo Rice Krispie Treats, please be sure to leave a comment and a star rating below. Your feedback helps others discover delicious recipes! Happy baking (or rather, no-baking)!
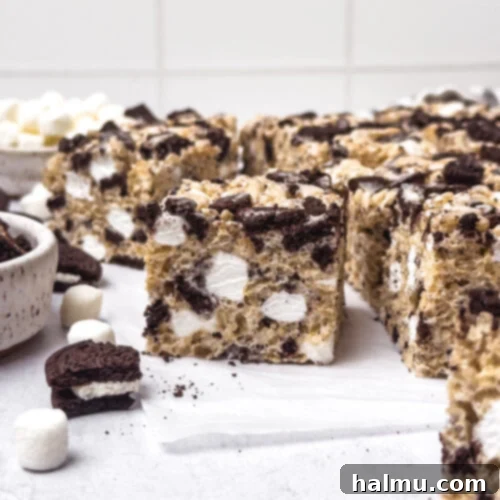
Oreo Rice Krispie Treats
Print Recipe
RATE THIS RECIPE
Ingredients
For the Oreo Krispie Treats
- 6 cups (160g) rice cereal
- 20 Oreos, roughly chopped (about 2 cups)
- 20 ounces (567g) mini marshmallows, divided
- ½ cup (1 stick or 113g) unsalted butter
- 2 teaspoons vanilla extract
- ¼ teaspoon kosher salt
For the Topping
- 4-5 Oreos, roughly chopped for topping
SHOP INGREDIENTS
Instructions
- Lightly grease a 9” x 9” square baking pan with nonstick cooking spray and line with parchment paper, leaving an overhang. Set aside.
- In a large bowl, combine the rice cereal, chopped Oreos, and 4 ounces (113grams) of mini marshmallows.
- In a large pot, melt the butter over medium-low heat. Once melted (and optionally browned), turn off the heat and add the remaining 16 ounces (454 grams) of marshmallows. Stir well until the marshmallows have completely melted and are smooth.
- Add the vanilla extract and salt to the melted marshmallow mixture, and mix until thoroughly combined.
- Add the cereal, Oreo, and mini marshmallow mixture to the pot with the melted marshmallows. Mix gently but quickly with a rubber spatula until all ingredients are completely coated with the marshmallow mixture.
- Pour the krispie treat mixture into the prepared pan. Using a rubber spatula or a piece of parchment paper lightly coated with nonstick cooking spray, gently press the mixture evenly into the pan. Sprinkle the remaining chopped Oreos over the top and lightly press them into the bars.
- Allow the Oreo Rice Krispie Treats to cool completely and set at room temperature (about 30-60 minutes). Once set, remove from the pan using the parchment paper overhang, cut into squares with a sharp knife, and enjoy!

HI THERE!
I’m Rachel
I’m the dessert lover, recipe developer, and content creator behind Sweet Kitchen Cravings. Here you’ll find classic yet special recipes that are sure to impress your loved ones!
MORE ABOUT RACHEL
Craving More Delicious Recipes?
Don’t miss out on new, delightful creations! Get the freshest recipes delivered straight to your inbox by signing up for my newsletter today!
Sign up for our newsletter to receive delicious recipes and updates!
