This post may contain affiliate links. Please read my full disclosure policy.
Indulge in No-Bake S’more Pudding Cups: Your Ultimate Summer Dessert
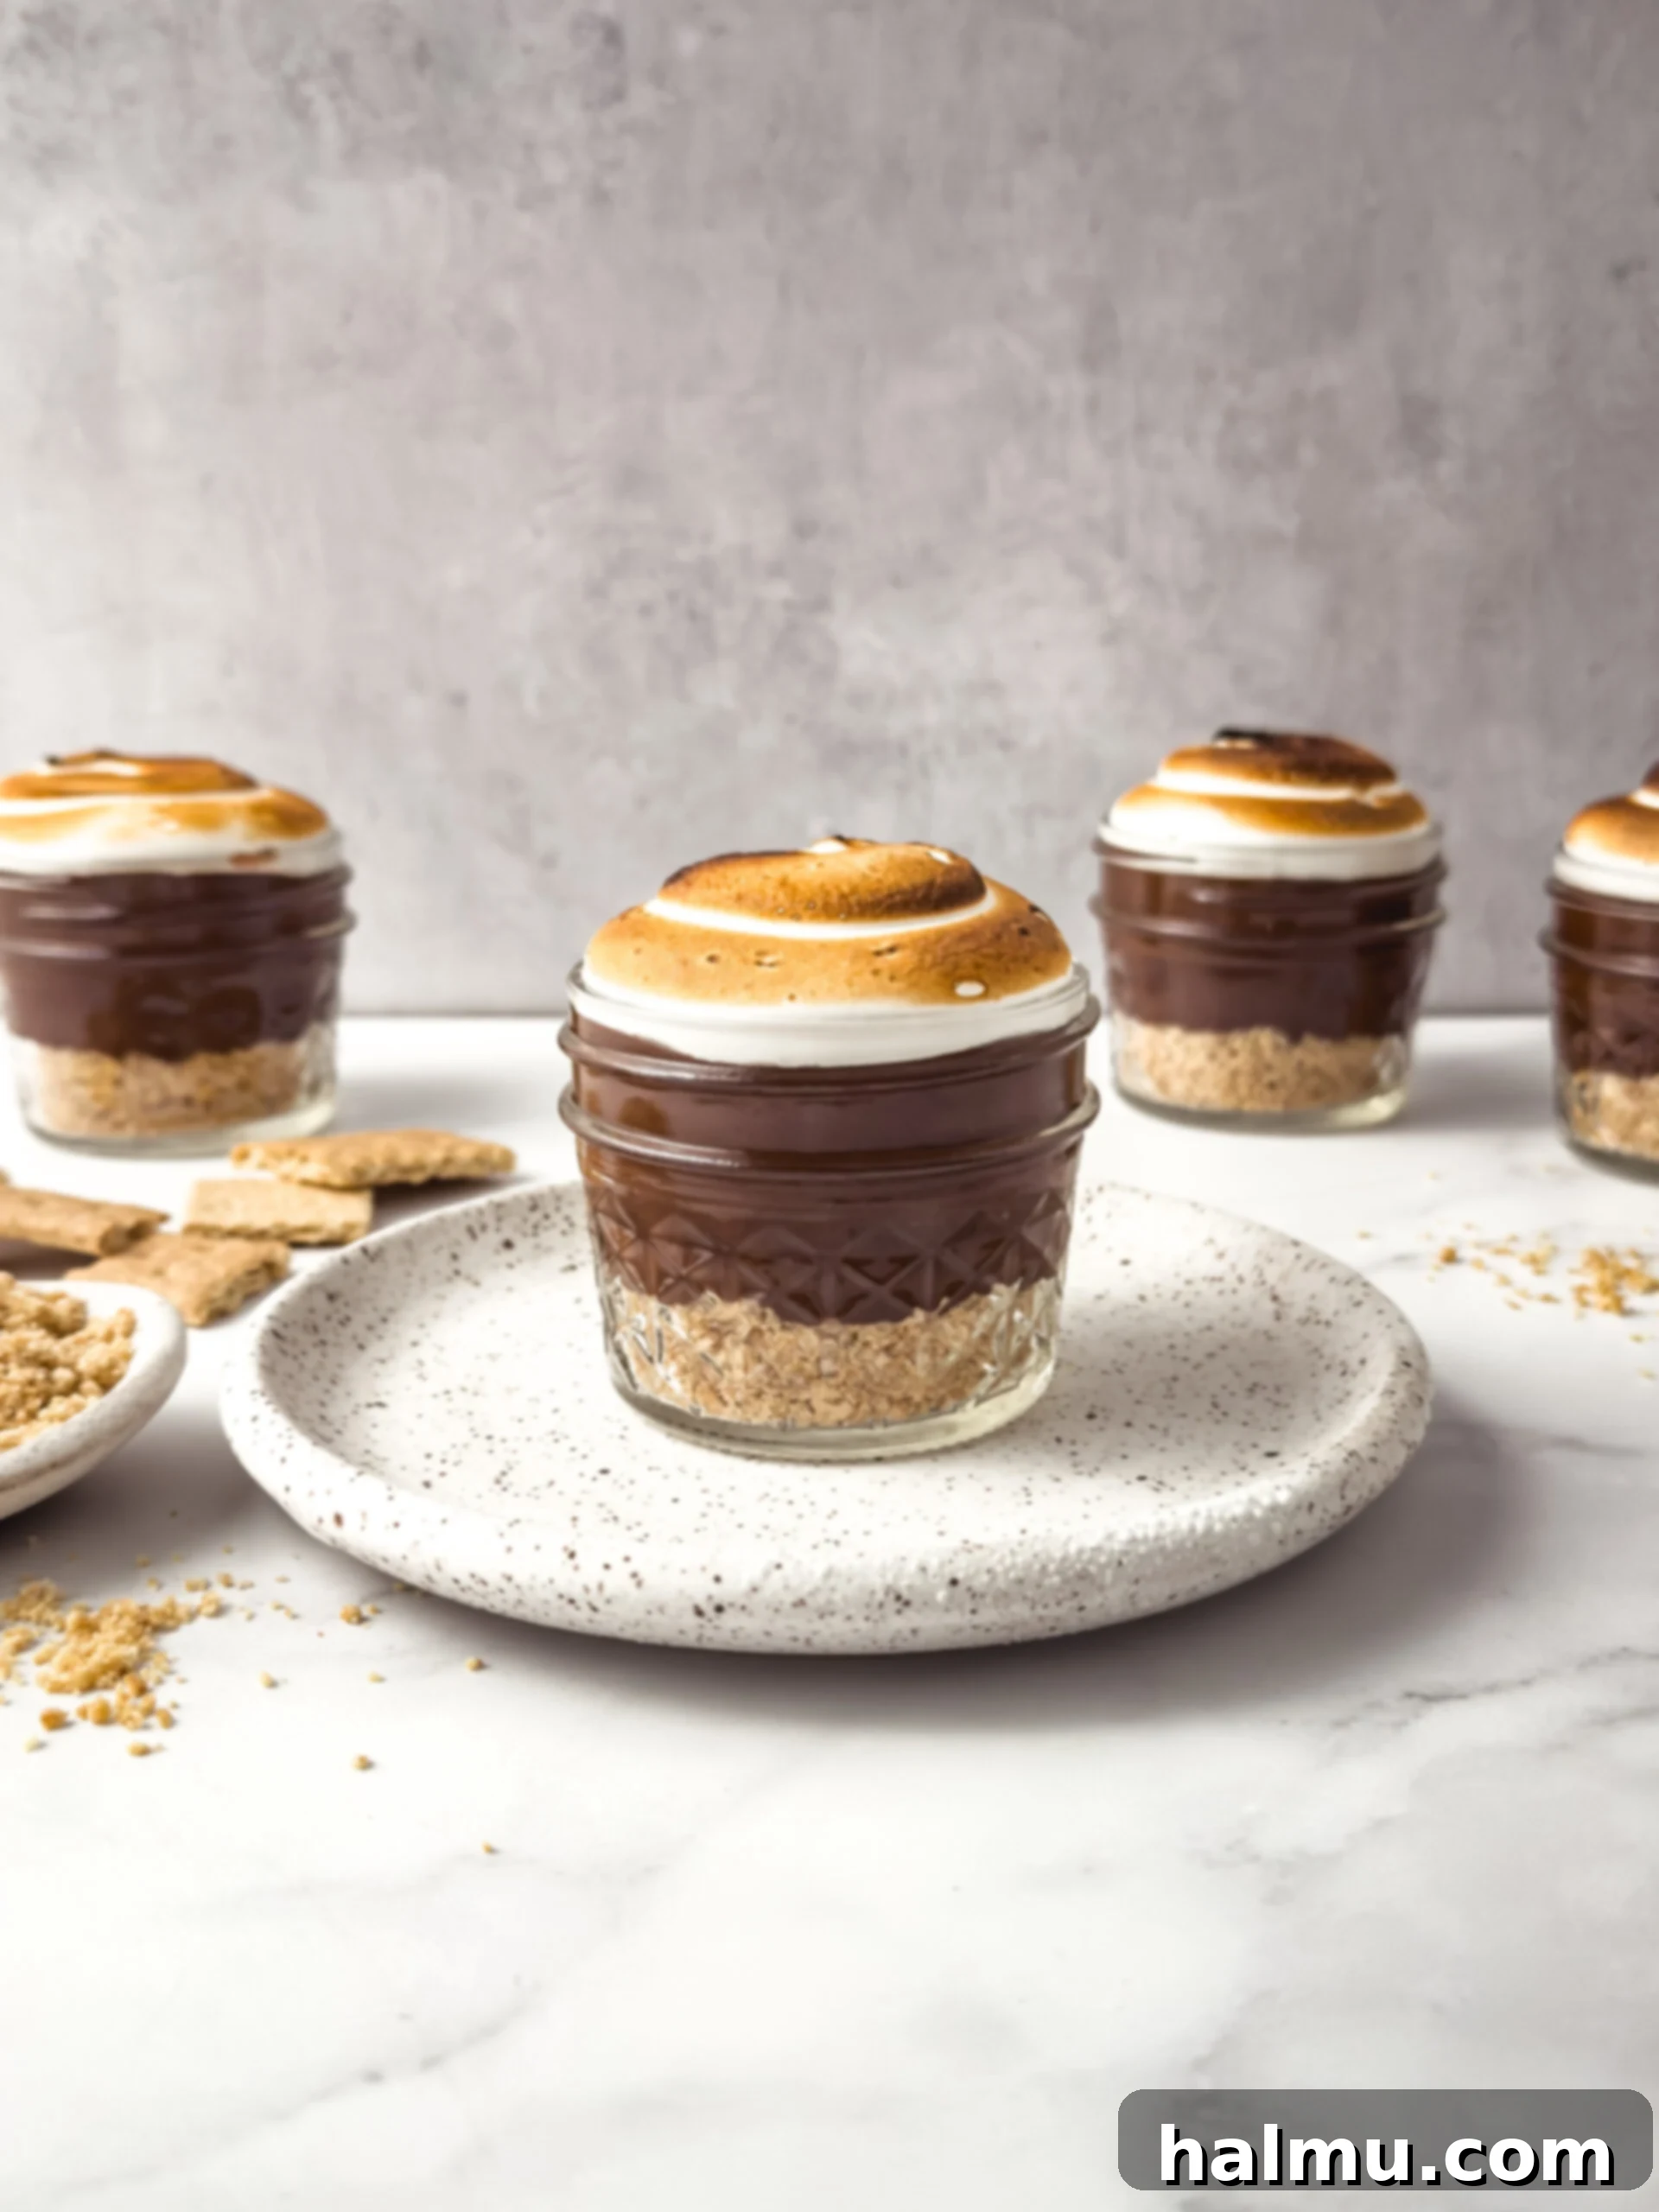
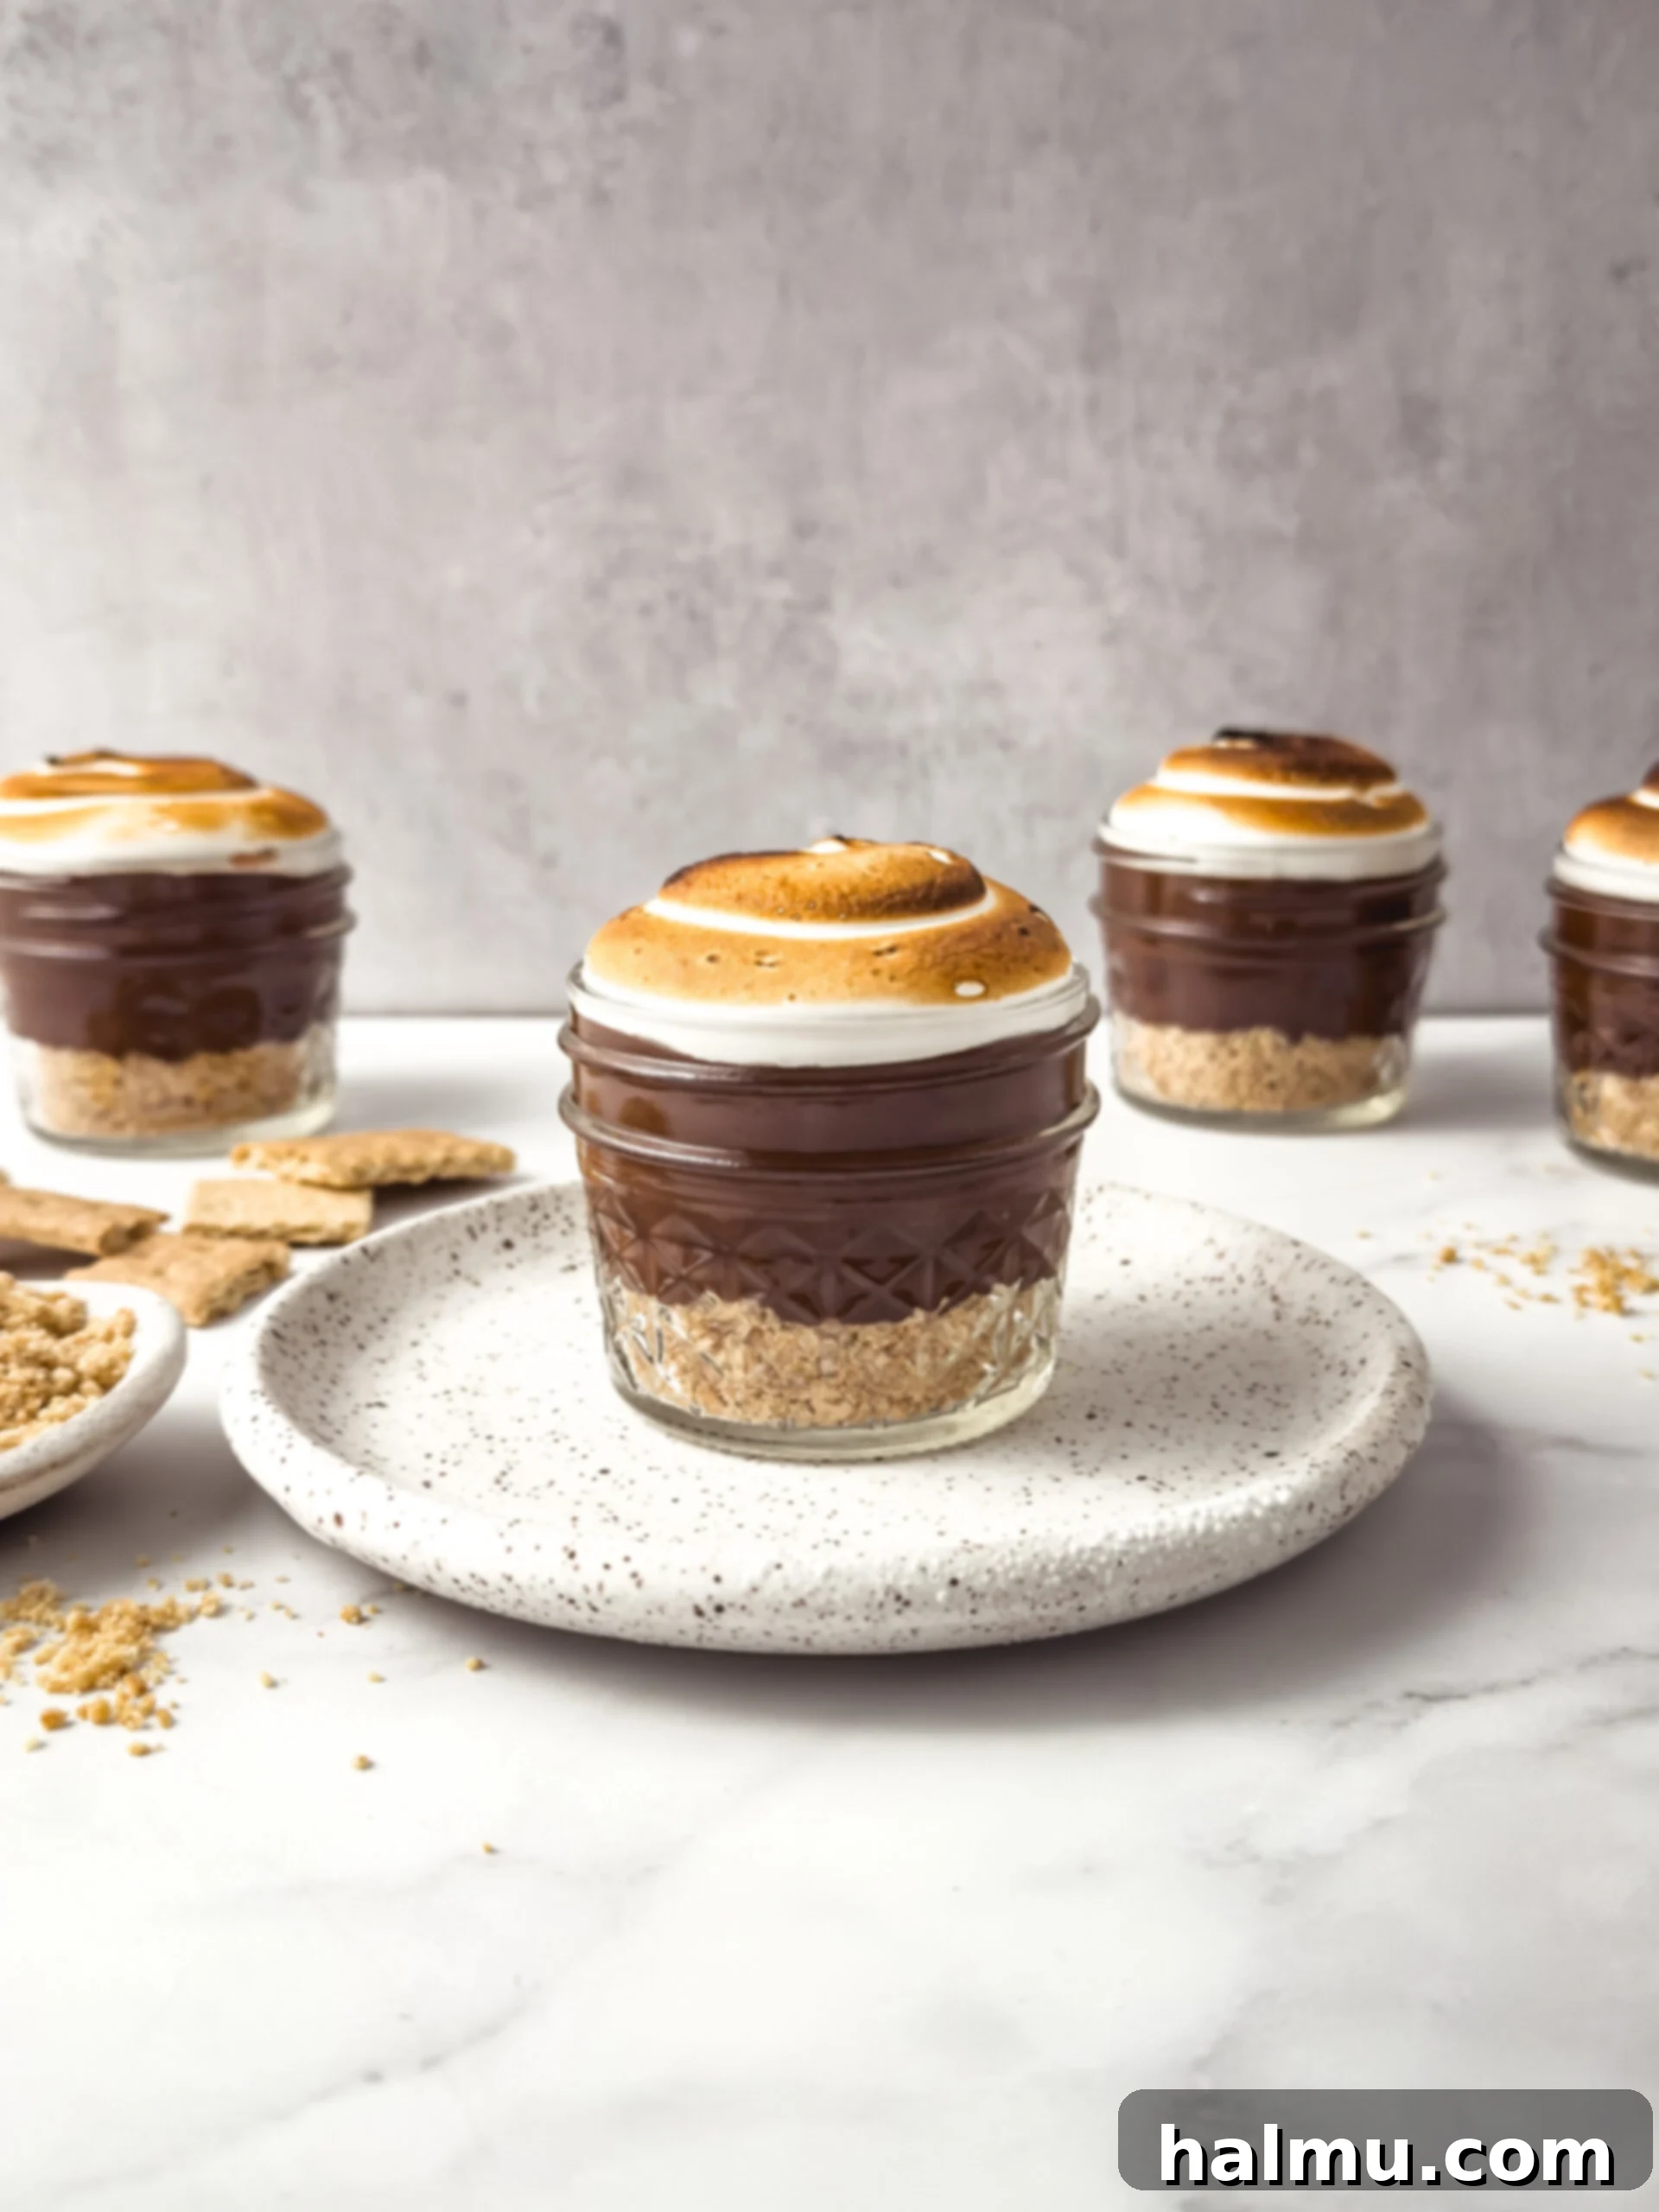
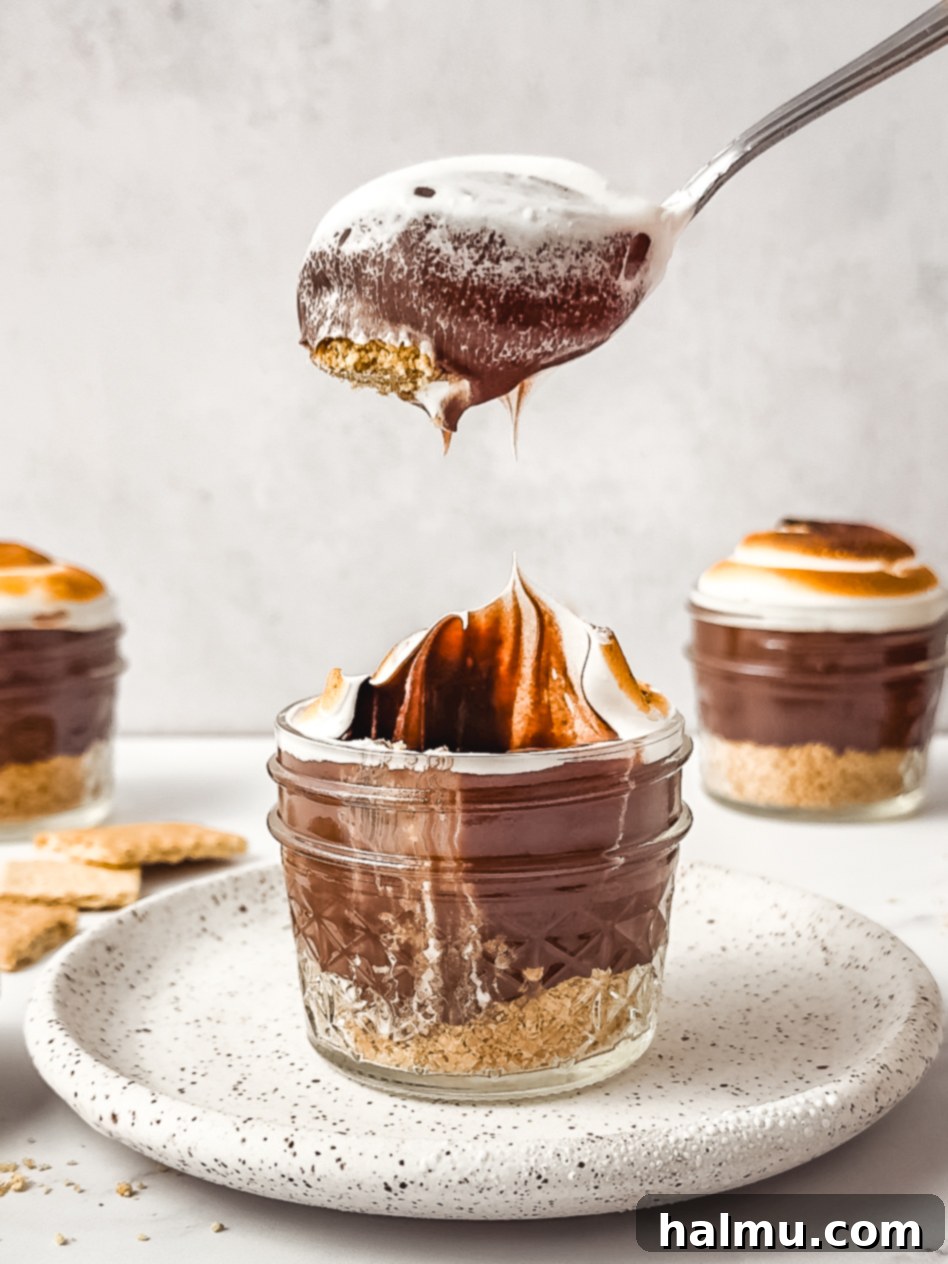
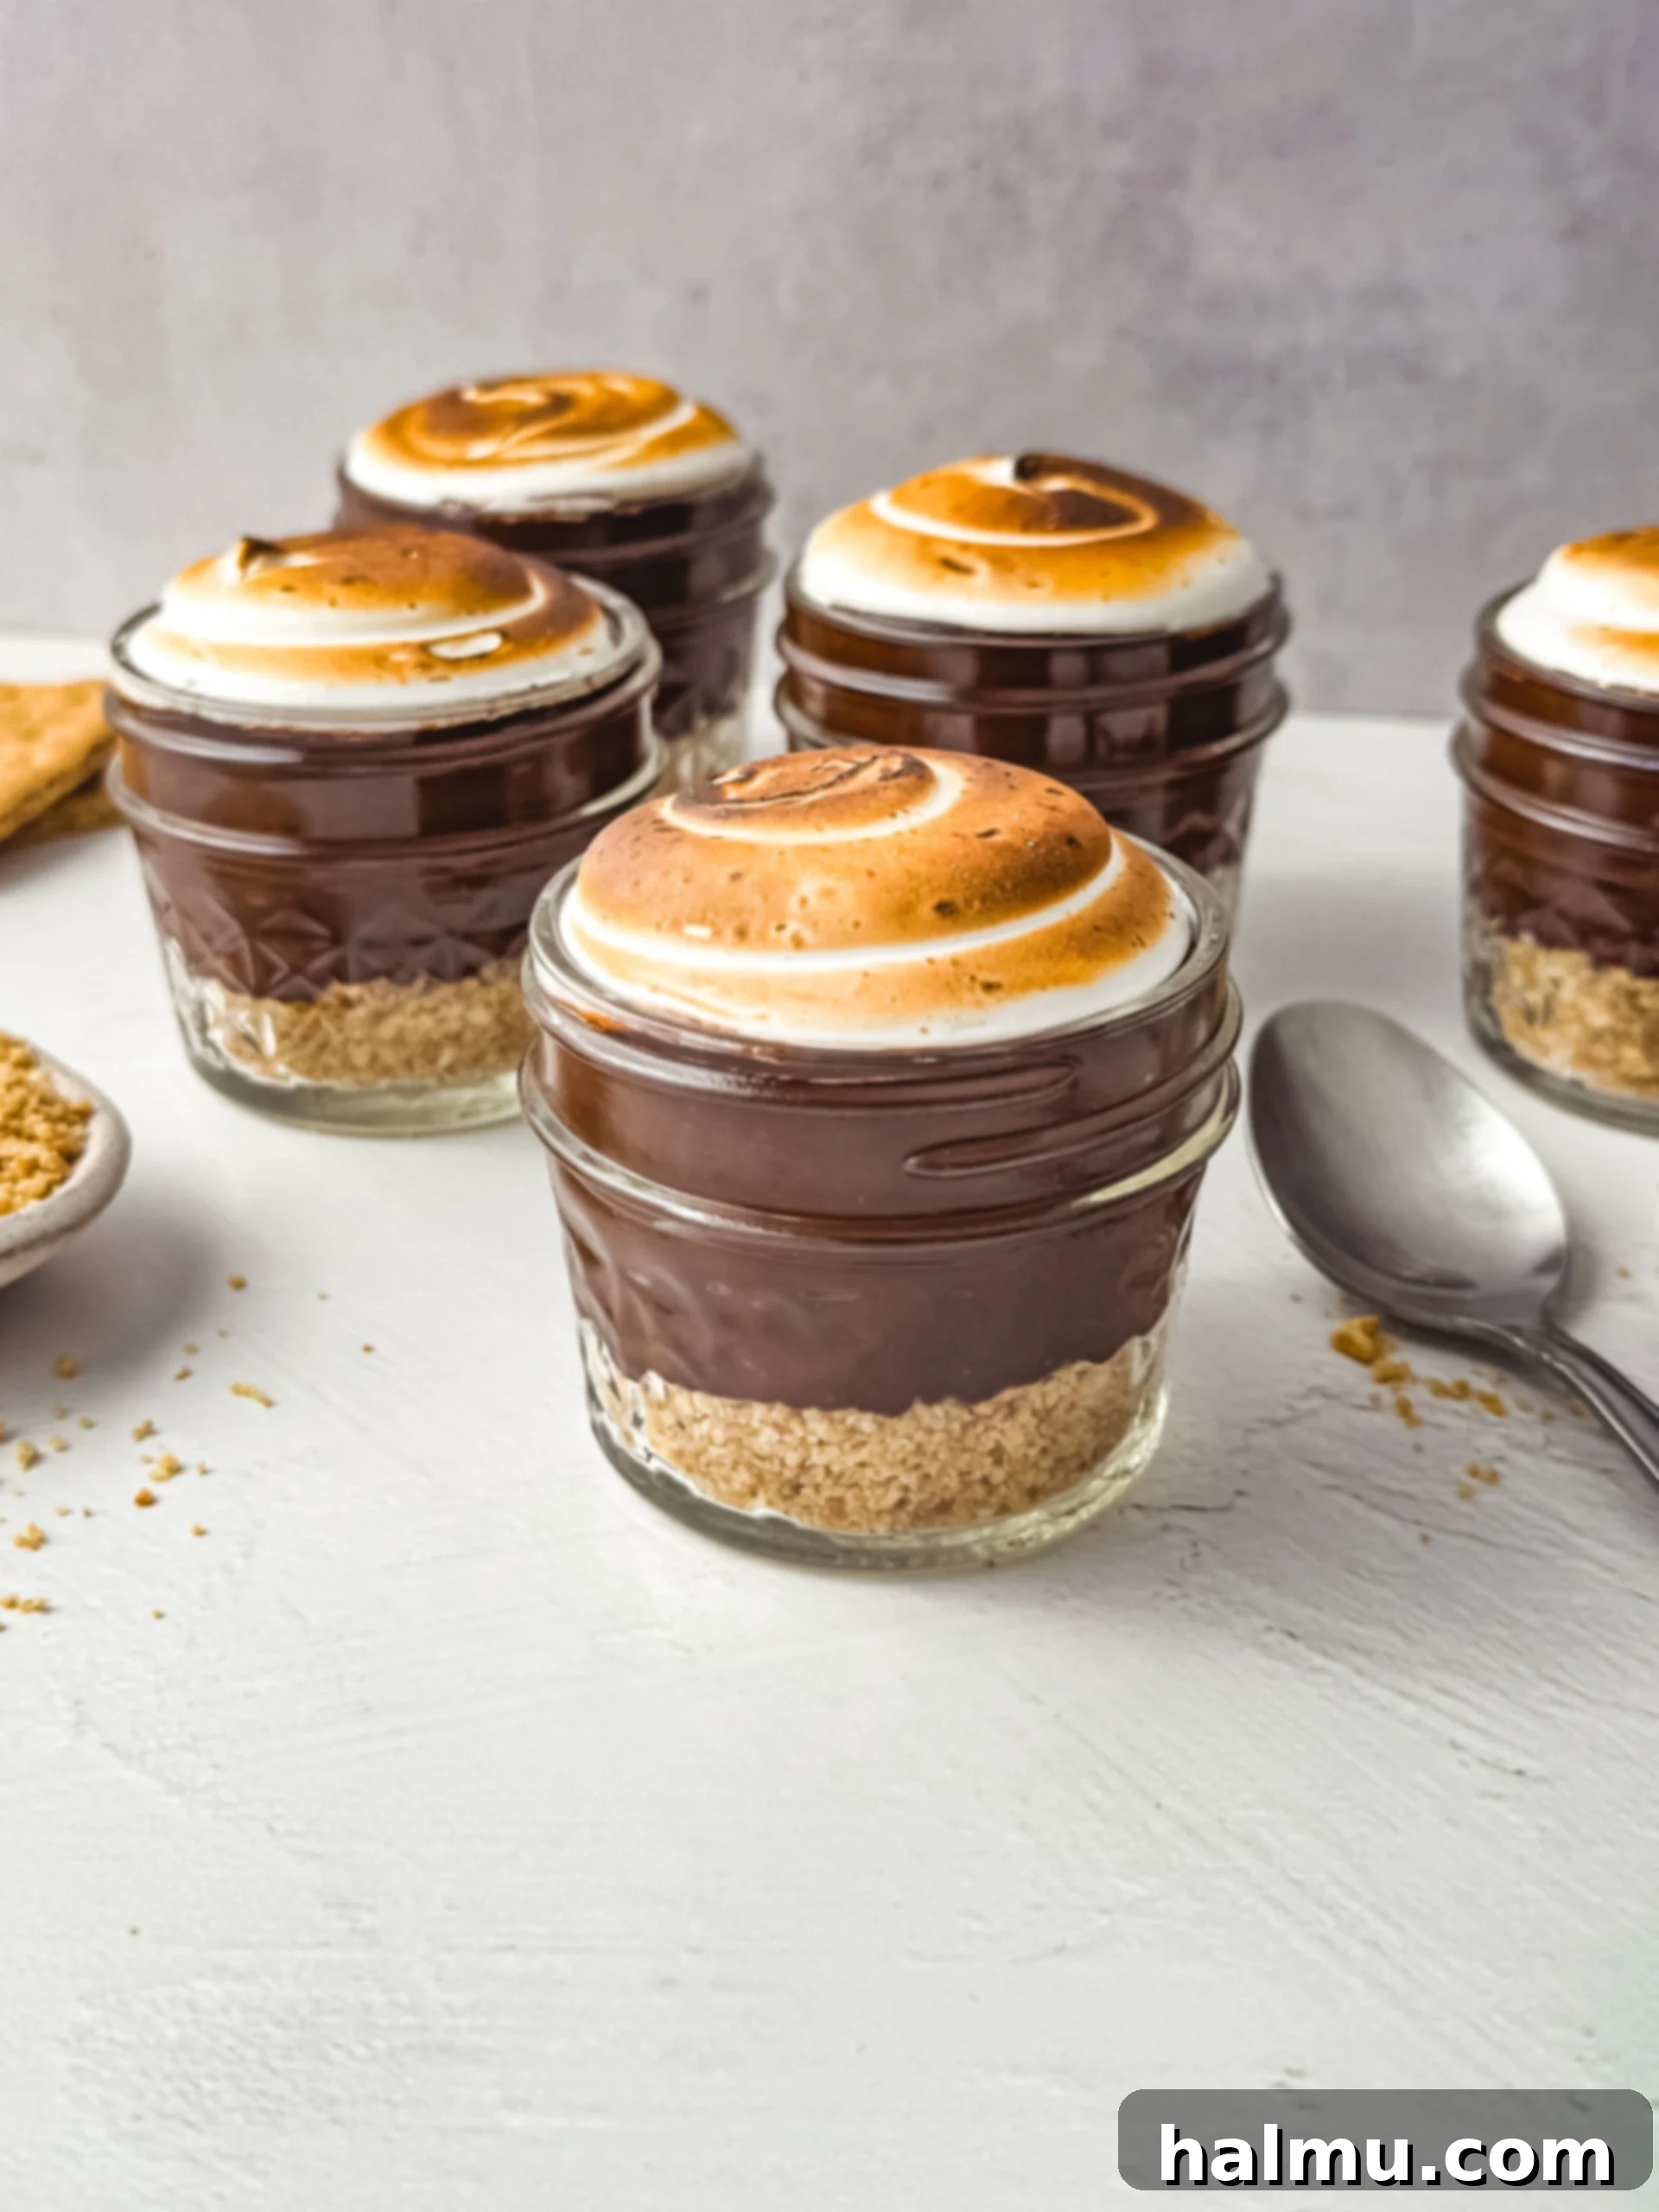
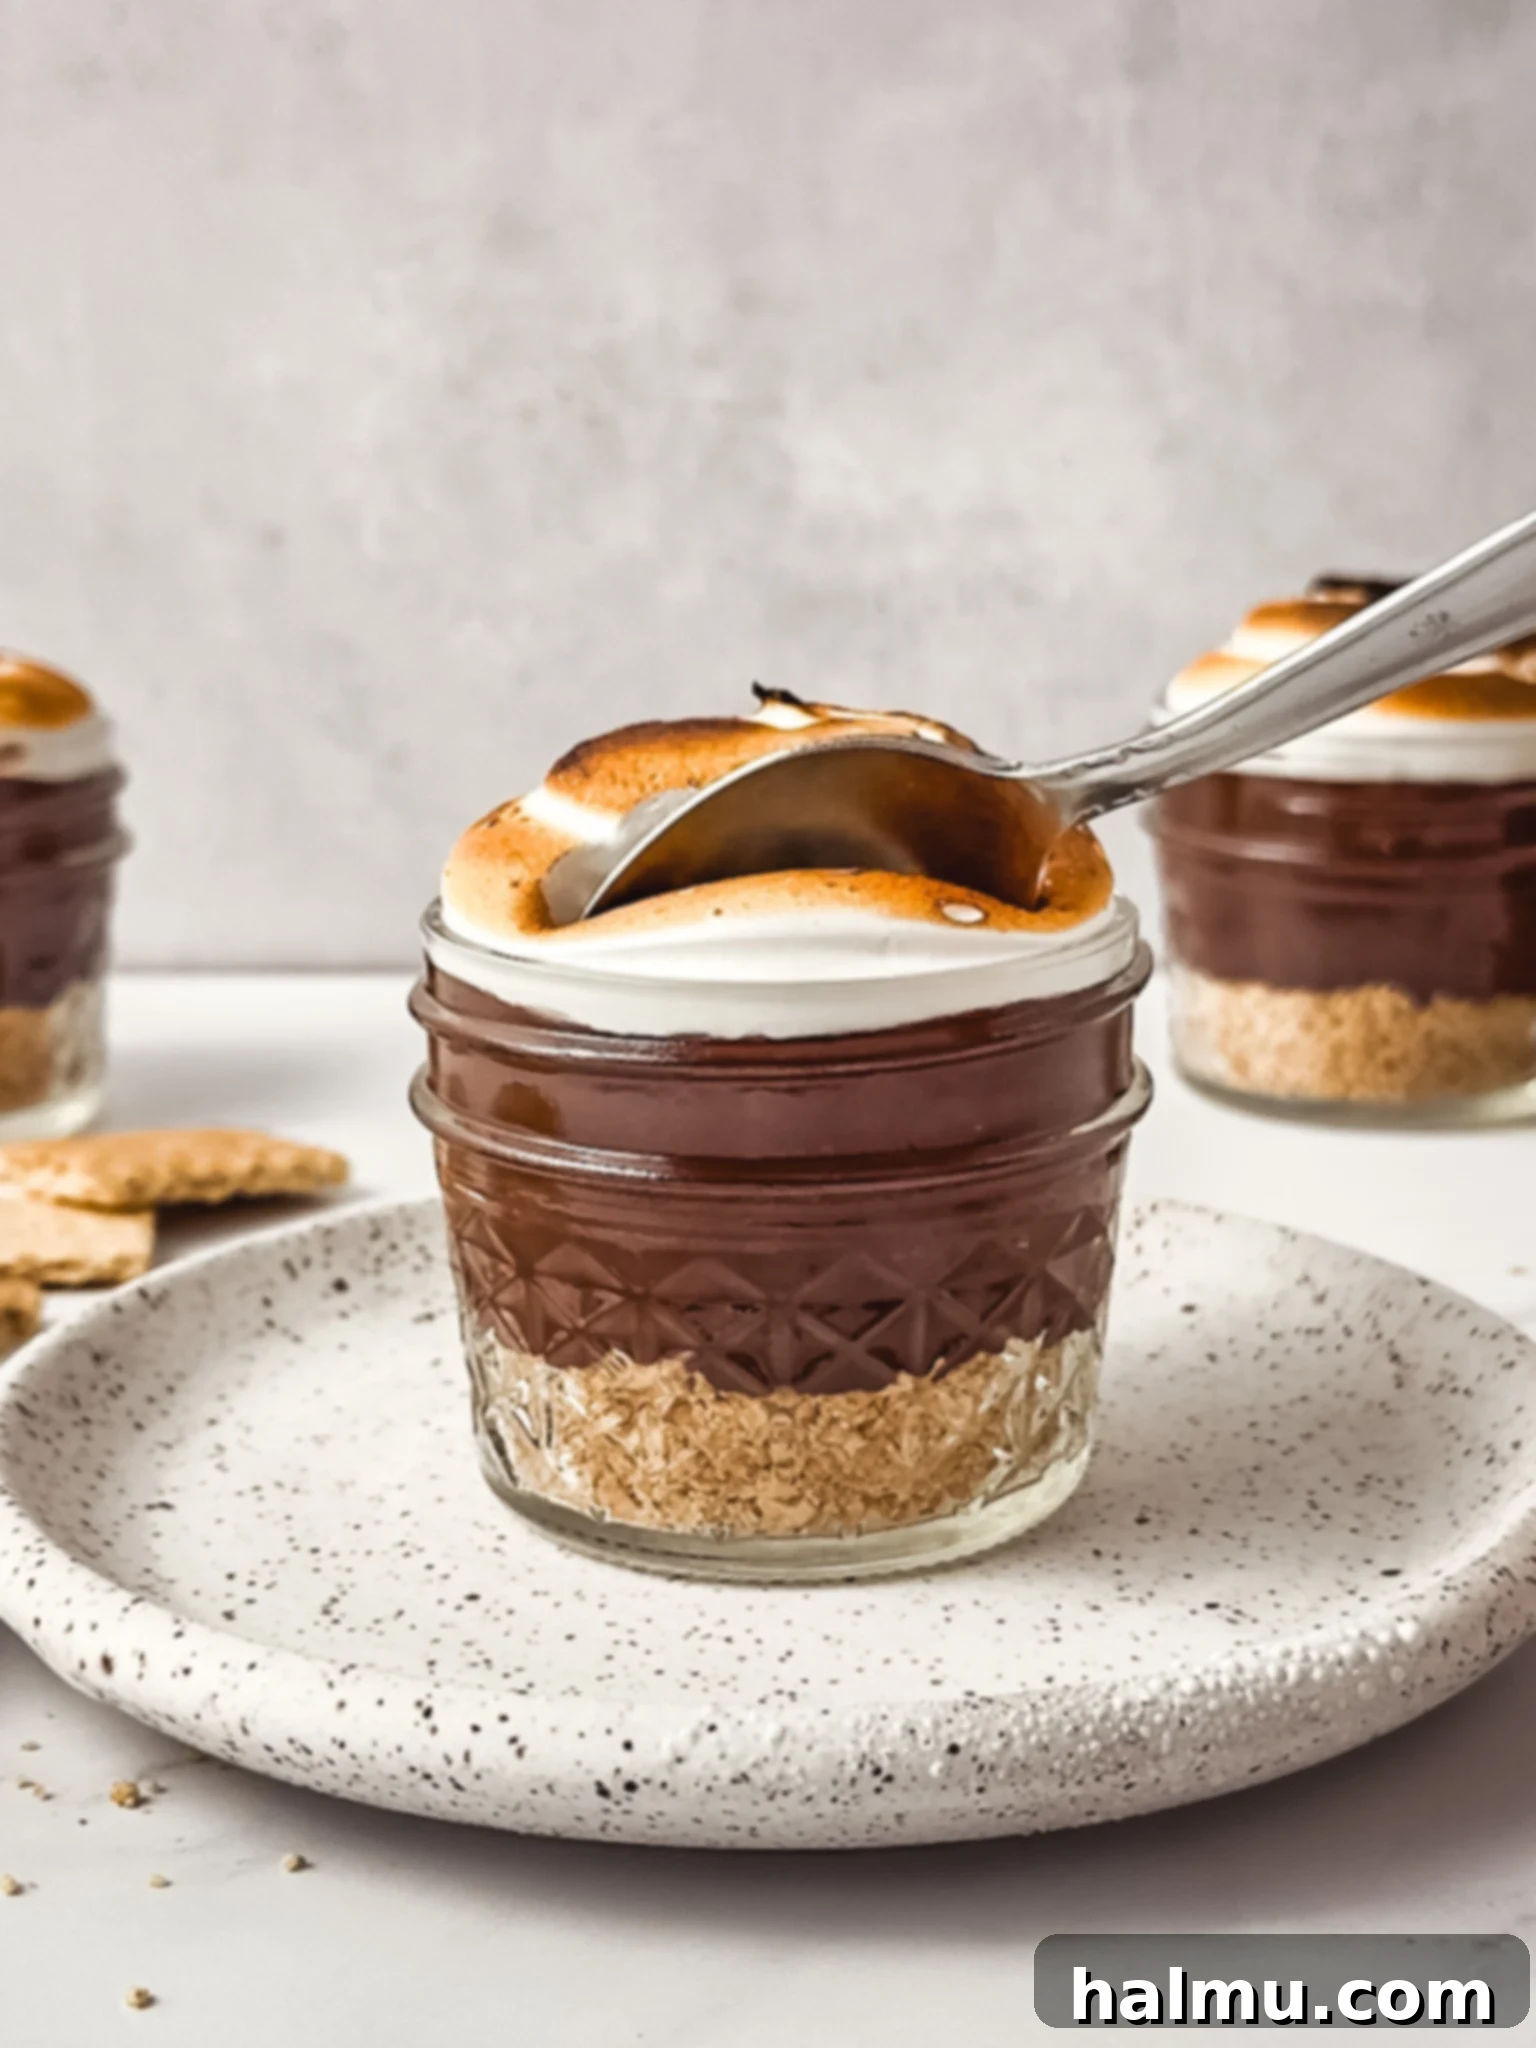
Craving the classic campfire flavors of s’mores but without the hassle of building a fire or even turning on your oven? Look no further! These sensational **No-Bake S’more Pudding Cups** are the perfect solution for satisfying your sweet tooth, especially during warm weather. Imagine layers of crunchy, buttery graham cracker crumbles, rich and silky homemade chocolate pudding, all crowned with a generous mound of perfectly toasted marshmallow meringue. This delightful dessert captures the essence of a traditional s’more in an elegant, easy-to-prepare individual cup, making it an ideal treat for summer gatherings, backyard BBQs, or simply a cozy evening at home. Prepare to impress your family and friends with this irresistible, fuss-free dessert that combines beloved textures and flavors in every spoonful.
Crafting Your S’more Pudding Cups: A Step-by-Step Guide
Creating these heavenly S’more Pudding Cups is a rewarding experience, transforming simple ingredients into a gourmet dessert. Each component is designed to complement the others, offering a symphony of flavors and textures in every bite. Let’s delve into the details of preparing each layer to ensure a perfect no-bake s’mores experience, highlighting how these individual elements contribute to the overall magic of this dessert.
The Foundation: Buttery Graham Cracker Crumble
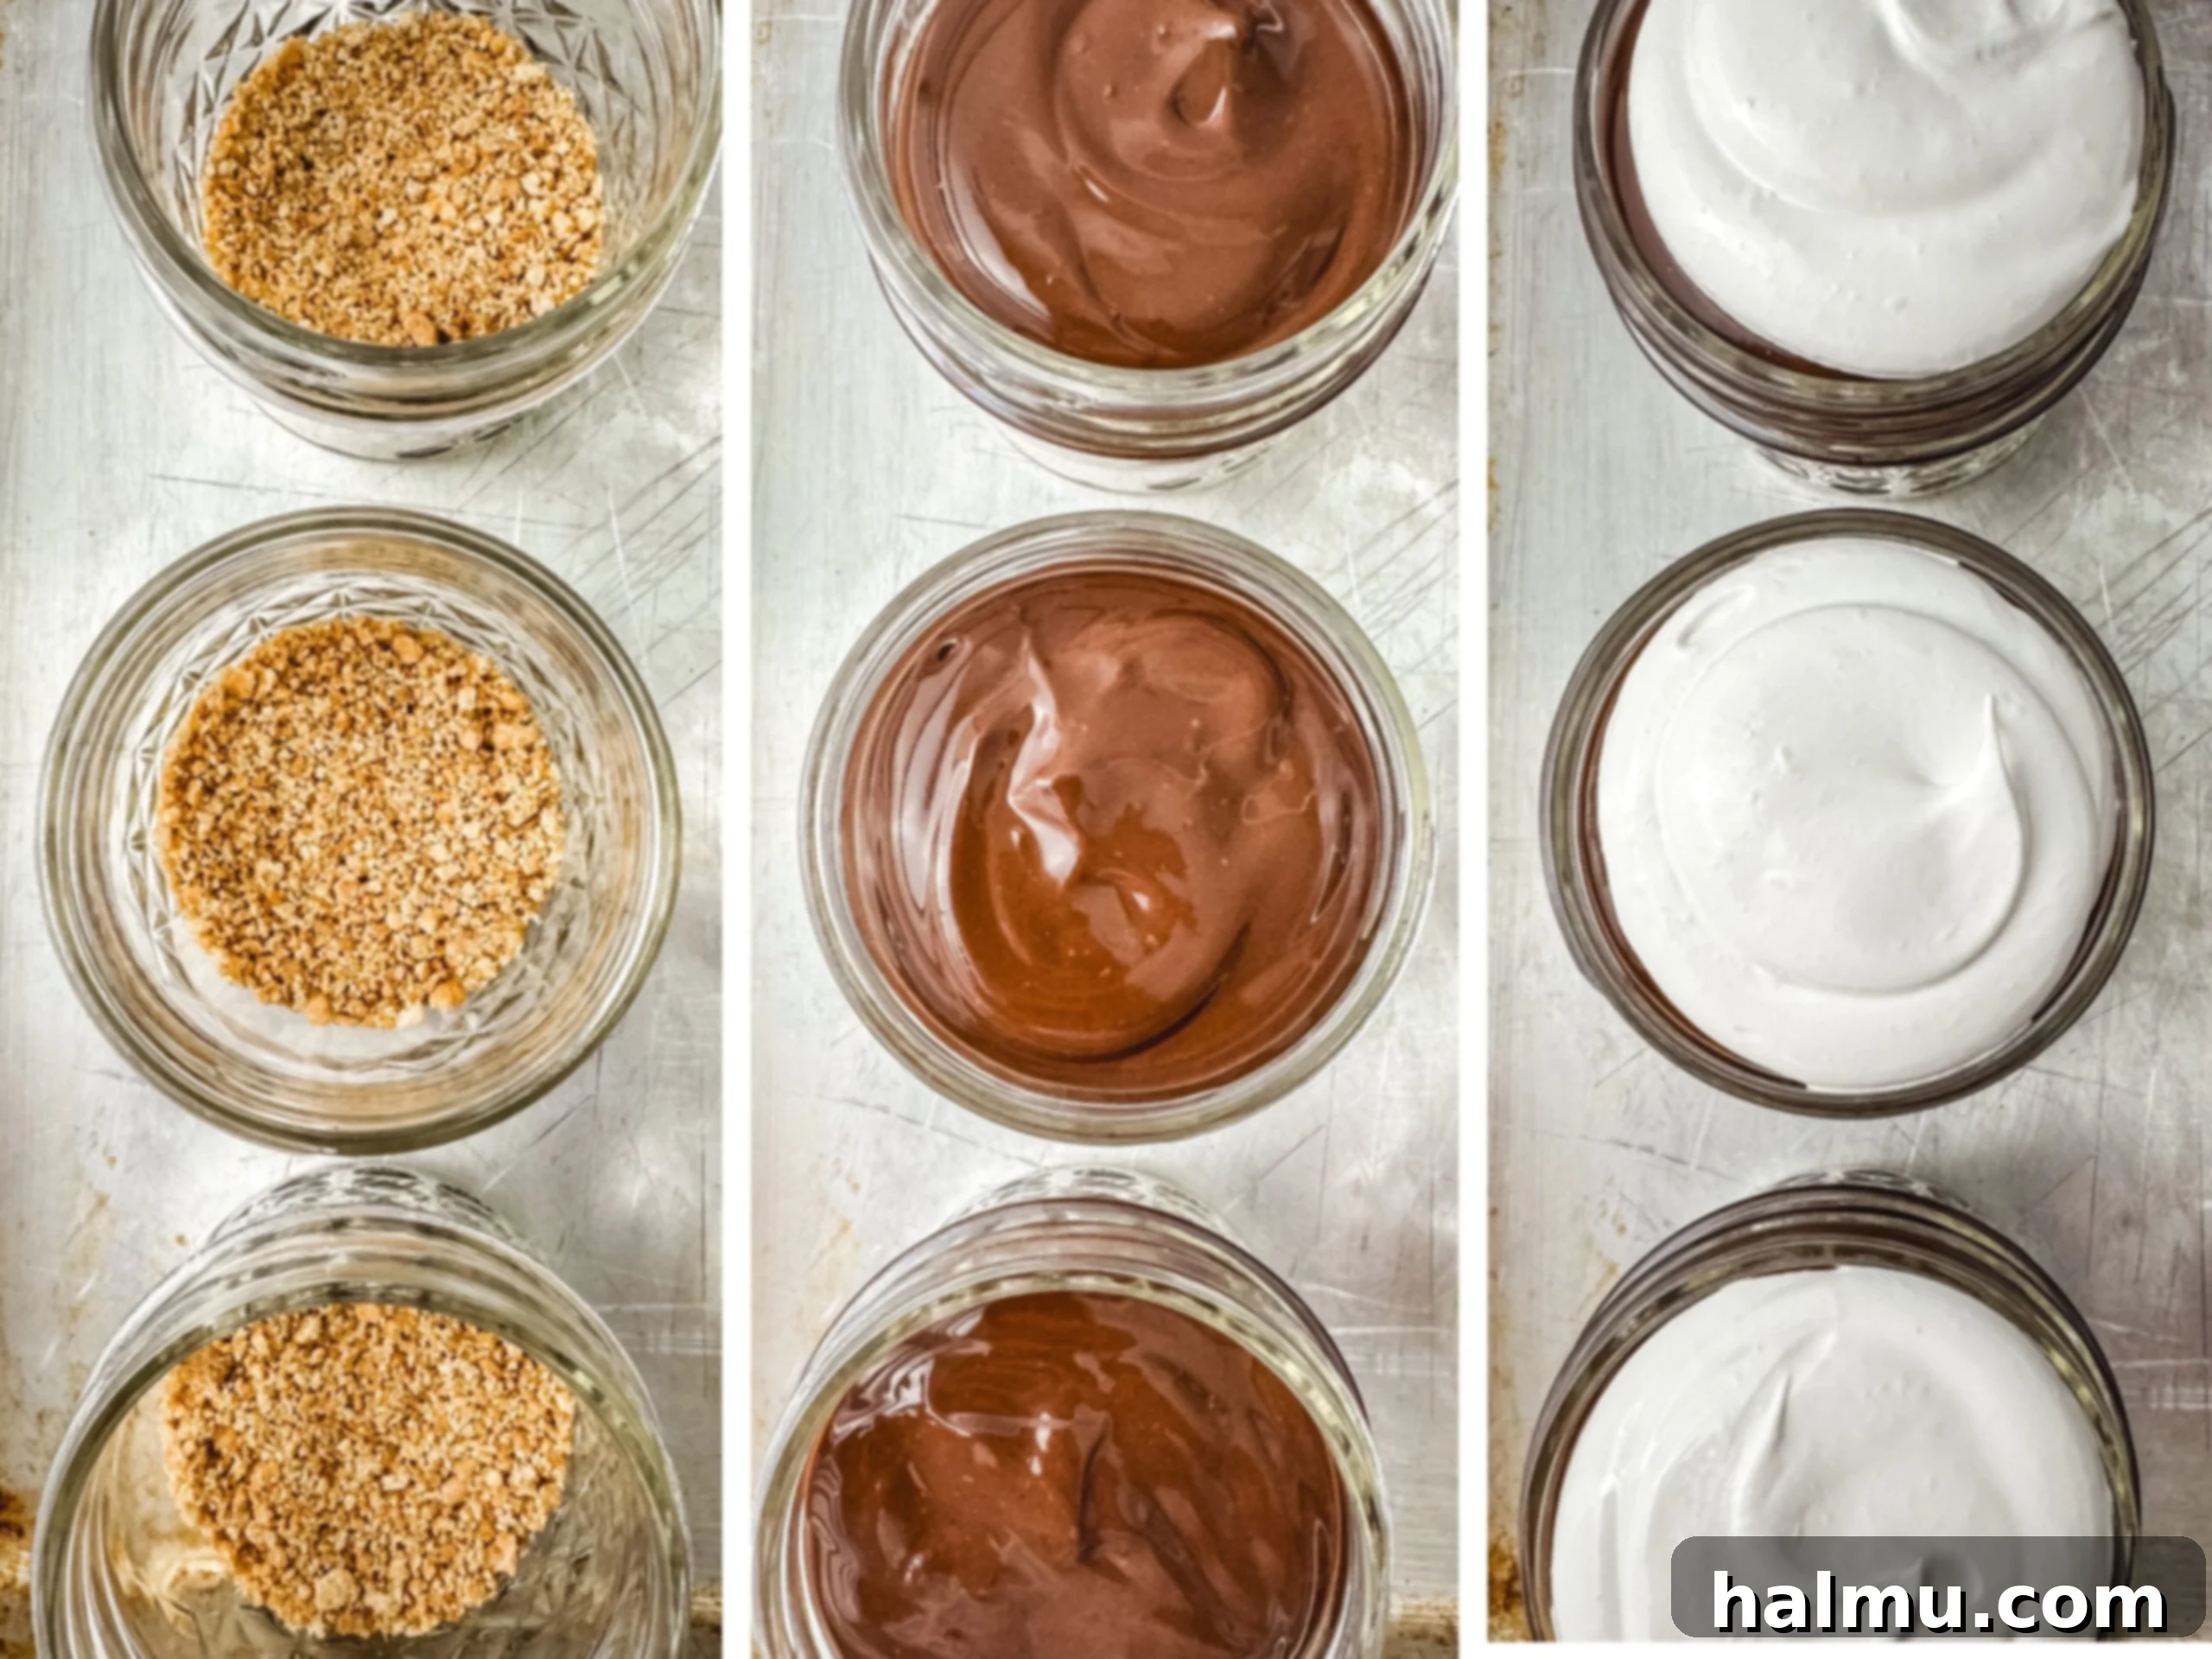
Every great s’more begins with a solid graham cracker base, and our pudding cups are no exception. This crunchy layer provides a delightful contrast to the smooth pudding and fluffy meringue, delivering that quintessential “crust” component of a traditional s’more. The best part? It’s incredibly simple to prepare with just two essential ingredients: classic graham crackers and rich melted butter. To achieve the perfect texture, crush the graham crackers into fine, uniform crumbs. This can be done by placing them in a sturdy zip-top bag and gently rolling over them with a rolling pin, or for a quicker and more consistent result, pulsing them in a food processor until they resemble fine sand. Once finely crushed, drizzle in the melted unsalted butter. It’s crucial to mix thoroughly until all the crumbs are evenly moistened and adhere together when pressed. This butter acts as a binder, ensuring the crumble holds its shape at the bottom of your serving cups. Portion this fragrant crumble into individual jars or glasses, using the back of a spoon or your fingers to lightly press down and form a compact, even layer. This creates a sturdy, flavorful base that is essential for every delicious S’more Pudding Cup, providing a satisfying crunch in every spoonful.
The Heart: Luxurious Homemade Chocolate Pudding
The star of these pudding cups is undoubtedly the luscious, homemade chocolate pudding. Far superior to any instant or store-bought mix, this rich and creamy pudding is surprisingly easy to make from scratch and offers a depth of flavor that’s truly unmatched. You’ll begin by combining granulated sugar, unsweetened cocoa powder, and cornstarch in a medium saucepan. Sifting the cocoa powder is a crucial preliminary step to prevent any undesirable lumps from forming, ensuring a flawlessly smooth and decadent pudding. Gradually stream in the whole milk while continuously whisking; start by adding about half the milk to create a smooth slurry, then incorporate the remaining milk and mix until all dry ingredients are fully combined. This gentle, consistent whisking is paramount not only to prevent lumps but also to achieve that desirable silky texture that melts in your mouth. Cook the mixture over medium-low heat, stirring constantly, for approximately 10 minutes until it visibly thickens, coats the back of a spoon, and begins to gently boil. Once it reaches a boil, continue to whisk for one more minute. This extra minute allows the cornstarch to fully activate and thicken the pudding to its optimal, luxurious consistency. Immediately remove the saucepan from the heat and stir in cold unsalted butter and pure vanilla extract until the butter is completely melted and the pudding is gloriously smooth and glossy. For an extra-velvety consistency, a final pass through a fine-mesh sieve into a clean bowl is recommended; this step will catch any minuscule lumps or tiny cooked bits, leaving you with a perfectly smooth result. Finally, cover the pudding directly with plastic wrap to prevent a “skin” from forming as it cools and chill thoroughly in the refrigerator until completely cold and set, which typically takes at least two hours. Once chilled, the pudding will be firm enough to pipe beautifully onto your graham cracker layers, providing a rich, chocolatey contrast.
The Crown: Toasted Marshmallow Meringue
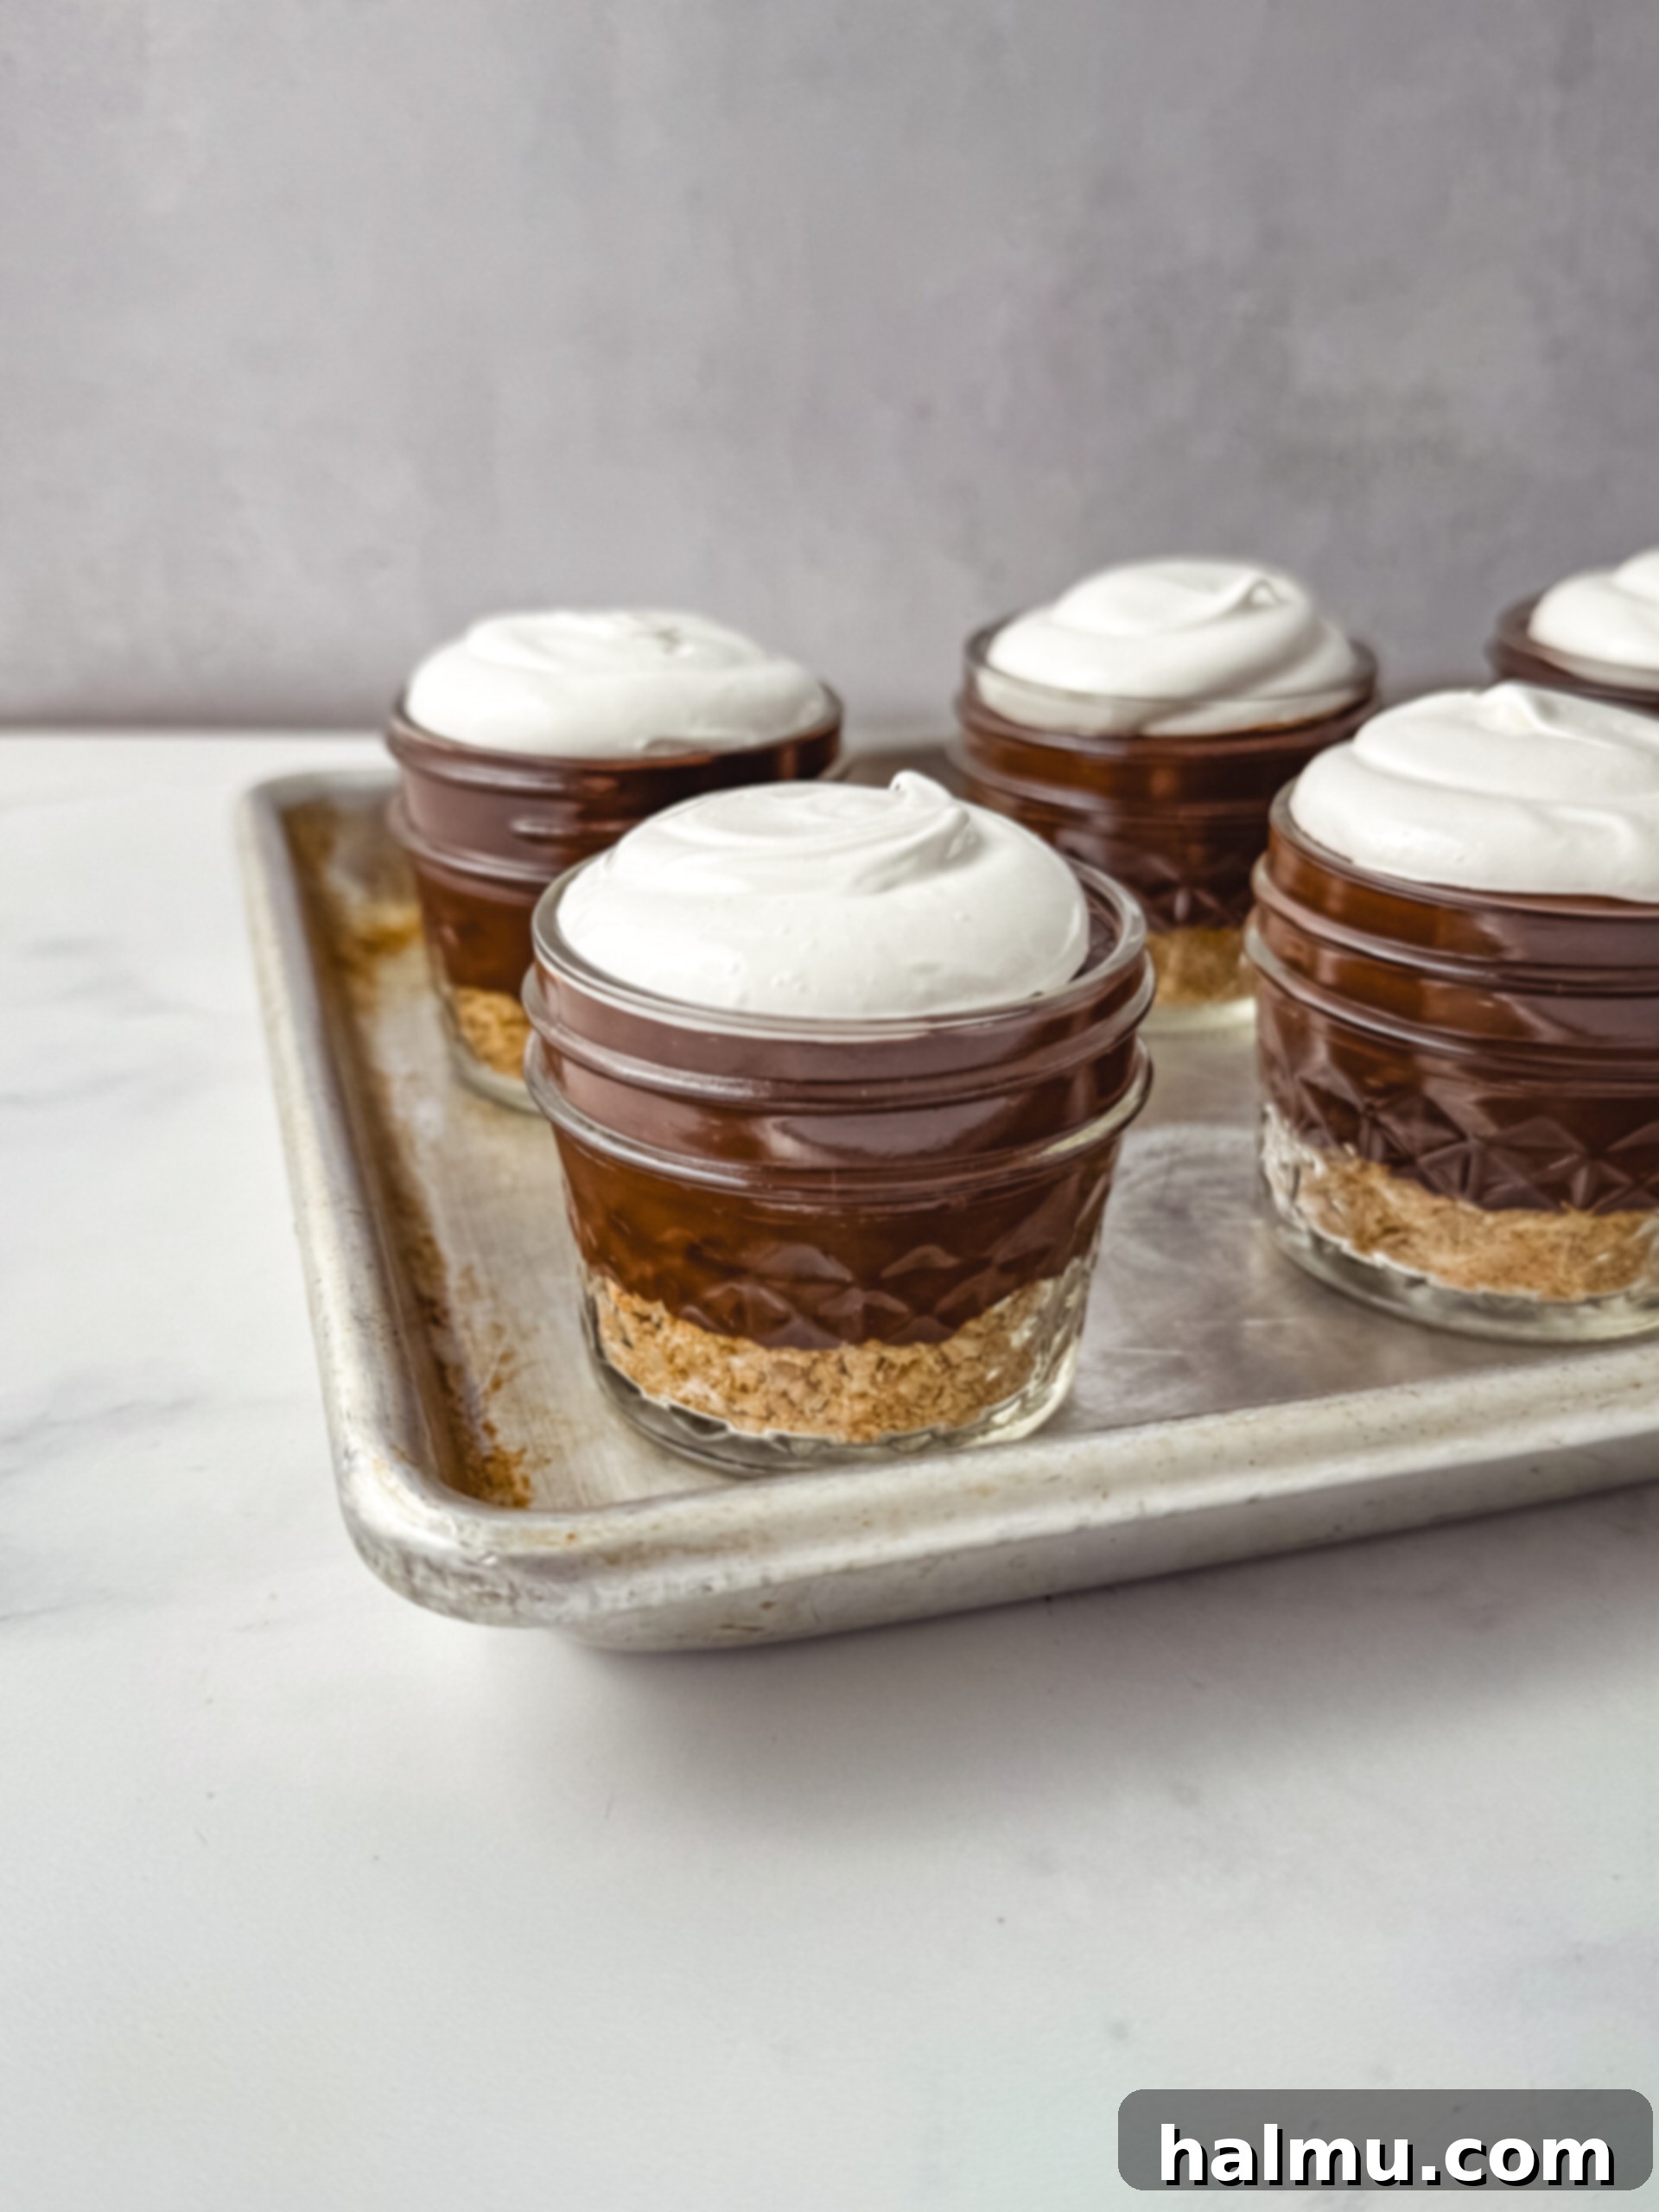
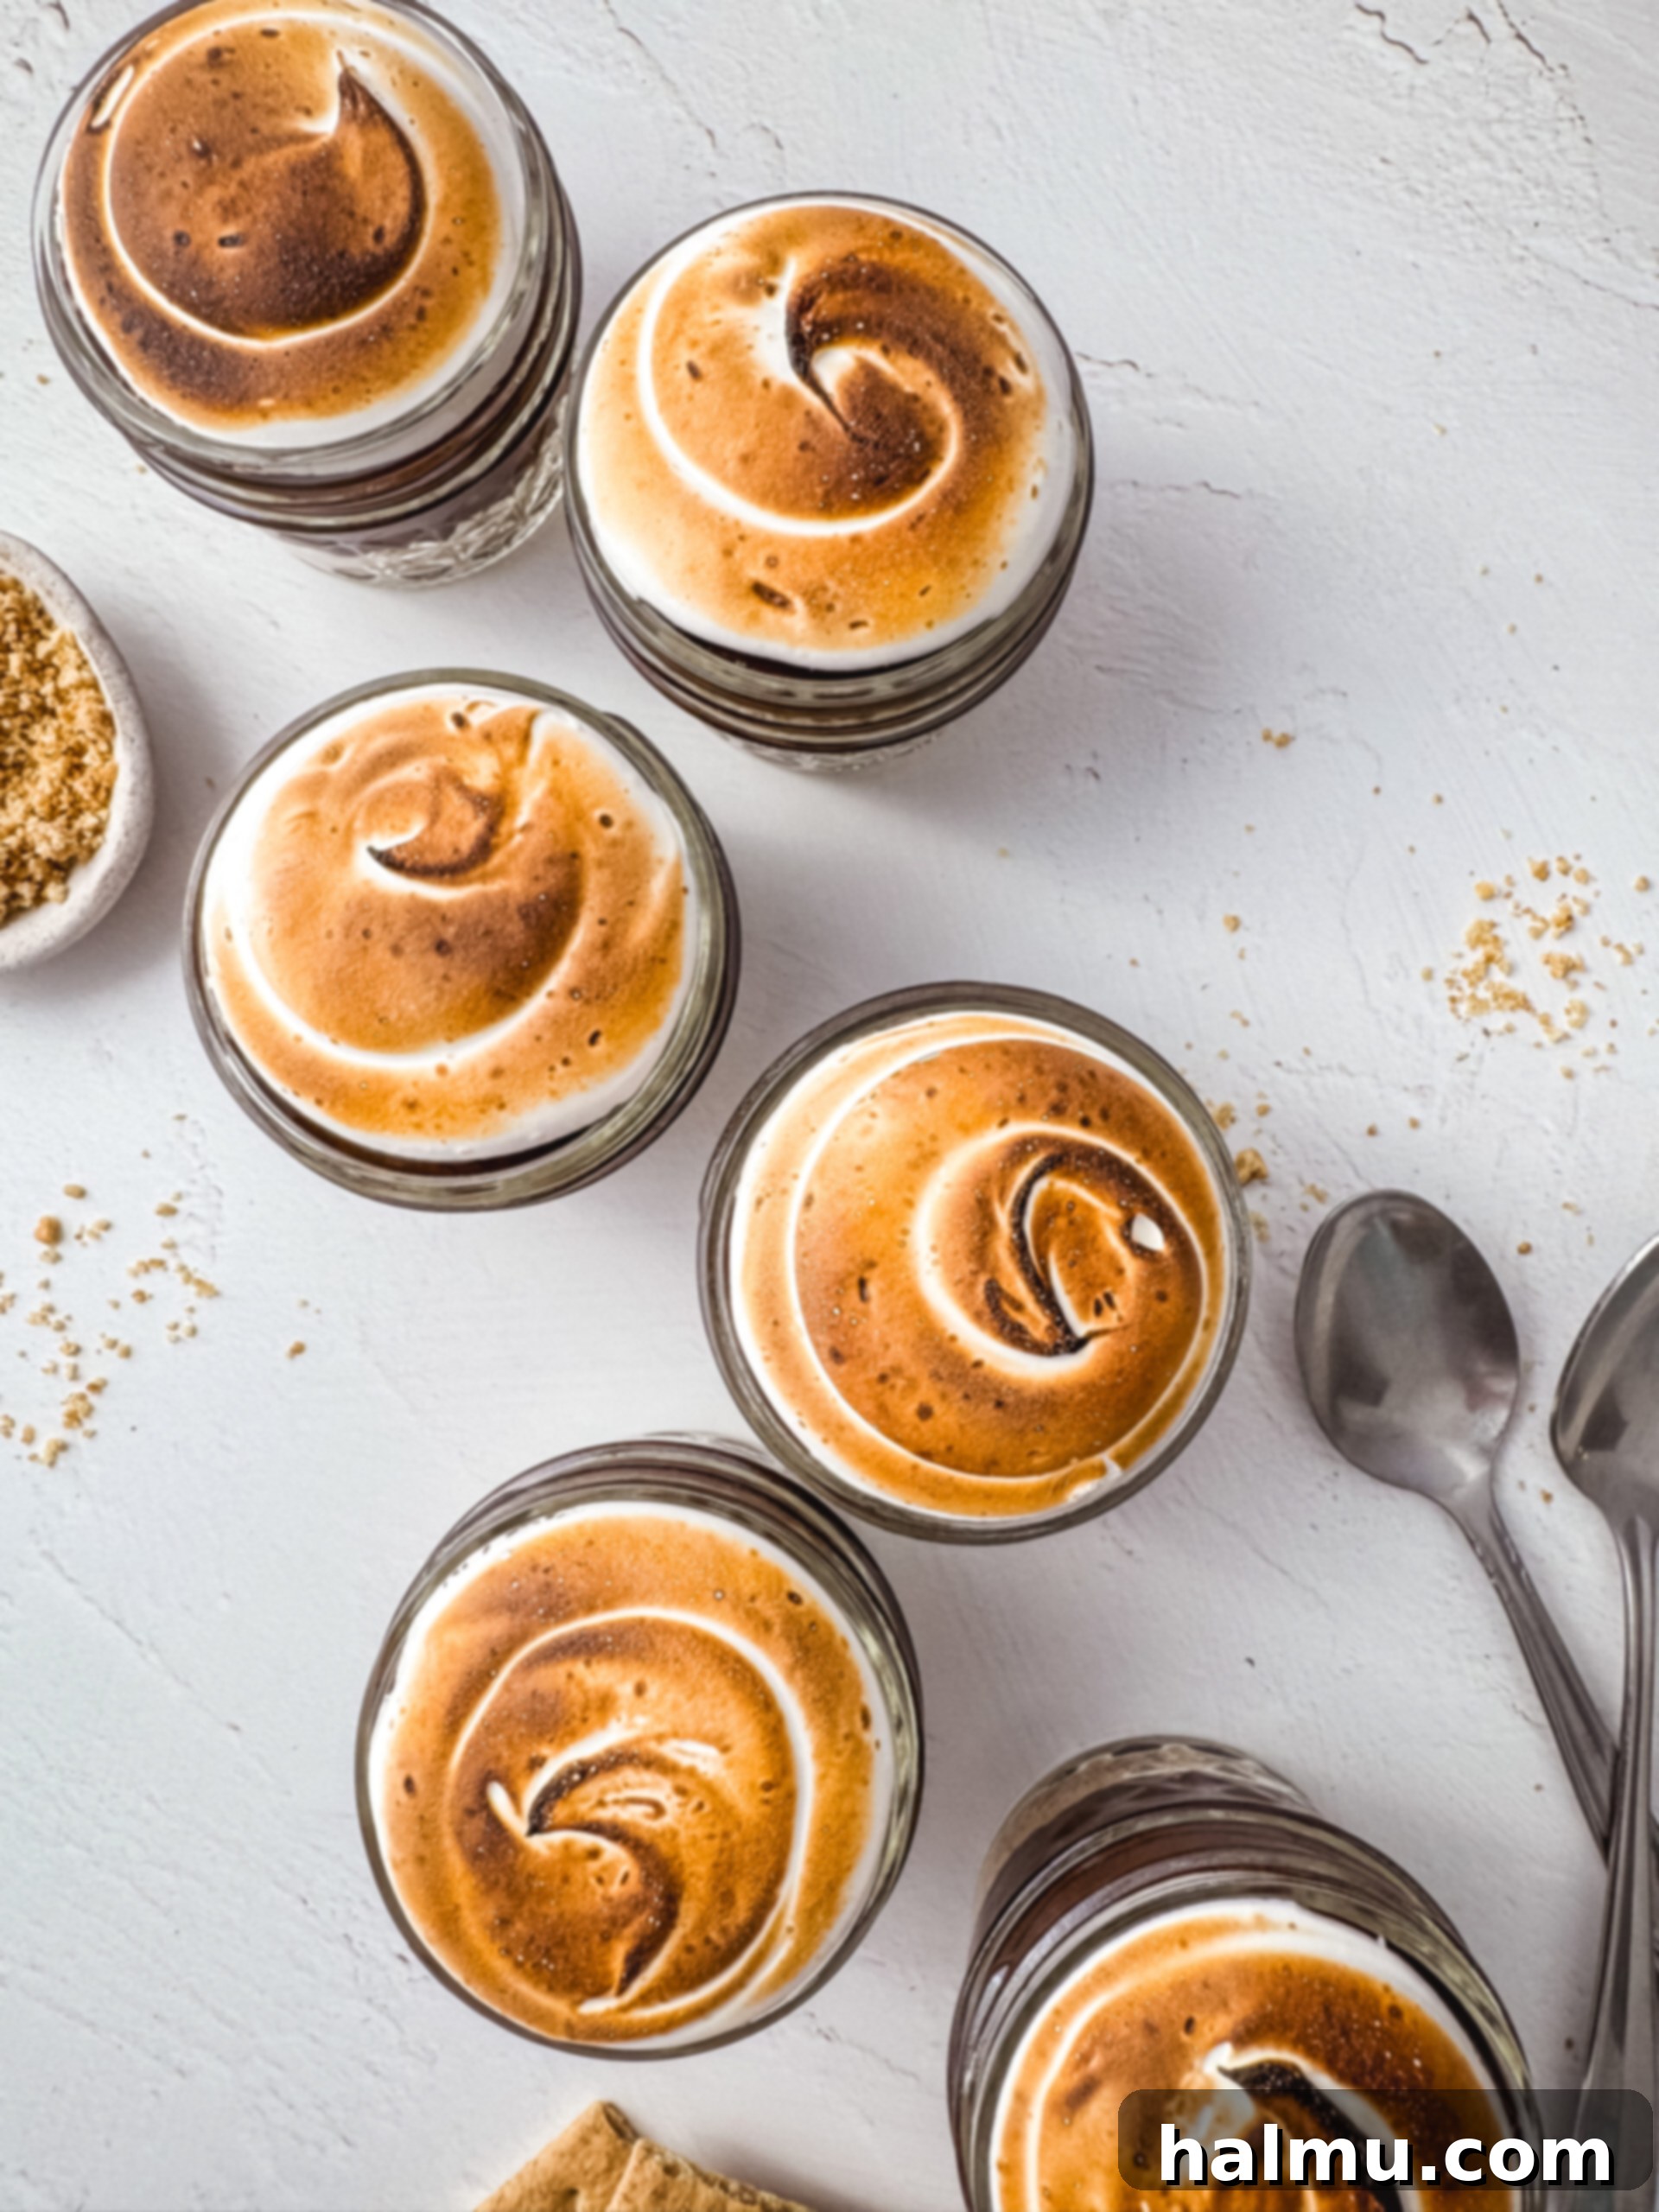
Crowning these delightful pudding cups is a fluffy, ethereal, and perfectly toasted marshmallow meringue, providing that iconic s’mores finish. This recipe employs the reliable Swiss meringue method, which involves gently heating egg whites and sugar over a double boiler. Begin by combining fresh egg whites, granulated sugar, and a touch of cream of tartar in a heatproof mixing bowl (ideally, the bowl of your stand mixer for convenience later). Place this bowl over a pot of simmering water, ensuring the bottom of the bowl does not touch the water – direct contact will cook the egg whites too quickly. Whisk the mixture continuously as it heats, allowing the sugar to fully dissolve. You can easily test this by rubbing a small amount of the mixture between your fingers; if it feels completely smooth with no gritty sugar crystals, it’s ready. Alternatively, use a digital thermometer to confirm the mixture reaches a safe temperature of 165°F (74°C). Once the sugar is dissolved and the mixture is warm and slightly frothy, carefully remove the bowl from the heat, making sure to wipe the bottom dry to prevent any water from getting into your meringue. Add the vanilla extract. Immediately transfer the bowl to your stand mixer and whip on high speed using the whisk attachment. Continue whipping until the meringue transforms into a glossy, thick, and stiff peak consistency. This process typically takes about 5 minutes, and you’ll know it’s ready when you lift the whisk and the meringue holds its shape firmly without drooping. This stable meringue is then piped generously onto the chilled chocolate pudding layers. The final magical touch involves a kitchen torch, which allows you to carefully toast the meringue until it achieves a beautiful golden-brown, caramelized perfection, mimicking the irresistible char of a roasted marshmallow. Be sure to move the torch continuously to prevent burning any single spot and achieve an even, visually appealing color.
Frequently Asked Questions About S’more Pudding Cups
What is the best way to store these S’more Pudding Cups?
For the absolute best experience and to fully appreciate the contrasting textures and flavors, these S’more Pudding Cups are best enjoyed immediately after the marshmallow meringue has been piped and toasted. The warm, slightly gooey meringue paired with the cold, creamy chocolate pudding and crunchy graham cracker is a combination meant to be savored fresh. If you do happen to have leftovers or need to store them for a short period, they can be kept in an airtight container in the refrigerator for one to two days. However, it’s important to be aware that the delicate meringue may start to “weep” (release moisture) over time, which can make the pudding layer a bit watery and affect the overall fluffy texture of the meringue. While still delicious, the meringue will lose some of its crisp, freshly toasted appeal, so prioritizing immediate consumption is highly recommended.
Can the pudding cups be made in advance?
Absolutely! One of the great advantages of these S’more Pudding Cups is that two of the main components can be prepared well in advance, streamlining your assembly process on the day of serving. The luscious homemade chocolate pudding can be made up to two days ahead. Store it in an airtight container in the refrigerator, ensuring plastic wrap is pressed directly onto its surface to prevent any unsightly “skin” from forming. Similarly, the buttery graham cracker crumble can be prepared a day or two in advance and stored in a zip-top bag or another airtight container at room temperature. For optimal freshness and to ensure the marshmallow meringue is light, fluffy, and perfectly toasted, it is highly recommended to assemble the pudding cups with the meringue layer just before you plan to serve them. This staggered preparation allows you to enjoy the convenience of make-ahead elements without compromising the quality of the final dessert.
What size of individual glass or jar do I need for this recipe?
For this specific recipe, 4-ounce jelly jars were utilized, yielding approximately 8 perfectly portioned and delightful servings of S’more Pudding Cups. These smaller jars are fantastic for individual portions, offering a charming presentation that allows each guest to have their own mini dessert. However, feel free to use any size or shape of individual glass or jar you prefer. Mason jars, small dessert ramekins, or even elegant clear glasses would work wonderfully, allowing the beautiful layers to be admired. Just keep in mind that if you opt for larger glasses, your recipe will naturally yield fewer servings, and you might need to adjust the layering slightly to ensure each cup is filled appropriately and balanced. The key is to select transparent containers so that the visually appealing layers of graham cracker, chocolate pudding, and toasted meringue can truly shine through.
Recommended Tools for Perfect Pudding Cups
What tips do you use to pipe the pudding and meringue?
For the silky chocolate pudding, a dedicated piping tip isn’t strictly necessary. The pudding has a naturally thick and smooth consistency, making it easy to handle. Simply snip off about half an inch from the end of a disposable piping bag. This creates a neat, controllable opening that allows you to portion the pudding smoothly and efficiently into each jar without making a mess, ensuring clean layers. For the marshmallow meringue, however, I highly recommend using a large round piping tip, such as an Ateco 808. This specific tip is ideal because it creates beautiful, voluminous dollops that mimic the appearance of a freshly roasted marshmallow, adding to the authentic s’mores aesthetic. If you’re looking for an even more elaborate presentation, feel free to experiment with other large tips like a star tip or a French tip, which will add lovely textural details and visual interest to your meringue topping, making your dessert even more stunning.
What can I use instead of meringue if I’m short on time?
While the homemade marshmallow meringue is highly recommended for its exceptional flavor, light texture, and authentic s’mores experience, offering a truly gourmet finish, there are indeed convenient alternatives if you’re pressed for time. The quickest and most straightforward solution is to simply add a few regular marshmallows (large or mini, depending on your preference and the size of your jars) directly on top of the chocolate pudding layer. Then, use a kitchen torch to quickly toast them until they achieve a lovely golden-brown and slightly gooey exterior. This will still give you that iconic toasted marshmallow flavor and appealing appearance. Alternatively, a good quality store-bought marshmallow fluff could be spooned on top, though it’s important to note that it might not toast quite as evenly or provide the same robust structure and firm peaks as a freshly whipped Swiss meringue. Experiment to see which alternative best fits your schedule and taste preferences!
Expert Tips for Crafting the Perfect Marshmallow Meringue
Achieving a light, glossy, and stable Swiss meringue is key to the success of these S’more Pudding Cups, providing that irresistible, toasted marshmallow finish. Follow these essential tips to ensure your meringue whips up perfectly every time, adding that professional touch to your dessert.
- Use Fresh Egg Whites for Best Results: Always opt for fresh, large egg whites when making meringue. Egg whites from a carton, while seemingly convenient, often contain additives that can hinder their ability to whip up to the desired volume and stiffness. Fresh eggs provide the best protein structure and aeration, leading to a more stable, voluminous, and beautiful meringue that holds its shape wonderfully.
- Strictly Avoid Any Fat in Egg Whites: This is perhaps the most critical rule for successful meringue. Even a tiny speck of egg yolk or any grease from your mixing bowl or whisk can prevent the egg whites from whipping properly, potentially causing them to remain flat or separate. When separating eggs, do so meticulously to ensure no yolk contaminates the whites. Furthermore, ensure your mixing bowl and whisk attachment are impeccably clean and completely dry. Wiping them down with a paper towel dampened with lemon juice or white vinegar before starting can help eliminate any residual grease, providing a pristine environment for your egg whites to whip.
- Properly Heat Egg Whites and Sugar for Swiss Meringue: The Swiss meringue method inherently relies on heating the egg whites and sugar together over a double boiler. This crucial step serves two vital purposes: first, it dissolves the sugar completely, which is essential for preventing a grainy meringue and achieving that desired smooth texture; second, it gently cooks the egg whites to a safe temperature (165°F or 74°C), making them safe to consume without further baking. Whisk constantly during this heating phase until the sugar granules are entirely dissolved. A simple, reliable test is to rub a small amount of the mixture between your thumb and forefinger; if it feels completely smooth with no gritty sugar crystals, you’re good to go. This careful heating ensures a stable, shiny, and wonderfully glossy meringue once whipped.

Baking Tip: Embrace the Accuracy of a Kitchen Scale!
For consistent and professional-level baking results, I cannot stress enough the importance of using a kitchen scale to weigh your ingredients rather than relying on volumetric measuring cups. Weighing ingredients in grams offers unparalleled accuracy, which is absolutely crucial in baking where precision often dictates success. This method minimizes errors that can arise from inconsistent packing of flour or sugar, or from variations in spooning techniques, ensuring that your recipes turn out perfectly and predictably every single time. Beyond accuracy, using a scale often simplifies the cleanup process, as you’ll have fewer measuring cups and spoons to wash. It’s a small investment that will undoubtedly elevate your baking game significantly, leading to more consistent and delicious outcomes. I wholeheartedly recommend this reliable scale for its ease of use and consistent performance, and you’ll find gram measurements provided in all my recipes to help you achieve baking perfection.
Explore More Irresistible No-Bake Desserts You’ll Love
If you’ve fallen in love with the simplicity and deliciousness of these S’more Pudding Cups, you’re in for a treat! Our curated collection features a variety of other fantastic no-bake desserts that are perfect for any occasion, from casual family dinners to elegant gatherings. These recipes require minimal effort but deliver maximum flavor and impressive presentation, making them ideal for busy schedules or when you want a delightful sweet without heating up your kitchen. Dive into these tempting creations and expand your repertoire of easy, delicious no-bake treats:
- Mini Oreo Cheesecakes
- Chocolate Mint Cream Pie
- Mini Biscoff Cheesecakes
- Chocolate Espresso Truffles
- Lemon Gingersnap Tiramisu
We hope you enjoy these no-bake wonders as much as we do! If you whip up this S’more Pudding Cup recipe and find yourself savoring every bite, please consider leaving a comment below to share your experience and any creative twists you added. Your feedback is greatly appreciated. Happy s’mores making, and happy indulging!
S’more Pudding Cups
Print Recipe
RATE THIS RECIPE
Ingredients
For the Graham Cracker Crumble
- 6 full sheets (95g) graham crackers
- 2 Tablespoons (28g) unsalted butter, melted
For the Chocolate Pudding
- ⅔ cup (135g) granulated sugar
- ½ cup (46g) unsweetened cocoa powder
- ¼ cup (40g) cornstarch
- 2 ½ cups (600g) whole milk
- 2 Tablespoons (28g) unsalted butter
- 1 teaspoon vanilla extract
For the Marshmallow Meringue
- 3 large egg whites
- ¾ cup (150g) granulated sugar
- ¼ teaspoon cream of tartar
- 1 teaspoon vanilla extract
SHOP INGREDIENTS
Instructions
- Prepare the Chocolate Pudding: Begin by adding the granulated sugar to a medium saucepan. Next, carefully sift in the cocoa powder and cornstarch. This sifting step is crucial for preventing any lumps from forming in your final pudding, ensuring a silky-smooth texture. Whisk these dry ingredients together thoroughly until well combined. Then, slowly stream in about half of the whole milk while continuously whisking to create a smooth, lump-free slurry. Once combined, add the remaining milk and continue to mix until all ingredients are fully incorporated and the mixture is uniform.
- Place the saucepan over medium-low heat on the stove. Whisk continuously and gently as the pudding mixture cooks. This constant motion is vital to prevent scorching on the bottom of the pan and to encourage even thickening throughout the mixture. Cook for approximately 10 minutes, or until the mixture visibly thickens, coats the back of a spoon, and begins to gently boil, with bubbles appearing on the surface. Once it starts to boil, continue whisking and cook for an additional minute to ensure the cornstarch is fully activated and the pudding reaches its maximum, luxurious thickness.
- Immediately remove the saucepan from the heat. Stir in the cold unsalted butter and pure vanilla extract. Continue stirring until the butter is completely melted and fully incorporated, leaving the pudding mixture gloriously smooth, rich, and glossy. The butter adds a wonderful depth of flavor and a beautiful sheen.
- For an exceptionally silky pudding, strain the warm mixture through a fine-mesh sieve into a clean bowl. This extra step will catch any tiny lumps or potential cooked bits, ensuring a perfectly uniform and smooth texture. Press a piece of plastic wrap directly onto the surface of the pudding; this crucial step prevents a “skin” from forming as it cools. Refrigerate the pudding until it is completely cold and firmly set, which will take a minimum of 2 hours, but preferably longer for best results.
- Prepare the Graham Cracker Crumble: Place the graham crackers into a sturdy zip-top bag. Using a rolling pin or the bottom of a heavy glass, crush them into fine, uniform crumbs. Alternatively, for speed and consistency, pulse them briefly in a food processor until they resemble fine sand. Transfer the graham crumbs to a mixing bowl. Add the melted unsalted butter and mix thoroughly until all the crumbs are evenly coated and resemble damp sand. Scoop the graham cracker crumble into the bottom of 8 (4-ounce) individual glass jars or cups, using about 1½ Tablespoons per jar. Gently press down the crumble with the back of a spoon or your fingers to create an even, compact layer, forming a solid base. Set these aside while you prepare the remaining components.
- Make the Marshmallow Meringue: To create a double boiler, add about an inch of water to a medium pot and bring it to a gentle simmer over medium heat. Ensure the pot is wide enough so that the bottom of the metal or glass bowl of your stand mixer (or any heatproof mixing bowl) can sit snugly on top without directly touching the simmering water below.
- In the mixing bowl, combine the fresh egg whites, granulated sugar, and cream of tartar. Place this bowl over the pot of simmering water, creating your double boiler. Whisk the mixture constantly by hand. Continue whisking for about 4 minutes, or until the sugar is completely dissolved (test by rubbing a small amount between your fingers – it should feel absolutely smooth, not grainy) and the mixture reaches a temperature of 165°F (74°C) on a digital thermometer. This ensures both a smooth, stable meringue and food safety.
- Carefully remove the bowl from the heat and wipe off any excess water or condensation from the bottom. Add the vanilla extract. Immediately transfer the mixing bowl to a stand mixer fitted with the whisk attachment. Begin whipping the meringue on medium-high speed, then gradually increase to high. Whip until the meringue becomes incredibly glossy, thick, and forms firm, stiff peaks. This process usually takes about 5 minutes. You’ll know it’s ready when you lift the whisk, and the meringue holds its shape firmly, without drooping.
- Assembly: Fill a piping bag with the well-chilled chocolate pudding. If you don’t have a piping bag, a cookie scoop or a spoon will also work perfectly fine to transfer the pudding. Carefully pipe or spoon the pudding into each jar, filling it about ¾ full over the graham cracker layer. Next, fill another piping bag, fitted with a large round piping tip (like an Ateco 808 for best results), with the marshmallow meringue. Pipe a generous, beautiful dollop of meringue on top of the pudding in each cup, creating a fluffy cloud-like topping. Finally, use a kitchen torch to gently toast the meringue until it achieves a lovely golden-brown, caramelized finish, reminiscent of a freshly roasted marshmallow. Be careful to keep the torch moving continuously to avoid burning any one spot and to ensure an even, visually appealing color.
- Serve your magnificent S’more Pudding Cups immediately after toasting the meringue to enjoy them at their absolute best, experiencing the delightful contrast of textures and temperatures!

HI THERE!
I’m Rachel
I’m Rachel, the passionate dessert enthusiast, dedicated recipe developer, and creative content creator behind Sweet Kitchen Cravings. My culinary journey is driven by a profound love for classic yet distinctly special recipes that are guaranteed to delight and impress your loved ones. Here at Sweet Kitchen Cravings, I believe that every dessert should tell a story and create cherished memories, making every bite a truly memorable experience. Join me as we explore the wonderful world of sweets, crafting irresistible treats that bring joy to every table and elevate simple moments into something extraordinary.
MORE ABOUT RACHEL
