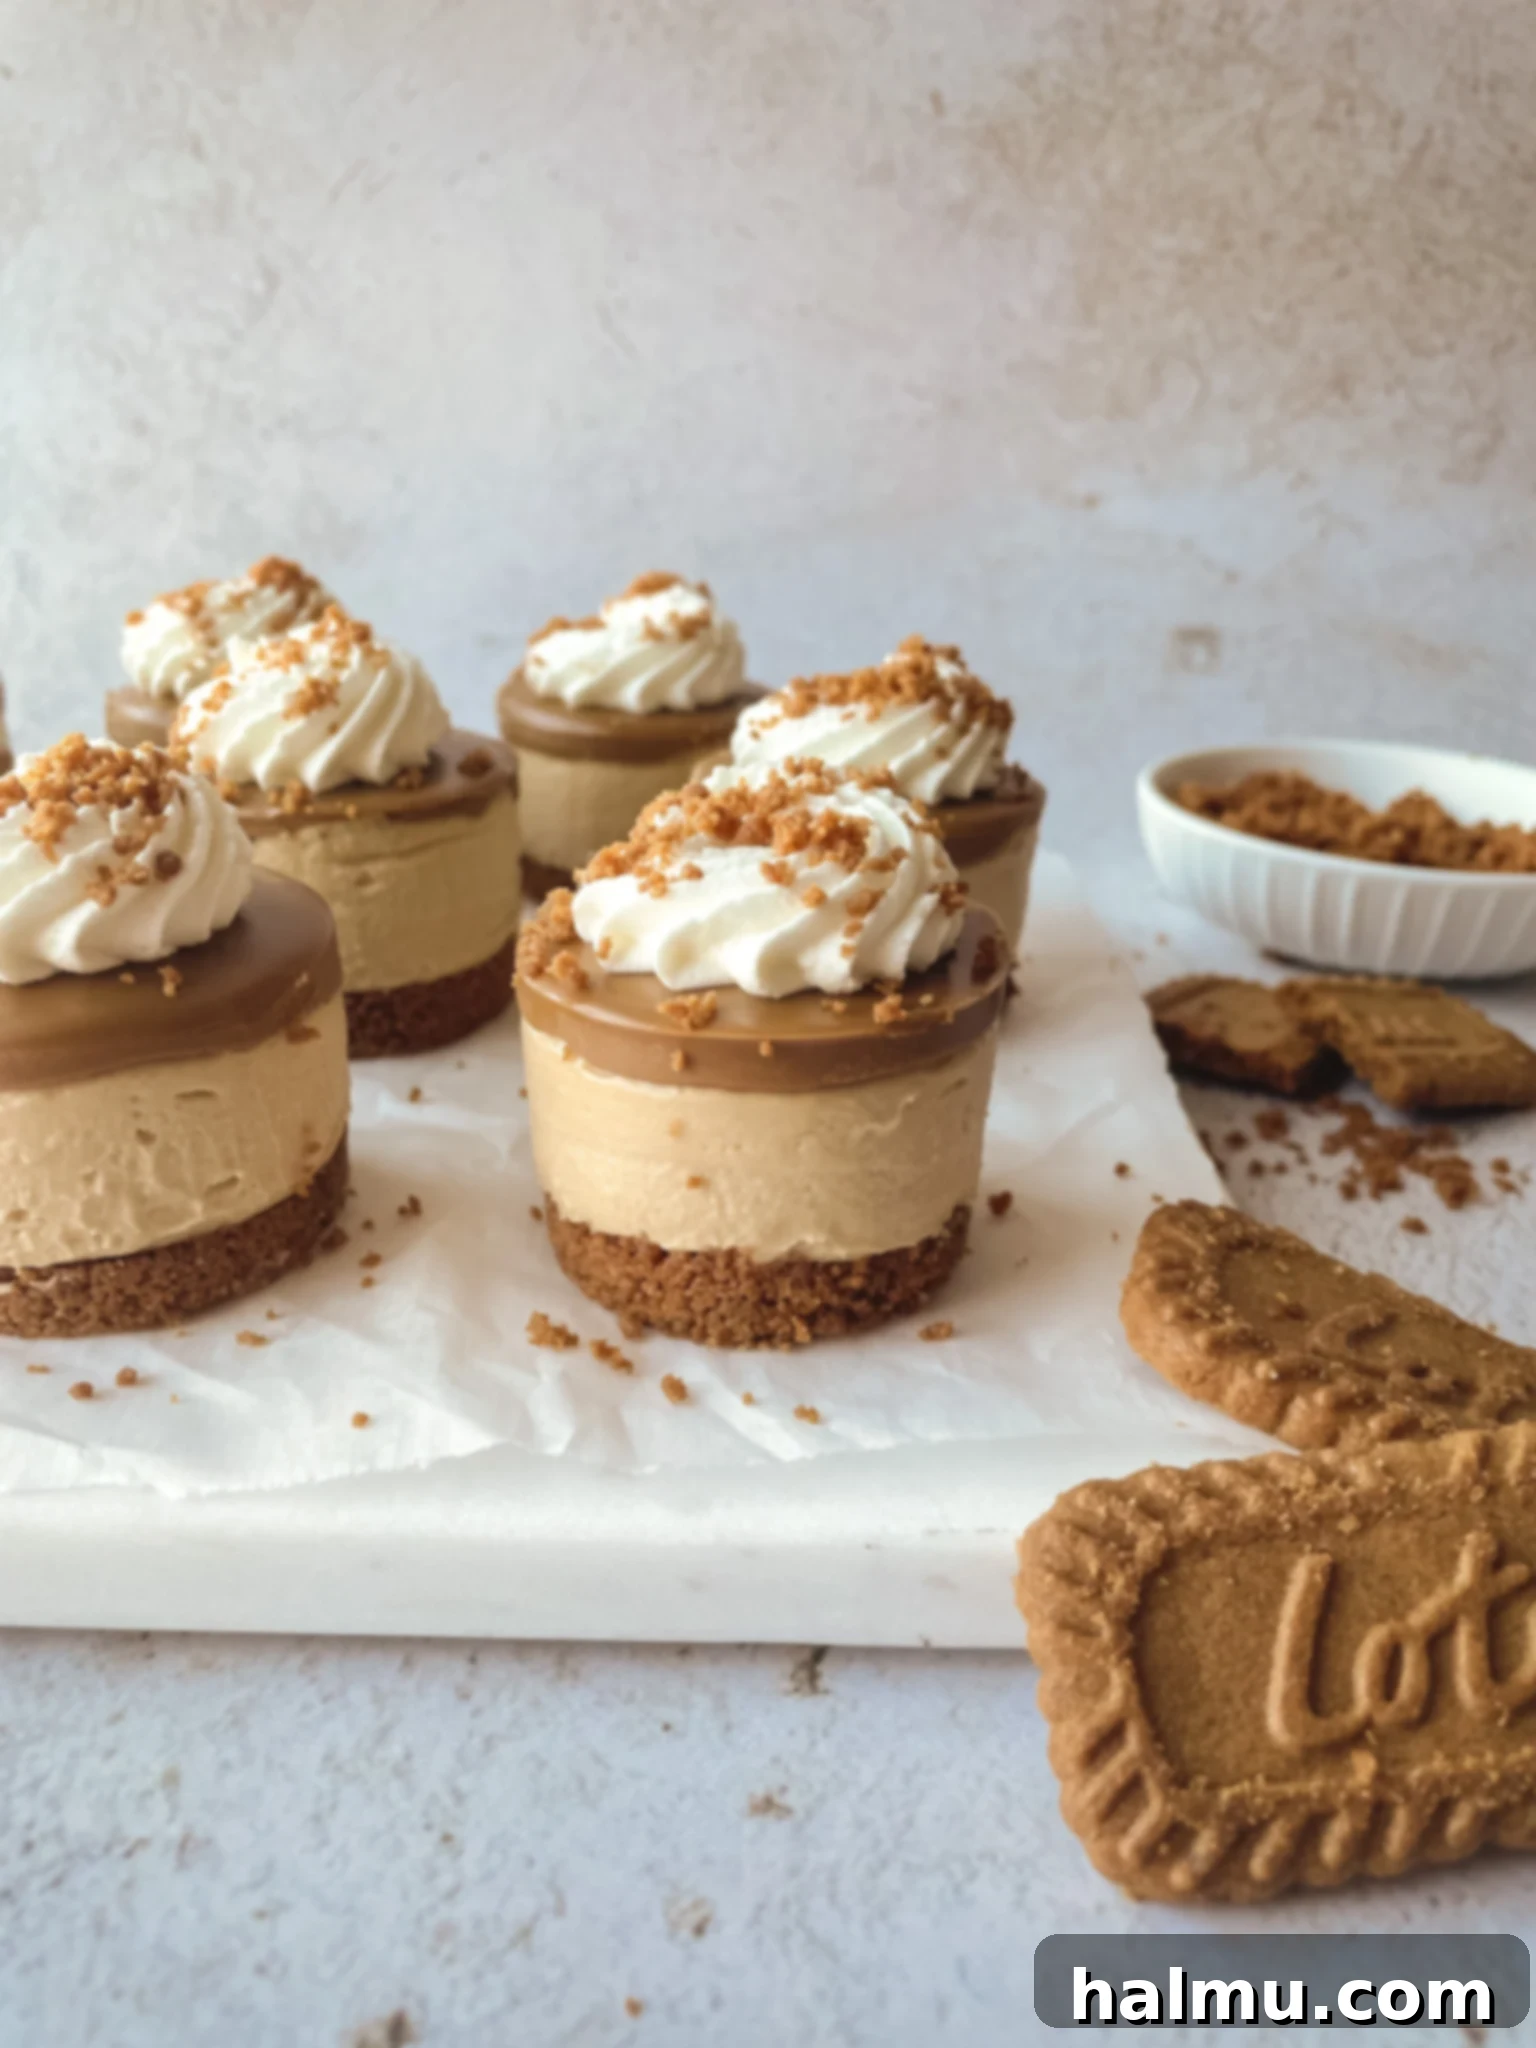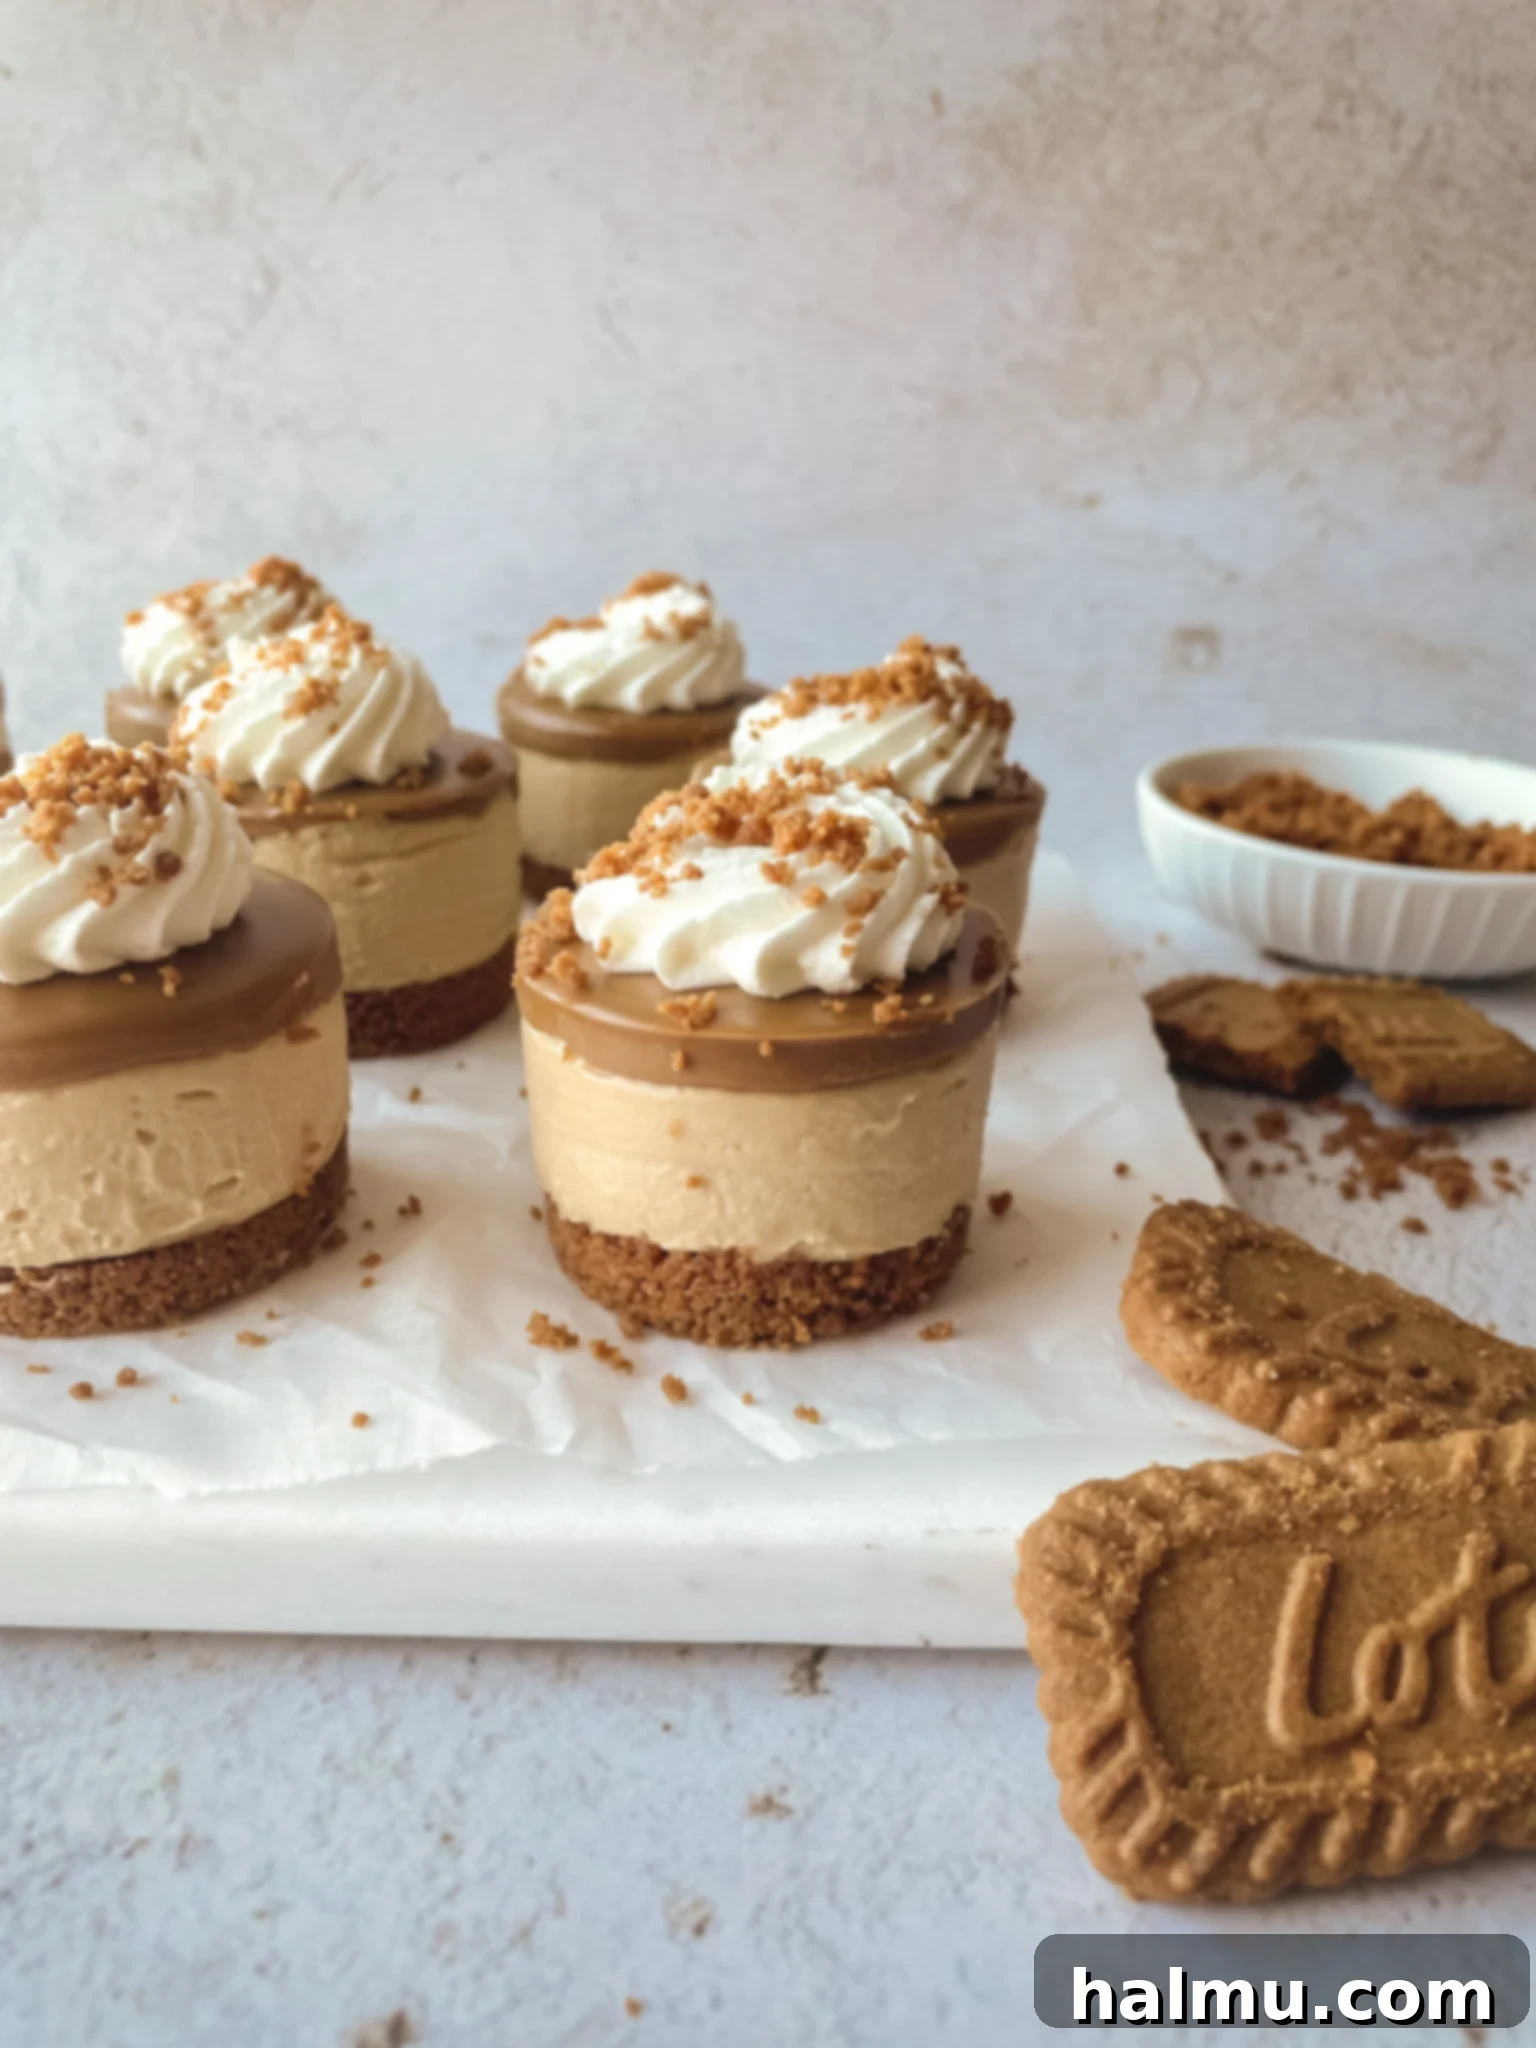
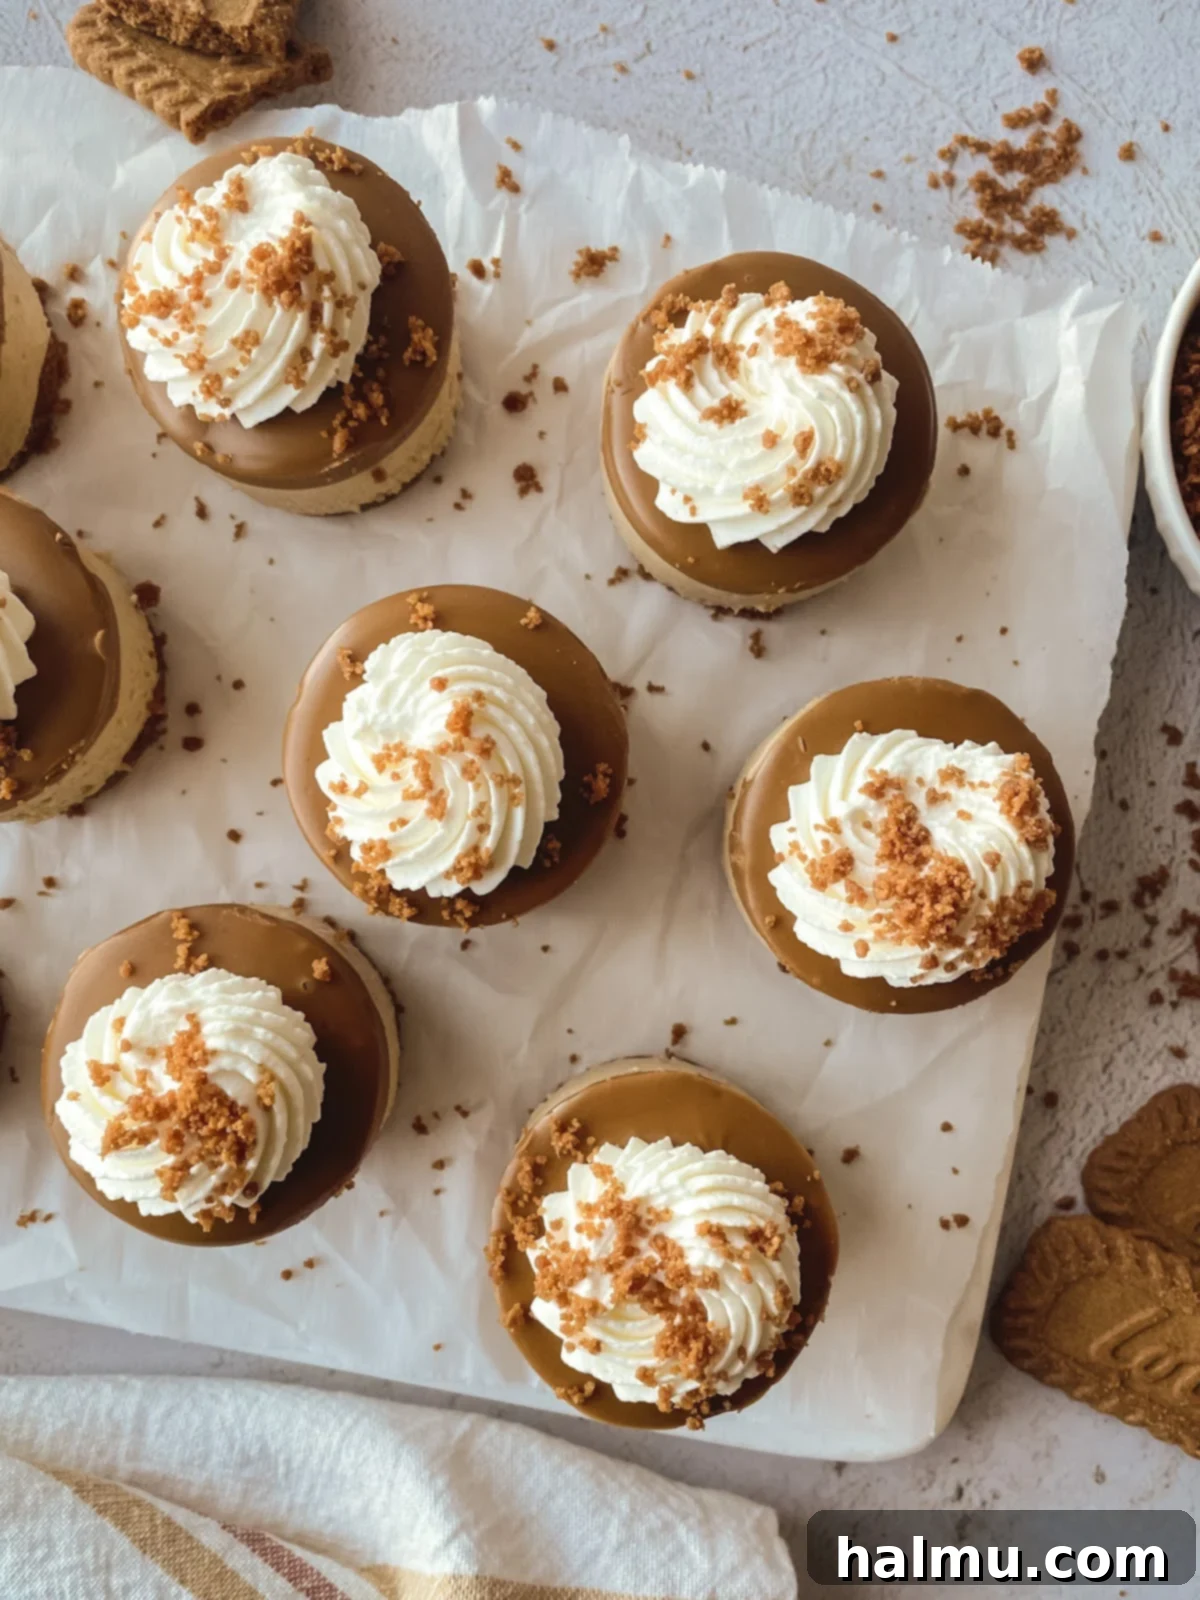
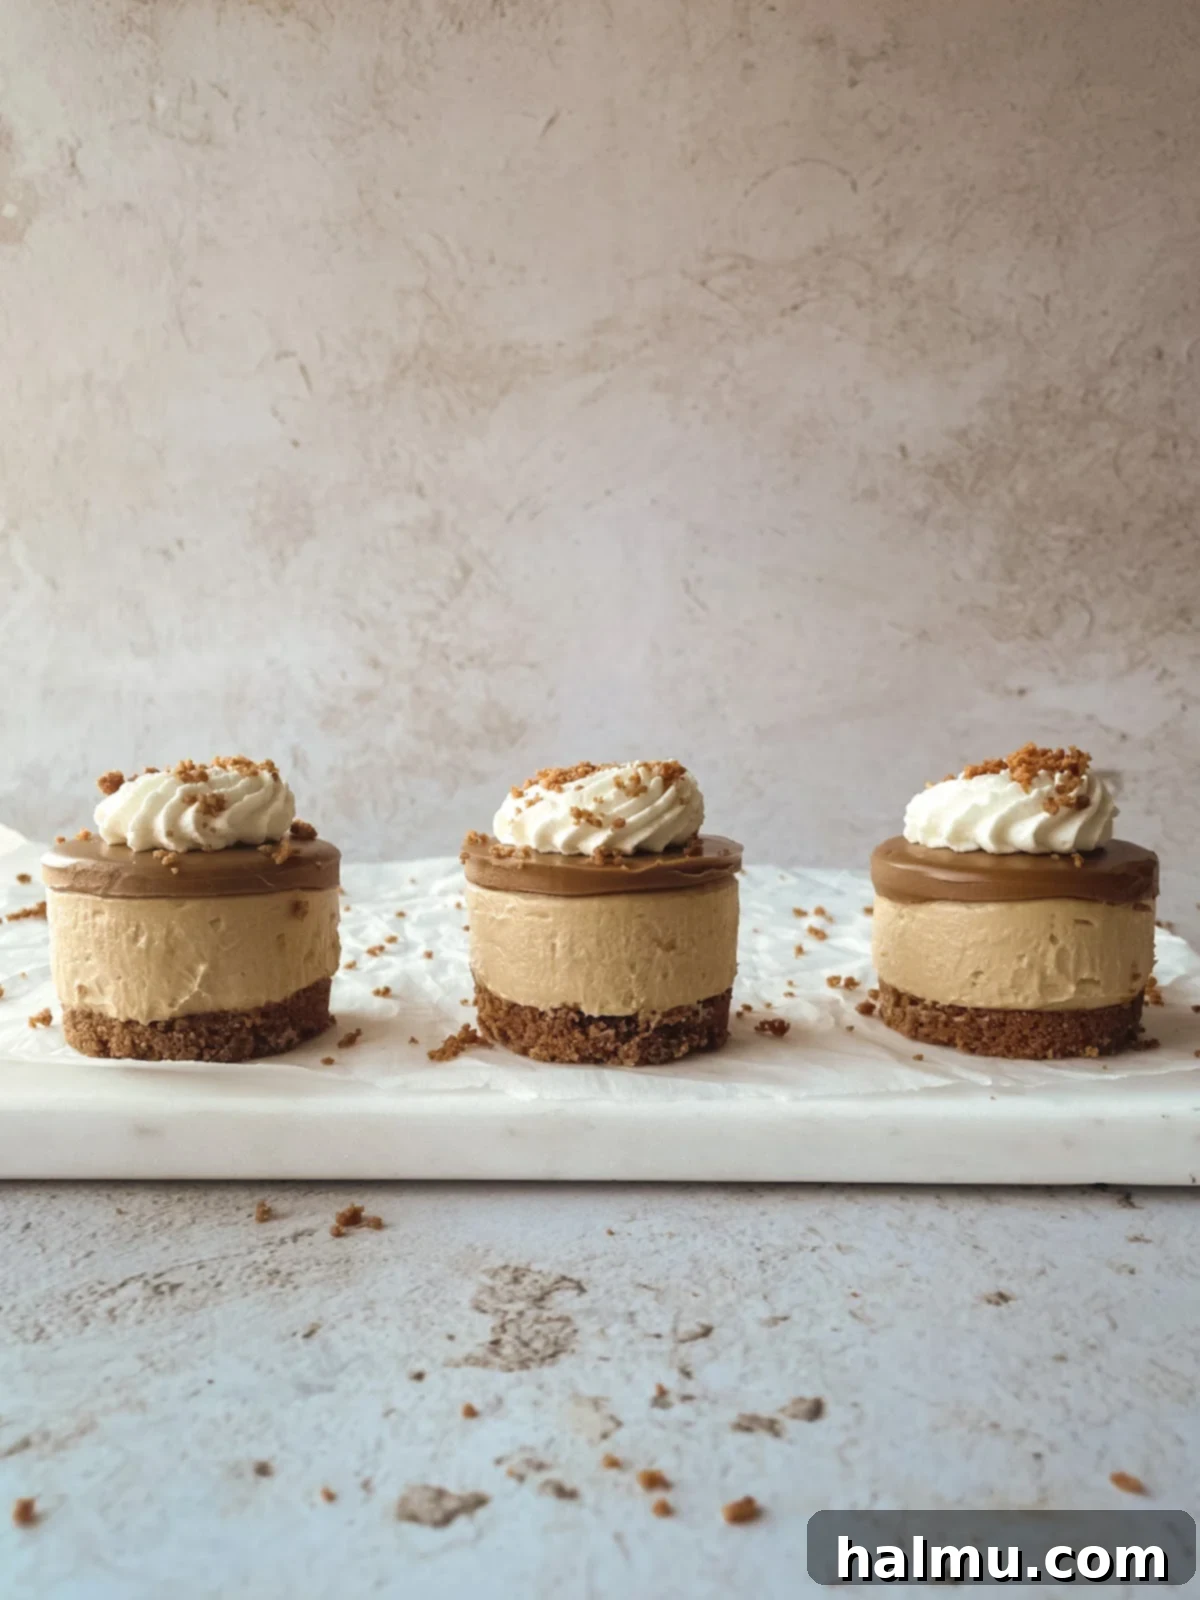
Prepare to be enchanted by these utterly delightful Mini Biscoff Cheesecakes! Not only are these individual desserts incredibly delicious and charmingly adorable, but they also boast the ultimate convenience of being a no-bake recipe. That’s right – no oven is required, no eggs are needed, and the creamy cheesecake filling comes together with just five simple ingredients. Each miniature masterpiece begins with a rich, buttery Biscoff cookie crust, generously topped with a thick layer of velvety smooth Biscoff cheesecake filling. The experience is then perfected with a decadent pour of melted Biscoff spread, and for an extra touch of gourmet elegance, a swirl of homemade whipped cream and a sprinkle of crushed Biscoff cookie crumbs. This easy-to-make dessert is guaranteed to impress your guests and satisfy every Biscoff lover’s craving.
What Exactly is Biscoff? Unveiling the Beloved Cookie Butter
For those new to its magic, Biscoff, often known by its traditional name Speculoos, is a distinctive crunchy, spiced biscuit that has captured hearts worldwide. Originating from Belgium, these unique cookies are renowned for their caramelized flavor and a delicate blend of cinnamon, nutmeg, and other warming spices. The name “Biscoff” itself is actually a portmanteau of “biscuit” and “coffee,” reflecting its traditional pairing with a hot cup of joe. While Lotus Biscoff is the most iconic brand, many bakeries and brands now create their own versions of these beloved cookies.
Beyond the cookies, the true star in many desserts is Biscoff spread, also affectionately called “Cookie Butter.” This ingenious creation is made by finely crushing Biscoff cookies and blending them into a smooth, creamy paste. The resulting spread has a texture remarkably similar to peanut butter but offers a unique, irresistible flavor profile that is sweet, cinnamony, and deeply caramelized. Imagine the comforting notes of gingerbread, but with a more pronounced cinnamon spice and less of the sharp ginger kick. In this exquisite mini cheesecake recipe, we harness the full power of Biscoff, utilizing both the crispy cookies for our delightful crust and the luxurious spread to infuse every layer with its signature taste.
Why You’ll Adore These No-Bake Mini Biscoff Cheesecakes
These Mini Biscoff Cheesecakes are more than just a dessert; they are a revelation for anyone seeking an easy yet impressive treat. Their no-bake nature is a huge time-saver, eliminating the need to preheat an oven or worry about water baths, making them perfect for hot summer days or when your oven is busy. The simplicity extends to the ingredient list, which is refreshingly short, allowing the rich Biscoff flavor to truly shine.
Beyond convenience, their individual serving size makes them ideal for any occasion. Whether you’re hosting a dinner party, a casual get-together, or simply treating yourself, these mini cheesecakes offer a perfectly portioned indulgence. They are elegant, easy to handle, and eliminate the need for slicing and serving a full-sized cheesecake. Furthermore, their make-ahead capability is a lifesaver for busy hosts. Prepare them the day before, let them chill overnight, and they’ll be perfectly set and ready to dazzle your guests, allowing you to enjoy the celebration without last-minute kitchen stress. The combination of a crunchy cookie base, a silky smooth filling, and a glossy Biscoff topping creates a symphony of textures and flavors that is utterly irresistible, cementing their place as a new favorite in your dessert repertoire.
Essential Ingredients for Your Perfect Biscoff Cheesecakes
Crafting these delectable no-bake cheesecakes relies on a few key ingredients that come together to create their signature taste and texture. Let’s dive into what makes each component crucial:
- Biscoff Cookies: The foundation of our crust! You’ll need a standard package of Lotus Biscoff cookies. Their distinct caramelized, cinnamon flavor is irreplaceable. If by any chance you cannot find Biscoff, a plain graham cracker crust could be substituted, but you would lose the signature Biscoff flavor from the base.
- Melted Butter: This binds the cookie crumbs together, creating a firm and flavorful crust. Unsalted butter is usually preferred to control the overall saltiness of the dessert.
- Cream Cheese: The heart of any cheesecake! Full-fat cream cheese is essential for achieving that rich, creamy, and luxurious texture. Ensure it’s softened to room temperature before mixing to prevent lumps and create a smooth filling.
- Brown Sugar: This adds sweetness and a subtle caramel note that complements the Biscoff flavor perfectly. Light brown sugar is generally used for a balanced sweetness.
- Biscoff Spread (Cookie Butter): This is where the magic happens! We use a generous amount in the filling and as a luscious topping. Make sure to use the smooth variety for the filling and melted for the topping. Its unique spice and caramel notes are what define this dessert.
- Vanilla Extract: A touch of vanilla enhances all the other flavors, adding depth and warmth to the cheesecake filling.
- Heavy Cream: Whipped heavy cream is what gives this no-bake cheesecake its light, airy, yet incredibly stable texture. It transforms the dense cream cheese mixture into a cloud-like filling that sets beautifully in the fridge. Ensure your heavy cream is very cold for best whipping results.
- Optional Toppings: Homemade whipped cream and extra Biscoff cookie crumbs not only add visual appeal but also extra layers of flavor and texture, taking your mini cheesecakes to the next level.
How to Master These Mini No-Bake Biscoff Cheesecakes
Creating these impressive yet simple mini cheesecakes is a straightforward process, broken down into easy-to-follow steps. Precision in each stage ensures a perfect result every time.
- Craft the Irresistible Biscoff Crust: Begin by preparing the foundation of your cheesecakes. Combine approximately one 8.8 oz package of Biscoff cookies with 5 tablespoons of melted butter. The key is to achieve very fine cookie crumbs, so pulse the cookies thoroughly in a food processor until they resemble a fine sand-like texture. Then, drizzle in the melted butter and pulse again until the mixture is fully incorporated and damp, clumping together when pressed. Lightly coat two 12-count mini cheesecake pans (or muffin tins with liners) with a cooking spray. Press about one tablespoon of the Biscoff crumb mixture into the bottom of each tin, using a tart tamper or the back of a spoon to compact it firmly. This creates a sturdy base for your creamy filling. Place the pans in the refrigerator to chill while you prepare the cheesecake filling.
- Whip Up the Silky Cheesecake Filling: This creamy filling is surprisingly simple. In the bowl of a stand mixer fitted with a paddle attachment, combine your softened cream cheese and brown sugar. Beat on medium speed until the mixture is completely smooth and free of any lumps, scraping down the sides of the bowl as needed. Next, add the Biscoff spread and vanilla extract, mixing until everything is well combined and fragrant. Now, switch to the whisk attachment. With the mixer running on low speed, slowly stream in the cold heavy cream. Once the cream is fully incorporated, increase the mixer speed to high and whip for about 20-30 seconds, or until the mixture becomes wonderfully thick, light, and fluffy. Be careful not to overmix at this stage.
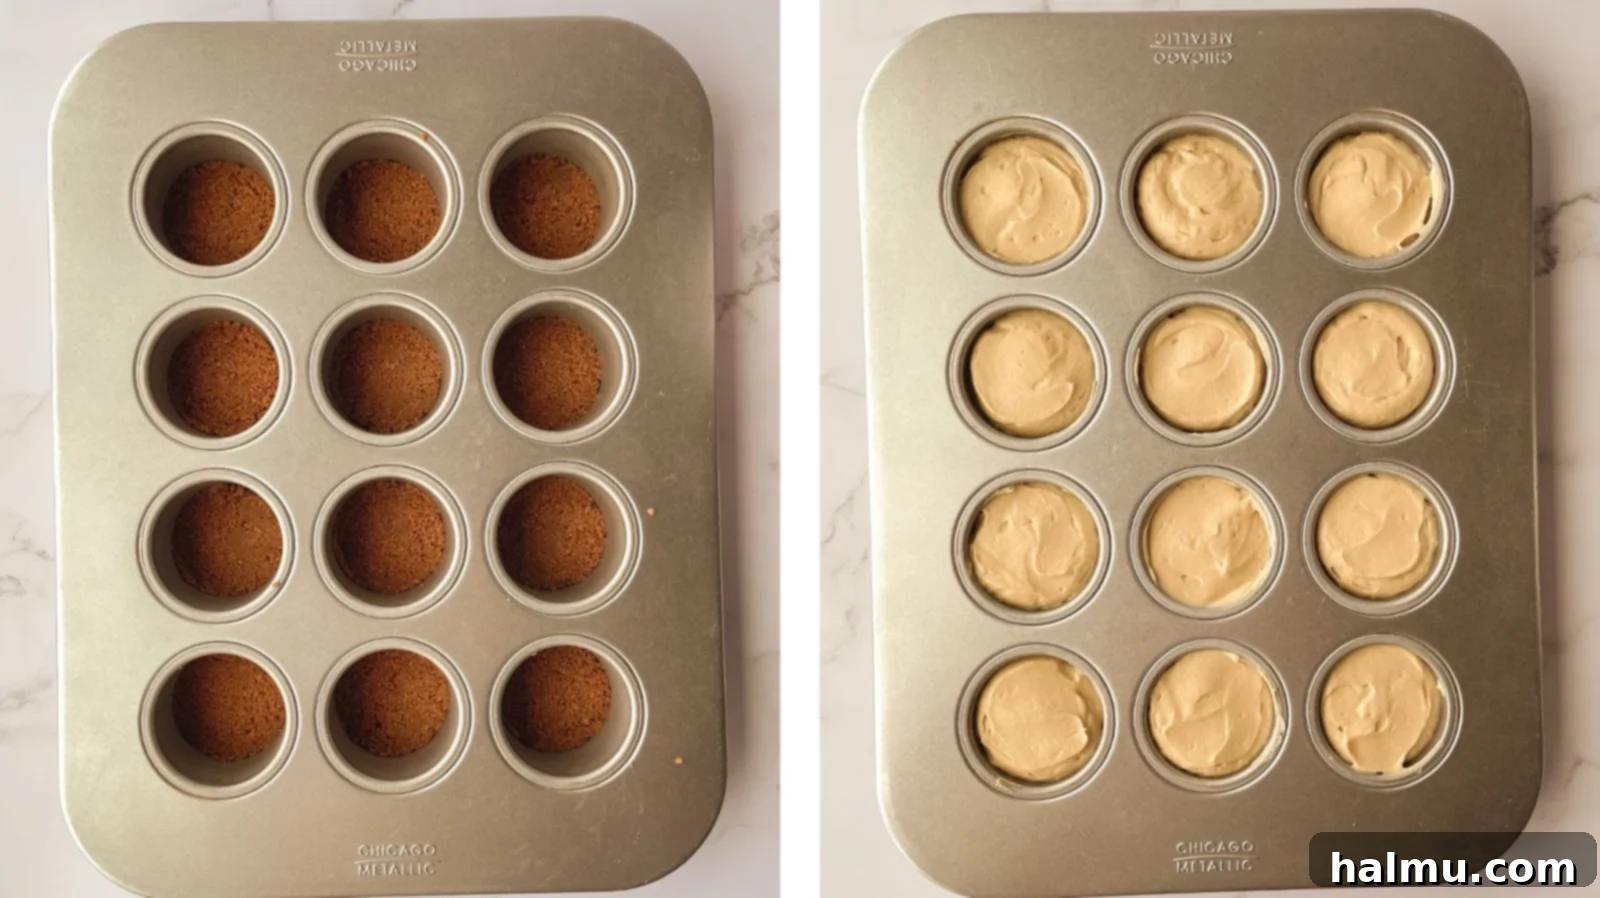
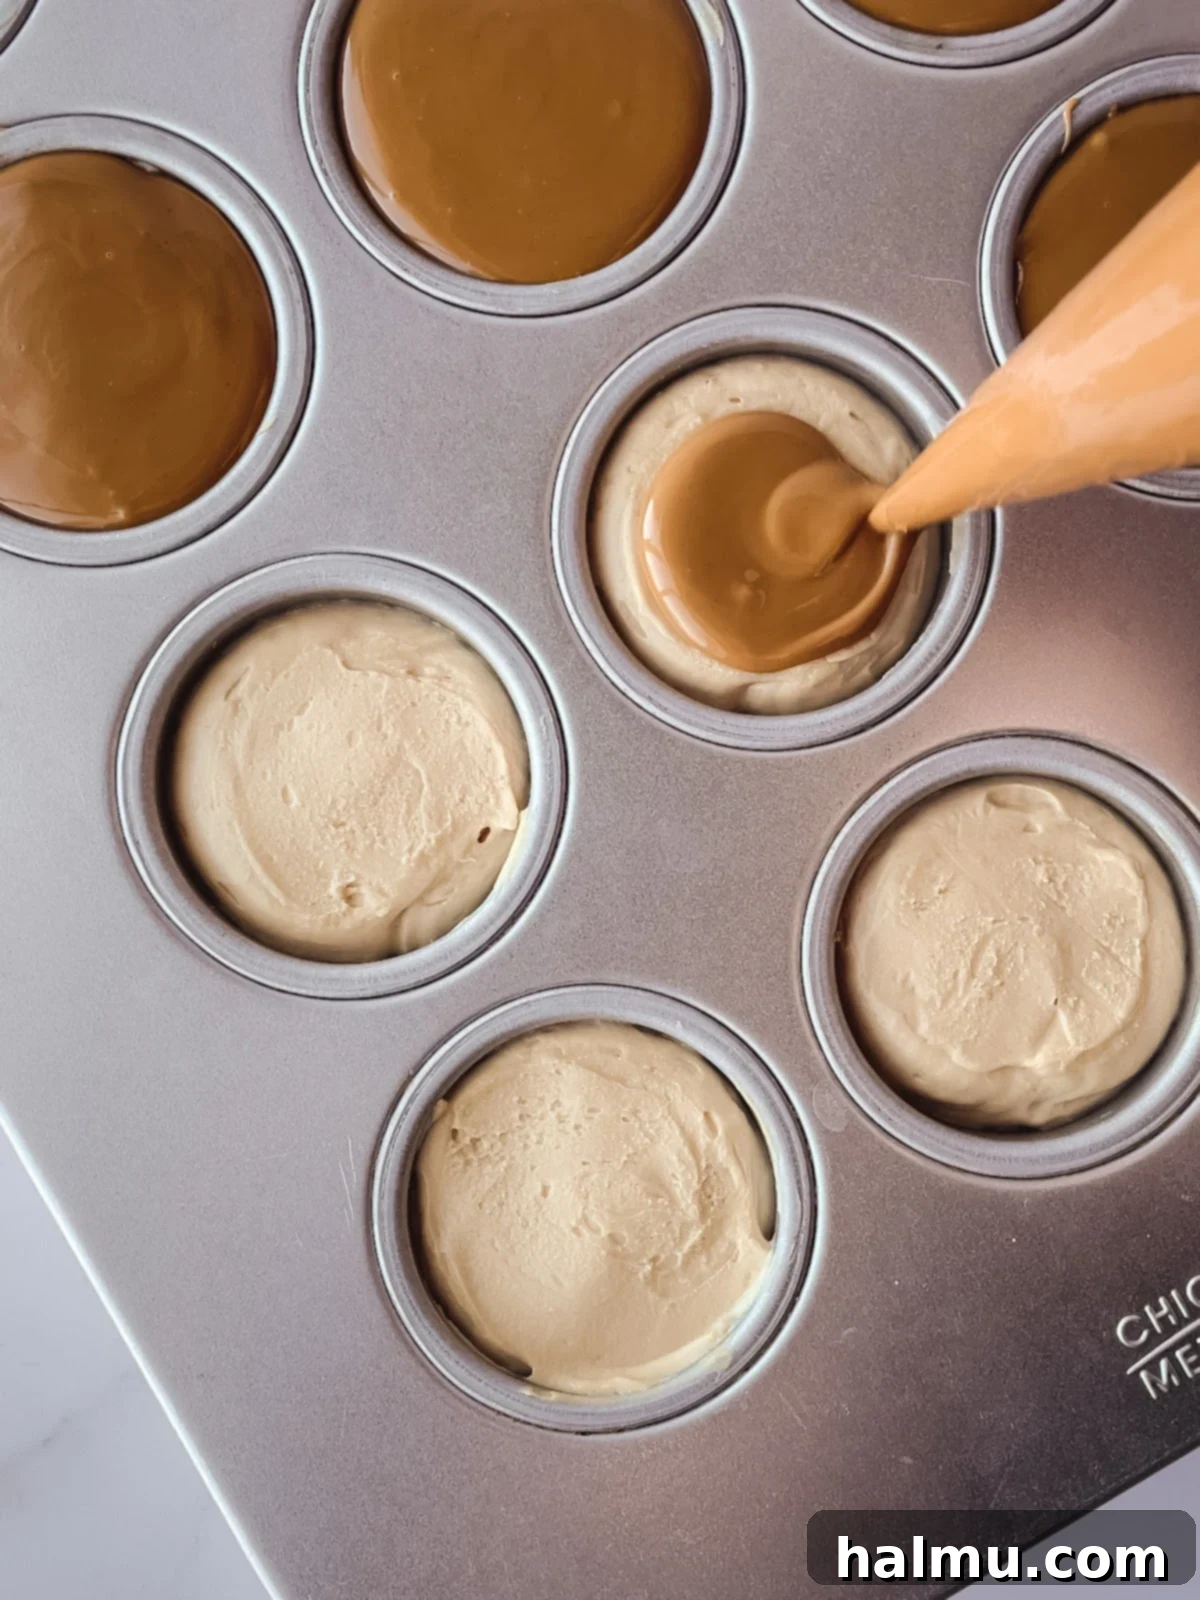
- Fill the Tins and Top with Decadent Biscoff: For a neat and easy approach, transfer your luscious Biscoff cheesecake filling into a large piping bag. Pipe the filling evenly into each prepared cheesecake tin, aiming to fill it almost to the top, leaving about a quarter-inch space unfilled. Gently smooth out the tops of the cheesecakes using a small offset spatula to create an even surface. For the final Biscoff flourish, melt your additional Biscoff spread in the microwave until it’s smooth and pourable. You can either carefully spoon it over each cheesecake or use a smaller piping bag to neatly fill the remaining space in the tins, creating a gorgeous, glossy top layer.
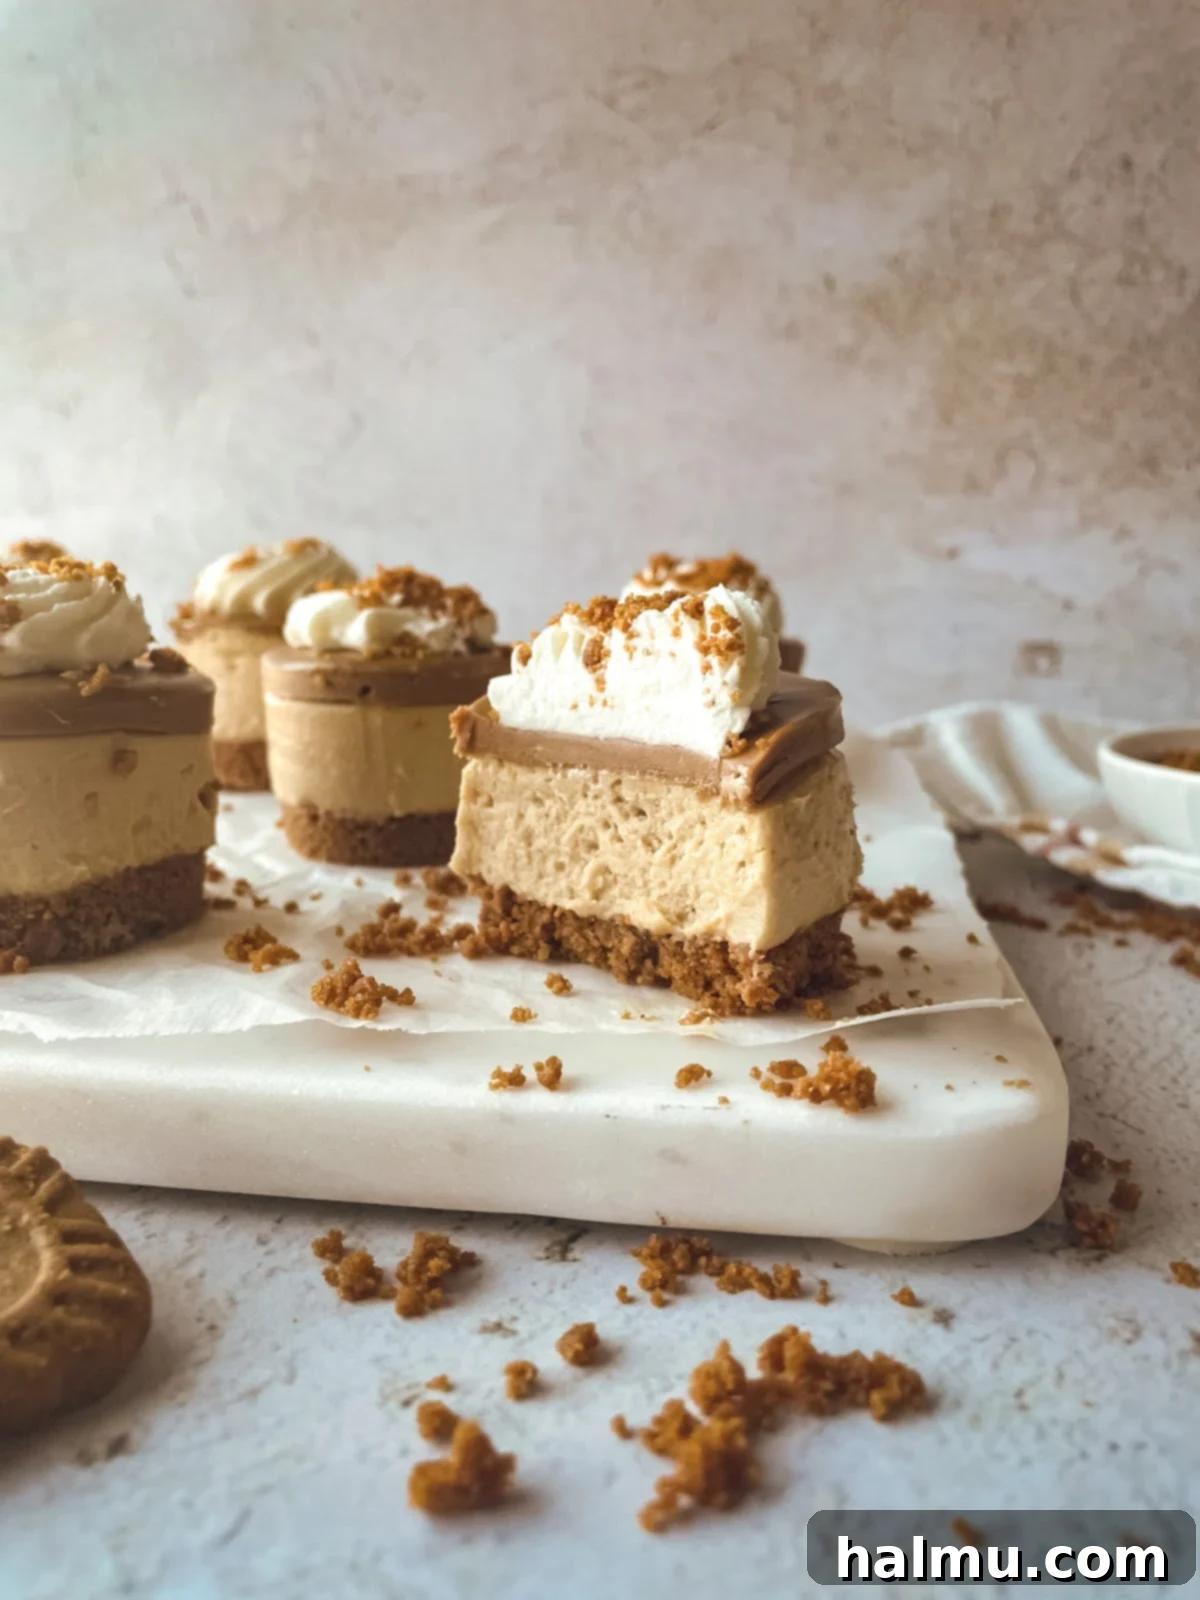
- The Essential Chill Time for Perfection: Patience is a virtue when it comes to no-bake cheesecakes! It is crucial to allow these mini cheesecakes to chill in the refrigerator for at least 4 hours. However, for optimal firmness and shape retention, chilling them overnight (or for a full 8 hours) is highly recommended. This extended chilling time allows the cream cheese and heavy cream to fully set, ensuring your cheesecakes are perfectly firm and hold their beautiful individual shape when removed from the pans. Once thoroughly chilled, remove the cheesecakes from their tins by gently pushing the removable base upwards from the bottom.
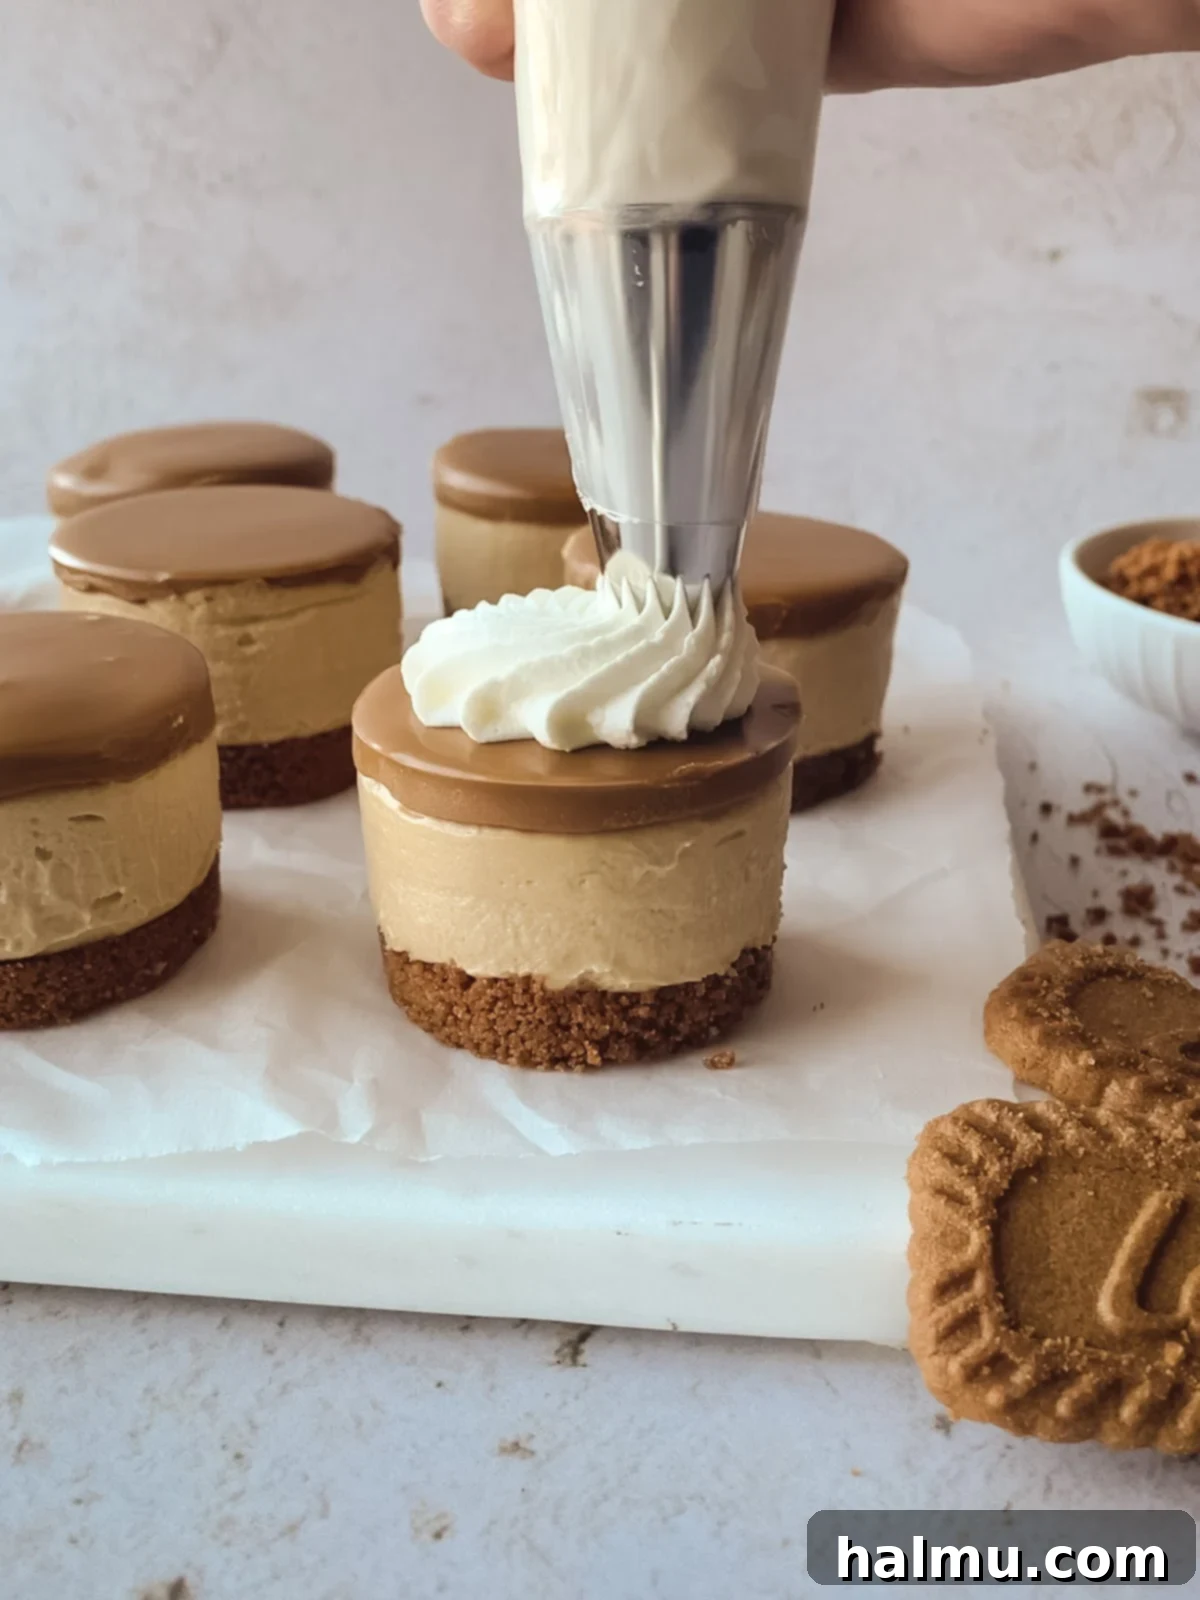
- Final Flourishes: Whipped Cream and Crumbs: To elevate these delightful treats even further, add a charming swirl of homemade whipped cream just before serving. A piping bag fitted with a star tip works wonders for a professional finish. Complete the presentation with a light sprinkle of additional Biscoff cookie crumbs. You might have some leftover crumbs from making the crust, which are perfect for this step. Serve these irresistible mini cheesecakes straight from the refrigerator to maintain their firm, cool texture. Enjoy every single bite of this easy, impressive, and utterly delicious dessert!
Recipe Video Guide
Recommended Tools for No-Bake Cheesecake Success
While this recipe is designed to be straightforward, having the right tools can make the process even smoother and ensure a professional finish for your mini cheesecakes:
Mini Cheesecake Pans: These specialized pans, often featuring removable bottoms, are a game-changer for individual desserts. They allow for perfectly straight sides and effortless removal of your delicate cheesecakes. Remember to lightly grease them even with their non-stick coating to ensure a smooth release. If you don’t have these, a standard muffin tin with cupcake liners can be a good alternative, though the shape will differ.
Tart Tamper: While not strictly essential, a tart tamper is incredibly useful for pressing down the cookie crust evenly and firmly into the bottom of each mini pan. Its flat, circular base ensures a compact and uniform crust. If you don’t own one, a shot glass, the bottom of a spice jar, or any small, flat-bottomed glass that fits snugly into the cheesecake tin will work just as well to achieve a tight crust.
Small Offset Spatula: This versatile kitchen tool is a must-have for any baker. Its angled blade is perfect for a multitude of tasks, from spreading frosting to smoothing batters. For these mini cheesecakes, it’s invaluable for gently leveling the creamy filling and creating a beautifully smooth surface before you add the melted Biscoff topping, ensuring an elegant finish.
Piping Bags: Using piping bags simplifies the process of filling the mini cheesecake tins, ensuring precision and cleanliness. The cheesecake filling can be quite thick, making it challenging to spoon neatly into small cavities. An 18-inch piping bag is ideal for the filling, while a smaller 12-inch bag works perfectly for piping the melted Biscoff spread and for adding decorative swirls of whipped cream, offering great control and a professional presentation.
Mini Biscoff Cheesecake FAQs: Your Questions Answered
What can I use if I don’t have mini cheesecake pans?
Fear not, a lack of specialized pans won’t stop you from making these delicious cheesecakes! You can easily use a standard 12-cup muffin tin. Simply line each cup with paper cupcake liners. The liners make for incredibly easy removal, compensating for the absence of a removable base. These will create slightly larger, more generous portions than dedicated mini cheesecake pans. For even smaller bites, a mini muffin tin would also work wonderfully, just adjust the crust and filling amounts accordingly per cup.
How long do the cheesecakes need to chill in the fridge?
For these no-bake wonders, chilling is paramount for proper setting and stability. The cheesecakes require a minimum of 4 hours in the refrigerator to become firm enough to handle and hold their shape. However, for the absolute best results and a perfectly sturdy, sliceable texture, I strongly recommend chilling them overnight, or for at least 8 hours. The whipped cream incorporated into the filling makes it wonderfully light, but it also means it needs ample time to firm up completely.
What if my cheesecakes aren’t coming out of the pans easily?
If you encounter any resistance when trying to pop your cheesecakes out of the mini pans, don’t force them! A simple trick can help. Run a clean kitchen towel under hot water, wring out the excess, and then one by one, gently rub the exterior of each cheesecake cavity with the warm, damp towel. The warmth will slightly loosen the cheesecake from the metal, allowing it to slide out effortlessly. I’ve found this method works wonders, even on those rare occasions when I’ve forgotten to grease the pans!
How do I store these Mini Biscoff Cheesecakes?
These delightful mini cheesecakes are excellent for making ahead and storing. Store the finished cheesecakes in an airtight container in the refrigerator for up to 5 days, ensuring they remain fresh and delicious. For longer storage, you can freeze them for up to 3 months. When freezing, ensure they are fully set and then place them in an airtight, freezer-safe container. To serve frozen cheesecakes, simply transfer them to the fridge for a few hours to thaw gently. For the best presentation and texture, always add the whipped cream and Biscoff cookie crumb garnish just before serving, whether they’ve been refrigerated or thawed.
Can I make a full-sized Biscoff cheesecake with this recipe?
While this recipe is specifically designed for mini cheesecakes, the creamy Biscoff filling and flavorful crust can certainly be adapted for a larger dessert! For a full-sized 9-inch no-bake cheesecake, you would likely need to double the ingredients for both the crust and the filling. You would then press the crust into a 9-inch springform pan and pour all the filling over it. The chilling time would also need to be extended, possibly to 8-12 hours or even longer, to ensure the larger volume of filling sets completely and firmly. Always be sure to grease your springform pan well for easy removal.
More Irresistible Desserts You’ll Love
If you’ve enjoyed the sweet indulgence of these Mini Biscoff Cheesecakes, be sure to explore more delectable creations from our kitchen:
- Strawberry Crunch Cheesecake
- Chantilly Crepe Cake
- Tiramisu Cupcakes
- Lemon Bundt Cakes
- Peanut Butter Oreo Cheesecake Bars
Finally, if you create this recipe, please share your masterpieces! Leave a comment below and don’t forget to tag @sweetkitchencravings on Instagram or TikTok. For those who love to save recipes for later, you can pin this to your collection on Pinterest. Happy baking (and no-baking)!
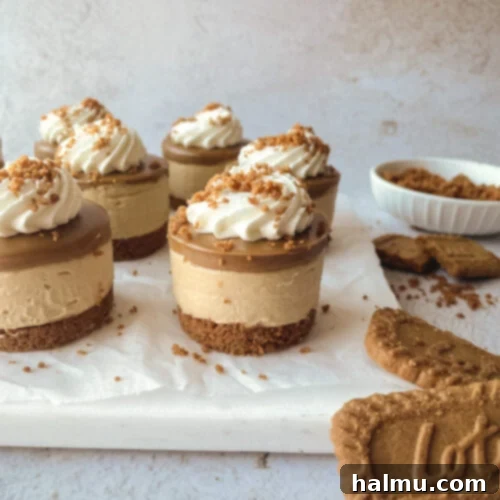
Mini Biscoff Cheesecakes
Print Recipe
RATE THIS RECIPE
Ingredients
For the Biscoff Crust
- 1 – 8.8 oz package (250g) Biscoff cookies
- 5 Tablespoons (71g) butter, melted
For the Cheesecake
- 24 oz (3 blocks or 681g) cream cheese
- ¾ cup (140g) brown sugar
- 1 cup (272g) Biscoff spread
- 2 teaspoons vanilla extract
- 1 cup (240ml) heavy cream
For the Topping
- ¾ cup (204g) Biscoff spread, melted
- whipped cream, optional
SHOP INGREDIENTS
Instructions
- Biscoff Crust: In a food processor, add the Biscoff cookies and pulse to fine crumbs. Add in the melted butter and pulse until the mixture is fully combined.
- Lightly coat two 12-count mini cheesecake pans with cooking spray. Add about 1 Tablespoon of the crust mixture to each cheesecake tin and press firmly to compact it in the bottom. Set aside any remaining crumbs to sprinkle on top of the finished cheesecakes. Place the pans in the fridge to chill while you make the cheesecake filling.
- Cheesecake Filling: In the bowl of a stand mixer fitted with a paddle attachment, beat the cream cheese and brown sugar together until smooth. Scrape the bowl, add the Biscoff spread and vanilla, and mix until combined.
- Scrape the bowl again and switch to the whisk attachment. With the mixer on low speed, slowly stream in the heavy cream. Once the cream is incorporated, turn the mixer to high speed and whip until the mixture is thick about 20 – 30 seconds.
- Use a large piping bag to fill the prepared pans to the top with the cheesecake filling, leaving about ¼” unfilled. Lightly smooth the tops of the cheesecakes with a small offset spatula. Use a piping bag or small pitcher to pour the melted Biscoff spread over the tops of the cheesecakes filling the pans the rest of the way to the top. Refrigerate for at least 4 hours, preferably 8 hours or overnight.
- Once the cheesecakes are set, remove them from the tins by gently pushing the cheesecakes up and out from the bottom, then remove the metal base.
- Pipe a dollop of whipped cream onto each cheesecake and finish with a sprinkle of the reserved Biscoff crust crumbs. Serve and enjoy!
Video
Notes
- Storing: Store cheesecakes in an airtight container in the fridge for up to 5 days or in the freezer for up to 3 months.
