This post may contain affiliate links. Please read my full disclosure policy.
Ultimate Bakery-Style Chocolate Chip Cookies: A Guide to Perfect Homemade Indulgence
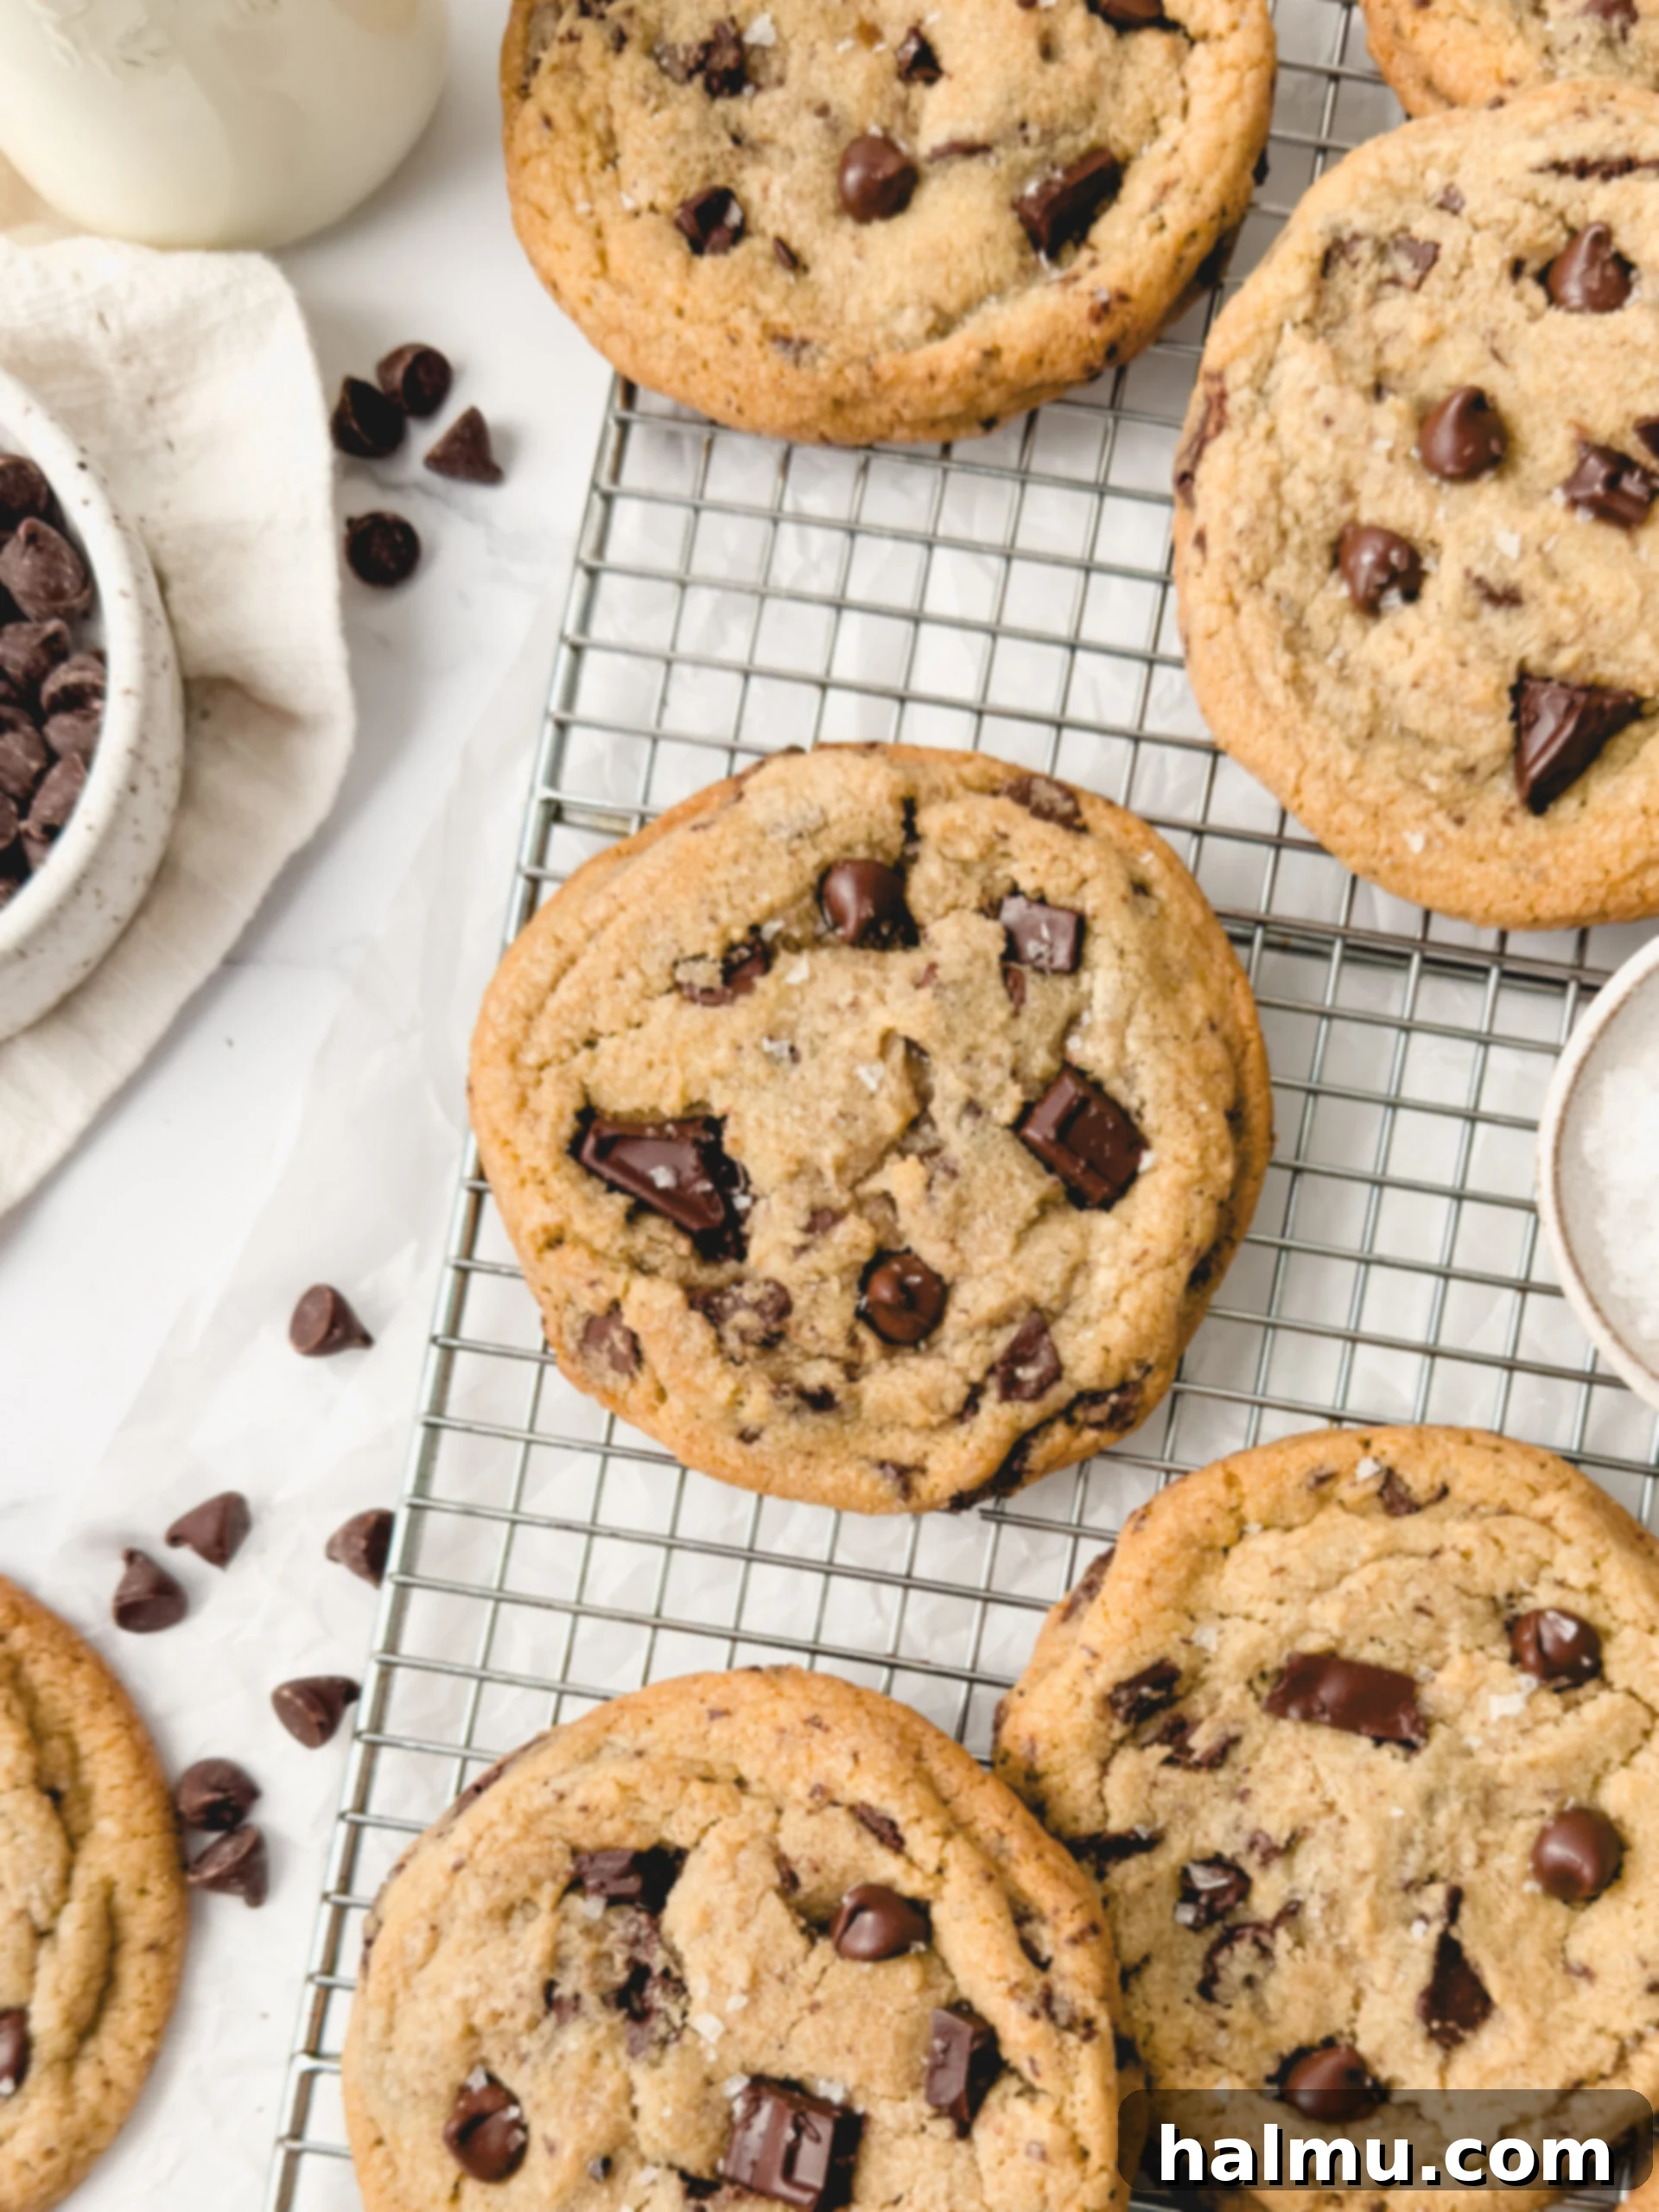
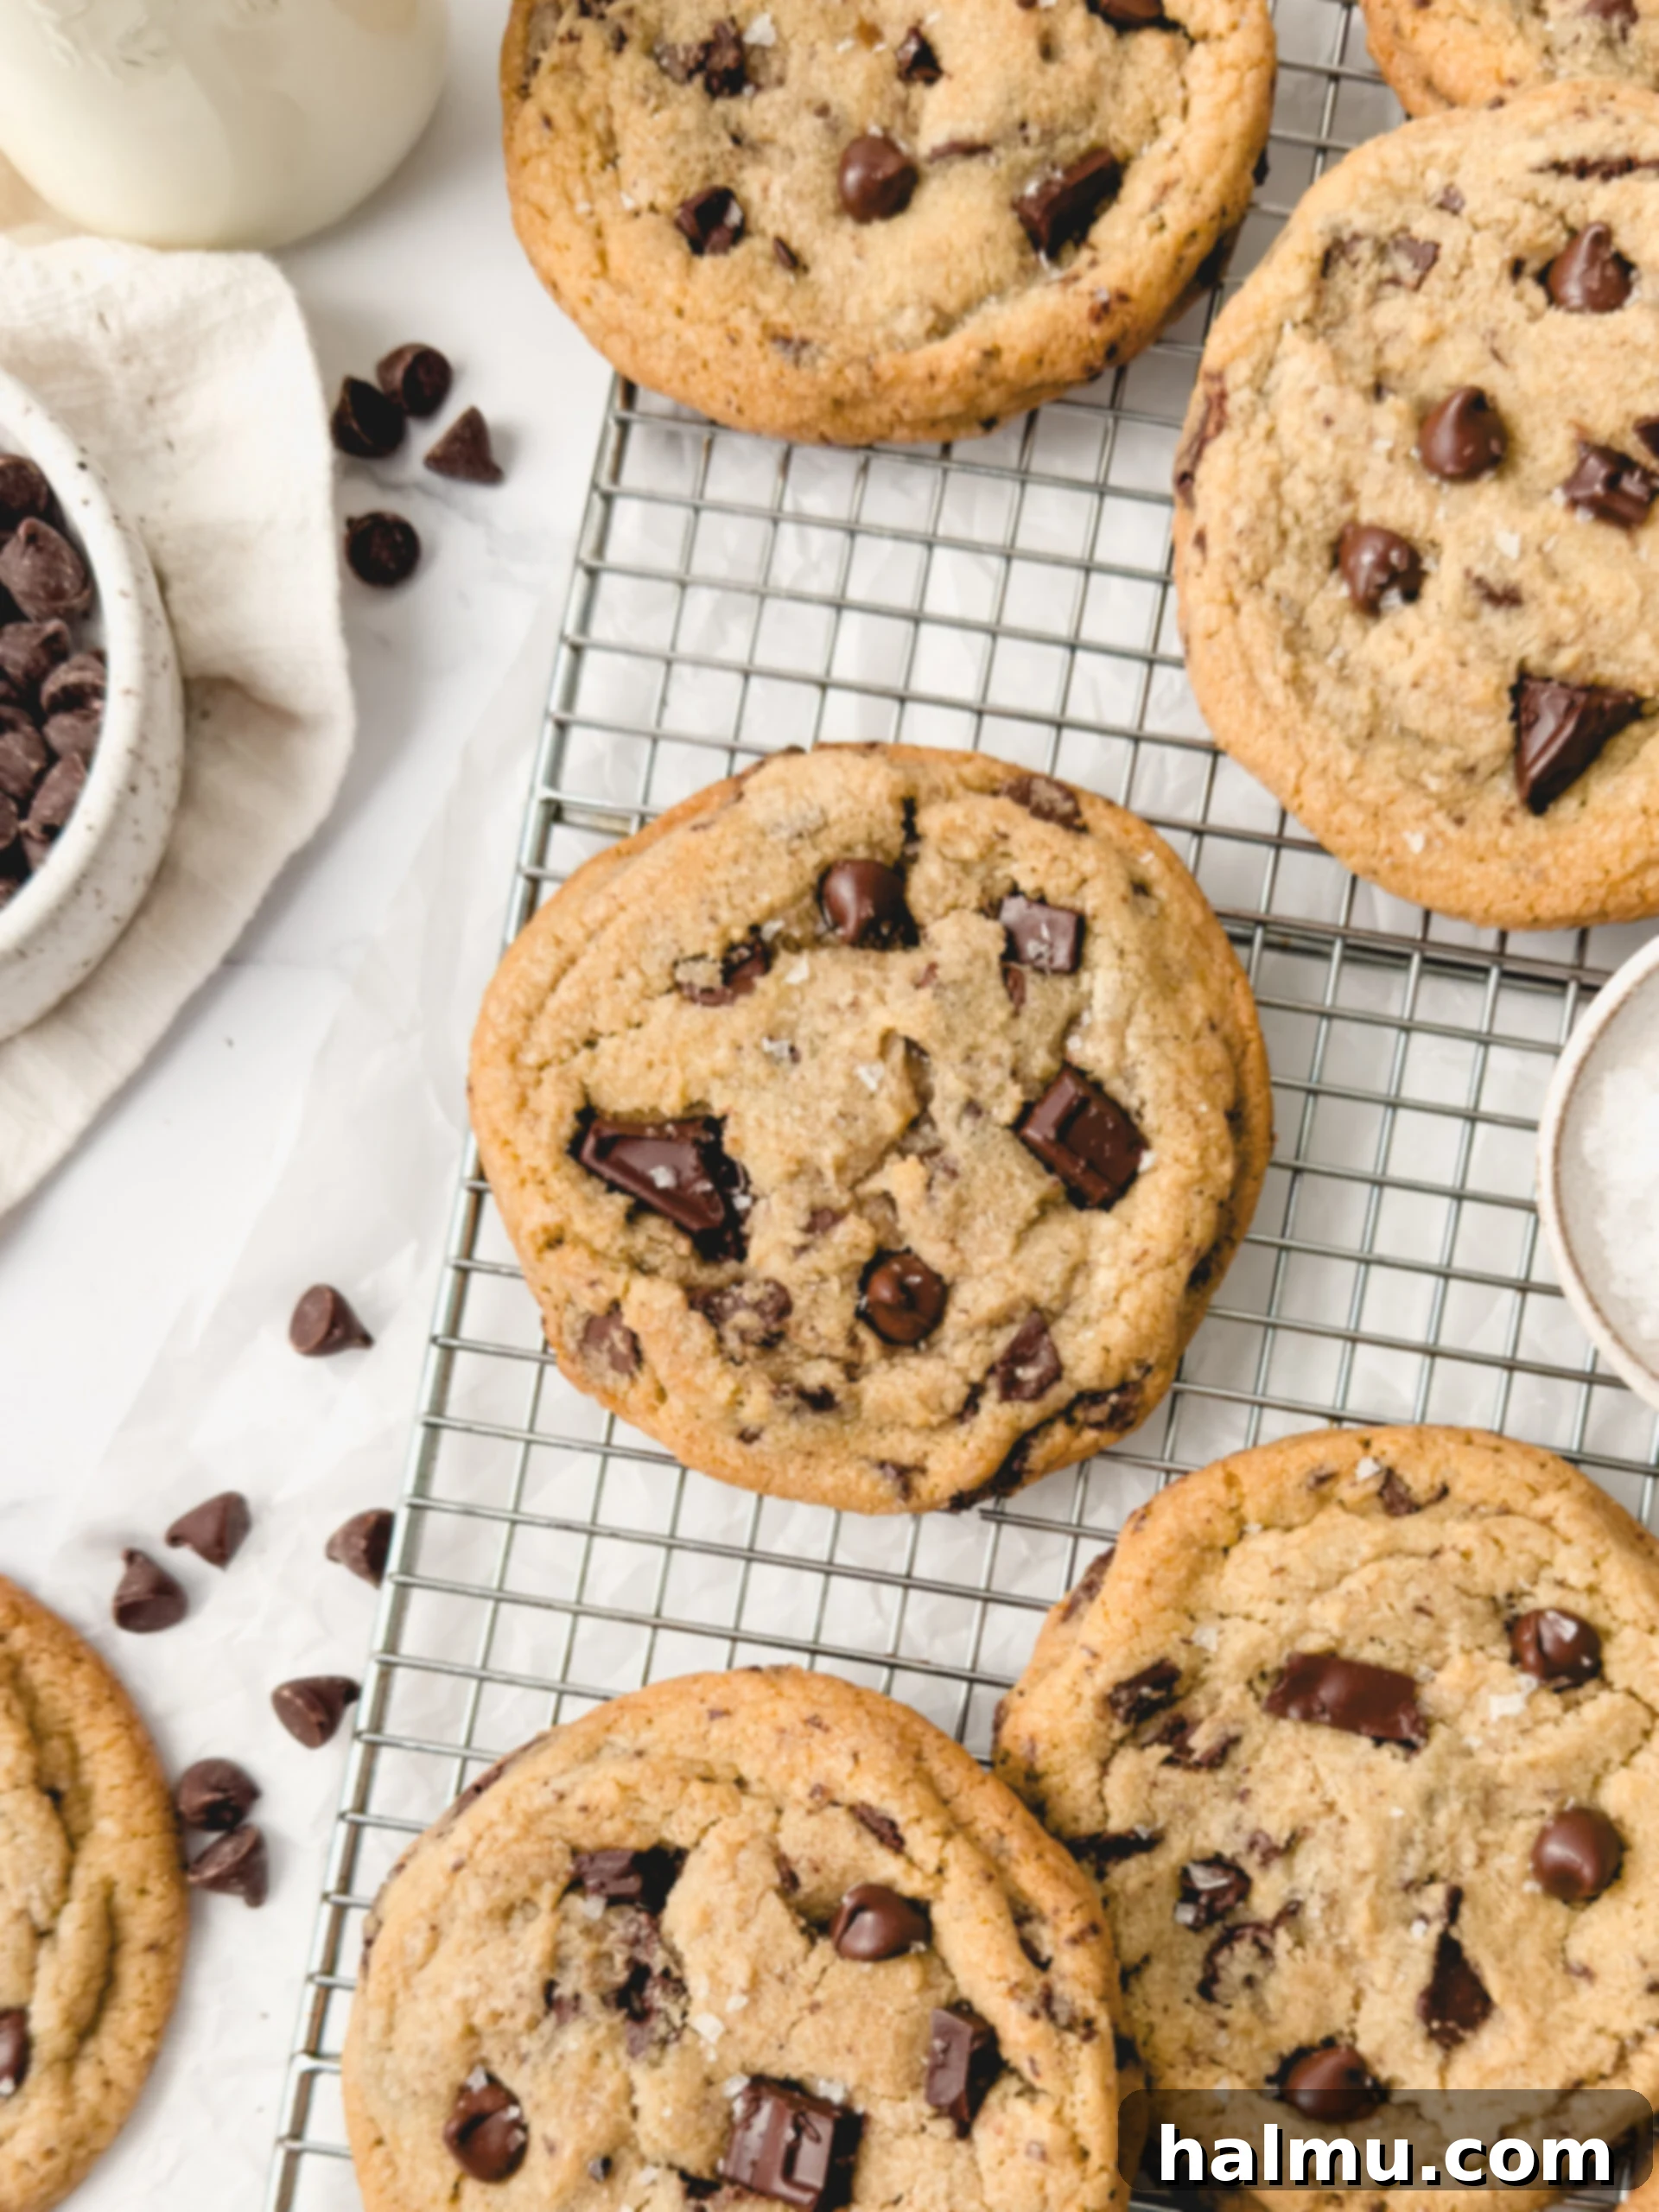
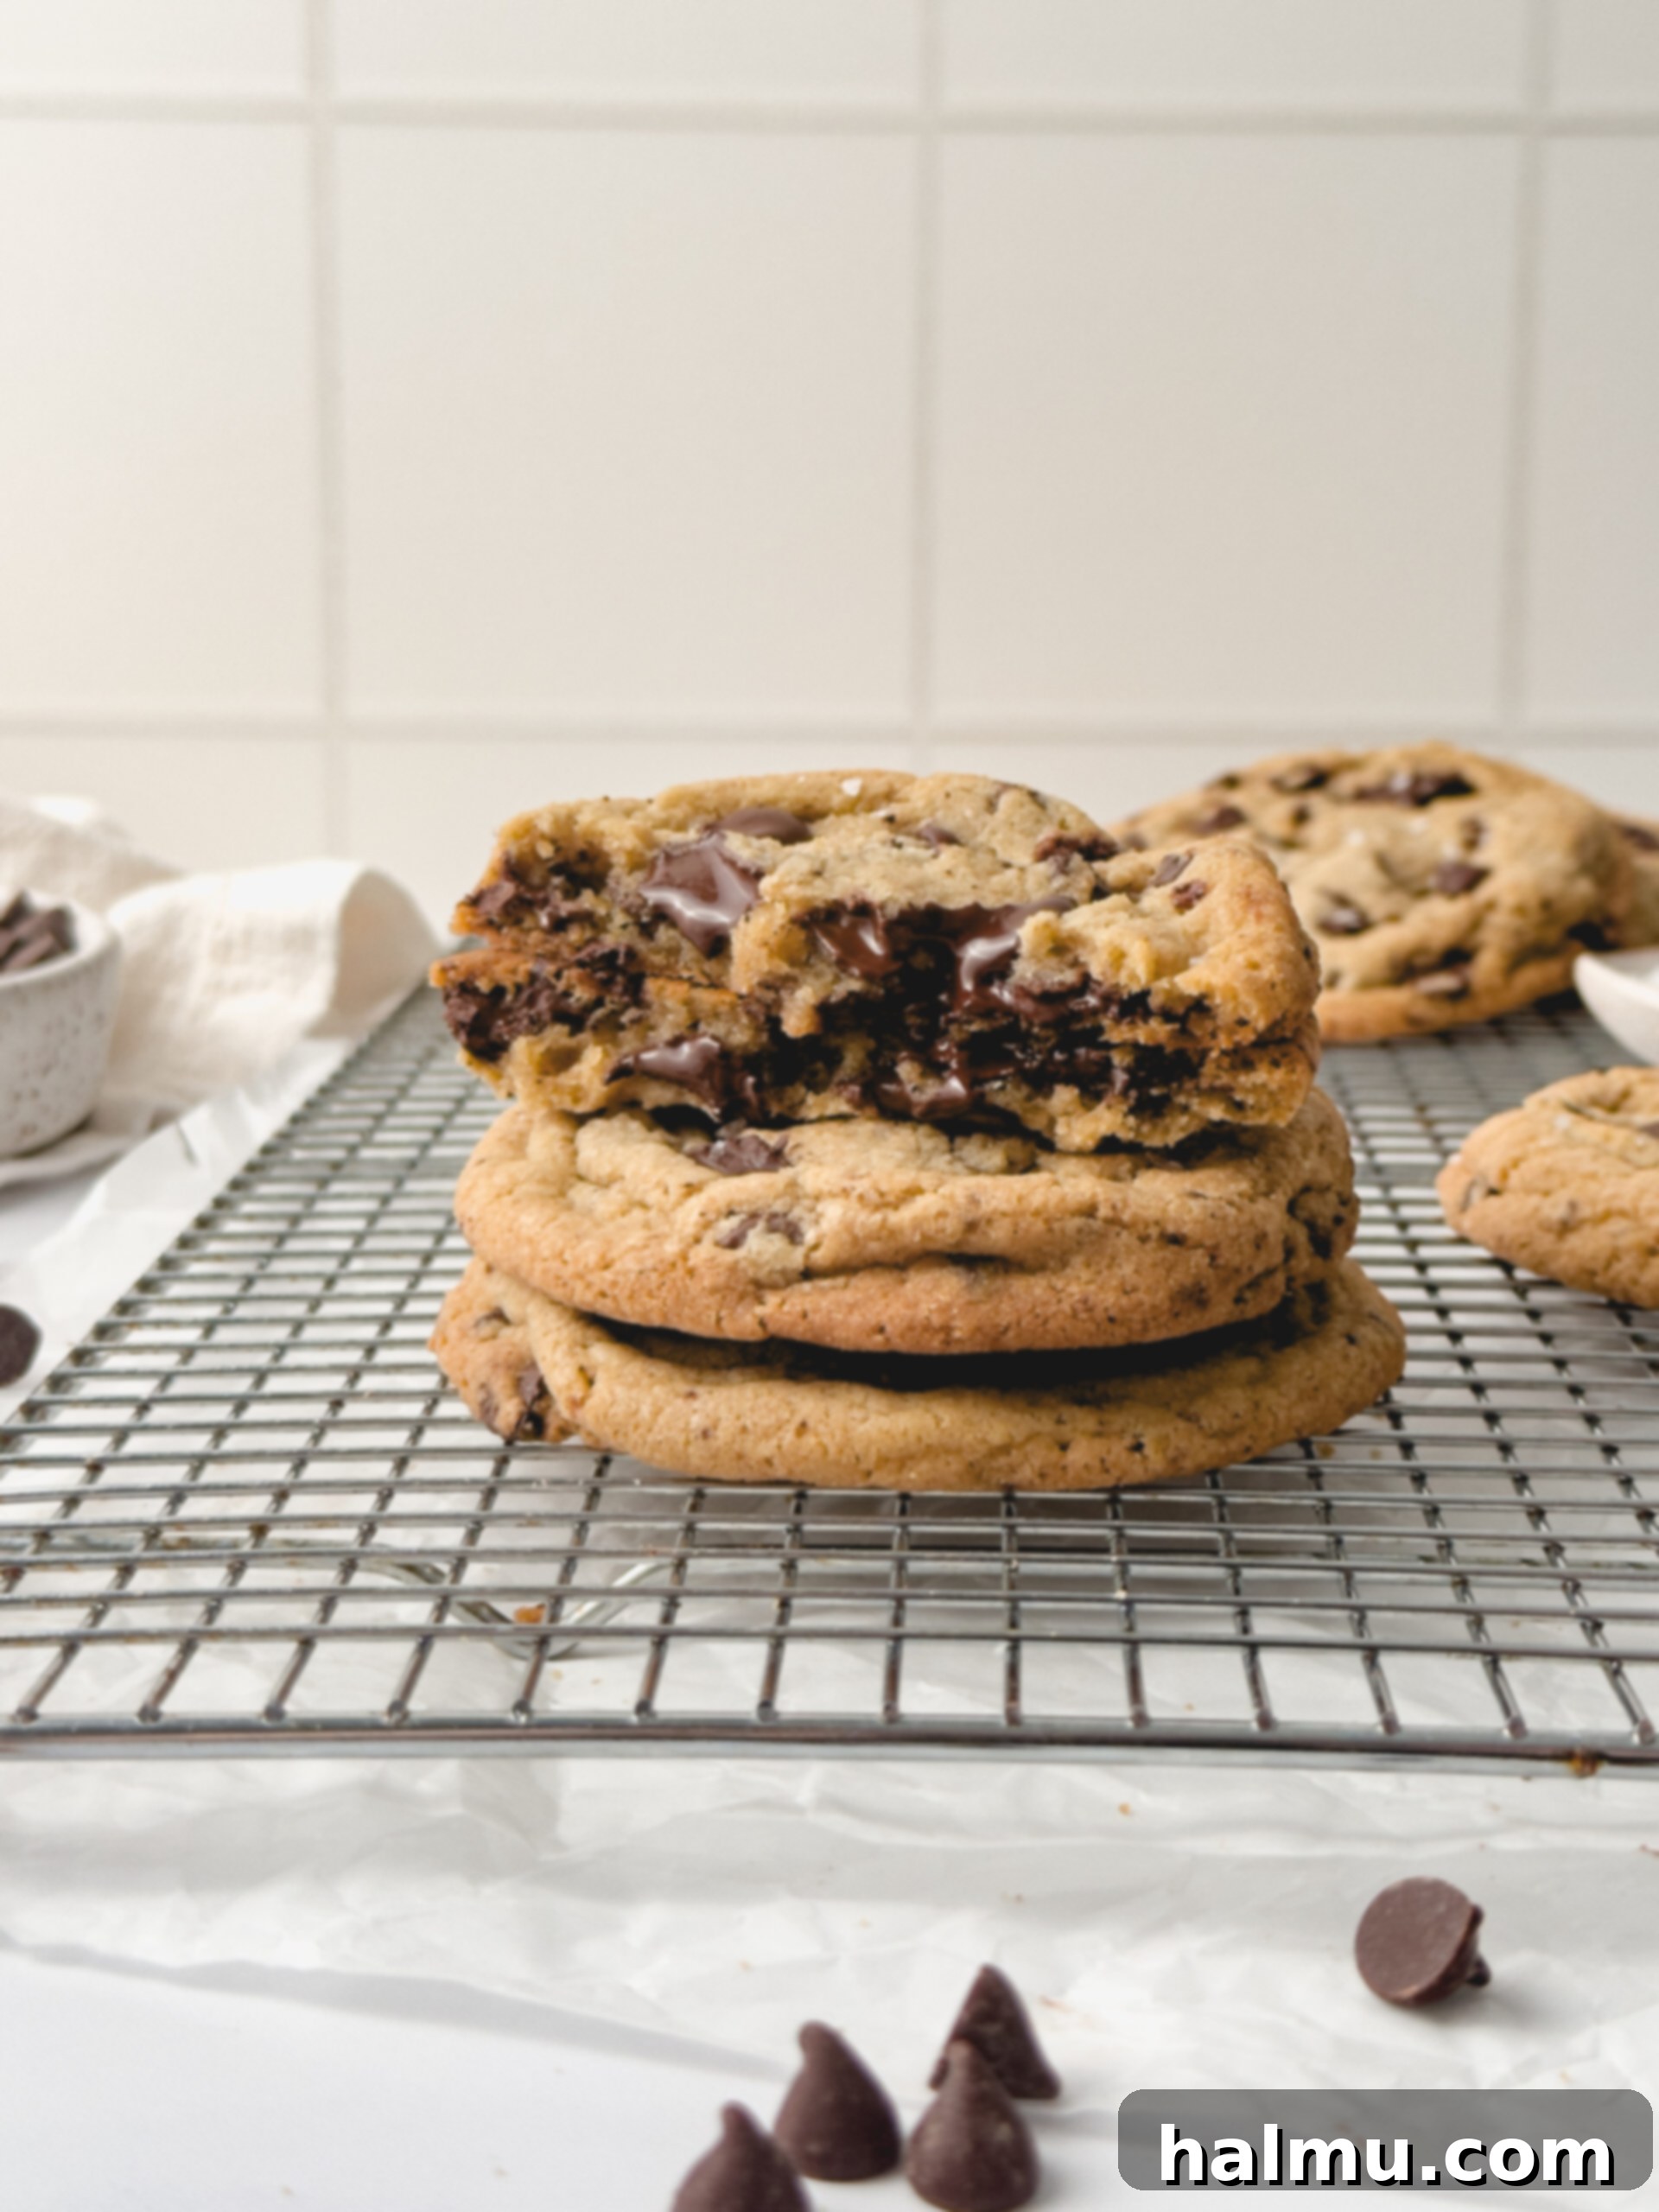
There’s nothing quite like the comforting aroma and taste of a freshly baked chocolate chip cookie. But when you crave that special, elevated experience often found in your favorite bakery, these **Bakery-Style Chocolate Chip Cookies** deliver. Imagine a symphony of textures and flavors: a classic, rich, and intensely buttery cookie dough, generously loaded with both chopped dark chocolate and semi-sweet chocolate chips. Each bite promises the perfect contrast – delicately crisp, golden-brown edges giving way to a luxuriously soft and chewy center, studded with irresistible pockets of melty, gooey chocolate. This recipe isn’t just about baking cookies; it’s about transforming your kitchen into a professional bakery, allowing you to create truly indulgent, oversized chocolate chip cookies that are guaranteed to impress and become an instant crowd-pleaser.
Whether you’re a seasoned baker or just starting your culinary journey, this comprehensive guide will walk you through every step to achieve those coveted thick, chewy, and utterly delicious cookies. We’ll delve into the science behind their perfect texture, share expert tips for ingredient selection, and provide detailed instructions to ensure your homemade treats rival any professional bakery.
Why These Bakery-Style Chocolate Chip Cookies Will Become Your Go-To Recipe
These aren’t just any chocolate chip cookies; they’re designed for perfection, offering specific characteristics that elevate them above the rest. Here’s why you’ll fall in love with this recipe:
- Unrivaled Soft & Chewy Texture: The quest for the ideal chocolate chip cookie often ends here. We’ve mastered the ideal combination of textures: a delightful chewiness that yields effortlessly with every bite, paired with a tender, melt-in-your-mouth interior. The secret lies in a careful balance of sugars, with brown sugar imparting essential moisture and contributing to that desirable chew, while a touch of cornstarch works wonders to keep the cookies incredibly soft and tender, preventing them from drying out. This ensures your cookies remain delightful long after they’ve cooled.
- Impressively Big & Thick: Forget small, flat cookies. This recipe is designed for substantial, oversized treats that truly feel like a bakery indulgence. Using generous 2-ounce scoops of dough ensures each cookie bakes up thick and satisfying. A crucial step to achieving this impressive thickness and preventing excessive spreading is chilling the dough for several hours. This allows the butter to firm up and the flour to fully hydrate, resulting in a taller, more robust cookie structure.
- Exquisitely Ultra Chocolaty: For true chocolate lovers, these cookies are a dream come true. We don’t just use one type of chocolate; a thoughtful mix of finely chopped dark chocolate and high-quality semi-sweet chocolate chips creates a dynamic chocolate experience. The chopped dark chocolate melts into luscious, glossy pools throughout the cookie, offering a smoother, more intense chocolate flavor. Meanwhile, the semi-sweet chips retain some of their shape, providing distinct pockets of melty goodness and a delightful textural contrast in every single bite.
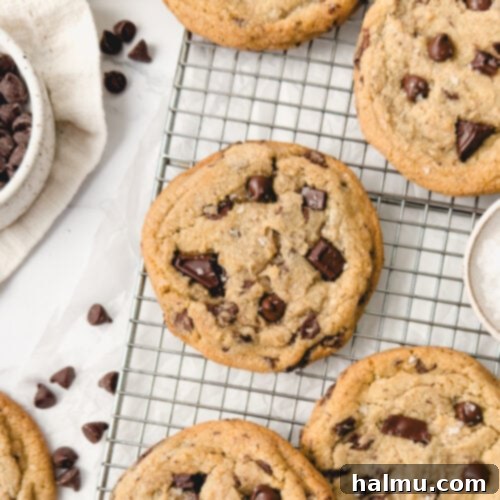
- Professional Finishing Touches: Achieve a photo-perfect, professional look with these simple yet impactful finishing steps. Immediately after removing the hot cookies from the oven, gently press a few extra chocolate pieces and chips onto their tops. This creates those beautiful, alluring pools of chocolate visible on the surface. A delicate sprinkle of flaky sea salt not only enhances their visual appeal but also provides a sophisticated sweet and salty balance, elevating the overall flavor profile and making them utterly irresistible.
Crafting Your Masterpiece: How to Make Bakery-Style Chocolate Chip Cookies
Creating these sensational cookies is a straightforward process, broken down into key steps that ensure perfect results every time. Follow along for an easy baking experience.
Step 1: Mixing the Dough to Perfection
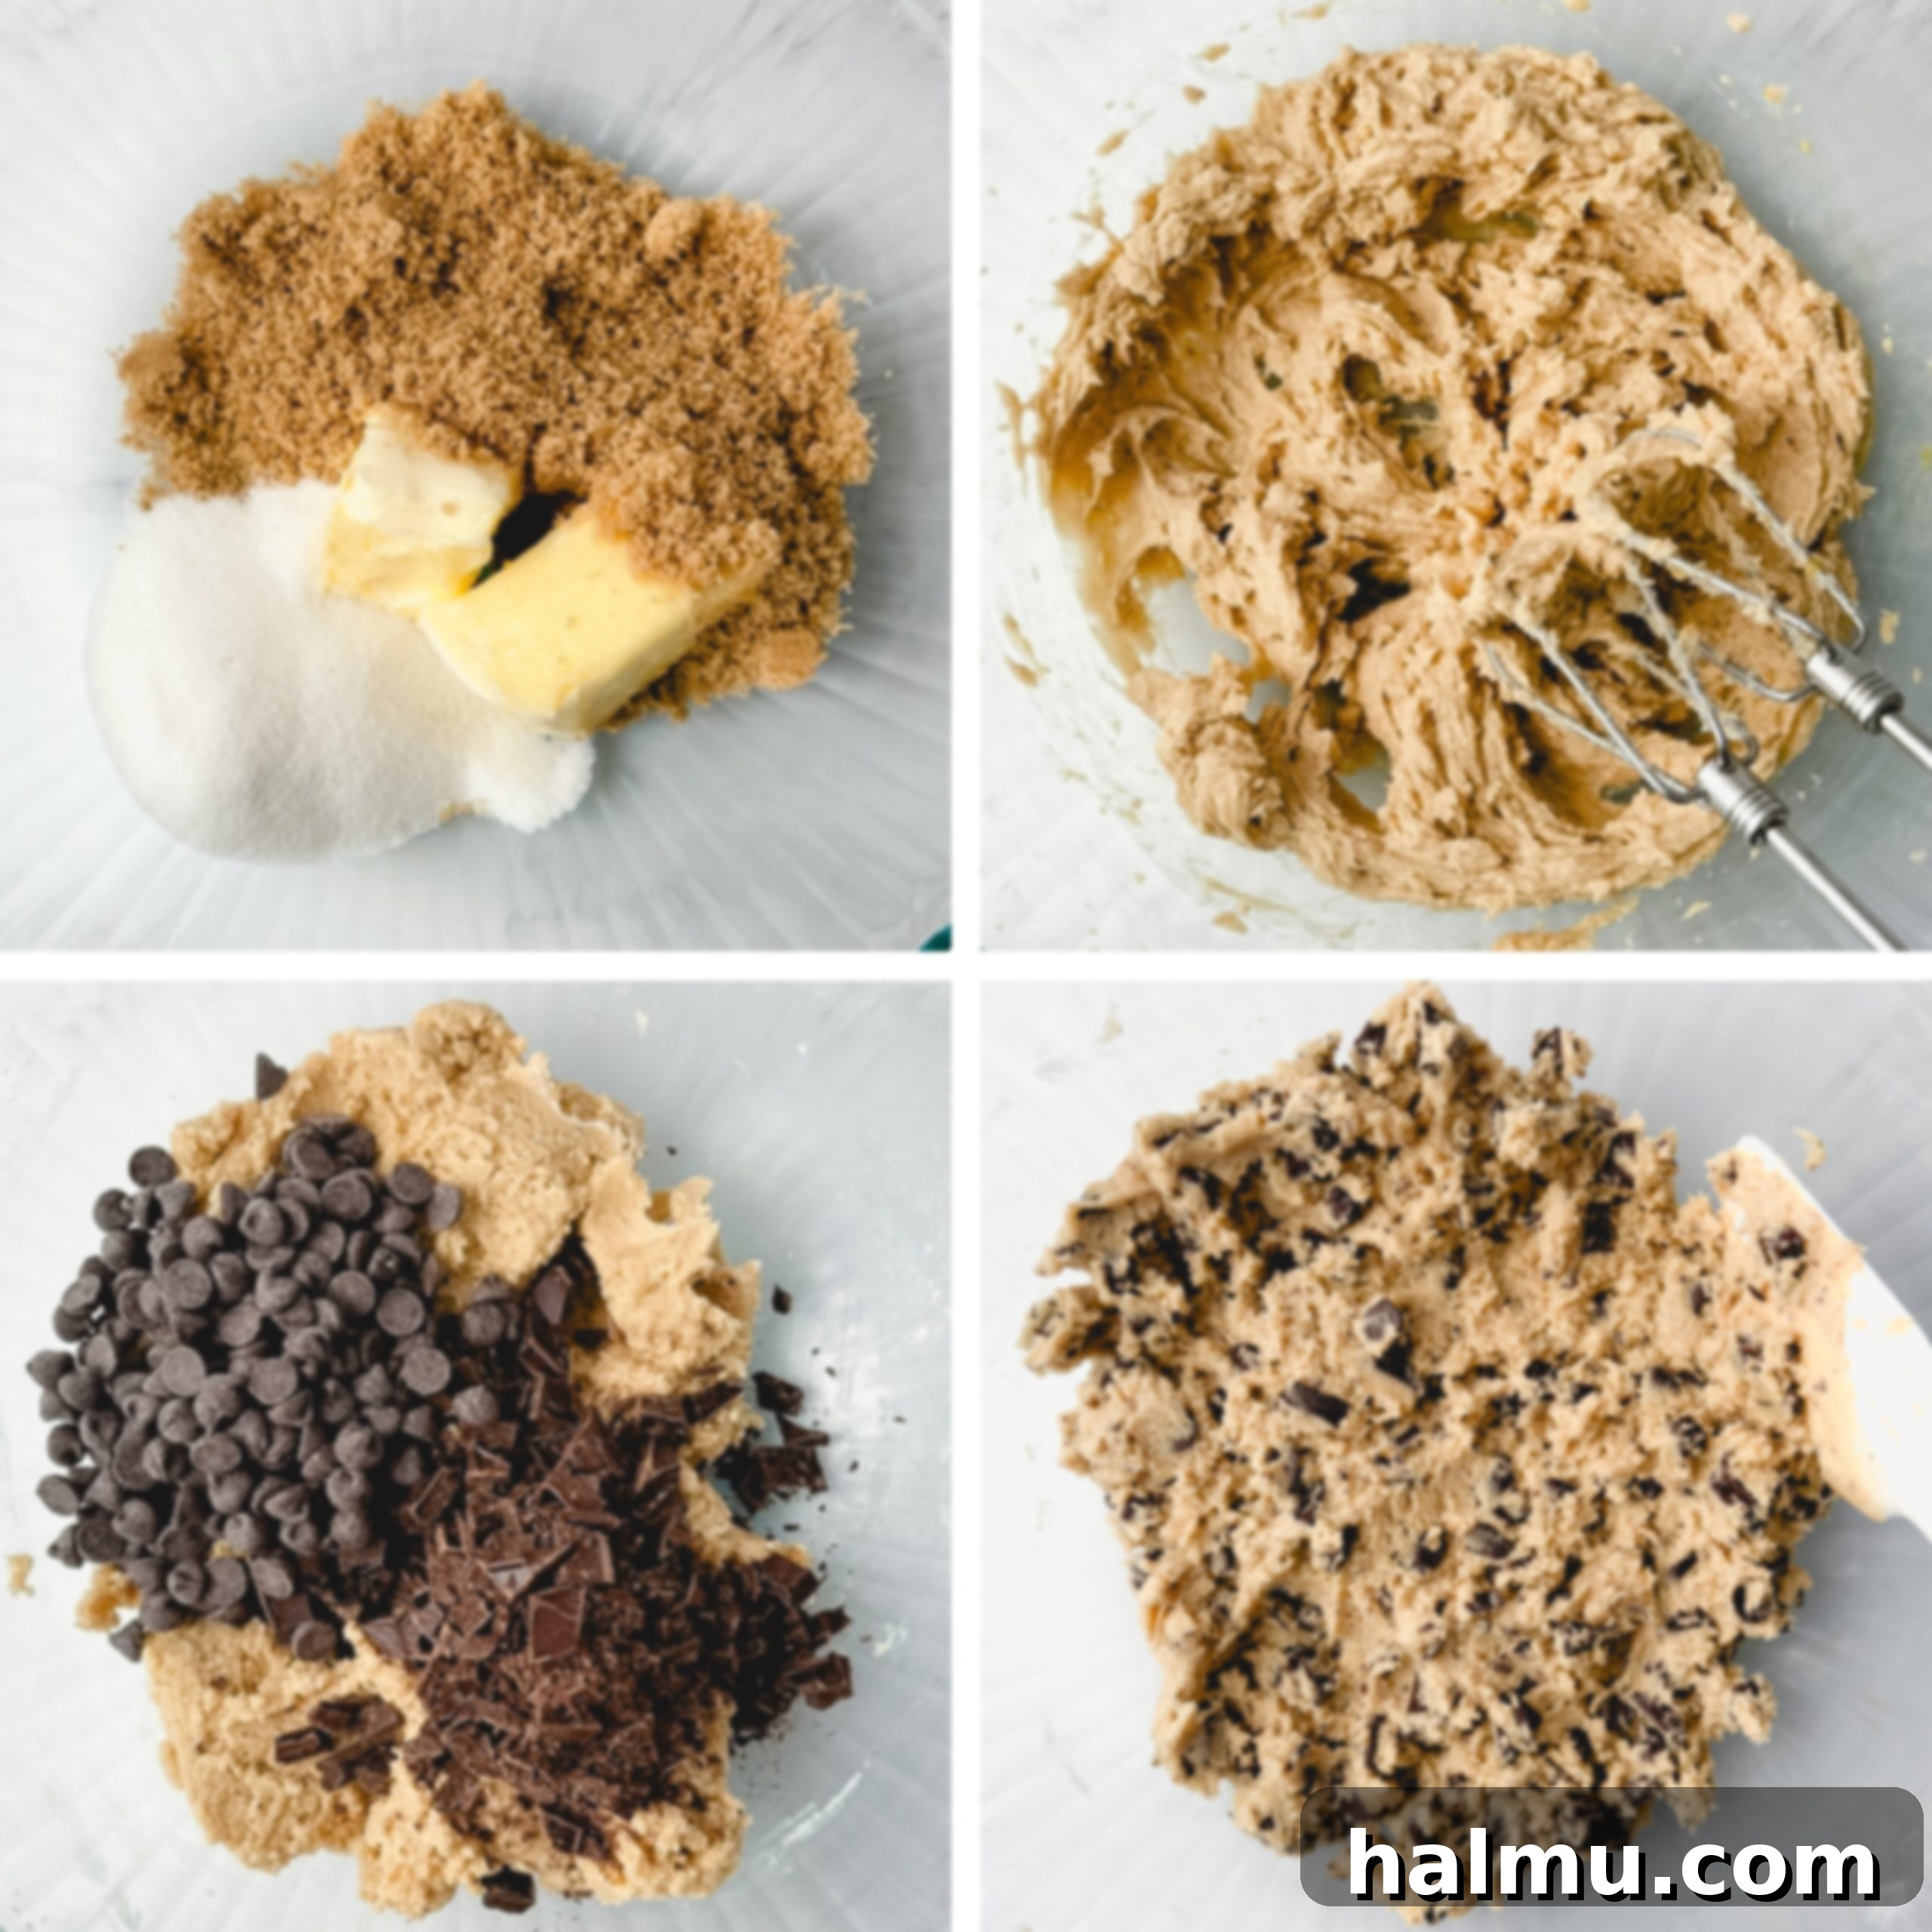
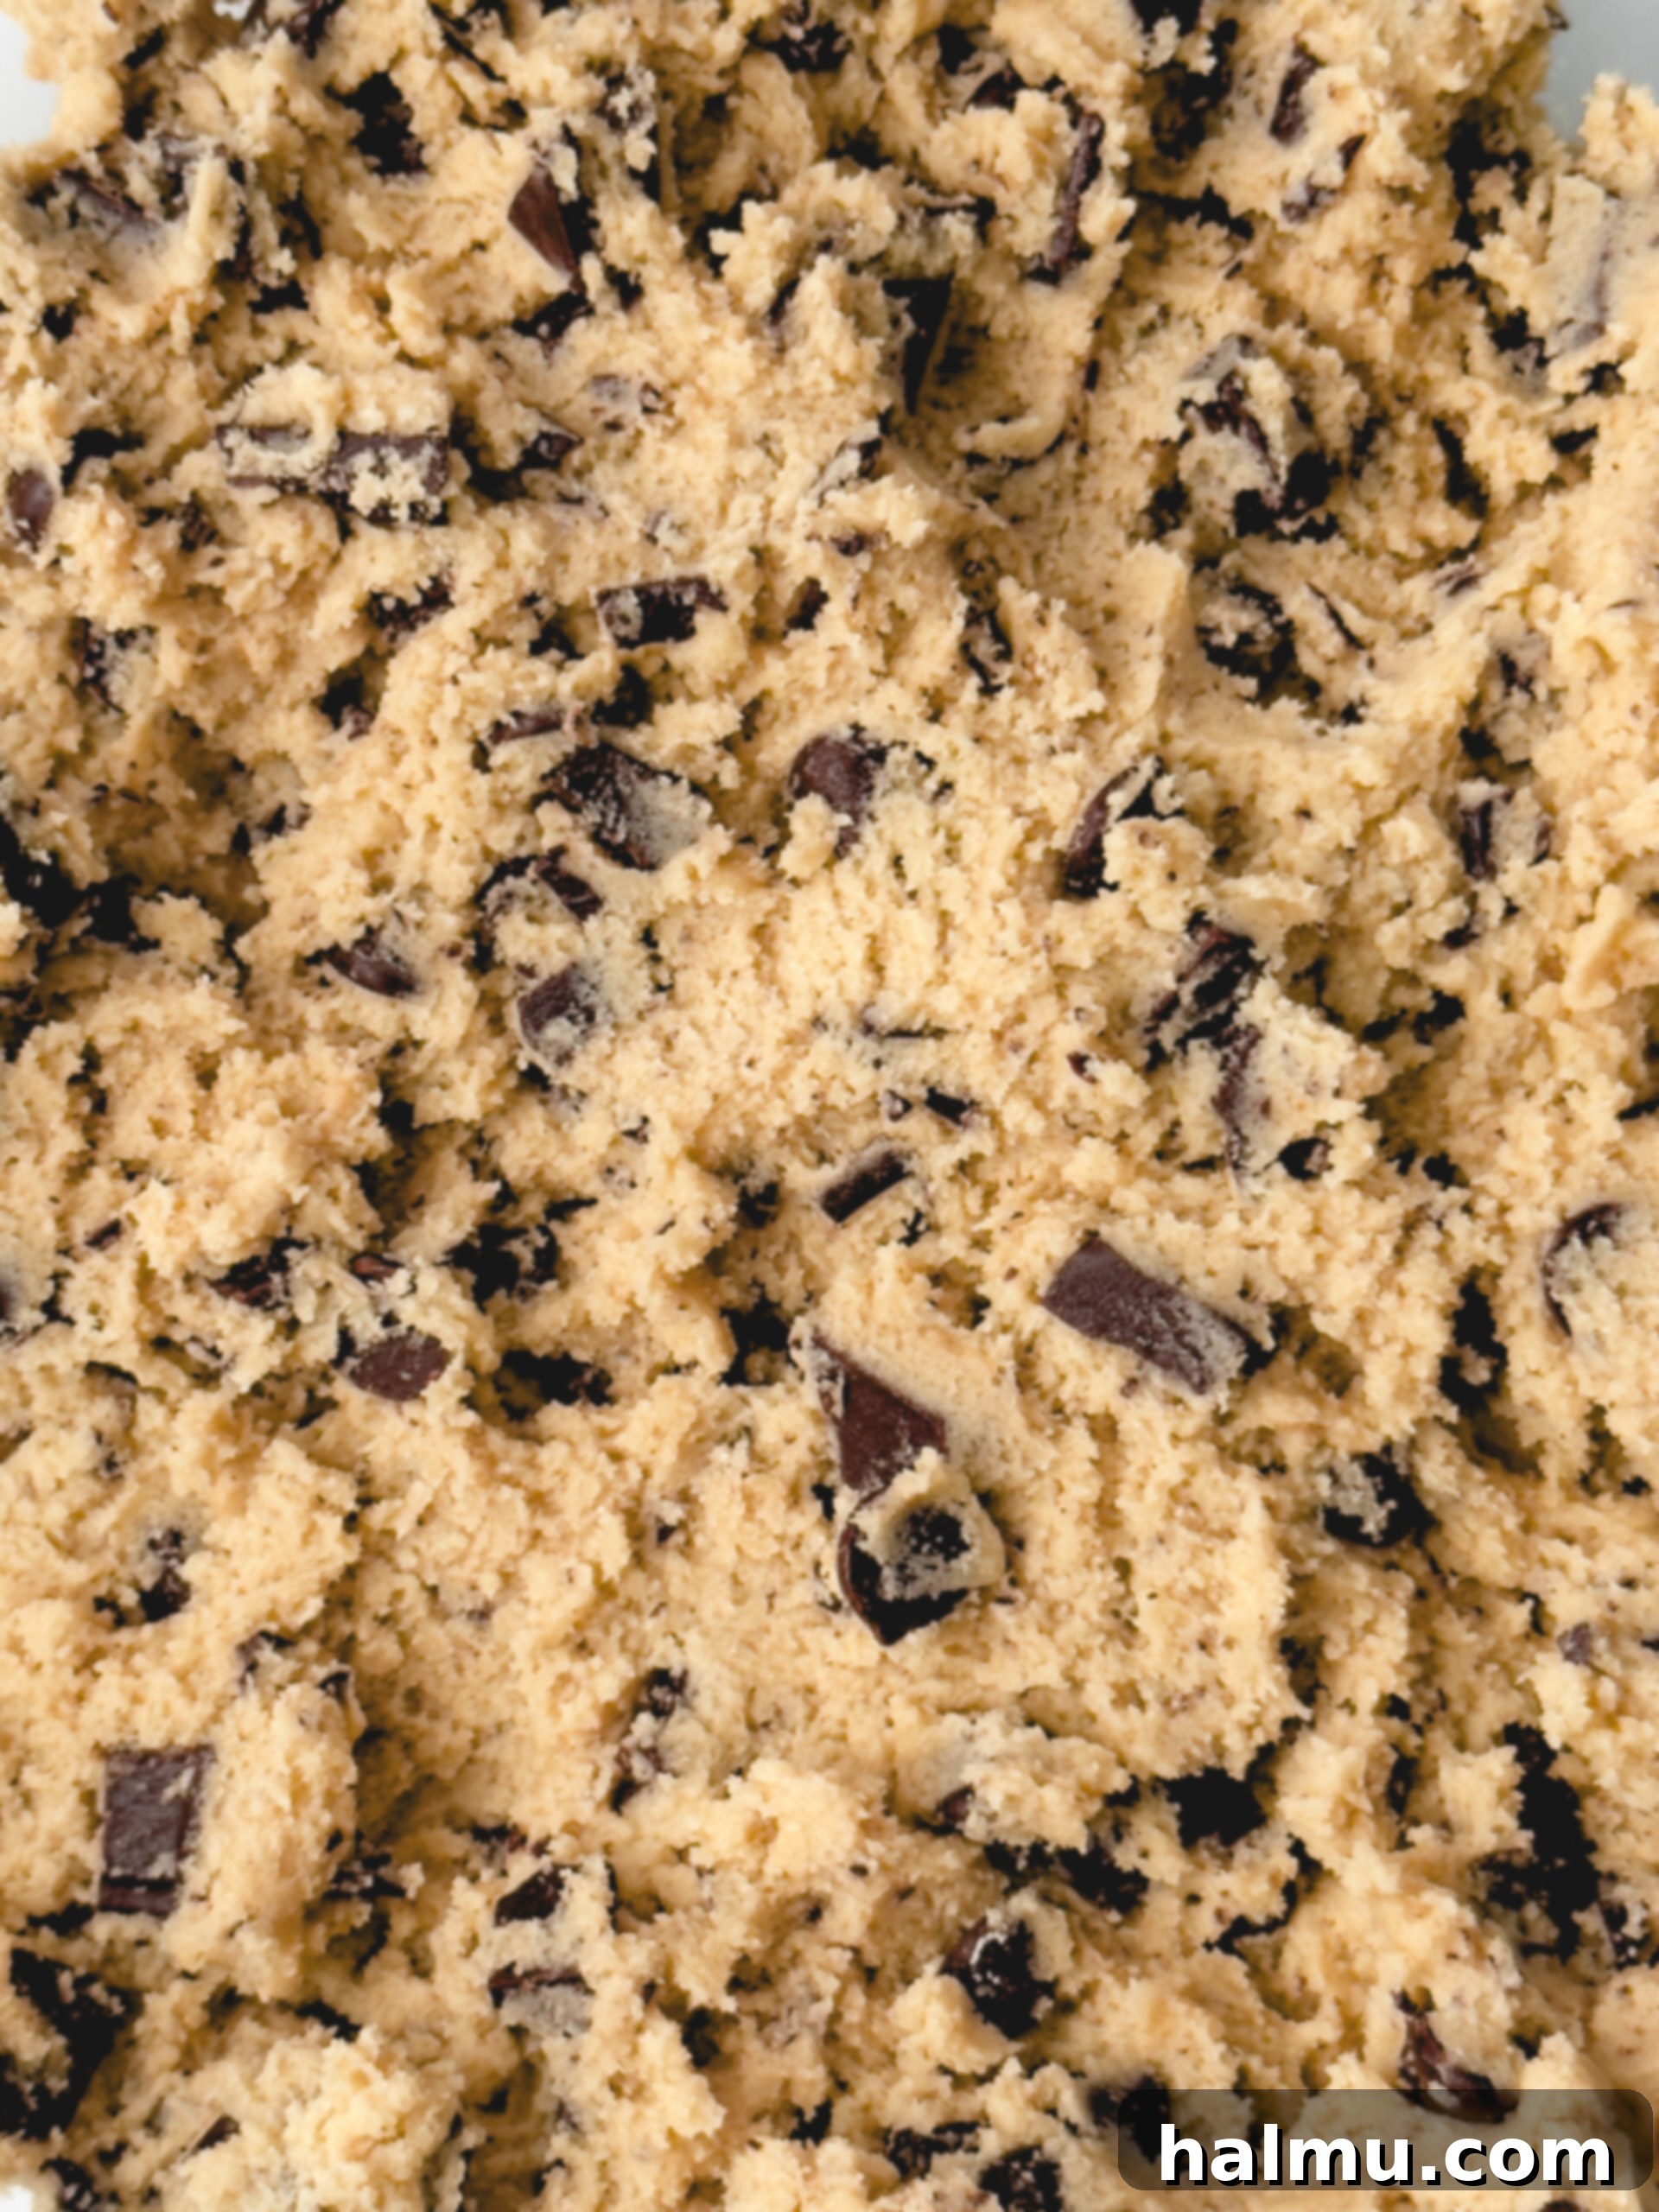
The foundation of any great cookie is a well-mixed dough. This recipe comes together quickly and efficiently, whether you’re using a stand mixer equipped with a paddle attachment or a reliable electric handheld mixer. Begin by creaming together the softened butter with both brown sugar and granulated sugar. This process, known as creaming, incorporates air into the mixture, resulting in a lighter, fluffier texture for your cookies. Continue mixing until the mixture is light in color and airy. Next, incorporate the large egg and pure vanilla extract, mixing on low speed until they are fully combined. Ensure you scrape down the sides of the bowl thoroughly between additions to guarantee all ingredients are evenly incorporated. Finally, add the dry ingredients – a carefully measured blend of all-purpose flour, cornstarch, baking soda, baking powder, and a pinch of salt. Mix these just until they are combined; overmixing at this stage can lead to tough cookies. Once the dry ingredients are barely incorporated, gently fold in your magnificent combination of chopped dark chocolate and semi-sweet chocolate chips by hand. This ensures the chocolate is evenly distributed without overworking the dough.
Step 2: Portioning for Uniformity
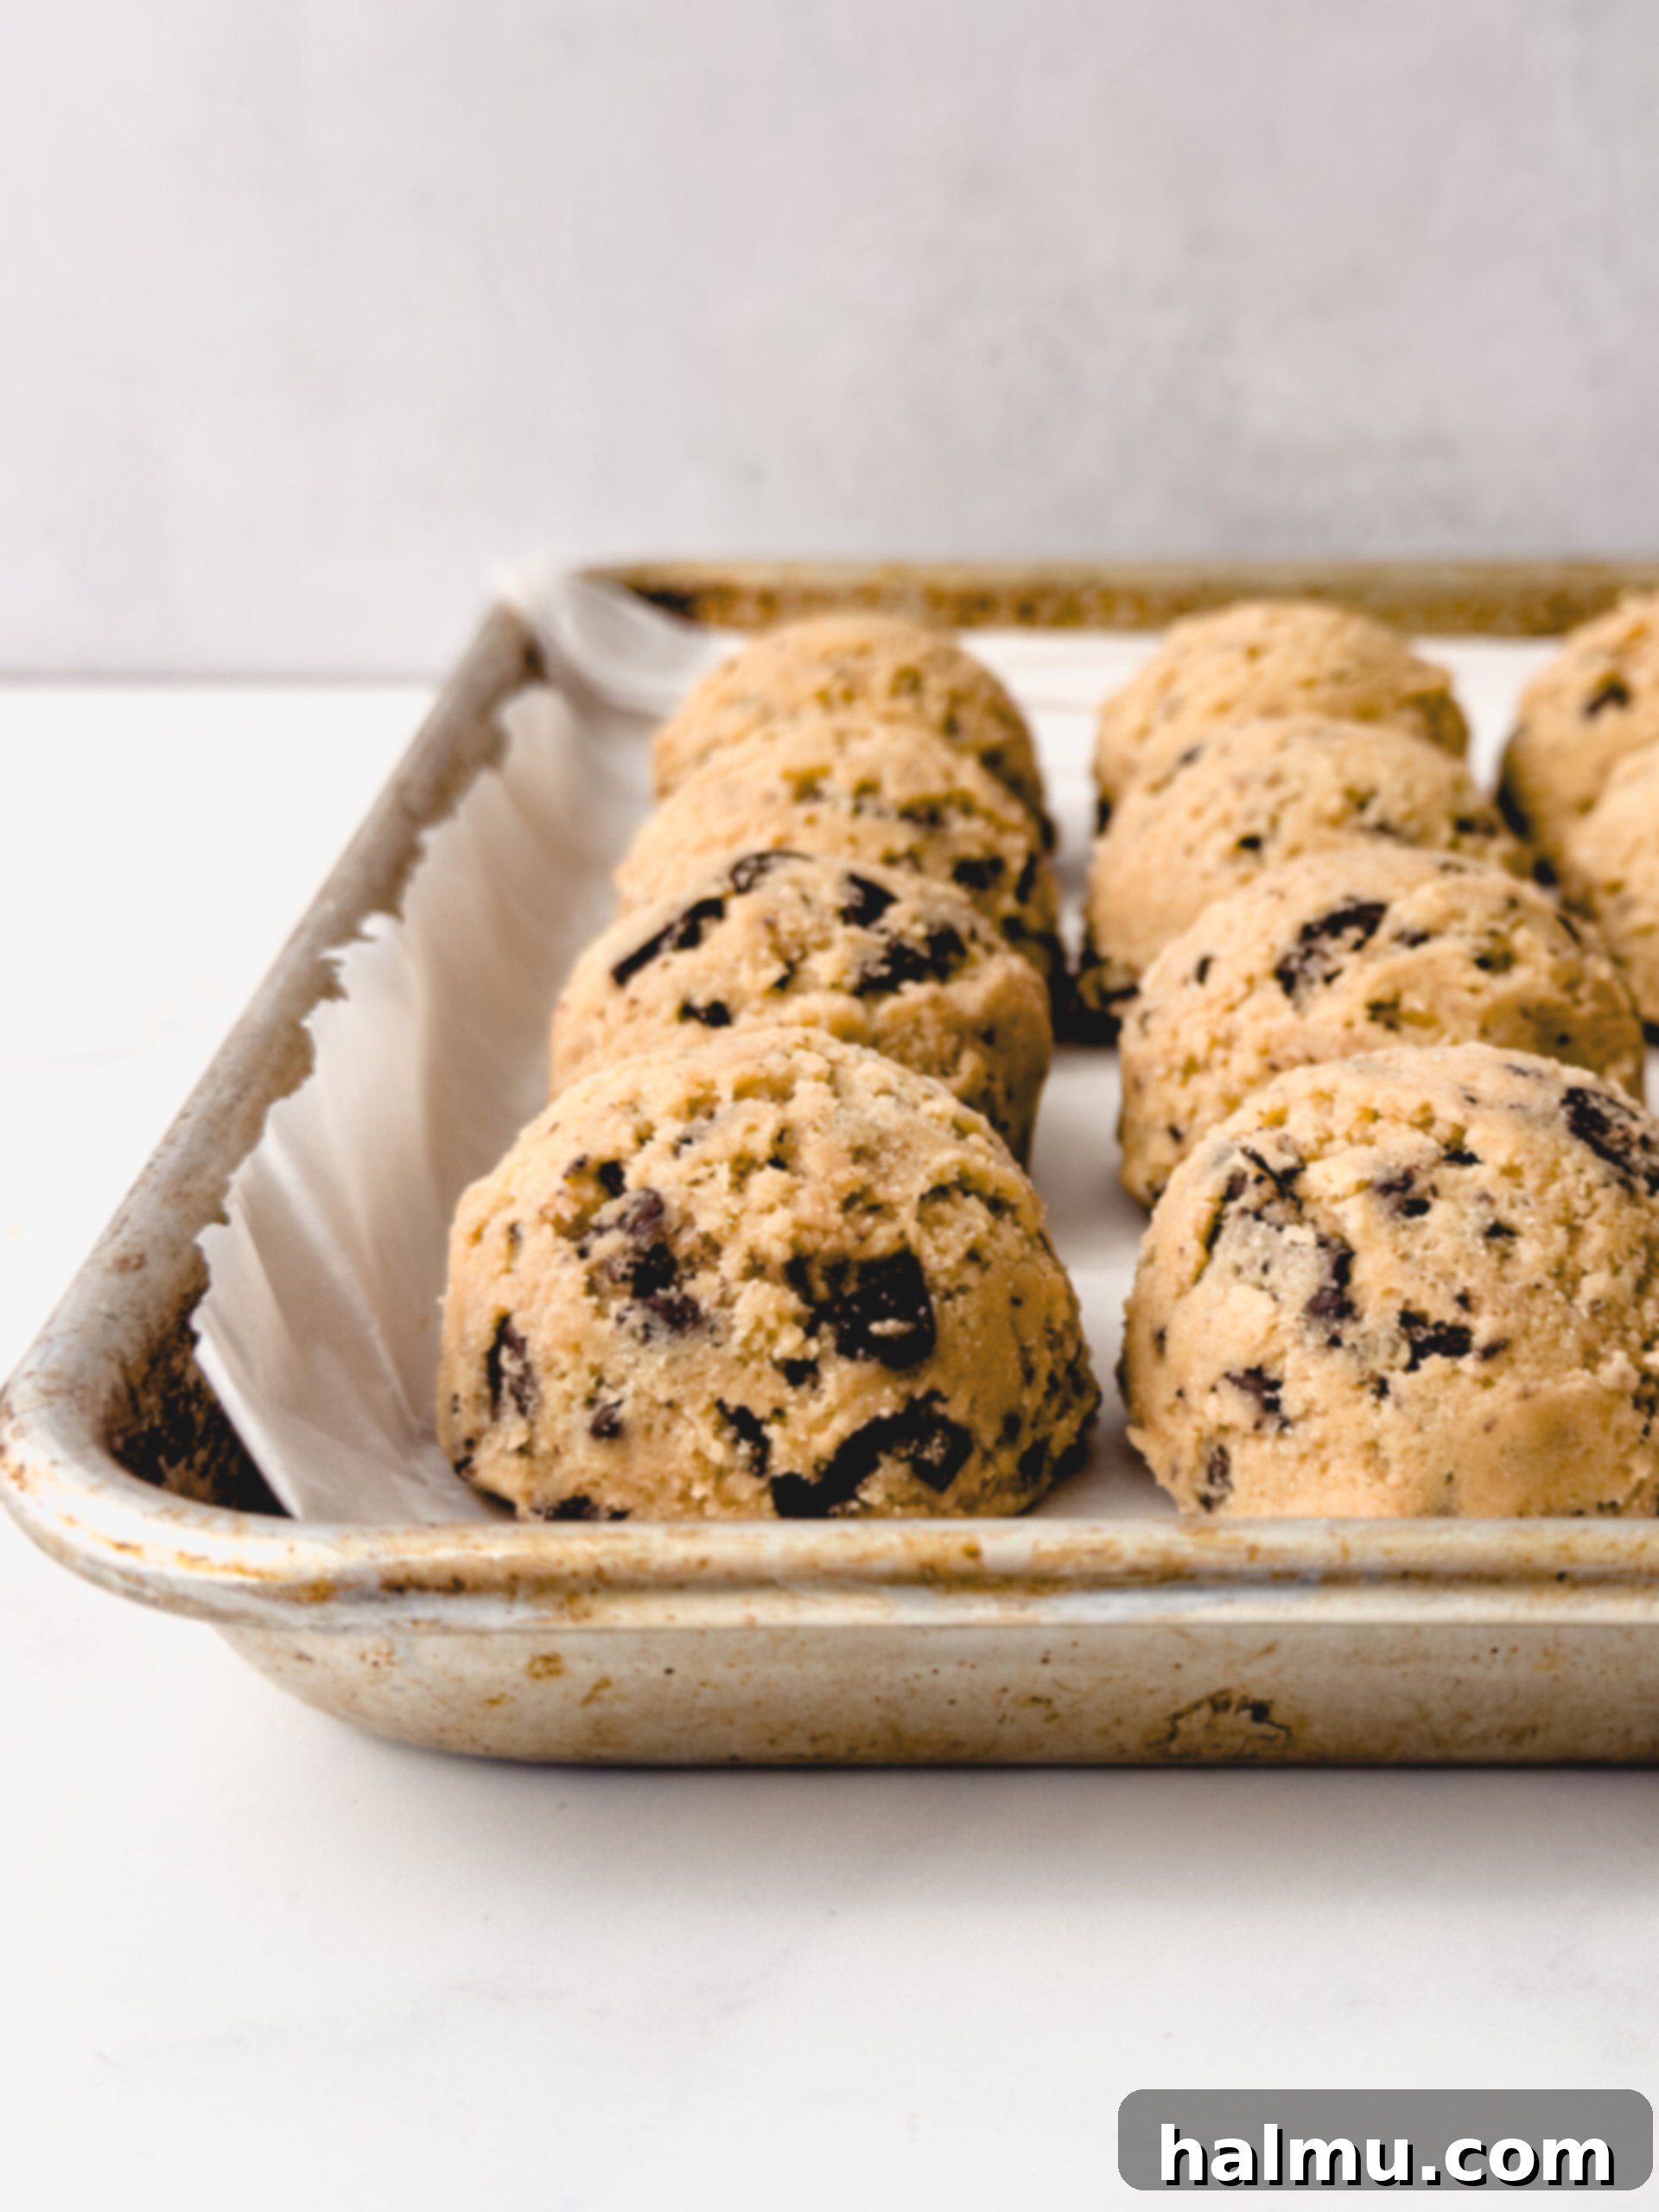
For consistent, bakery-quality cookies, portioning the dough uniformly is key. I highly recommend using a cookie scoop to ensure each cookie is the same size and bakes evenly. For these signature thick and oversized cookies, I prefer a large 2-ounce scoop, also commonly referred to as size #16, which holds approximately ¼ cup of dough. Place the perfectly portioned scoops of cookie dough onto a piece of parchment paper. This simple step prepares them for the crucial chilling phase and makes them easy to transfer later.
Step 3: The Essential Chill
While it might be tempting to skip this step, chilling the dough is absolutely essential for achieving the best possible bakery-style chocolate chip cookies. The dough requires a minimum chill time of 2 hours, but for truly superior flavor and texture, chilling overnight is highly recommended. During this time, the butter firms up, which prevents the cookies from spreading too much in the oven, ensuring they bake up thick and chewy. Moreover, chilling allows the flour to fully hydrate and absorb the liquids, intensifying the flavors and resulting in a more complex and delicious cookie. If you’ve scooped the dough onto a baking sheet, simply wrap it tightly in plastic wrap before refrigerating. Alternatively, you can store the individual scoops of cookie dough in an airtight container in the fridge.
Step 4: Baking to Golden Perfection
Once your meticulously prepared dough has sufficiently chilled, it’s time for the magic of baking! Before placing your cookies in the oven, line your baking sheets with parchment paper or a silicone mat for easy release and consistent baking. Position the chilled scoops of cookie dough on the prepared sheet, ensuring each cookie is spaced at least 2 inches apart. This generous spacing is vital to account for the dough spreading as it bakes, preventing your cookies from merging into one giant, flat mass. For a standard half-sheet pan, I typically bake no more than 6 cookies at a time, allowing each cookie ample room to expand without compromising its shape or interfering with its neighbors. Preheat your oven to 350°F (175°C). The cookies will bake for approximately 12-14 minutes, or until their edges turn a beautiful golden brown and the centers are just set, perhaps even looking ever so slightly moist. This slight underbaking in the center is the secret to their signature soft and gooey texture.
Step 5: The Grand Finale: Top & Enjoy
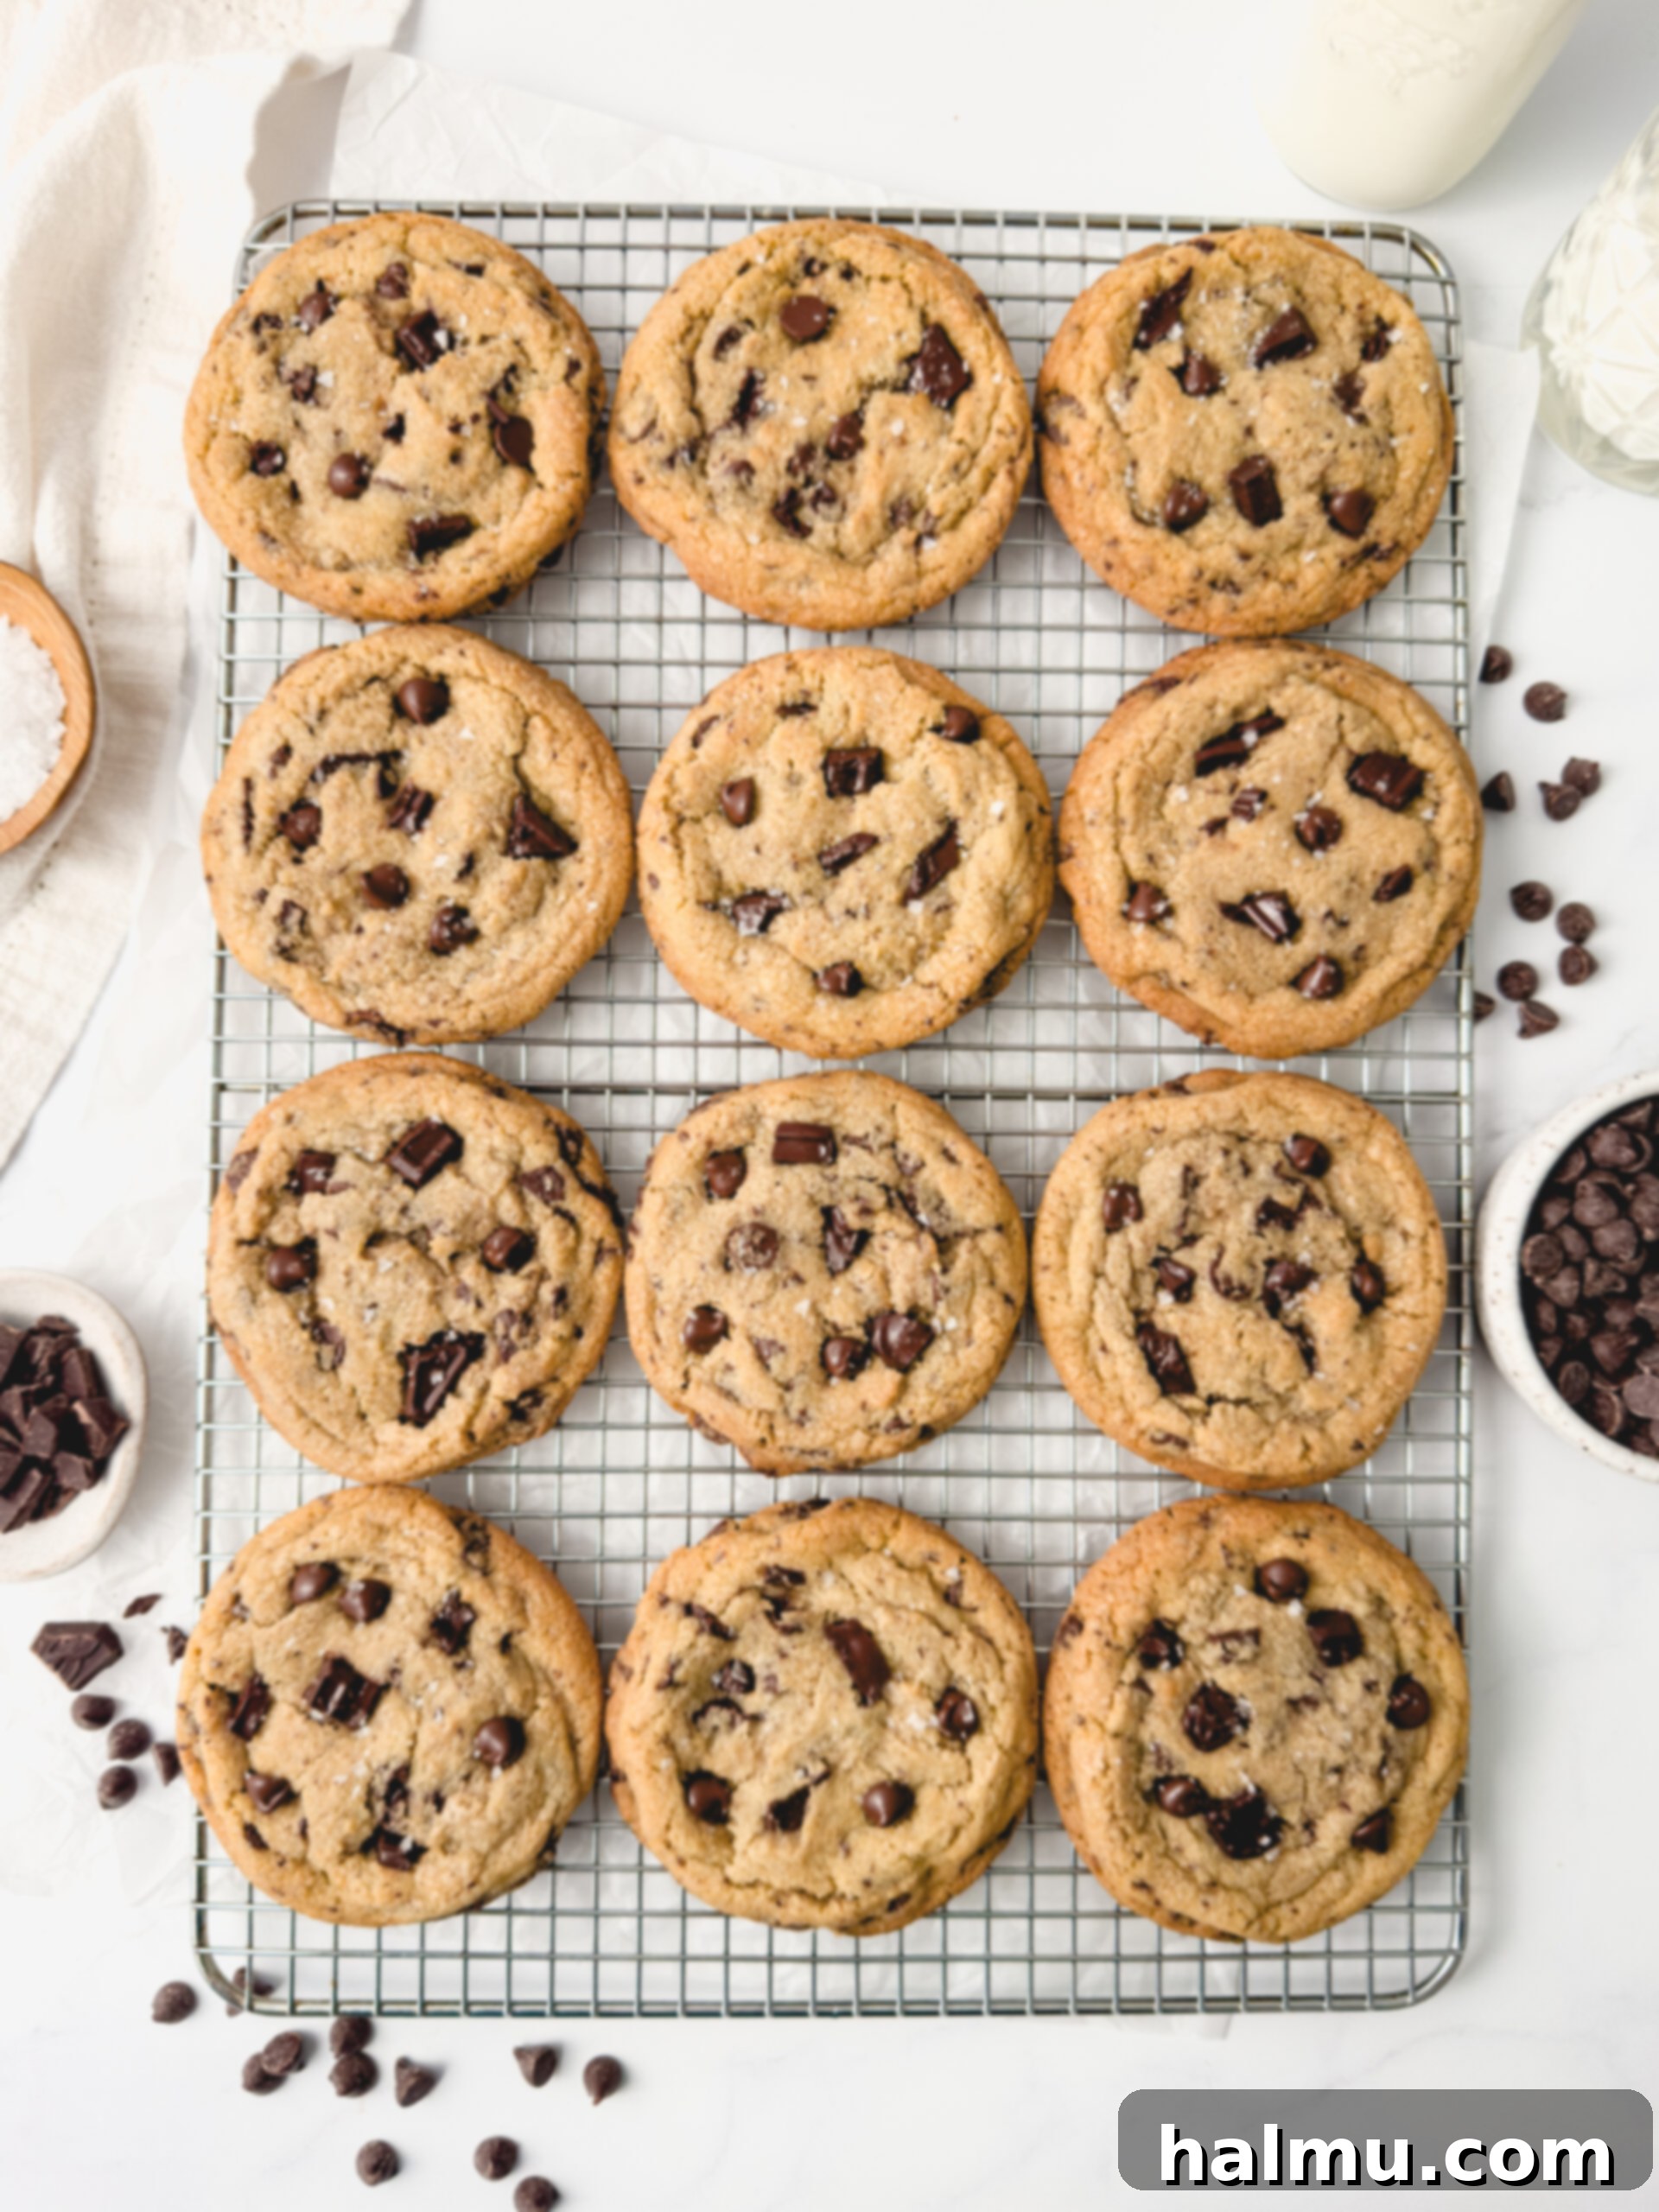
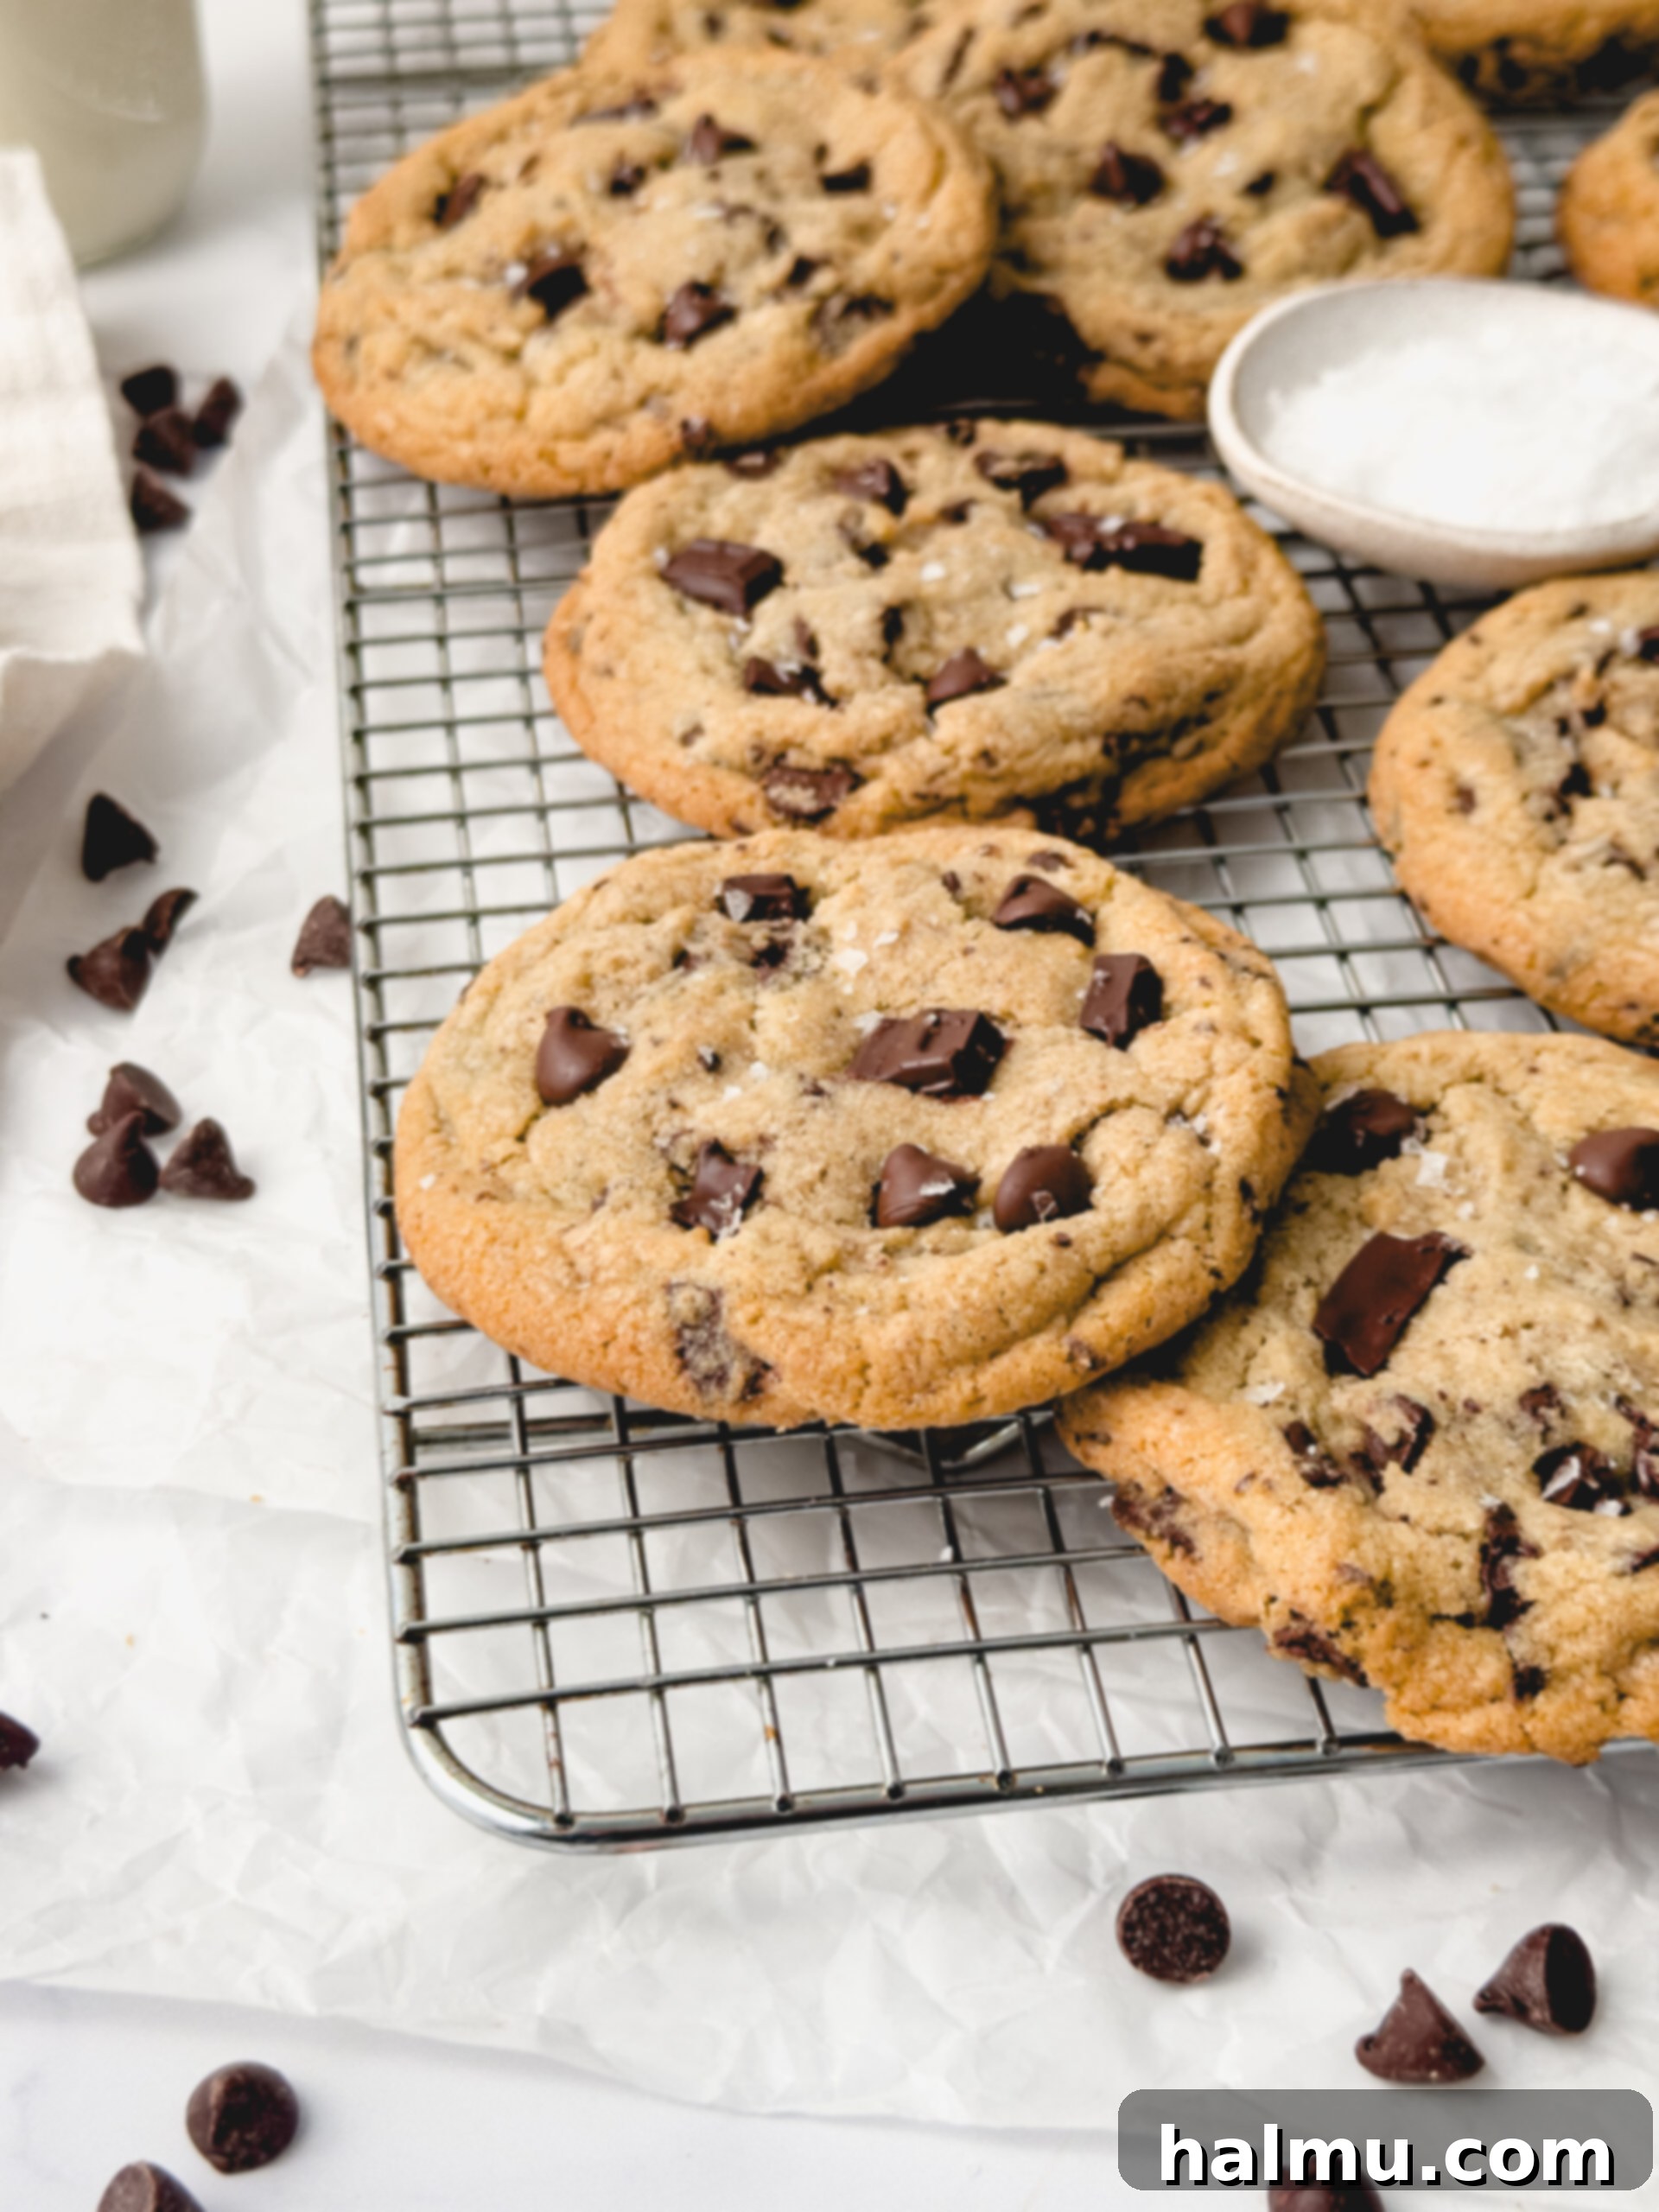
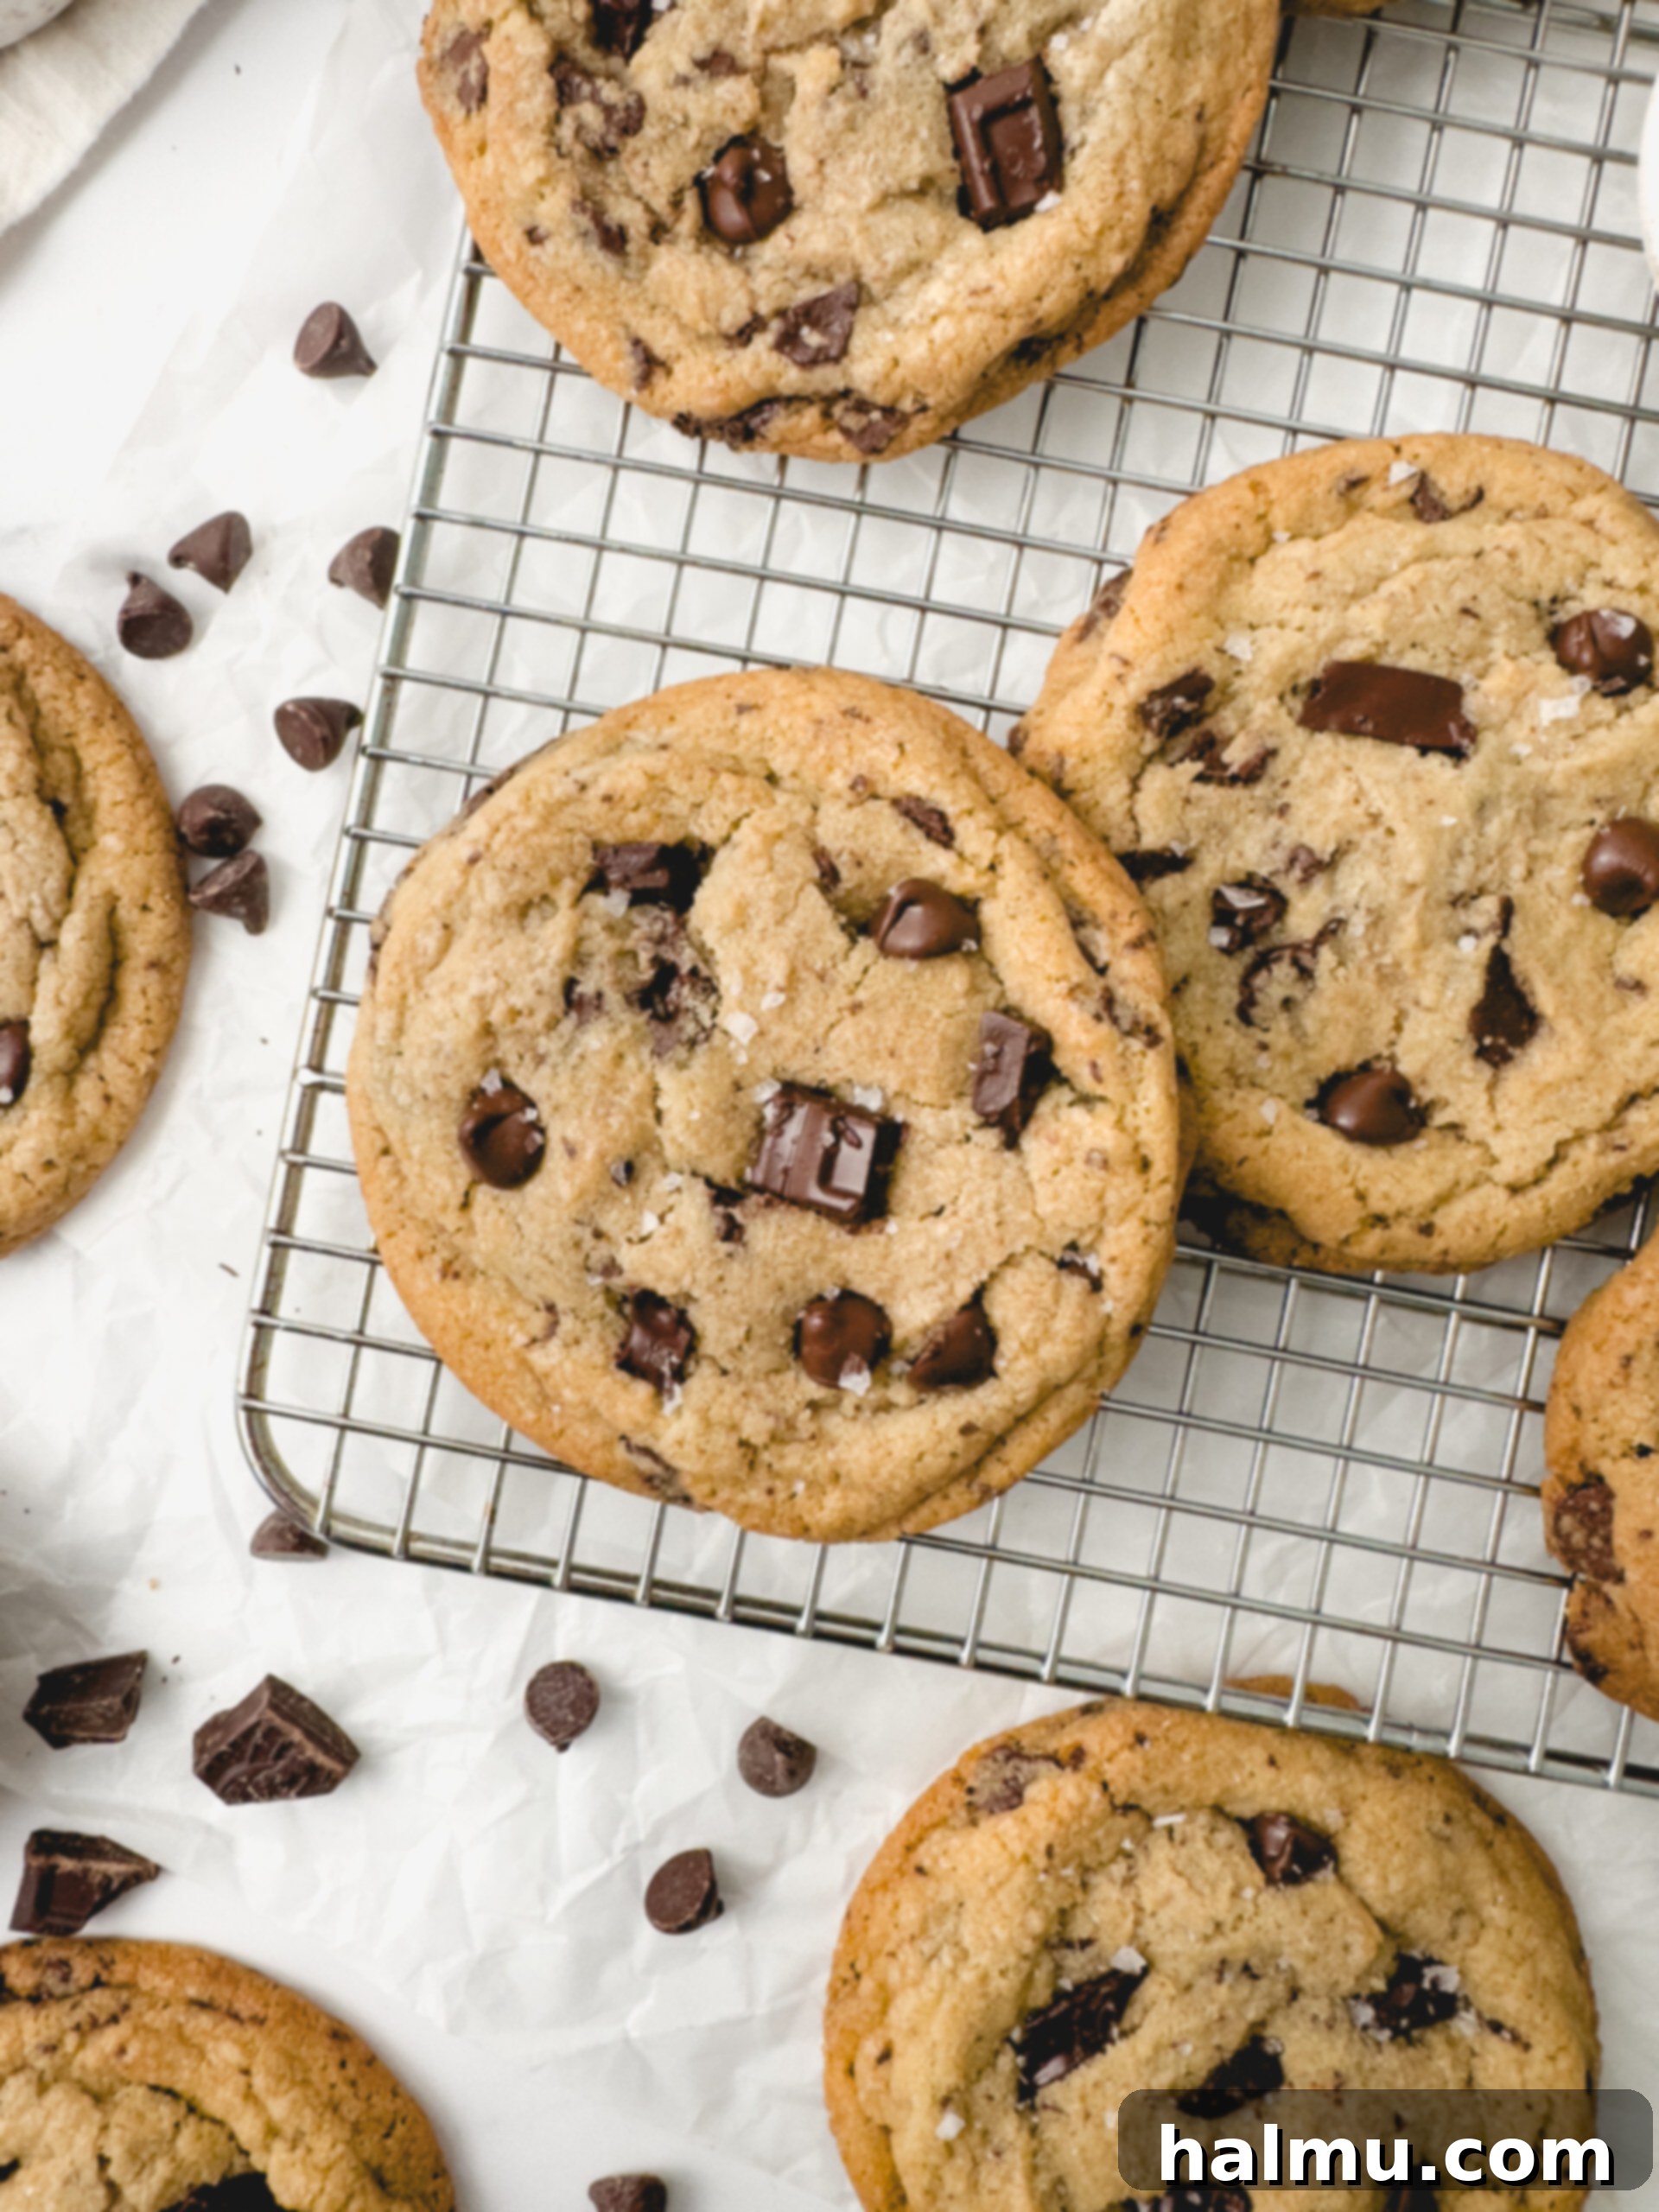
The moment your cookies emerge from the oven, fragrant and warm, is the perfect time for the finishing touches. While they are still piping hot, take a few extra chocolate pieces or chips and gently press them onto the tops of each cookie. This step, while optional, significantly enhances their visual appeal, giving them that irresistible, professionally baked, ‘bakery-quality’ look with glistening pools of melty chocolate. To further elevate the flavor profile and add a sophisticated contrast, generously sprinkle the tops with flaky sea salt. The delicate crunch and burst of saltiness beautifully balance the sweetness of the chocolate and cookie dough. You can enjoy these magnificent cookies warm, when the chocolate is still gloriously gooey, or allow them to cool completely to room temperature for a firmer, chewier texture that is equally delightful. Each way offers a unique and satisfying experience!
Essential Tools for Baking Bakery-Style Cookies
Having the right tools can make all the difference in your baking experience, especially when aiming for professional results. Here are some of my favorite tools that simplify the process and contribute to the perfect bakery-style chocolate chip cookies:
Top Tips for the Best Bakery-Style Chocolate Chip Cookies
Achieving truly exceptional, bakery-quality chocolate chip cookies at home is within your reach with these expert tips:
- Prioritize High-Quality Chocolate: The quality of your chocolate makes a profound difference in the final taste and texture of your cookies. Investing in good quality chocolate will elevate your cookies from ordinary to extraordinary. For the dark chocolate component, I highly recommend using a Ghirardelli 60% cacao bar or the Trader Joe’s “Pound Plus” 72% cacao variety. These options melt beautifully and offer a rich, deep chocolate flavor. When it comes to semi-sweet chips, brands like Guittard or Ghirardelli are excellent choices. While they are higher quality, they are still relatively easy to find in most well-stocked grocery stores, ensuring accessibility without compromising on taste. Using a mix of chopped chocolate and chips also provides varied melty textures, which is key to that bakery feel.
- Never Skip Chilling the Dough: This step is non-negotiable for bakery-style results. Chilling the cookie dough isn’t just a suggestion; it’s a critical process that vastly improves both the texture and flavor. Allowing the dough to chill for at least 2 hours, and ideally overnight, gives the flour ample time to fully absorb the liquids, leading to a more tender and complex flavor profile. More importantly, chilling solidifies the butter in the dough, which prevents the cookies from spreading too much during baking. This ensures your cookies bake up gloriously thick, preventing them from becoming flat and overly crisp. A well-chilled dough is the secret to those satisfyingly plump cookies with a perfectly chewy center.
- Master the Art of Not Overbaking: This is arguably the most crucial tip for achieving soft, gooey, bakery-style chocolate chip cookies. The key is to remove them from the oven just at the right moment, avoiding the common pitfall of baking them for too long. For that perfectly soft, slightly gooey, and melt-in-your-mouth texture, bake your cookies until they are golden brown around the edges, but their centers still look ever so slightly wet or underbaked. They should be set enough to hold their shape, but not firm all the way through. In my oven, this sweet spot is typically around 13 minutes. Remember, cookies continue to bake for a few minutes on the hot baking sheet after being removed from the oven, so trust the visual cues and err on the side of underbaking rather than overbaking.

Pro Baking Tip: Precision with a Kitchen Scale!
For truly consistent, professional-level baking results, I cannot emphasize enough the importance of using a kitchen scale to weigh your ingredients rather than relying on traditional measuring cups. Measuring by weight is by far the most accurate method, eliminating variations that can occur with volume measurements (e.g., how tightly you pack flour). This precision directly translates to more consistent outcomes with your recipes and a significantly higher success rate every single time you bake. As an added bonus, using a scale often means fewer dishes to wash, leading to an easier cleanup! I meticulously provide gram measurements in all my recipes to facilitate this accuracy, and this is the reliable kitchen scale I personally love and use for all my baking endeavors.
Frequently Asked Questions About Chocolate Chip Cookies
Here are answers to some common questions that arise when baking and enjoying these delightful chocolate chip cookies:
What is the best way to store baked chocolate chip cookies to maintain freshness?
To keep your bakery-style chocolate chip cookies tasting their best, store them in a zip-top bag or an airtight container. This prevents them from drying out and helps maintain their soft, chewy texture. They will remain fresh and delicious at room temperature for up to 3 days. For longer storage, consider freezing them, as detailed below.
Can I freeze baked chocolate chip cookies for later enjoyment?
Absolutely! These cookies freeze exceptionally well after baking, making them perfect for meal prep or unexpected guests. Once the cookies are completely baked and fully cooled, arrange them in a single layer on a baking sheet lined with parchment paper. Freeze them for at least an hour until firm. This crucial step prevents the cookies from breaking and ensures they don’t stick together when stacked. Once firm, transfer them to an airtight container or a heavy-duty zip-top freezer bag, layering parchment paper between them if stacking multiple layers. They can be frozen for up to 3 months. To thaw, simply allow the bag or container of cookies to sit at room temperature for 3-4 hours, or preferably overnight, before serving. They’ll be almost as good as fresh!
Can I substitute all chocolate chips for chopped chocolate in the recipe?
Yes, you certainly can use all chocolate chips if that’s your preference or if you don’t have a chocolate bar on hand. You can substitute the full chocolate amount (8 ounces total) with all chocolate chips. However, keep in mind that using only chocolate chips will result in a slightly different texture and chocolate distribution. Chopped chocolate tends to create more irregular, gooey pools of melted chocolate throughout the cookie, contributing to that distinctive bakery-style aesthetic. Using only chips will yield a more traditional chocolate chip cookie, which is still delicious, but with a more uniform chocolate dispersion.
Would a different type of chocolate work well in this recipe?
Absolutely! Feel free to experiment with your favorite variety of chocolate to customize these cookies to your taste. You can use anything from classic milk chocolate to various percentages of dark chocolate, or a combination. I’ve found that my ideal choice is a mix of semi-sweet and dark chocolate because it provides a balanced sweetness and a rich, complex flavor that prevents the cookies from being overly sweet. The chopped dark chocolate creates luxurious, melty pockets that add depth, while the semi-sweet chips provide a chunkier texture. Milk chocolate will make the cookies notably sweeter and creamier. Conversely, a more bitter dark chocolate (like 70% cacao or higher) will significantly offset the sweetness, appealing to those who prefer less sugary treats. Don’t hesitate to try different varieties and unique combinations of chocolate to discover your ultimate favorite!
How do I achieve perfectly round chocolate chip cookies?
It’s a common baking truth that cookies don’t naturally bake into perfectly uniform rounds. However, there’s a simple baker’s trick to achieve that coveted round shape right after they come out of the oven. As soon as your cookies are hot and fresh from the oven, use a small spatula, or even the back of a spoon, to gently push and reshape any sides that appear a little wonky or irregular. Another highly effective method is to use a round glass or a biscuit cutter that is slightly larger than your baked cookies. Place the glass or cutter around the warm cookie and gently swirl it in a circular motion, pushing the edges inwards. This will “scoot” the edges of the warm, pliable cookie into a perfectly round shape, giving them that professional, pristine bakery look.
Can I make smaller chocolate chip cookies with this recipe?
Certainly! You can easily adjust the size of these cookies to your preference by using a smaller cookie scoop. While I find that the 2-ounce scoop produces the substantial thickness and chewy texture I prefer for a true bakery-style cookie, a smaller scoop will result in thinner cookies. If you opt for a smaller scoop, it’s essential to keep a close eye on them during baking. You will likely need to significantly reduce the baking time, as smaller cookies cook much faster. Start checking them a few minutes earlier than the recipe suggests, looking for those golden-brown edges and slightly soft centers.
Pro Tip: How to Freeze Cookie Dough for Future Cravings
Freezing cookie dough is a fantastic way to ensure you always have fresh, warm cookies ready at a moment’s notice. The best part about this particular cookie dough is that it freezes beautifully, and you can bake it directly from frozen – no thawing required! This is a game-changer for those unexpected visitors or simply when a sudden craving for warm, gooey chocolate chip cookies strikes. Here’s how to properly freeze your dough:
- After you’ve prepared the dough and allowed it to chill in the fridge for at least 2 hours or overnight, as instructed in the recipe, scoop the dough into individual portions. Arrange these scoops on a baking sheet lined with parchment paper.
- Place the entire baking sheet into the freezer for approximately 30 minutes to an hour. This flash-freezing step ensures that the individual cookie dough balls become firm enough not to stick together, making them easy to store.
- Once the cookie dough scoops are thoroughly frozen and solid, transfer them from the baking sheet into a heavy-duty zip-top freezer bag or an airtight freezer-safe container. Label the bag or container with the date and store them in the freezer until you’re ready to bake. They will keep well for up to 3 months.
- When a cookie craving hits, simply place the frozen cookie dough balls directly onto a parchment-lined baking sheet. Bake them at the normal temperature (350°F / 175°C) but add an extra 2-4 minutes to the baking time. I’ve found that baking from frozen this way gives the cookies an incredibly delicious, perfectly caramelized exterior while maintaining a soft, chewy interior.
- If you prefer a cookie with a less caramelized, lighter exterior, you can slightly lower the oven temperature by 10 degrees (to 340°F / 170°C) and still add a few extra minutes to the baking time. This adjustment allows the center of the cookies to bake through without the outside browning as quickly, giving you a slightly different but equally delightful texture.
Explore More Delightful Cookie Recipes You’ll Love
If you’re as passionate about cookies as we are, then you’re in for a treat! After mastering these ultimate bakery-style chocolate chip cookies, why not expand your baking repertoire with some of our other fantastic cookie recipes? Each recipe is crafted to bring joy and deliciousness to your kitchen, ensuring there’s a perfect cookie for every mood and occasion.
- Caramel Cone Crunch Cookies: A unique blend of sweet caramel and crispy cone pieces for an exciting texture.
- Mint Oreo Cookies: A refreshing twist on a classic, combining cool mint with America’s favorite cookie.
- Chocolate Sprinkle Cookies: Fun, festive, and bursting with chocolatey goodness, perfect for celebrations.
- Peanut Butter Monster Cookies: A hearty, satisfying cookie packed with peanut butter, oats, and chocolate.
- White Chocolate Pistachio Cookies: An elegant and subtly sweet cookie, featuring the delightful crunch of pistachios.
We hope you thoroughly enjoy making and sharing these incredible bakery-style chocolate chip cookies. If you try this recipe and love it as much as we do, please be sure to leave a comment below and share your experience. Happy baking!
Bakery-Style Chocolate Chip Cookies
Print Recipe
RATE THIS RECIPE
Ingredients
- ¾ cup (164g) unsalted butter, softened to room temperature
- ¾ cup (150g) light or dark brown sugar, firmly packed
- ½ cup (100g) granulated sugar
- 1 large egg, at room temperature
- 2 teaspoons pure vanilla extract
- 2 cups (235g) all-purpose flour
- 1 Tablespoon (10g) cornstarch
- 1 teaspoon baking soda
- ½ teaspoon baking powder
- ½ teaspoon fine sea salt
- 1 – 4 ounce (113g) high-quality dark chocolate bar, roughly chopped, plus extra for topping
- ⅔ cup (4oz or 113g) semi-sweet chocolate chips, plus extra for topping
- flaky sea salt for finishing, optional, but highly recommended
SHOP INGREDIENTS
Instructions
- In the bowl of a stand mixer fitted with a paddle attachment (or using an electric handheld mixer), cream together the softened butter, light or dark brown sugar, and granulated sugar until the mixture is light, fluffy, and well combined. Be sure to scrape down the sides of the bowl with a spatula to ensure everything is incorporated. Then, add the large egg and pure vanilla extract, mixing on low speed until they are just combined. Avoid overmixing.
- Scrape the bowl once more to gather all ingredients. Add the all-purpose flour, cornstarch, baking soda, baking powder, and fine sea salt to the wet ingredients. Mix on low speed just until the dry ingredients are barely combined with the wet, being careful not to overmix the dough. Finally, by hand, gently fold in the roughly chopped dark chocolate and semi-sweet chocolate chips until they are evenly distributed throughout the dough.
- Using a 2-ounce cookie scoop (approximately ¼ cup of dough), portion the cookie dough onto a parchment-lined pan or tray. Arrange the scoops of dough without overcrowding. Cover the pan loosely with plastic wrap and refrigerate the dough for a minimum of 2 hours, or for optimal results, chill overnight. This step is crucial for thick, chewy cookies.
- Once the cookie dough has been sufficiently chilled, remove it from the fridge and allow it to sit at room temperature for about 15 minutes. This helps the dough soften slightly for more even spreading. Meanwhile, line 2 large baking sheets with fresh parchment paper or a silicone mat. Preheat your oven to 350°F (175°C).
- Place the chilled cookie dough scoops onto the prepared baking pans. Ensure that each cookie is spaced at least 2 inches apart to allow for proper spreading without merging. For a standard half-sheet pan, baking 6 cookies at a time is ideal.
- Bake in the preheated oven at 350°F (175°C) for 12-14 minutes. Look for the edges to turn a beautiful golden brown while the centers still appear slightly soft and set, but not fully firm. Immediately upon removing the hot cookies from the oven, top them with additional chopped chocolate pieces and extra chocolate chips (if desired) for that signature bakery look. Let the cookies cool on the baking sheet for at least 10 minutes before transferring to a wire rack. Finish with a sprinkle of flaky sea salt if you like a sweet and salty balance, and enjoy your perfectly baked cookies!

HI THERE!
I’m Rachel
I’m the dessert lover, dedicated recipe developer, and passionate content creator behind Sweet Kitchen Cravings. Here, you’ll discover a collection of classic yet exceptionally special recipes that are sure to impress your loved ones and elevate your home baking!
MORE ABOUT RACHEL
