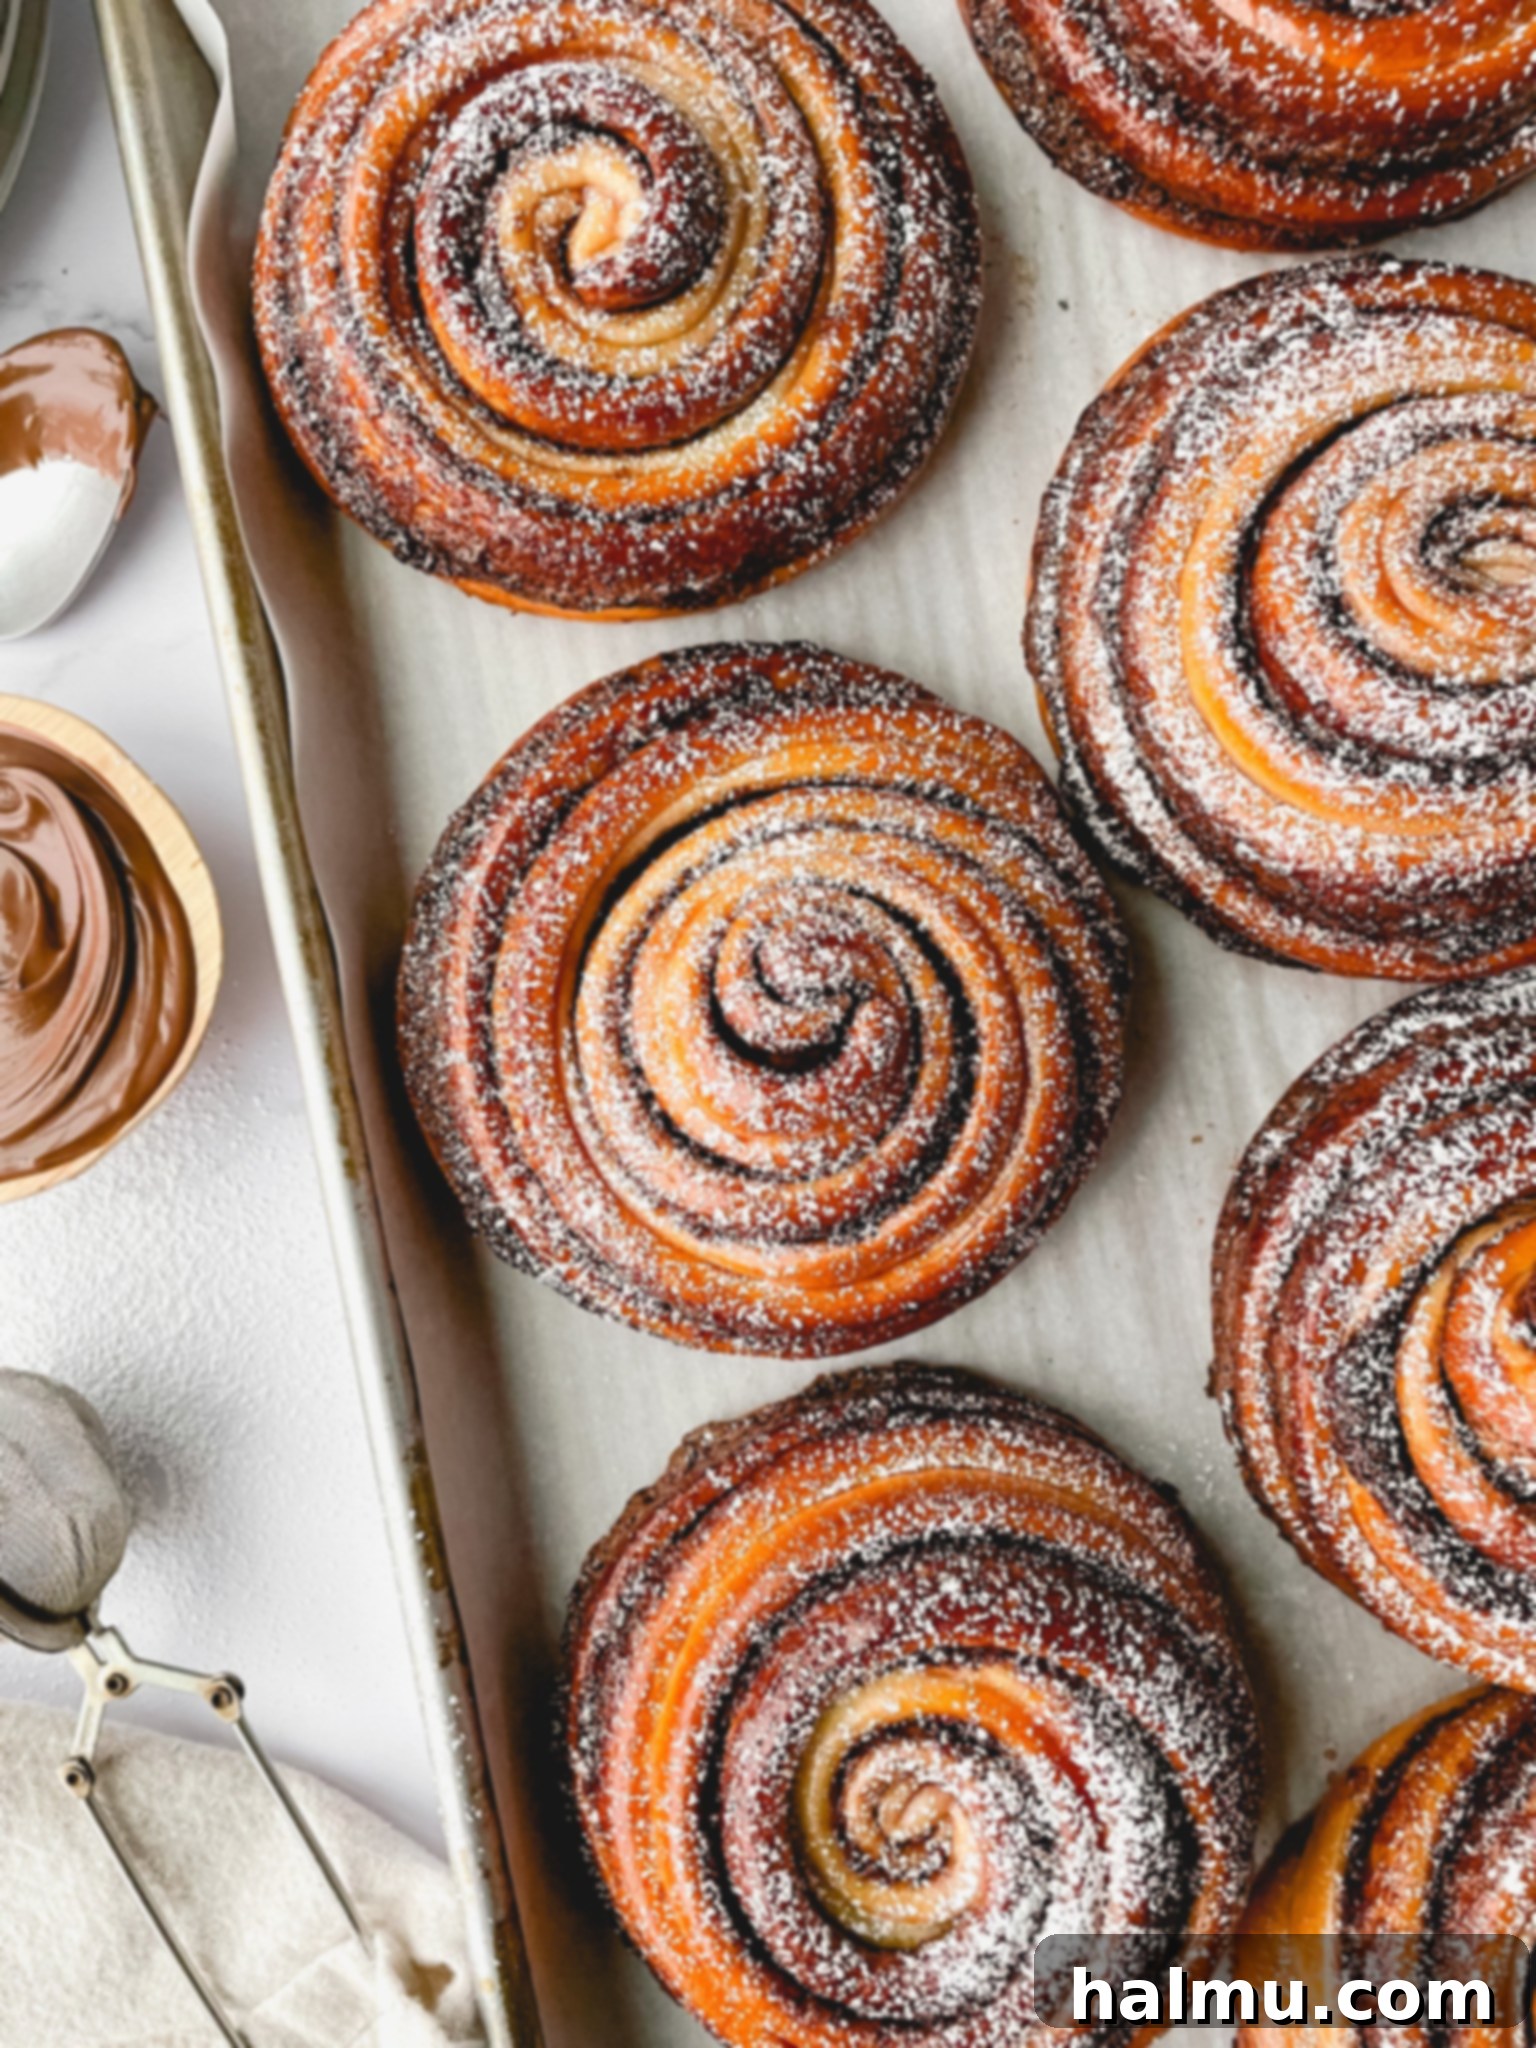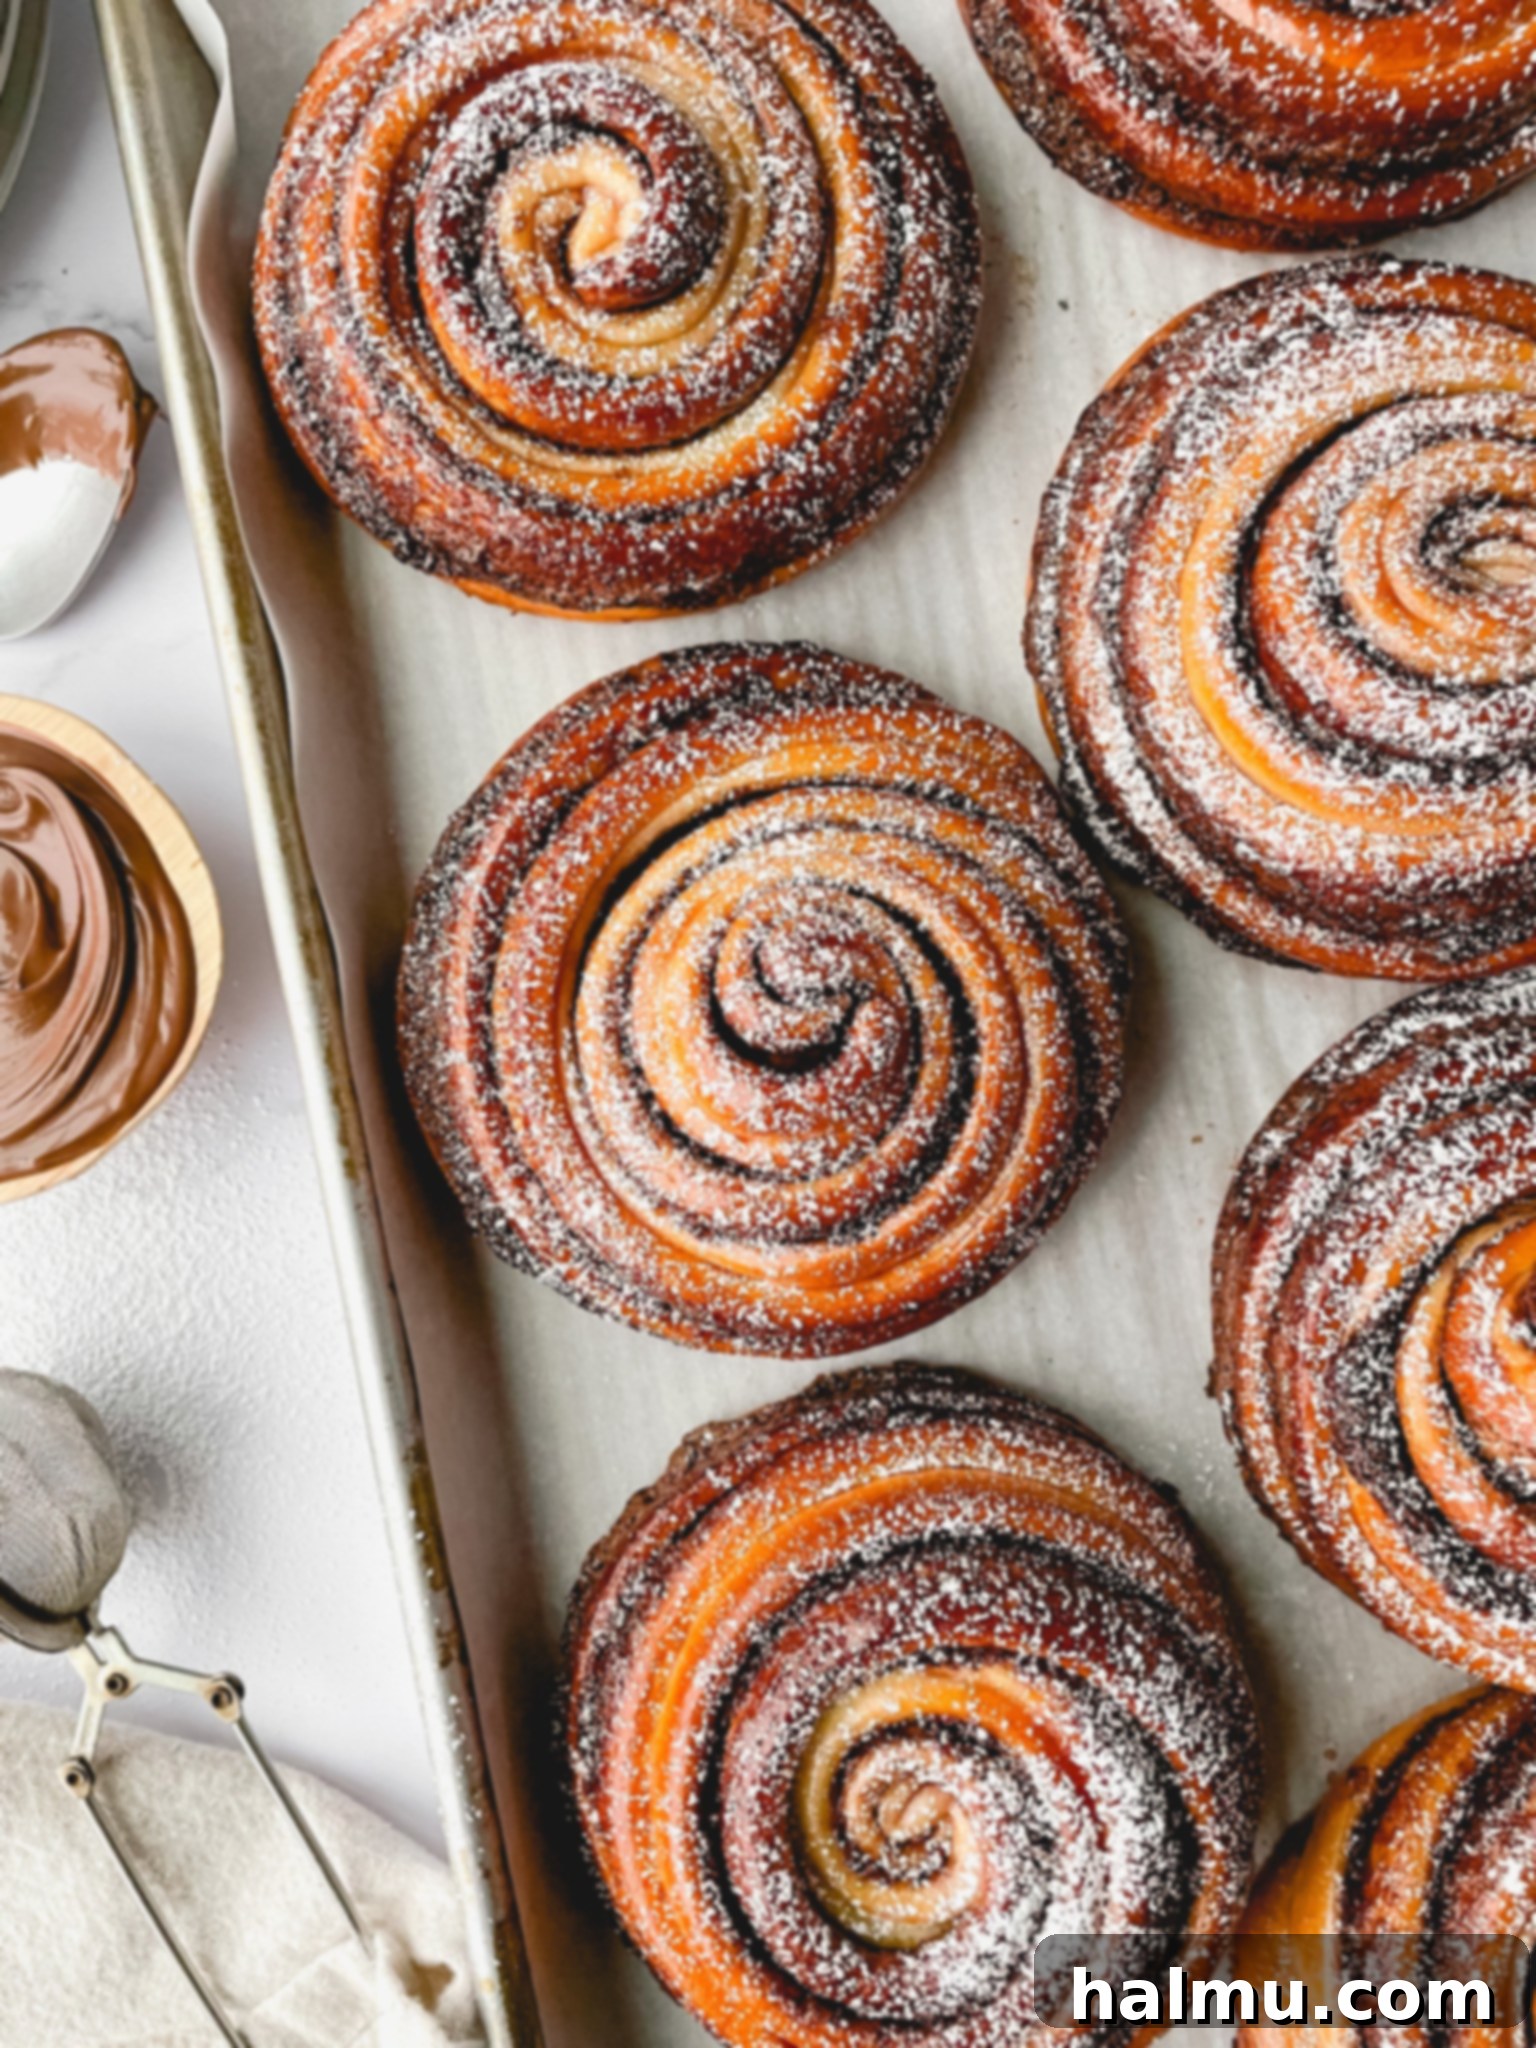
Indulge in Homemade Nutella Brioche Buns: A Delectable Chocolate Hazelnut and Raspberry Delight
There’s an undeniable joy in baking, especially when the aroma of freshly made pastries fills your home. Brioche, with its rich, buttery texture, stands out as one of the most beloved and luxurious baked goods, yet it’s surprisingly achievable for the home baker. My journey into brioche making began with the highly acclaimed Almond Cream Brioche Buns, which quickly became my #1 recipe of 2022 thanks to your enthusiastic reception. Inspired by that success, I embarked on creating a new variation, eager to explore more delightful flavor combinations with this versatile dough. I envisioned a pastry that perfectly marries the decadence of chocolate hazelnut with a hint of tart fruit.
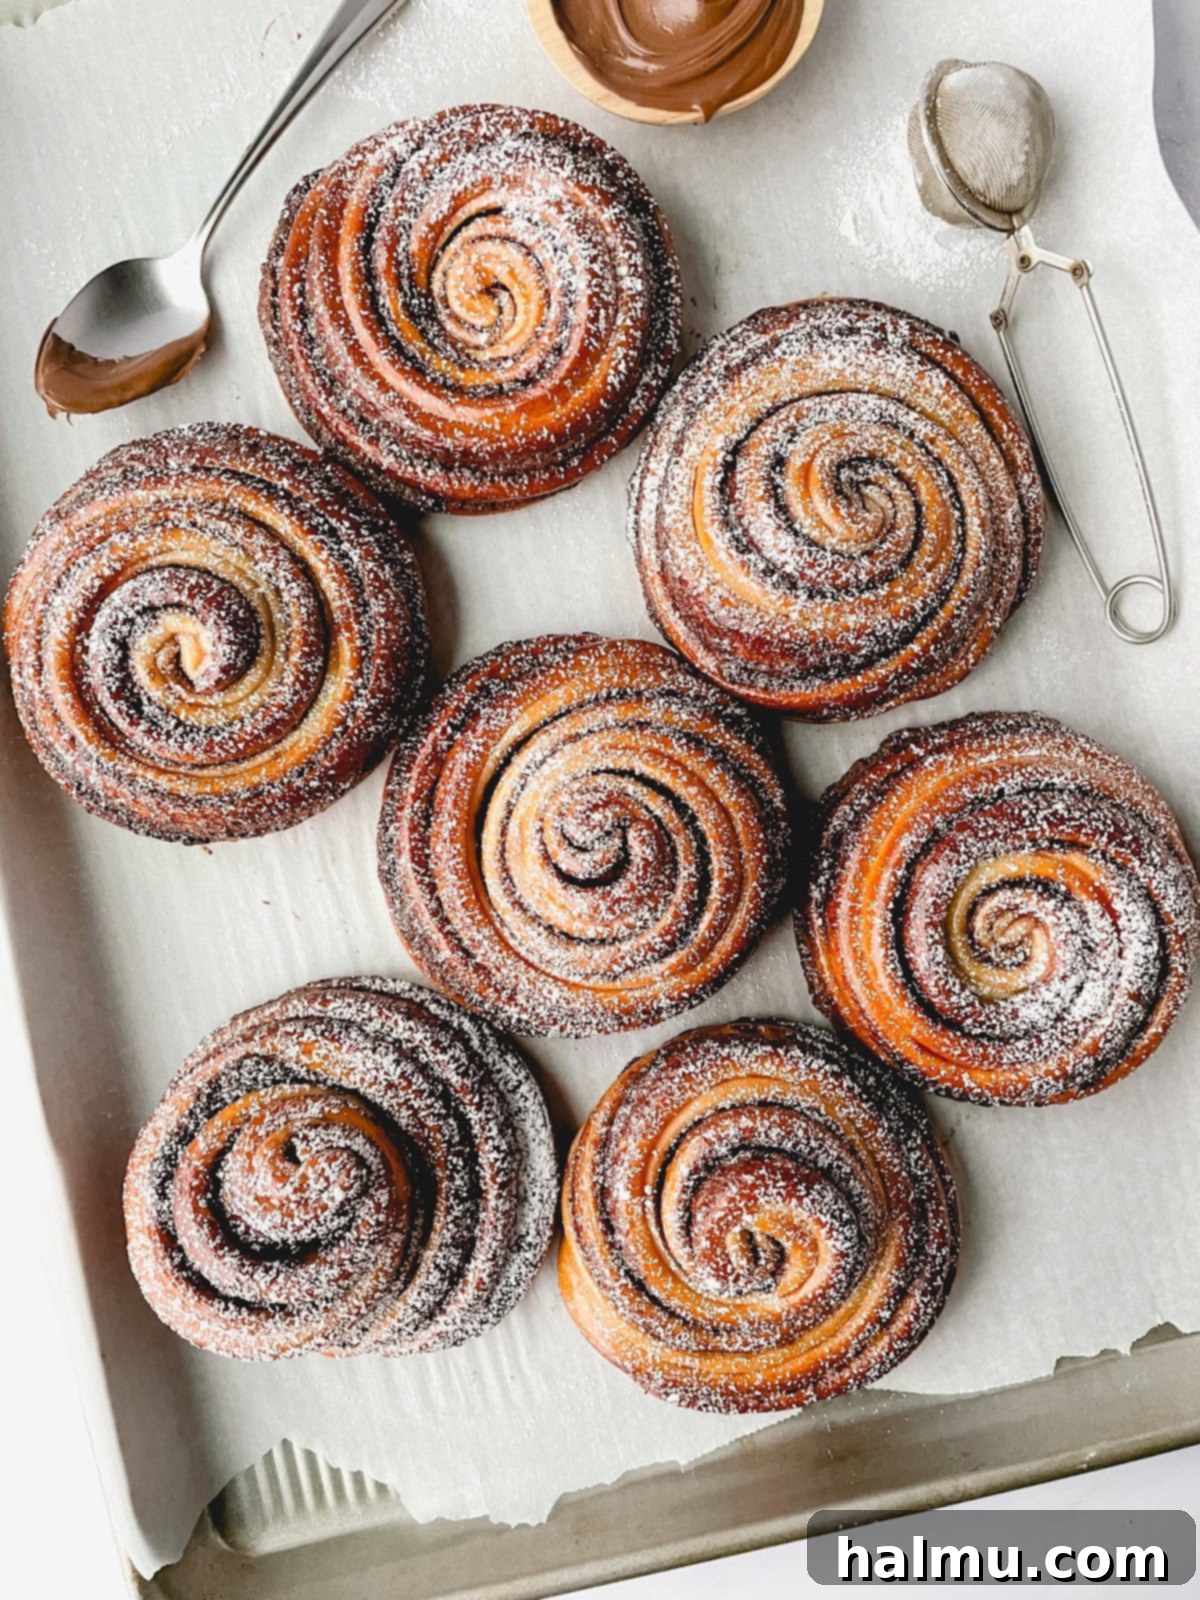
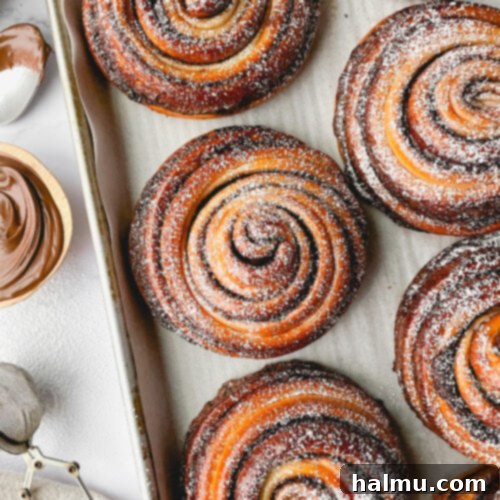
After several rounds of dedicated testing, balancing the sweetness of Nutella with the vibrant tartness of raspberry, I finally settled on a simple yet elegant solution: a radiant raspberry simple syrup glaze. This glaze not only adds a beautiful, glossy sheen to the buns but also infuses a delicate fruity note that complements the rich chocolate and hazelnut without overpowering it. A final, light dusting of powdered sugar provides the perfect finishing touch to these exquisite Nutella Brioche Buns. They are not just a treat for the palate, but a visual spectacle with their beautiful swirls and glossy finish, promising a truly unforgettable baking and eating experience.
Mastering the Art of Brioche Dough for Home Bakers
Brioche is renowned for its tender crumb and rich, buttery flavor, a testament to the generous amounts of eggs and butter incorporated into the dough. Traditionally, brioche recipes call for a very high fat content and a specific mixing method that can be intimidating for those new to yeast baking. While my recipe for these Nutella Brioche Buns maintains the essential elements of a classic brioche, such as eggs and butter, I’ve consciously adjusted the fat ratio to be slightly less indulgent than a classic French brioche loaf. This thoughtful adaptation ensures that you still achieve a wonderfully soft, buttery, and airy dough that’s much easier to handle and work with for the average home baker, without compromising on that luxurious taste and texture.
My unique method further simplifies the process. Instead of slowly incorporating softened butter into an already formed dough – a technique that can sometimes be tricky to master and requires careful timing – I begin by gently warming the butter with the milk. This warm liquid mixture is then added directly to the stand mixer first, along with the yeast. This approach not only helps activate the yeast effectively by providing an ideal temperature but also ensures that the butter is evenly distributed throughout the dough from the very start. The result is a consistent, smooth dough that develops gluten beautifully, leading to that signature brioche softness and elasticity. It’s a small variation that makes a significant difference, transforming a potentially complex bake into an enjoyable and successful culinary adventure. This method allows for a less sticky dough that is more pliable and forgiving, perfect for the intricate shaping we’ll do later.
Crafting Exquisite Nutella Brioche Buns: A Step-by-Step Shaping Guide
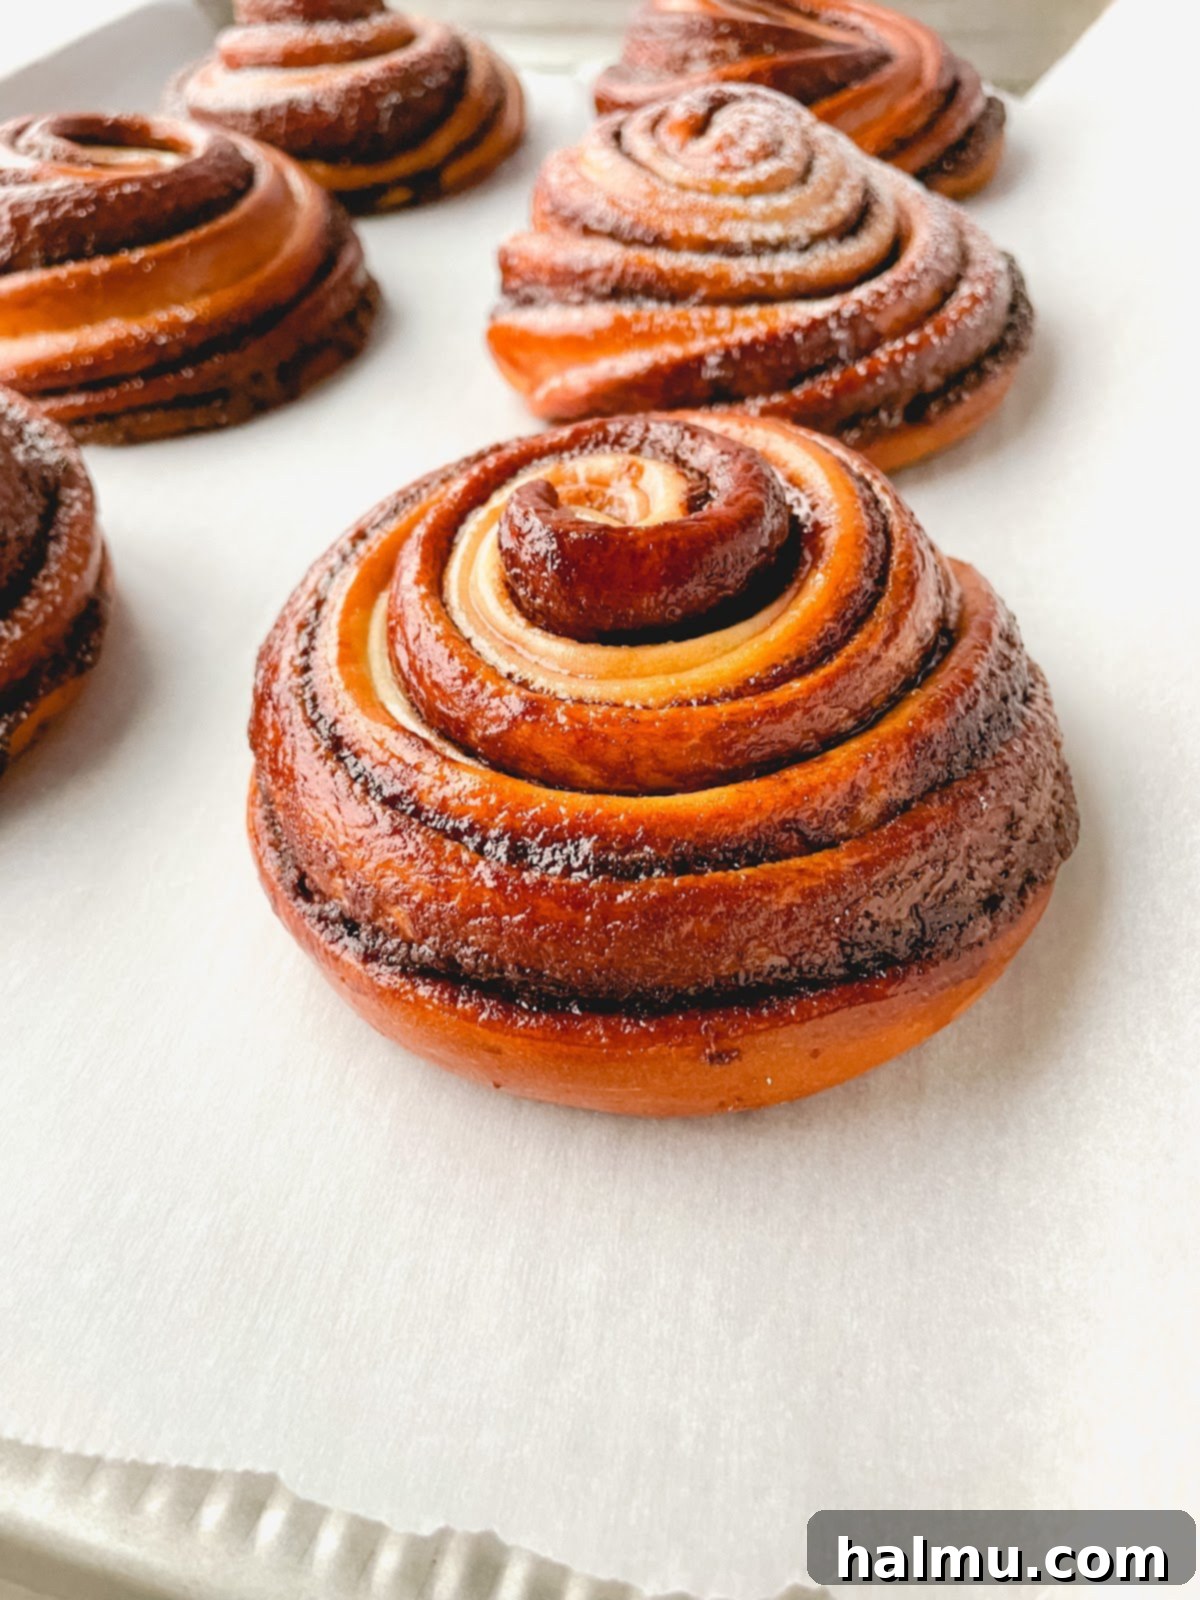
One of the most enjoyable and visually rewarding aspects of this recipe is the ingenious technique used to assemble and shape these Nutella Brioche Buns. It’s a method that consistently produces stunningly swirled pastries, making them as delightful to look at as they are to eat. This shaping technique borrows principles from laminated dough, where layers of butter are folded into dough to create a flaky texture, akin to croissants. In our case, we’re creating beautiful, defined layers not with butter, but with the rich, chocolate-hazelnut Nutella filling. This process is kept straightforward, requiring just one series of folds to achieve maximum visual impact and an even distribution of flavor in every bite. Precision and a little patience are key to achieving the perfect swirl and a truly professional-looking bun. Here’s how you’ll transform your buttery brioche dough and decadent Nutella into these show-stopping treats:
- Prepare the Dough for Rolling. Once your brioche dough has completed its initial rise and has noticeably doubled in size, it’s ready to be transformed into our beautiful buns. Gently transfer the risen dough onto a lightly floured surface, taking care to press out any large air bubbles without deflating it entirely. Using a rolling pin, gradually roll the dough into a large, even rectangle. Aim for approximate dimensions of 14 inches by 24 inches. Achieving these specific measurements is crucial as it dictates the thickness of your dough layers and ultimately influences the consistent size and the stunning swirled pattern of your finished buns. Take your time to ensure the thickness is as uniform as possible across the entire rectangle to prevent uneven baking or tearing.
- Apply the Nutella Filling. Before spreading, it’s highly recommended to lightly warm your Nutella in the microwave for approximately 15-20 seconds. This simple but vital step makes the Nutella much more pliable and easier to spread smoothly across the dough without tearing it. If the Nutella is too cold or stiff, you’ll find it challenging to achieve an even layer, and you might inadvertently damage your carefully rolled dough. Spread the warmed Nutella evenly over the bottom two-thirds of the dough, ensuring it extends all the way to the edges for maximum flavor in every bite. Critically, leave the top one-third of the dough completely free of filling. This clean strip will be essential for the folding process, allowing the dough to adhere to itself.
- Execute the Lamination Fold. Now for the magic that creates those lovely layers: the lamination step. Imagine you’re folding a letter into thirds. Take the top third of the dough (the portion without any Nutella filling) and gently fold it down onto the middle third of the dough. Next, take the bottom third of the dough (which now has Nutella on top of the first fold) and fold it upwards over the previous folds. You should now have a long, narrower rectangle consisting of three distinct layers of dough. Very gently, with your rolling pin, roll this layered rectangle out once more. The goal is to reshape it to approximately 8 inches wide and 14 inches long. This secondary roll helps to slightly compress and integrate the layers, setting the stage for perfectly defined swirls. Carefully transfer this layered dough rectangle onto a sheet pan and refrigerate it for about 15 minutes. This chilling period is crucial for firming up both the brioche dough and the Nutella, making the next cutting step significantly easier and cleaner, preventing the filling from oozing out.
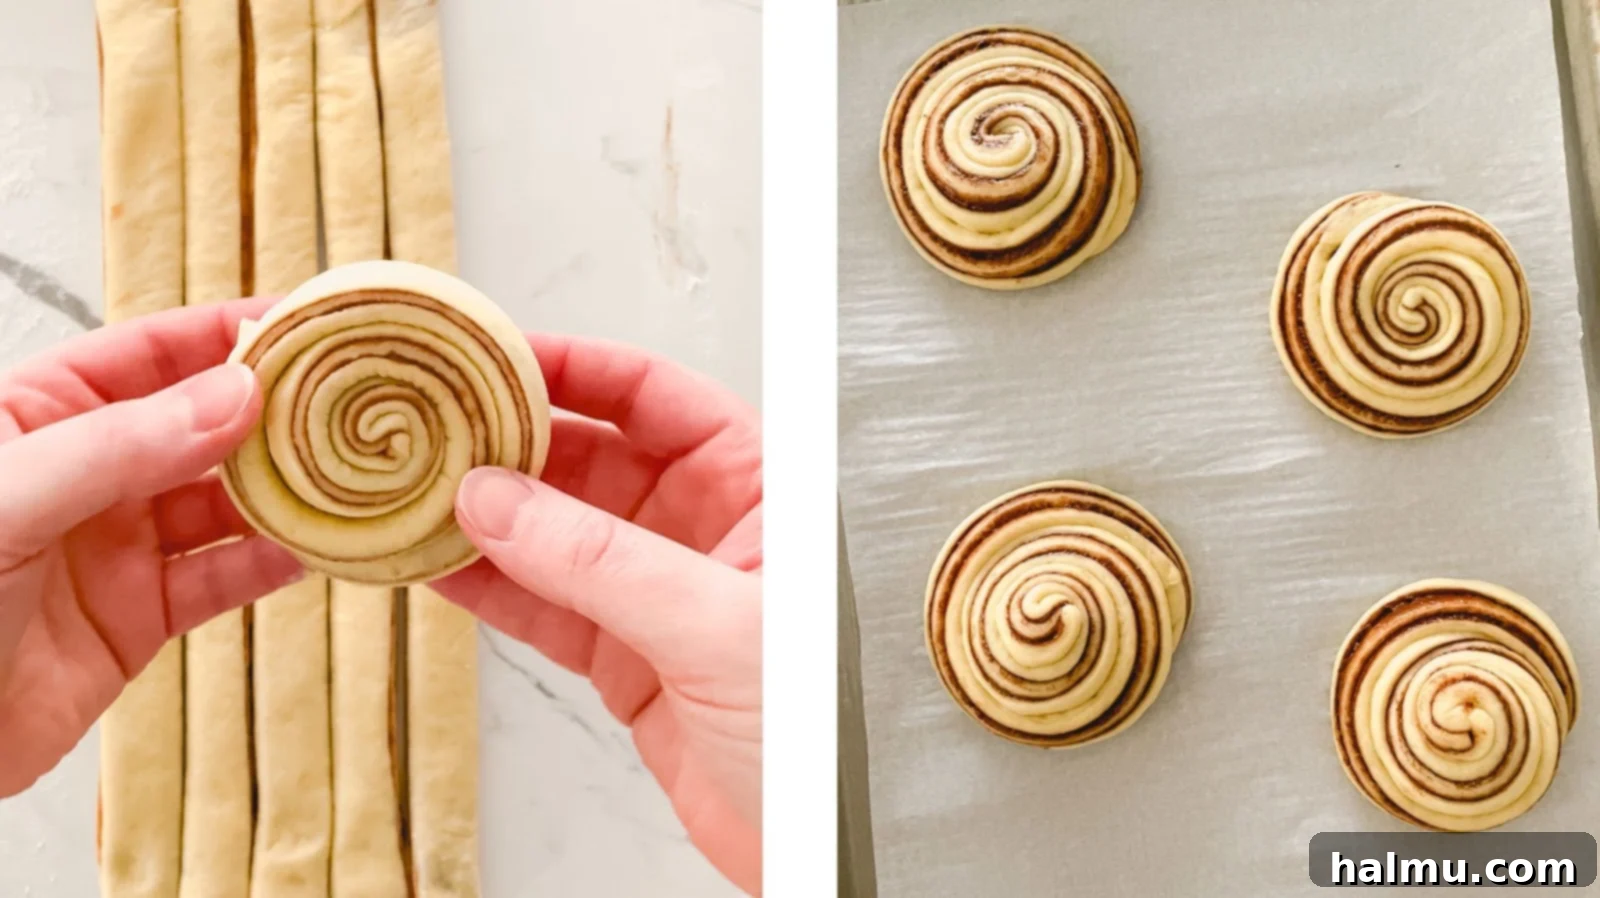
- Cut the Dough into Strips. After the dough has sufficiently firmed up and chilled in the refrigerator, retrieve it from the sheet pan. Place it back on your lightly floured surface. Using a sharp pizza cutter or a pastry wheel, carefully trim all four edges of the dough to create a perfectly clean and even rectangle. This precision ensures uniform buns and professional-looking edges. Once trimmed, cut the rectangle lengthwise into eight equal strips. Each strip should measure approximately 1 inch wide. Adhering to the initial rolling measurements of the dough provides an excellent guideline to help you achieve these consistent 1-inch strips, which are essential for perfectly shaped buns that bake evenly and display a beautiful swirl.
- Shape and Proof the Buns. Take each individual strip of dough and begin to roll it up tightly from one end to the other, creating a beautiful spiral pattern. Once rolled, tuck the loose “tail” end securely underneath the bun to prevent it from unraveling during baking. Arrange the shaped rolls onto two sheet pans that have been generously lined with parchment paper. Gently press down on the top of each bun to slightly flatten them. This helps create a more stable base and a pleasing final shape. Loosely cover the pans with plastic wrap and allow the shaped buns to rest in a warm, draft-free spot for their second proof, also known as the final rise. This stage, lasting approximately 45 minutes to 1 hour, is vital for the buns to rise and become beautifully puffy, ensuring a light, airy, and tender texture after baking.
Essential Tips for Baking Irresistible Nutella Brioche Buns
Achieving bakery-quality Nutella Brioche Buns at home is entirely possible with a few key techniques and considerations. These tips will help you navigate the nuances of brioche baking, ensuring your efforts result in perfectly tender, flavorful, and beautifully swirled pastries every time. By paying attention to these details, you’ll elevate your baking from good to truly exceptional.
- Embrace the Precision of a Kitchen Scale. For any baking endeavor, especially when working with sensitive yeast doughs like brioche, a kitchen scale is an invaluable tool. Weighing your ingredients, particularly flour, sugar, and liquids, provides far more accurate and consistent results than volume measurements. Slight variations in how flour is scooped can drastically alter your dough’s hydration, leading to tough, dry, or excessively sticky outcomes. Investing in a reliable kitchen scale – like this one – is a small investment that yields consistently successful bakes. You’ll notice I always include gram measurements in my recipes for this very reason, as it’s the professional standard for accuracy!
- Accurate Dough Measurements are Non-Negotiable. The visual success of those gorgeous Nutella swirls hinges on precise dough dimensions throughout the entire rolling and shaping process. I’ve provided specific width and length measurements for the dough at different stages, from the initial large rectangle to the final layered piece. Taking a moment to use a metal ruler or even a clean tape measure to check these dimensions is not an overly pedantic step; it ensures that when you cut your dough into strips, you achieve eight uniformly sized, 1-inch wide pieces. This consistency directly translates to evenly baked, beautifully shaped buns with distinct, appealing swirls.
- The Power of Chilling: Don’t Skip Refrigeration. After the crucial step of spreading the Nutella, tri-folding the dough, and giving it a final gentle roll, placing the dough in the fridge for about 15 minutes is an absolute game-changer. This chilling period allows both the brioche dough and the Nutella filling to firm up considerably. A firm dough is significantly easier to handle and slice, preventing the Nutella from oozing out and creating a sticky, messy situation. It ensures cleaner cuts and more defined, beautiful layers in your finished buns. To easily transfer the large, folded dough from your counter to a sheet pan for chilling, simply fold the rectangle in half, place it on the pan, then carefully unfold it once it’s in position.
- Optimal Proofing Environment. Yeast doughs, especially enriched ones like brioche, thrive in warm, draft-free environments. For the best possible rise, find a cozy spot for your dough to proof. Many experienced bakers use a turned-off microwave or oven as an impromptu proofing box, as these enclosed spaces trap air and maintain a consistent, slightly warm temperature. Avoid cold drafts, which can significantly slow down or halt the yeast activity, leading to dense buns.
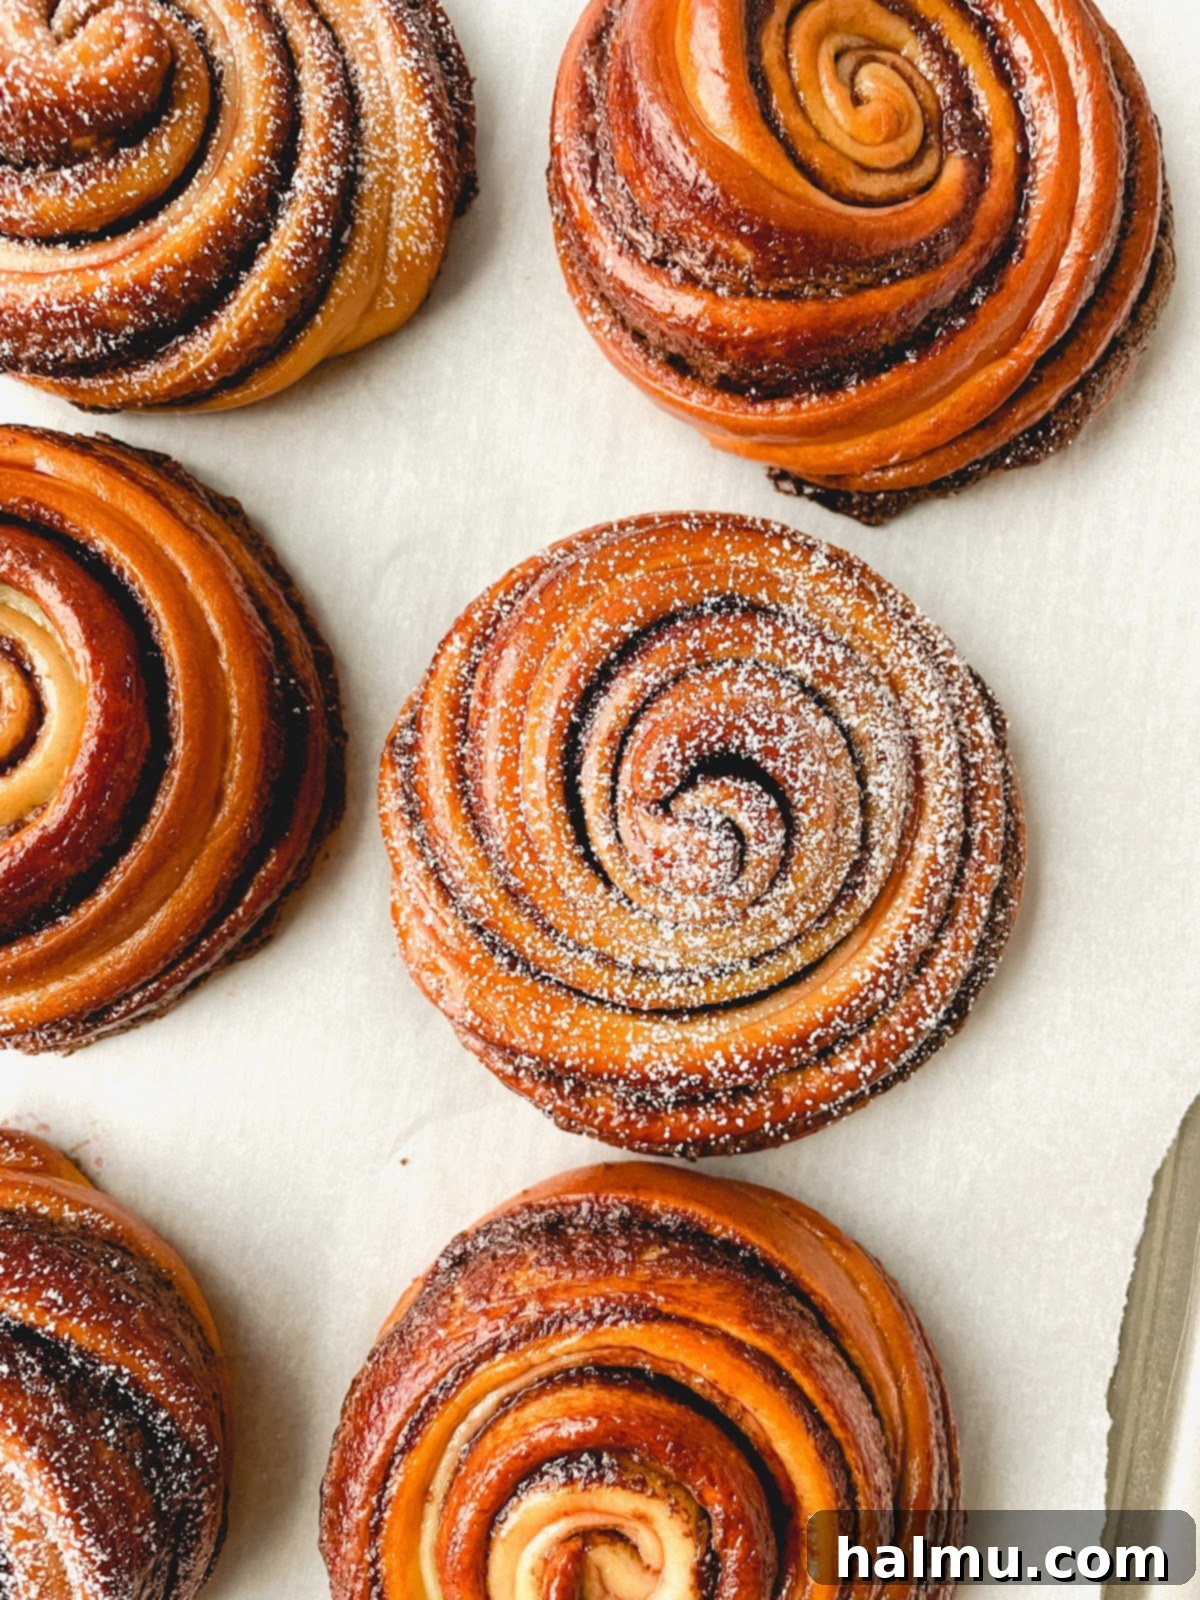
- Don’t Overbake. Brioche is best when it reaches a beautiful golden-brown color and feels tender to the touch. Overbaking can quickly lead to dry, tough buns, diminishing their luxurious texture. Keep a close eye on your buns towards the end of the baking time. A perfectly baked Nutella brioche bun will have a rich, golden-brown exterior and a soft, pillowy interior that pulls apart easily.
Nutella Brioche Buns: Frequently Asked Questions
Baking with yeast can sometimes present questions, especially for those new to brioche dough. Here are answers to some of the most common inquiries to help ensure your Nutella Brioche Buns turn out perfectly every time, from proofing to storage.
How long does the dough need to proof or rise?
The proofing time for any yeast dough, including our brioche, is highly dependent on the ambient temperature of your kitchen. In a cooler room, the yeast will be less active, requiring a longer time for the dough to double in size. Conversely, a warmer environment will accelerate the rising process. The proofing times provided in my recipes are always estimates, serving as a guideline. The best indicator of a properly proofed dough is its visual appearance and texture: it should have visibly doubled in size and, when gently poked with a finger, should spring back slowly, leaving a slight indentation. If it springs back too quickly, it might need more time. If it doesn’t spring back at all and collapses, it might be over-proofed. To create an ideal, draft-free, and slightly warm spot for your dough to rise, I often recommend placing the covered bowl in a turned-off microwave or oven – just be absolutely sure it’s off!
How do I store these delicious Nutella Brioche Buns?
These scratch-made Nutella Brioche Buns are truly at their peak when enjoyed warm, fresh from the oven, or at least on the same day they are baked. The delicate texture and rich flavor of fresh brioche are unparalleled. However, if you find yourself with leftovers, you can certainly store them for an extra day. Place the baked buns in an airtight container at room temperature to prevent them from drying out and becoming stale. To revive their softness and warmth the next day, a quick reheat in the microwave for 15-30 seconds or a few minutes in a moderate oven (around 300°F/150°C) will bring them back to life, making them almost as good as fresh.
Can I freeze these Nutella Brioche Buns?
Yes, these brioche buns freeze quite well, offering a convenient way to enjoy them later. While the texture might be slightly different from freshly baked, they are still wonderfully delicious after freezing. For best results, allow the buns to cool completely after baking and glazing. Then, wrap each individual bun tightly in plastic wrap, followed by a layer of aluminum foil, or place them into a heavy-duty zip-top freezer bag. This double layer of protection helps prevent freezer burn and maintains freshness. When you’re ready to enjoy them, remove the desired number of buns from the freezer and let them thaw overnight in the refrigerator or for several hours at room temperature. They will be most enjoyable after a quick warming in the microwave or oven until soft and fragrant.
What if my brioche dough isn’t rising?
If your brioche dough isn’t rising as expected, several factors could be at play. The most common culprits are inactive yeast (always check the expiration date and ensure your milk/butter mixture wasn’t too hot, as temperatures above 115°F/46°C can kill yeast), a too-cold environment (yeast struggles to activate below 70°F/21°C), or simply not enough time. Ensure your milk and butter mixture is at the correct temperature (around 90-100°F / 32-38°C) before adding yeast. If your kitchen is cold, try creating a warmer proofing environment as suggested above. Give it more time; sometimes yeast just needs a bit longer to get going, especially in cooler conditions or with richer doughs.
Can I make the dough ahead of time?
Absolutely, brioche dough is excellent for making ahead, and a cold fermentation can even enhance its flavor! After the first rise, you can gently deflate the dough, cover it tightly with plastic wrap, and refrigerate it overnight (up to 24 hours). The cold temperature slows down the yeast activity, allowing for a longer, more complex flavor development. When you’re ready to bake, simply remove the dough from the fridge about an hour before you plan to roll and shape it, allowing it to come closer to room temperature for easier handling.

Explore More Irresistible Breakfast Pastries You’ll Adore
If you’ve fallen in love with the process of creating these delicious Nutella Brioche Buns, you’re in for a treat! The world of homemade breakfast pastries is vast and incredibly rewarding. From classic comfort foods to innovative twists, there’s always something new and exciting to bake that will bring warmth and cheer to your kitchen. Here are a few more delightful recipes from my collection that I know you’ll cherish, perfect for elevating your mornings or sharing with loved ones:
- Brown Butter Brioche Cinnamon Rolls: A richer, more flavorful take on a beloved classic, made with a luscious brioche dough and nutty brown butter.
- Everything Bagel Bites: Savory and addictive, these chewy bites are perfect for a quick breakfast or snack, offering all the flavor of an everything bagel in a convenient form.
- Blueberry Streusel Coffee Cake Loaf: A moist and tender loaf cake bursting with juicy blueberries and crowned with a sweet, crunchy streusel topping.
- Cinnamon Sugar Donut Muffins: All the irresistible flavor and soft texture of a classic donut, without the hassle of deep-frying, in a convenient muffin form.
- Apple Cheesecake Pop-Tarts: A homemade, elevated version of a nostalgic treat, combining sweet, spiced apple filling with creamy cheesecake in a flaky pastry crust.
I genuinely hope you find as much joy in baking and savoring these Nutella Brioche Buns as I did in perfecting them. There’s nothing quite like the warmth and comfort of a homemade pastry, fresh from your own oven. Once you’ve made this recipe, I’d be absolutely thrilled to hear about your experience! Please consider leaving a comment below to share your thoughts, any helpful tips you discovered, or delightful variations you might have tried. Don’t forget to tag @sweetkitchencravings on Instagram or TikTok – I absolutely love seeing your beautiful creations and hearing your baking stories! And if Pinterest is more your style, feel free to save this and my other recipes to your collection there for future baking inspiration. Happy baking, and may your kitchen always be filled with sweet cravings!
Nutella Brioche Buns
Print Recipe
RATE THIS RECIPE
Ingredients
For the Brioche Dough
- ¾ cup (175g) whole milk
- 3 Tablespoons (40g) unsalted butter, cut into small cubes
- 2 teaspoons (9g) instant yeast
- 3 cups (390g) all-purpose flour
- ¼ cup (58g) granulated sugar
- ½ teaspoon salt
- 1 large egg, plus 1 large egg yolk
For the Filling
- ½ cup Nutella spread
For the Raspberry Simple Syrup
- ⅓ cup raspberry jam
- 2 Tablespoons water
SHOP INGREDIENTS
Instructions
- Brioche Dough: In a small saucepan, add the milk and butter and heat on low until the mixture reaches 90°F. Add the milk and butter to the bowl of a stand mixer fitted with a dough hook attachment. Add the yeast to the bowl and give it a quick stir.
- Add the flour, sugar, salt, then eggs to the bowl. Mix on low speed until the dough comes together then scrape down the sides of the bowl. Continue mixing for about 5 minutes, until the dough has pulled away from the sides of the bowl and is smooth, not sticky. Scrape the sides and bottom of the bowl one or two times during the mixing process.
- Form the dough into a ball and place it in a large bowl greased with cooking spray or oil. Cover with plastic wrap and allow it to rise in a warm spot until doubled in size, about 1 – 1 ½ hours.
- Assembly: Line 2 baking sheets with parchment paper or silicone mats. Once the dough is ready, remove it from the bowl onto a lightly floured surface. Gently press out any air bubbles.
- With a rolling pin, roll out the dough into a rectangle measuring approximately 14” x 24”. Warm the Nutella in the microwave for about 15 – 20 seconds until spreadable. With the shorter end of the rectangle facing you, spread the Nutella onto the lower two-thirds of the dough, leaving one-third without filling.
- Fold the shorter ends of the dough into thirds like a letter. First, fold the top ⅓ of the dough (without filling) onto the middle ⅓ of the dough then fold the remaining ⅓ end over that, so you end up with 3 layers of dough. Gently roll out the dough again, until it measures about 8” wide and 14” long. Move the dough to a sheet pan and refrigerate for about 15 minutes.
- Remove the dough from the fridge and using a pizza cutter or pastry wheel, trim the 4 sides of the dough to create clean, even edges. Cut the dough in half lengthwise then cut each of those pieces in fourths, to create 8 long strips, each measuring about 1” wide.
- Starting at one end, roll each strip into a tight bun, tucking the tail underneath. Transfer the buns to the prepared pans and press down each bun to slightly flatten. Loosely cover with plastic wrap and allow the buns to rest in a warm spot until risen and puffy, about 45 minutes to 1 hour.
- Preheat oven to 350°F. Bake the buns for 18-20 minutes or until golden brown.
- Raspberry Simple Syrup: Combine the raspberry jam and water in a small saucepan and bring to a boil over low heat. Remove from heat and strain out the seeds with a fine mesh sieve. Brush the raspberry syrup over the warm buns.
- Dust the glazed brioche buns with powdered sugar, if desired, and enjoy!
Notes
- Storing: These brioche buns are best enjoyed the same day but can be stored in an airtight container at room temperature and refreshed the next day by warming them in the oven or microwave.
