This post may contain affiliate links. Please read my full disclosure policy.

Irresistible Birthday Cake Cookies: The Ultimate Celebration Treat
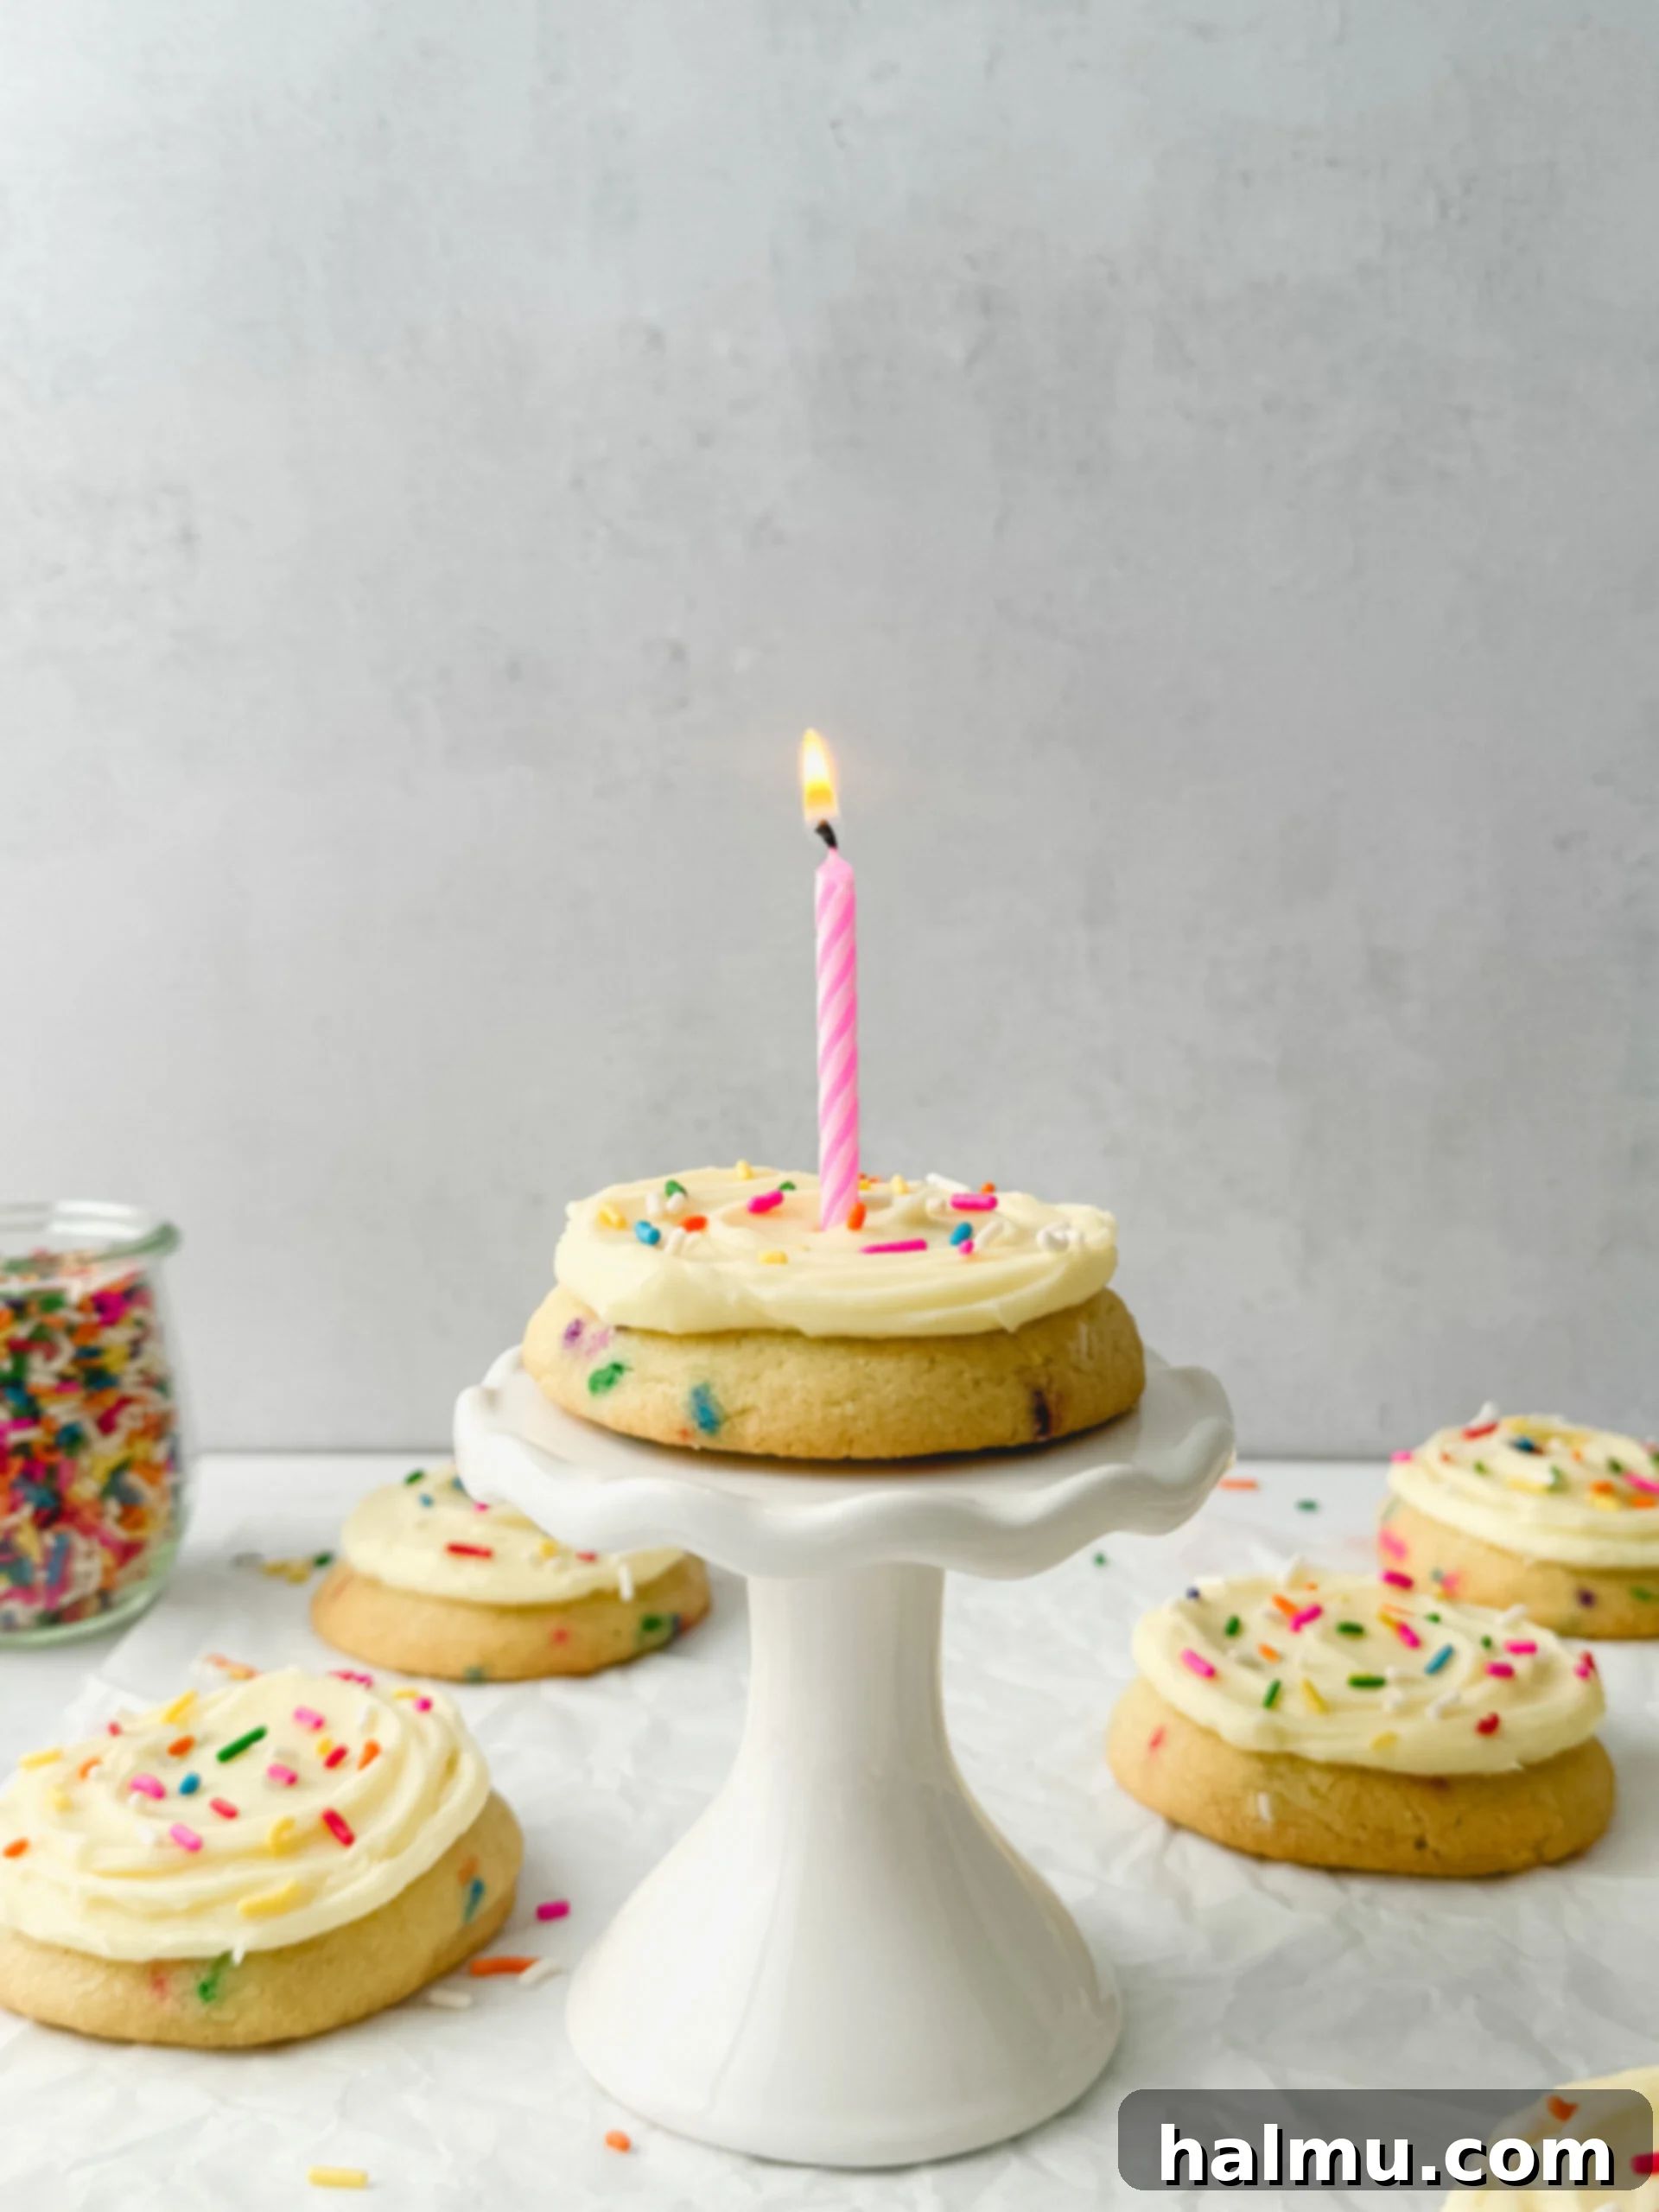
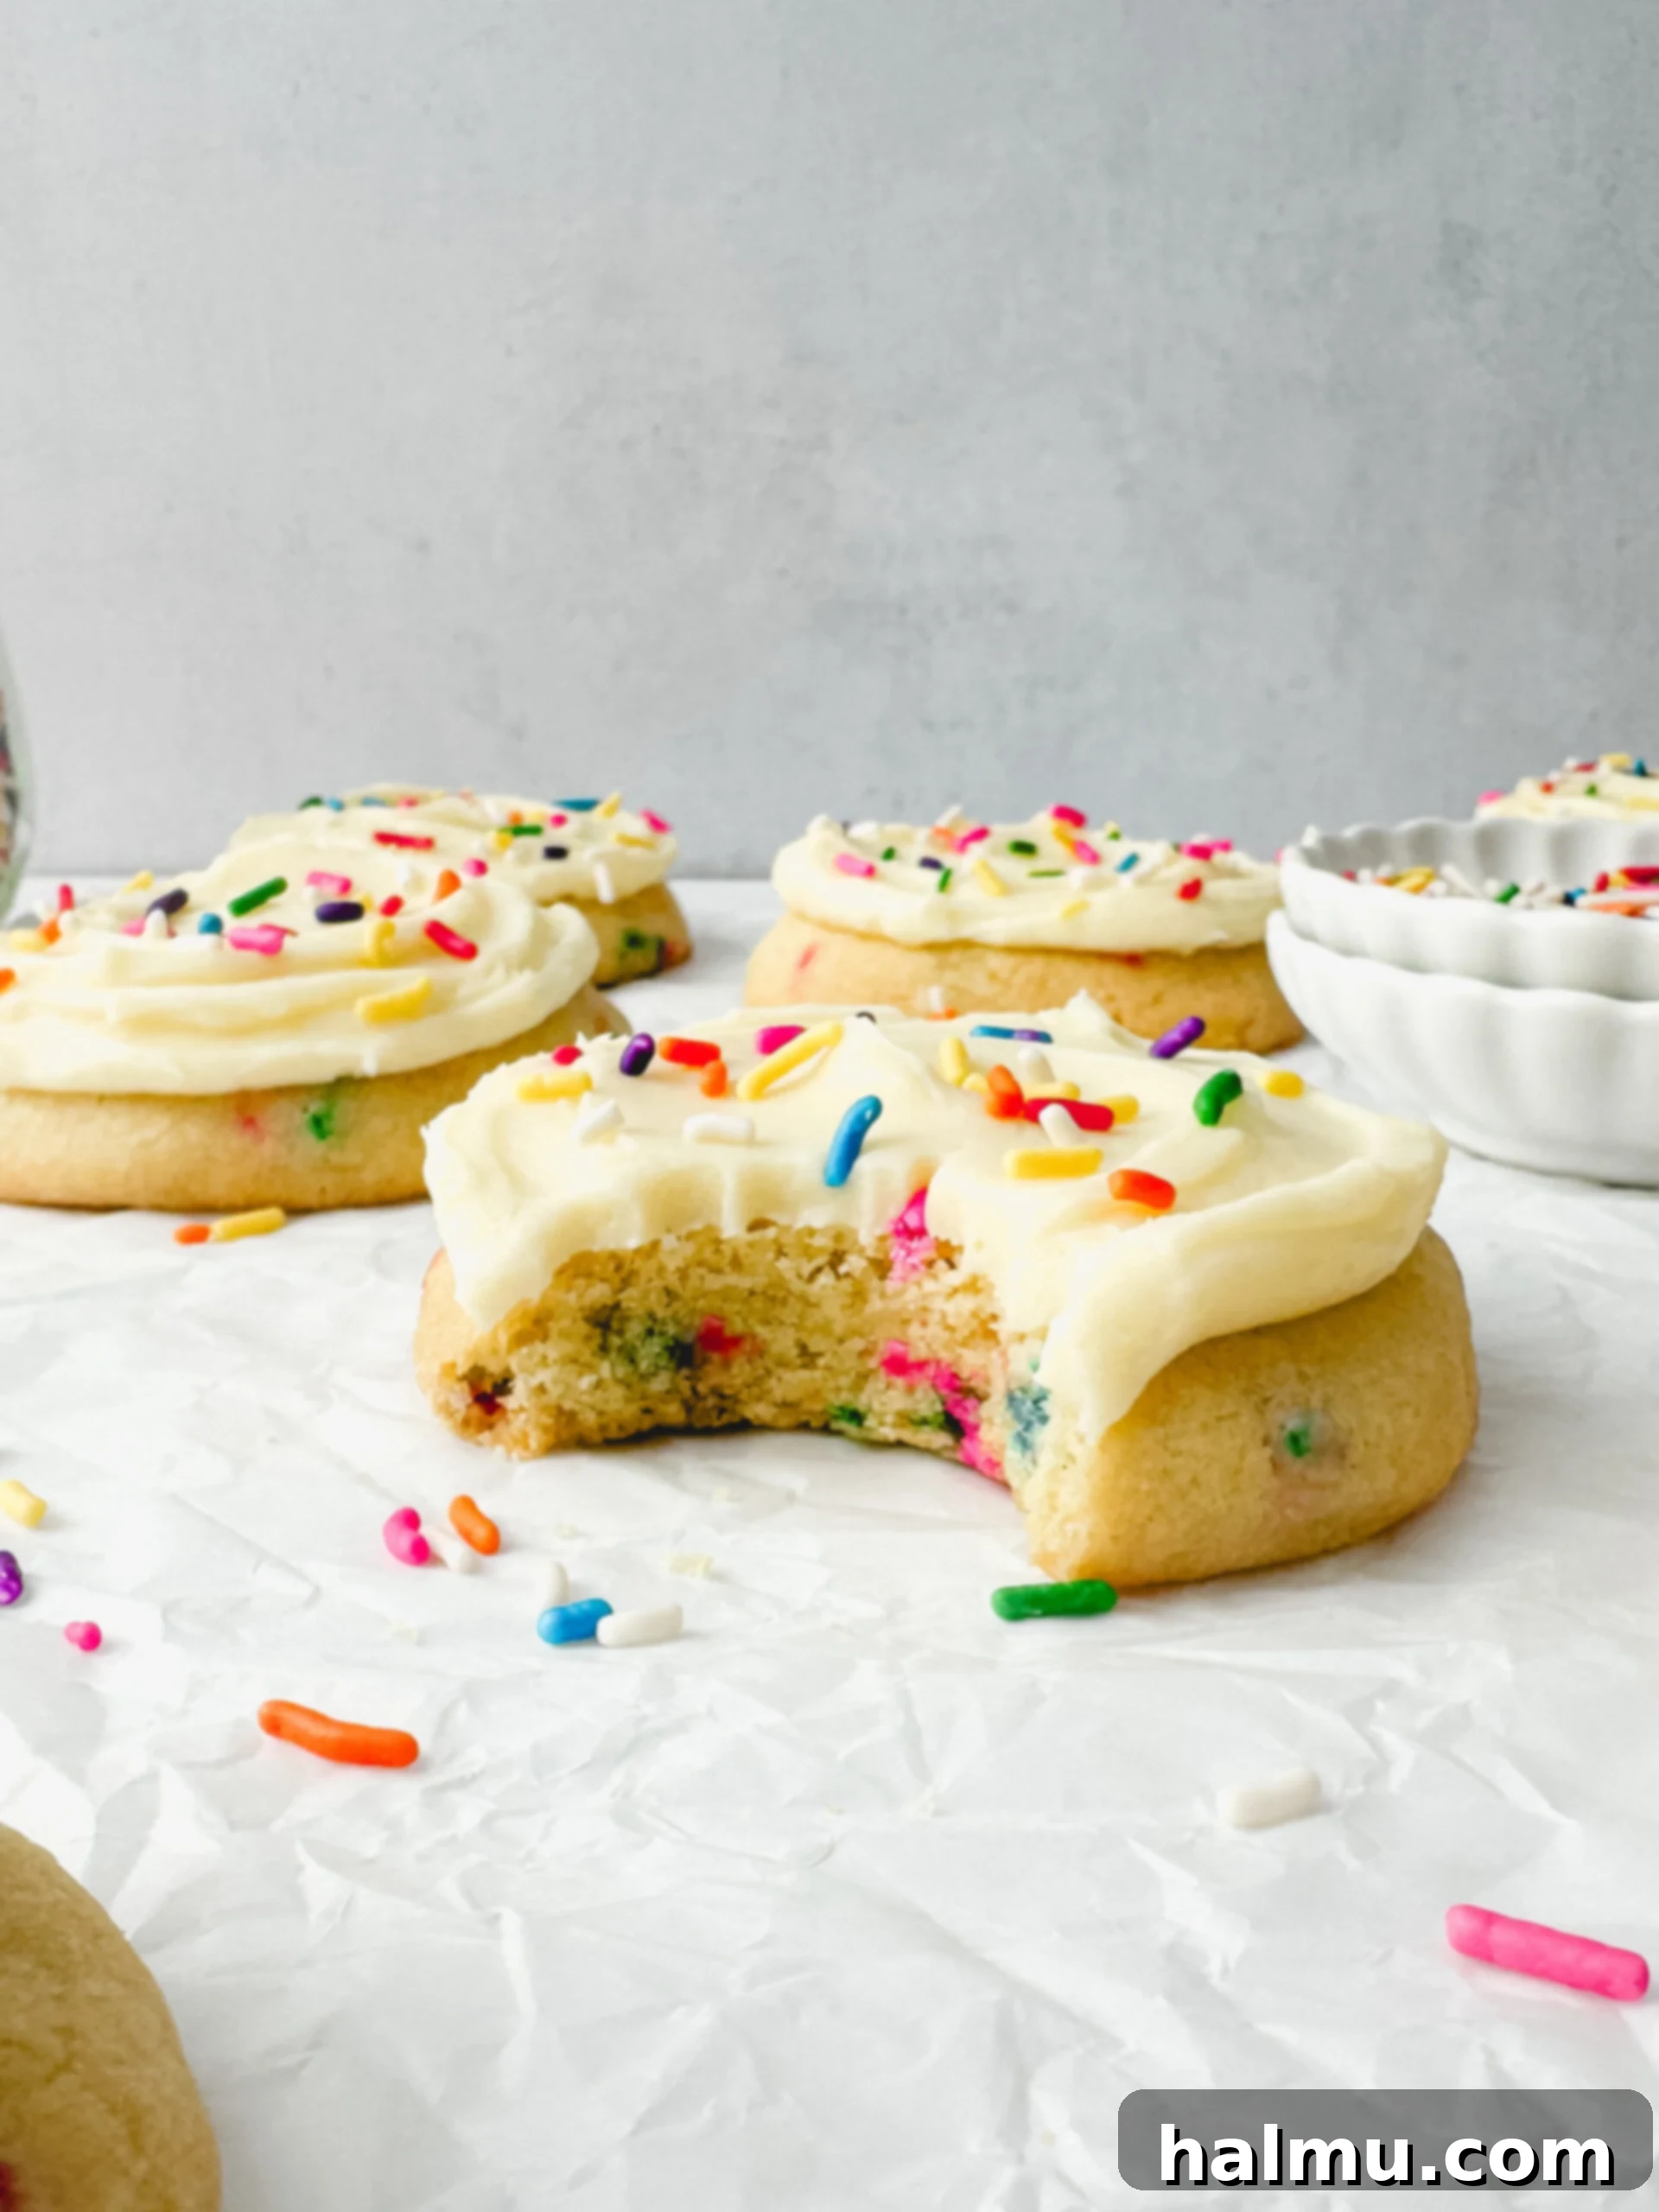
Celebrating a special occasion, or simply craving a delightful treat? Look no further than these spectacular Birthday Cake Cookies! Marking Sweet Kitchen Cravings’ second anniversary, these cookies are the quintessential way to bring joy to any festivity. Imagine a thick, irresistibly soft, and perfectly chewy sugar cookie infused with delightful cake batter flavor. Each cookie is then generously crowned with a luscious, tangy cream cheese frosting that also boasts that distinctive cake batter essence, and finally, showered with a vibrant array of colorful sprinkles. They’re not just cookies; they’re a celebration in every bite!
The inspiration for this recipe blends the nostalgic charm of classic grocery store Lofthouse cookies with the decadent popularity of Crumbl’s renowned birthday cake flavor. My aim was to craft a homemade version that offers a superior texture—chewy, yet subtly cakey—and a depth of flavor that truly stands out. The secret to their incredible tenderness lies in the precise combination of oil, which contributes to an ultra-soft texture, and butter, which delivers an unparalleled rich flavor. The cream cheese frosting elevates these cookies to another level, providing a creamy, tangy contrast that perfectly complements the sweet cookie base. Infused with a high-quality cake batter extract, the frosting ties the entire experience together. Get ready to impress your guests and loved ones with these unforgettable Birthday Cake Cookies at your next gathering!
Crafting Your Perfect Birthday Cake Cookies: A Step-by-Step Guide
Creating these delightful Birthday Cake Cookies is a straightforward process, ensuring delicious results even for novice bakers. Follow these detailed steps to bring a burst of joy to your kitchen.
Prepare the Irresistible Cookie Dough
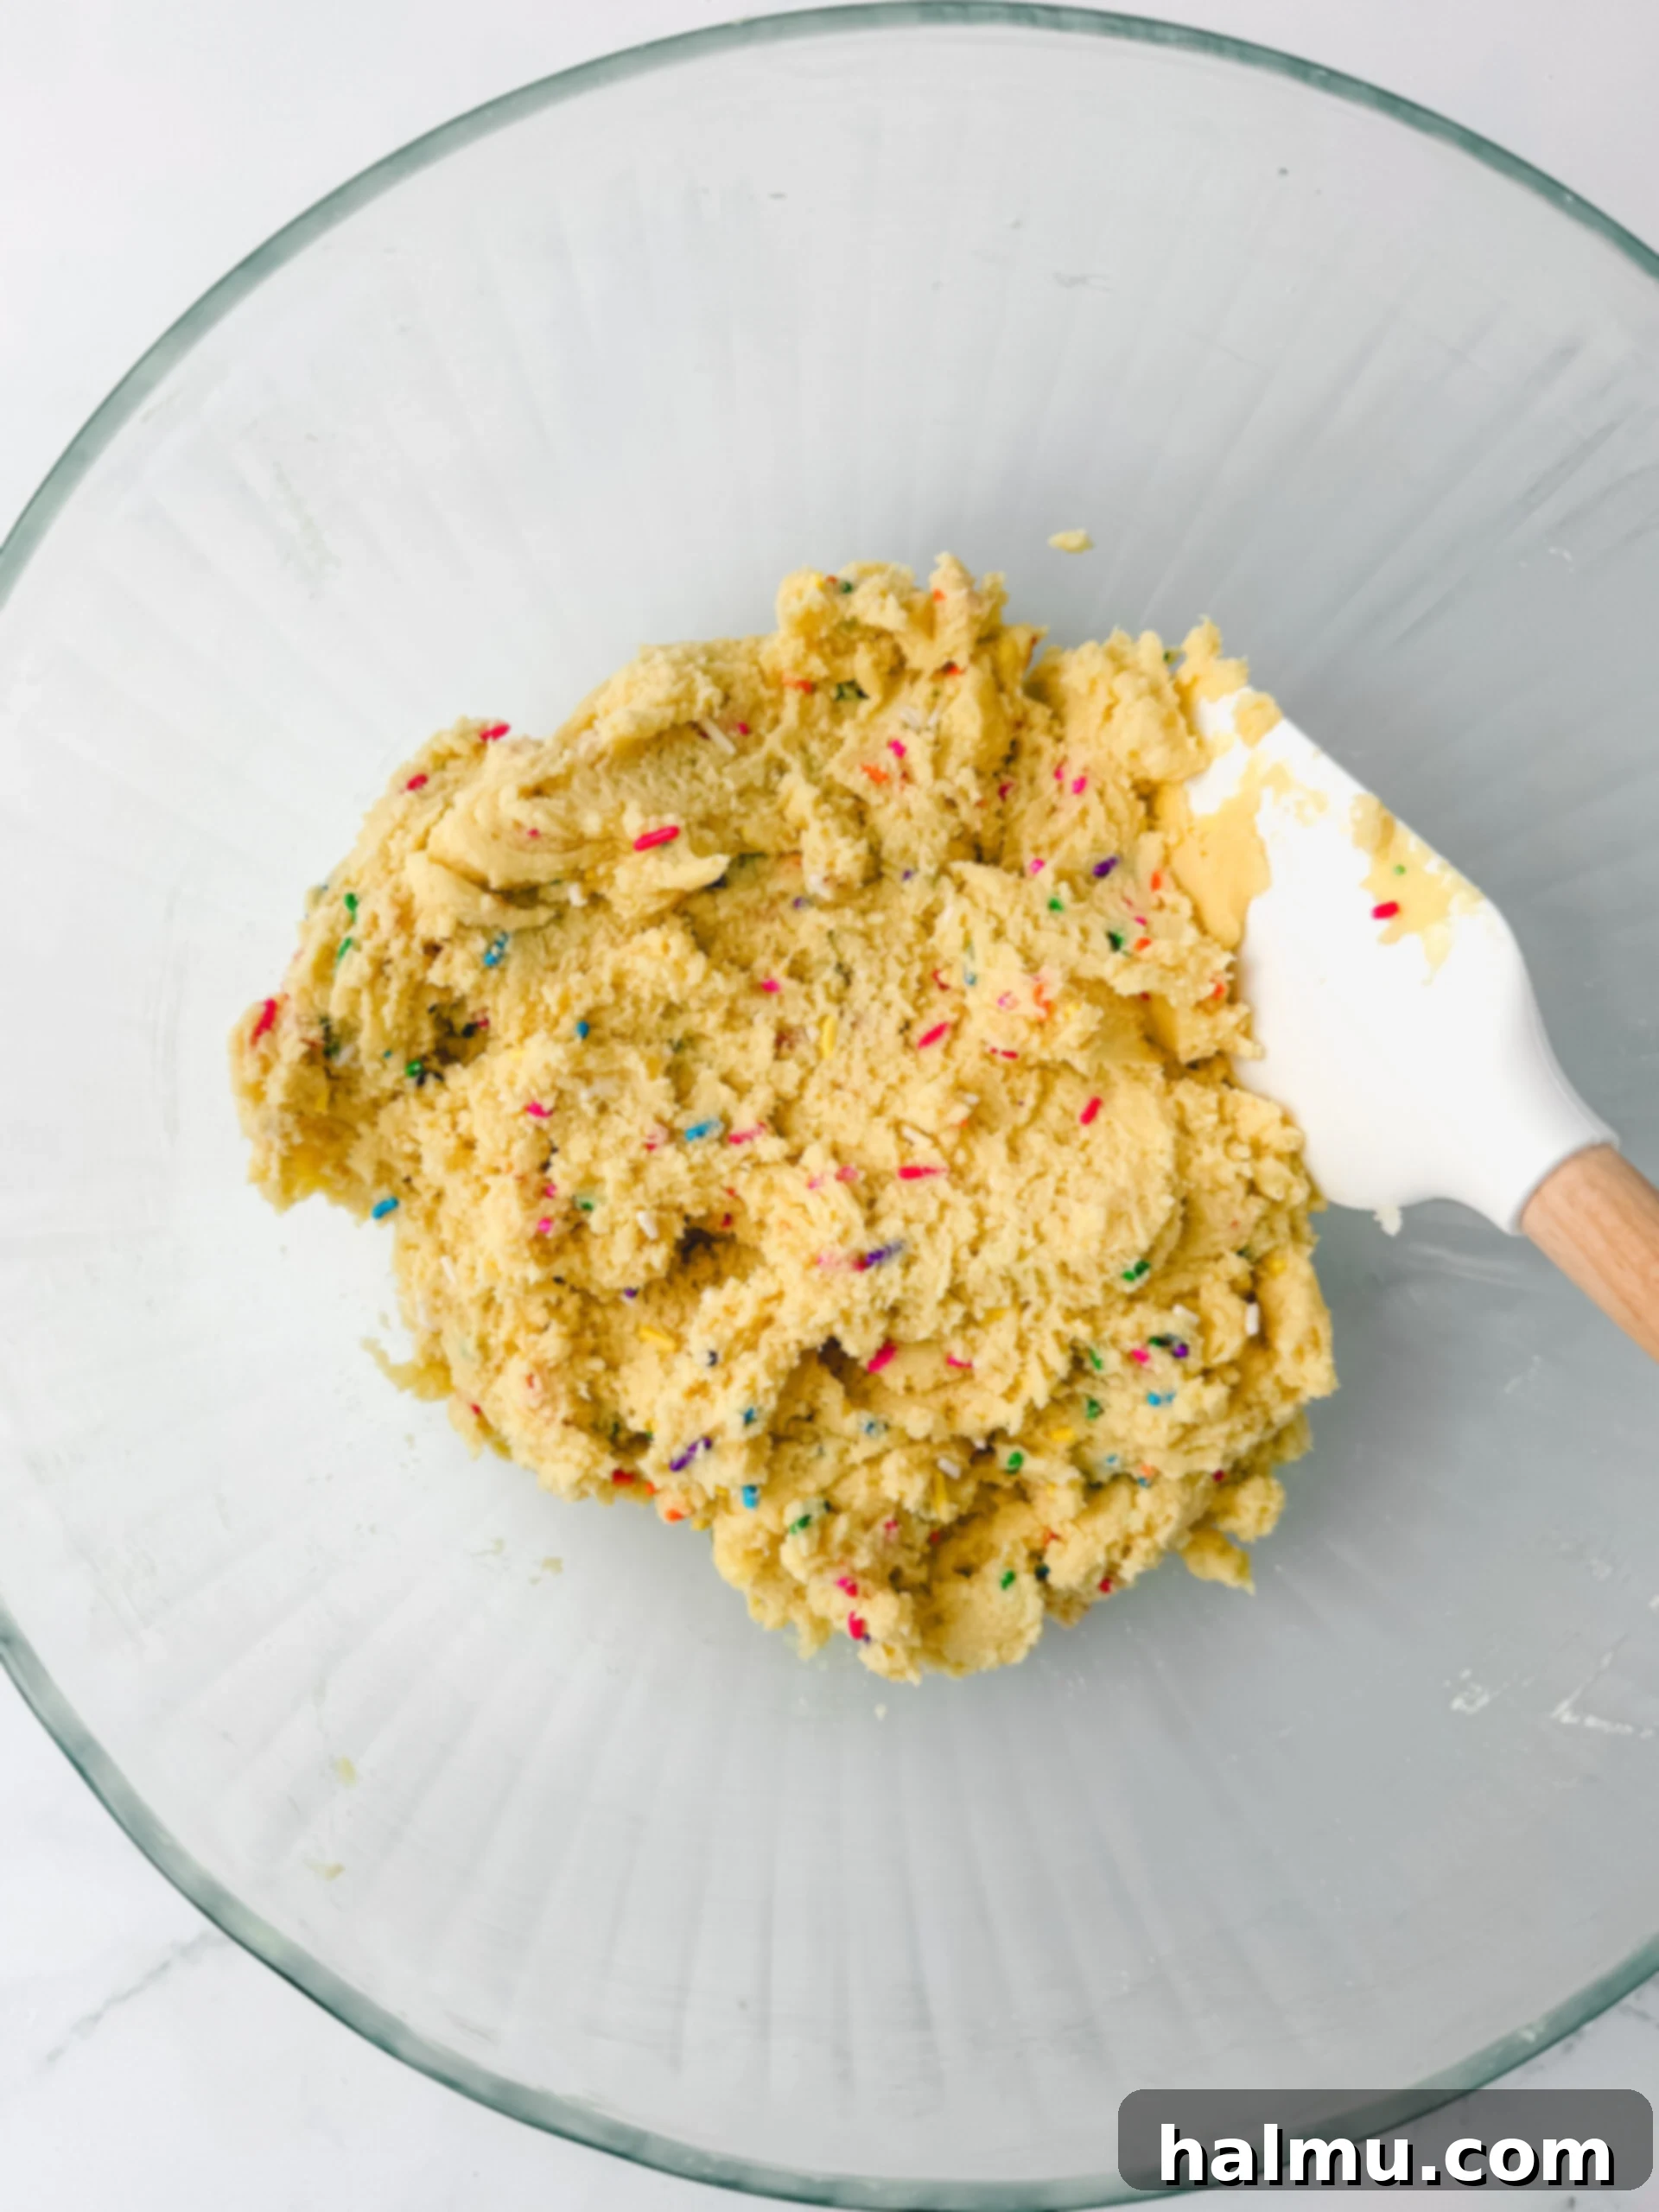
Begin by preparing the foundation of your delicious cookies: the dough. This process is surprisingly quick and easy, ideally done with an electric mixer for best results. First, cream together the softened butter and granulated sugar until the mixture is light, fluffy, and well combined. This usually takes about 2 minutes. Next, with your mixer running at a medium speed, slowly drizzle in the vegetable or canola oil. The oil is key to achieving that signature soft and tender texture. After the oil is fully incorporated, scrape down the sides of your mixing bowl to ensure everything is evenly blended. Then, beat in the eggs, a generous splash of vanilla extract, and the crucial cake batter extract, mixing until just combined. Finally, gently fold in the dry ingredients: all-purpose flour, cornstarch (for that extra tender crumb), baking powder, baking soda, and a pinch of salt. Mix until the dry ingredients are just incorporated, being careful not to overmix. Overmixing can lead to tough cookies. As a finishing touch, stir in your vibrant rainbow sprinkles, ensuring they are evenly distributed throughout the dough. The dough is now ready for its essential chilling phase.
Chill and Precisely Portion Your Dough
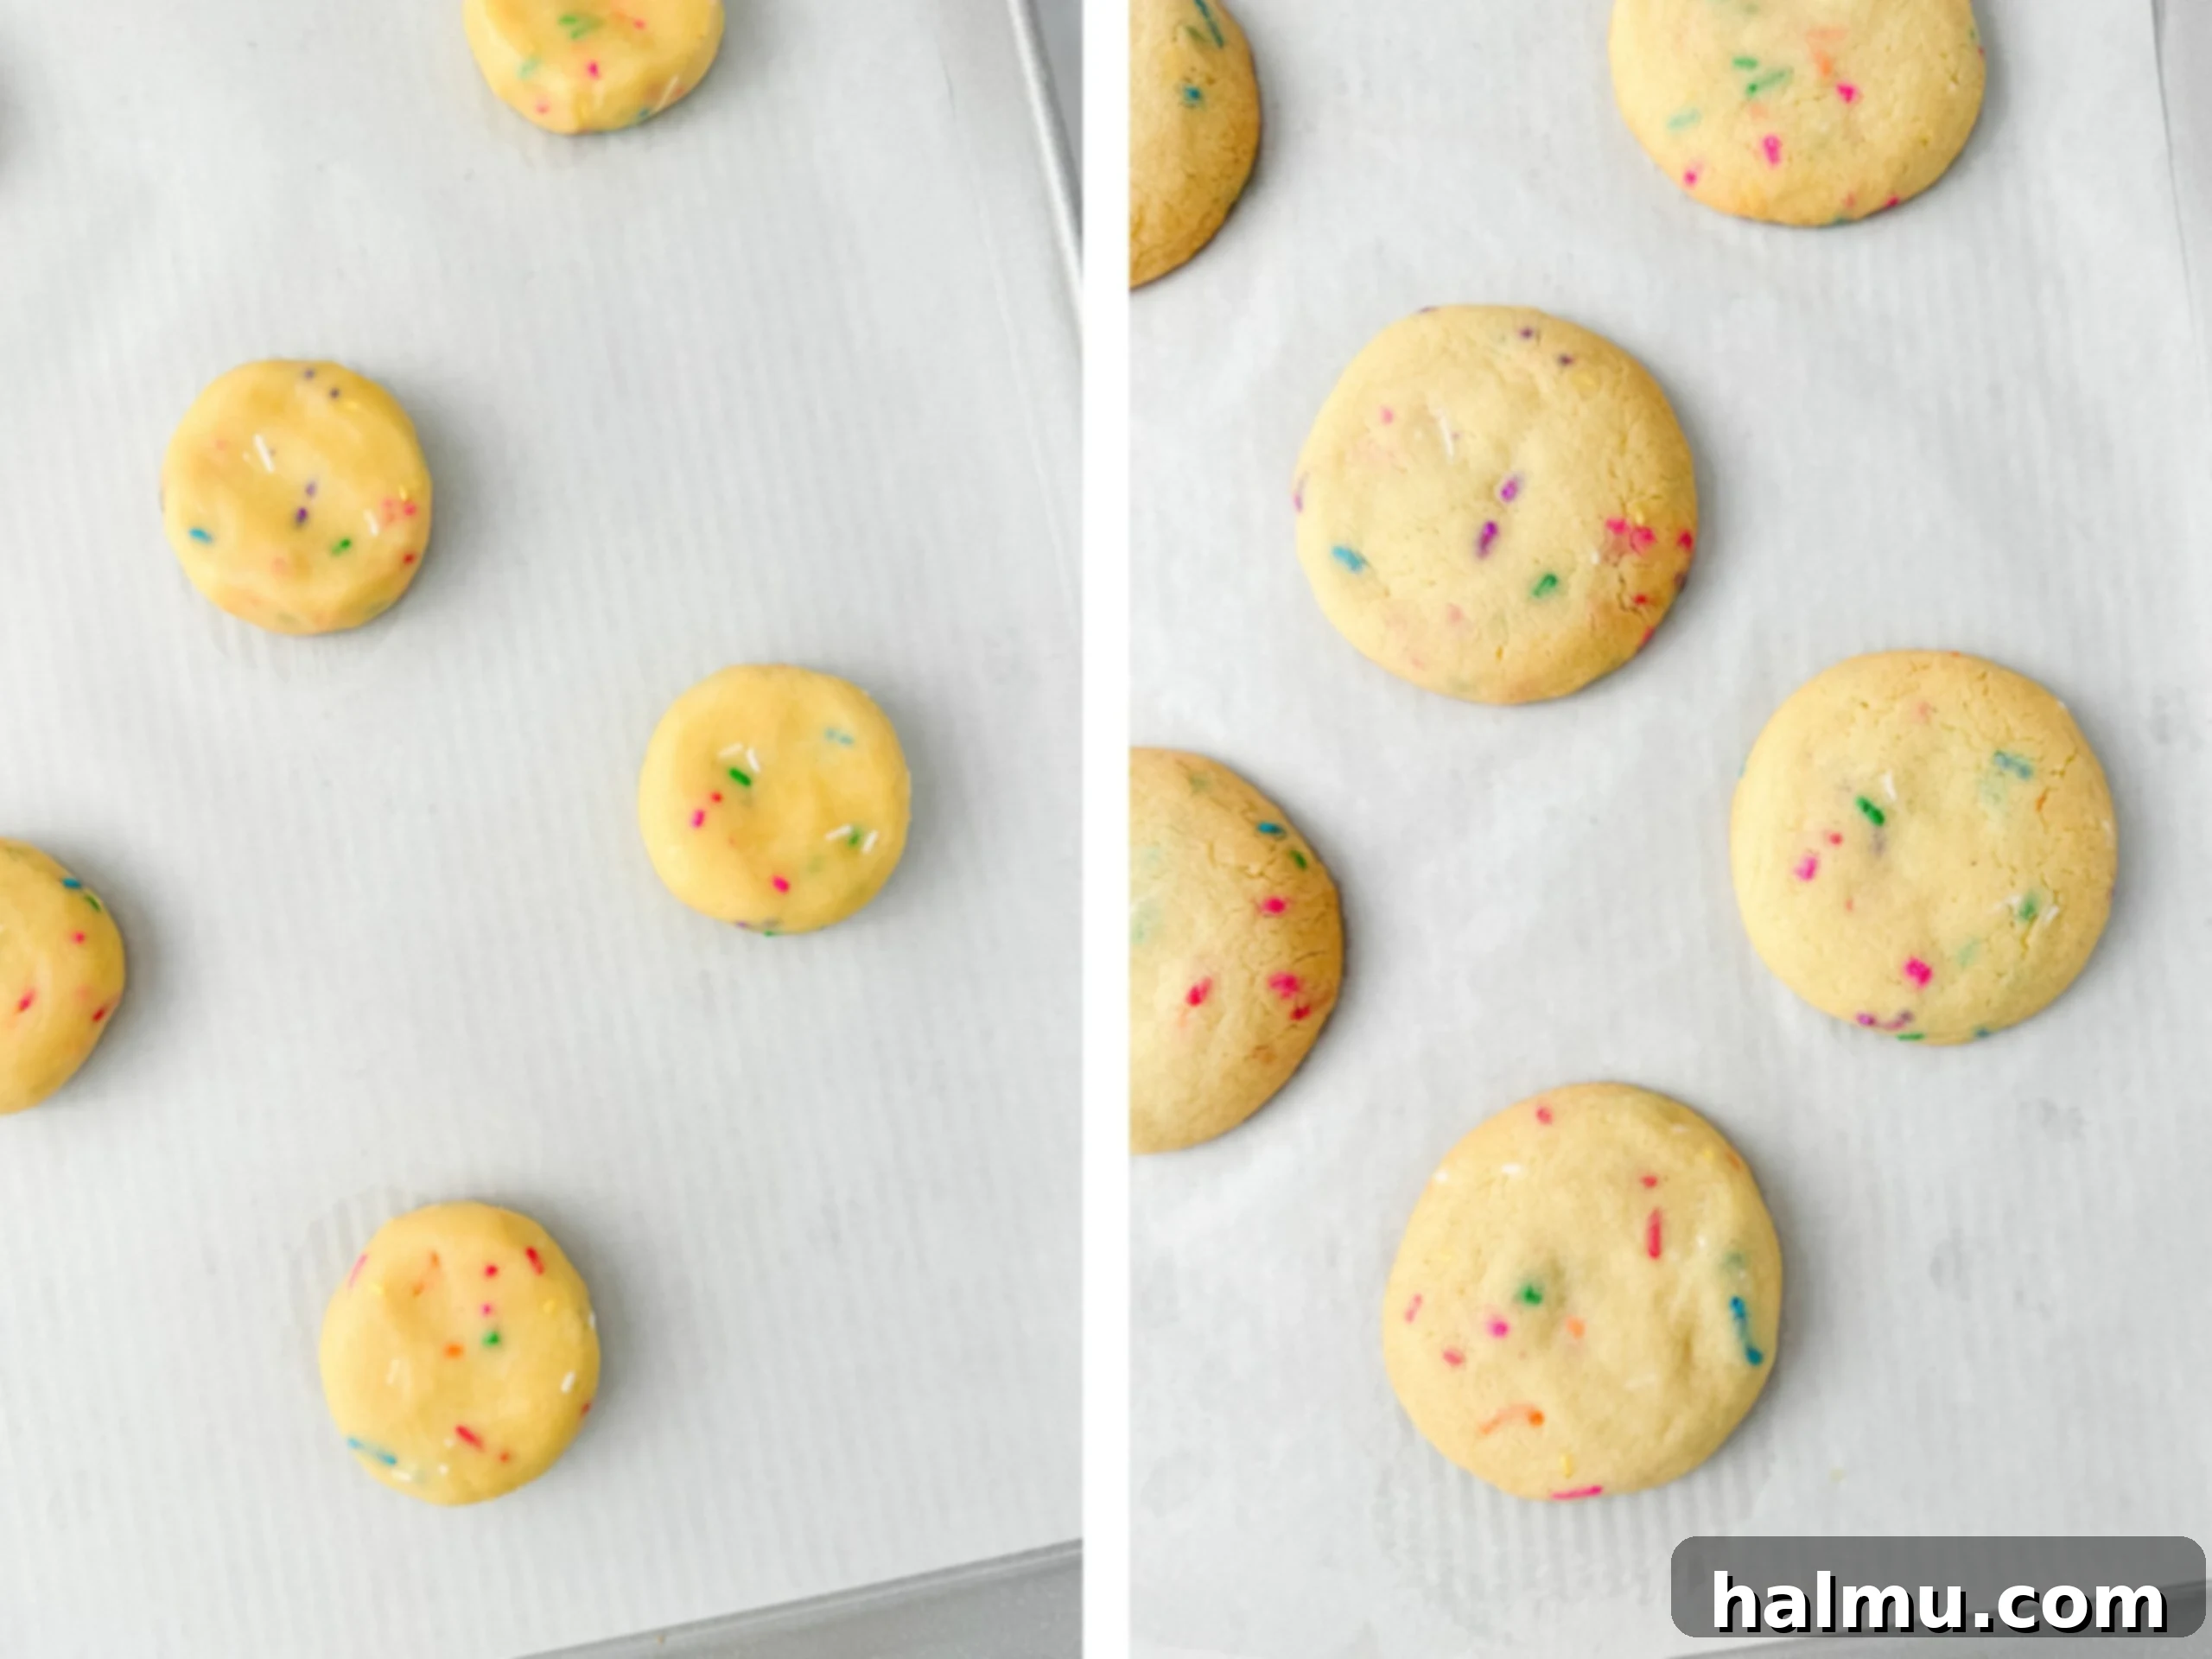
Given the delightful softness of this cookie dough, chilling is a critical step to ensure your cookies maintain their shape and achieve the perfect thickness during baking. Place the covered dough in the refrigerator for approximately 30 minutes, or until it has firmed up considerably. This chilling time prevents excessive spreading in the oven, leading to perfectly structured cookies. Once thoroughly chilled, use a reliable cookie scoop to portion the dough. I highly recommend a 3-Tablespoon size scoop (equivalent to a size 24) to ensure consistent cookie size and even baking. Arrange the scooped dough balls onto baking sheets that have been lined with parchment paper, leaving ample space between each cookie to allow for slight expansion. Gently press down on the top of each dough ball with your palm to slightly flatten them. This small step helps create a more even surface for frosting and ensures a uniform bake. Now your cookies are perfectly prepped and ready for the oven!
Bake Your Delicious Cookies to Perfection
With your cookie dough perfectly portioned and arranged, it’s time for baking. Preheat your oven to 350°F (175°C) to ensure a consistent and even bake. Place the baking sheets in the preheated oven and bake for 13-15 minutes. Keep a close eye on them; the cookies are done when their edges begin to turn a light golden brown and the centers no longer appear wet or glossy. Avoid overbaking, as this can lead to a dry, less chewy cookie. The key to their signature soft and tender texture is to remove them from the oven just as they are set. Once baked, transfer the cookies to a wire rack and allow them to cool completely. Patience is paramount here – frosting warm cookies will result in a melted, messy glaze rather than a smooth, creamy topping. Ensure they are entirely cool before moving on to the frosting stage.
Whip Up the Creamy Cake Batter Frosting
While your cookies are chilling or baking, it’s the perfect time to prepare the star topping: the rich and creamy cake batter flavored cream cheese frosting. In a mixing bowl, combine softened cream cheese, room-temperature butter, vanilla extract, and the essential cake batter extract. Beat these ingredients together with an electric mixer until the mixture is smooth, light, and free of any lumps. This typically takes about 2 minutes. Next, gradually add the powdered sugar, starting with half the amount and mixing until mostly incorporated, then adding the remaining half along with a small pinch of salt. The salt helps to balance the sweetness and enhance the overall flavor. Continue mixing until the frosting is fully combined, smooth, and fluffy. It’s perfectly normal for the frosting to be quite soft straight out of the mixer. For easier spreading and a more stable finish, I highly recommend chilling the frosting in the refrigerator for a short period while the cookies cool. For even more detailed guidance and expert tips on mastering cream cheese frosting, be sure to check out my dedicated cream cheese frosting post!
Frost and Adorn with Colorful Sprinkles
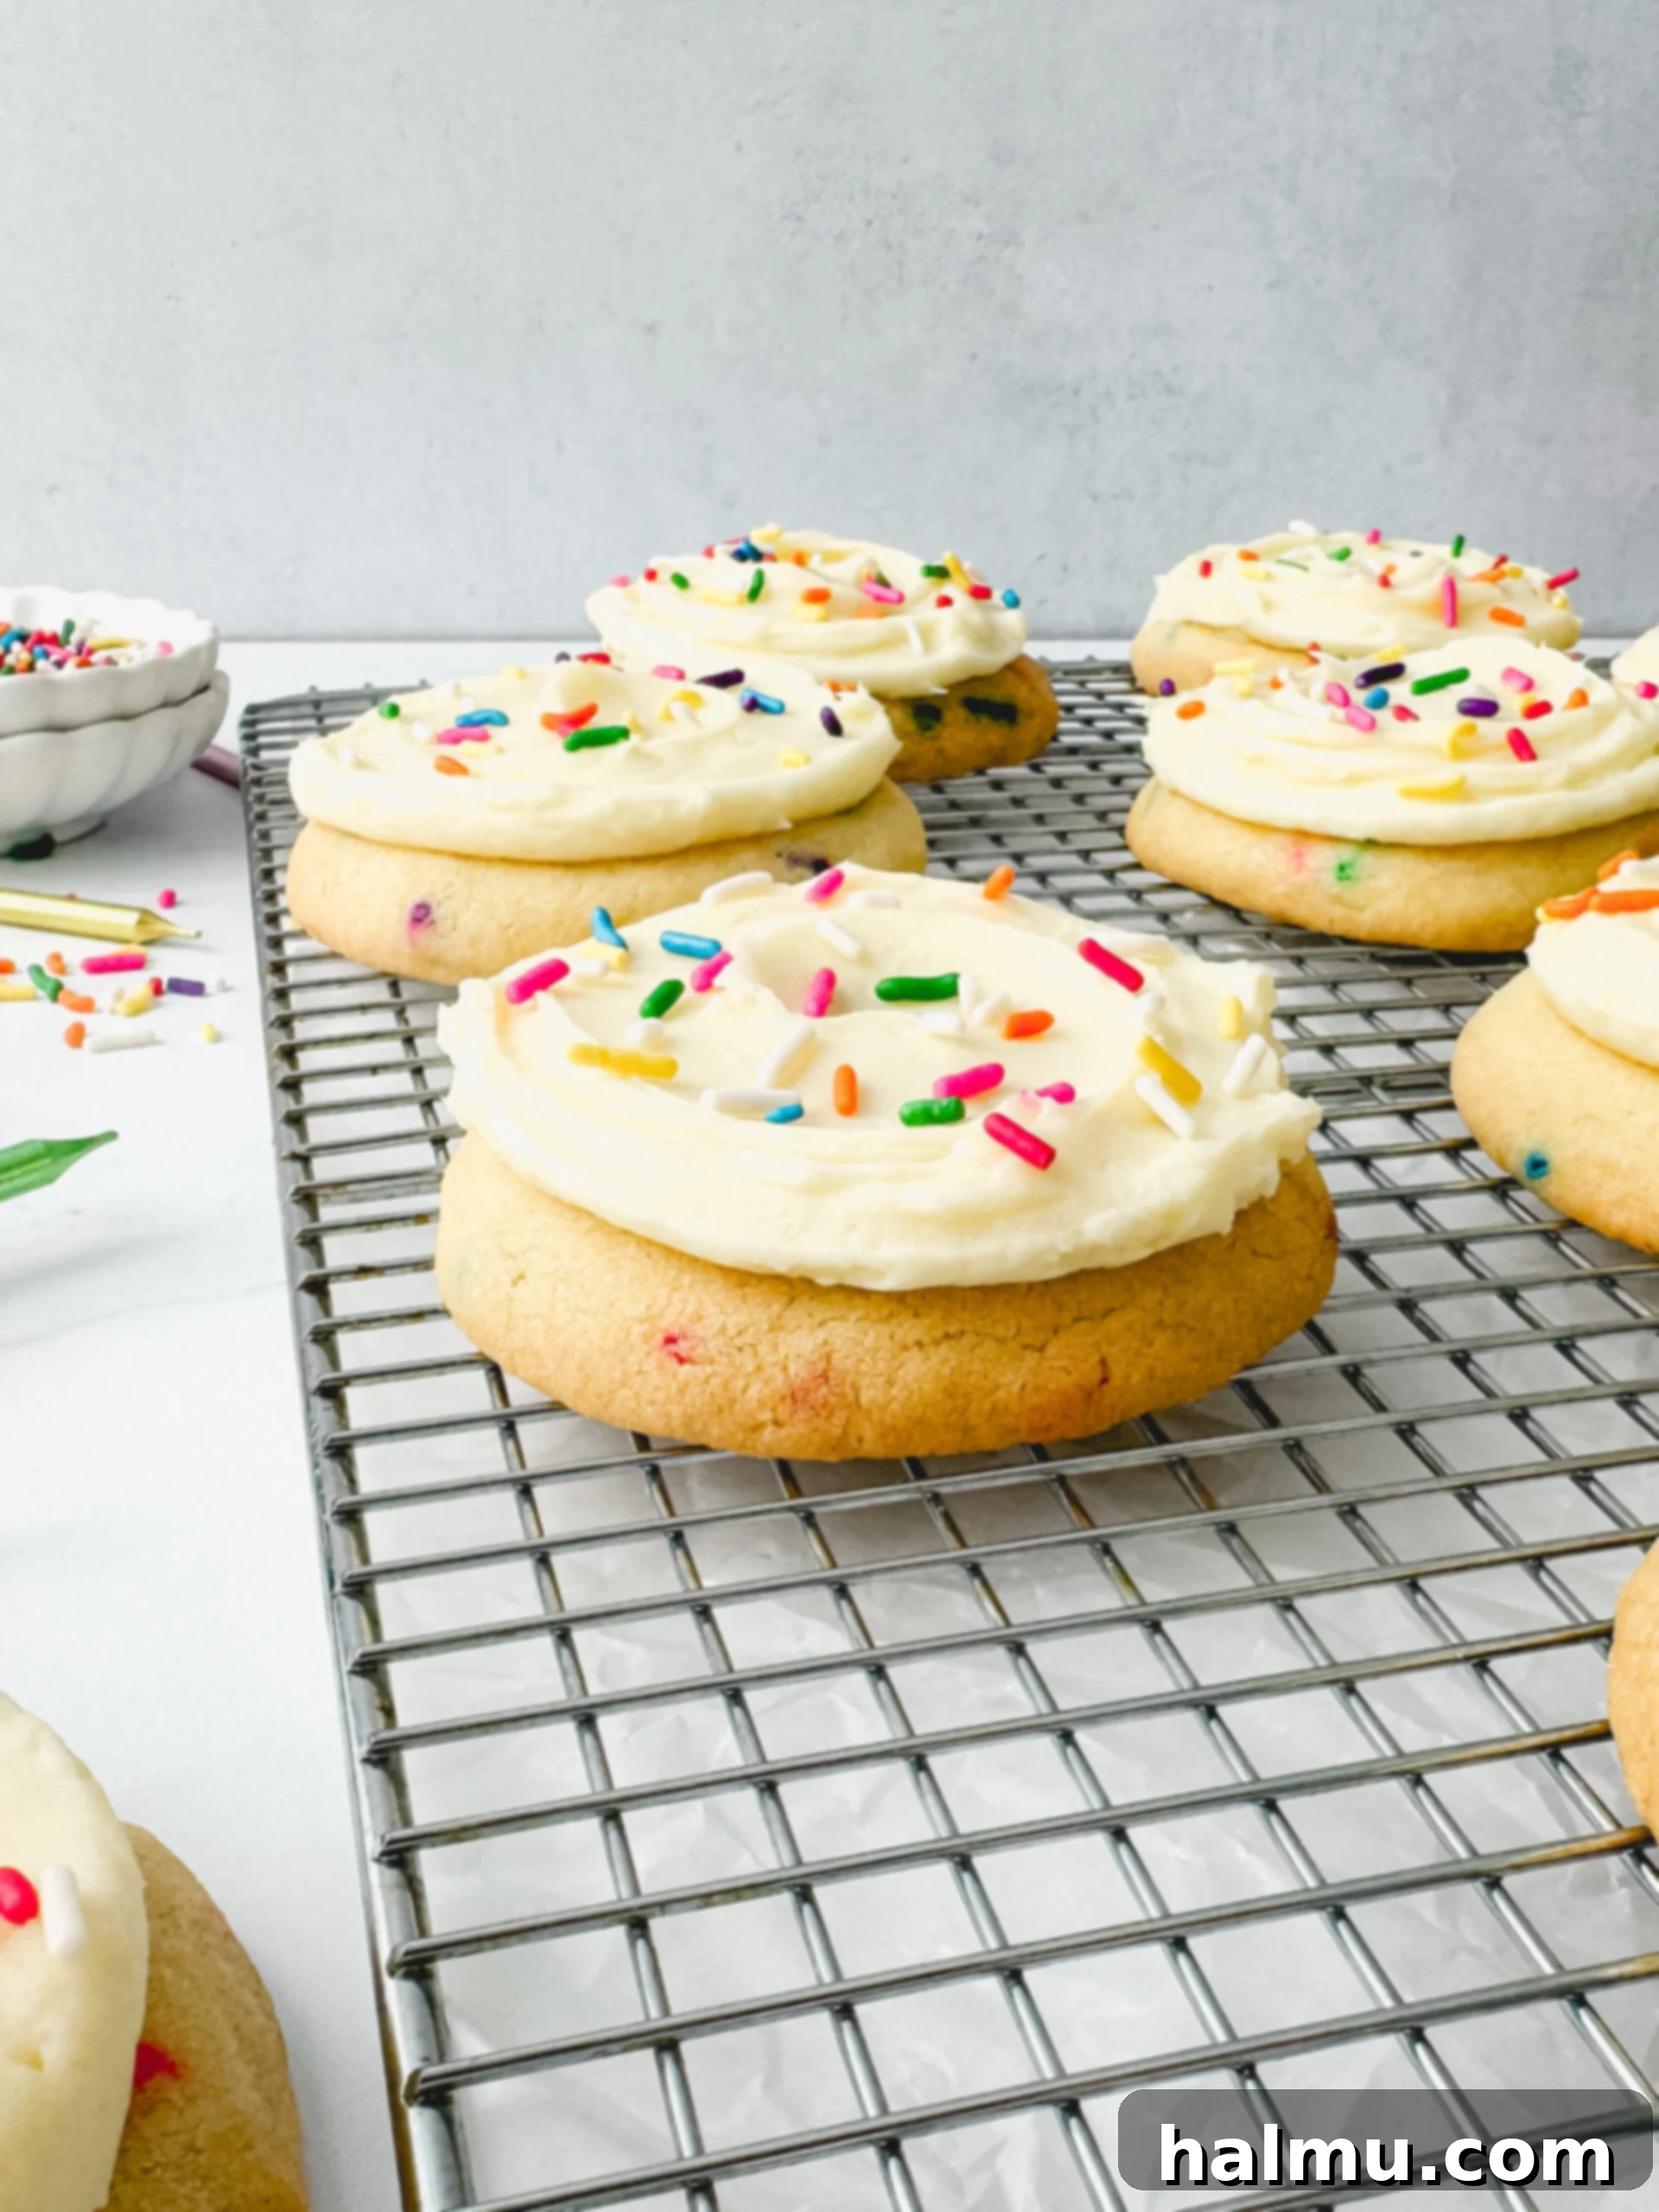
Once your freshly baked cookies have completely cooled and your luscious cream cheese frosting has firmed up slightly in the fridge, it’s time for the final, most fun step: decorating! Using a small to medium cookie scoop (the size depends on how generously you like your frosting), place a dollop of cake batter cream cheese frosting on top of each cooled cookie. Next, take an offset spatula or the back of a spoon and gently spread the frosting outwards towards the edges of the cookie. As you reach the edges, use a swirling motion to create an attractive pattern in the center of the frosting. This gives your cookies a professional and inviting look. The final flourish is a generous sprinkling of bright, colorful sprinkles over the top of each frosted cookie. These not only add a festive visual appeal but also a delightful textural contrast. Now, your beautiful Birthday Cake Cookies are complete and ready to be enjoyed! Prepare for a burst of flavor and a smile with every bite.

Frequently Asked Questions About Birthday Cake Cookies
What kind of cake batter extract should I use for the best flavor?
Choosing the right cake batter extract can significantly enhance the flavor of these cookies. For this recipe, I personally used and highly recommend McCormick brand cake batter extract. It’s widely available, typically very affordable, and can often be found in most grocery stores, making it a convenient choice. The flavor it imparts is absolutely perfect—a sweet, nostalgic cake batter taste without being artificial. Another excellent option, if you’re looking for a more gourmet touch and bake with flavorings frequently, is Amoretti’s Birthday Cake Artisan Flavor. I’ve experimented with several flavors from Amoretti for various baking projects and am consistently impressed by their quality and intensity. While they might be a bit pricier and usually require online ordering, they come in larger quantities and offer a truly exceptional flavor profile that is worth the investment if you’re a dedicated baker.
Is chilling the cookie dough really necessary?
Yes, chilling the cookie dough is an absolutely essential step for these Birthday Cake Cookies, so please do not skip it! Immediately after mixing, the dough is quite soft and can be a bit sticky due to the combination of butter and oil. Refrigerating the dough for at least 30 minutes allows the butter to firm up and the dry ingredients to fully hydrate. This crucial process helps prevent the cookies from spreading too much during baking, ensuring they retain their desirable thick and chewy texture rather than becoming flat and thin. Beyond controlling spread, chilling the dough also makes it much easier to handle, scoop, and roll into perfectly round balls. You’ll find that a chilled dough is far less messy and much more cooperative, contributing to a smoother baking experience and ultimately, better cookies.
What is the best way to store Birthday Cake Cookies?
Proper storage is key to keeping your Birthday Cake Cookies fresh and delicious. Once frosted, these cookies can be left at room temperature for a limited time, typically overnight or for up to 8 hours. This is usually fine for a party or immediate consumption. However, due to the cream cheese frosting, for longer storage, it’s best to refrigerate them. Transfer the frosted cookies to an airtight container and store them in the fridge for up to 5 days. This will keep the frosting fresh and prevent the cookies from drying out. If you prefer to serve them at room temperature rather than chilled, simply remove them from the refrigerator about a couple of hours before serving. This allows the frosting to soften slightly and the cookie to return to its optimal soft texture.
Can I make these Birthday Cake Cookies in advance?
Absolutely! These Birthday Cake Cookies are actually fantastic for making ahead, and some might even argue they taste better after a day or two as the flavors meld and the cookies soften further. If you plan to bake them ahead of time, I recommend baking the cookies as instructed but holding off on the frosting. Store the unfrosted, baked cookies in an airtight container at room temperature for up to 3 days, or freeze them for up to 3 months. For the cream cheese frosting, prepare it as directed and store it in a separate airtight container in the refrigerator for up to 5 days. When you’re ready to serve, simply take the frosting out of the fridge at least an hour beforehand to allow it to soften to a spreadable consistency. Then, frost your cookies, add sprinkles, and enjoy! This method ensures fresh-tasting cookies with perfectly soft frosting, making party prep a breeze.
Favorite Tools
Expert Tips for Flawless Birthday Cake Cookies
Achieving bakery-quality Birthday Cake Cookies is easier than you think with these expert tips:
- Utilize Room Temperature Ingredients: This is a golden rule in baking, especially for cookies and frosting. Ensuring your butter and eggs are at room temperature before mixing the cookie dough is paramount. Cold ingredients don’t emulsify properly with sugar, leading to a less cohesive and potentially tougher dough. For your cream cheese frosting, allow both the cream cheese and butter to come to a full room temperature. This guarantees that your frosting will beat up incredibly smooth and creamy, without any unsightly lumps, making it a dream to spread on your cooled cookies. Plan ahead to pull these ingredients from the fridge a couple of hours before you start baking.
- Embrace the Chill: As mentioned in the steps, chilling the cookie dough is non-negotiable for these soft cookies. The dough is intentionally quite soft, and chilling it helps to solidify the fats, which in turn prevents the cookies from spreading too much in the oven. A mere 30 minutes in the refrigerator, or just until the dough feels firm to the touch, is often sufficient. While you can chill the dough longer if needed, be aware that a very firm dough might result in cookies that spread slightly less. The perfect chill ensures a cookie that’s beautifully thick, chewy, and holds its shape.
- Patience is Key: Cool Your Cookies Completely: We understand the irresistible urge to frost warm cookies, but resisting this temptation is vital! If your cookies are even slightly warm when you apply the frosting, it will melt, creating a runny, unappealing mess. Allow the cookies to cool completely at room temperature on a wire rack. For those in a hurry, you can cool them for about 10 minutes at room temperature, then transfer them to the freezer for an additional 5-10 minutes to speed up the cooling process. A fully cooled cookie provides the perfect canvas for your creamy, stable frosting.
- Bake Ahead for Enhanced Flavor and Texture: These cookies are one of those rare treats that actually improve with a little time. The flavors deepen, and the cookies become even softer and more tender after resting in an airtight container. Whenever possible, I highly recommend making these Birthday Cake Cookies the night before you plan to serve them, or at least a few hours in advance. This allows the cookie and frosting to fully meld, creating a truly superior texture and an unforgettable flavor experience. Your patience will be richly rewarded with perfectly soft and tender cookies that are ready to delight!

Baking Tip: Weigh Your Ingredients!
For the most consistent and accurate baking results, I cannot recommend highly enough the use of a kitchen scale to weigh your ingredients, rather than relying solely on measuring cups. Weighing your ingredients ensures precision, which is crucial for achieving consistent outcomes with your recipes and significantly increasing your success rate every time you bake. Beyond accuracy, using a kitchen scale also streamlines your cleanup process by reducing the number of dirty dishes. I thoughtfully provide gram measurements in all my recipes to facilitate this best practice. The scale I personally love and use is this one.
Explore More Sweet Kitchen Cravings Recipes
If you loved these Birthday Cake Cookies, you’ll surely enjoy these other delightful treats from Sweet Kitchen Cravings:
- Chocolate Sprinkle Cookie Ice Cream Sandwiches
- Oreo Funfetti Blondies
- Chocolate Pudding Cake
- Vanilla Cupcakes with Chocolate Frosting
- Chocolate Sprinkle Cookies – *try these with vibrant rainbow sprinkles for a fun twist!*
If you make this recipe and absolutely adore it, please be sure to leave a comment below and share your experience. Happy baking!

Birthday Cake Cookies
These soft and chewy sugar cookies are topped with a cake batter flavored cream cheese frosting and finished with bright rainbow sprinkles. The perfect cookie for any celebration!
4 from 1 vote
Author: Rachel
Prep Time: 20 mins
Cook Time: 15 mins
Chill Time: 30 mins
Total Time: 1 hr 5 mins
Yield: 15 cookies
Print Recipe
RATE THIS RECIPE
Ingredients
For the Sugar Cookie Dough
- ½ cup (1 stick or 113g) unsalted butter, at room temperature
- 1 cup (200g) granulated sugar
- 3 Tablespoons (42g) vegetable or canola oil
- 1 large egg + 1 large yolk, at room temperature
- 1 teaspoon vanilla extract
- ½ teaspoon cake batter extract*
- 2½ cups (300g) all-purpose flour
- 1 Tablespoon (10g) cornstarch
- ½ teaspoon baking powder
- ¼ teaspoon baking soda
- ¼ teaspoon salt
- 3 Tablespoons rainbow sprinkles
For the Cake Batter Cream Cheese Frosting
- 1 (8-ounce) block (227g) cream cheese, at room temperature
- ½ cup (1 stick or 113g) unsalted butter, at room temperature
- ½ teaspoon vanilla extract
- ¼ teaspoon cake batter extract*
- 2½ cups (300g) powdered sugar, sifted
- pinch of salt
- sprinkles (for topping)
SHOP INGREDIENTS
Instructions
- Sugar Cookie Dough: In the bowl of a stand mixer fitted with a paddle attachment, cream the butter and sugar until combined, about 2 minutes. Scrape down the sides of the bowl then with the mixer running on medium-low speed, slowly stream in the oil.
- Once combined, scrape down the bowl and add the eggs, vanilla, and cake batter extract. Mix until combined. Scrape the sides of the bowl again then add the flour, cornstarch, baking soda, baking powder, and salt. Mix just until combined. Stir in the sprinkles.
- Cover the dough with plastic wrap and chill in the fridge for 30 minutes.
- Meanwhile, preheat oven to 350°F (175°C) and line 2 baking sheets with parchment paper or a silicone mat.
- Once the dough has chilled, use a #24 cookie scoop (about 3 Tablespoons) to portion the dough. Roll each scoop into a ball and place them onto the prepared baking sheets, spacing them at least 2” apart. Press each dough ball down with your palm to flatten slightly.
- Bake at 350°F (175°C) for 13-15 minutes or until the centers of the cookies no longer look wet and the edges just start to turn golden brown. Allow to cool completely before frosting.
- Cake Batter Cream Cheese Frosting: Beat together the butter, cream cheese, and flavorings with an electric mixer until smooth, about 2 minutes. Scrape down the bowl with a rubber spatula.
- Add half the powdered sugar and salt. Mix until mostly incorporated then add the remaining half of powdered sugar. Scrape the bowl again then mix until the frosting is combined and smooth. Chill the frosting until the cookies have cooled completely. Slightly cold frosting will be a little easier to spread.
- Decorating: Use a cookie scoop to add a dollop of frosting to the top of each of the cooled cookies. Use an offset spatula or the back of a spoon to spread the frosting out to the edges and finish by making a swirl pattern in the center. Top with sprinkles and enjoy!
Notes
*I recommend this cake batter extract. There are a variety of brands you could use, but I haven’t tested any others and the strength may vary so I recommend starting with a small amount and adding to taste if you go with another brand.
Did you make this recipe?
Be sure to tag @sweetkitchencravings on Instagram!

HI THERE!
I’m Rachel
I’m the dessert lover, recipe developer, and content creator behind Sweet Kitchen Cravings. Here you’ll find classic yet special recipes that are sure to impress your loved ones!
MORE ABOUT RACHEL
More Info Here
TikTok
