This post may contain affiliate links. Please read my full disclosure policy.
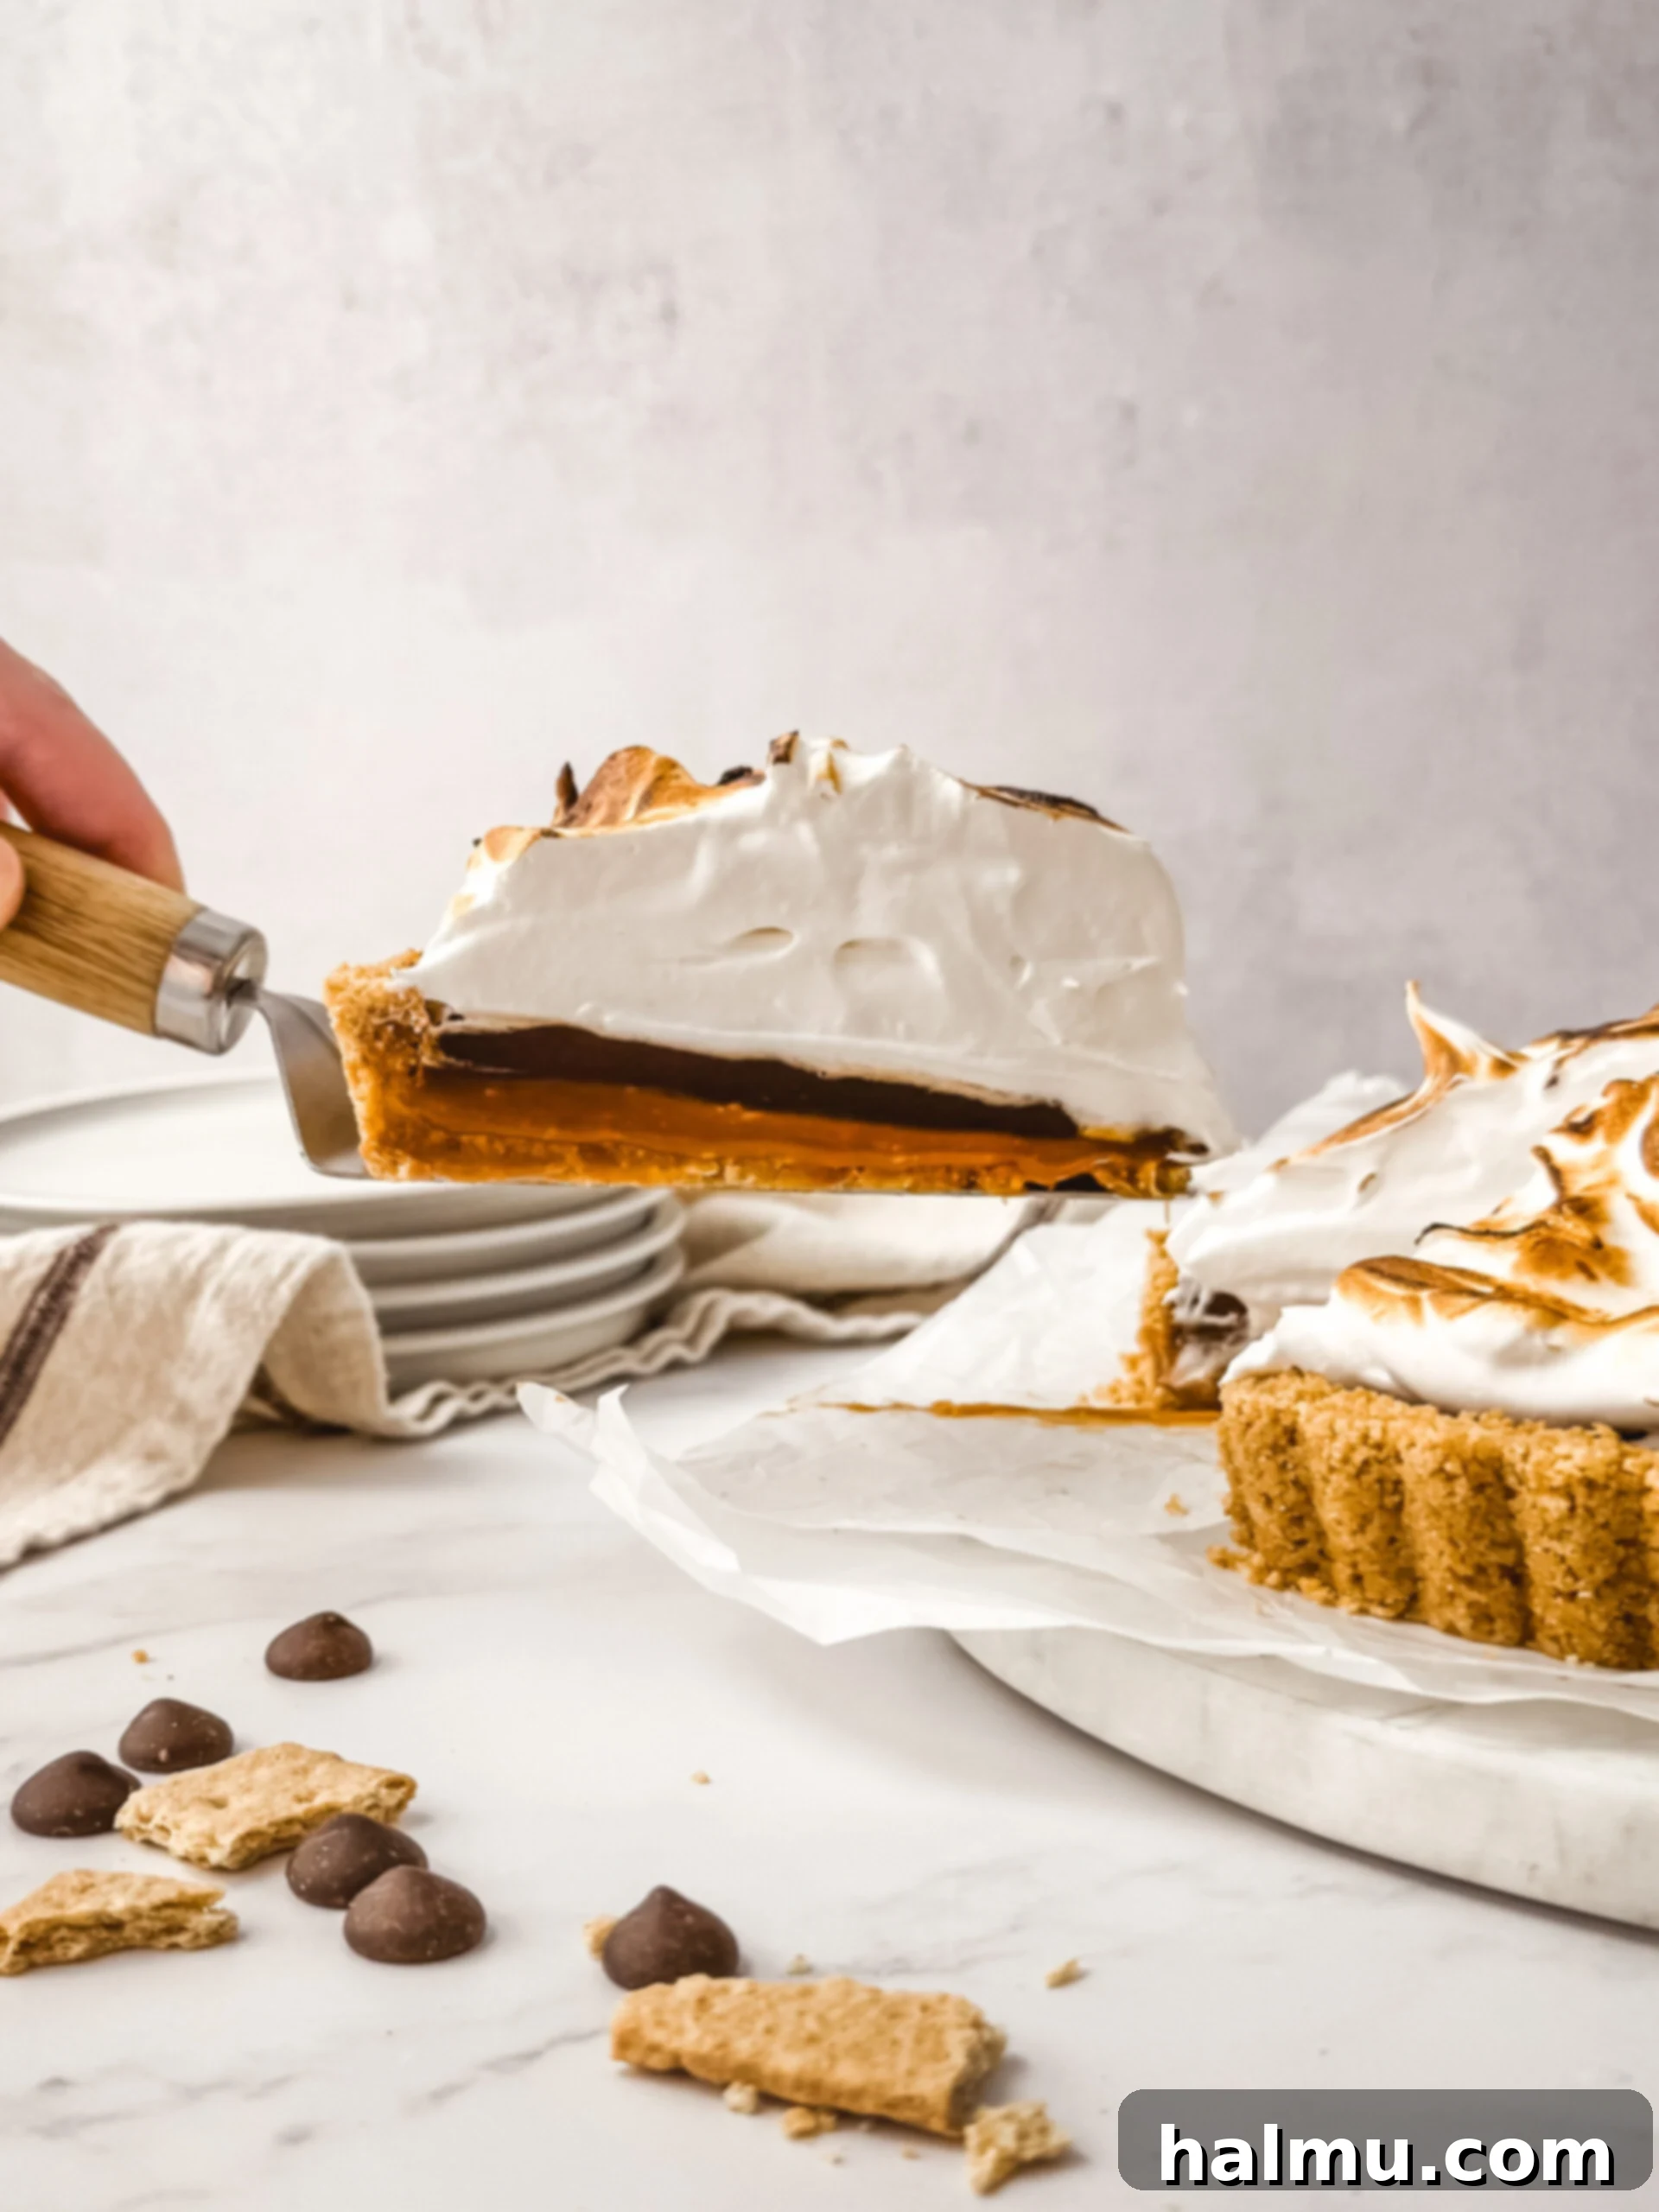
Indulge in the Ultimate Salted Caramel S’mores Tart: An Elevated Classic Dessert
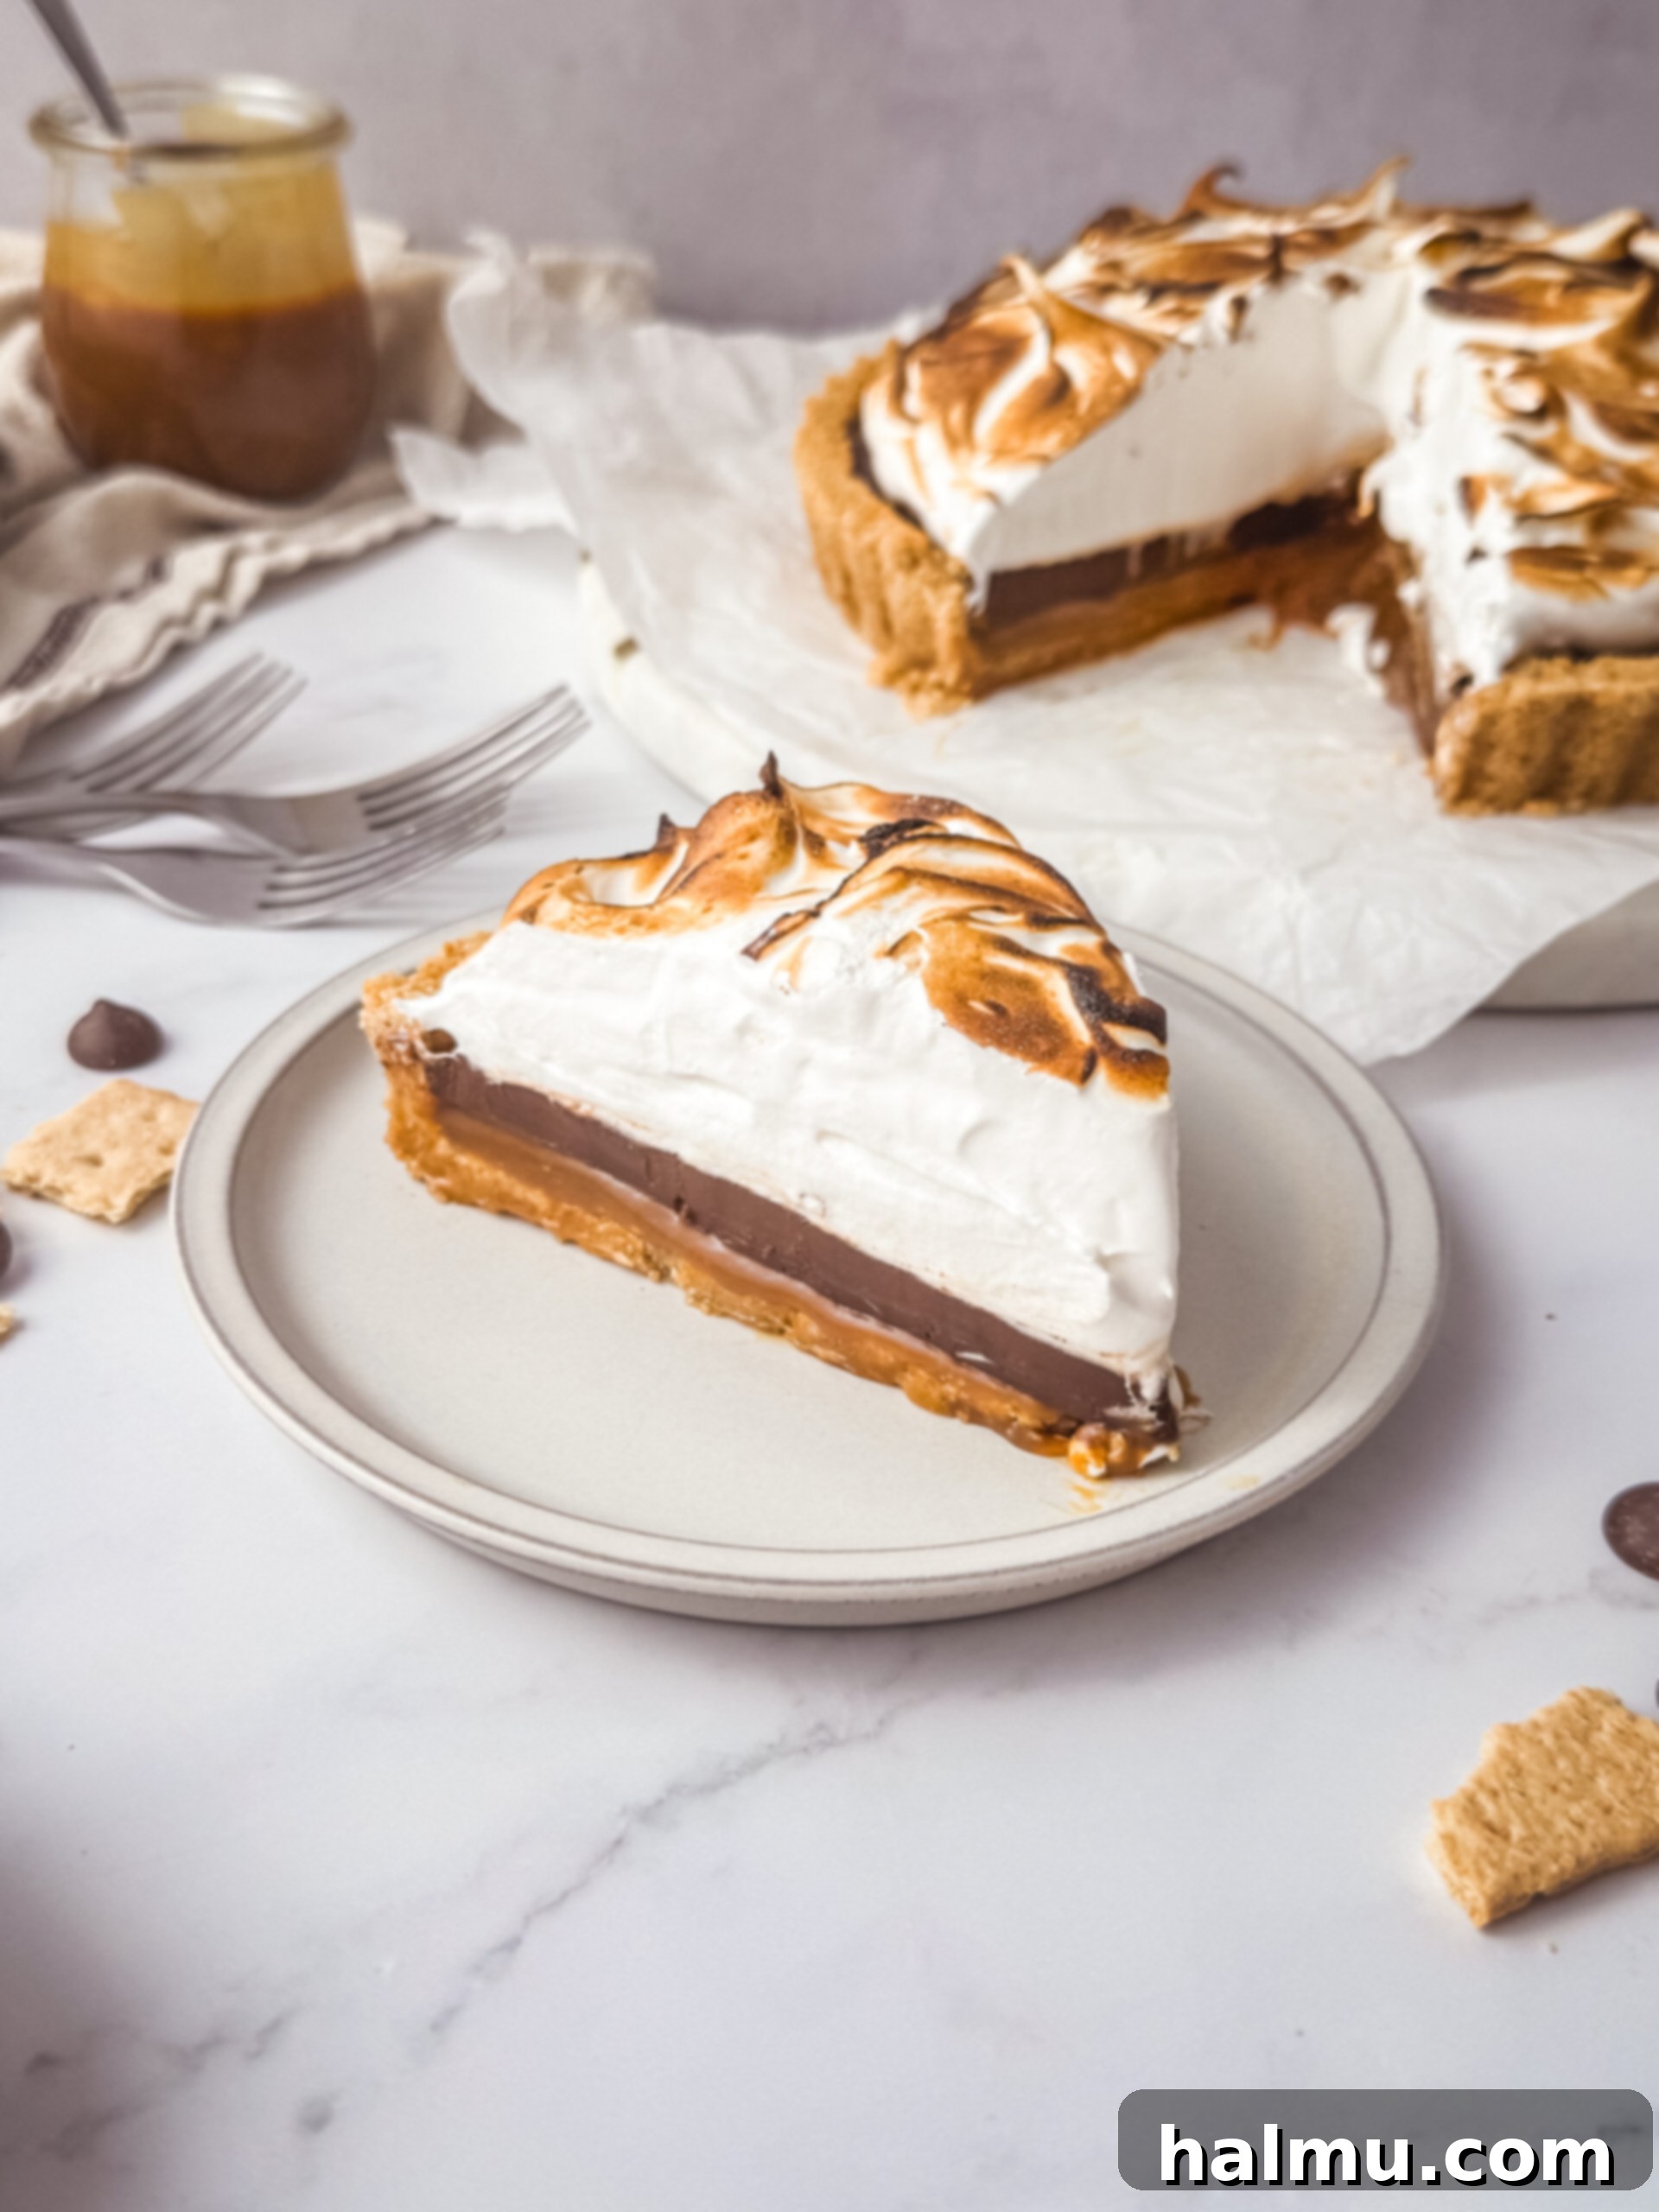
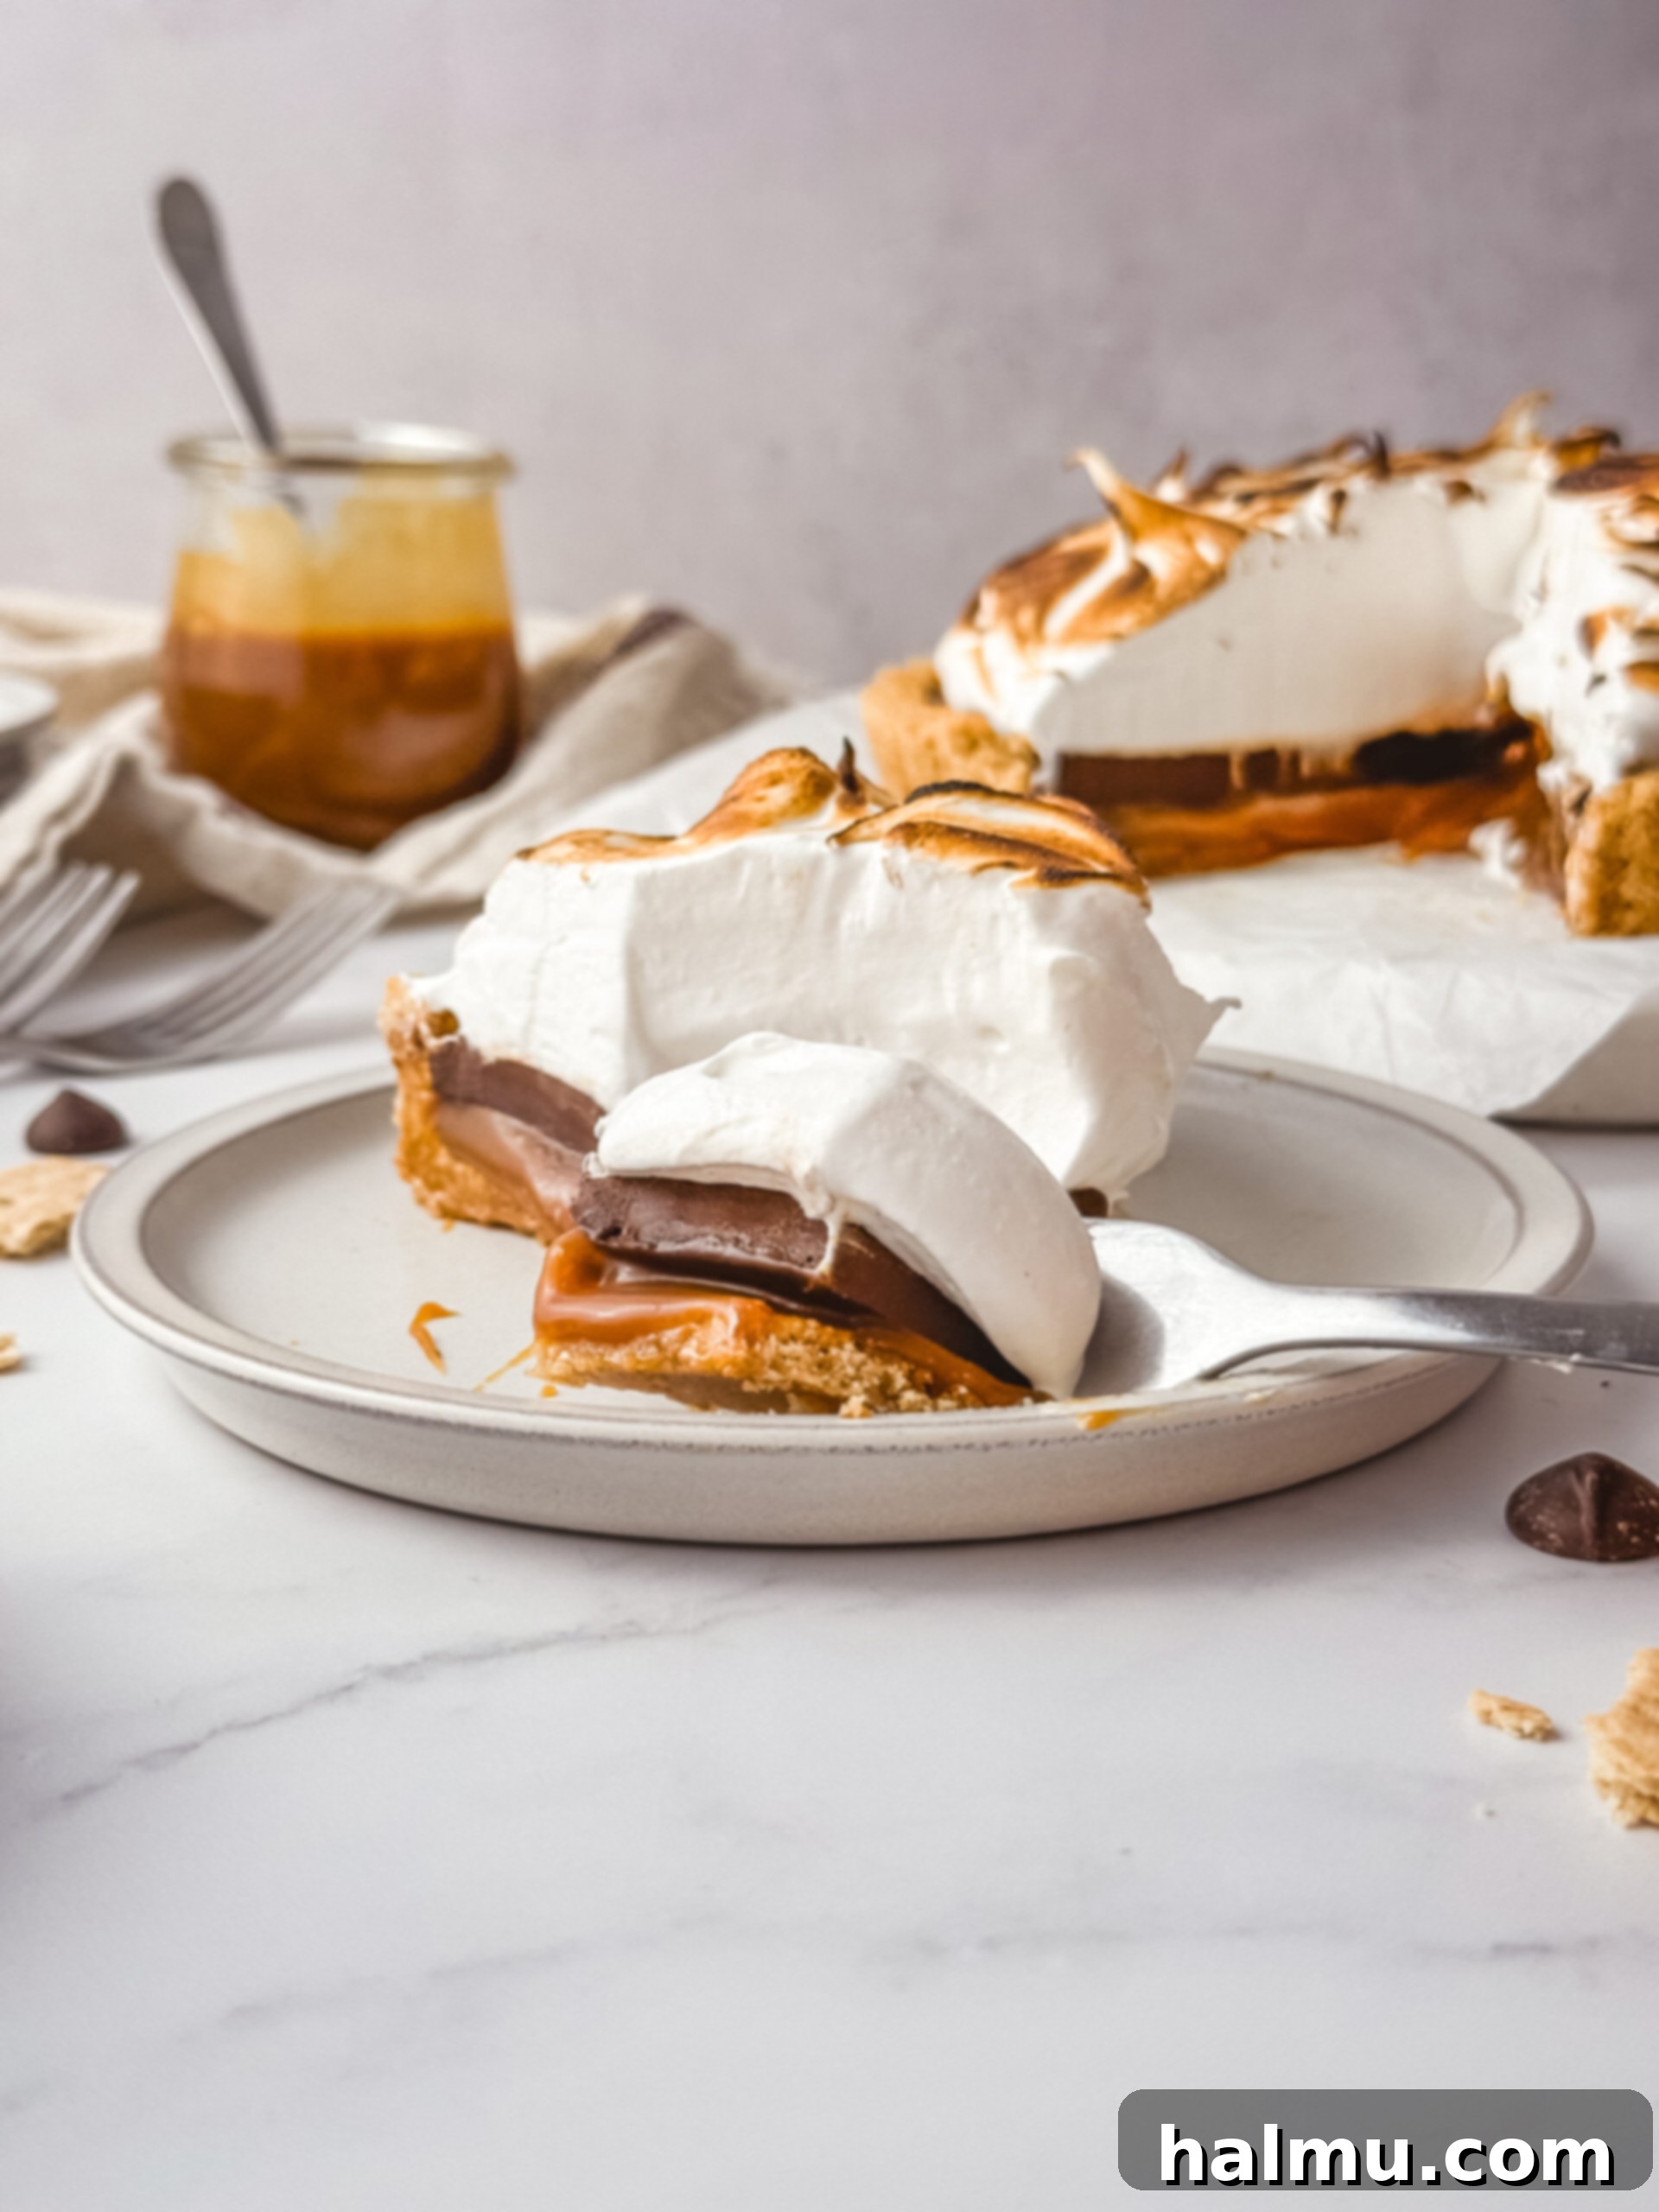
Transform your dessert experience with this exquisite Salted Caramel S’mores Tart, a sophisticated twist on the beloved campfire treat. Imagine a perfectly buttery graham cracker crust, cradling a decadent layer of rich, homemade salted caramel. This is then beautifully topped with a silky smooth, dark chocolate ganache, all culminating in a glorious mound of perfectly toasted marshmallow meringue. This tart isn’t just a dessert; it’s a celebration of textures and flavors, promising an unforgettable bite that will impress any guest and satisfy the most discerning sweet tooth. Get ready to elevate your baking game and create a show-stopping dessert that tastes even better than it looks!

Crafting Your Masterpiece: How to Make a Salted Caramel S’mores Tart
Creating this spectacular Salted Caramel S’mores Tart is a rewarding journey, broken down into distinct, delicious layers. Each component is designed to complement the others, building up to a harmonious flavor profile that echoes the classic s’mores experience with an elevated gourmet touch. Let’s delve into the secrets behind each layer to ensure your tart is nothing short of perfection.
The Foundation: A Golden Graham Cracker Crust
Every great tart begins with an outstanding crust, and for our s’mores creation, a classic graham cracker base is simply essential. This isn’t just any crust; it’s a perfectly balanced blend of finely ground graham crackers, a touch of granulated sugar, and melted butter. To achieve the ideal crumb consistency, I highly recommend using a food processor. Simply pulse the graham crackers until they form fine, even crumbs. Then, add the sugar and melted butter, pulsing a few more times until the mixture resembles wet sand. This ensures that every bit of crumb is coated, resulting in a sturdy yet tender crust. Press this delightful mixture firmly and evenly into a 9-inch tart pan with a removable bottom. A quick bake at 350°F for just 10 minutes helps set the crust, preventing it from becoming soggy when the fillings are added. Allow it to cool completely before moving on, as a cool base is crucial for layering.
The Heart of the Tart: Silky Homemade Salted Caramel
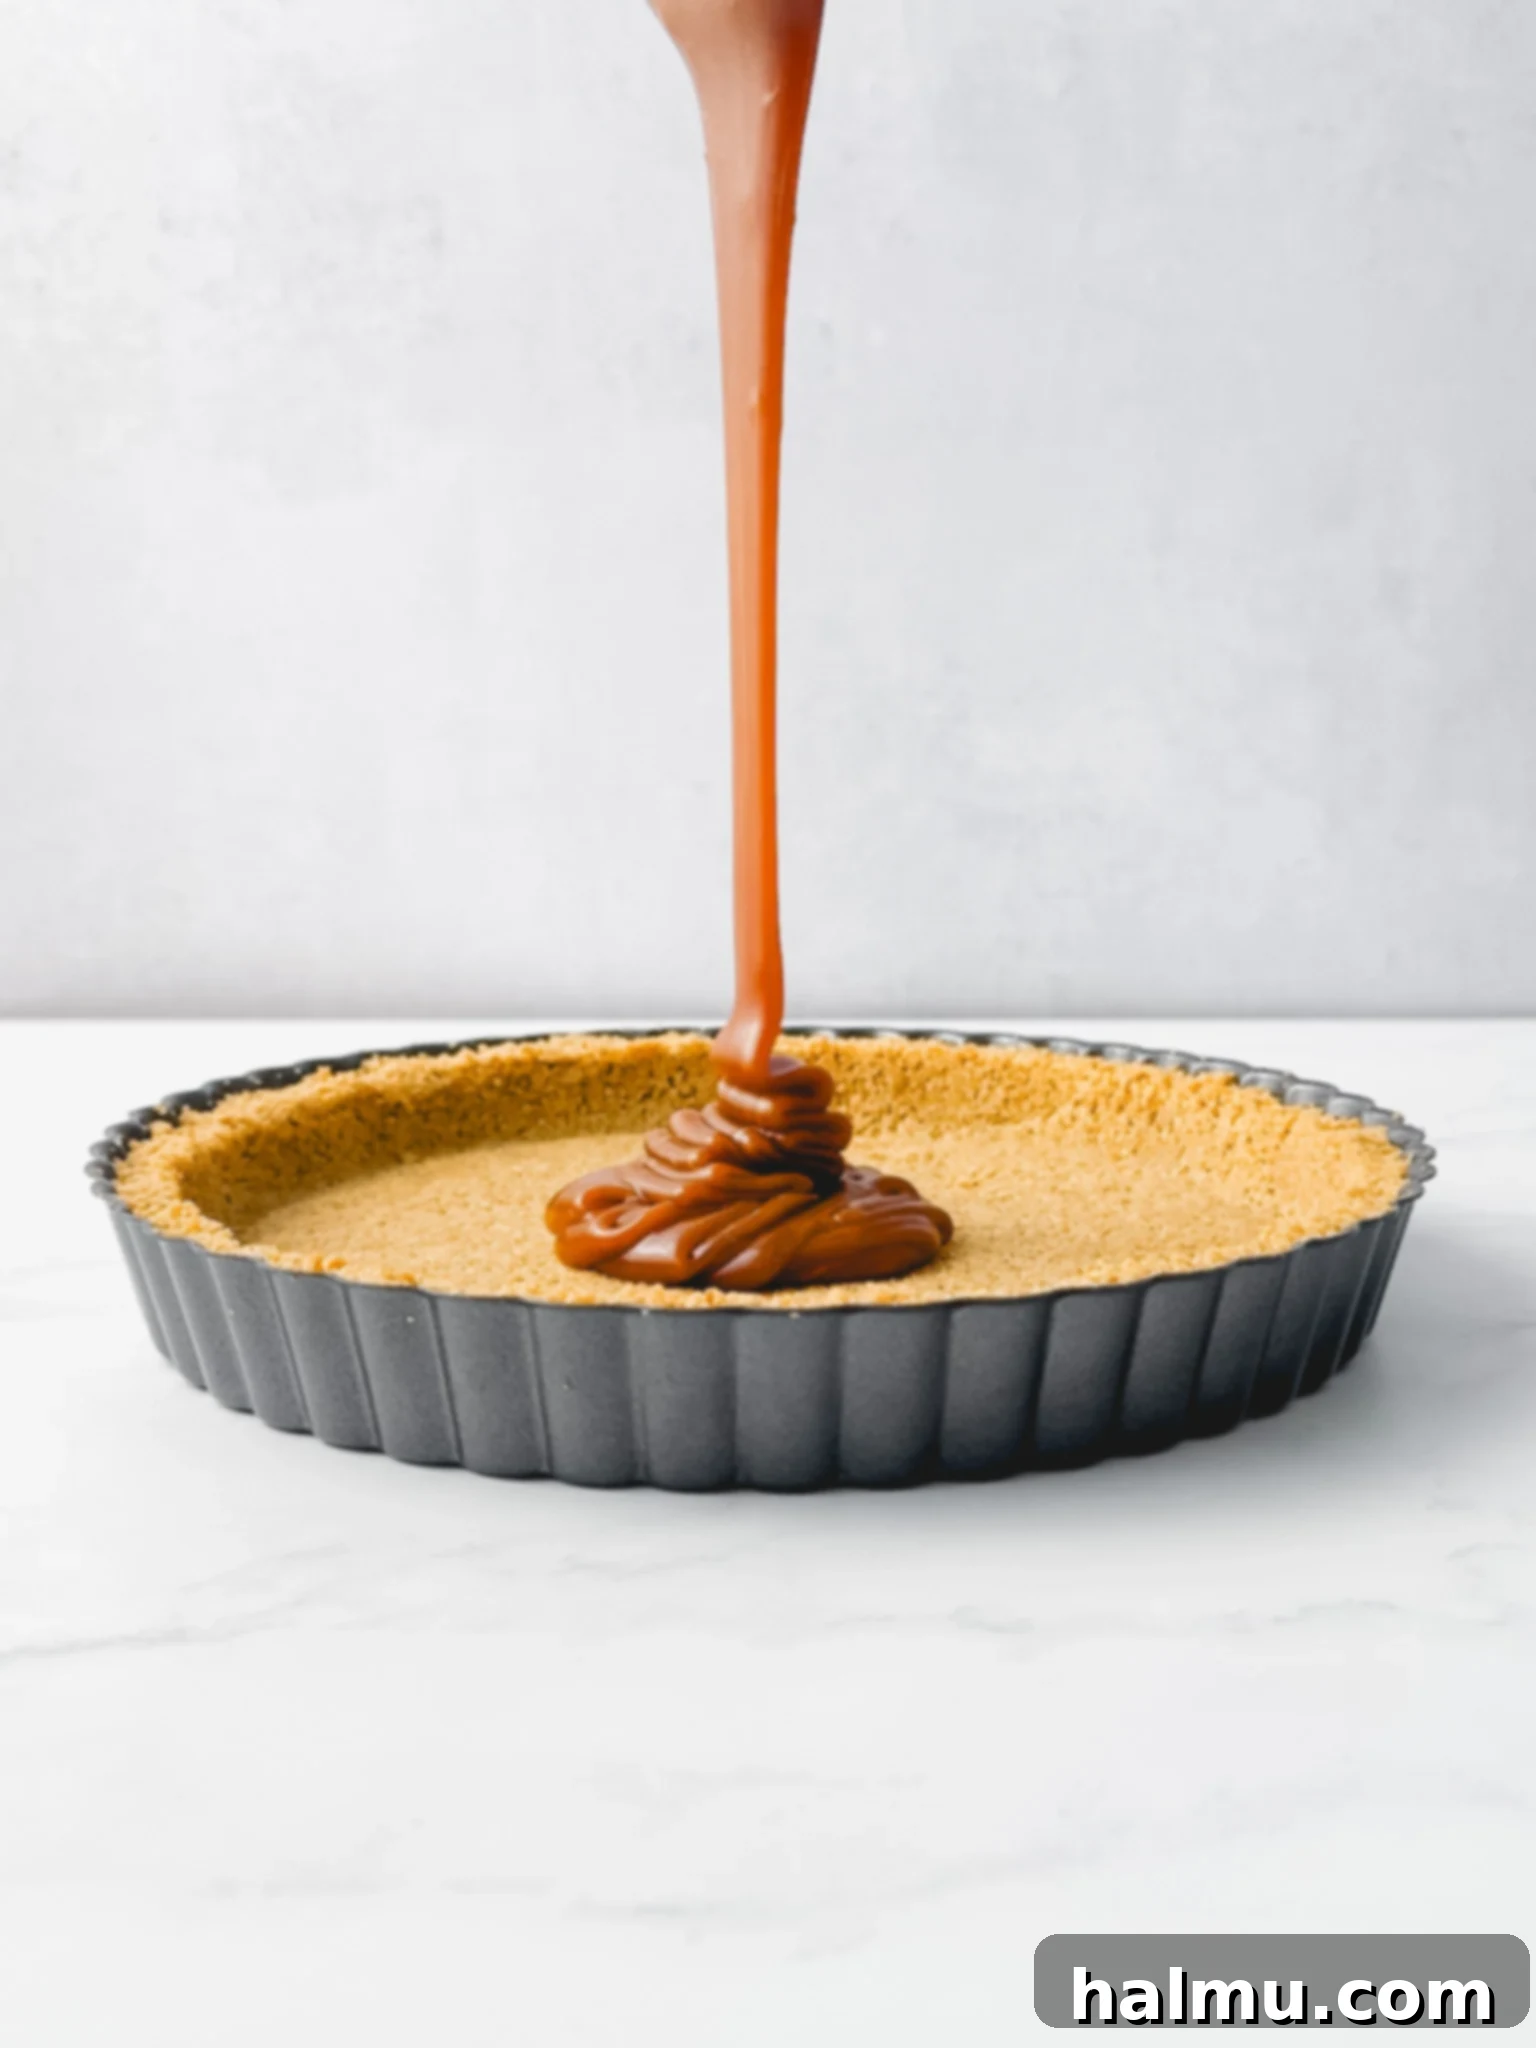
The true star of this show, beyond the classic s’mores elements, is the luscious layer of creamy, thick salted caramel. Its rich, buttery, and deeply caramelized flavor perfectly contrasts the dark chocolate and airy meringue, adding an unparalleled depth of taste. If you’ve never ventured into making your own caramel, now is the time! It’s a surprisingly straightforward process that yields a superior product far beyond anything store-bought. The secret lies in a careful balance of sugar, water, butter, and heavy cream, finished with a generous sprinkle of flaky sea salt. This homemade caramel stores beautifully in the fridge for up to two weeks, making it an excellent component to prepare in advance. For a detailed guide and invaluable tips and tricks to master homemade caramel, be sure to check out my dedicated Homemade Caramel post. Trust me, the effort is well worth the incredible flavor it brings to this tart!
The Indulgent Core: Rich Dark Chocolate Ganache
Layered directly over the salted caramel, the chocolate ganache provides a decadent, luxurious experience. This simple yet elegant component is made by combining equal parts of high-quality dark chocolate and heavy cream. The warmth of the cream melts the chocolate into a velvety smooth, glossy mixture that sets up beautifully in the refrigerator. When chilled, it achieves a firm yet yielding texture, reminiscent of the soft, creamy center of a gourmet chocolate truffle. The bittersweet notes of the dark chocolate offer a perfect counterpoint to the sweetness of the caramel and meringue, ensuring a balanced and incredibly satisfying flavor. This layer is crucial for delivering that classic s’mores chocolate punch in the most refined way possible.

The Cloud-Like Crown: Fluffy Toasted Marshmallow Meringue
Crowning this spectacular tart is a generous, fluffy layer of marshmallow meringue, toasted to golden-brown perfection. While meringues might seem daunting, this Swiss Meringue recipe is surprisingly simple and quick to prepare, offering a stable and delightfully airy topping. The process involves gently heating egg whites, sugar, and a touch of cream of tartar over simmering water until the sugar dissolves and the mixture is warm. A hint of vanilla extract is then added, and the mixture is whipped in a stand mixer until it transforms into stiff, glossy peaks. This creates a beautifully voluminous meringue that holds its shape, perfect for piling high on top of the set chocolate ganache. The final, magical touch is using a kitchen torch to toast the meringue, creating those iconic charred marshmallow notes and a stunning visual appeal that will have everyone reaching for a slice.

Salted Caramel S’mores Tart FAQs: Your Essential Baking Guide
Have questions about perfecting your Salted Caramel S’mores Tart? Here are some frequently asked questions to help you every step of the way, ensuring your baking experience is smooth and successful.
What is the best way to store the tart?
For the absolute best experience, this Salted Caramel S’mores Tart is best enjoyed immediately after torching the meringue. The marshmallow meringue, while beautiful, is delicate and will start to “weep” (release moisture) over time, affecting its texture. If you must store it, place the tart in an airtight container and refrigerate it for up to 3 days. While the meringue might lose some of its initial crispness, the underlying layers of caramel and ganache will remain delicious.
How far in advance can the tart be made?
Strategic preparation is key for this multi-layered dessert! The salted caramel can be prepared up to 2 weeks in advance and stored in an airtight container in the refrigerator. The graham cracker crust can be baked and both the caramel and ganache layers can be assembled in the tart pan up to one day ahead of serving. However, I strongly advise against making the marshmallow meringue in advance, as its airy texture does not hold up well over time and is prone to weeping. Always prepare and toast the meringue just before serving for optimal results.
How do you remove the tart from the pan?
Using a metal tart pan with a removable base is crucial for elegant presentation. When your tart is fully set and ready to be served, simply place the tart pan on top of a tall, sturdy object (like an inverted bowl or a large can). Gently push down on the sides of the tart pan while holding the base, allowing the pan ring to slide down and release the tart shell. Carefully transfer the tart by sliding an offset spatula underneath the metal base to separate it from the tart shell. This method ensures a pristine and beautiful tart every time!
Do I need to grease the pan?
No, greasing your tart pan is generally not necessary for this recipe. The graham cracker crust contains a sufficient amount of melted butter, which naturally creates a non-stick barrier. This generous butter content, combined with the chilling process in the refrigerator, ensures that the tart easily releases from the removable base of the pan without any sticking. This makes for a fuss-free demolding process, allowing your beautiful tart to shine.
How can I get a clean slice?
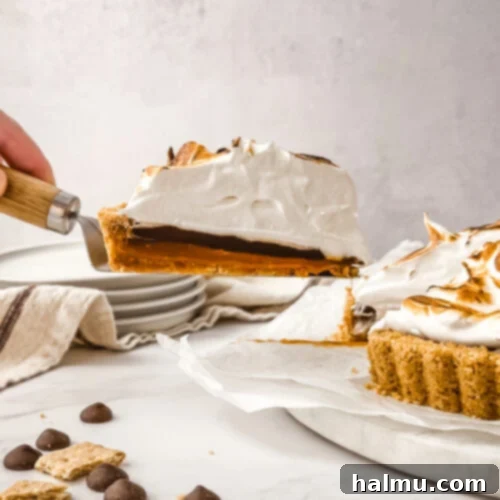
Achieving a clean slice through the sticky caramel and gooey meringue can be tricky, but it’s entirely possible with the right technique! My go-to method for the neatest possible slices involves a sharp knife and hot water. Dip the blade of a large, sharp chef’s knife into hot water for a few seconds, then wipe it completely dry with a towel. The heated blade will glide through the layers with ease. After each cut, wipe the knife clean and repeat the hot water treatment. This simple trick prevents sticking and ensures every slice is picture-perfect, showcasing those gorgeous layers.
Favorite Tools for Perfect Baking
Expert Tips for Torching the Meringue to Perfection
Torching the marshmallow meringue is the dazzling final act for your Salted Caramel S’mores Tart, creating that iconic charred marshmallow flavor and a beautiful visual appeal. To achieve the perfect golden-brown finish without burning, follow these essential tips:
- Use a Metal or Heat-Safe Surface for Safety. Always place your tart, still in its metal tart pan, on a sturdy, heat-safe surface before torching. A large metal baking sheet works perfectly. This crucial step acts as an extra layer of protection, ensuring the intense heat from the kitchen torch doesn’t melt, scorch, or damage your countertop or any other delicate surfaces. Never use parchment paper, as it can easily ignite and burn. The baking sheet also makes it incredibly easy to rotate the tart, allowing you to achieve even browning on all sides of the meringue without burning any one spot.
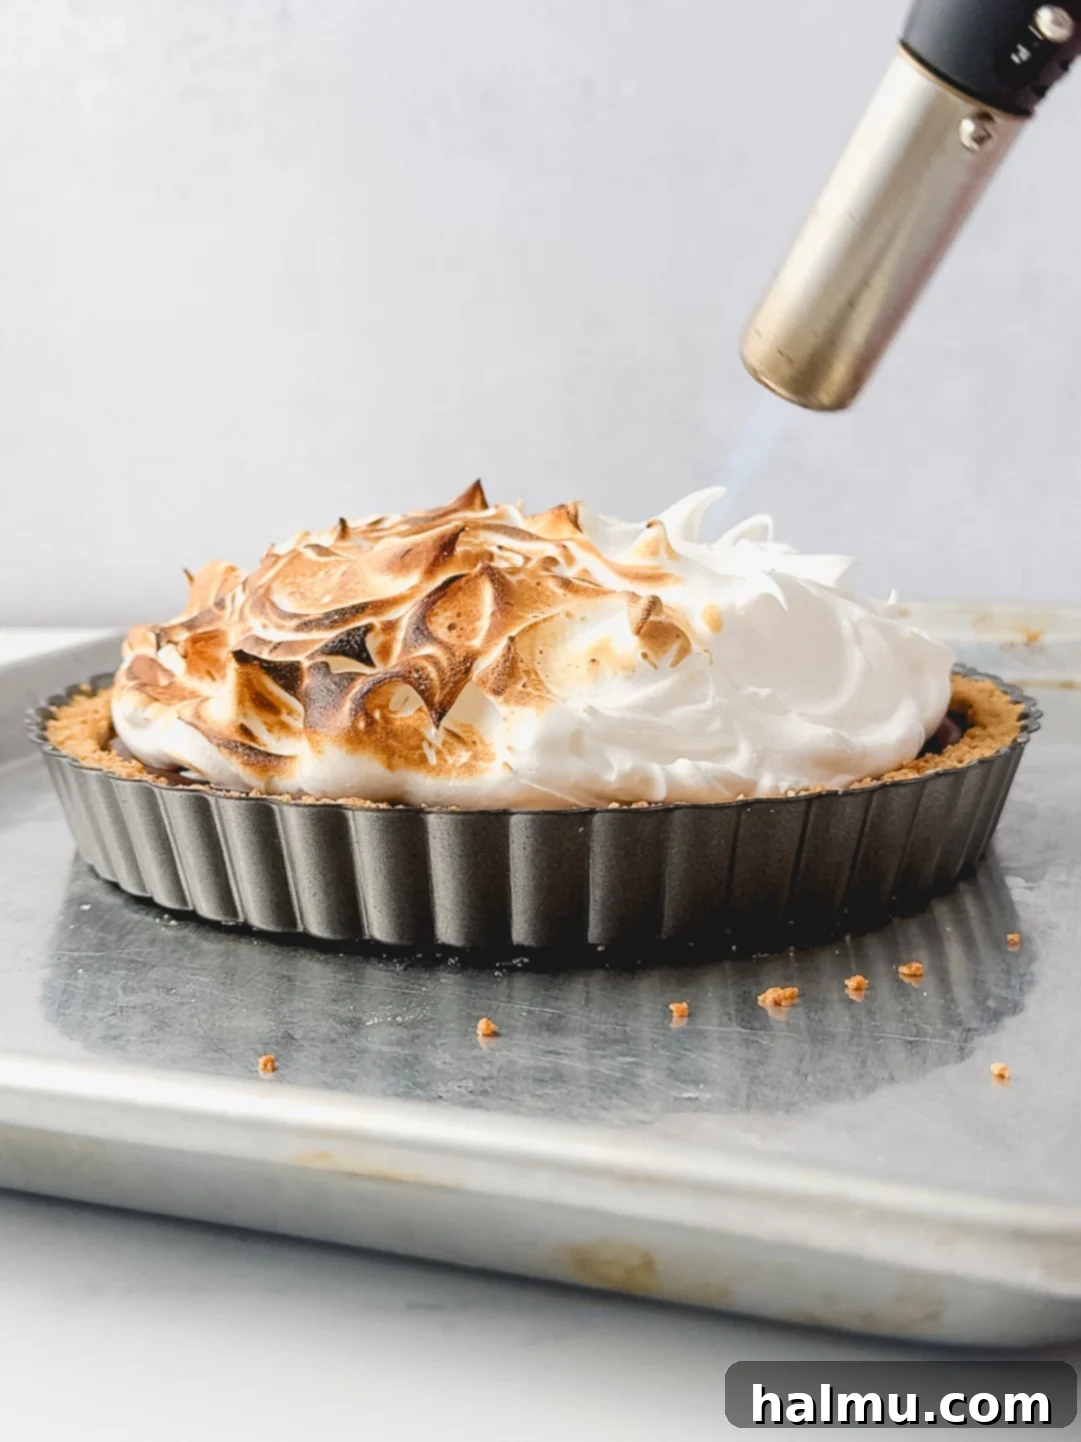
- Maintain Optimal Distance: Hold the Torch a Few Inches Away. The key to beautifully toasted meringue, rather than burnt meringue, is controlling the heat. Keep the flame of your kitchen torch a few inches away from the surface of the meringue. Holding it too close will cause the meringue to darken and burn very quickly, ruining the flavor and appearance. Most kitchen torches offer adjustable flame sizes; I recommend starting with a medium flame. Remember, the larger the flame, the further away you’ll need to hold the torch to prevent scorching and achieve a gentle, even toast.
- Keep Moving for Even Coverage. Never hold the torch stationary in one spot for more than a second. If you do, that area will quickly turn black and taste bitter. Instead, use small, constant circular motions across the entire surface of the meringue. Imagine you’re painting with fire, aiming for uniform golden-brown coverage. This technique requires a little practice to perfect, but it’s the secret to achieving that coveted, evenly toasted marshmallow finish that makes this S’mores Tart truly irresistible and visually stunning.

Baking Tip: Achieve Consistency by Weighing Your Ingredients!
For truly consistent and professional-level baking results, I cannot stress enough the importance of using a kitchen scale to weigh your ingredients rather than relying on volumetric measuring cups. Weighing provides unmatched accuracy, which translates directly to more reliable outcomes for your recipes and a significantly higher success rate every single time. As an added bonus, using a scale often means fewer measuring cups and spoons to wash, leading to easier cleanup! I meticulously provide gram measurements in all my recipes, and this is the highly-rated kitchen scale I personally love and recommend.
Explore More S’mores Desserts You’ll Love
If this Salted Caramel S’mores Tart has ignited your craving for more s’mores-inspired treats, you’re in luck! I have a collection of other delightful recipes that capture the essence of this beloved flavor combination in various exciting forms. Perfect for parties, potlucks, or just a sweet craving, these desserts bring all the nostalgic joy of s’mores without the need for a campfire:
- S’mores Rice Krispie Treats: An irresistible, chewy twist on a classic, loaded with chocolate and marshmallow.
- S’mores Blondies: Fudgy, chocolatey blondies studded with graham crackers and topped with toasted marshmallows.
- S’more Pudding Cups: A quick and easy individual dessert with layers of pudding, graham crackers, and marshmallow fluff.
Whether you’re looking for a quick fix or another show-stopping dessert, these s’mores recipes are sure to bring smiles. Happy baking!
Salted Caramel S’mores Tart Recipe
Print Recipe
RATE THIS RECIPE
Ingredients
For the Salted Caramel
- 1 cup (200g) granulated sugar
- ¼ cup (60mL) water
- 6 Tablespoons (85g) unsalted butter, at room temperature and cut into cubes
- ⅓ cup (80mL) heavy cream, at room temperature
- 1 teaspoon vanilla extract
- ½ teaspoon flaky sea salt*
For the Graham Cracker Crust
- 1½ cups (180g) graham cracker crumbs, or about 12 full graham cracker sheets
- ¼ cup (50g) granulated sugar
- 6 Tablespoons (85g) unsalted butter, melted
For the Chocolate Ganache
- 6 ounces (170g) bittersweet chocolate, finely chopped
- ¾ cup (180mL) heavy cream
For the Marshmallow Meringue
- 4 large egg whites
- 1 cup (200g) granulated sugar
- ½ teaspoon cream of tartar
- 1 teaspoon vanilla extract
SHOP INGREDIENTS
Instructions
For the Salted Caramel
- In a small, heavy-bottomed stainless steel saucepan, combine the granulated sugar and water. Place the saucepan over medium heat. Using a clean pastry brush dipped in water, carefully brush down any sugar crystals clinging to the sides of the pan. This step is crucial to prevent crystallization, which can ruin your caramel.
- Place the lid securely on the saucepan and allow the sugar mixture to cook undisturbed. Do not stir the mixture, as this can encourage crystallization. Frequently check the progress and continue to brush down any sugar crystals that form on the sides of the pan with a wet pastry brush. The mixture will initially appear cloudy, then come to a boil and become clear before it begins to caramelize. Once the sugar starts to turn a pale amber color, you can gently swirl the pan occasionally to ensure even cooking, but still avoid stirring with a utensil.
- Watch the caramel closely. As soon as it reaches a deep golden amber color (like an old penny), immediately remove the saucepan from the heat. The caramel will continue to darken slightly from residual heat, so timing is critical here to prevent it from burning.
- Once off the heat, carefully and slowly add the cubed, room temperature unsalted butter to the hot caramel. Whisk continuously until the butter is completely melted and fully incorporated into the caramel. Next, slowly stream in the room temperature heavy cream while continuing to whisk vigorously. The mixture will bubble up quite enthusiastically at this stage, so be cautious, but keep whisking until it settles down and becomes smooth and homogenous.
- To ensure a silky-smooth caramel, carefully pour the hot caramel through a fine-mesh sieve into a heatproof container. This will catch any small lumps or caramelized bits. Stir in the vanilla extract and the flaky sea salt until well combined.
- Allow the caramel to cool at room temperature for a while before transferring it to the fridge. Chill the caramel in the refrigerator for at least one hour, or until it has fully cooled and thickened to a spreadable, gooey consistency. You can prepare this layer up to two weeks in advance.
For the Graham Cracker Crust
- Preheat your oven to 350°F (175°C). In a food processor, combine the graham crackers and granulated sugar. Pulse until the graham crackers are finely ground into even crumbs. Add the melted butter to the food processor and pulse a few more times until the mixture is fully combined and resembles wet sand.
- Press the crumb mixture firmly and evenly into the bottom and up the sides of a 9-inch round tart pan with a removable base. You can use the bottom of a glass or your fingers to achieve a compact and smooth crust. Bake the crust for 8 minutes, or until it’s lightly golden brown and set. Remove from the oven and set aside on a wire rack to cool completely.
- Once the baked graham cracker crust is completely cool, pour the chilled and thickened salted caramel into the bottom of the crust. Use a small offset spatula to spread the caramel out evenly across the base. Place the tart back in the fridge to chill for at least 1.5 hours, allowing the caramel layer to fully set.
For the Chocolate Ganache
- When the caramel layer is completely set, it’s time to prepare the chocolate ganache. In a heatproof bowl, combine the finely chopped bittersweet chocolate and heavy cream. Microwave the mixture for 20-30 seconds, then remove and stir with a whisk or spatula. Repeat this process, heating in short intervals and stirring after each, until the chocolate is completely melted and the mixture is smooth, glossy, and uniform. Be careful not to overheat; heat only until just melted and combined. Allow the ganache to cool for about 5 minutes, or until it’s slightly warm but not hot.
- Pour the slightly cooled chocolate ganache over the set caramel layer in the tart crust. Gently spread it out evenly using an offset spatula to create a smooth surface. Return the tart to the fridge and chill until the ganache is firm to the touch, usually about 30-60 minutes.
For the Marshmallow Meringue
- Once the ganache has fully set, prepare your Swiss Meringue. Add about an inch of water to a medium saucepan and bring it to a gentle simmer over medium-low heat. Ensure that the pot is large enough so that the metal or glass bowl of your stand mixer (or another heatproof bowl) can sit comfortably on top without its bottom touching the simmering water.
- In the mixing bowl, whisk together the egg whites, granulated sugar, and cream of tartar. Place this bowl over the simmering water, ensuring it doesn’t touch the water. Continuously whisk the mixture until the sugar is completely dissolved (test by rubbing a small amount between your fingers; it should feel smooth, not grainy) or until the mixture reaches a temperature of 165°F (74°C) on a digital thermometer, which usually takes about 4-5 minutes. This pasteurization step makes the meringue safe to eat.
- Carefully remove the bowl from the heat and wipe off any excess water from its bottom. Stir in the vanilla extract. Immediately transfer the mixing bowl to your stand mixer fitted with the whisk attachment. Begin whipping on medium-high speed, gradually increasing to high, until the meringue becomes thick, glossy, and forms stiff peaks. This process typically takes about 5-7 minutes. When you lift the whisk, the meringue should hold its shape firmly and elegantly.
- Spoon or pipe the fluffy marshmallow meringue onto the set ganache layer of the tart, creating a tall, impressive mound. Using a small offset spatula or the back of a spoon, gently push the meringue almost to the edge of the crust, leaving a small, visible rim of ganache for definition. Create decorative swirls and peaks on the meringue for an appealing presentation.
- To finish, use a kitchen torch to carefully toast the meringue. Hold the torch a few inches away from the surface and keep it constantly moving in small circular motions. Rotate the tart as you go to ensure even browning and prevent any single spot from burning too quickly. Aim for beautiful golden-brown peaks, reminiscent of perfectly toasted marshmallows over a campfire.
- To elegantly remove the tart from its pan, push up on the base of the pan from underneath to release the sides. Then, gently slide the tart shell off the metal base using an offset spatula. Slice the tart using a hot, sharp knife (refer to the “Clean Slice” tip above) and serve immediately to enjoy its freshly toasted glory!
Notes

HI THERE!
I’m Rachel
I’m the dessert lover, recipe developer, and content creator behind Sweet Kitchen Cravings. Here you’ll find classic yet special recipes that are sure to impress your loved ones!
MORE ABOUT RACHEL
