This post may contain affiliate links. Please read my full disclosure policy.
The Ultimate Coconut Layer Cake: A Springtime Delight
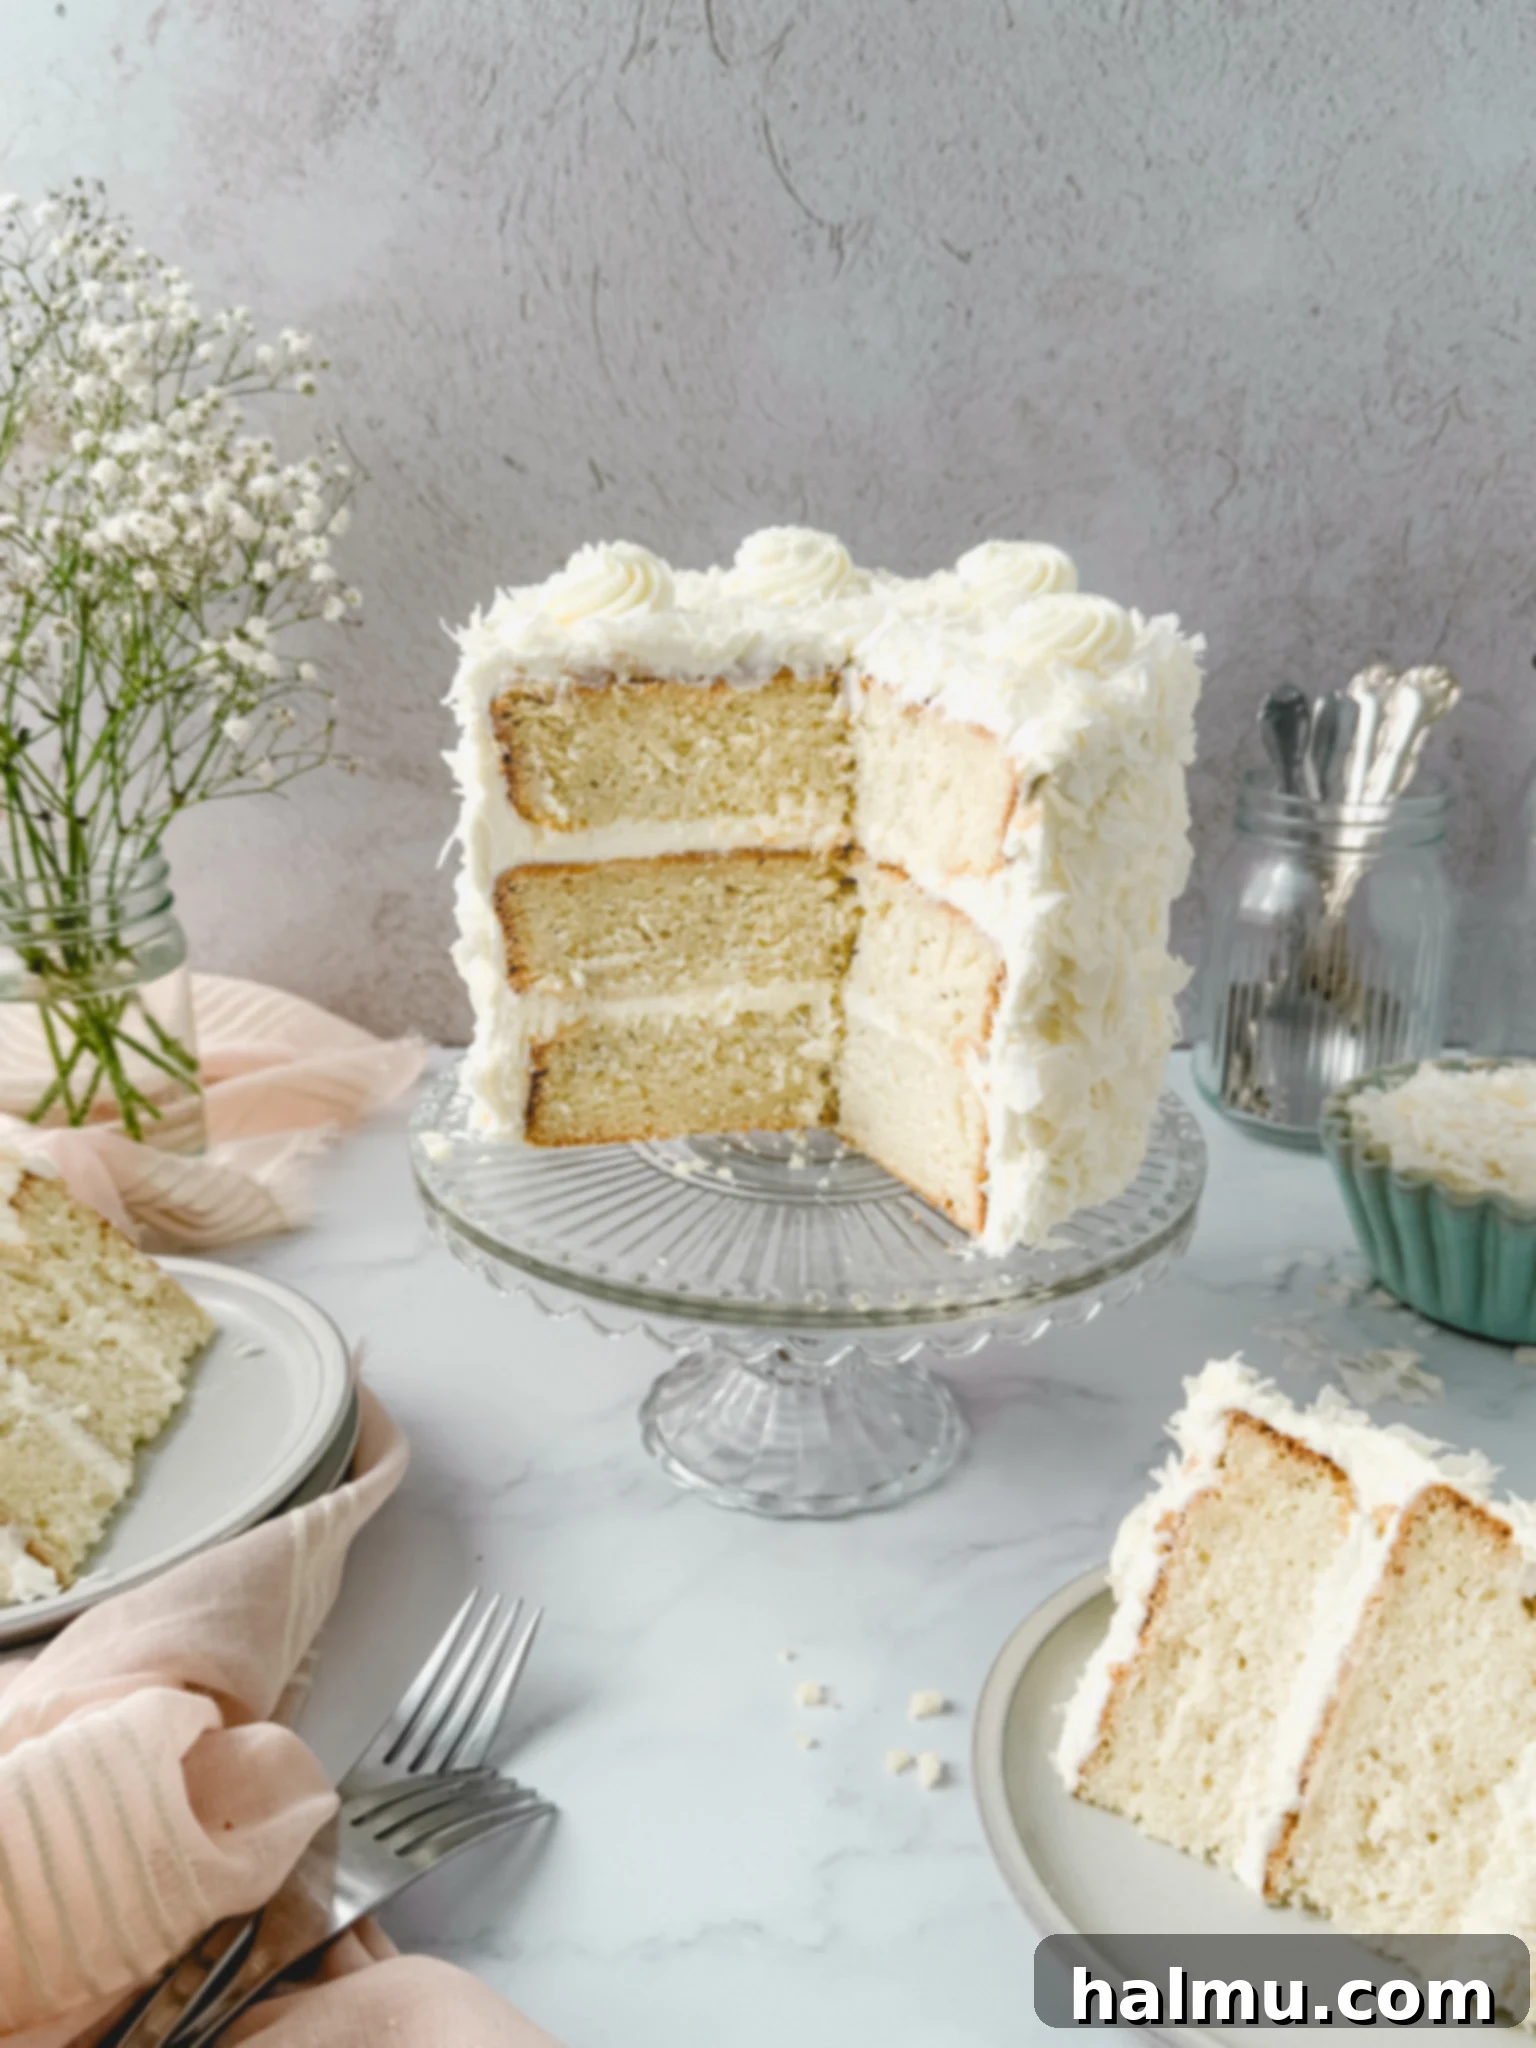
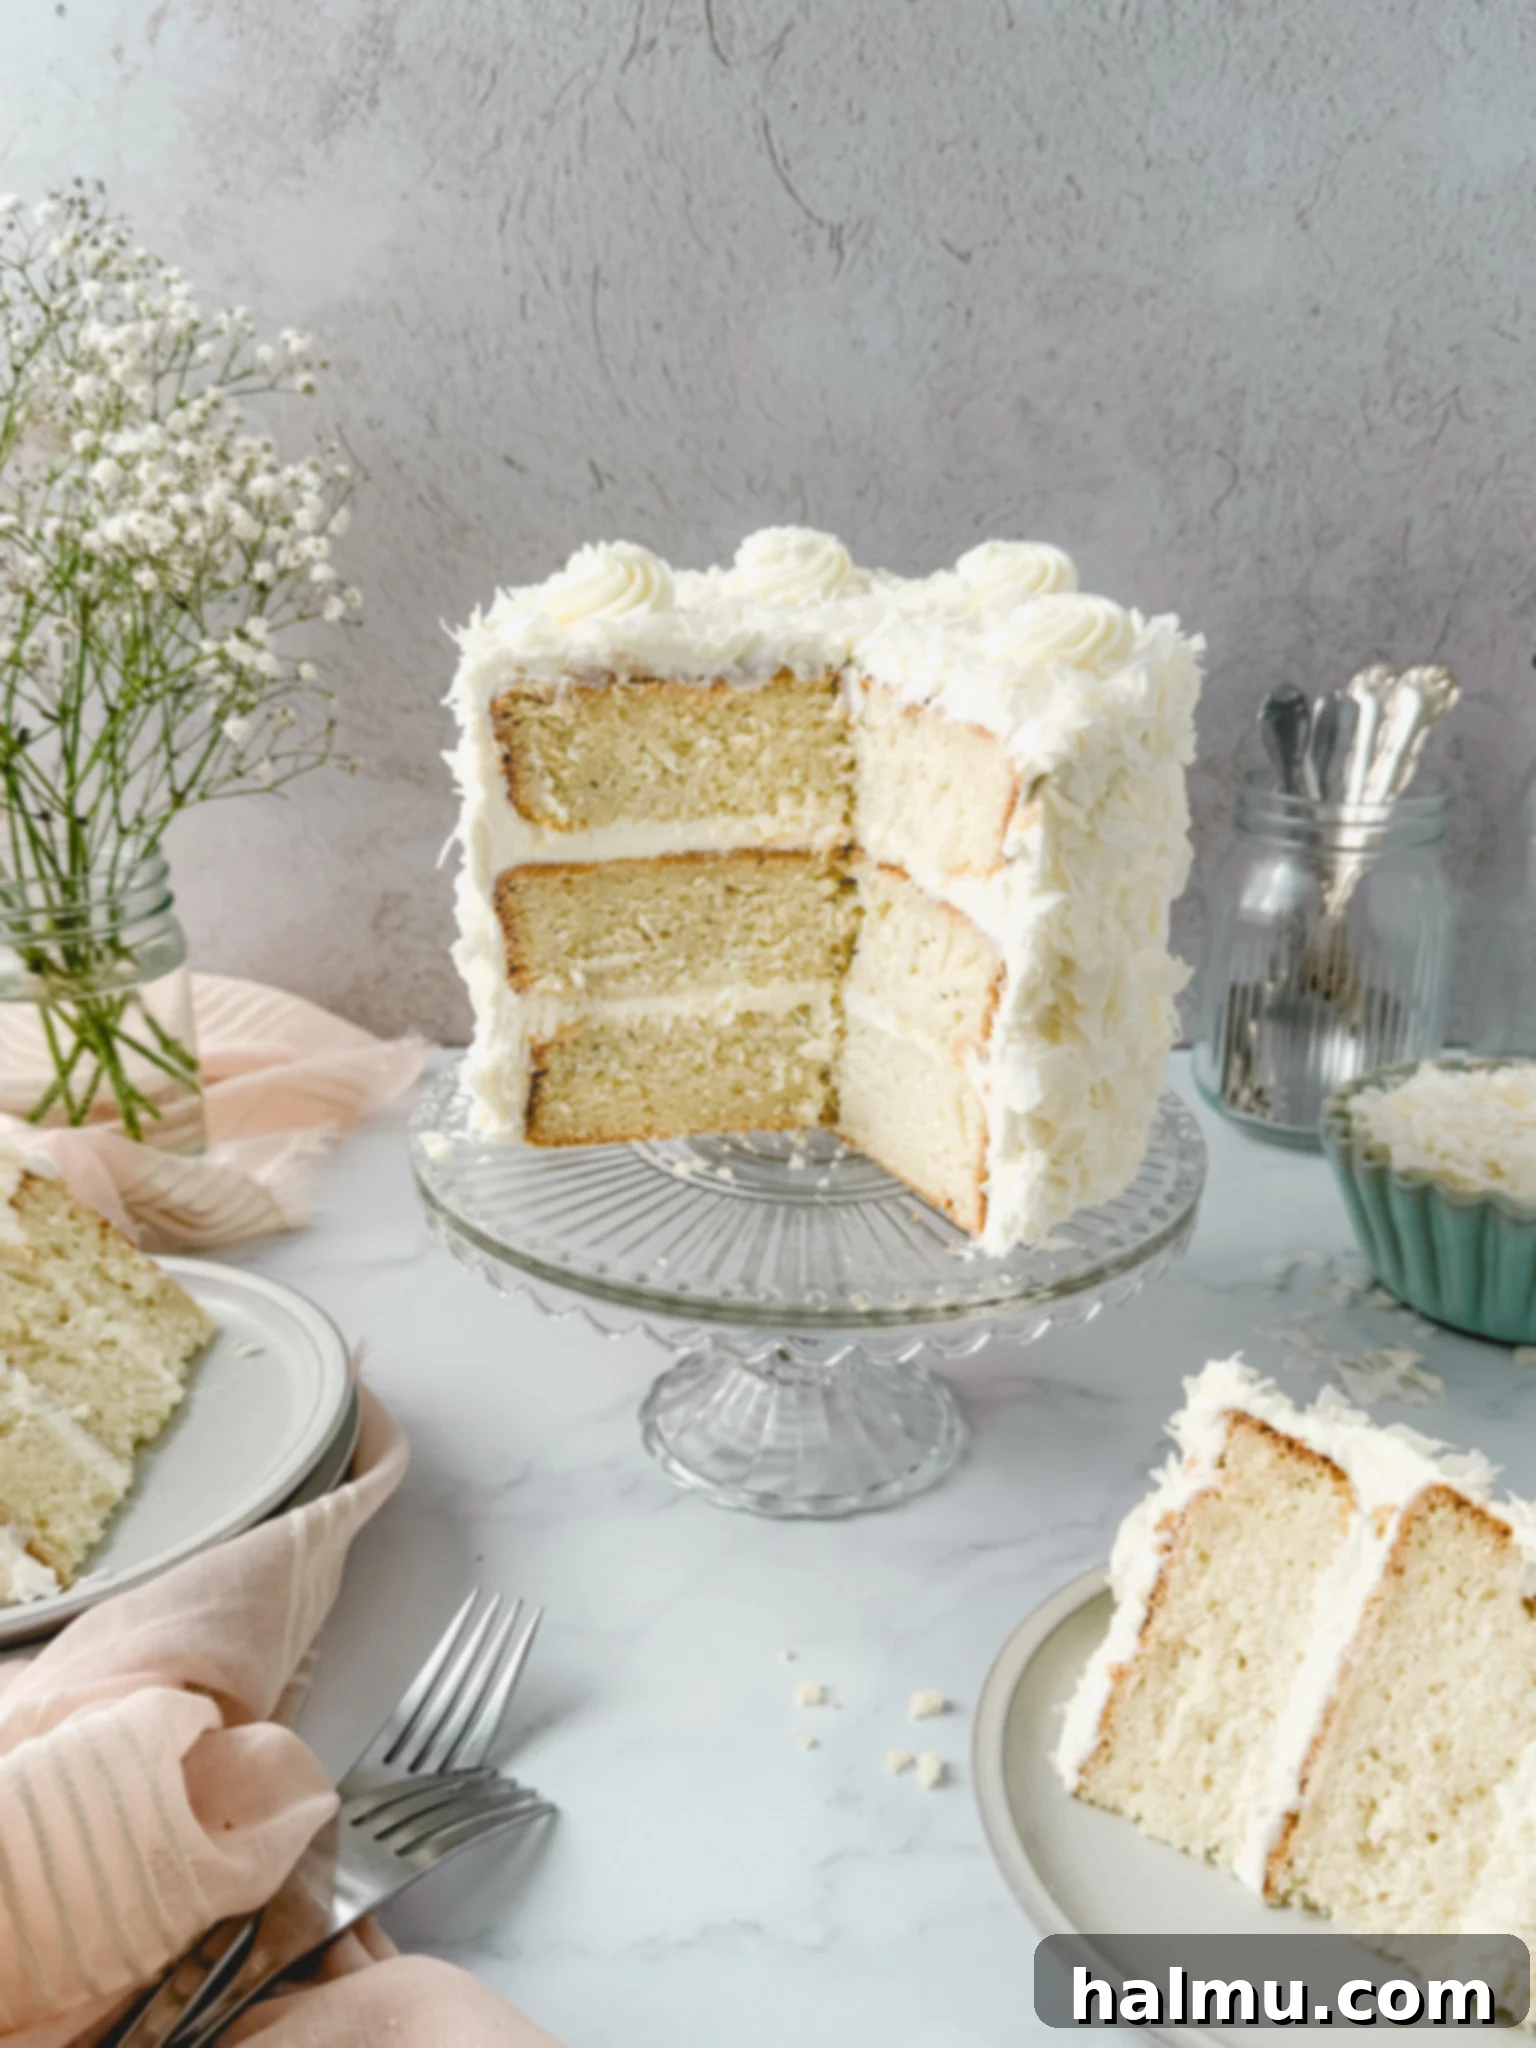
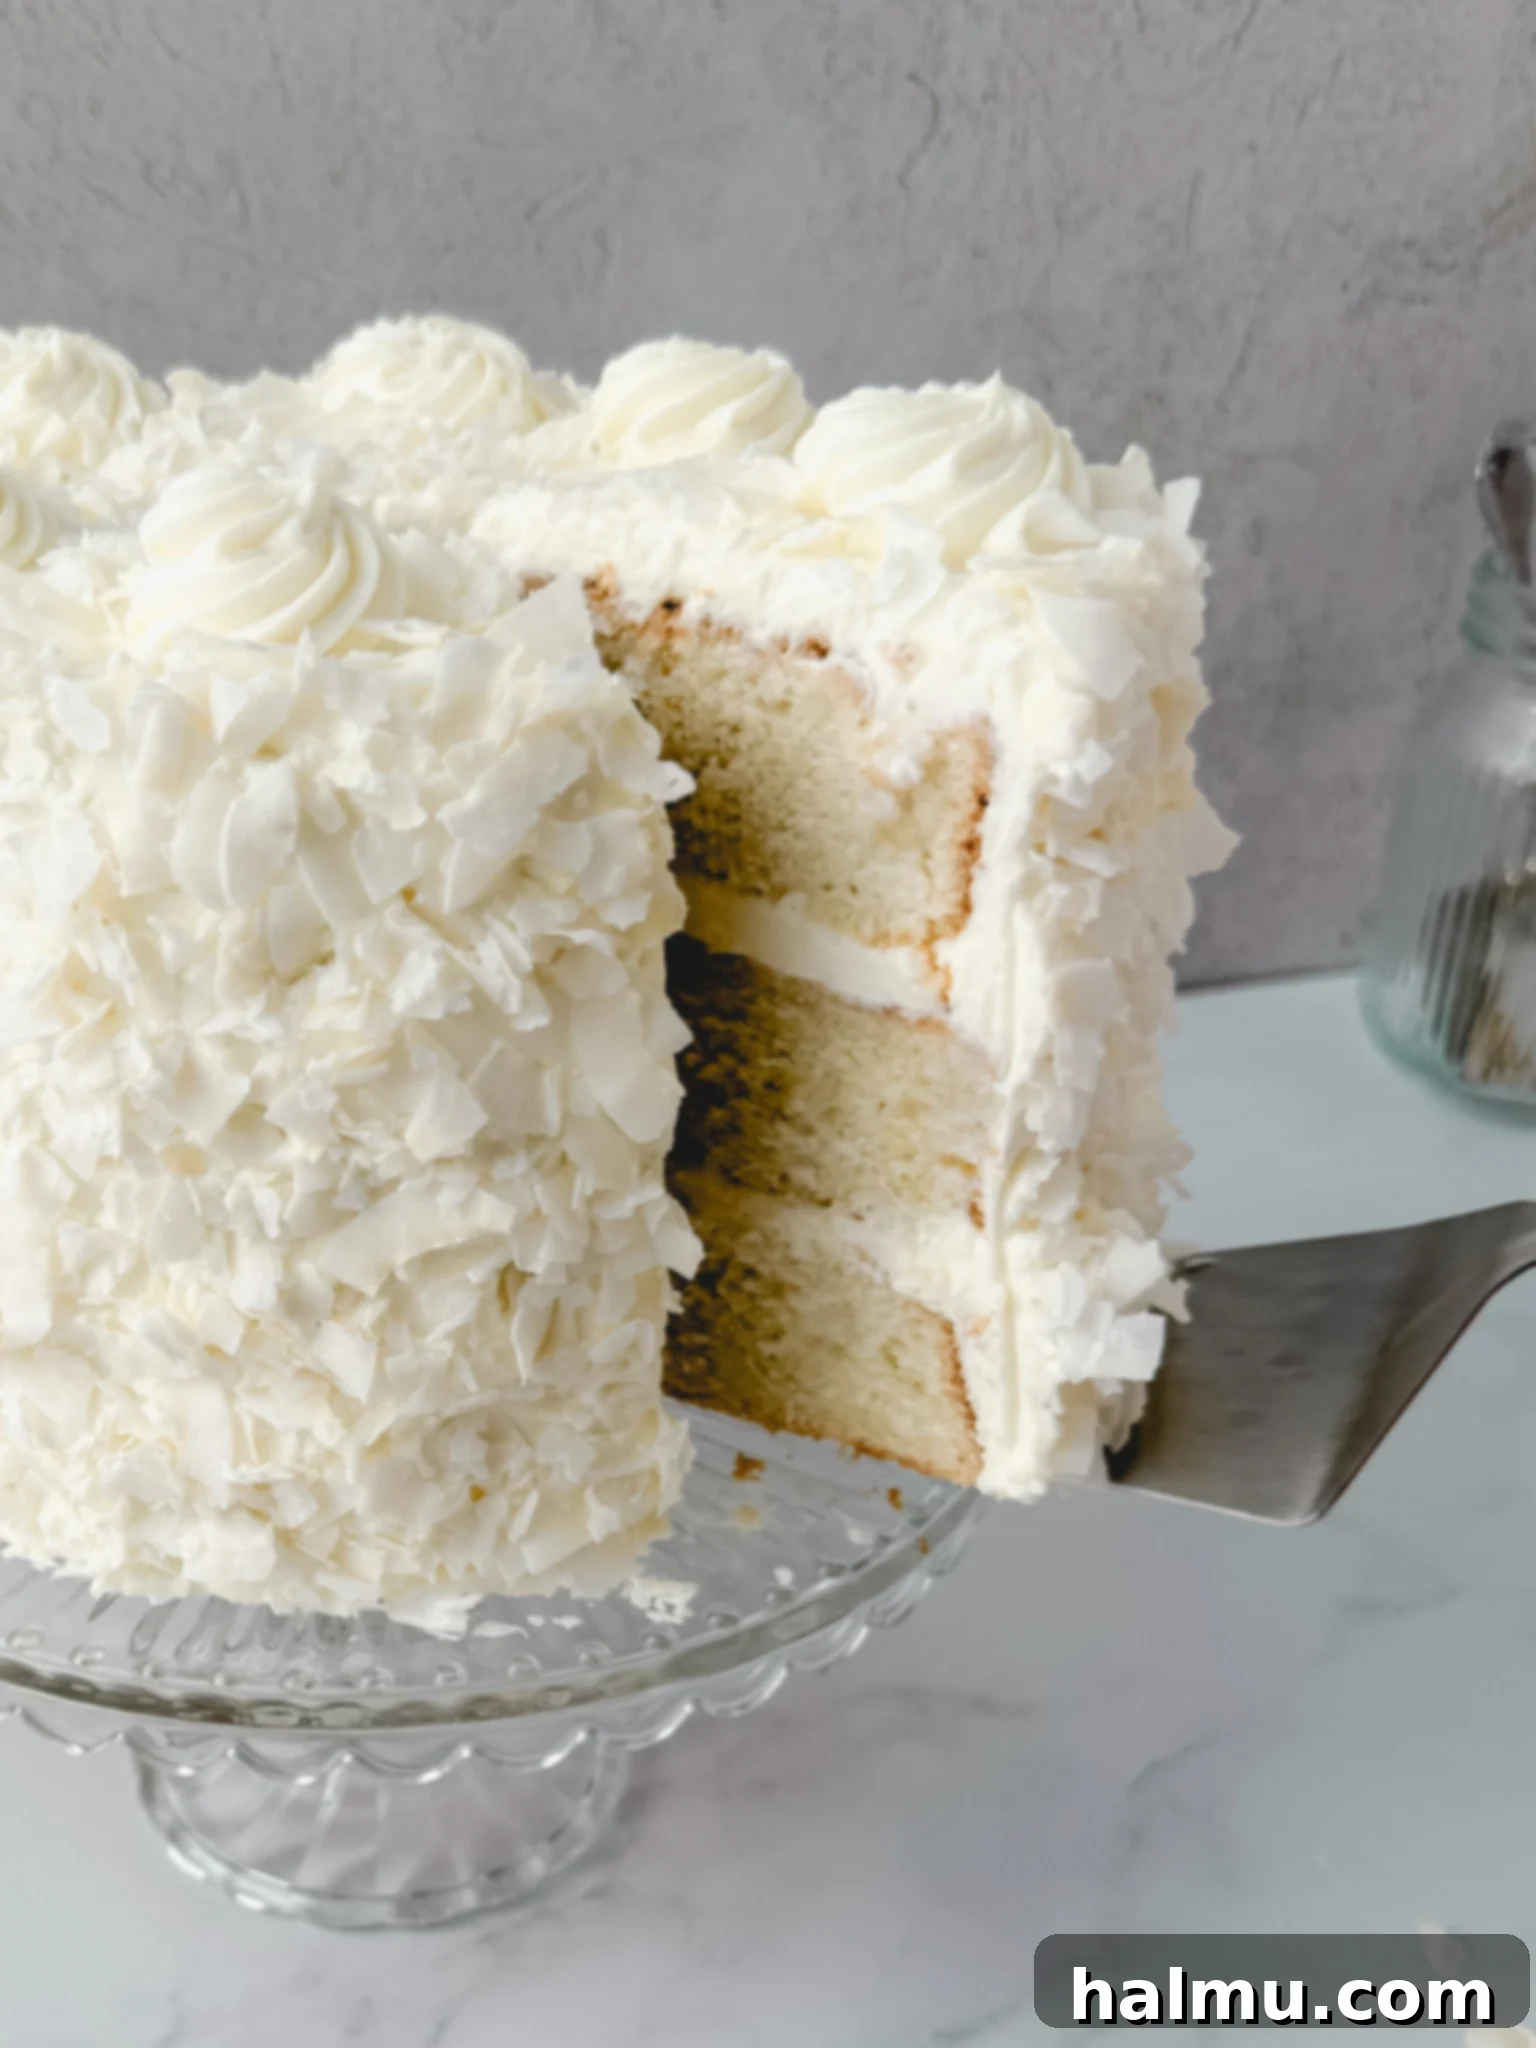
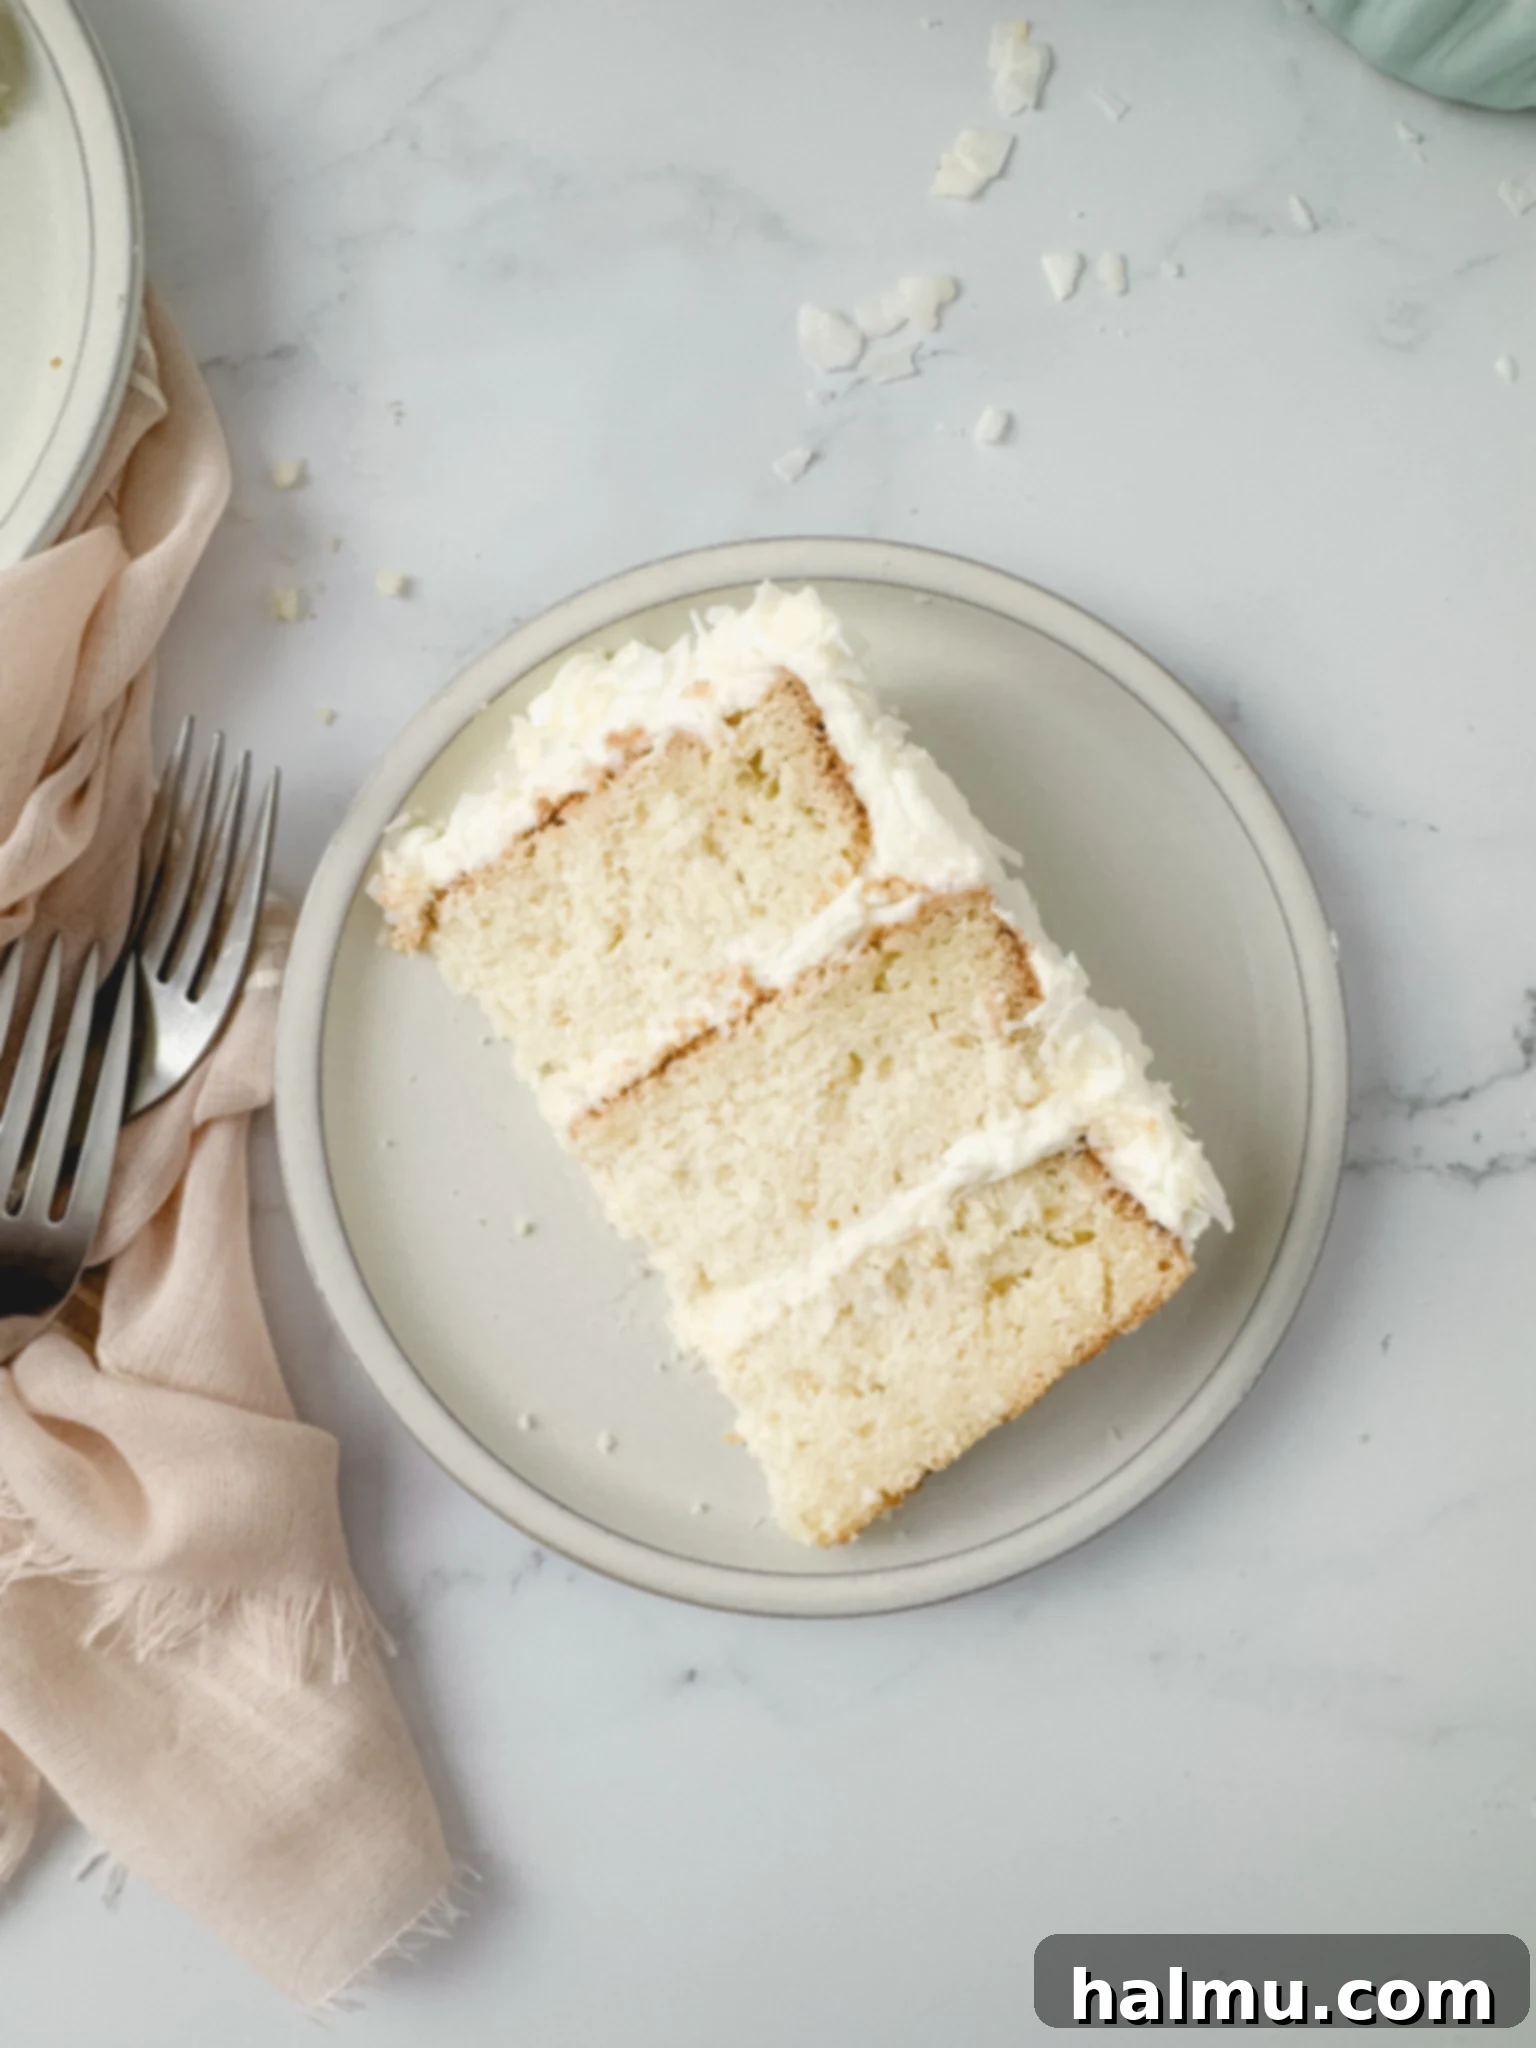
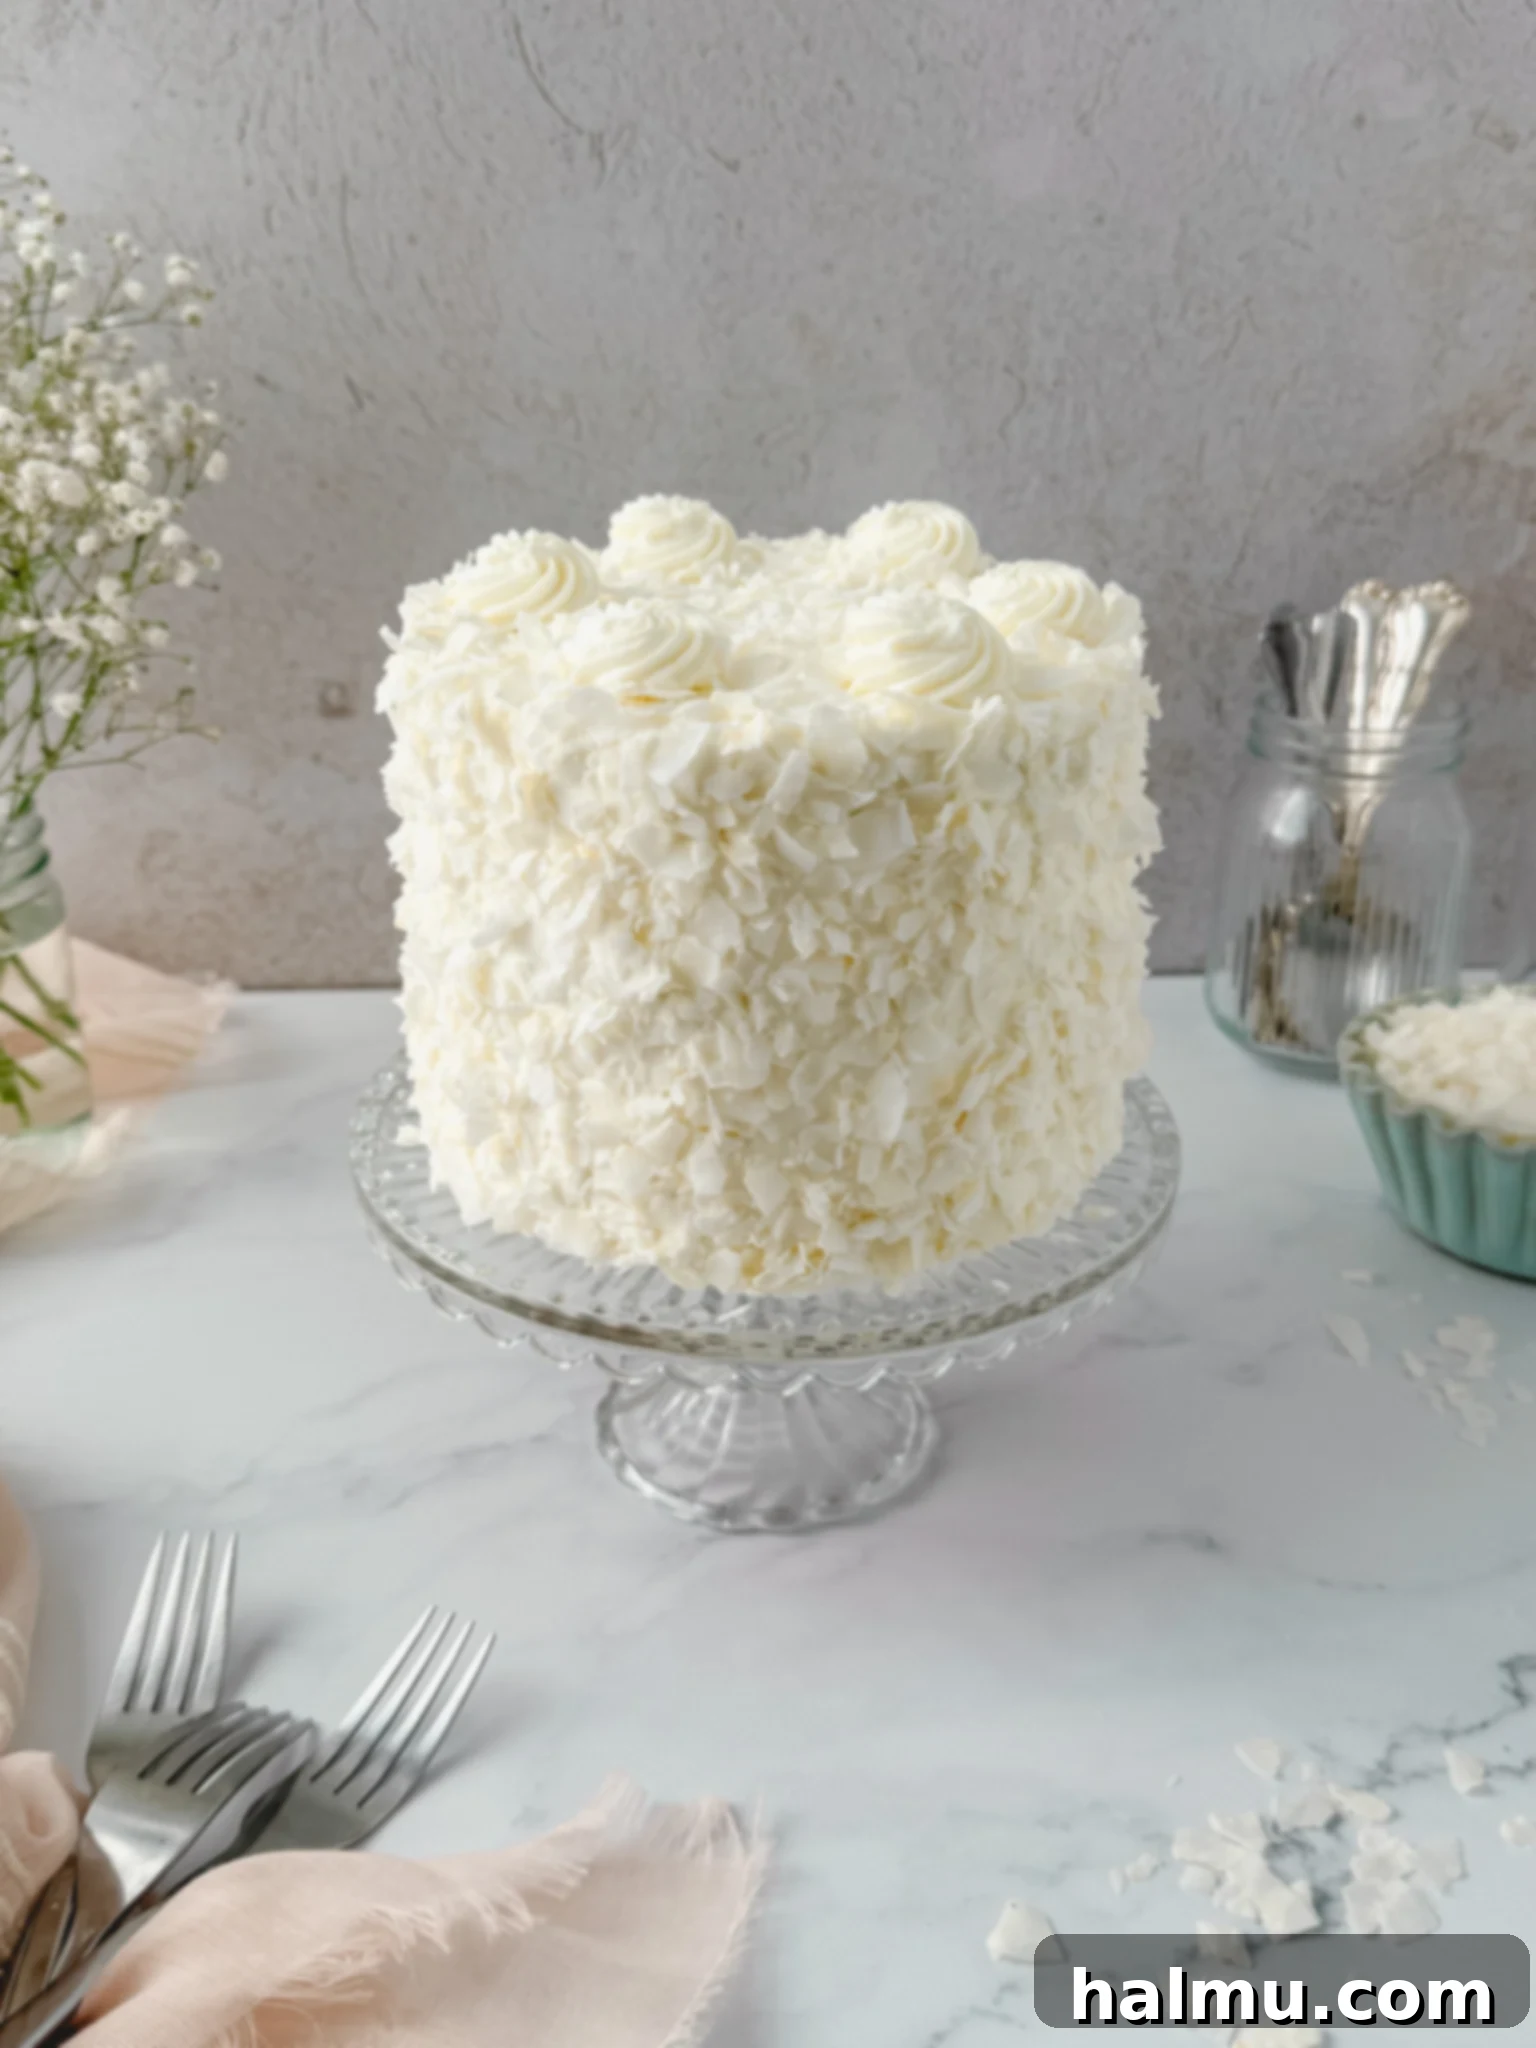
There’s something truly special about a pristine white, fluffy coconut layer cake that heralds the arrival of spring. This exquisite recipe brings together three impeccably moist coconut cake layers, generously slathered with a light and airy almond Chantilly frosting, and completely adorned with substantial, shaggy coconut flakes. It’s an absolute dream for any coconut enthusiast and serves as the quintessential centerpiece for your Easter dessert table or any festive spring gathering. The delicate balance of flavors and textures creates a dessert that is both visually stunning and incredibly delicious, promising a memorable experience with every bite.
For those eager to perfect the art of frosting, be sure to explore my dedicated Chantilly Frosting post. It offers an in-depth guide with detailed tips and tricks to help you achieve this luscious, silky smooth frosting that elevates any cake to a professional level.
Mastering the Perfect Coconut Flavor Profile
Achieving the ideal coconut flavor is crucial for this cake, ensuring it’s present and delightful without being overwhelming. From the creamy coconut milk infused into the cake batter to the fragrant extract and the generous coating of flakes, every element contributes to a harmonious coconut symphony. Here’s a detailed look at the key coconut components:
Coconut Milk: The Foundation of Moisture and Flavor
For the deepest and most authentic coconut essence, it is essential to use canned unsweetened coconut milk. This variety, commonly found in the Asian foods aisle of most grocery stores, is specifically formulated for cooking and baking, offering a richer, creamier texture compared to refrigerated coconut beverages. Before incorporating it into your batter, ensure your coconut milk is at room temperature. If you find the milk has separated into a solid cream and liquid (a common occurrence with canned coconut milk), gently warm it in the microwave for short intervals and whisk thoroughly until it achieves a completely smooth, lump-free consistency. This step is vital for a uniformly moist cake.
Coconut Flakes: Texture and Visual Appeal
To truly enhance the visual appeal and add a delightful textural contrast, I highly recommend using large coconut flakes, sometimes labeled as coconut chips, to adorn the exterior of this cake. Their substantial size creates an appealing “shaggy” look that screams homemade indulgence. While large flakes are my preference, standard shredded coconut can also be used if preferred. For an even more profound and complex coconut flavor, consider lightly toasting the coconut flakes before applying them. This simple step unlocks deeper, nuttier notes that beautifully complement the cake’s sweetness.
Coconut Extract: A Subtle Boost of Aroma
To ensure that signature coconut aroma and taste truly shine through, I like to incorporate a small amount of coconut extract into the cake batter. This adds an extra layer of flavor that can be quite subtle yet noticeable, enhancing the overall coconut experience. If you prefer a much milder coconut presence, you can certainly omit the extract. However, for true coconut aficionados, it’s a wonderful addition that elevates the cake’s profile.
Perfecting Your Cake Pan Preparation for Flawless Layers
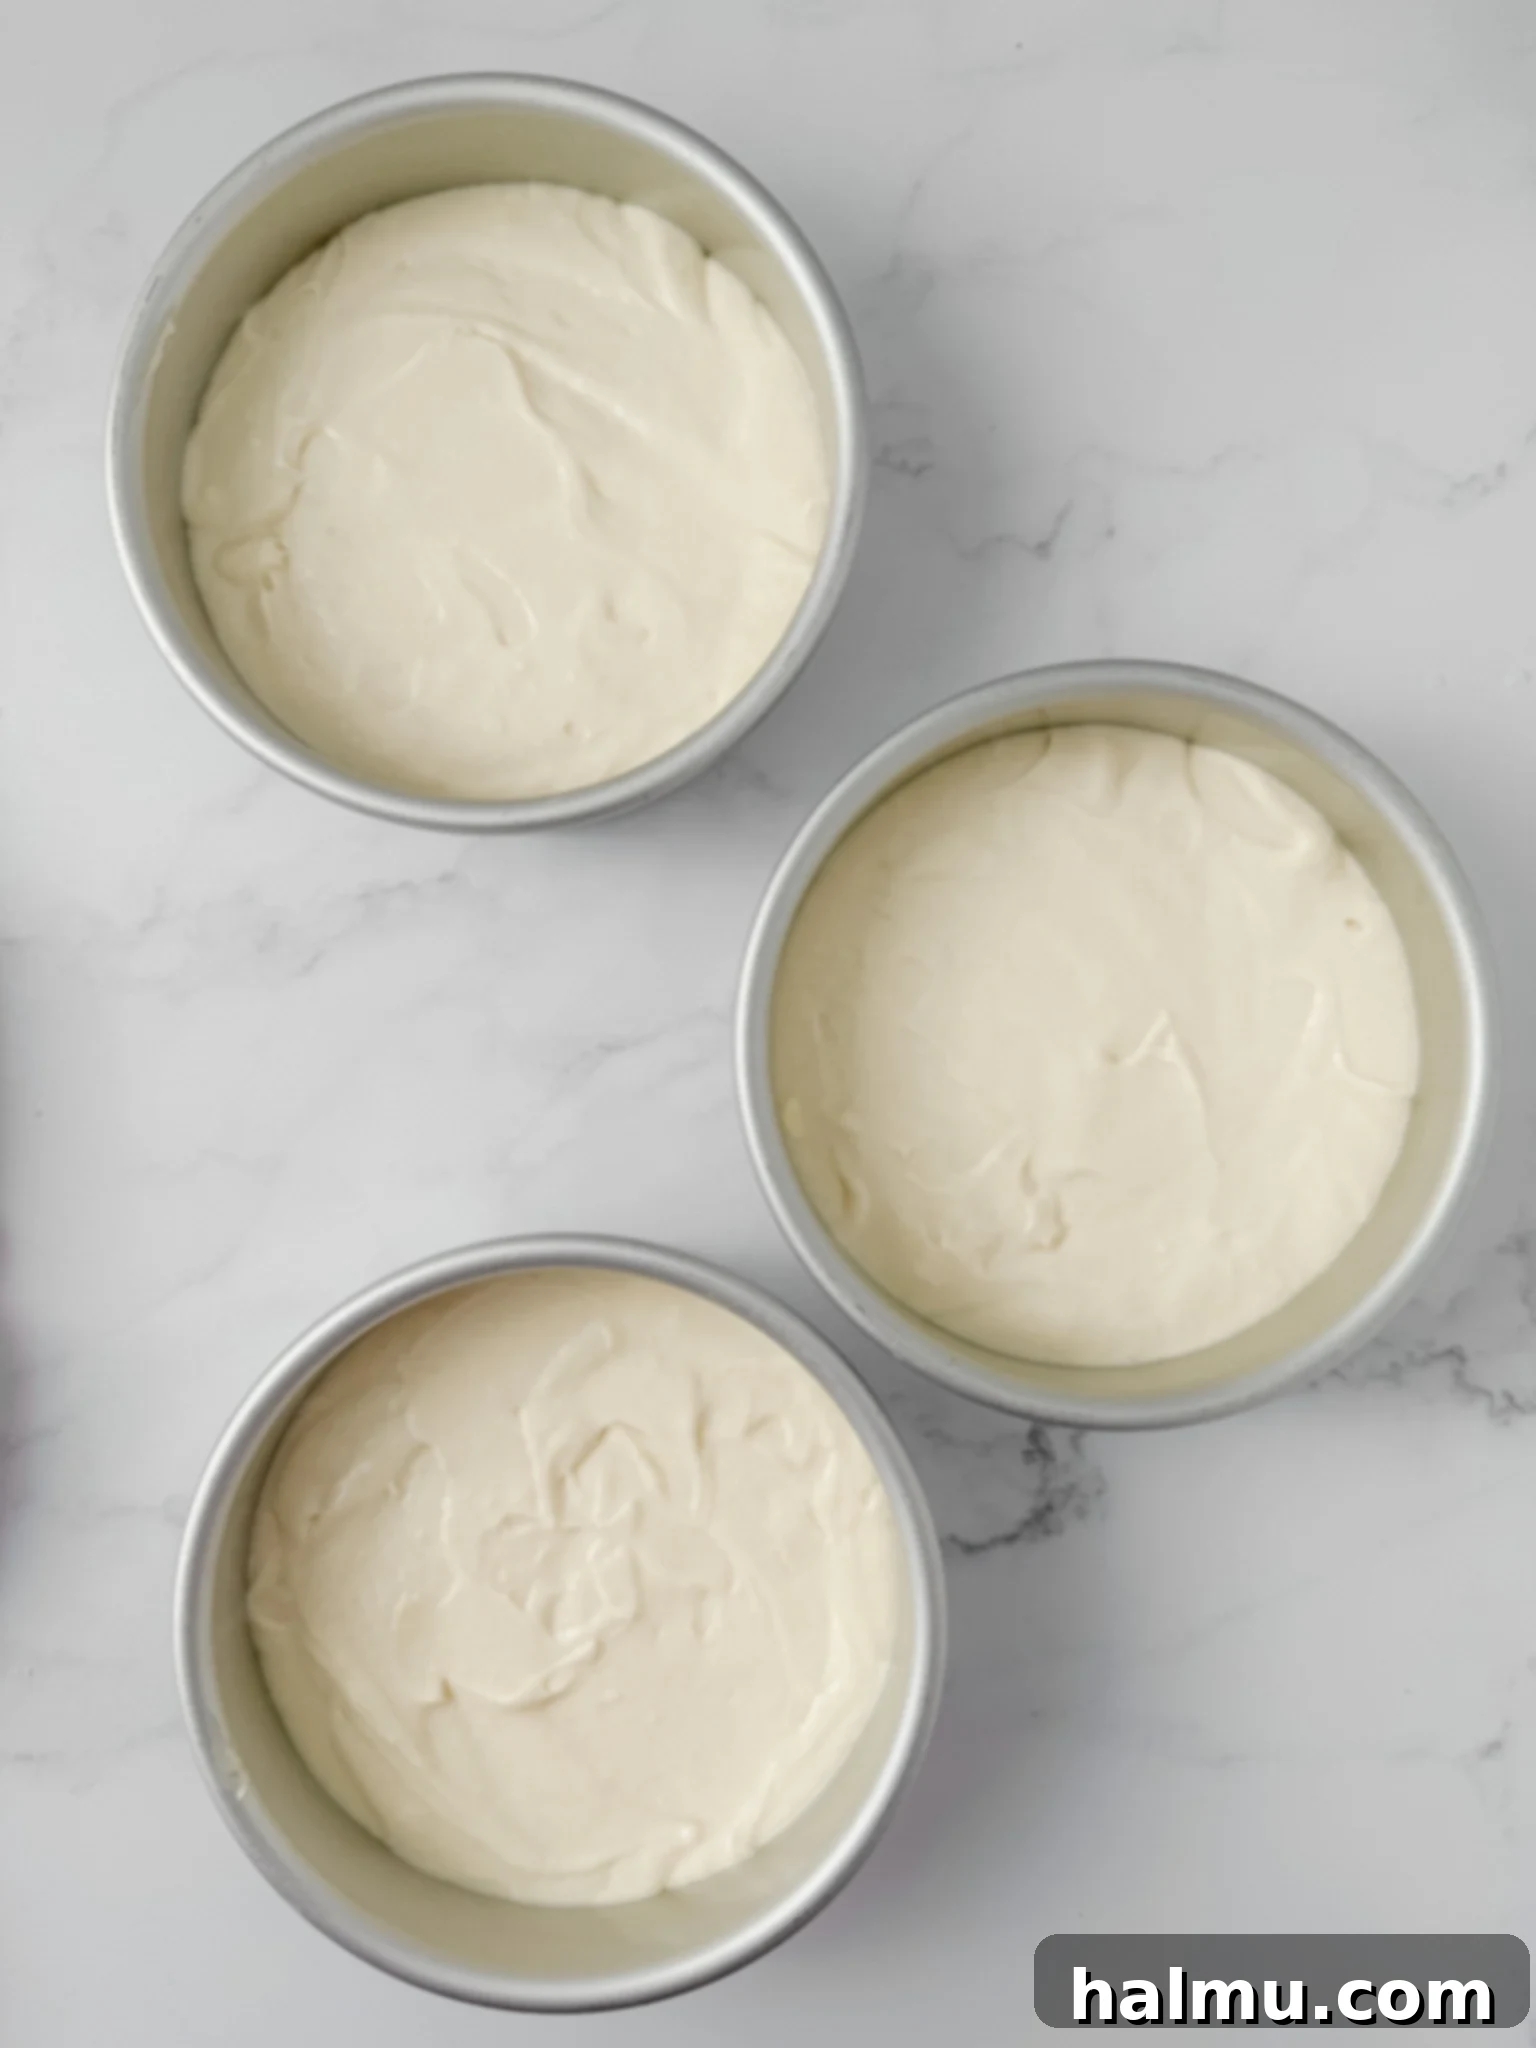
Achieving perfectly baked cake layers that release effortlessly from their pans is a critical step in creating a beautiful layer cake. Over the years, I’ve discovered a fool-proof method that ensures your cakes slide out seamlessly every time: a combination of nonstick cooking spray and parchment paper. Here’s a detailed guide to prepping your cake pans for success:
First, thoroughly spritz the bottom and sides of each cake pan with a high-quality nonstick cooking spray. Don’t be shy, but avoid pooling. Next, take a paper towel and gently wipe out any excess spray, ensuring there’s a light, even coating over the entire interior surface of the pan. This thin, uniform layer is key to preventing sticking.
For the next step, grab a piece of parchment paper. Place your cake pan on top of the parchment and trace around the bottom with a pencil. Carefully cut out three perfect parchment circles (one for each cake pan). Alternatively, you can purchase convenient pre-cut parchment circles, which save time and ensure a perfect fit. Once your circles are ready, press them firmly into the bottom of each greased cake pan. The light coating of cooking spray will help the parchment adhere smoothly without shifting.
This meticulous preparation creates a non-stick barrier that guarantees your delicate cake layers will unmold beautifully, leaving no precious cake behind. With your pans perfectly prepped, you’re now ready to confidently fill them with batter and bake them to golden perfection!
Essential Tips for Baking the Best Coconut Layer Cake
Baking a show-stopping coconut layer cake involves more than just mixing ingredients; it requires attention to detail and a few key techniques. Follow these expert tips to ensure your cake turns out moist, tender, and utterly delicious every single time:
- Embrace Room-Temperature Ingredients: This is a golden rule in baking, especially for cakes. Make sure to pull out your butter, eggs, and sour cream from the refrigerator well in advance, allowing them to reach true room temperature. When ingredients are at the same temperature, they emulsify much more effectively, creating a smoother, more homogenous batter. This results in a cake with a finer crumb, superior texture, and enhanced moisture retention.
- Avoid the Pitfall of Overmixing: Overmixing is one of the most common culprits behind tough and dense cake layers. Once you add the dry ingredients, mix only until they are just combined. Overworking the batter develops the gluten in the flour, which leads to a chewier, less tender cake. Stop mixing as soon as you see no more streaks of flour, even if a few small lumps remain; they will usually disappear during baking.
- Precision Through Weighing Your Batter: For a professional-looking layer cake with perfectly even tiers, using a kitchen scale to weigh your cake batter is highly recommended. After preparing your complete batter, weigh the entire amount. Then, divide that total weight by the number of cake pans (in this case, three). Distribute this precise amount of batter into each of your prepared pans. This simple yet effective method guarantees that each cake layer will bake uniformly in thickness and dome height, making assembly much easier and resulting in a stunning final presentation.
- Do Not Overbake: Overbaking can quickly turn a moist cake into a dry one. Start checking your cakes at the minimum baking time specified in the recipe. A toothpick inserted into the center should come out with moist crumbs, but not wet batter. The cake should also spring back gently when lightly touched.
- Cool Cakes Completely: Resist the urge to frost warm cakes! Even slightly warm cakes will cause your frosting to melt and slide off. Allow your cake layers to cool completely in their pans on a wire rack for about 10-15 minutes before inverting them onto the rack to cool completely. This usually takes at least 1-2 hours, or longer if your kitchen is warm. For best results, you can even chill them in the refrigerator for 30 minutes once fully cooled to firm them up before leveling and frosting.
Recipe Video
Coconut Cake FAQs: Your Questions Answered
How should the coconut cake be stored?
To maintain its freshness and delightful texture, store individual cake slices in an airtight container in the refrigerator for up to 5 days. For a whole cake, cover it tightly with plastic wrap to prevent it from drying out and keep it refrigerated. For optimal enjoyment, I recommend allowing the cake to come to room temperature for at least 30 minutes before serving. This softens the frosting and enhances the cake’s flavor and moisture.
Can I enhance the coconut flavor even further?
Absolutely! If you desire a more intense coconut experience, there are a couple of fantastic options. Firstly, you can substitute the almond extract in the Chantilly frosting with an equal amount of coconut extract. This will infuse the creamy frosting with an additional layer of tropical taste. Secondly, for a deeper, nuttier coconut flavor, lightly toast the coconut flakes used for decorating the outside of the cake. This simple step brings out their inherent sweetness and adds a wonderful aroma.
Favorite Tools & Supplies
What kind of coconut should I use for this recipe?
I personally prefer using large, unsweetened coconut flakes for decorating the exterior of the cake, as they provide a beautiful “shaggy” texture and visual appeal. However, standard shredded coconut will also work perfectly fine. A key consideration is whether to use sweetened or unsweetened coconut. If you opt for sweetened coconut shreds, please be mindful that this will add a significant amount of additional sweetness to your cake, which might alter the desired flavor balance. For a truly authentic and less cloyingly sweet result, unsweetened is generally recommended.
Can I adjust this recipe to make an 8-inch or 9-inch cake?
Yes, this recipe is designed to yield three 6-inch round cake layers. However, you can certainly adapt it to produce two 8-inch or 9-inch layers instead. When scaling up pan size, the main adjustment you’ll need to make is to the baking time. Larger diameter cakes will generally require a longer baking period to cook through evenly. Start checking for doneness after the original baking time has passed, and then continue baking in 5-10 minute increments until a toothpick inserted into the center comes out clean. Keep a close eye on them to prevent overbaking.
What’s the best method to ensure coconut flakes stick to the sides of the cake?
Getting coconut flakes to adhere beautifully to the sides of a frosted cake is simpler than it seems. The best approach is to gently press handfuls of coconut flakes directly onto the sides of the freshly frosted cake. The stickiness of the Chantilly frosting will act as a perfect adhesive. For a cleaner process, place the cake on a cake stand or turntable positioned in the center of a baking sheet. This setup will catch any excess coconut that falls, allowing you to easily scoop it back up and reuse it. This method works most effectively immediately after applying the final layer of frosting, while it is still soft and pliable.

Baking Tip: Weigh Your Ingredients for Consistent Results!
For the most precise and consistent baking results, I cannot stress enough the importance of using a kitchen scale to weigh your ingredients, rather than relying on volumetric measuring cups. Weighing ensures accuracy every single time, leading to more predictable outcomes and a significantly higher success rate with your recipes. As an added bonus, it often means fewer dishes to wash, simplifying your cleanup! I always provide gram measurements in my recipes, and this is the reliable kitchen scale I personally love and use.
More Delicious Spring Sweets You’ll Love to Bake
If you’re looking for more delightful treats to celebrate the spring season or add to your dessert repertoire, these recipes are sure to impress:
- Berry Chantilly Cupcakes: Light, fluffy cupcakes topped with a vibrant berry Chantilly frosting.
- Carrot Snack Cake with Brown Butter Cream Cheese Frosting: A perfectly spiced and moist cake with a rich, nutty frosting.
- Lemon Mascarpone Tart: A bright and tangy tart with a creamy, luxurious filling.
- Mini Oreo Cheesecakes: Individual cheesecakes featuring a classic cookie crust and creamy filling.
- Lemon Brulee Bars: Zesty lemon bars with a delightful caramelized sugar topping.
I hope you thoroughly enjoy creating and sharing this wonderful Coconut Layer Cake. If you try this recipe and love it as much as I do, please take a moment to leave a comment below and share your experience. Happy baking!
Coconut Layer Cake
Print Recipe
RATE THIS RECIPE
Ingredients
For the Vanilla Cake
- ¾ cup (12 Tablespoons or 170g) unsalted butter, at room temperature
- 1¼ cup (250g) granulated sugar
- 1 large egg + 1 large egg white, at room temperature
- 2 teaspoons coconut extract
- 1 teaspoon vanilla extract
- 2¼ cups (280g) cake flour
- 1½ teaspoons baking powder
- ½ teaspoon baking soda
- ½ teaspoon salt
- ½ cup (120g) sour cream, at room temperature
- 1 cup (8.5oz or 240g) unsweetened coconut milk*
For the Chantilly Frosting
- 8 oz (226g) cream cheese
- 8 oz (226g) mascarpone cheese
- 1 teaspoon almond extract
- ½ teaspoon vanilla extract
- 2 cups (480mL) heavy cream
- 1 ½ cups (180g) powdered sugar, sifted
For Decorating
- Unsweetened coconut flakes
SHOP INGREDIENTS
Instructions
- Coconut Cake: Preheat oven to 350°F (175°C). Lightly grease three 6-inch round cake pans with non-stick cooking spray and line the bottoms with parchment paper circles.
- In the bowl of a stand mixer fitted with a paddle attachment, cream the softened butter and granulated sugar together until the mixture is light in color and fluffy, typically taking about 3 minutes. Stop the mixer and scrape down the sides of the bowl thoroughly with a rubber spatula.
- Gradually add the large egg, egg white, coconut extract, and vanilla extract, ensuring each addition is well combined before adding the next. Scrape down the bowl again, then mix briefly until all ingredients are fully incorporated.
- In a separate bowl, sift together the cake flour, baking powder, baking soda, and salt to remove any lumps and ensure even distribution. Add approximately half of this dry flour mixture to the wet ingredients in the stand mixer, along with the room temperature sour cream. With the mixer on low speed, slowly stream in about half of the unsweetened coconut milk. Mix just until the ingredients are barely combined, then stop to scrape down the bowl. Incorporate the remaining flour mixture and slowly stream in the remaining coconut milk on low speed until combined. Finish by scraping the bowl once more and giving the batter a few final gentle folds with a spatula to ensure everything is perfectly incorporated without overmixing.
- Divide the cake batter evenly among the three prepared cake pans. For perfectly uniform layers, use a kitchen scale to weigh the batter into each pan. Bake for 30-32 minutes, or until the center of the cakes springs back when gently touched, and a wooden skewer or toothpick inserted into the center comes out clean. Once baked, remove the pans from the oven and allow the cakes to cool in their pans on a wire rack for about 15 minutes before carefully inverting them onto the wire rack to cool completely.
- Chantilly Frosting: In the bowl of a stand mixer fitted with a whisk attachment, combine the softened cream cheese and mascarpone cheese. Mix on medium-low speed just until combined and smooth, ensuring there are no lumps. Scrape the bowl well with a rubber spatula. Add the almond extract, vanilla extract, and sifted powdered sugar. Mix again on low speed until just combined, then scrape the bowl once more.
- With the mixer running at medium speed, slowly stream in the cold heavy cream. Continue mixing until the frosting begins to visibly thicken. Stop the mixer and scrape the bottom and sides of the bowl thoroughly to ensure everything is uniformly incorporated. Increase the mixer speed to high and whip the mixture until it thickens significantly, forms stiff peaks, and is completely smooth with no remaining lumps. Be very careful not to overmix, as this can cause the frosting to become grainy or curdle.
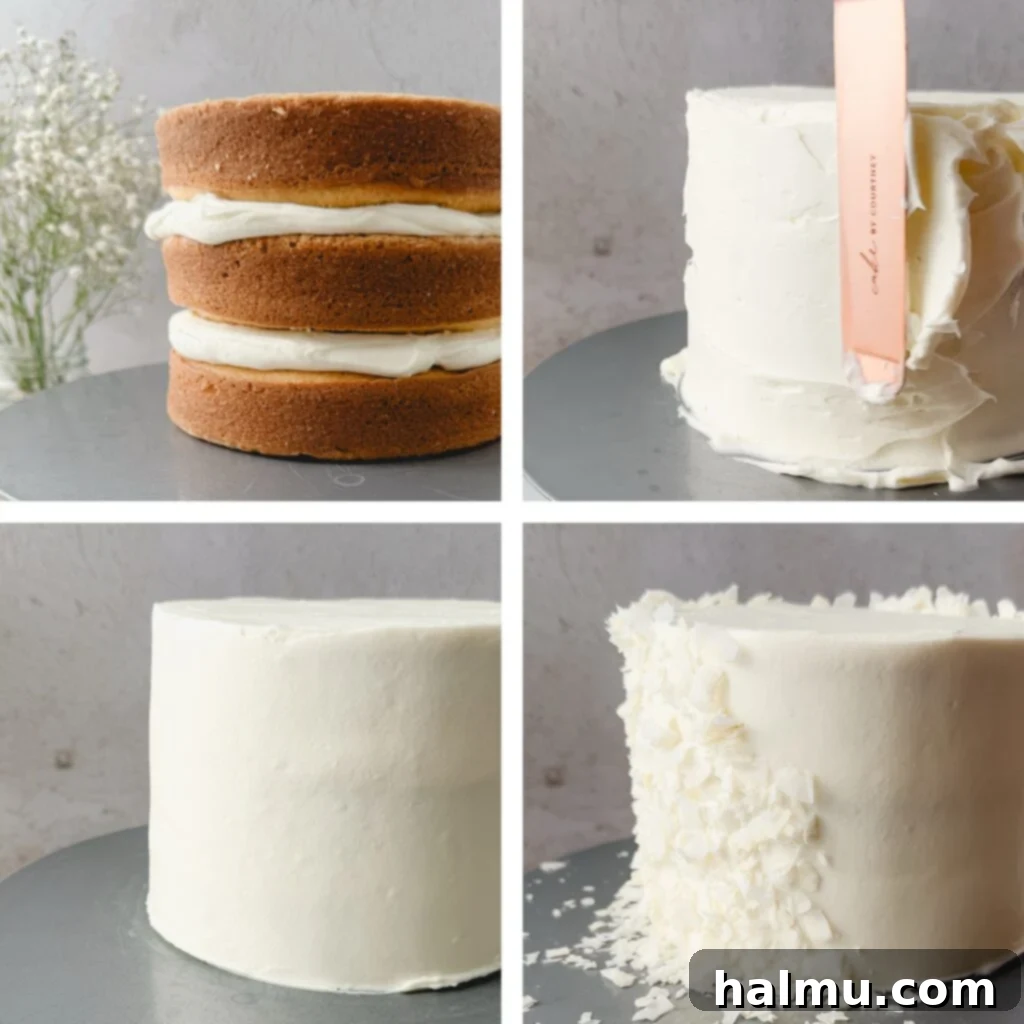
- Assemble and Decorate: Once the cake layers are completely cooled to room temperature, use a large serrated knife to carefully slice off any domed tops from each cake layer. This will create perfectly flat surfaces, ensuring a stable and even stacked cake.
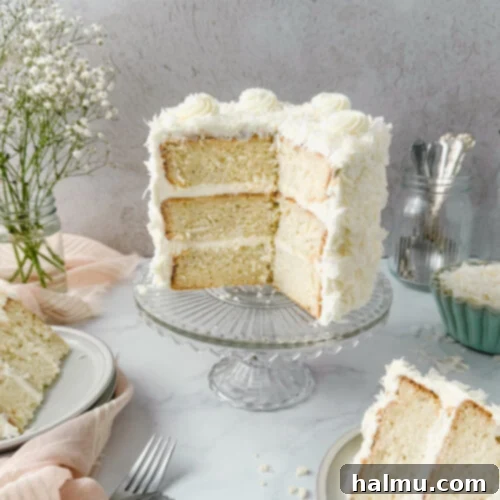
- Place the first leveled cake layer onto your chosen cake board or serving stand, with the cut side facing up. Spread about ½ cup of the prepared Chantilly frosting evenly across the top, extending it right to the edges. Gently place the second cake layer on top, cut side down, and lightly press to secure. Repeat this frosting and layering process for the final cake layer, ensuring the last layer is also placed cut side down.
- Apply a thin crumb coat of Chantilly frosting over the entire cake (top and sides) using an offset metal spatula. This first thin layer traps any loose crumbs. Chill the cake for 15-20 minutes to set the crumb coat. Then, apply a generous, even final layer of Chantilly frosting over the top and sides of the cake. For a smooth finish, use an offset metal spatula and a straight-sided icing comb. Once frosted, gently press unsweetened coconut flakes onto the sides of the cake, working your way around and up to the top edge. Fit a piping bag with your preferred star or French piping tip and fill it with any leftover Chantilly frosting. Pipe decorative rosettes or swirls on the top of the cake, then generously sprinkle more coconut flakes over the piped frosting. Slice, serve, and enjoy your beautiful and delicious coconut layer cake!
Video
Notes

HI THERE!
I’m Rachel
I’m the dessert lover, recipe developer, and content creator behind Sweet Kitchen Cravings. Here you’ll find classic yet special recipes that are sure to impress your loved ones!
MORE ABOUT RACHEL
