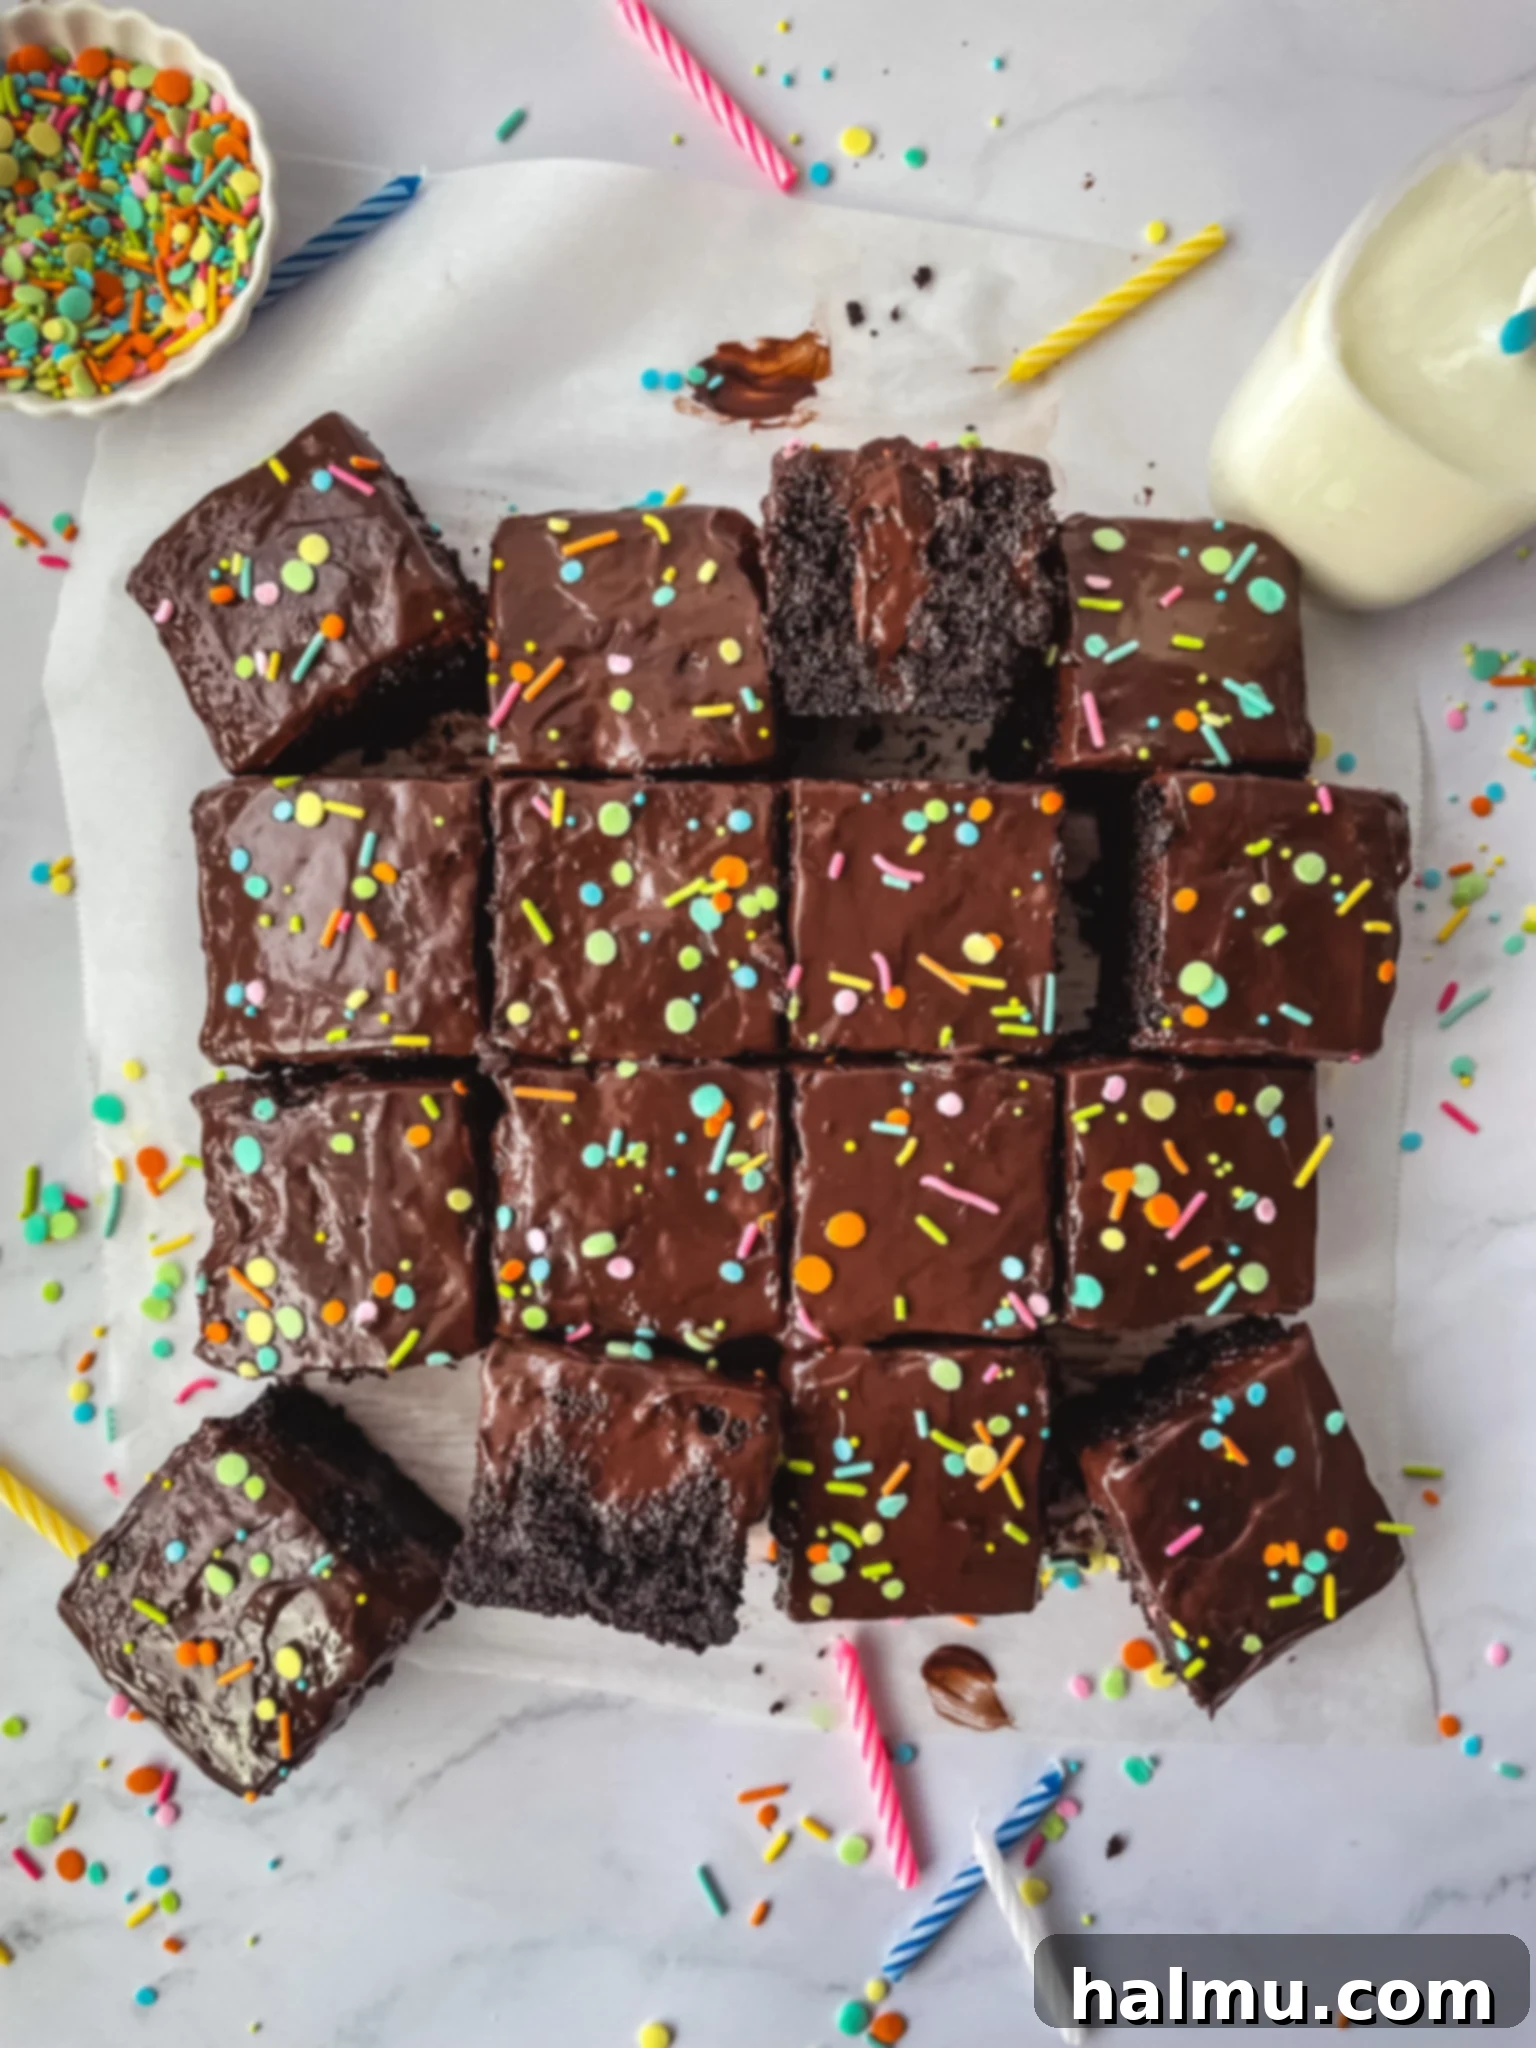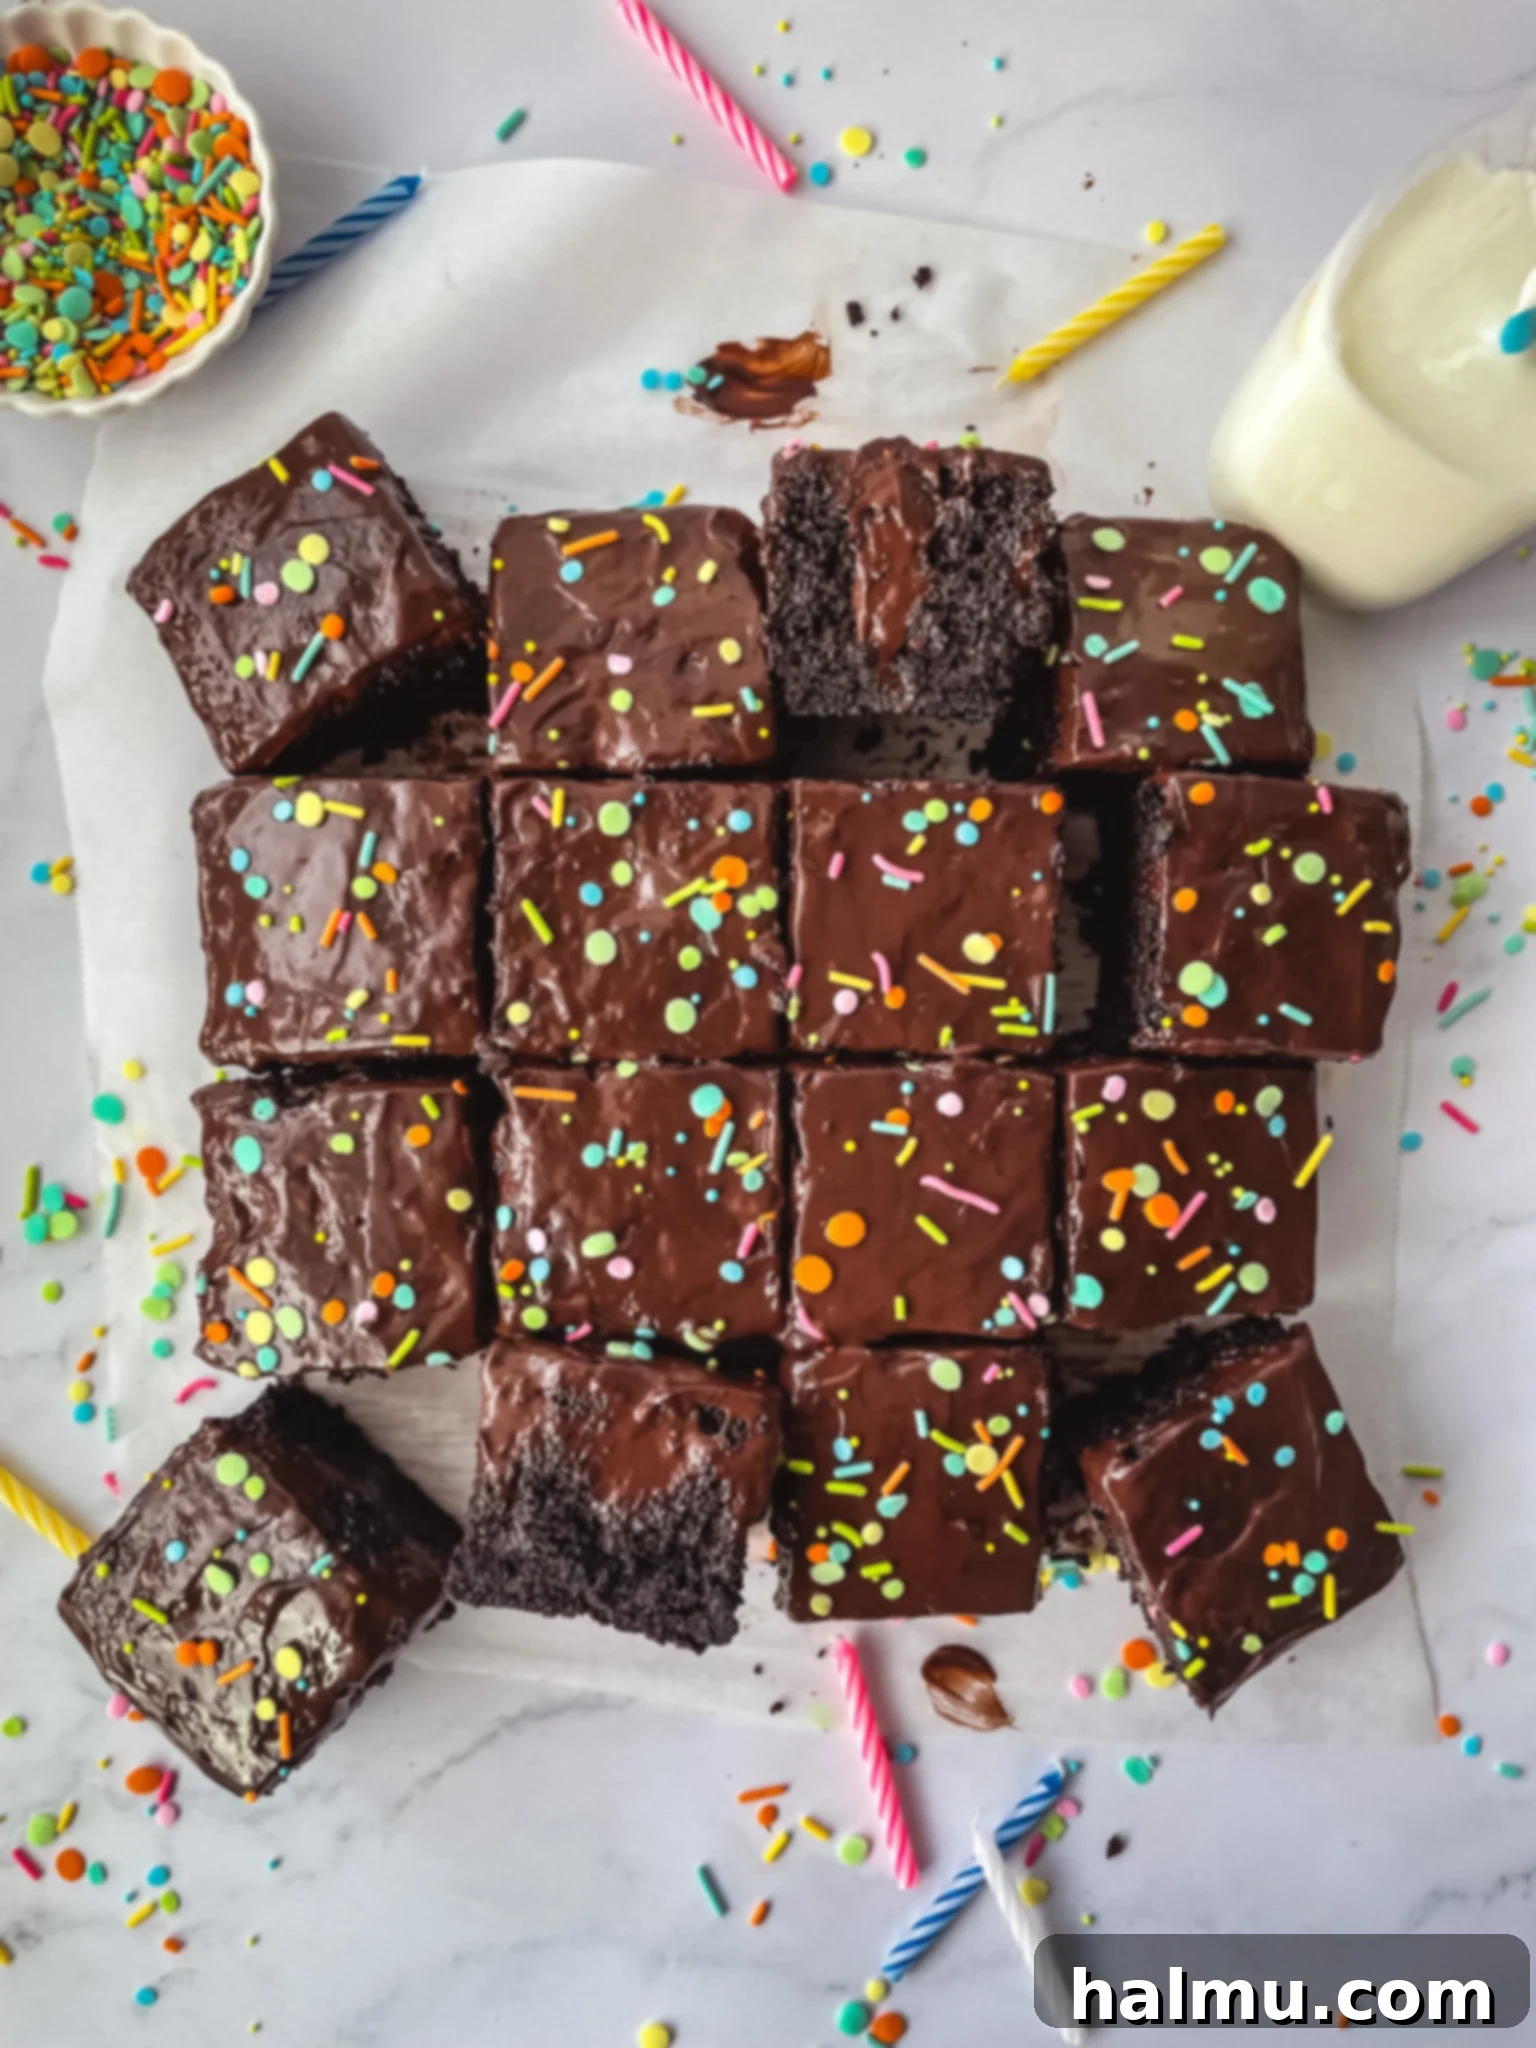
Decadent Homemade Chocolate Pudding Poke Cake: A Recipe Straight from the Heart
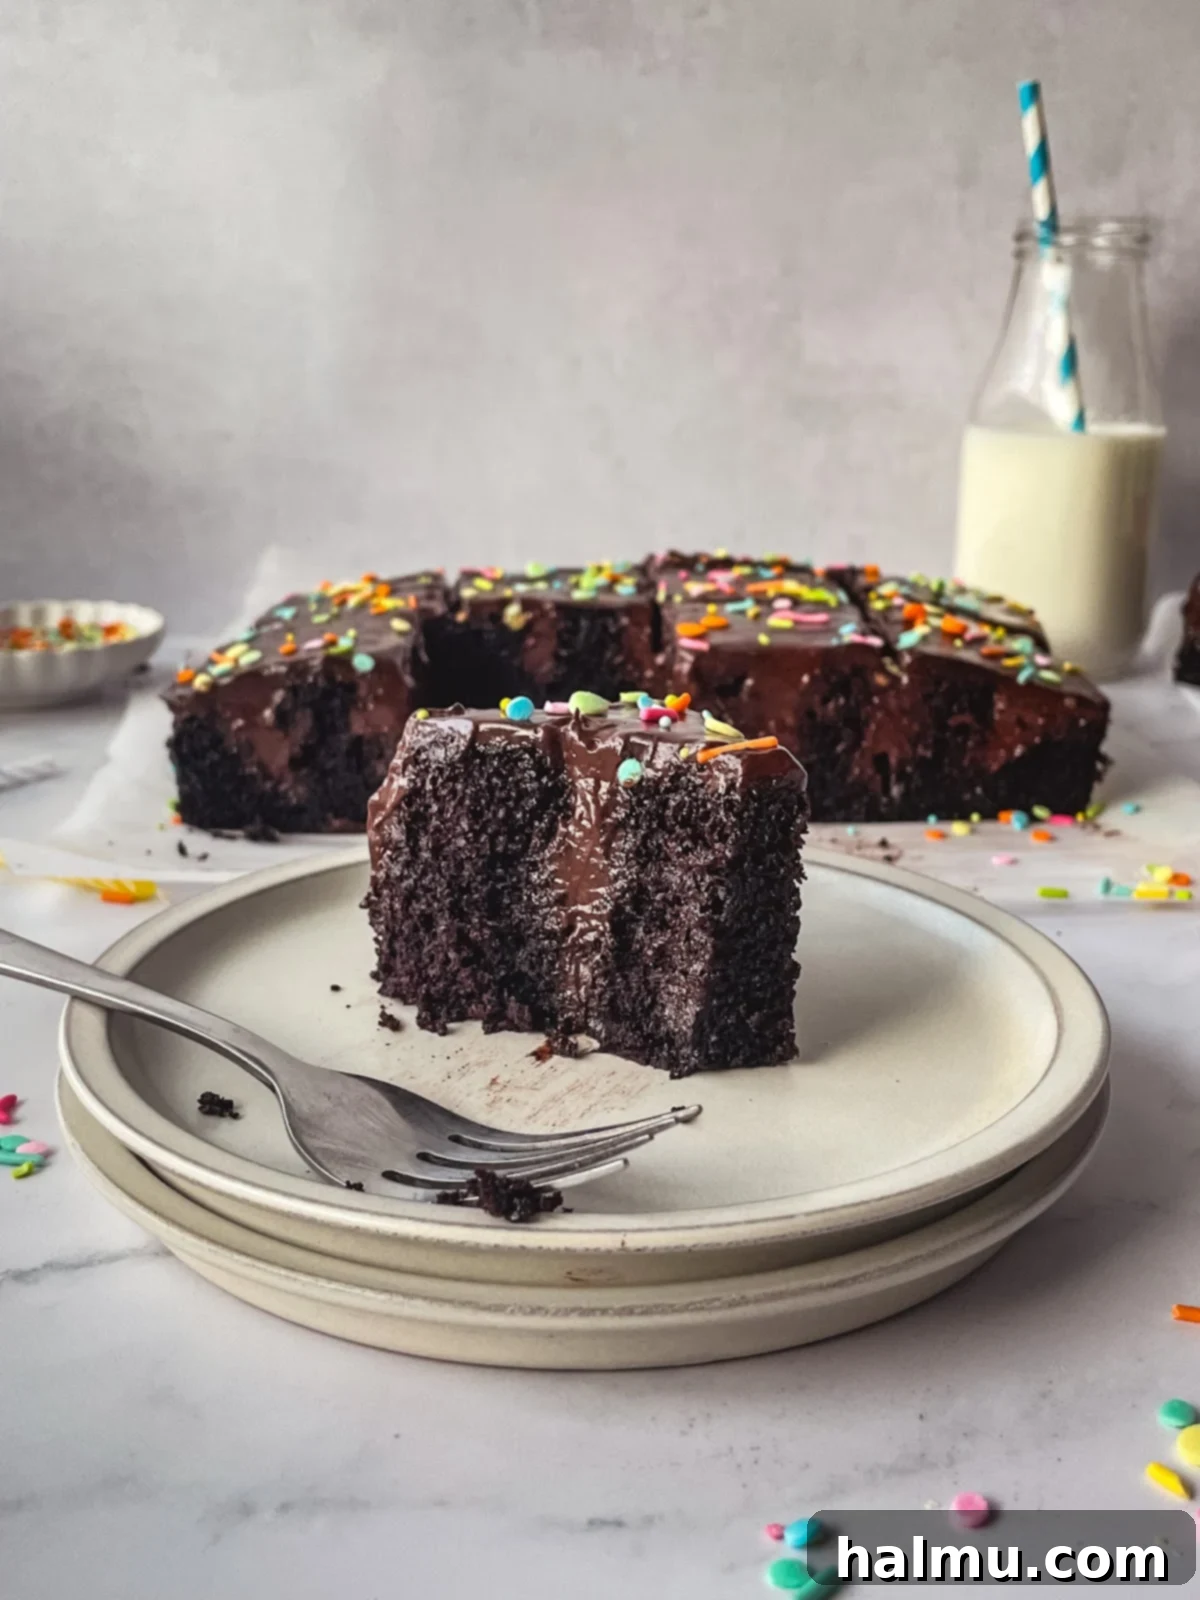
There are some desserts that aren’t just food; they’re an experience, a memory, a warm hug from childhood. For me, that’s always been my mom’s chocolate pudding poke cake. Every year for my birthday, she’d craft this simple yet utterly delightful cake using a boxed chocolate cake mix and instant chocolate pudding. The magic happened as soon as the warm cake emerged from the oven: a simple wooden spoon would create little craters, ready to be drenched in velvety pudding. The pudding would seep into every crack, creating pockets of creamy goodness, while also forming a smooth, glossy topping that was almost like a built-in frosting. This past week, as my birthday rolled around again, I felt an undeniable pull to recreate this cherished classic, but with a refined, scratch-made approach. After numerous attempts and meticulous adjustments, I’m thrilled to share my version: a moist, rich, and truly decadent homemade chocolate pudding poke cake that captures all the nostalgia of my mom’s original, elevated to a gourmet level.
Crafting the Perfect Homemade Chocolate Pudding
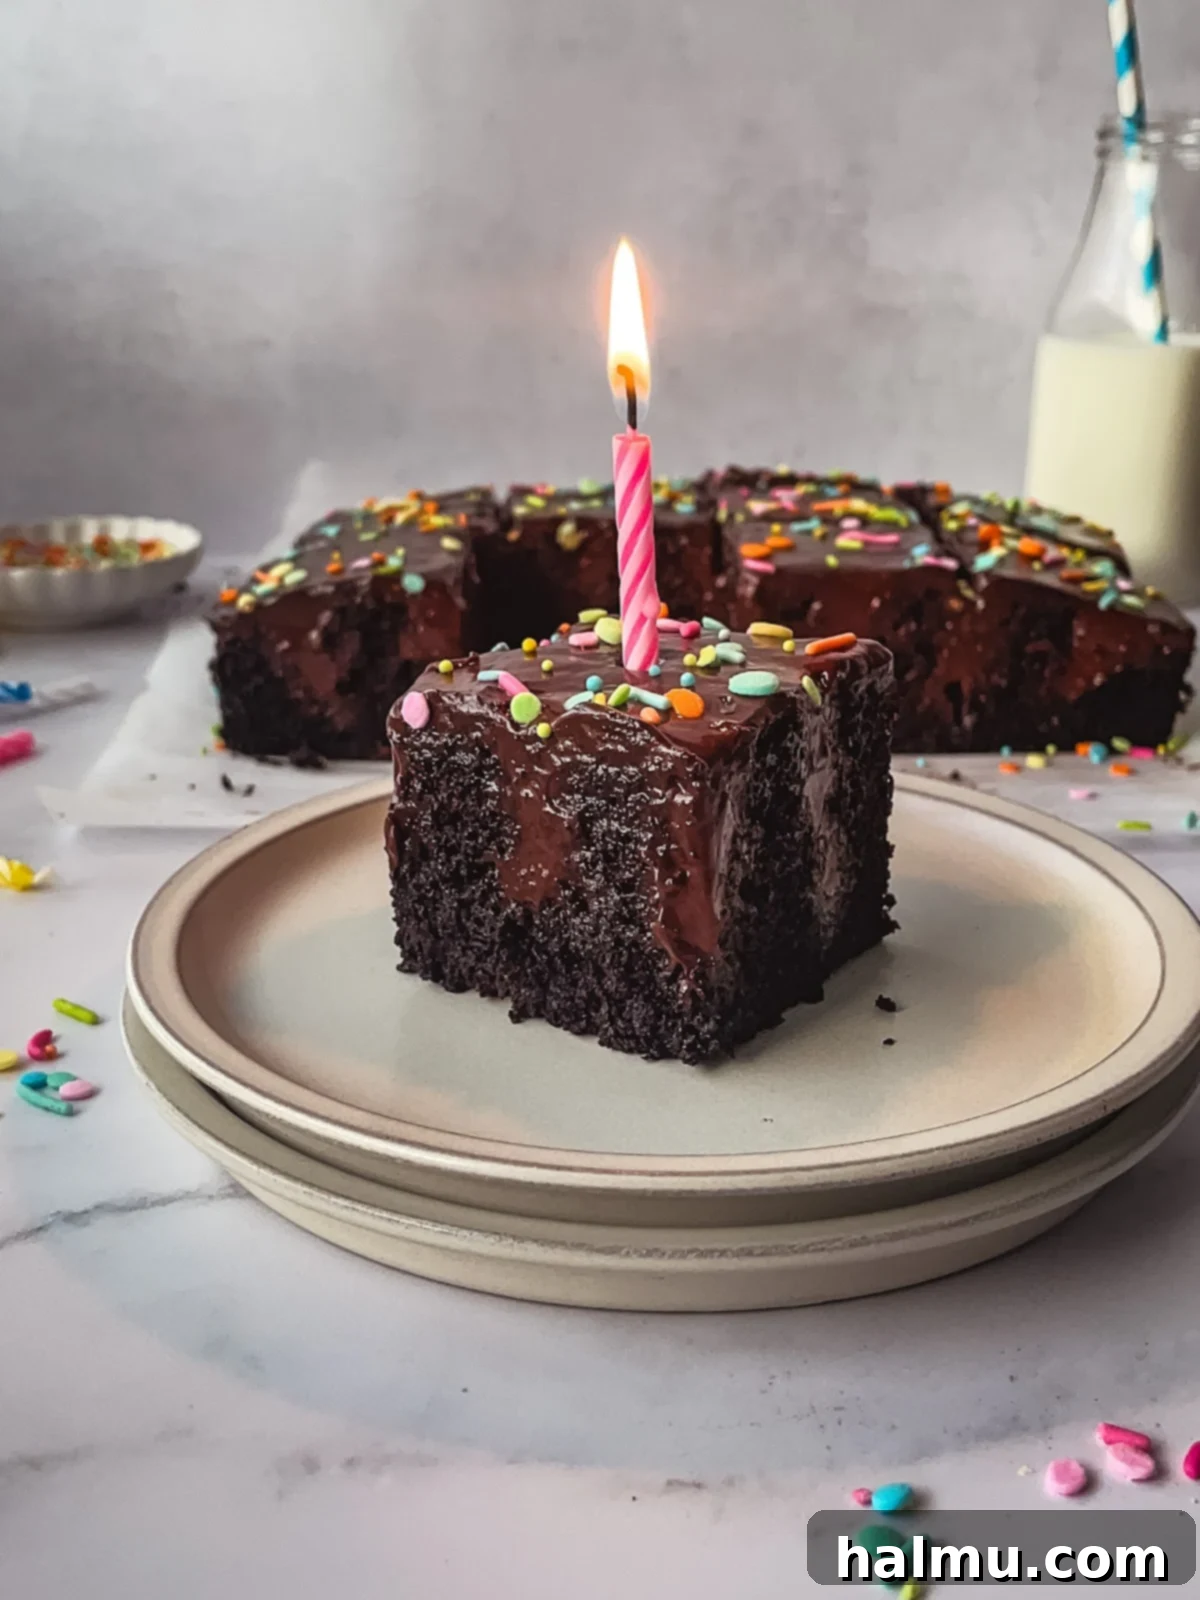
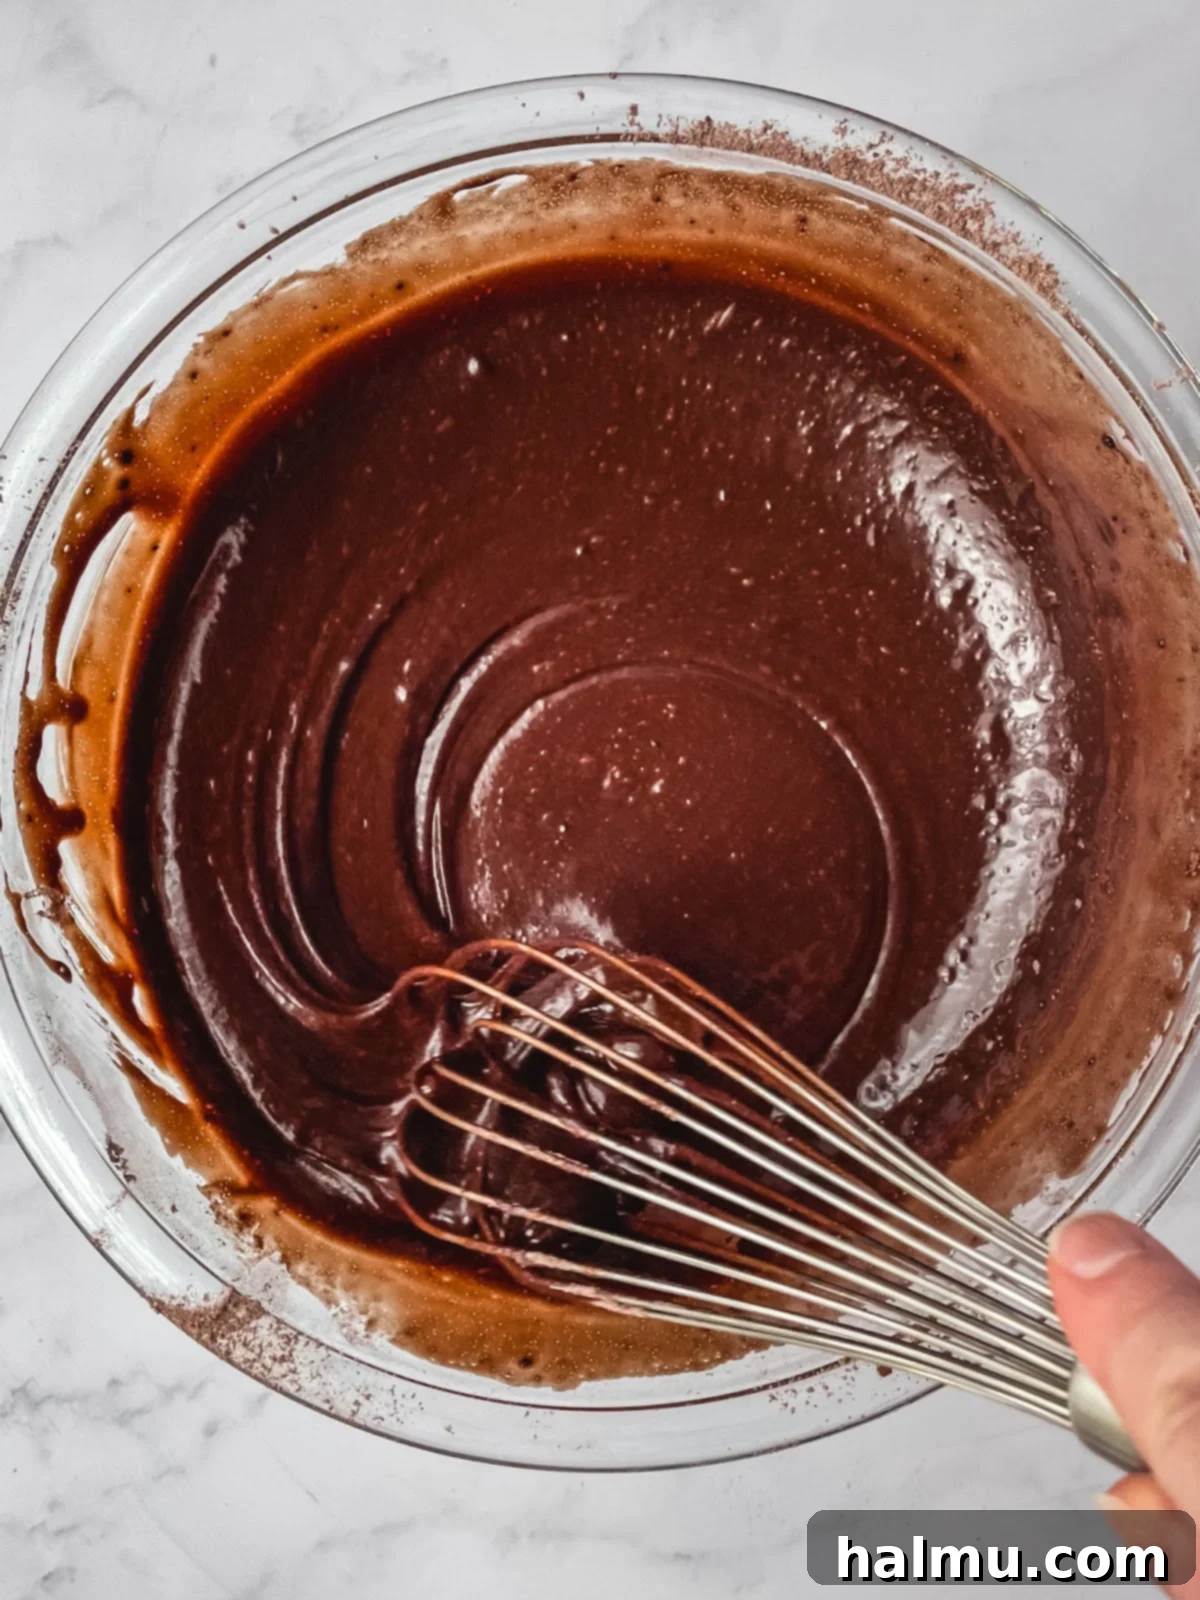
The heart of any chocolate pudding poke cake lies in its pudding, and for a scratch-made version, this component needed to be absolutely perfect. My goal was a pudding similar to a luxurious chocolate pastry cream, yet slightly less viscous, ensuring it could effortlessly pour over the cake and penetrate those crucial holes, while still firming up beautifully. The key to achieving this ideal consistency, without relying on eggs or egg yolks as in traditional pastry cream, was cornstarch. Just a small amount creates a stable, creamy texture. Combining milk, cocoa powder, sugar, and a touch of instant espresso powder (for an enhanced chocolate flavor that isn’t overtly coffee-like), these simple ingredients are gently warmed on the stovetop. This process demands a little patience, as the mixture gradually thickens over 15-20 minutes. Don’t rush it! Stir continuously over low heat until it begins to bubble gently and coats the back of a spoon. The wait is undeniably worth it for the silken, rich chocolate pudding that emerges.
Designing the Ultimate Moist Chocolate Cake Base
To truly mimic the irresistible moistness often found in a good box cake – the kind that stays tender for days – my homemade chocolate cake needed a special touch. My initial experiments began with a butter-based recipe, which yielded a delicious cake, but I noticed it tended to dry out and become a bit too firm after being refrigerated, a common trait for butter cakes. To counteract this, I made a crucial swap: replacing butter with oil. This simple change transformed the cake, resulting in an exceptionally moist crumb that remained tender and fresh, even after an overnight chill in the refrigerator. Beyond moisture, using oil also simplified the baking process. It allowed me to adopt the “muffin mixing method,” where dry ingredients are thoroughly combined first, followed by the wet ingredients. This creates a remarkably easy, one-bowl chocolate cake batter, eliminating the need for a stand mixer or a lengthy creaming process. It’s a fuss-free approach that guarantees a wonderfully soft and flavorful cake every single time.
Why You’ll Fall in Love with This Chocolate Pudding Cake
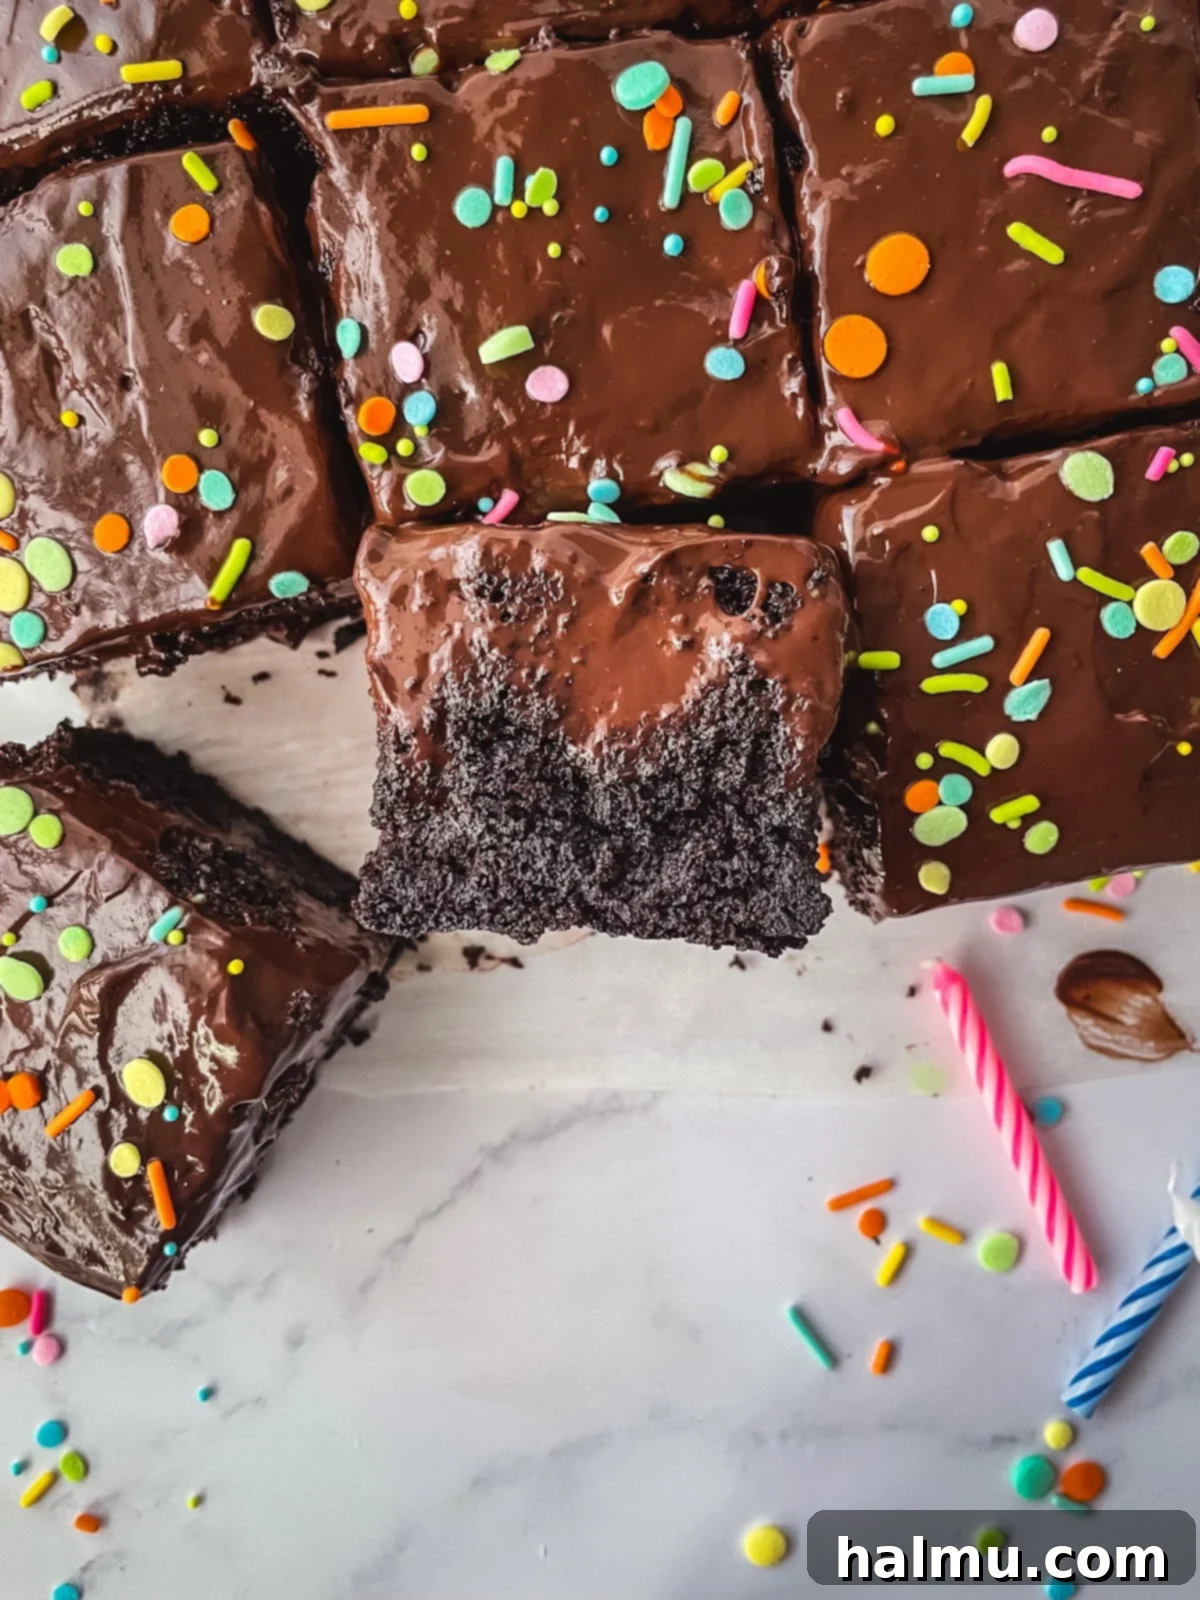
This homemade chocolate pudding poke cake is more than just a dessert; it’s an indulgence that promises to become a cherished recipe in your baking repertoire. You’ll absolutely adore its rich, fudgy, and intensely chocolatey flavor profile, a true delight for any cocoa enthusiast. The beauty of this recipe also lies in its simplicity. The cake base comes together effortlessly in just one bowl, streamlining your baking process and minimizing cleanup. What truly sets this cake apart is the easy-to-make homemade chocolate pudding. It performs double duty, serving as both the luxurious filling that seeps into every pore of the cake and the velvety frosting that blankets the top. Forget the struggle of frosting cake sides or wrestling a delicate cake out of its pan; this poke cake is designed to be served directly from its baking dish, making it perfect for gatherings or a simple weeknight treat. It’s the ultimate combination of convenience and decadence.
A Step-by-Step Guide: How to Make This Irresistible Chocolate Pudding Cake
Creating this glorious chocolate pudding poke cake is a straightforward and rewarding process. Follow these detailed steps to achieve a perfectly moist, fudgy, and deeply chocolatey dessert that will impress everyone.
- Prepare Your Pan and Oven: Begin by preheating your oven to 350°F (175°C). Generously grease the bottom and sides of a 9” x 9” square cake pan with cooking spray or butter. This ensures easy serving later.
- Whip Up the One-Bowl Chocolate Cake: This cake is incredibly simple, requiring minimal fuss. In a large mixing bowl, combine all the dry ingredients: sifted cake flour, granulated sugar, cocoa powder, baking soda, baking powder, and salt. Whisk them thoroughly until well combined, ensuring no lumps. Next, add the wet ingredients: large eggs (at room temperature for better emulsion), vanilla extract, vegetable or canola oil, and water. Whisk everything together until the batter is smooth and uniform, which usually takes about one minute. The oil is key here, contributing to the cake’s exceptional moisture and tender crumb.
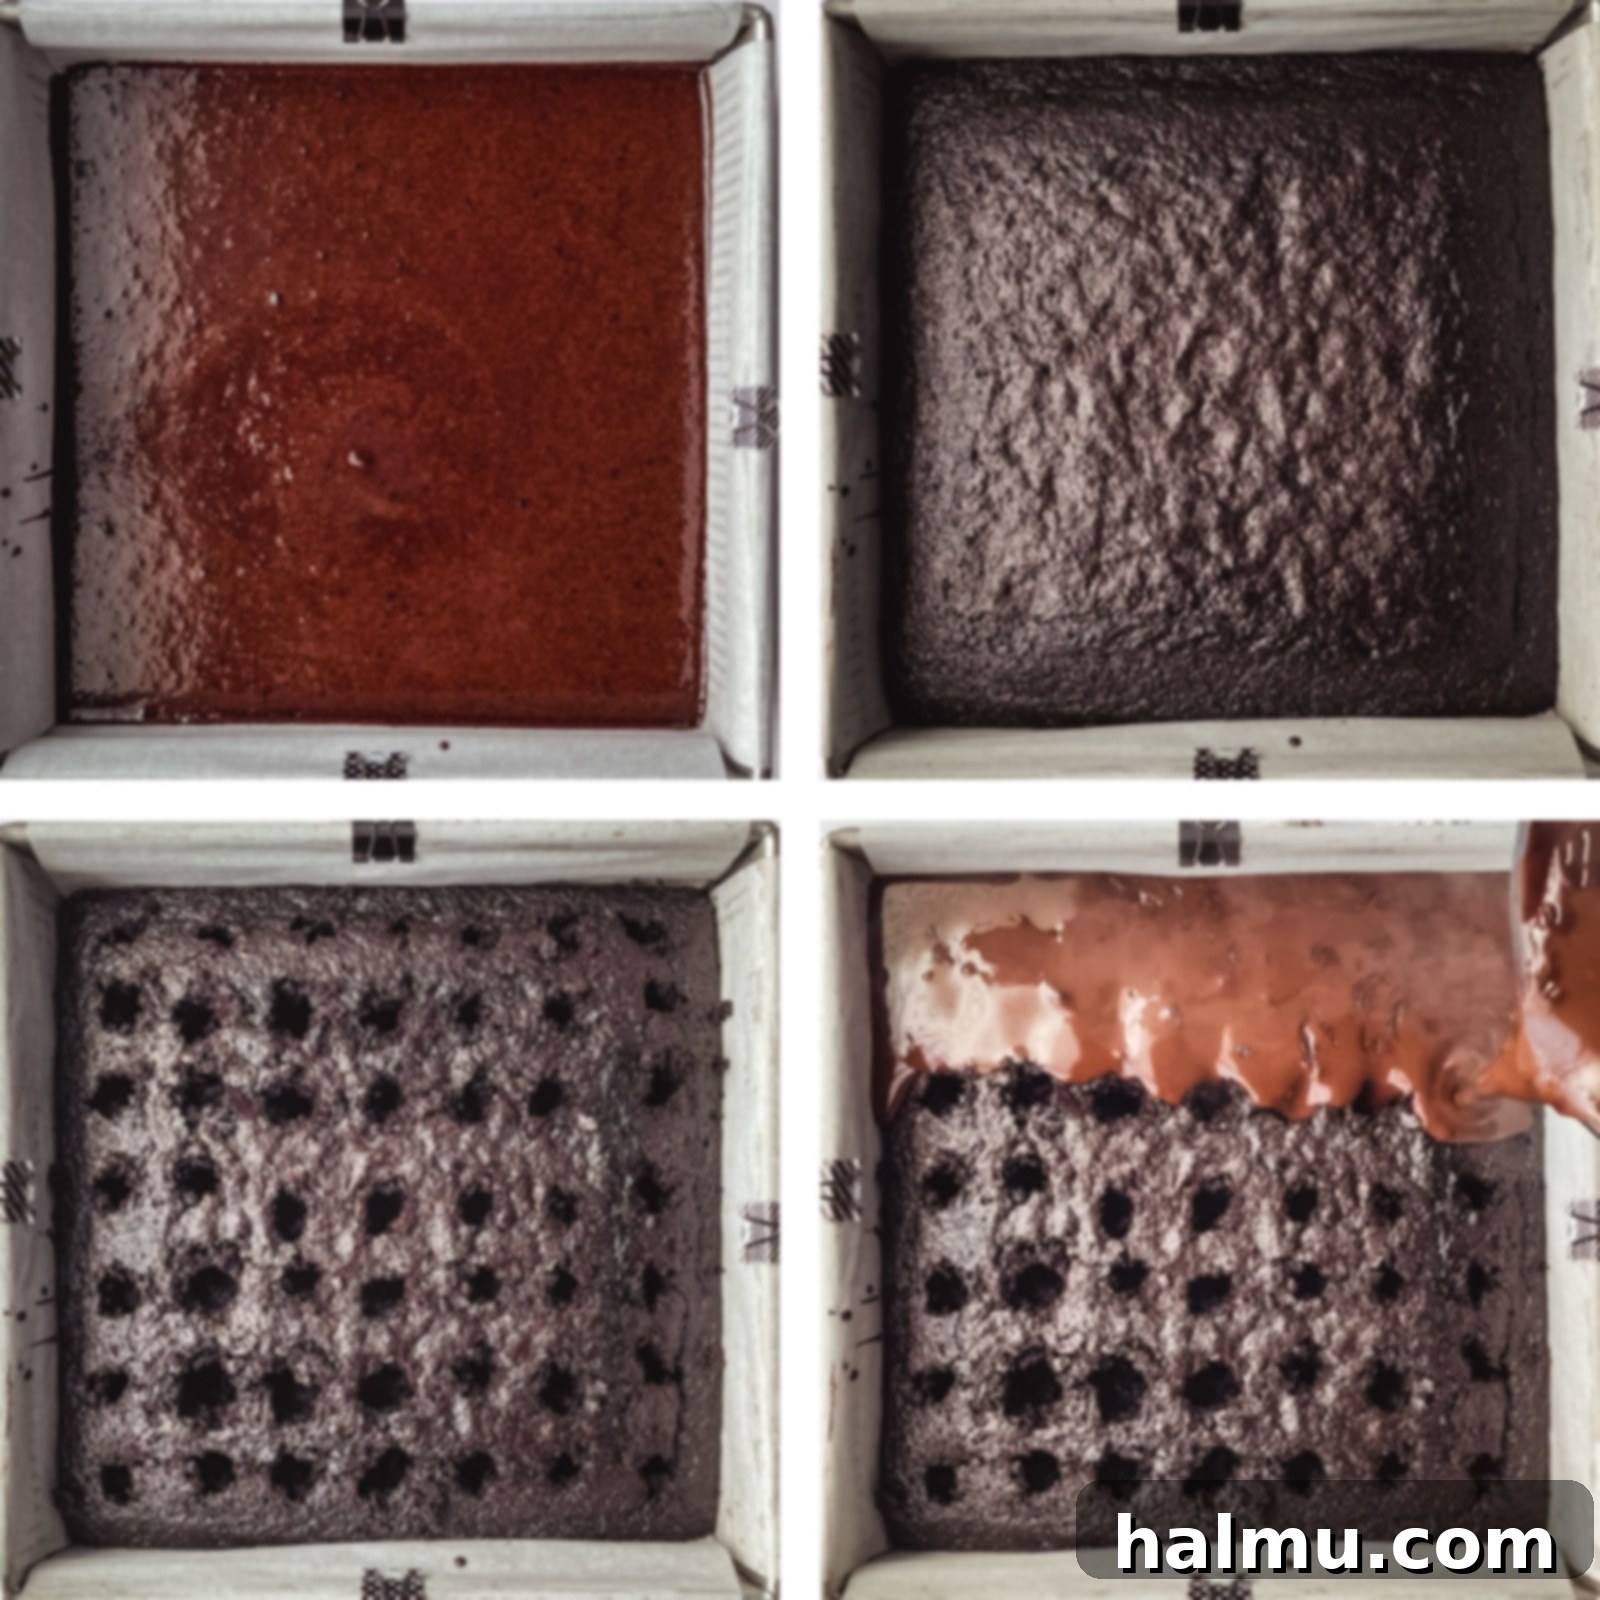
- Bake and Poke: Pour the luscious cake batter into your prepared 9” x 9” square cake pan. Bake for approximately 28-30 minutes, or until a wooden skewer inserted into the center comes out with only a few moist crumbs, and the top springs back gently when lightly touched. As soon as the cake is out of the oven, while it’s still piping hot, immediately poke holes across its entire surface. I find the blunt end of a wooden spoon or a large wooden dowel works perfectly. Aim for holes about ½” in diameter. For a 9” x 9” cake, I recommend creating even rows, perhaps 7 rows with 7 holes in each, to ensure every slice gets plenty of pudding saturation. Set the poked cake aside.
- Craft the Creamy Chocolate Pudding: Once the cake is baked and the holes are poked, it’s time to make the pudding. In a medium saucepan, combine the granulated sugar, cocoa powder, cornstarch, and, if using, instant espresso powder. The espresso powder doesn’t make the pudding taste like coffee, but it significantly deepens and enhances the chocolate flavor. Slowly stream in the whole milk while continuously whisking to prevent lumps from forming. Cook this mixture on the stove over low to medium-low heat, stirring constantly with a rubber spatula. This step requires patience; it can take 15-20 minutes for the pudding to thicken. You’ll know it’s ready when it starts to gently bubble, visibly thickens, and coats the back of your spatula. Remove from heat and stir in the vanilla extract.
- Fill and Frost with Pudding: As soon as the pudding is ready and still hot, immediately pour it evenly over the warm, poked cake. The heat helps the pudding seep into the holes more effectively. Ensure each hole is filled, then use the remaining pudding to completely cover the entire top surface of the cake, spreading it out like a frosting. Work relatively quickly, as the pudding will begin to set as it cools. An offset spatula or the back of a spoon can help you achieve a smooth, even layer. To prevent a “skin” from forming on the pudding’s surface, gently press a piece of plastic wrap directly onto the pudding, ensuring it touches the entire surface.
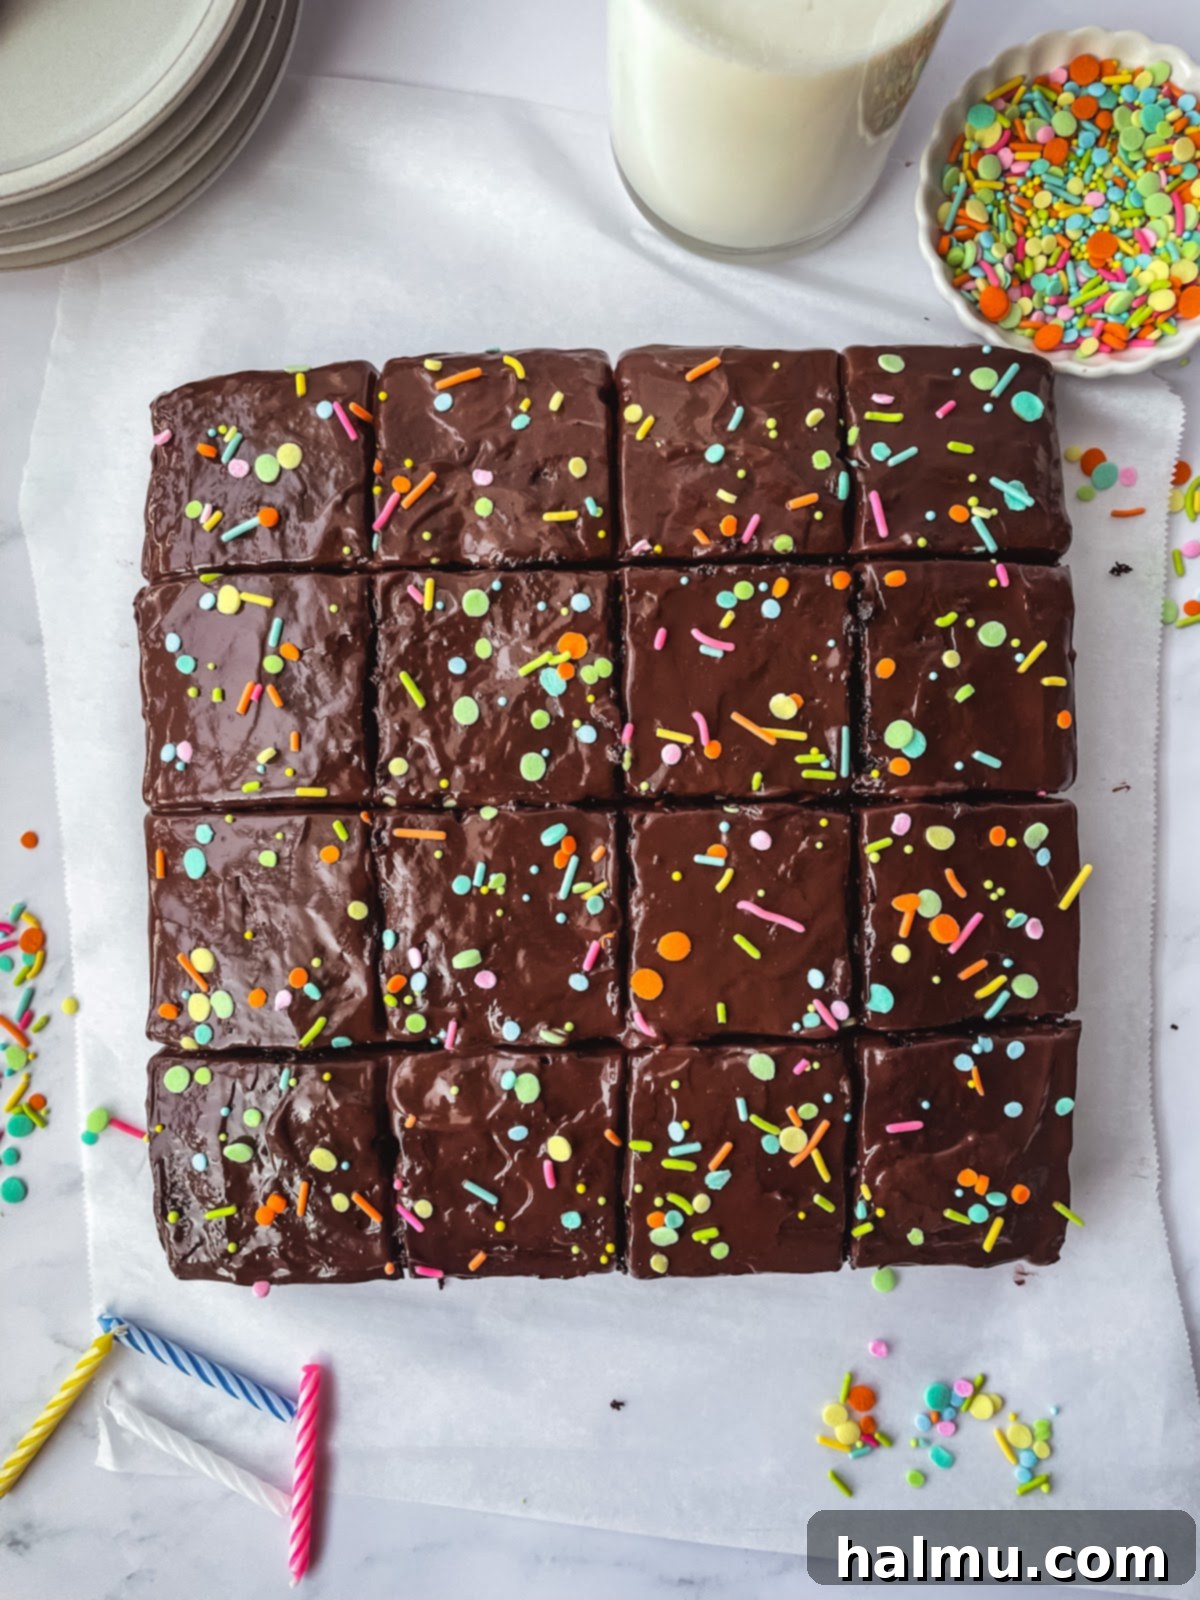
- Chill for Perfection: Allow the cake to cool at room temperature for at least 30 minutes, or until it’s no longer warm to the touch. Then, transfer it to the refrigerator and chill for a minimum of 8 hours, or ideally, overnight. This crucial chilling period allows the pudding to fully set and meld with the cake, creating those delightful moist pockets. Once thoroughly chilled, remove the plastic wrap, add sprinkles if desired for a festive touch, then simply cut into generous slices, serve, and savor every rich, chocolatey bite!
Chocolate Pudding Cake FAQs: Your Questions Answered
Can I make the chocolate pudding ahead of time?
While making components ahead of time is often a time-saver, I strongly advise against preparing the chocolate pudding in advance for this specific recipe. The pudding absolutely needs to be hot when it’s poured over the cake. This warmth is essential for it to effectively seep into all the poked holes and to spread smoothly and evenly over the top surface. If the pudding cools and sets even partially, it will become too thick to properly fill the holes and achieve that signature poke cake texture. Freshly made and hot is the key to success here!
Is it possible to serve this cake directly from the cake pan?
Absolutely, and in fact, this chocolate pudding poke cake is specifically designed for that! Serving it right in the pan is not only convenient but also a nod to tradition, much like my mom always did. I recommend ensuring you generously grease the bottom and sides of your pan before baking. This simple step will help the individual slices release cleanly and easily when you’re serving. If, however, you prefer the presentation of removing the entire cake from the pan once the pudding has set, you can lightly grease the pan and then line the bottom and sides with a parchment paper “sling,” leaving an overhang on all four sides. This parchment sling will allow you to carefully lift the chilled, finished cake out of the pan before slicing.
Would this recipe work in a different pan size or shape?
I’ve developed and tested this recipe to perform best in a 9” x 9” square pan, as it yields the ideal cake-to-pudding ratio and overall height. An 8” x 8” square pan would also work if that’s what you have on hand; just be aware that your cake will be slightly taller, and the baking time might need a slight adjustment (potentially a few extra minutes). Using a different shape or a significantly larger pan could alter the baking time and the desired texture, so for best results, stick to a square pan.
What are the best storage practices for this chocolate pudding cake?
Due to the creamy homemade pudding, this chocolate pudding cake must be stored in the refrigerator. To maintain its freshness and prevent it from drying out, keep any remaining slices in an airtight container in the fridge. Properly stored, it will remain deliciously moist and fudgy for up to 5 days. It’s truly a cake that tastes even better the next day as the flavors continue to meld.
More Decadent Recipes for the Ultimate Chocolate Lover
If you’ve got a passion for chocolate, you’re in the right place! Explore these other irresistible chocolate-centric recipes from our kitchen:
- Rich Chocolate Espresso Truffles
- Indulgent Baileys Irish Cream Cheesecake Brownies
- Moist Chocolate Chip Banana Cake with Chocolate Frosting
- Fun Chocolate Sprinkle Cookie Ice Cream Sandwiches
- Irresistible Chocolate Peanut Butter Snack Cake
Homemade Chocolate Pudding Poke Cake
This rich and decadent Homemade Chocolate Pudding Poke Cake is my scratch-made tribute to the beloved cake my mom always made for my birthday. Featuring an incredibly moist, tender chocolate cake base filled with delightful pockets of creamy homemade chocolate pudding, which also doubles as the luscious frosting on top. It’s a nostalgic treat made even better!
Rachel
Pin Recipe |
Print Recipe
25 mins
50 mins
8 hrs
9 hrs 15 mins
16 servings
Ingredients
For the Chocolate Cake
- 1 ½ cups (160g) cake flour, sifted
- 1 ⅓ cups (285g) granulated sugar
- ½ cup (56g) cocoa powder
- 1 teaspoon baking soda
- ½ teaspoon baking powder
- ¼ teaspoon salt
- 2 large eggs, at room temperature
- 1 teaspoon vanilla extract
- ½ cup (110g) canola or vegetable oil
- 1 cup (204g) water
For the Chocolate Pudding
- ⅔ cup (135g) granulated sugar
- ⅓ cup (40g) cocoa powder
- 5 teaspoons (17g) cornstarch
- 1 teaspoon instant espresso powder, optional
- 2 ½ cups (605g) whole milk
- 1 teaspoon vanilla extract
SHOP INGREDIENTS
Instructions
- Preheat oven to 350°F (175°C). Generously grease the bottom and sides of a 9” x 9” square cake pan with cooking spray.
- Chocolate Cake: In a large mixing bowl, combine the flour, sugar, cocoa, baking soda, baking powder, and salt with a whisk until combined. Add the eggs, vanilla, oil, and water and whisk until combined and smooth, about 1 minute.
- Pour the cake batter into the prepared pan. Bake for 28-30 minutes or until the center of the cake springs back to the touch (or a toothpick comes out mostly clean). Immediately poke several holes in the cake with the end of a wooden spoon or a wooden dowel. Set aside.
- Chocolate Pudding: In a medium saucepan, combine the sugar, cocoa, cornstarch, and espresso powder. Slowly stream in the milk while whisking.
- Cook the pudding mixture on the stove over low heat and stir continuously with a rubber spatula until the mixture thickens and starts to boil, about 15-20 minutes. Remove from heat and stir in vanilla extract.
- Immediately pour the hot pudding over the warm cake, allowing the pudding to fill each of the holes you poked in the cake. Spread the remaining pudding all over the top of the cake. Press a piece of plastic wrap directly on the top of the pudding and refrigerate for 8 hours or overnight.
- Once the cake is chilled, add sprinkles (if desired), cut it into slices, serve, and enjoy!
Notes
- Storing: Keep the cake in an airtight container and store it in the fridge for up to 5 days.
- Serving: This cake is easiest to cut and serve right out of the cake pan. If you prefer to remove the whole cake from the pan once the pudding is set, you can line your cake pan with parchment paper. Before baking the cake, lightly grease the pan with cooking spray and line with parchment paper to create a sling, with an overhang on all four sides. Follow the recipe instructions as-is then use the parchment paper to carefully lift out the cake right before slicing and serving.
Did you make this recipe?
Be sure to tag @sweetkitchencravings on Instagram!
If you make this indulgent chocolate pudding poke cake and love it as much as I do, be sure to leave a comment below and share your experience. Happy baking!
