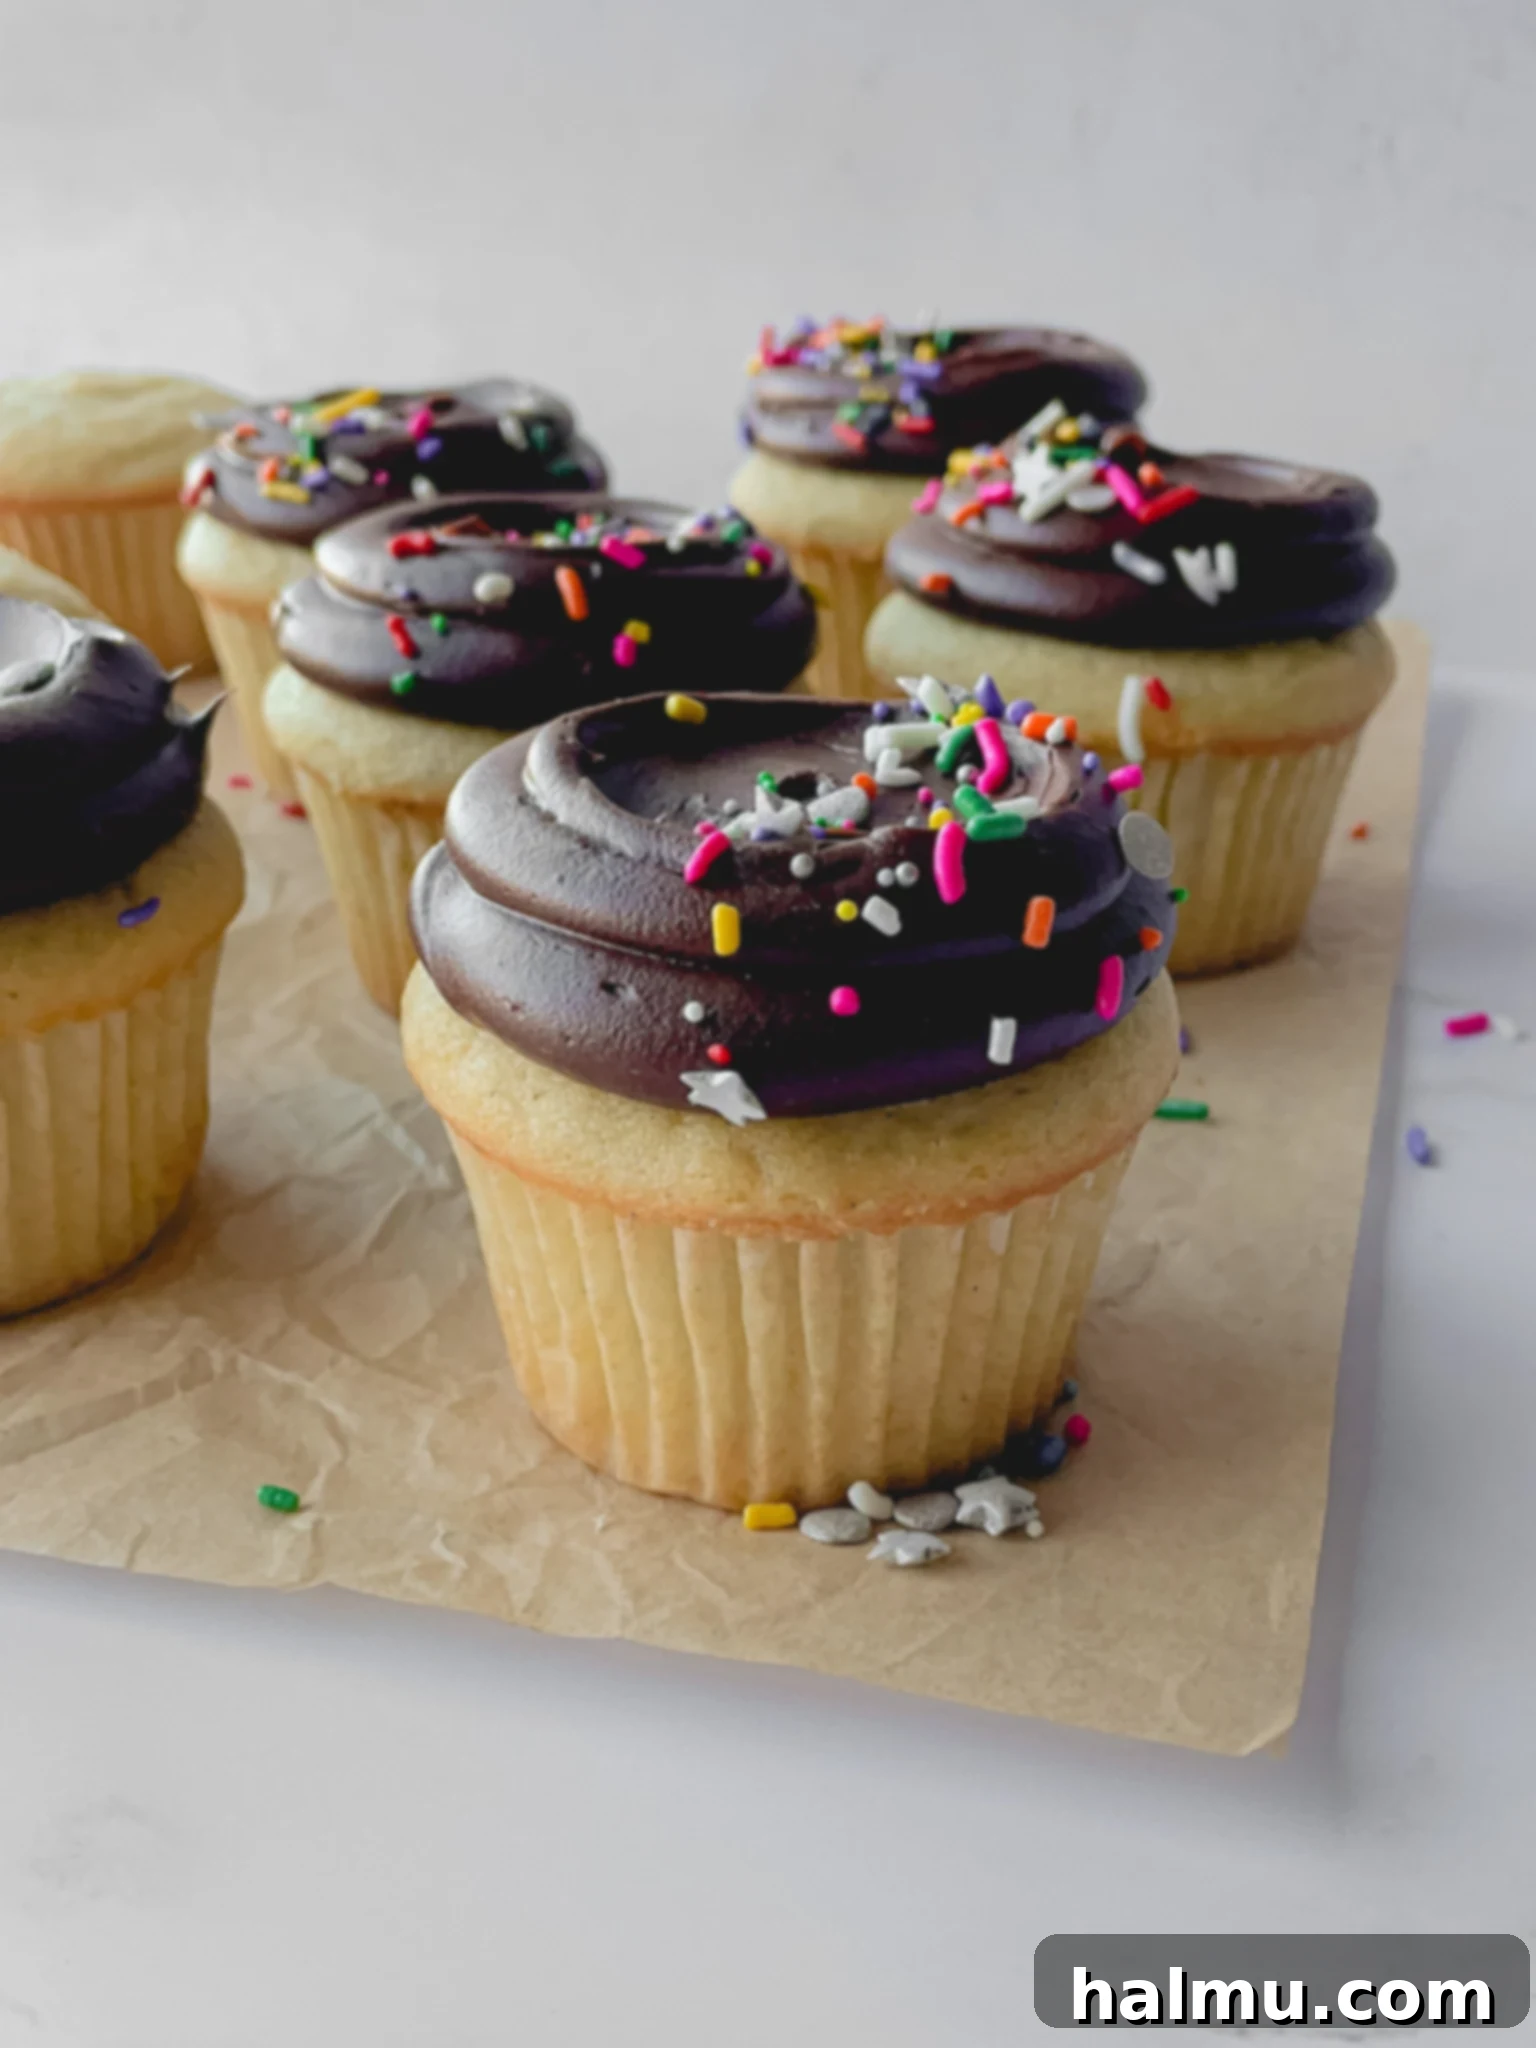
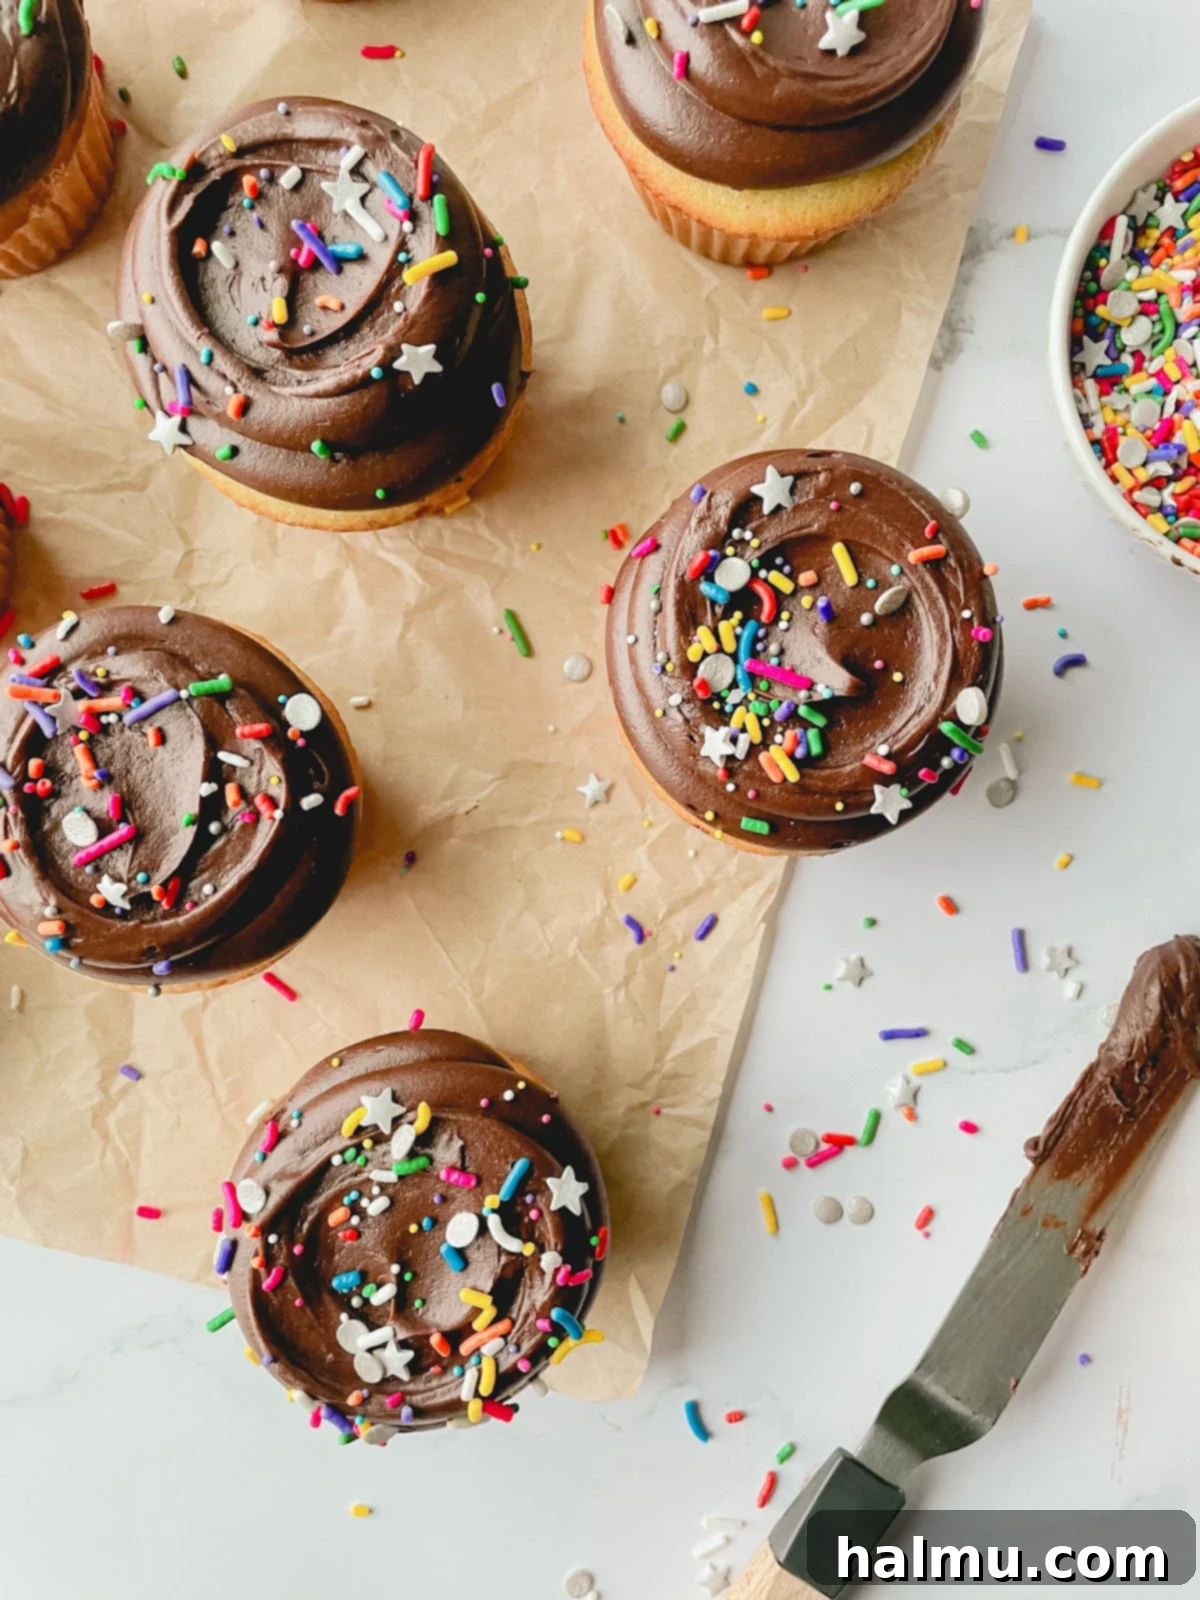
Some culinary combinations are simply timeless, instantly transporting us back to cherished memories and moments of pure comfort. For many, that iconic pairing is a perfectly baked vanilla cupcake topped with a generous swirl of rich chocolate frosting. It’s a simple concept, yet profoundly classic and undeniably nostalgic. This recipe takes that beloved childhood favorite and elevates it to an exquisite, scratch-made dessert. Imagine tender, aromatic vanilla bean cupcakes crowned with a luscious, tangy chocolate cream cheese frosting. The unique blend of the frosting’s richness beautifully complements the delicate vanilla bean notes of the cupcake, while a shower of vibrant rainbow sprinkles adds that playful touch we cherished as kids. You absolutely won’t want to miss out on this refined take on the timeless classic: Vanilla Cupcakes with Chocolate Frosting.
This isn’t just another cupcake recipe; it’s an invitation to create an exceptional culinary experience. We delve deep into crafting truly outstanding vanilla cupcakes from scratch, ensuring every bite is bursting with authentic vanilla flavor and an incredibly moist, fluffy texture. Paired with a chocolate cream cheese frosting that strikes the perfect balance between sweet cocoa and a subtle, delightful tang, these cupcakes are designed to impress and bring immense joy. Whether you’re baking for a special occasion, celebrating a birthday, or simply craving a comforting treat, these classic cupcakes promise to be a showstopper that brings smiles to every face and creates new, sweet memories.
Crafting the Perfect Vanilla Bean Cupcakes
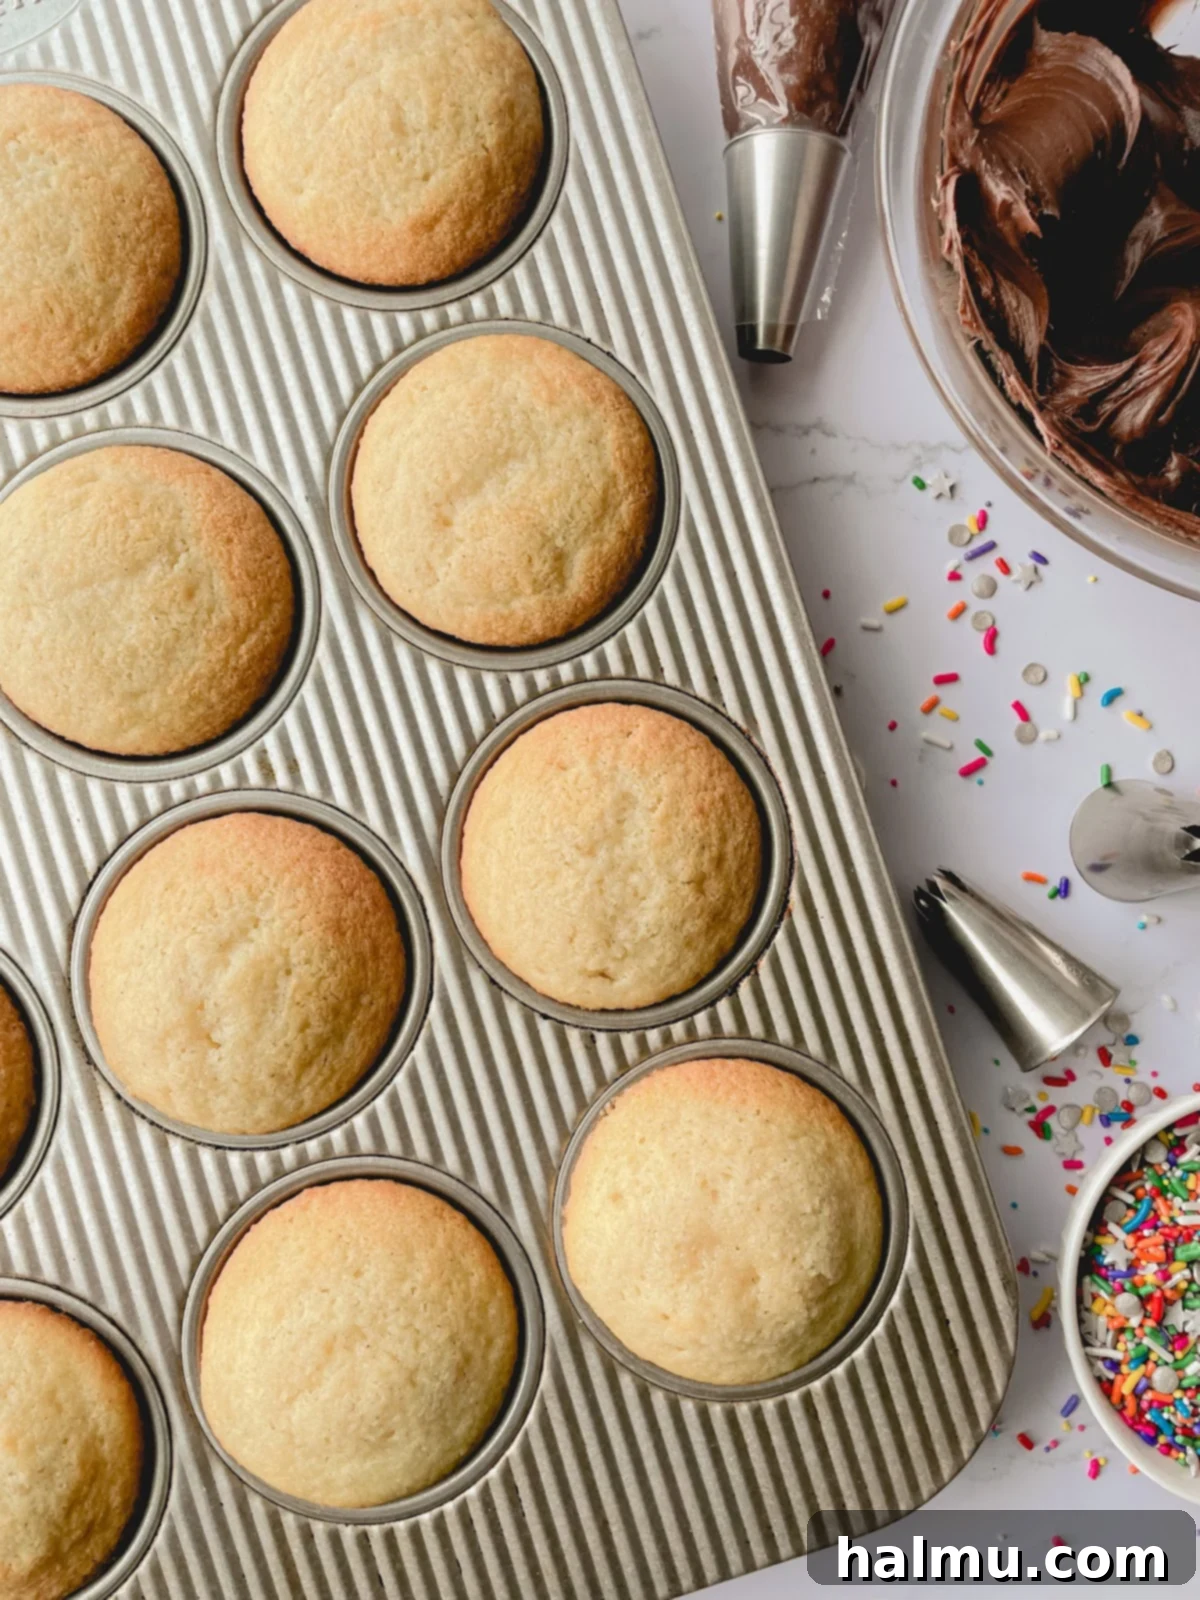
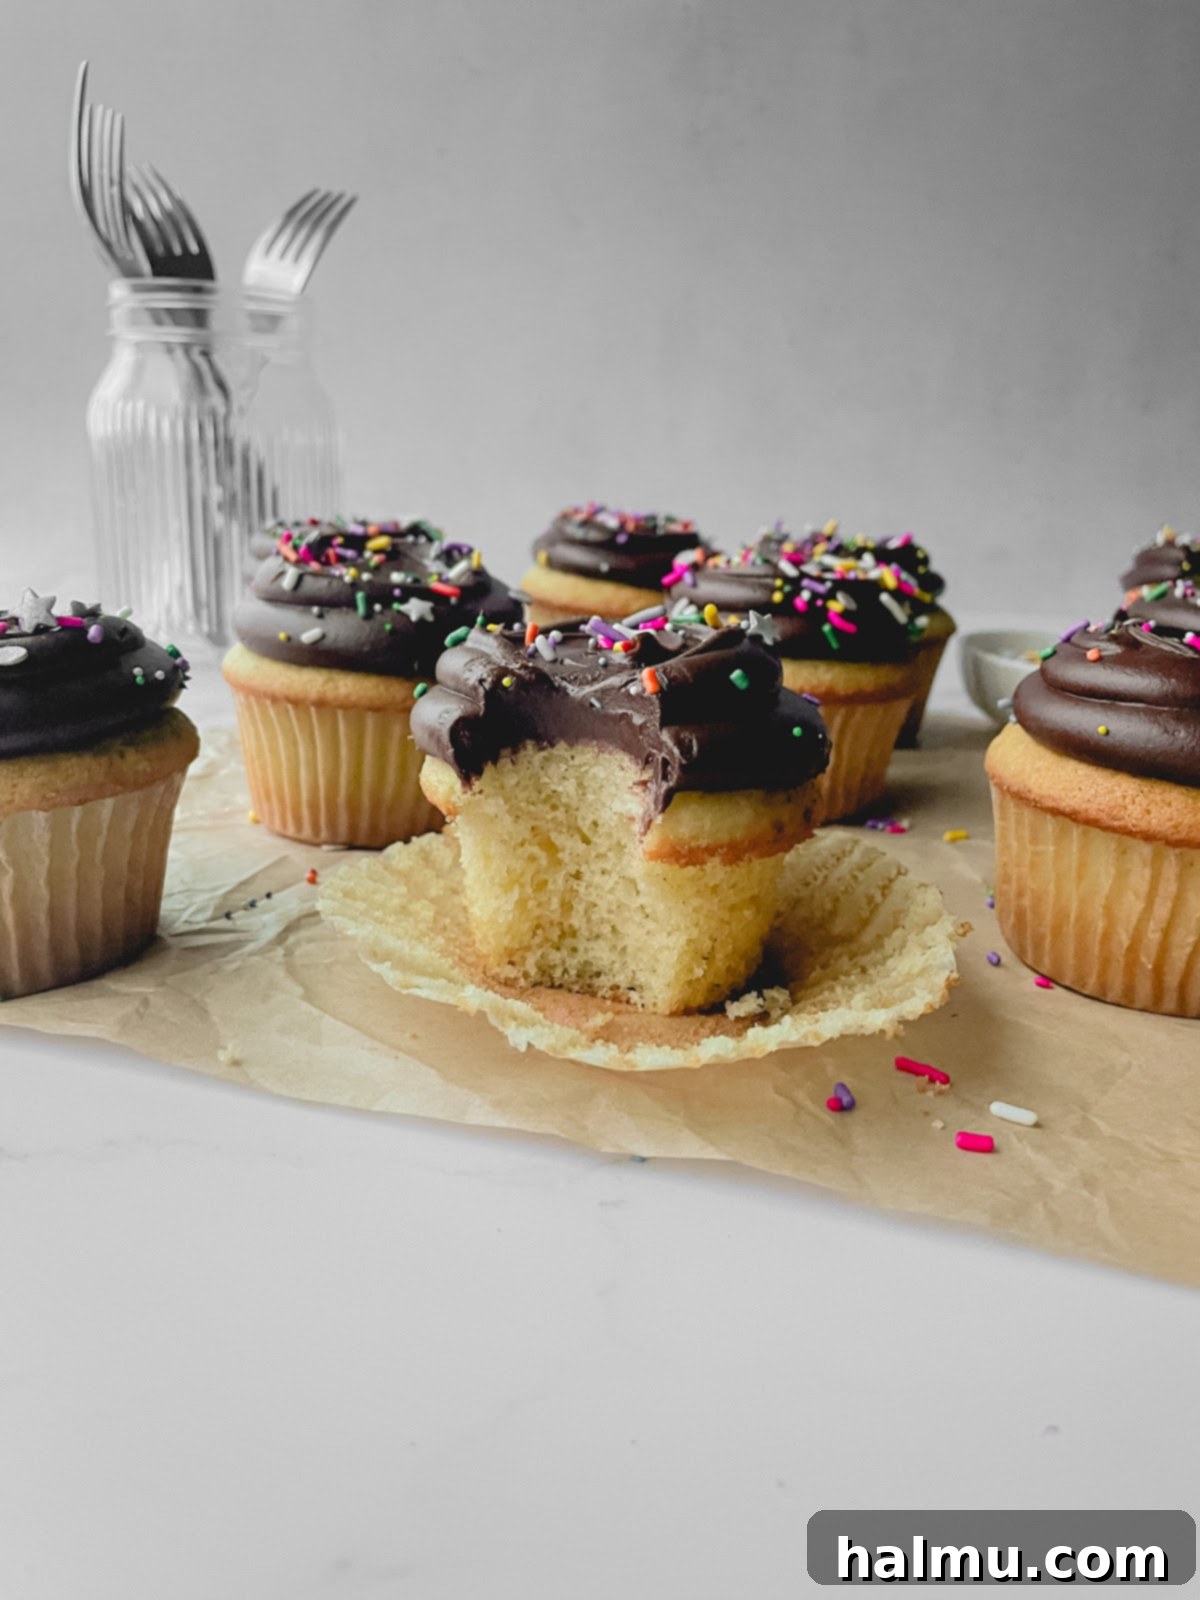
To achieve a truly outstanding vanilla cupcake, the vanilla flavor must shine through with remarkable intensity and depth. Our carefully developed recipe ensures this by incorporating a generous full tablespoon of vanilla, utilizing a harmonious blend of both pure vanilla extract and fragrant vanilla bean paste. While vanilla extract provides a robust and foundational vanilla taste, the vanilla bean paste elevates the experience. It infuses the batter with those coveted tiny flecks of real vanilla bean, enhancing both the visual appeal and delivering a complex, aromatic profile that lifts these cupcakes far beyond the ordinary. This thoughtful dual approach guarantees that every mouthful is imbued with an unmistakable, luxurious vanilla essence, making these homemade treats genuinely irresistible.
Many cupcake recipes commonly rely on neutral oils, such as canola or vegetable oil, to ensure moistness. While this method is certainly effective, I was keen to explore a different path to achieving a tender crumb, one that also contributed to a richer, more nuanced flavor profile. Our secret lies in a meticulously selected combination of high-quality fats and dairy products. We begin with premium unsalted butter as the primary fat, which is fundamental to developing the cupcake’s rich, buttery flavor and contributing to its delicate, melt-in-your-mouth crumb. To further enhance moisture and create that wonderfully fluffy, incredibly tender texture, we strategically incorporate both sour cream and buttermilk. The inherent acidity in both sour cream and buttermilk plays a crucial role; it not only reacts with the baking soda to create a lighter, more aerated, and softer crumb but also imparts incredible moisture and a subtle, pleasant tang that beautifully complements the sweet vanilla. This thoughtful and balanced combination completely eliminates the need for any added oil, resulting in a cupcake that is profoundly moist, exceptionally fluffy, and bursting with delightful flavor.
For optimal results when baking, it is absolutely crucial to ensure that all your cold ingredients, including butter, eggs, sour cream, and buttermilk, are brought to room temperature before you begin mixing. Room temperature ingredients are vital because they emulsify more effectively and smoothly with one another. This superior emulsification creates a batter that is more uniform and consistent, which in turn leads to a more even rise during baking and ultimately, a superior texture in your final baked cupcakes. This simple, often overlooked step is key to unlocking the full potential of your homemade vanilla bean cupcakes, truly making a difference in their overall quality and deliciousness.
Indulgent Chocolate Cream Cheese Frosting: A Decadent Delight
While a traditional buttercream often serves as the default choice for cupcakes, I wholeheartedly encourage you to step outside the box and experience the sheer delight of this chocolate cream cheese frosting. Even if you typically find yourself wary of cream cheese-based frostings, this particular recipe is expertly crafted to convert even the most skeptical palate! Time and again, individuals who taste this frosting are instantly captivated and fall deeply in love with its unique, harmonious balance and its utterly luxurious texture. The true magic of this frosting lies in how the inherent sweetness of the powdered sugar and the rich, deep notes of cocoa powder perfectly counterbalance the characteristic tang of the cream cheese. The delightful result is a frosting that is wonderfully complex, deeply chocolatey, and—crucially—anything but overly tart or tangy. It’s a symphony of flavors that delights with every lick.
What truly distinguishes this frosting and elevates it above others is its impeccable consistency. When prepared correctly, it whips up into an incredibly smooth, satisfyingly thick, and utterly luxurious spread that holds its shape beautifully, making it perfect for both intricate piping and simple, elegant decorating. Its decadent texture and rich, adaptable flavor profile make it incredibly versatile. This frosting isn’t just limited to adorning these exquisite vanilla cupcakes; it’s equally spectacular on various cakes, brownies, cookies, or even enjoyed straight from the spoon for an indulgent treat! For even more detailed instructions, practical troubleshooting tips, and a wealth of creative ideas for maximizing this spectacular frosting, I highly recommend you explore my full, dedicated post on Chocolate Cream Cheese Frosting.
To ensure your frosting achieves its maximum smoothness and creamy perfection, it is imperative to make sure both your cream cheese and unsalted butter are thoroughly softened to room temperature before you begin the mixing process. This crucial step prevents the formation of lumps and guarantees a perfectly homogeneous and creamy consistency. Additionally, taking the extra moment to sift both your powdered sugar and cocoa powder before adding them to the mixture can make a significant difference. Sifting helps to eliminate any potential remaining clumps, leading to an even silkier, more refined texture in your finished frosting. By adhering to these simple yet effective tips, you will consistently achieve a frosting that is not only profoundly delicious but also an absolute dream to work with during decoration.
How to Decorate Vanilla Cupcakes with Chocolate Frosting
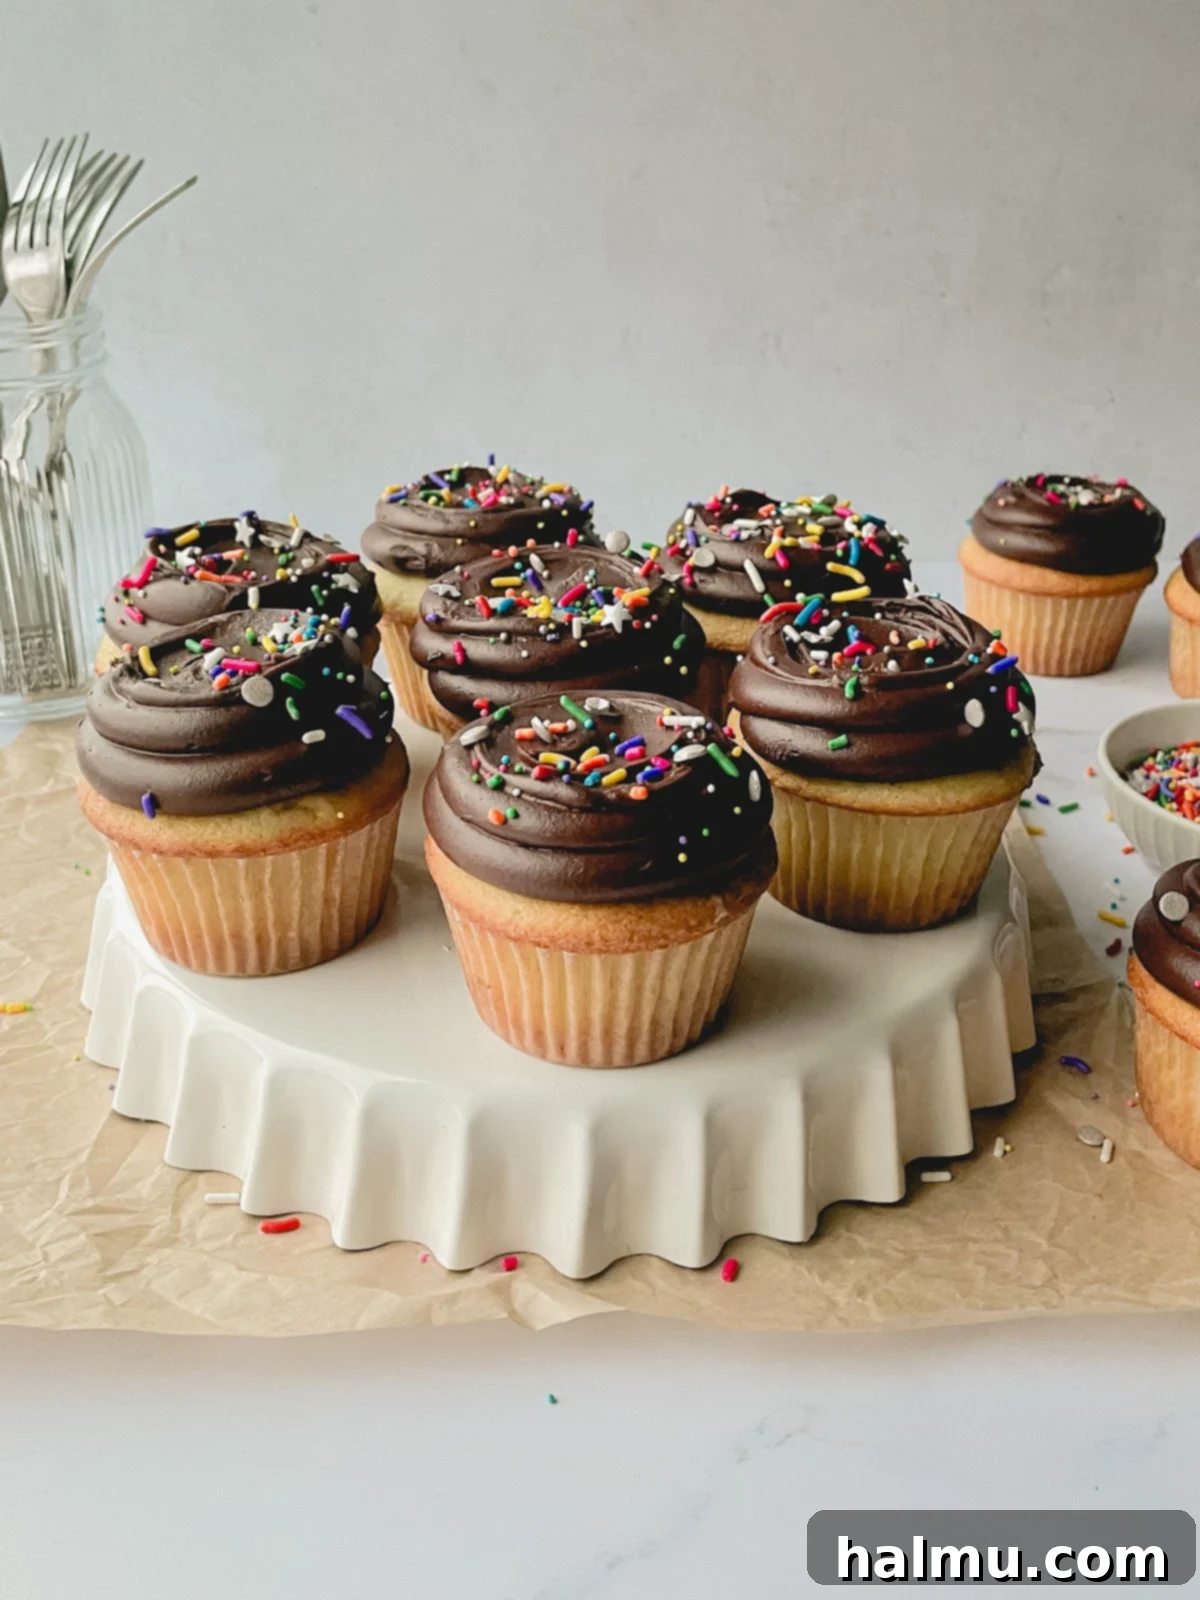
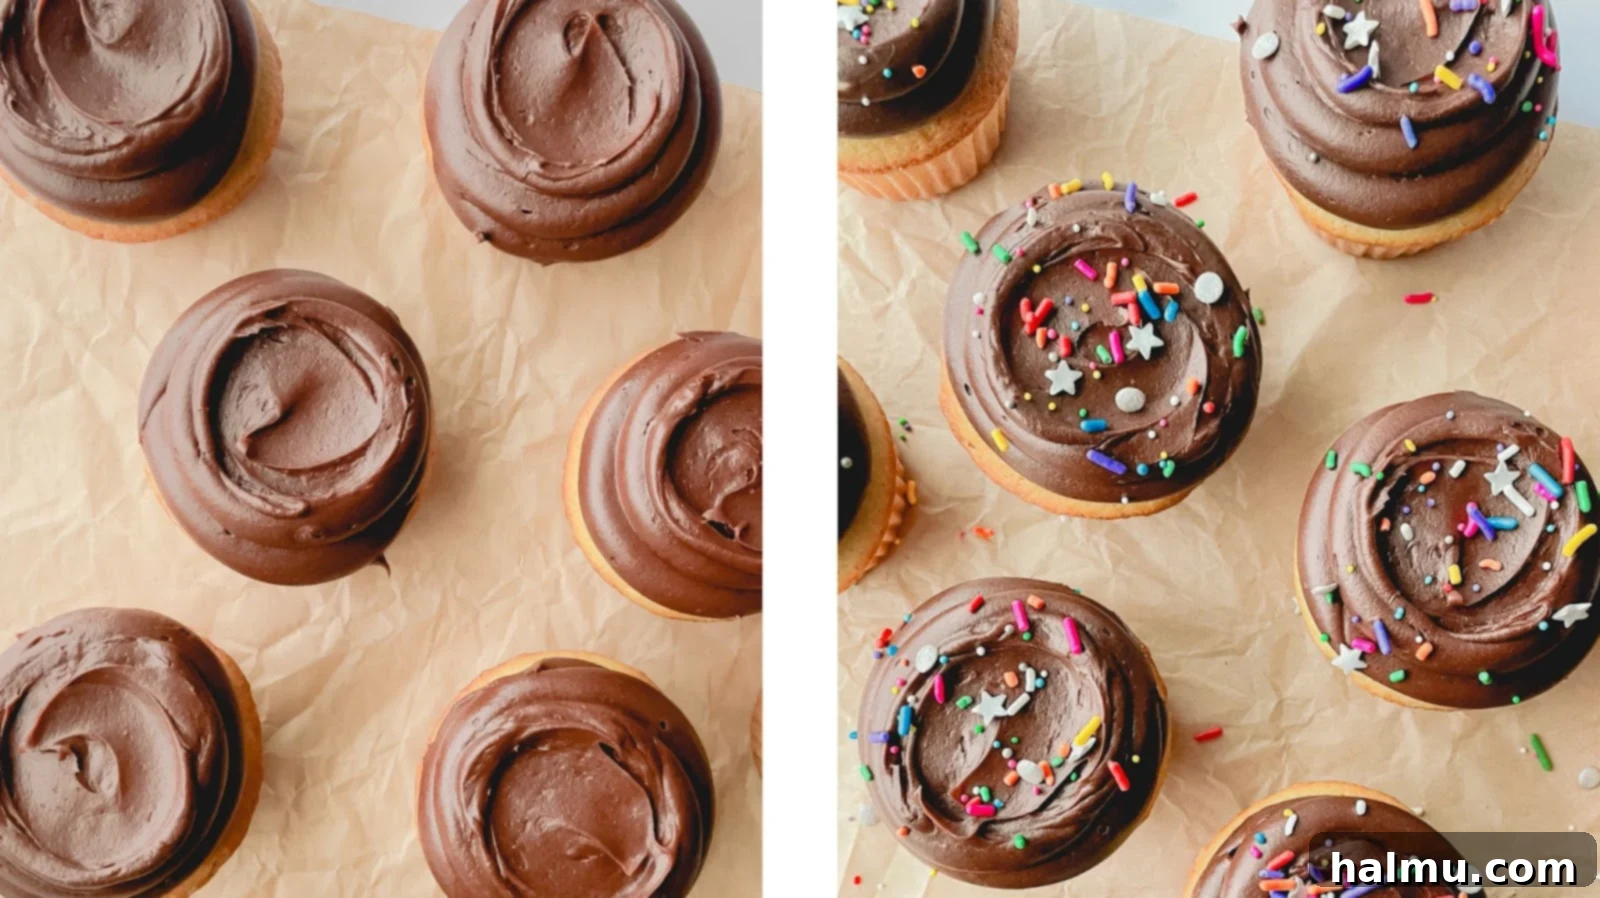
Decorating your homemade cupcakes is truly where you can let your personal style and creativity shine! There are several simple yet highly effective methods available to frost your tender vanilla bean cupcakes with our luscious chocolate cream cheese frosting. Whether your preference leans towards the precise control offered by a piping bag and an assortment of decorative tips, the elegant and professional smoothness achieved with a small offset spatula, or the charmingly rustic and homey appeal of simply using the back of a spoon, each method will yield a unique and beautiful finish. For a look that is both visually appealing and remarkably approachable, I frequently employ a combination of techniques: first, I pipe the frosting onto the cupcake base using a large round tip to create desirable height and volume, and then, I gently use a small offset spatula to press and swirl the top, creating an elegant, whimsical effect. This hybrid approach allows for both structured foundation and a touch of artistic flair, resulting in stunning, handmade treats.
Let’s walk through the detailed steps for creating that delightful whimsical swirl, ensuring your cupcakes look as professional as they taste:
- Prepare Your Piping Bag: Begin by carefully fitting a sturdy piping bag with your chosen large round tip. A popular and effective choice for cupcakes is an Ateco 806 tip. To make the often-messy filling process significantly cleaner and much easier, fold down the top of the piping bag, creating a wide, stable cuff. A highly recommended trick is to place the piping bag, with its folded edge down, into a tall drinking glass; this effectively keeps it upright and perfectly stable during filling. Hold the bag securely under the fold (or keep it folded over in the glass for extra stability) and use your other hand to fill it approximately halfway with the prepared chocolate cream cheese frosting. It’s important to avoid overfilling the bag, as this can make it unwieldy, difficult to handle, and prone to messy spills.
- Pipe the Frosting Base: Before you begin piping onto the cupcakes, give the filled piping bag a gentle, firm squeeze to release any trapped air bubbles. This crucial step ensures a smooth, continuous, and even flow of frosting without any frustrating gaps or sudden bursts. Position the piping tip just slightly inside the outer edge of your completely cooled cupcake. With a steady hand and consistent pressure, gently squeeze the bag while slowly moving the tip in a controlled circular motion. As you gradually work your way inward and upward, gracefully make each subsequent rotation slightly smaller in diameter than the last. The objective here is to meticulously build a beautiful, domed swirl of frosting that forms a stable and visually appealing base for the final decorative flourish.
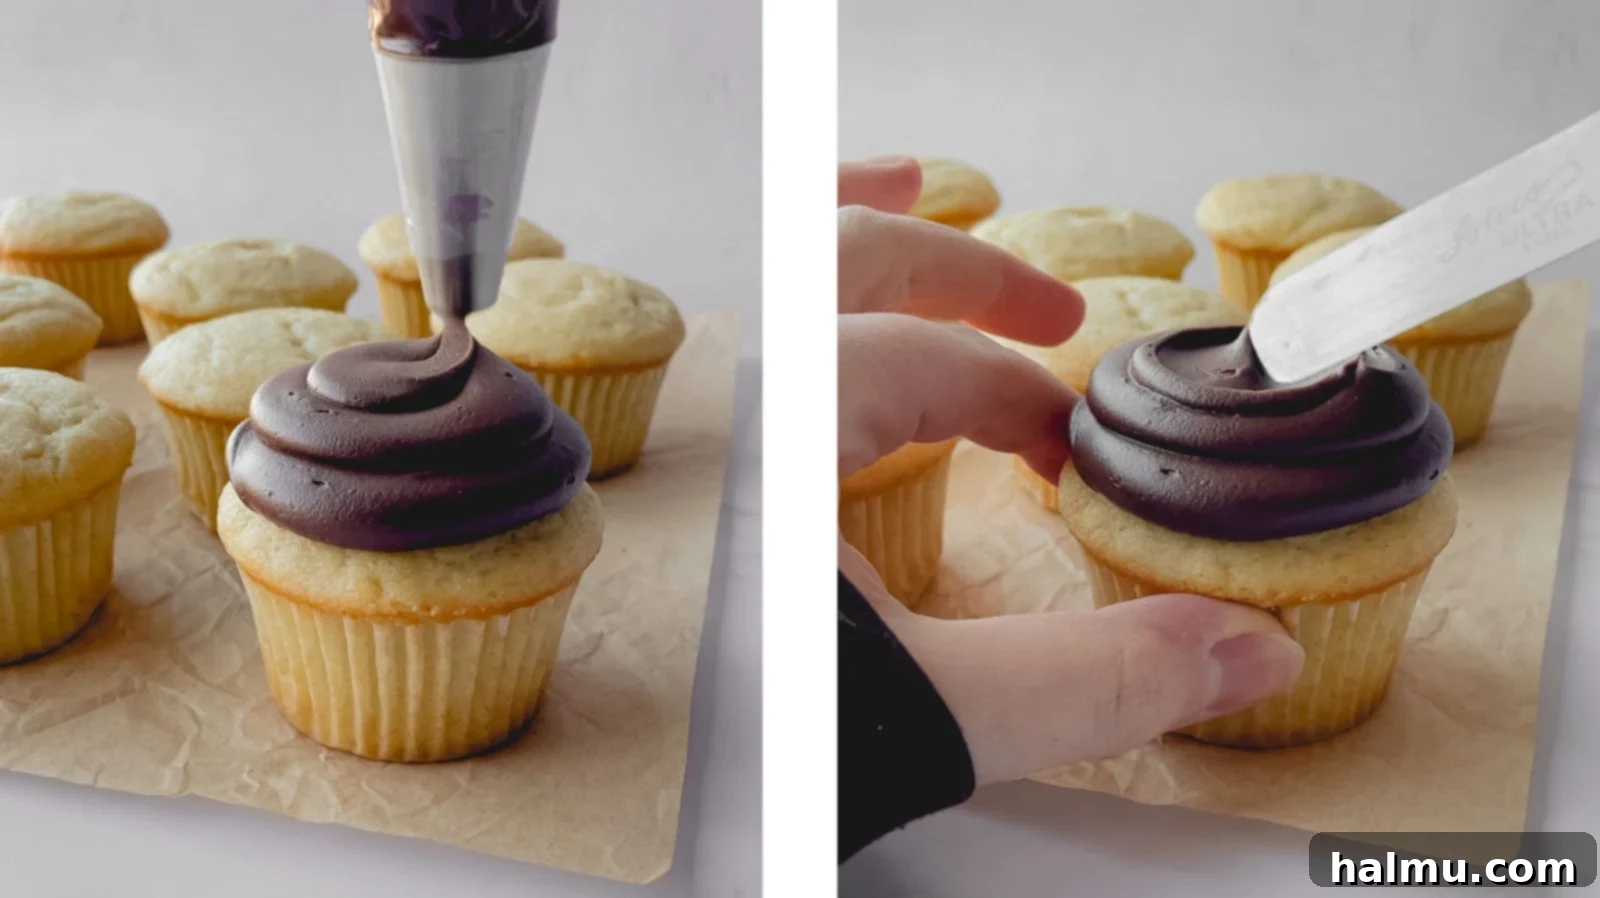
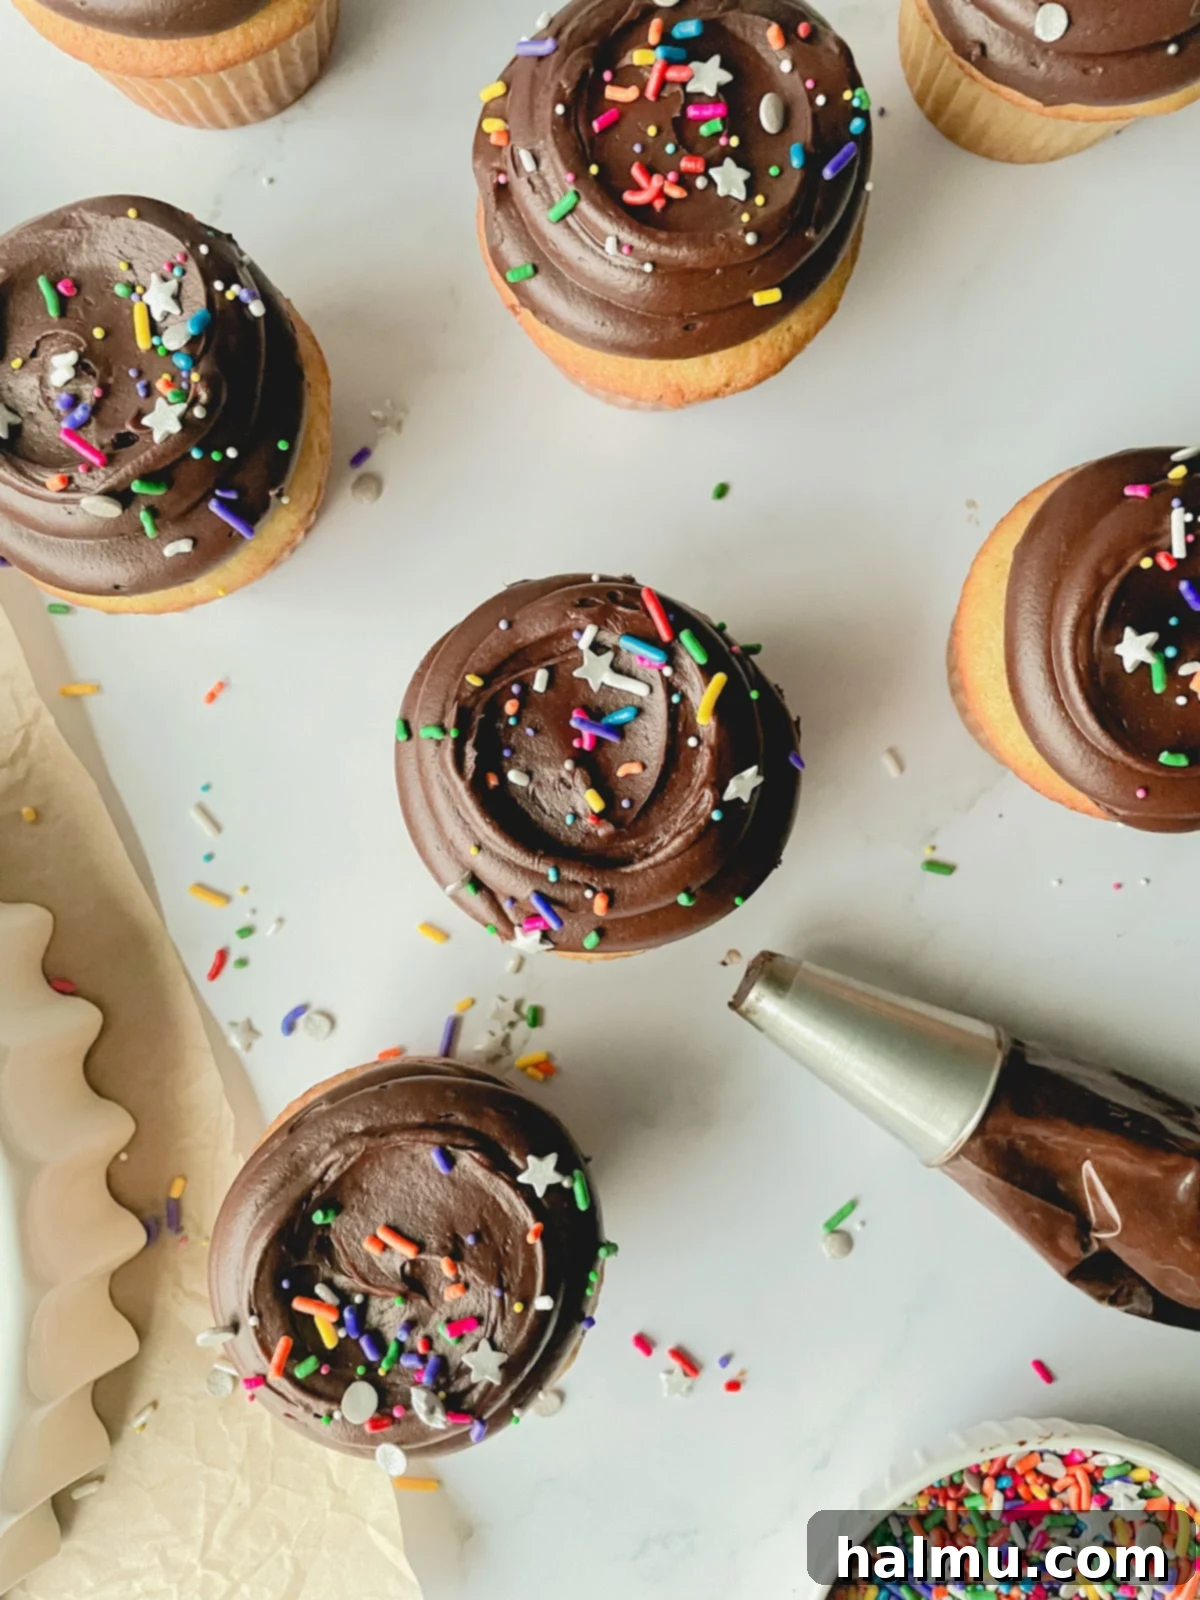
- Create the Whimsical Swirl and Add Sprinkles: Once your frosting base is beautifully piped and set, retrieve your small offset spatula. Gently press the flat side of the spatula down onto the very top of the frosting mound. With a delicate touch, smooth and drag the spatula outwards and slightly upwards, creating an elegant, unique, and wonderfully whimsical swirl. This particular technique adds a delightful artistic, handcrafted touch to your cupcakes, making each one look special. Finally, for the most fun part: generously top your beautifully frosted cupcakes with your favorite sprinkle mix! Whether you prefer a subtle, elegant scattering or a vibrant, abundant cascade, sprinkles add an irresistible pop of color, texture, and festivity that brings immense joy to both adults and children alike.
Essential Tools for Baking Success: Your Kitchen Arsenal
Having the right tools in your kitchen can genuinely elevate your baking experience, transforming it from merely good to absolutely fantastic. For these delightful vanilla cupcakes with chocolate frosting, a few key items will not only simplify the process but also help ensure professional-level results with remarkable ease. Investing in quality baking tools is an investment in your culinary enjoyment and the consistent success of your treats.
- Cupcake Pan: Investing in a high-quality cupcake pan is absolutely paramount. My personal favorites are durable, heavy-gauge metal pans. These are significantly superior to glass when it comes to baking, as metal conducts heat far more efficiently and evenly. This crucial difference ensures that your cupcakes bake consistently throughout, developing a beautiful golden-brown rim and a perfectly cooked interior every single time. Look for sturdy, non-stick options for effortless release and many years of reliable use, which will undoubtedly improve your baking results.
- Cookie Scoop: A cookie scoop is an incredibly versatile tool that finds constant utility in my kitchen, far beyond just cookies! I possess various sizes, but for the specific task of portioning cupcake batter into liners, the largest scoop in a standard set (often designated as a #20 scoop) is absolutely ideal. A slightly heaping scoop of batter consistently delivers perfectly sized, uniformly baked cupcakes, making the entire preparation process significantly tidier and much more efficient. It is key for ensuring even baking across the batch and contributes greatly to a consistent, professional look for your finished treats.
- Piping Bags: Disposable piping bags are truly a baker’s best friend, simplifying cleanup and offering unparalleled convenience. I always make sure I have a substantial supply on hand. The larger 18-inch size is exceptionally useful for handling bigger batches of frosting, such as the generous amount needed for these chocolate cream cheese cupcakes, allowing you to frost multiple treats without the constant interruption of refilling. Conversely, smaller 12-inch bags are perfect to have on hand for more intricate decorative details or when working with smaller quantities of icing. They provide precise control and make intricate work a breeze.
- Round Piping Tips: Ateco brand piping tips are my absolute go-to for their unwavering quality, exceptional durability, and consistent performance. Investing in a comprehensive set that offers various sizes of round tips is a remarkably smart choice for any enthusiastic baker looking to expand their decorating repertoire. For the specific task of decorating cupcakes, I particularly recommend using tip 806. Its wide opening allows for a wonderfully smooth, thick, and consistent swirl of frosting, which creates a substantial and visually appealing topping that truly makes your cupcakes stand out.
- Small Offset Spatula: This seemingly simple, unassuming tool is, without a doubt, a true kitchen staple that proves its worth in countless baking and decorating scenarios. Its small, angled blade makes it incredibly versatile and indispensable for spreading, smoothing, and delicately manipulating frosting with remarkable precision. For these vanilla cupcakes, it’s an essential instrument for expertly creating that signature whimsical swirl on top, adding a polished, professional, and artful finish to each treat. It’s also remarkably useful for carefully lifting delicate cookies or spreading various batters evenly.
By assembling this essential collection of baking tools, you will not only significantly simplify the process of making these delightful vanilla cupcakes with chocolate frosting but also markedly elevate your overall baking game, making it a more enjoyable, efficient, and consistently rewarding endeavor with consistently beautiful results.
Recipe FAQs: Your Common Questions Answered
How do I store these delicious cupcakes to maintain their freshness and optimal taste?
To ensure your delightful cupcakes remain fresh, moist, and flavorful for as long as possible, it is essential to store them properly in an airtight container. Due to the presence of the luscious cream cheese frosting, the refrigerator is your best bet for storage, especially if you need to keep them overnight or for up to three days. However, for the absolute best texture and to experience their full, vibrant flavor, remember this crucial tip: remove the cupcakes from the refrigerator at least 30 minutes (or even up to an hour) before you plan to serve them. This allows them sufficient time to come to a comfortable room temperature, which softens the frosting to its ideal creamy consistency and enhances the complex flavors of both the tender cake and the rich icing.
Can I freeze these vanilla cupcakes for later enjoyment?
Absolutely! The unfrosted vanilla cupcake bases are excellent candidates for freezing and store remarkably well. Once your freshly baked cupcakes have completely cooled to room temperature, you have a couple of options: either place them carefully in an airtight freezer-safe container, or for even better protection against freezer burn, wrap each individual cupcake tightly in plastic wrap before wrapping them again in aluminum foil. Stored properly, they can be kept in the freezer for up to three months. When you’re ready to indulge, simply let the cupcakes thaw at room temperature for a few hours before proceeding with frosting and decorating. This makes them a fantastic and convenient make-ahead option, perfect for entertaining or satisfying a sudden sweet craving!
Is it possible to prepare the chocolate cream cheese frosting in advance?
Yes, you can certainly prepare the chocolate cream cheese frosting ahead of time, which can be a real time-saver. Once you’ve made the frosting according to the recipe instructions, transfer it to an airtight container and store it securely in the refrigerator. It’s important to note that the frosting will become quite stiff and firm when thoroughly chilled. To bring it back to that perfectly spreadable, creamy consistency ideal for frosting, plan to pull the icing out of the fridge a couple of hours before you intend to decorate your cupcakes. You may also find it beneficial to give it a quick whip with an electric mixer for a minute or two on medium speed to restore its light, fluffy, and smooth texture.
What kind of sprinkles should I use to decorate my cupcakes? Are there any recommendations?
The wonderful world of sprinkles offers endless possibilities for creative decoration! I personally adore crafting custom sprinkle mixes that thoughtfully combine various textures and shapes within a harmonious color palette. Don’t be shy about experimenting: try blending classic long jimmies with tiny, colorful nonpareils, then perhaps add in some shimmering pearlized sprinkles or fun, unique shapes like stars or hearts. The potential for different color combinations and thematic designs is truly limitless! You can readily find a fantastic array of sprinkles at your local grocery store, craft stores, or even specialty baking supply shops. For truly unique, high-quality, and visually stunning pre-made mixes or specialty sprinkles, I highly recommend exploring reputable online shops such as Fancy Sprinkles or Sweetapolita.
Can I substitute cake flour with all-purpose flour for the cupcakes in this recipe?
While cake flour is specifically recommended for this recipe due to its lower protein content, which is key to achieving that tender, delicate, and fine crumb, you can certainly substitute it with all-purpose flour if cake flour is not readily available. To make this substitution effectively, for every cup of cake flour called for in the recipe, measure out 1 cup of all-purpose flour, then remove precisely 2 tablespoons of that all-purpose flour and replace them with 2 tablespoons of cornstarch. Once combined, sift this mixture together thoroughly at least once (preferably twice). The cornstarch acts to mimic the lower protein content characteristic of cake flour, which helps in yielding a slightly softer and more delicate texture than if you were to use all-purpose flour alone.
What are some common reasons why cupcakes might sink in the middle or turn out dry, and how can I prevent these issues?
Cupcakes often sink in the middle for a few common reasons: they might be underbaked, the oven door could have been opened too early during the baking process (causing a sudden temperature drop), or there might be an excessive amount of leavening agent used. To prevent sinking, ensure you bake the cupcakes until a toothpick inserted into the center comes out clean, and resist the urge to open the oven door before the last 5-7 minutes of baking. Dry cupcakes, on the other hand, are typically the result of overmixing the batter, which develops the gluten too much and leads to a tough texture, or simply overbaking. To avoid dry cupcakes, mix the batter only until the ingredients are just combined, and keep a close eye on the baking times specified in the recipe. Additionally, using all room temperature ingredients and measuring them accurately are critical foundational steps for preventing both sinking and dryness, leading to consistently perfect cupcakes.
More Delicious Cake Recipes You’ll Love
- Tiramisu Cupcakes
- Chocolate Peanut Butter Snack Cake
- Raspberry Orange Pistachio Cake
- Lemon Bundt Cakes
- Chocolate Chip Banana Cake with Chocolate Frosting
We sincerely hope you thoroughly enjoy the delightful process of baking and savoring these Classic Vanilla Cupcakes with Chocolate Frosting. This recipe is more than just a dessert; it’s an inviting opportunity to create sweet, lasting memories right in your own kitchen. If you decide to try this wonderful recipe, we would be absolutely thrilled to see your beautiful creations! Please be sure to leave a comment below to share your feedback and tag @sweetkitchencravings on Instagram or TikTok so we can admire your work. Alternatively, if Pinterest is your preferred platform, you can easily save our recipes to your personal collection there for future baking adventures and inspiration. Happy baking, and may you enjoy every single sweet moment this recipe brings!
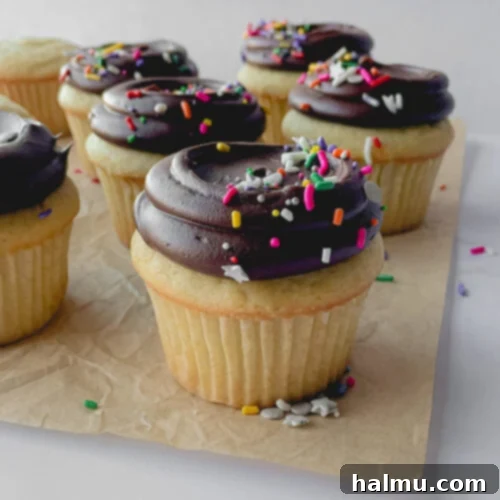
Vanilla Cupcakes with Chocolate Frosting
Fluffy vanilla bean cupcakes topped with creamy, thick chocolate cream cheese frosting and finished with bright rainbow sprinkles. You can’t go wrong with classic Vanilla Cupcakes with Chocolate Frosting.
Author: Rachel
Shop Ingredients
Prep Time: 35 mins
Cook Time: 22 mins
Total Time: 1 hr
Yield: 12 cupcakes
Ingredients
For the Vanilla Cupcakes
- ½ cup (1 stick or 113g) unsalted butter, at room temperature
- ¾ cup (155g) granulated sugar
- 1 large egg + 1 large egg white, at room temperature
- 2 teaspoons vanilla extract
- 1 teaspoon vanilla bean paste
- 1⅔ cup (190g) cake flour
- 1 teaspoon baking powder
- ½ teaspoon baking soda
- ¼ teaspoon salt
- ½ cup (120g) sour cream, at room temperature
- ½ cup (120ml) buttermilk, at room temperature
For the Chocolate Cream Cheese Frosting
- 8 oz (1 block or 227g) cream cheese, at room temperature
- 1/2 cup (1 stick or 113g) unsalted butter, at room temperature
- 3 cups (340g) powdered sugar
- ½ cup (43g) cocoa powder
- 2 Tablespoons milk or heavy cream
- 1 teaspoon vanilla extract
Instructions
Vanilla Bean Cupcakes: Preheat oven to 325°F (160°C). Line a 12-count muffin pan with paper cupcake liners.
In the bowl of a stand mixer fitted with a paddle attachment, cream together the softened butter and granulated sugar on medium-high speed until the mixture is light in color and fluffy, approximately 3 minutes. Scrape down the sides of the bowl as needed.
Gradually add the large egg, followed by the egg white, ensuring each is fully incorporated before adding the next. Stir in the vanilla extract and vanilla bean paste. Scrape the bowl thoroughly with a rubber spatula, then continue to mix on high speed for about 1 minute until the mixture is smooth, aerated, and noticeably lighter in color.
In a separate medium bowl, sift together the cake flour, baking powder, baking soda, and salt to ensure no lumps. With the mixer on low speed, add half of the dry flour mixture to the wet ingredients. Immediately follow by slowly streaming in approximately half of the room temperature buttermilk. Mix just until barely combined, then stop and scrape down the sides and bottom of the bowl. Add the remaining dry flour mixture and slowly stream in the remaining buttermilk, continuing to mix on low speed until just combined. Be careful not to overmix. Give the batter a few final gentle folds with a spatula to ensure all ingredients are fully incorporated from the bottom of the bowl.
Using a large cookie scoop (about 3-4 tablespoons), divide the cupcake batter evenly among the prepared muffin pan liners, filling each about two-thirds full. Bake for 20-22 minutes, or until the tops of the cupcakes spring back gently when lightly touched and a toothpick inserted into the center comes out clean. The edges of the cupcakes should be lightly golden brown. Remove from the oven and allow to cool in the pan for a few minutes before transferring to a wire rack to cool completely.
Chocolate Cream Cheese Frosting: In the bowl of an electric mixer, combine the softened cream cheese and unsalted butter. Beat on medium-high speed until the mixture is perfectly smooth, light, and free of any lumps (approximately 2-3 minutes). Reduce speed to low and gradually add the sifted powdered sugar and cocoa powder, followed by the milk (or heavy cream) and vanilla extract. Mix until all ingredients are just combined, then increase speed to medium-high and beat for another 1-2 minutes until the frosting is light, fluffy, and well aerated. If you desire a slightly thinner or looser frosting, add an additional tablespoon of milk at a time until the desired consistency is achieved.
Once the cupcakes have completely cooled, frost them using a piping bag with your chosen tip, an offset spatula for smooth swirls, or simply the back of a spoon for a rustic look. Finish by generously topping with your favorite sprinkle mix, adding as little or as much as you like. Serve immediately and enjoy!
Did you make this recipe?
Be sure to tag @sweetkitchencravings on Instagram!
