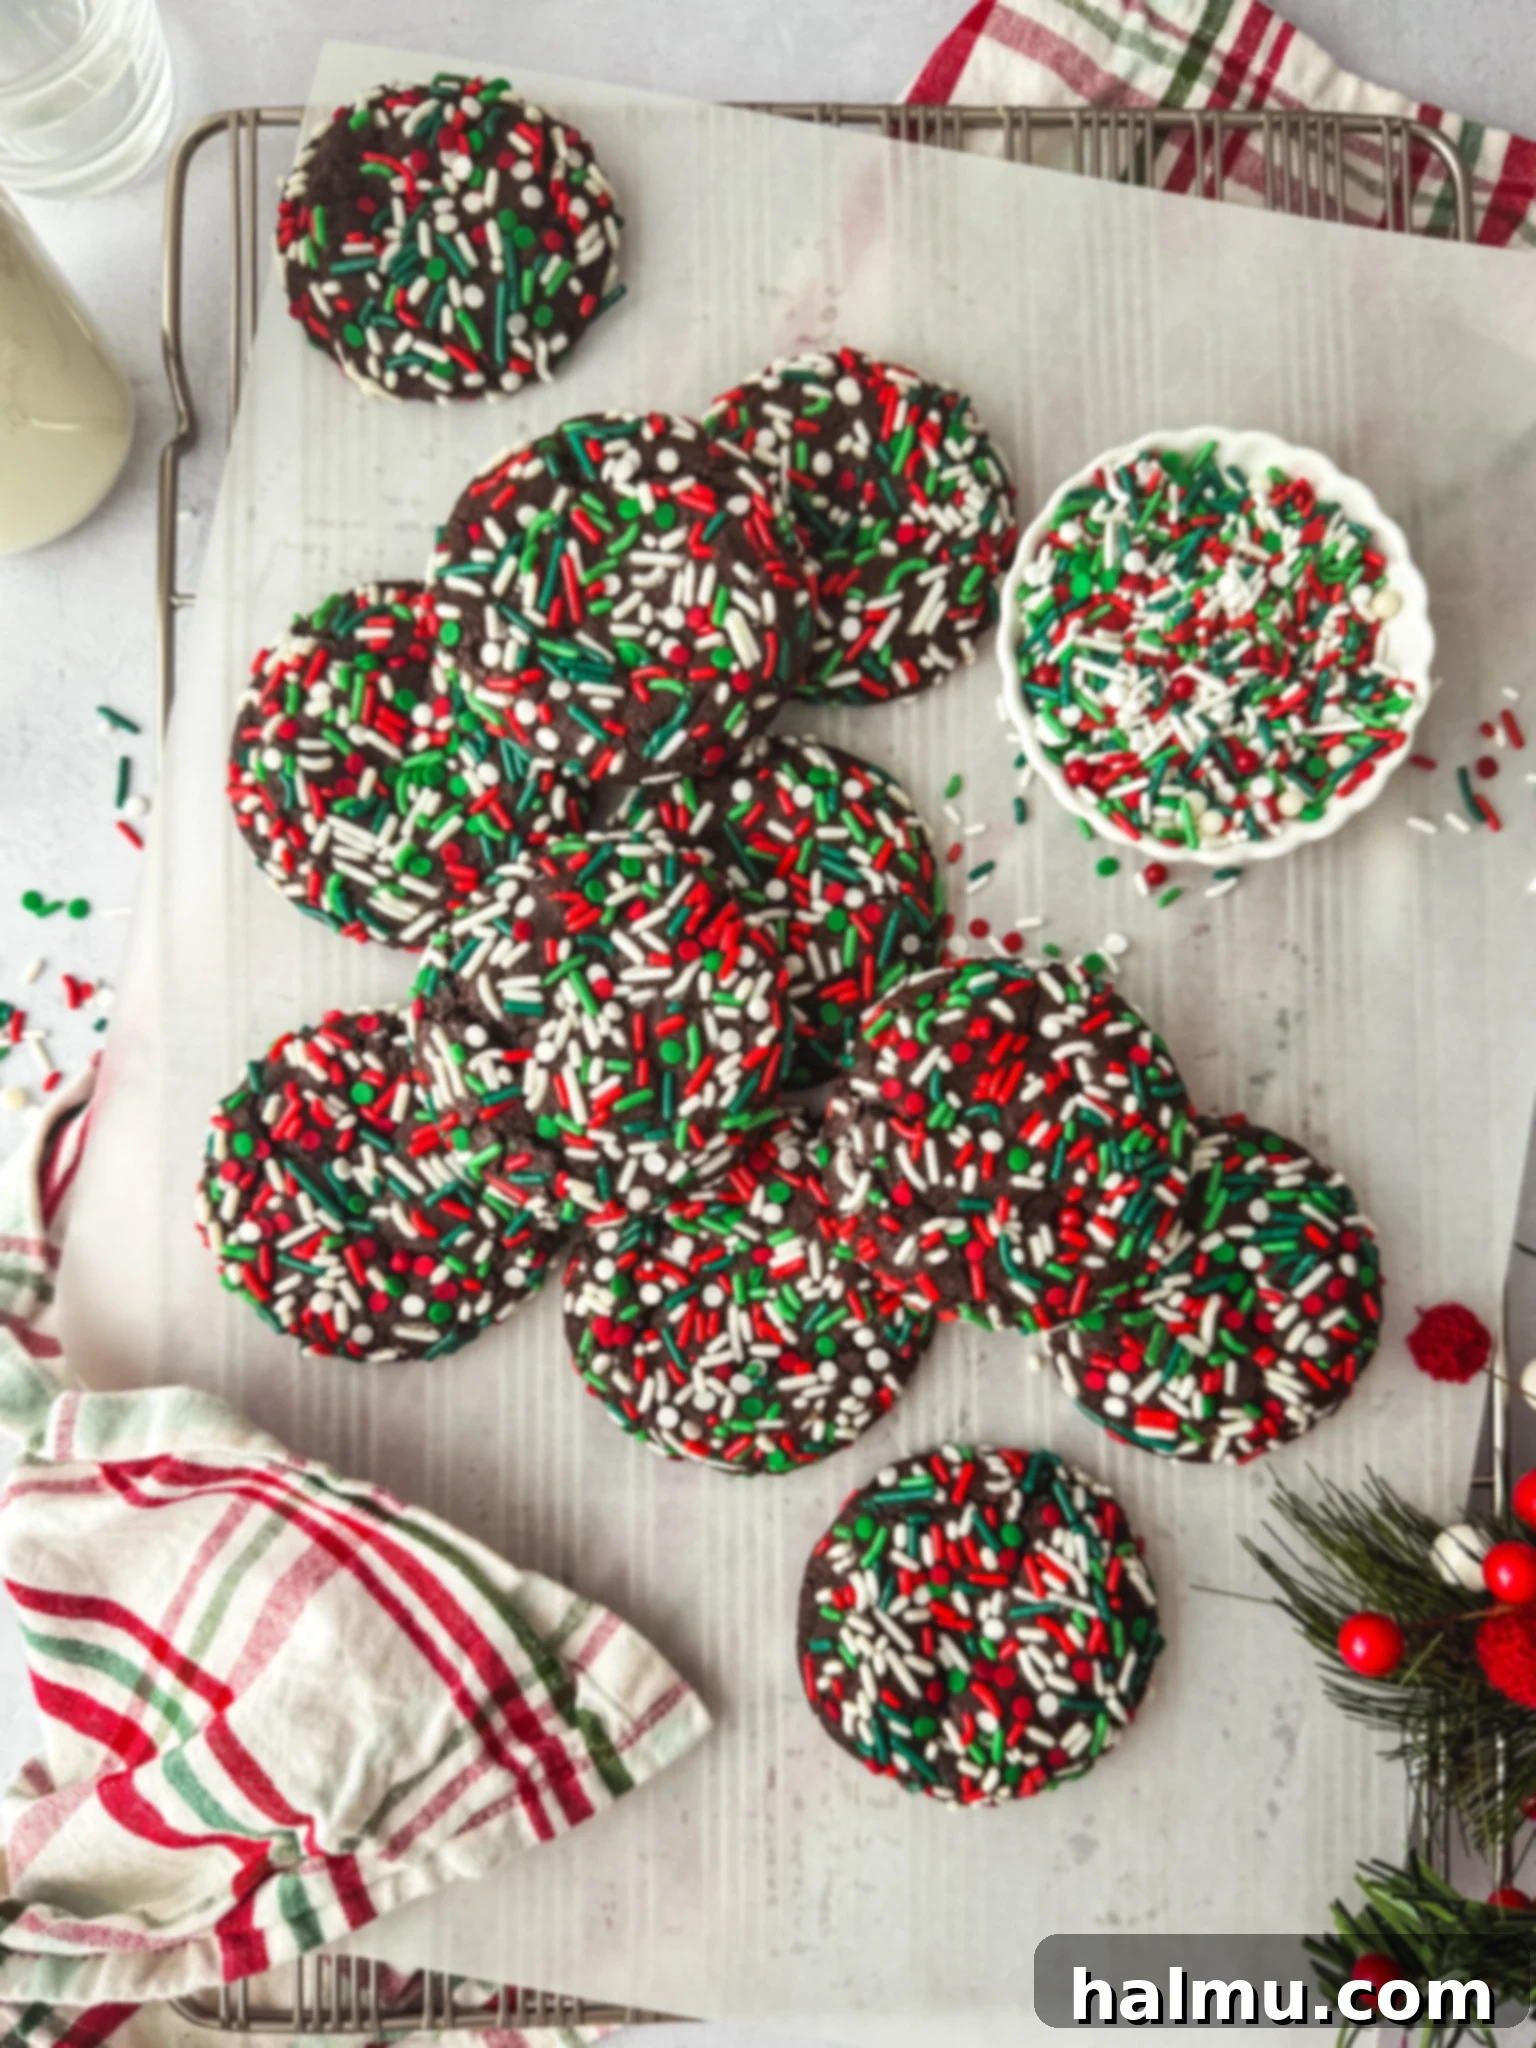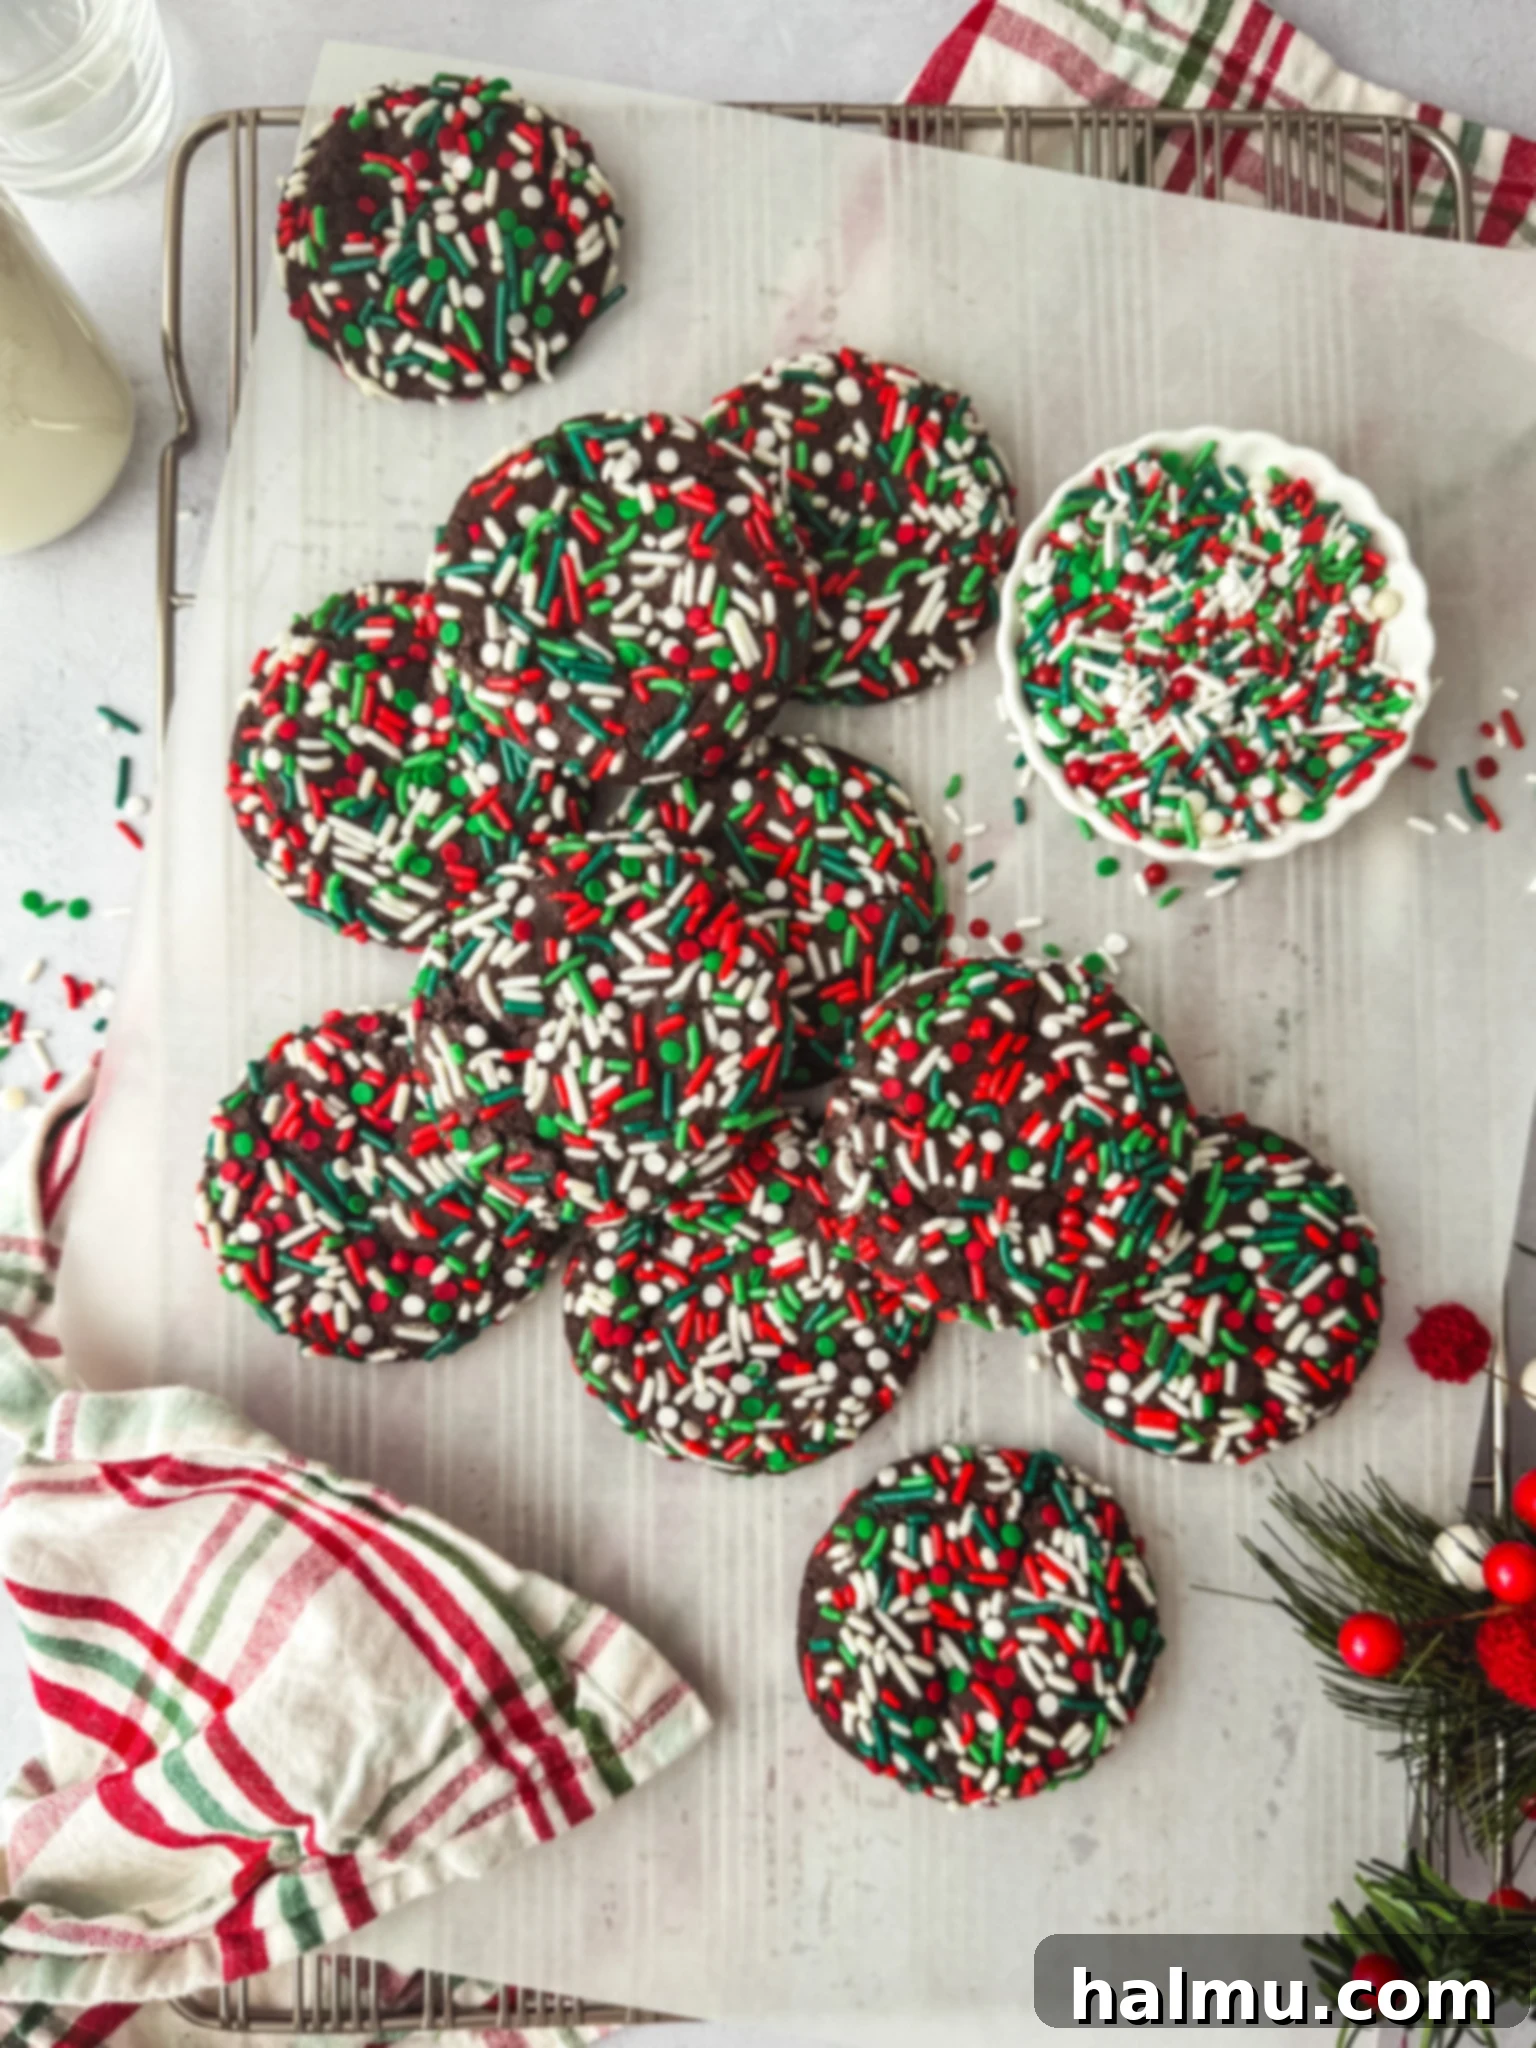
Irresistible Chocolate Sprinkle Cookies: Your Guide to Perfectly Chewy, Fudgy, and Fun Treats
There’s something truly magical about a chocolate cookie adorned with vibrant sprinkles. It evokes a sense of childhood wonder, a celebration in every bite, and pure baking joy. These Chocolate Sprinkle Cookies are more than just a dessert; they’re an experience. I first developed this recipe while crafting my popular Chocolate Sprinkle Cookie Ice Cream Sandwiches, and the cookies themselves were so exceptionally good – thick, perfectly chewy, deeply chocolatey, and bursting with colorful sprinkles – that I knew they deserved a spotlight of their own.
This isn’t just another cookie recipe; it’s your go-to for creating show-stopping treats that are as delightful to look at as they are to eat. Imagine them arranged beautifully in a festive cookie box for holiday gifting, a fun and easy baking project to share with little ones, or a special indulgence left out with a glass of milk for Santa Claus. The beauty of these cookies lies in their incredible adaptability: simply switch up the sprinkle colors to match any season, holiday, or special occasion. Whether it’s vibrant rainbow sprinkles for a birthday, pastels for Easter, or classic red and white for Valentine’s Day, these cookies are always ready to celebrate.
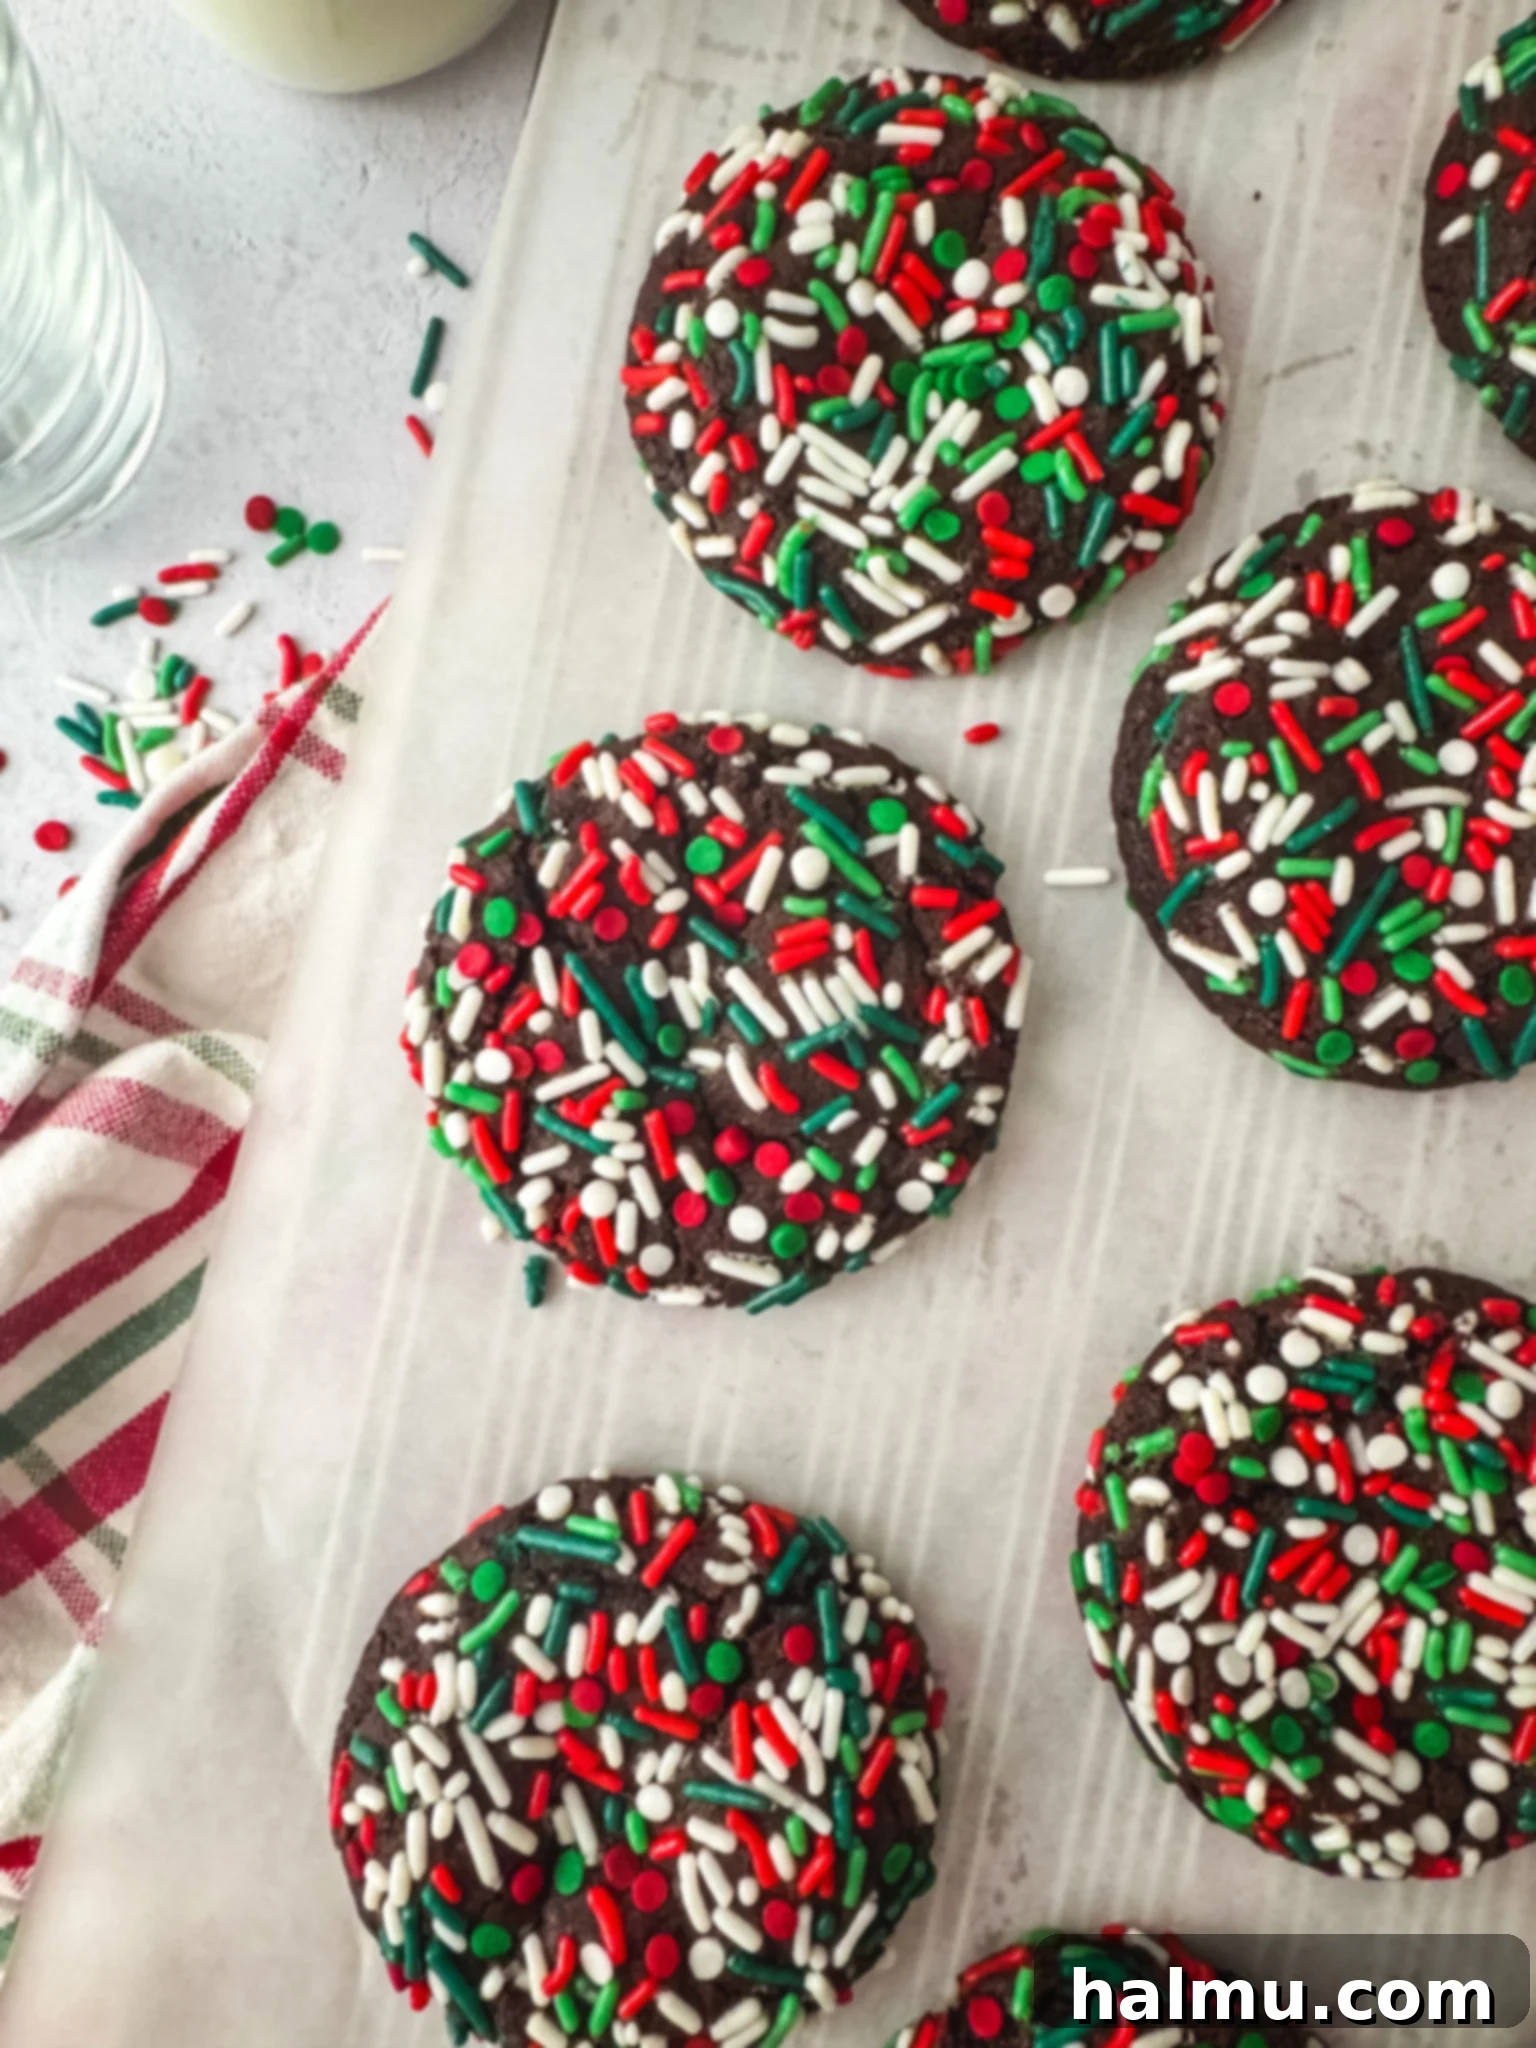
Why You’ll Adore These Chocolate Sprinkle Cookies
These aren’t just any chocolate cookies; they’re designed for ultimate satisfaction. Here’s why they’re destined to become a beloved staple in your baking repertoire:
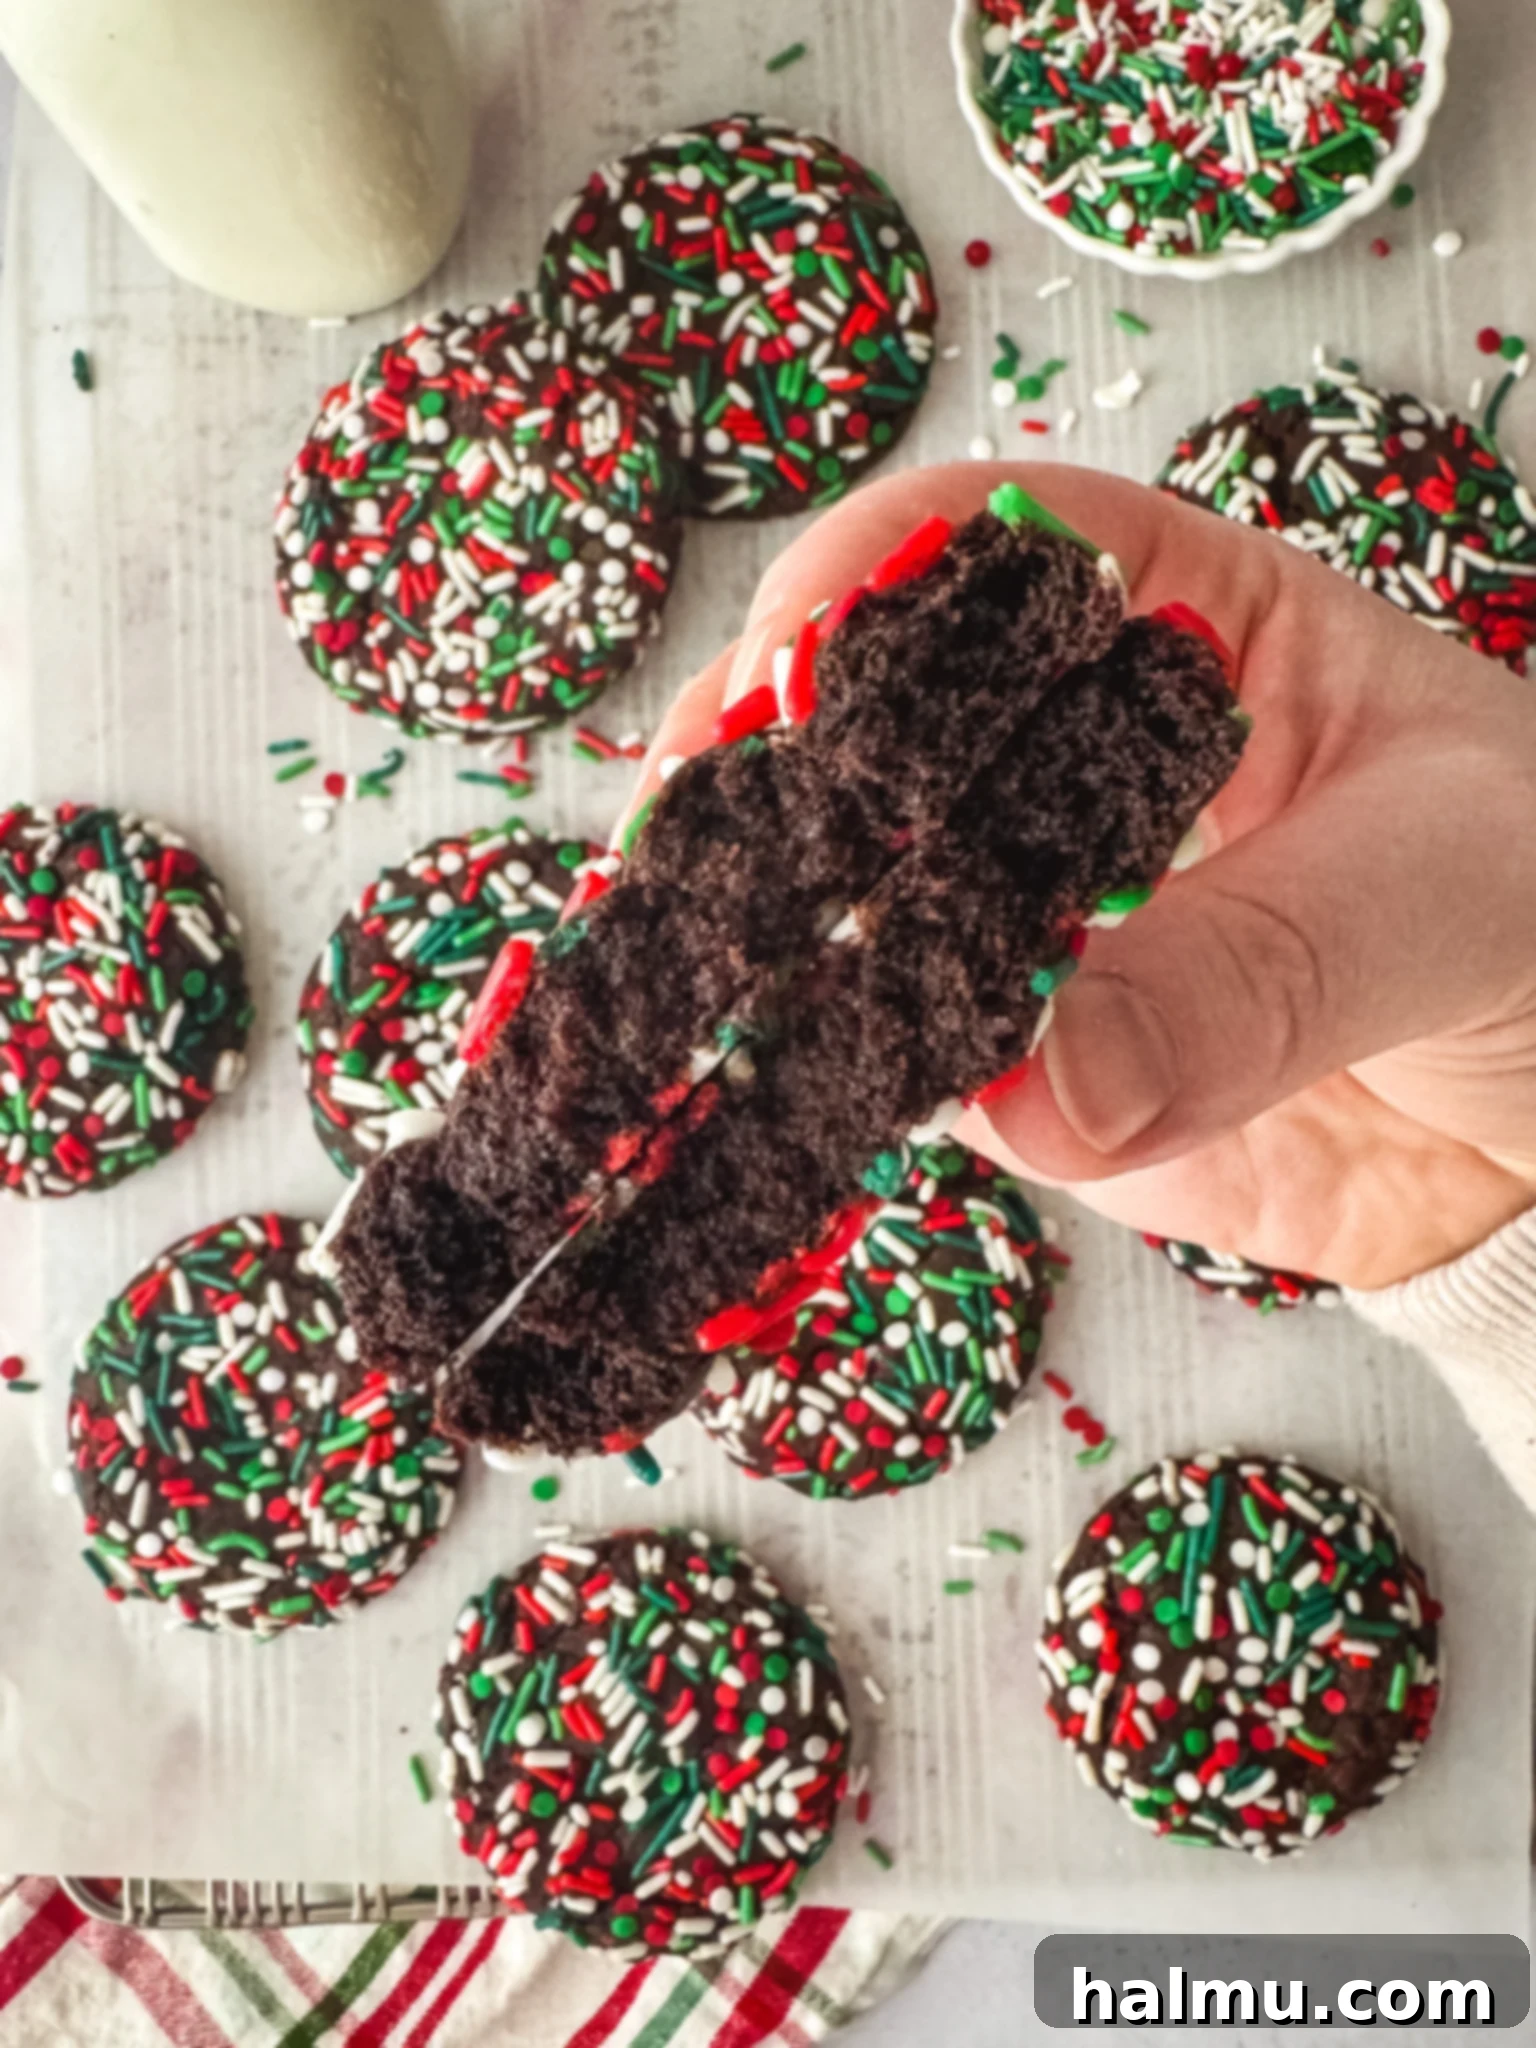
- Irresistible Texture: Prepare for a cookie that’s truly the best of both worlds. They’re wonderfully thick with delightfully crisp edges, giving way to a soft, fudgy, and intensely chewy center that melts in your mouth.
- Rich, Deep Chocolate Flavor: Made with quality cocoa powder and a secret ingredient – a touch of instant espresso powder – these cookies boast an incredibly rich, complex chocolate taste that isn’t overly sweet. The espresso doesn’t make them taste like coffee; it simply amplifies the natural chocolate notes.
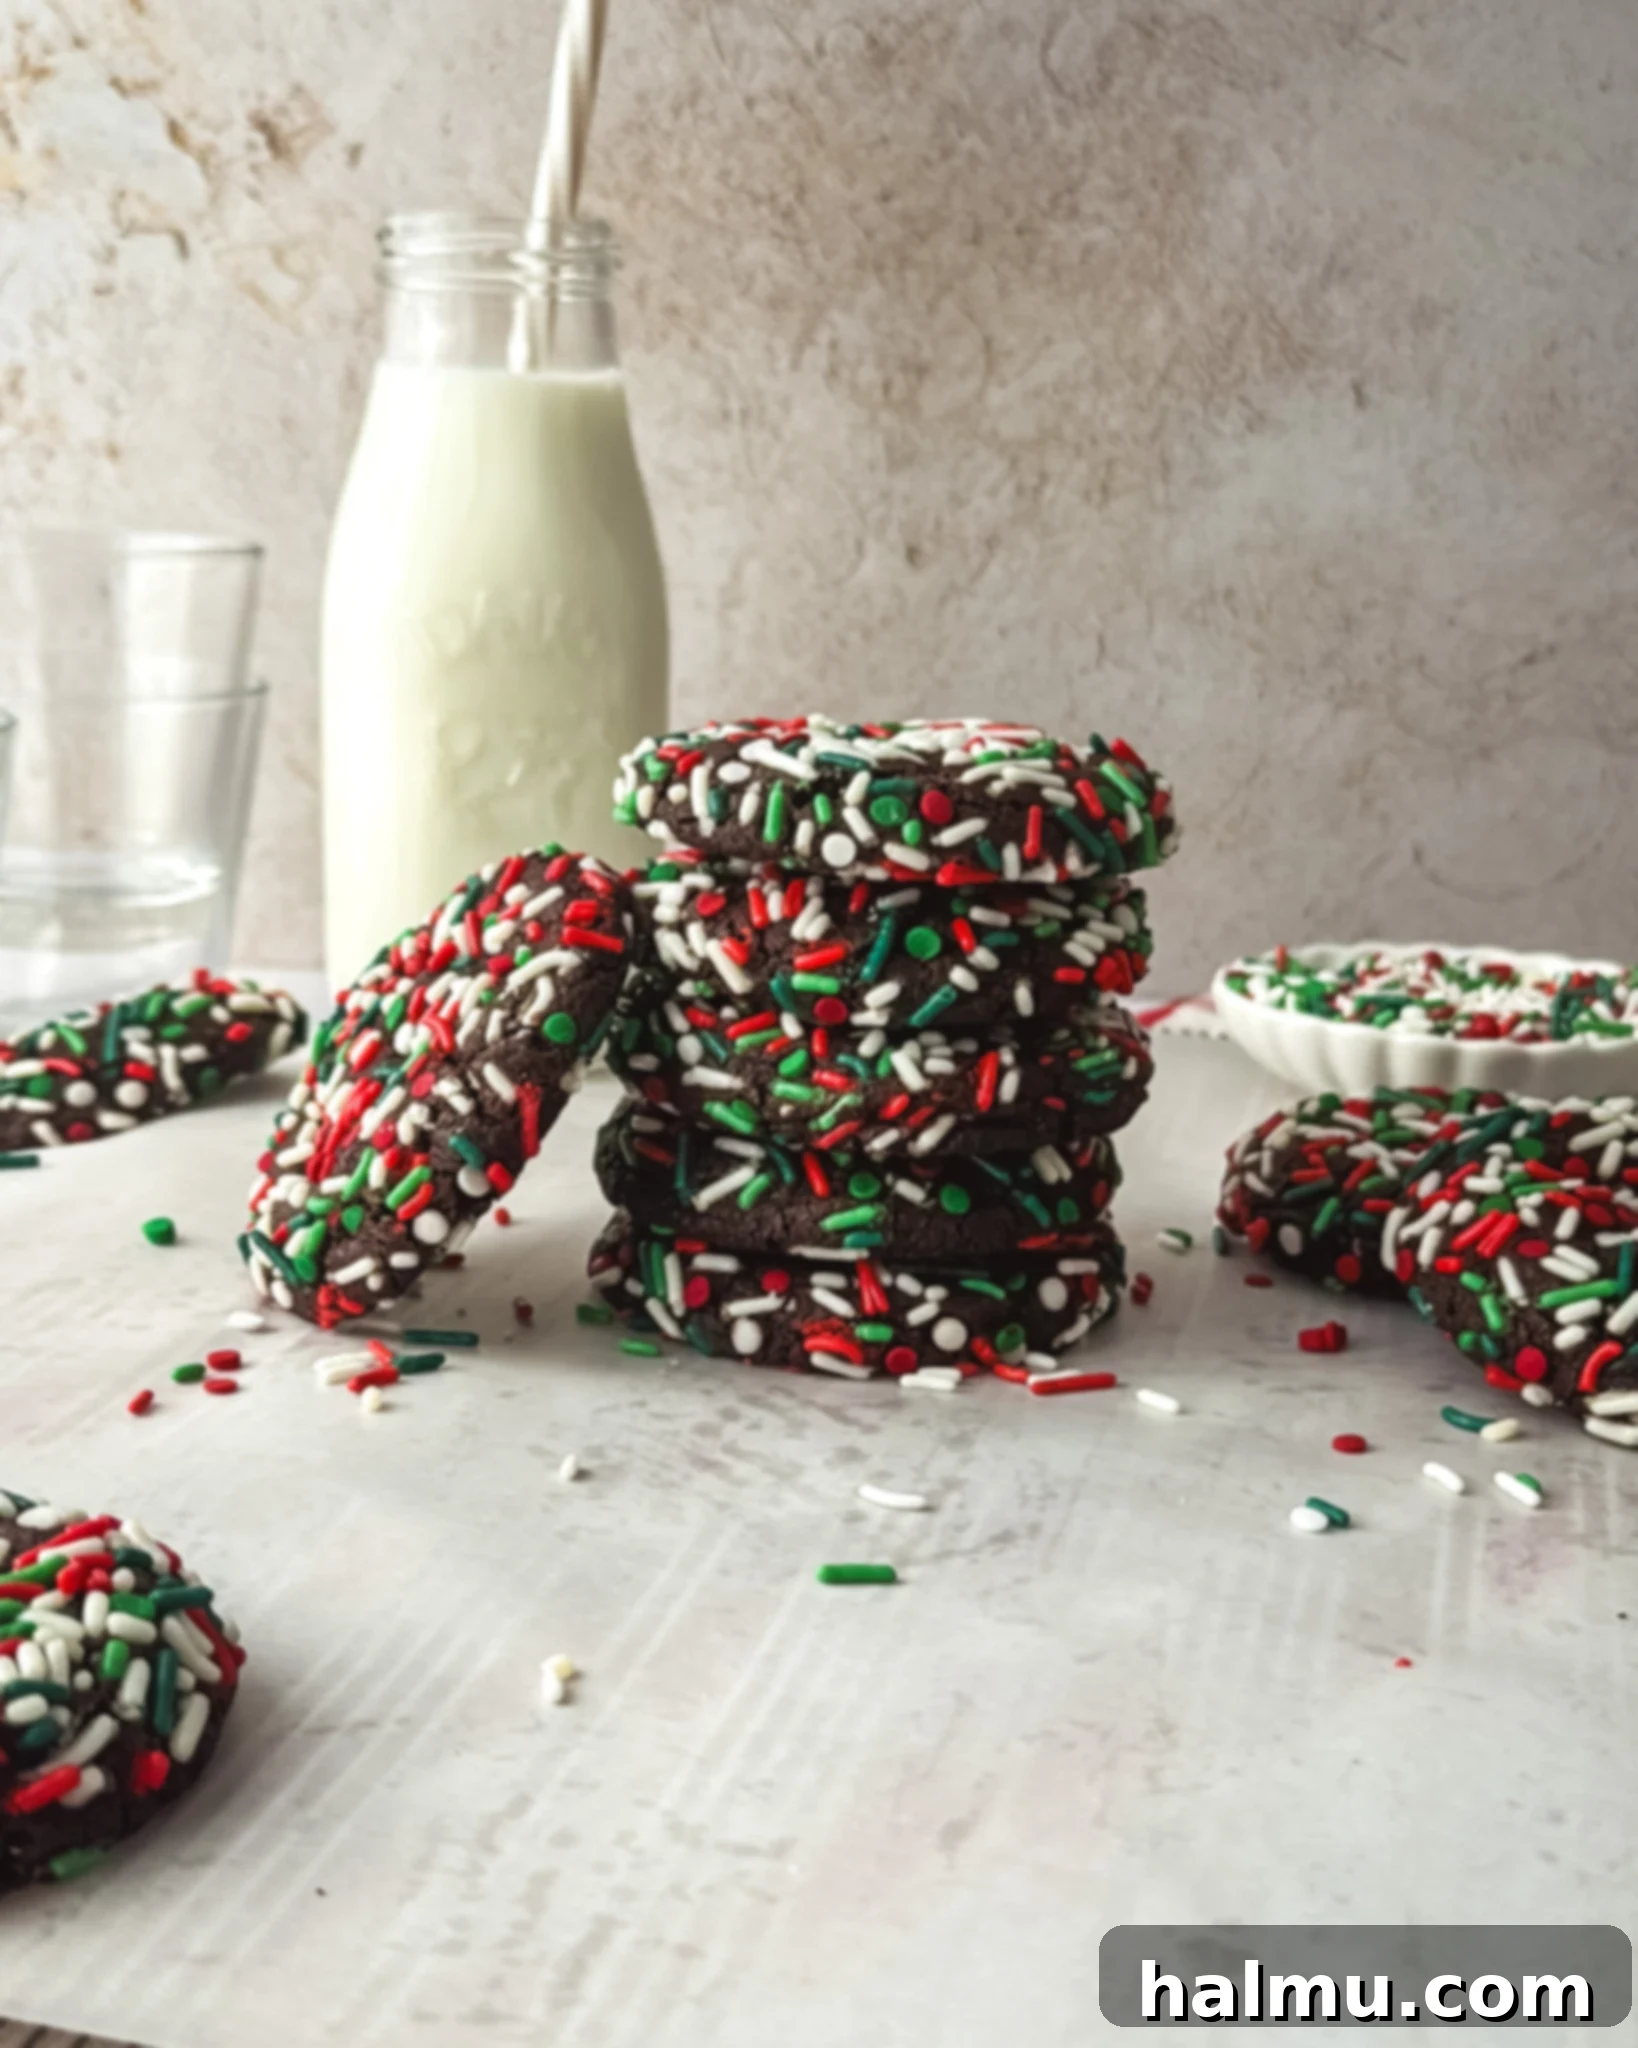
- Visually Stunning: Covered in a generous coat of colorful jimmies, these cookies are a feast for the eyes. They bring a pop of joyful color to any dessert table, making them perfect for parties, celebrations, or simply brightening up an ordinary day.
- Surprisingly Simple to Make: Despite their impressive appearance and flavor, the dough for these cookies comes together quickly in just one bowl, requiring no electric mixer. This makes cleanup a breeze and the baking process a true pleasure.
- Customizable for Any Occasion: From holiday-themed sprinkles to rainbow confetti, these cookies can be effortlessly tailored to fit any event or mood. It’s a versatile recipe that encourages creativity in the kitchen.
Essential Ingredients for Your Best Chocolate Sprinkle Cookies
Crafting the perfect cookie begins with understanding the role of each ingredient. Here’s a closer look at what makes these chocolate sprinkle cookies so special:
- Unsalted Butter: We start with melted unsalted butter, which is key to achieving that signature chewy texture. Using unsalted butter allows you to control the exact amount of salt in the recipe. Make sure it’s melted and then cooled slightly before combining with sugar.
- Granulated Sugar: This provides essential sweetness and also contributes to the cookie’s structure and delightful chewiness. It helps create those slightly crisp edges that contrast beautifully with the soft interior.
- Large Eggs (Room Temperature): Eggs are crucial for binding the ingredients together, adding richness, and providing structure. Bringing your eggs to room temperature before mixing helps them incorporate more evenly into the batter, leading to a smoother dough and a better final texture.
- Vanilla Extract: A splash of good quality vanilla extract enhances all the other flavors, especially the chocolate, adding depth and warmth to the cookies.
- All-Purpose Flour: This forms the backbone of our cookie, providing the necessary structure without making the cookies too dense.
- Cocoa Powder: For an intensely chocolatey flavor, use high-quality cocoa powder. Dutch-processed cocoa powder often yields a darker color and a smoother, less bitter chocolate flavor, which works wonderfully here.
- Instant Espresso Powder (Optional, but Recommended): Don’t skip this if you want truly remarkable chocolate flavor! It doesn’t make the cookies taste like coffee; instead, it deepens and enhances the chocolate notes, making them more pronounced and luxurious.
- Baking Soda: This leavening agent reacts with the cocoa powder (if using natural cocoa) and other acidic ingredients to help the cookies rise slightly and achieve their soft, tender crumb.
- Salt: A crucial flavor enhancer, salt balances the sweetness of the sugar and brings out the richness of the chocolate.
- Jimmies Sprinkles: The star of the show! Jimmies are my preferred choice because they are softer than nonpareils and won’t add an unwanted crunch to your soft, chewy cookies. They also hold their shape beautifully during baking. You can use pre-mixed rainbow jimmies or create your own custom color combinations for themed treats.
How to Master Chocolate Sprinkle Cookies: A Step-by-Step Guide
Making these cookies is a straightforward and rewarding process, even for beginner bakers. Follow these detailed steps to ensure perfectly delicious results every time.
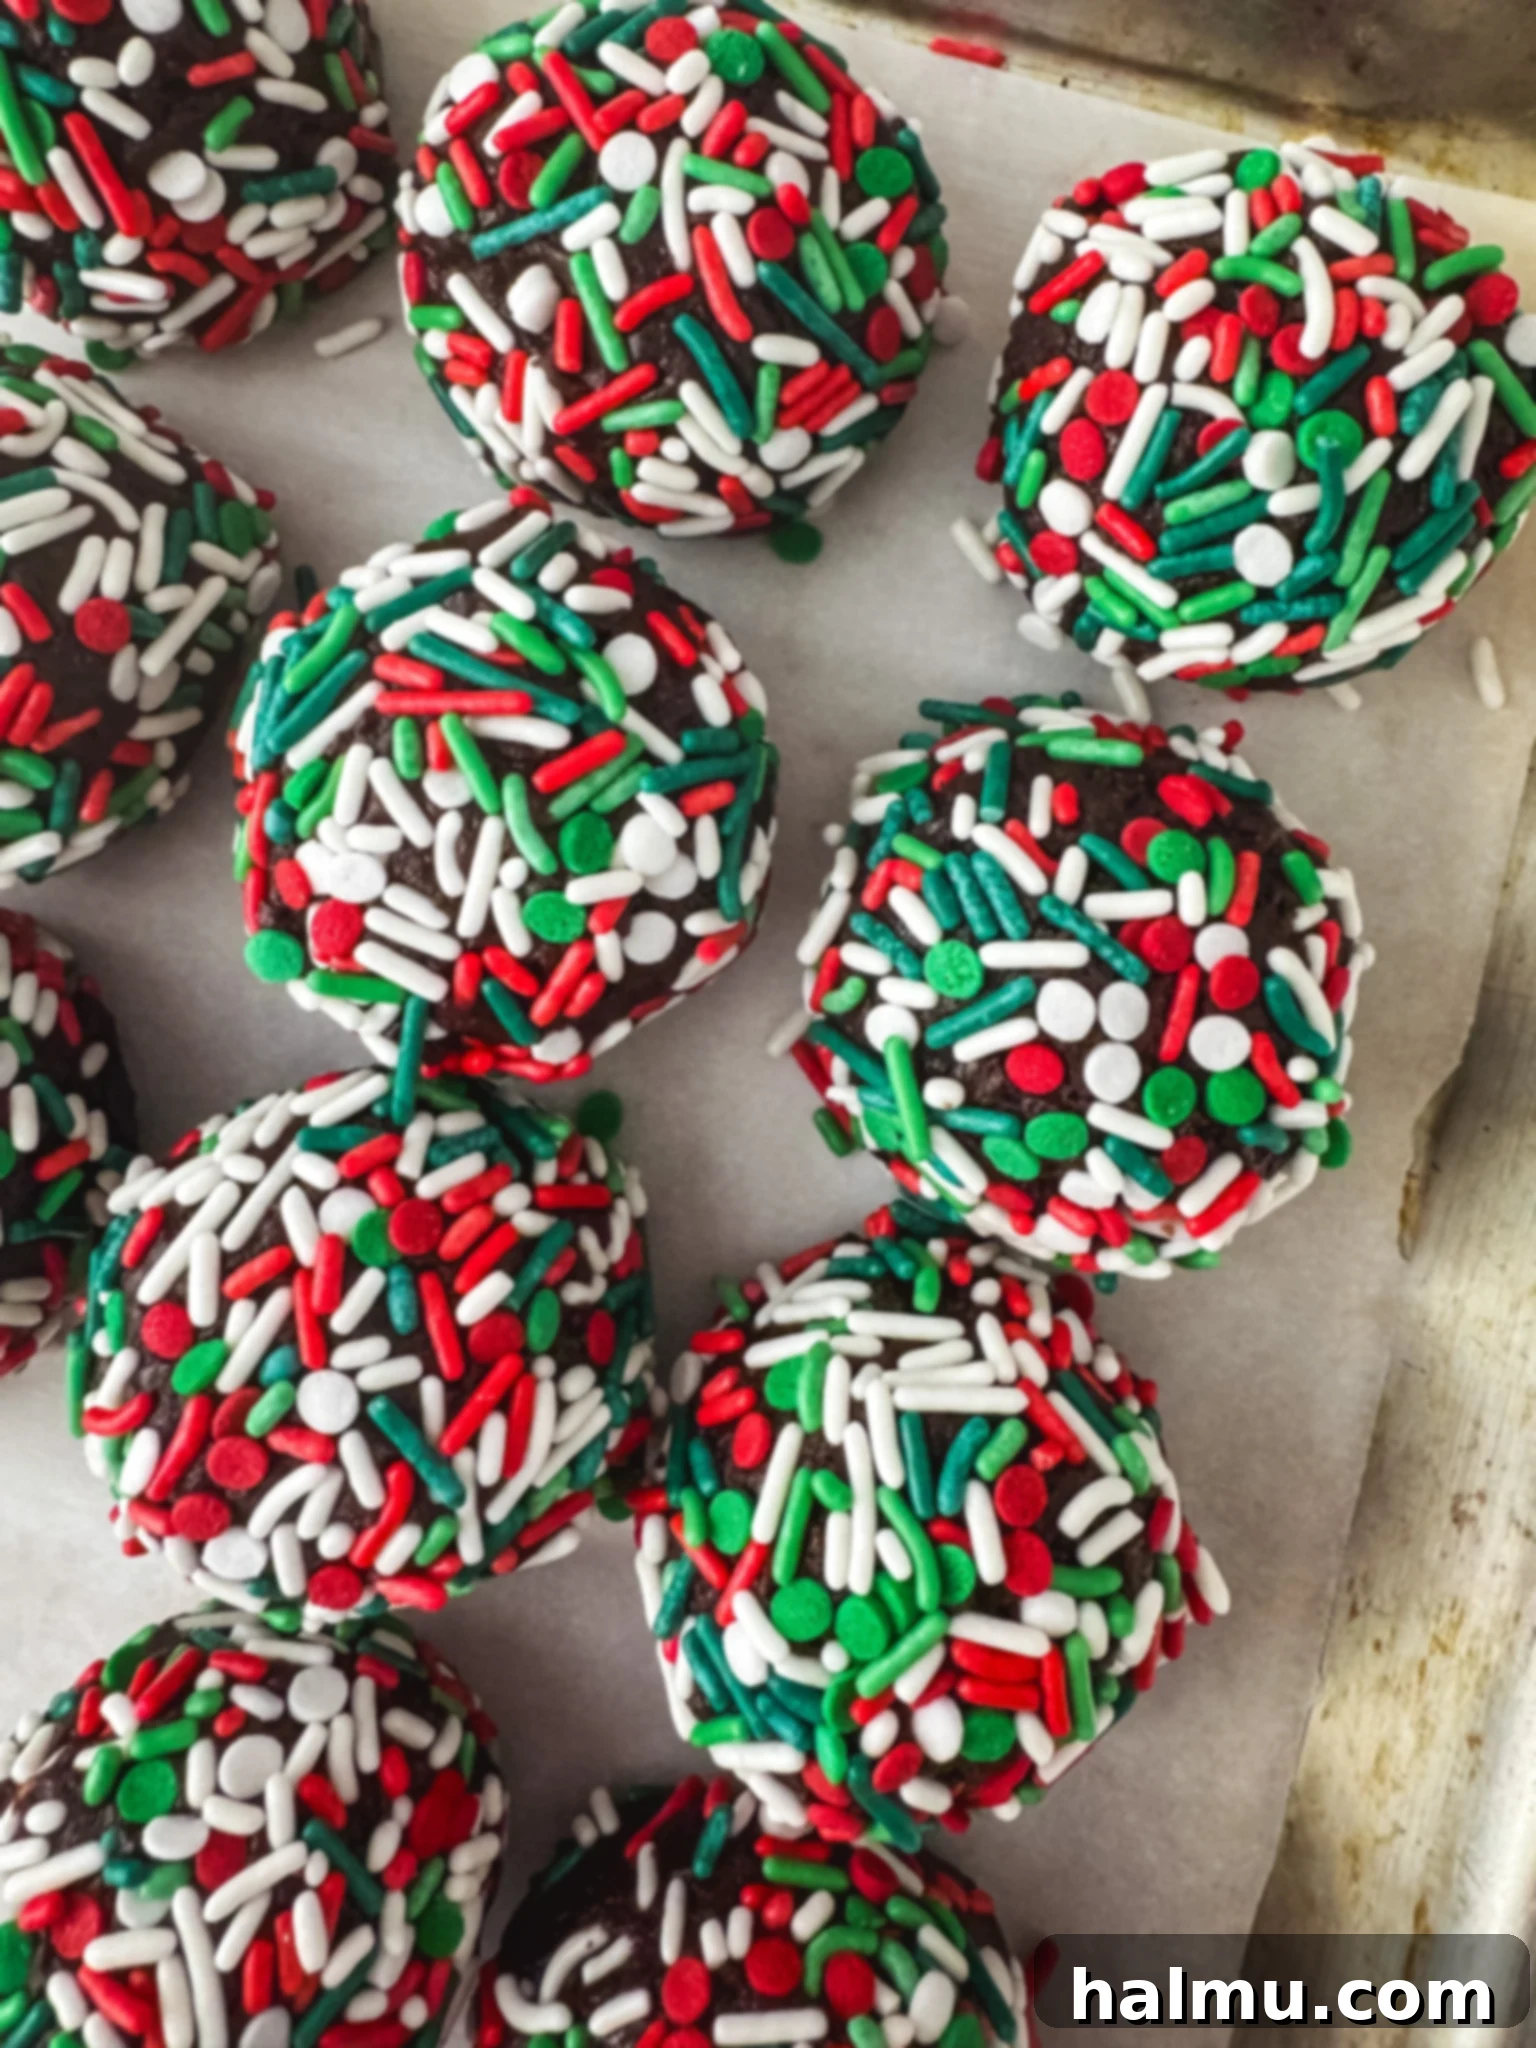
1. Preparing Your Rich Chocolate Dough
Begin by melting your unsalted butter. Once melted, set it aside to cool slightly. In a large mixing bowl, combine the cooled melted butter with the granulated sugar. Whisk vigorously until they are thoroughly combined and the mixture looks smooth. Next, crack in your room temperature eggs and pour in the vanilla extract. Continue whisking until the mixture noticeably lightens in color and becomes airy, typically taking about 30 seconds to a minute. This step incorporates air, contributing to the cookies’ light yet chewy texture. Finally, gently fold in the dry ingredients: all-purpose flour, cocoa powder, optional instant espresso powder, baking soda, and salt. Mix until just combined, being careful not to overmix, as this can lead to tough cookies. The dough will be soft.
2. Perfecting Your Cookie Scoops
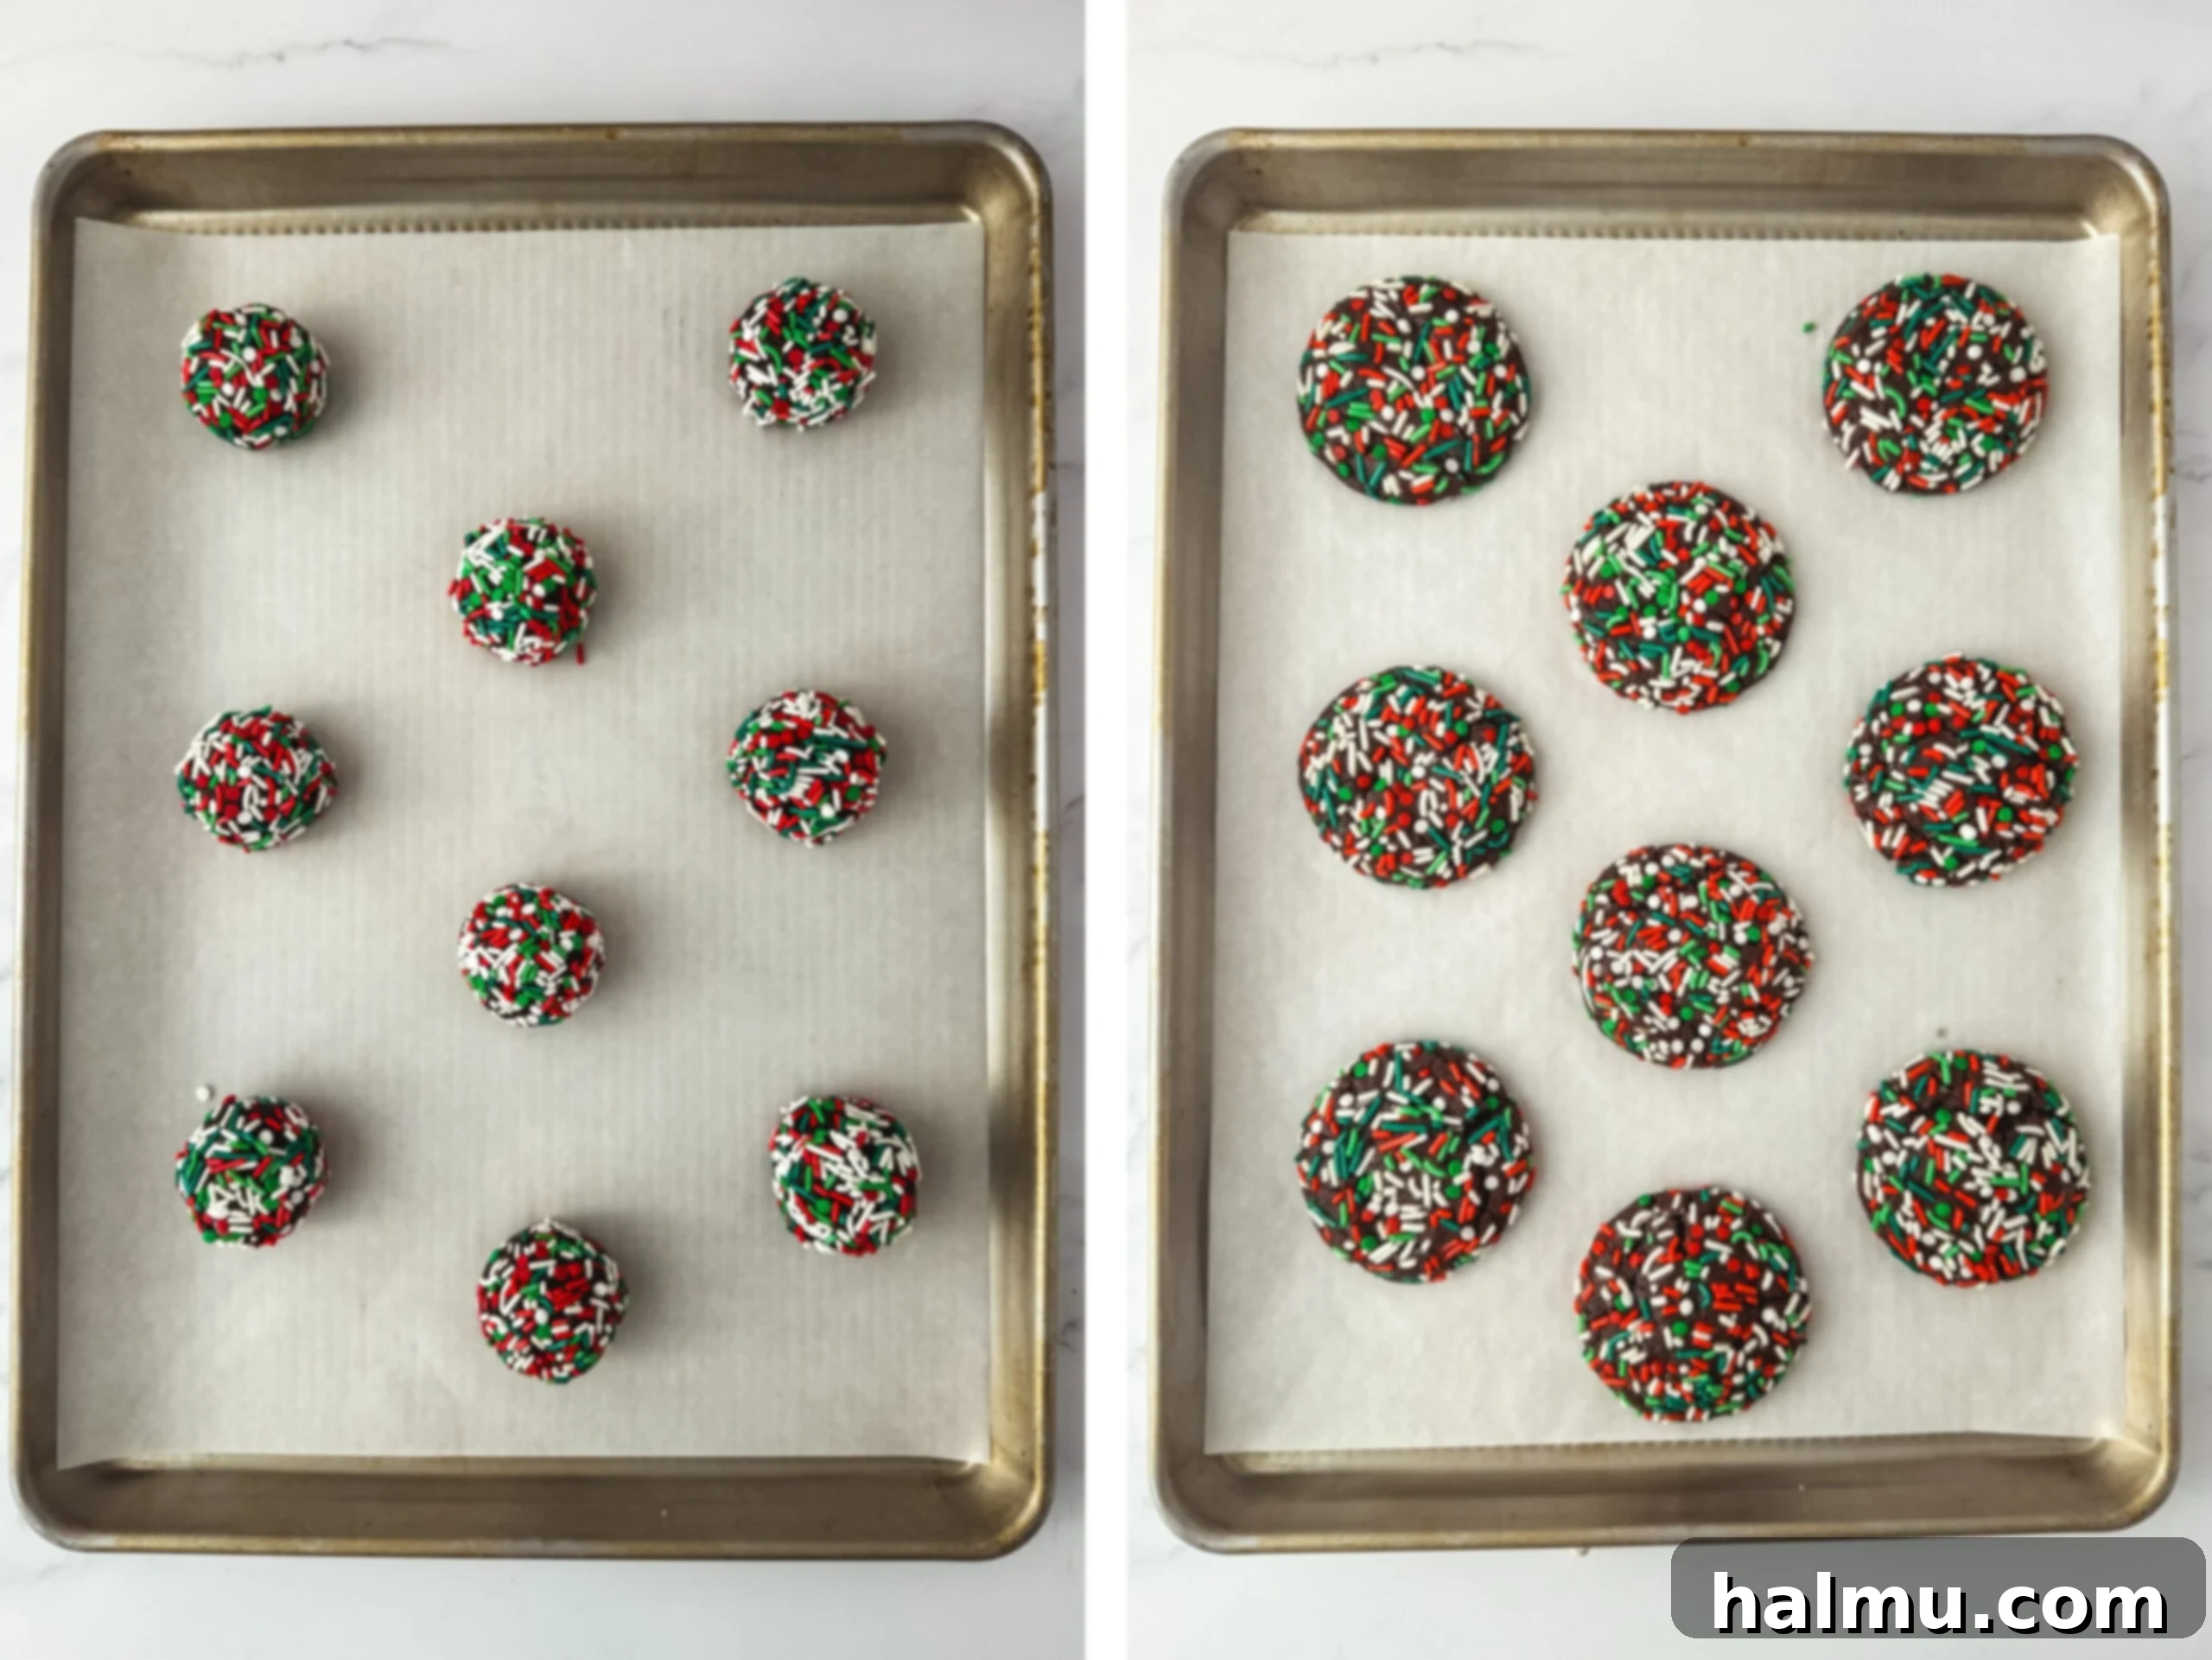
Once your luscious chocolate dough is ready, it’s time to portion it out. I highly recommend using a size #30 cookie scoop, which holds approximately 2 tablespoons or 1 ounce of dough. This ensures uniform cookie size, leading to even baking. For the vibrant sprinkle coating, dunk the top, rounded part of each dough scoop directly into your bowl of jimmies sprinkles. Gently press to adhere the sprinkles, and reshape the dough ball as needed to maintain a perfectly rounded top. Arrange the sprinkle-covered dough balls on a small pan lined with parchment paper, leaving a little space between each.
3. The Crucial Chill Time
This step is non-negotiable for achieving the ideal texture and preventing excessive spreading. Once your dough balls are scooped and sprinkled, they need to chill in the refrigerator for a minimum of 30 minutes. Why is this so important? The melted butter in the dough needs time to re-solidify. If baked immediately, the cookies would spread too much, resulting in flat, crispy disks rather than thick, chewy delights. Chilling also allows the flour to fully hydrate, which improves the cookie’s texture and gives the ingredients more time to meld, developing an even deeper, more complex chocolate flavor. Resist the urge to skip this step!
4. Baking to Perfection
While your cookie dough is chilling, preheat your oven to 350°F (175°C). Line two baking sheets with parchment paper or silicone baking mats. Parchment paper ensures non-stick baking and easy cleanup. Once the dough has chilled, place the prepared cookie dough scoops on the lined baking sheets, ensuring they are spaced at least 2 inches apart to allow for proper airflow and prevent them from spreading into each other. Bake for 10-12 minutes. You’ll know they’re done when the edges are set and slightly firm, but the centers still look slightly soft. Overbaking will result in a dry cookie. For a truly gooey cookie experience, enjoy them warm straight from the oven. If you prefer a chewier texture, allow them to cool completely on the baking sheet before transferring to a wire rack.
Essential Baking Tools for Your Kitchen
Having the right tools can make all the difference in your baking journey. Here are some of my favorite and most recommended supplies for creating these (and many other) delicious cookies:
Favorite Tools & Supplies
See more in my Amazon Storefront
Baking Tip: Weigh Your Ingredients!
I highly recommend using a kitchen scale to weigh your ingredients rather than using measuring cups because it is the most accurate way to bake. Weighing your ingredients will give you more consistent results with your recipes and a better success rate, every time. Using a scale also saves you dishes which means easier cleanup! I provide gram measurements in all my recipes and this is the scale I love to use.
Frequently Asked Questions About Chocolate Sprinkle Cookies
Q: What are the best sprinkles to use for these cookies?
A: For these cookies, I highly recommend using jimmies sprinkles. They have a softer texture than nonpareils, which means they won’t add an unwanted crunch to your delightfully soft and chewy chocolate cookies. Jimmies also maintain their shape and vibrant colors beautifully during baking. You can easily find pre-mixed rainbow jimmies or purchase individual colors to create your own custom festive blends for specific holidays or themes.
Q: What size cookie scoop is best for this recipe?
A: I typically use a #30 size cookie scoop for this recipe, which yields cookies of approximately 2 tablespoons or 1 ounce of dough. This size creates a substantial, satisfying cookie. However, feel free to adjust the size according to your preference! If you opt for larger cookies, you may need to increase the baking time by a minute or two. For smaller cookies, reduce the baking time slightly to prevent overbaking.
Q: Do I really need to chill the cookie dough?
A: Yes, chilling the cookie dough is a crucial step that should not be skipped! Because this recipe uses melted butter, the dough is quite soft. Refrigerating the dough balls for at least 30 minutes allows the fat (butter) to re-solidify. This firmness prevents the cookies from spreading too much in the oven, ensuring they maintain their thick, chewy texture rather than becoming flat and crispy. Beyond preventing spread, chilling also gives the flour in the dough time to fully hydrate, which leads to a more tender crumb, and it allows all the flavors to meld together, resulting in a richer, deeper chocolate taste.
Q: What’s the best way to store these chocolate sprinkle cookies?
A: To keep your baked chocolate sprinkle cookies fresh, store them in an airtight container or a zip-top bag at room temperature. They will maintain their delicious texture and flavor for up to 3 days. For optimal freshness, ensure they are completely cooled before storing.
Q: Can I freeze these cookies?
A: Absolutely! These chocolate sprinkle cookies freeze beautifully, both baked and as raw dough balls.
- To freeze baked cookies: Arrange the completely cooled cookies in a single layer on a baking sheet and freeze for at least an hour, or until they are firm. Once frozen solid, transfer them to an airtight freezer-safe container or a heavy-duty zip-top bag, layering them with parchment paper to prevent sticking. They can be frozen for up to 3 months. To enjoy, simply remove them from the freezer and let them thaw at room temperature for 3-4 hours or overnight.
- To freeze raw cookie dough balls: Follow the instructions for scooping and sprinkling. Place the dough balls on a parchment-lined baking sheet and freeze until solid, about 1-2 hours. Then transfer to an airtight container or freezer bag. When ready to bake, place frozen dough balls on a lined baking sheet and add 2-3 minutes to the baking time.
Q: How can I ensure my cookies bake evenly?
A: For even baking, always preheat your oven thoroughly. An oven thermometer can help verify your oven’s true temperature. When placing cookies on the baking sheet, ensure they are spaced at least 2 inches apart. If baking multiple trays at once, rotate the sheets halfway through the baking time (e.g., top to bottom, front to back) to ensure consistent results.
Pro Tips for Baking Exceptional Chocolate Sprinkle Cookies
Elevate your cookie game with these expert tips:
- Use Quality Ingredients: The better your cocoa powder and vanilla extract, the richer and more flavorful your cookies will be.
- Don’t Overmix: Once the dry ingredients are added, mix only until just combined. Overmixing develops gluten, which can make cookies tough.
- Chill Faithfully: As mentioned, chilling is paramount for texture and flavor. Don’t rush it!
- Bake Until Just Set: Remove cookies from the oven when the edges are set and the centers still look slightly underbaked. They will continue to cook slightly on the hot baking sheet, resulting in that perfect fudgy center.
- Cool on the Sheet: Allow the cookies to cool on the baking sheet for 5-10 minutes before transferring them to a wire rack. This helps them set and prevents them from breaking.
- Get Creative with Sprinkles: Don’t limit yourself! Think outside the box for sprinkle combinations to match birthdays, baby showers, or seasonal themes.
- Weigh Your Ingredients: For consistent, professional-level results, always use a digital kitchen scale to measure flour and other dry ingredients. It’s the most accurate method!

Discover More Delightful Cookie Recipes
If you loved these Chocolate Sprinkle Cookies, you’re in for a treat! Explore some of our other cherished cookie recipes perfect for any occasion:
- White Chocolate Pistachio Cookies
- Chocolate Candy Cane Crunch Cookies
- Peanut Butter Monster Cookies
- Ginger Molasses Cookie Sandwiches
- Lemon Curd Cookies
If you make this recipe and love it, be sure to leave a comment below. Happy baking!
Chocolate Sprinkle Cookies
These festive Chocolate Sprinkle Cookies are soft, fudgy, and coated in bright, cheery sprinkles. Switch up the sprinkle colors and enjoy these cookies for any occasion!
Author: Rachel
Prep Time: 20 mins
Cook Time: 12 mins
Chill Time: 30 mins
Total Time: 1 hr
Yield: 22 cookies
Ingredients
- 1 cup (2 sticks or 226g) unsalted butter
- 1 ⅓ cup (300g) granulated sugar
- 2 large eggs, at room temperature
- 2 teaspoons vanilla extract
- 2 cups (260g) all-purpose flour
- ⅔ cup (70g) cocoa powder
- 1 teaspoon instant espresso powder, optional
- 1 teaspoon baking soda
- ½ teaspoon salt
- ⅔ cup (140g) jimmies sprinkles
Instructions
- Melt the butter and allow it to cool slightly. In a large mixing bowl, add the melted butter and sugar. Whisk until thoroughly combined.
- Mix in the egg and vanilla extract and whisk until the mixture lightens in color, about 30 seconds – 1 minute. Fold in the flour, cocoa powder, espresso powder, baking soda, and salt until combined.
- Scoop the cookies onto a small pan lined with parchment paper, using a 2 Tablespoon (size #30 or 1 oz.) cookie scoop. Dip the top/rounded part of each scoop of cookie dough into the sprinkles. Place the dough balls back on the pan and refrigerate for 30 minutes before baking.
- Preheat oven to 350°F (175°C). Line 2 baking sheets with parchment paper or a silicone mat.
- Place the chilled cookie dough scoops on the prepared baking sheets, spacing them at least 2 inches apart. Bake for 10-12 minutes. Allow to cool and enjoy!
Did you make this recipe? Be sure to tag @sweetkitchencravings on Instagram!

HI THERE!
I’m Rachel
I’m the dessert lover, recipe developer, and content creator behind Sweet Kitchen Cravings. Here you’ll find classic yet special recipes that are sure to impress your loved ones!
MORE ABOUT RACHEL
