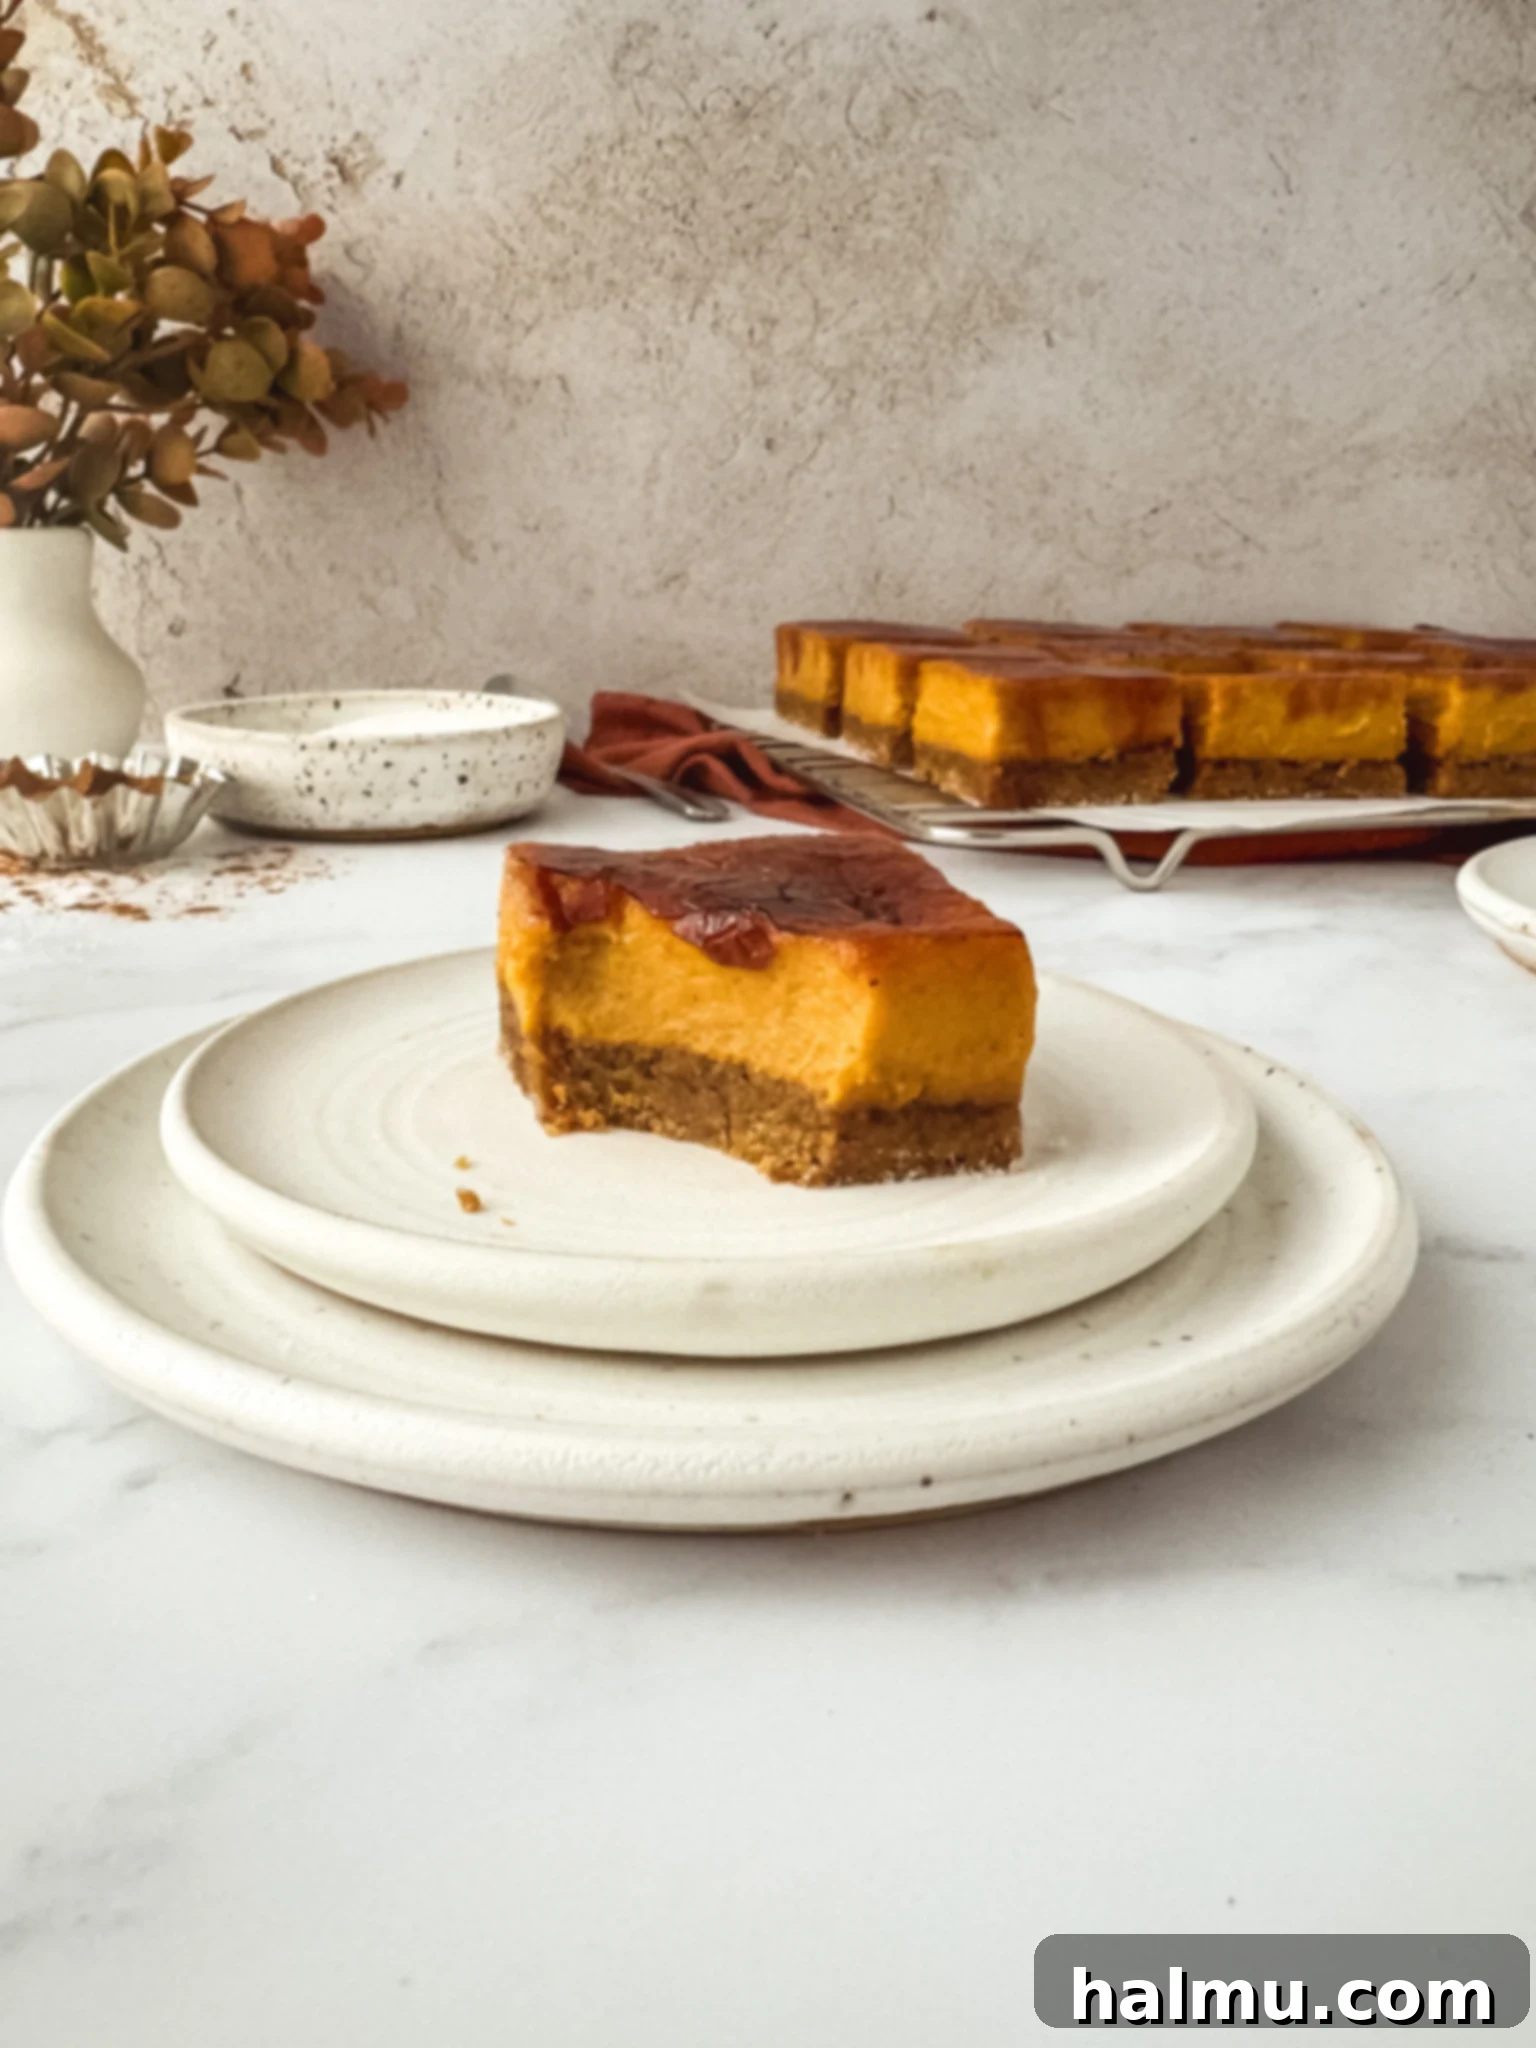
Pumpkin Spice Crème Brûlée Bars: A Decadent Fall Dessert
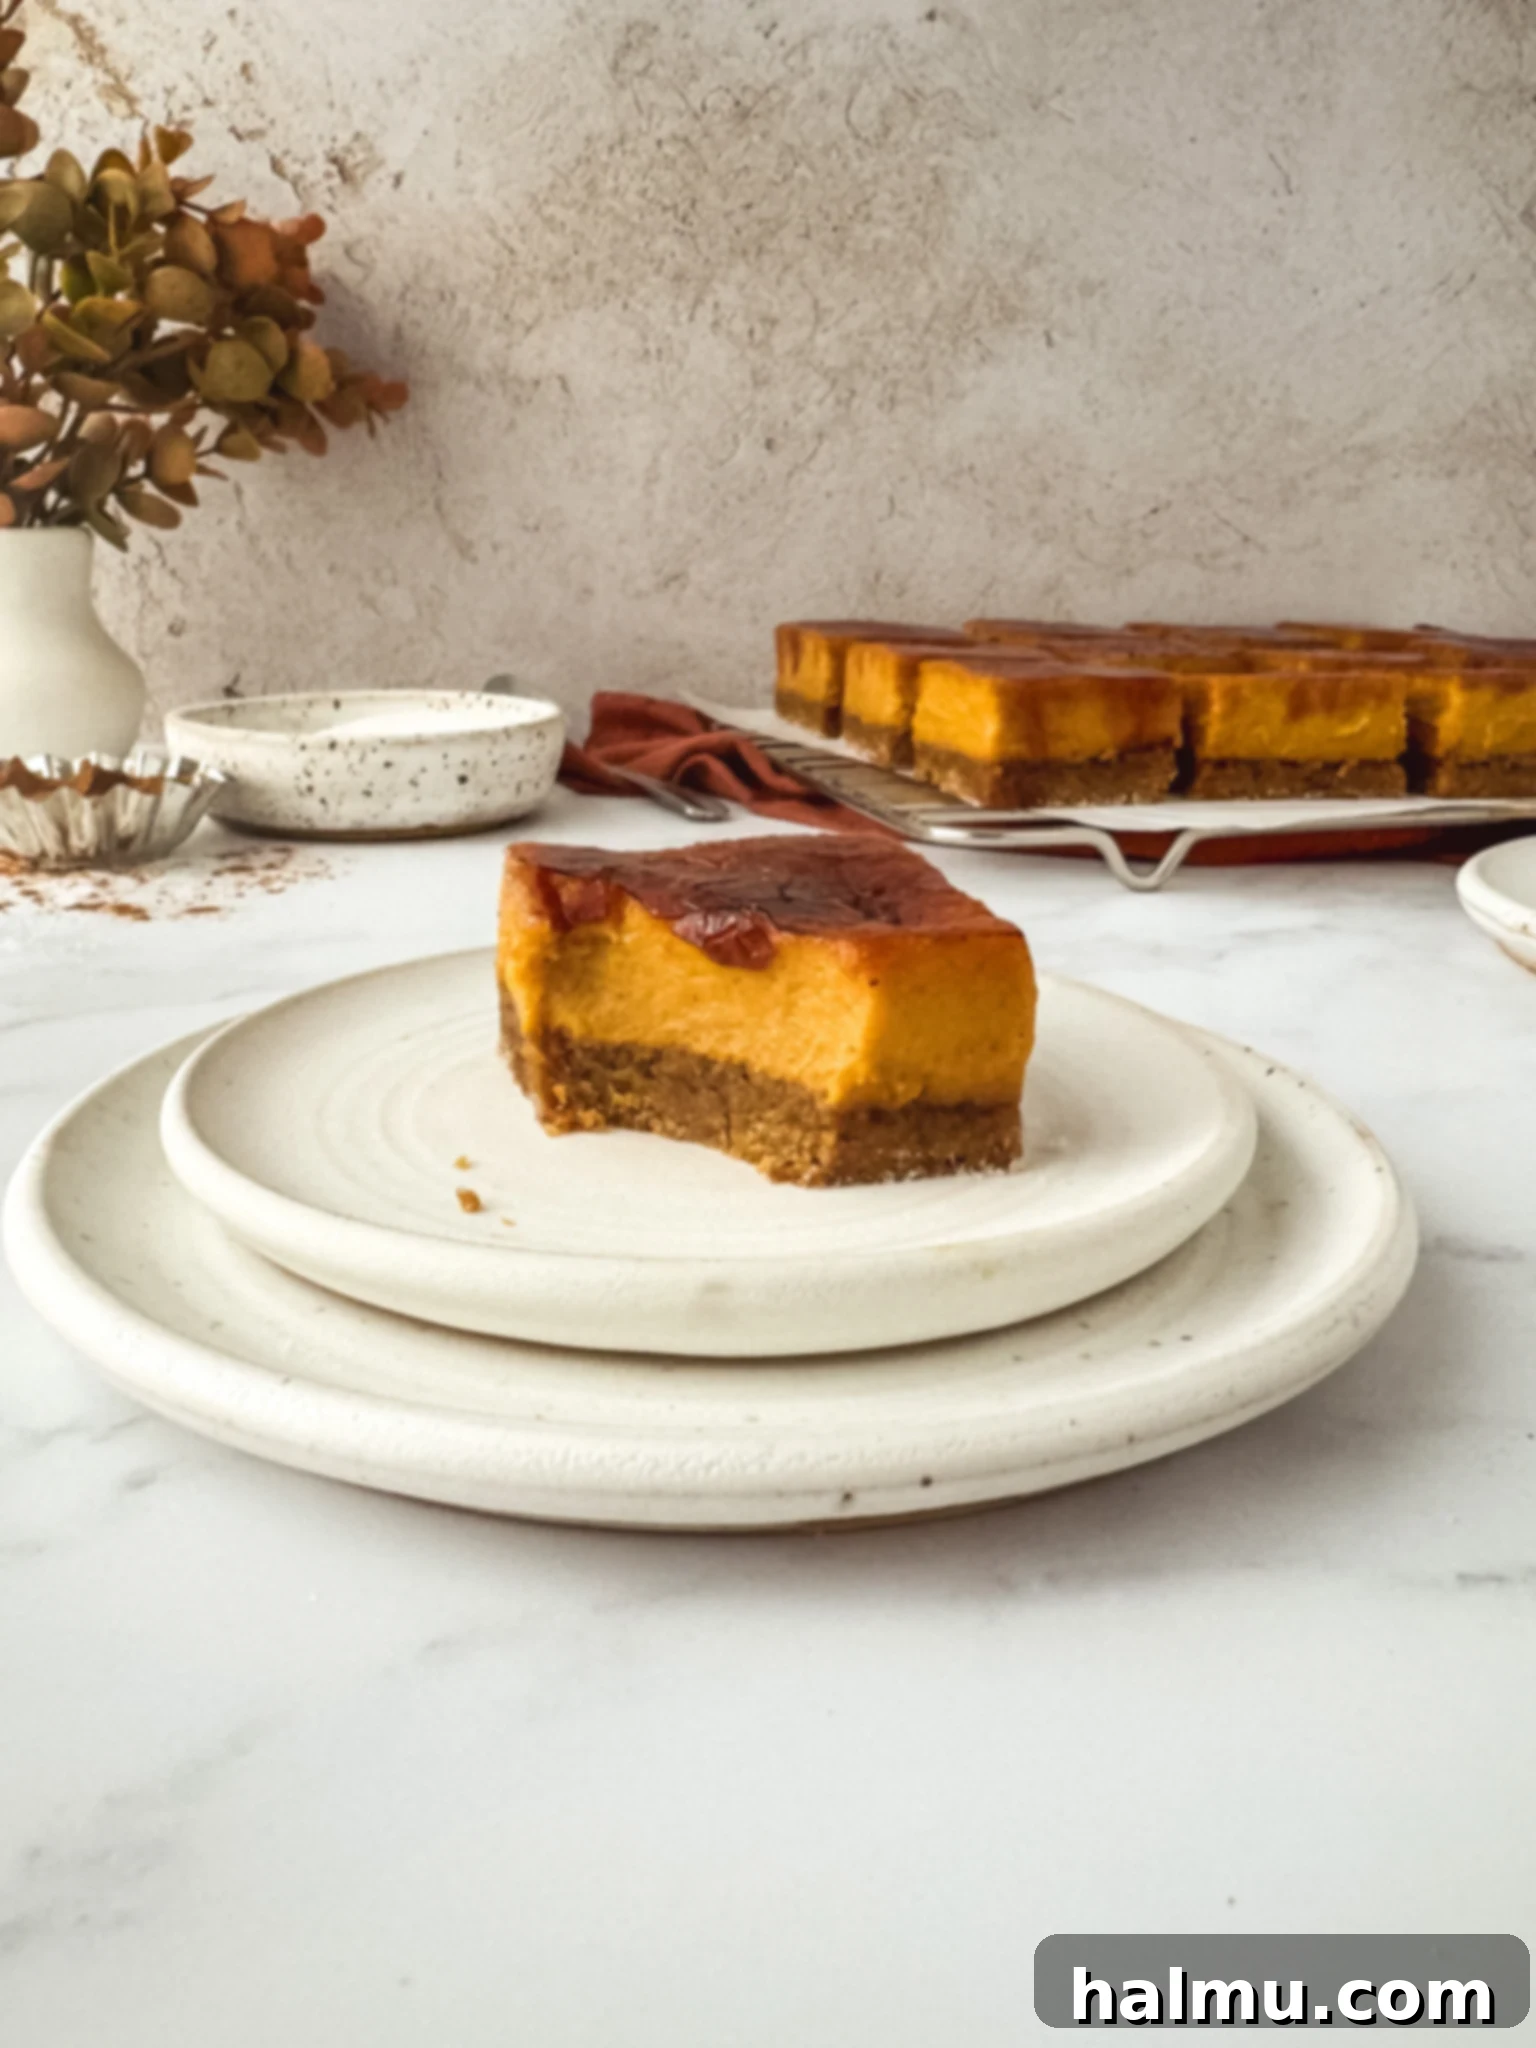
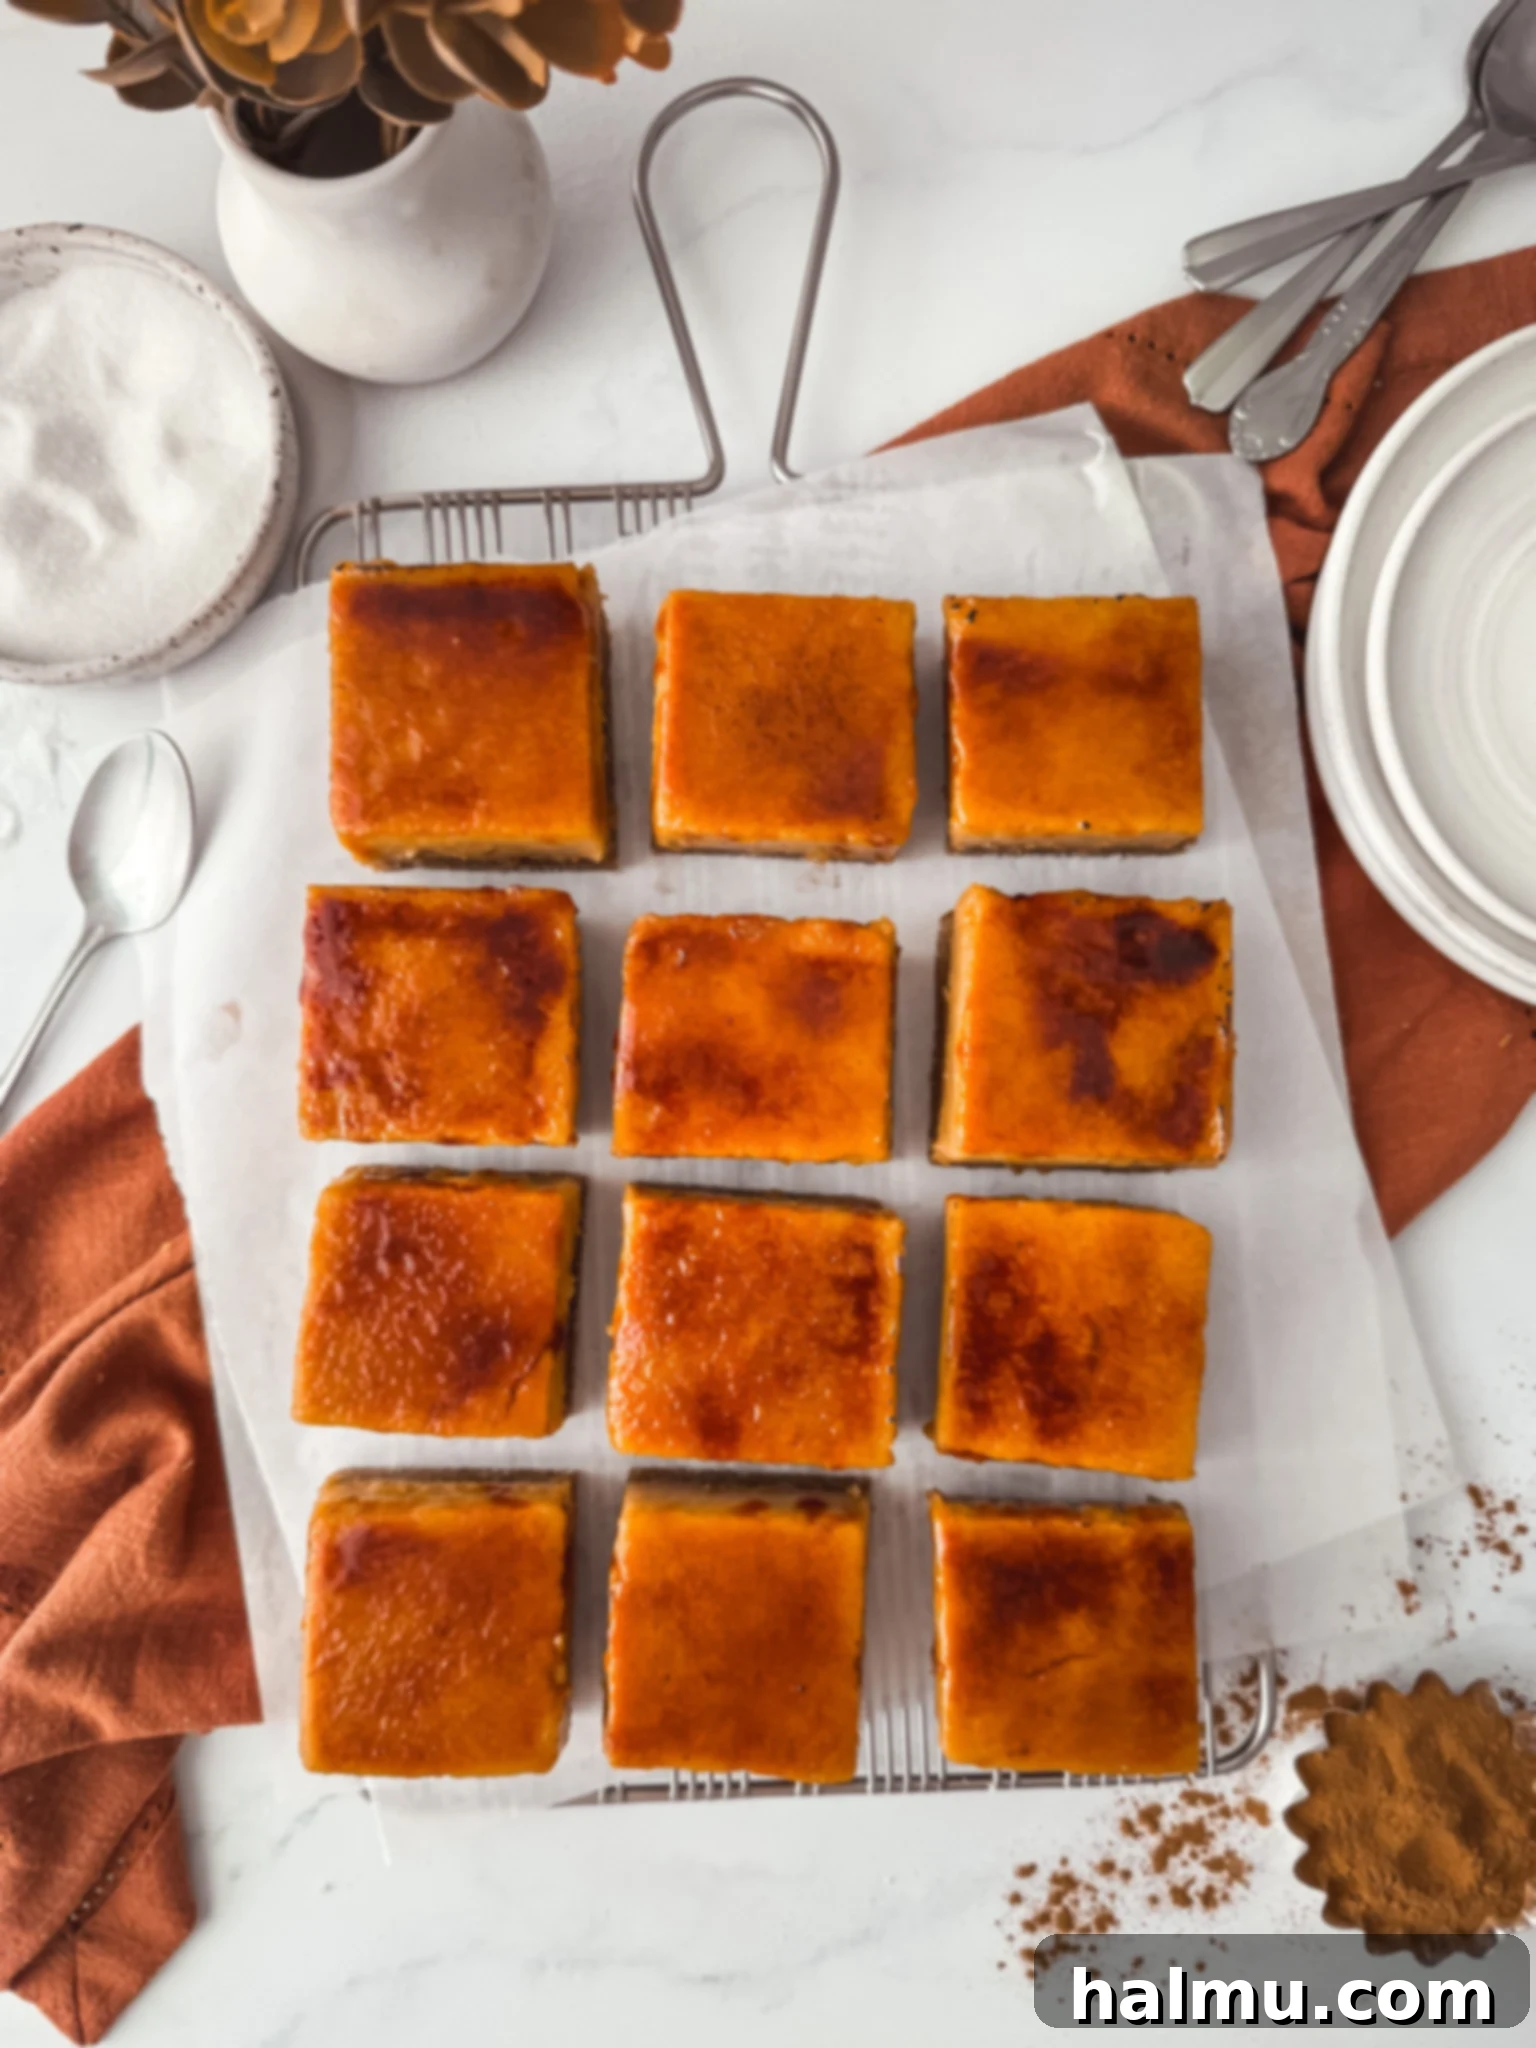
Embrace the cozy essence of autumn with these exquisite Pumpkin Spice Crème Brûlée Bars. This unique dessert beautifully marries the comforting warmth of gingerbread with the classic crackle and creamy texture of crème brûlée, all enveloped in the rich flavors of pumpkin spice. Inspired by the highly popular Lemon Brûlée Bars that have become a beloved staple, this seasonal adaptation elevates the concept to new heights of indulgence. Instead of a traditional crumbly shortbread, these bars feature a delightfully chewy gingerbread blondie base. This robust foundation is then generously topped with a velvety smooth, spiced pumpkin pastry cream. The combination of fragrant warm spices, the luxurious custard, and the signature caramelized sugar topping makes this dessert an absolute must-try for Thanksgiving, Christmas, or any festive gathering during the cooler months. Prepare to impress your guests with a truly unforgettable treat that captures the very spirit of the holidays.
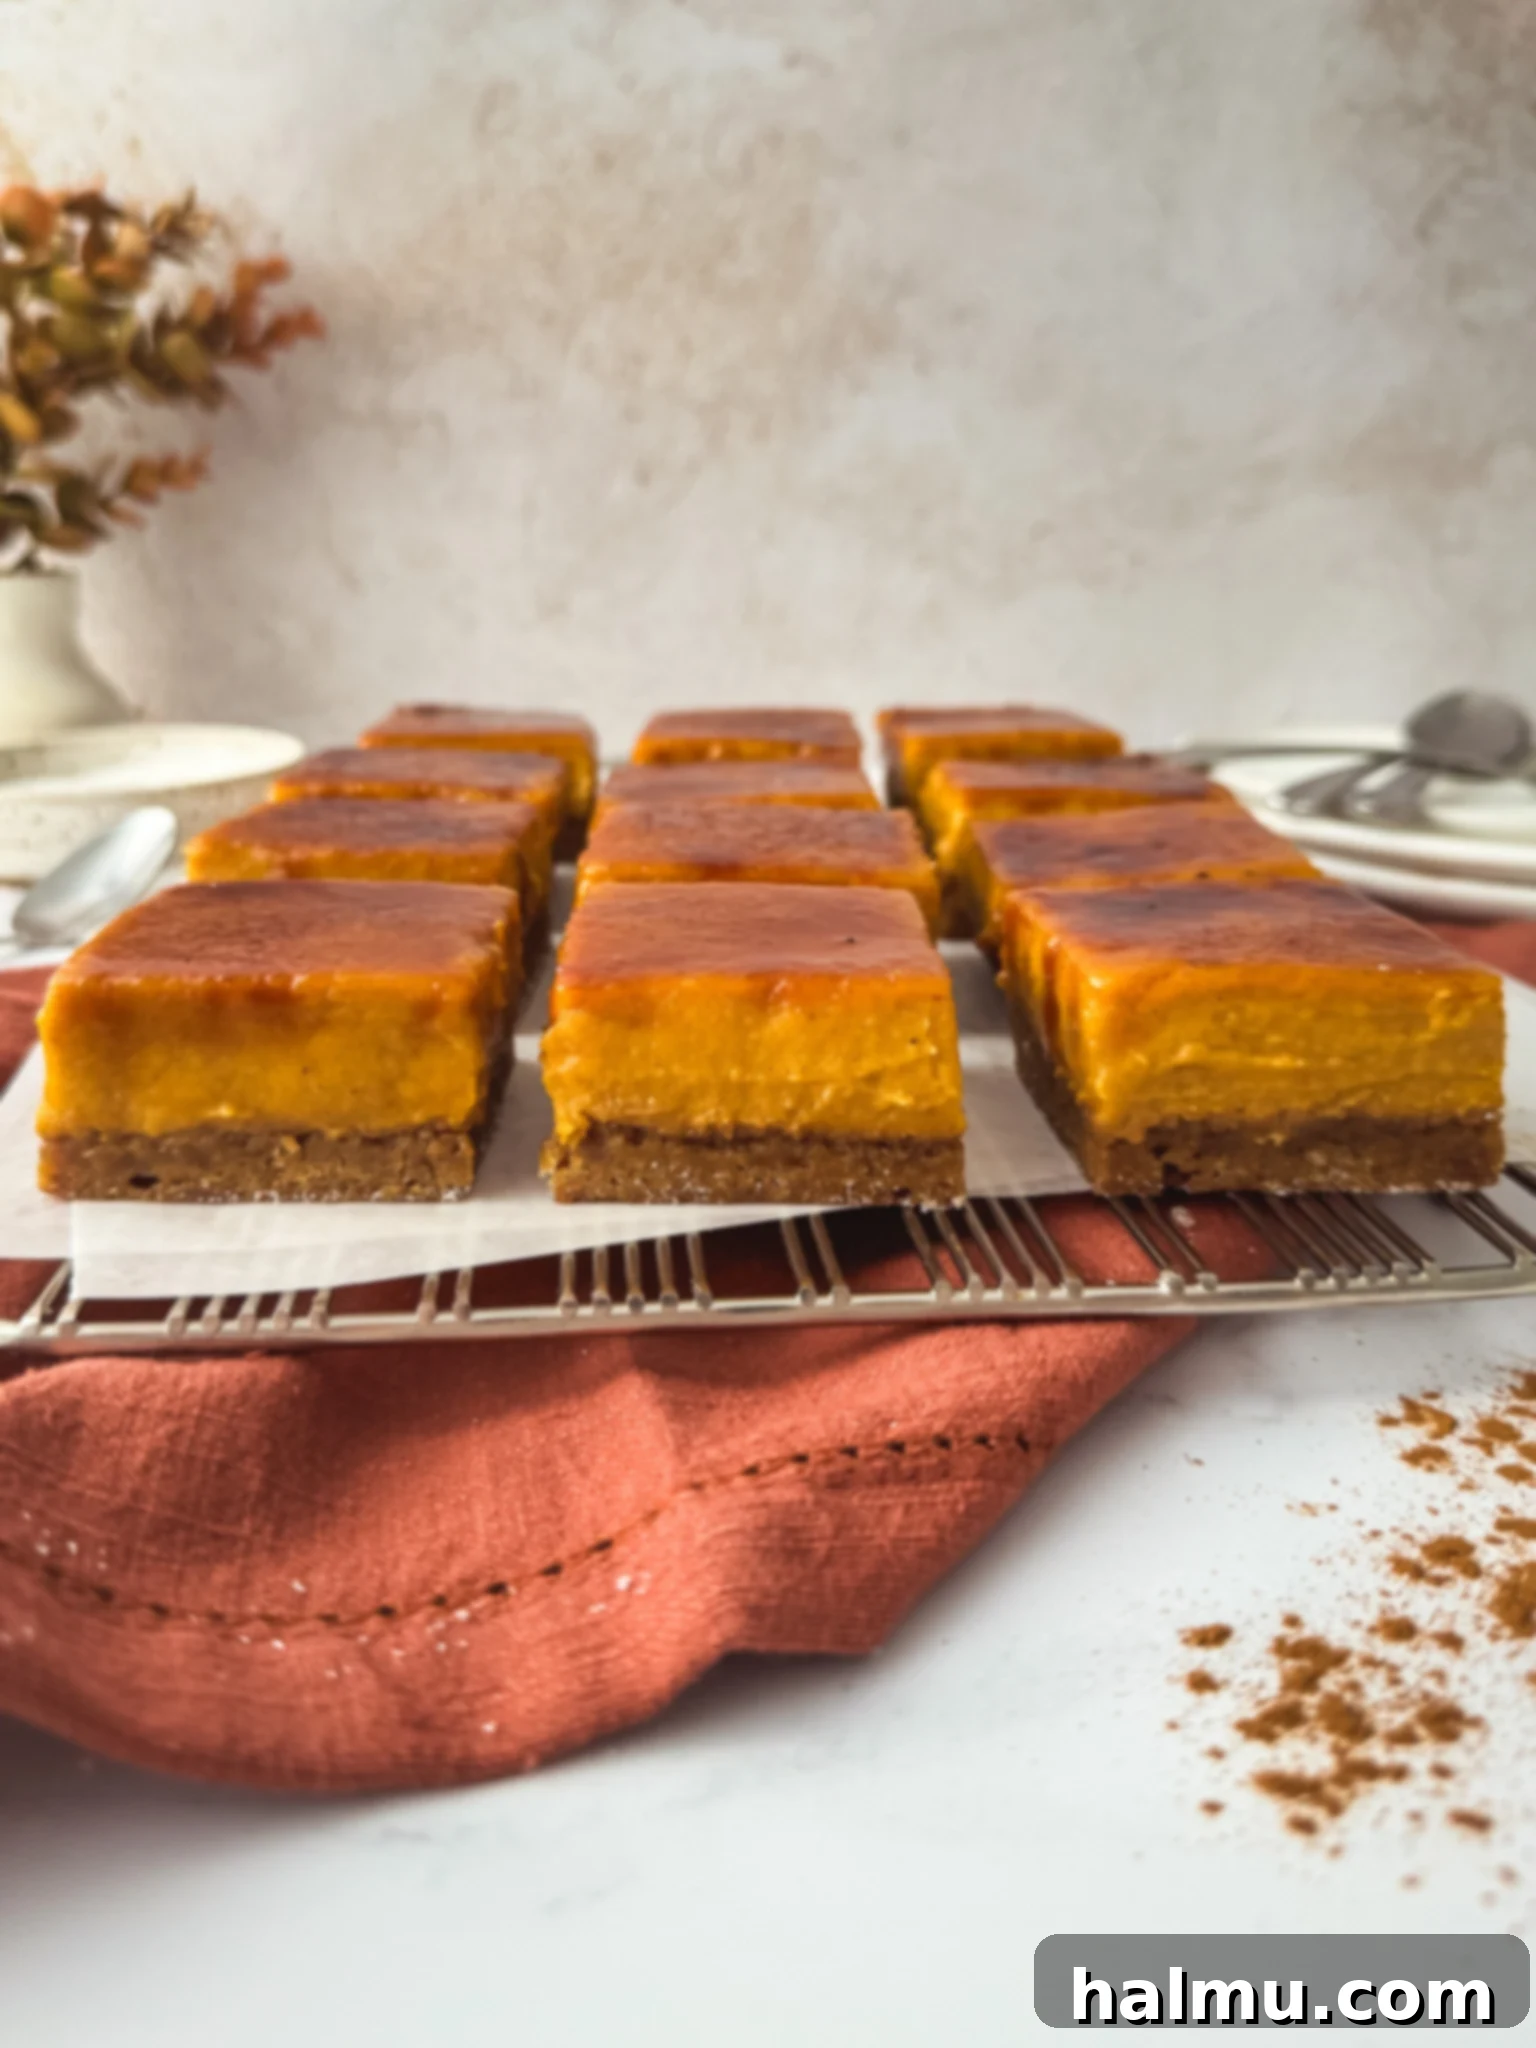
The Layers of Perfection
Each component of these Pumpkin Spice Crème Brûlée Bars is crafted to contribute to a harmonious and complex flavor profile, creating a dessert that is both familiar and exciting. Let’s delve into what makes each layer so special.
Chewy Gingerbread Blondie Base
The journey to creating these irresistible bars begins with a soft, chewy gingerbread blondie base. Drawing inspiration from our collection of popular blondie recipes, such as the White Chocolate Cranberry Blondies, this gingerbread version is specifically designed to complement the rich pumpkin custard. The addition of dark molasses, aromatic cinnamon, and spicy ginger transforms a classic blondie into a perfectly spiced, cookie-like layer. This base is baked independently before the luscious pumpkin custard is added, ensuring it achieves an ideal chewy texture that can stand up to the creamy topping. The bold, warm spices of the gingerbread harmonize beautifully with the delicate creaminess of the custard, providing a foundational flavor that sings of the holiday season. Its soft yet substantial chewiness offers a delightful contrast to the silky custard above, making every bite a multi-textured experience.
Velvety Pumpkin Spice Custard
The heart of these bars is a thick, incredibly creamy pumpkin spice custard. The preparation begins by meticulously whisking together granulated sugar, brown sugar, cornstarch (as a thickening agent), and a fragrant blend of cinnamon, nutmeg, and a pinch of salt. These dry ingredients are then combined with rich egg yolks and smooth pumpkin puree, creating a vibrant orange base. Gradually, whole milk and heavy cream are slowly streamed into the mixture, ensuring a seamless incorporation and preventing any lumps. This custard is then gently cooked on the stovetop for approximately 10 to 15 minutes. The secret to its perfect consistency lies in constant whisking; this prevents the custard from sticking to the pan or scorching, resulting in a perfectly smooth and evenly cooked mixture that thickens beautifully and gently bubbles. Once removed from the heat, a splash of pure vanilla extract and a few cubes of unsalted butter are stirred in. The vanilla enhances the overall flavor, while the butter adds an unparalleled velvety texture and aids in solidifying the custard as it chills. This decadent custard is then spread over the warm gingerbread layer and briefly baked to set the top, preparing it for its grand finale.
The Dramatic Brûlée Topping
While the gingerbread blondie and pumpkin pastry cream deliver layers of comforting, warm flavor, it’s the spectacular brûlée topping that truly steals the show. This iconic crackly, hardened layer of caramelized sugar provides a stunning textural contrast that is both visually appealing and incredibly satisfying to break into. The crispness of the torched sugar perfectly complements the soft, chewy blondie base and the smooth, creamy custard. Torching the sugar should ideally be performed just before serving. This timing not only ensures the optimal crackle and warmth but also adds an element of fun and theatrical charm, making it a captivating dessert for any party or family gathering. Imagine the delight of your guests as they watch the granulated sugar transform under the flame, bubbling and turning into a shimmering, golden-brown crust right before their eyes! It’s an unforgettable culinary experience that adds a touch of magic to your holiday dessert spread.
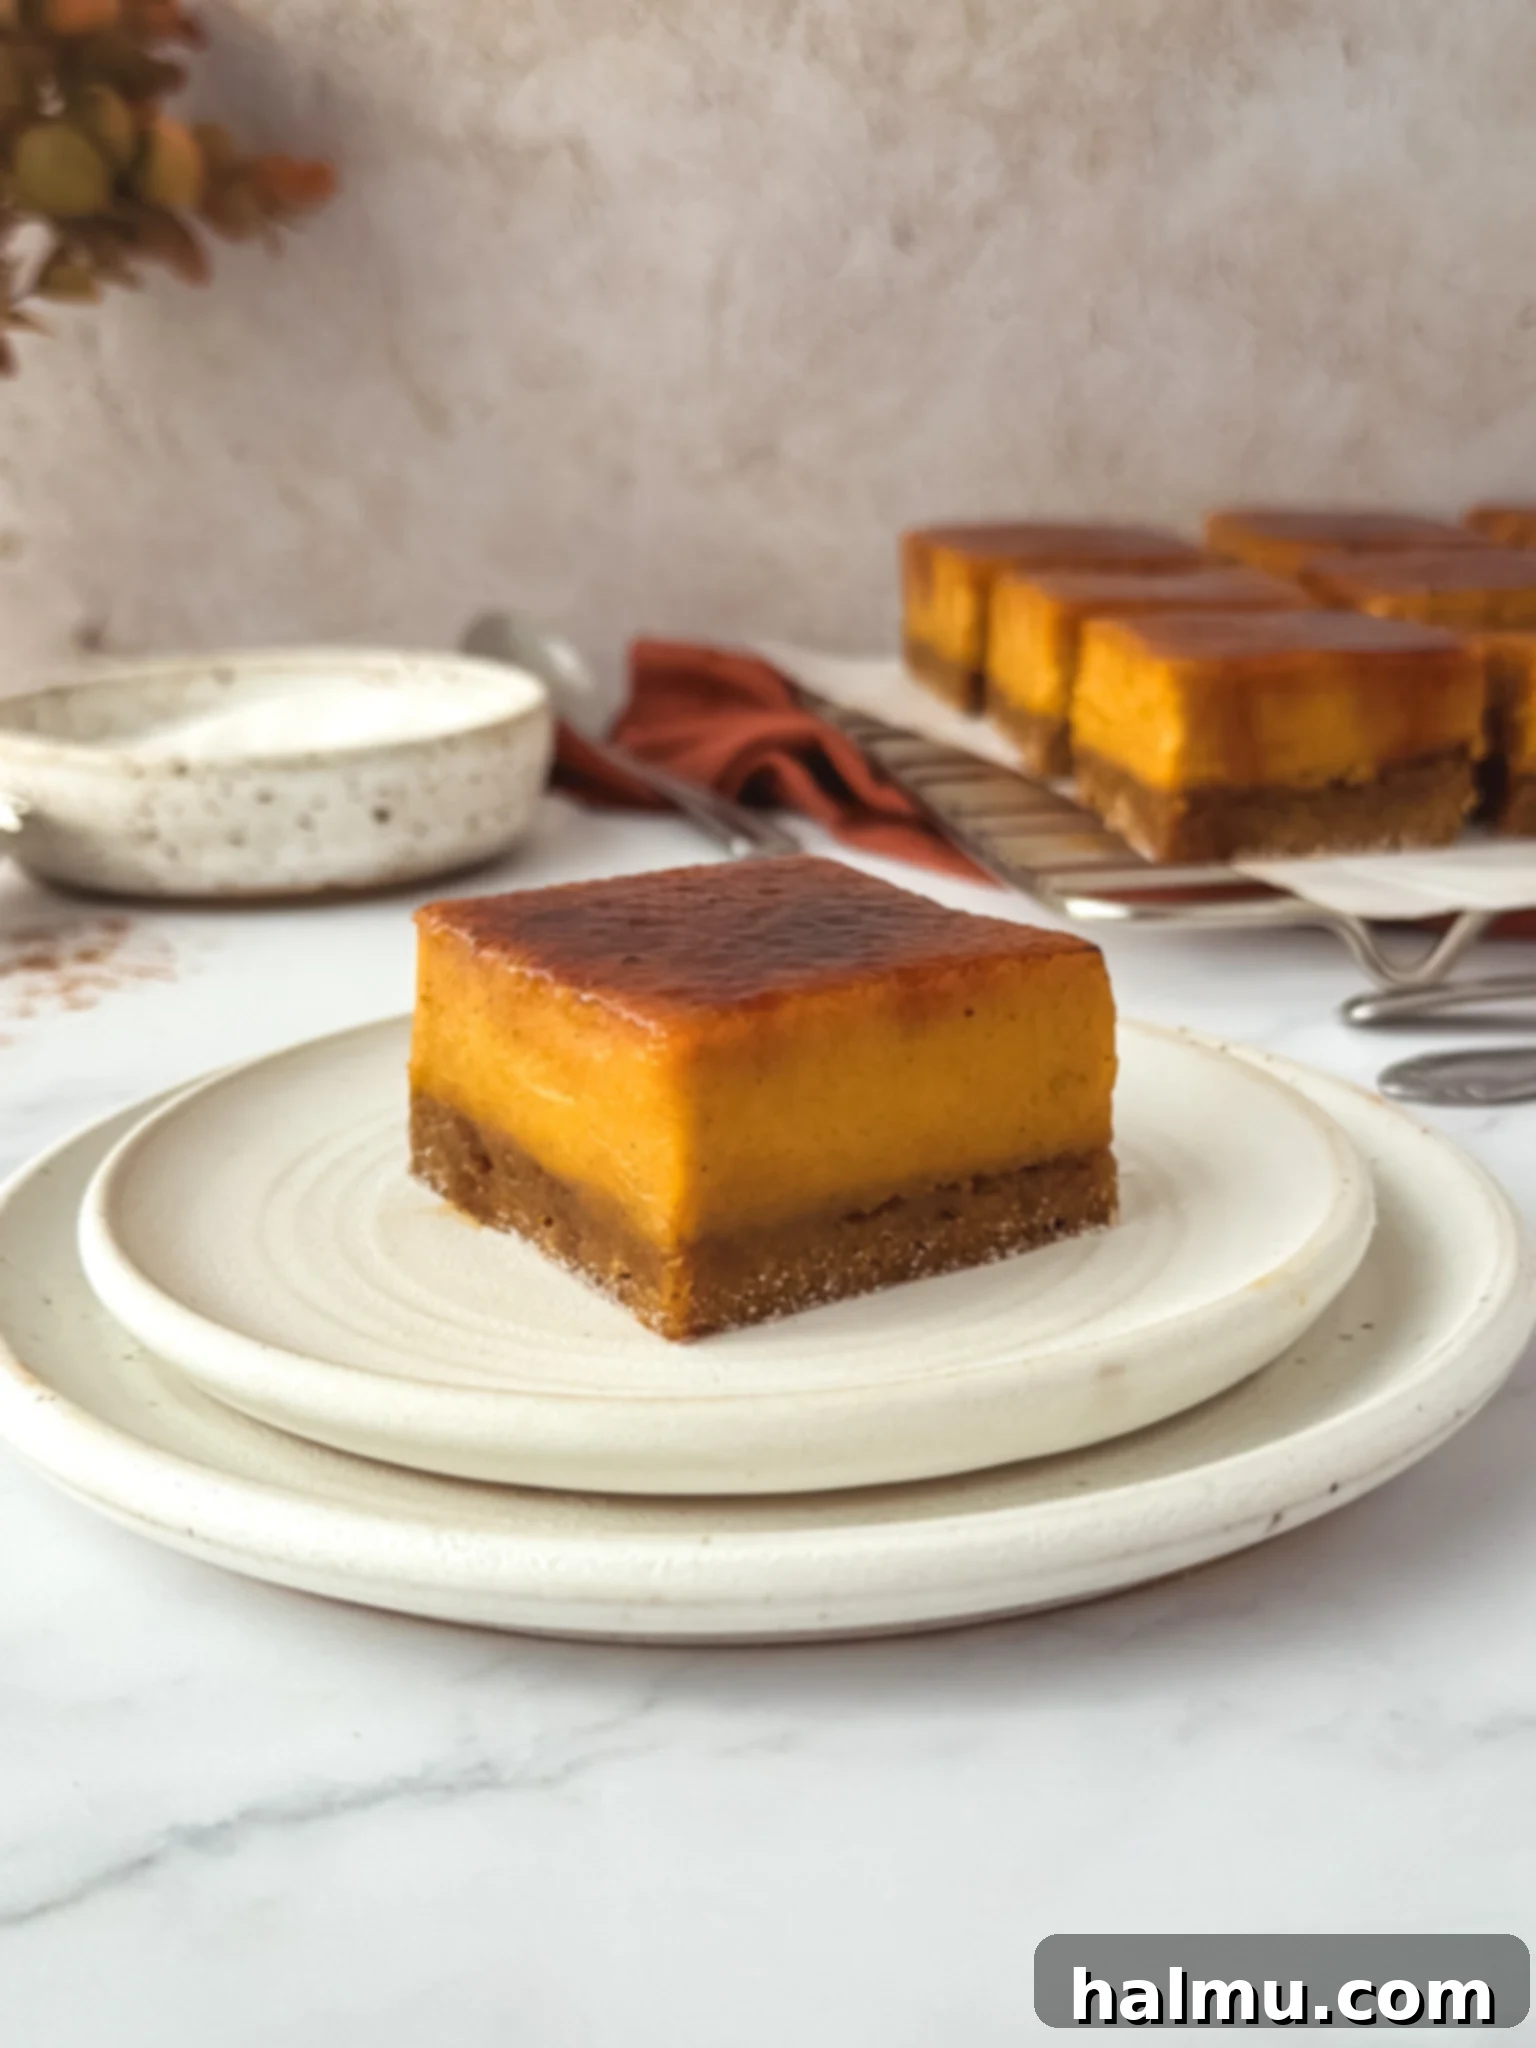
Mastering the Torch: Tips for Perfect Brûlée Bars
Achieving that perfect, glassy caramel crust is easier than you think with a few simple techniques. Follow these expert tips to ensure your Pumpkin Spice Crème Brûlée Bars have a flawless, irresistible topping every time.
- Use a Metal or Heat-Safe Surface: Safety first! Since you’ll be working with an open flame, it’s crucial to torch your pumpkin bars on a surface that can withstand high heat. A metal baking sheet is ideal for this purpose. Never use parchment paper or plastic, as they will burn or melt. I always recommend laying out all your sliced squares on a large, clean sheet pan before sprinkling the sugar, then torching them directly on the metal surface. This provides stability and safety while you work.
- Hold the Torch a Few Inches from the Sugar: The distance between the flame and the sugar is key to even caramelization. If the torch flame is too close, the sugar can burn rapidly in spots, leading to a bitter taste and an unevenly dark crust. Most kitchen torches offer adjustable flame sizes. I prefer a medium flame, which provides good control. Remember, the larger the flame, the further away you should hold the torch to distribute the heat effectively and prevent scorching.
- Constantly Move the Torch: Avoid holding the torch stationary in one spot for too long. This will result in uneven caramelization, with some areas becoming overly dark and burnt while others remain granular. Instead, use small, continuous circular motions across the entire surface of the sugar. This technique ensures that the heat is distributed evenly, allowing the sugar to melt and caramelize uniformly into a beautiful, glassy crust. It might take a little practice to get the hang of it, but this consistent movement makes all the difference in achieving a professional-looking and tasting brûlée.
- Torch Right Before Serving for Best Results: For the ultimate crackle and textural contrast, the brûlée topping should be created immediately before you plan to serve the bars. After the bars have fully chilled in the refrigerator, slice them into individual squares. For an added chilled effect and to prevent the custard from warming too much during the torching process, pop the sliced bars into the freezer for about 15-30 minutes. This creates a delightful contrast between the cold, creamy custard and the warm, freshly caramelized sugar. It is crucial to note that once the bars have been torched, they should be served right away and not refrigerated or left out for extended periods. The moisture in the refrigerator will cause the sugar to melt and become sticky, losing that signature hardened, crackly crust. Only torch the number of bars you intend to serve immediately.

Frequently Asked Questions (FAQs)
What Can I Use If I Don’t Have A Torch?
While nothing truly replicates the precise control and dramatic effect of a kitchen torch for creating a perfect brûlée, there are alternatives, though they come with caveats. I strongly advise against using your oven’s broiler for this dessert. A broiler tends to caramelize sugar unevenly and, more importantly, will reheat the delicate pumpkin custard, which you want to keep chilled for optimal taste and texture. A kitchen torch is a surprisingly affordable investment and is incredibly simple to use, making it a fun and versatile tool for various culinary tasks. If you prefer to make these bars without the signature crackly topping, a generous dollop of freshly whipped cream on top of each chilled bar makes for a wonderfully delicious and elegant alternative.
Can I make these ahead of time?
Absolutely! These Pumpkin Spice Crème Brûlée Bars are excellent for make-ahead preparation, which is ideal for holiday planning. The gingerbread blondie base and the pumpkin custard filling can be prepared, baked, and assembled entirely in advance. Simply follow the recipe instructions for baking the squares and then allow them to cool completely before chilling them thoroughly in the refrigerator for one to two days until you are ready to serve. You can even pre-slice the bars several hours before your event. Just be sure to transfer the cut squares to the freezer for at least 15-30 minutes before the final torching step. This ensures they are perfectly chilled and firm. Remember to sprinkle the granulated sugar on top of each individual square and torch them right before serving to achieve the ultimate crackly crust. I do not recommend torching the tops of the bars in advance, as the caramelized sugar will quickly absorb moisture and lose its crispness.
How should I store the bars?
Proper storage is crucial for maintaining the quality of your Pumpkin Spice Crème Brûlée Bars. Store any un-torched baked bars in an airtight container in the refrigerator for up to 3 days. It is vital to keep the sugar topping separate from the main dessert until serving time. Once you sprinkle the bars with sugar and torch them, they should be enjoyed immediately. The caramelized sugar topping will begin to melt and soften relatively quickly, losing its desirable hardened crust if left exposed or refrigerated. To preserve the best texture and flavor, only torch as many bars as you plan to serve at once. Keep the remaining un-torched bars well-chilled in the fridge, ready to be prepared fresh when you’re ready for more delightful servings.

Baking Tip: Weigh Your Ingredients!
For truly consistent and professional-level baking results, I cannot stress enough the importance of using a kitchen scale to weigh your ingredients rather than relying on volumetric measuring cups. Weighing provides far greater accuracy, eliminating common discrepancies that arise from how ingredients are scooped or packed. This precision leads to more consistent outcomes with your recipes and significantly increases your success rate every single time you bake. As an added bonus, using a scale often means fewer measuring cups to wash, making cleanup quicker and easier! I meticulously provide gram measurements in all my recipes, and this is the scale I personally love and use for all my baking endeavors.
More Cozy Recipes You’ll Love
If you’re seeking more comforting and delicious treats to warm your soul, explore these delightful recipes from my kitchen:
- Pumpkin Pecan Upside Down Cakes
- Ginger Molasses Cookie Sandwiches
- Cranberry Apple Crisp
- White Chocolate Pistachio Cookies
- Maple Pecan Blondies
I genuinely hope you enjoy making and sharing these Pumpkin Spice Crème Brûlée Bars. If you try this recipe and love it as much as I do, please be sure to leave a comment below and share your experience! Happy baking!
Pumpkin Spice Crème Brûlée Bars

These delightful Pumpkin Spice Crème Brûlée Bars feature a soft, chewy gingerbread base, crowned with a rich and creamy layer of pumpkin custard, and finished with a perfectly caramelized sugar crust. It’s the ultimate fusion where a ginger molasses blondie meets the elegance of pumpkin crème brûlée, creating a truly memorable holiday dessert!
Rating: 5 out of 5 stars (from 1 vote)
Author: Rachel
Print Recipe |
Rate This Recipe
Prep Time: 30 mins
Cook Time: 45 mins
Chill Time: 4 hrs 30 mins
Total Time: 5 hrs 45 mins
Yield: 16 servings
Ingredients
For the Gingerbread Blondie Base
- ½ cup (1 stick or 113g) unsalted butter
- ½ cup (100g) brown sugar
- ¼ cup (50g) granulated sugar
- 1 egg, at room temperature
- 1 teaspoon vanilla extract
- 1 cup (130g) all-purpose flour
- ½ teaspoon cinnamon
- ½ teaspoon ground ginger
- ½ teaspoon baking powder
- ¼ teaspoon salt
- 2 Tablespoons (44g) molasses
For the Pumpkin Custard
- ½ cup (100g) granulated sugar
- ¼ cup (50g) brown sugar
- ¼ cup (40g) cornstarch
- 1 teaspoon cinnamon
- ¼ teaspoon nutmeg
- ¼ teaspoon salt
- 4 large egg yolks
- 1⅓ cups (324g) pumpkin puree
- 1¼ cups (300ml) whole milk
- 1¼ cups (300ml) heavy cream
- 2 teaspoons vanilla extract
- 2 Tablespoons (28g) unsalted butter, cut into small cubes
For the Topping
- ½ cup (100g) granulated sugar
Instructions
- Preheat your oven to 350°F (175°C). Lightly grease a 9” x 9” (23cm x 23cm) square baking pan with cooking spray. Line the pan with parchment paper, allowing for an overhang on all four sides to create a “sling” for easy removal. Lightly grease the bottom and sides of the parchment-lined pan as well. This prevents sticking and ensures a clean lift once cooled.
- For the Gingerbread Blondie Base: In a microwave-safe bowl or small saucepan, melt the unsalted butter. Set it aside and allow it to cool slightly to avoid cooking the eggs prematurely. In a large mixing bowl, combine the cooled melted butter, both brown sugar and granulated sugar. Whisk thoroughly until the sugars are well incorporated and the mixture is smooth and creamy.
- Next, mix in the room temperature egg and vanilla extract until fully combined. In a separate bowl, whisk together the all-purpose flour, cinnamon, ground ginger, baking powder, and salt. Gradually add these dry ingredients to the wet mixture, along with the molasses. Mix gently until just combined; be careful not to overmix, as this can lead to a tough blondie.
- Using a small offset spatula or the back of a spoon, evenly spread the gingerbread blondie dough into the bottom of your prepared pan. Ensure the layer is smooth and reaches all corners. Bake for 16-18 minutes, or until the edges begin to turn a beautiful golden brown and a toothpick inserted into the center comes out with moist crumbs. While the gingerbread base is baking, it’s the perfect time to prepare your pumpkin custard.
- For the Pumpkin Custard: In a medium saucepan, whisk together the granulated sugar, brown sugar, cornstarch, cinnamon, nutmeg, and salt until there are no clumps. Add the large egg yolks and pumpkin puree, whisking vigorously until the mixture is thoroughly combined and smooth. Slowly, in a thin stream, pour in the heavy cream and whole milk while continuously whisking to integrate them seamlessly.
- Place the saucepan over low heat. Cook the mixture, whisking constantly and without interruption, for approximately 10-15 minutes, or until the custard thickens considerably and begins to bubble gently around the edges. Constant whisking is critical to prevent burning and ensure a silky-smooth texture. Remove the custard from the heat immediately. For an extra smooth finish, strain the hot custard through a fine-mesh sieve into a clean bowl to remove any potential specks or overcooked bits. Stir in the vanilla extract and the small cubes of unsalted butter until the butter is completely melted and incorporated, giving the custard a luxurious, velvety sheen.
- Carefully pour the hot pumpkin custard evenly over the warm gingerbread crust in the pan. Spread the custard out into a uniform layer using your spatula. Return the pan to the oven for an additional 8-10 minutes, just until the top of the custard is set and appears to bubble slightly around the edges. This short bake helps to firm up the custard. Allow the bars to cool completely to room temperature on a wire rack, then transfer them to the refrigerator to chill for at least 4 hours, or ideally overnight, for best setting and flavor development.
- Once the bars are thoroughly chilled and firm, use the parchment paper sling to carefully lift them from the pan. Transfer them to a cutting board and slice into 16 even squares. For the cleanest cuts, wipe your knife off with a damp cloth between each slice. Arrange the sliced squares on a large, empty metal baking sheet (do not use parchment paper for this step). Place the sheet pan with the bars into the freezer for about 15-30 minutes before torching. This ensures the custard remains cold and firm during the caramelization process.
- Torching the Topping: Remove the chilled squares from the freezer. Work with 2-3 squares at a time to ensure optimal results. Evenly sprinkle a thin layer of granulated sugar over the top of each bar. Using a kitchen torch, caramelize the sugar. Hold the torch a few inches away from the sugar and move it constantly in small circular motions to melt and brown the sugar evenly. Repeat this process with the remaining bars, sprinkling and torching in small batches. Allow the caramelized sugar to cool for a few minutes until it hardens completely into a crisp, glassy crust. Serve immediately and savor every indulgent bite!
Be sure to tag @sweetkitchencravings on Instagram!

HI THERE!
I’m Rachel
I’m the dessert lover, recipe developer, and content creator behind Sweet Kitchen Cravings. Here you’ll find classic yet special recipes that are sure to impress your loved ones!
MORE ABOUT RACHEL
