This post may contain affiliate links. Please read my full disclosure policy.
Decadent Frosted Black Cocoa Cookies: The Ultimate Spooky Season Treat
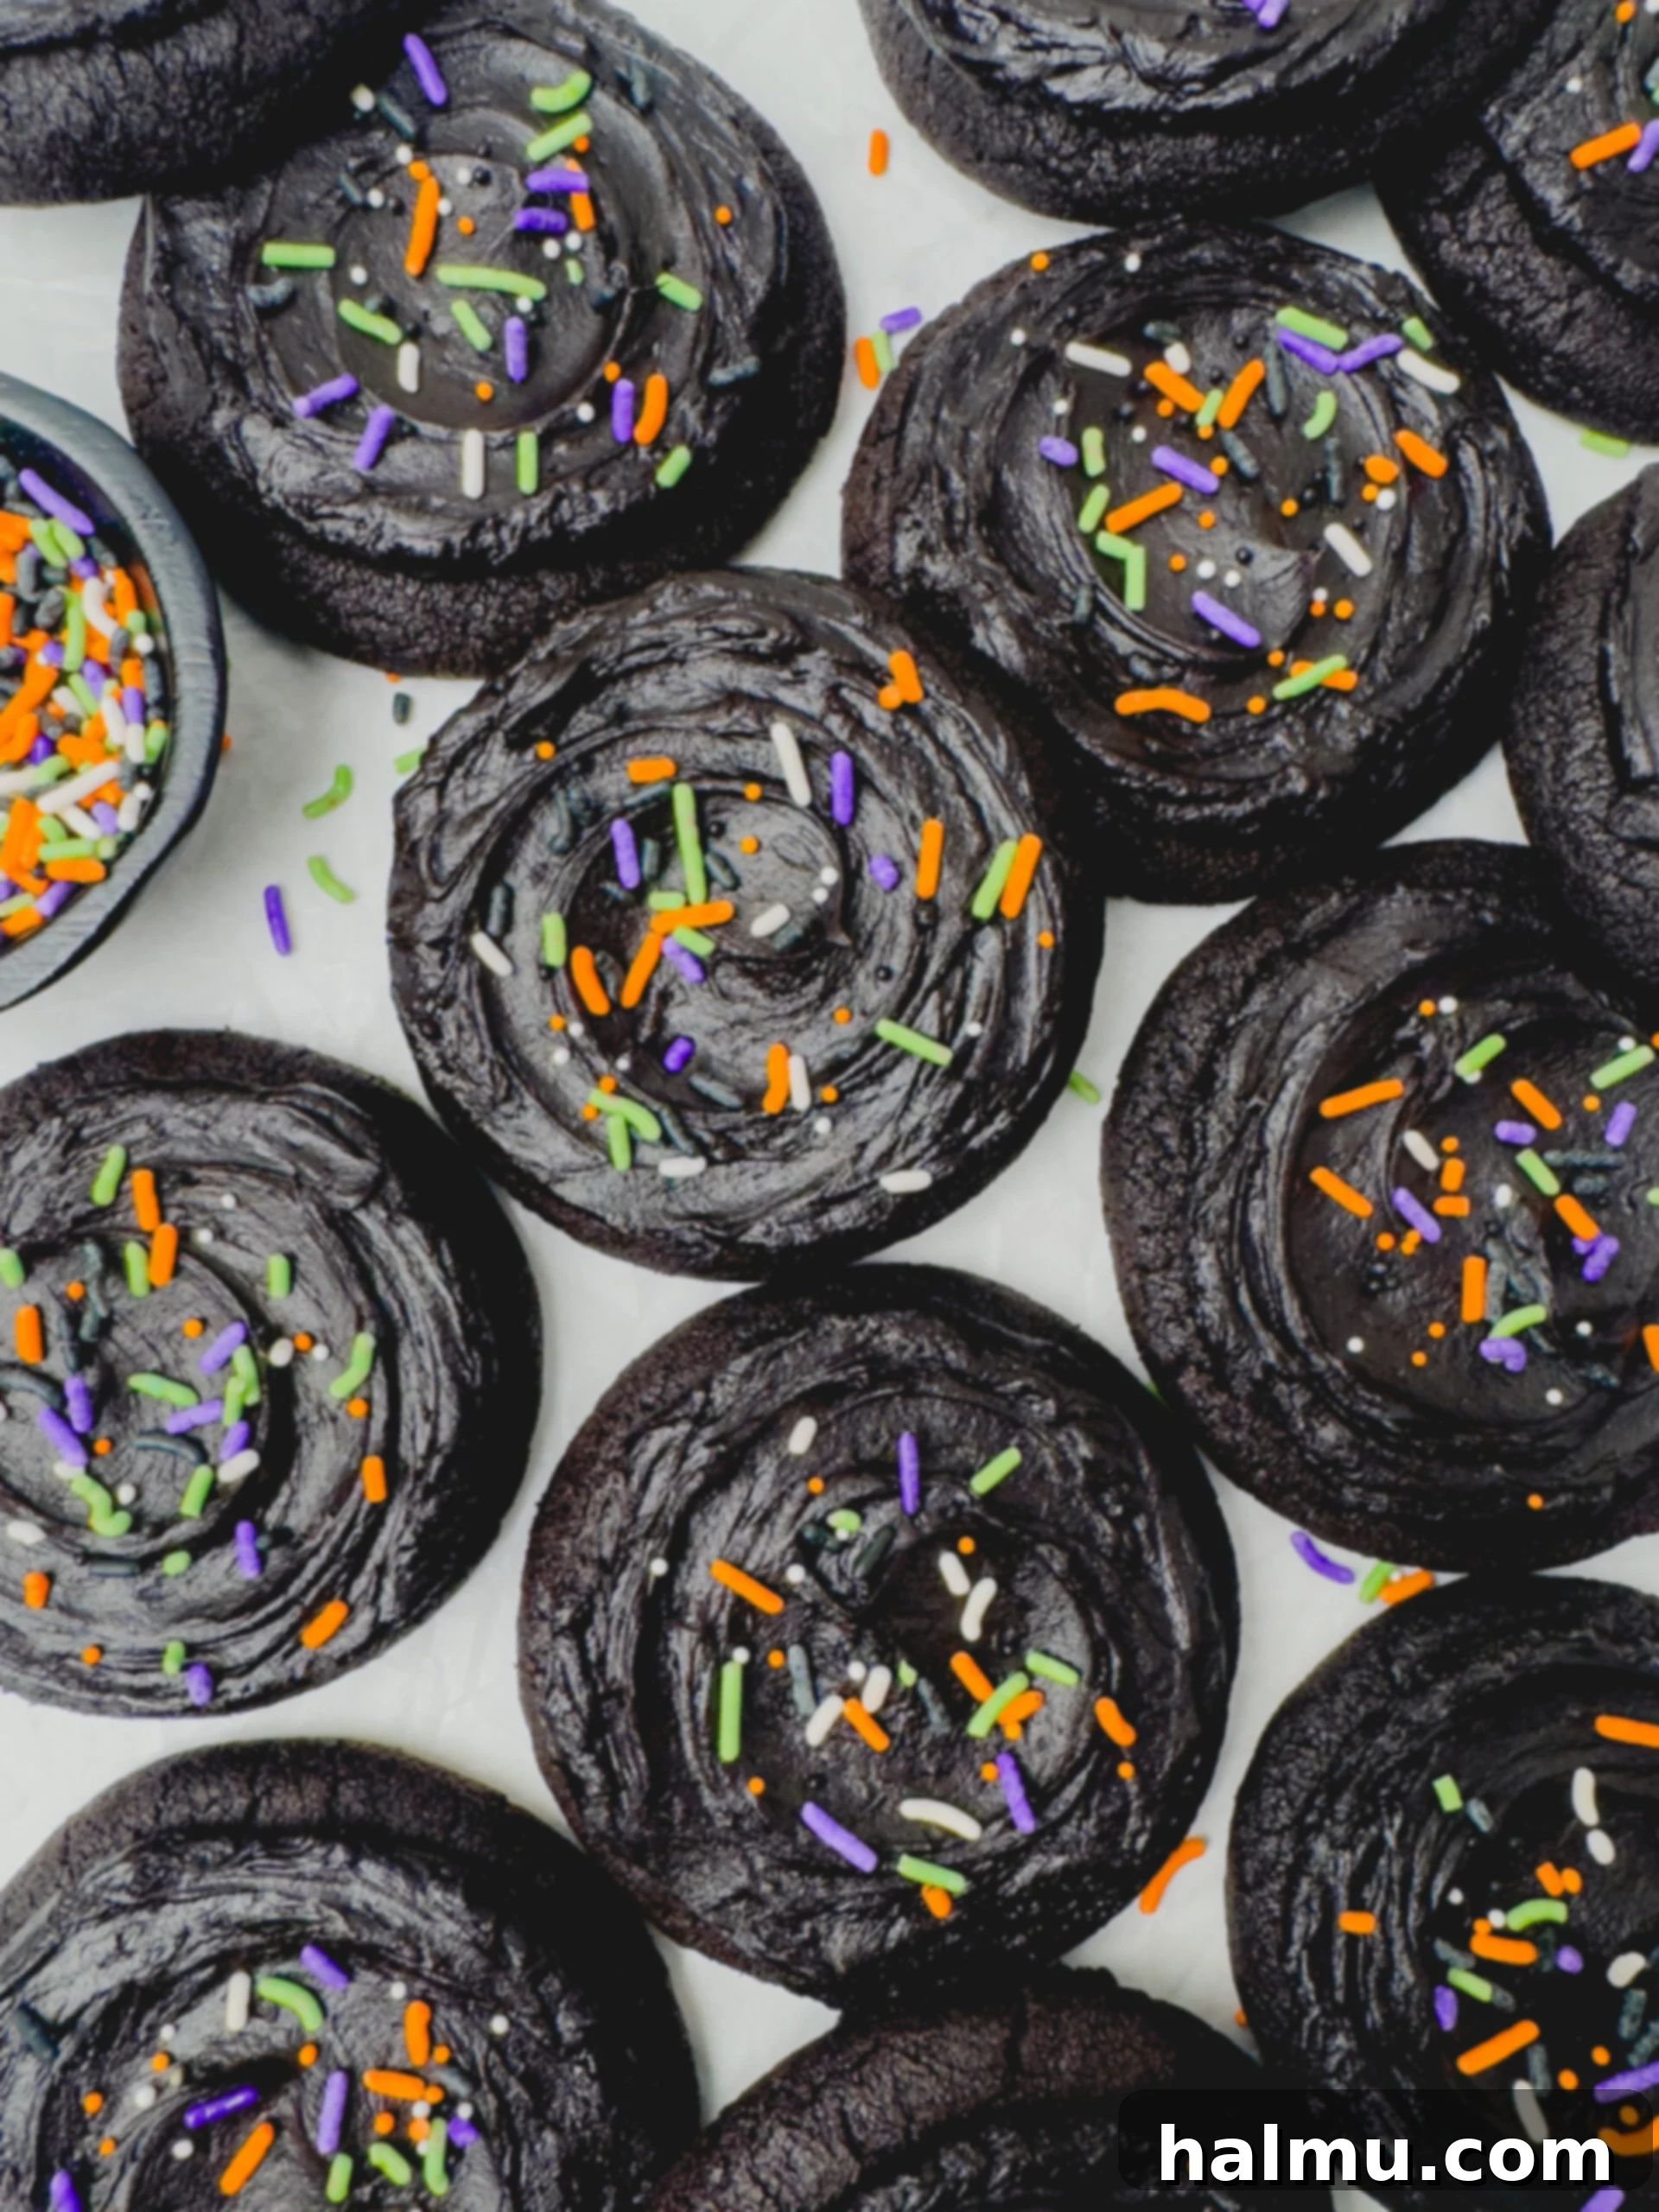
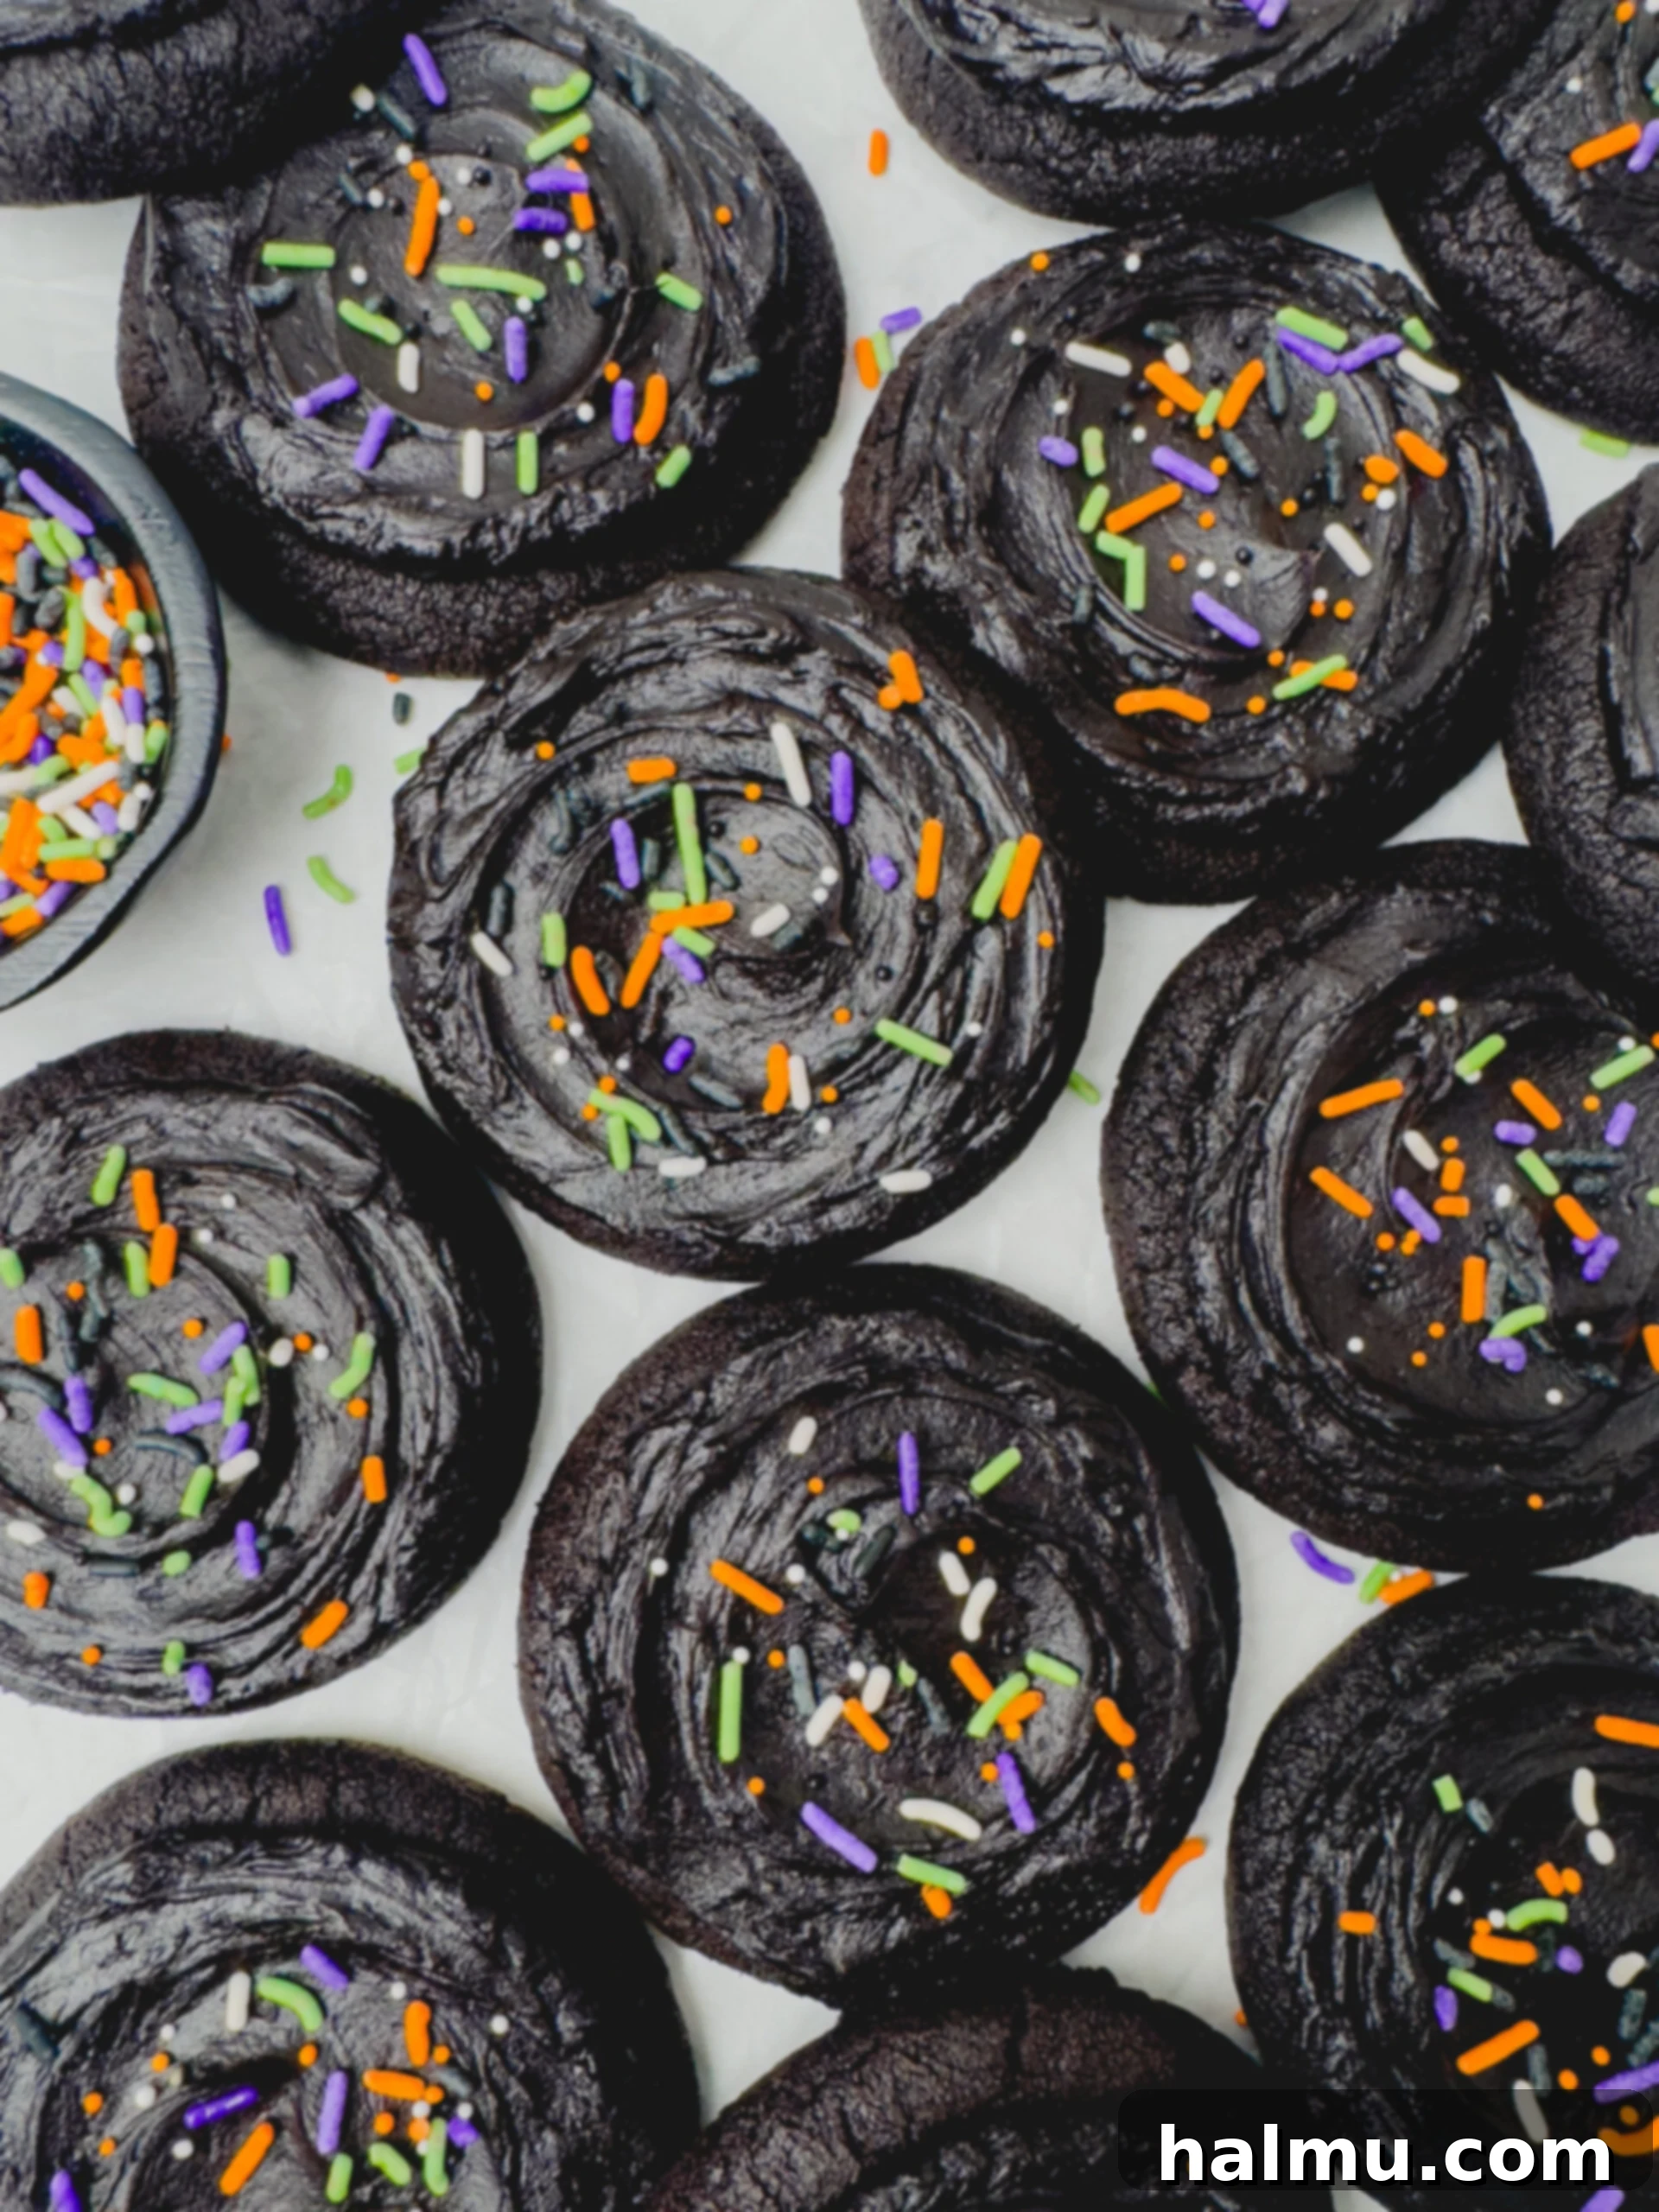
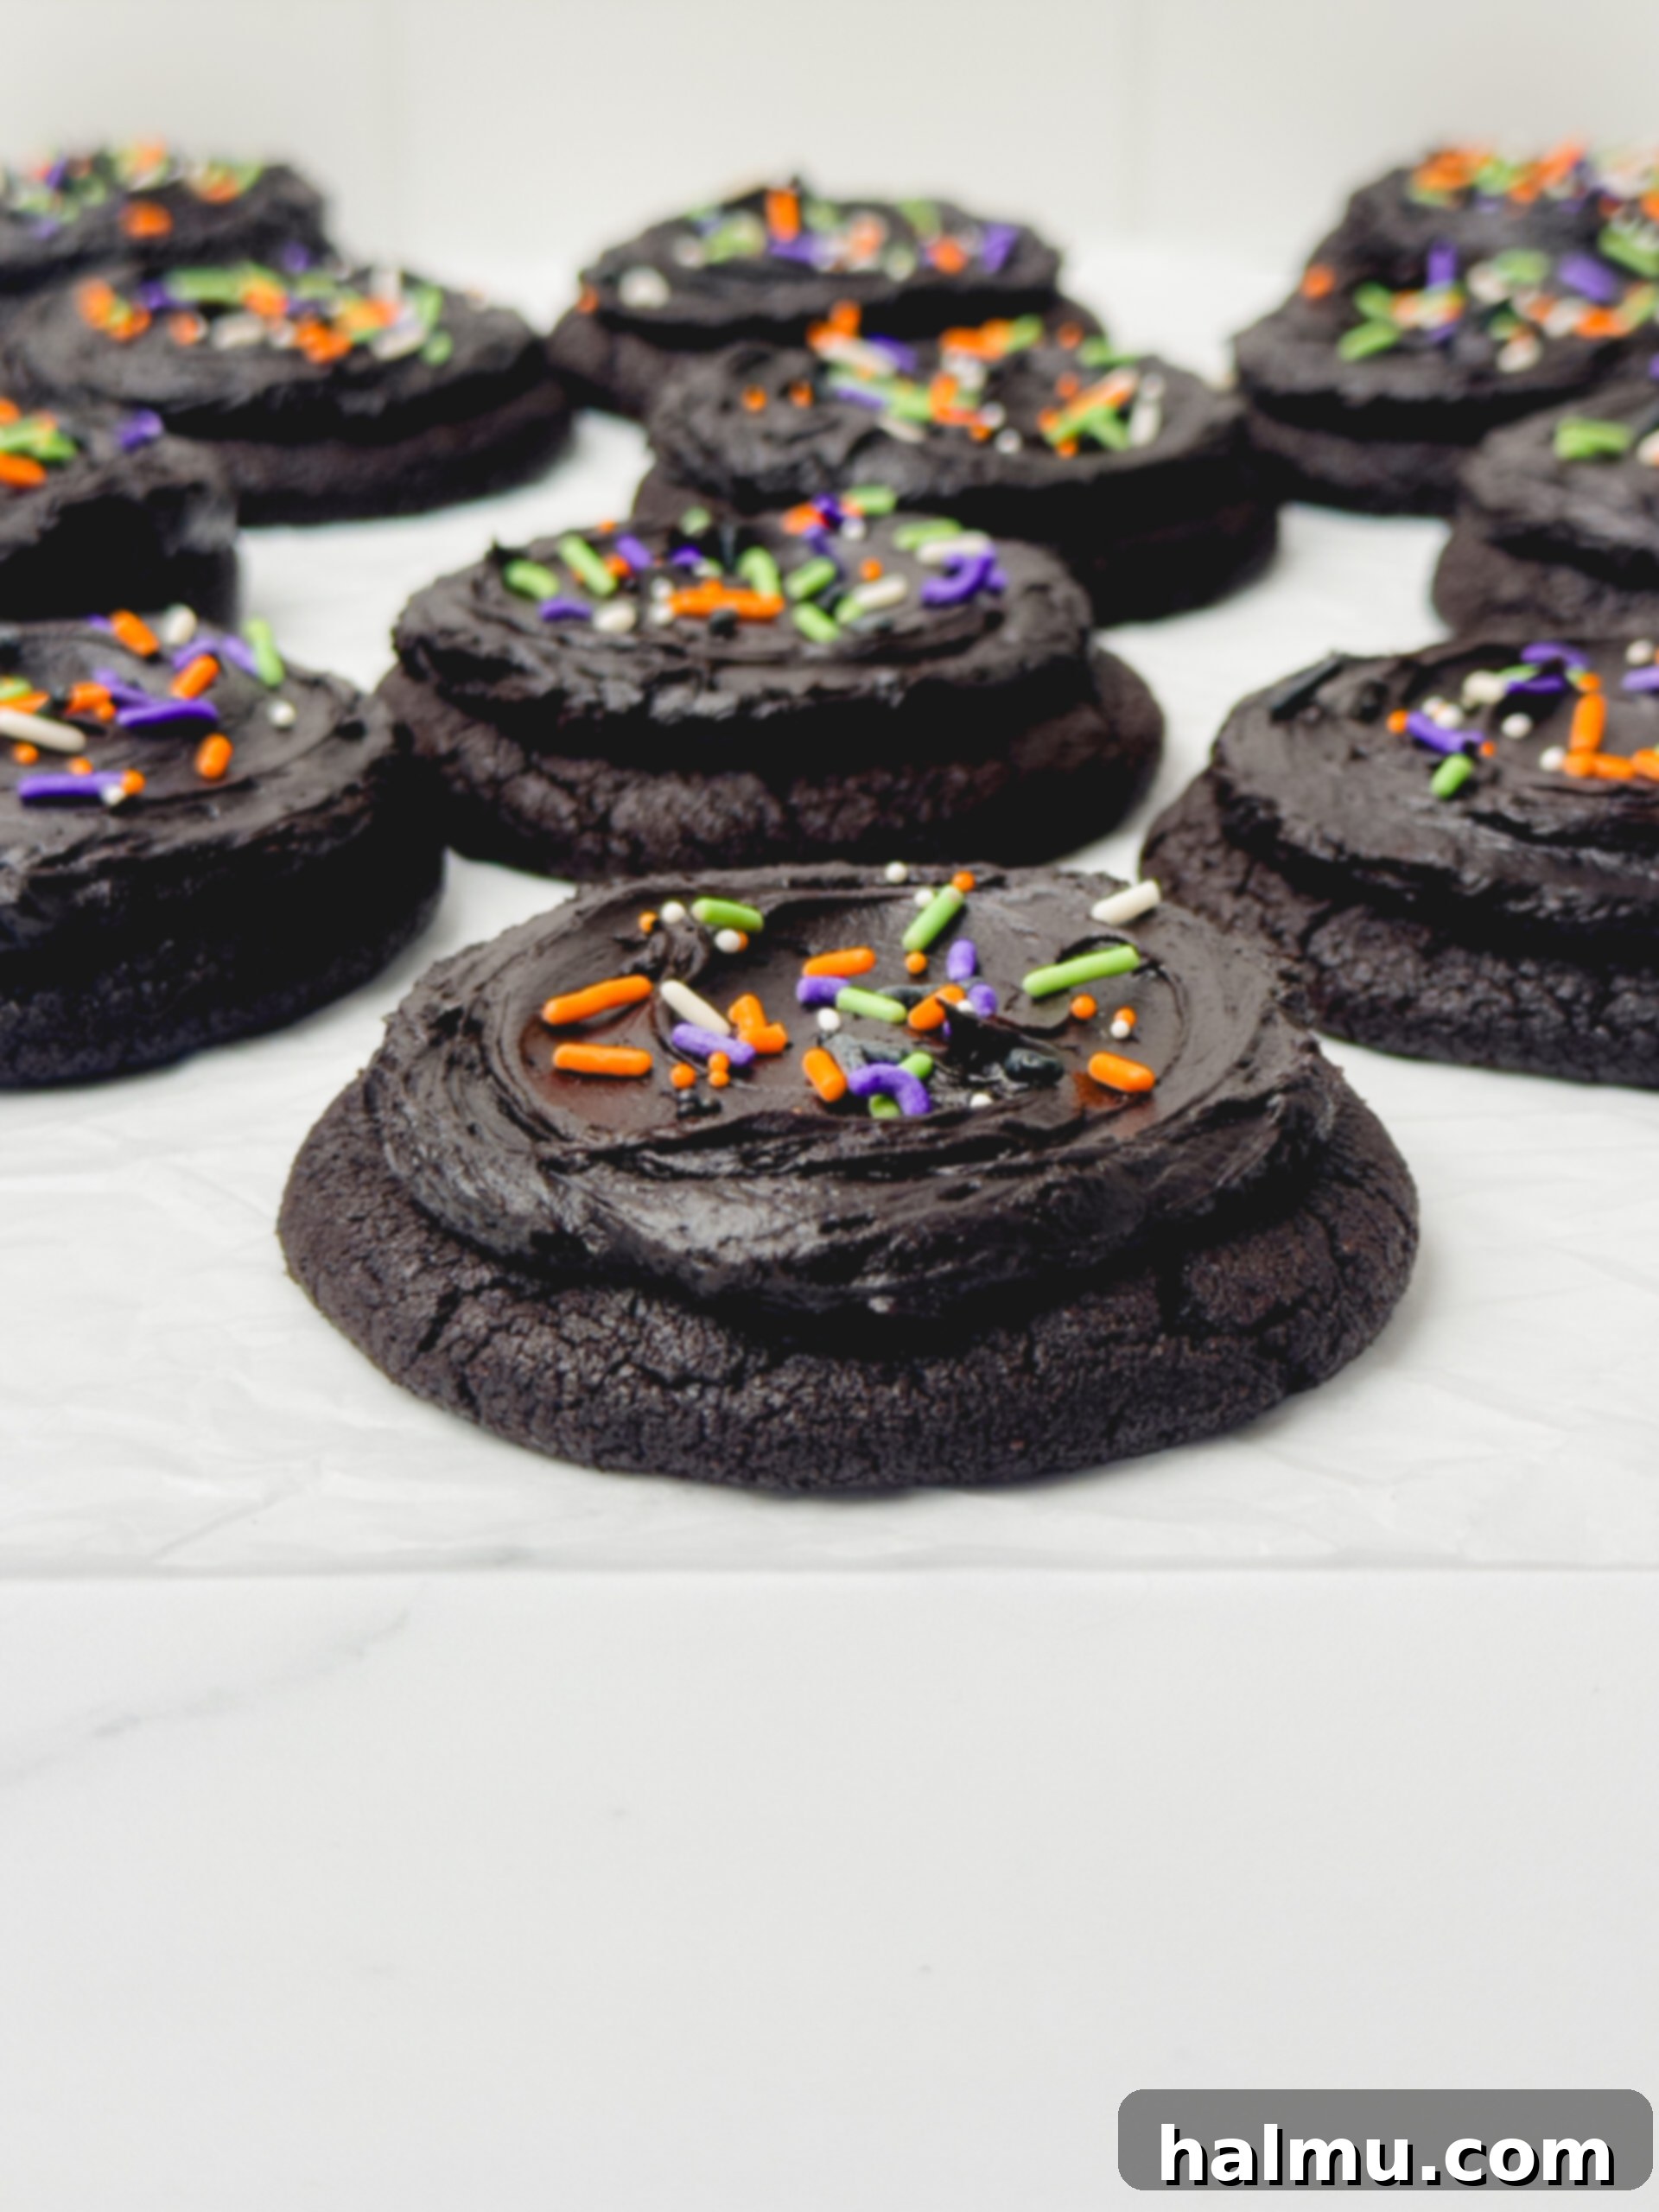
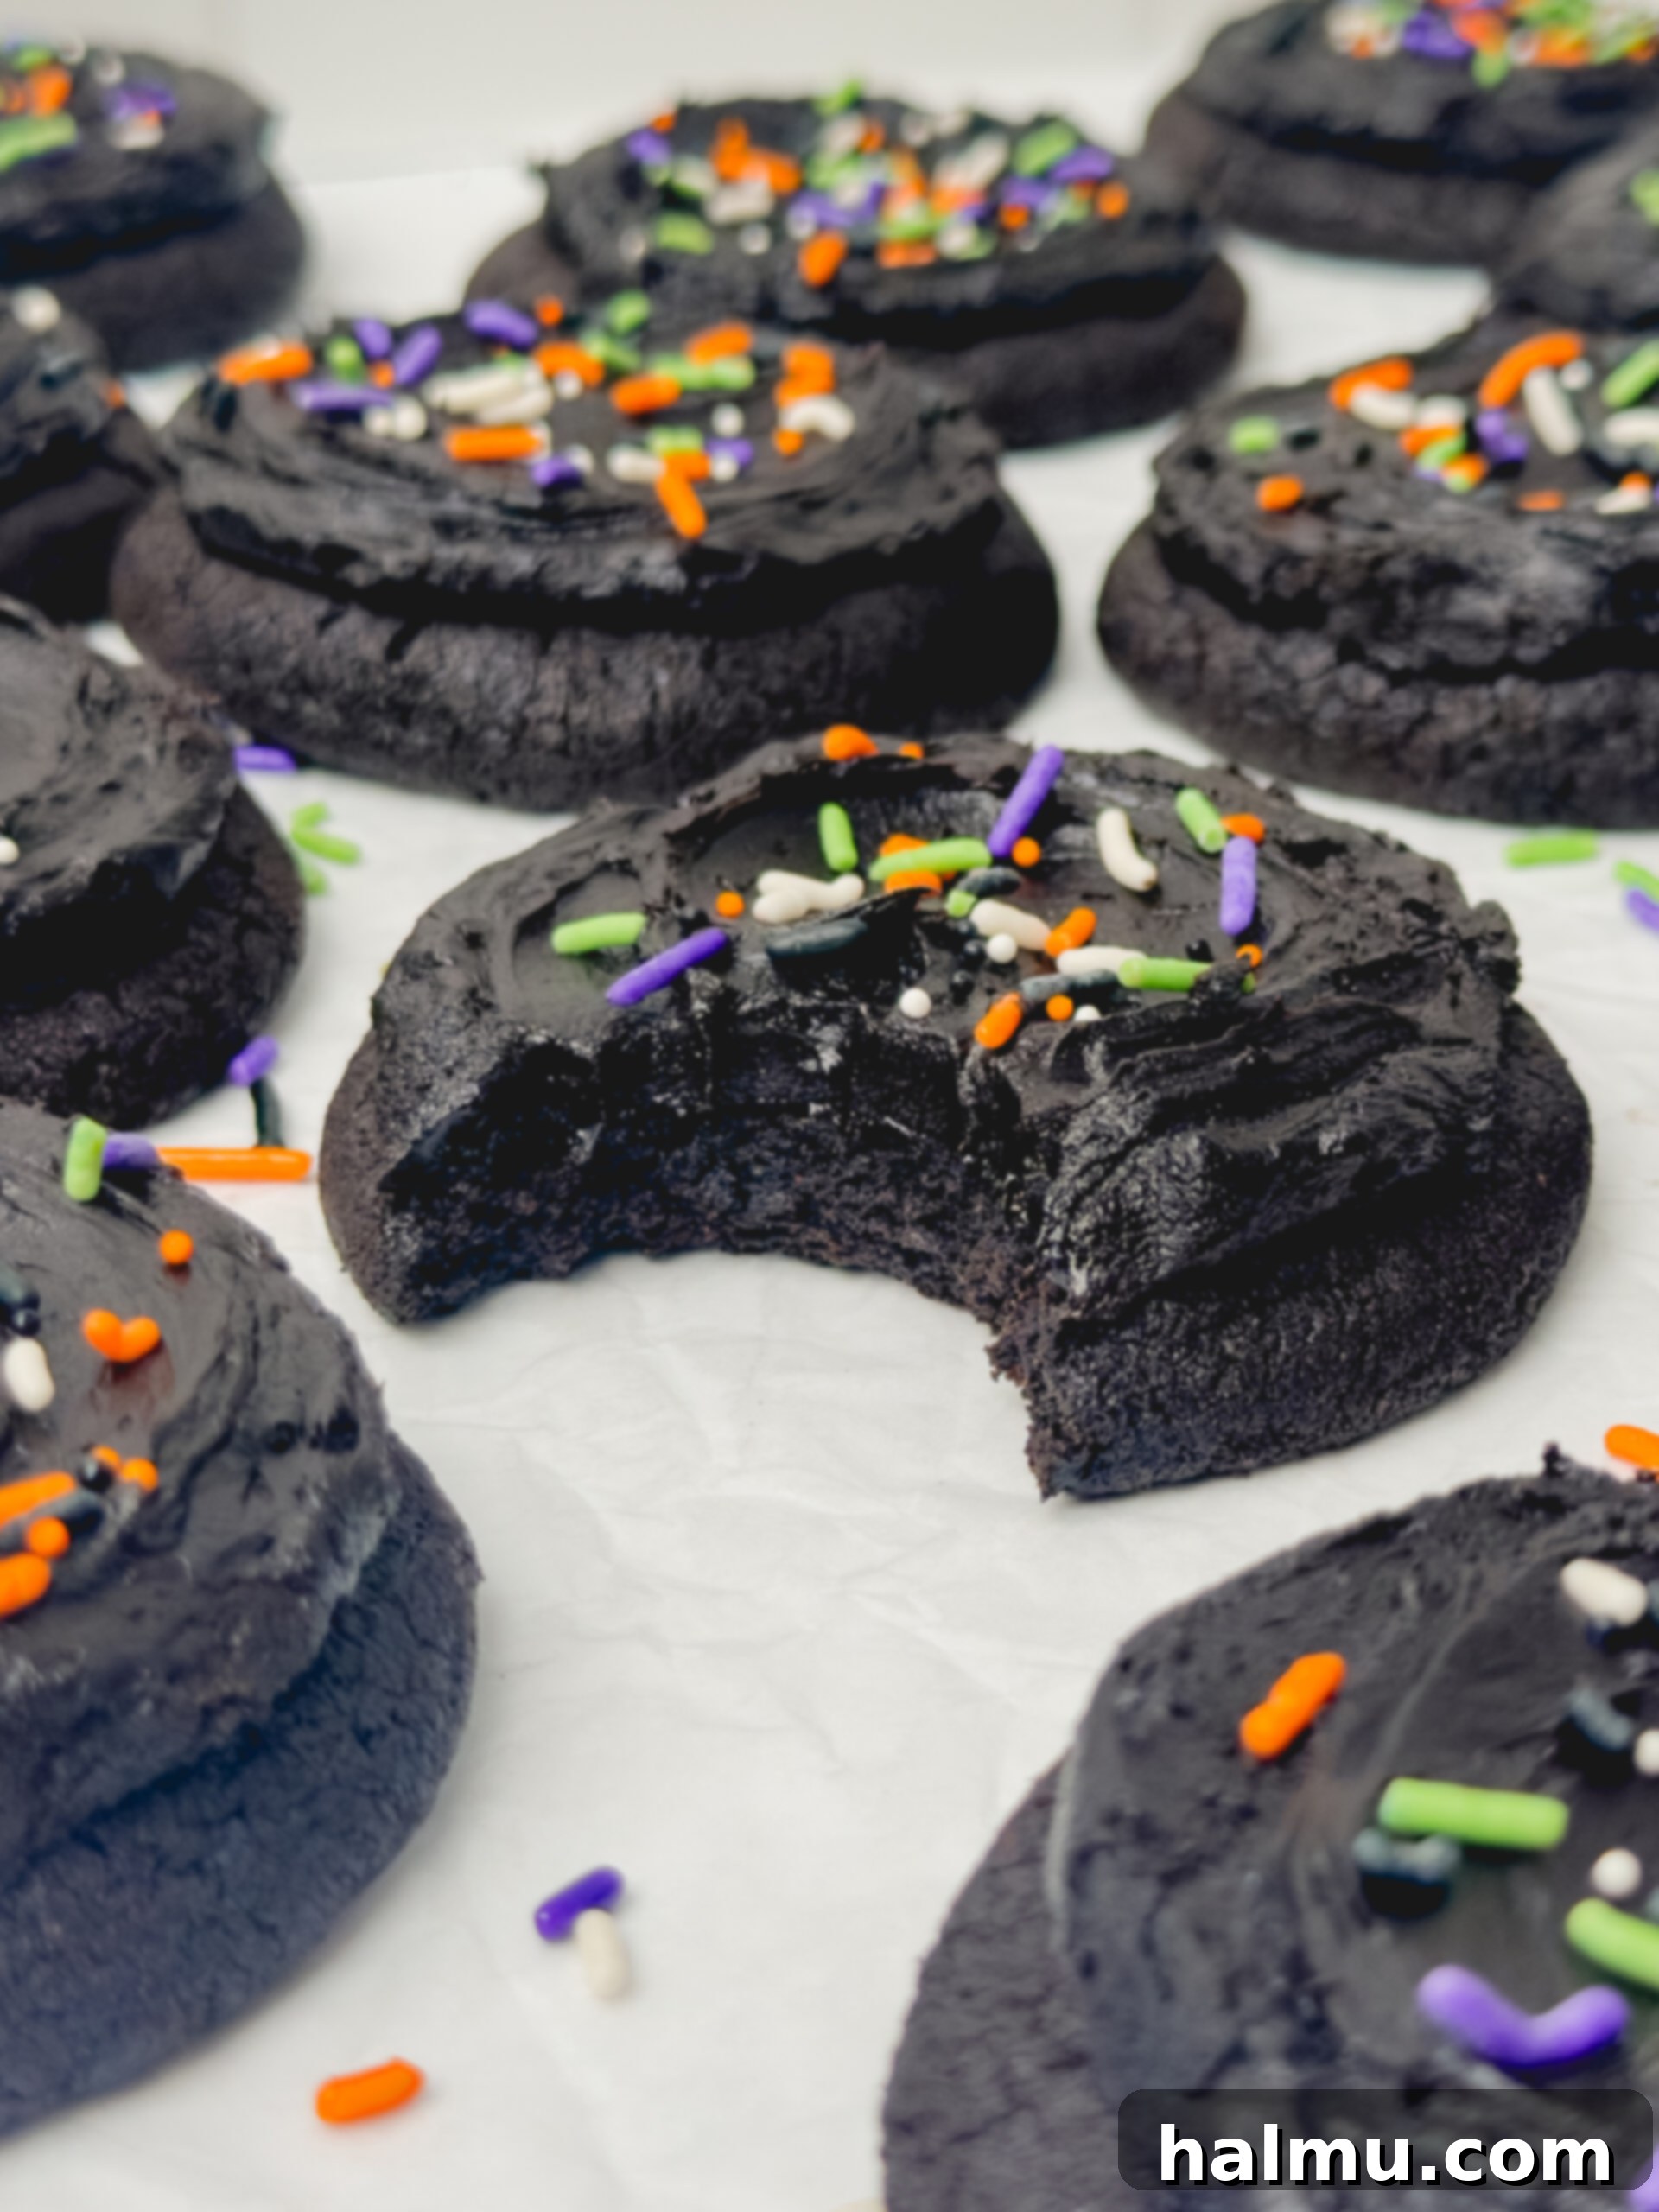
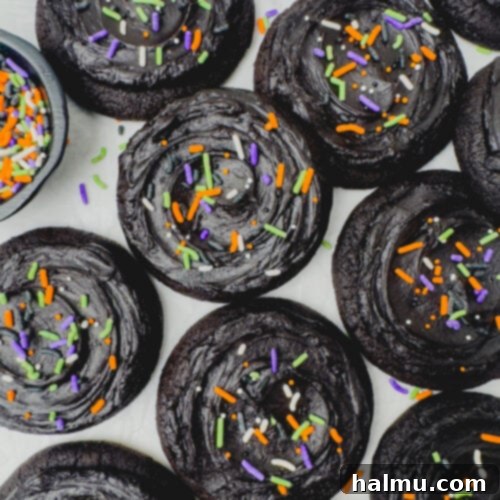
As the leaves turn and the air gets crisp, it’s the perfect time to embrace the spirit of the spooky season with a batch of these incredibly decadent Frosted Black Cocoa Cookies. Crafted with premium black cocoa powder, these cookies deliver an unparalleled rich, fudgy texture and an intensely chocolatey flavor that distinctively mimics the beloved taste of an Oreo. Their striking dark hue makes them naturally spooky, while their indulgent nature ensures they’ll be an absolute sensation at any Halloween gathering or a cozy treat on a cool evening.
Forget artificial food coloring; these cookies achieve their dramatic black appearance and deep flavor naturally, making them a sophisticated yet fun addition to your baking repertoire. Get ready to impress with these irresistibly soft, chewy, and perfectly frosted black cocoa cookies that are a true celebration of chocolate indulgence.
What is Black Cocoa Powder and Why Use It?
Black cocoa powder is a highly specialized type of Dutch-processed cocoa powder. The “Dutch-process” involves alkalizing the cocoa beans, which neutralizes their natural acidity. In the case of black cocoa, this process is taken to an extreme, resulting in an incredibly dark, almost jet-black powder. This heavy alkalization is what gives black cocoa its signature intensely dark color and a distinctly milder, less bitter chocolate flavor compared to natural or even regular Dutch-processed cocoa.
The flavor profile of black cocoa is unique; it’s often described as tasting very similar to the chocolate wafers found in Oreo cookies. This characteristic makes it a fantastic ingredient for recipes where a deep, dark color is desired without a strong, bitter chocolate punch. Beyond its striking visual appeal, using black cocoa powder allows you to achieve a dramatic dark look in your baked goods and frostings naturally, offering a wholesome alternative to artificial food dyes. It reacts differently with leavening agents due to its neutralized pH, typically requiring baking soda to be paired with an acidic ingredient in recipes, though in many cookie recipes, this is balanced. For these frosted black cocoa cookies, it provides not only the perfect spooky aesthetic but also a wonderfully mellow yet rich chocolate base that everyone will adore.
Crafting Your Perfect Frosted Black Cocoa Cookies: A Step-by-Step Guide
Creating these delightful Frosted Black Cocoa Cookies is a straightforward process, resulting in a batch of soft, chewy, and richly flavored treats. Follow these detailed steps for baking success:
1. Prepare the Irresistible Black Cocoa Cookie Dough
- Cream the Wet Ingredients: In the large bowl of a stand mixer fitted with the paddle attachment, or using a large mixing bowl with a handheld electric mixer, combine the softened butter, vegetable or canola oil, and granulated sugar. Beat on medium speed for about 2 minutes, or until the mixture is light, fluffy, and well combined. This creaming process incorporates air, which is crucial for a tender cookie texture. Remember to scrape down the sides of the bowl midway through to ensure everything is evenly mixed.
- Incorporate Eggs and Vanilla: Add the large egg and vanilla extract to the creamed mixture. Mix on medium-low speed just until fully combined. Overmixing at this stage can lead to a tougher cookie, so stop as soon as the egg is incorporated. Again, scrape down the sides of the bowl to ensure all ingredients are thoroughly blended.
- Combine Dry Ingredients: In a separate bowl, whisk together the all-purpose flour, black cocoa powder (sifted for best results to prevent lumps), cornstarch (for added tenderness), baking powder, baking soda, and salt. Sifting the cocoa powder and flour is a key step to achieve a smooth, uniform dough and prevent streaks of dry ingredients in your final cookies.
- Add Dry to Wet: Gradually add the dry ingredient mixture to the wet ingredients in the stand mixer. Mix on low speed just until everything is well incorporated and a cohesive dough forms. It’s critical not to overmix the dough once the flour is added, as this can develop the gluten too much, resulting in tough cookies.
- Chill the Dough: Cover the cookie dough tightly with plastic wrap and transfer it to the refrigerator to chill for 30 minutes. This crucial step helps the butter solidify, preventing the cookies from spreading too much during baking. It also makes the dough much easier to handle and roll, contributing to perfectly shaped cookies.
2. Scoop, Bake, and Cool Your Black Cocoa Delights
- Preheat Oven and Prepare Baking Sheets: While the dough chills, preheat your oven to 350°F (175°C). Line two baking sheets with parchment paper or silicone baking mats. This prevents sticking and ensures even baking and easy cleanup.
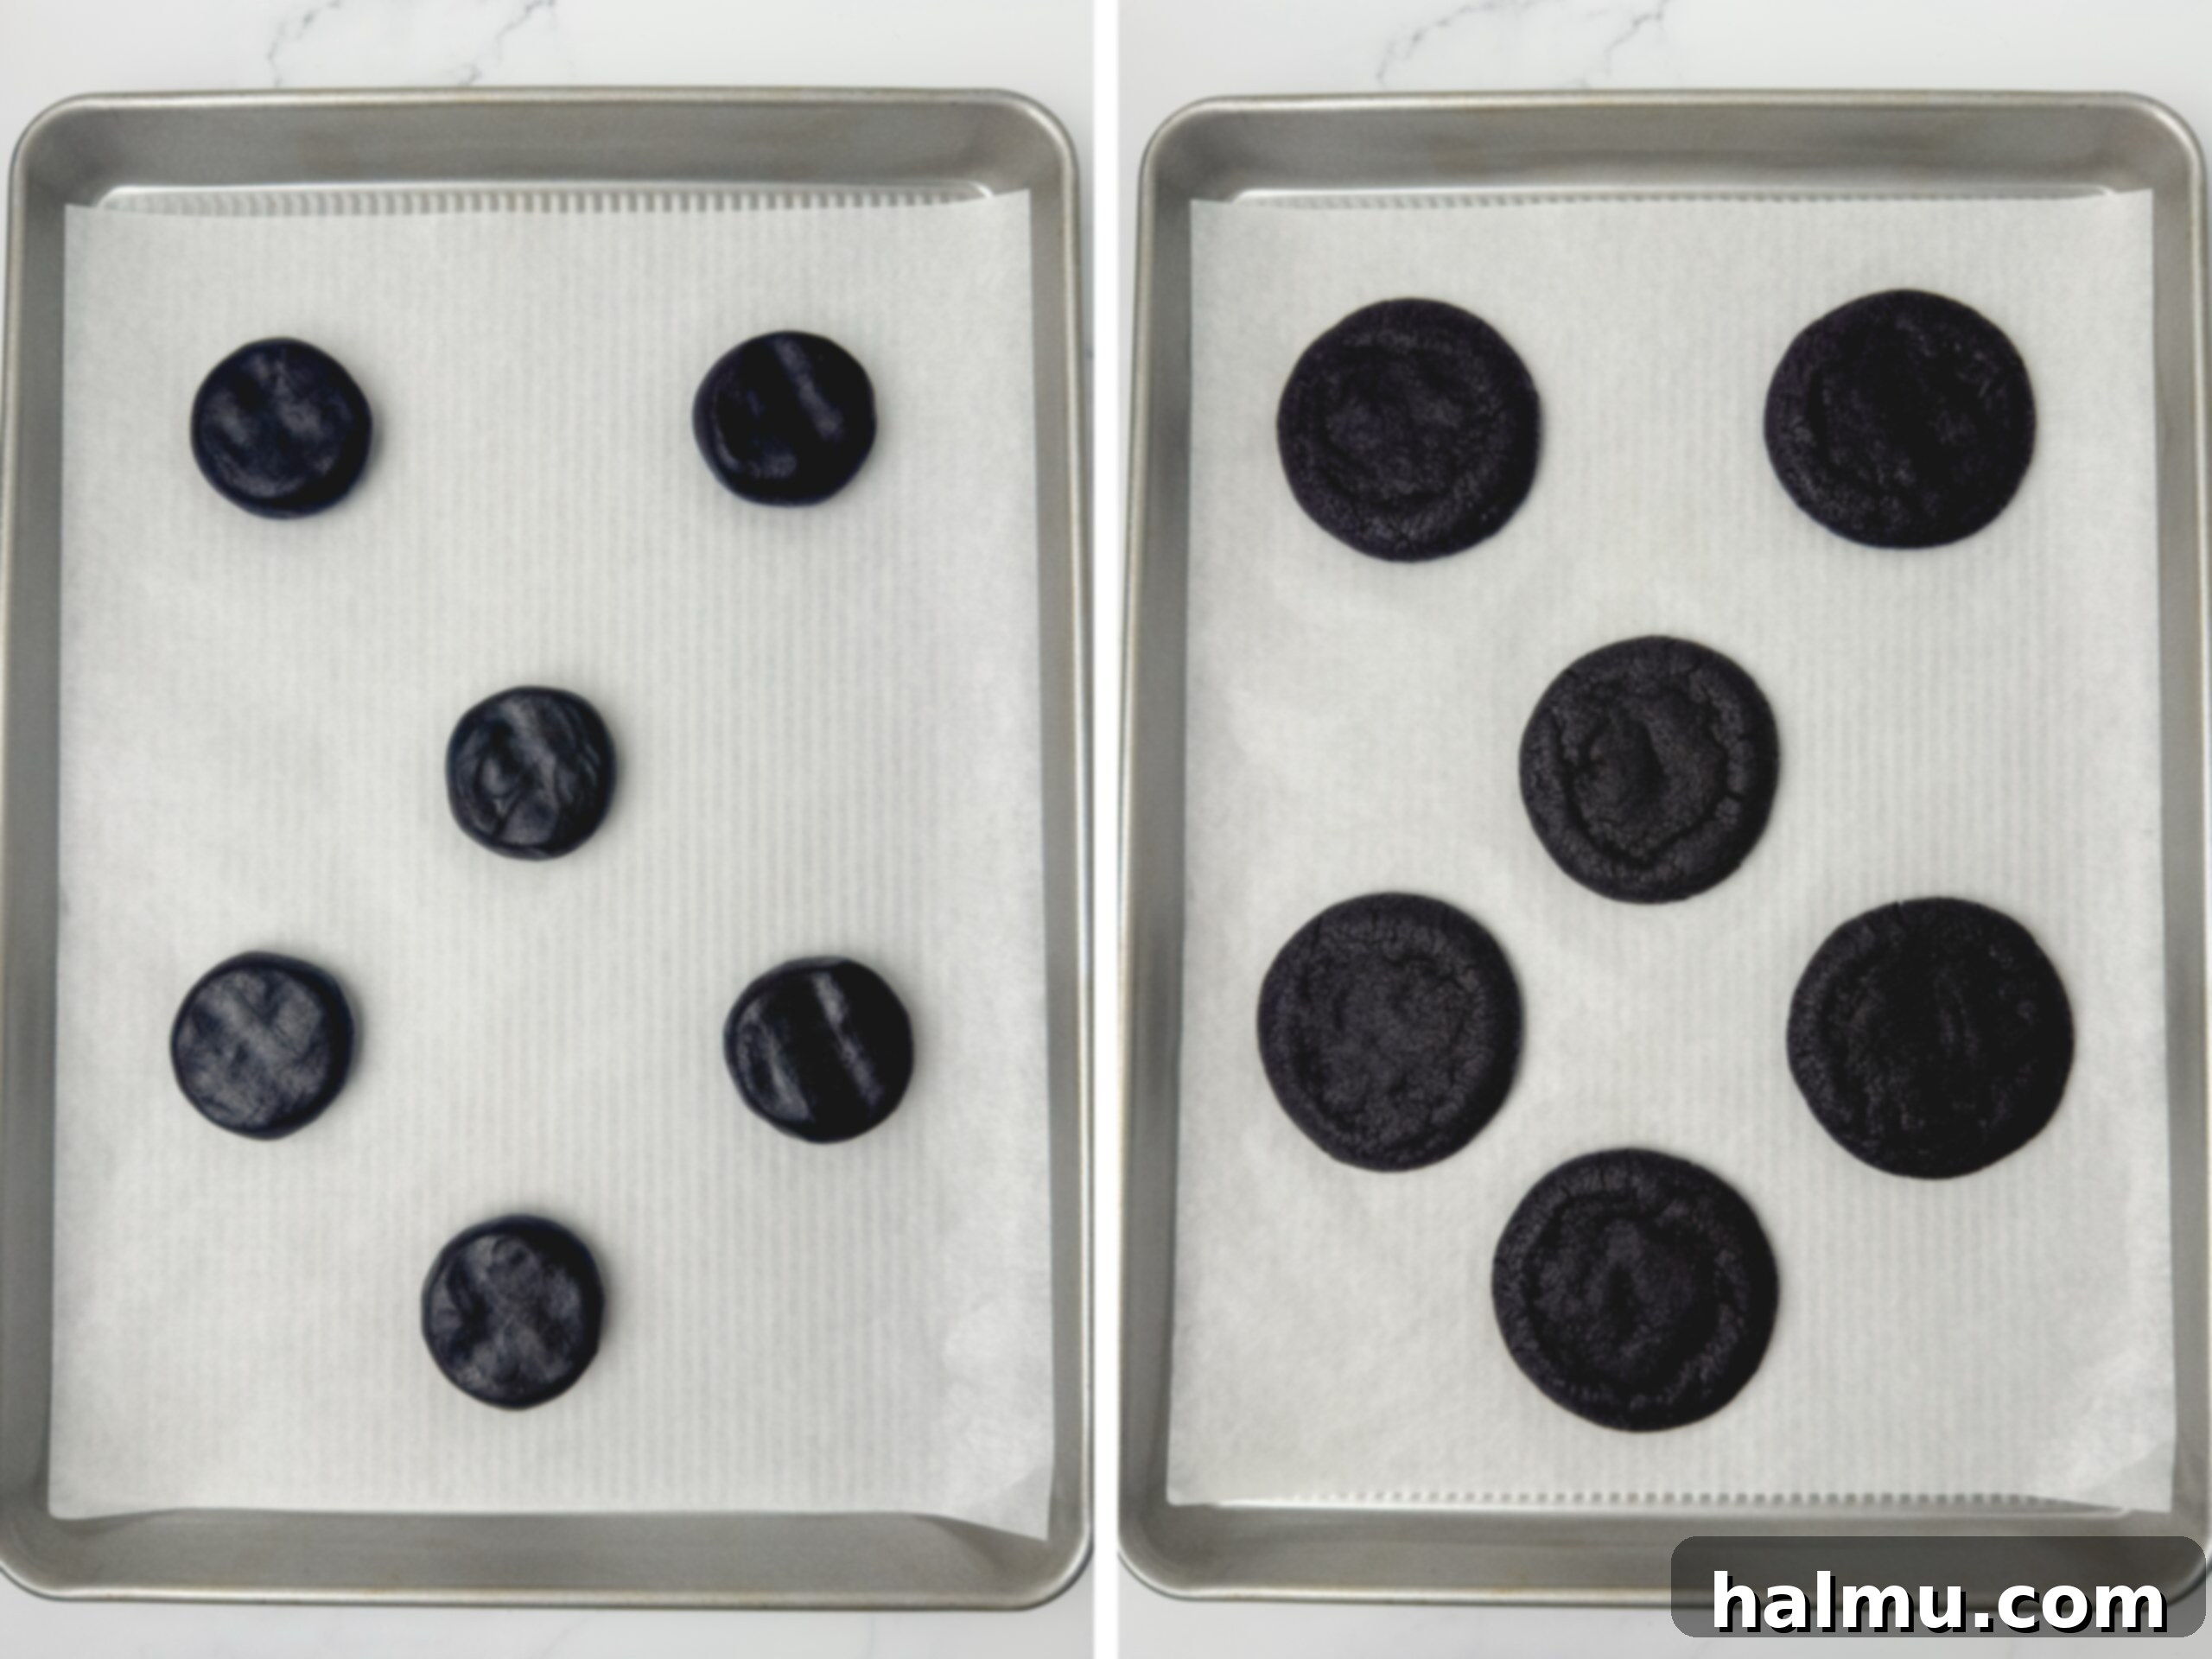
- Portion and Shape Cookies: Once chilled, use a cookie scoop (a #24 scoop, approximately 3 tablespoons, is ideal for generously sized cookies) to portion out the dough. Roll each scoop into a smooth ball between your palms – this helps create perfectly round cookies. Place the dough balls on the prepared baking sheets, ensuring they are spaced at least 2 inches apart to allow for spreading. Gently press down on each dough ball with your palm or the bottom of a glass to slightly flatten them; this helps them bake evenly.
- Bake to Perfection: Bake the cookies for 9-11 minutes, or until the edges are set and the tops no longer appear wet or shiny in the center. Avoid overbaking, as this can dry out the cookies and make them less fudgy. They will continue to set as they cool.
- Cool Completely: Carefully transfer the baked cookies to a wire rack to cool completely. This step is vital! Attempting to frost warm cookies will cause your buttercream to melt and slide off, creating a messy situation.
Whip Up Decadent Black Cocoa Buttercream
The rich, velvety black cocoa buttercream is the crowning glory of these cookies. Its smooth texture and deep chocolate flavor perfectly complement the fudgy cookies.
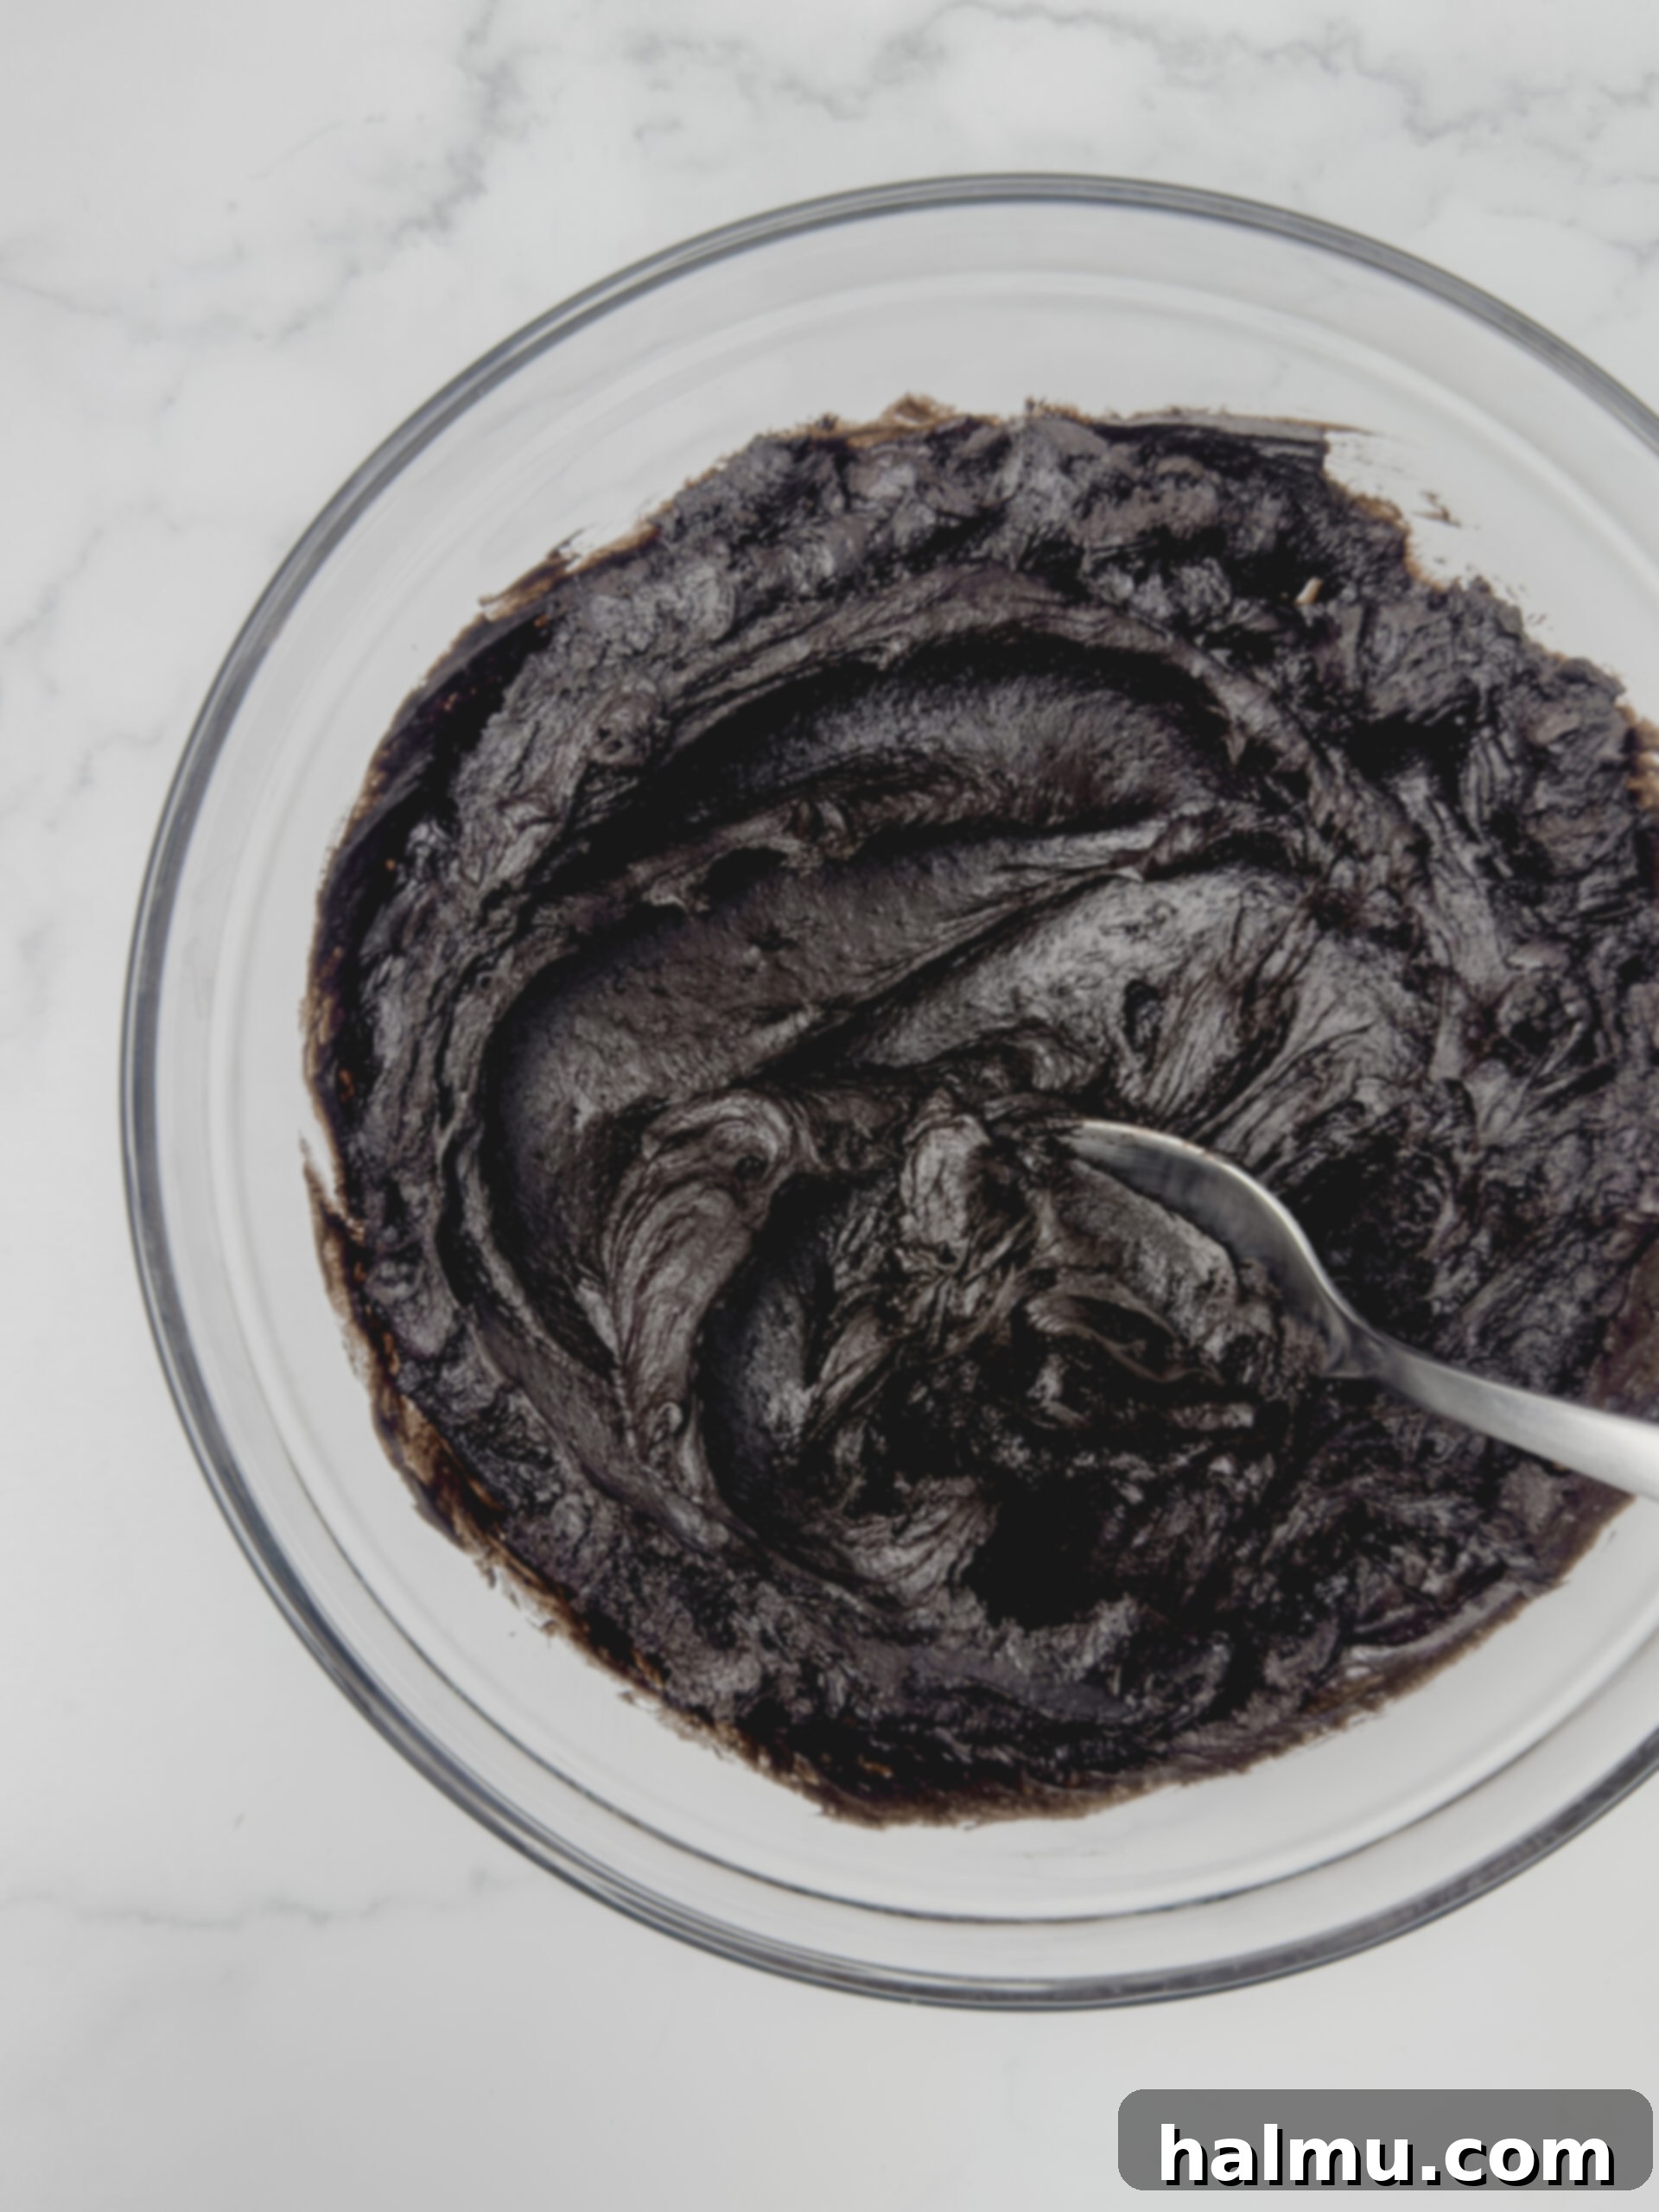
- Cream the Butter: In the bowl of a stand mixer fitted with a paddle attachment, cream the softened unsalted butter on medium speed for about 2 minutes, until it’s light, smooth, and creamy. This aerates the butter, creating a light and fluffy buttercream. Remember to scrape down the sides of the bowl thoroughly with a rubber spatula.
- Combine with Dry Ingredients: To the creamed butter, add the sifted powdered sugar, sifted black cocoa powder, vanilla extract, and a pinch of salt. Start mixing on the lowest speed to avoid a cloud of powdered sugar and cocoa. Once mostly combined, increase the speed to medium.
- Add Heavy Cream and Beat: Gradually add the heavy cream, one tablespoon at a time, until the mixture starts to come together. Continue mixing on medium-high speed for another 2-3 minutes, until the buttercream is completely smooth, fluffy, and lump-free. Adjust the consistency with a little more heavy cream if it’s too thick, or a tablespoon of powdered sugar if it’s too thin.
Frost and Finish with Festive Flair
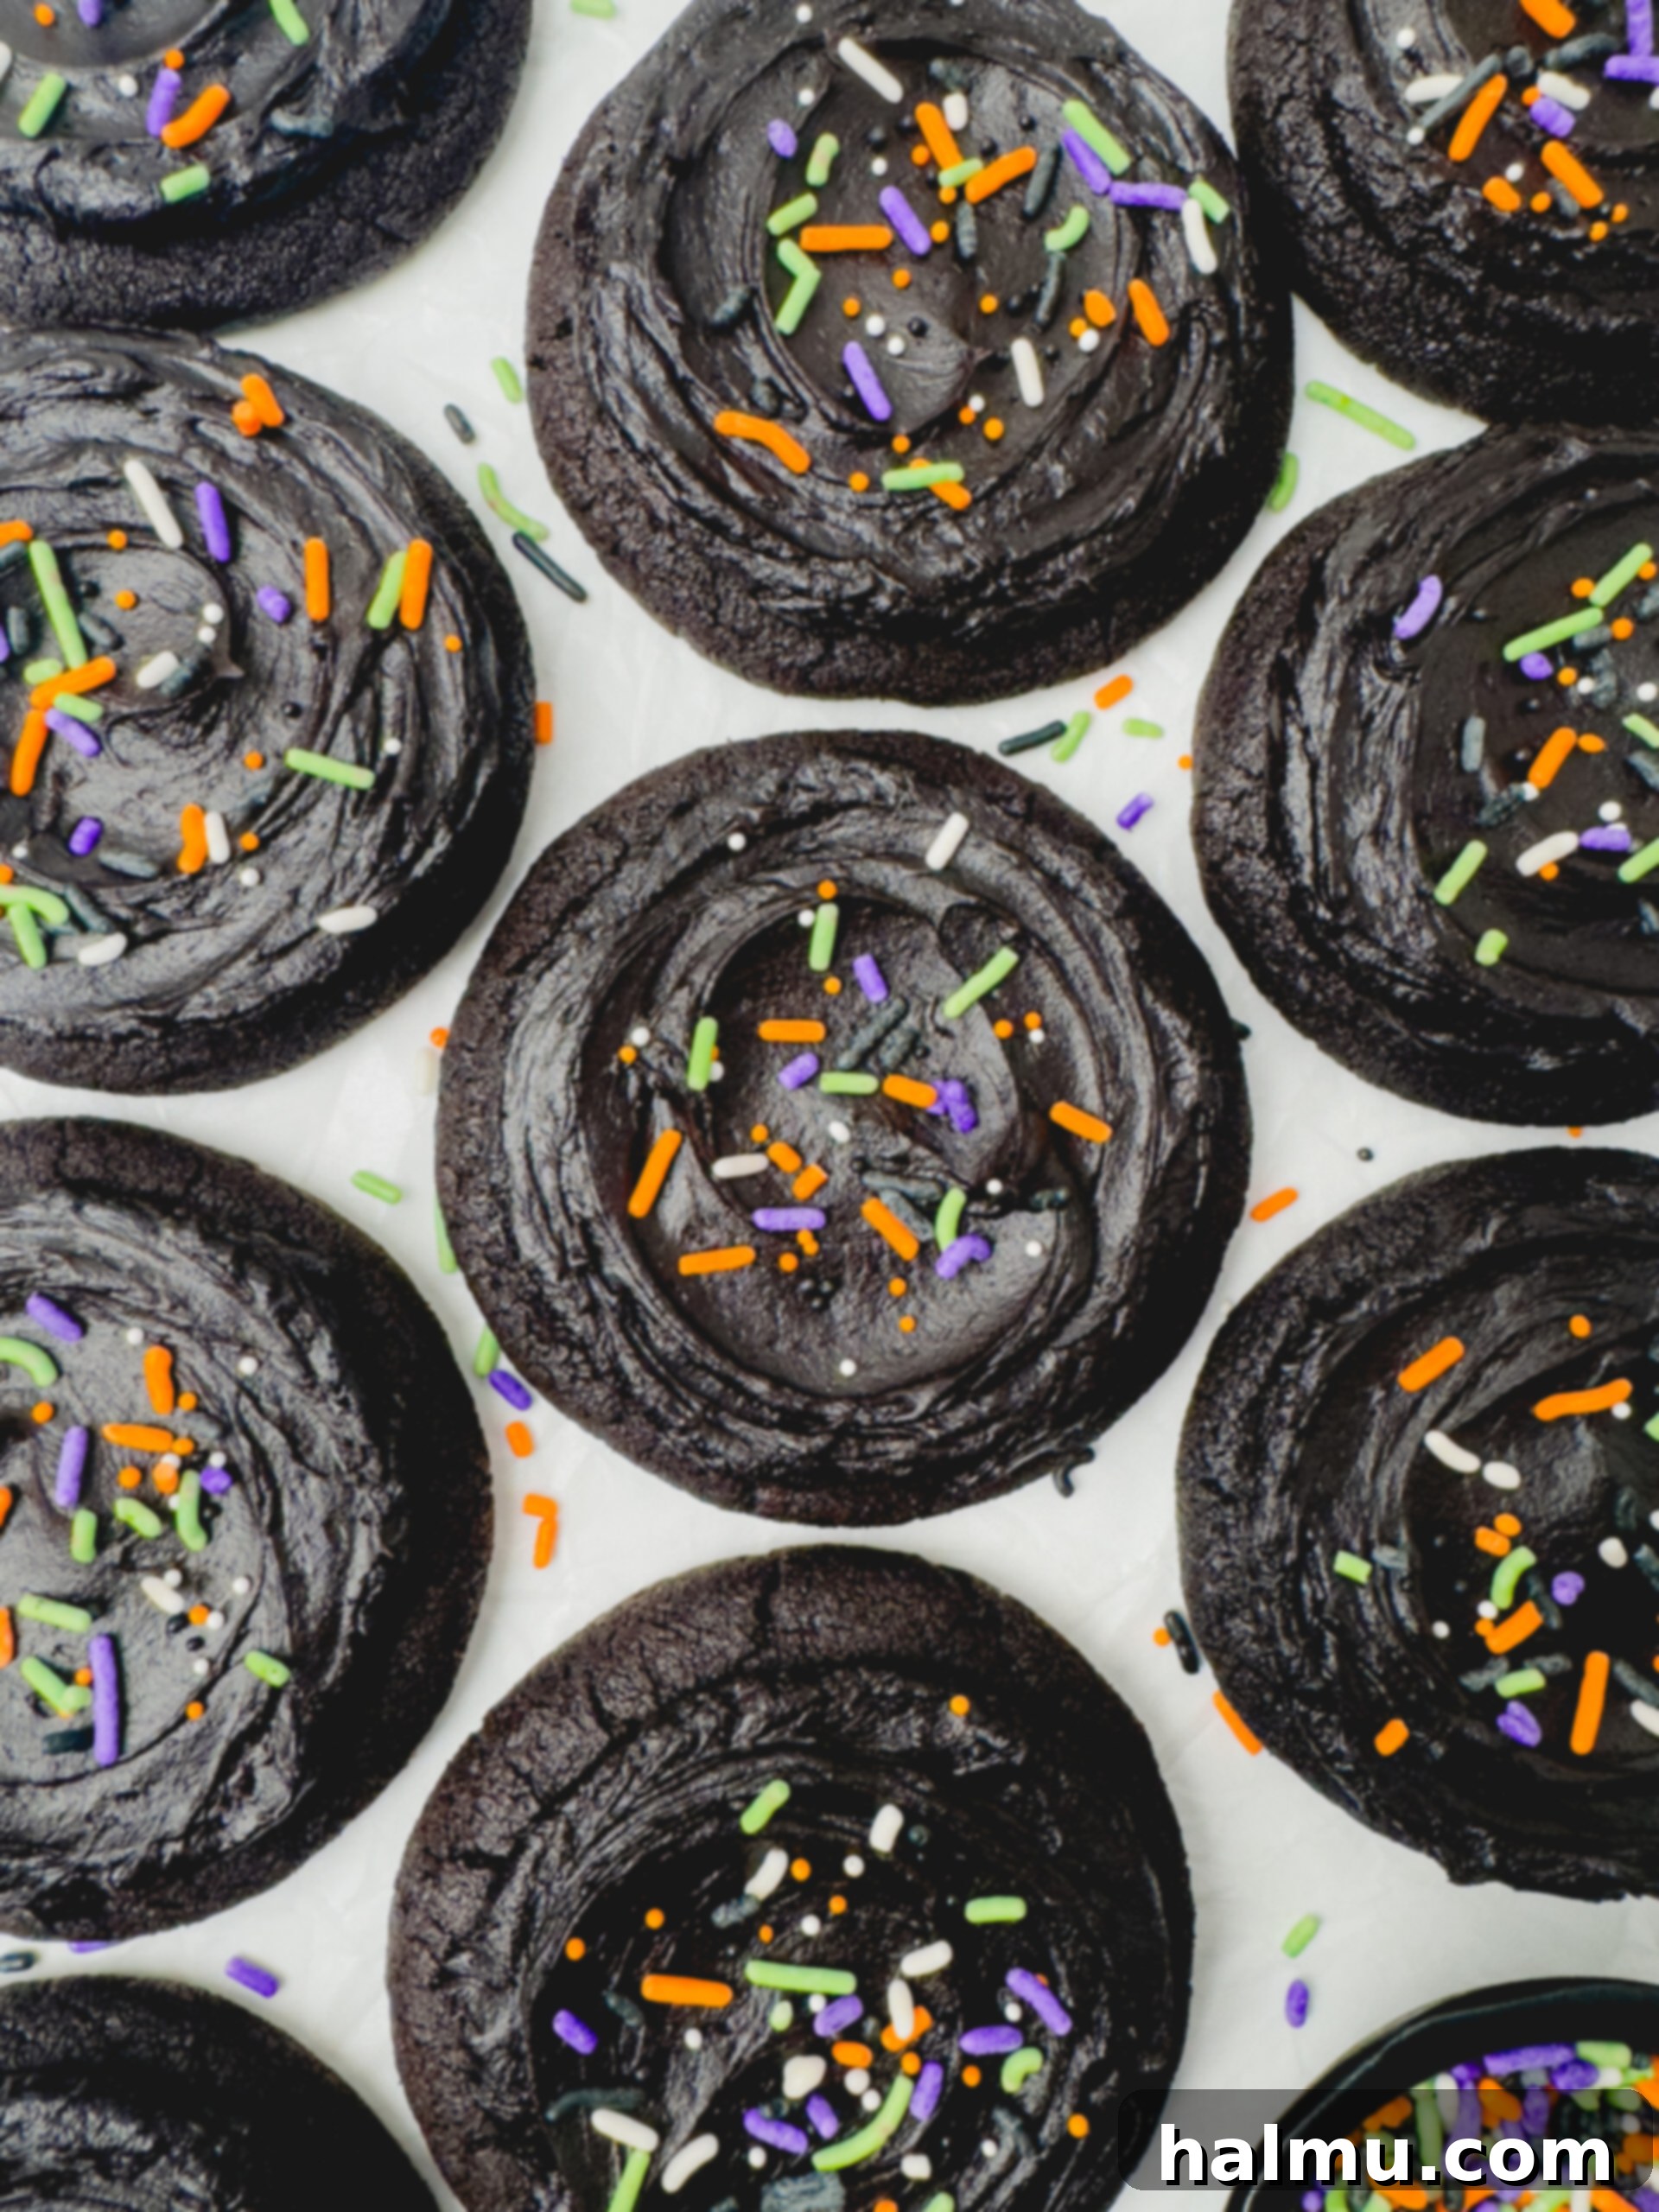
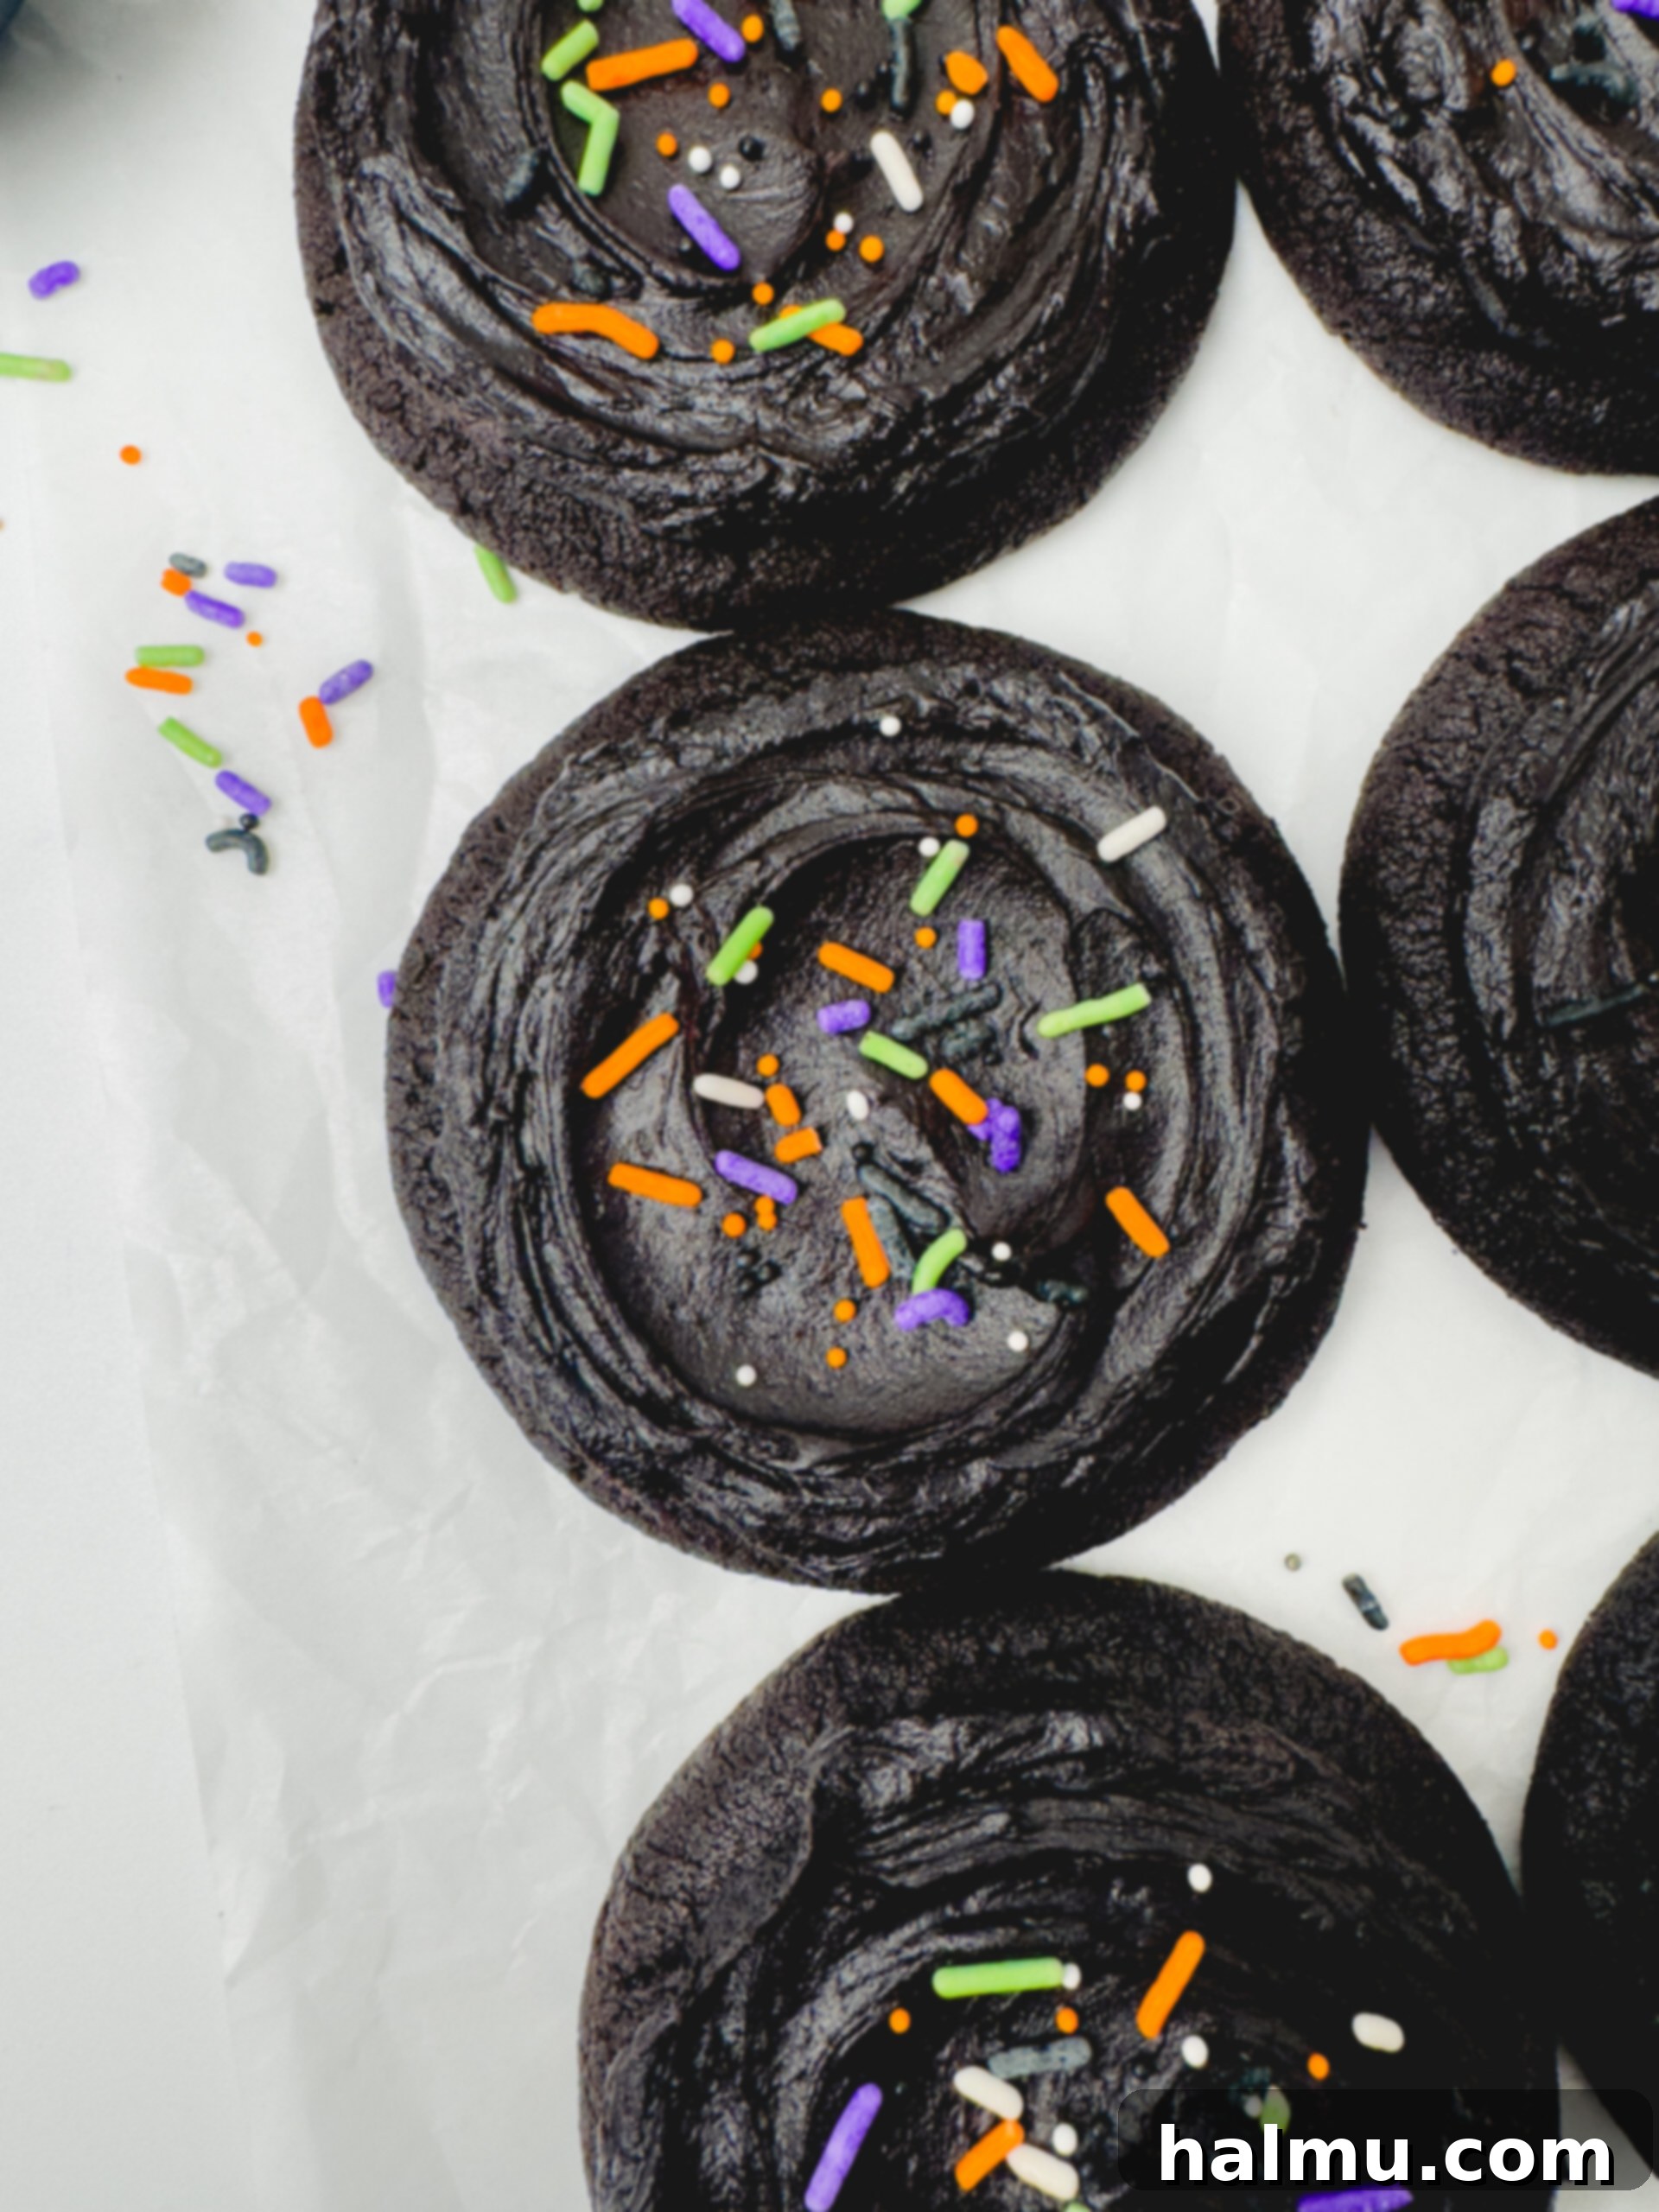
- Frost the Cooled Cookies: Once your cookies are completely cool, add a generous dollop of the black cocoa buttercream to the center of each. Using the back of a spoon or a mini offset spatula, gently spread the frosting outwards towards the edges of the cookie. For a professional touch, finish with a graceful swirl in the middle.
- Add Sprinkles Immediately: This step is time-sensitive! The buttercream will begin to form a slight crust on its surface quite quickly. Frost one cookie at a time, and immediately after spreading the frosting, sprinkle with your chosen colorful, festive sprinkles. If you wait too long, the sprinkles won’t adhere properly. Now, stand back and admire your beautifully decorated, delicious Frosted Black Cocoa Cookies!
For precise ingredient quantities and detailed measurements, please refer to the recipe card at the bottom of this post.
Frosted Black Cocoa Cookie FAQs
What is the best way to store Frosted Black Cocoa Cookies?
To maintain their freshness and delicious texture, these Frosted Black Cocoa Cookies should be stored in an airtight container at room temperature. They will remain wonderfully fresh for up to 4 days. Before stacking the cookies, it’s crucial to allow the buttercream frosting to “crust” slightly, which typically takes several hours. To prevent the frosting from getting smushed or sticking together when stacked, place a sheet of parchment paper or wax paper between each layer of cookies.
Do these Frosted Black Cocoa Cookies freeze well?
Absolutely, these cookies are excellent for freezing, offering a convenient way to prepare them in advance. You have a couple of options:
- Unfrosted Cookies: Bake the cookies as directed, but do not frost them. Once completely cooled, layer the naked cookies in an airtight freezer-safe container or a heavy-duty zip-top bag. They can be frozen for up to 2-3 months. When ready to enjoy, thaw them at room temperature for a few hours before preparing and applying the frosting.
- Frosted Cookies: You can also freeze the cookies after they’ve been frosted. To do this, place the frosted cookies in a single layer on a baking sheet and freeze for about 1-2 hours, or until the frosting is solid. Once firm, you can transfer them to an airtight freezer-safe container, separating layers with parchment paper. Freeze for up to 1 month. Thaw them at room temperature for several hours before serving.
Does the cookie dough really need to chill?
Yes, chilling the dough for at least 30 minutes is a critical step for these cookies. This serves two main purposes:
- Prevents Spreading: Chilling allows the butter in the dough to firm up. When the dough hits the warm oven, the butter melts more slowly, which prevents the cookies from spreading too rapidly and becoming thin or flat. This ensures a thicker, chewier cookie.
- Easier to Handle: A chilled dough is significantly less sticky and much firmer, making it far easier to scoop and roll into perfectly smooth, uniform balls. This contributes to better-looking cookies with a consistent texture.
Can I use regular cocoa powder instead of black cocoa powder?
While you can substitute regular Dutch-processed cocoa powder for black cocoa powder, there will be noticeable differences in your final cookies.
- Color: You will lose the signature intense black color. The cookies will be a dark brown, similar to traditional chocolate cookies, rather than jet black.
- Flavor: Regular Dutch-processed cocoa has a slightly more pronounced and sometimes more bitter chocolate flavor than the milder, Oreo-like taste of black cocoa. The cookies will still be delicious, but the flavor profile will shift from a classic “Oreo-like” to a richer, more robust chocolate.
- Texture: Due to the difference in pH, regular Dutch cocoa can sometimes result in a slightly different texture, often a bit more cake-like if other acidic ingredients are present.
For the true Frosted Black Cocoa Cookie experience, we highly recommend sticking with black cocoa powder.
Can these cookies be made in a smaller size for mini treats?
Absolutely! These cookies are perfectly adaptable to a smaller, mini size. For mini Frosted Black Cocoa Cookies, use a #40 cookie scoop (approximately 1½ Tablespoons) to portion the dough. You’ll need to adjust the baking time accordingly; mini cookies will bake faster, typically requiring 7-9 minutes, or until the edges are set and the centers no longer look wet. Keep a close eye on them to prevent overbaking.
Expert Tips for the Best Frosted Black Cocoa Cookies
Achieving bakery-quality frosted cookies is easier than you think with these expert tips:
- Ensure Cookies Are Fully Cooled: This is arguably the most crucial tip. Before even thinking about frosting, make absolutely certain your cookies have cooled completely to room temperature. Warm cookies will instantly melt your beautiful buttercream, leading to a runny mess. Patience is key here!
- Add Sprinkles Immediately: Buttercream begins to form a slight “crust” or set on its surface as it’s exposed to air. To ensure your festive sprinkles adhere perfectly, frost one cookie at a time and apply the sprinkles immediately after spreading the buttercream. Have your sprinkles ready and within reach.
- Bake in Advance for Enhanced Softness: While these cookies are delicious fresh from the oven, I find they develop an even softer, more tender texture and deeper flavor after sitting in an airtight container for a few hours, or even overnight. Making them the day before you plan to serve allows the flavors to meld and the cookies to become incredibly moist. This step is optional but highly recommended for an elevated experience.
- Room Temperature Ingredients for Buttercream: Just like with the cookie dough, using softened butter and room temperature heavy cream for your buttercream is vital. Cold ingredients will result in a lumpy, stiff frosting that is difficult to spread.
- Don’t Overmix the Cookie Dough: Once you add the dry ingredients to the wet, mix only until just combined. Overmixing develops gluten, which can lead to tough, chewy cookies instead of the desired soft and fudgy texture.
- Sift Dry Ingredients: Especially with black cocoa powder, sifting your dry ingredients (flour, cocoa, leaveners) prevents lumps and ensures they are evenly distributed throughout the dough, contributing to a uniform texture and bake.
Favorite Baking Tools
See more in my Amazon Storefront
Baking Tip: Embrace Accuracy with a Kitchen Scale!
For the most consistent and successful baking results every single time, I cannot recommend enough the use of a kitchen scale to weigh your ingredients. Measuring by weight (grams) is far more accurate than using volume measurements (cups), which can vary significantly depending on how ingredients are scooped and leveled. This precision leads to a more consistent outcome with your recipes, minimizing potential errors. As an added bonus, using a scale often means fewer measuring cups and spoons to wash, making for easier cleanup! I provide precise gram measurements in all my recipes for this very reason. This is the reliable kitchen scale I personally love and use for all my baking endeavors.
Discover More Delicious Cookie Recipes
If you loved these Frosted Black Cocoa Cookies, you’re in for a treat! Explore some of my other favorite cookie recipes:
- Peanut Butter Oreo Cookies
- Butterscotch Oatmeal Cookies
- Churro Cookies
- Frosted Andes Chocolate Mint Cookies
- Soft & Chewy Snickerdoodle Cookies
Thank you for baking with me! If you try this recipe for Frosted Black Cocoa Cookies and fall in love with them as much as I have, please be sure to leave a comment below. Your feedback truly brightens my day. Happy baking!
Frosted Black Cocoa Cookies
With a fun Halloween twist, these Black Cocoa Cookies are soft, chewy, and topped with a swirl of rich black cocoa buttercream and festive sprinkles!
Author: Rachel
Print Recipe
Rate This Recipe
Prep Time: 30 mins
Cook Time: 12 mins
Chill Time: 30 mins
Total Time: 1 hr 12 mins
Yield: 13 servings
Ingredients
For the Black Cocoa Cookies
- ½ cup (1 stick or 113g) unsalted butter, at room temperature
- 3 Tablespoons (42g) vegetable or canola oil
- 1 cup (200g) granulated sugar
- 1 large egg, at room temperature
- 2 teaspoons vanilla extract
- 1½ cups (180g) all-purpose flour
- ½ cup (56g) black cocoa powder, sifted
- 1 Tablespoon (10g) cornstarch
- ½ teaspoon baking powder
- ¼ teaspoon baking soda
- ¼ teaspoon salt
For the Black Cocoa Buttercream
- 1 cup (2 sticks or 226g) unsalted butter, at room temperature
- 2½ cups (300g) powdered sugar
- ½ cup (56g) black cocoa powder, sifted
- 2 teaspoons vanilla extract
- pinch of salt
- 5 Tablespoons (75mL) heavy cream, at room temperature
For Decorating
- Halloween sprinkles, or any colorful variety
Instructions
Black Cocoa Cookies
- In the bowl of a stand mixer fitted with a paddle attachment, cream the butter, oil, and sugar until light and fluffy, about 2 minutes. Scrape down the sides of the bowl.
- Add the egg and vanilla extract. Mix until just combined. Scrape the sides of the bowl again, then add the flour, sifted black cocoa powder, cornstarch, baking powder, baking soda, and salt. Mix on low speed just until everything is well incorporated and a dough forms. Do not overmix.
- Cover the dough tightly with plastic wrap and chill in the fridge for 30 minutes.
- Meanwhile, preheat the oven to 350°F (175°C) and line 2 baking sheets with parchment paper or a silicone mat.
- Once the dough has chilled, portion the dough using a #24 cookie scoop (about 3 Tablespoons). Roll each scoop into a smooth ball and place them onto the prepared baking sheets, spacing them at least 2 inches apart. Press each dough ball down slightly with your palm to flatten.
- Bake at 350°F (175°C) for 9-11 minutes or until the centers of the cookies no longer look wet and the edges are set. Do not overbake. Allow to cool completely on a wire rack before frosting.
Black Cocoa Buttercream
- In the bowl of a stand mixer fitted with a paddle attachment, cream the butter on medium speed until smooth and creamy, about 2 minutes. Scrape down the bowl with a rubber spatula.
- Add the powdered sugar, sifted black cocoa powder, vanilla extract, salt, and heavy cream to the bowl. Start mixing on low speed until the ingredients are combined, preventing the powdered sugar from spilling out. Scrape the bowl well with a rubber spatula.
- Mix on medium-high speed for 2 minutes. The frosting should be completely smooth, light, and creamy.
Decorating
- Use a cookie scoop to add a dollop of frosting to the top of each of the cooled cookies. Use the back of a spoon or a small offset spatula to smooth out the frosting to the edges, and finish with a swirl in the center.
- Top with colorful sprinkles immediately after frosting each cookie to ensure they stick. Enjoy your beautifully decorated Frosted Black Cocoa Cookies!
Did you make this recipe?
Be sure to tag @sweetkitchencravings on Instagram!

HI THERE!
I’m Rachel
I’m the dessert lover, recipe developer, and content creator behind Sweet Kitchen Cravings. Here you’ll find classic yet special recipes that are sure to impress your loved ones!
MORE ABOUT RACHEL
Craving More?
Get the newest recipes delivered straight to your inbox!
[Subscribe to newsletter to get new recipes!]
