Irresistible No-Bake Mini Oreo Cheesecakes: The Ultimate Easy Dessert
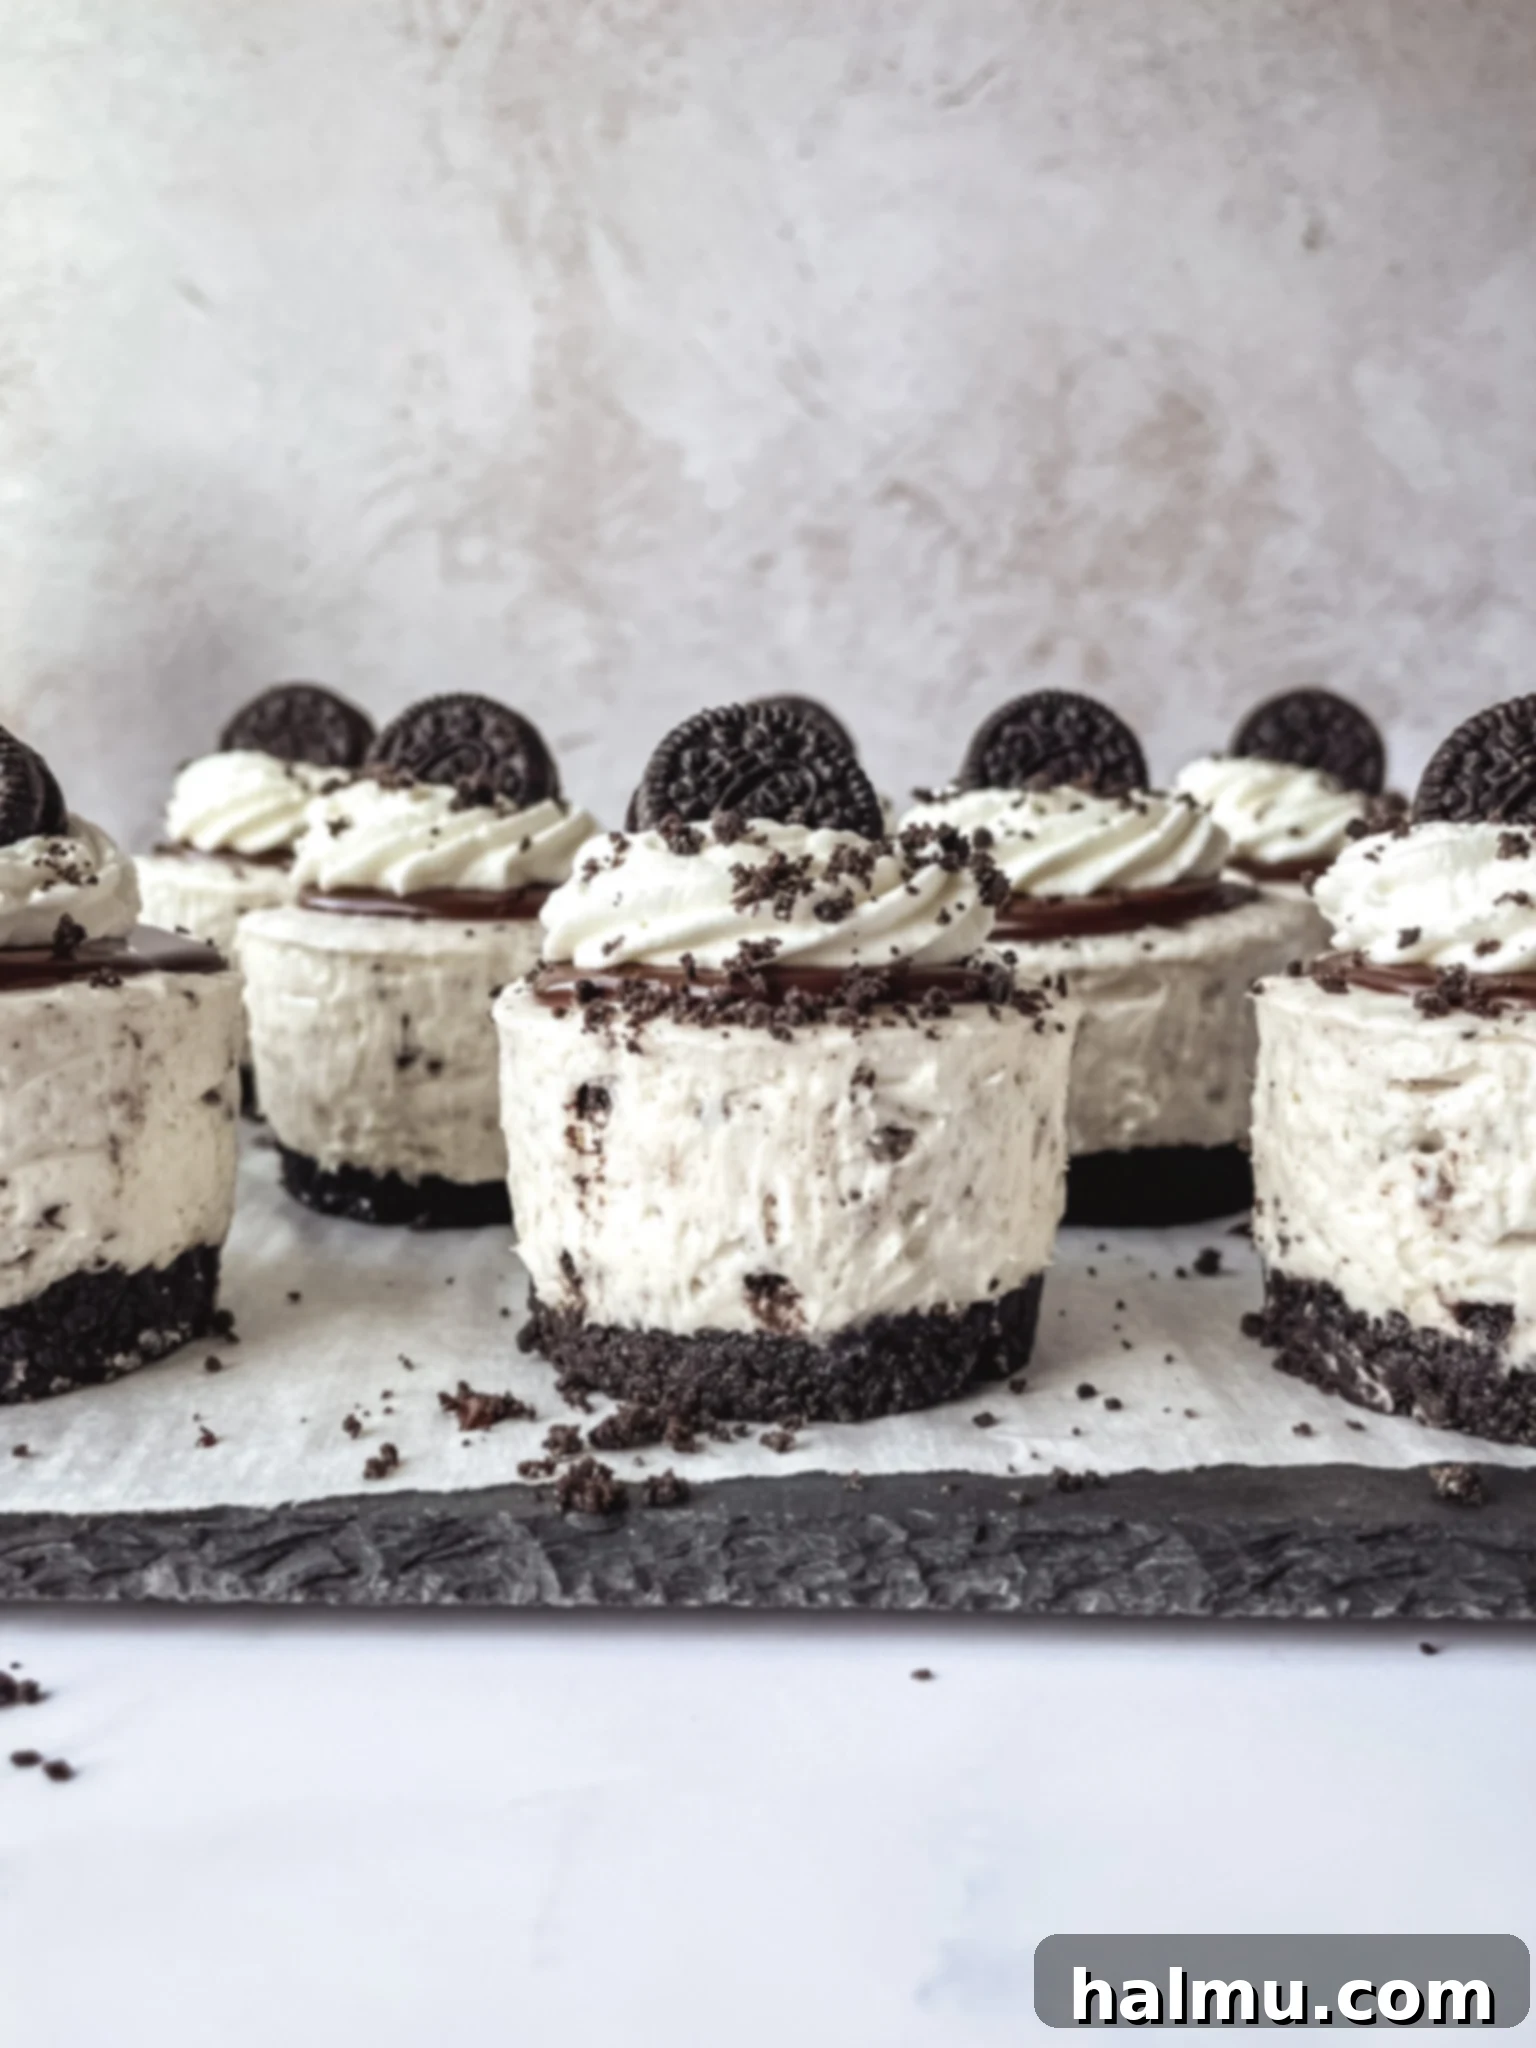
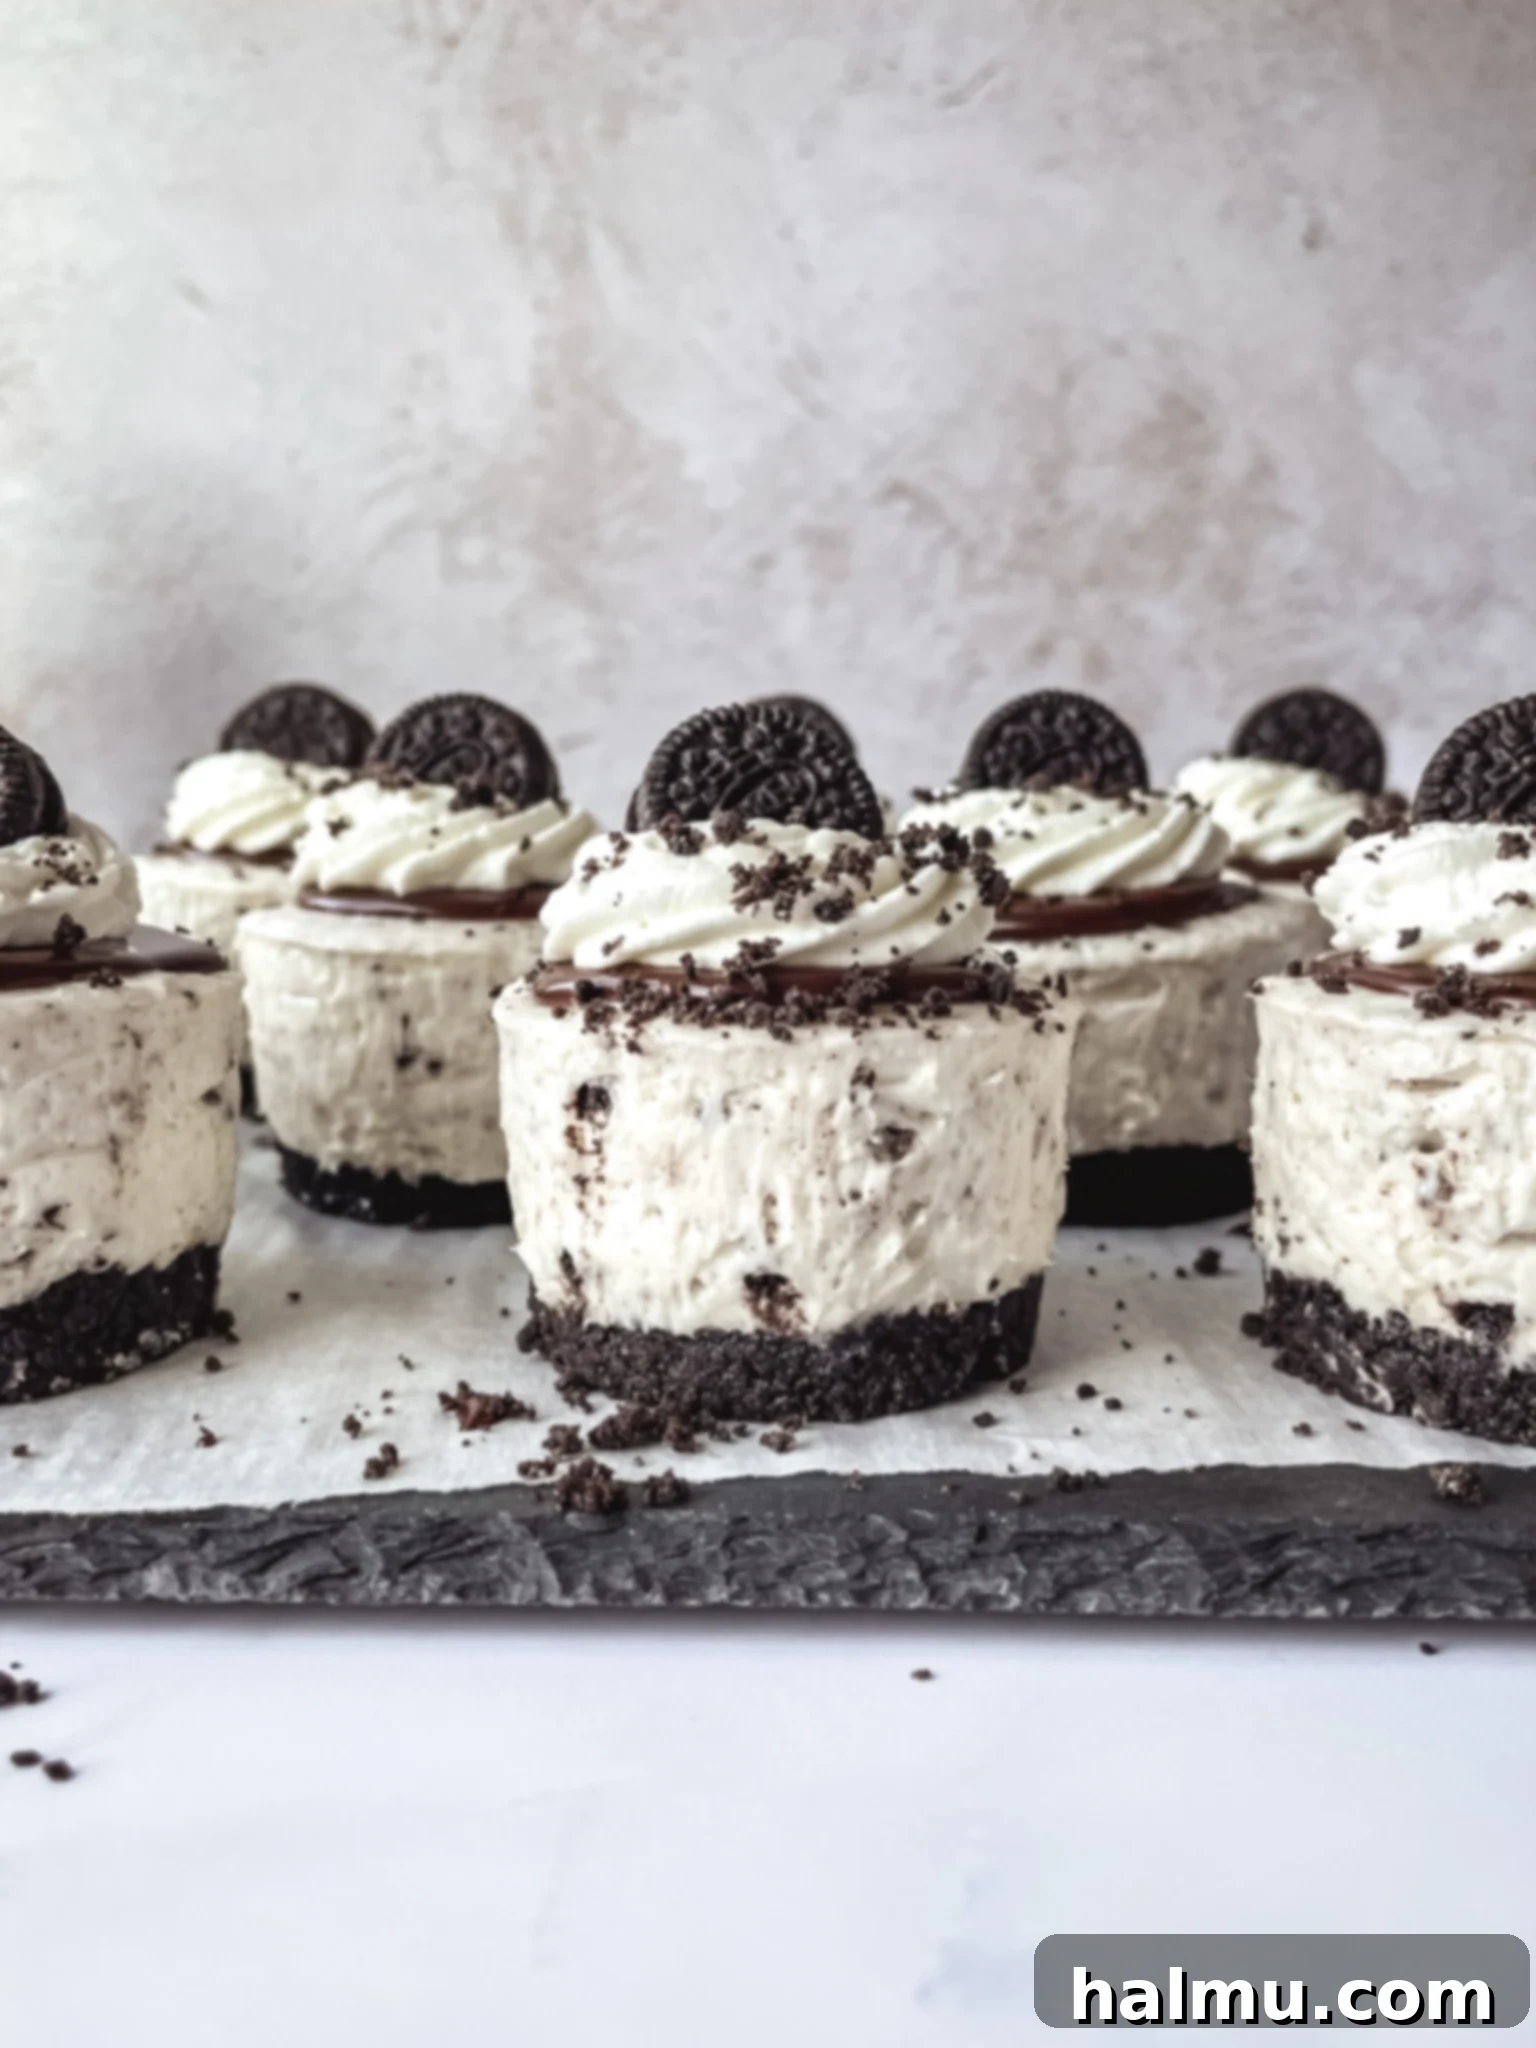
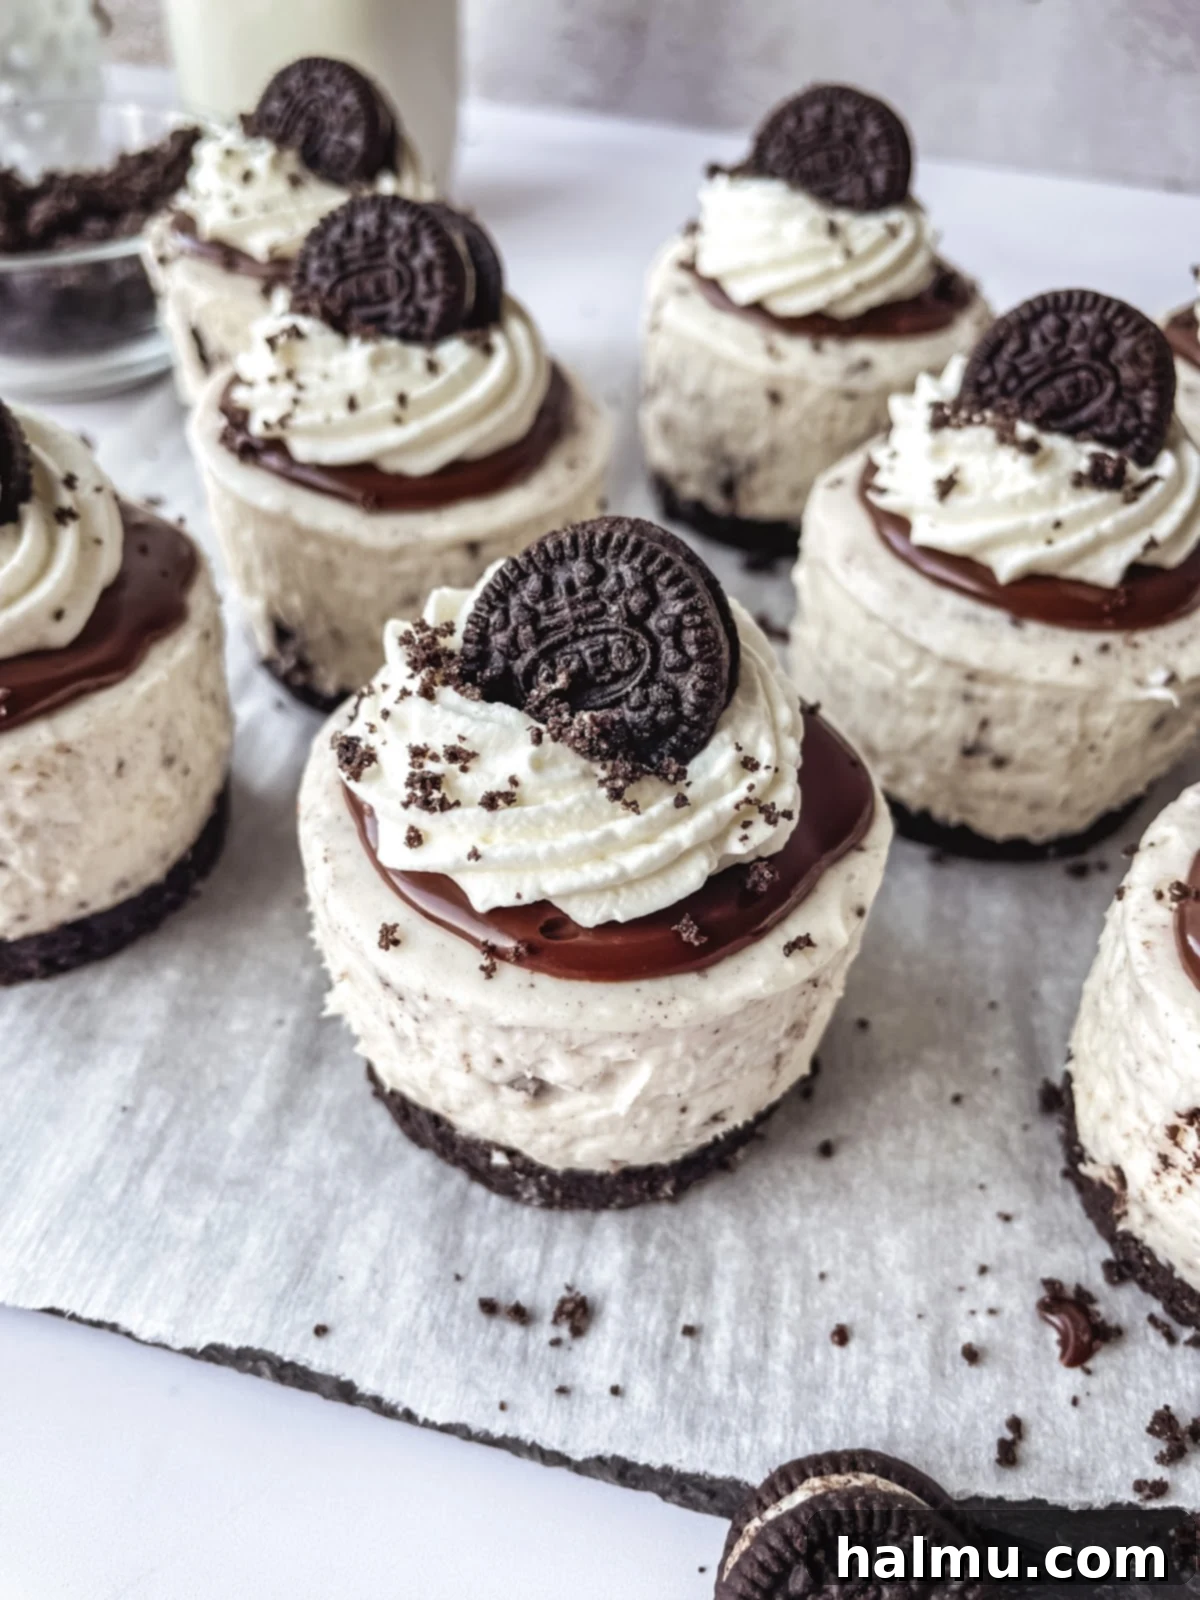
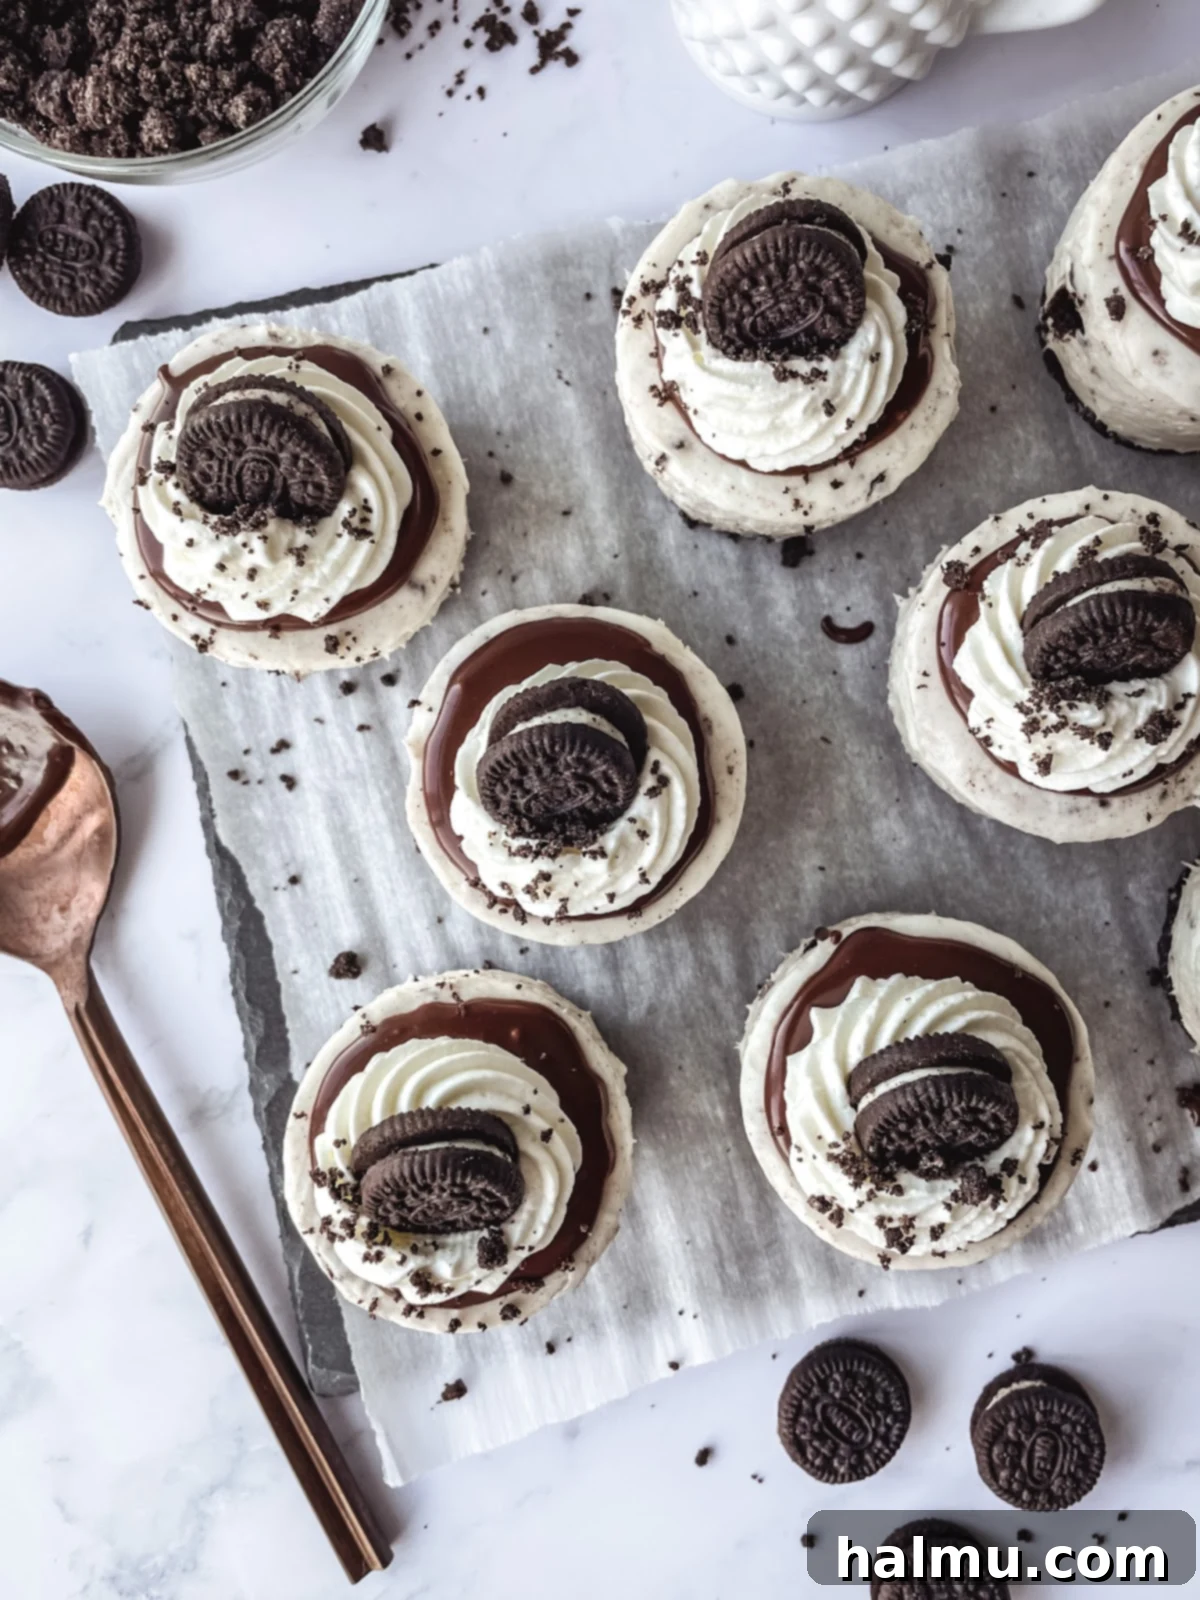
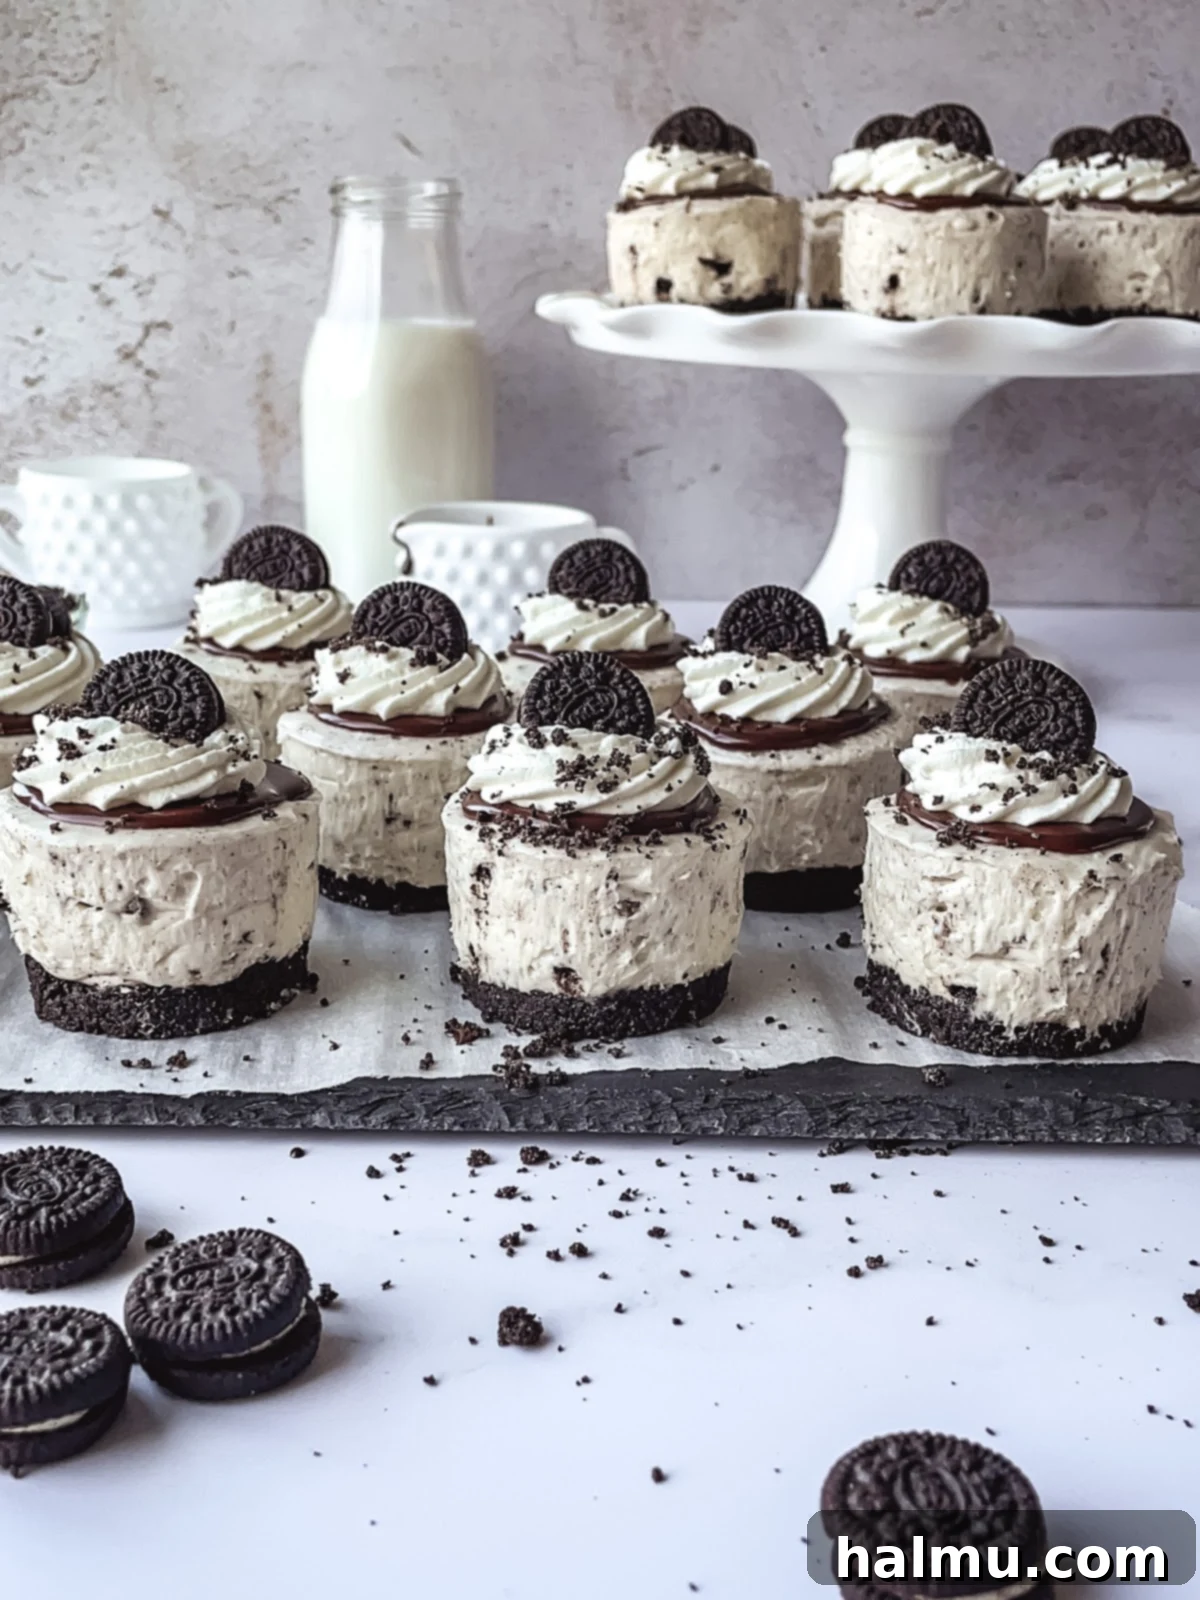
Prepare to fall in love with the ultimate no-bake dessert that combines convenience with irresistible flavor: Mini Oreo Cheesecakes. Forget complicated baking processes and turning on the oven; these adorable, bite-sized cheesecakes are incredibly simple to make, yet impressive enough for any gathering. Each mini delight starts with a perfectly crushed Oreo cookie crust, providing a satisfying crunch and classic chocolate flavor. This sturdy base is then topped with a generous, thick layer of light, airy, and wonderfully creamy Oreo cheesecake filling, studded with real Oreo pieces for an extra burst of cookies-and-cream goodness. To elevate these treats further, they are finished with a decadent layer of smooth, glossy chocolate ganache. For the prettiest presentation that will surely delight your guests, we recommend adding a dollop of fluffy whipped cream and a charming mini Oreo on top. These individual servings are not only delicious but also incredibly convenient for parties, potlucks, or simply as a special treat for yourself.
If you’re a fan of the convenience and charm of mini cheesecakes, you’re in for a treat. You might recall the immense popularity of our Mini Biscoff Cheesecakes, which quickly became one of the most beloved recipes on our website. Many of you raved about the ingenious mini cheesecake pan with removable bases, which makes serving these individual desserts a breeze. Inspired by your enthusiasm, we knew it was essential to bring you another fantastic flavor, and what could be better than the universally adored Oreo? This recipe for Mini Oreo Cheesecakes requires no eggs and absolutely no baking, making it an ideal choice for a stress-free dessert. They are simple to prepare, utterly delicious, and perfect for those days when you crave a homemade treat without the fuss of heating up your kitchen.
Why You’ll Adore These No-Bake Mini Oreo Cheesecakes
There are countless reasons why these Mini Oreo Cheesecakes will become a staple in your dessert repertoire. Beyond their undeniable cuteness, they offer a perfect blend of convenience, flavor, and elegance:
- Effortless No-Bake Perfection: Say goodbye to cracked cheesecake tops and water baths! This recipe eliminates the need for an oven, making it perfect for novice bakers, hot summer days, or when you simply prefer a quick and easy dessert solution. The no-bake method ensures a consistently smooth and creamy texture every time.
- Irresistibly Delicious Flavor: Who can resist the classic combination of rich chocolate Oreo cookies and creamy vanilla cheesecake? These mini cheesecakes deliver a satisfying balance of sweet and tangy, with delightful pockets of crushed Oreos throughout the filling. The final touch of chocolate ganache adds a luxurious depth that ties all the flavors together beautifully.
- Perfectly Portioned & Party-Ready: Their individual size makes them ideal for entertaining. No need for slicing and serving; each guest gets their own perfectly portioned dessert. They’re fantastic for birthdays, holidays, potlucks, or any occasion where you want to impress without the hassle. Plus, they’re easy to transport!
- Simple, Accessible Ingredients: You won’t need any exotic items for this recipe. All ingredients, from cream cheese and heavy cream to everyone’s favorite Oreos, are readily available at any grocery store, making these cheesecakes easy to whip up on a whim.
- Kid-Friendly & Fun to Make: Get the whole family involved! Crushing Oreos and helping to fill the molds can be a fun activity for kids (with supervision, of course). And who doesn’t love a dessert featuring Oreos?
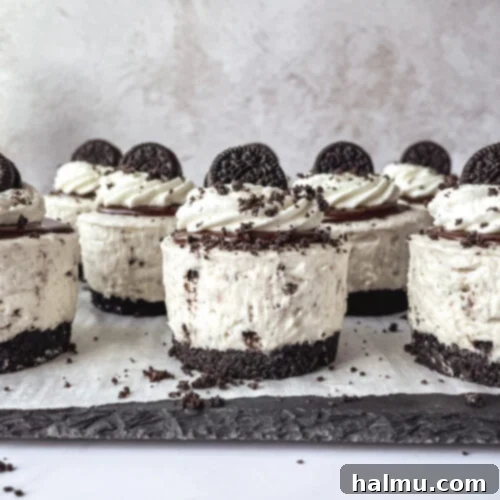
- Stunning Presentation: Despite their ease of preparation, these mini cheesecakes look incredibly professional and elegant. The distinct layers of dark crust, light filling, and glossy ganache, especially when topped with whipped cream and a mini Oreo, make for a visually appealing dessert that will garner many compliments.
Essential Tools for Mini Cheesecake Success
While this recipe is designed to be straightforward, having the right tools can make the process even smoother and ensure a picture-perfect result. Here are a few recommended items that will elevate your mini cheesecake-making experience:
Mini Cheesecake Pans with Removable Bases
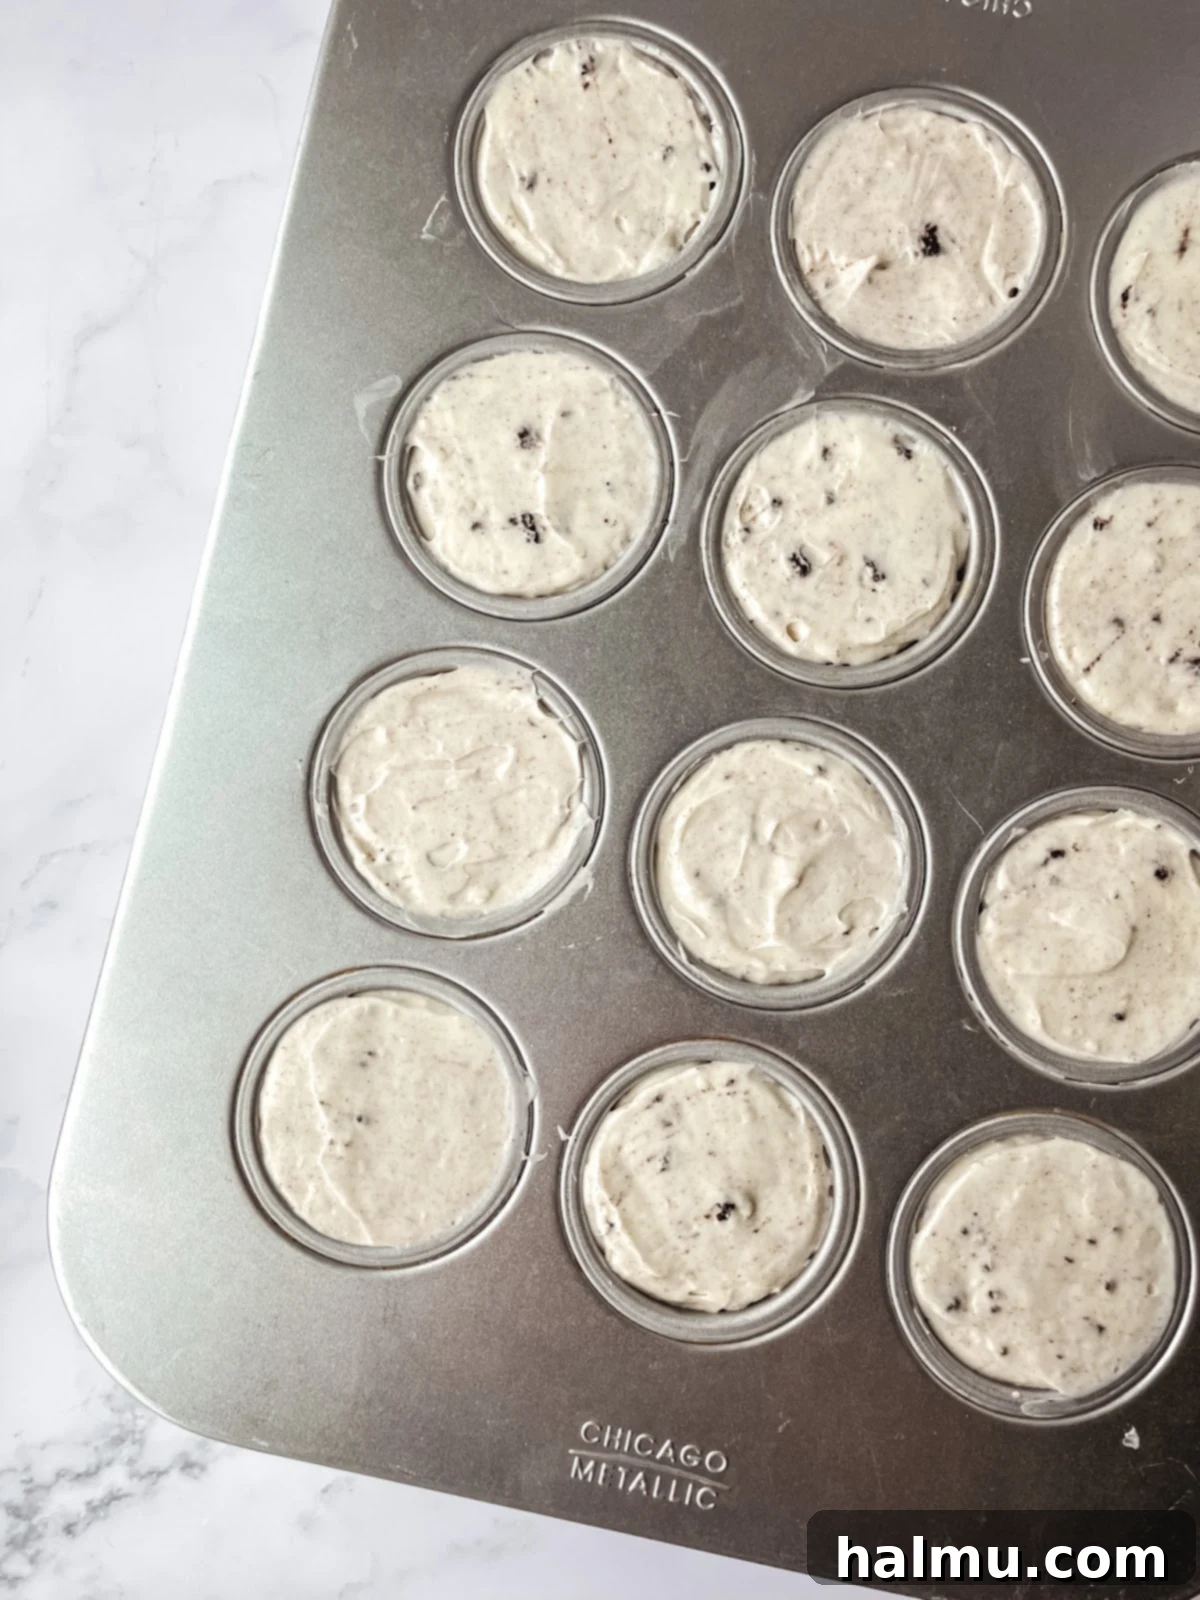
These specialized mini cheesecake pans are truly a game-changer for achieving beautifully uniform and clean-sided mini cheesecakes. The clever design features individual metal bases that fit into each cavity. You simply layer your crust and filling over these bases and chill the cheesecakes until firm. Once set, effortlessly push the base up from the bottom, and your perfectly formed cheesecake pops out, ready for garnishing. This method not only ensures pristine edges but also makes serving individual portions incredibly easy and mess-free. If you plan on making mini cheesecakes frequently, this pan is a worthwhile investment. Each cavity is designed to provide that ideal small, personal serving size that everyone loves.
Tart Tamper
While not strictly essential, a tart tamper can significantly simplify the process of compacting your cookie crust. The larger end of the tamper is often perfectly sized to press down the Oreo crust mixture into the bottom of the mini cheesecake pan cavities, creating a dense, even, and stable foundation. This ensures your crust holds together well and doesn’t crumble when removed. Beyond cheesecakes, this versatile tool is also handy for tart crusts or any dessert requiring a firmly pressed graham cracker or cookie base. If you don’t have a tart tamper, a shot glass, the bottom of a spice jar, or any small, flat-bottomed measuring cup that fits snugly into your cheesecake tin can serve as an excellent substitute for pressing the crust.
Small Offset Spatula
A small offset spatula is a wonderfully versatile tool that every home baker should consider adding to their collection. Its angled blade makes it perfect for a myriad of kitchen tasks, especially when working with delicate desserts. For these mini cheesecakes, we found it to be the ideal size for lightly smoothing the top of the cheesecake filling after piping it into the pans. A few gentle swipes create a beautifully level and neat surface, ready for the ganache and toppings. It’s also excellent for spreading icings on cupcakes, batters into pans, or even serving delicate pastries. Its precision and ease of use make it a kitchen workhorse.
Piping Bags
Piping bags are incredibly useful for filling the mini cheesecake tins, offering both efficiency and cleanliness. Using a large piping bag allows for quick, controlled, and mess-free dispensing of the creamy cheesecake filling into each small cavity. This ensures an even fill across all your cheesecakes and helps create those professional-looking layers. This particular size of piping bag is also a go-to for many other baking projects, such as decorating cakes with frosting, piping meringues, or filling cupcakes, making it a valuable addition to your baking arsenal.
Expert Tips for Crafting the Best No-Bake Mini Oreo Cheesecakes
Achieving perfectly set, deliciously creamy mini cheesecakes is easy when you follow a few key guidelines. These tips will help ensure your no-bake treats turn out beautifully every time:
- Whip the Heavy Cream to Stiff Peaks: This step is absolutely crucial for the cheesecake filling to set properly and achieve its characteristic light and airy texture. Once the heavy cream is added to the cream cheese mixture, it’s vital to whip it on high speed until it becomes very thick. You’re looking for stiff peaks – when you pull the whisk out, the mixture should hold its shape firmly without collapsing. This aeration is what gives the cheesecake structure. After achieving stiff peaks, gently fold in the crushed Oreos to maintain as much of that incorporated air as possible, preventing the filling from becoming dense.
- Prioritize Overnight Refrigeration for Optimal Setting: Patience is a virtue, especially when it comes to no-bake cheesecakes. These delightful treats require ample time in the refrigerator to fully set and firm up. We strongly recommend chilling them for at least 8 hours, or ideally, overnight. Rushing this step will result in cheesecakes that are too soft, making them difficult to remove from the pan and prone to losing their shape. For an extra guarantee of clean removal, you can pop the fully chilled cheesecakes into the freezer for 10-15 minutes just before unmolding.
- Utilize a Warm, Damp Towel for Seamless Removal: To achieve those coveted clean, straight sides when removing your mini cheesecakes from their individual tins, a simple trick involving a warm towel works wonders. Dampen a clean cloth or paper towel with warm water, then gently rub it around the exterior base of each individual tin for a few seconds. The gentle warmth helps to slightly loosen the cheesecake from the metal, allowing you to push the base up from the bottom with ease and ensuring a flawless release. This method prevents any sticking and preserves the beautiful shape of your cheesecakes.
- Ensure Cream Cheese is at Room Temperature: For a lump-free and silky-smooth cheesecake filling, it’s essential that your cream cheese is softened to room temperature. Cold cream cheese won’t incorporate properly with the other ingredients, leading to a lumpy texture. Take it out of the fridge at least an hour before you plan to start mixing.
- Don’t Overmix the Filling: While you want the cream cheese and sugar to be smooth, be careful not to overmix, especially once the heavy cream and crushed Oreos are added. Overmixing can deflate the air incorporated into the heavy cream, leading to a denser cheesecake. Mix just until combined and no streaks remain.
- Quality Ingredients Matter: Using full-fat cream cheese will give you the richest, most decadent flavor and best texture. Similarly, good quality heavy cream will whip up better and contribute to a superior cheesecake. While Oreos are the star, ensuring they are fresh will also enhance the overall taste.
Common Questions & Troubleshooting for Your Mini Cheesecakes
Even with the simplest recipes, questions can arise. Here are answers to some frequently asked questions and troubleshooting tips to ensure your Mini Oreo Cheesecakes are a resounding success:
What if I don’t have a mini cheesecake pan with removable bottoms?
While the mini cheesecake pan with removable bottoms is incredibly convenient for achieving perfectly shaped individual servings, it’s certainly not a requirement for this recipe. You have several excellent alternatives. A standard muffin tin lined with cupcake liners works wonderfully; the liners will make it easy to remove your cheesecakes, similar to how the removable bottoms function. For slightly smaller treats, a mini muffin pan with liners is also a great option. Using liners ensures effortless removal and minimizes cleanup, allowing you to enjoy these delightful cheesecakes regardless of your specific bakeware.
My cheesecakes aren’t coming out of the pan easily. What should I do?
If you encounter any difficulty removing your cheesecakes from the mini pan, remember the warm towel trick! Right before attempting to push up the base, wet a clean, damp towel with warm water and gently rub it around the exterior sides of each individual tin for a few seconds. The slight warmth will help to gently loosen the cheesecake from the pan, allowing it to slide out more smoothly and ensuring those clean, sharp edges are maintained. This method is highly effective in preventing any sticking.
How do I remove the metal base from the crust once the cheesecake is out?
Once you’ve successfully pushed the mini cheesecake out of its tin, the metal removable base should separate from the crust with very little effort. The Oreo crust is rich in butter, which naturally helps prevent sticking. Additionally, if you lightly grease the bottom of the pan cavities before adding the crust mixture, it will provide an extra layer of non-stick protection, making the base removal even easier. Simply give it a gentle tug, and it should come right off.
Why didn’t my cheesecakes set up properly?
The most common reason for no-bake cheesecakes failing to set is insufficient whipping of the heavy cream. If you’ve diligently chilled your cheesecakes for the recommended 8 hours or overnight, yet they remain too soft or unset when you try to remove them, it’s highly probable that the heavy cream wasn’t whipped to the necessary stiff peaks. The whipped cream is what provides the essential structure and stability to the filling. If this happens, don’t despair! You can place the entire pan (with the cheesecakes still in the molds) into the freezer for an extended period, perhaps 30 minutes to an hour, until they have firmed up sufficiently for removal. Next time, ensure your heavy cream is whipped very stiffly.
How should I store these mini cheesecakes?
To keep your Mini Oreo Cheesecakes fresh and delicious, store them in an airtight container in the refrigerator for up to 3 days. If you plan to make them further in advance or want to enjoy them later, these cheesecakes freeze beautifully. Simply place them in an airtight freezer-safe container for up to 3 months. When you’re ready to serve, thaw them in the refrigerator for a few hours. For the best presentation and texture, always wait to add the whipped cream topping and the mini Oreos until just before serving.
Delicious Variations to Personalize Your Mini Oreo Cheesecakes
While the classic Mini Oreo Cheesecake is perfect as is, feel free to unleash your creativity and experiment with different flavors and toppings to make them uniquely yours. Here are a few ideas to get you started:
- Crust Variations: Instead of Oreos, try a different cookie! Graham cracker crumbs with melted butter make a fantastic, traditional cheesecake crust. Vanilla wafers, Biscoff cookies, or even chocolate chip cookies could also create a delicious and unique base.
- Filling Enhancements: Swirl in some caramel sauce, peanut butter, or a fruit preserve into the cheesecake mixture before chilling. You could also experiment with different extracts like almond or peppermint for a seasonal twist.
- Ganache Alternatives: While chocolate ganache is divine, consider a white chocolate ganache for a different look and taste, or even a caramel drizzle. A simple dusting of cocoa powder or powdered sugar can also be elegant.
- Creative Toppings: Beyond whipped cream and mini Oreos, the possibilities are endless! Garnish with fresh berries (strawberries, raspberries), chocolate shavings, sprinkles, a sprinkle of sea salt flakes, or a drizzle of your favorite sauce. Crumbled candy bars like Kit Kat or Reese’s Peanut Butter Cups would also be a fantastic addition.
More Irresistible Cream Cheese Desserts You’ll Love
If you’ve enjoyed the creamy indulgence of these Mini Oreo Cheesecakes, you’re sure to find more favorites among our collection of delectable cream cheese-based desserts. Each recipe offers a unique flavor profile and experience, but all share that signature richness that only cream cheese can provide. Explore these treats to satisfy your next craving:
- Strawberry Crunch Cheesecake: A vibrant, textural delight with a crunchy topping.
- Vanilla Cupcakes with Chocolate Frosting: A classic combo, featuring rich, creamy frosting.
- Baileys Irish Cream Cheesecake Brownies: An indulgent fusion of fudgy brownies and boozy cheesecake.
- Ginger Molasses Cookie Sandwiches: Spicy-sweet cookies embracing a creamy filling.
- Apple Cheesecake Pop-Tarts: A nostalgic treat with a creamy, fruity twist.
We absolutely love seeing your culinary creations! If you whip up these delightful Mini Oreo Cheesecakes, please don’t hesitate to leave a comment below to share your experience and any tips. We’d also be thrilled if you tag @sweetkitchencravings on Instagram or TikTok. And for those who love to organize and discover recipes, remember you can save our recipes to your collection on Pinterest. Happy mini cheesecake making – may your desserts be sweet and your smiles even sweeter!
Mini Oreo Cheesecakes
Print Recipe
RATE THIS RECIPE
Ingredients
For the Oreo Crust
- 18 Oreos
- 4 Tablespoons (56g) unsalted butter, melted
For the Oreo Cheesecake Filling
- 24 oz (3 blocks or 681g) full-fat cream cheese, softened
- 2 cups (230g) powdered sugar
- 1 Tablespoon vanilla extract
- 1 ½ cups (360ml) cold heavy cream
- 12 Oreos, roughly chopped or crushed
For the Chocolate Ganache
- ⅓ cup (84g) good quality dark chocolate, finely chopped
- ⅓ cup (84g) heavy cream
For the Topping (optional)
- Freshly whipped cream
- 24 mini Oreos
SHOP INGREDIENTS
Instructions
- Prepare the Oreo Crust: In the bowl of a food processor, add the 18 Oreo cookies and pulse until they form fine, even crumbs. They should resemble wet sand when pinched. Add the 4 Tablespoons of melted unsalted butter and pulse again until the mixture is thoroughly combined and moist.
- Lightly coat two 12-count mini cheesecake pans (or one 24-count pan) with cooking spray. Distribute about 1 Tablespoon of the Oreo crust mixture evenly into the bottom of each cheesecake tin. Using a tart tamper, the back of a spoon, or a small flat-bottomed glass, press the crumbs down very firmly to create a compact and stable crust. Place the pans in the fridge to chill while you prepare the cheesecake filling.
- Make the Oreo Cheesecake Filling: In the bowl of a stand mixer fitted with a paddle attachment, beat the softened cream cheese and powdered sugar together on medium speed until the mixture is completely smooth, creamy, and lump-free. This should take about 2-3 minutes. Mix in the vanilla extract until just combined.
- Scrape down the sides of the bowl and switch to the whisk attachment. With the mixer on low speed, slowly stream in the cold heavy cream. Once the cream is fully incorporated, increase the mixer speed to high and whip until the mixture becomes very thick and forms stiff peaks. This usually takes about 20-30 seconds. Be careful not to overmix. Remove the bowl from the mixer and gently fold in the roughly chopped or crushed 12 Oreo pieces using a spatula, ensuring not to deflate the air from the filling.
- Transfer the cheesecake filling into a large piping bag (or use two if preferred). Pipe the filling evenly into the prepared cheesecake tins, filling each cavity to the top. Lightly smooth the tops of the cheesecakes with a small offset spatula to create a neat, level surface. Refrigerate the cheesecakes for a minimum of 8 hours, or ideally, overnight, to allow them to set completely.
- Once the cheesecakes are fully set, remove them from the tins. If using a mini cheesecake pan with removable bases, refer to the “Helpful Tools” section and “Tips for Best Mini Oreo Cheesecakes” regarding the warm towel method. Gently push the cheesecakes up and out from the bottom, then carefully remove the metal base from the crust.
- Prepare the Chocolate Ganache: In a small, heat-safe bowl, combine the finely chopped dark chocolate and heavy cream. Microwave in 20-second increments, stirring well after each interval, until the chocolate is fully melted and the mixture is smooth and glossy. Be careful not to overheat. Allow the ganache to cool slightly for about 5-10 minutes until it’s warm but not hot, and slightly thickened. Add a spoonful of the warm ganache to the center of each chilled cheesecake, allowing it to spread gently.
- For a final flourish, pipe a dollop of freshly whipped cream onto each cheesecake (if desired) and crown it with a mini Oreo cookie. Serve immediately and savor every delicious bite!
Notes
- Storing: Store finished cheesecakes in an airtight container in the fridge for up to 3 days. For longer storage, freeze them in an airtight container (without the whipped cream topping) for up to 3 months. Thaw in the fridge for a few hours before serving.
- Cheesecake Pan Alternatives: Refer to the “Helpful Tools” section and the “Mini Cheesecake FAQs” in the blog post above for details on where to purchase the mini cheesecake pan and alternative methods if you don’t have one.
- Cream Cheese Temperature: Ensure your cream cheese is at room temperature before mixing to achieve a smooth, lump-free filling.
- Whipping Cream: The heavy cream must be whipped to very stiff peaks to ensure the cheesecake sets properly.
