This post may contain affiliate links. Please read my full disclosure policy.
Homemade Pumpkin Pie Bars: The Ultimate Fall Dessert with Buttery Shortbread and Maple Whipped Cream
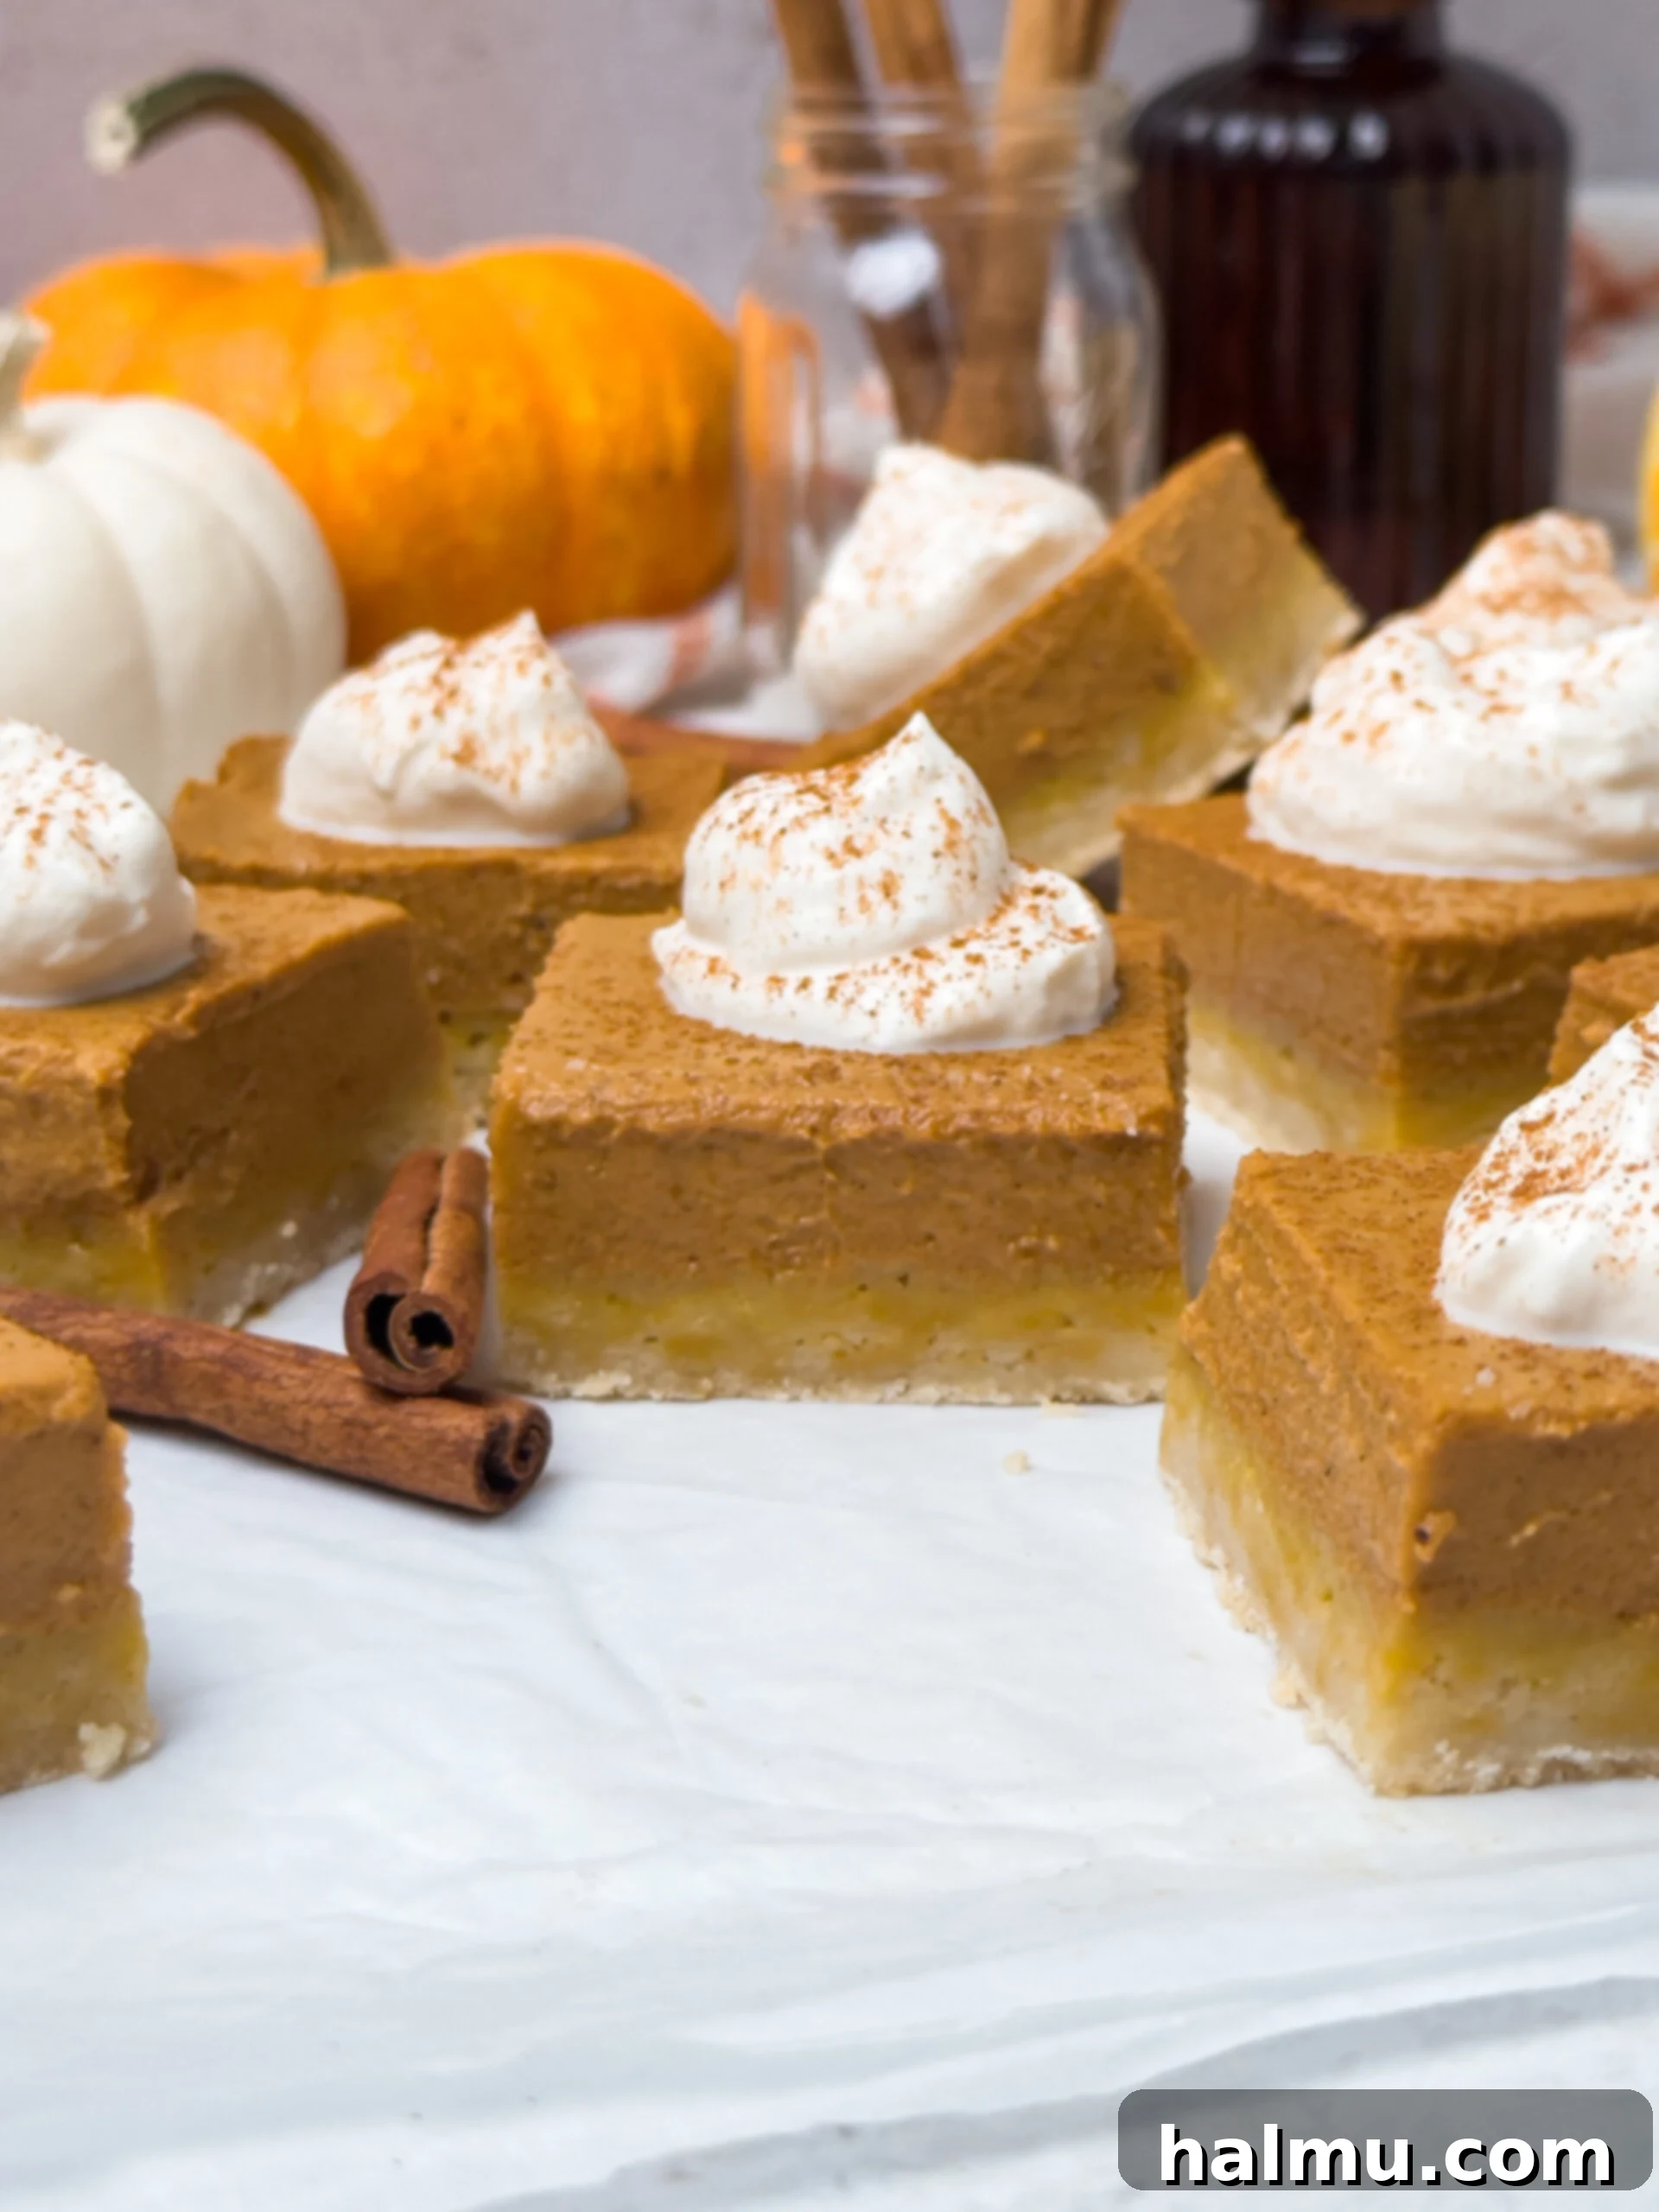
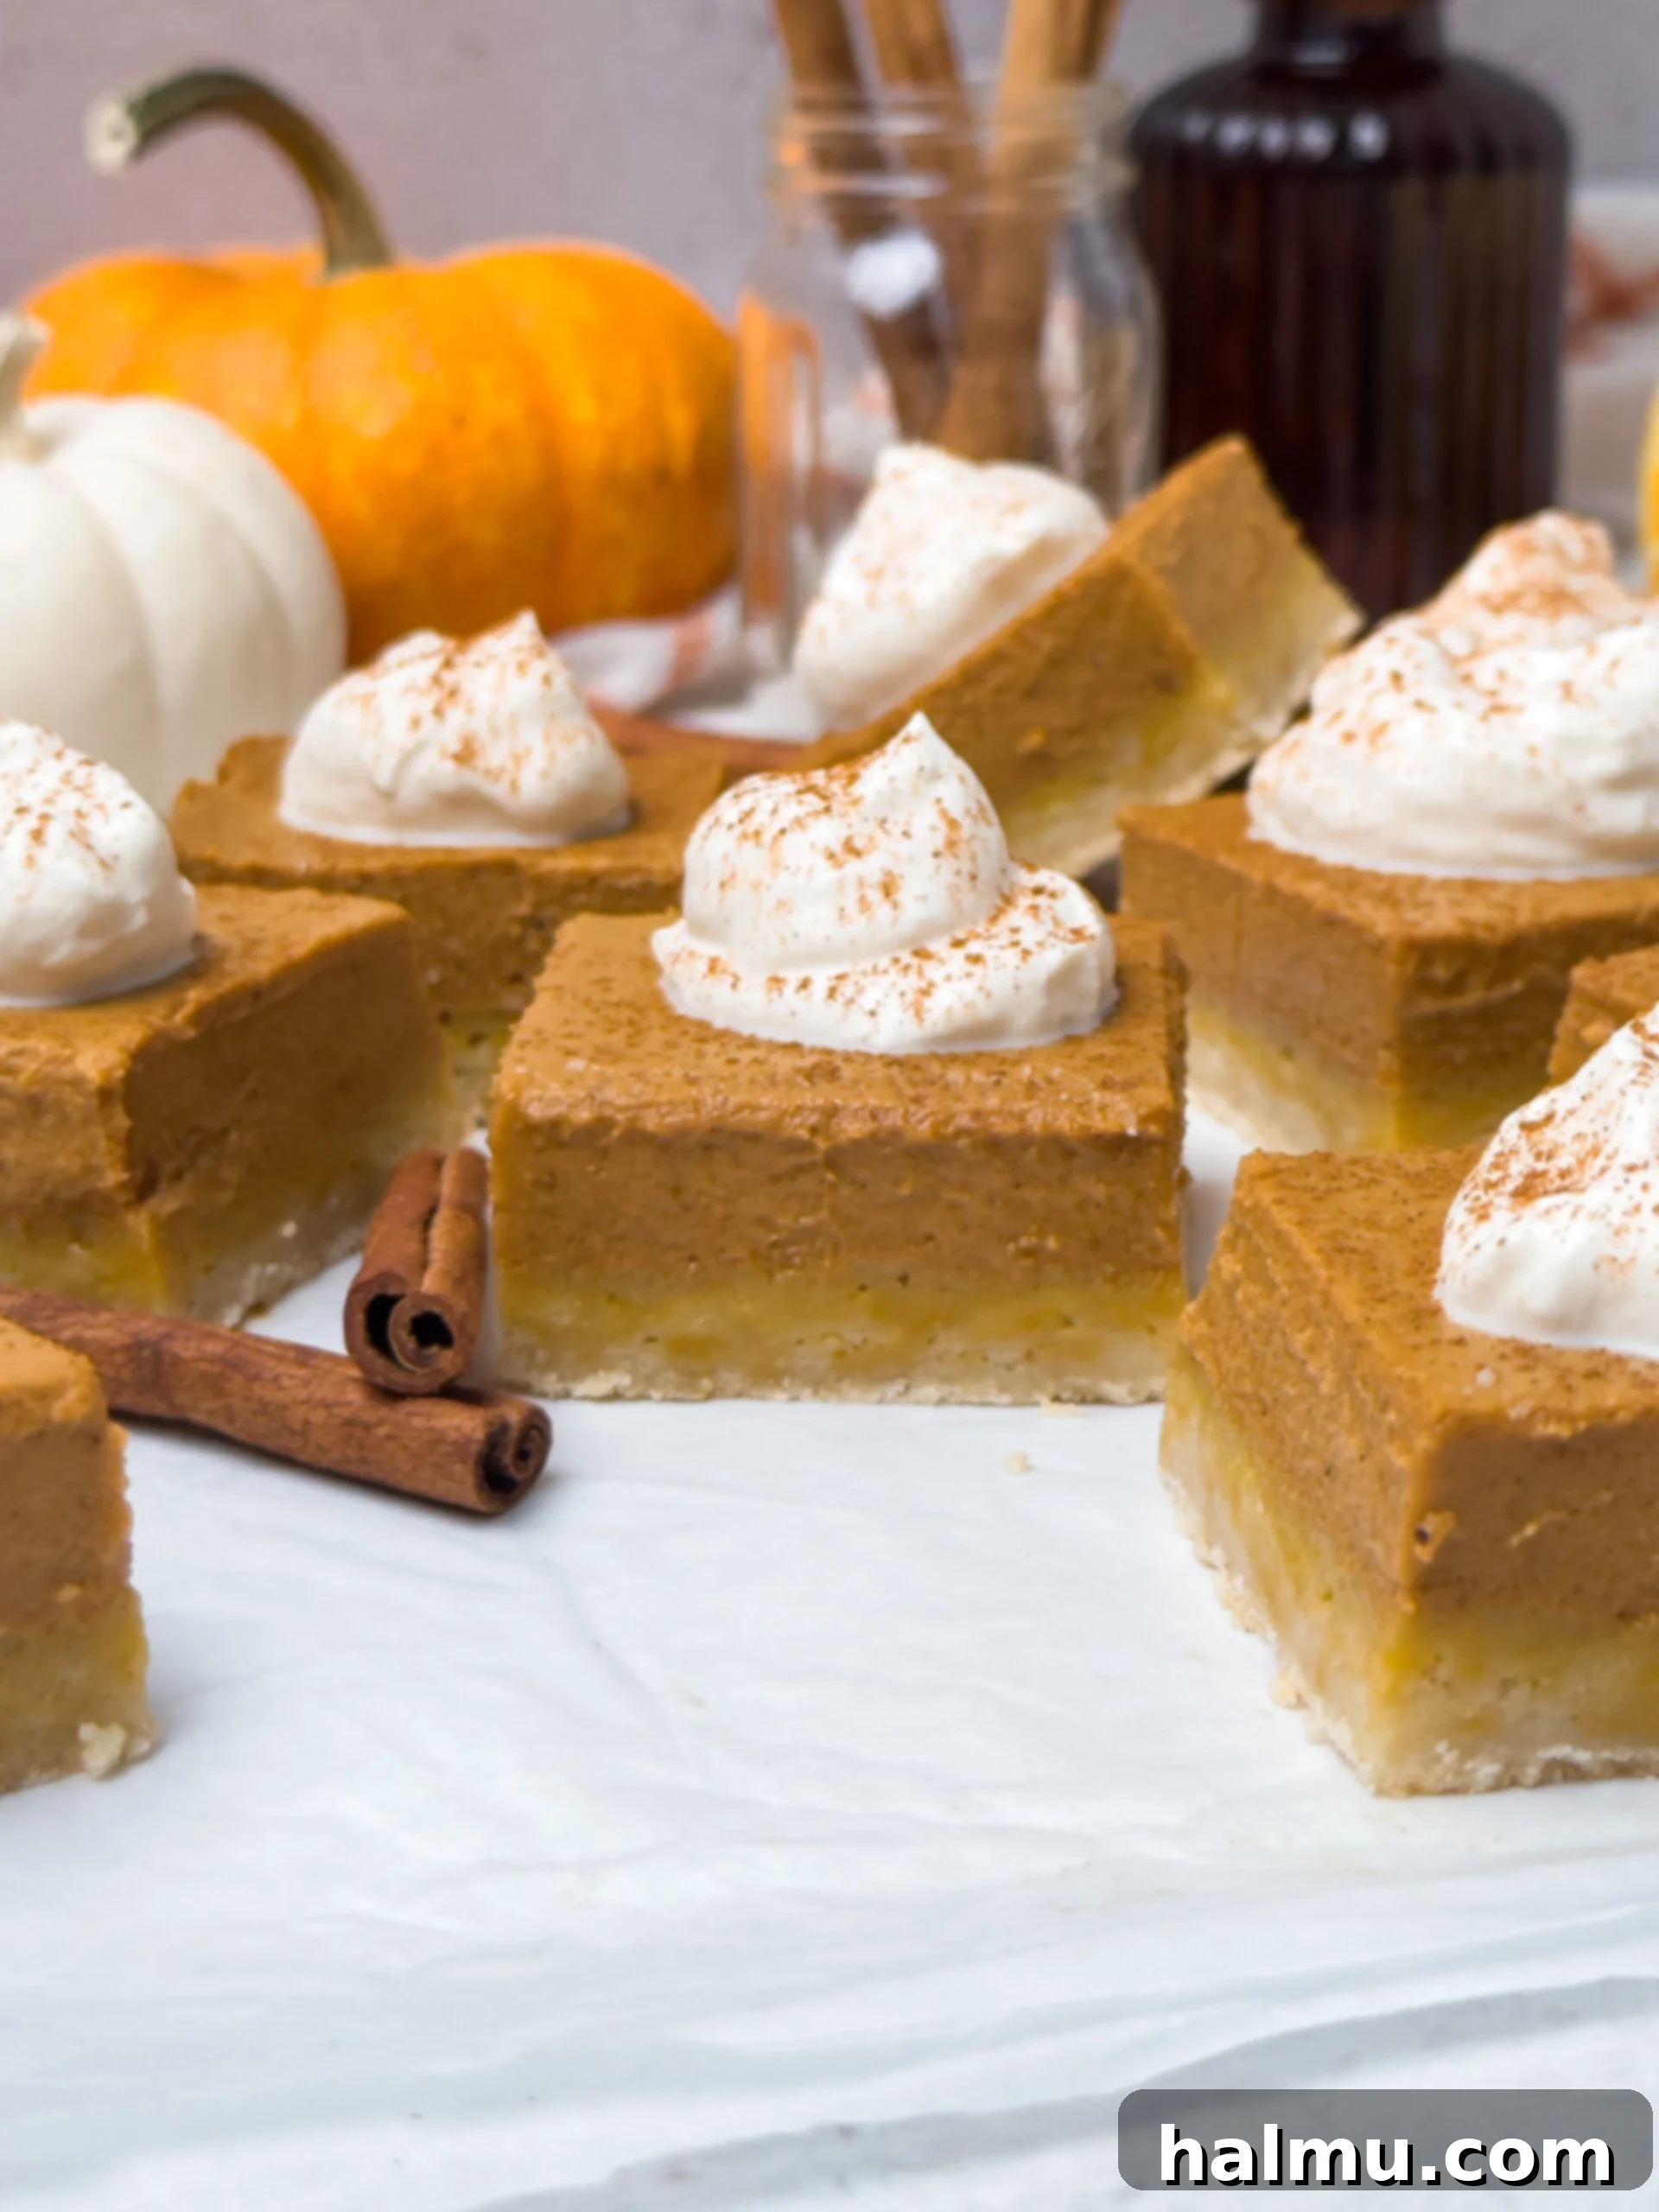
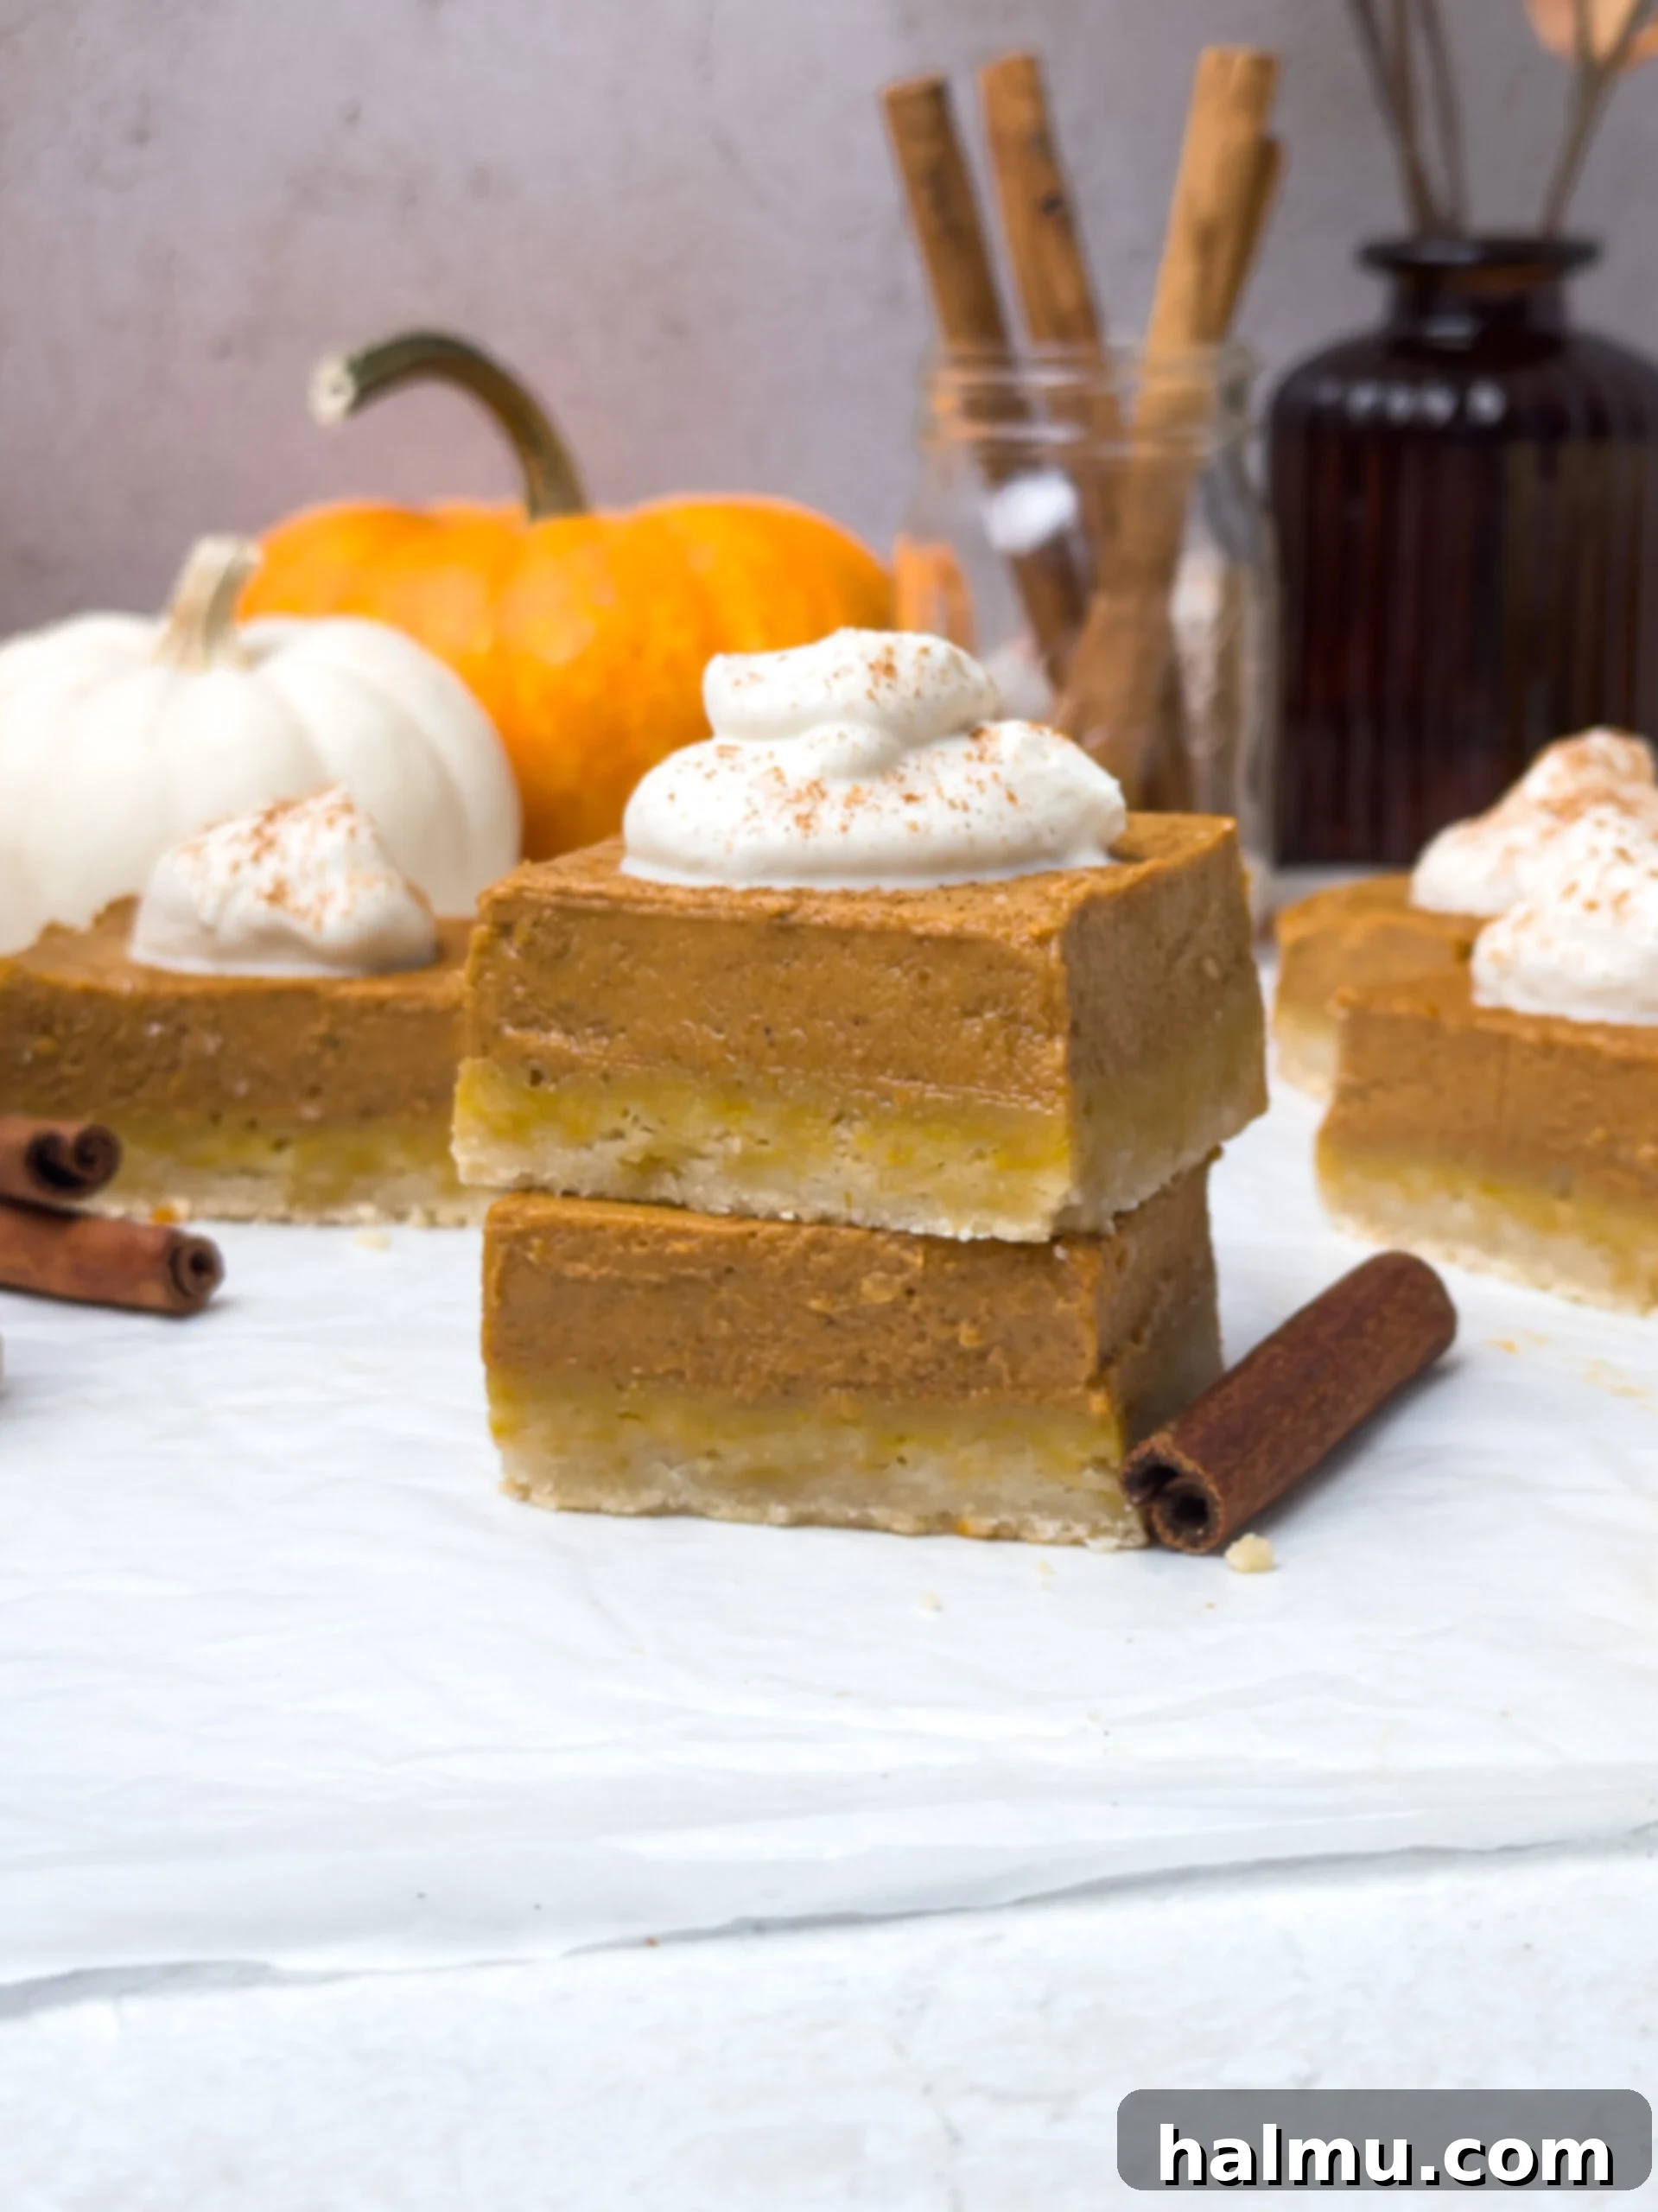
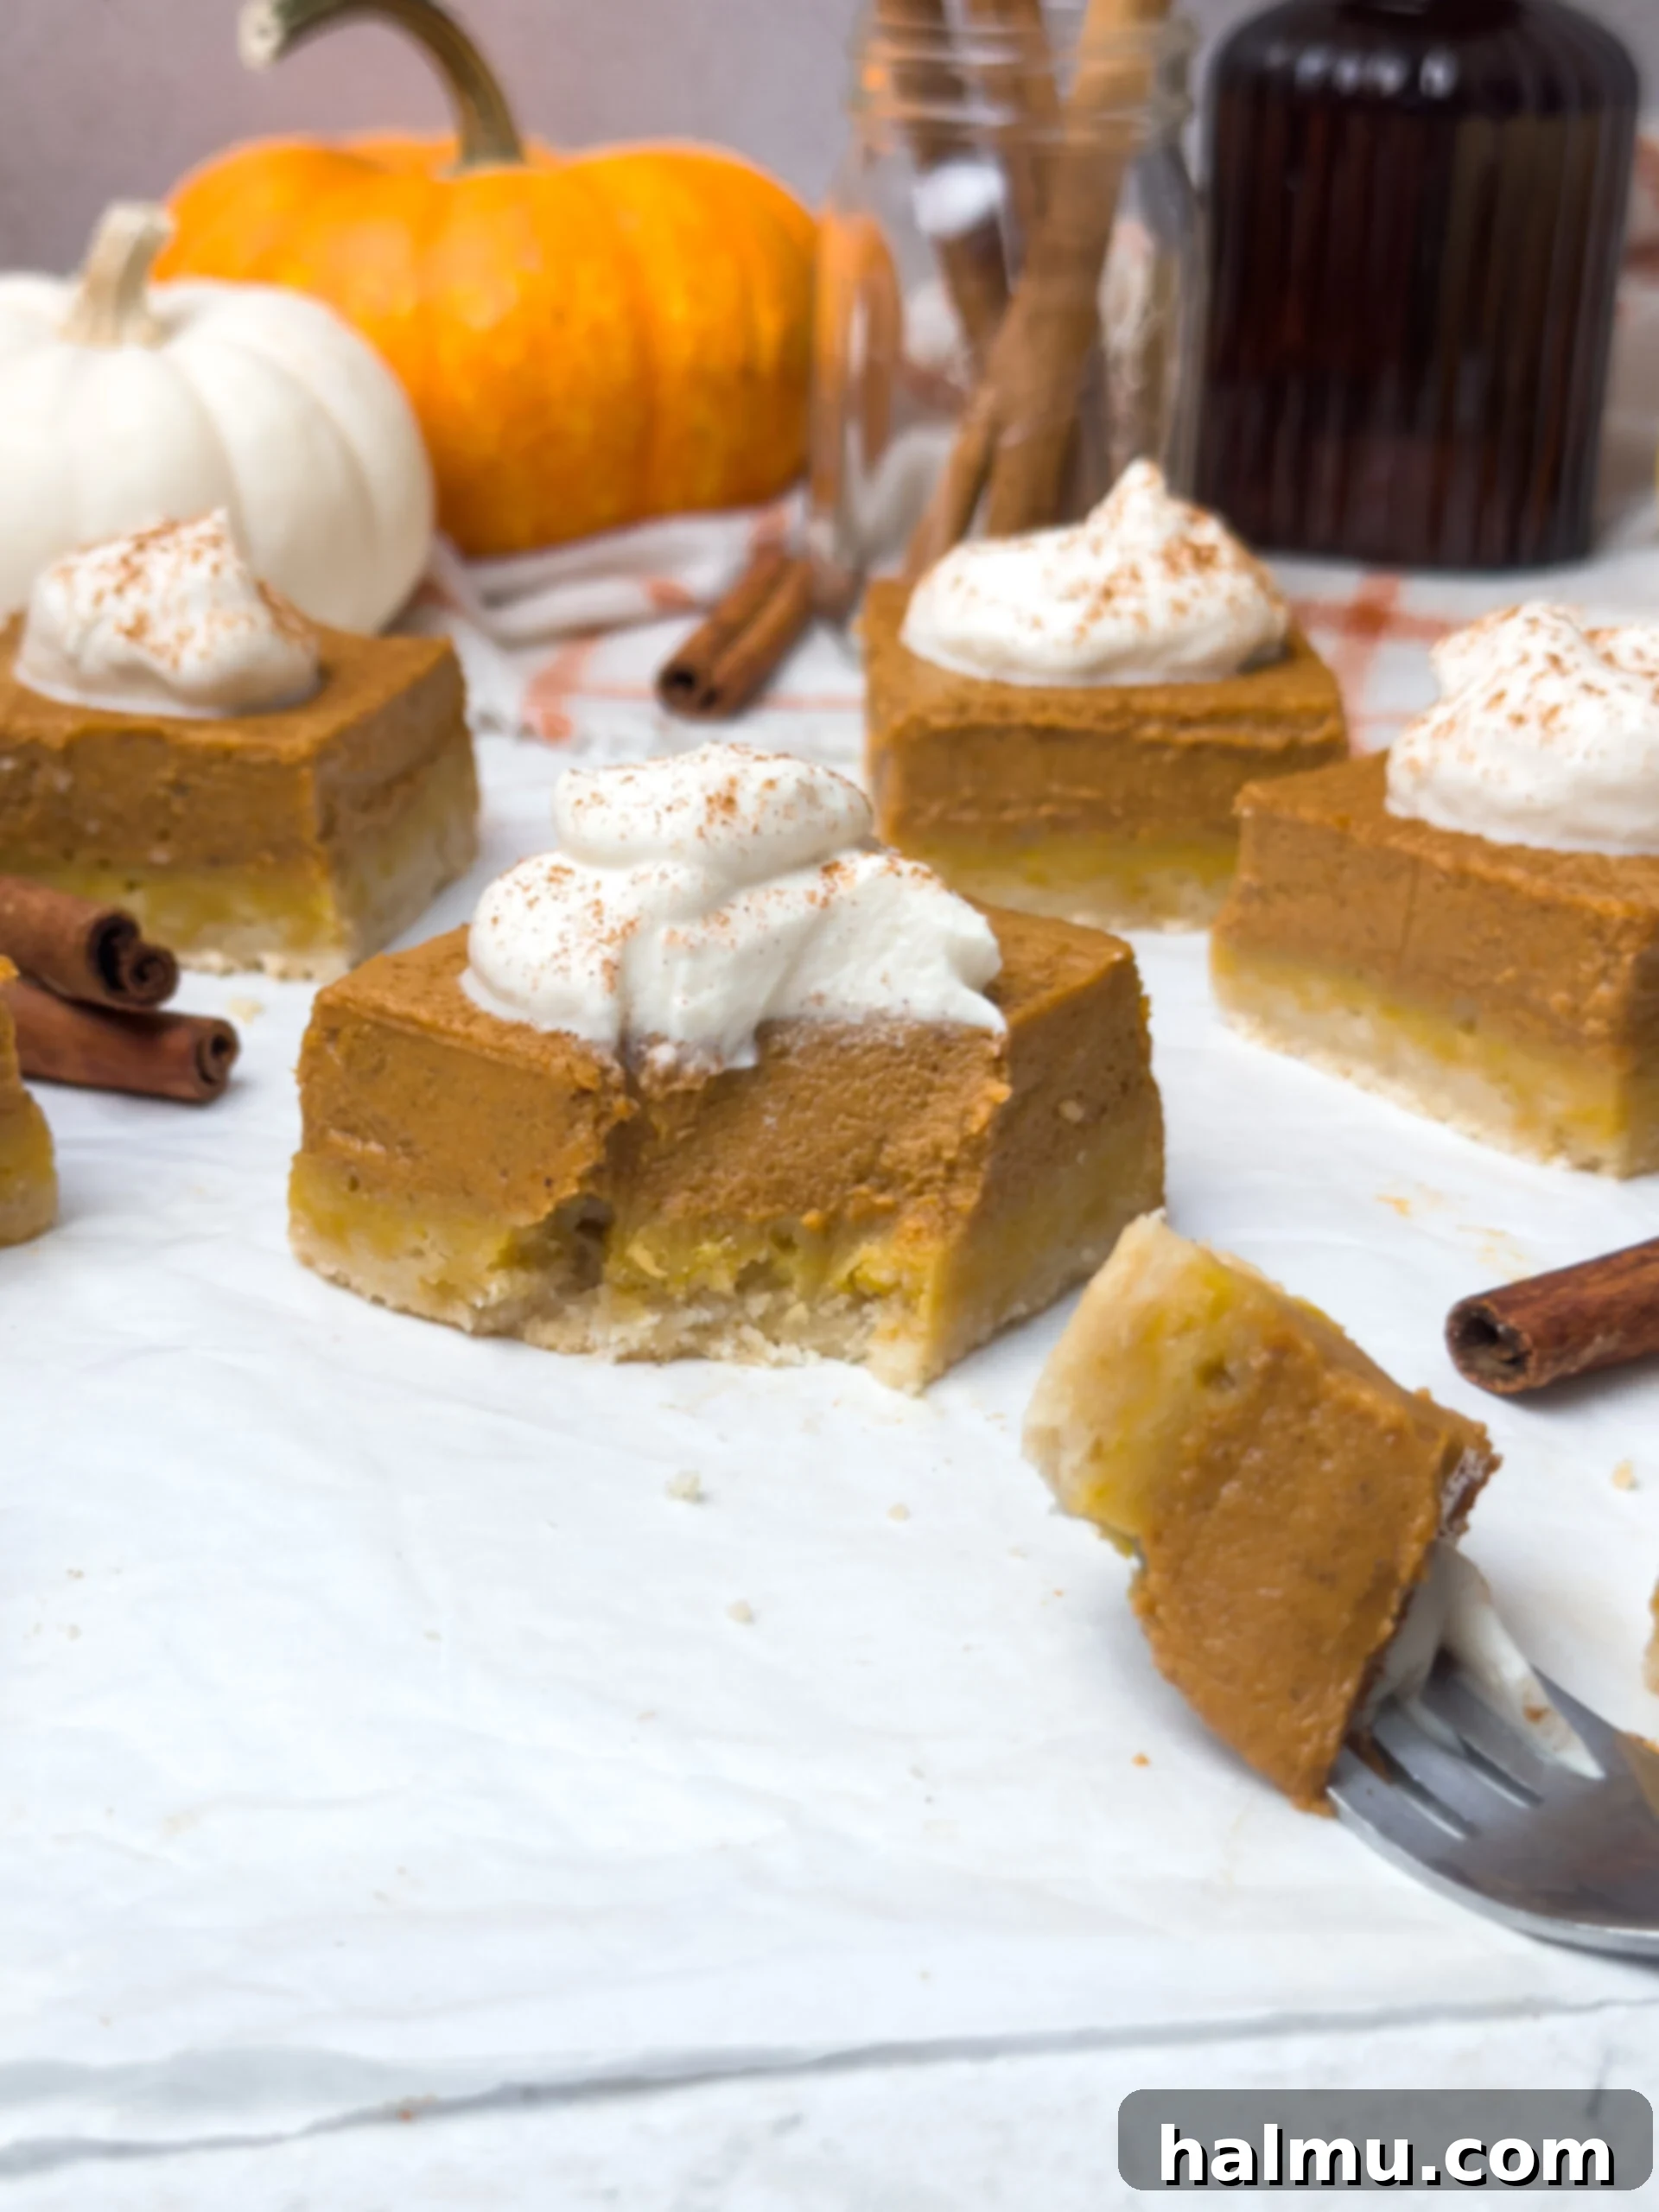
Embrace the cozy essence of autumn with these unbelievably easy and irresistibly delicious Pumpkin Pie Bars. Imagine a rich, buttery shortbread crust, generously topped with a silky-smooth, perfectly spiced pumpkin pie filling, all crowned with a delicate dollop of sweet maple whipped cream. This dessert encapsulates the quintessential flavors of fall and the festive spirit of the holiday season, making it an absolute must-bake. Forget the fuss of traditional pie; these bars offer all the classic taste you crave in a quick, convenient, and utterly charming format that will disappear faster than falling leaves!
Why These Pumpkin Pie Bars Will Become Your New Fall Favorite
- Irresistible Buttery Shortbread Crust – Say goodbye to the complexities of traditional pie crusts! Our no-fuss shortbread crust is a dream to make, requiring no rolling or chilling. Its crumbly, melt-in-your-mouth texture provides the perfect counterpoint to the creamy pumpkin filling, offering a delightful richness and a satisfying bite in every bar. It’s the ideal foundation that elevates these pumpkin pie bars from good to extraordinary.
- Velvety Smooth and Perfectly Spiced Pumpkin Filling – The heart of these bars is a luscious pumpkin filling that comes together with remarkable ease. Crafted in a single bowl using just a whisk, this creamy mixture is infused with a harmonious blend of classic fall spices, ensuring an authentic and comforting pumpkin flavor that truly shines. No special equipment is needed to achieve this smooth, custardy perfection.
- Dreamy Maple Whipped Cream – While these pumpkin bars are undeniably delicious on their own, the addition of homemade maple whipped cream takes them to an entirely new level of indulgence. Sweetened with pure maple syrup and a hint of salt to perfectly balance the flavors, this light and airy topping adds a touch of gourmet elegance. Be warned: you might find yourself enjoying this whipped cream by the spoonful!
- Effortless Elegance for Any Occasion – Life can get hectic, especially during the holidays. These easy pumpkin pie bars are designed for convenience, allowing you to whip up a stunning dessert in no time. Their simple preparation makes them the ideal last-minute addition to Thanksgiving dinners, autumn potlucks, or any festive gathering, guaranteeing a crowd-pleasing treat without the stress. They’re a fantastic alternative to pumpkin pie when you need something simpler yet equally impressive.
Craving more easy holiday treats? Don’t miss out on my Pecan Pie Bars, Apple Pie Bars, and Cranberry Cheesecake Bars!
Crafting Your Perfect Pumpkin Pie Bars: A Step-by-Step Guide
Step 1: Preparing the Irresistible Shortbread Crust
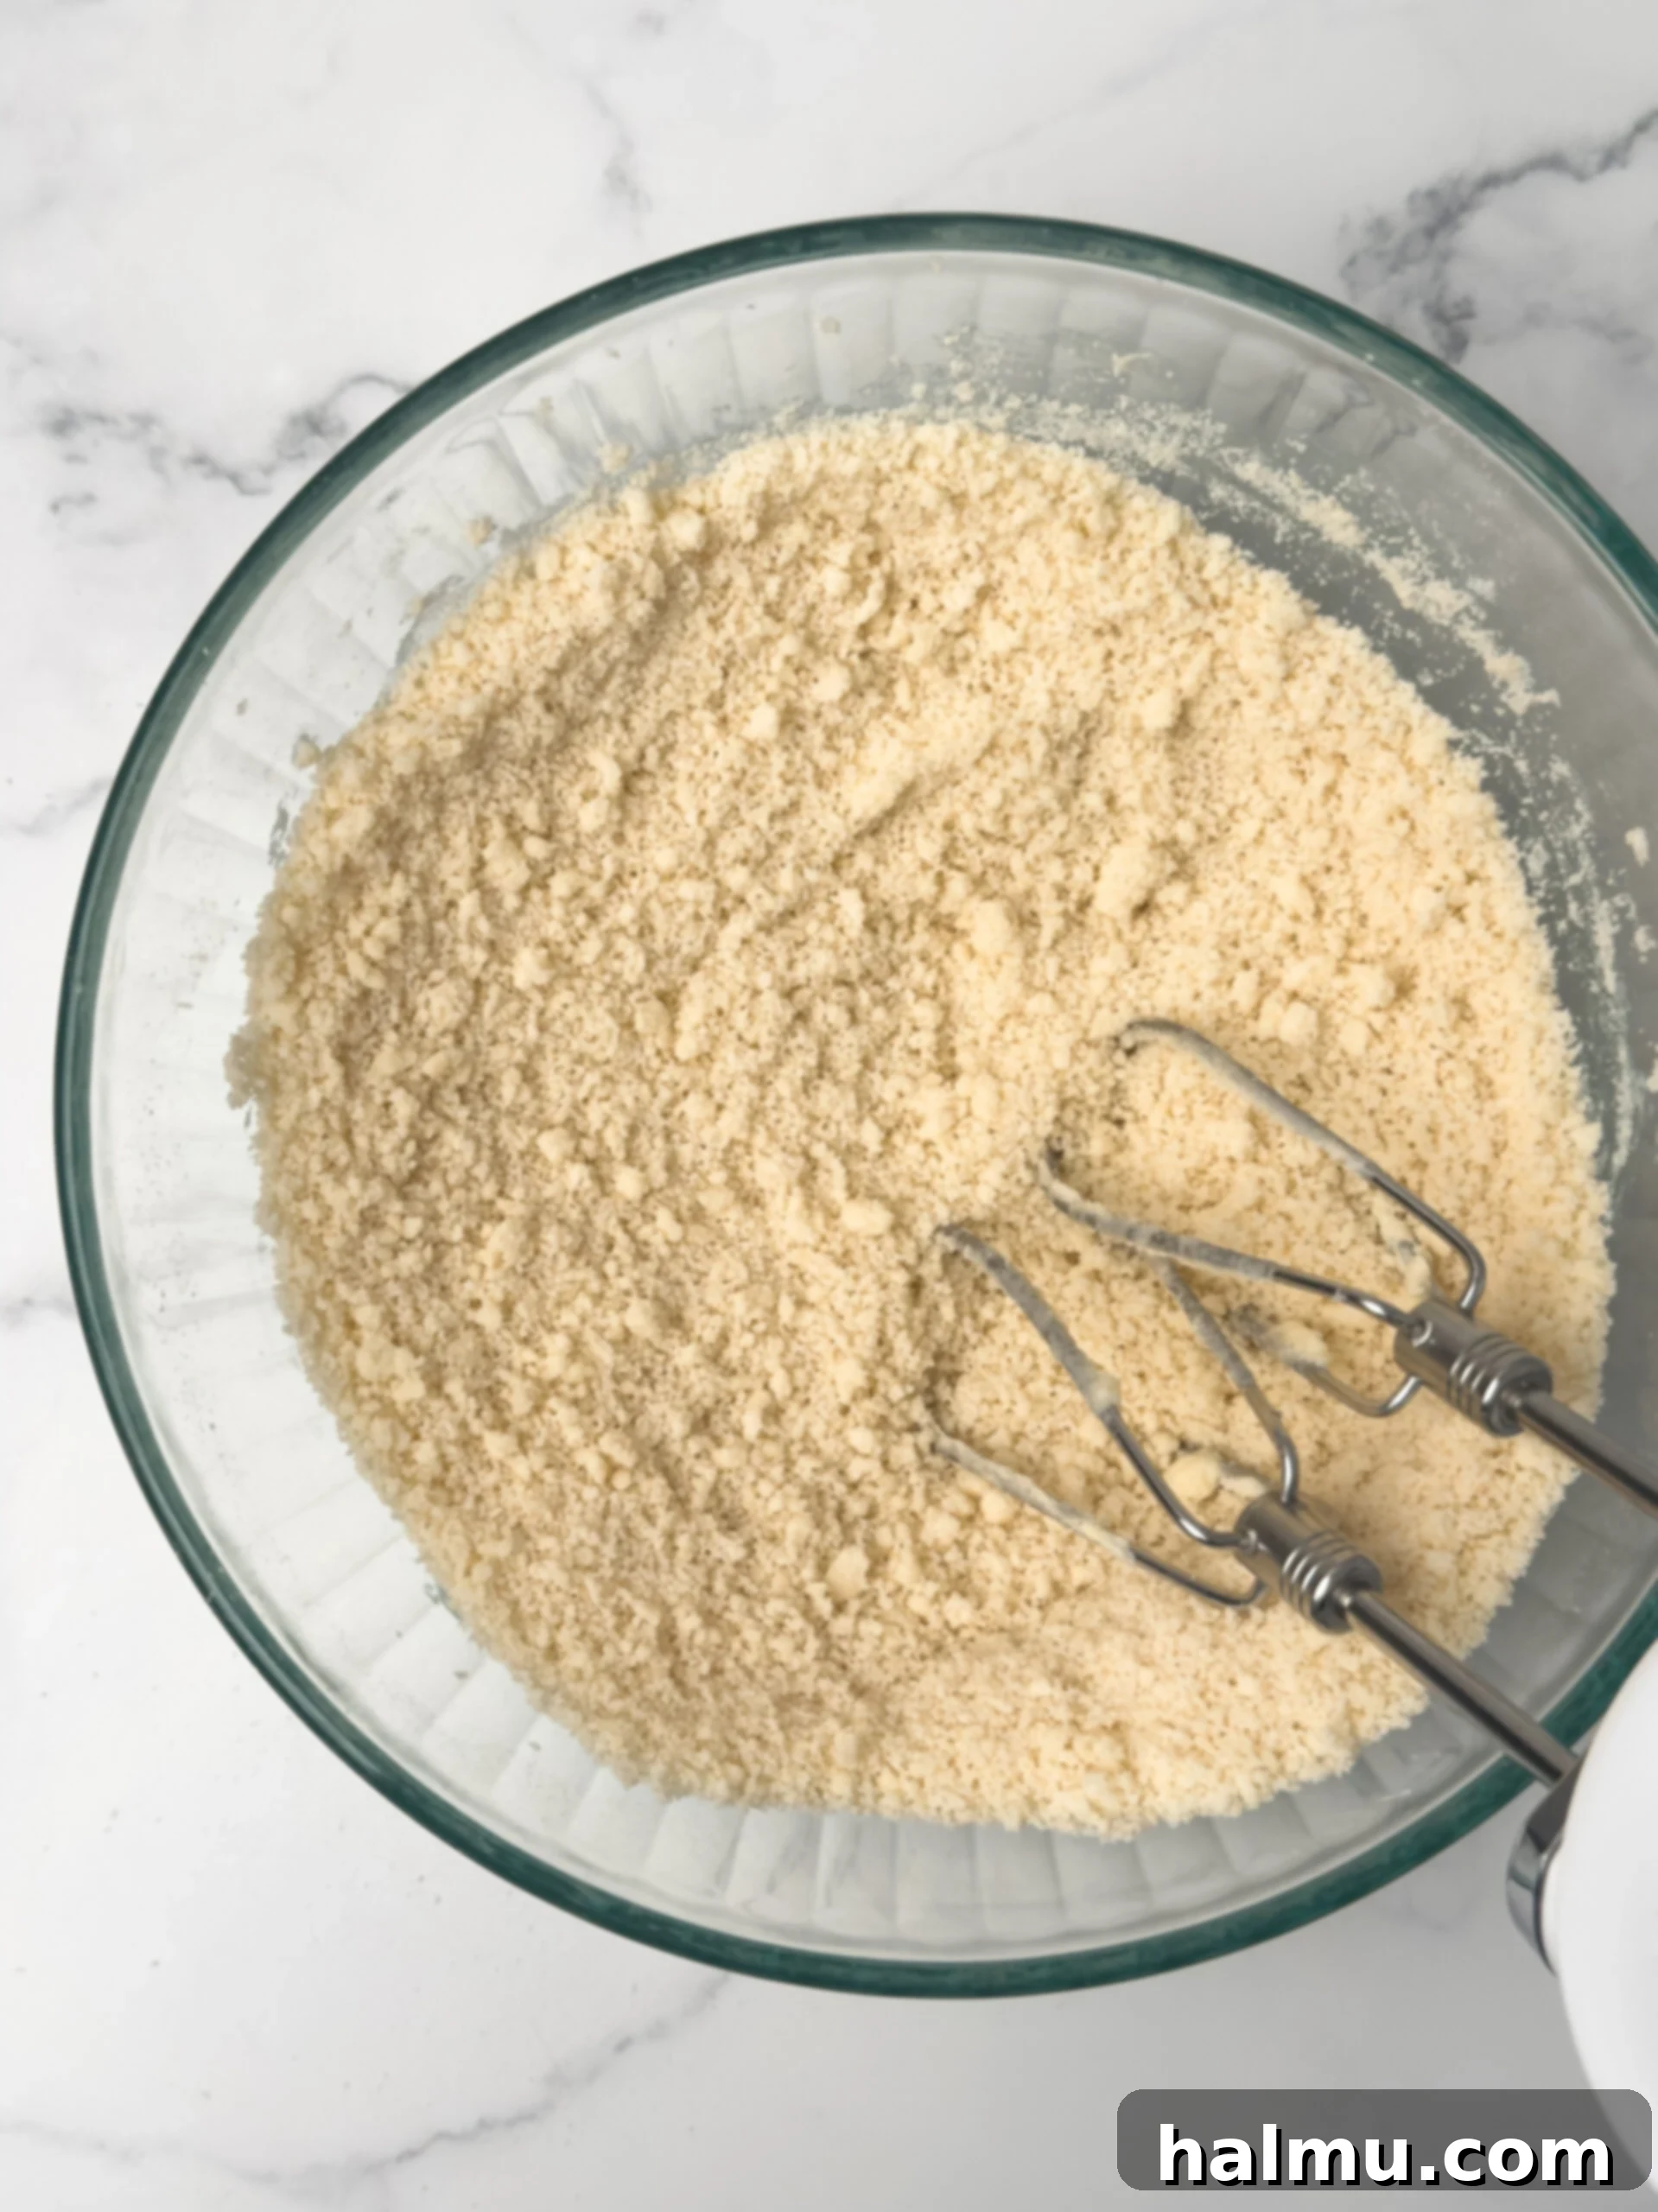
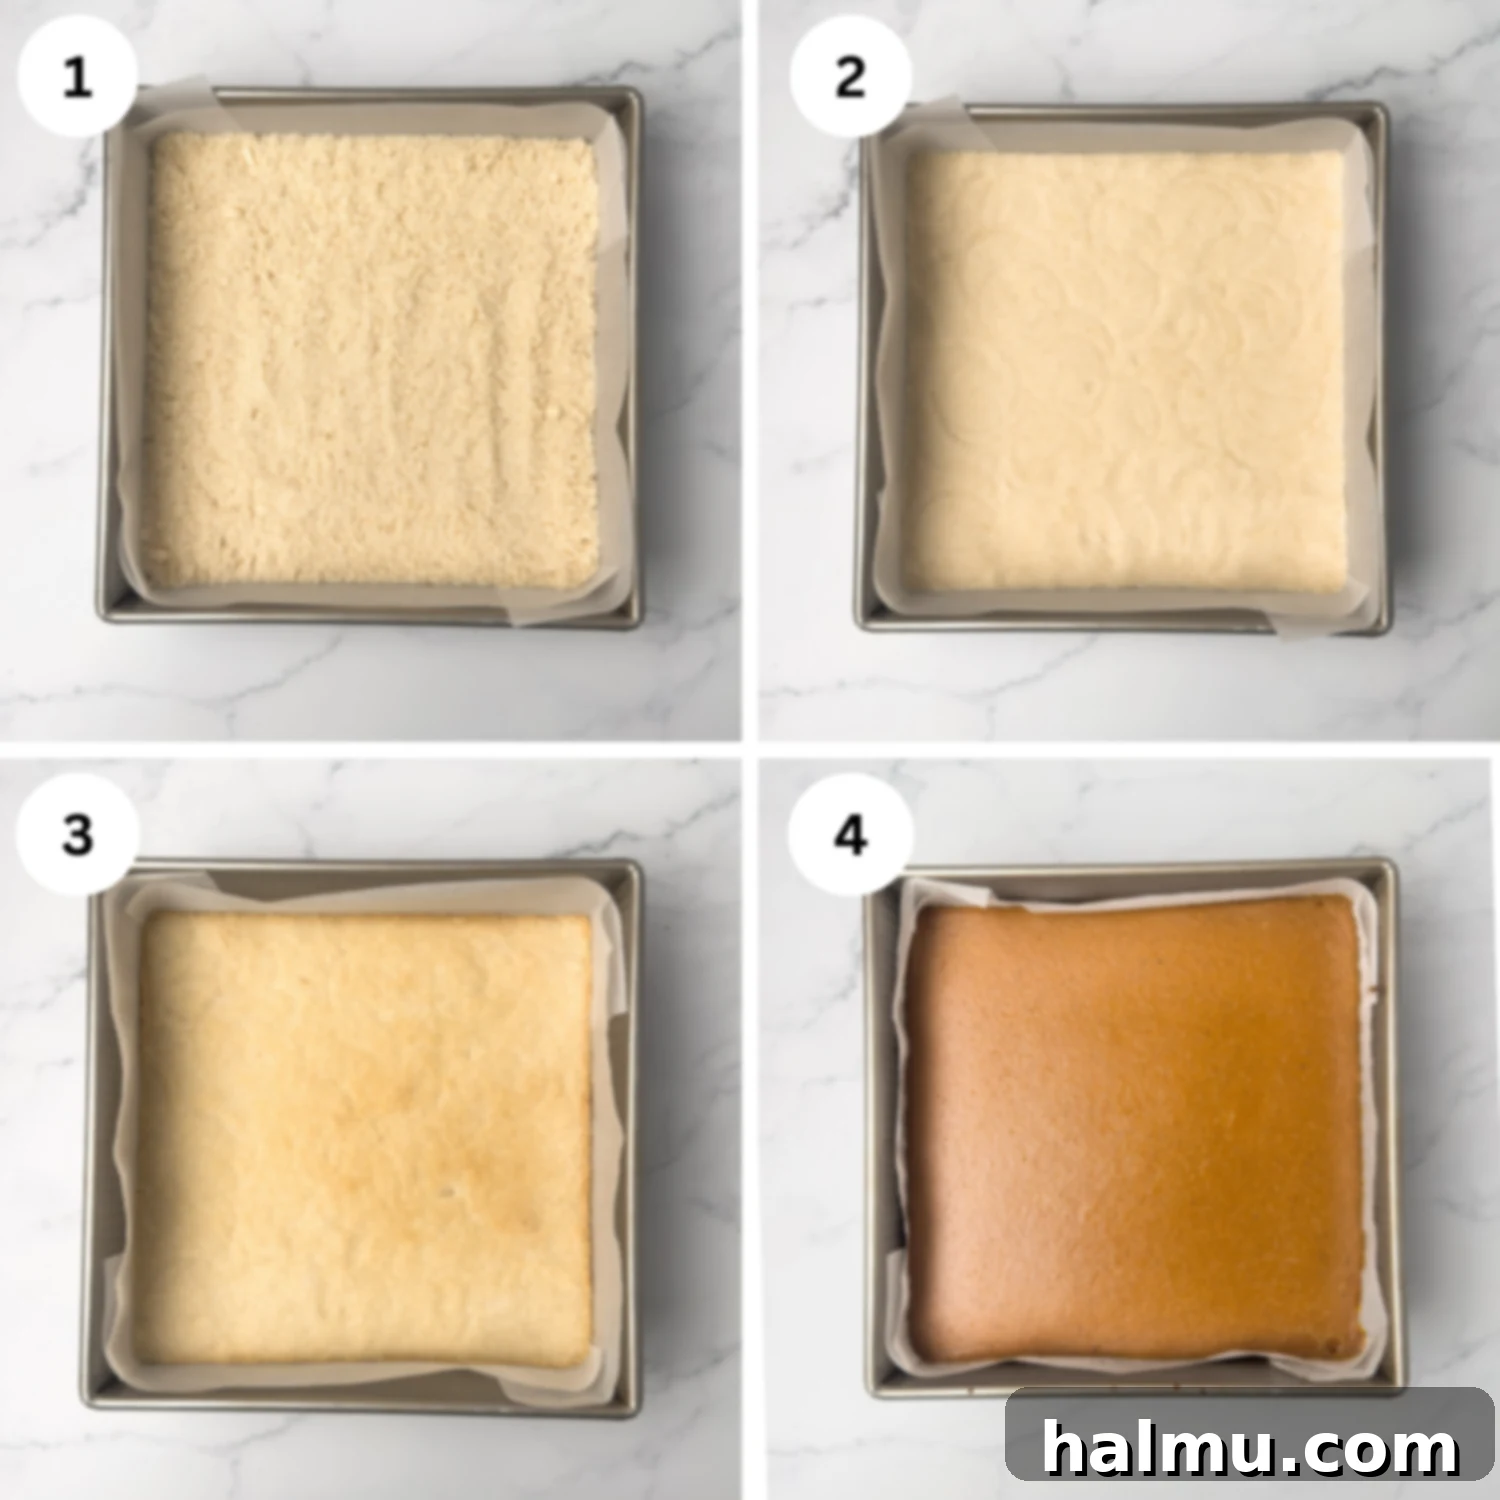
The foundation of these delightful pumpkin pie bars is a simple yet incredibly flavorful shortbread crust. Begin by creaming together softened unsalted butter and granulated sugar in a mixing bowl until the mixture is light and fluffy. This step is crucial for incorporating air and achieving that desired tender texture. Next, gradually incorporate the all-purpose flour and a pinch of salt. Mix until the ingredients are just combined and the mixture resembles coarse, sandy crumbs. Avoid overmixing to keep the crust tender. Line a 9-inch square baking pan with parchment paper, allowing an overhang on the sides to create a “sling” for easy removal. Press the crumbly shortbread mixture evenly into the bottom of the prepared pan using your fingers or the flat bottom of a measuring cup. Bake this crust for approximately 15 minutes in a preheated oven until the edges are just lightly golden, signaling a perfect par-bake before adding the filling.
Step 2: Mixing the Silky Pumpkin Pie Filling
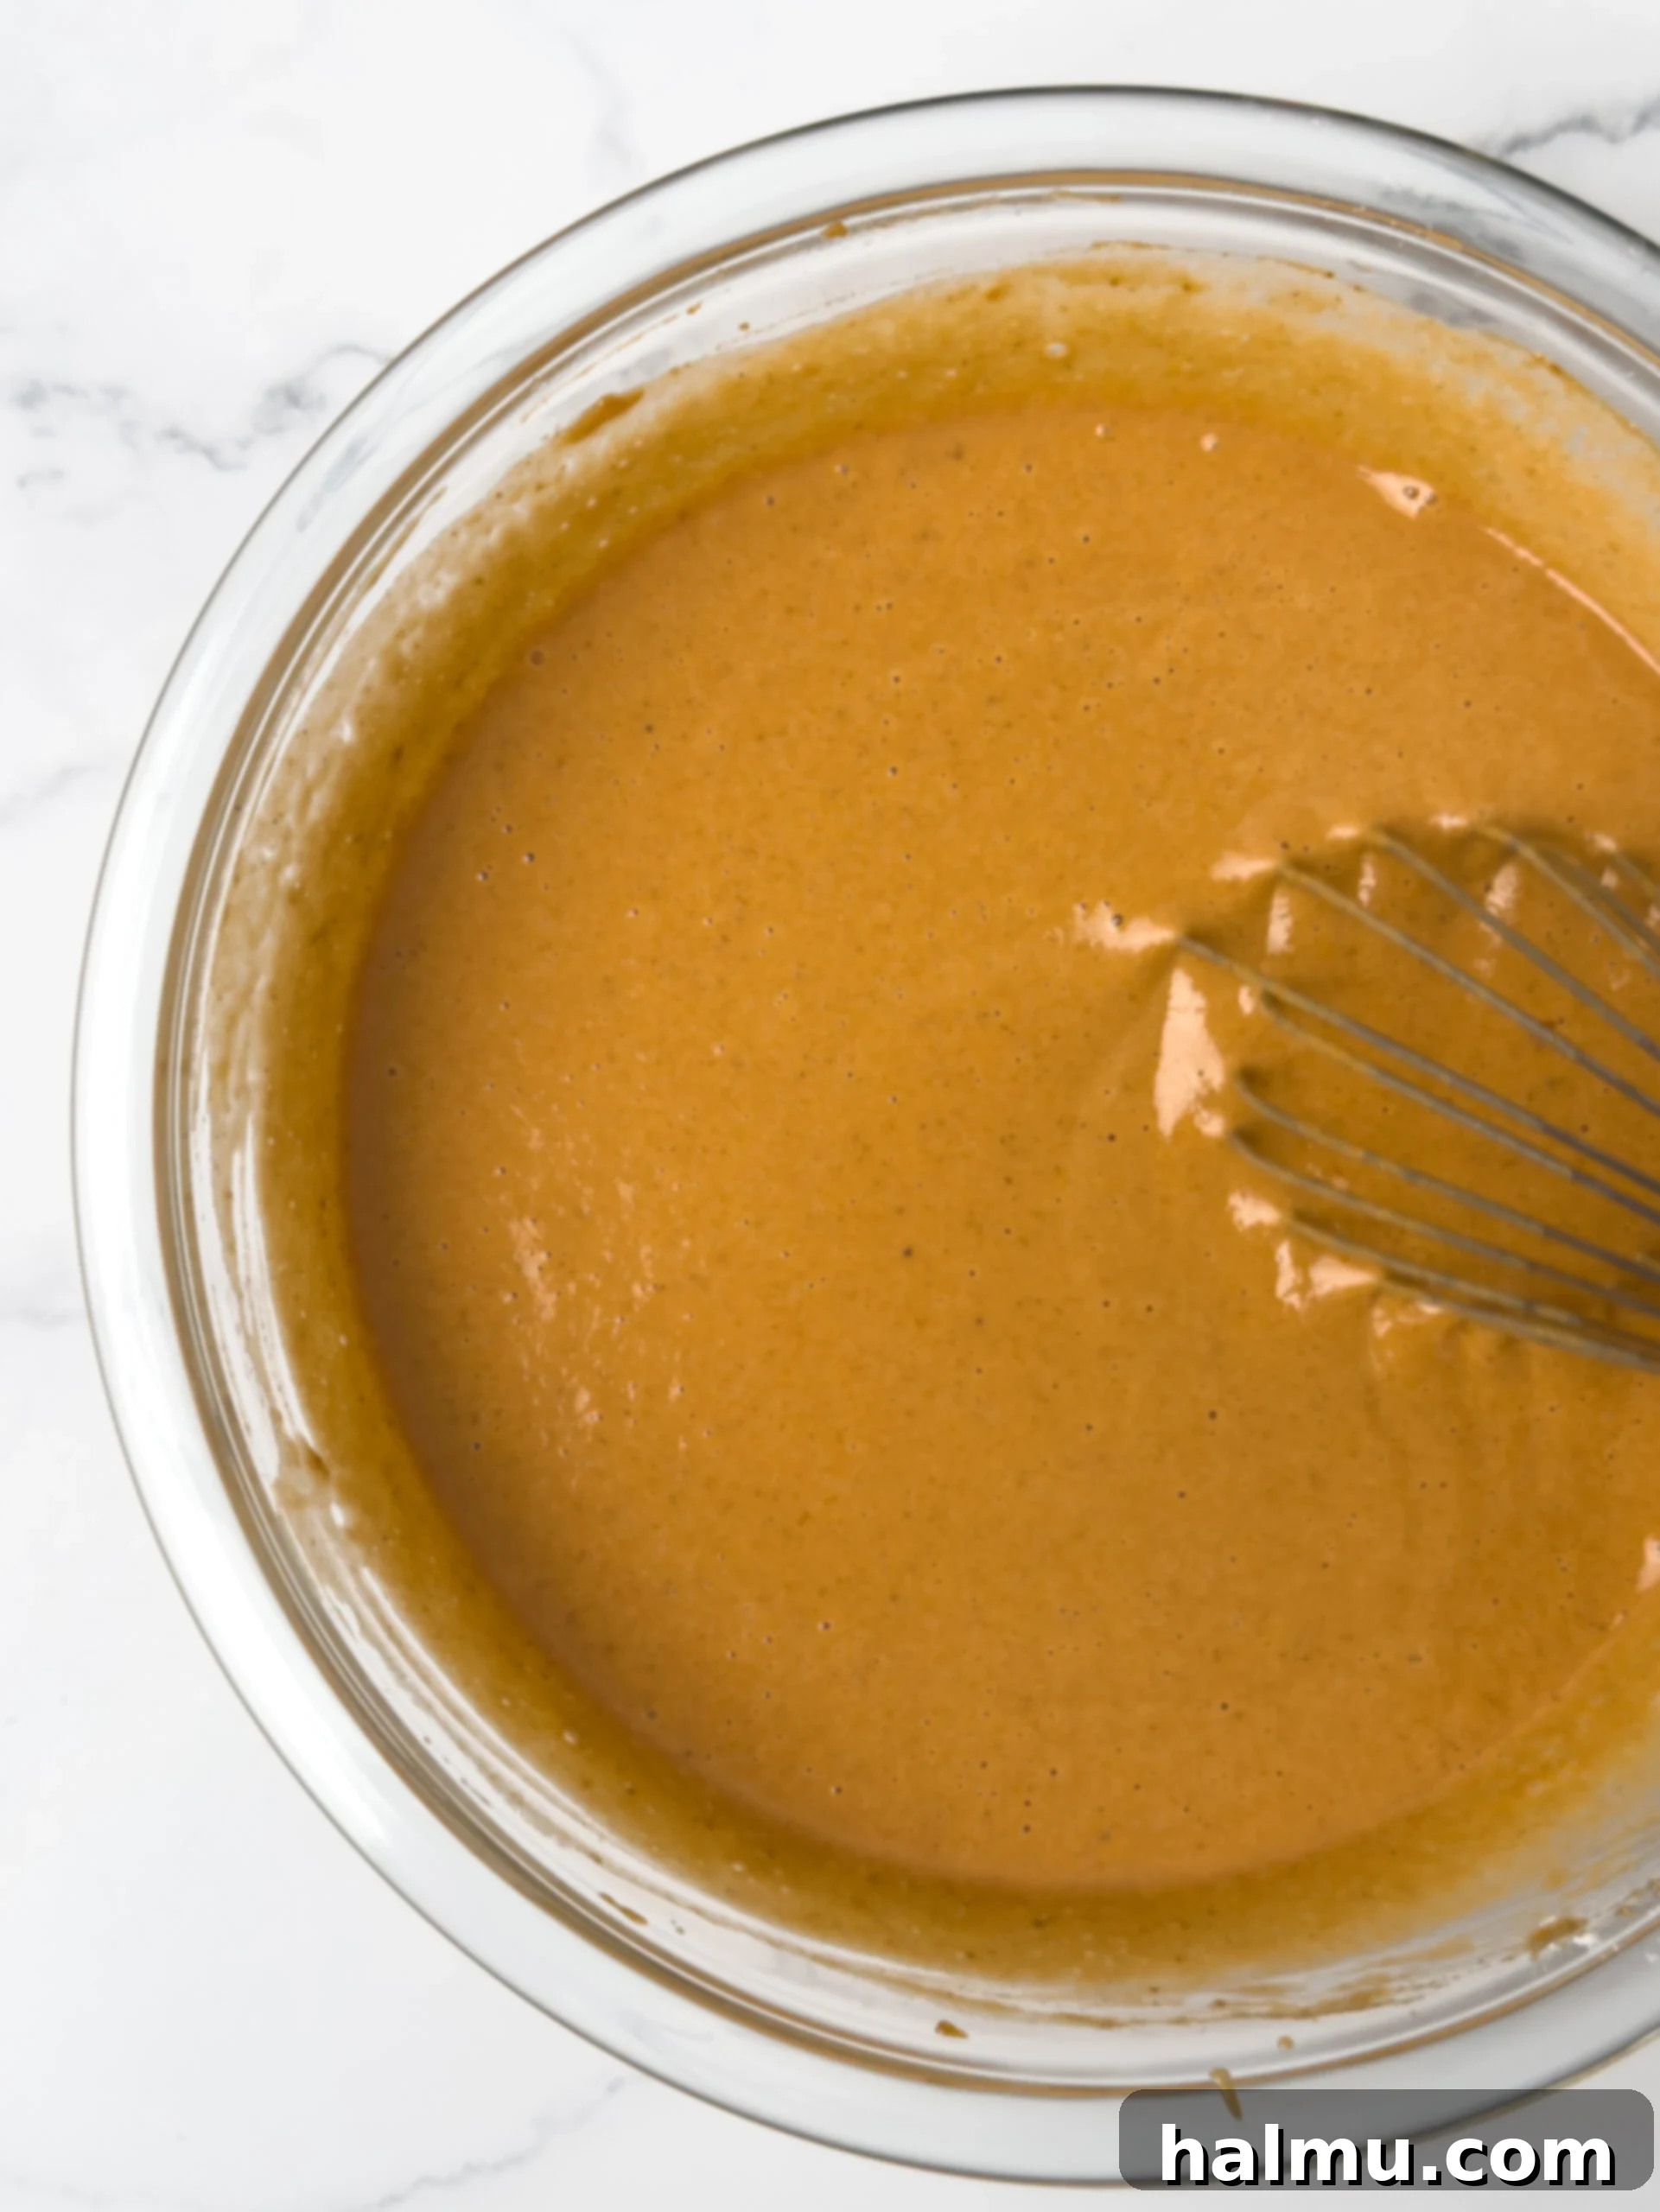
Now for the star of the show: the creamy pumpkin pie filling. In a large bowl, whisk together the pumpkin puree (ensure it’s pure pumpkin, not pie filling mix!), brown sugar, and large eggs until everything is thoroughly combined and smooth. This initial whisking helps to dissolve the sugar and integrate the eggs, contributing to the filling’s smooth texture. Then, add cornstarch, vanilla extract, salt, and your carefully selected fall spices – cinnamon, ground ginger, and nutmeg. These spices are key to capturing that classic autumnal flavor profile. Finally, slowly stream in the half-and-half while continuously whisking. This gradual addition prevents lumps and ensures a perfectly smooth, homogenous mixture. Whisk until the filling is entirely smooth and well-combined, ready to be poured over the par-baked crust.
Step 3: Baking to Golden Perfection
With both the crust and filling prepared, it’s time to bring these pumpkin pie bars to life in the oven. Carefully pour the smooth pumpkin pie filling over the par-baked shortbread crust in your prepared pan. Gently tap the pan a few times on the counter to release any air bubbles and ensure an even layer. Return the baking pan to the oven and continue baking for an additional 40-45 minutes. The bars are ready when the filling is completely set, and the center no longer appears liquidy or wobbly when gently shaken. The edges of the filling may show a slight crack, which is perfectly normal. Once baked, remove the bars from the oven and allow them to cool completely to room temperature on a wire rack. This is a crucial step for the filling to fully set. After cooling, transfer the pan to the refrigerator and chill the bars for at least 2-3 hours, or preferably overnight, for the best texture and clean slices.
Step 4: The Finishing Touch: Maple Whipped Cream
Once your pumpkin pie bars are thoroughly chilled and you’re ready to serve, it’s time to prepare the exquisite maple whipped cream. In the bowl of a stand mixer fitted with a whisk attachment (or using a hand mixer and a large bowl), combine cold heavy cream, pure maple syrup, a touch of vanilla extract, and a tiny pinch of salt. Begin beating the mixture on low speed until the ingredients are just combined. Then, gradually increase the speed to medium-high and continue to whip until the cream thickens and forms beautiful, medium-stiff peaks. The maple syrup adds a subtle sweetness and aromatic warmth that perfectly complements the pumpkin flavor. Be careful not to over-whip, as it can quickly turn into butter.
Step 5: Slice, Serve, and Savor
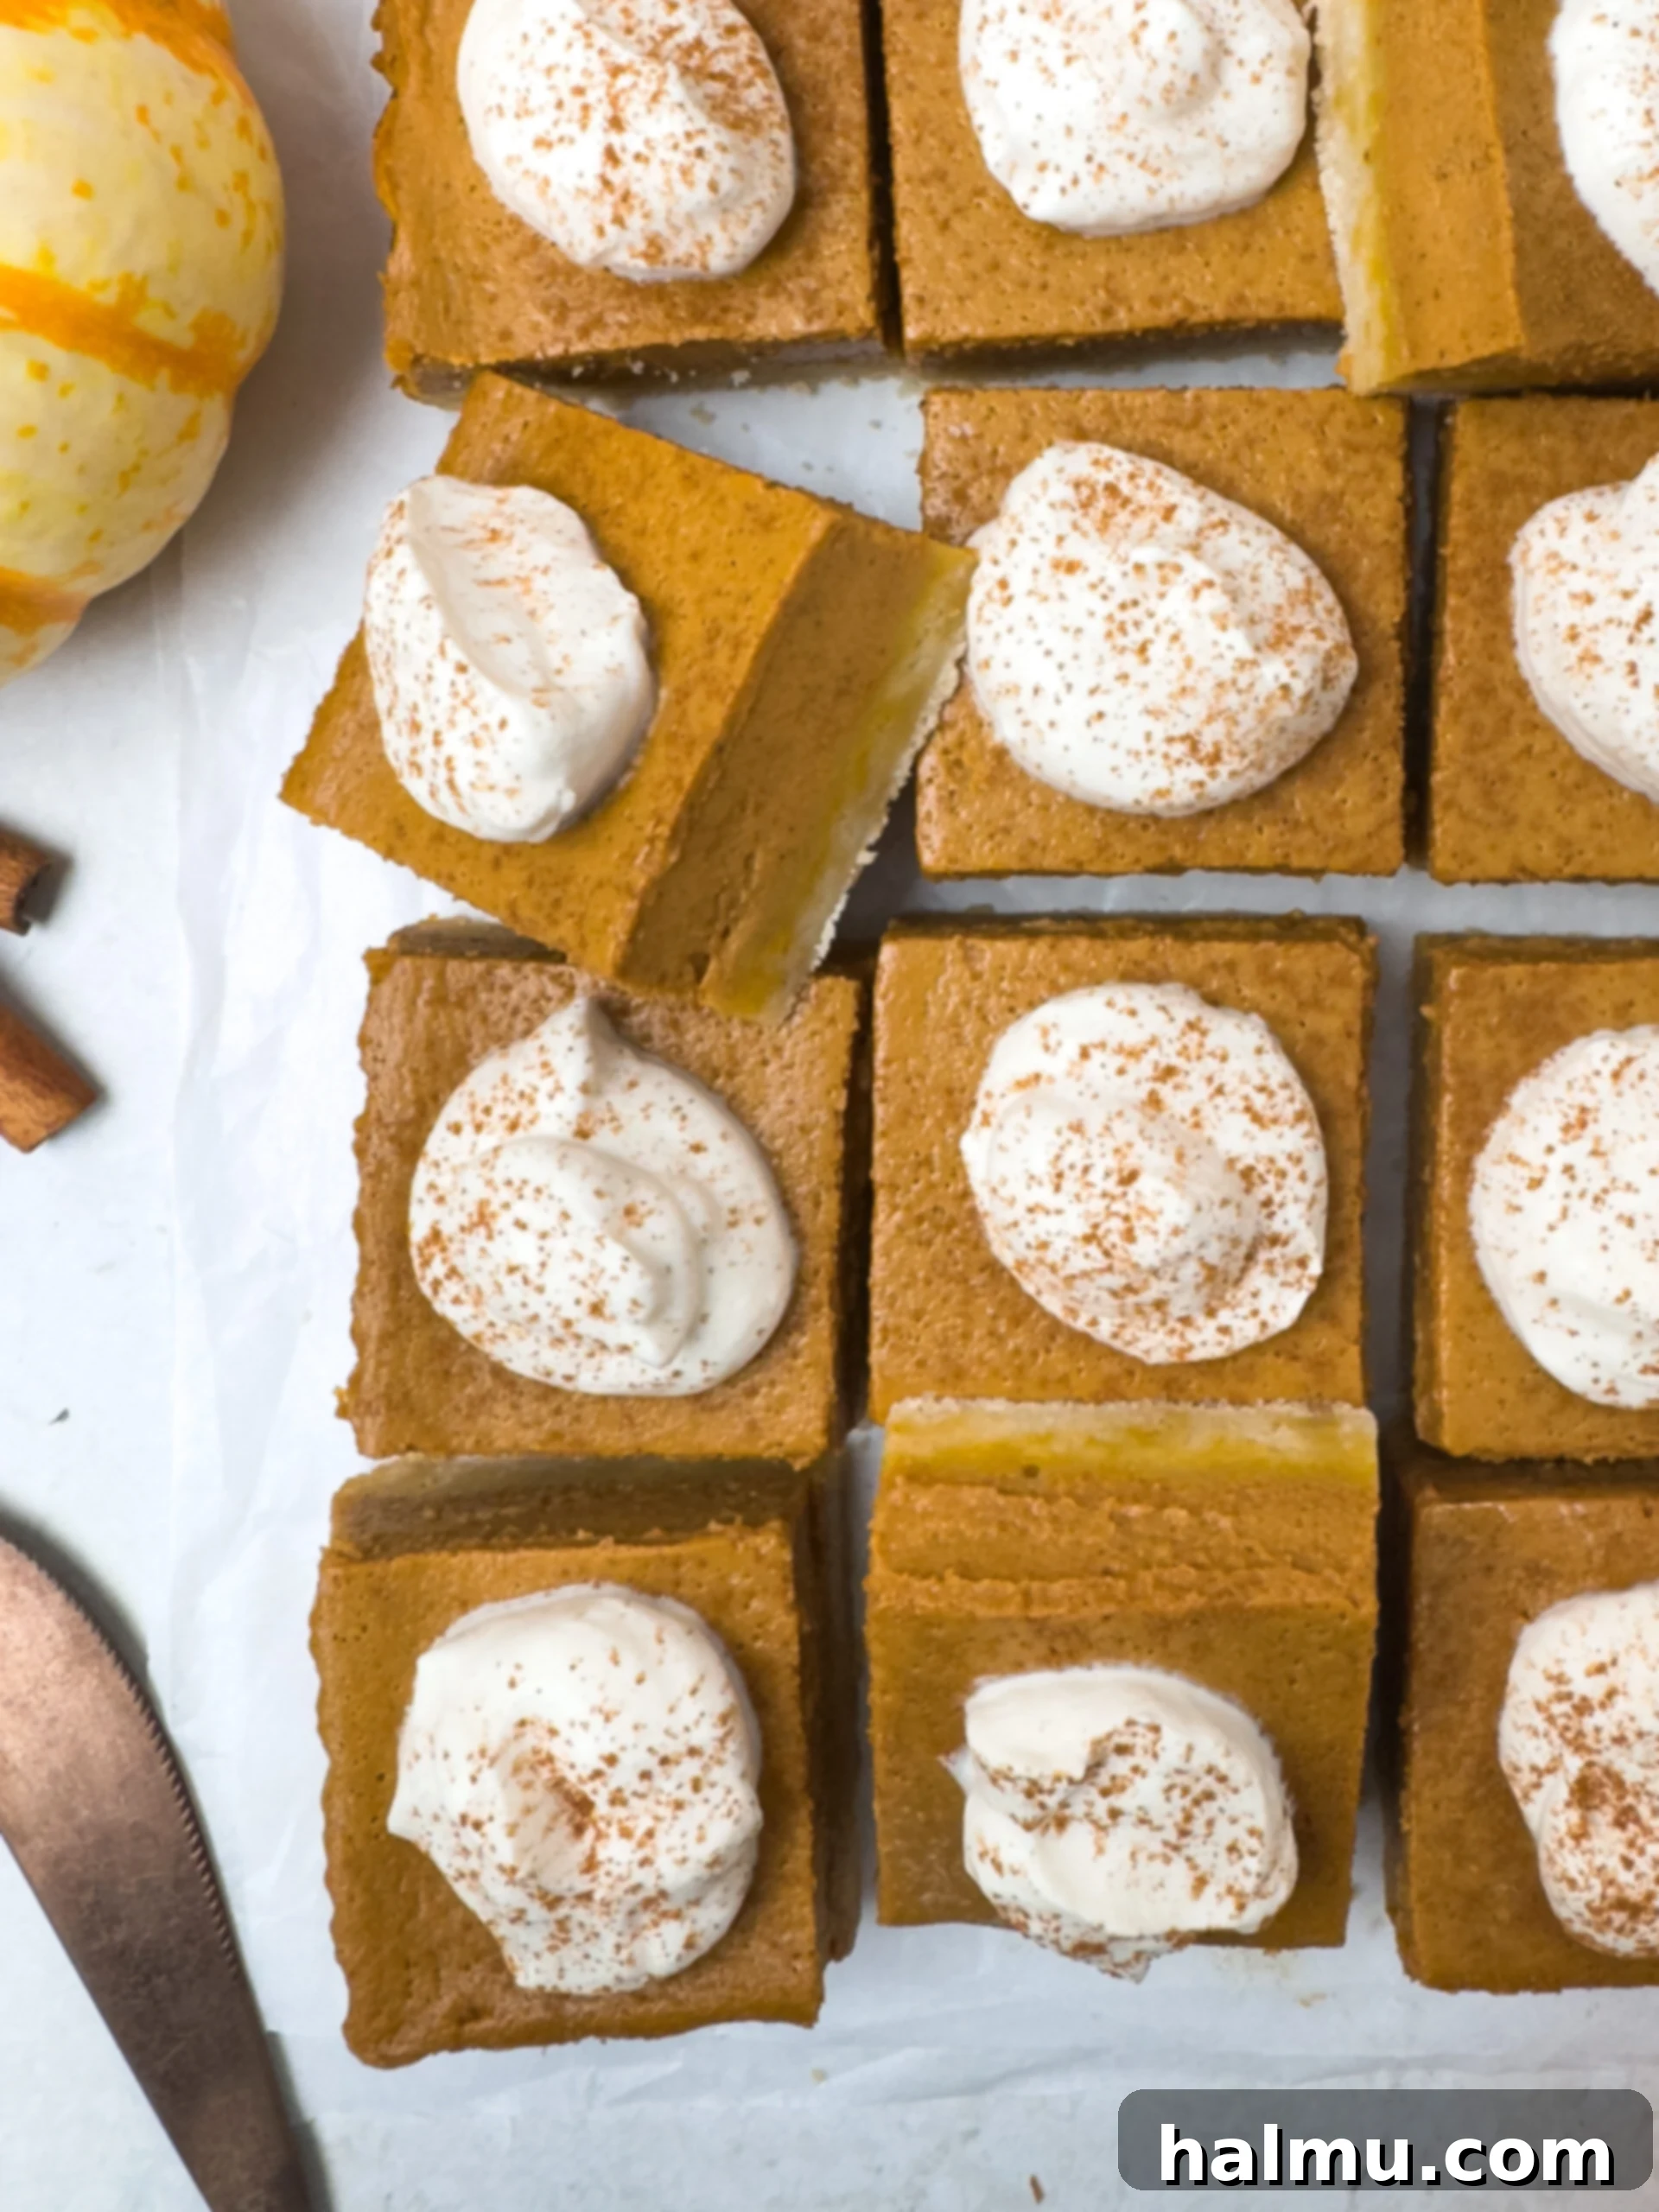
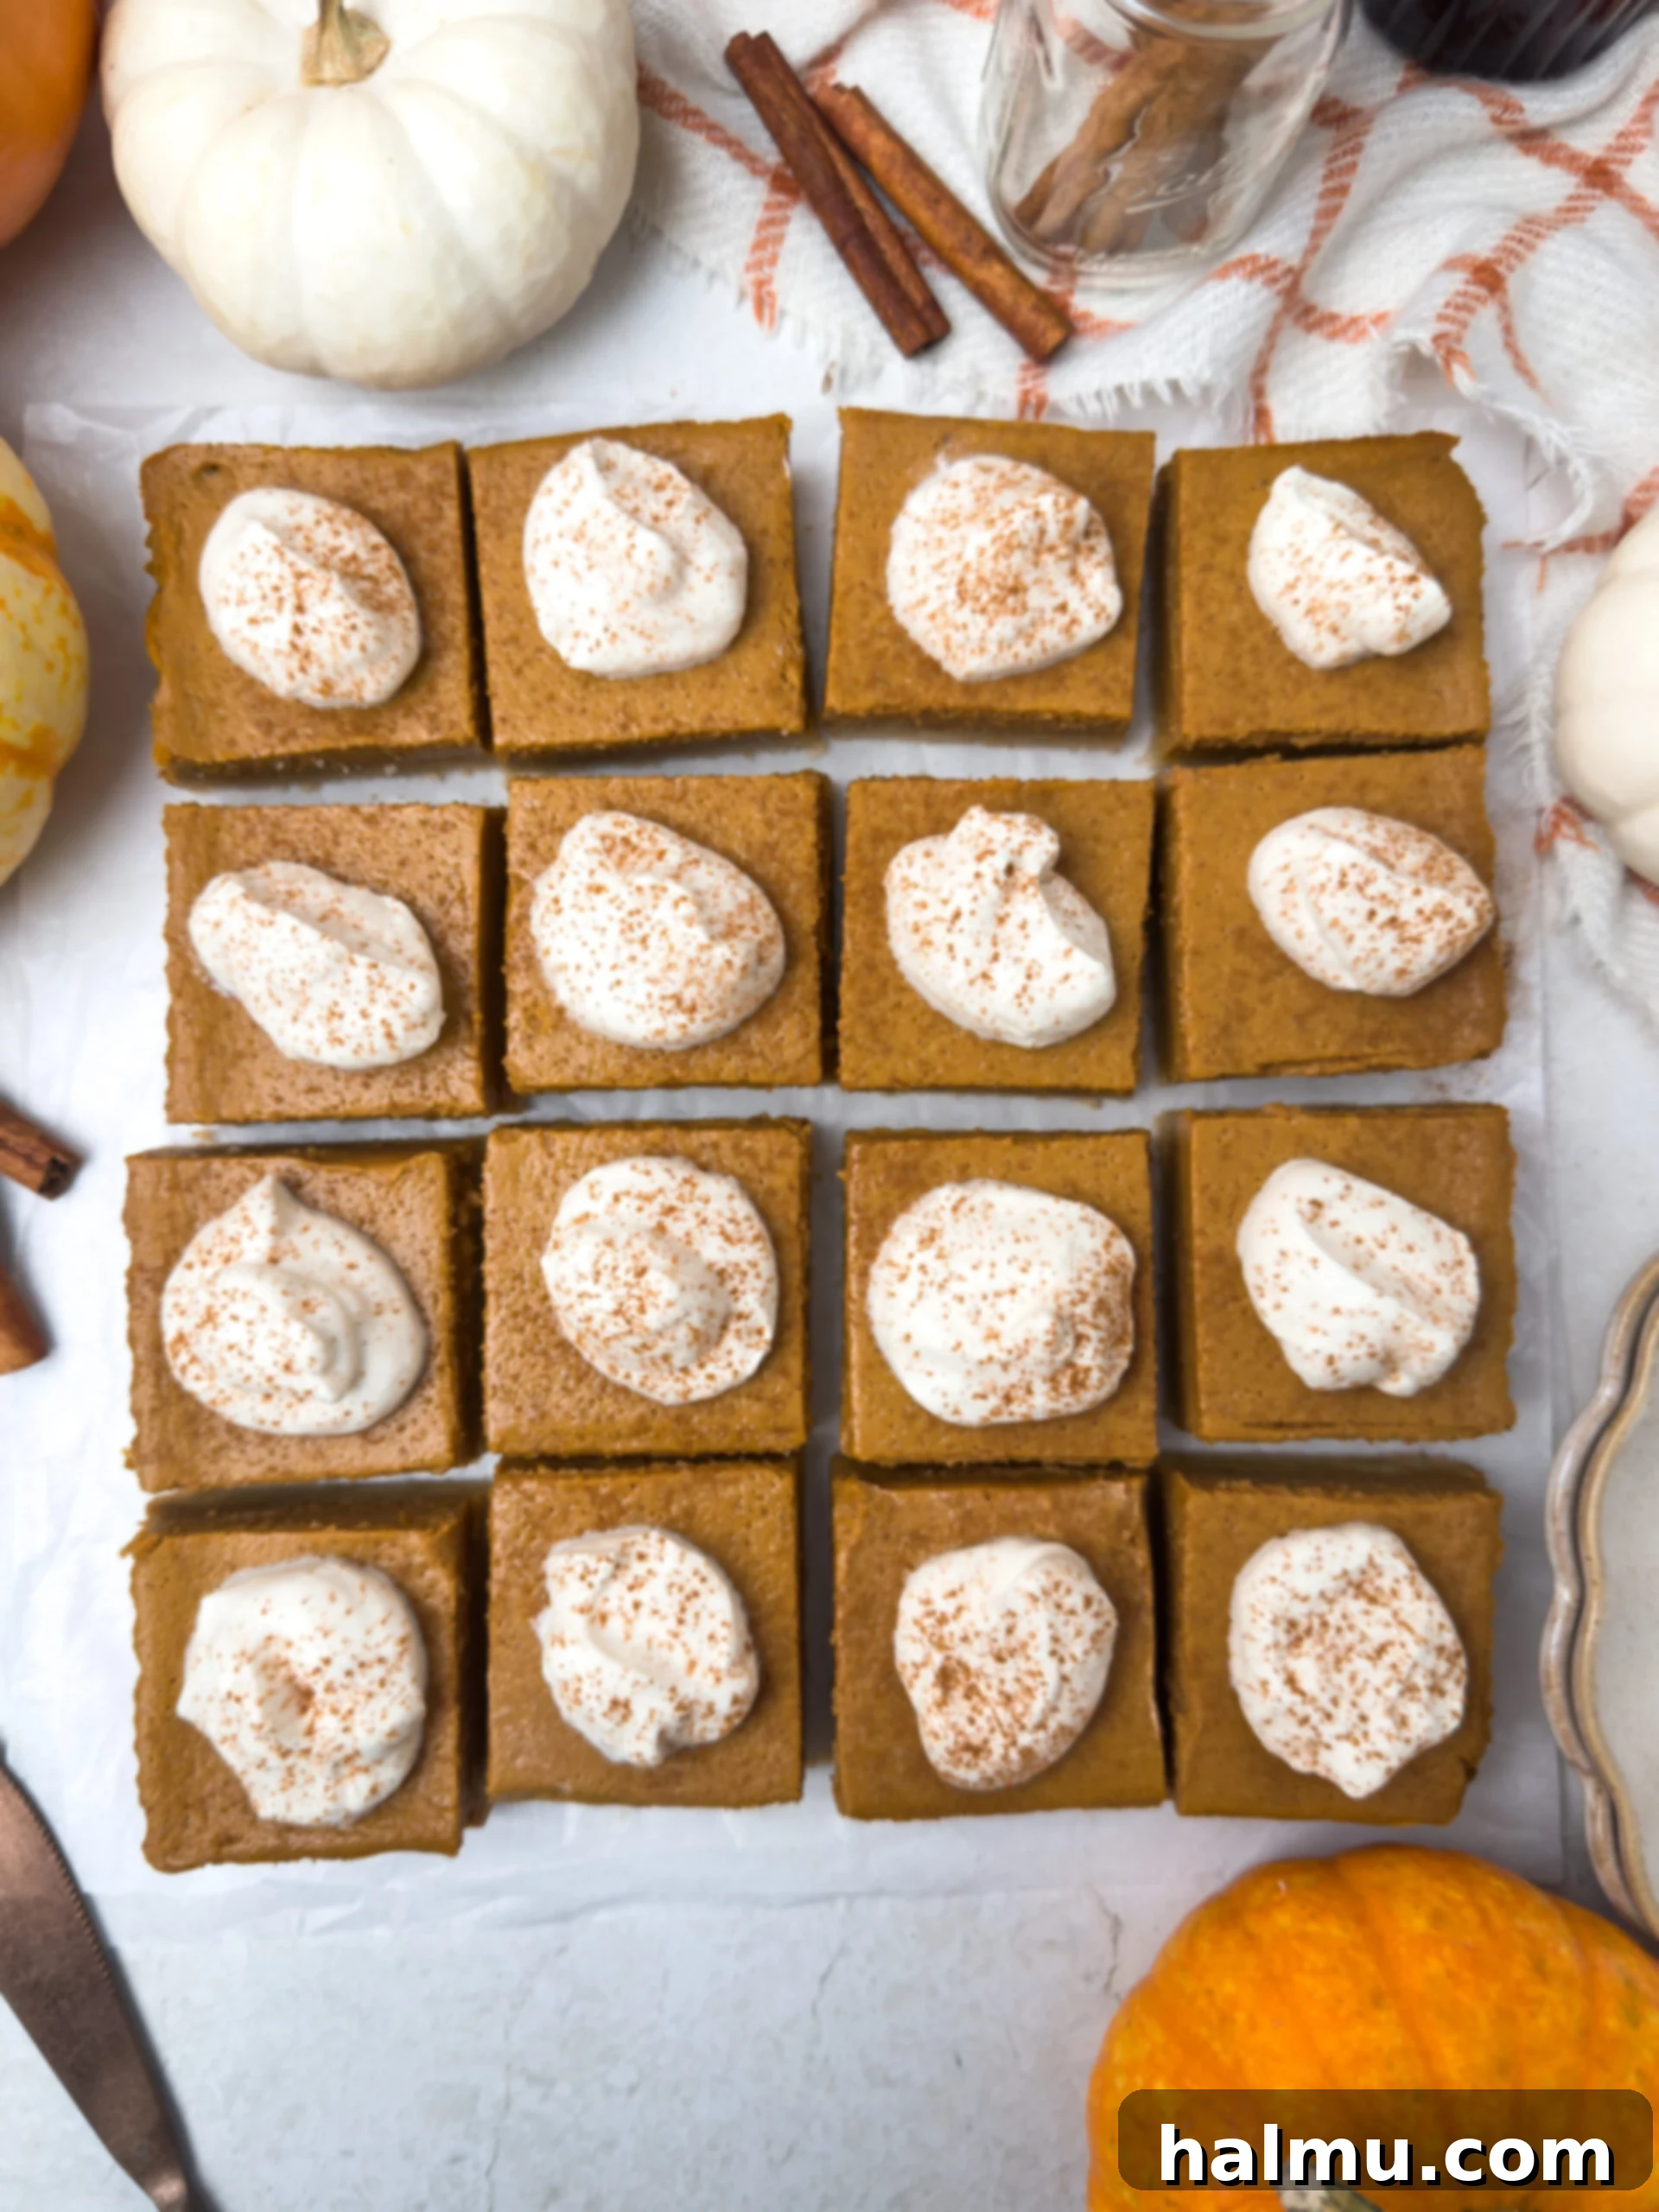
After chilling, use the parchment paper sling to carefully lift the entire slab of pumpkin pie bars out of the pan and onto a cutting board. For the most appealing and cleanest cuts, use a sharp, thin knife. Dip the knife blade into hot water before each cut, then quickly wipe it dry with a paper towel. This technique helps to create crisp, clean lines through the creamy filling and buttery crust. Slice the chilled bars into 16 equal squares. Before serving, top each individual slice with a generous dollop of the freshly made maple whipped cream. These gorgeous and delicious homemade pumpkin pie bars are now ready to be enjoyed! They are perfect for dessert, a fall snack, or as a delightful contribution to any festive gathering.
Frequently Asked Questions (FAQs) About Pumpkin Pie Bars
Optimal Storage for Freshness
For best results, store any leftover pumpkin pie bars in an airtight container in the refrigerator. They will remain fresh and delicious for up to 3-4 days. It’s important to note that the maple whipped cream is best made and added right before serving, as it tends to deflate and become watery when stored for extended periods. If you anticipate having leftovers, store the bars and whipped cream separately, then add the topping just before serving each portion.
Customizing Your Spices: Pumpkin Pie Spice vs. Individual Spices
The recipe calls for individual measurements of cinnamon, ground ginger, and nutmeg to achieve a balanced flavor where the pumpkin truly shines. However, if you prefer a more robust spice profile or the convenience of a pre-made blend, you can absolutely swap out the individual spices in the pumpkin pie filling for 1½ to 2 teaspoons of pumpkin pie spice instead. Traditional pumpkin pie spice typically includes cinnamon, ginger, and nutmeg, along with allspice, cloves, and sometimes a hint of black pepper or cardamom. Experiment with the amount to suit your personal taste, starting with less and adding more if desired. Remember that homemade blends often offer a fresher, more vibrant flavor.
Achieving Picture-Perfect Slices
The secret to clean, beautiful slices is simple: ensure your pumpkin pie bars are completely chilled in the refrigerator before cutting. A warm or even slightly cool bar will yield messy, uneven slices. Additionally, use a very sharp knife. For each cut, dip the blade into hot water, then thoroughly wipe it dry with a paper towel. The warmth from the knife blade will slightly melt the filling, allowing for a smooth pass through, while the dry blade prevents sticking. Repeat this hot water and wipe process before every single slice for impeccably clean cuts that will impress everyone.
Can I use homemade pumpkin puree?
Absolutely! Using homemade pumpkin puree can impart an even fresher, deeper pumpkin flavor to your bars. If you choose to use homemade puree, ensure it is thick and has been well-drained of excess moisture. Too much moisture can result in a soggy crust or a filling that doesn’t set properly. You can easily drain homemade pumpkin puree by placing it in a fine-mesh sieve lined with cheesecloth and letting it sit for an hour or two, or by gently pressing out excess water with a spoon.
Can I make these bars ahead of time?
Yes, these pumpkin pie bars are an excellent make-ahead dessert! You can bake the bars, cool them completely, and then chill them in the refrigerator for up to 2-3 days before serving. This makes them perfect for holiday meal prep. Remember to prepare the maple whipped cream fresh just before serving to ensure it has the best texture and appearance. This strategy helps reduce stress on busy event days.
Freezing Pumpkin Pie Bars for Later
These pumpkin pie bars can be frozen, extending their shelf life for up to one month. To freeze, ensure the bars are completely cooled and chilled, then slice them into individual portions. Arrange the slices in a single layer on a baking sheet and freeze until solid. Once frozen, transfer the individual bars to an airtight freezer-safe container or wrap them tightly in plastic wrap and then aluminum foil to prevent freezer burn. Thaw frozen bars in the refrigerator overnight before serving. Again, add the maple whipped cream only after thawing.
Essential Baking Tools for Perfect Pumpkin Pie Bars
Favorite Tools

Baking Tip: Weigh Your Ingredients!
For truly consistent and professional-level baking results, I cannot recommend highly enough the practice of weighing your ingredients with a kitchen scale rather than relying on volumetric measuring cups. Weighing provides unmatched accuracy, eliminating variations that can occur due to how ingredients are scooped or packed. This precision leads to more consistent outcomes with your recipes, boosting your success rate every single time you bake. As an added bonus, using a scale often means fewer measuring cups to wash, simplifying your cleanup process! I always provide gram measurements in my recipes because it’s simply the best way to ensure perfect results.
More Delicious Pumpkin Recipes to Explore
- Pumpkin Pecan Upside-Down Cakes
- Pumpkin Donut Muffins
- Double Layer Pumpkin Pie
- Pumpkin Spice Crème Brûlée Bars
- Pumpkin Cinnamon Streusel Muffins
If you embark on this delightful baking adventure and fall in love with these pumpkin pie bars, please be sure to leave a comment below and share your experience. Happy baking!
Pumpkin Pie Bars
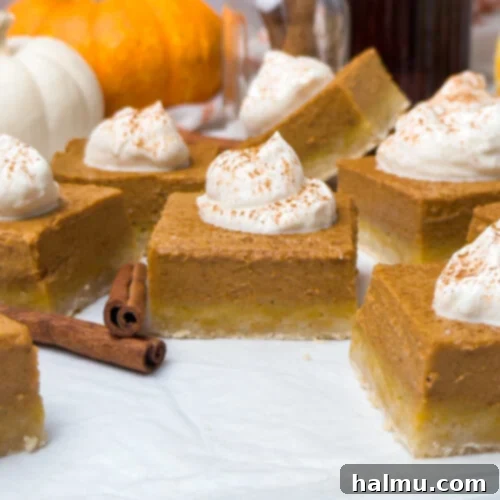
These Pumpkin Pie Bars feature a rich, buttery shortbread crust topped with a smooth, perfectly spiced pumpkin filling. They offer everything you love about classic pumpkin pie, but in a convenient, easy-to-slice bar format, perfect for any fall gathering!
Author: Rachel
Print Recipe
RATE THIS RECIPE
25 mins
1 hr
1 hr 25 mins
16 servings
Ingredients
For the Shortbread Crust
- ½ cup (1 stick or 113g) unsalted butter, at room temperature
- ½ cup (100g) granulated sugar
- 1½ cups (195g) all-purpose flour
- ¼ teaspoon salt
For the Pumpkin Pie Filling
- 1½ cups (15oz or 339g) pumpkin puree*
- 1 cup (200g) brown sugar
- 3 large eggs
- 1 Tablespoon (10g) cornstarch
- 1 teaspoon vanilla
- ½ teaspoon salt
- 1 teaspoon cinnamon
- ½ teaspoon ground ginger
- ¼ teaspoon nutmeg
- 1 ½ cups (12oz or 340mL) half-and-half
For the Maple Whipped Cream
- 1 cup (240mL) heavy cream
- ¼ cup (60mL) pure maple syrup
- ½ teaspoon vanilla
- pinch of salt
SHOP INGREDIENTS
Instructions
Preheat oven to 350°F (175°C). Line a 9” x 9” square pan with parchment paper, creating a sling with an overhang on all four sides for easy removal.
Shortbread Crust: In the bowl of a stand mixer fitted with a paddle attachment (or a large bowl with a hand mixer), cream the butter and sugar until light and well combined. Add the flour and salt, and mix on low speed until the mixture becomes uniform sandy crumbs.
Spread the shortbread crumbs evenly into the prepared pan. Using your fingers or the back of a measuring cup, press down the shortbread crust firmly into an even layer. Bake at 350°F (175°C) for 15 minutes, or just until the edges turn a light golden brown.
Pumpkin Pie Filling: In a large bowl, whisk together the pumpkin puree, brown sugar, and eggs until completely smooth and well combined. Mix in the cornstarch, vanilla extract, salt, cinnamon, ground ginger, and nutmeg. Slowly stream in the half-and-half while continuously whisking to ensure a lump-free, smooth mixture.
Pour the prepared pumpkin filling onto the warm, par-baked crust in the pan. Return the bars to the oven and bake for an additional 40-45 minutes, or until the filling is fully set and no longer liquidy or wobbly in the center when gently shaken.
Allow the baked bars to cool completely to room temperature on a wire rack. Once cooled, transfer the pan to the fridge and chill for at least 2-3 hours, or preferably overnight, to allow the filling to fully set and firm up.
Maple Whipped Cream: In the bowl of a stand mixer fitted with a whisk attachment (or a large bowl with a hand mixer), combine cold heavy cream, pure maple syrup, vanilla extract, and a pinch of salt. Mix on low speed until combined, then slowly increase the speed to medium-high. Whip until the cream thickens and forms beautiful medium-stiff peaks.
Once chilled, use the parchment paper sling to carefully lift the entire slab of pumpkin pie bars out of the pan. Slice the bars into 16 squares. Top each slice with a dollop of the fresh maple whipped cream, then serve and enjoy!
Notes
*Pumpkin Puree – It is crucial to use pure pumpkin puree for this recipe, NOT pumpkin pie filling mix, which contains added spices and sweeteners.
Storing – Store any leftover pumpkin pie bars in an airtight container in the fridge for up to 3-4 days. For optimal freshness and texture, prepare and add the maple whipped cream just before serving.
Be sure to tag @sweetkitchencravings on Instagram!

HI THERE!
I’m Rachel
I’m the dessert lover, recipe developer, and content creator behind Sweet Kitchen Cravings. Here you’ll find classic yet special recipes that are sure to impress your loved ones!
MORE ABOUT RACHEL
Craving More?
Get the newest recipes delivered straight to your inbox!
Sign up for our newsletter to receive new recipes directly in your email!
