This post may contain affiliate links. Please read my full disclosure policy.
Indulge in the Ultimate No-Bake Chocolate Mint Cream Pie: A Decadent Delight
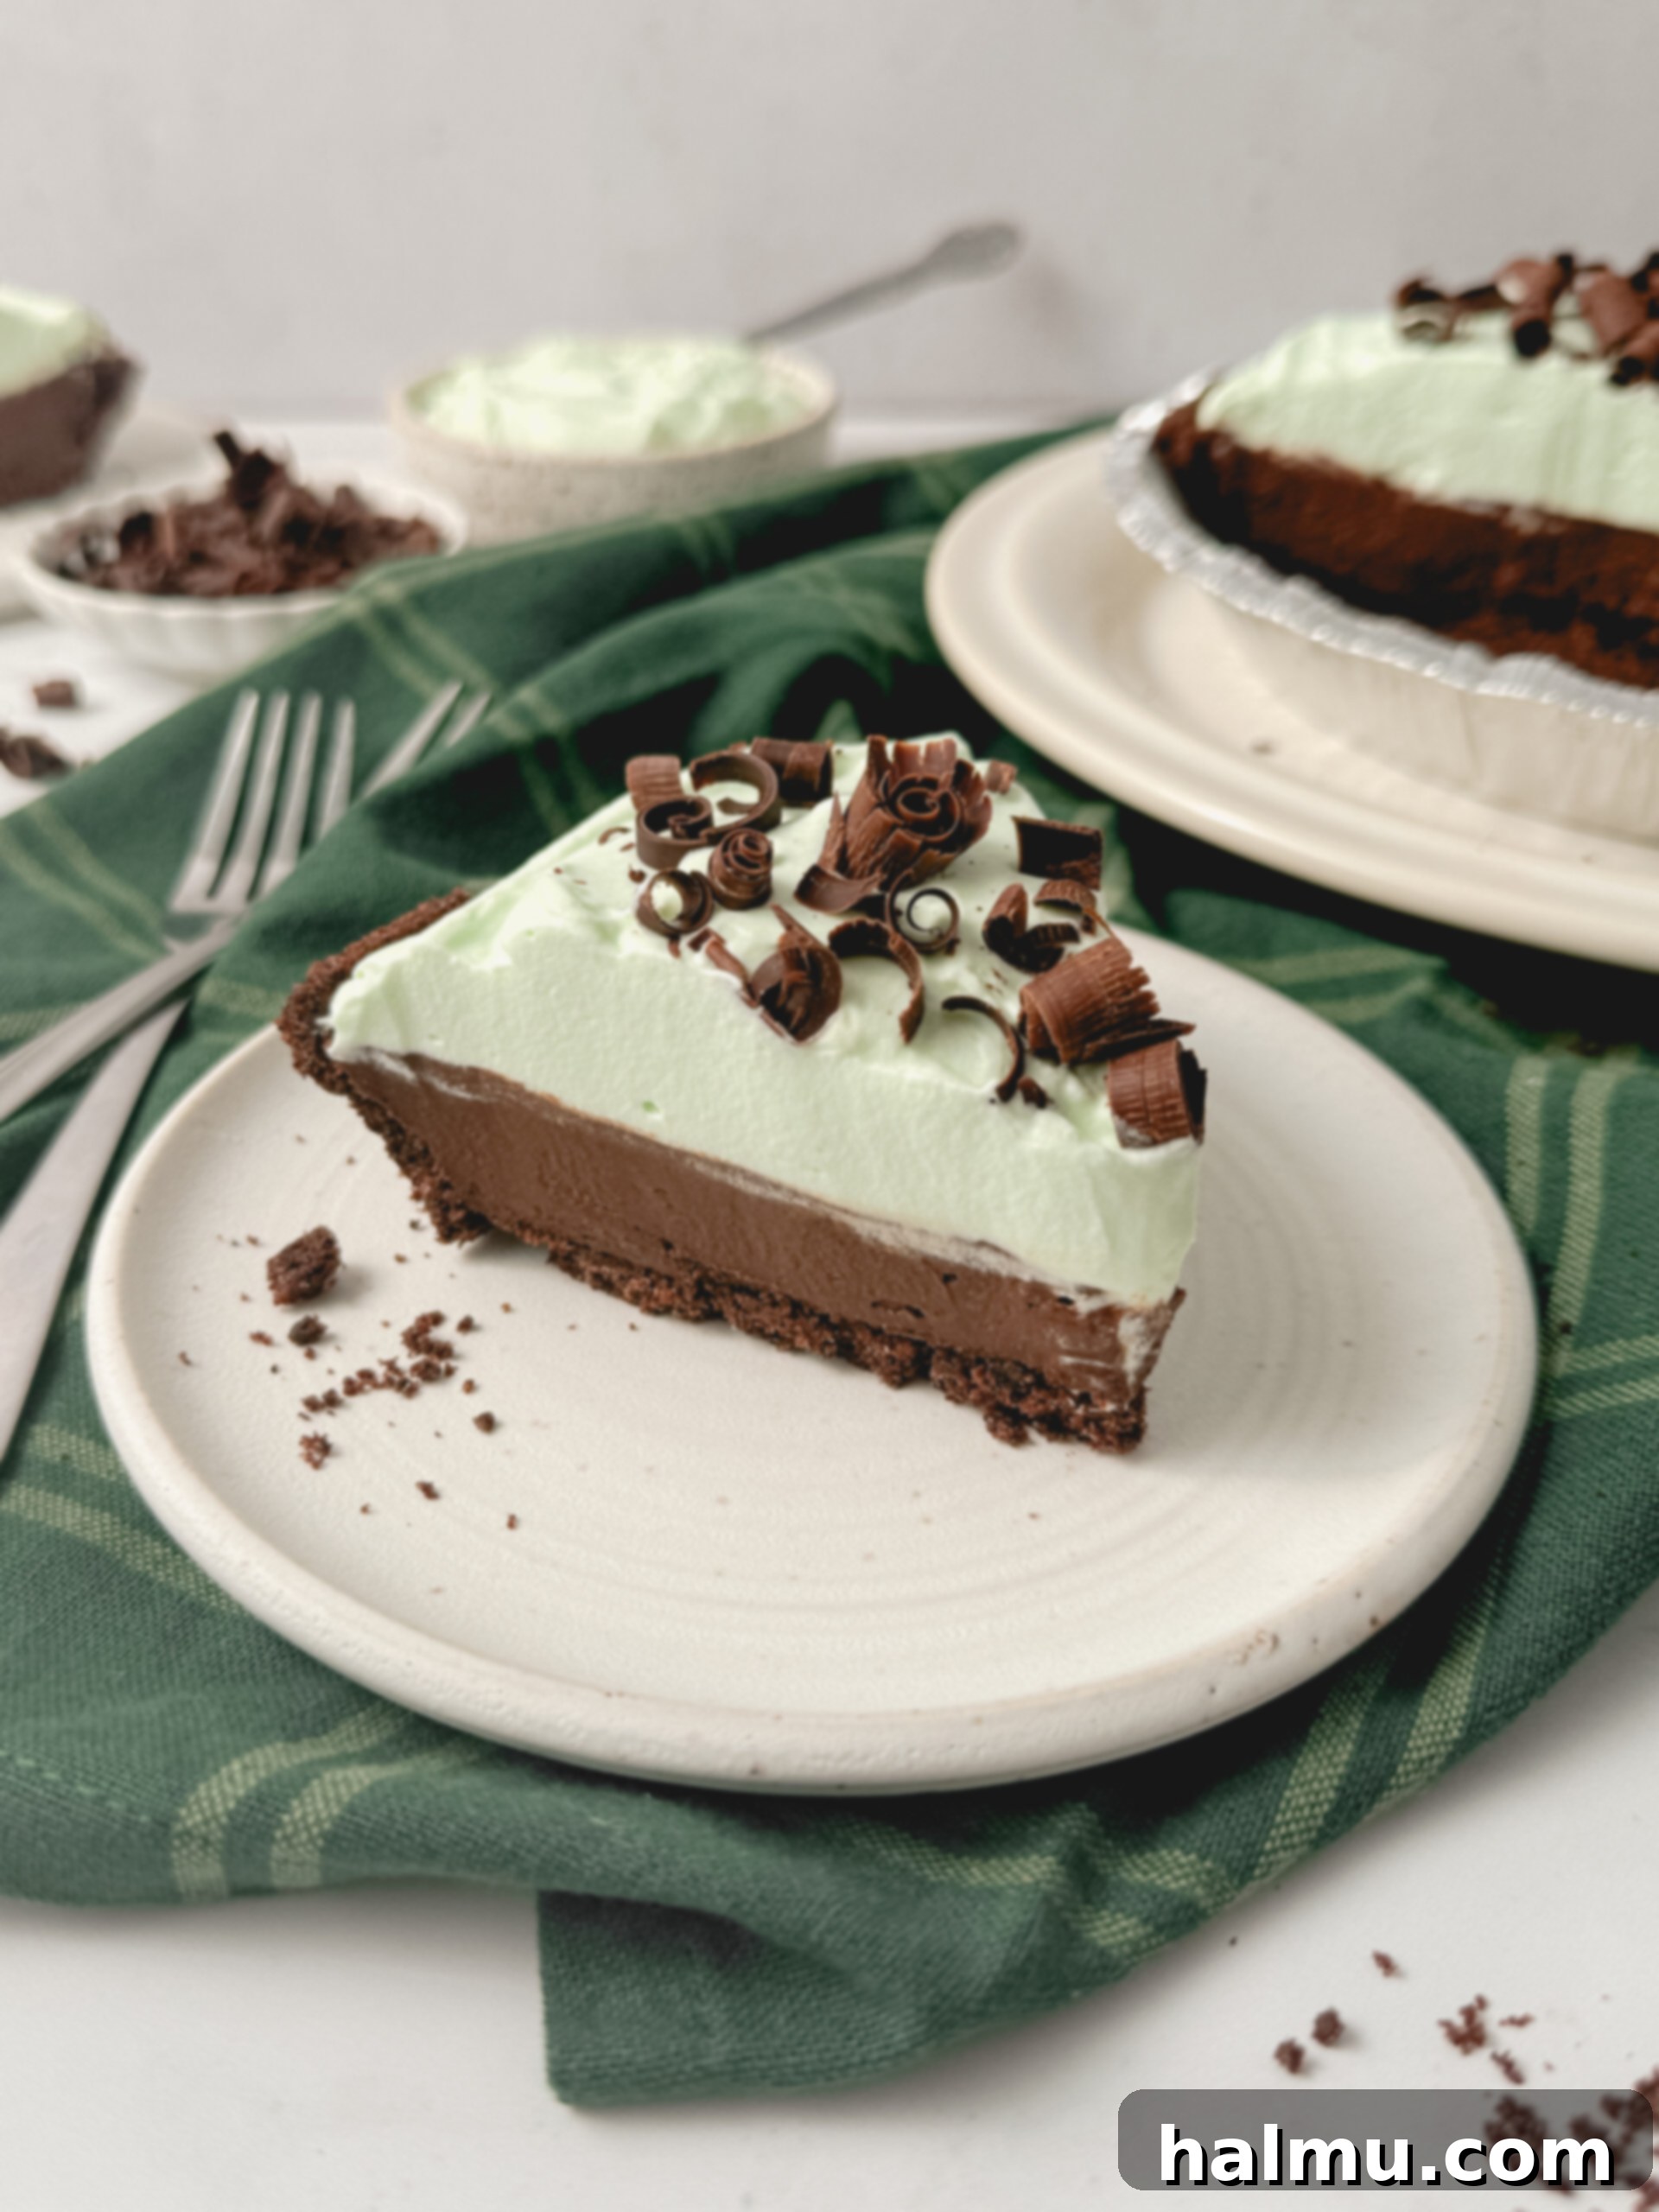
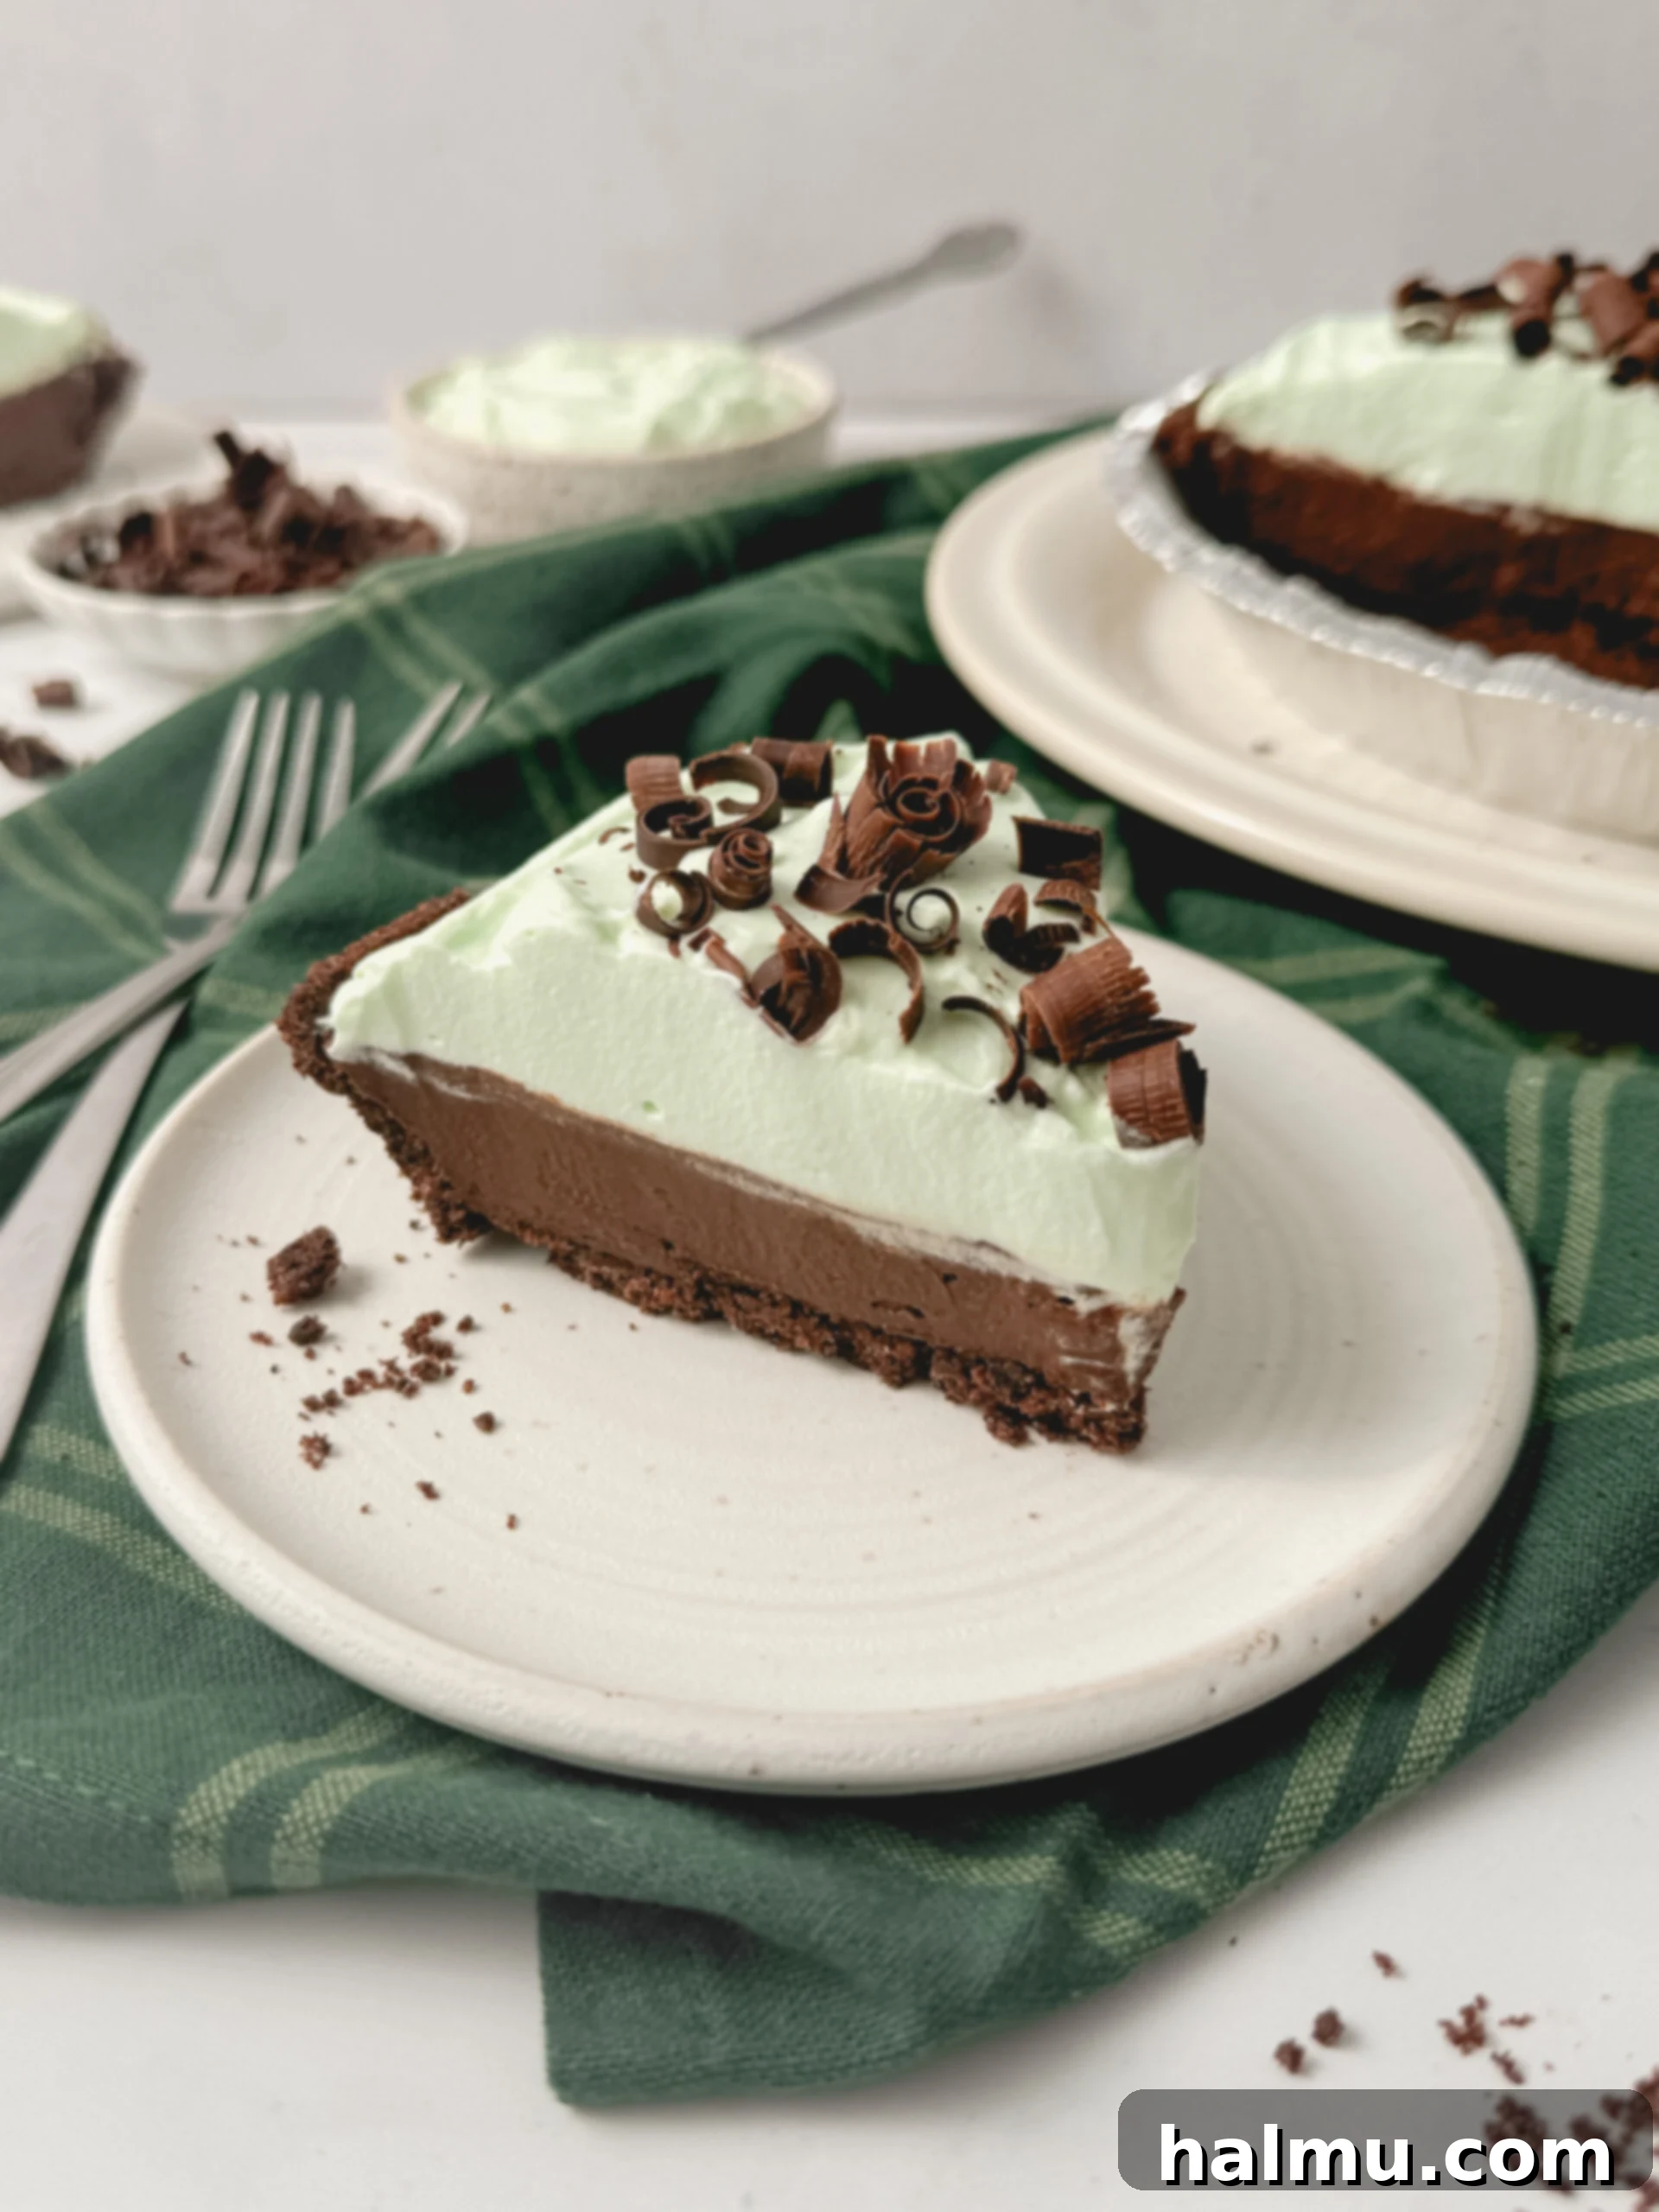
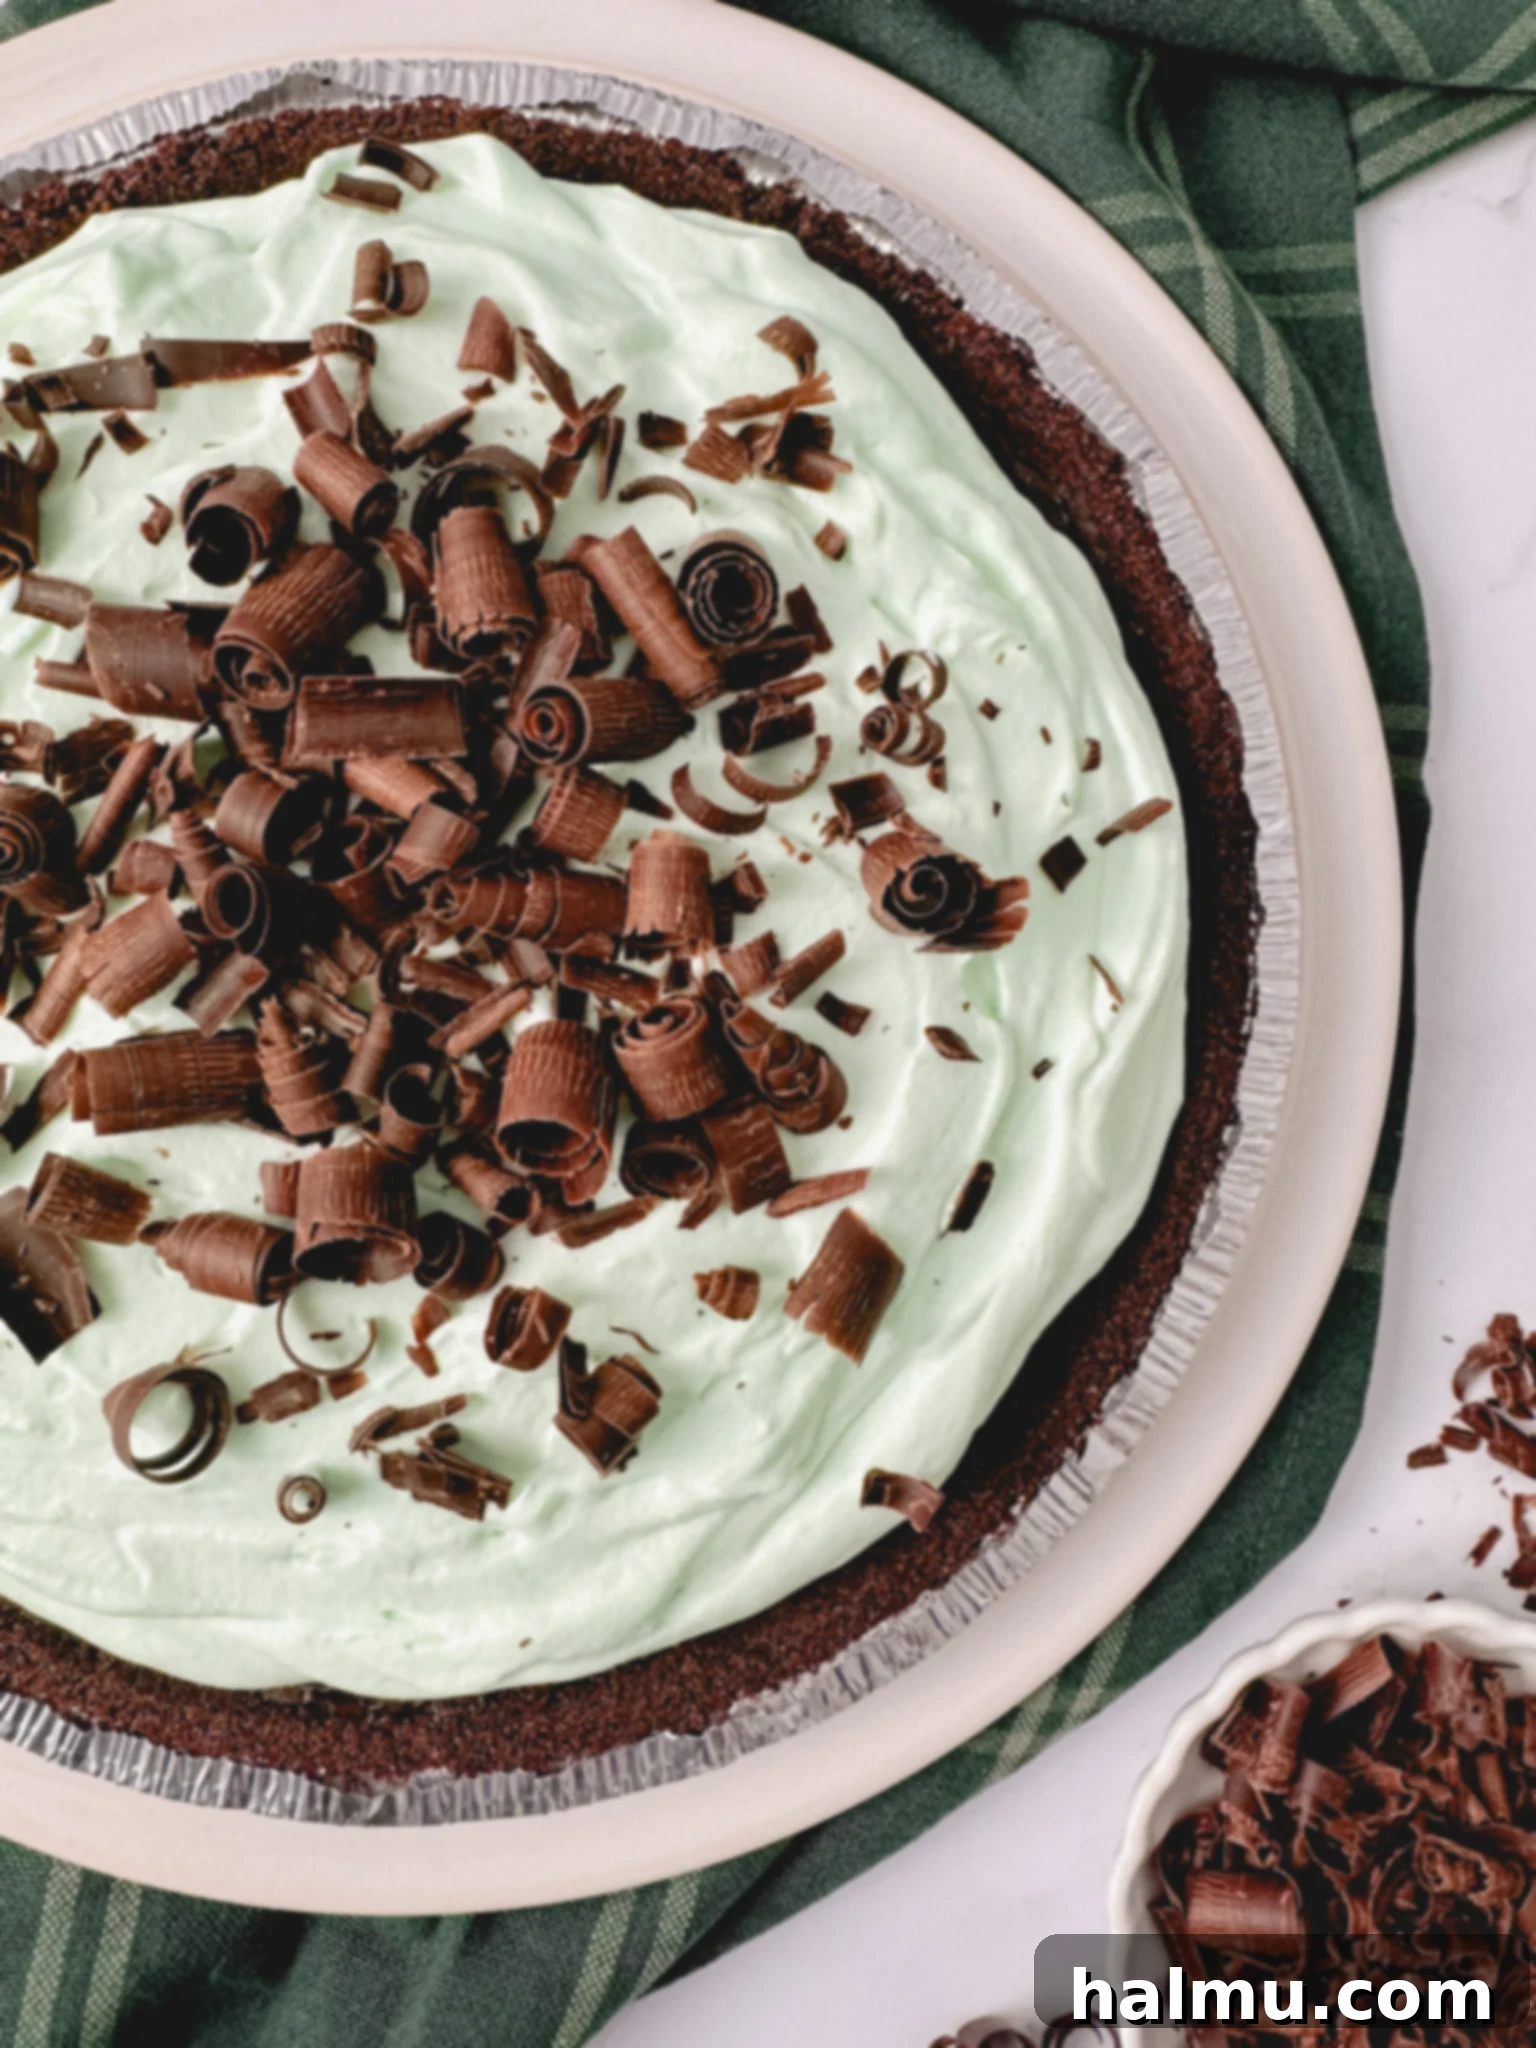
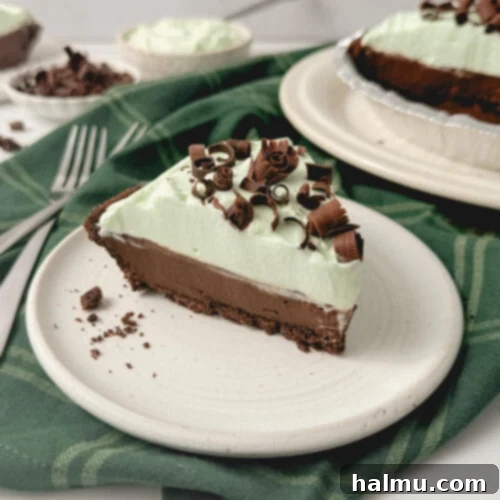
Prepare to be enchanted by this utterly irresistible Chocolate Mint Cream Pie, a dessert that masterfully combines rich flavors with delightful textures. This no-bake masterpiece features a perfectly crisp chocolate cookie crust, a velvety smooth chocolate pastry cream, and a cloud of fluffy, mint-infused whipped cream. Each bite offers a harmonious blend of deep chocolate and refreshing peppermint, making it an instant favorite for any occasion. Finished with elegant chocolate curls, this pie is not just a treat for the taste buds but also a feast for the eyes.
Whether you’re planning a festive St. Patrick’s Day celebration, seeking the perfect dessert for a summer gathering, or simply craving the classic pairing of chocolate and mint, this pie delivers. Its no-bake nature simplifies the preparation, allowing you to create an impressive dessert without ever turning on your oven. Get ready to delight your family and friends with this quick, easy, and incredibly satisfying Chocolate Mint Cream Pie!
Crafting Your Divine Chocolate Mint Cream Pie
Creating this stunning Chocolate Mint Cream Pie is a straightforward process, designed for both novice and experienced bakers alike. Follow these simple steps to bring this decadent dessert to life.
- Mastering the Chocolate Pastry Cream. Begin by whisking together the egg yolks, milk, and a hint of vanilla in a small bowl until thoroughly combined. In a separate, medium-sized saucepan, sift granulated sugar, rich cocoa powder, cornstarch, and a pinch of salt. Sifting is crucial here to prevent lumps, ensuring a silky-smooth pastry cream. Gradually stream the milk and egg mixture into the dry ingredients in the saucepan while continuously whisking. This slow addition, known as tempering, helps to prevent the eggs from curdling and ensures a uniform texture. Cook the mixture over low heat, stirring constantly, until it thickens to a luxurious custard consistency. This process typically takes about 10 minutes, so patience is key. The cream should coat the back of a spoon and gently bubble, signaling it’s ready.

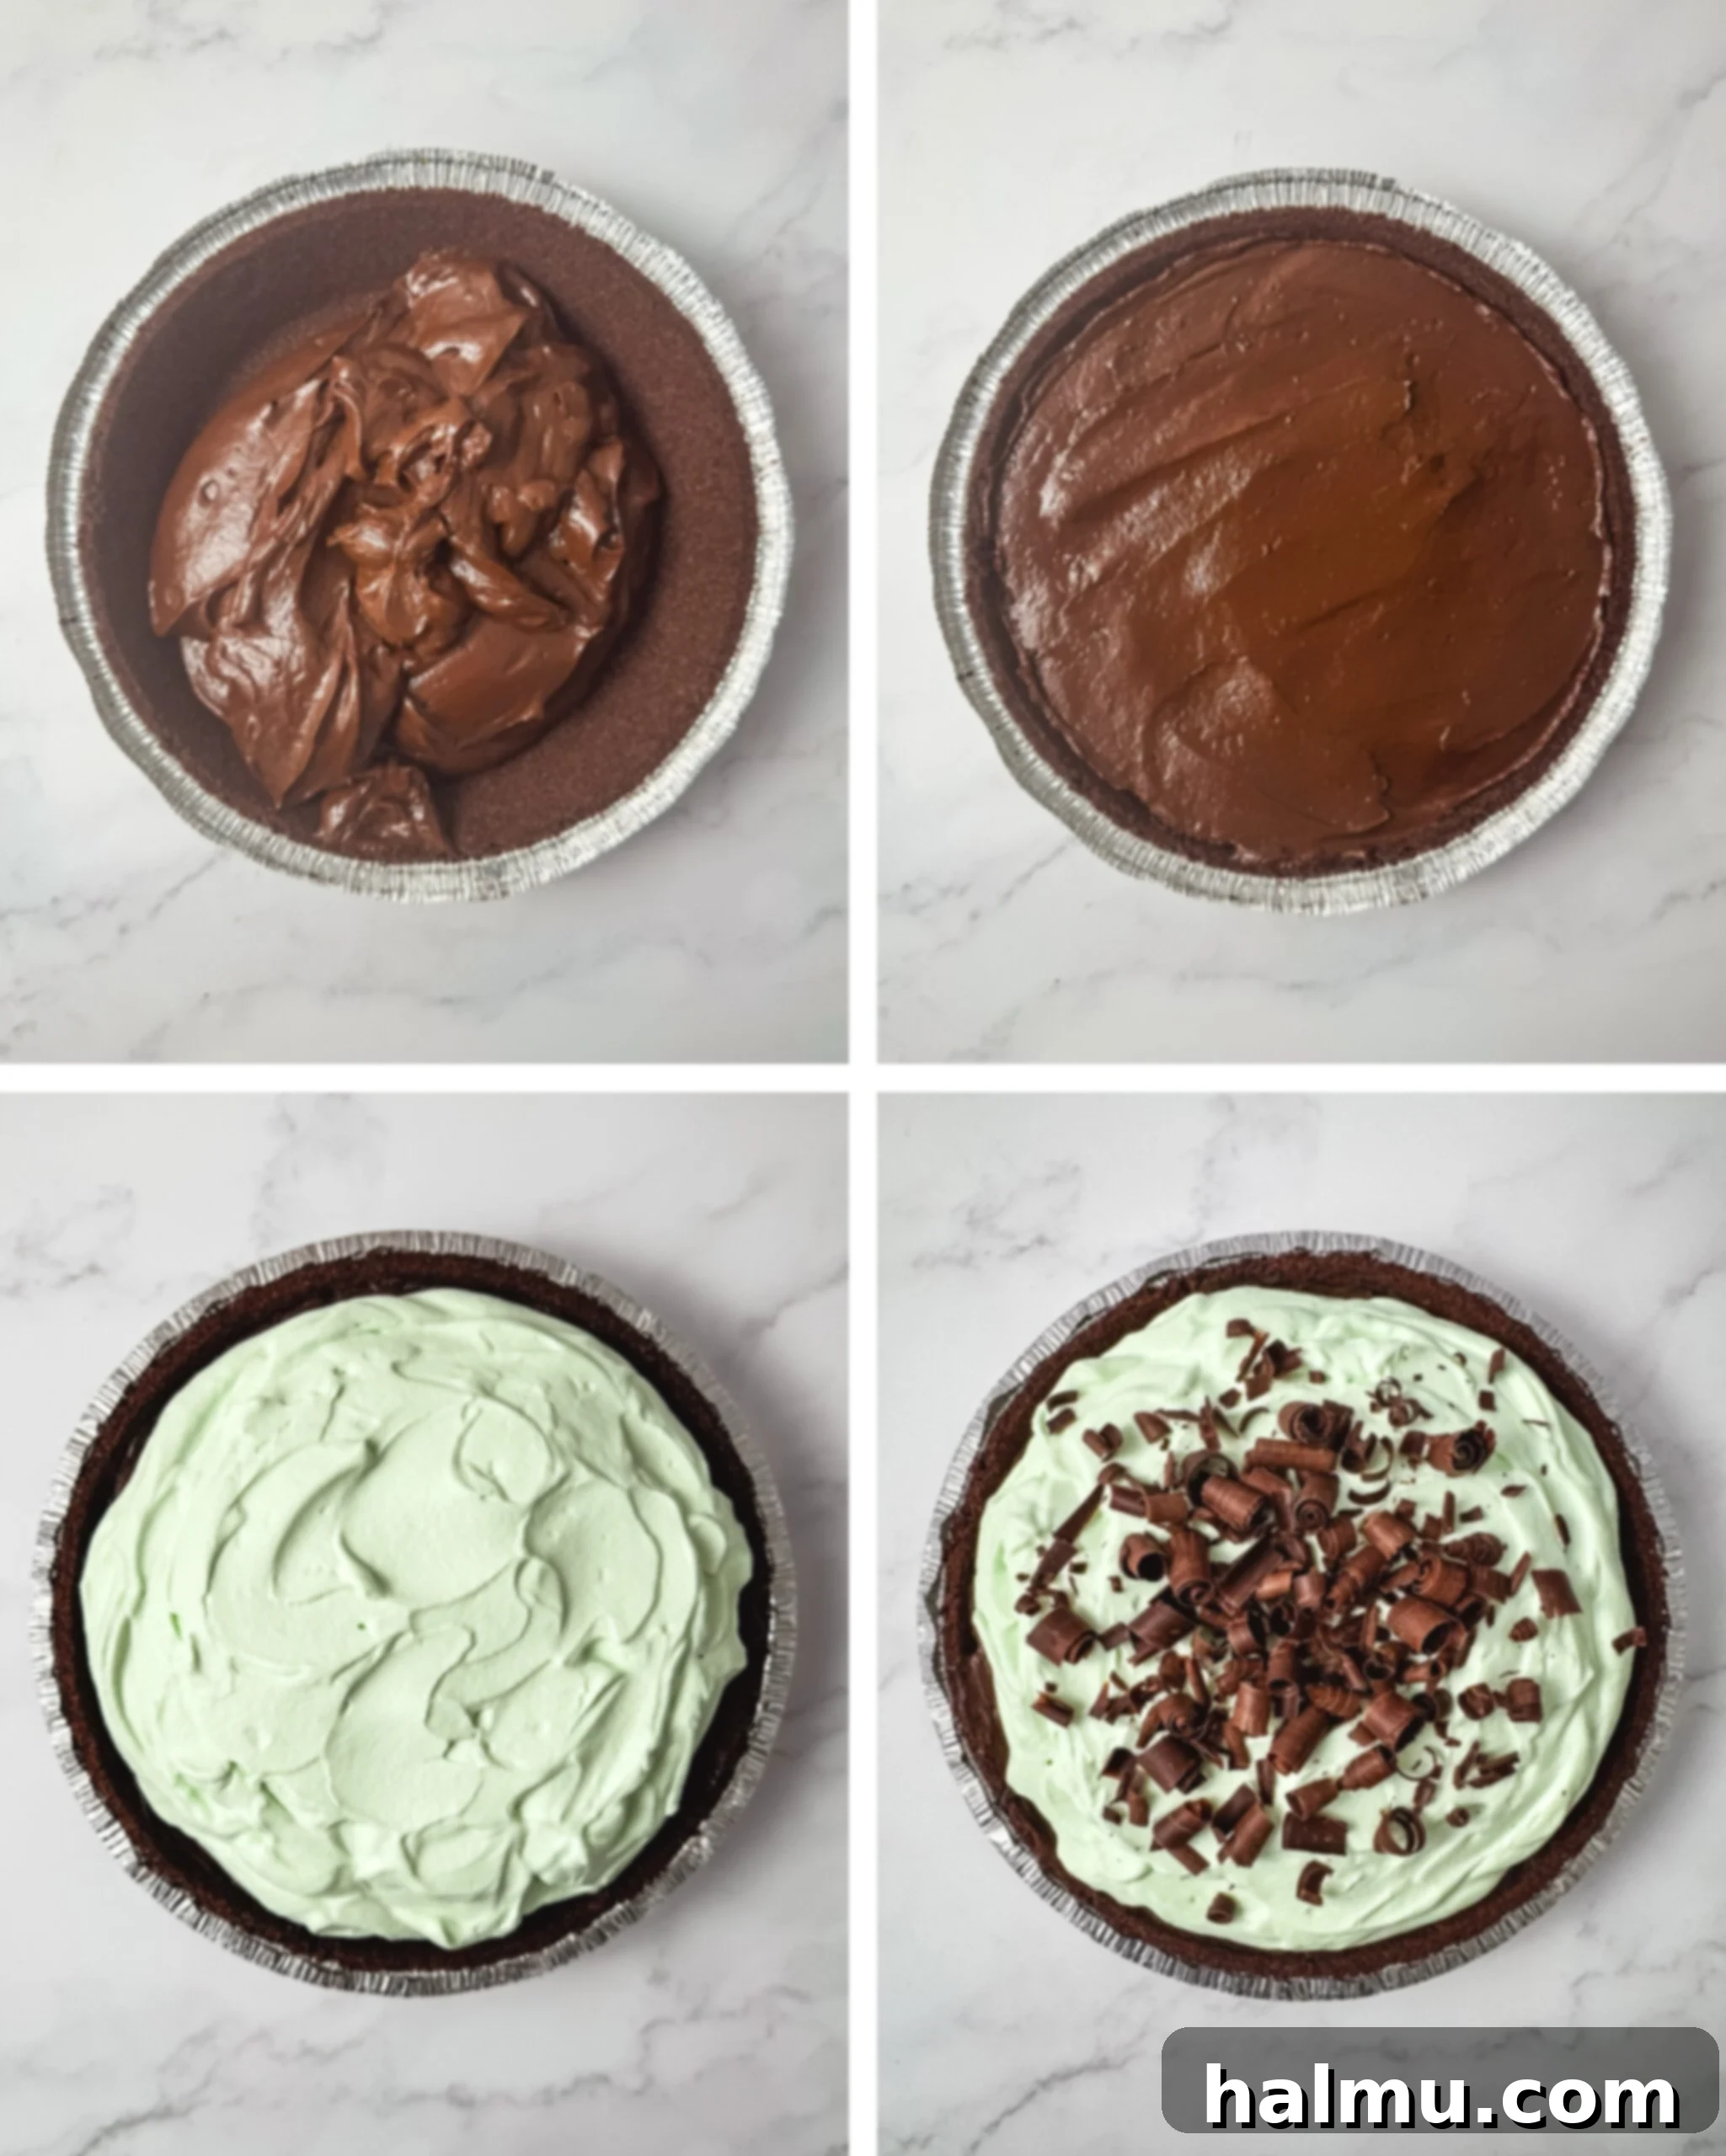
- Filling the Crust to Perfection. Once your chocolate pastry cream is cooked, immediately strain it through a fine-mesh sieve into a clean bowl. This step is vital for achieving the smoothest, most professional-quality custard, catching any tiny bits of cooked egg or undissolved cornstarch. Pour the warm, strained pastry cream directly into a pre-made 9-inch chocolate cookie pie crust. Using a store-bought crust is a fantastic shortcut that saves time without compromising on flavor, but feel free to make your own if you prefer. Gently spread the cream to create an even layer. To prevent a “skin” from forming on top as it cools, press a piece of plastic wrap directly onto the surface of the pastry cream. Refrigerate the pie for at least 2 hours, or ideally overnight, until it is completely chilled and set. This chilling time is essential for the pie’s structure and flavor development.
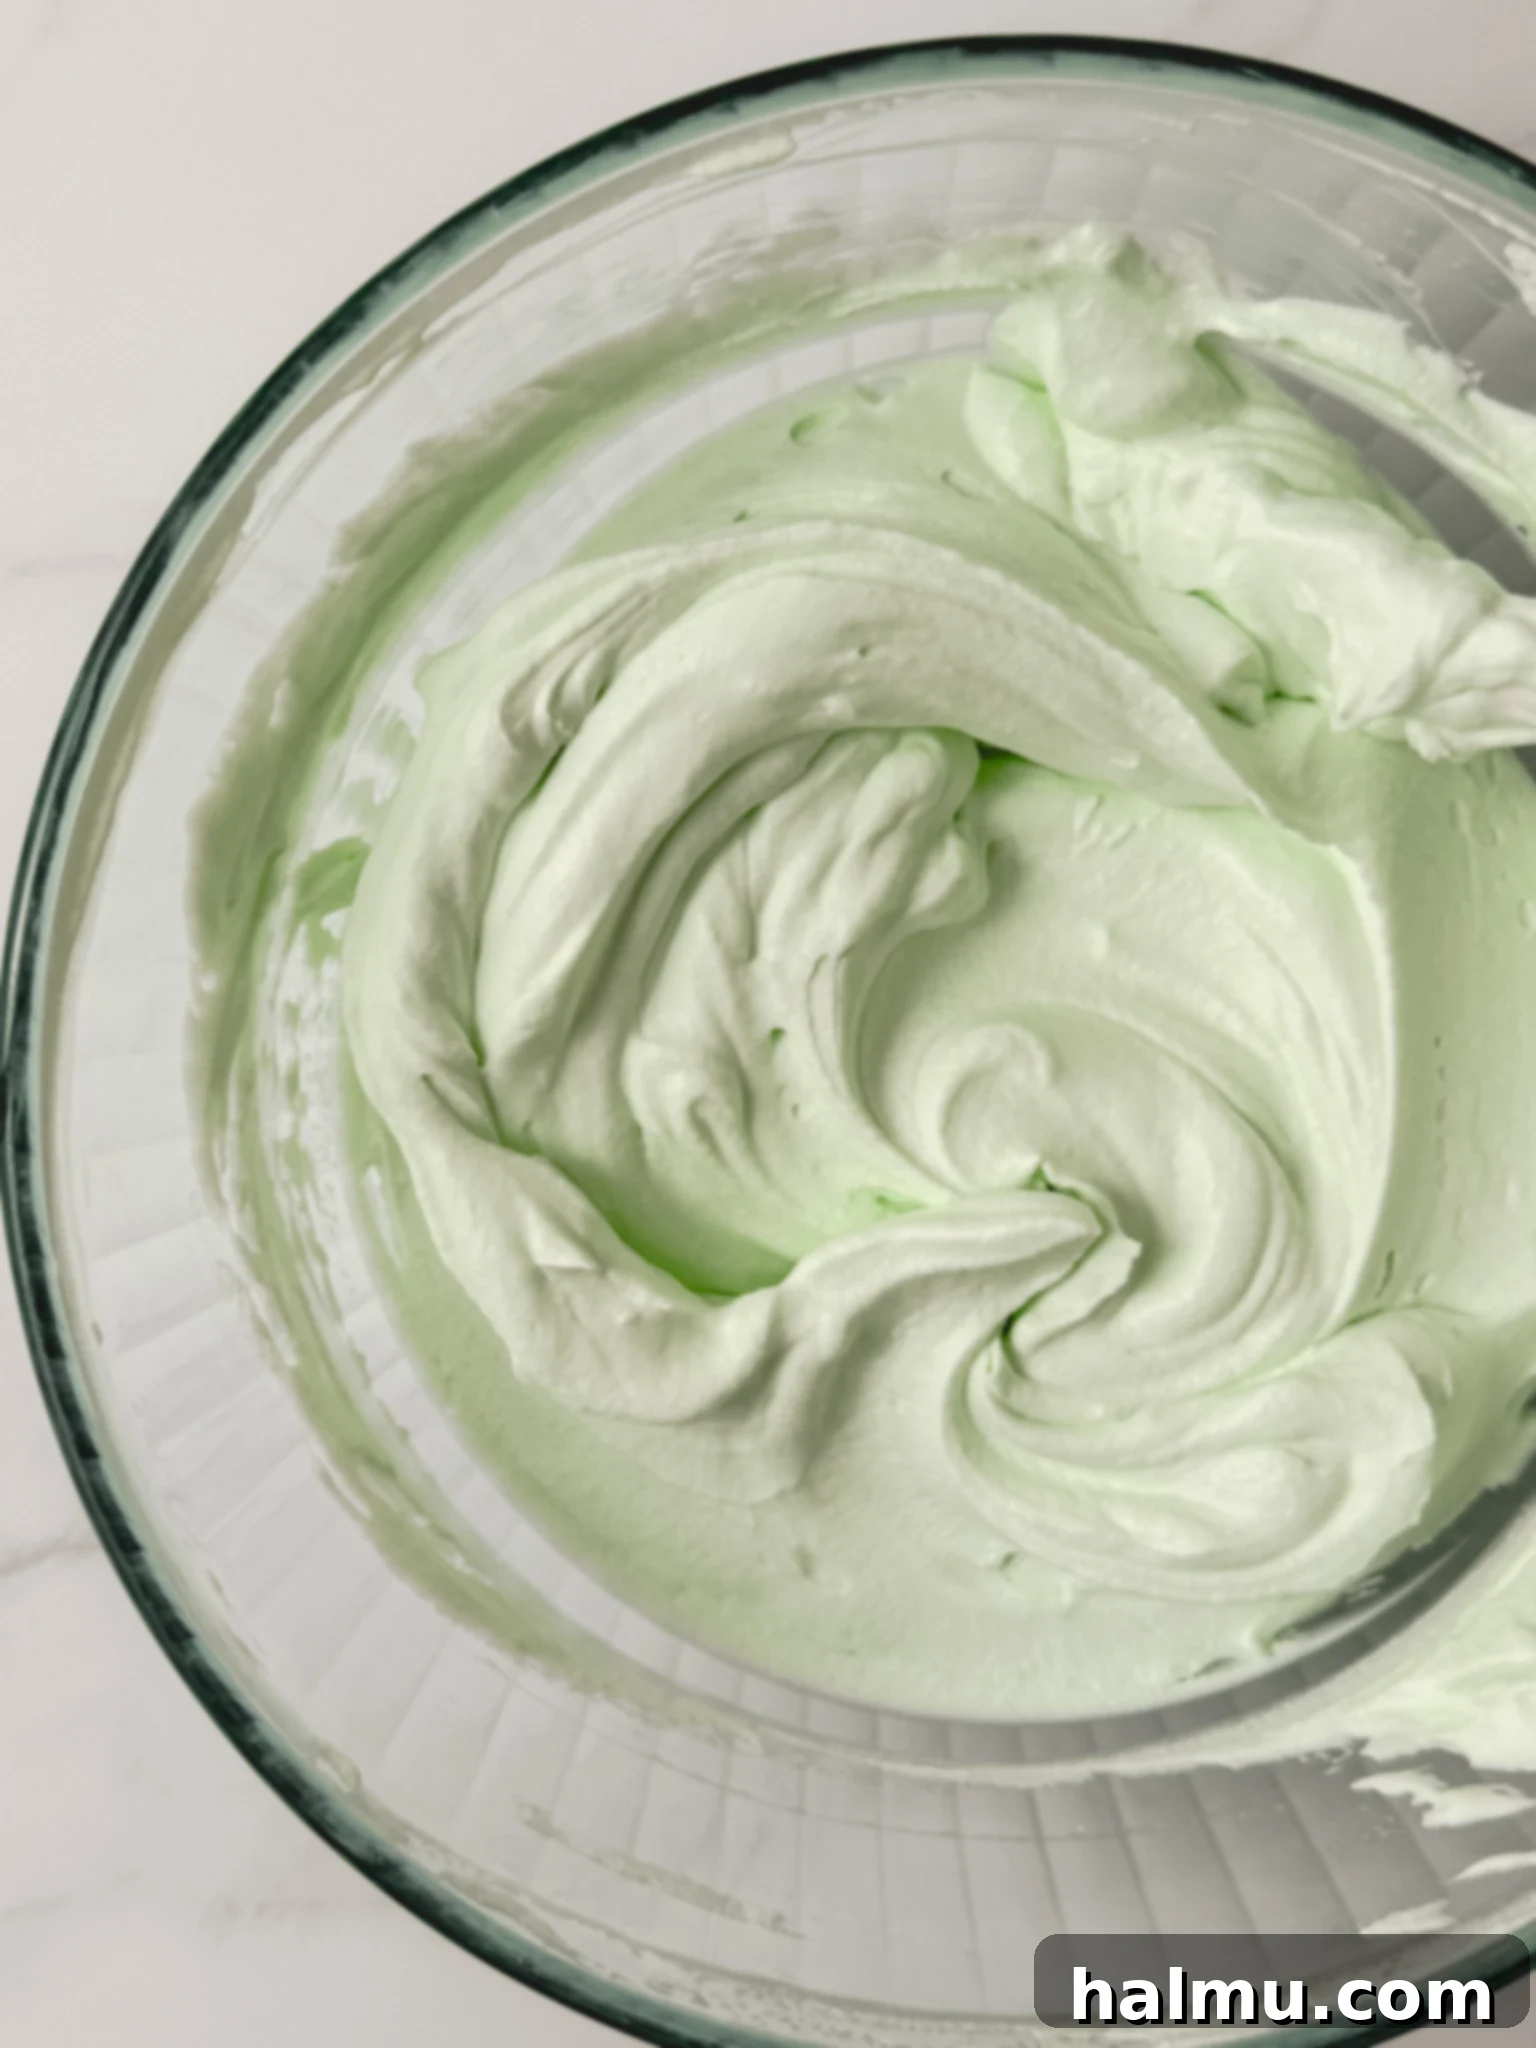
- Whipping Up the Minty Dream. The mint whipped cream should be prepared only after the chocolate pastry cream has fully chilled and set in the pie crust. In the bowl of a stand mixer fitted with a whisk attachment (or using a hand mixer), combine cold heavy cream, powdered sugar, peppermint extract, and a drop of green food coloring (optional, but gives that iconic minty hue). Whip the mixture on medium-high speed until medium peaks form. This means that when you lift the whisk, the cream should hold a distinct shape, but the very tip of the peak will gently curl over. The result should be light, airy, soft, and bursting with fresh peppermint flavor, ready to crown your pie.
- The Grand Finale: Assembling and Garnishing. Once the chocolate pastry cream is thoroughly chilled and the mint whipped cream is perfectly whipped, it’s time to assemble your masterpiece. Generously dollop the fresh mint whipped cream over the top of the chilled pie. For a beautiful presentation, use a small offset spatula or the back of a spoon to spread the whipped cream, creating an elegant wave pattern. Finally, adorn your pie with a generous mound of homemade or store-bought chocolate curls. These delicate chocolate accents add both visual appeal and an extra layer of chocolatey goodness. Serve immediately to enjoy the freshest, fluffiest texture of the whipped cream!
Frequently Asked Questions About Chocolate Mint Cream Pie
Which Type of Chocolate is Best for the Pastry Cream?
For the ultimate flavor balance in your chocolate pastry cream, I highly recommend using dark chocolate with approximately 60% cacao content. This level of cacao provides a rich, deep chocolate flavor that beautifully complements the sweetness of the other components without being overly bitter. You can use a high-quality chocolate bar, finely chopped, or premium callets/chips. While you could opt for darker chocolate if you prefer a more intense, less sweet profile, the 60% cacao is typically ideal for a broad appeal. I advise against using milk chocolate, as its higher sugar content would make the pie excessively sweet and potentially overpower the delicate mint notes.
How Far in Advance Can I Prepare This Pie?
The beauty of this pie is its flexibility for advance preparation! You can prepare the chocolate pastry cream and pour it into the pie shell up to 2 days before you plan to serve. Ensure it’s covered tightly with plastic wrap pressed directly onto the surface of the cream to prevent a skin from forming and to keep it fresh in the refrigerator. However, for the best possible experience, I strongly recommend preparing and adding the mint whipped cream on the same day you intend to serve the pie. Freshly whipped cream is at its peak of fluffiness and stability shortly after it’s made, and it tends to deflate over time, even when refrigerated.
What is the Best Way to Store Leftover Pie?
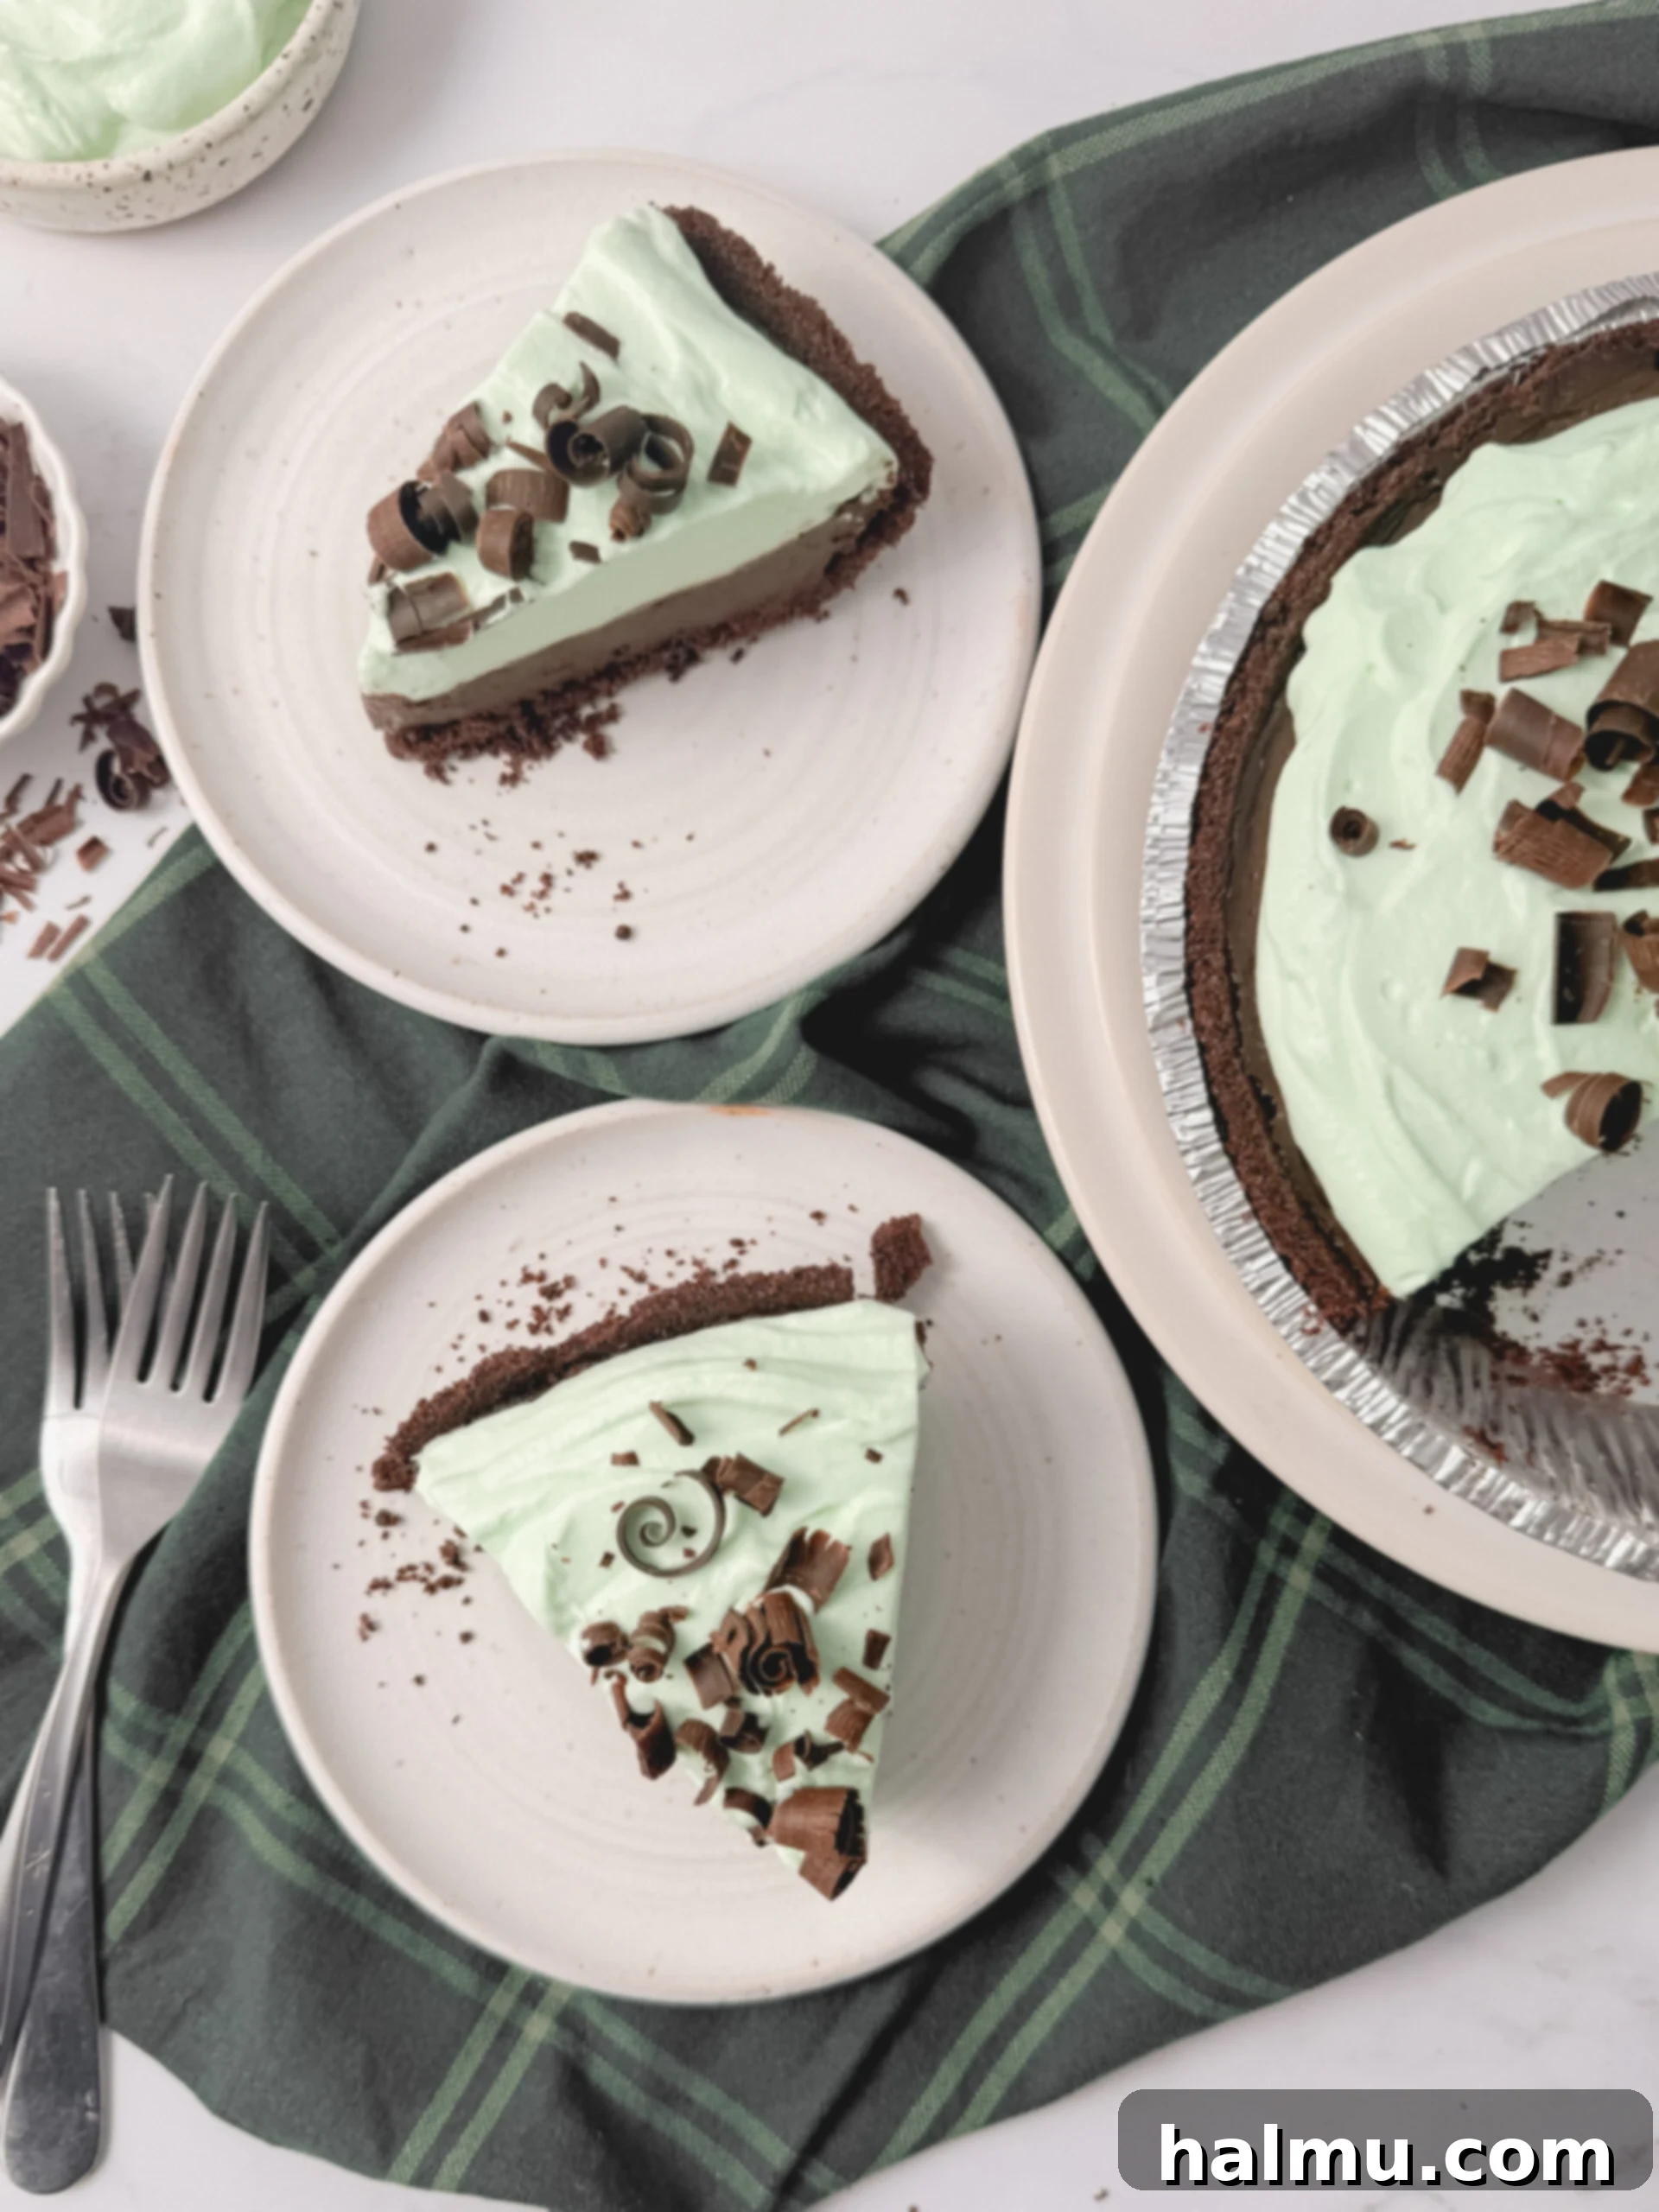
To keep any leftover Chocolate Mint Cream Pie fresh and delicious, store it in the refrigerator. Cover the pie loosely with a piece of plastic wrap or transfer slices to an airtight container. While the pie will remain enjoyable for up to 2 days, keep in mind that the whipped cream’s texture may soften slightly over time. For optimal freshness and to preserve the delicate peaks of your whipped cream, it’s always best to consume the pie as close to the time of assembly as possible.
Crafting Elegant Chocolate Curls for Garnish
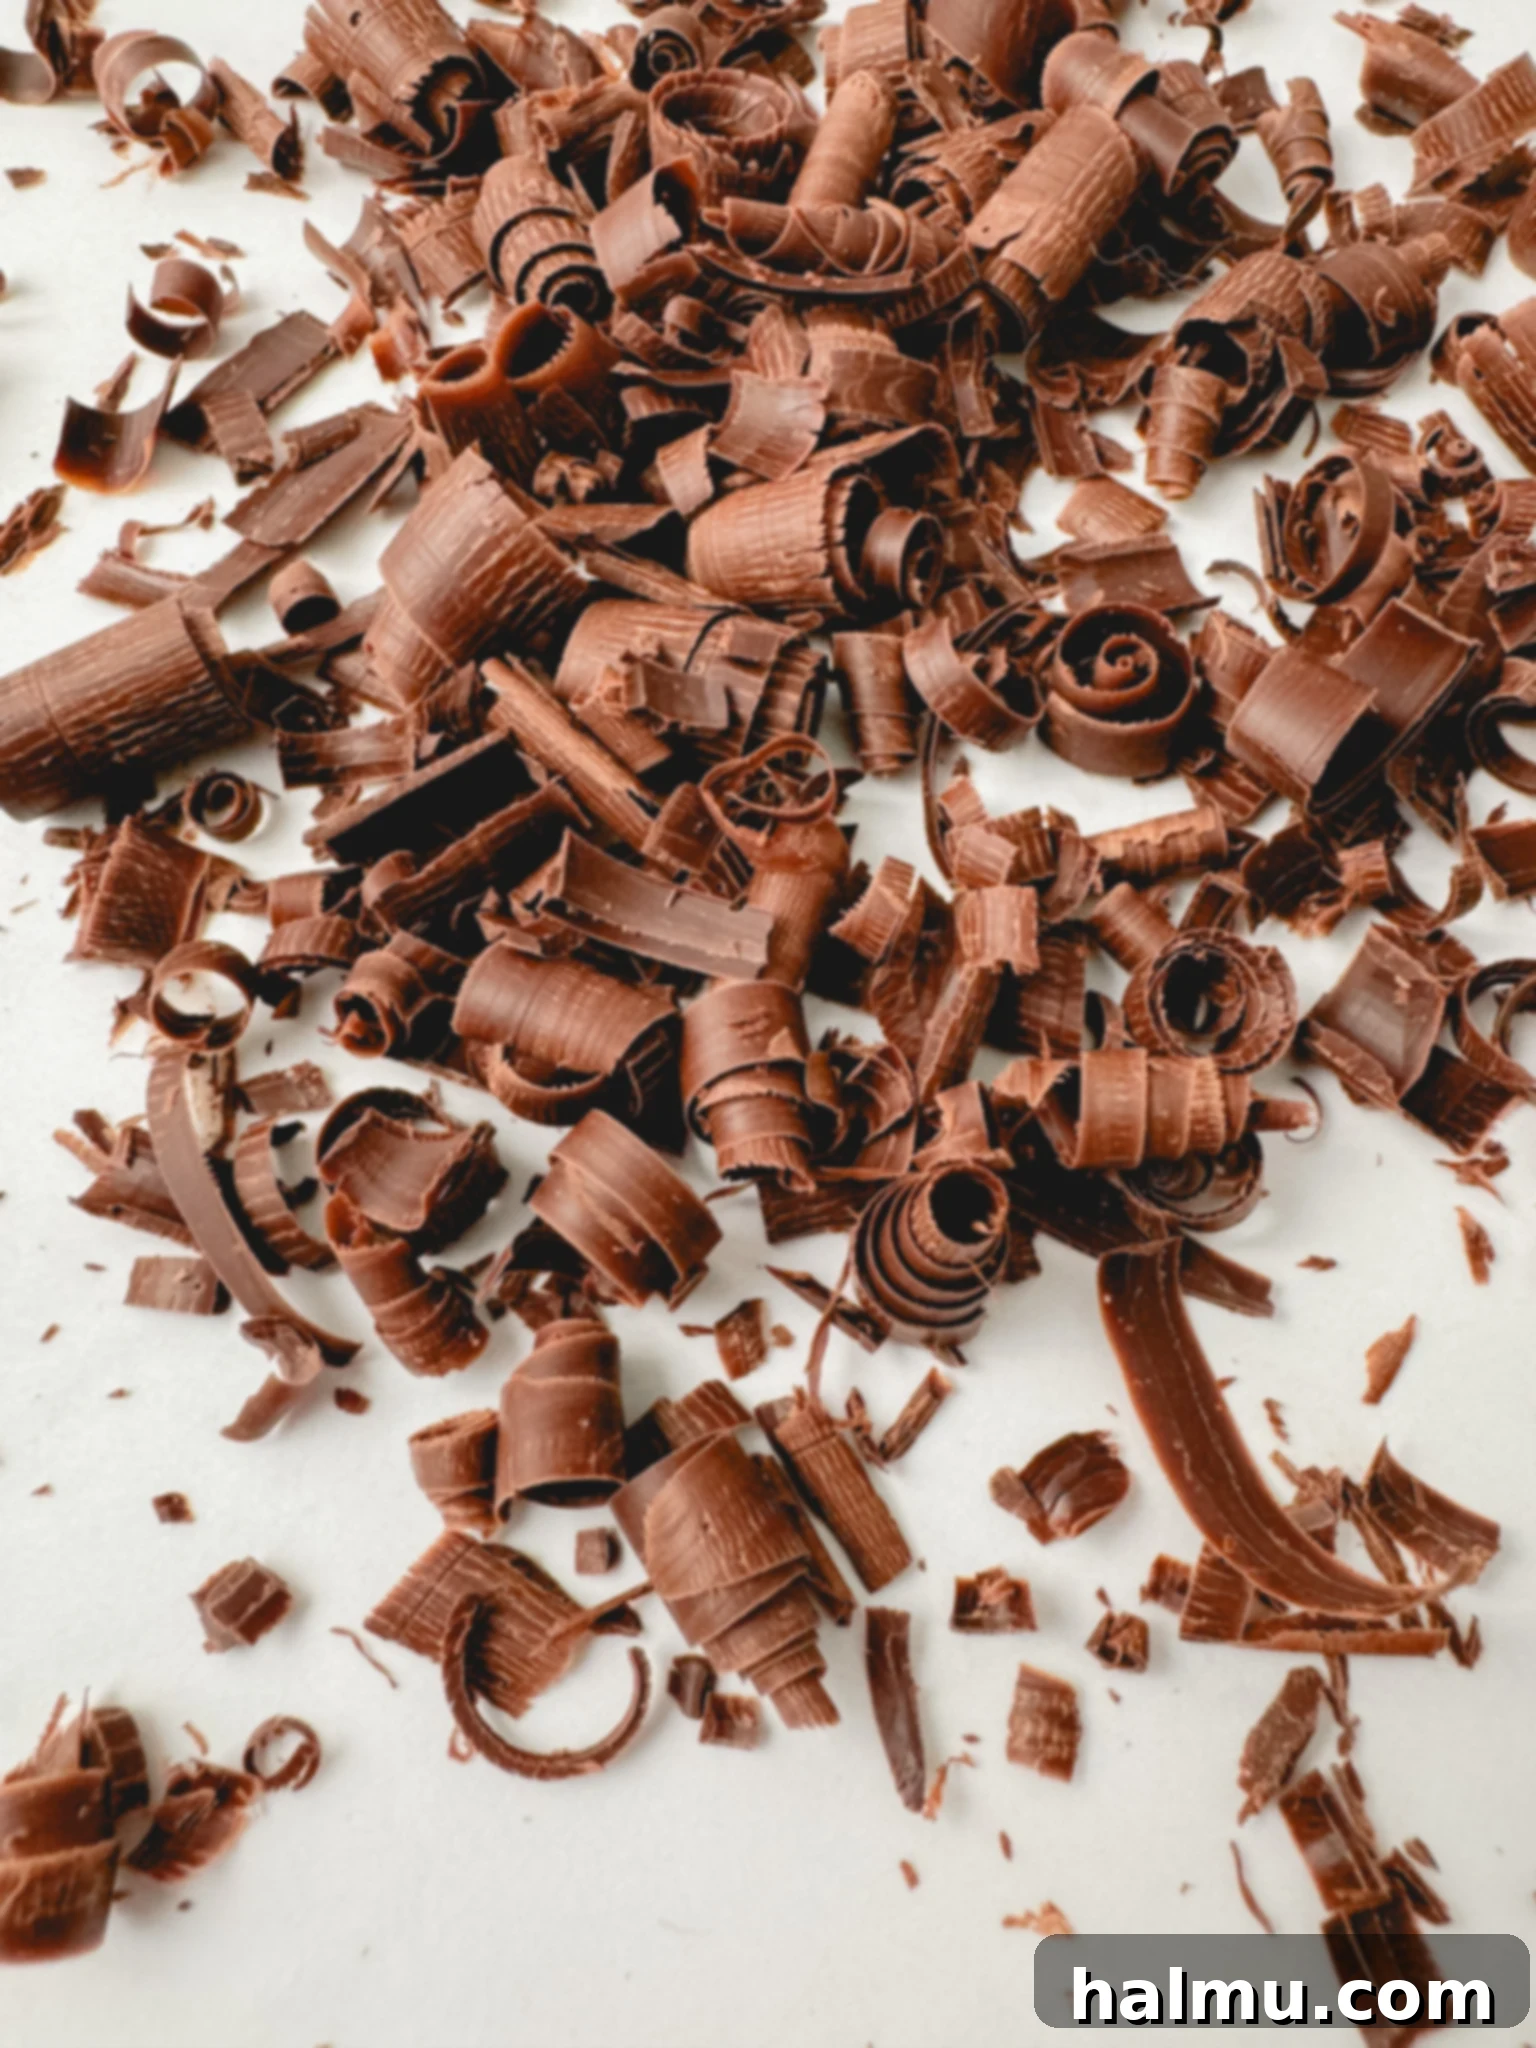
Adding a flourish of chocolate curls elevates the visual appeal of any dessert, and this Chocolate Mint Cream Pie is no exception. While there are several methods for making chocolate curls, my preferred technique results in perfectly formed, beautiful spirals. Start with high-quality dark chocolate and a small amount of coconut oil. Combine them in a microwave-safe bowl and melt in the microwave, stirring every 20 seconds, until the chocolate is smooth and fully melted. The coconut oil adds a subtle sheen and makes the chocolate more pliable for curling.
Next, pour the melted chocolate mixture into a shallow rectangular or square container. The thickness of your chocolate bar will determine the length and curl of your shavings. I aim for a thickness of about ½ inch and use a container that is at least 6 inches long to allow for nice, long curls. Freeze the chocolate until it is firm but not brittle, typically around 10 minutes. Once set, gently remove the chocolate bar from the container. Using a clean vegetable peeler, carefully glide it down one of the longer, ½-inch thick sides of the chocolate bar, applying even pressure. As you peel, delicate curls will form. If the chocolate starts to melt from the warmth of your hand, simply pop it back into the freezer for a few minutes to firm up. Pile these exquisite chocolate curls generously atop your pie, and store any extra curls in an airtight container in the refrigerator for future use.

Pro Tip: Embrace Precision with a Kitchen Scale!
For truly consistent and professional-level baking results, I cannot stress enough the importance of weighing your ingredients with a kitchen scale instead of relying on traditional measuring cups. Volume measurements can vary significantly due to how ingredients are packed, leading to inconsistent outcomes in your recipes. Weighing ensures precise amounts every single time, guaranteeing a higher success rate and a more reliable texture and flavor profile for all your baked goods. As an added bonus, using a scale often means fewer measuring utensils to wash, leading to an easier cleanup! I meticulously provide gram measurements in all my recipes, and this is the trusted scale I use and wholeheartedly recommend.
Essential Tips for the Best Cream Pie Experience
Achieving a truly spectacular cream pie comes down to a few crucial techniques. Heed these tips to ensure your Chocolate Mint Cream Pie is nothing short of perfection.
- Always Strain Your Pastry Cream. For an unparalleled smooth and silky chocolate pastry cream, straining the mixture through a fine-mesh sieve immediately after it comes off the heat is non-negotiable. This critical step captures any minuscule bits of egg that might have inadvertently curdled during cooking, or any undissolved dry ingredients, ensuring a luxuriously uniform texture that defines a professional-quality custard. Don’t skip it for the silkiest results!
- Patience is Key: Cook Low and Slow. When preparing any custard or pastry cream on the stovetop, remember that gentle heat is your best friend. Cooking over low heat and allowing the mixture to gradually come to temperature requires a bit more patience, but it’s crucial. Applying too much heat too quickly can cause the eggs to curdle, resulting in a grainy texture, or even burn the milk at the bottom of the pan. Continuous, gentle stirring throughout the cooking process is also vital. This constant motion prevents hot spots from forming and helps distribute the heat evenly, minimizing the risk of cooked egg bits or scorching.
- Savor Freshness: Enjoy Immediately. While the pastry cream component of this pie can be made in advance, the mint whipped cream is best when enjoyed fresh. Freshly whipped cream is at its peak of volume, lightness, and texture shortly after it’s made. Even when carefully stored in the refrigerator, whipped cream tends to lose some of its airiness and may begin to deflate over time, compromising its fluffy consistency. For the most delightful and ethereal experience, I highly recommend serving this pie on the same day you add the whipped cream. Fresh is unequivocally best for this exquisite dessert!

Discover More Decadent Chocolate Recipes You’ll Love
If your heart beats for chocolate, you’re in the right place! Explore these other sensational chocolate creations from my kitchen:
- Irresistible Chocolate Custard Brioche Donuts
- Luxurious Baileys Irish Cream Cheesecake Brownies
- Comforting Chocolate Pudding Cake
- Velvety Chocolate Cupcakes with Cream Cheese Frosting
- Rich Chocolate Espresso Truffles
I genuinely hope you adore this Chocolate Mint Cream Pie as much as I do. If you try this recipe and fall in love with its flavors, please do me a favor and leave a comment below sharing your experience. Happy baking, and enjoy every minty, chocolatey bite!
Chocolate Mint Cream Pie
Print Recipe
RATE THIS RECIPE
Ingredients
For the Chocolate Pastry Cream
- 4 large egg yolks
- 1½ cups (360mL) whole milk
- ½ teaspoon vanilla extract
- ⅓ cup (68g) granulated sugar
- ¼ cup (24g) unsweetened cocoa powder
- 2 Tablespoons (20g) cornstarch
- pinch of salt
- 4 ounces dark chocolate*, chopped
- 2 Tablespoons (28g) unsalted butter, cut into small cubes
For the Mint Whipped Cream
- 1½ cups (360mL) heavy cream
- ½ cup (60g) powdered sugar
- ½ teaspoon peppermint extract
- ¼ teaspoon vanilla extract
- 1 drop leaf green gel food coloring, optional
For the Pie
- 1 (9”) chocolate cookie pie crust
- Chocolate curls or shavings, optional, for garnish
SHOP INGREDIENTS
Instructions
- Prepare Chocolate Pastry Cream: In a small bowl, whisk together the egg yolks, milk, and vanilla extract until well combined. In a medium saucepan, sift together the granulated sugar, unsweetened cocoa powder, cornstarch, and salt to remove any lumps. Slowly stream the egg-milk mixture into the dry ingredients in the saucepan while continuously whisking to ensure a smooth, lump-free base.
- Place the saucepan over low heat and cook the mixture, whisking continuously, until it visibly thickens and begins to gently bubble. This process typically takes about 10 minutes. Once thickened, remove the saucepan from the heat and immediately stir in the chopped dark chocolate and cubed unsalted butter until both are completely melted and smoothly incorporated into the cream.
- Strain the warm chocolate pastry cream through a fine-mesh sieve into your 9-inch chocolate cookie pie crust. This ensures an exceptionally smooth and silky texture. Using a spatula, gently smooth the top of the pastry cream to create an even layer. Press a piece of plastic wrap directly onto the surface of the pastry cream to prevent a skin from forming as it cools. Refrigerate the pie until it is completely chilled and set, for at least 2 hours or preferably overnight.
- Prepare Mint Whipped Cream: Once the chocolate pie filling has fully chilled and set, it’s time to make the mint whipped cream. In the bowl of a stand mixer (or using a hand mixer) fitted with a whisk attachment, combine the cold heavy cream, powdered sugar, peppermint extract, and optionally, a single drop of leaf green gel food coloring for that characteristic minty hue. Whip the mixture on medium-high speed until medium peaks form. The peaks should hold their shape when the whisk is lifted but have a slight, soft curl at the very tip.
- Generously top the thoroughly chilled pie with the freshly prepared mint whipped cream. For an elegant finish, create a decorative wave pattern with a small spatula or the back of a spoon. Finally, garnish your stunning pie with a scattering of chocolate curls or shavings. Serve immediately and enjoy!
Notes

HI THERE!
I’m Rachel
I’m the dessert lover, recipe developer, and content creator behind Sweet Kitchen Cravings. Here you’ll find classic yet special recipes that are sure to impress your loved ones!
MORE ABOUT RACHEL
