This post may contain affiliate links. Please read my full disclosure policy.

Irresistibly Creamy No-Bake Chocolate Peanut Butter Pie Recipe
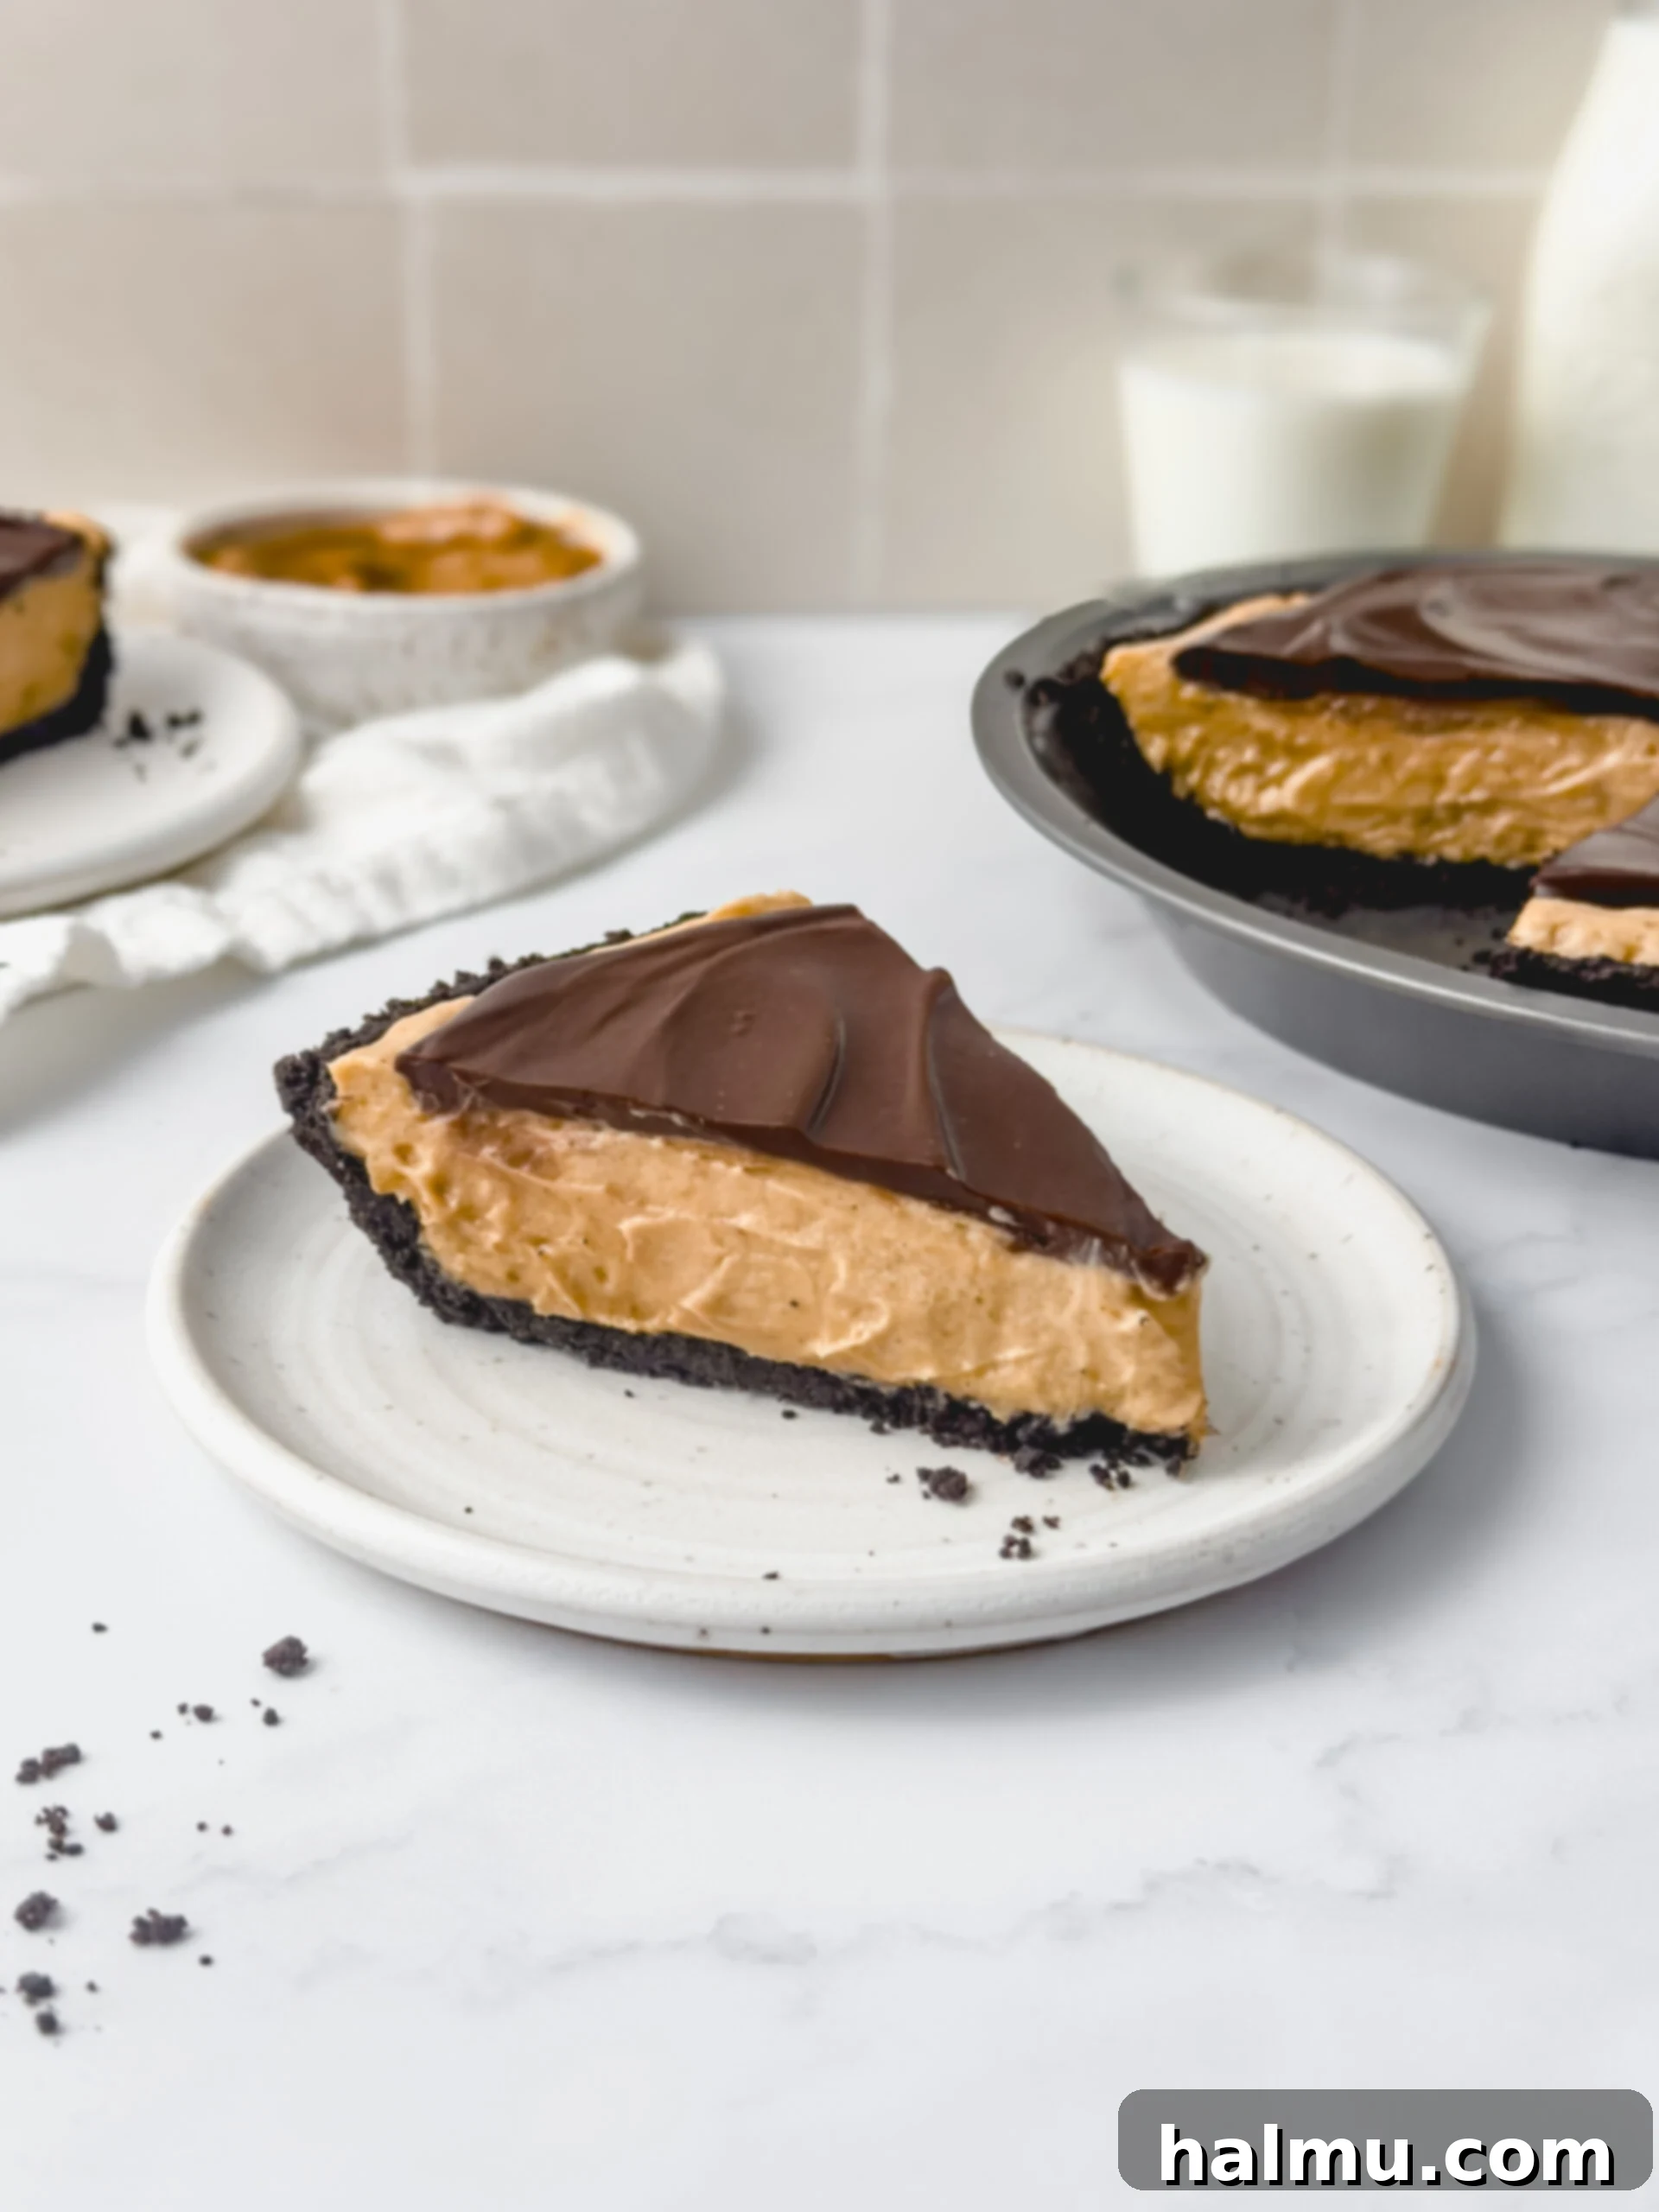
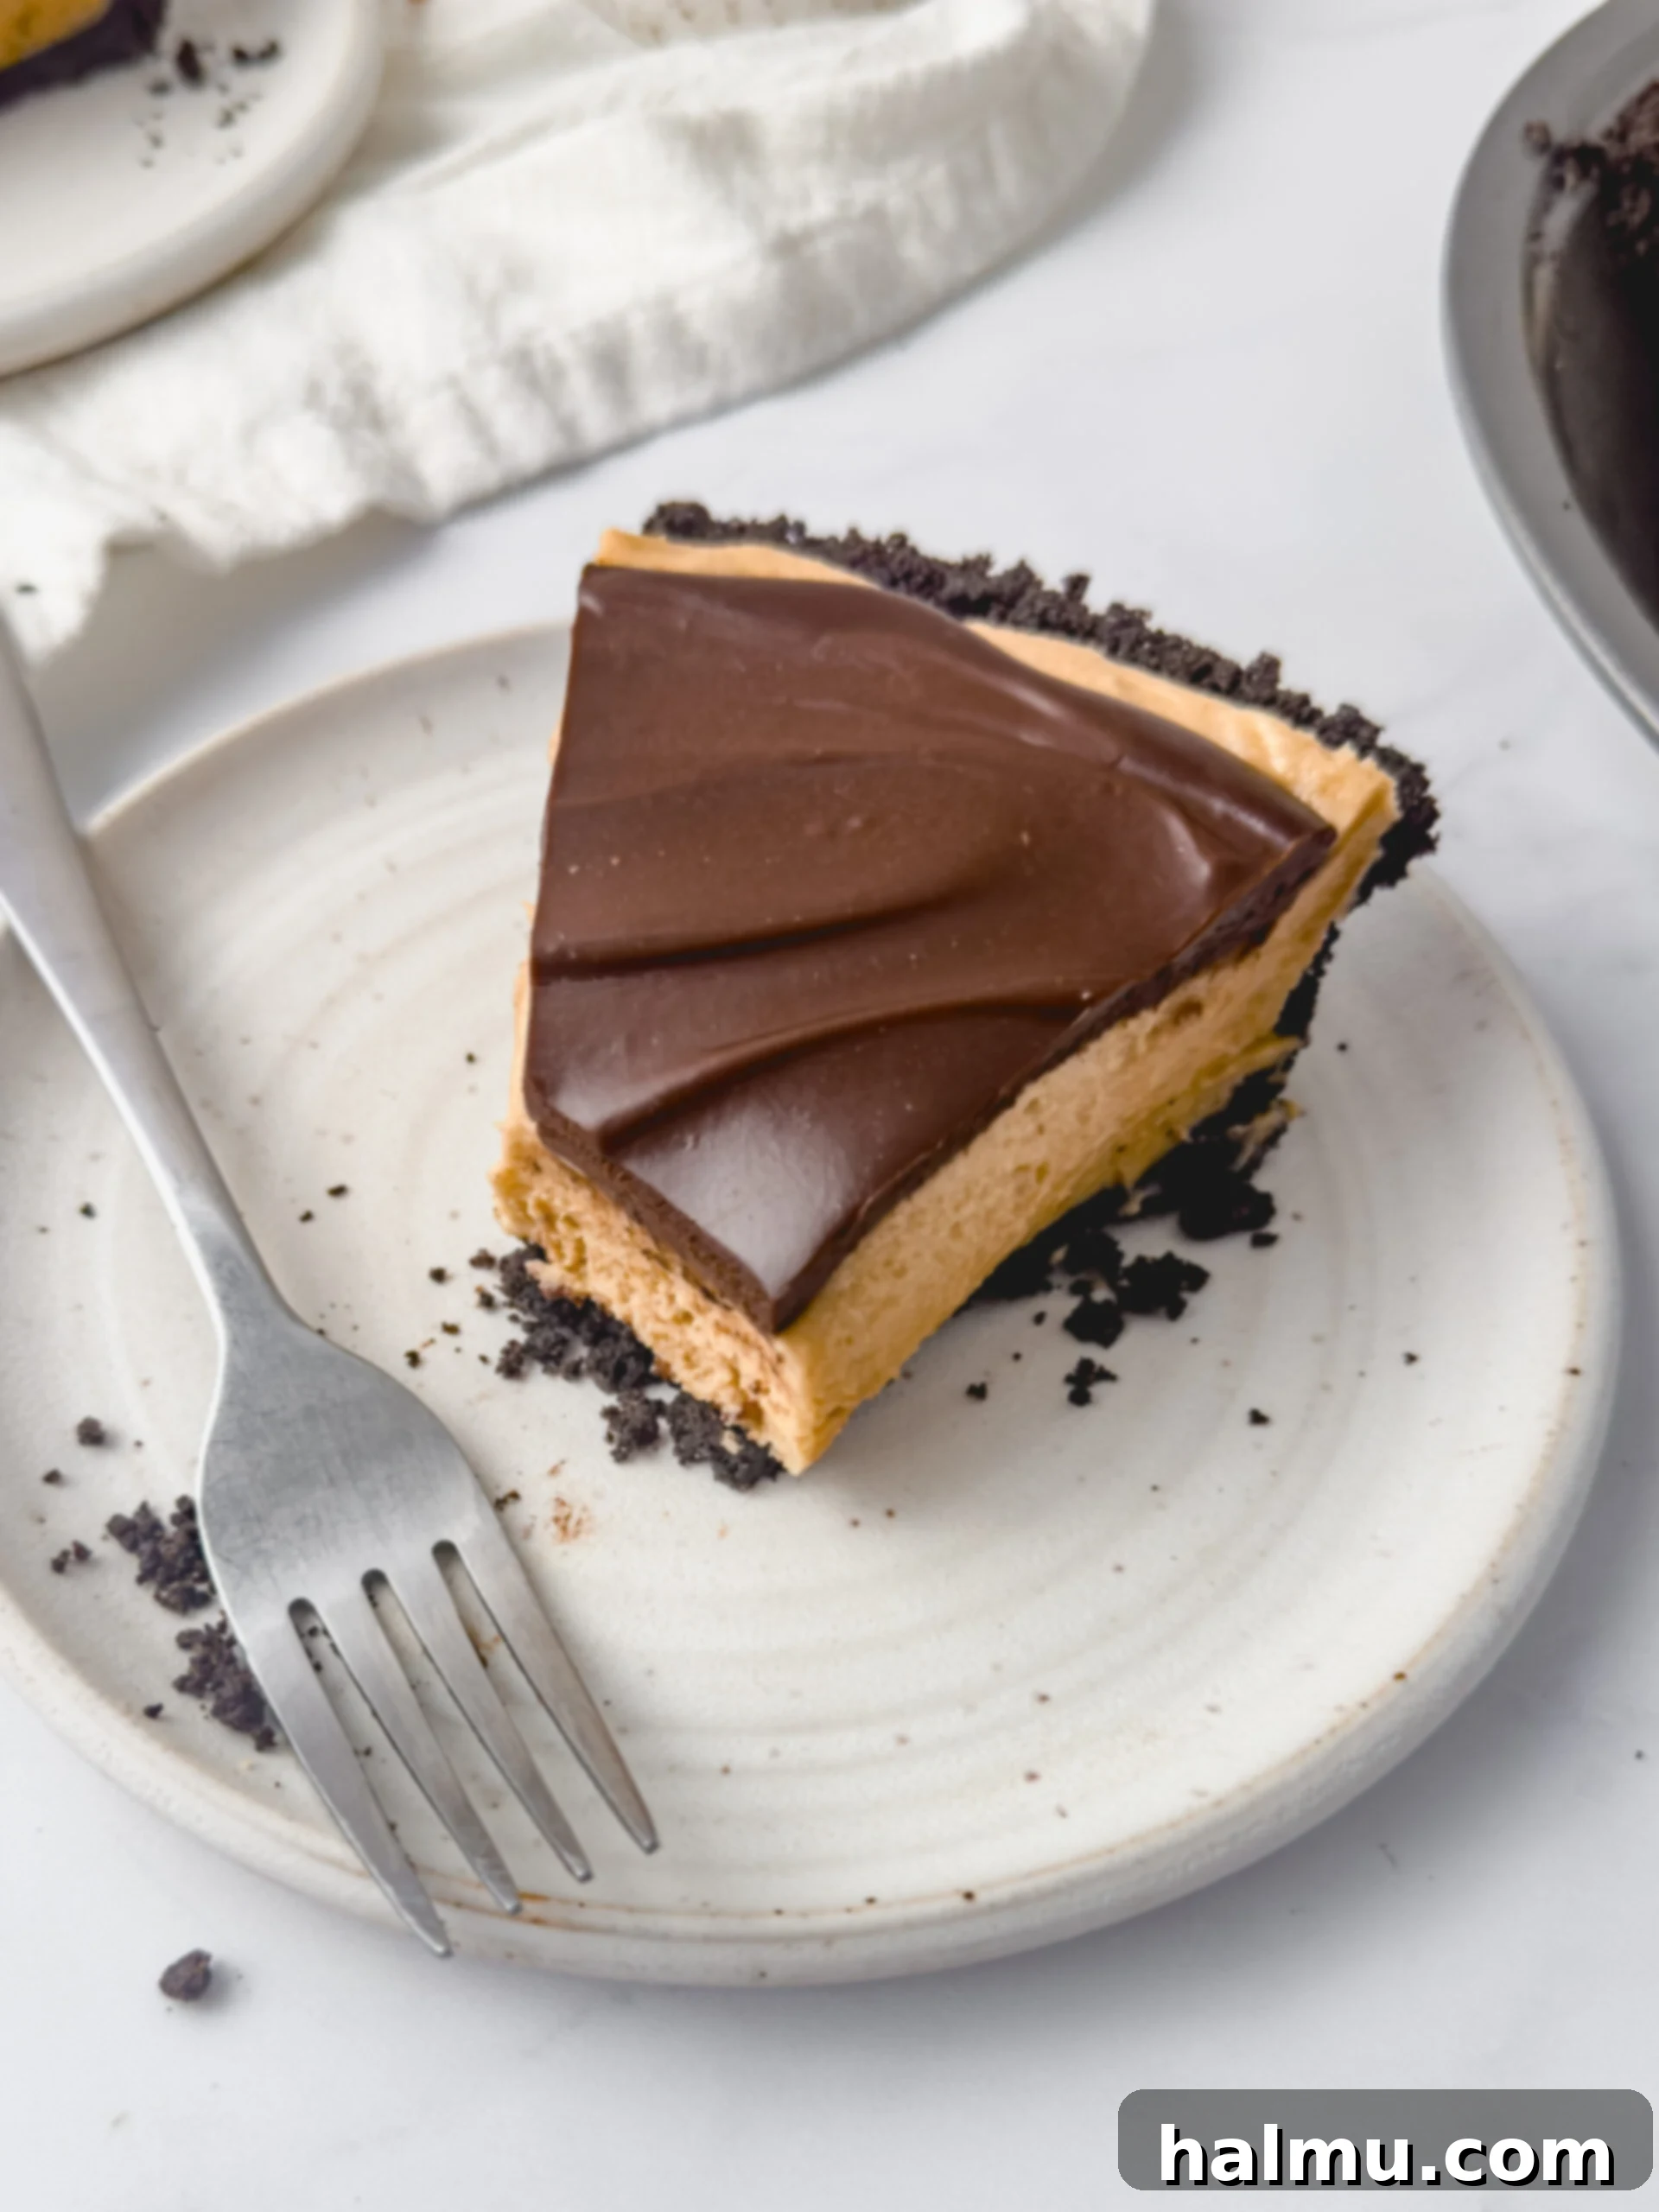
Indulge in the ultimate dessert experience with this unbelievably creamy and rich Chocolate Peanut Butter Pie. It’s a symphony of flavors and textures, combining a buttery Oreo cookie crust with a light, fluffy peanut butter mascarpone mousse, all crowned with a luscious layer of silky chocolate ganache. This recipe offers the perfect balance of sweet and salty, making it an absolute dream for any peanut butter and chocolate enthusiast. While the crust requires a quick bake, the rest of this pie is a simple no-bake marvel, designed for effortless preparation and maximum enjoyment. It’s a guaranteed crowd-pleaser that will quickly become a cherished favorite for family gatherings, special occasions, or simply a delightful weeknight treat.
Imagine sinking your fork into a dessert that’s both elegant and comforting. The crisp, chocolatey base provides the perfect counterpoint to the airy, melt-in-your-mouth peanut butter filling, while the smooth, rich ganache adds a decadent finish. I recently made this pie for my Dad on Father’s Day, and it instantly shot to the top of his favorite desserts list – and mine too! This pie is more than just a dessert; it’s a celebration of classic flavors, brought together in a way that’s both sophisticated and incredibly easy to achieve. Get ready to impress your loved ones with this show-stopping Chocolate Peanut Butter Pie that tastes like it came straight from a gourmet bakery.
Crafting Your Decadent Chocolate Peanut Butter Pie: A Step-by-Step Guide
Creating this magnificent Chocolate Peanut Butter Pie is simpler than you might think. This guide walks you through each stage, ensuring a perfect result every time. From the crunchy base to the creamy filling and the glossy topping, every layer contributes to an unforgettable dessert. Follow these detailed steps to assemble your own masterpiece, suitable for any occasion.
Step 1: Prepare the Perfect Oreo Crust
The foundation of our extraordinary pie begins with a simple yet incredibly flavorful Oreo cookie crust. This base requires just two ingredients and minimal effort, setting the stage for the rich layers to come. To start, you’ll need about 20 Oreo cookies, which form the heart of this crunchy crust. Using a food processor is the most efficient way to transform these cookies into fine, uniform crumbs. Pulse them until they resemble coarse sand, ensuring no large chunks remain. This fine texture is crucial for a cohesive and evenly pressed crust.
Next, gently melt 3 tablespoons (42g) of unsalted butter. Once melted, pour the butter directly into the food processor with the Oreo crumbs. Pulse again until the butter is fully incorporated, and the mixture takes on a moist, sand-like consistency that holds together when pressed. This buttery mixture is then firmly pressed into the bottom and up the sides of a 9-inch pie pan. Achieving an even layer is key here; use the bottom of a glass or your fingers to press down firmly, especially along the edges. A brief 8-minute bake at 350°F (175°C) is all it takes to set the crust and give it a delightful crispness, preventing it from becoming soggy later. Once baked, set the crust aside to cool completely before proceeding to the next layer.
Step 2: Create the Luscious Peanut Butter Mousse Filling
The heart of this pie is its incredibly light and airy peanut butter mascarpone mousse. This creamy filling strikes the perfect balance between rich peanut butter flavor and a delightful whipped texture. Begin by combining 8 ounces (226g) of cold mascarpone cheese with 1 cup (250g) of creamy conventional peanut butter (such as Skippy or Jif) in the bowl of a stand mixer fitted with a whisk attachment. Mix these two ingredients on low speed just until they are thoroughly combined, being careful not to overmix at this stage.
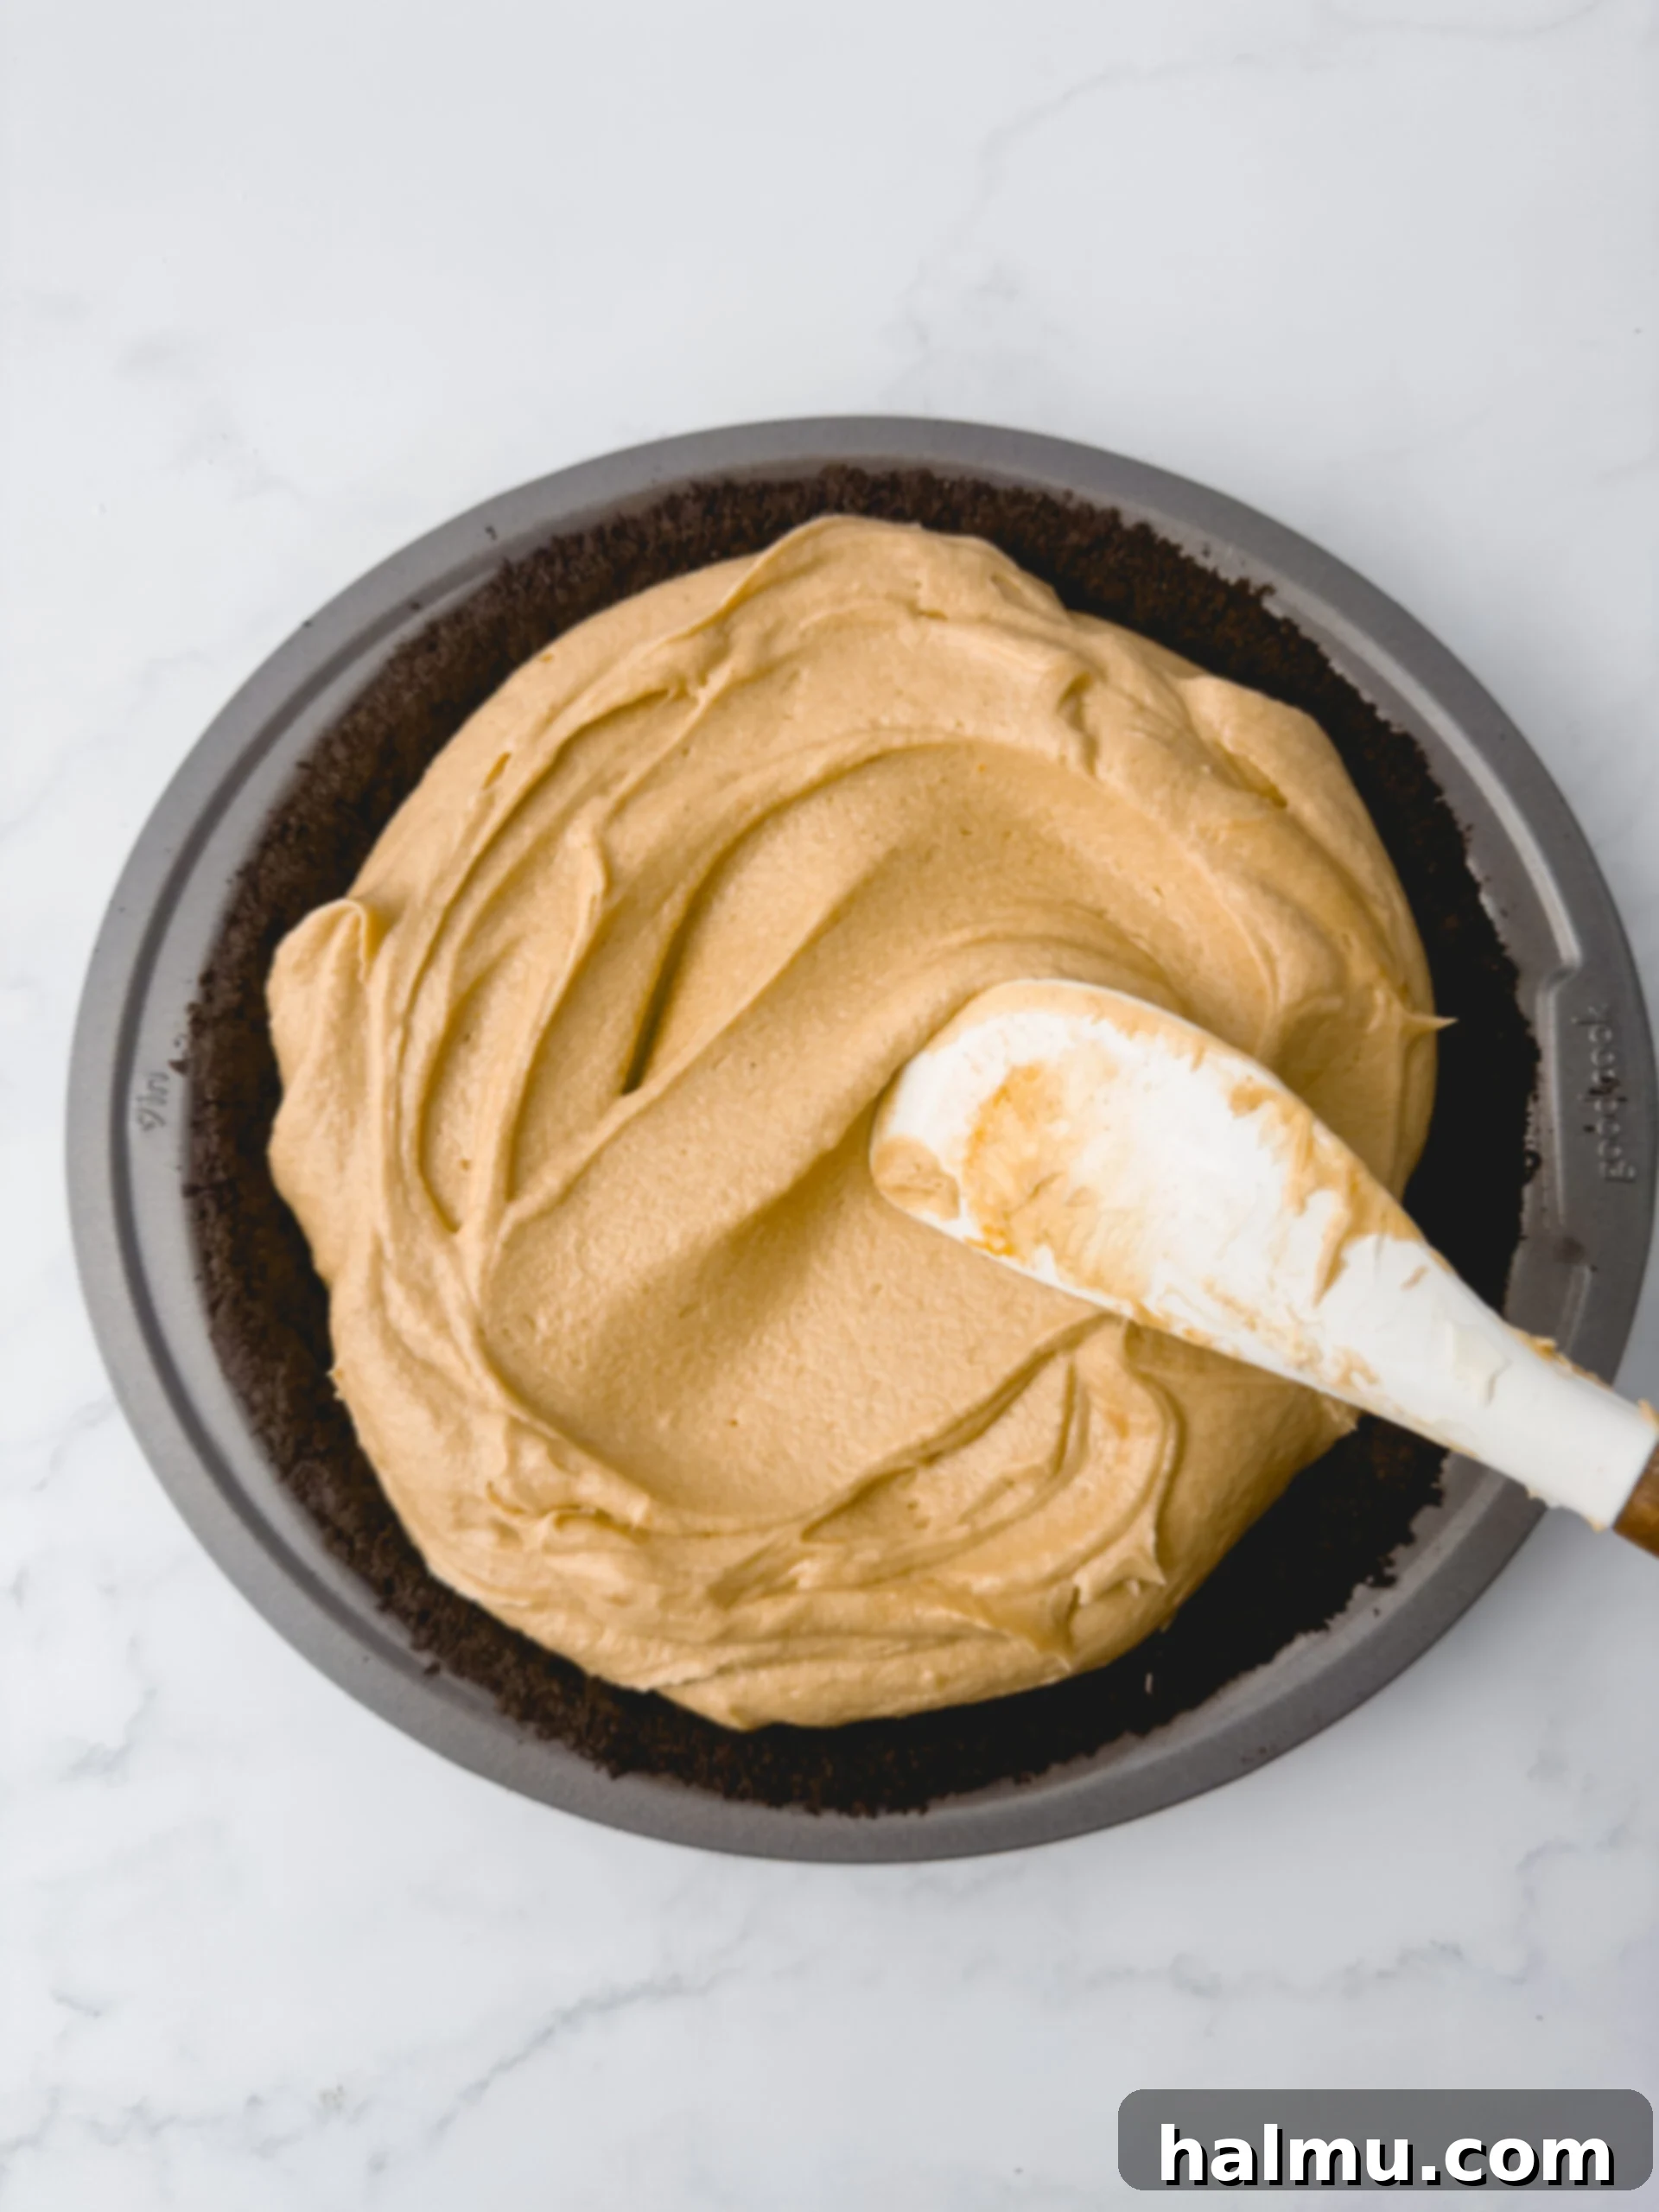
Next, gradually add 1 cup (120g) of powdered sugar and 1 teaspoon of vanilla extract. Continue mixing until these new additions are fully incorporated into the peanut butter-mascarpone base. At this point, it’s wise to scrape down the sides and bottom of the bowl with a rubber spatula to ensure everything is evenly mixed. Now, the magic happens with the addition of heavy cream. With the mixer running at medium speed, slowly stream in 1 cup (240mL) of cold heavy cream. The cold temperature of the cream is essential for proper whipping and achieving maximum volume. Once all the cream has been added, increase the mixer speed to high and whip the mixture until it thickens into a luxurious, mousse-like consistency and forms stiff peaks. Remember, stop mixing as soon as stiff peaks form to prevent the mascarpone from curdling and keep the mousse perfectly light and airy. Pour this irresistible filling into your cooled Oreo crust and gently spread it to the edges, smoothing the top with an offset spatula. Place the pie in the refrigerator to chill for at least 15 minutes while you prepare the ganache.

Step 3: Prepare the Silky Chocolate Ganache Topping
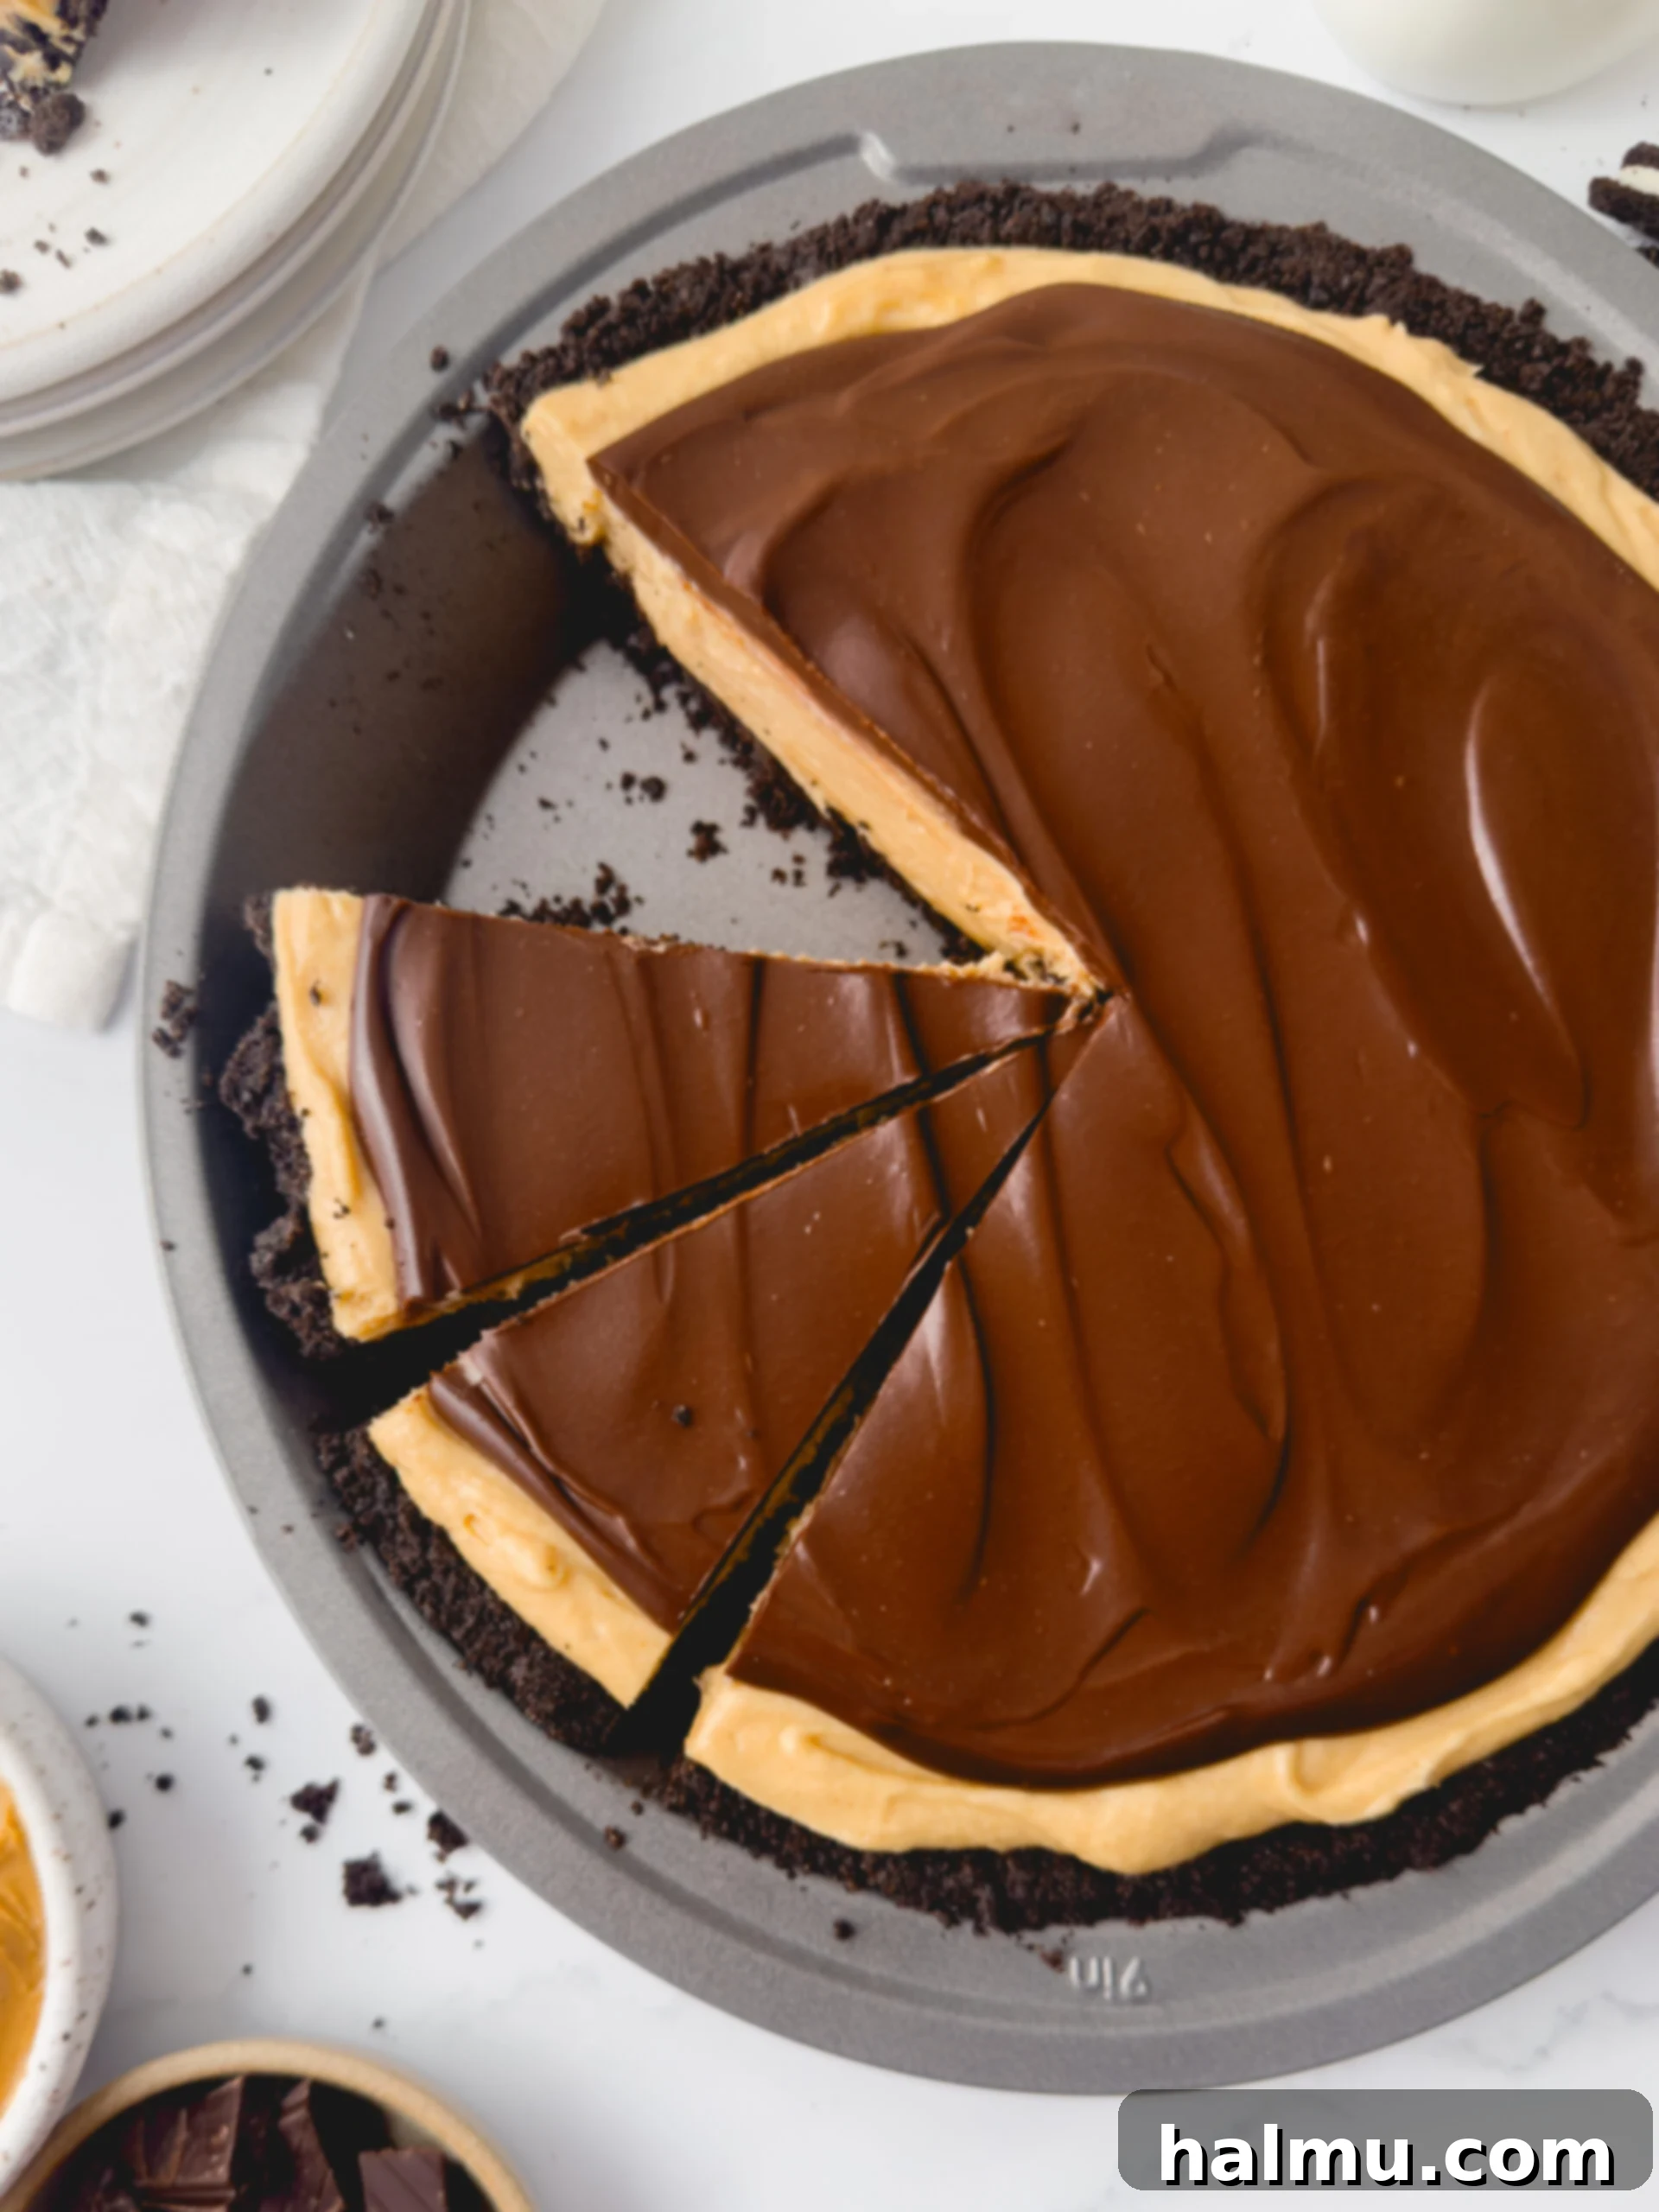
The final layer that elevates this pie to pure perfection is the silky chocolate ganache. This glossy topping provides a beautiful visual contrast and a rich chocolatey flavor that complements the peanut butter beautifully. To make it, combine 4 ounces of finely chopped semi-sweet chocolate with ½ cup (120mL) of heavy cream in a heatproof dish. The key to a perfect ganache is gentle heating and patience.
Microwave the mixture in short 20-second increments, stirring thoroughly after each interval. It’s crucial not to overheat the chocolate; the residual heat from the cream will help melt the chocolate completely. Continue this process until the mixture is entirely smooth, shiny, and free of any chocolate lumps. If you prefer, you can also do this over a double boiler. Once smooth, allow the ganache to cool slightly for about 5 minutes. It should still be pourable but not piping hot, which would melt the mousse beneath. Carefully pour the slightly cooled ganache over the chilled peanut butter mousse, gently spreading it to the edges, leaving a small border of mousse peeking out for a beautiful layered effect.
Step 4: Chill the Pie to Perfection
This final step is perhaps the most crucial for achieving that picture-perfect slice and optimal flavor. Once the pie is assembled with its Oreo crust, peanut butter mousse, and chocolate ganache, it needs ample time to chill in the refrigerator. A minimum of 2 hours is recommended, but for the very best results, chilling the pie overnight is ideal. This extended chilling period allows all the layers to firm up and set beautifully. The peanut butter mousse will become stable, and the chocolate ganache will achieve a perfect, sliceable consistency. This not only ensures clean cuts when serving but also allows the flavors to meld together, deepening the overall deliciousness of the pie. A properly chilled pie will hold its shape, offer a delightful texture, and truly maximize the enjoyment of every single bite. Once sufficiently chilled, your Chocolate Peanut Butter Pie is ready to be sliced and served!


Essential Baking Tip: Precision with a Kitchen Scale!
For consistently perfect results in all your baking endeavors, I cannot stress enough the importance of using a kitchen scale to weigh your ingredients. This method is far more accurate than relying on traditional measuring cups, which can vary significantly due to packing density and technique. Weighing ingredients in grams ensures precision, leading to a much higher success rate with your recipes and a more uniform outcome every time. Beyond accuracy, a kitchen scale also simplifies cleanup by reducing the number of measuring tools you use. I always provide gram measurements in my recipes for this reason. For a reliable and user-friendly option, this is the scale I personally love and recommend.
Frequently Asked Questions About Chocolate Peanut Butter Pie
Here are answers to some common questions that arise when making and serving this delicious Chocolate Peanut Butter Pie, ensuring you have all the information for a perfect dessert.
What is the best way to store Chocolate Peanut Butter Pie?
To maintain its freshness, creamy texture, and prevent it from drying out or absorbing other odors, the Chocolate Peanut Butter Pie should always be stored in an airtight container. Keep it refrigerated, and it will remain delicious for up to 5 days. This allows you to enjoy slices over several days, making it perfect for meal prepping or simply having a treat on hand.
Can I make this Chocolate Peanut Butter Pie in advance?
Absolutely, making this pie in advance is not only possible but often recommended! I particularly like to prepare it the day before serving. This allows the peanut butter mousse and chocolate ganache layers ample time to fully set and firm up overnight in the refrigerator. A well-chilled pie yields cleaner slices and a more stable structure. You can confidently prepare it a couple of days in advance and keep it refrigerated until you are ready to serve, making it an excellent choice for entertaining or busy schedules.
What type of peanut butter is best for this pie?
For this specific Chocolate Peanut Butter Pie recipe, it is highly recommended to use a conventional creamy peanut butter. Brands like Skippy or Jif are ideal because their consistent texture and sweetness are factored into the recipe’s balance. Natural varieties of peanut butter, which often contain only peanuts and salt, can separate and may result in a different texture and less predictable sweetness in the mousse. While creamy peanut butter offers a smooth, luxurious filling, if you prefer a slight textural contrast, you could opt for the crunchy variety for added crunch in every bite.
How do you get a clean cut of pie every time?
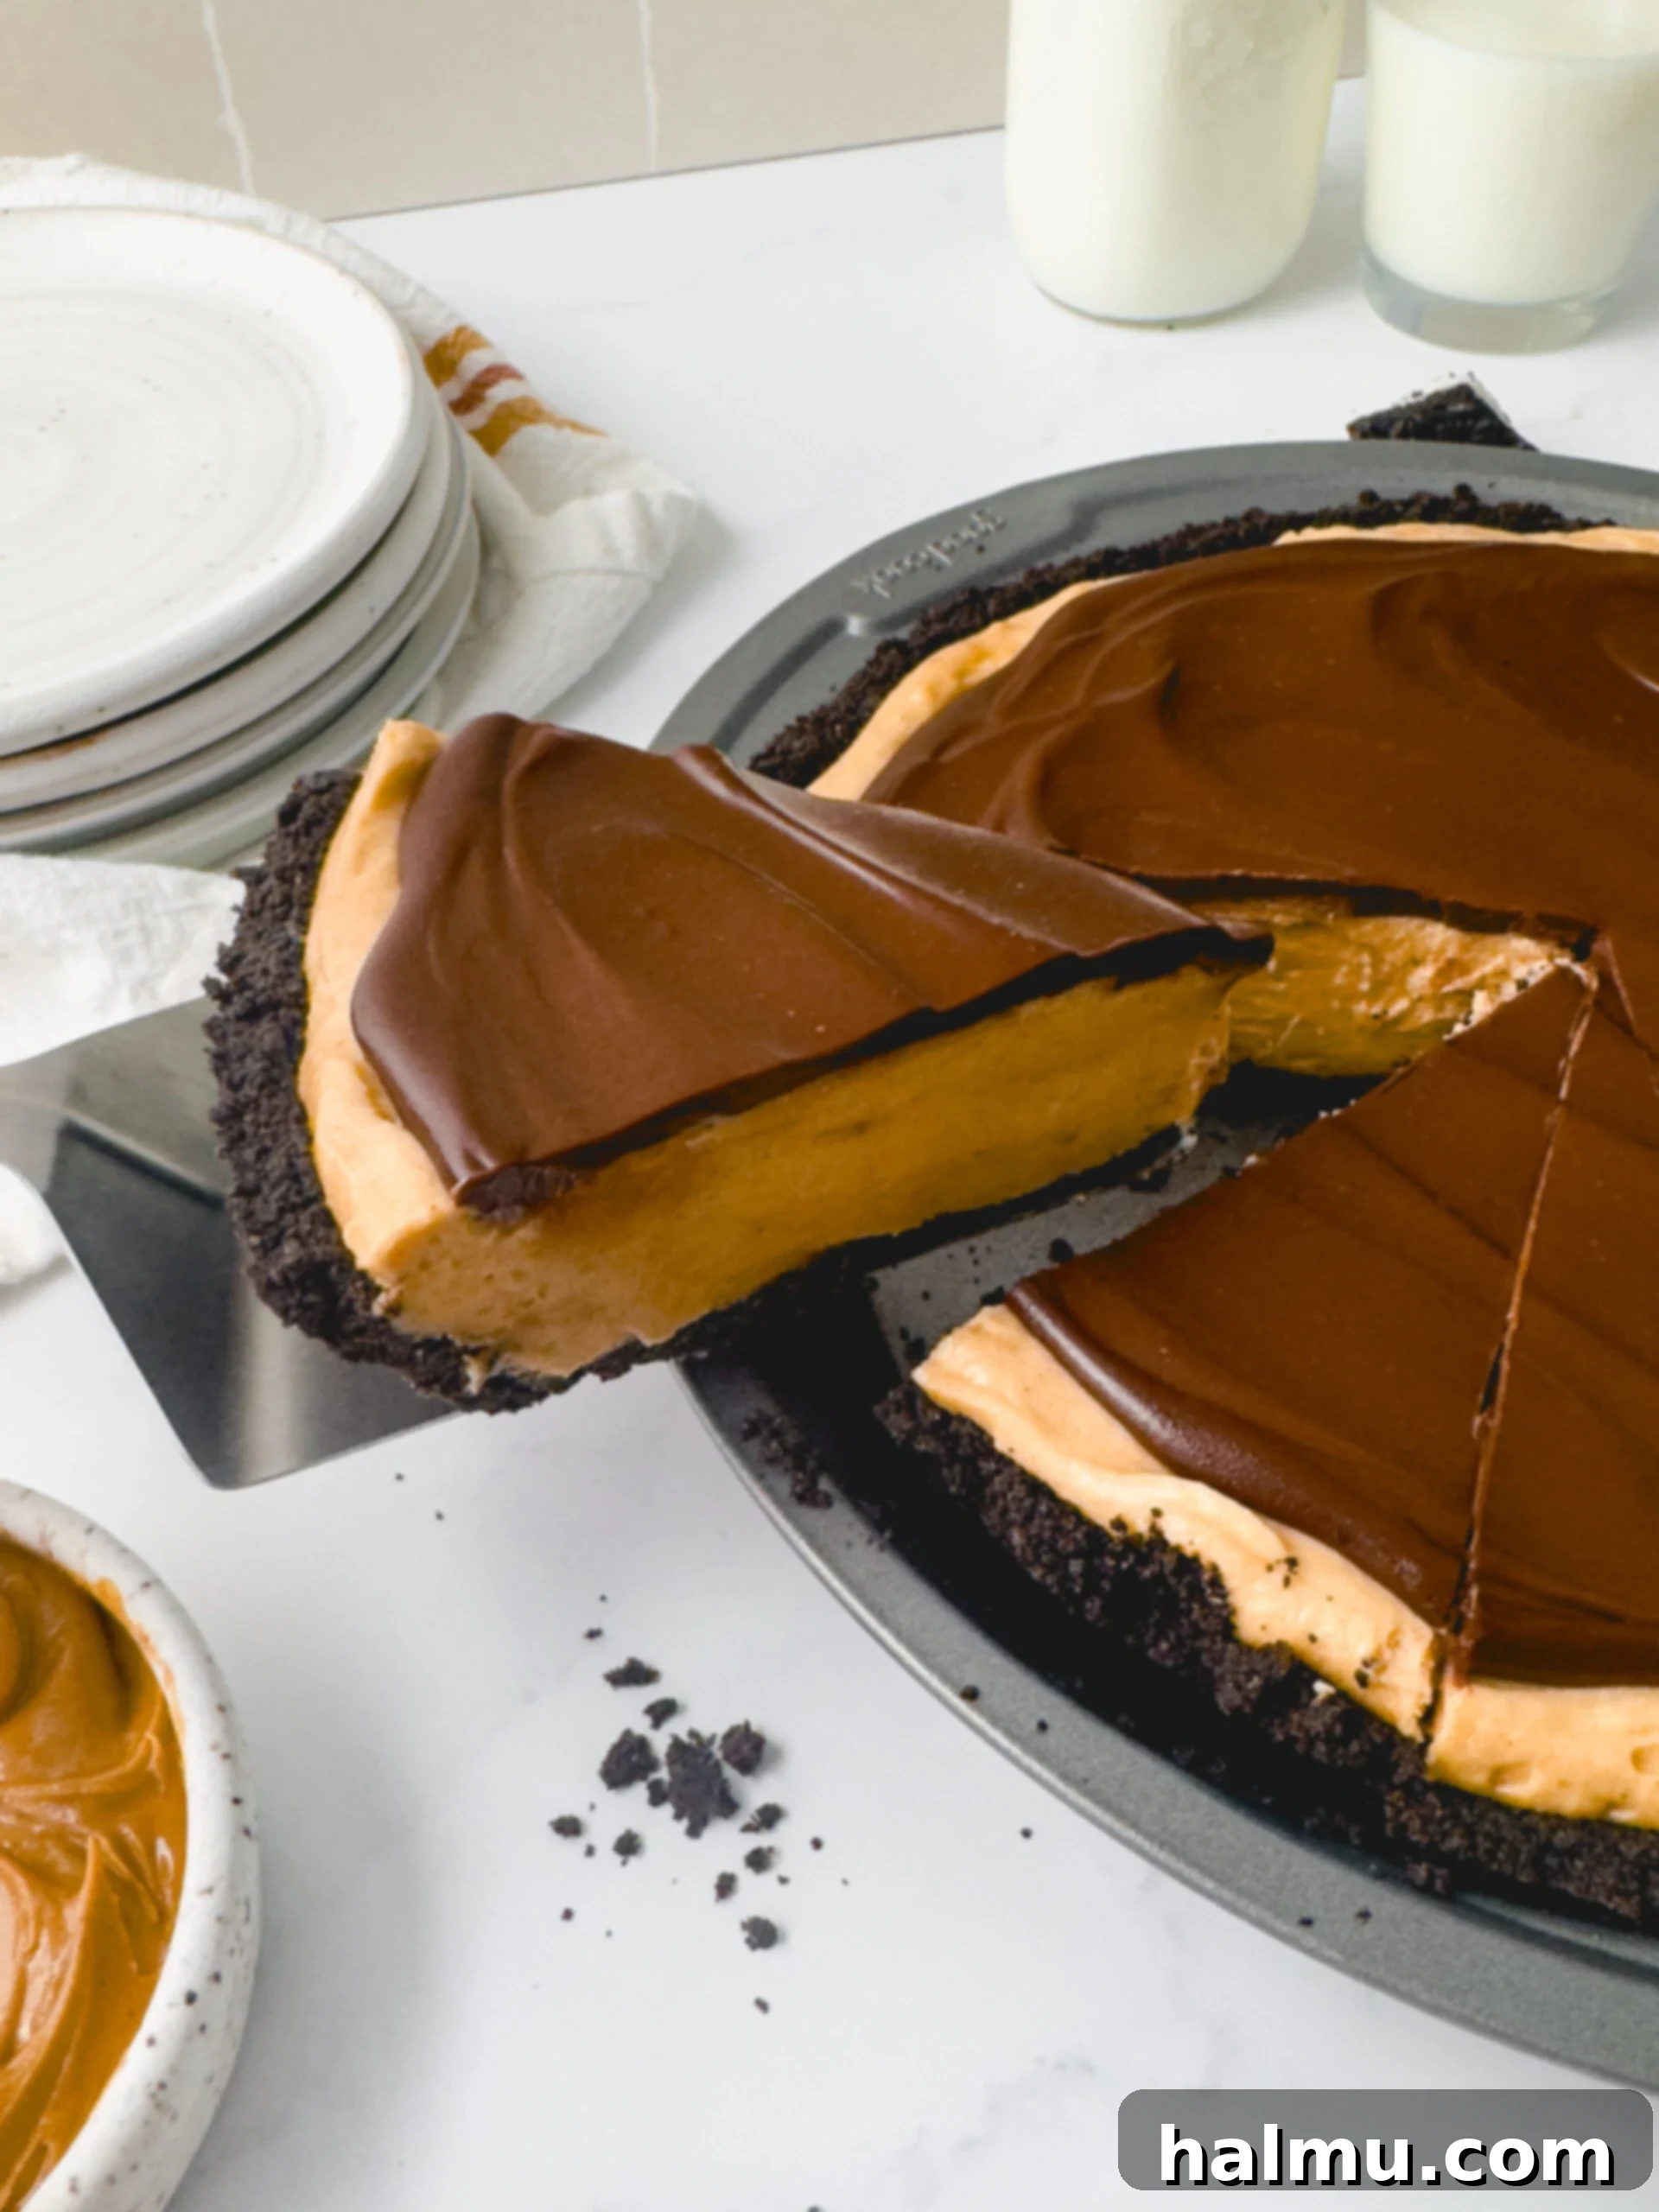
Achieving clean, crisp slices of pie can elevate its presentation significantly. The secret lies in using a sharp knife and hot water. Before each cut, dip the blade of a large, sharp knife into hot water, then immediately wipe it completely dry with a clean towel. The warm, dry blade will slice through the chilled ganache and mousse effortlessly, creating a smooth, neat edge. Remember to wipe the knife clean and repeat the hot water dipping process for every single slice to ensure consistent, beautiful cuts throughout the entire pie.
How can I decorate this Chocolate Peanut Butter Pie for special occasions?
This Chocolate Peanut Butter Pie is stunning in its simplicity, but there are many ways to add a decorative touch to make it even more special. For an elegant finish, you can pipe dollops of freshly whipped cream around the edges. To enhance the chocolate and peanut butter theme, sprinkle crushed Oreo cookies, chopped peanut butter cups, or even a drizzle of melted peanut butter in a fun pattern over the ganache. Chocolate shavings, mini chocolate chips, or a sprinkle of flaky sea salt can also add both visual appeal and a burst of flavor. Feel free to get creative and customize your pie to suit your taste and occasion!

Expert Tips for Crafting the Ultimate Peanut Butter Pie
Achieving a truly exceptional Chocolate Peanut Butter Pie goes beyond just following the steps. These expert tips will help you perfect your technique and ensure your pie is a showstopper every time.
- Embrace Cold Ingredients for Mousse Perfection: While many baking recipes call for room temperature ingredients, the peanut butter mousse in this pie is an exception. For optimal results, ensure your mascarpone cheese and heavy cream are straight from the fridge and thoroughly chilled. Cold heavy cream whips up faster, yielding a much greater volume and a lighter, airier mousse. Mascarpone cheese, when warm, can become soft and prone to curdling or separating, resulting in a grainy texture. Keeping these dairy components cold helps maintain their structure and consistency, contributing to that perfectly fluffy and stable mousse. So, resist the urge to pull them out early!
- Master the Art of Mixing (and Not Overmixing!): Mascarpone cheese is a delicate ingredient, and overmixing can quickly turn its smooth, creamy texture into an unpleasantly grainy one. When preparing the peanut butter mousse, mix each ingredient just until it is fully incorporated. Once all the mousse ingredients are in the bowl, begin whipping on medium-high speed. Keep a close eye on the mixture; whip it only until it thickens and firm, stiff peaks form. The moment you see those peaks, stop the mixer. This careful approach guarantees a light, velvety, and airy filling that will melt in your mouth, avoiding any undesirable textural changes.
- The Non-Negotiable Chill: Patience is a virtue, especially when it comes to setting this pie. After assembling all the layers – the Oreo crust, the peanut butter mousse, and the chocolate ganache – the pie requires a significant chilling period in the refrigerator. A minimum of 2 hours is essential, but leaving it to chill overnight is truly ideal. This extended time allows the filling and ganache to fully firm up and stabilize. A properly chilled pie will not only slice beautifully, providing those coveted clean, crisp edges, but it also ensures the mousse doesn’t ooze out upon cutting, offering a delightful and satisfying texture with every forkful.
Discover More Irresistible Peanut Butter Delights You’ll Adore
If you’ve fallen in love with the combination of chocolate and peanut butter, or simply can’t get enough of that creamy, nutty flavor, you’re in for a treat! Here are more fantastic peanut butter recipes from my kitchen that I’m sure you’ll absolutely love. Each one brings its own unique spin to this beloved ingredient, promising delicious results that will satisfy your cravings and impress your taste buds.
- Chocolate Peanut Butter Snack Cake
- Peanut Butter Oreo Cookies
- Reese’s Pieces Rice Krispie Treats
- Peanut Butter Oreo Cheesecake Bars
- Peanut Butter Monster Cookies
I hope you thoroughly enjoy making and sharing this incredible Chocolate Peanut Butter Pie! If you try this recipe and find yourself falling in love with its rich flavors and effortless preparation, please don’t hesitate to leave a comment below. Your feedback and experiences are truly valued. Happy baking, and may your kitchen always be filled with sweet cravings!
Chocolate Peanut Butter Pie
Print Recipe
RATE THIS RECIPE
Ingredients
Oreo Cookie Crust
- 20 Oreo cookies
- 3 Tablespoons (42g) unsalted butter, melted
Peanut Butter Mousse
- 8 oz (226g) mascarpone cheese
- 1 cup (250g) creamy peanut butter*
- 1 cup (120g) powdered sugar
- 1 teaspoon vanilla extract
- 1 cup (240mL) heavy cream
Chocolate Ganache
- 4 oz semi-sweet chocolate bar, chopped
- ½ cup (120mL) heavy cream
SHOP INGREDIENTS
Instructions
- Oreo Cookie Crust: Add the Oreo cookies to a food processor and pulse to fine crumbs. Add in the melted butter and pulse until fully combined. Press the mixture into the bottom and sides of a 9” pie pan. Bake at 350°F for 8 minutes, until it just starts to puff. Set aside to cool.
- Peanut Butter Mousse: In the bowl of a stand mixer fitted with a whisk attachment, add the mascarpone cheese and peanut butter and mix just until combined. Mix in the powdered sugar and vanilla extract, until incorporated. Scrape the bowl with a rubber spatula.
- Start the mixer at medium speed and slowly stream in the heavy cream. Once all the cream is added, continue mixing until the mousse has slightly thickened. Scrape well to the bottom of the bowl.
- Increase the mixer to high speed and whip until the mixture thickens and forms stiff peaks. Be careful not to overmix.
- Add the peanut butter mousse to the cooled Oreo pie crust. Spread the filling to the edges, and smooth the top with an offset spatula. Chill in the fridge for at least 15 minutes while you make the ganache.
- Chocolate Ganache: Combine the chopped chocolate and heavy cream in a heatproof dish and microwave for 20 seconds, then stir the mixture to combine. Repeat this process, stirring until the chocolate is completely melted and the mixture is smooth and shiny. Be careful not to overheat the ganache and only heat as much as needed to melt the chocolate. Allow to cool for about 5 minutes.
- Pour the slightly cooled (but still spreadable) ganache on top of the peanut butter mousse and spread it out evenly, leaving a small border of mousse showing. Chill in the fridge for at least 2 hours, to allow the ganache and filling to set up.
- Slice the pie and enjoy!
Notes

HI THERE!
I’m Rachel
I’m the dessert lover, recipe developer, and content creator behind Sweet Kitchen Cravings. Here you’ll find classic yet special recipes that are sure to impress your loved ones!
MORE ABOUT RACHEL
