This post may contain affiliate links. Please read my full disclosure policy.
Indulge in Frosted Andes Chocolate Mint Cookies: The Ultimate Chocolate-Mint Dream
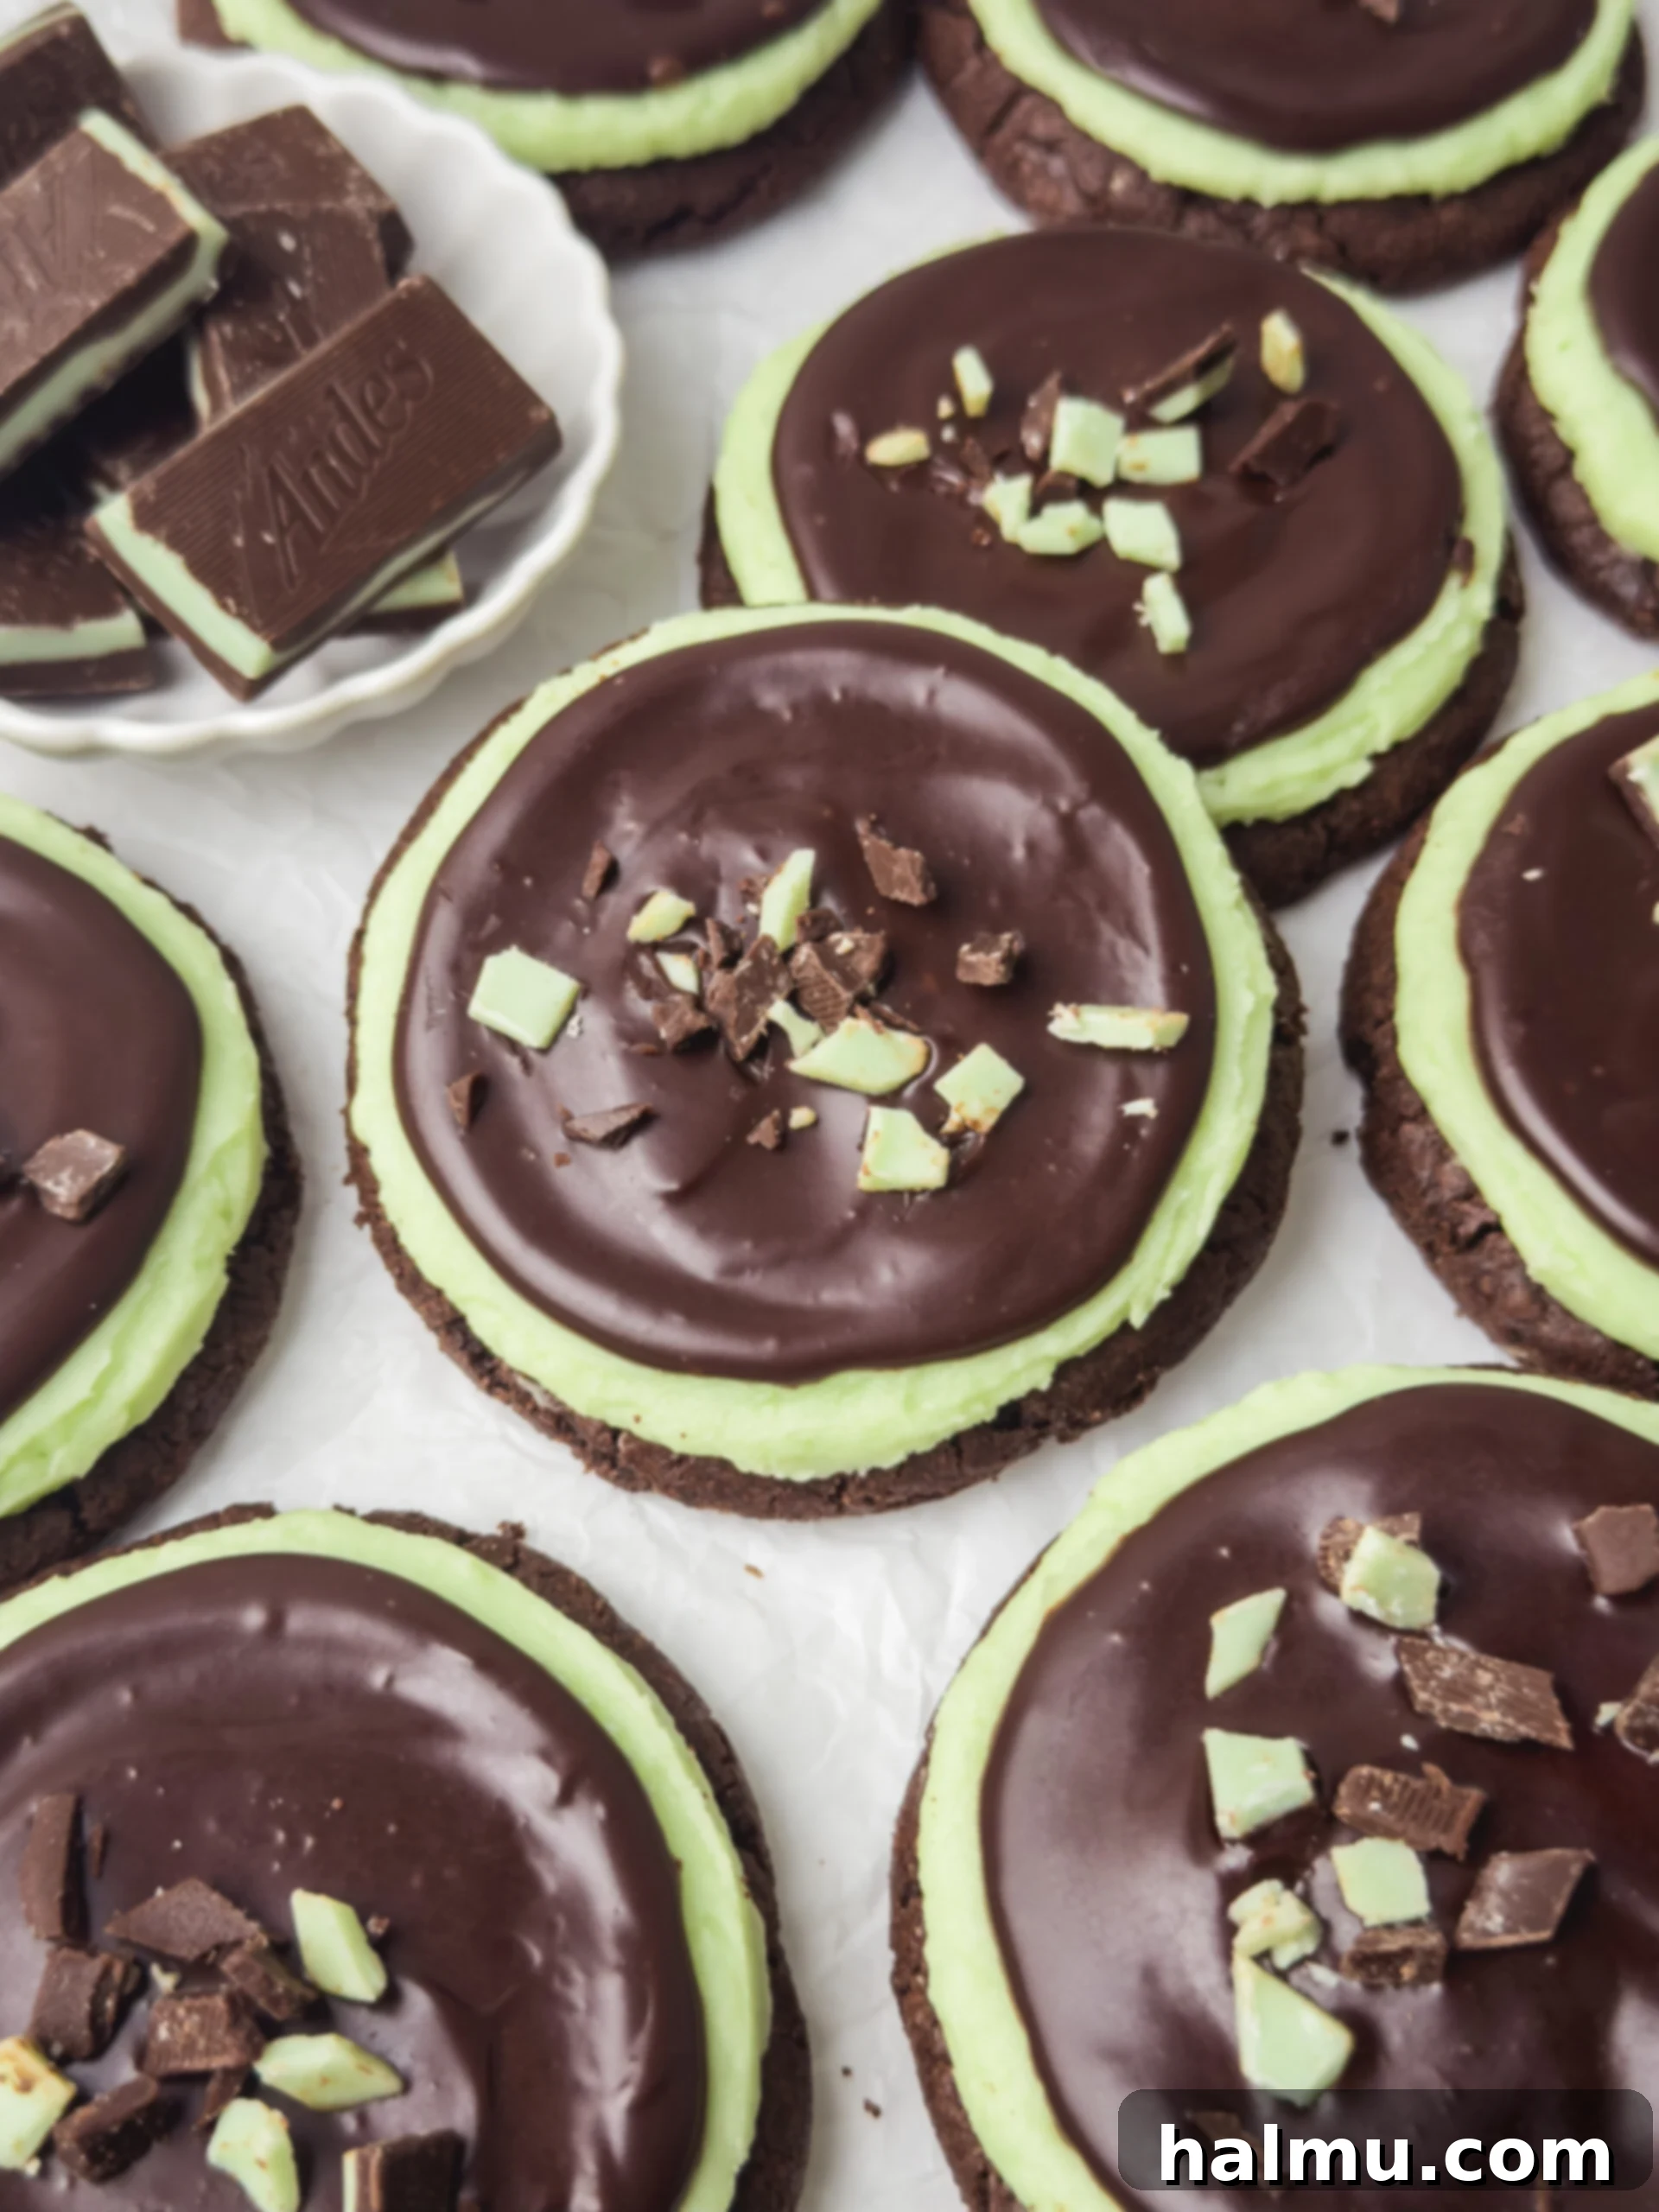
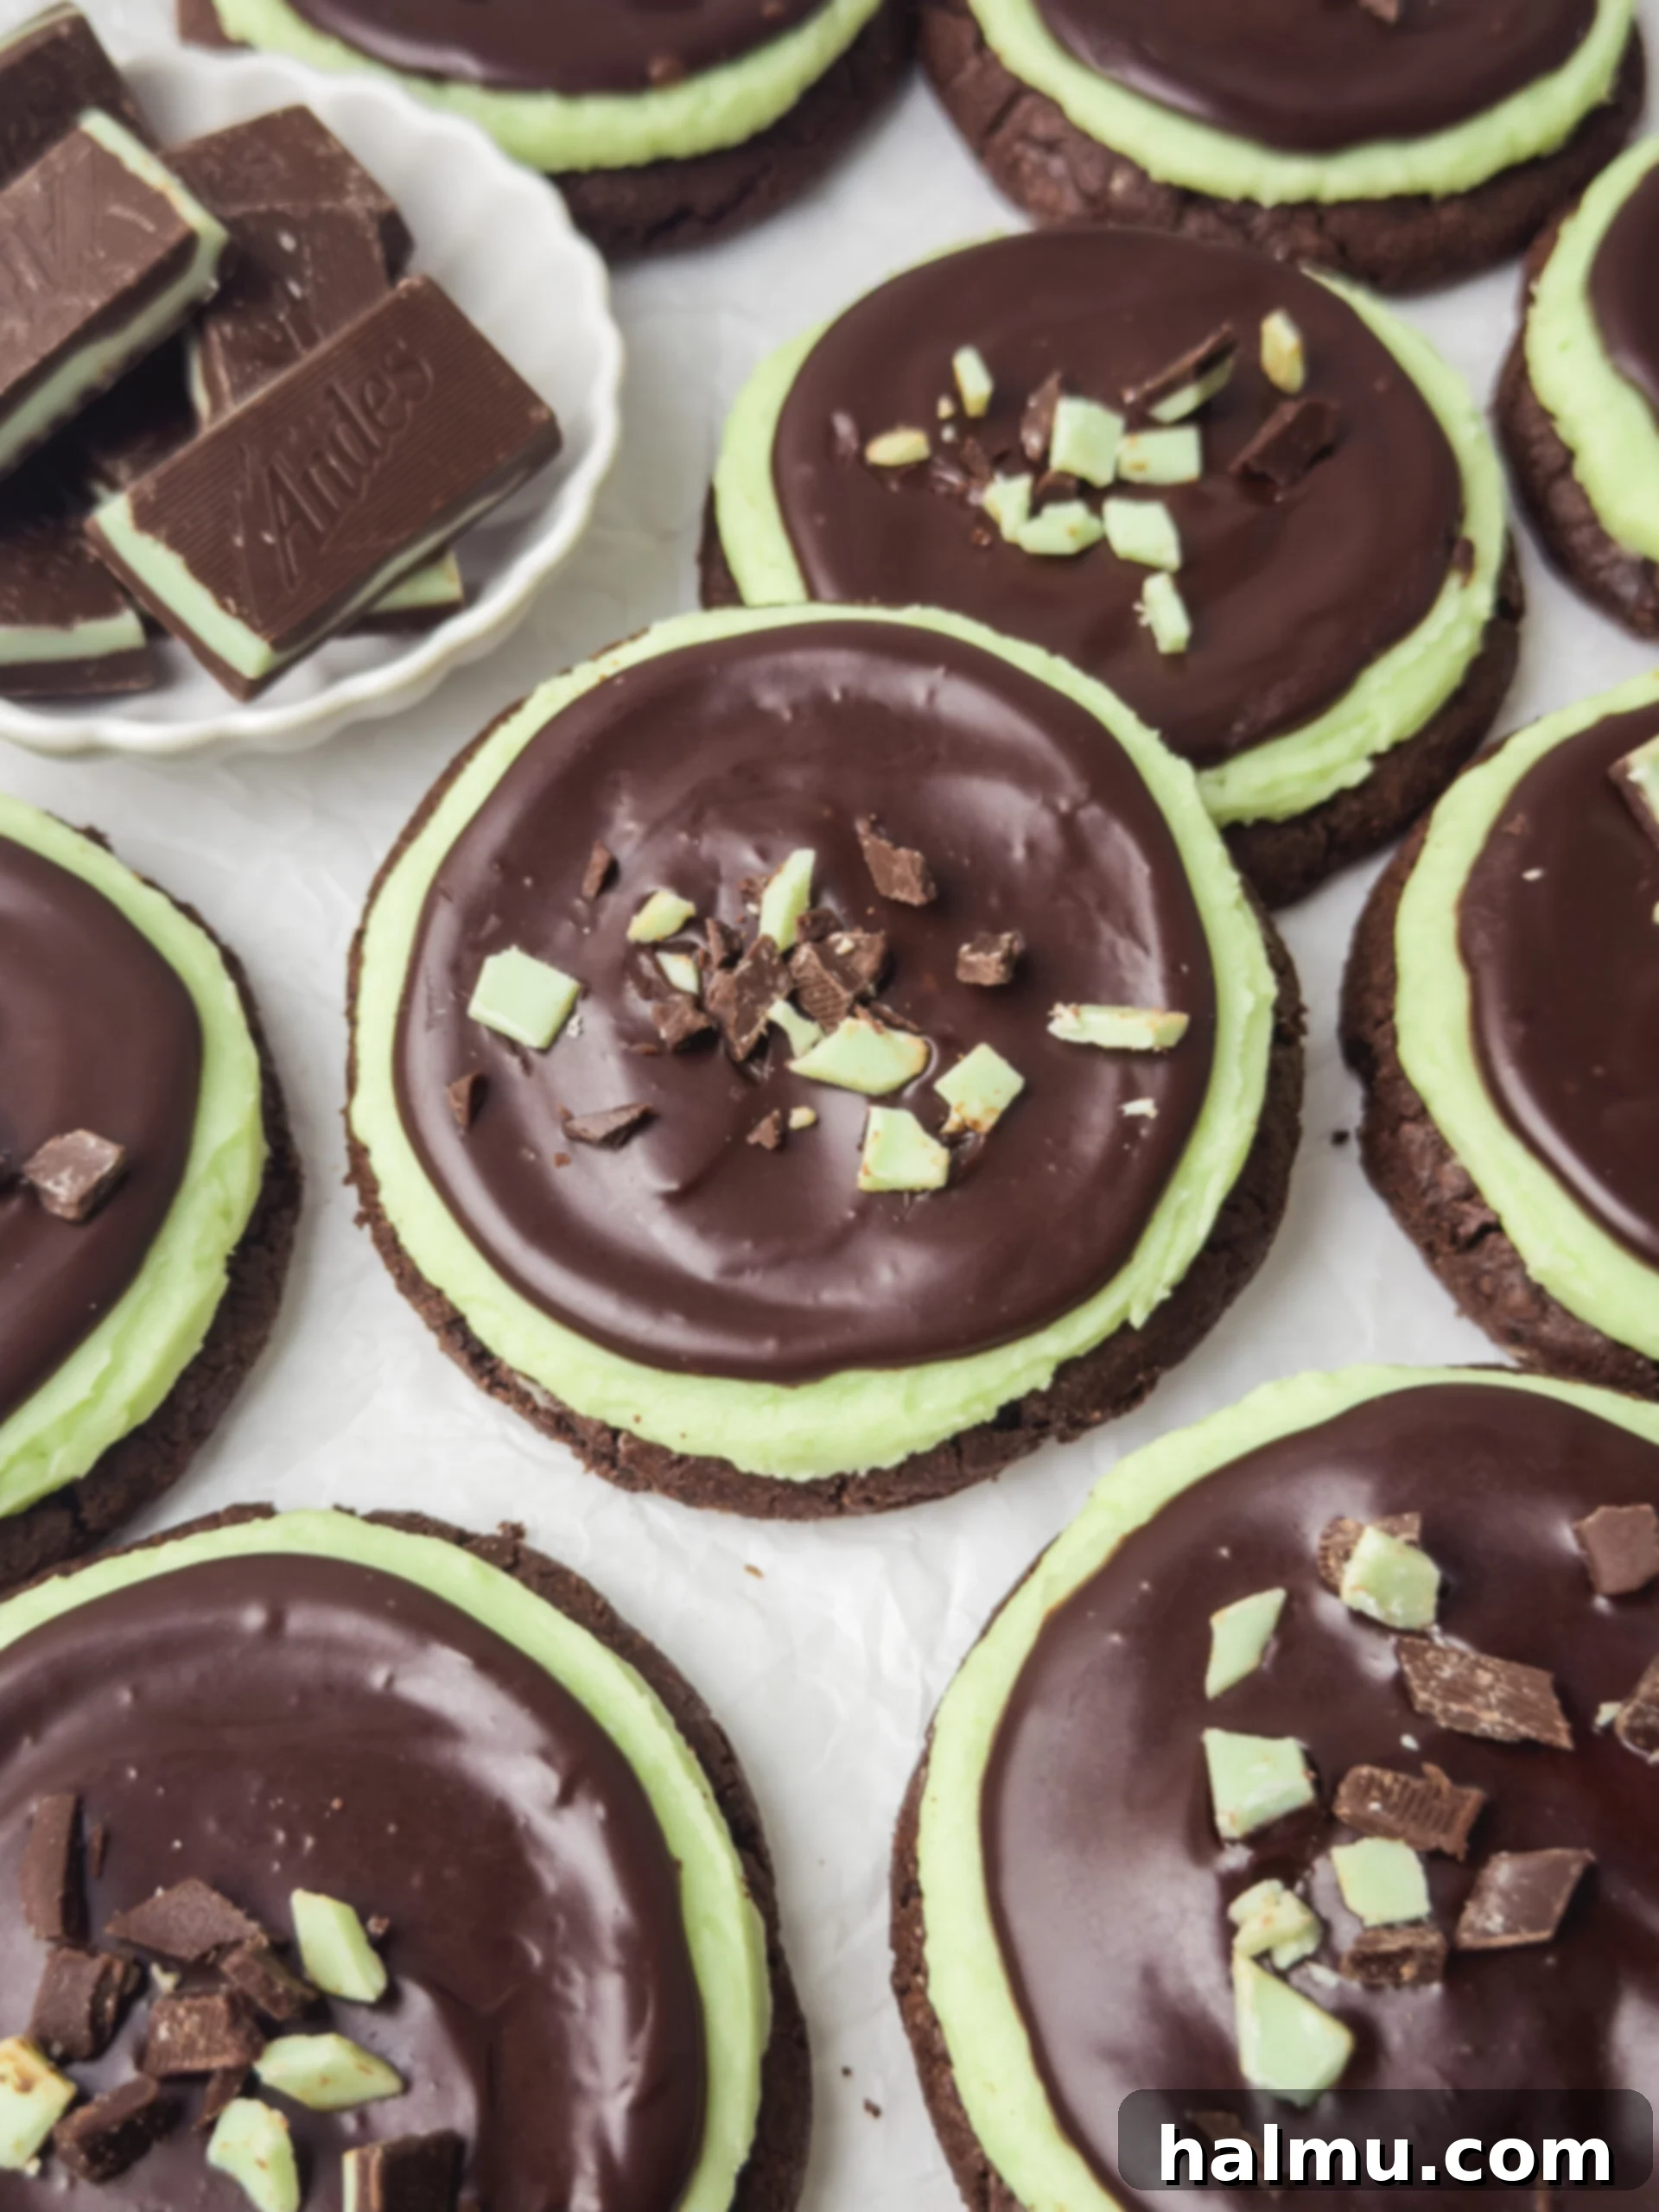
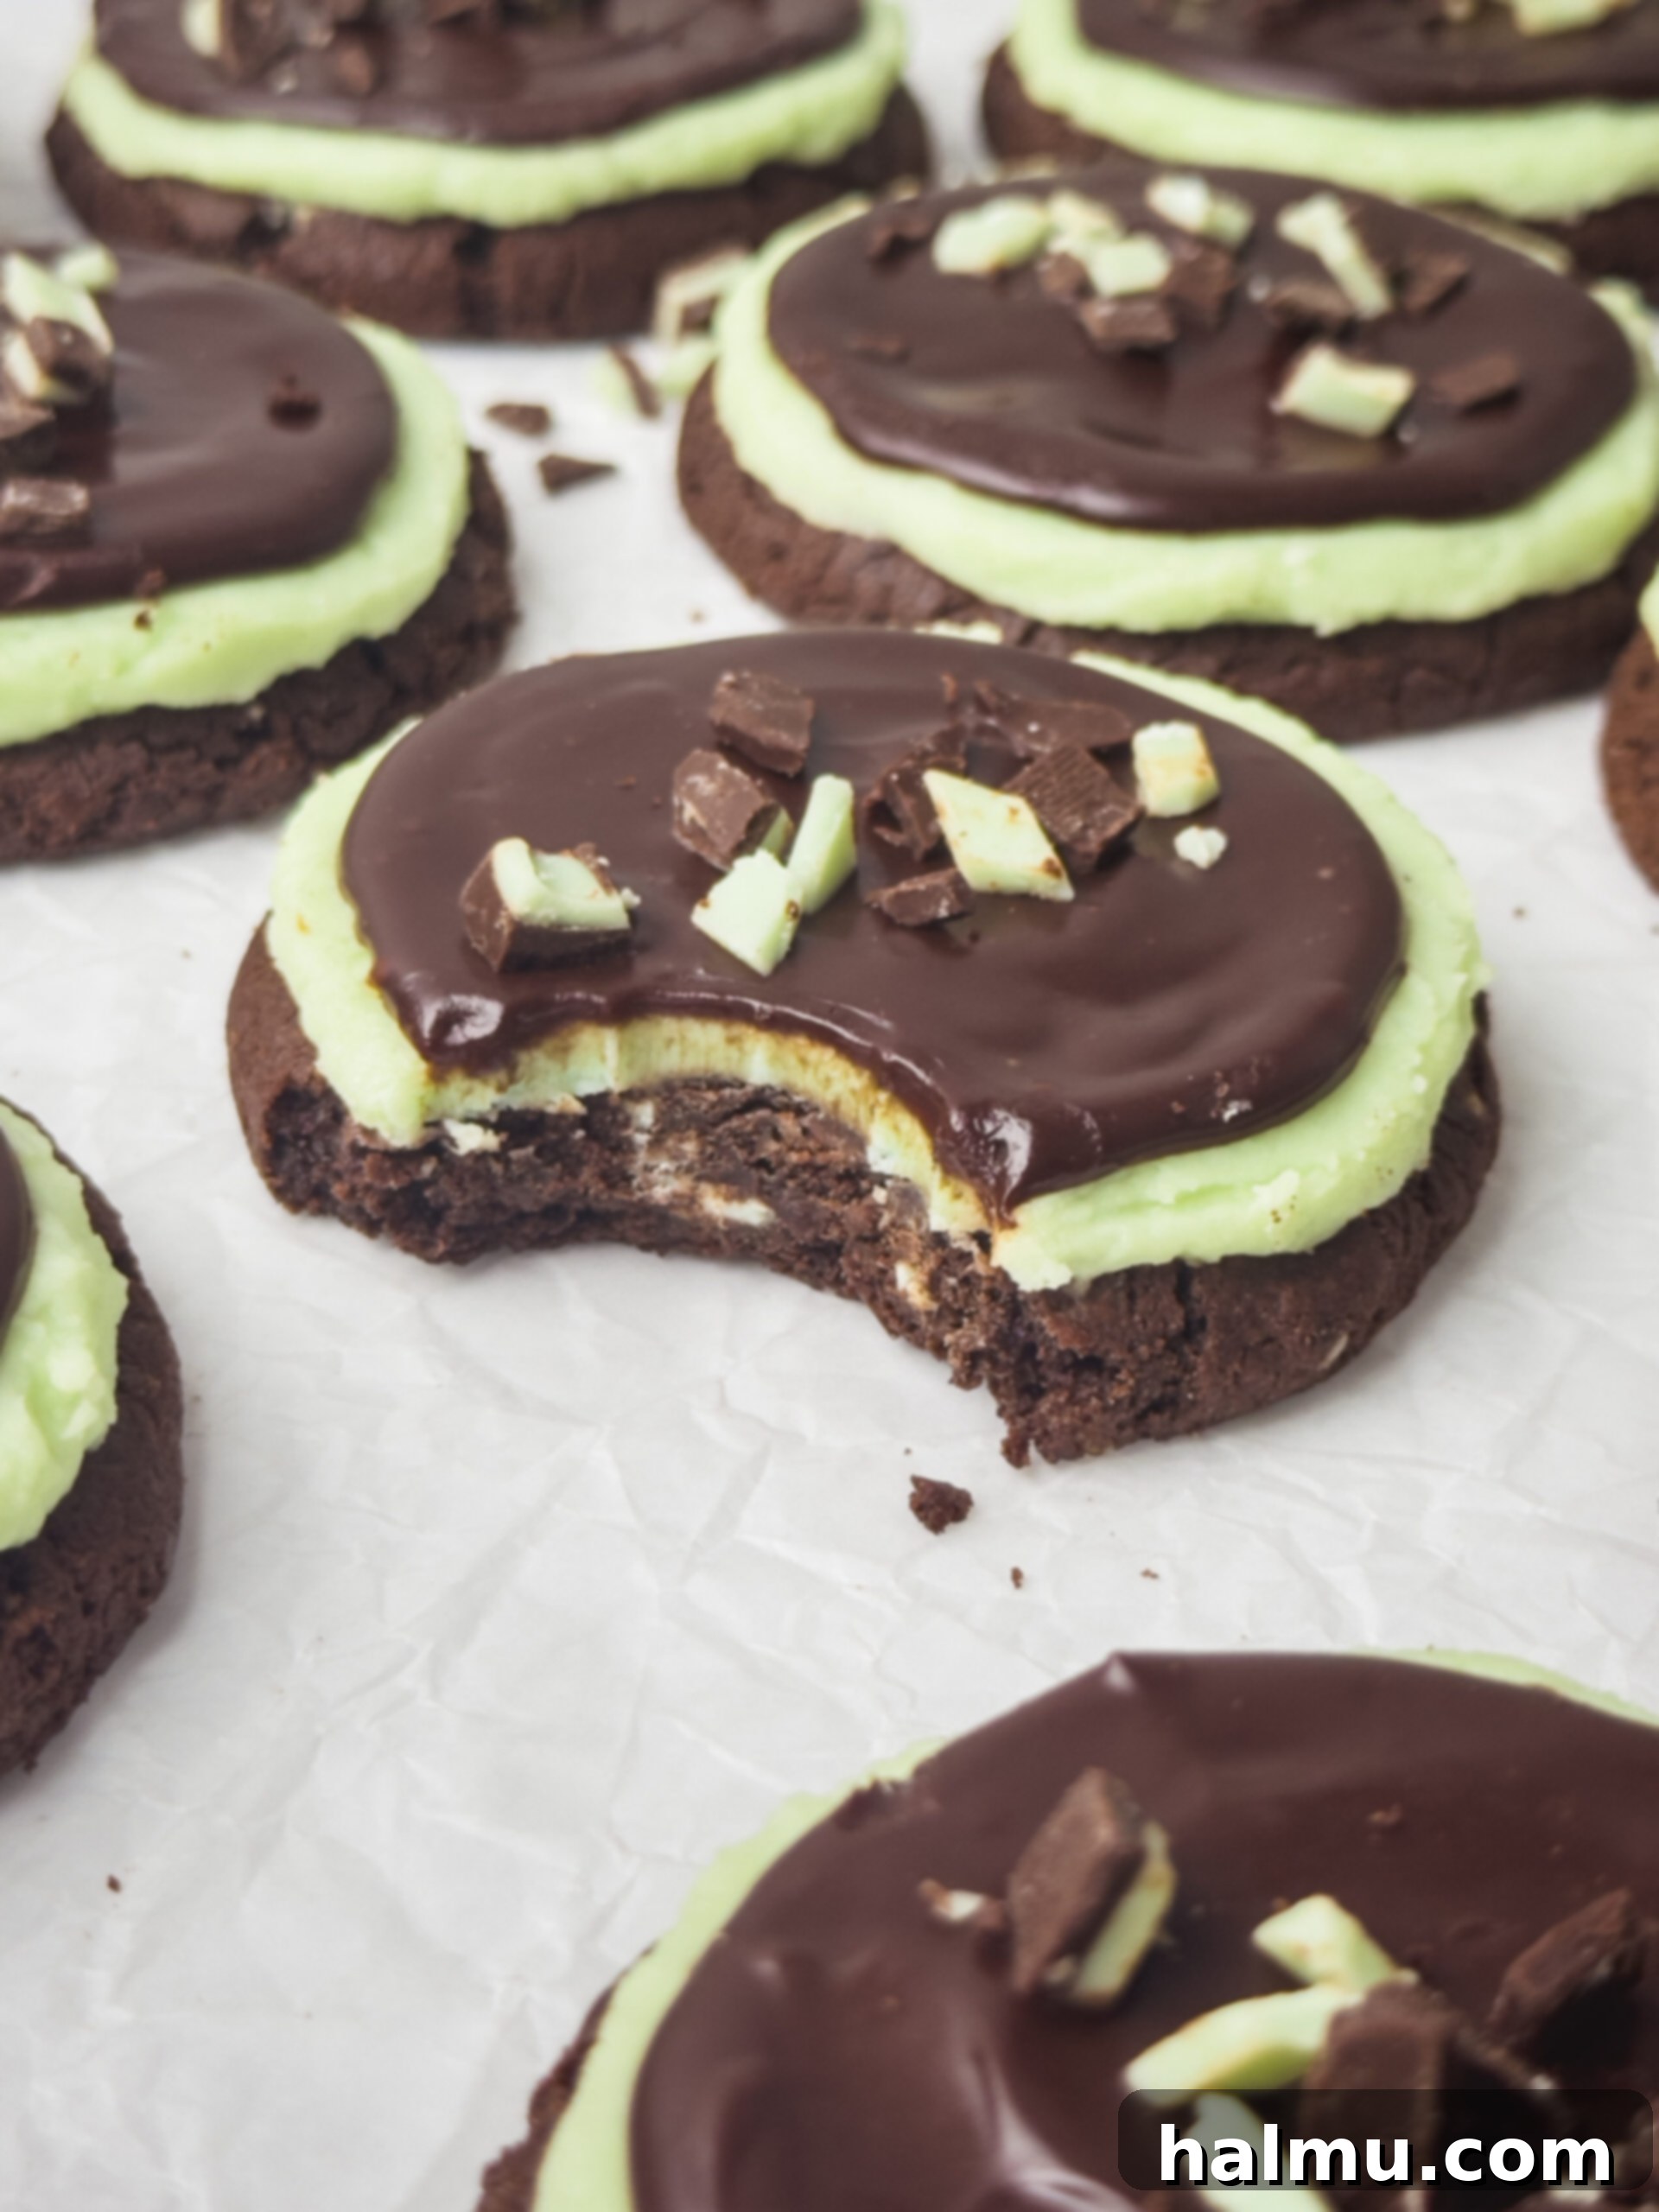
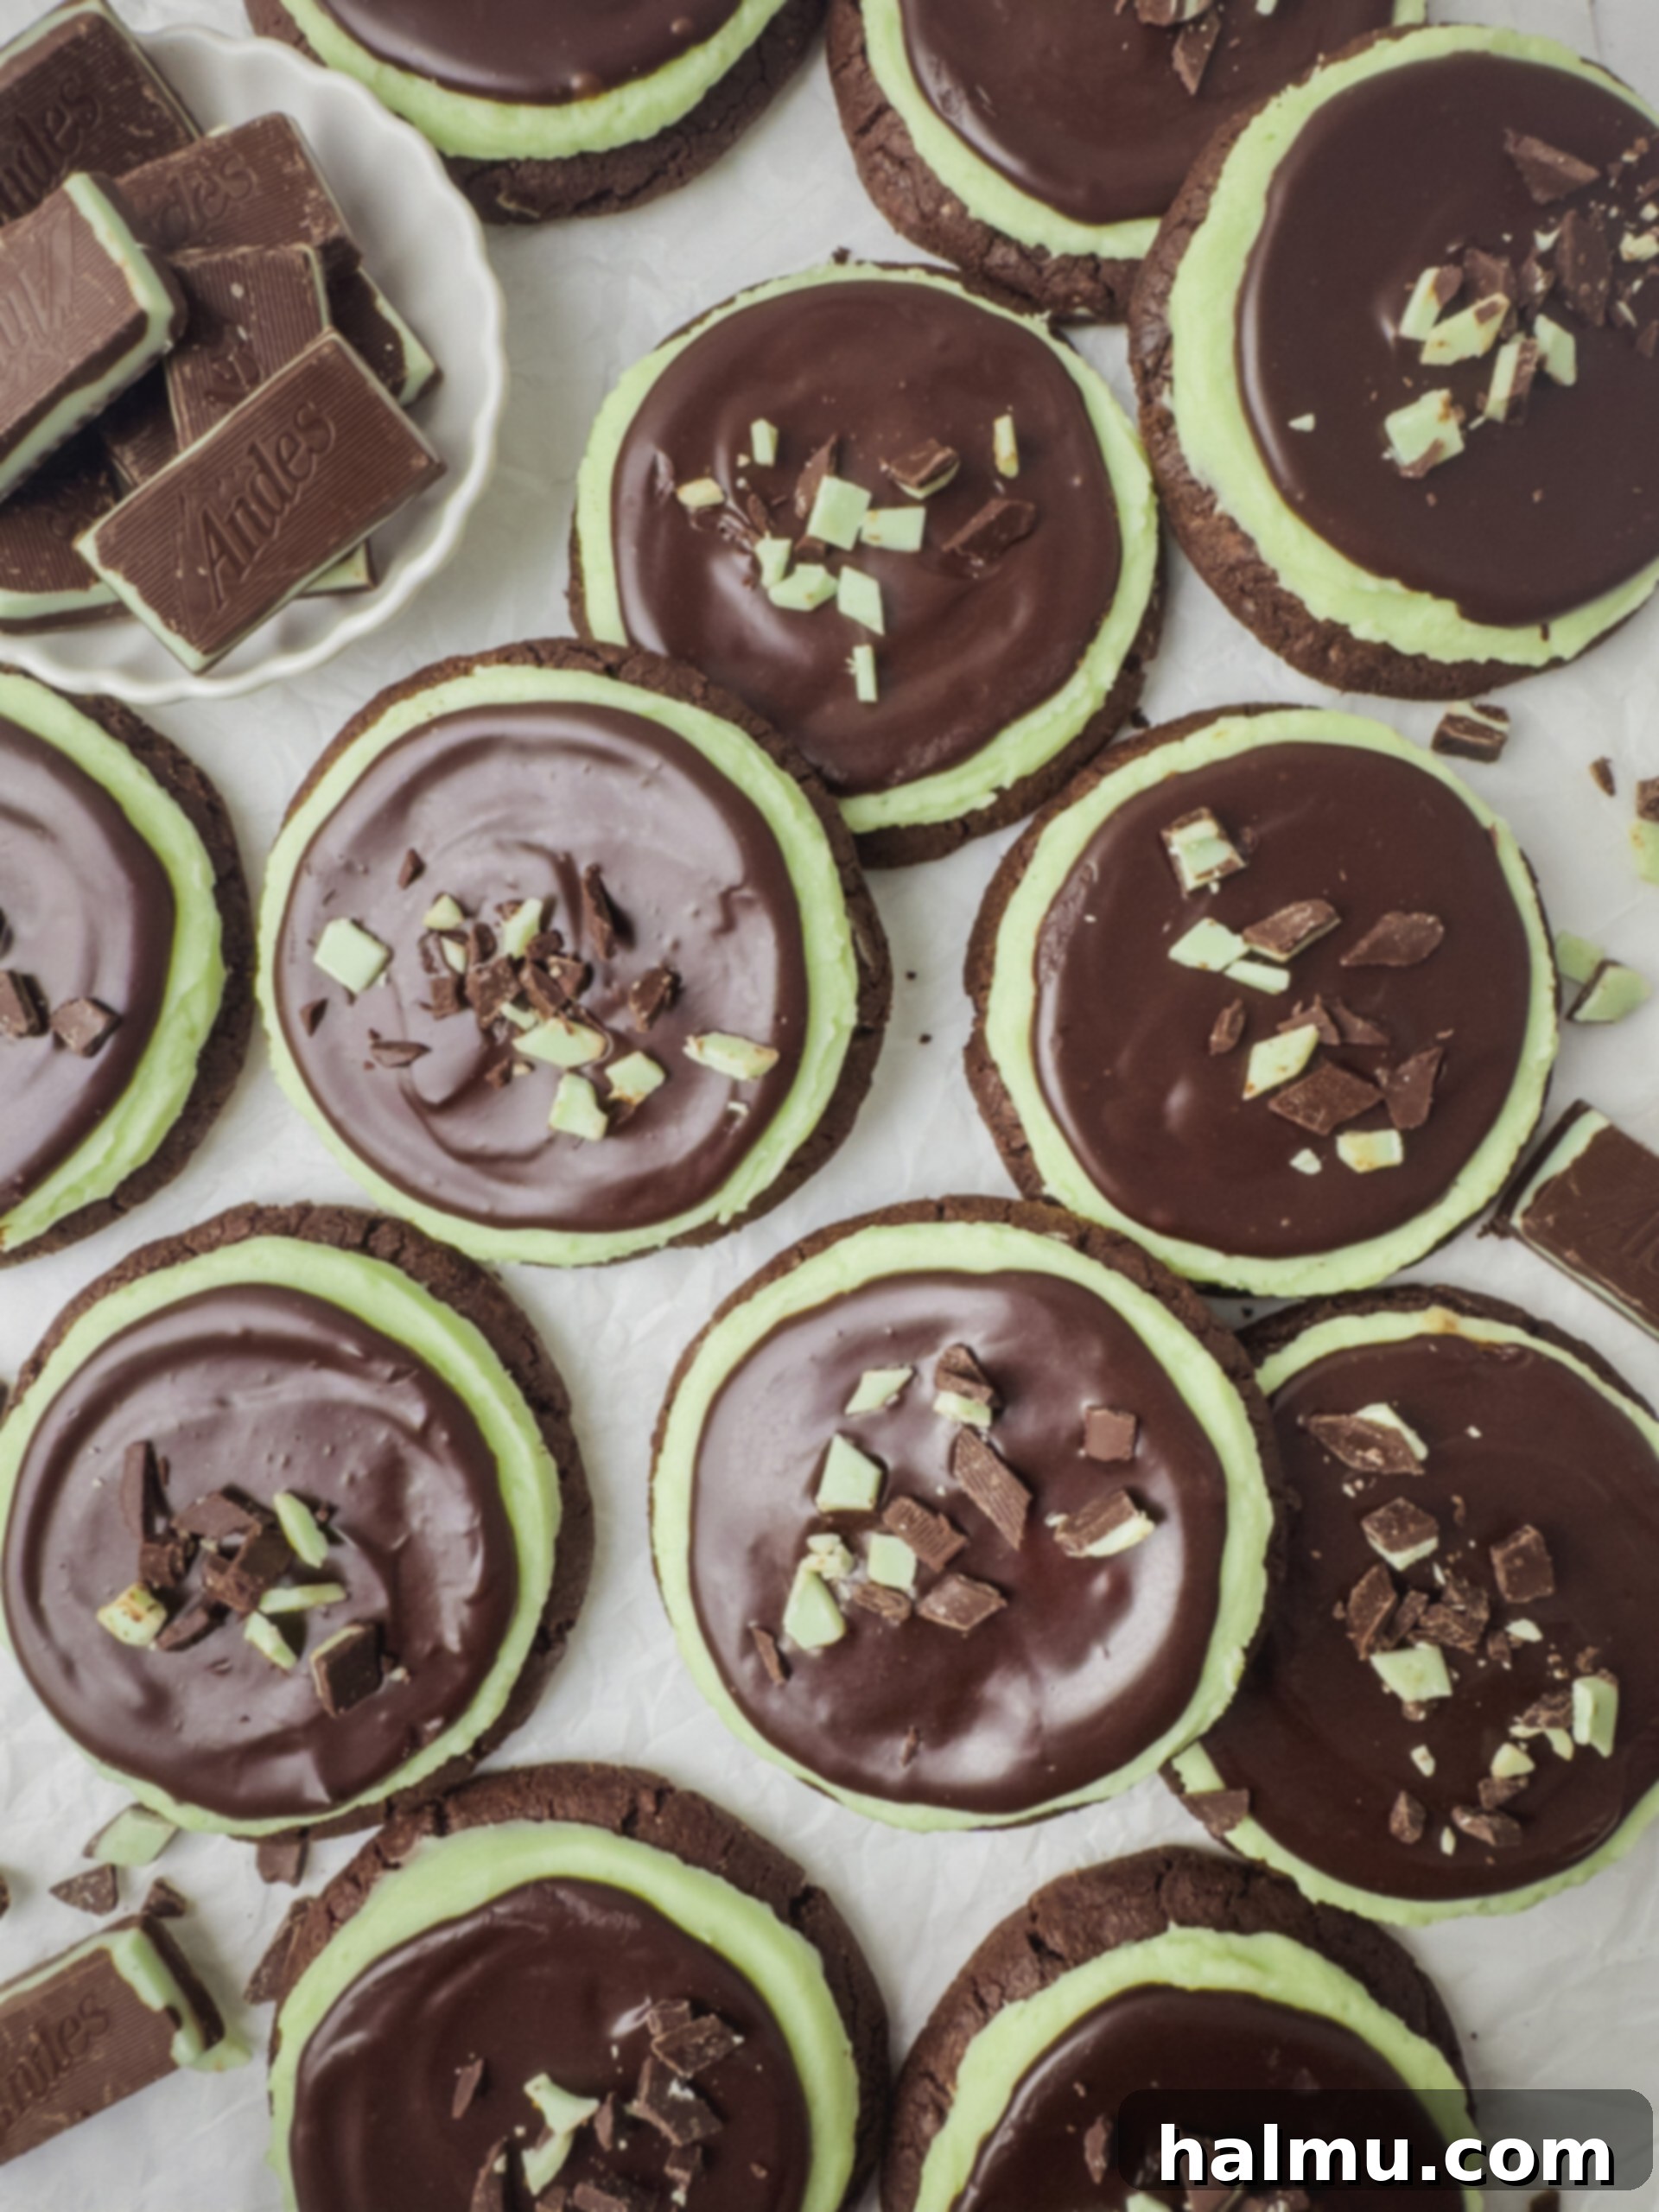
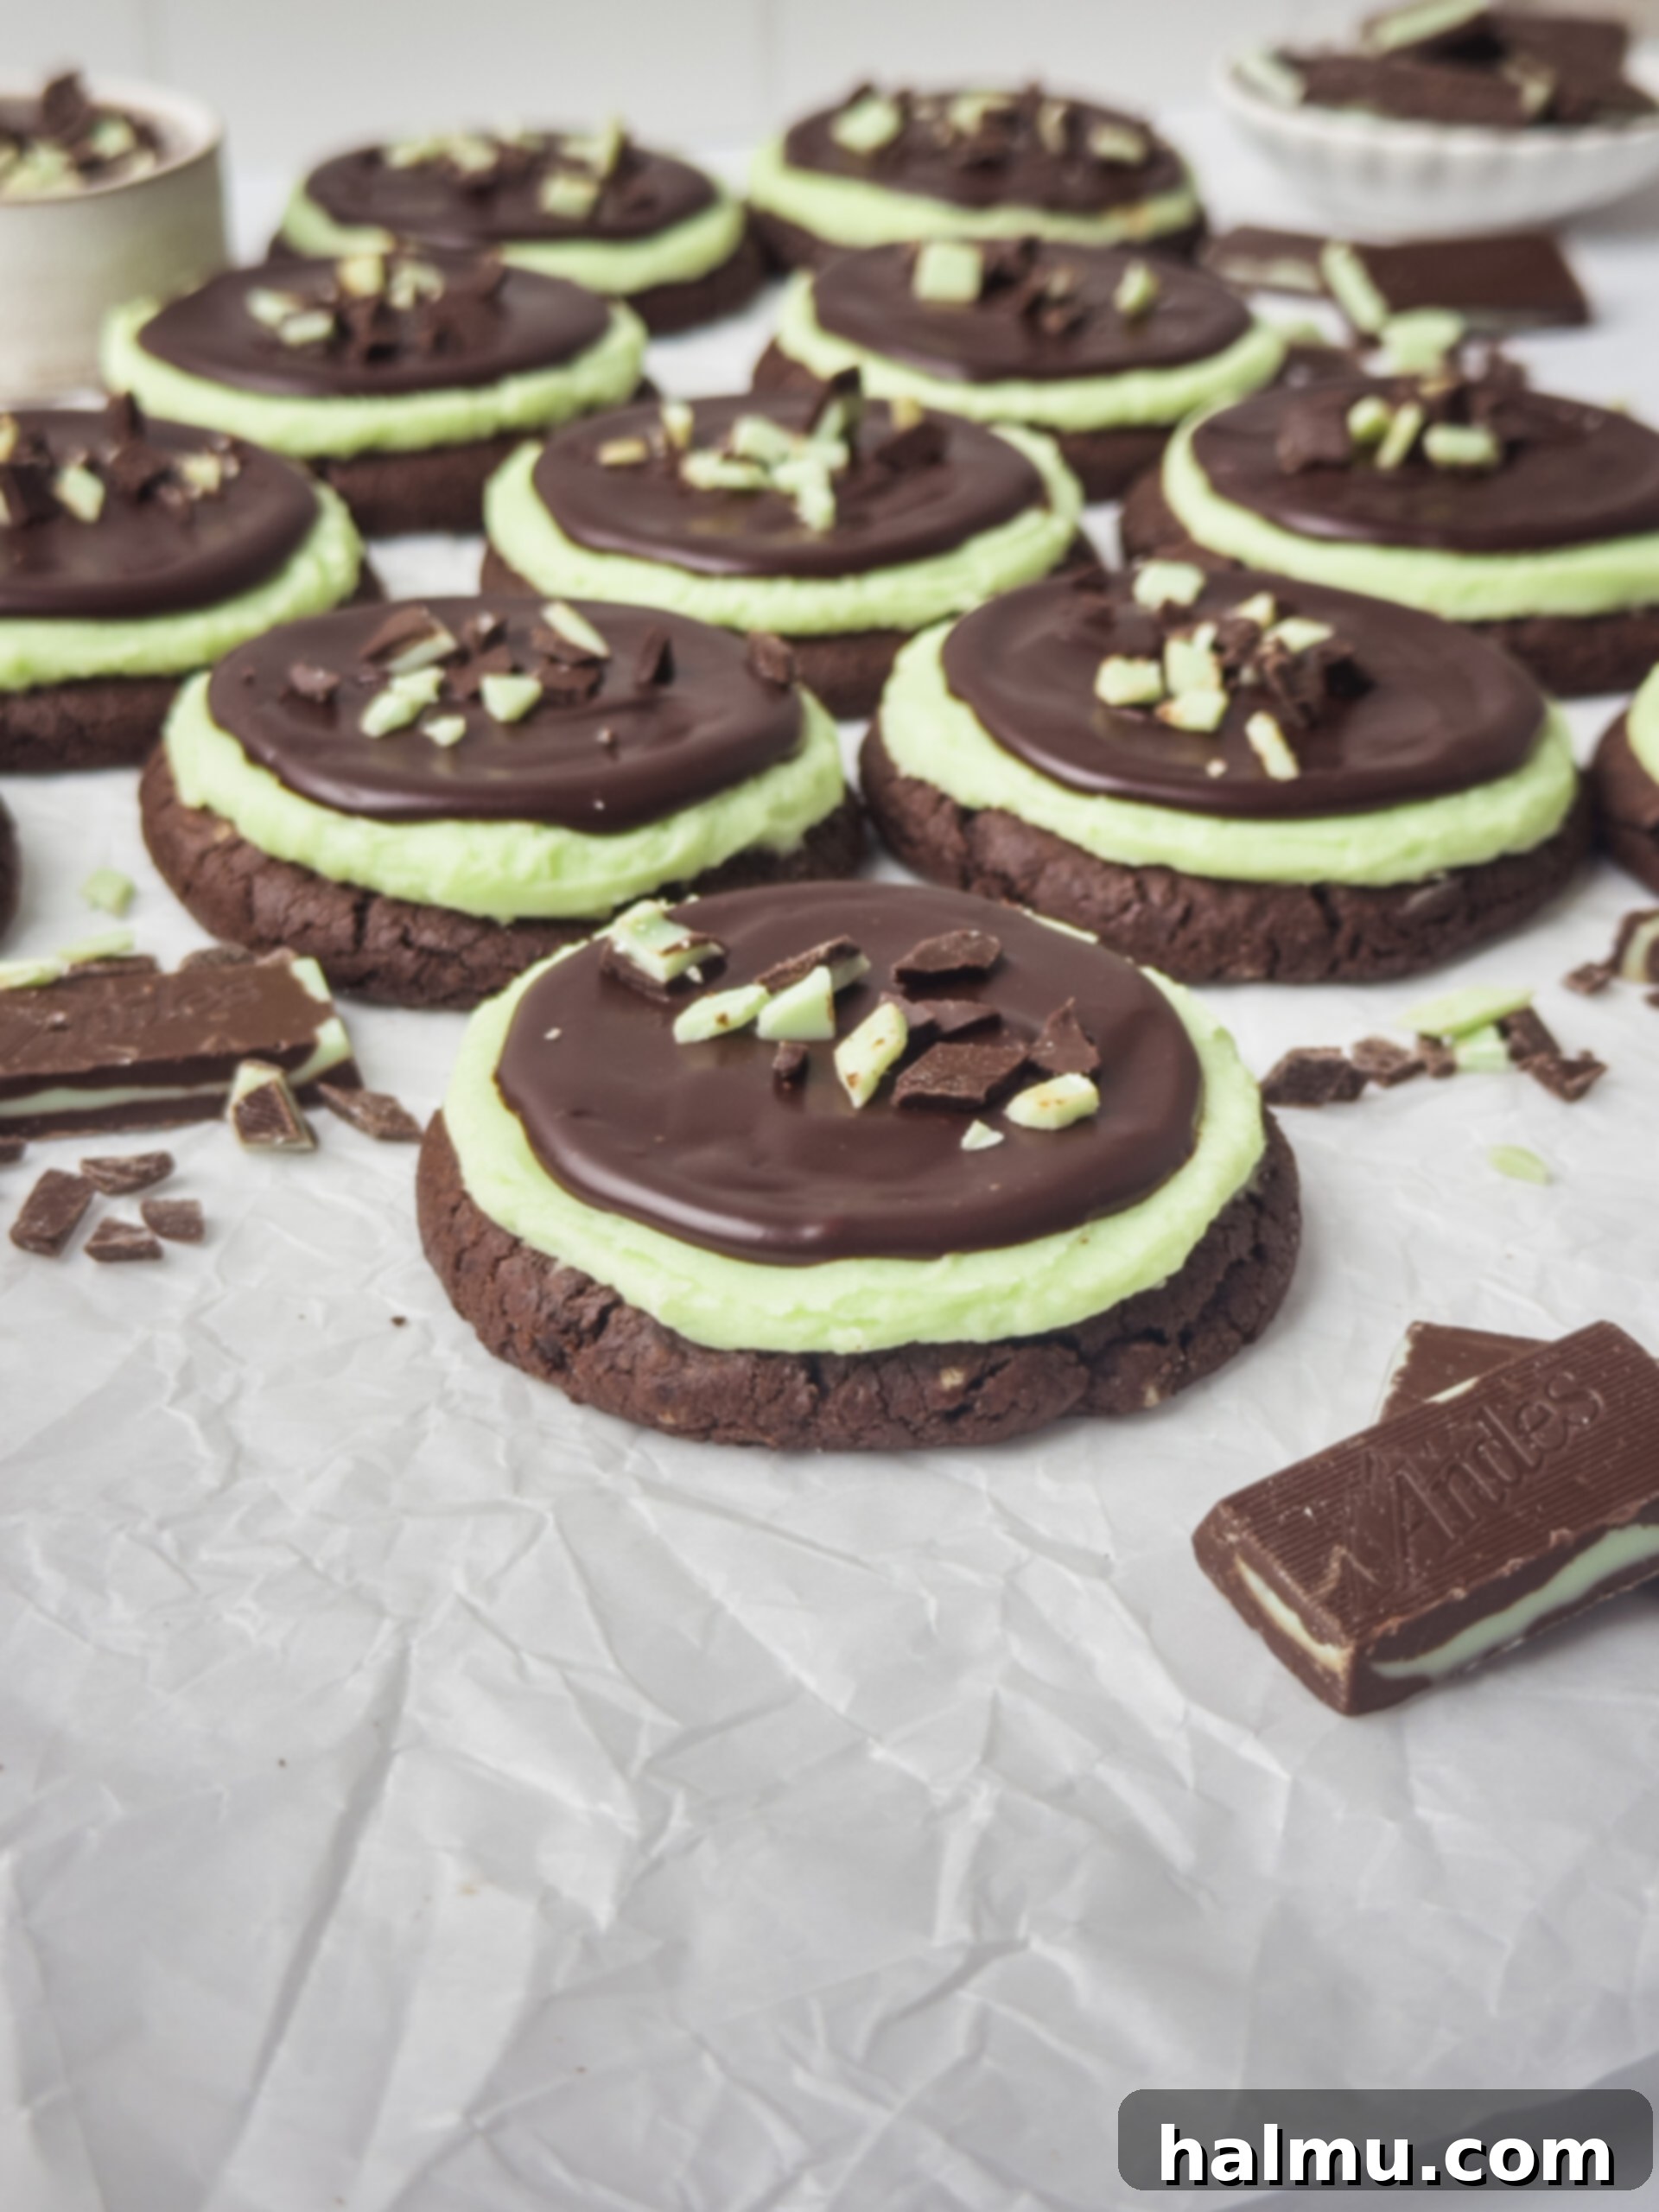
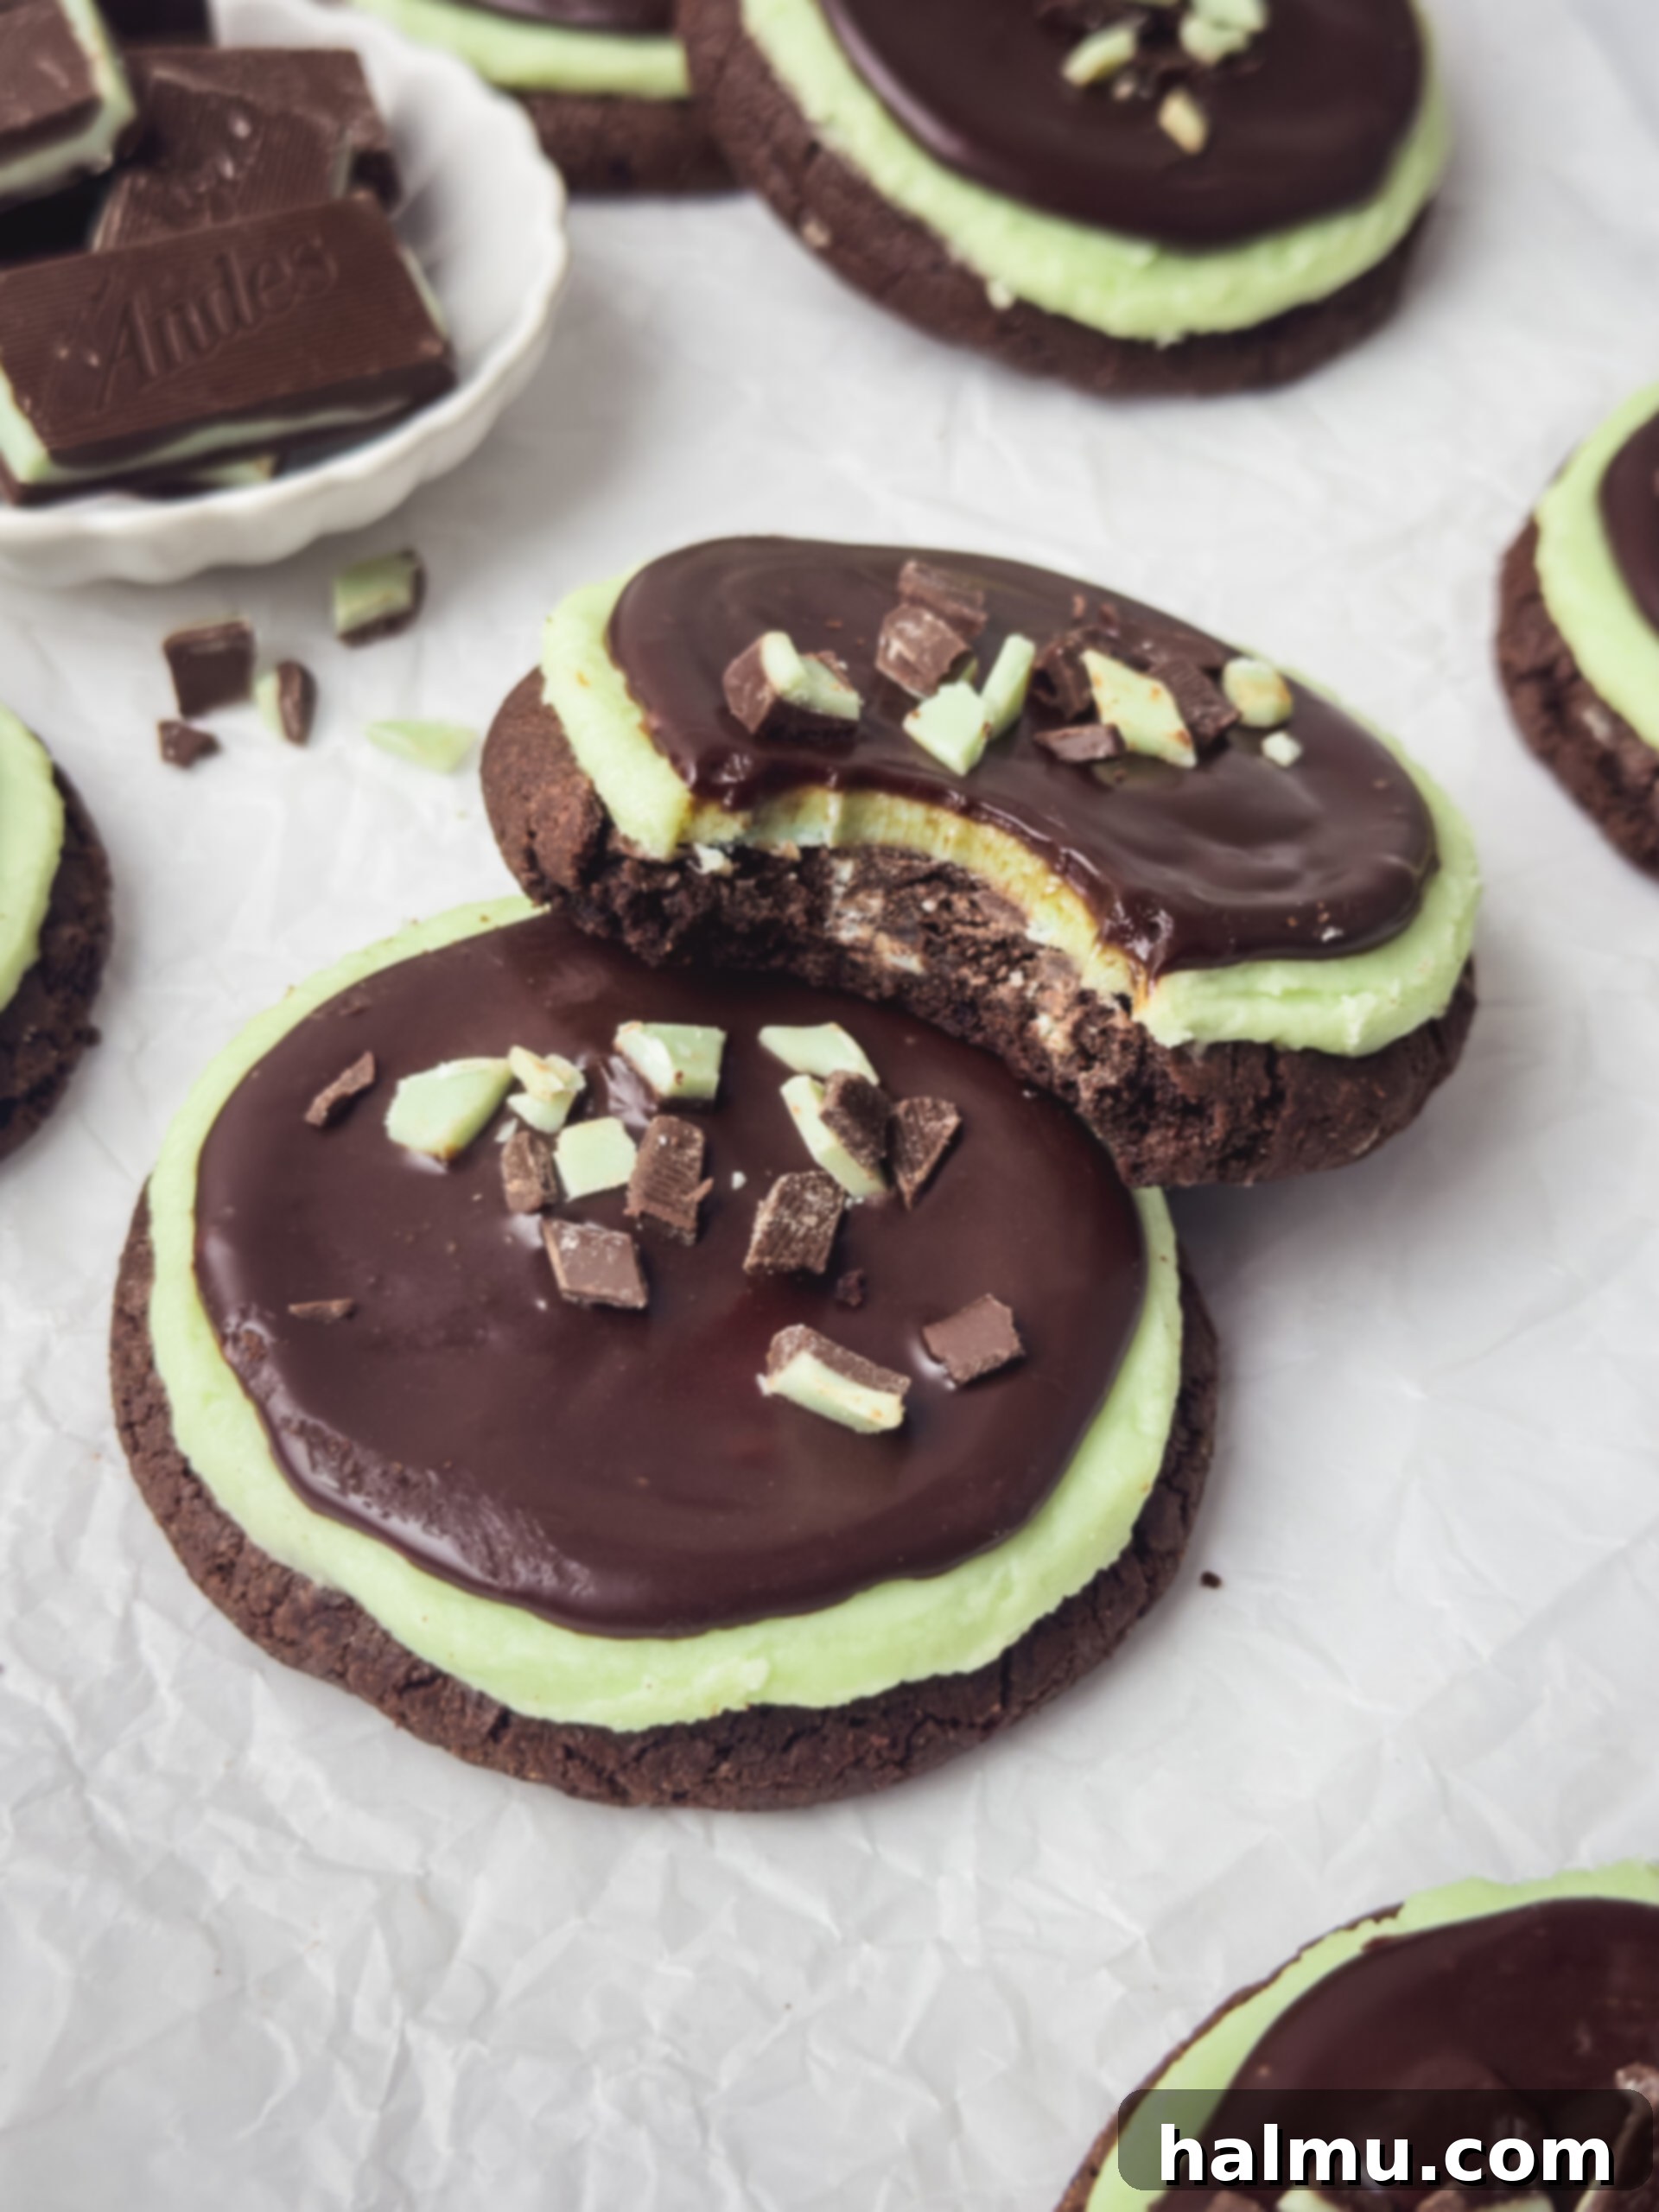
Prepare to be enchanted by these Frosted Andes Chocolate Mint Cookies – a true delight for anyone who savors the classic combination of rich chocolate and refreshing mint. These aren’t just any cookies; they’re a harmonious blend of textures and flavors, designed to deliver an unforgettable treat. Each cookie begins with a foundation of soft, chewy chocolate goodness, generously studded with finely chopped Andes mints that melt into pockets of minty perfection during baking. But the indulgence doesn’t stop there. A layer of cool, creamy, and vibrant mint frosting crowns each cookie, providing a refreshing contrast to the deep chocolate base. To elevate them further, a silky, glossy chocolate ganache is carefully spread on top, adding an extra layer of decadence and a beautiful finish. Finally, a sprinkle of crushed Andes mints delivers the perfect textural crunch and an intensified burst of minty flavor, making every bite an absolute pleasure.
Whether you’re celebrating St. Patrick’s Day, adding a festive touch to your Christmas baking, or simply seeking an excuse to indulge in a truly decadent chocolate-mint creation, these cookies are absolutely perfect. Their balanced blend of richness and refreshment makes them a standout dessert, promising to satisfy even the most discerning sweet tooth. Get ready to bake a batch that will impress and delight everyone who tries them!
Why You’ll Fall in Love with These Andes Chocolate Mint Cookies
These Frosted Andes Chocolate Mint Cookies are more than just a dessert; they are an experience. Here’s why they will quickly become a cherished favorite in your recipe collection:
- Unbeatable Flavor Combination: The timeless pairing of rich chocolate and cool mint is taken to new heights. The Andes mints baked into the cookie dough infuse every bite with a delightful minty essence, while the fresh mint frosting and dark chocolate ganache create a symphony of flavors that is both luxurious and invigorating.
- Perfect Texture Profile: Imagine a cookie that’s wonderfully soft and chewy in the center, with slightly crispy edges. The chopped Andes mints add tiny pockets of melted candy, creating a unique texture. This is beautifully complemented by the smooth, creamy frosting and the silky ganache, with a final crunch from the sprinkled mints on top.
- Visually Stunning: With their vibrant green frosting, glossy dark chocolate ganache, and specks of mint, these cookies are as appealing to the eyes as they are to the palate. They make an impressive presentation for any gathering, easily becoming the star of your dessert table.
- Versatile for Any Occasion: While often associated with holidays like St. Patrick’s Day and Christmas, the universal appeal of chocolate and mint means these cookies are perfect for birthdays, potlucks, bake sales, or simply as a special weekend treat. They adapt beautifully to any celebration or quiet craving.
- Relatively Easy to Make: Despite their sophisticated appearance, these cookies are surprisingly straightforward to prepare. The no-chill cookie dough saves time, and the step-by-step instructions ensure a smooth baking process, even for less experienced bakers.
- Make-Ahead Friendly: Both the unfrosted cookies and the finished product can be frozen, offering fantastic flexibility for meal prep or future enjoyment. This means you can always have a stash of these delightful treats ready for any impromptu craving or guest.
These cookies aren’t just a recipe; they’re a celebration of flavor and texture, promising pure satisfaction with every decadent bite.
How to Craft Irresistible Andes Chocolate Mint Cookies
Creating the Perfect Chocolate Cookie Dough
The journey to these incredible cookies begins with a rich and tender chocolate dough. In the bowl of your electric mixer, you’ll combine softened unsalted butter with both granulated sugar and brown sugar. The brown sugar is key here, contributing to the cookies’ signature chewiness and a subtle molasses note that deepens the chocolate flavor. Cream these together until light and fluffy, ensuring a well-aerated base. Next, eggs and a generous splash of vanilla extract are incorporated, adding moisture and enhancing the overall aroma. The dry ingredients, including unsweetened cocoa powder for that deep chocolate hue and flavor, all-purpose flour for structure, baking soda and baking powder for lift, and a touch of salt to balance the sweetness, are then gently mixed in. A secret ingredient, cornstarch, is added to the dry mix to help maintain the cookies’ incredibly soft and chewy texture, preventing them from becoming dry or crumbly. Finally, the star of the show – finely chopped Andes mints – are carefully folded into the dough. This ensures that every cookie is dotted with those delightful pockets of melty mint chocolate, creating an exciting surprise in each bite.
Perfectly Portioning and Baking Your Cookies
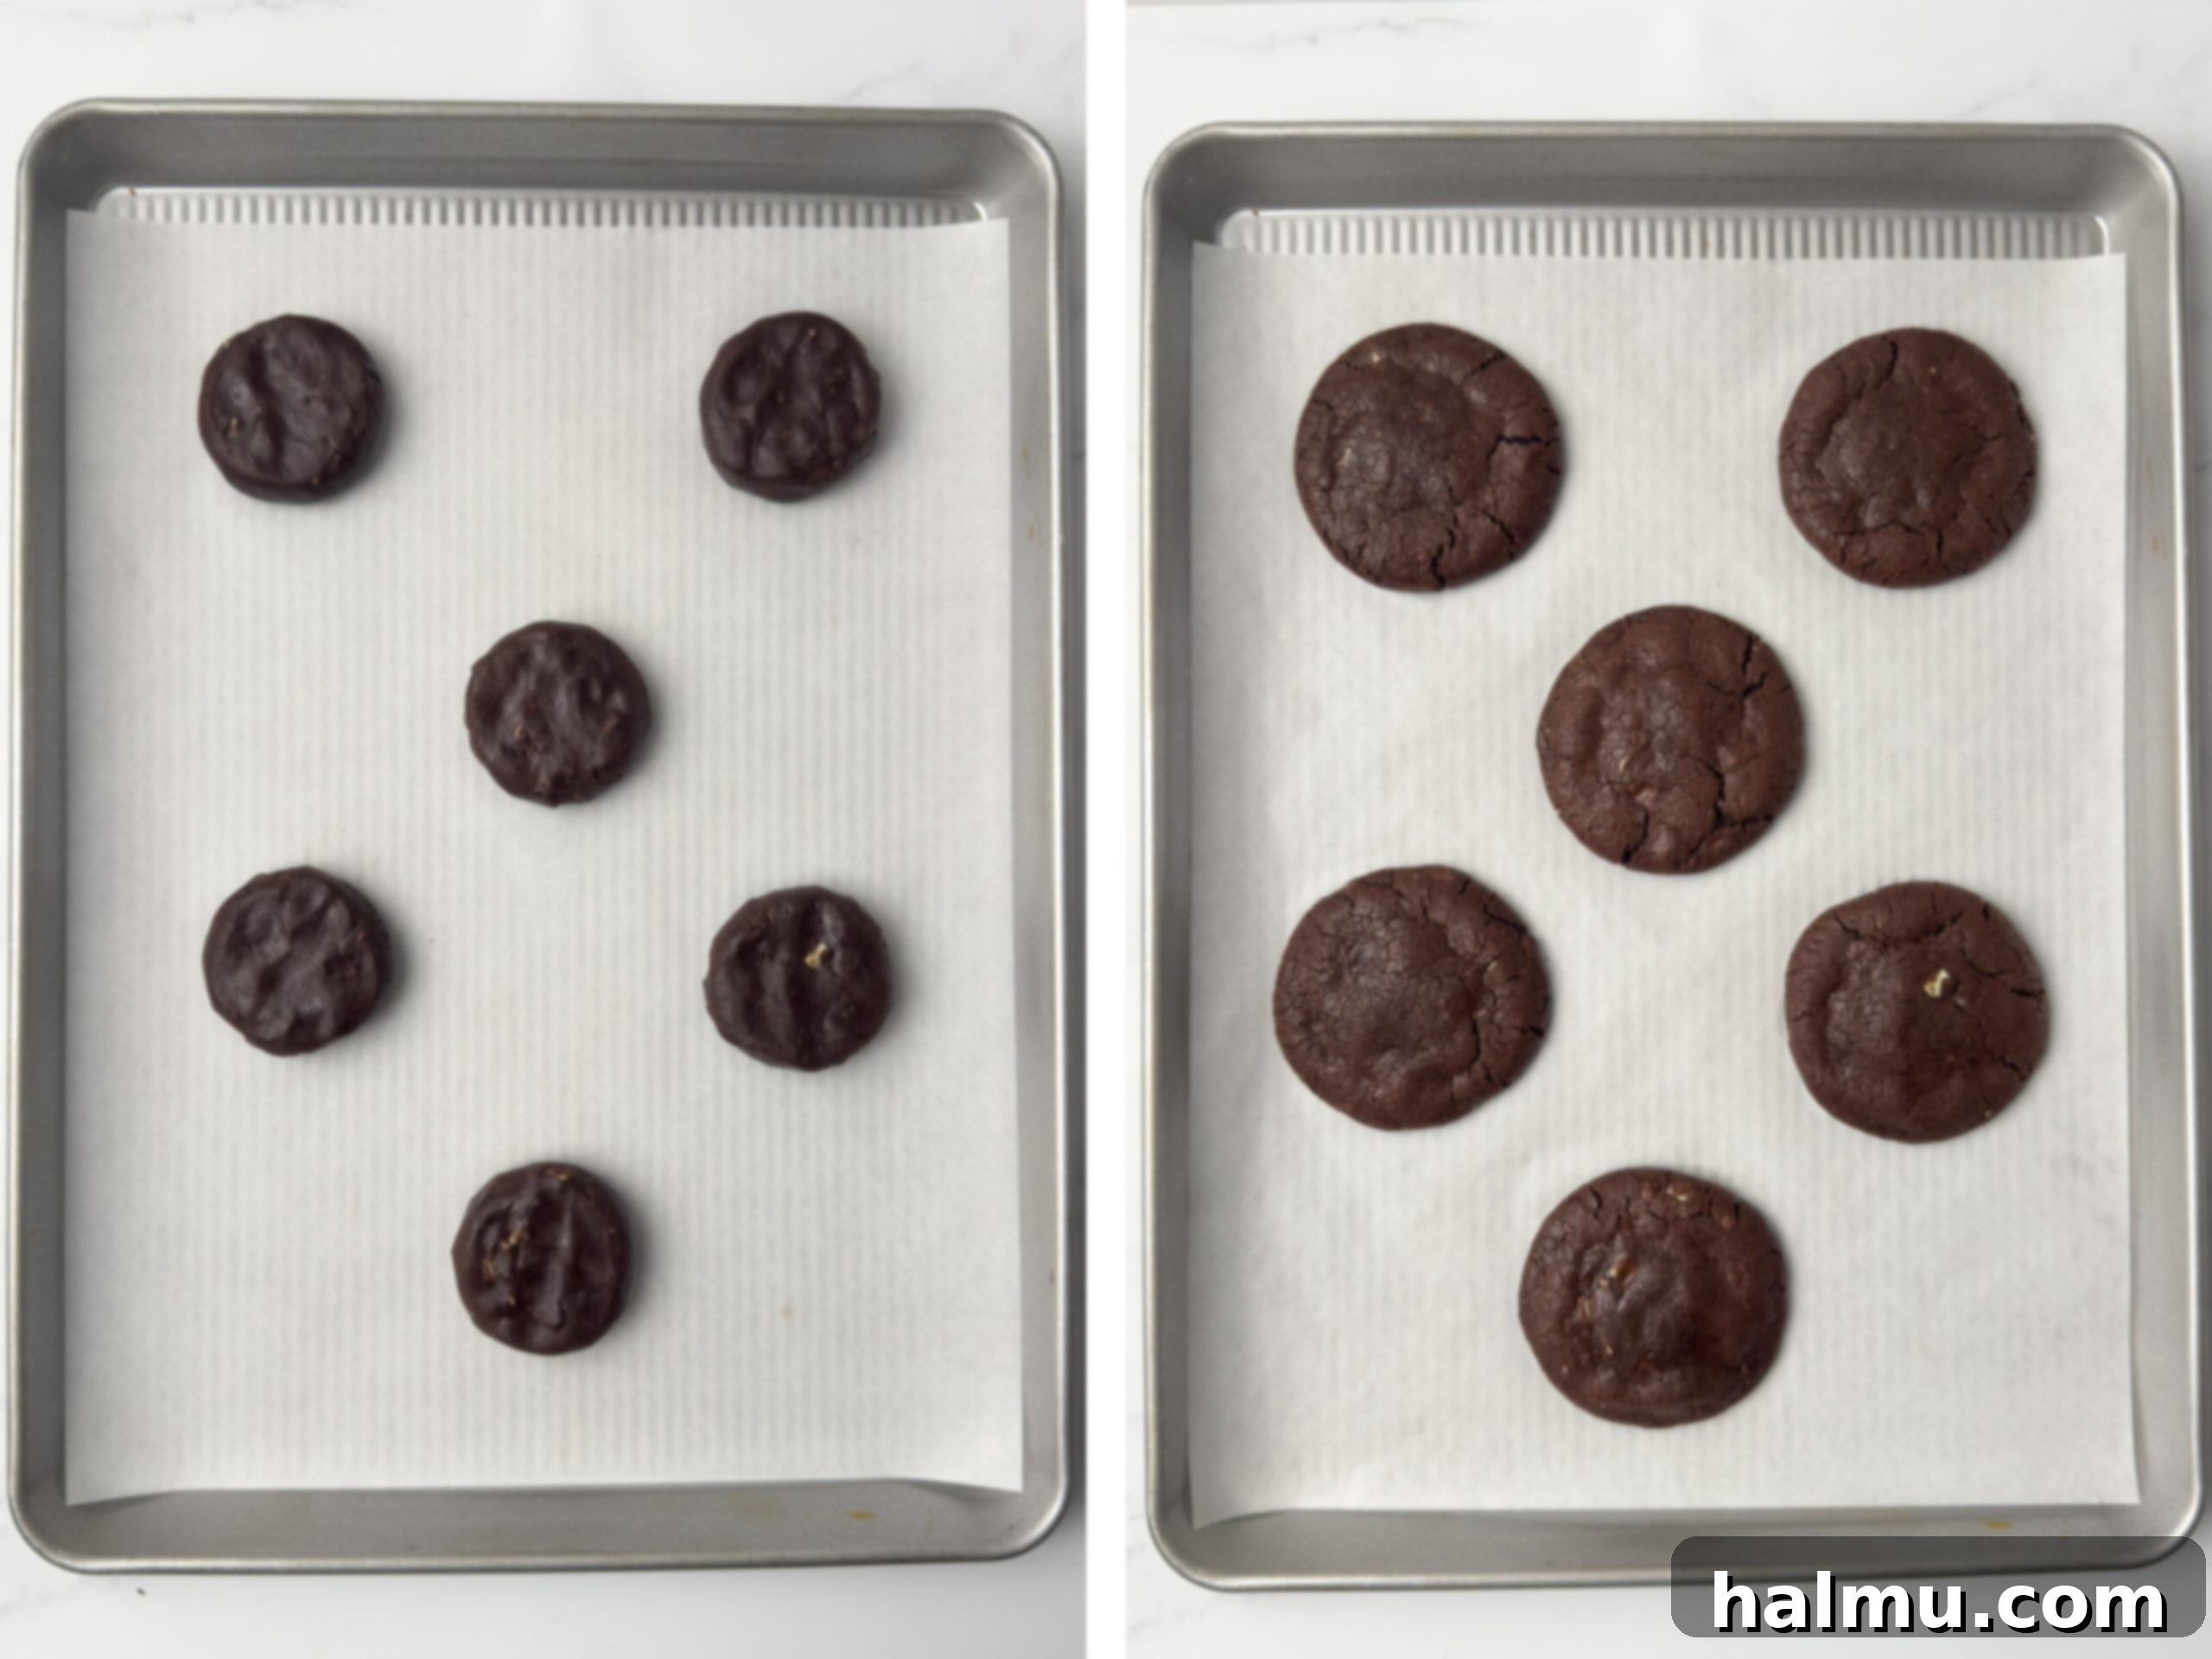
Once your irresistible chocolate cookie dough is ready, it’s time to prepare them for baking. For consistent size and even baking, a 3 Tablespoon (#24) cookie scoop is highly recommended. This ensures that all your cookies bake uniformly and look beautiful. Arrange the scooped dough balls onto parchment-lined baking pans, leaving at least 2 inches between each cookie to allow for proper spreading. Before baking, gently flatten each dough ball slightly with your palm or the back of a spoon. This helps them spread into perfect cookie shapes rather than staying too mounded. Preheat your oven to a precise 350°F (175°C). Bake the cookies for approximately 8-9 minutes. The key to their soft, chewy interior is to avoid overbaking. You’ll know they’re ready when the tops of the cookies are no longer glossy in the center, but the edges are just set. They might still seem slightly soft, but they will firm up as they cool. Once out of the oven, allow the cookies to cool completely on the baking sheets before attempting to frost them. This is crucial; warm cookies will cause your beautiful mint frosting to melt into a messy puddle.
Crafting the Refreshing Mint Frosting
The vibrant mint buttercream frosting is a defining element of these cookies, adding a burst of cool flavor and a beautiful visual appeal. Begin by creaming softened unsalted butter in an electric mixer until it’s perfectly smooth and creamy, which typically takes about two minutes. This step is essential for achieving a light and airy frosting texture. Next, gradually add the powdered sugar, ensuring it’s sifted if clumpy, to prevent a grainy frosting. Alongside the sugar, incorporate vanilla extract for warmth, mint extract for that signature cool flavor, a pinch of salt to balance the sweetness, and heavy cream to achieve the ideal consistency. Start mixing on a low speed to avoid a cloud of powdered sugar, then increase the speed to medium-high. Continue mixing for a couple of minutes until the frosting is incredibly smooth, creamy, and holds its shape beautifully. For that iconic Andes mint look, add 1-2 drops of green gel food coloring. Remember, a little goes a long way with gel coloring, so start with a tiny amount and add more gradually until you reach your desired shade of mint green. This frosting will be fluffy and spreadable, ready to crown your chocolate cookies.
Whipping Up the Silky Chocolate Ganache
The rich, glossy chocolate ganache provides a luscious counterpoint to the mint frosting, creating a truly decadent experience. To make it, combine good quality dark chocolate chips with heavy cream in a heatproof bowl. Using a microwave, heat the mixture in short 20-second increments, stirring thoroughly after each interval. This gentle heating method is crucial to prevent the chocolate from seizing or burning. Continue to heat and stir until the chocolate is fully melted and the mixture transforms into a smooth, shiny, and homogeneous ganache. The consistency should be fluid enough to spread but not too thin. After achieving the perfect consistency, it’s vital to let the ganache cool for a few minutes. If it’s too hot, it will melt the delicate mint frosting when applied. Allow it to come down to a warm, but not hot, temperature, where it remains pourable but has started to thicken slightly. This will ensure it sets beautifully on top of the frosting without causing any meltdown mishaps.
Mastering the Cookie Topping and Assembly
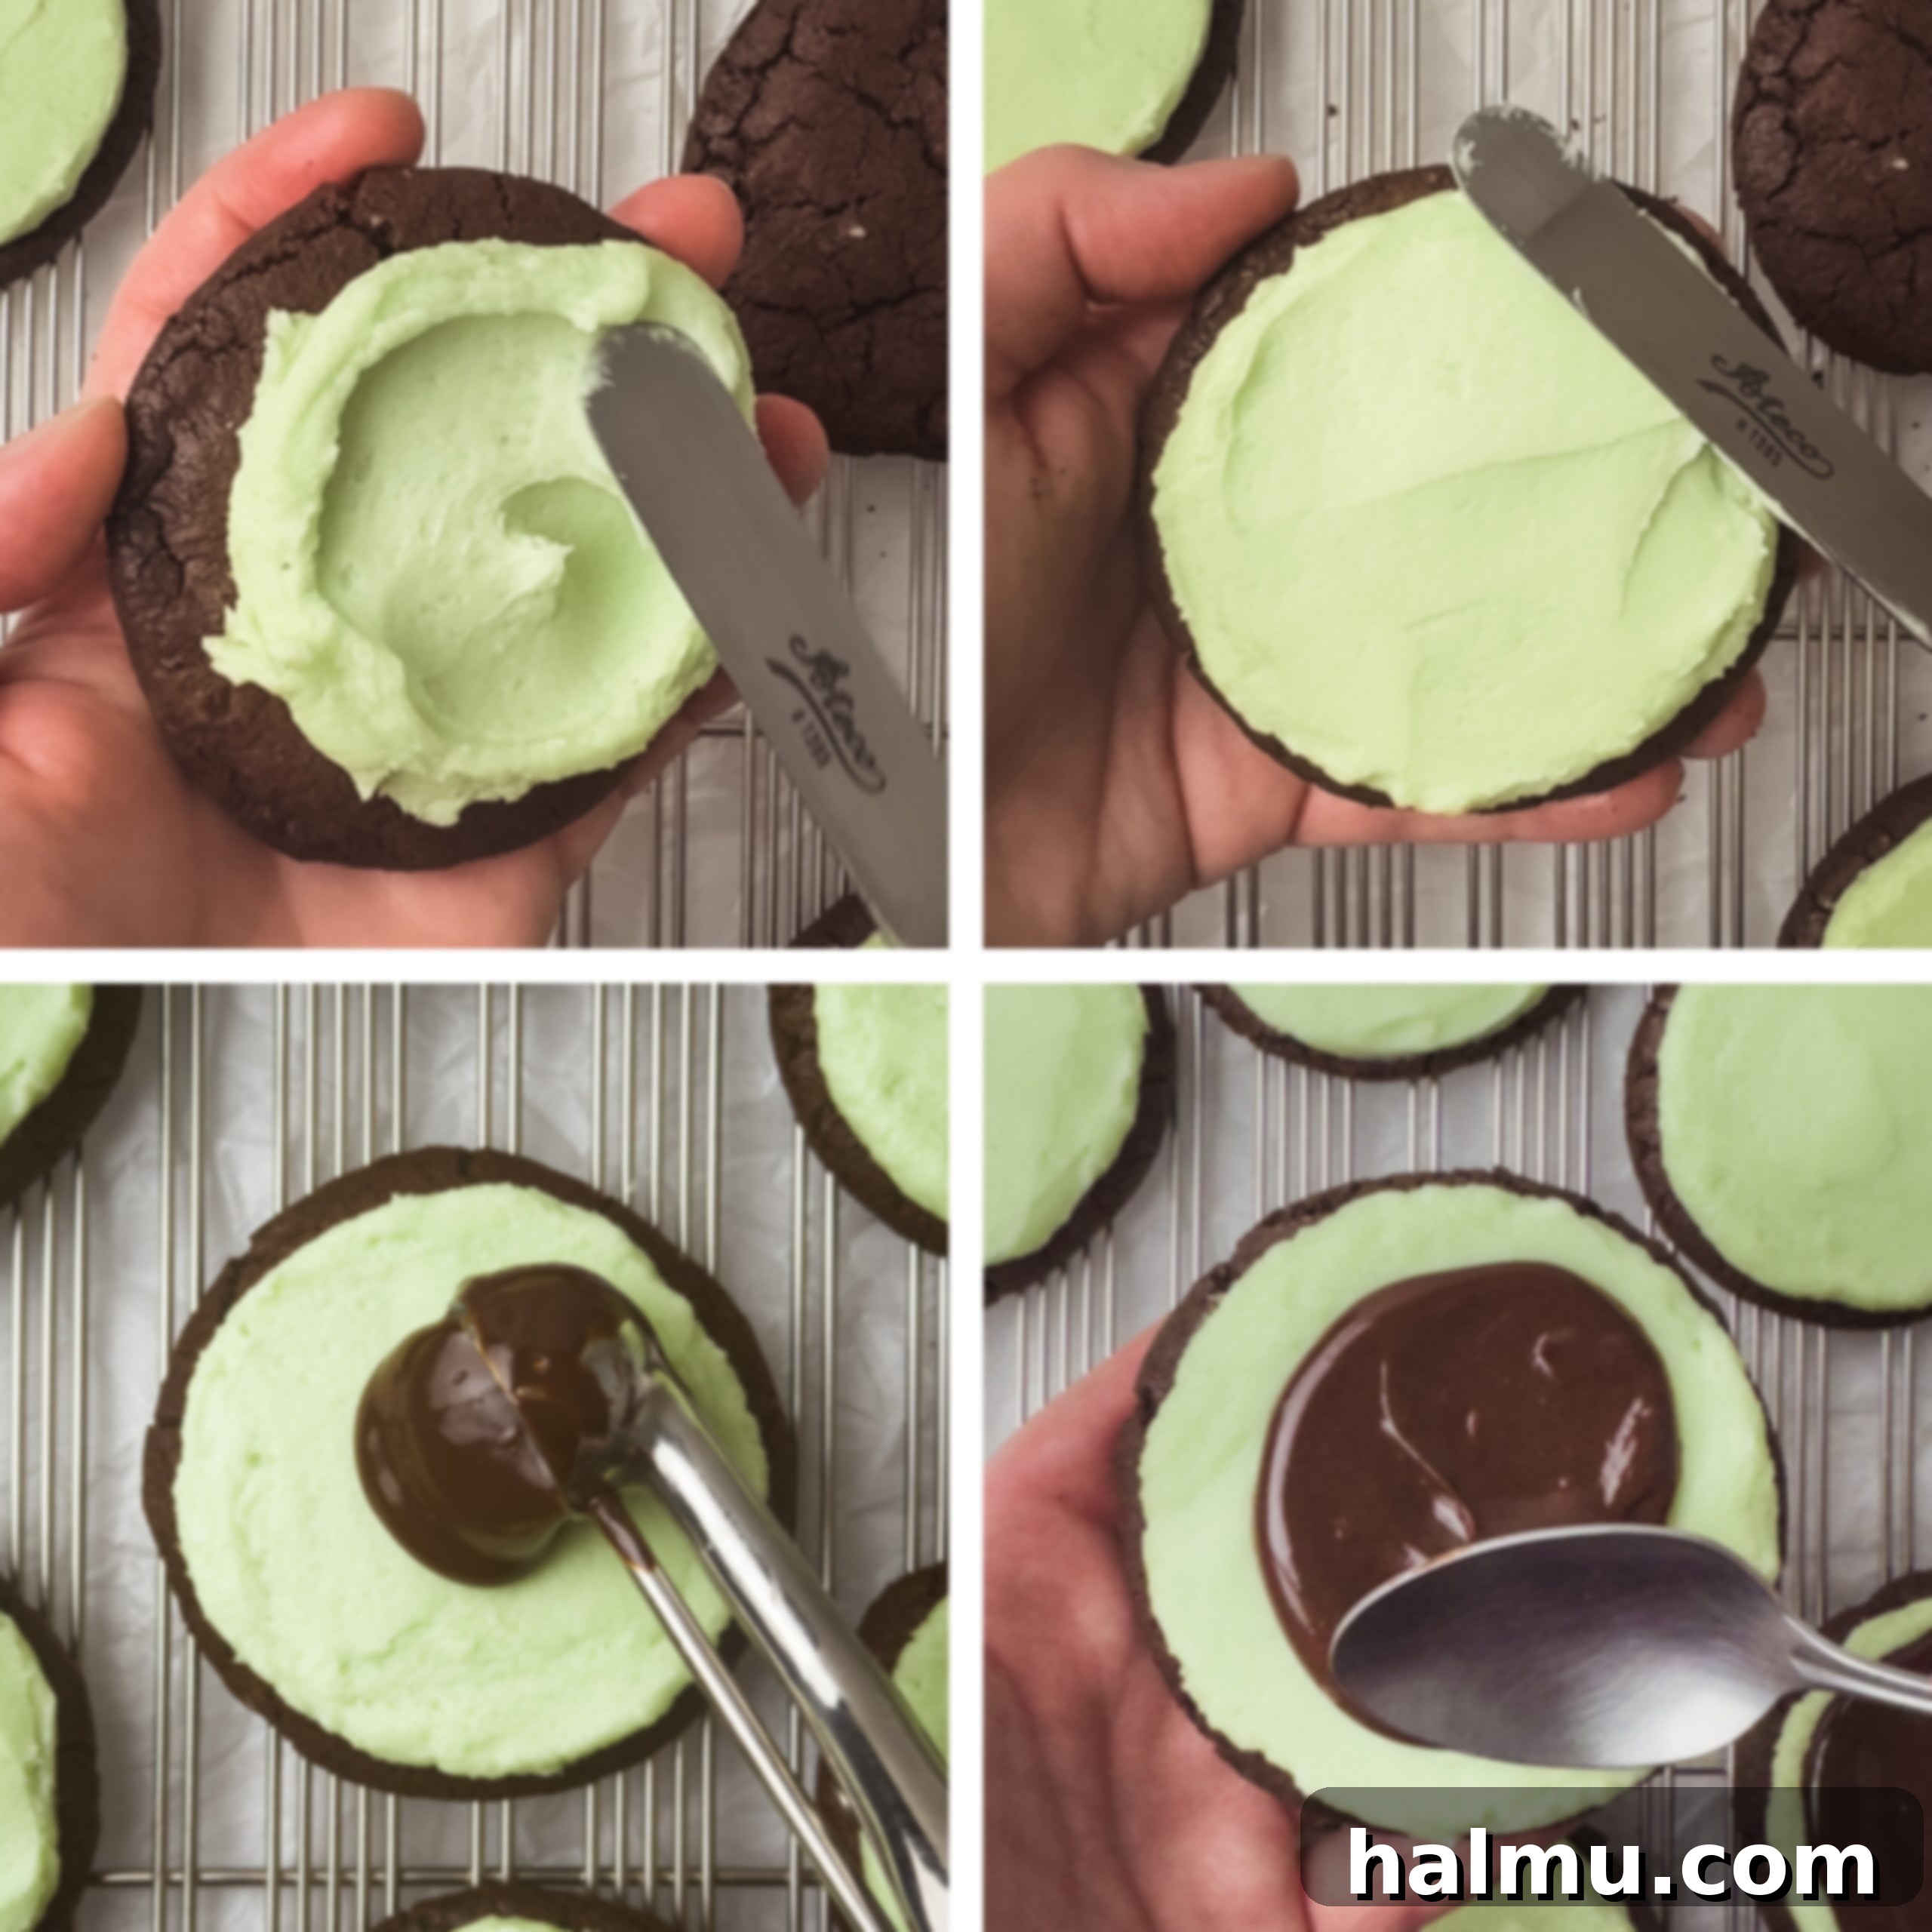
The final step in creating these show-stopping Frosted Andes Chocolate Mint Cookies is the assembly, where all the delicious elements come together in a beautiful presentation. First, ensure your chocolate cookies are completely cooled to prevent any frosting disasters. Using a small cookie scoop or a spoon, place a generous dollop of the prepared mint frosting onto the center of each cookie. With an offset spatula or the back of a spoon, gently spread the frosting evenly to the edges, leaving just a tiny border of the chocolate cookie visible around the perimeter. This creates a neat base for the next layer. Next, add a slightly smaller dollop of the cooled chocolate ganache directly on top of the mint frosting. Again, use an offset spatula or the back of a spoon to carefully spread the ganache, leaving a small rim of the green mint frosting showing beneath. This layering creates a visually appealing contrast. To complete these masterpieces, generously sprinkle more of the finely chopped Andes mints over the ganache. This not only adds a beautiful garnish but also provides an extra layer of crunch and intensified mint flavor. Now, your exquisite Frosted Andes Chocolate Mint Cookies are ready to be admired and devoured!
Frequently Asked Questions About Frosted Chocolate Mint Cookies
Can I use peppermint extract instead of mint extract for these cookies?
While peppermint extract can certainly be used in a pinch, it will impart a noticeably different flavor profile to your frosting. Mint extract, often derived from spearmint, typically offers a sweeter, milder, and more refreshing “candy cane” or “after-dinner mint” flavor that pairs exquisitely with the chocolate. Peppermint extract, on the other hand, is generally stronger, more intense, and can have a sharper, almost medicinal quality, similar to the flavor of a classic peppermint candy. When testing this recipe, I found that the softer, sweeter notes of mint extract truly complemented the rich chocolate and creamy frosting best. However, if you prefer a bolder, more pungent mint flavor or if peppermint extract is all you have on hand, it will still yield delicious results – just be prepared for that distinct peppermint kick!
Does the cookie dough require chilling before baking?
One of the fantastic advantages of this Andes Chocolate Mint Cookie recipe is that the dough does NOT require chilling! This is a major time-saver, making these decadent cookies incredibly quick and convenient to whip up whenever a chocolate-mint craving strikes. Many cookie doughs benefit from chilling to prevent excessive spreading, but this particular recipe is formulated to maintain its shape beautifully without that extra step. This means you can go from mixing bowl to warm, freshly baked cookies much faster, without the frustration of waiting around for the dough to firm up. It’s perfect for impromptu baking sessions or when you need a delicious dessert in a hurry.
Essential Tools & Baking Supplies
Having the right tools can make all the difference in your baking. Here are some of my favorite supplies that help make these cookies a breeze to create:
- Pure Mint Extract: For that perfect, balanced mint flavor.
- Mint Green Gel Food Coloring: To achieve the ideal vibrant green frosting.
- USA Pan Half Sheet Pan: Durable and provides even heat distribution for perfect baking.
- Parchment Paper Baking Sheets: Ensures non-stick baking and easy cleanup.
- Cookie Scoops (Multiple Sizes): Essential for perfectly portioned, uniformly sized cookies.
- Offset Spatula: Ideal for spreading frosting and ganache smoothly and evenly.
For more of my favorite baking tools and supplies, visit my Amazon Storefront.

Pro Baking Tip: Precision with a Kitchen Scale!
For consistently perfect baking results every single time, I cannot stress enough the importance of using a kitchen scale to weigh your ingredients rather than relying on volume measurements like measuring cups. Weighing ingredients is by far the most accurate method in baking. Flour, for example, can be packed differently into a cup, leading to varying amounts and inconsistent outcomes. A gram measurement, however, is always exact. This precision directly translates to a better success rate with your recipes, ensuring your cookies are perfectly soft, chewy, and exactly as intended. Beyond accuracy, using a kitchen scale often means fewer dirty dishes, leading to quicker and easier cleanup – a win-win in any kitchen! I proudly provide gram measurements in all my recipes, and this is the reliable scale I personally use and highly recommend.
What is the best way to store Frosted Andes Chocolate Mint Cookies?
To keep these delectable cookies fresh and delicious, proper storage is key. For short-term enjoyment, store your Frosted Andes Chocolate Mint Cookies in an airtight container at room temperature. They will retain their delightful taste and texture for up to 3 days. If you need to keep them fresh for a bit longer, or if your kitchen runs warm, transfer them to an airtight container and store them in the refrigerator. In the fridge, these cookies can stay fresh for up to 5 days. Be sure to separate layers with parchment paper if stacking to prevent the frosting and ganache from sticking together. Always allow them to come closer to room temperature for the best flavor and texture before serving.
Do the unfrosted chocolate mint cookies freeze well?
Absolutely, these cookies freeze beautifully before frosting, which is excellent for meal prep or enjoying freshly frosted cookies later. To freeze the unfrosted chocolate cookies, first arrange the completely cooled baked cookies in a single layer on a baking sheet. Place the baking sheet in the freezer for about 30 minutes to 1 hour, or until the cookies are firm. This step, known as flash-freezing, prevents them from sticking together. Once firm, transfer the cookies to an airtight freezer-safe container or a heavy-duty zip-top freezer bag, layering them with parchment paper if necessary. They can be stored in the freezer for up to 3 months. When you’re ready to enjoy them, simply remove the desired number of cookies from the freezer and let them thaw at room temperature for 3-4 hours or overnight. Once fully thawed, you can proceed with preparing the mint frosting and chocolate ganache, and then top your cookies as usual, enjoying them as if they were freshly baked.
Can the finished, frosted cookies be frozen?
Yes, you can also successfully freeze these Andes chocolate mint cookies even after they have been fully frosted and topped with ganache and crushed mints. This is perfect for extending their shelf life or having a ready-made festive treat. To freeze them, arrange the completely finished cookies in single layers within an airtight freezer-safe container. It’s essential to place a piece of parchment paper or wax paper between each layer of cookies to prevent the frosting and ganache from sticking or getting damaged. When a craving strikes or unexpected guests arrive, simply remove the frozen cookies from the freezer and allow them to thaw slowly at room temperature for several hours. This gradual thawing helps to preserve the texture of both the cookie and the frosting, ensuring they are just as delicious as when they were first made.
Tips for Crafting the Perfect Chocolate Mint Cookies
Achieving bakery-quality Frosted Andes Chocolate Mint Cookies is simpler than you might think with these expert tips:
- Exercise Caution with Food Coloring: When adding green gel food coloring to your mint frosting, remember that a little goes a very long way. Gel food colorings are highly concentrated, so start with just a tiny drop (you can even use a toothpick to transfer it). Mix thoroughly, then assess the color. If you desire a deeper shade, add another tiny drop. It’s much easier to gradually add more color than to try and lighten a frosting that has become too dark. This approach ensures you achieve that perfect, inviting mint green without overdoing it.
- Avoid Overbaking for Ultimate Chewiness: The secret to these cookies’ delightful soft and chewy texture lies in not overbaking them. Chocolate cookies can often appear underbaked even when they are perfectly done, making it tempting to leave them in the oven longer. However, overbaking will result in dry, crumbly cookies, sacrificing their fudgy interior. Aim for a baking time of about 8-9 minutes in a preheated 350°F oven. You’ll know they’re ready when the majority of the glossy sheen on the tops of the cookies has disappeared, and the edges are just set. They might still feel slightly soft to the touch in the center, but they will firm up beautifully as they cool on the baking sheet.
- Thoroughly Cool Cookies Before Frosting: This tip is absolutely critical for the success of your frosted cookies. Attempting to frost warm or even slightly warm cookies will inevitably lead to melted, sliding frosting and a messy presentation. After removing your cookies from the oven, let them rest on the baking sheet for about 5-10 minutes to set. Then, carefully transfer them to a wire cooling rack to allow for complete air circulation. This helps them cool down faster and ensures they reach room temperature. Patience here will be rewarded with perfectly set, picture-perfect frosted cookies that hold their shape and layers beautifully.
More Mint Chocolate Recipes You’ll Love
If you’re a devoted fan of the enchanting chocolate-mint flavor combination, then your culinary adventure doesn’t have to end with these incredible cookies! Here are more delightful recipes that capture the refreshing essence of mint paired with rich chocolate:
- Mint Oreo Cookies: A playful twist on a classic, these cookies combine the beloved flavor of Oreos with a cool minty kick.
- Chocolate Mint Cream Pie: Indulge in a luxurious, creamy pie featuring layers of rich chocolate and refreshing mint, perfect for a show-stopping dessert.
- Mint Chocolate Chip Ice Cream Sandwiches: Cool down with these delightful sandwiches, pairing homemade cookies with classic mint chocolate chip ice cream.
Each of these recipes promises to deliver that signature chocolate-mint bliss you crave, ensuring there’s always a new way to enjoy your favorite flavor pairing.
Frosted Andes Chocolate Mint Cookies Recipe
Soft chocolate cookies made with Andes mints, refreshing mint buttercream, and chocolate ganache. Indulge in these deliciously decadent Frosted Andes Chocolate Mint Cookies!
Author: Rachel
Recipe Details
- Prep Time: 35 mins
- Cook Time: 9 mins
- Total Time: 44 mins
- Yield: 12 servings
Ingredients
For the Chocolate Cookies
- ½ cup (1 stick/113g) unsalted butter, at room temperature
- ½ cup (100g) granulated sugar
- ½ cup (100g) brown sugar
- 1 large egg, at room temperature
- 2 teaspoons vanilla extract
- ½ cup (48g) unsweetened cocoa powder
- 1¼ cup (150g) all-purpose flour
- 1 Tablespoon (10g) cornstarch
- ½ teaspoon baking soda
- ¼ teaspoon baking powder
- ¼ teaspoon salt
- 4- ounces unwrapped Andes mints, chopped (plus more for topping)
For the Mint Frosting
- 1 cup (2 sticks/226g) unsalted butter, at room temperature
- 3 cups (360g) powdered sugar
- 1 teaspoon vanilla extract
- ½ teaspoon mint extract
- 1-2 drops green gel food coloring
- pinch of salt
- ¼ cup (60mL) heavy cream
For the Chocolate Ganache
- ⅔ cup (4oz/120g) dark chocolate chips*
- ½ cup (120mL) heavy cream
Instructions
- Preheat oven to 350°F (175°C) and line 2 baking sheets with parchment paper.
- Chocolate Cookies: In the bowl of a stand mixer fitted with a paddle attachment, cream the butter, granulated sugar, and brown sugar until combined and light, about 2 minutes.
- Scrape down the sides of the bowl well, then add the large egg and vanilla extract with the mixer on low speed. Mix until all ingredients are just well combined.
- Scrape the bowl again. Add the flour, unsweetened cocoa powder, cornstarch, baking soda, baking powder, and salt. Mix on low speed just until the dry ingredients are combined with the wet, being careful not to overmix. Gently fold in the chopped Andes mints until evenly distributed.
- Scoop the dough using a #24 cookie scoop (which holds about 3 Tablespoons of dough). Place the cookie dough balls onto the prepared baking pans, ensuring they are spaced at least 2 inches apart to allow for spreading. Lightly press each dough ball down to flatten it slightly.
- Bake at 350°F (175°C) for 8-9 minutes. The cookies are done when the tops are no longer glossy and the edges are set. They will still appear soft in the center but will firm up as they cool. Allow the cookies to cool completely on the baking sheets before proceeding with frosting.
- Mint Frosting: In the clean bowl of a stand mixer fitted with a paddle attachment, cream the softened unsalted butter at medium speed until it is smooth and creamy, about 2 minutes. Scrape down the bowl thoroughly with a rubber spatula.
- To the creamed butter, add the powdered sugar, vanilla extract, mint extract, green gel food coloring, pinch of salt, and heavy cream. Begin mixing on the lowest speed to prevent the powdered sugar from creating a mess. Once combined, scrape the bowl well with a rubber spatula again.
- Increase the mixer speed to medium-high and beat for 2 minutes. The frosting should become completely smooth, light, and creamy. Set aside.
- Chocolate Ganache: In a heatproof bowl, combine the dark chocolate chips and heavy cream. Microwave the mixture in 20-second increments, stirring well after each interval. Continue this process until the chocolate is fully melted and the mixture is smooth and shiny. Be very careful not to overheat the chocolate. Allow the ganache to cool for a few minutes until it’s warm but not hot, ensuring it won’t melt the frosting when applied.
- Assembly: Using a small cookie scoop or a spoon, place a dollop of mint frosting on top of each completely cooled chocolate cookie. Use a small offset spatula or the back of a knife to carefully spread the frosting evenly to the edges, leaving a small rim of the cookie showing. Next, add a smaller scoop of the cooled chocolate ganache on top of the mint frosting and gently spread it out, leaving a small border of green frosting visible. Finish each cookie by sprinkling additional chopped Andes mints on top for extra flavor and crunch. Enjoy your beautifully crafted Frosted Andes Chocolate Mint Cookies!
Notes
- *For the chocolate ganache, I recommend using quality dark chocolate chips, such as Ghiardelli 60% Bittersweet Chocolate Chips, for the best flavor and texture.
Did you make this recipe? Be sure to tag @sweetkitchencravings on Instagram!
HI THERE!
I’m Rachel
I’m the dessert lover, recipe developer, and content creator behind Sweet Kitchen Cravings. Here you’ll find classic yet special recipes that are sure to impress your loved ones!
MORE ABOUT RACHEL
Learn more about my culinary journey.
Connect with Sweet Kitchen Cravings:
Instagram
Facebook
TikTok
Pinterest
If you make this recipe and love it, be sure to leave a comment below. Happy baking!
