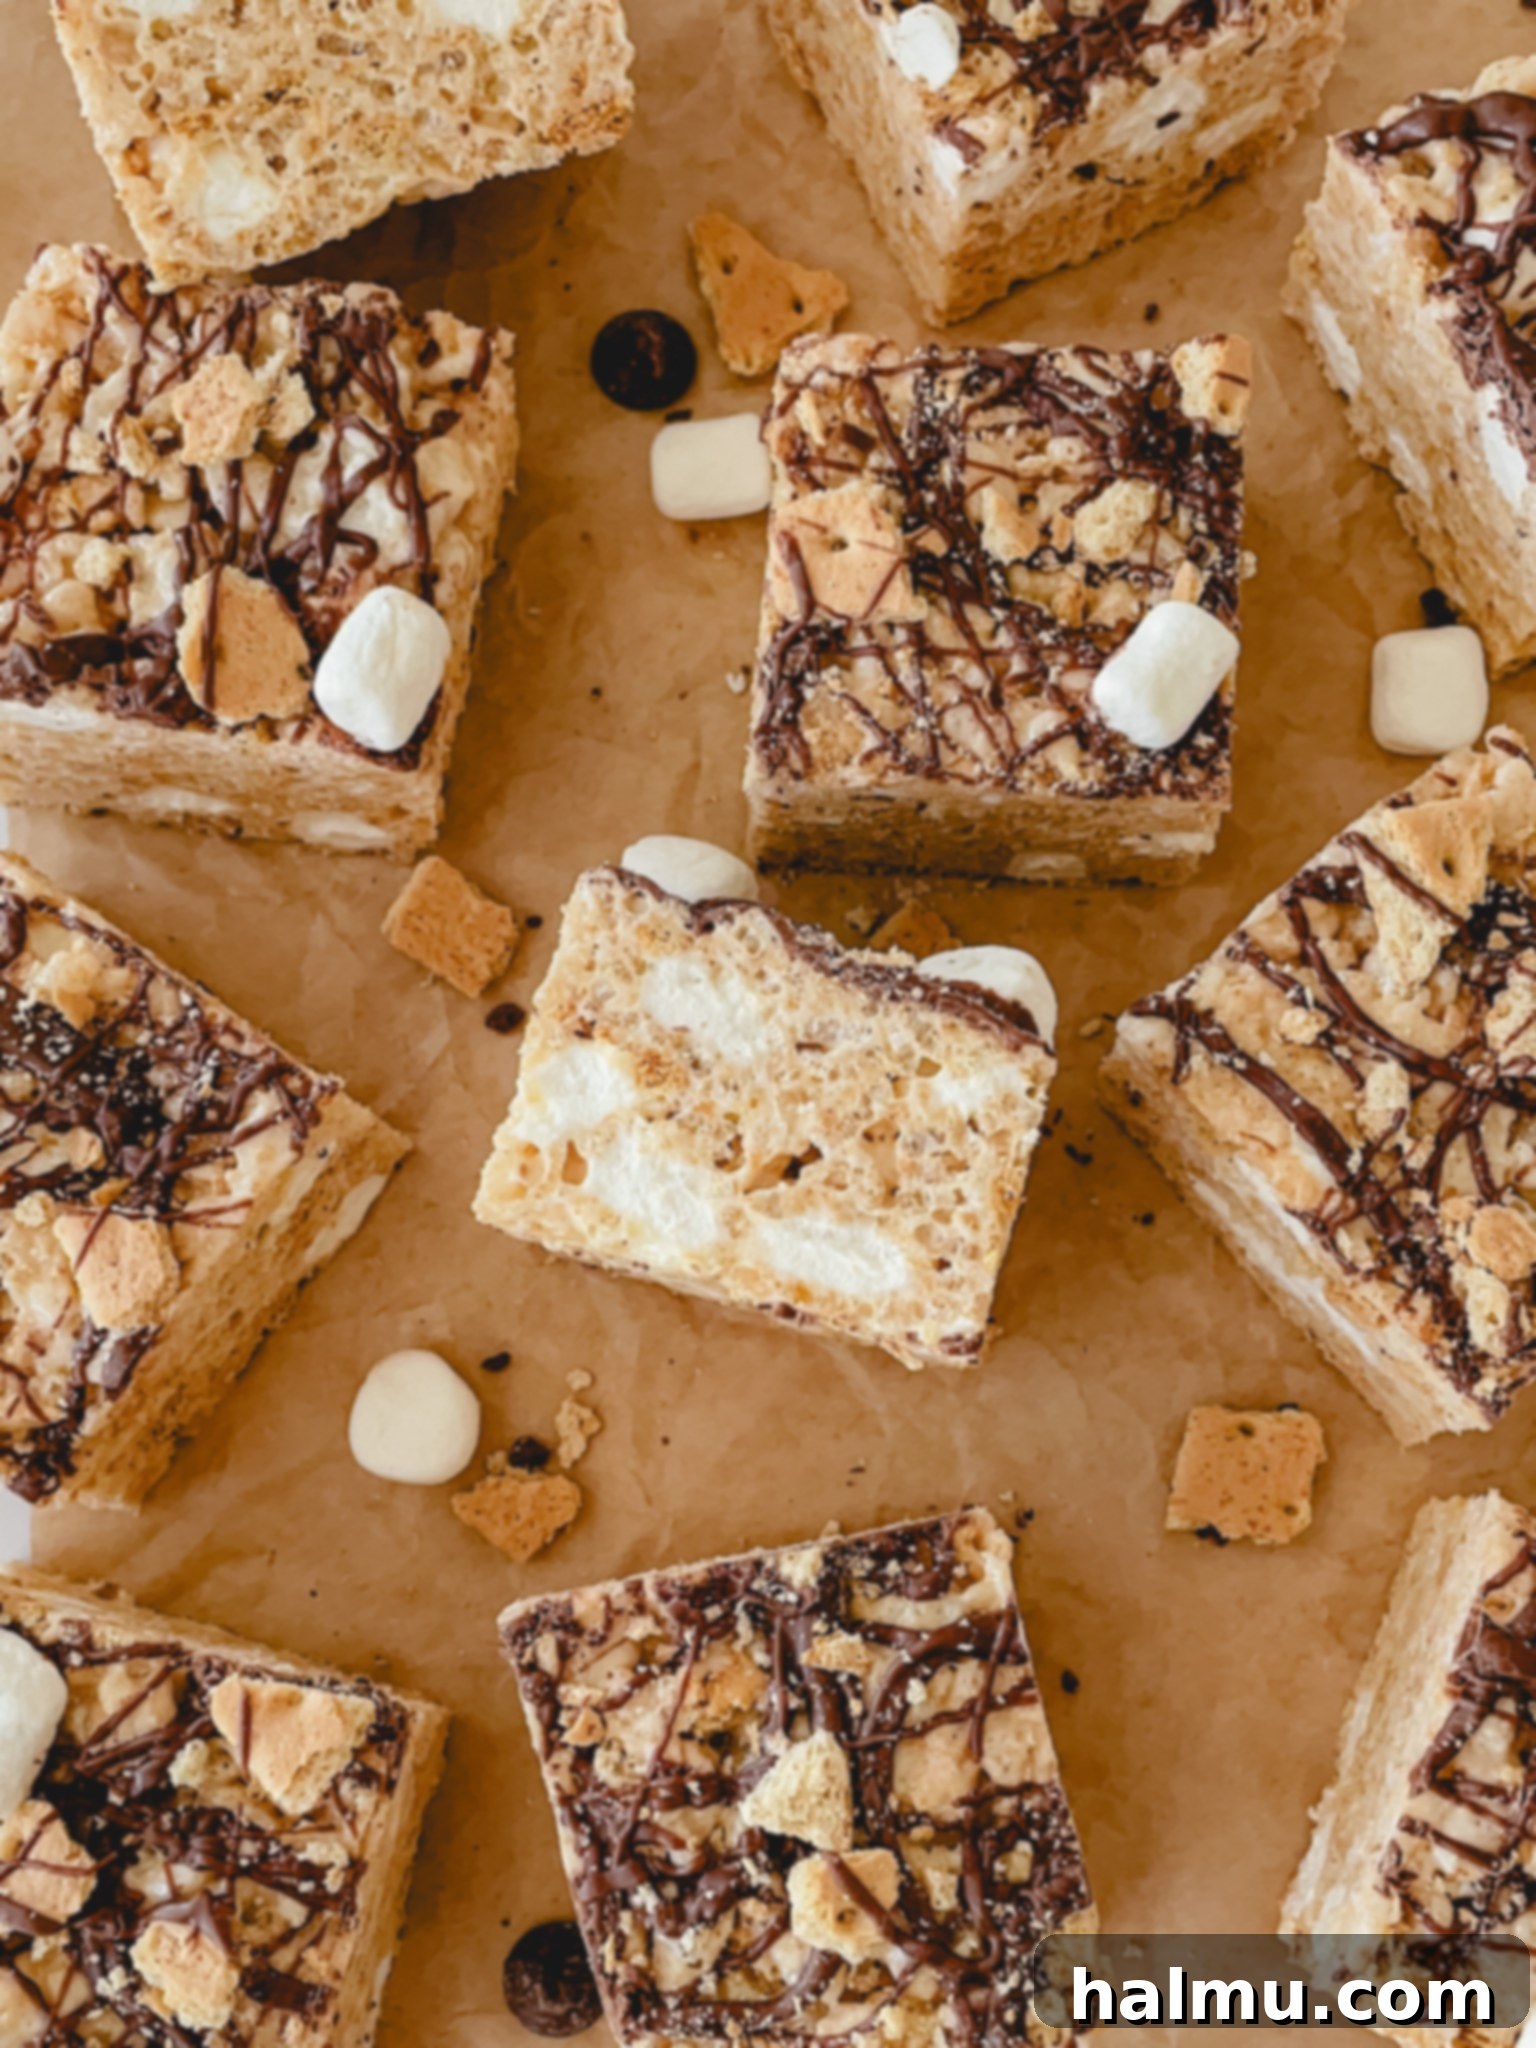
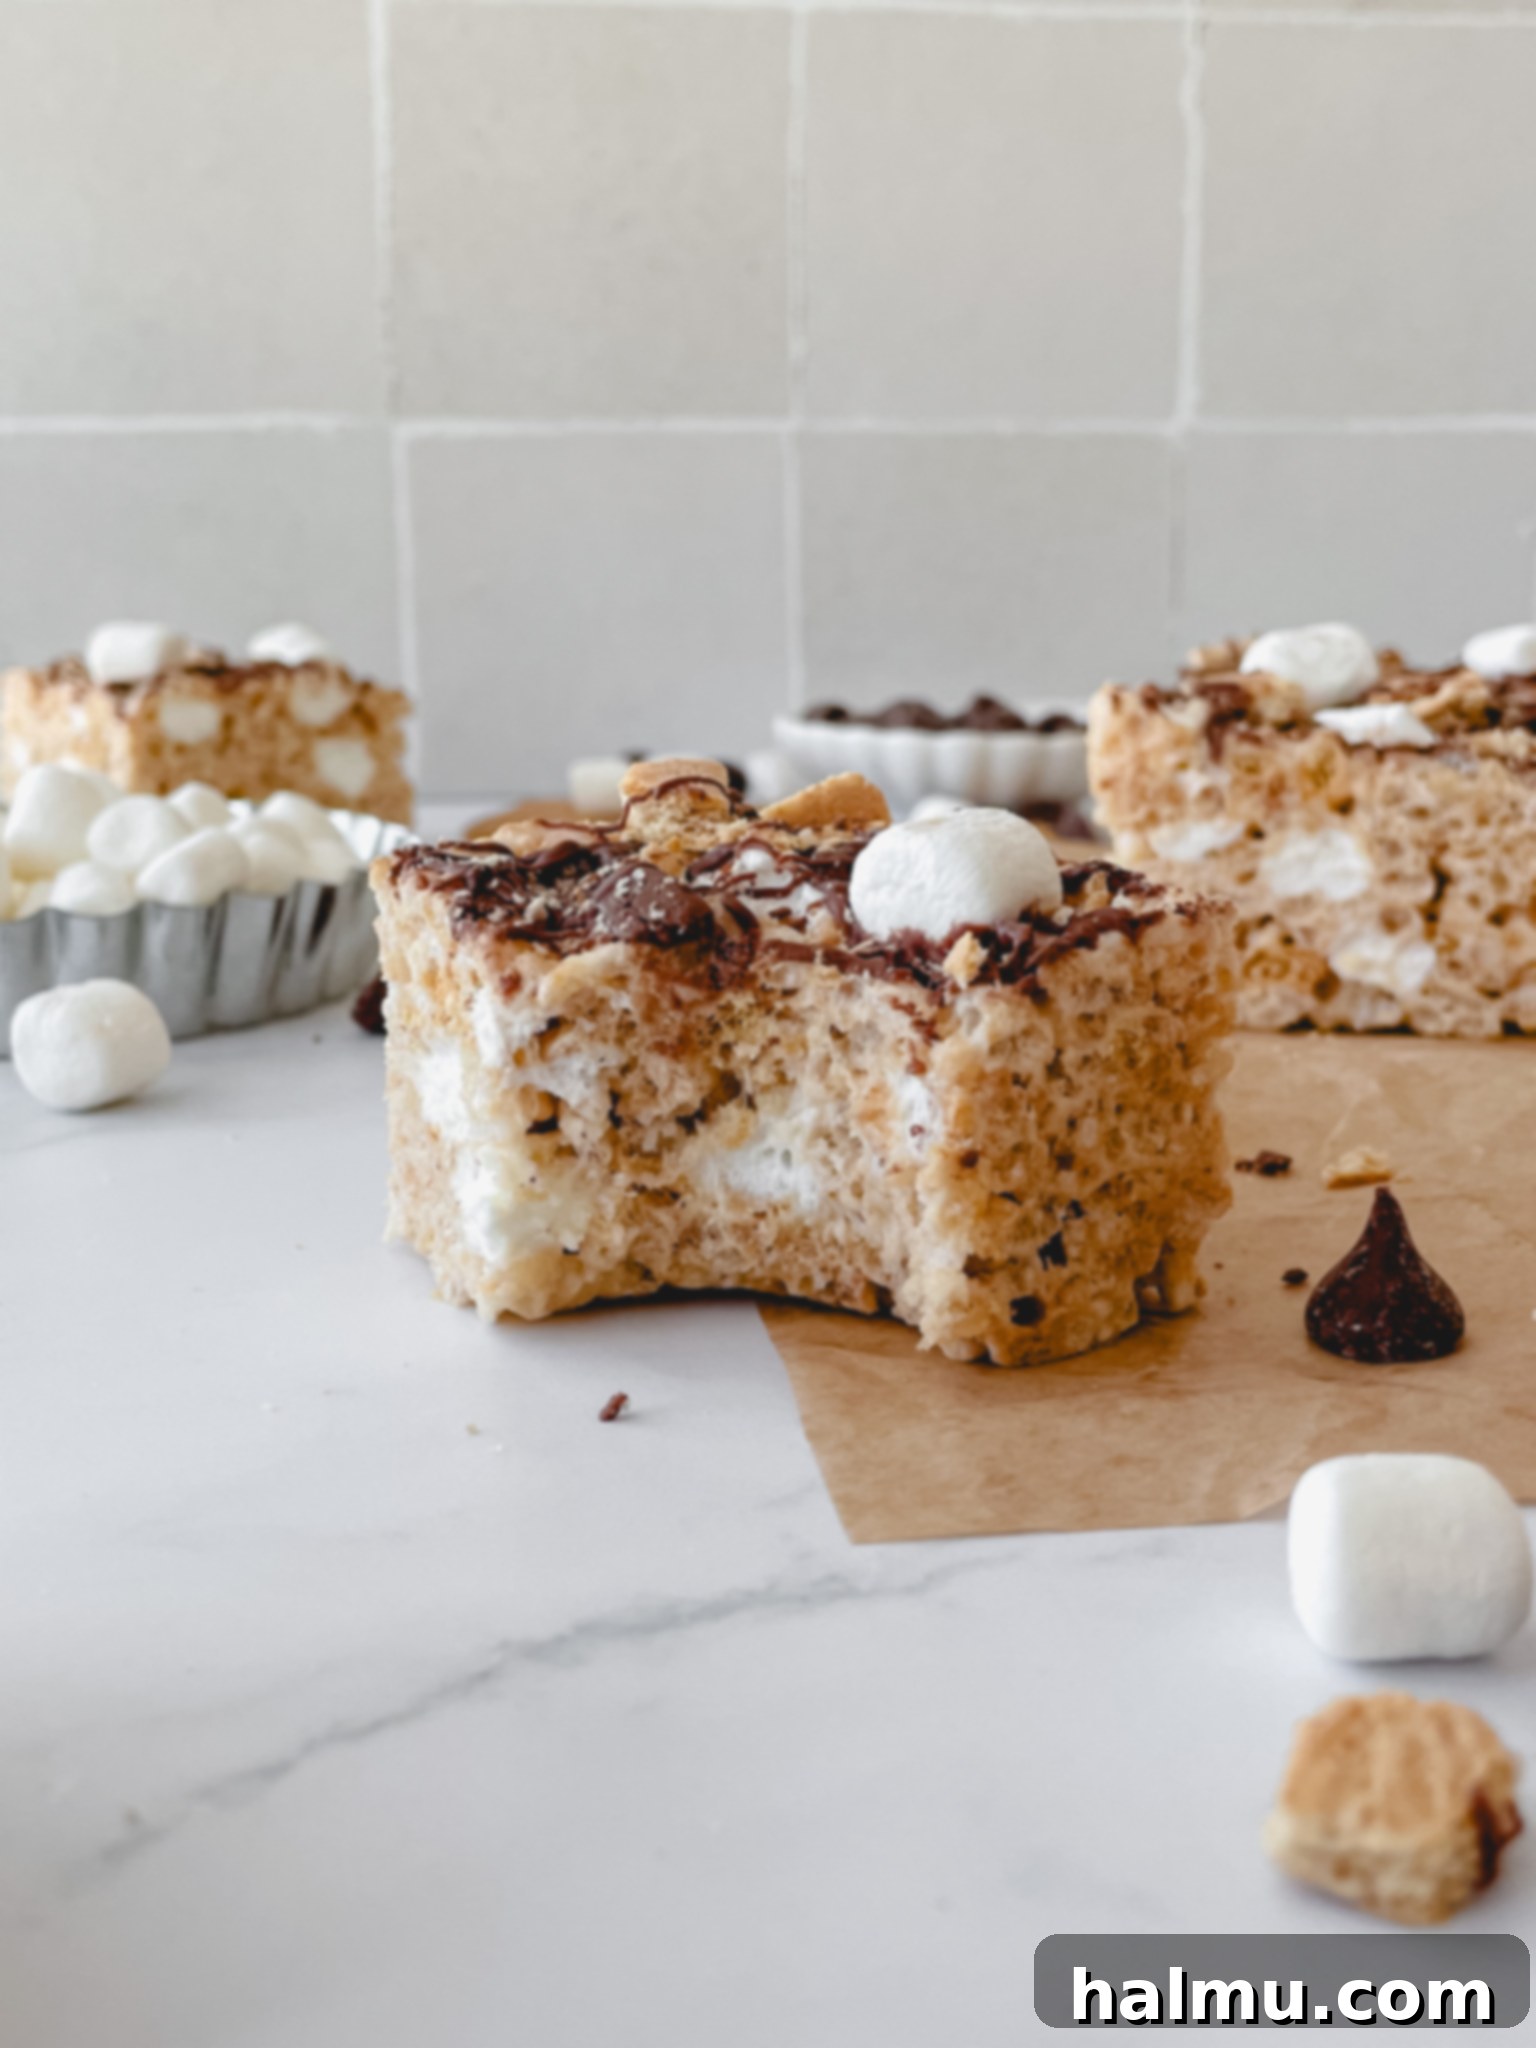
Prepare to elevate your dessert game with a timeless classic given an irresistible S’mores twist! If you’re a devotee of the beloved campfire treat and appreciate the simplicity of no-bake desserts, then these S’mores Rice Krispie Treats are destined to become your new obsession. Forget your average rice cereal squares; this recipe takes everything you love about S’mores and infuses it into a perfectly gooey, delightfully crunchy, and utterly satisfying treat. We’re talking about crisp rice cereal and buttery graham cracker crumbs generously coated in a decadent mixture of melted marshmallows and rich, toasty brown butter. But the indulgence doesn’t stop there! We fold in extra chunks of whole mini marshmallows for an unbelievably soft bite and finish everything with a lavish drizzle of creamy milk chocolate and a sprinkle of more graham cracker goodness. These aren’t just Rice Krispie Treats; they’re an experience – a guaranteed crowd-pleaser that captures the essence of summer in every square.
The Secret Ingredient: Nutty Brown Butter
The magic truly begins with brown butter, an ingredient that transforms ordinary into extraordinary. Also known as “beurre noisette,” brown butter is incredibly simple to make, yet it imparts an unparalleled depth of flavor to any dish, whether sweet or savory. For desserts like these S’mores Rice Krispie Treats, its addition is nothing short of revolutionary. As butter slowly cooks, the milk solids separate and toast, undergoing the Maillard reaction, which is responsible for that incredible browning and complex flavor development. This process creates a deep, nutty, caramel-like aroma and taste that adds a sophisticated layer to the sweet base, distinguishing these treats from any standard version. It’s a subtle yet profound enhancement that will have everyone wondering about your secret ingredient!
Once you discover the rich, toasty notes of brown butter, you’ll want to incorporate it into everything. It brings a warm, earthy undertone that complements sweet ingredients beautifully. Imagine a simple chocolate chip cookie suddenly gaining an exquisite, nutty complexity, or a basic frosting becoming a gourmet delight. Brown butter isn’t just a flavor; it’s a feeling – a comforting warmth that elevates familiar recipes to new heights. Its versatility is truly impressive, enhancing everything from pancakes and pasta sauces to glazes and baked goods. If you’re like me and fall in love with its distinct flavor, be sure to explore more brown butter recipes, such as our Brown Butter Toffee Skillet Cookie, the indulgent Brown Butter Brioche Cinnamon Rolls, or another delightful fusion of s’mores and brown butter in our S’mores Blondies!
Mastering the Art of Brown Butter: Essential Tips
Achieving perfectly browned butter is simple, but a few key tips can ensure success every time and prevent it from going from deliciously nutty to burnt. Pay close attention to these guidelines:
- Stay Engaged: Never Walk Away. This is perhaps the most crucial rule. Butter transitions rapidly from a state of perfectly browned, aromatic bliss to an acrid, burnt mess. The moment you start browning butter, dedicate your full attention to it. Continuously stir the butter once it begins to foam and change color. This constant agitation helps the milk solids brown evenly and prevents them from sticking and burning at the bottom of the pan, which can impart an undesirable bitter flavor to your entire batch.
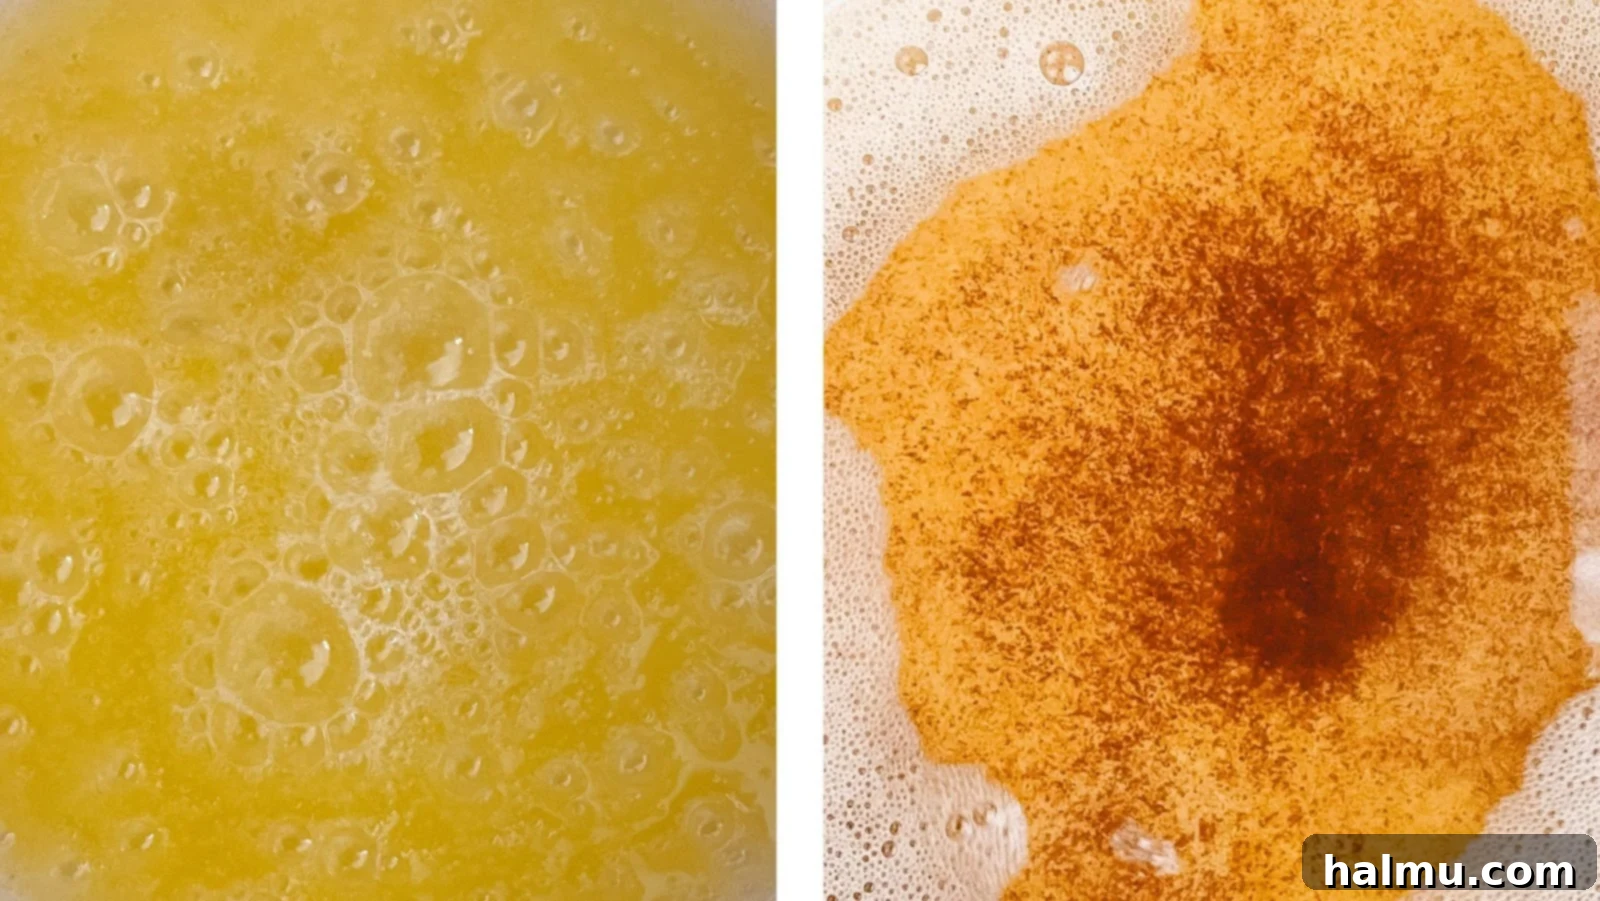
- Observe the Transformation: Seek the Brown Bits. The tell-tale sign of perfectly browned butter lies in the formation of small, golden-brown flecks at the bottom of your pan. These are the toasted milk solids, and they are exactly what you want! The butter itself will take on a rich, deep golden-amber hue, and a distinct, fragrant, nutty aroma will fill your kitchen – often reminiscent of toasted hazelnuts. Trust your senses: once you see these bits and smell that nutty fragrance, your brown butter is ready.
- Act Swiftly: Remove from Heat Immediately. As soon as your butter reaches that ideal golden-brown color and emits its nutty aroma, remove it from the heat source without delay. The residual heat in the pan, especially if you’re using a heavy-bottomed or cast-iron pot, can continue to cook the butter and push it past perfection into the burnt zone. For extra caution, you can even pour the hot brown butter into a separate, cool bowl or heat-proof container to completely halt the cooking process. This preserves that exquisite flavor profile you worked so hard to achieve.
- Choose Your Vessel Wisely: Use a Light-Colored Pan. Opt for a saucepan with a light-colored bottom, ideally stainless steel. This allows you to clearly see the color change of the butter and, more importantly, monitor the browning of the milk solids at the bottom of the pan. A dark pan can obscure these crucial visual cues, making it much harder to gauge when the butter is perfectly browned.
- Strain if Desired (Optional): While not strictly necessary for Rice Krispie Treats, if you’re making brown butter for a very smooth application (like a glaze or a delicate sauce), you might choose to strain the brown butter through a fine-mesh sieve or cheesecloth. This separates the toasted milk solids from the clarified butter, resulting in a cleaner, clearer liquid. For these S’mores treats, however, those delicious brown bits are part of the charm and add to the texture, so straining is usually skipped.
Crafting the Ultimate S’mores Rice Krispie Treats: A Step-by-Step Guide
Creating these elevated S’mores Rice Krispie Treats is a delightful process that’s just as fun as eating them! Follow these detailed steps to ensure gooey, perfectly textured squares every time.
- Prepare Your Workspace and Ingredients. Begin by lightly greasing a 9” x 9” square baking pan with cooking spray or butter, then line it with parchment paper, leaving an overhang on two sides for easy removal later. In a large mixing bowl, combine the crispy rice cereal and the freshly crushed graham crackers. Set this dry mixture aside. This preparation ensures a smooth, uninterrupted process once the marshmallow mixture is ready.
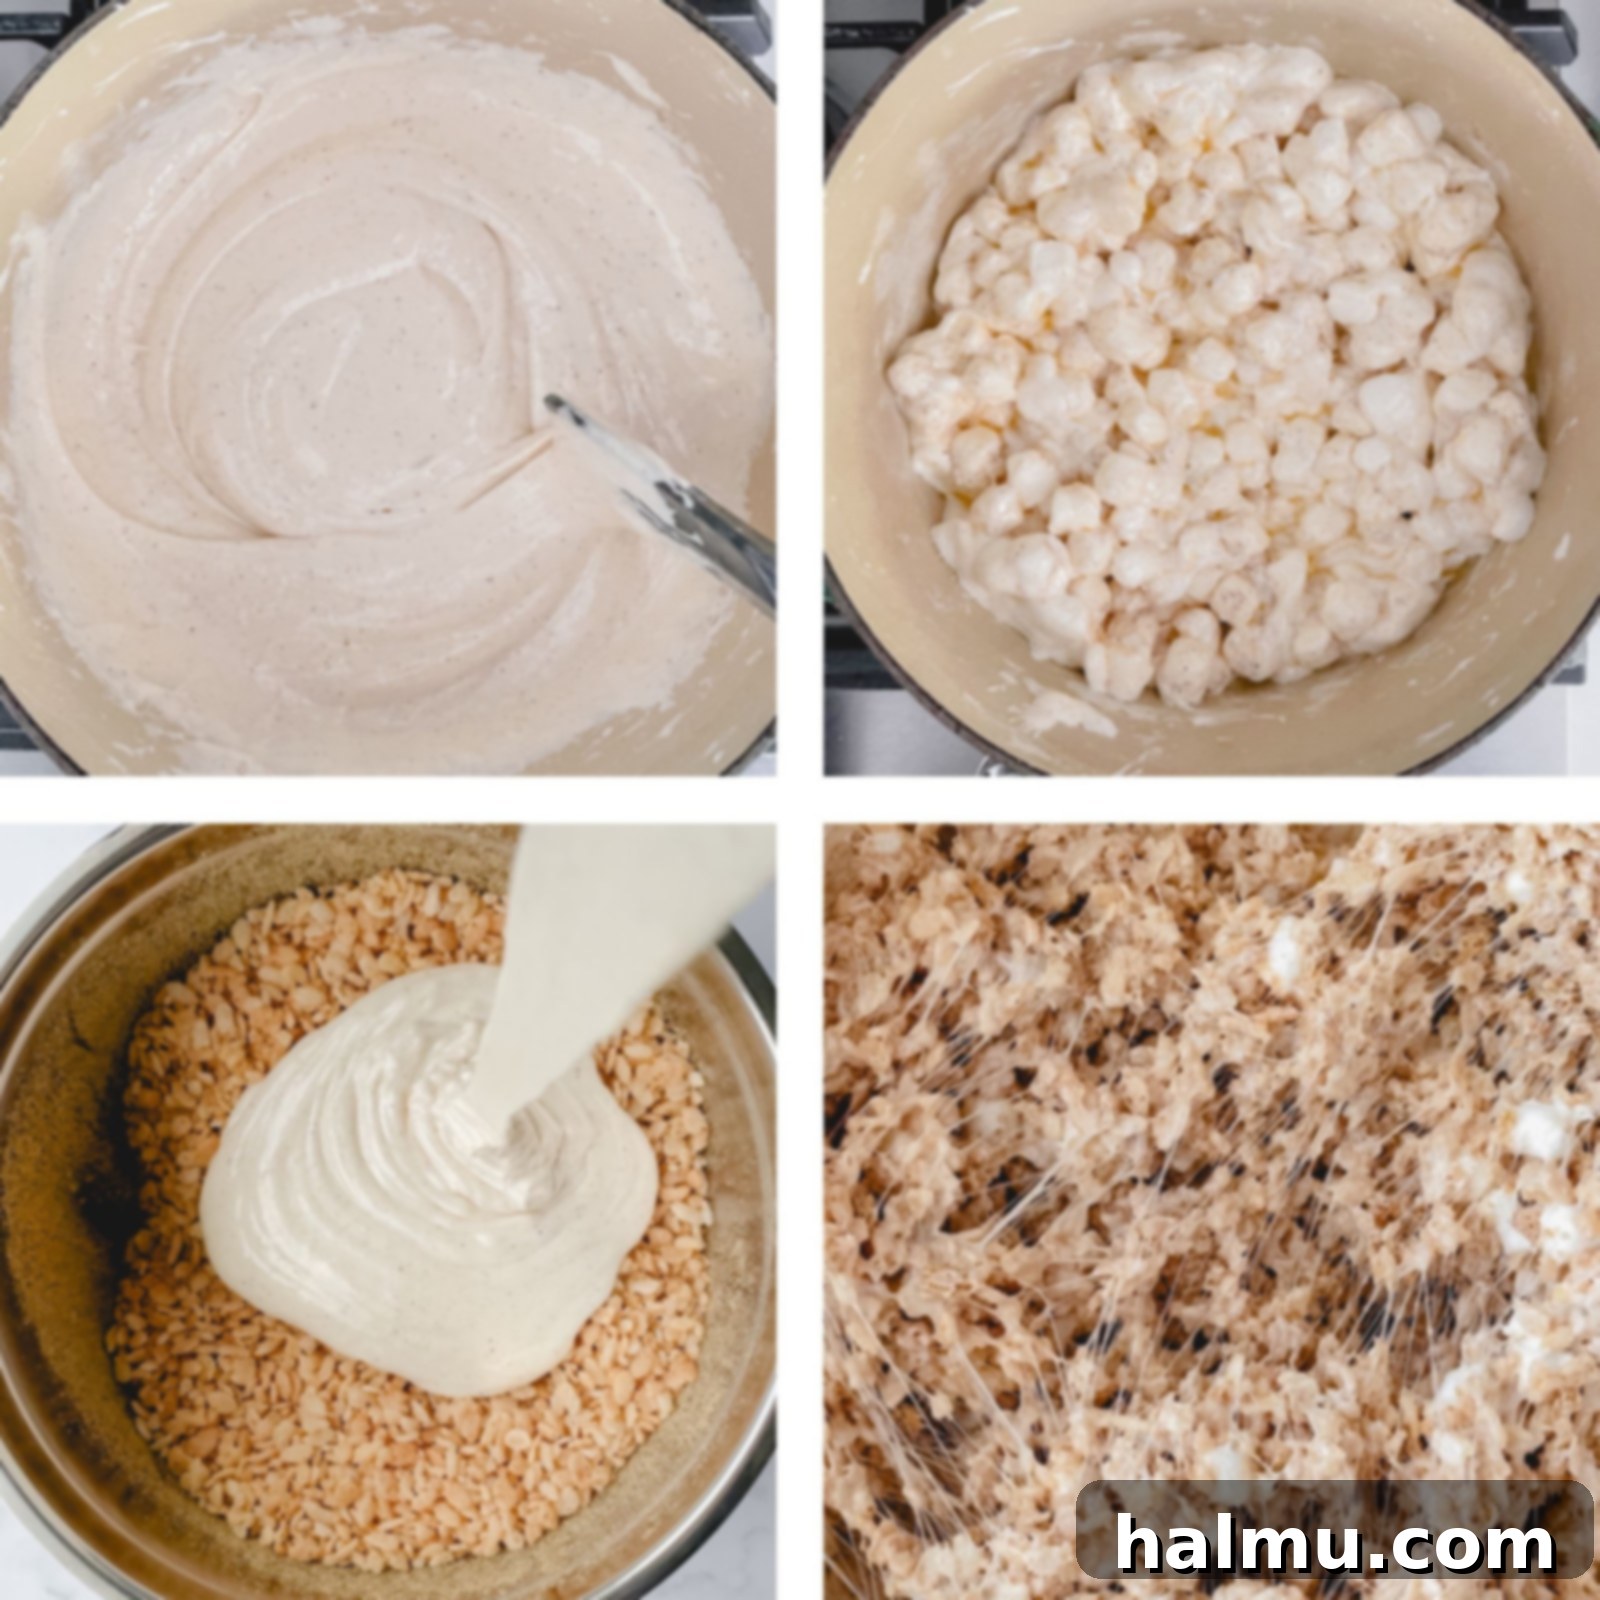
- Master the Brown Butter. In a large, light-colored pot (to best observe the color change), add your unsalted butter. Melt it over medium-low heat, stirring constantly with a rubber spatula or whisk. As the butter melts, it will begin to foam. Continue stirring, watching closely as the foam subsides and the butter transitions from yellow to a light golden, then to a rich, deep amber. Small, nutty-brown flecks (the toasted milk solids) will collect at the bottom of the pan, and a fragrant, nutty aroma will emerge. This process typically takes 5-7 minutes. Once you see those lovely brown bits and smell the nutty fragrance, immediately remove the pot from the heat to prevent burning.
- Melt the Marshmallows to Gooey Perfection. As soon as the brown butter is ready, keep the pot off the heat. Add 16 ounces of mini marshmallows to the warm brown butter, reserving the remaining 4 ounces for later. Stir continuously until the marshmallows are completely melted and smooth, forming a glossy, gooey mixture. The residual heat from the brown butter is usually sufficient to melt them without further cooking, which helps prevent a gummy texture. Once melted, stir in the vanilla extract and kosher salt until well combined. The vanilla adds a touch of warmth, and the salt balances the sweetness, enhancing all the flavors.
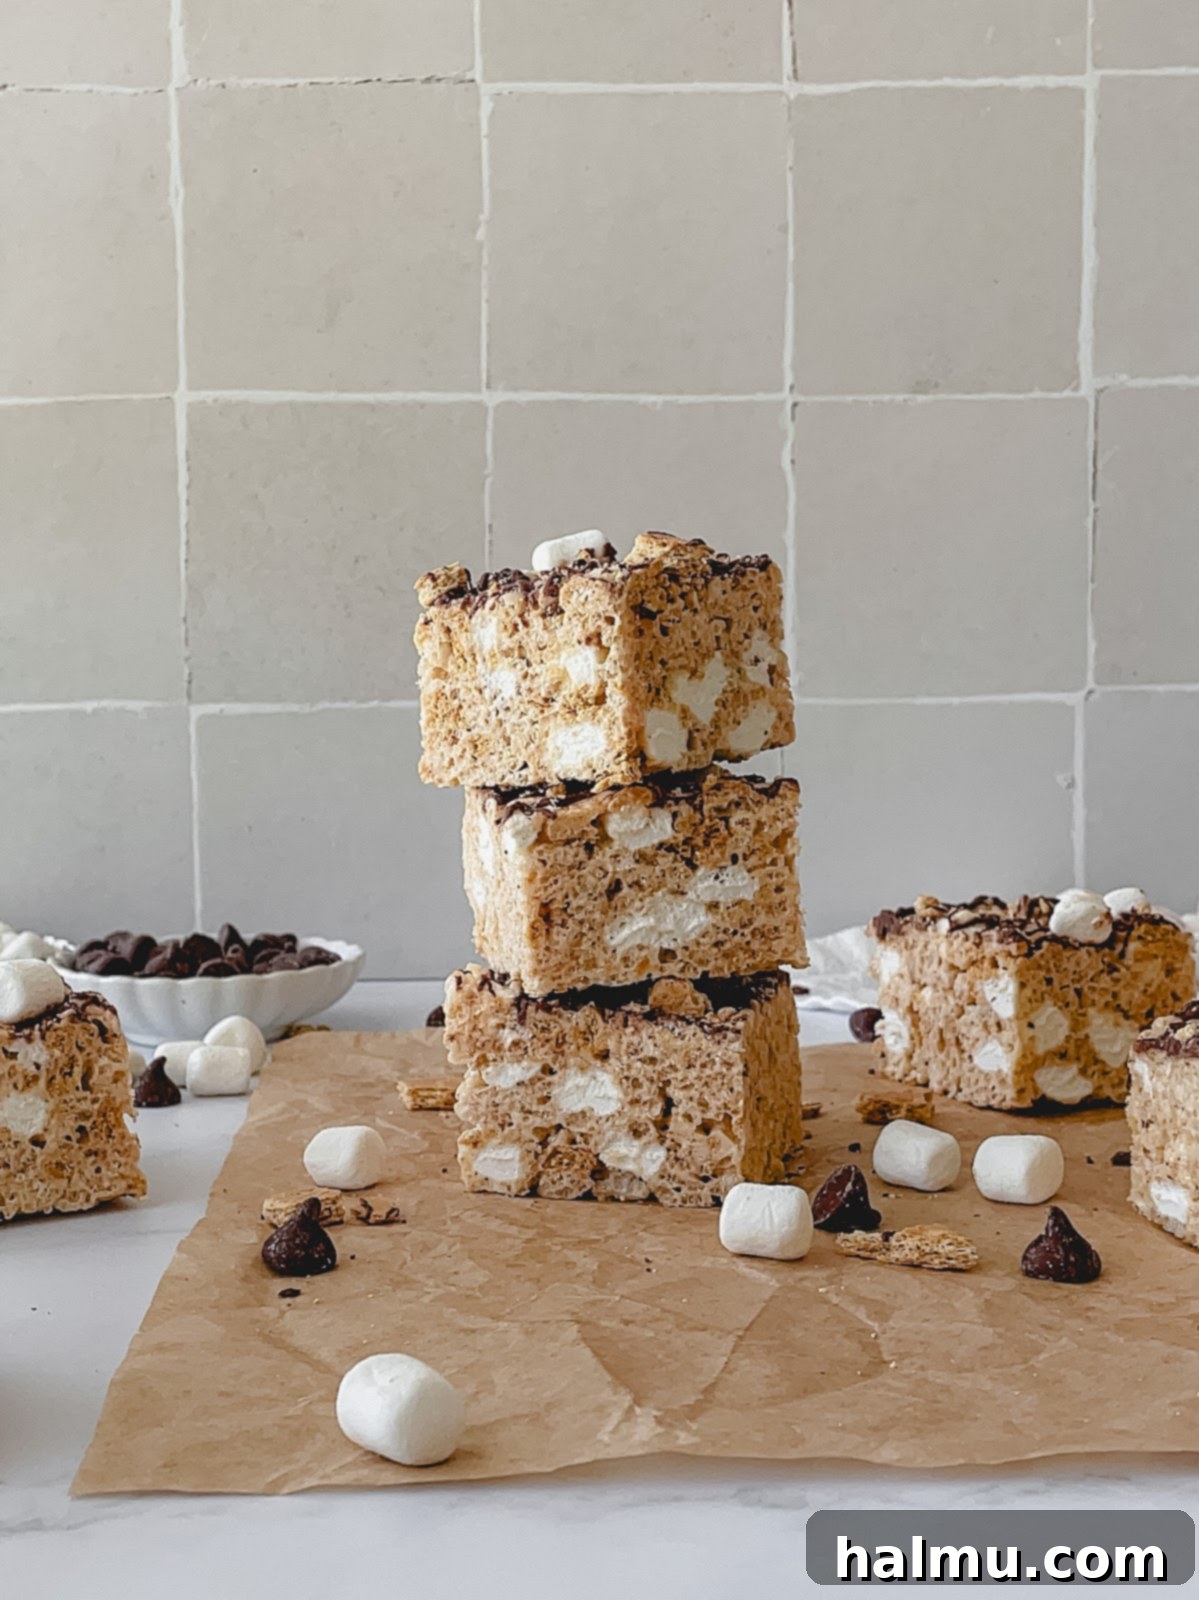
- Combine Cereal and Marshmallows, Then Add Texture. Pour the warm, melted marshmallow-brown butter mixture directly into the large bowl containing your rice cereal and crushed graham crackers. Using a sturdy rubber spatula, gently but thoroughly fold the mixture until all the dry pieces are completely coated. Work quickly but avoid over-mixing, which can break down the cereal. Now, it’s time for the secret textural element: stir in the remaining 4 ounces of whole mini marshmallows. These won’t melt into the mixture, ensuring you have delightful, soft pockets of marshmallow scattered throughout your finished Krispie treats, mimicking the gooey center of a freshly toasted S’more.
- Press into the Pan with Care. Transfer the combined Krispie treat mixture into your prepared 9” x 9” baking pan. To achieve an even top without compacting the treats too much (which can result in hard, dense squares), lightly grease another piece of parchment paper or a rubber spatula. Gently press the mixture evenly into the pan. You want it firm enough to hold its shape, but still light and airy.
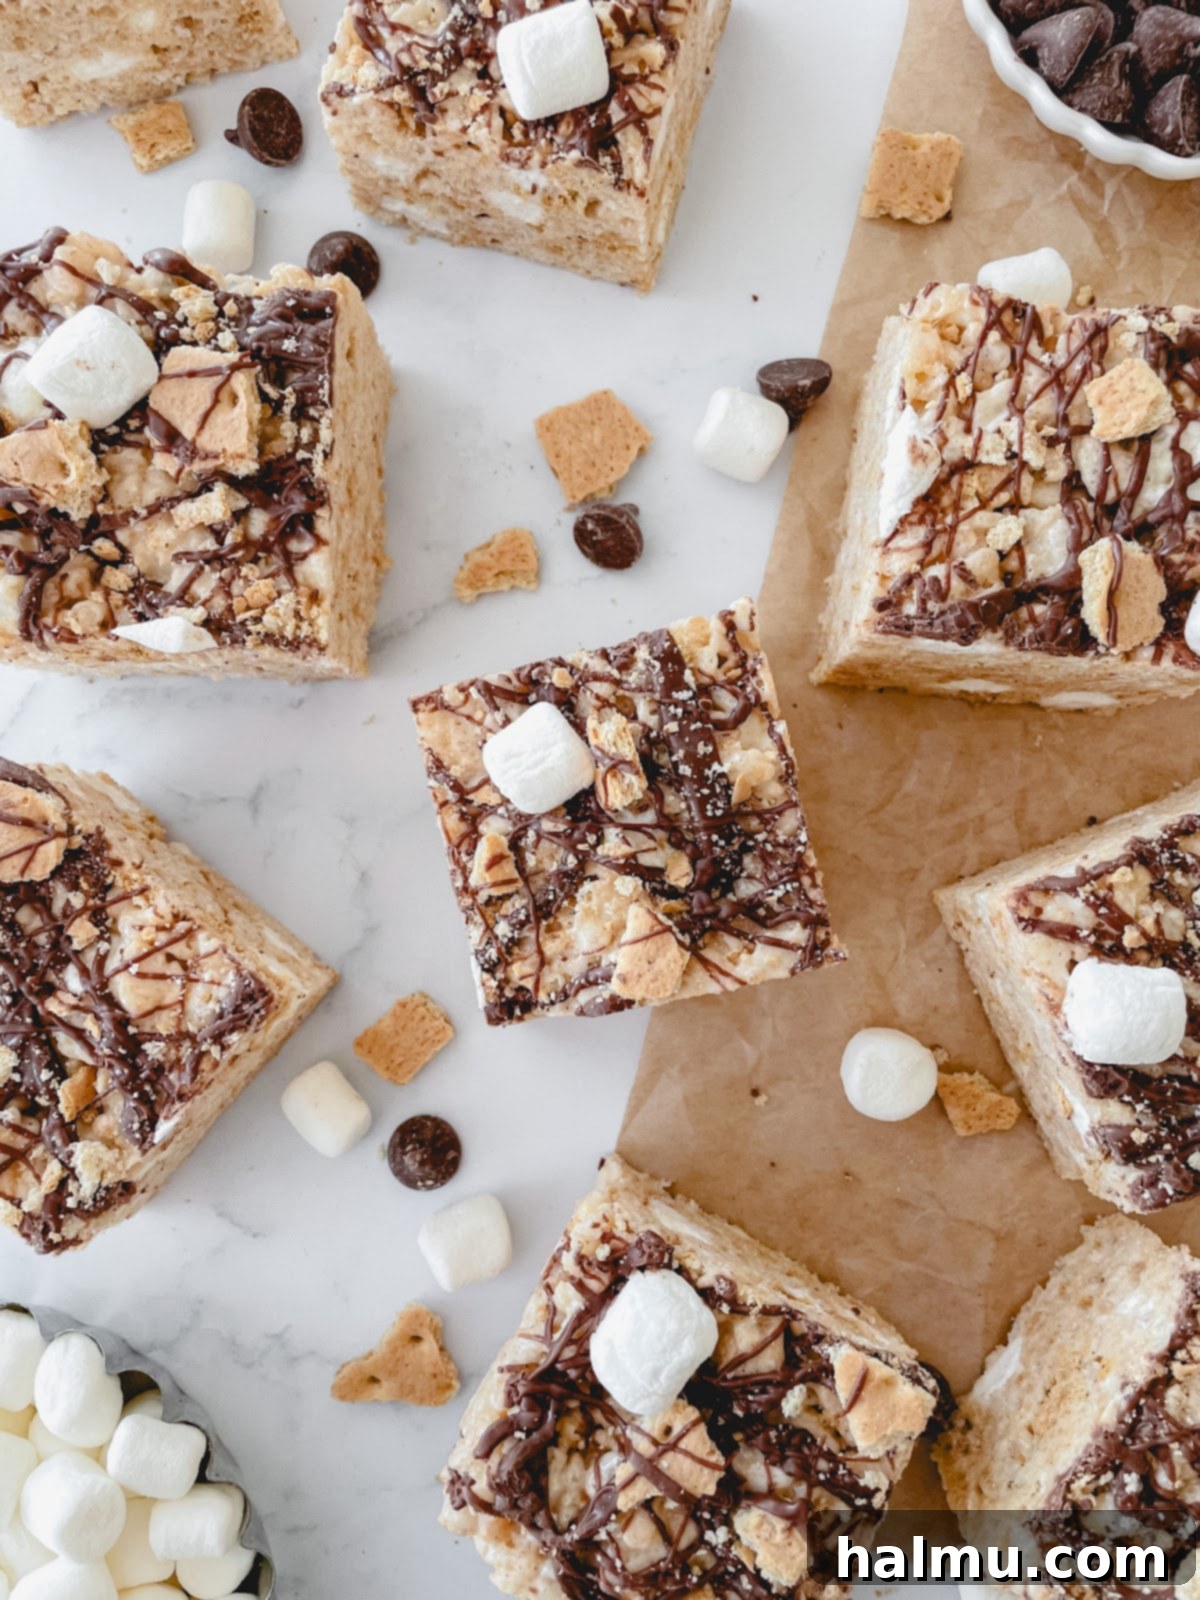
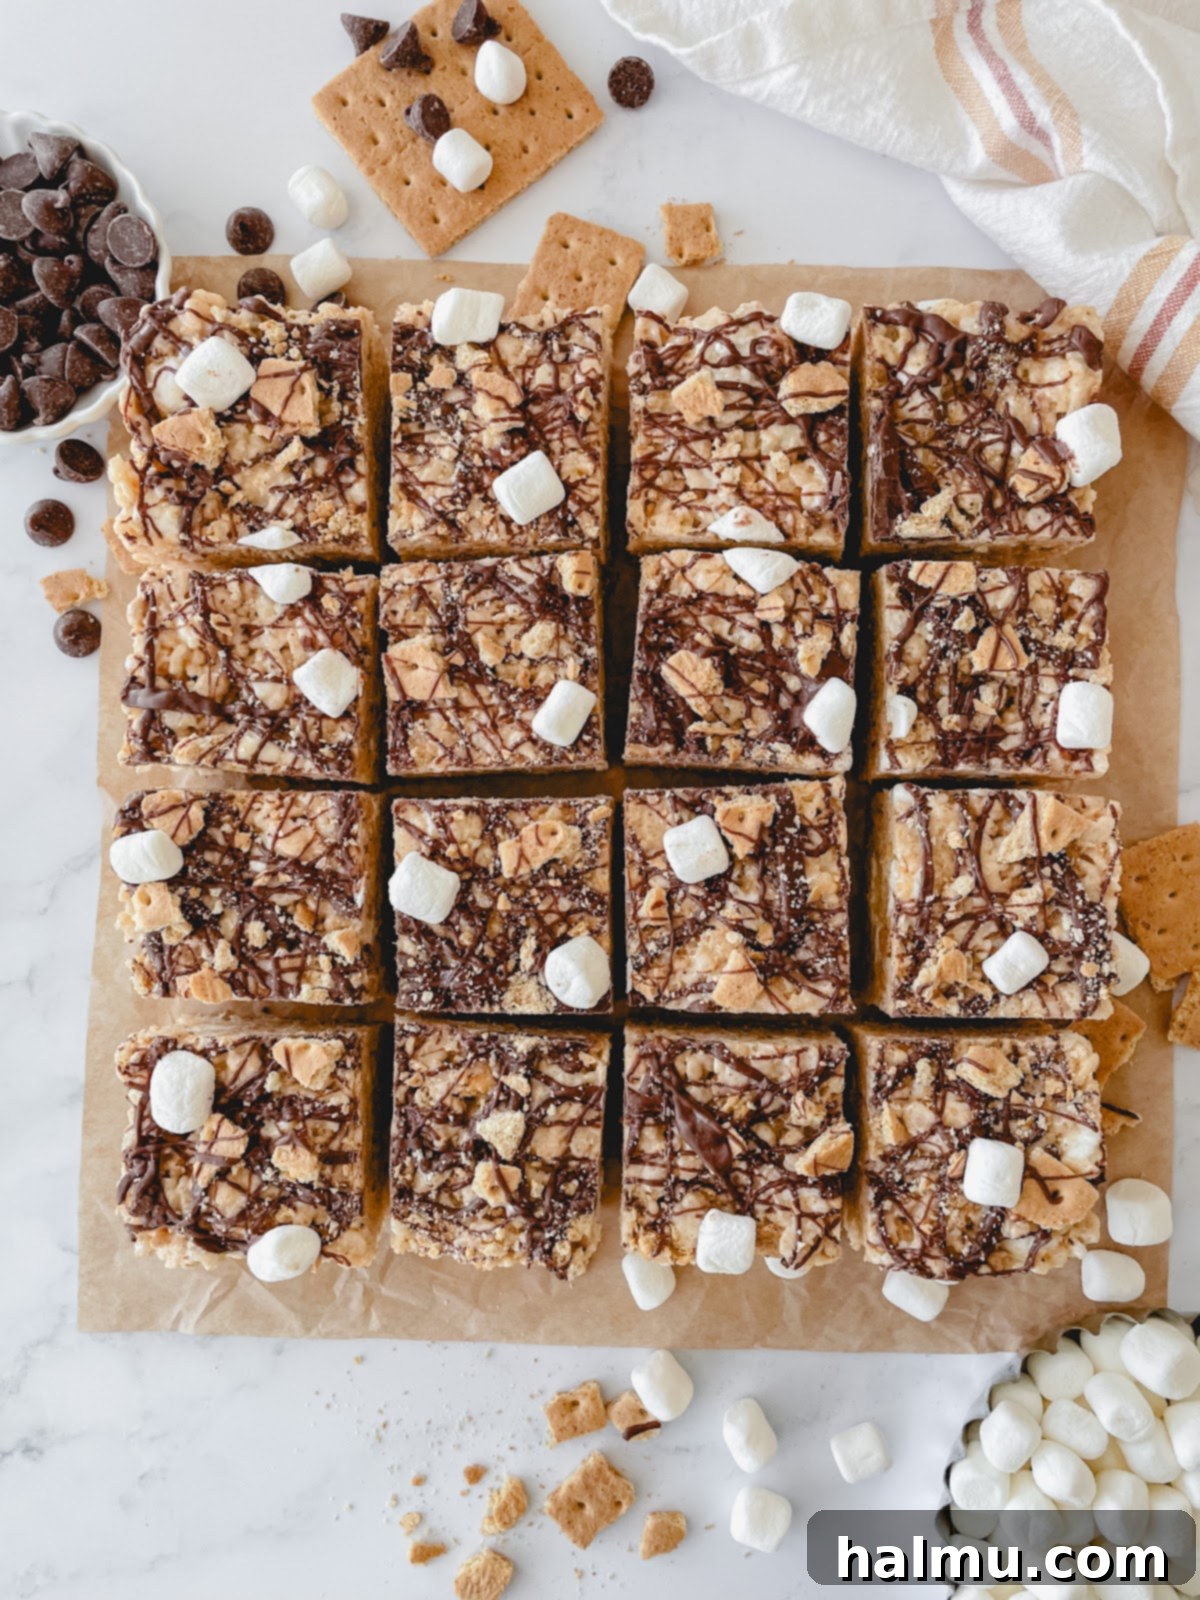
- The Grand Finale: Chocolate Drizzle and Toppings. Melt the milk chocolate using your preferred method – either in a microwave-safe bowl in 20-second intervals, stirring after each, until smooth, or over a double boiler. Once melted and fluid, use a spoon, a fork, or a piping bag to generously drizzle the chocolate all over the top of your S’mores Rice Krispie Treats. For an extra flourish and intensified S’mores appeal, sprinkle on additional crushed graham crackers and a few more mini marshmallows while the chocolate is still wet. Allow the treats to cool at room temperature for at least 30 minutes, or until the chocolate has set and the squares are firm enough to cut.
- Slice and Indulge! Once completely set, use the parchment paper overhang to lift the entire slab of treats from the pan. Place it on a cutting board and cut into 16 equal squares using a sharp, greased knife. Serve immediately and savor every bite of this irresistible S’mores creation!
Key Ingredients: The Heart of Your S’mores Krispie Treats
The magic of these S’mores Rice Krispie Treats lies in the quality and balance of their core components. Let’s delve into what makes each ingredient essential:
Crispy Rice Cereal
While most brands of crispy rice cereal will work, opting for a fresh box is key to achieving that signature crunch. Stale cereal can lead to a less satisfying texture. The light, airy nature of rice cereal is perfect for soaking up the marshmallow mixture without becoming heavy, ensuring a delightful chewiness that contrasts beautifully with the gooeyness of the marshmallows. Avoid heavily flavored cereals, as they might detract from the S’mores profile.
Graham Crackers
Graham crackers are indispensable for that authentic S’mores flavor. You’ll need both crushed crackers mixed into the treats and some for sprinkling on top. For the best texture, crush them into varying sizes – some finer crumbs to blend into the mixture and some slightly larger pieces for a more noticeable crunch. A food processor makes quick work of this, but placing them in a zip-top bag and crushing them with a rolling pin works just as well (and is quite satisfying!).
Marshmallows
Fresh marshmallows are non-negotiable for perfectly gooey Rice Krispie Treats. Older, harder marshmallows won’t melt as smoothly and can result in a tougher, gummier final product. Mini marshmallows are generally preferred over large ones because they melt more evenly and quickly. The genius of this recipe is using some marshmallows melted into the base for gooiness and reserving some whole mini marshmallows to fold in at the end. These reserved marshmallows remain intact, providing soft, chewy pockets that perfectly mimic the warm, soft marshmallow in a real S’more.
Milk Chocolate
A generous drizzle of milk chocolate completes the S’mores experience. While milk chocolate is traditional and provides a creamy sweetness, feel free to experiment with semi-sweet or even dark chocolate for a richer, less sweet profile. High-quality chocolate chips or a chopped chocolate bar will melt more smoothly than compound chocolate. Ensure your chocolate is melted to a smooth, pourable consistency for the best drizzle.
Why These S’mores Rice Krispie Treats Are Truly Special
What sets these S’mores Rice Krispie Treats apart from every other rendition you’ve tried? It’s all about thoughtful enhancements that build on a beloved classic. Unlike basic Rice Krispie Treats, our recipe introduces the complex, nutty notes of brown butter, which deepens the flavor profile significantly. This isn’t just butter; it’s butter transformed into liquid gold, offering a caramel-like richness that elevates every single bite. The inclusion of crushed graham crackers isn’t an afterthought; it’s a foundational element, woven into the very fabric of the treat, ensuring that signature S’mores crunch and taste are present throughout. And let’s not forget the dual marshmallow magic: melted marshmallows create the gooey binder, while additional whole mini marshmallows are folded in at the end, providing delightful, soft pockets that truly capture the essence of a toasted S’more. Finally, the generous topping of melted milk chocolate isn’t just a garnish; it’s an integral layer of flavor and texture, sealing the deal on an unparalleled S’mores experience that is both nostalgic and irresistibly gourmet.
Serving Suggestions and Creative Variations
These S’mores Rice Krispie Treats are fantastic on their own, but here are some ideas to make them even more special:
Serving Suggestions:
- Room Temperature Perfection: They are best served at room temperature, allowing the chocolate to be firm but the treats themselves to remain soft and chewy.
- Warm and Gooey: For an experience closer to actual S’mores, microwave a square for 10-15 seconds until the chocolate is slightly melty and the marshmallows are extra gooey.
- With a Scoop of Ice Cream: Serve a square alongside a scoop of vanilla bean or chocolate ice cream for an indulgent dessert.
- Milk Pairing: A cold glass of milk is the perfect accompaniment to these sweet treats.
- Party Favorite: Cut into smaller squares for easy snacking at parties, potlucks, or backyard barbecues. They’re much less messy than actual S’mores!
Creative Variations:
- Different Chocolates: Instead of milk chocolate, try drizzling with dark chocolate, white chocolate, or even a swirl of two types for a marbled effect. You could also add chocolate chips directly into the mixture along with the extra marshmallows.
- Toasted Marshmallow Topping: For an authentic campfire touch, after drizzling with chocolate, lightly toast a few extra mini marshmallows on top with a kitchen torch.
- Nutella Swirl: Swirl some melted Nutella or another hazelnut spread into the chocolate drizzle for an extra layer of richness.
- Add-ins: Consider adding crushed pretzels for a sweet and salty crunch, or chopped nuts like pecans or walnuts for an earthy note.
- Flavored Marshmallows: While classic mini marshmallows are best, you could experiment with flavored marshmallows if you find them, though be mindful of how they might alter the S’mores profile.
- Espresso Powder: A tiny pinch of instant espresso powder added to the melted chocolate can enhance its flavor without making it taste like coffee.
Krispie Treat FAQs: Your Questions Answered
Got questions about making or storing your S’mores Rice Krispie Treats? We’ve got you covered!
How should I store S’mores Rice Krispie Treats?
To maintain their optimal freshness, softness, and chewiness, these treats should be stored in an airtight container at room temperature. Properly stored, they will remain delicious for up to 5 days. Avoid refrigerating them, as this can make them hard and less enjoyable. If you prefer a softer, gooier texture, simply pop a square into the microwave for 10-15 seconds before enjoying.
Do these freeze well?
Absolutely! S’mores Rice Krispie Treats are excellent candidates for freezing, making them a perfect make-ahead dessert. To freeze, we recommend wrapping each individual square tightly in plastic wrap to prevent freezer burn. Once wrapped, place the squares in a zip-top plastic freezer bag or an airtight freezer-safe container. They can be stored in the freezer for up to 3 months. When you’re ready to enjoy, simply remove them from the freezer and let them thaw at room temperature for about 30 minutes, or warm them slightly in the microwave for a few seconds.
What if my marshmallows don’t melt completely?
If you’ve added the marshmallows to the brown butter and they haven’t fully melted and become smooth, it’s likely the butter has cooled too much. Don’t worry! Simply return the pot to the stove over very low heat. Continue stirring constantly, applying just enough gentle heat to encourage the marshmallows to melt. Crucially, remove the pot from the heat as soon as they start to melt and continue stirring. The residual heat will finish the job. Avoid leaving them on the heat for too long or overheating them, as this can cause the marshmallows to become tough and gummy once cooled.
Why are my S’mores Rice Krispie Treats hard?
Several factors can lead to hard Rice Krispie Treats:
- **Overcooking the Marshmallows:** Heating marshmallows for too long or at too high a temperature can cause them to become brittle and sugary once cooled.
- **Over-compacting:** When pressing the mixture into the pan, be gentle! Pressing too firmly will compact the cereal, leading to dense, hard squares instead of light, chewy ones. Use a greased piece of parchment paper or a lightly greased spatula for a gentle, even press.
- **Stale Marshmallows:** As mentioned, fresh marshmallows are key for gooiness. Old marshmallows may not melt properly or retain their soft texture.
Can I use different cereals?
While crispy rice cereal is traditional and provides the ideal light texture for this recipe, you can certainly experiment with other cereals! Just ensure they are not too dense or heavily flavored, as this can alter the balance of the S’mores taste. Cornflakes or even some lightly crushed O-shaped oat cereals could offer interesting textural variations, but the classic crispy rice cereal truly allows the brown butter, marshmallow, graham cracker, and chocolate flavors to shine.
More Easy Summer Treats You’ll Love
If you enjoyed these delightful S’mores Rice Krispie Treats, then you’re in for a treat with these other simple and crowd-pleasing summer dessert recipes:
- Reese’s Pieces Rice Krispie Treats
- Chewy Coconut Macaroons
- Mini Oreo Cheesecakes
- Mixed Berry Streusel Bars
- Lemon Mascarpone Tart
We hope you love making and sharing these incredible S’mores Rice Krispie Treats. Their irresistible combination of gooey marshmallow, crunchy graham cracker, rich chocolate, and the secret weapon of nutty brown butter makes them a truly unforgettable dessert. If you make this recipe and find yourself falling in love with it, please be sure to leave a comment below and share your experience. Happy baking and even happier eating!
S’mores Rice Krispie Treats
Print Recipe
RATE THIS RECIPE
Ingredients
- 6 cups (160g) crispy rice cereal
- 1 package 8 whole graham crackers, finely crushed into small pieces, plus more for topping
- ½ cup (1 stick or 113g) unsalted butter
- 20 oz mini marshmallows, divided (16 oz for melting, 4 oz for folding in)
- 2 teaspoons pure vanilla extract
- ¼ teaspoon kosher salt
- ½ cup (4 oz) good quality milk chocolate, chopped or chips, for drizzling
SHOP INGREDIENTS
Instructions
- Lightly grease a 9” x 9” square baking pan with cooking spray and line it with parchment paper, allowing an overhang for easy removal. In a large bowl, combine the crispy rice cereal and the crushed graham crackers. Set aside.
- In a large, light-colored pot, add the unsalted butter and melt it over medium-low heat. Continue cooking while constantly stirring to brown the butter. It will become foamy, then transition to a deep golden-brown color, and you’ll see darker brown flecks on the bottom. A nutty aroma will signify it’s done. Remove from heat immediately.
- As soon as the butter is browned, add 16 ounces of mini marshmallows to the pot (reserving the remaining 4 ounces). Stir until the marshmallows are completely melted and smooth. Stir in the vanilla extract and kosher salt until well combined.
- Pour the melted marshmallow mixture over the cereal and graham cracker mixture in the large bowl. Mix gently but thoroughly with a rubber spatula until all the dry pieces are fully coated. Then, fold in the remaining 4 ounces of whole mini marshmallows; these will remain intact, adding wonderful chewy pockets.
- Transfer the Krispie treat mixture into the prepared 9” x 9” pan. Using a lightly greased rubber spatula or a piece of parchment paper, gently press the mixture evenly into the pan without compacting it too densely.
- Melt the milk chocolate in the microwave in 20-second intervals, stirring after each, until smooth. Use a spoon or a piping bag to generously drizzle the melted chocolate all over the top of the Krispie treats. If desired, sprinkle with more crushed graham crackers and additional mini marshmallows while the chocolate is still wet. Allow the chocolate to harden and the treats to set up completely at room temperature for at least 30 minutes.
- Once set, lift the treats from the pan using the parchment paper overhang. Place on a cutting board and cut into 16 equal squares. Serve and enjoy your homemade S’mores Rice Krispie Treats!
Notes
- Storing: For optimal freshness and chewiness, store these S’mores Rice Krispie Treats in an airtight container at room temperature for up to 5 days. For a soft and gooey experience, reheat in the microwave for 10-15 seconds.
- Freezing: These Krispie treats freeze wonderfully! Wrap each individual square tightly in plastic wrap, then place the wrapped squares in a zip-top plastic freezer bag or an airtight freezer-safe container. Store in the freezer for up to 3 months. Thaw at room temperature for about 30 minutes before serving.
