Welcome to a culinary journey back in time, where tradition and flavor intertwine to create something truly magical: the Old Fashioned Red Velvet Cake. This isn’t just any red velvet cake recipe; it’s a cherished family heirloom, a secret passed down through generations. This particular recipe originates from my beloved Grandma Meme, a true Southern belle from Kentucky, making this an authentic representation of a true Southern Red Velvet Cake. Every year, she would meticulously bake this exquisite cake for my mom’s birthday, transforming it into a centerpiece of our celebrations and a symbol of love.
Over the years, I’ve had the immense pleasure of recreating this classic time and time again, always striving to keep it exactly as Meme would have made it. The delightful balance of flavors and its iconic appearance have made it an enduring family favorite, deeply embedded in our cherished memories. It’s more than just a dessert; it’s a slice of history, a taste of comfort, and a celebration of family. I am thrilled to share this treasured recipe with you, hoping it brings as much joy and deliciousness to your home as it has to ours. Prepare to indulge in a truly special treat that embodies the warmth and tradition of Southern baking.
Unveiling the Magic of Red Velvet Cake Layers
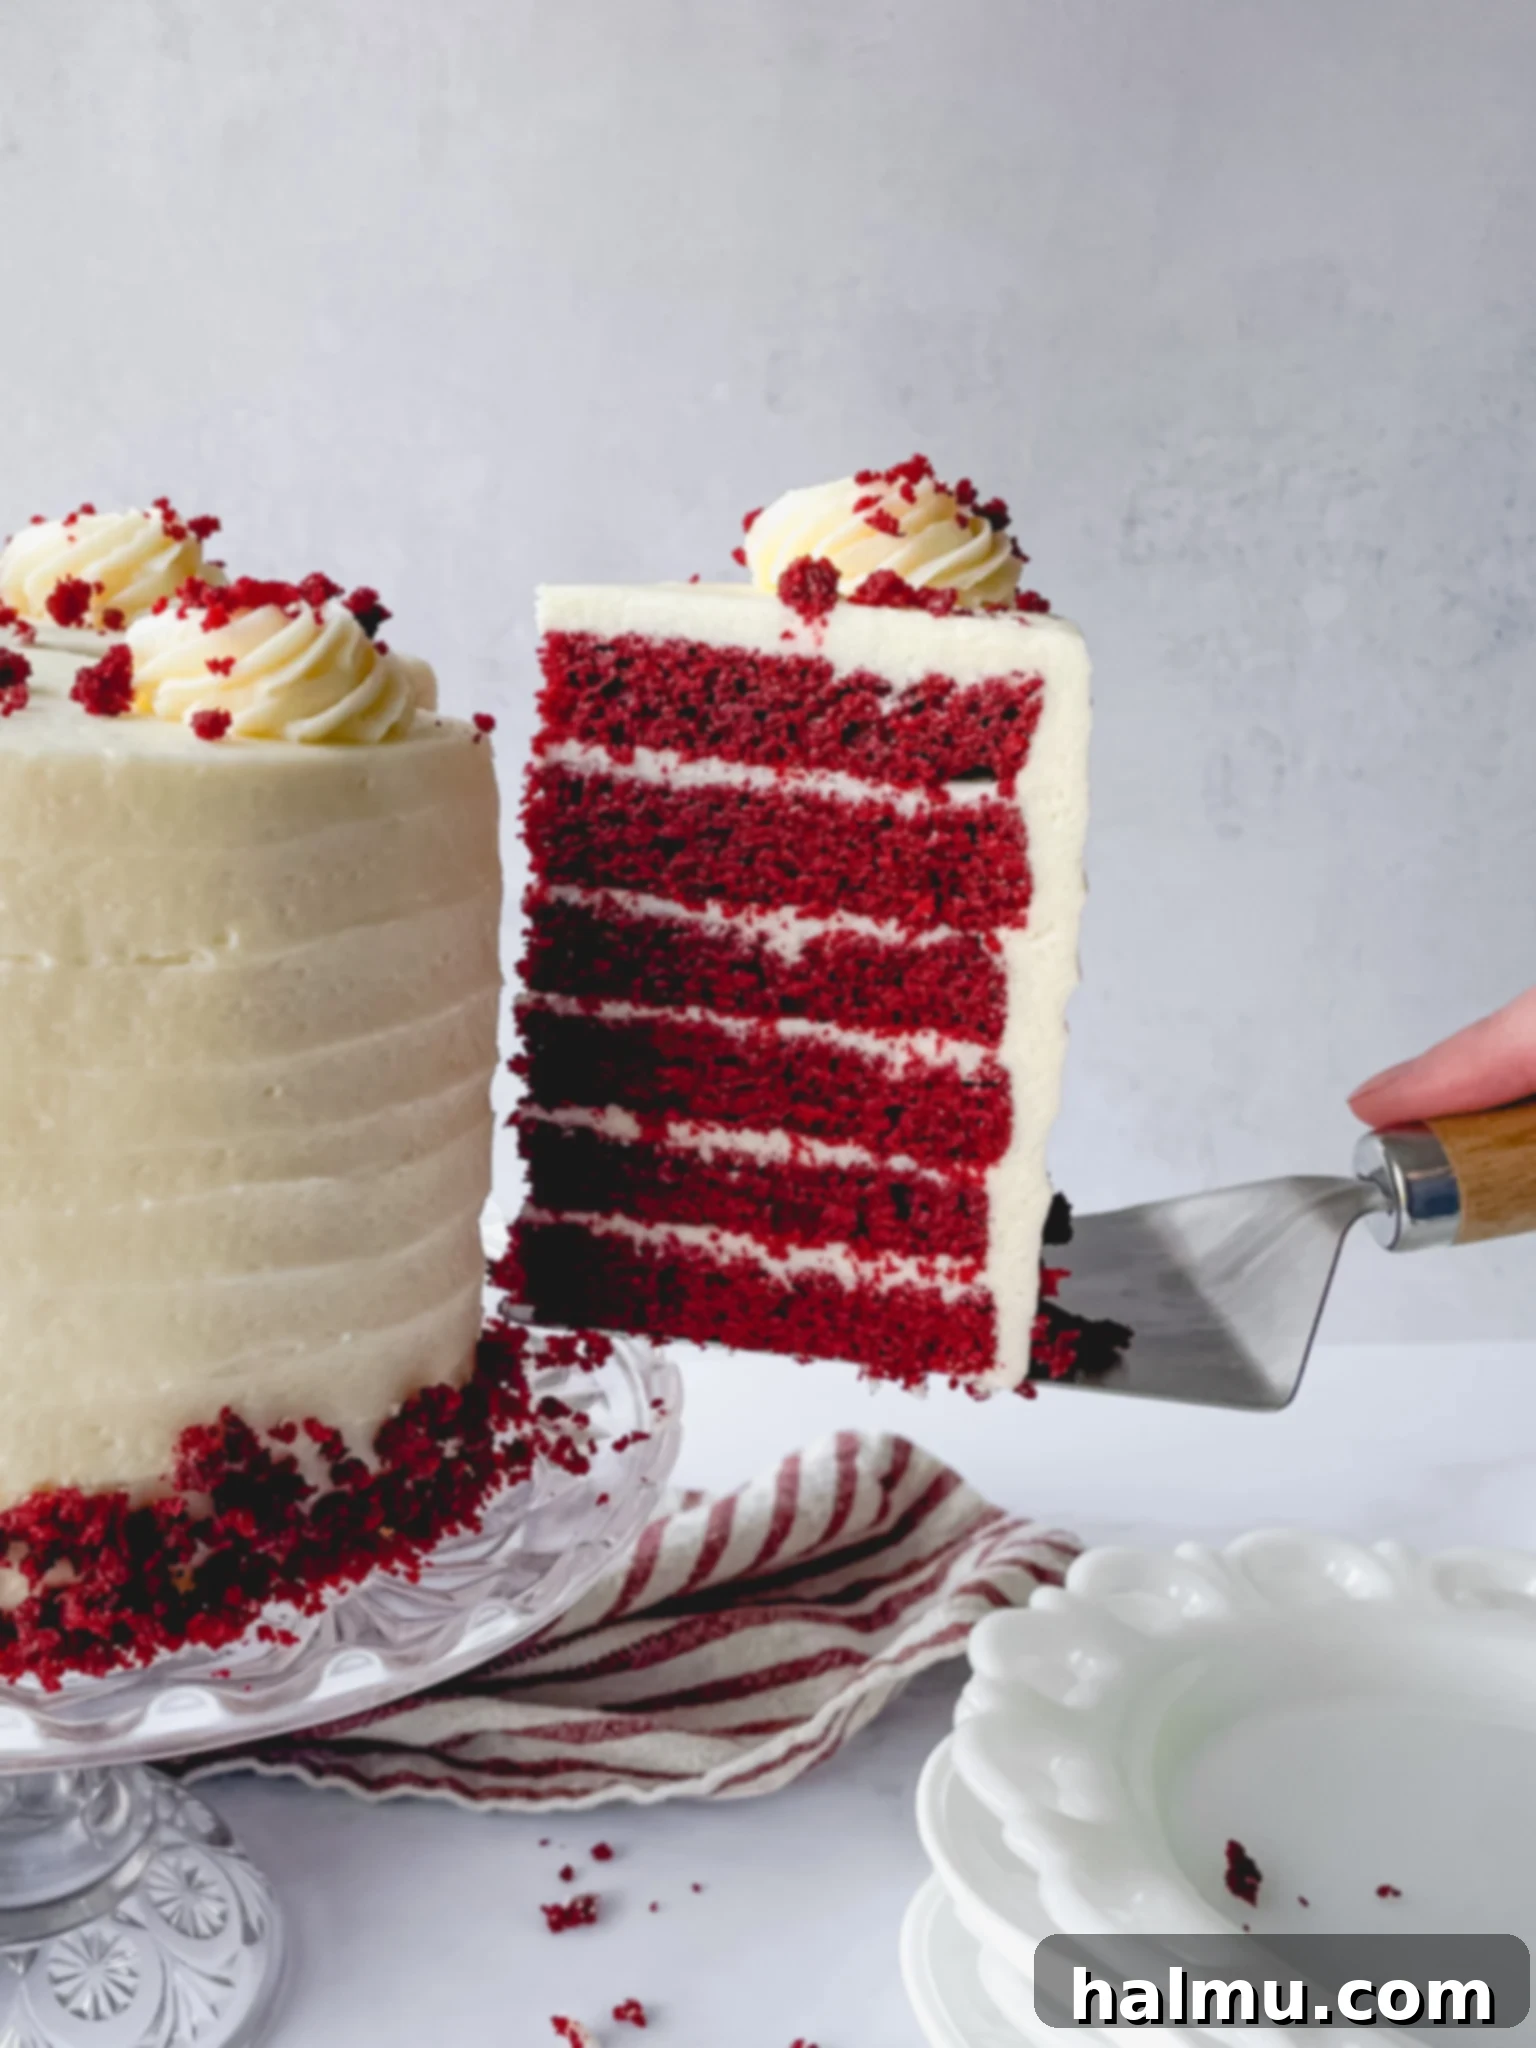
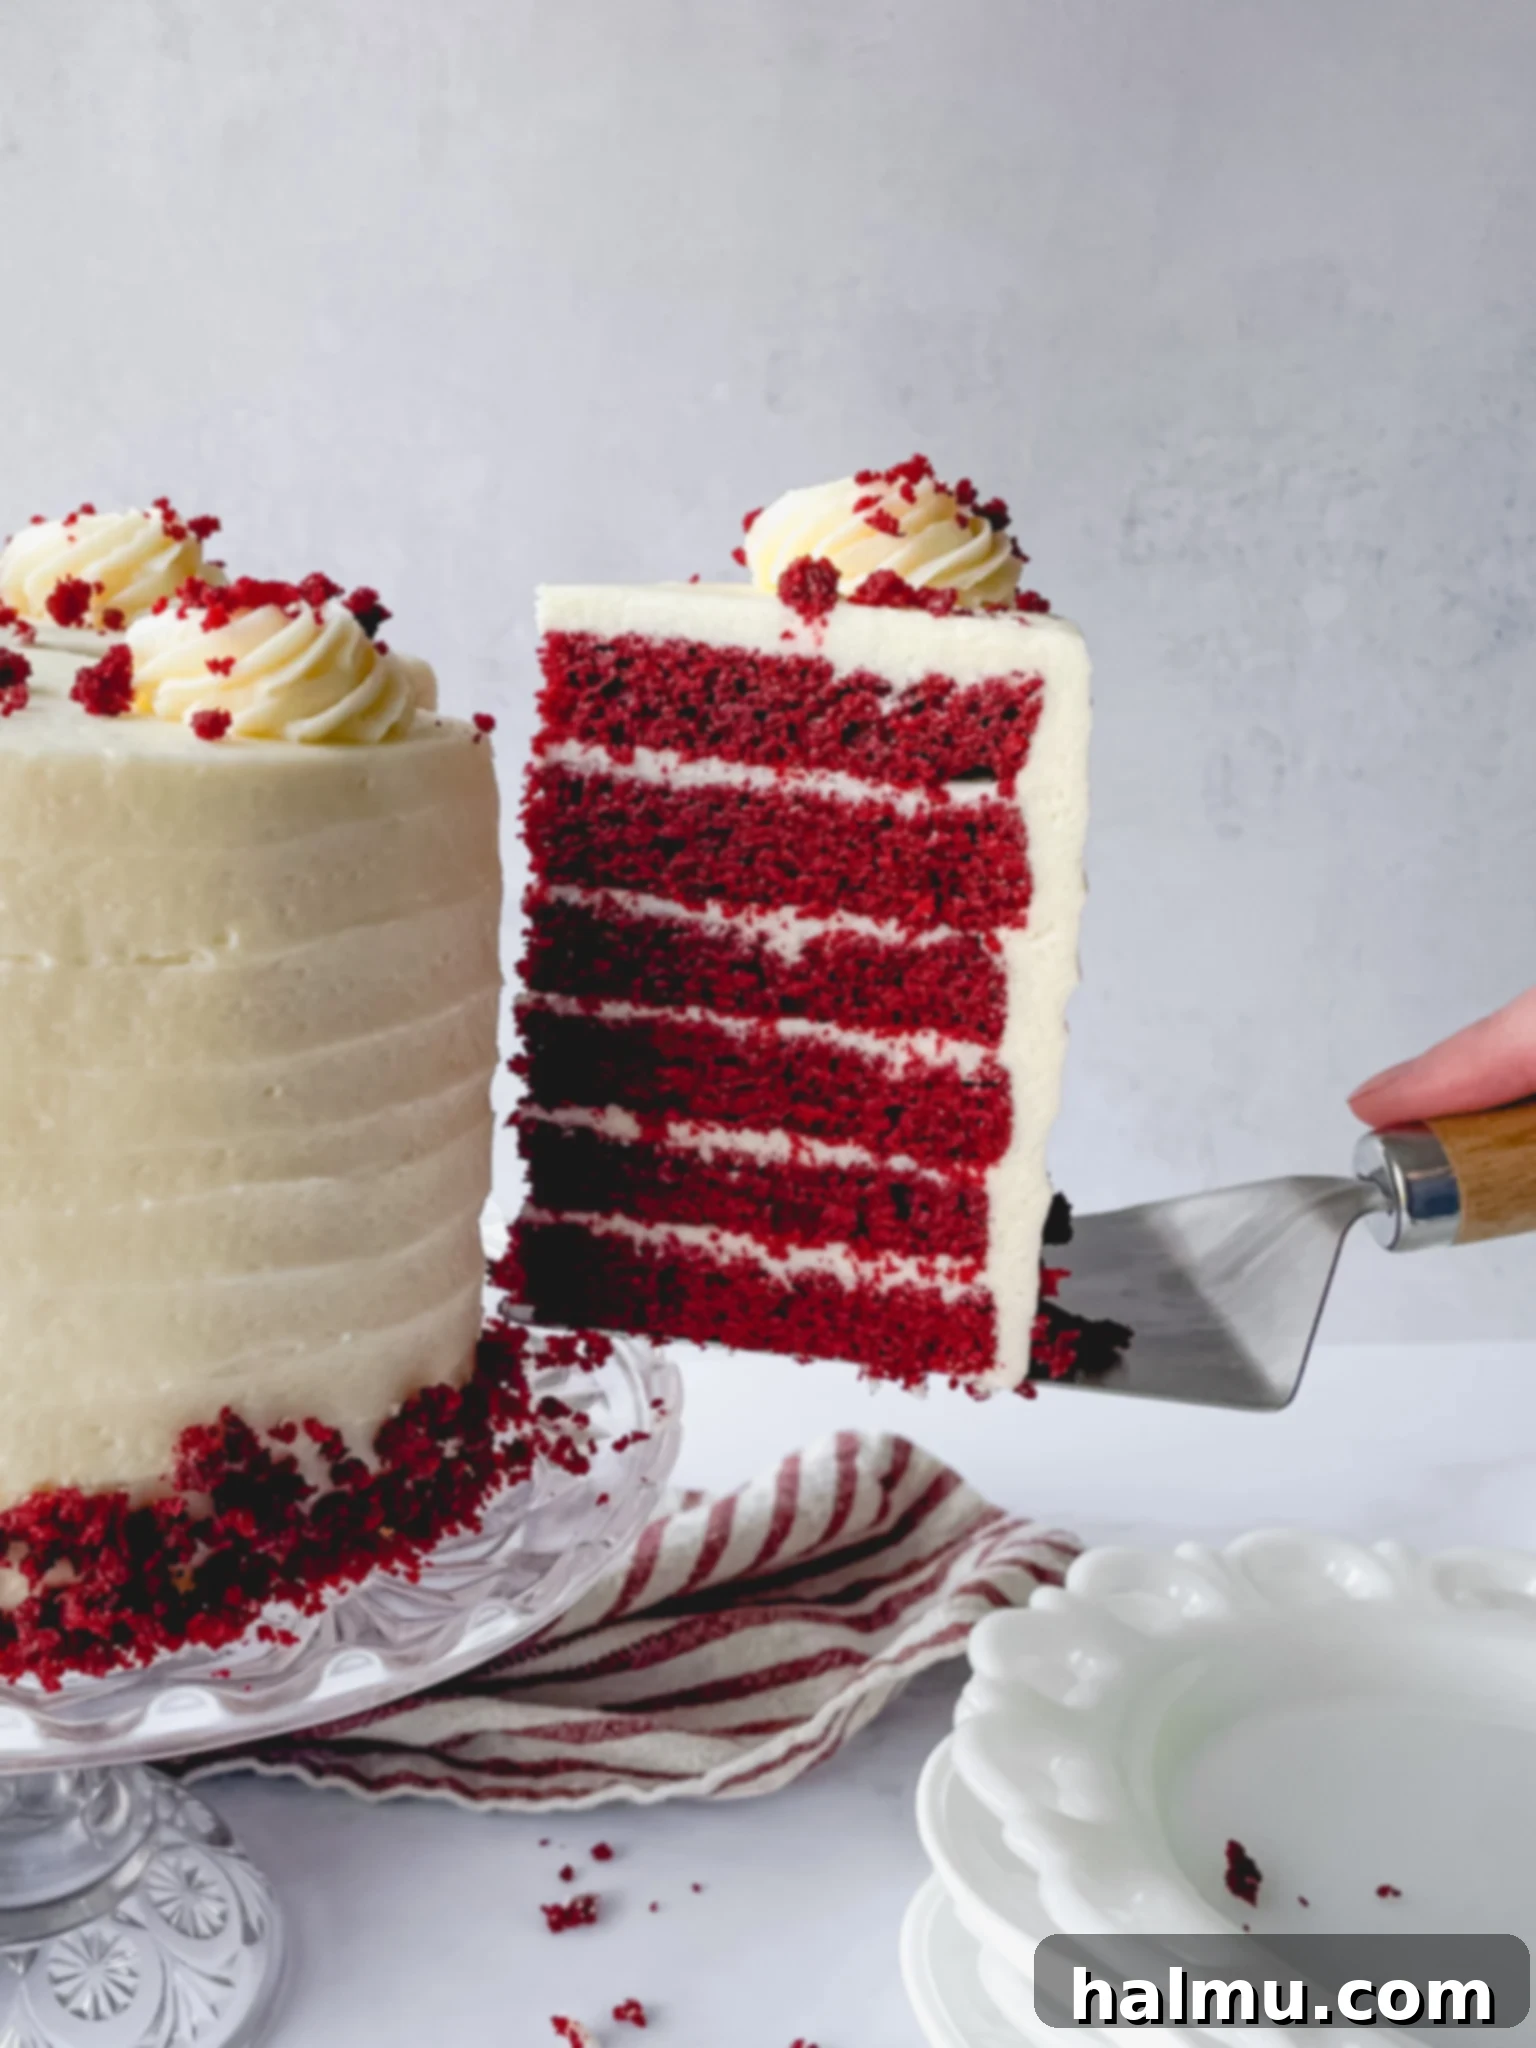
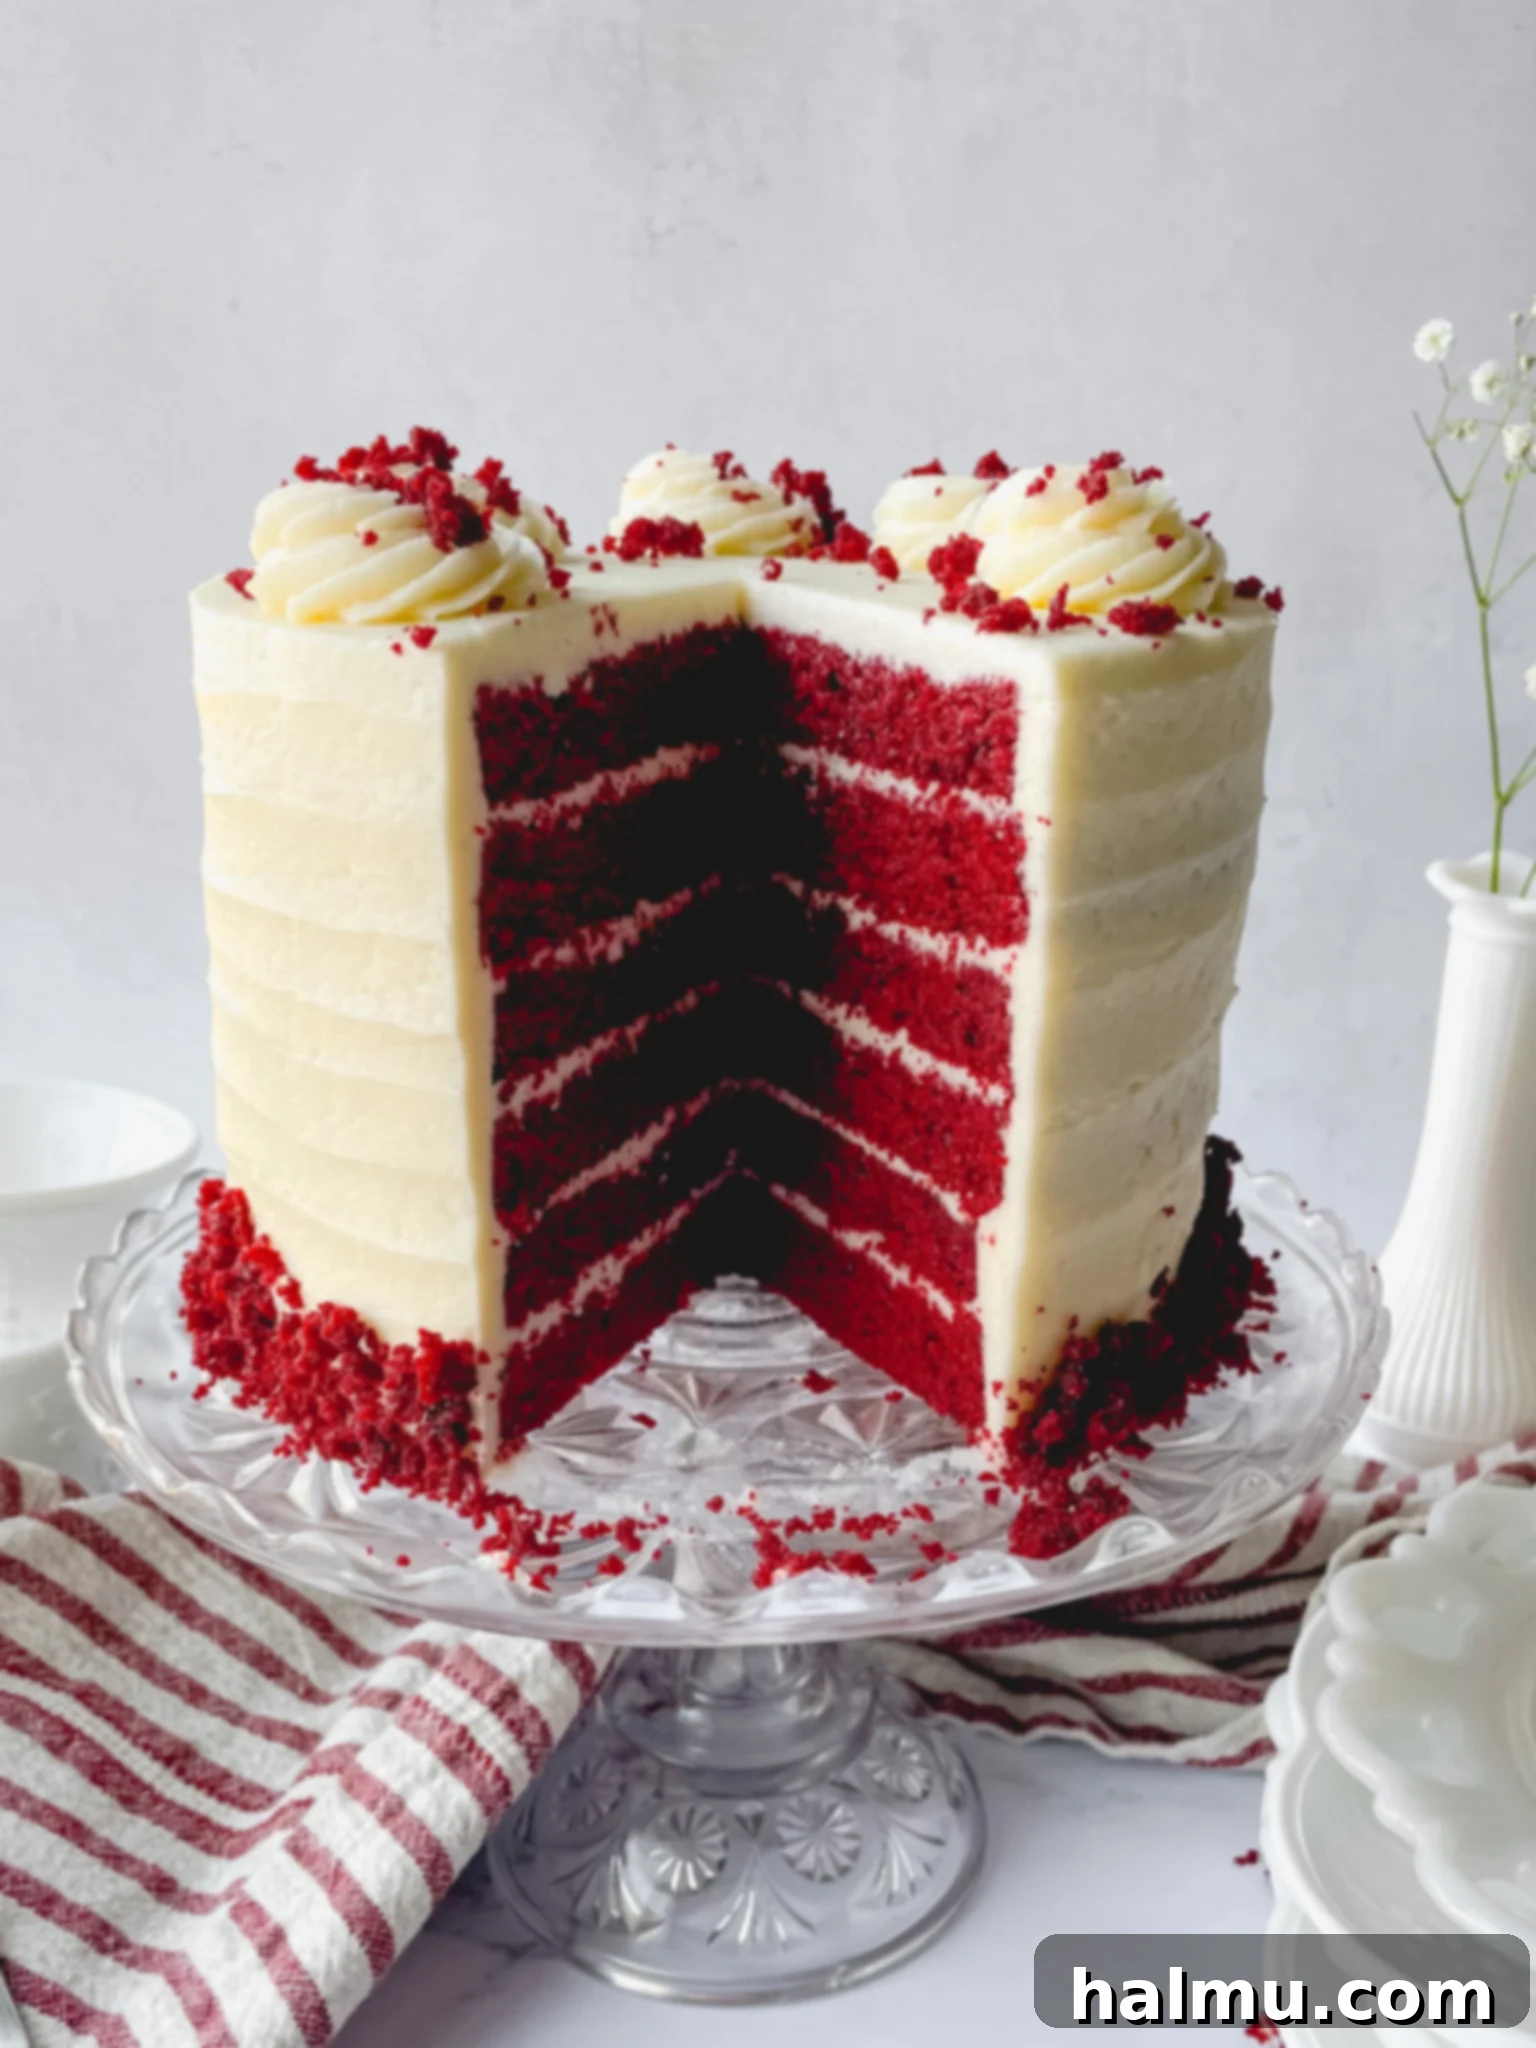
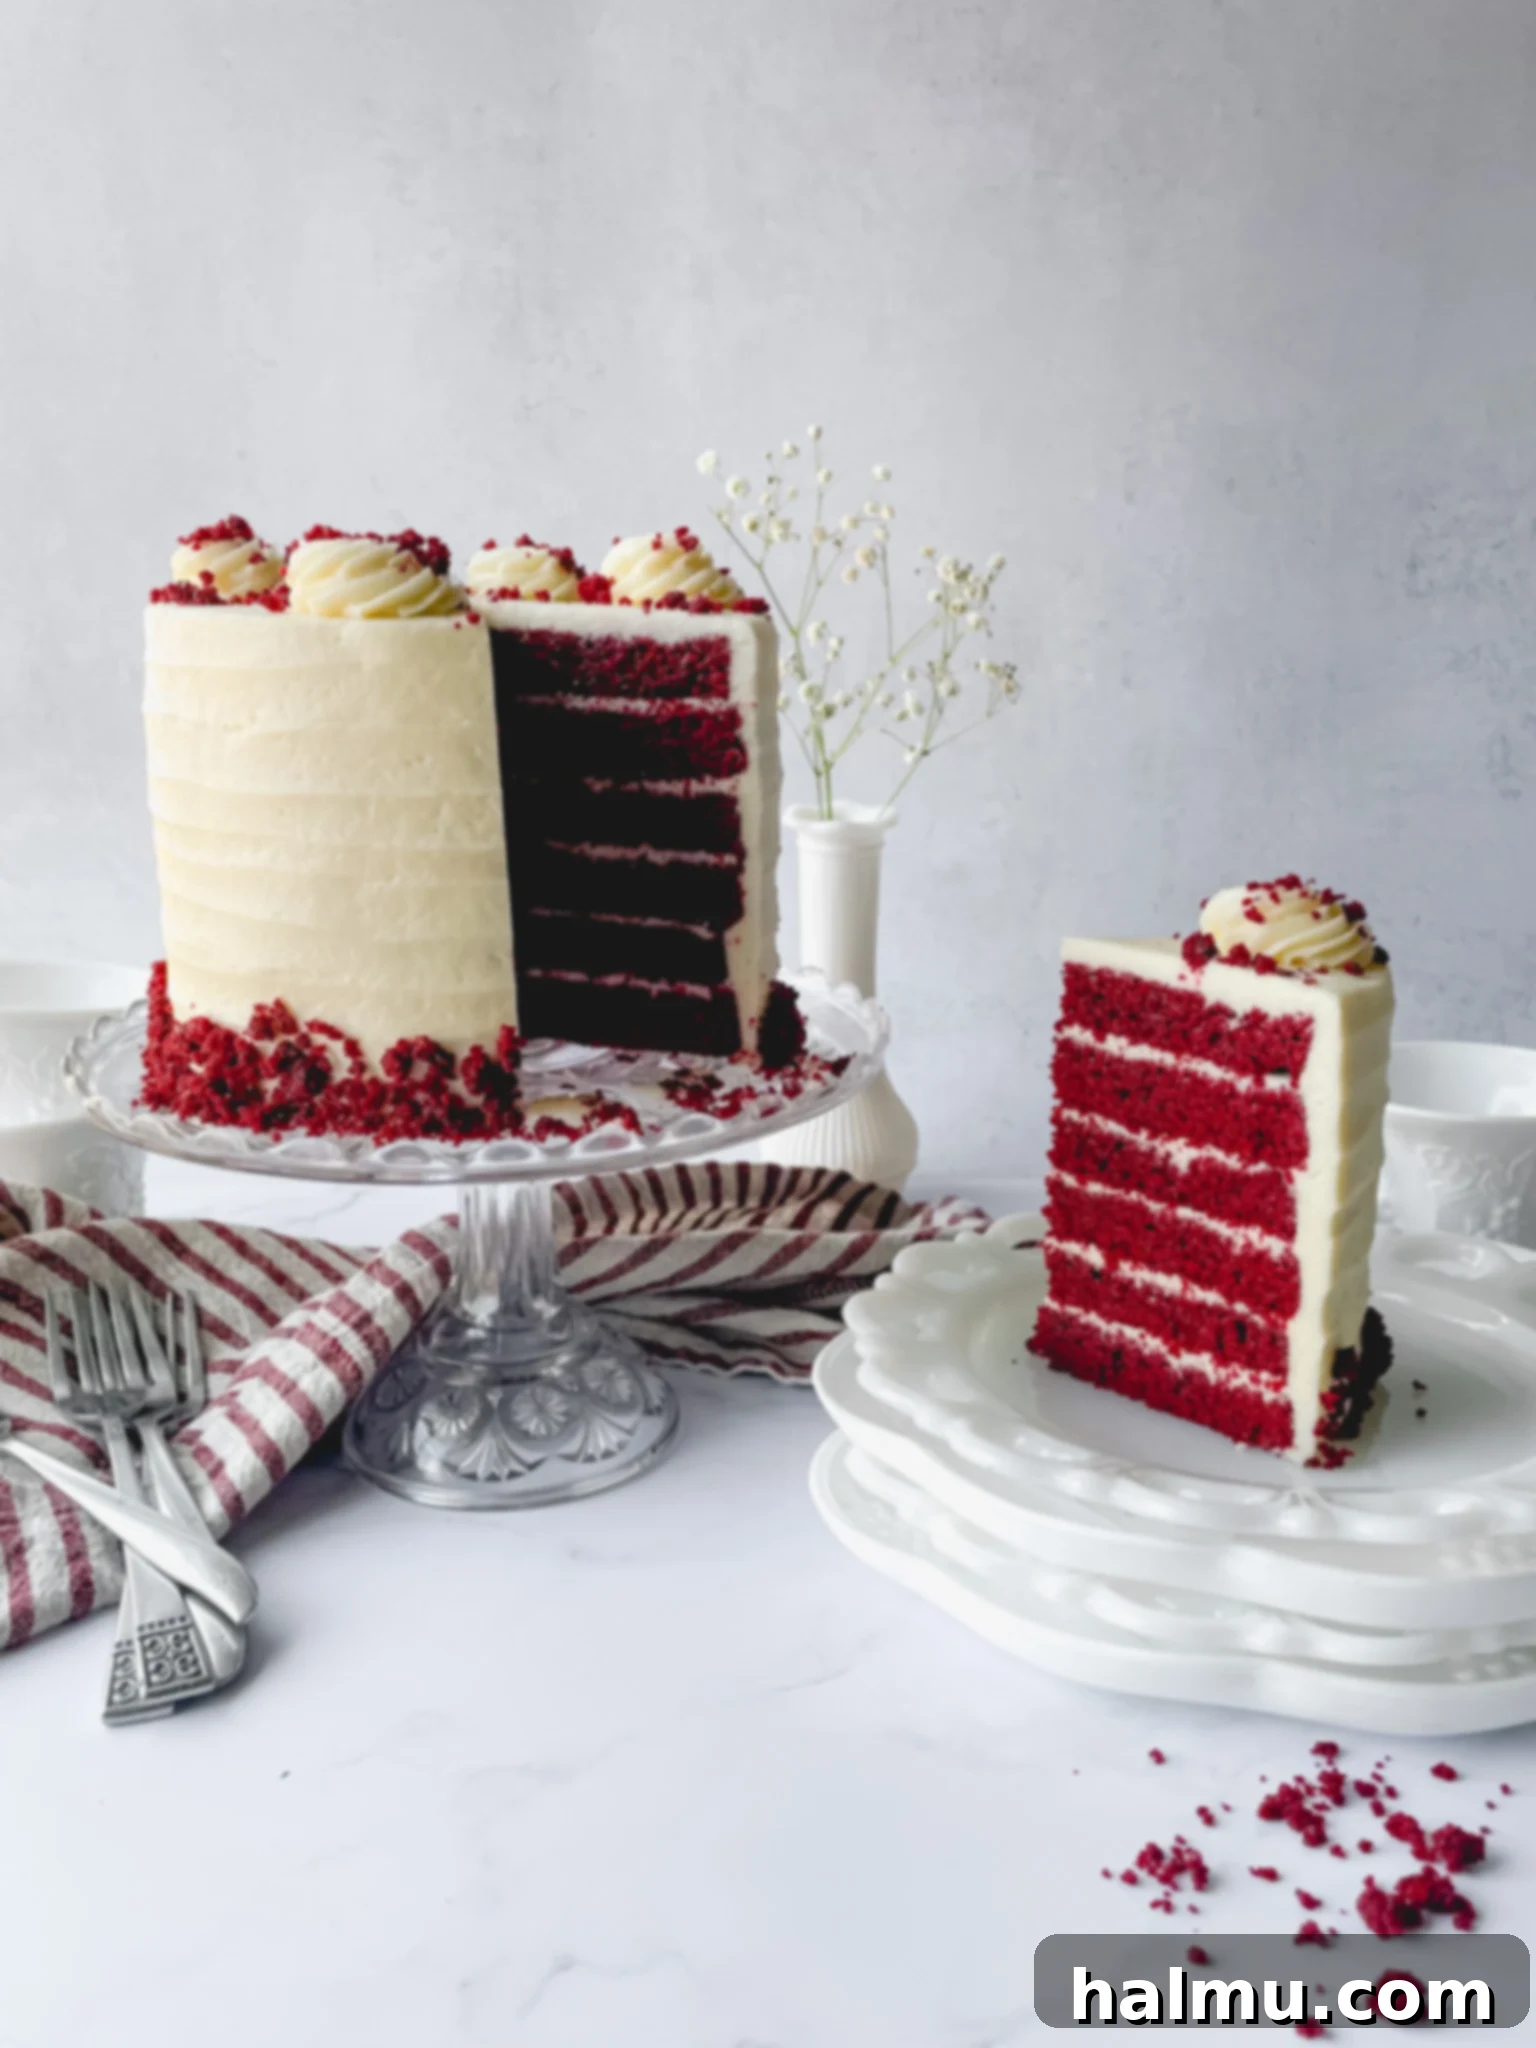
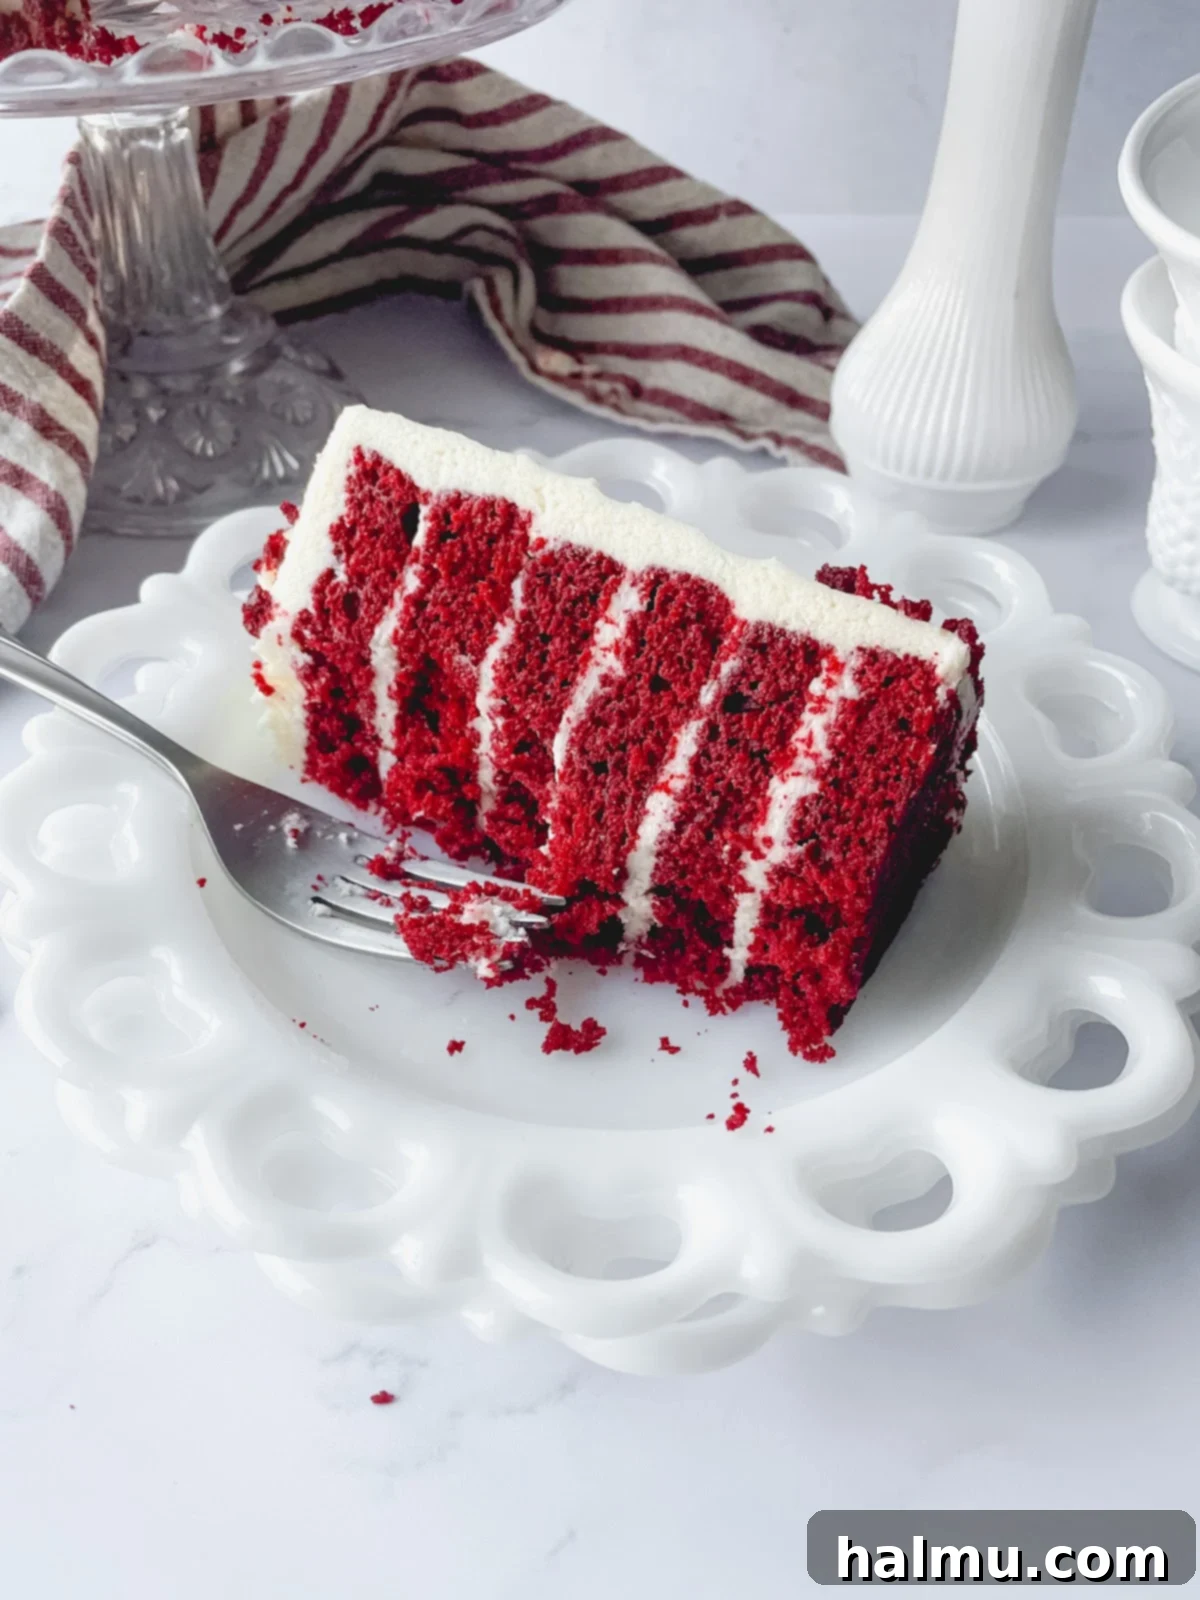
The heart of this classic red velvet cake lies in its magnificent layers. Each slice reveals a vibrant, deep red hue, a signature characteristic that makes this cake instantly recognizable and utterly inviting. But the allure extends beyond its striking color; the texture is a dream – incredibly soft, remarkably moist, and truly velvety, living up to its name. A subtle hint of cocoa weaves through each bite, offering a mild chocolate flavor that perfectly complements the cake’s richness without overpowering it.
Red velvet cake is, at its core, a testament to culinary chemistry. The slight chocolate flavor is deepened and made unique by the inclusion of buttermilk and vinegar. These acidic ingredients play a crucial role, reacting with the baking soda to create a gentle leavening action that helps the cake rise beautifully in the oven, contributing to its tender crumb. Historically, this reaction also enhanced the red pigment from the cocoa powder, giving the cake a reddish-brown tint before artificial food coloring became widely available. For my grandmother’s recipe, and to achieve that iconic, vibrant red, we embrace liquid red food coloring.
To create a truly impressive presentation, I opt for three 6-inch round cake layers. These are then carefully sliced in half horizontally, yielding a grand total of six distinct layers. This technique not only adds height and elegance to the finished cake but also ensures a perfect balance of cake and frosting in every single forkful. The stacked layers create a visually stunning dessert that promises a delightful experience even before the first bite.
The Enigmatic “Old Fashioned Frosting”
While cream cheese frosting is a popular modern pairing for red velvet cake, my Grandma Meme’s recipe features an entirely different, wonderfully unique creation that I affectionately call “Old Fashioned Frosting.” In my many years of baking and cake decorating, I’ve encountered countless frosting recipes, but none quite like this one. It’s a light, creamy, and undeniably distinct icing that I truly believe represents the original, intended companion for a classic red velvet cake, offering a sublime contrast to the cake’s richness without the tanginess of cream cheese.
The magic begins with a simple yet ingenious technique: cooking cornstarch and water together on the stove to form a smooth, thick slurry. As this mixture gently heats, it transforms, thickening significantly. This thickening continues as it cools to room temperature, forming the stable base for our unique frosting. Separately, butter and sugar are creamed together until they achieve a light and fluffy consistency, a hallmark of excellent baking. Pure vanilla extract is then incorporated, infusing the mixture with its aromatic warmth.
The cooled cornstarch slurry is then gradually introduced into the creamed butter and sugar mixture. This slow addition is key to achieving the perfect emulsion. The entire concoction is then whipped vigorously until it becomes incredibly smooth, light, and airy, reminiscent of a fluffy, ethereal whipped cream. This unique frosting shares similarities with “Ermine frosting” or “boiled milk frosting,” both of which use a cooked flour or starch paste. However, Meme’s recipe distinguishes itself by using water instead of milk, a small but significant detail. A notable advantage of this water-based slurry is that the finished frosting is remarkably stable and perfectly fine to sit out at room temperature for extended periods. This means your beautifully decorated Southern Red Velvet Cake won’t require refrigeration, making it ideal for gatherings and celebrations where it can be admired and enjoyed freely.
Elegant Decorating Techniques for Your Red Velvet Masterpiece
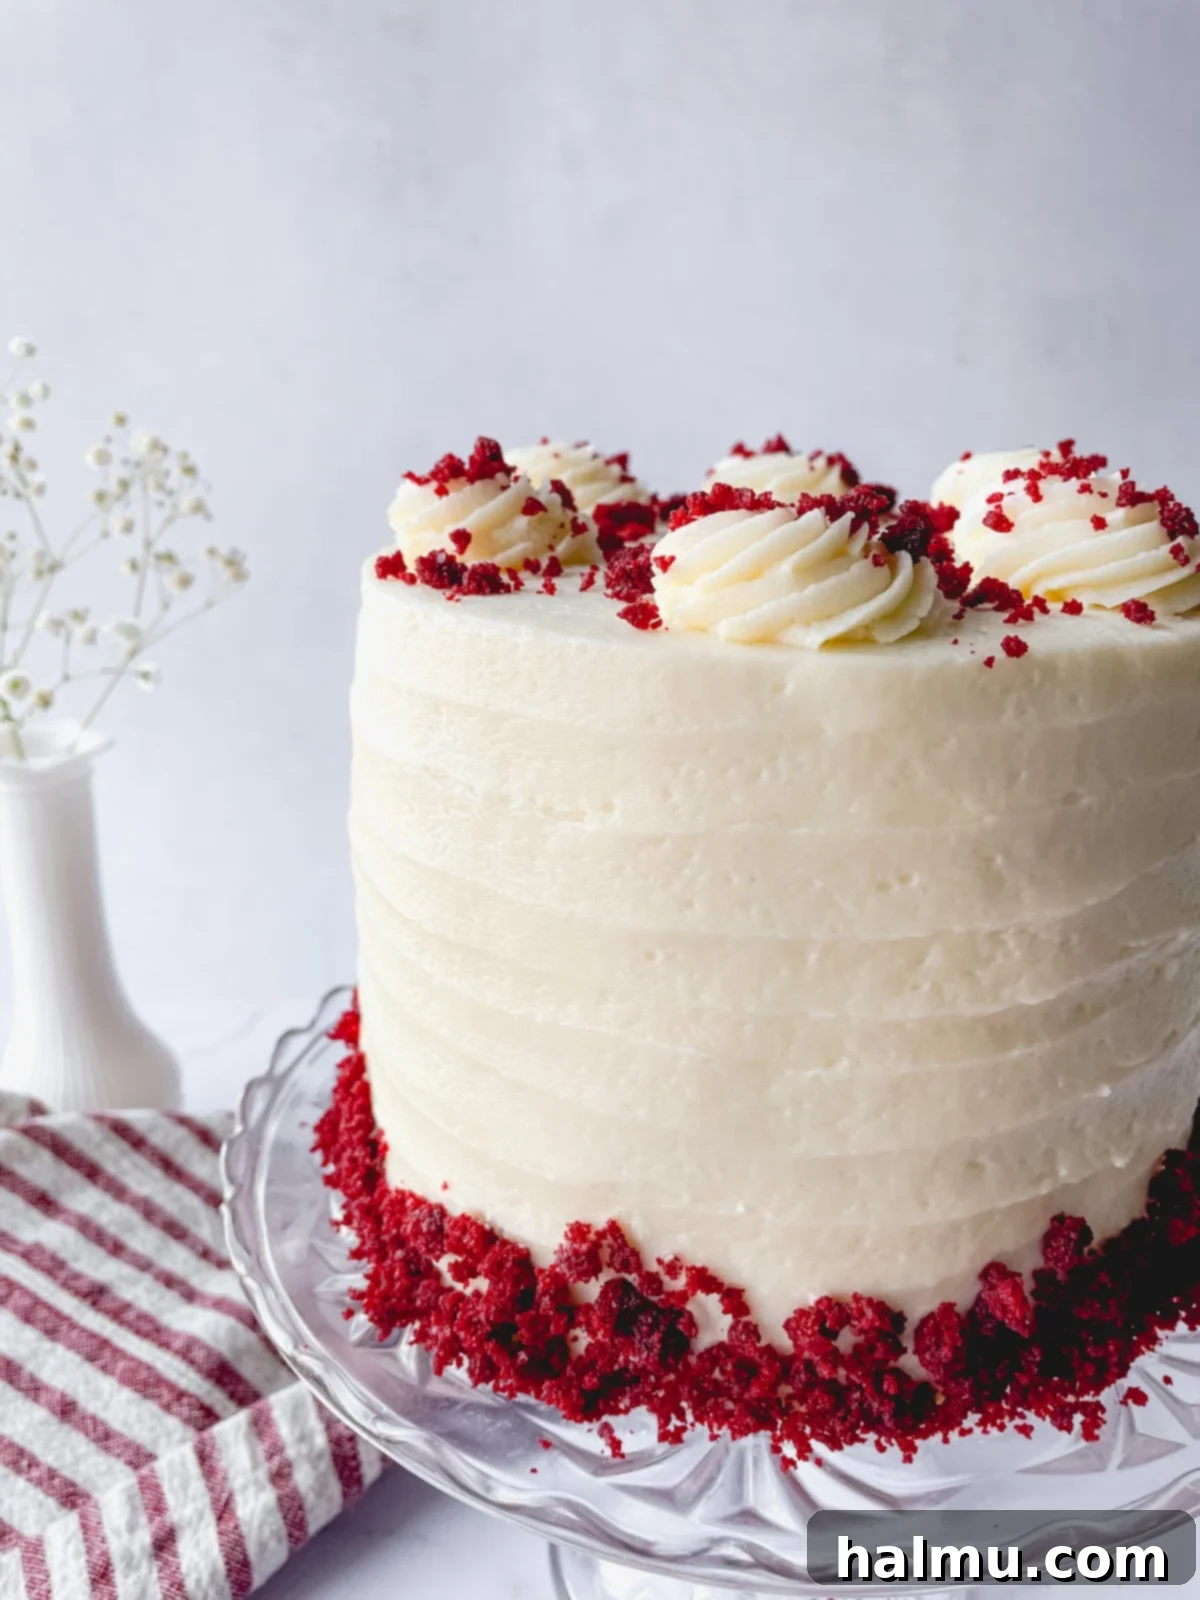
Decorating this Old Fashioned Red Velvet Cake should be a joyous and simple affair, allowing the cake’s inherent beauty to shine through. My preferred method for a refined yet approachable look involves creating a ridged, ribbon-like texture along the sides of the cake. This elegant design doesn’t require specialized tools or advanced skills; it’s achieved effortlessly with just a metal offset spatula, making it accessible for even novice bakers to create a stunning finish.
After applying a smooth, even layer of our unique Old Fashioned Frosting, you simply hold the offset spatula horizontally against the side of the cake, starting from the bottom. With a light touch, slowly drag the rounded edge of the spatula upwards, creating a beautiful, subtle ridge. Repeat this motion around the entire circumference of the cake, allowing each stroke to overlap slightly, forming an appealing, continuous pattern that evokes a sense of artisanal craftsmanship.
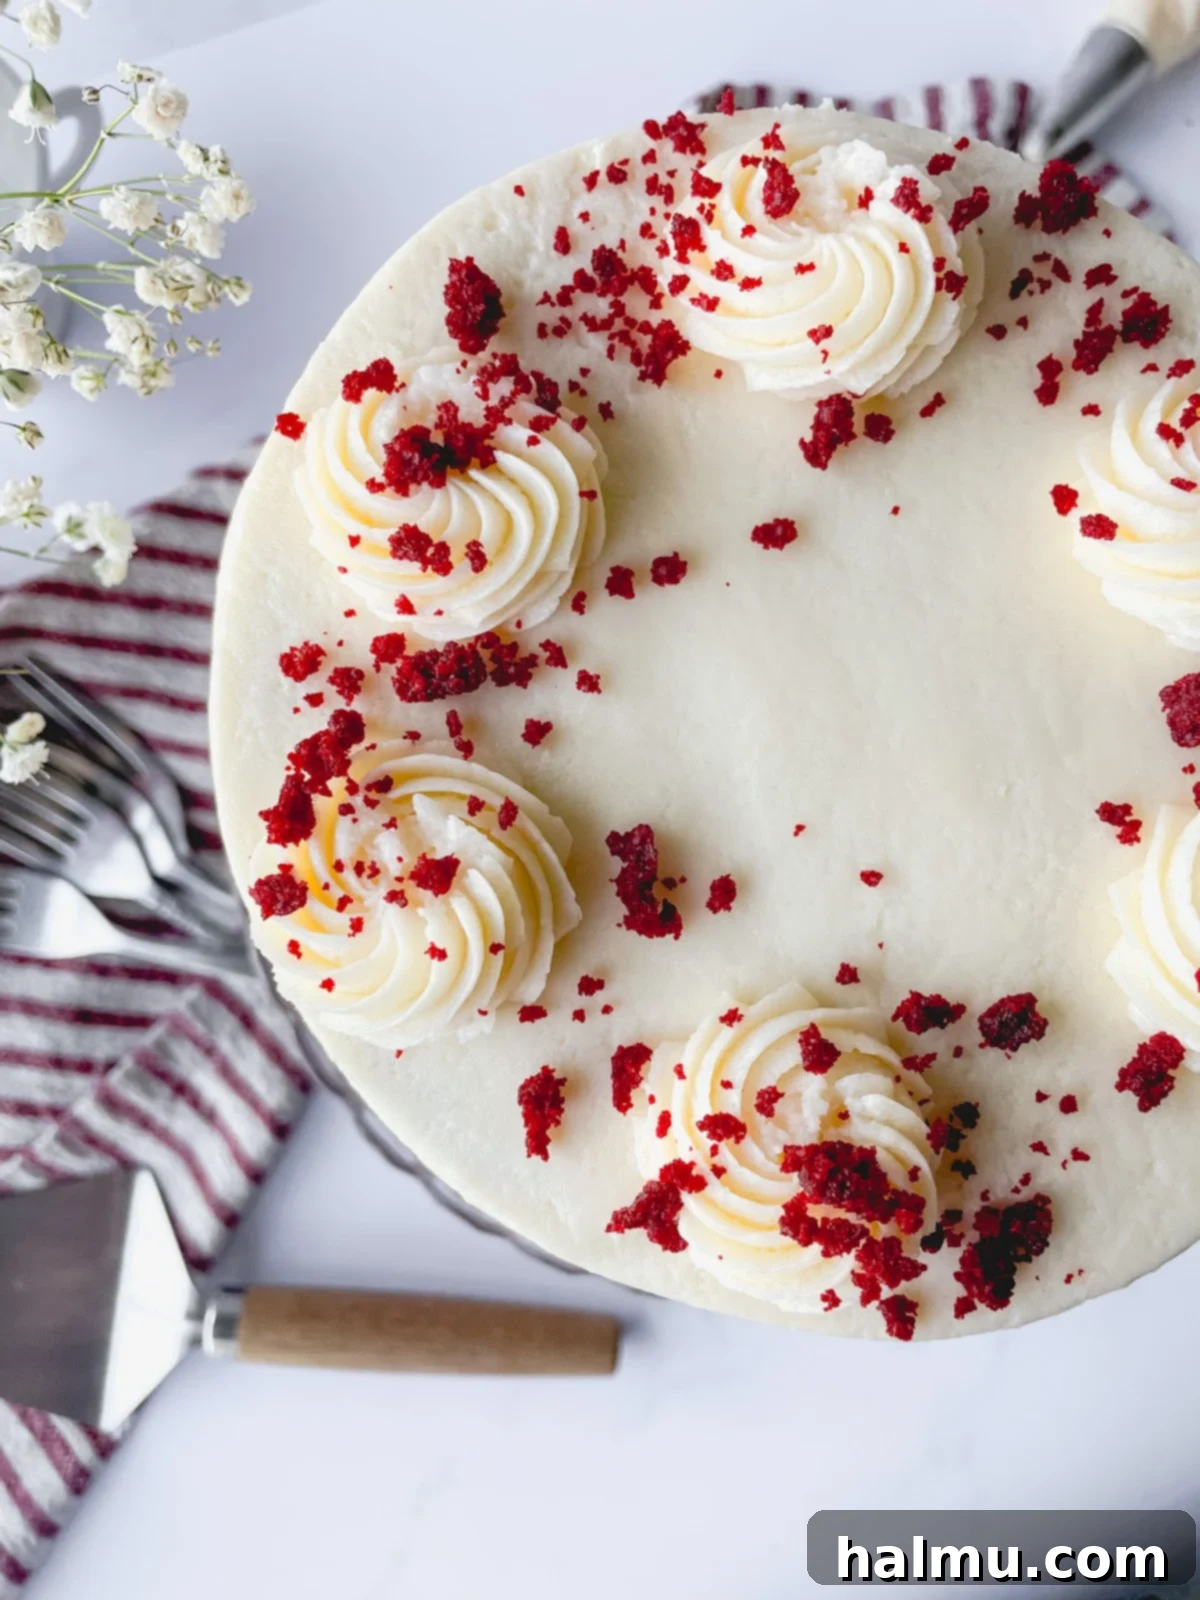
To further enhance the cake’s charm and provide a delightful textural contrast, I add a few classic rosettes of frosting on the top, carefully piped around the edge or in the center. These delicate floral patterns add a touch of sophistication and serve as a perfect frame for the final, most iconic decorative element: red velvet cake crumbs. These crumbs are not just a garnish; they’re an ingenious way to showcase the cake’s interior, providing a visual cue to the rich, red layers beneath the pristine white frosting.
Creating the crumbs is wonderfully straightforward. Simply take the trimmed cake tops – the parts you level off to ensure even layers – and break them into small pieces. Spread these pieces on a baking sheet and lightly toast them in a low oven for about 5 minutes. This gentle toasting helps dry them out slightly, intensifying their color and making them easier to crumble. Once cooled, gently rub the pieces between your fingers to create coarse, vibrant red crumbs. Press these exquisite crumbs into the sides of the cake, particularly around the bottom edge for a defined border, and then artfully sprinkle a few over the top of the cake and onto the rosettes. This simple, classy look is not only beautiful but also a fantastic zero-waste method, utilizing every delicious scrap of your homemade Old Fashioned Red Velvet Cake.
Recipe Video Guide
For those who prefer a visual guide, our comprehensive recipe video walks you through each step of baking and decorating this delightful Old Fashioned Red Velvet Cake. Watch as we transform simple ingredients into a show-stopping dessert, ensuring your baking experience is as smooth and enjoyable as the cake itself.
Red Velvet Cake FAQs: Your Questions Answered
Baking a show-stopping Southern Red Velvet Cake can sometimes raise a few questions, especially when it comes to achieving that perfect color, texture, and storage. Here are some of the most common inquiries I receive about this classic dessert, along with detailed answers to help you master Meme’s cherished recipe.
Can I use gel food coloring instead of liquid?
Absolutely! Gel food coloring is a fantastic alternative and often yields a more concentrated color with less product. When substituting gel for the liquid coloring specified in the recipe, remember that a little goes a long way. Start with just a drop or two and gradually add more until you achieve your desired vibrant, deep red hue. My grandma’s original recipe called for liquid coloring, likely because it was the most readily available option during her time. I’ve always stuck with it for authenticity, but gel coloring will work beautifully. For avid bakers, or if you plan to make this homemade red velvet cake often, consider purchasing a larger bottle of liquid food coloring to ensure you always have enough on hand without the small bottles adding up in cost.
Do I have to use red food coloring?
While the red food coloring is undeniably crucial for achieving the iconic, vibrant visual appeal of a Red Velvet Cake, it’s important to note that it doesn’t contribute any flavor to the cake itself. The slight chocolate notes and the unique tang come from the cocoa, buttermilk, and vinegar. If you prefer to avoid artificial colorings, natural alternatives like beet juice or beet powder are often used to impart a reddish tint. However, these natural options may result in a more muted, earthy red rather than the brilliant, classic red velvet color. If you decide to omit the coloring altogether, your cake will have a light brown color, perhaps with a very subtle reddish undertone due to the cocoa and acid reaction. It will still be a delicious, moist cake, but it won’t have the visual punch of a traditional Red Velvet.
How do I store the cake?
One of the many advantages of our unique Old Fashioned Frosting is its impressive stability. This cake can be stored comfortably at room temperature for up to 3 days, making it perfect for parties or if you prefer not to chill your cakes. If you need to extend its freshness, it will keep beautifully in the refrigerator for up to 5 days. When storing it in the fridge, remember to pull it out about an hour before serving. This allows both the cake layers and the frosting to return to room temperature, ensuring the softest texture and optimal flavor. To keep any cut sides of the cake from drying out, press plastic wrap directly against the exposed cake. Alternatively, you can cut individual slices and store them in an airtight container, which is a convenient option for portion control and maintaining freshness.
Can I freeze the cake?
Yes, this Old Fashioned Red Velvet Cake freezes exceptionally well, making it a fantastic option for meal prepping desserts or enjoying a single slice whenever a craving strikes! The most effective way I’ve found to freeze this cake is to first slice the entire cake into individual portions. Each slice should then be wrapped tightly in plastic wrap to prevent freezer burn and seal in moisture. Once wrapped, store the individual slices in an airtight container or a heavy-duty zip-top freezer bag. This method keeps the cake fresh in the freezer for up to 3 months. When you’re ready to enjoy a slice, simply remove it from the freezer and allow it to thaw overnight at room temperature. This way, you can easily pull out one piece at a time and savor the deliciousness of Meme’s recipe whenever you desire.
Essential Tools for Baking the Perfect Red Velvet Cake
Having the right tools can truly elevate your baking experience and help you achieve professional-level results with this Homemade Red Velvet Cake. While you don’t need a kitchen full of gadgets, a few key items will make a significant difference in the ease and success of your baking journey.
Kitchen Scale – For consistent and accurate baking results, a kitchen scale is an absolute game-changer. Unlike measuring cups, which can yield varying weights depending on how ingredients like flour are packed, a scale ensures the exact same measurement every single time. This precision is vital in baking, where ratios are delicate. I always include gram measurements alongside cup measurements in my recipes and highly recommend investing in a good quality kitchen scale. Furthermore, I use my scale to weigh the cake batter into each pan, guaranteeing that all layers bake evenly and are of uniform thickness, which is crucial for a beautifully stacked cake.
Cake Pans – The quality of your cake pans directly impacts how your cake bakes. The Fat Daddios brand has been a long-standing favorite in my kitchen for a reason. Their anodized aluminum pans are superior for conducting heat evenly, which prevents hot spots and ensures your cakes rise uniformly and achieve a perfect golden-brown crust. For this specific Old Fashioned Red Velvet Cake recipe, I utilized three 6-inch by 2-inch pans. Baking in multiple smaller pans allows for thinner layers, which are then easily sliced in half to create those impressive six layers of cake, offering a fantastic cake-to-frosting ratio.
Parchment Circles – While you can certainly cut your own circles from a roll of parchment paper, pre-cut parchment circles offer unparalleled convenience and save valuable time during your baking preparations. Having these on hand streamlines the process of lining your cake pans, ensuring a non-stick surface that makes unmolding your delicate cake layers effortless and prevents sticking. This small tool makes a big difference in preventing baking day frustrations.
Serrated Knife – While you might have a serrated knife in your knife block, not all are created equal for the specific task of leveling cake layers. Many standard serrated knives are simply not long enough to cleanly carve through wider cake layers without tearing or creating an uneven surface. A dedicated, long-bladed serrated knife, typically around 10 inches, is an invaluable tool for achieving perfectly level cake layers. Its length allows for a smooth, single pass through the cake, resulting in clean, even cuts that are essential for stacking. Beyond cakes, this knife is also fantastic for slicing fresh bread or tomatoes!
Cake Turntable – For any aspiring cake decorator, a cake turntable is a non-negotiable tool. It transforms the frosting and decorating process from a cumbersome task into a smooth, enjoyable experience. While elaborate piping bags and tips can be fun, a basic turntable is one of the most impactful investments you can make for professional-looking cakes. My personal favorite is the metal Ateco turntable, known for its stability and smooth rotation. It often comes with a non-slip mat, which is a brilliant addition for keeping your cake securely in place as you work. While it may be a bit of an initial investment, the ease and precision it brings to frosting your Old Fashioned Red Velvet Cake are absolutely worth it.
Offset Spatulas – Alongside a good turntable, a set of offset spatulas is truly all you need to create a variety of fun and beautiful cake designs. You don’t necessarily need piping bags or fancy tips when you have the versatility of an offset spatula. This set of three offers different sizes, each serving a unique purpose. I find the middle-sized spatula perfect for spreading frosting between layers and applying the crumb coat, while the smallest one is ideal for delicate details and achieving intricate designs. The largest spatula is particularly useful for working with bigger cakes, whether they have a wide diameter or are exceptionally tall, allowing for broad, smooth strokes. They are indispensable for achieving that perfectly smooth finish and for creating the ridged texture on the sides of your Southern Red Velvet Cake.
More Delicious Cake Recipes You’ll Adore
If you’ve enjoyed baking and tasting this Old Fashioned Red Velvet Cake, you’re in for a treat with more delightful recipes from our kitchen. Expand your baking repertoire with these other tried-and-true favorites, perfect for any occasion:
- Raspberry Orange Pistachio Cake: A vibrant, elegant cake bursting with fresh flavors and beautiful textures.
- Chocolate Peanut Butter Snack Cake: The ultimate comfort cake, combining two beloved flavors in an easy-to-make, irresistible treat.
- Vanilla Cupcakes With Chocolate Frosting: A classic combination, perfect for individual servings and crowd-pleasing simplicity.
- Chantilly Crepe Cake: A stunning, delicate cake made with layers of thin crepes and light, airy Chantilly cream.
- Strawberry Crunch Cheesecake: A delightful fusion of creamy cheesecake with a crunchy strawberry topping for an explosion of flavor and texture.
I hope you find as much joy in making and sharing these recipes as I do. Each one is crafted with love and a passion for delicious homemade desserts. Happy baking!
Old Fashioned Red Velvet Cake
This Old Fashioned Red Velvet Cake is my grandma’s recipe and a long-time family favorite. The cake is soft and velvety and pairs perfectly with the light and creamy one-of-a-kind frosting, making this a true southern specialty.
Rachel
Print Recipe
RATE THIS RECIPE
1 hr
40 mins
30 mins
2 hrs 10 mins
12 servings
Ingredients
For the Red Velvet Cake
- ½ cup (1 stick or 113g) unsalted butter, at room temperature
- 1 ½ cups (315g) sugar
- 2 large eggs, at room temperature
- 1 teaspoon vanilla extract
- 1 Tablespoon (8g) cocoa powder
- 2 ¼ cups (290g) all-purpose flour
- 1 teaspoon baking soda
- 1 teaspoon salt
- 1 cup (242g) buttermilk, at room temperature
- 2 oz (56g) liquid red food color
- 1 teaspoon white vinegar
For the Old Fashioned Frosting
- 3 Tablespoons (30g) cornstarch
- 1 ½ cups (325g) water
- 1 ½ cups (3 sticks or 339g) unsalted butter, at room temperature
- 1 ½ cups (315g) sugar
- 2 teaspoons vanilla extract
SHOP INGREDIENTS
Instructions
- Red Velvet Cake: Preheat oven to 325°F. Lightly grease three 6” round cake pans with cooking spray and line the bottoms with parchment paper circles.
- In the bowl of a stand mixer fitted with a paddle attachment, cream the butter and the sugar until fluffy and light in color, about 3-5 minutes.
- Slowly add the eggs one at a time and vanilla, combining well after each addition. Mix in the cocoa then scrape the bowl well with a rubber spatula. Mix on high for an additional 30 seconds until the mixture is smooth.
- Combine the flour, baking soda, and salt then combine the buttermilk, red food coloring, and vinegar. Alternate adding the flour and buttermilk mixtures, starting and ending with the flour. Mix until just combined after each addition and scrape down the bowl a few times during the process.
- Divide the batter evenly between the three cake pans. Bake for 25-30 minutes, or until the cake springs back to the touch or a toothpick comes out clean.
- Cool the cakes until they are cool enough to handle then remove them from the pans.
- Old Fashioned Frosting: In a small saucepan, combine the water and cornstarch and cook over low heat until the mixture thickens and starts to boil. Strain the slurry mixture, press plastic wrap directly onto the top, and set aside to cool to room temperature.
- In the bowl of a stand mixer fitted with a paddle attachment, cream the butter and the sugar until fluffy and light in color, about 5 minutes. Add the vanilla and mix.
- Switch to the whisk attachment. Once the cornstarch slurry has cooled to room temperature, add a little at a time to the mixing bowl, while running on medium speed. After all the slurry has been added, turn the mixer on high speed and whip until smooth.
- Assembly: Once the cakes are cool, slice the top off of each cake layer to make them level then slice each layer in half horizontally, to create 6 even layers.
- Break up the cake tops into small pieces and place them on a baking sheet. Bake at 300°F for about 5 minutes, until they start to dry out slightly. Allow the cake pieces to cool then rub the pieces between your fingers to create coarse crumbs. Set aside.
- Place the first cake layer, cut side up on a cake board or cake stand. Add about ½ cup of frosting and spread it out to the edges. Place your next cake layer on top, gently press down, and repeat the same process for the remaining layers. On the last layer, place the cake layer cut-side down.
- Crumb-coat the cake entire cake with a thin layer of icing and refrigerate for about 20-30 minutes. Apply a final thicker layer of frosting all over the top and sides of the cake and smooth it with an offset spatula.
- Turn the spatula horizontally and using the top rounded part, lightly drag it along the sides of the cake starting at the bottom and slowly working up to the top, to create a pattern on the sides of the cake. Press some of the red velvet cake crumbs up the sides of the cake.
- Fit a piping bag with a star tip and fill it with any remaining icing. Pipe rosettes on the top of the cake and finish with a sprinkle of more red velvet cake crumbs. Slice and enjoy!
Video
Did you make this recipe?
Be sure to tag @sweetkitchencravings on Instagram!
