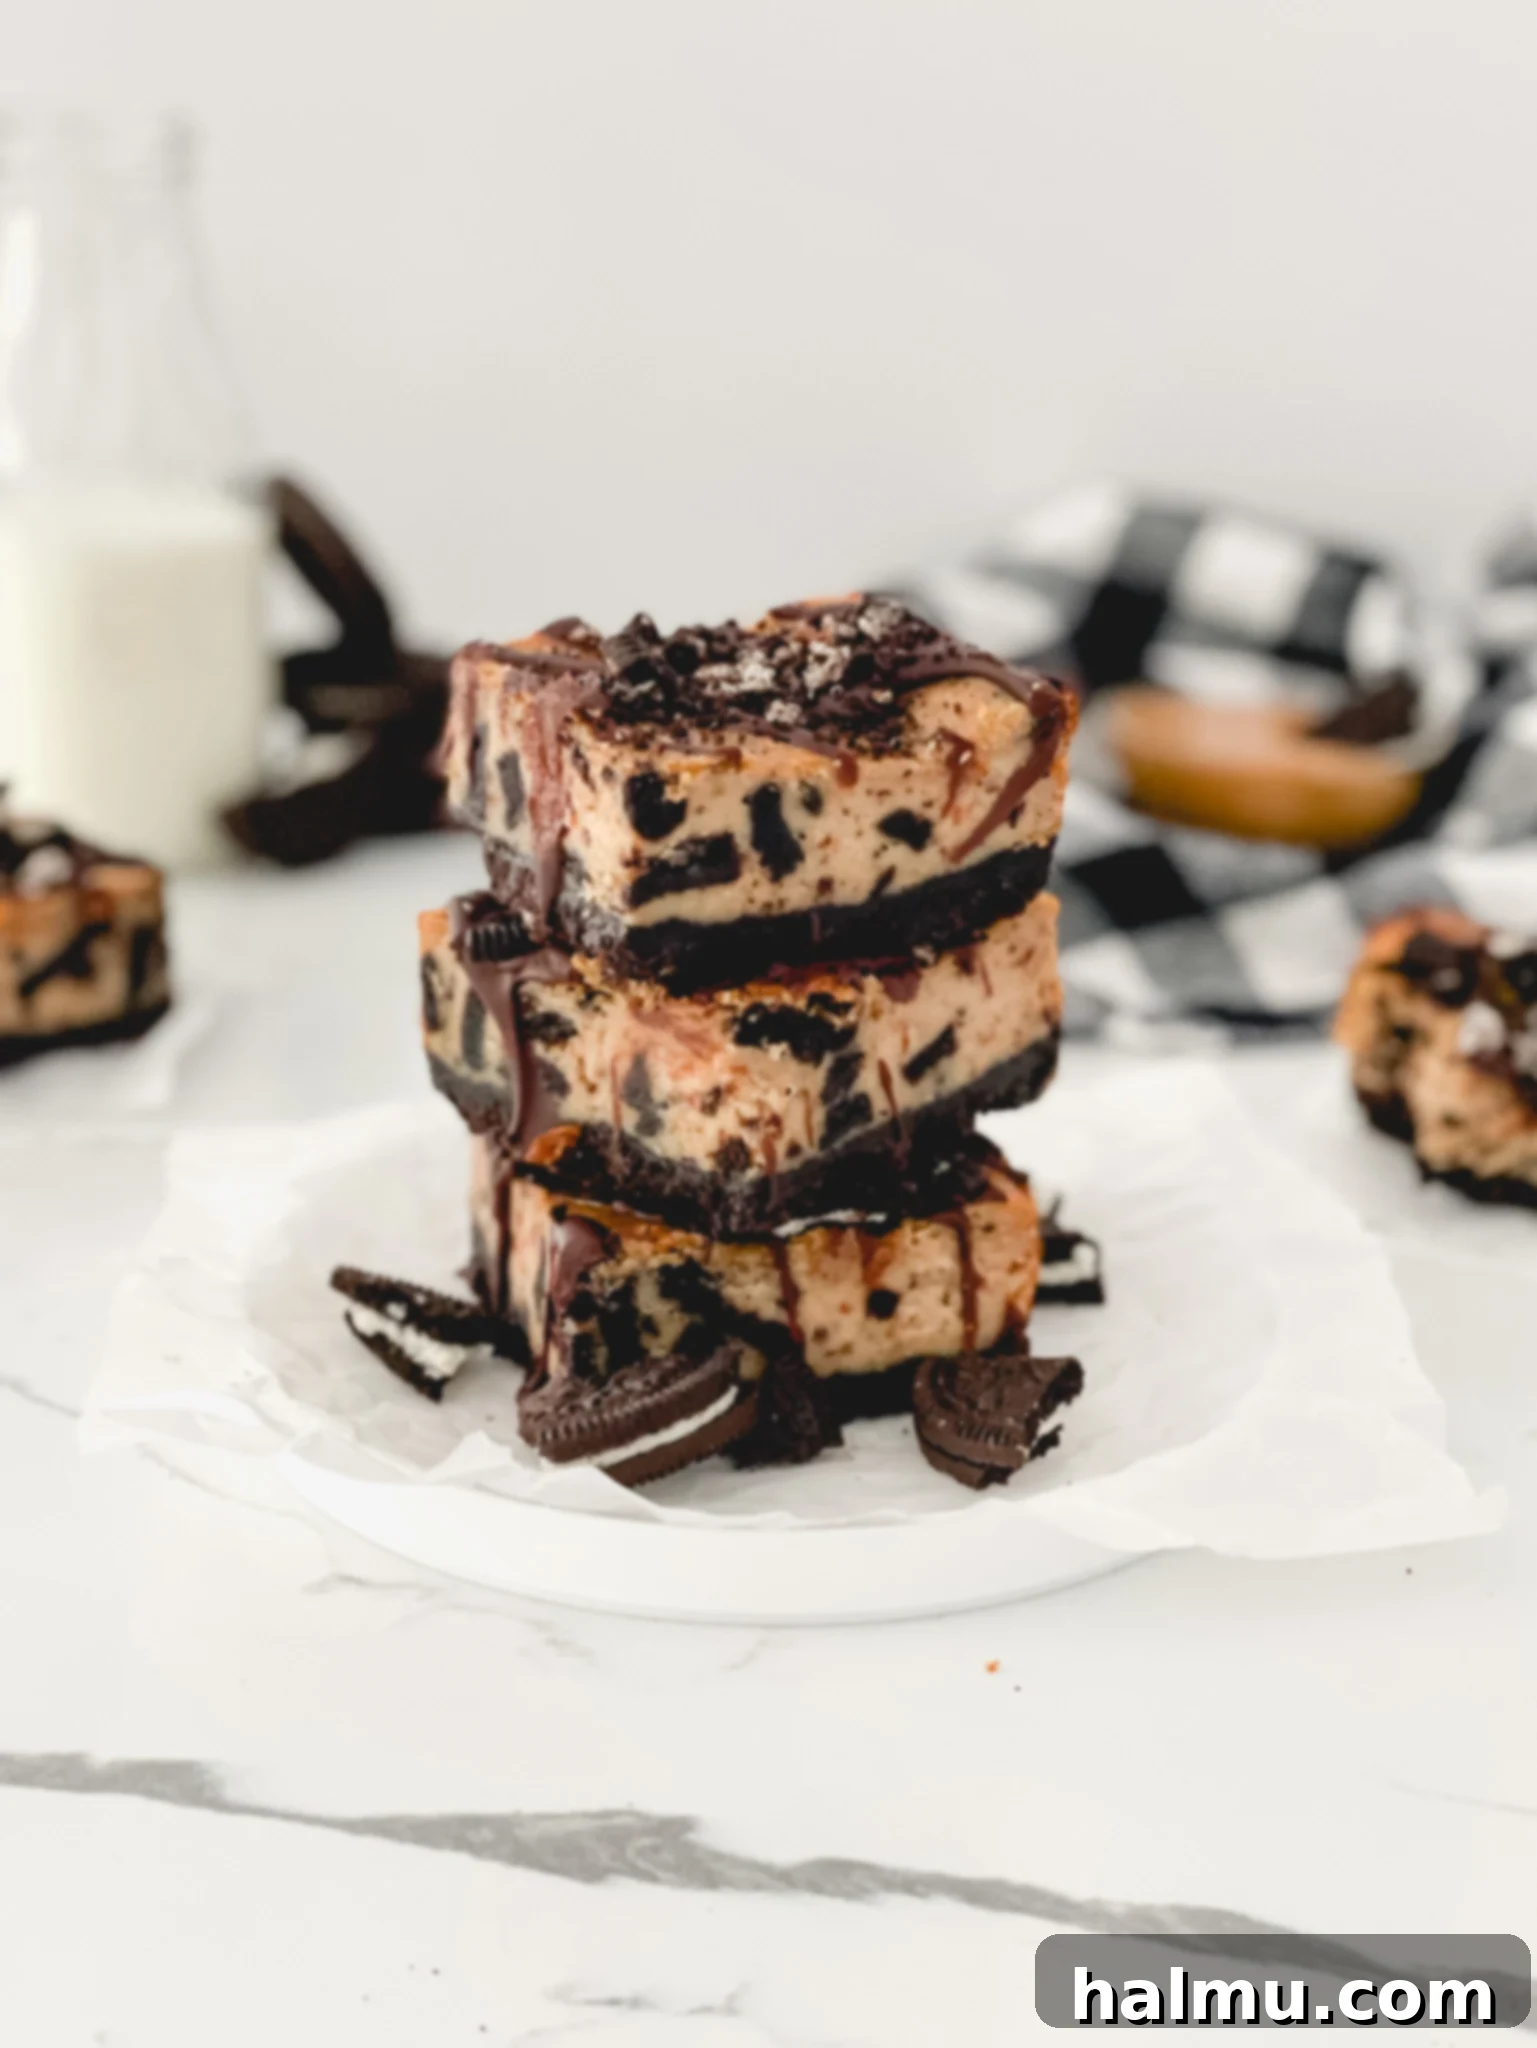
Indulge in the Ultimate Peanut Butter Oreo Cheesecake Bars: A Dream Dessert!
There are some flavor combinations that are simply destined to be together, and peanut butter and Oreos are undoubtedly one of them. For many, this iconic pairing immediately brings to mind nostalgic scenes from “The Parent Trap” movie, where sisters Hallie and Annie bond over their shared, unusual love for dipping America’s favorite cookie into creamy peanut butter. It’s a classic, comforting, and utterly delightful duo that captures hearts young and old. These homemade Peanut Butter Oreo Cheesecake Bars embody that same magical combination, elevated into a truly irresistible dessert. Whether you’re creating sweet memories with loved ones or simply treating yourself to something extraordinary, these bars promise pure joy in every single bite.
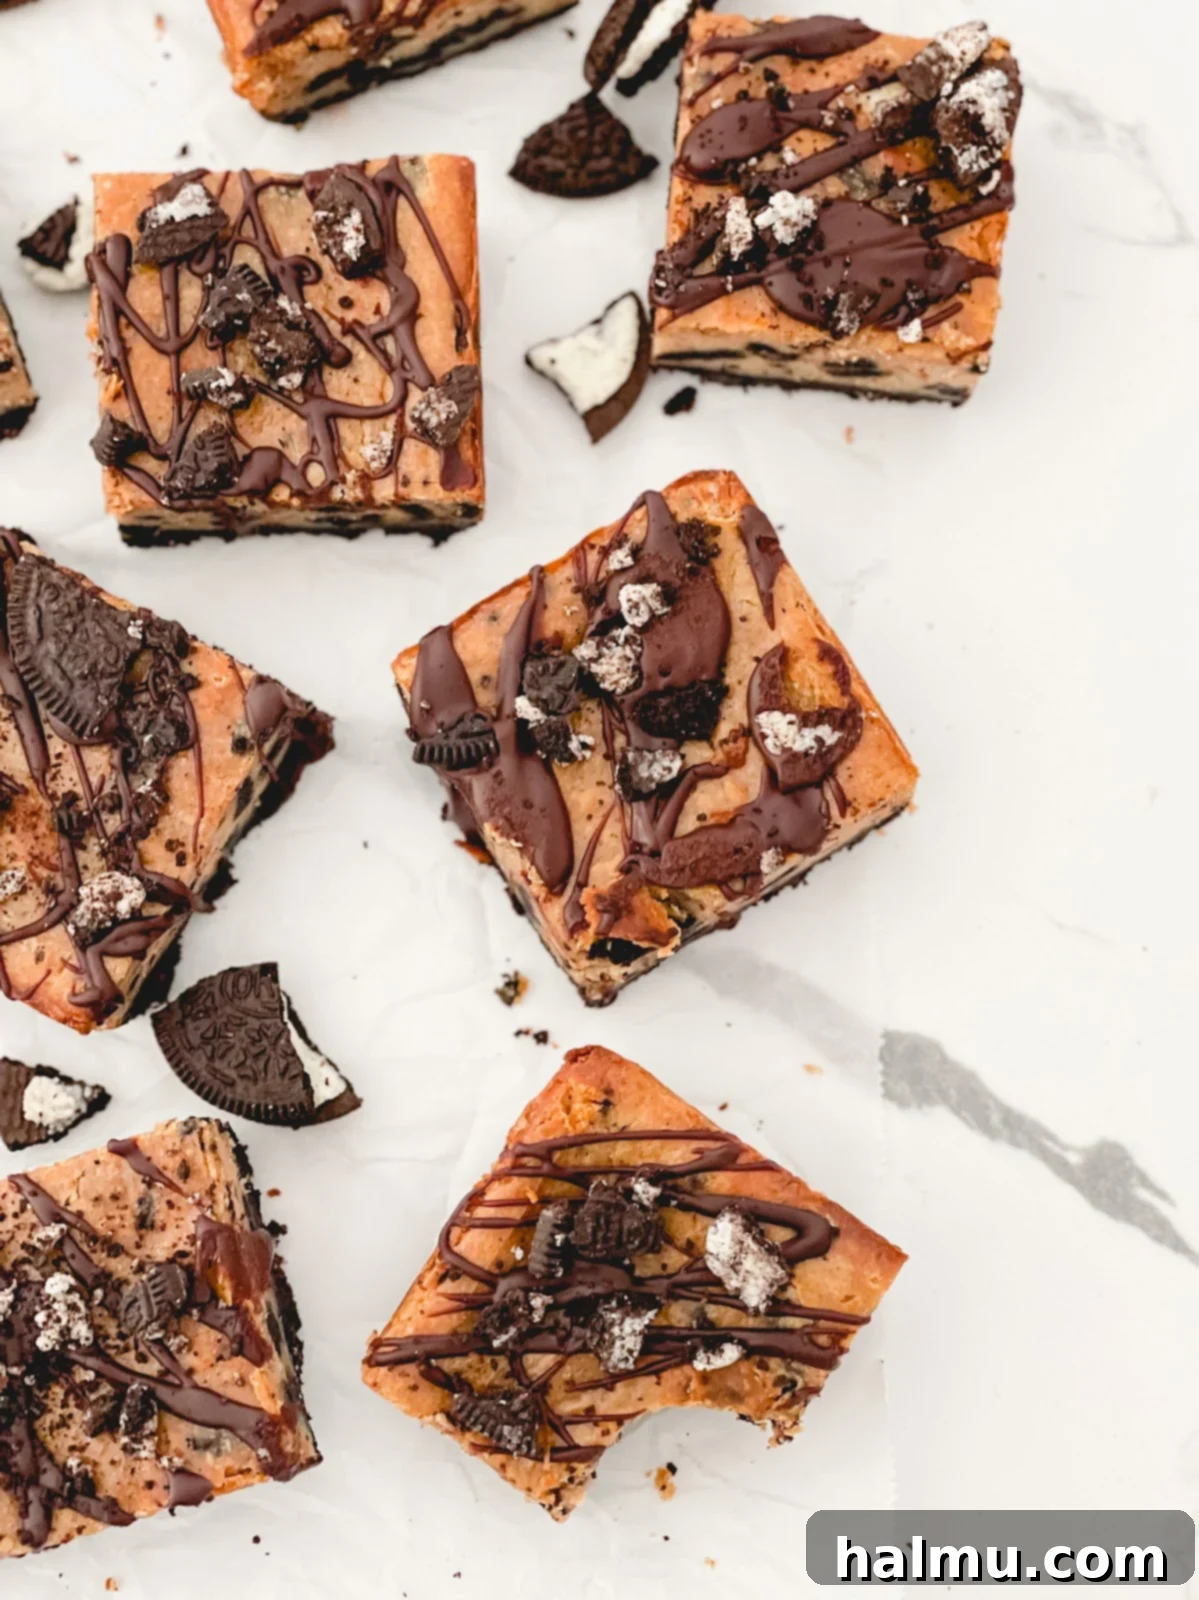
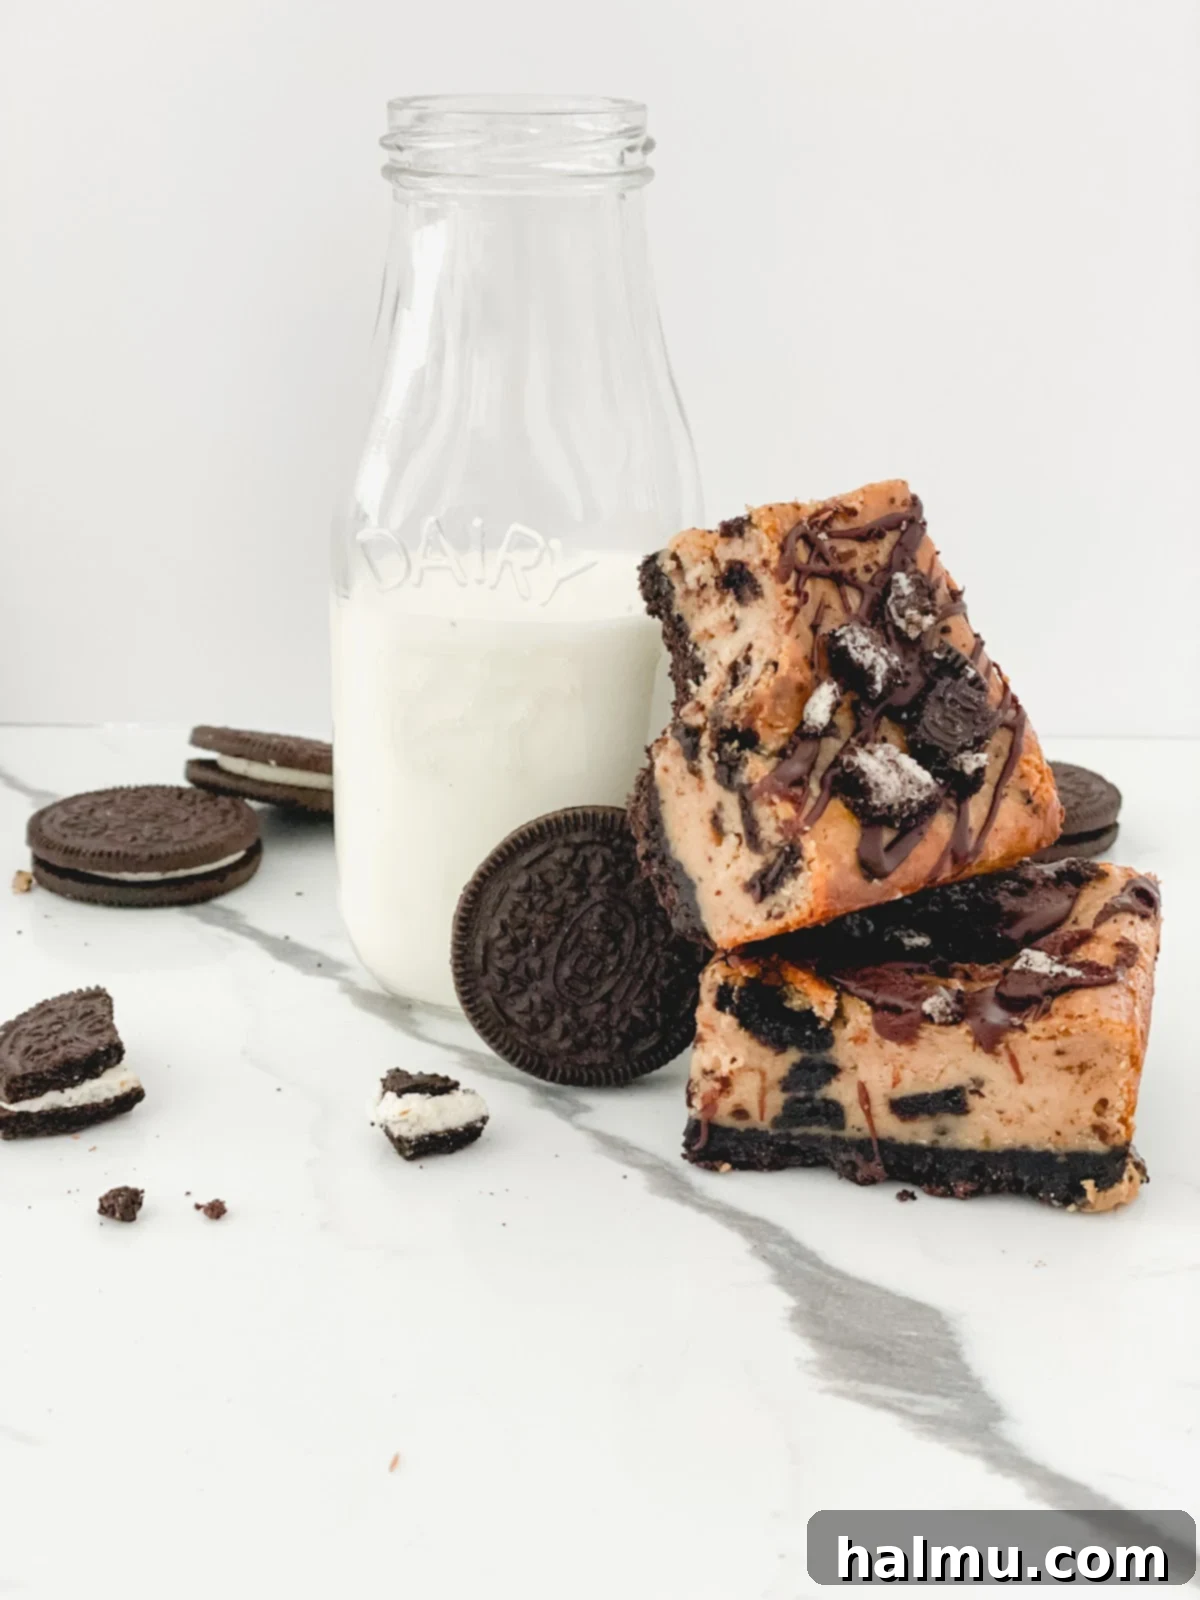
Imagine this exquisite dessert: It starts with a thick, deeply flavorful crust crafted from finely crushed Oreo cookies, providing that signature chocolatey crunch and rich base. Layered generously on top is a luscious, velvety peanut butter cheesecake filling, generously studded with even more coarsely crushed Oreo pieces for an extra burst of texture and an intensified flavor experience. Once baked to perfection and chilled to a firm, delightful consistency, these decadent bars are crowned with a silky chocolate ganache drizzle, adding an elegant sheen and another layer of chocolate goodness. A final scattering of fresh crushed Oreos completes this masterpiece. The result is a symphony of creamy, crunchy, sweet, and salty notes that dance on your palate. Each bar is an indulgent treat, offering a delightful balance of rich peanut butter, classic Oreo deliciousness, and just the right touch of bittersweet chocolate.
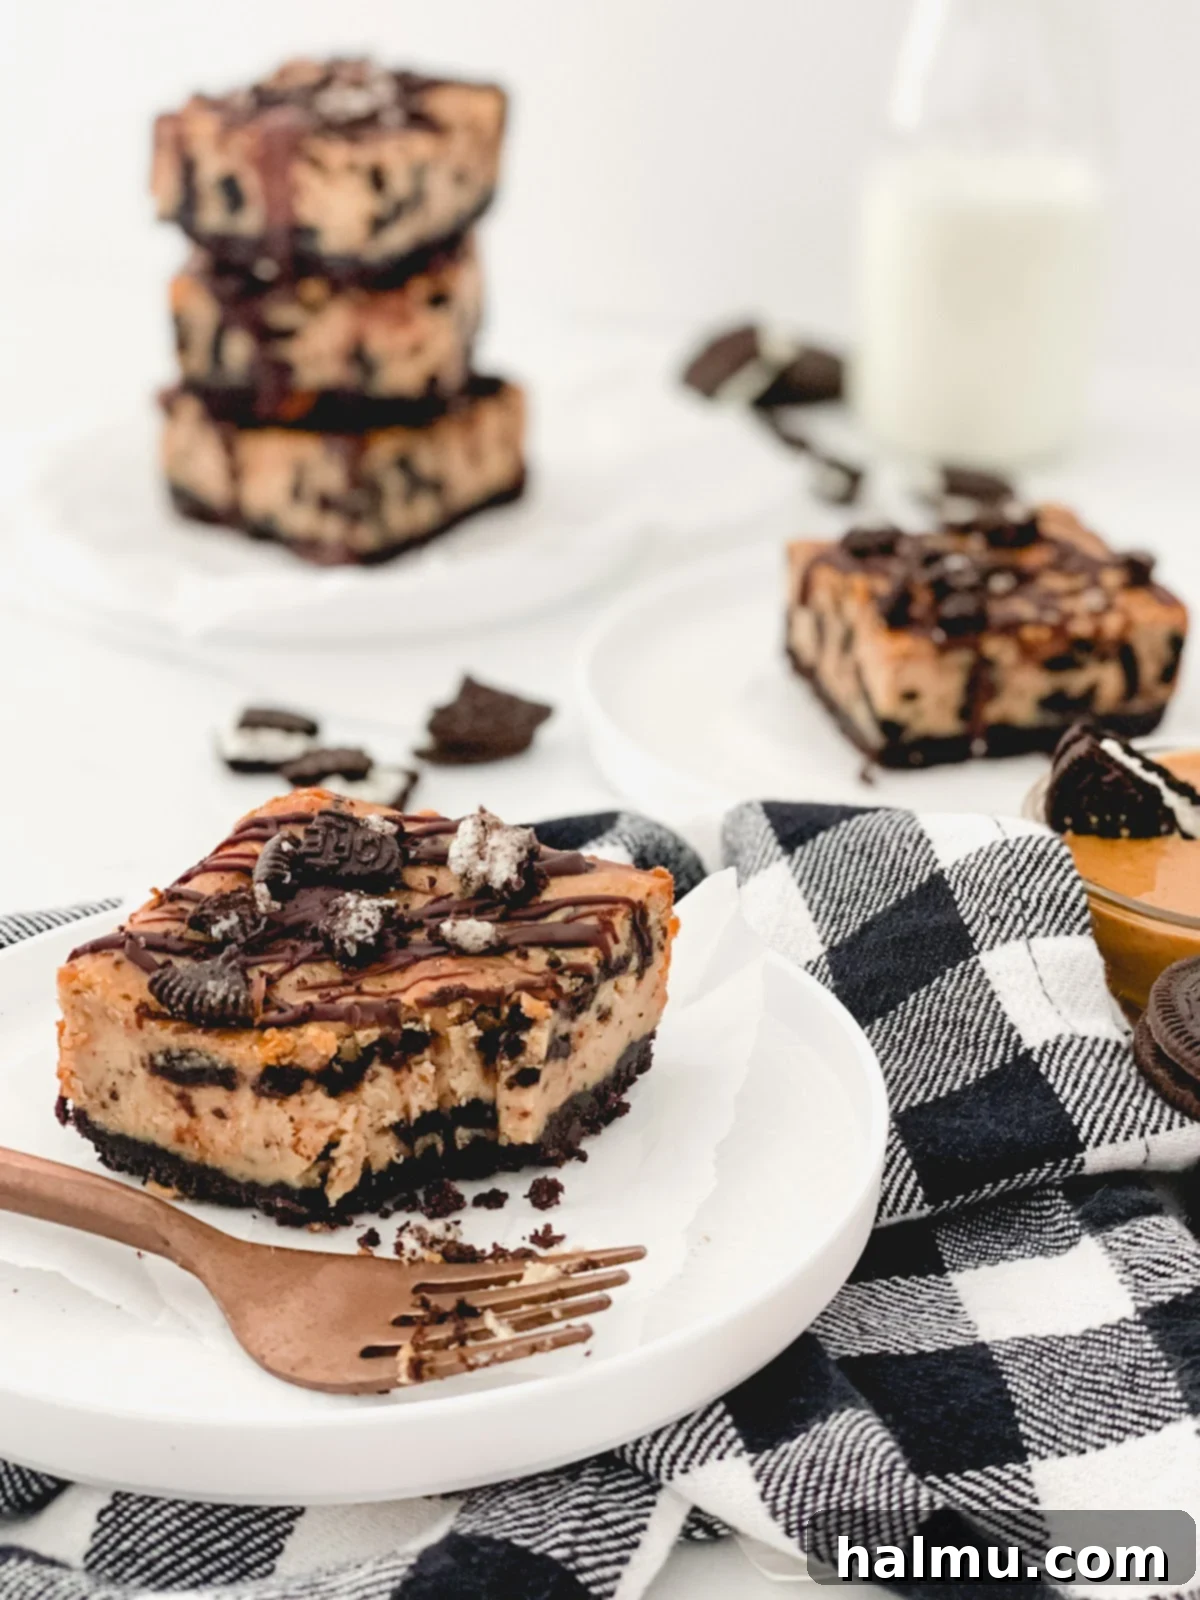
Why You’ll Adore These Easy Peanut Butter Oreo Cheesecake Bars
What makes these Peanut Butter Oreo Cheesecake Bars truly special? Beyond their incredible taste, they offer a remarkable combination of simplicity and sophistication. You might think that creating a show-stopping cheesecake is complicated and intimidating, but this recipe defies that notion. Unlike many traditional cheesecake recipes that demand meticulous attention, including a messy water bath and a precise number of eggs, these bars are surprisingly straightforward to prepare. They require no eggs for the filling and mercifully eliminate the need for a water bath, making the baking process much less daunting for home cooks of all skill levels. This means you can achieve a professional-looking and tasting dessert with minimal fuss, perfect for both everyday cravings and special occasions.
Furthermore, these cheesecake bars are incredibly versatile and adaptable to various dietary preferences. Catering to specific needs is made easy; you can effortlessly transform them into a gluten-free delight by simply substituting gluten-free Oreo cookies and using a high-quality gluten-free all-purpose flour blend. This adaptability ensures that more people can enjoy this creamy, dreamy treat without compromise. Whether you’re a seasoned baker looking for a quick yet impressive dessert or a novice in the kitchen hoping to create something spectacular, this recipe is designed for success. It consistently delivers decadent results that are sure to impress your family and friends, making you the hero of any gathering. Get ready to elevate your dessert game with a recipe that is as quick and simple to make as it is undeniably luxurious to eat!
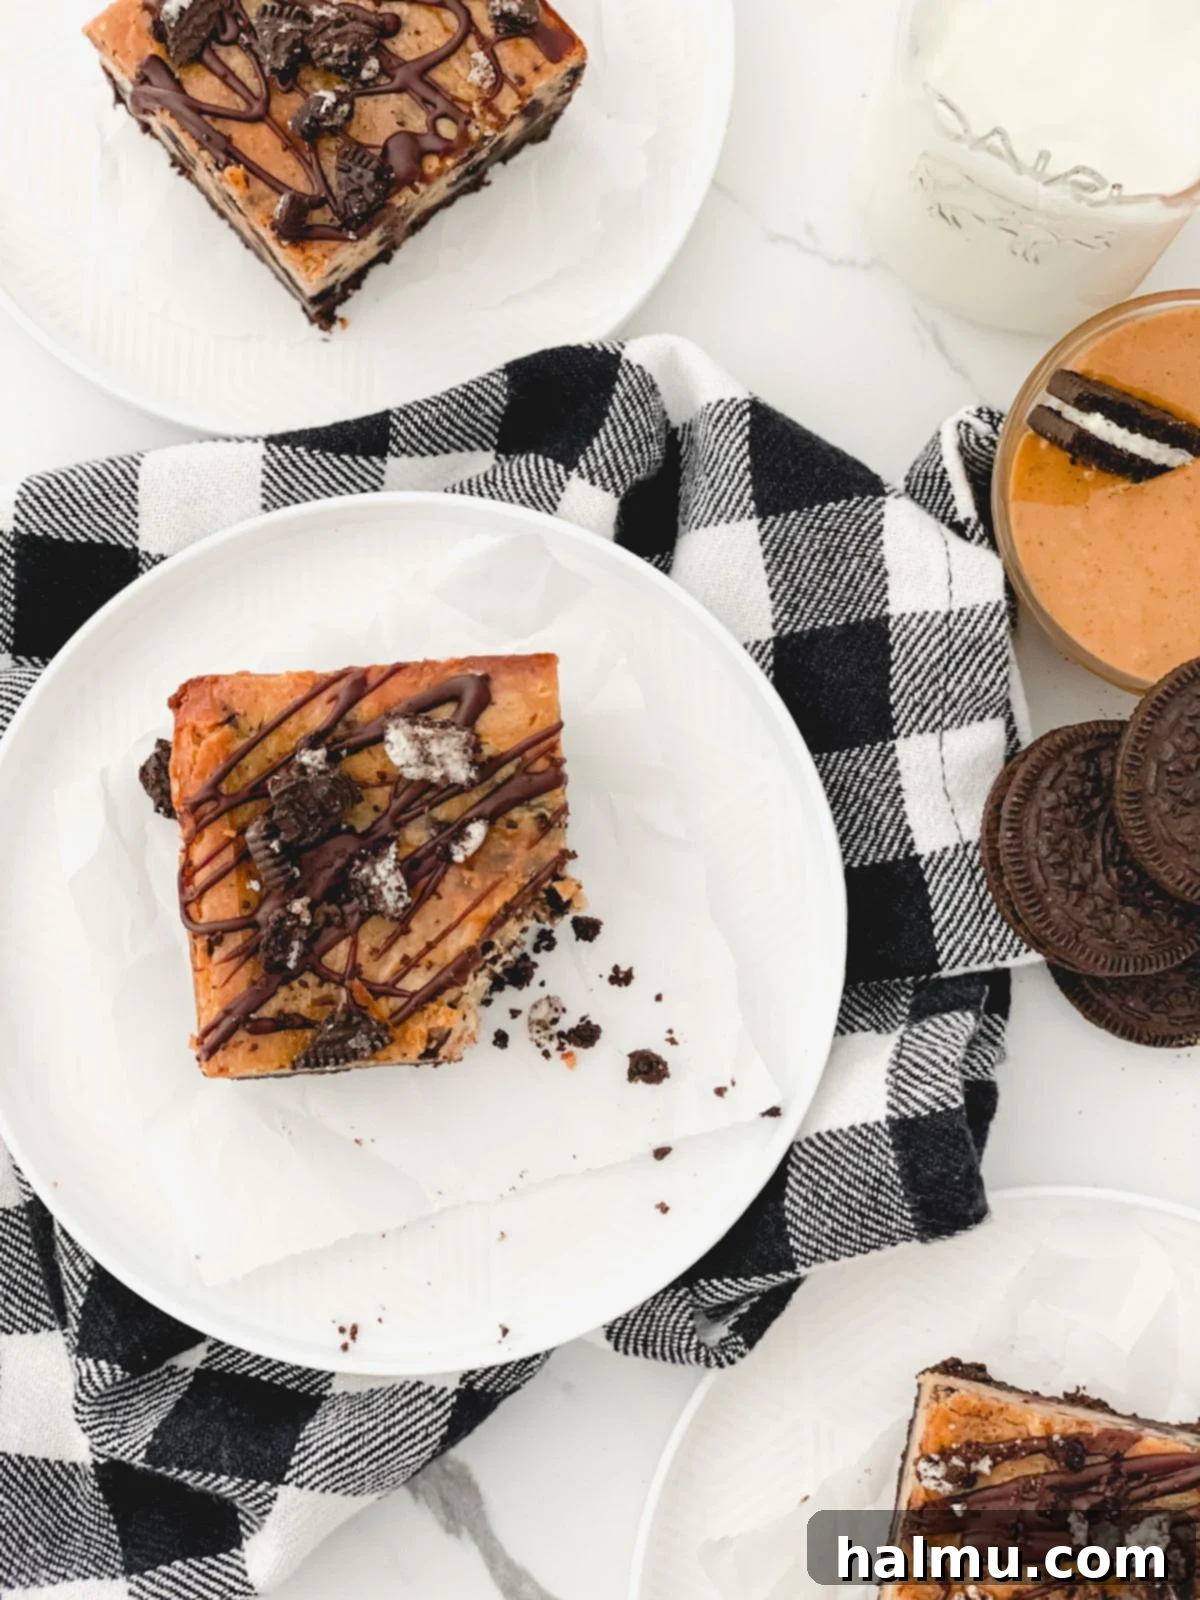
Essential Ingredients for Your Peanut Butter Oreo Cheesecake Bars Adventure
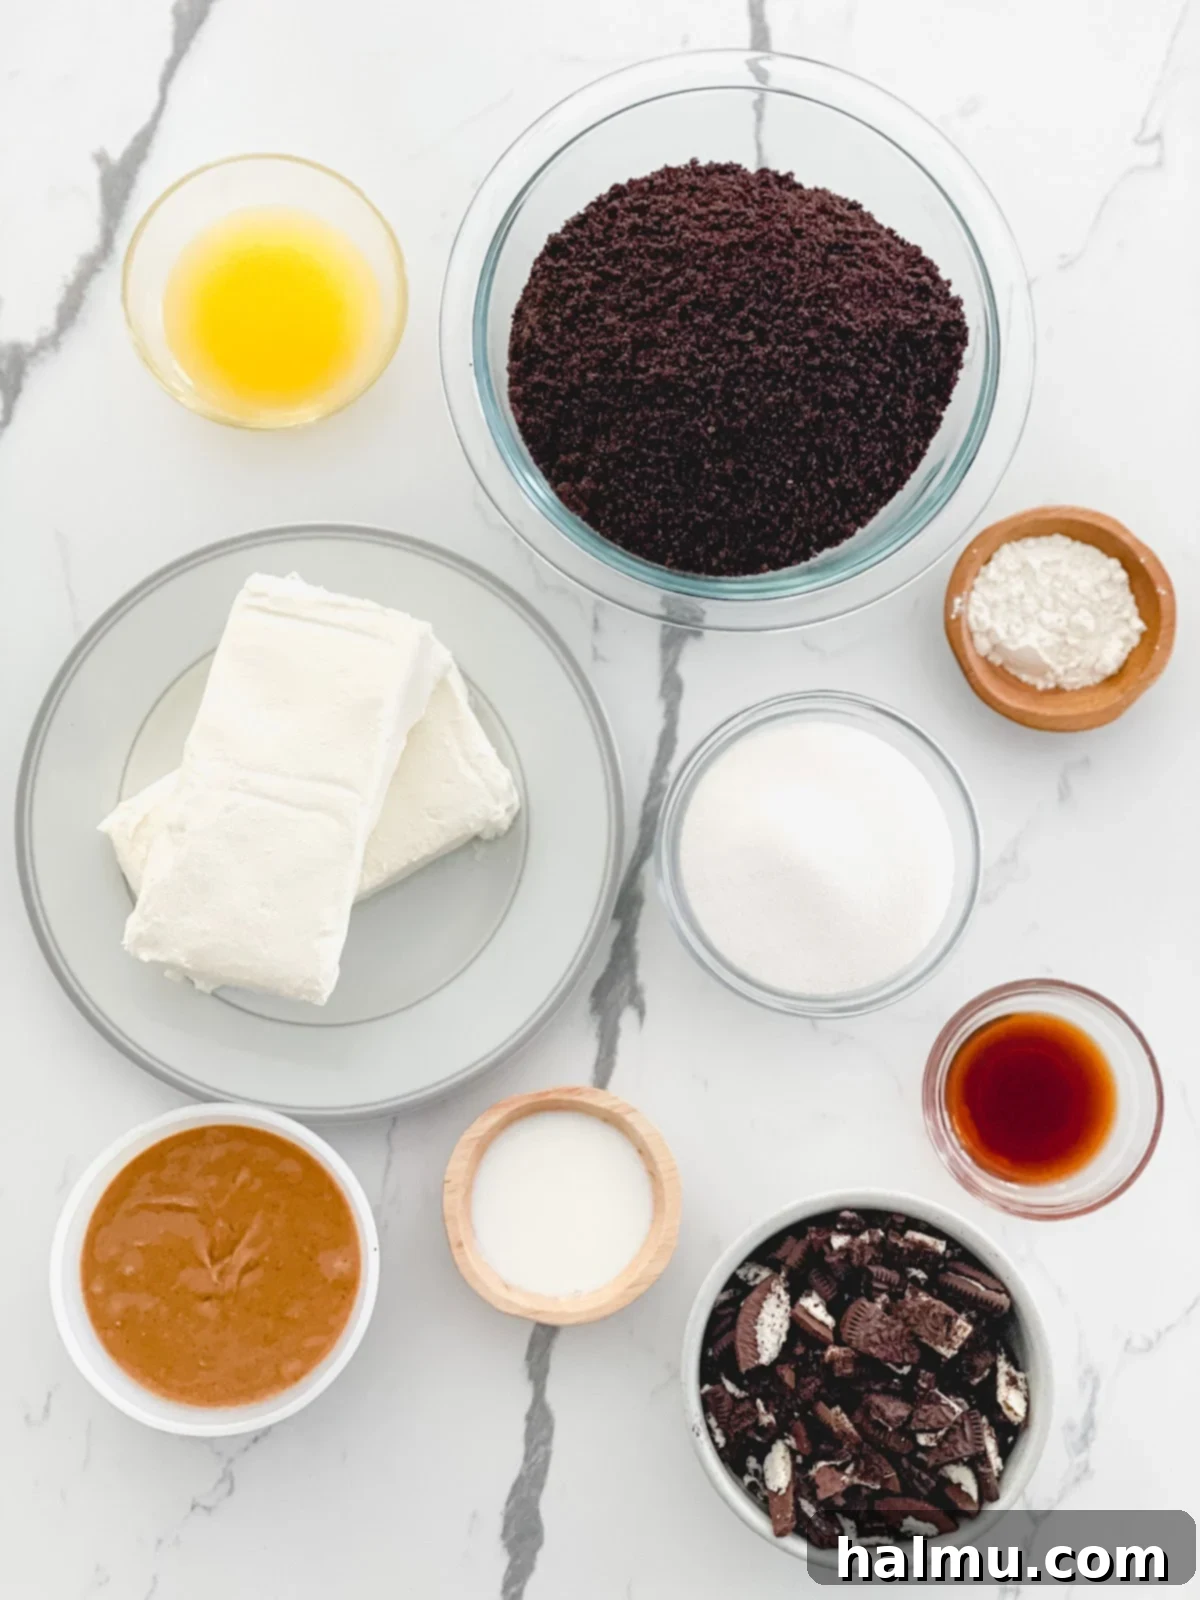
Crafting these heavenly Peanut Butter Oreo Cheesecake Bars requires just a handful of readily available ingredients. The beauty of this recipe lies in its simplicity, relying on common pantry staples to create an extraordinary dessert that tastes far more complex than it is to make. Let’s walk through what you’ll need to gather to begin your delicious baking journey:
- Oreo Cookies: The irreplaceable star of both the crust and the filling, providing that unmistakable chocolate cookie flavor and delightful crunch. Original Oreos work best, but feel free to experiment with Double Stuf for extra creaminess in the crumbs, or even a seasonal flavor for a unique twist.
- Unsalted Butter: Melted butter is crucial for binding the Oreo crumbs into a firm, cohesive, and flavorful crust. Using unsalted butter allows you to precisely control the salt content in your dessert, ensuring a perfectly balanced flavor profile.
- Cream Cheese: The essential foundation of any great cheesecake! Always opt for full-fat cream cheese (like Philadelphia brand) for the richest, creamiest texture and the most authentic cheesecake flavor. It’s imperative that it is at proper room temperature for a lump-free, silky-smooth filling.
- Granulated Sugar: Provides the perfect level of sweetness to balance the slight tang of the cream cheese and the rich intensity of the peanut butter, ensuring a harmonious taste.
- Peanut Butter: The defining flavor of our cheesecake. Both natural and conventional varieties can work wonderfully, but consider the subtle differences in flavor and sweetness that each type imparts (we’ll delve deeper into this below!). Creamy varieties are recommended for the smoothest filling.
- Milk: A small amount of milk helps achieve that silky-smooth consistency in the cheesecake filling, ensuring it’s pourable and blends effortlessly. Like the cream cheese, room temperature milk integrates best.
- All-purpose Flour: A touch of flour acts as a brilliant stabilizer in this no-egg cheesecake recipe. It helps the filling set beautifully and prevents excessive cracking without the need for a water bath, making your baking experience much easier.
- Vanilla Extract: Pure vanilla extract is a powerful flavor enhancer, adding a warm, aromatic depth that complements and elevates all the other ingredients in the cheesecake. Use good quality pure vanilla extract for the best results.
- Dark Chocolate (for ganache): For an optional, but highly recommended, chocolate drizzle that adds another layer of sophisticated decadence and visual appeal. High-quality chocolate chips or finely chopped baking chocolate will work.
- Heavy Cream (for ganache): Combines with the dark chocolate to create a smooth, glossy, and pourable ganache that sets beautifully.
Choosing the Right Peanut Butter: Natural vs. Conventional for Your Cheesecake
When it comes to baking with peanut butter, the type you choose can subtly yet significantly influence the final taste and texture of your dessert. Generally, there are two main categories available in most grocery stores: natural peanut butter and regular (or conventional) peanut butter. While both deliver that unmistakable, beloved peanut flavor, they differ in their composition and, consequently, in how they behave and taste in recipes.
Natural peanut butter typically contains only peanuts and often a touch of salt. It is characterized by its tendency for the natural oils to separate and rise to the top, requiring a good stir before use to recombine the ingredients. It generally contains no added sugars or hydrogenated oils, resulting in a purer, more intense peanut flavor. On the other hand, regular or conventional peanut butter, like popular brands such as Skippy or Jif, usually includes added sugars, hydrogenated vegetable oils, and sometimes emulsifiers. These additions contribute to its consistently creamy, smooth texture, prevent oil separation, and also result in a sweeter, often richer, flavor profile.
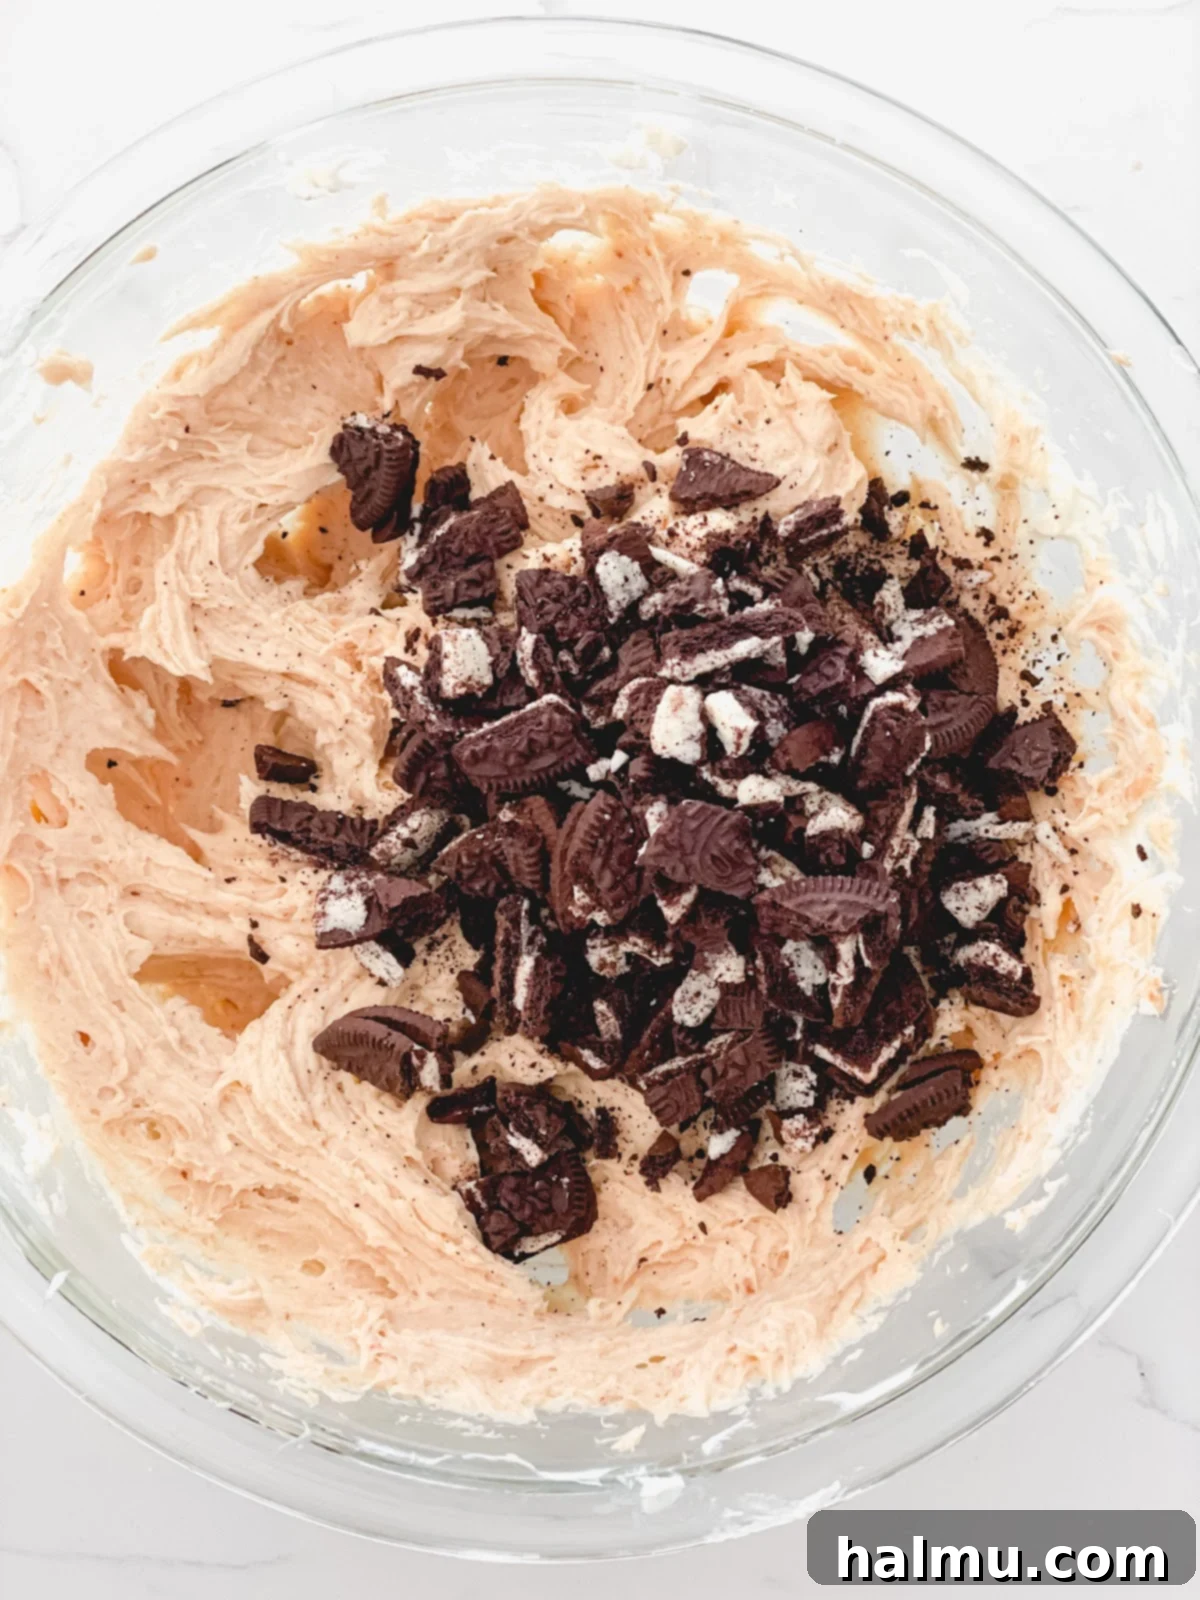
For these Peanut Butter Oreo Cheesecake Bars, I conducted thorough tests using both types of peanut butter, and I’m happy to report that both yielded absolutely delicious results! The differences, while present, were minimal enough that you can confidently use whichever type you prefer or have on hand. However, I did notice a few distinct characteristics:
- With Natural Peanut Butter: The batch made with natural peanut butter had a slightly less sweet profile. The flavor was more pronounced and somewhat tangier, allowing the pure, unadulterated essence of the peanuts to truly shine through. This version felt a bit lighter on the palate, despite still being incredibly rich.
- With Conventional Peanut Butter: In contrast, the cheesecake prepared with conventional peanut butter offered increased sweetness, a touch less tanginess, and an overall richer, more indulgent bite. This was due to the added sugars and oils in the conventional variety, which contributed to a denser, more dessert-like sweetness.
Ultimately, for my final batch and personal preference, I opted for natural peanut butter. I found that the inherent sweetness and deep richness of the Oreo crust, combined with the other ingredients in the cheesecake filling, were already perfectly balanced. The natural peanut butter added a lovely, authentic depth of flavor without making the entire dessert overwhelmingly sweet. However, if you have a strong sweet tooth or prefer the classic, very rich taste of conventional peanut butter in desserts, feel free to use it. Either choice will undeniably create a delightful and unforgettable outcome for your Peanut Butter Oreo Cheesecake Bars.
Achieving Perfection: Expert Tips for Your Peanut Butter Oreo Cheesecake Bars
While this recipe for Peanut Butter Oreo Cheesecake Bars is designed to be straightforward and accessible, a few key tips can elevate your baking from great to absolutely phenomenal. Following these simple guidelines will ensure a smooth process and a truly professional-looking and tasting dessert that will impress everyone.
- Embrace Room Temperature Ingredients for Ultimate Smoothness: This is arguably the most crucial tip for any cheesecake, especially when working with cream cheese and butter. Ensure your cream cheese and butter are at proper room temperature before you begin mixing. This means they should be soft enough to indent easily with a finger but not greasy or melted. Cold ingredients won’t emulsify properly with sugar, leading to a lumpy, inconsistent cheesecake filling that lacks that coveted silky texture. Room temperature ingredients, on the other hand, blend smoothly and evenly, creating that signature velvety texture we all crave in a perfect cheesecake.
- Patience is Key: Allow Complete Cooling and Chilling: I know, the incredible aroma wafting from your oven after baking these Peanut Butter Oreo Cheesecake Bars will be incredibly tempting, but resist the urge to cut into them immediately! Cheesecake needs ample time to set up properly, and cooling is a critical part of that process. First, allow the cheesecake to cool completely at room temperature on a wire rack. This initial cooling helps prevent major cracks. Once at room temperature, transfer the pan to the refrigerator to chill for at least 4 hours, or ideally, overnight. This extended chilling period is absolutely essential for the cheesecake to firm up, ensuring clean, beautiful slices and the best possible dense, yet creamy, texture. Not only will it be much easier to cut, but cheesecake truly tastes superior when served cold, allowing its rich, complex flavors to fully develop. Consider making these bars a day ahead of serving – it’s a perfect make-ahead dessert!
- The Magic of Ganache Drizzle: Add That Extra Wow Factor: While entirely optional, adding a chocolate ganache drizzle is a true game-changer for these Peanut Butter Oreo Cheesecake Bars. It provides an extra layer of sophisticated chocolatey indulgence that beautifully complements the peanut butter and Oreo flavors, simultaneously creating a stunning visual appeal with its elegant, glossy design. Beyond aesthetics, ganache is also a clever trick for concealing any minor imperfections or slight cracks that might appear on the cheesecake’s surface (which can sometimes happen, even with the best recipes, due to temperature changes!). For an even more luxurious experience, you could pour a complete, even layer of warm ganache over the fully cooled and chilled cheesecake, let it firm up in the fridge, and then slice. This creates a rich, fudgy chocolate topping that takes these bars to an entirely new level of decadence and professionalism.
- Perfecting the Oreo Crust for Stability: For a stable and delicious crust that holds together, make sure your Oreo crumbs are finely crushed. A food processor works wonders for this, achieving uniform crumbs. Once combined with the melted butter, press the mixture very firmly and evenly into the bottom of your prepared pan. Use the back of a spoon or a flat-bottomed glass to compact it well. This firm compaction is key to preventing a crumbly crust once baked and cooled.
- Knowing When Your Cheesecake is Perfectly Baked: The cheesecake is ready when the edges appear set and slightly golden brown, and the center still has a slight, gentle wobble when the pan is carefully nudged. It should not look liquidy or completely firm in the center. Avoid the temptation to overbake, as this can lead to a dry, cracked cheesecake. Remember, it will continue to set and firm up significantly as it cools.
Serving and Storage Suggestions for Your Decadent Bars
Once your Peanut Butter Oreo Cheesecake Bars are perfectly chilled and fully set, the moment to enjoy them has finally arrived! To achieve the cleanest, most professional-looking cuts, we recommend a simple trick: run a sharp knife under hot water for a few seconds, wipe it clean, and then make your slice. Repeat this process for each cut. This ensures smooth, pristine edges every time, beautifully showcasing the distinct layers of your homemade cheesecake.
These bars are phenomenal on their own, offering a rich and satisfying dessert experience. However, they also pair wonderfully with a variety of beverages and accompaniments. Enjoy them with a tall glass of cold milk, a hot cup of freshly brewed coffee, or a steaming mug of hot cocoa. For an extra-indulgent treat, serve them alongside a scoop of premium vanilla bean ice cream or a dollop of freshly whipped cream. For an added touch of elegance, consider garnishing each serving with an extra sprinkle of crushed Oreos, a tiny drizzle of extra chocolate sauce, or a small fresh raspberry for a burst of color.
Storage Instructions: To keep your leftover Peanut Butter Oreo Cheesecake Bars fresh and delicious, store them in an airtight container in the refrigerator. Properly stored, they will remain wonderfully fresh and flavorful for up to 3-4 days. For longer storage, these bars freeze exceptionally well! To freeze, wrap individual slices tightly in plastic wrap, ensuring no air exposure, then place them in a freezer-safe bag or an airtight container. They will keep beautifully in the freezer for up to 1-2 months. When you’re ready to enjoy a frozen treat, simply thaw them in the refrigerator overnight or for a few hours at room temperature before serving for a delightful dessert experience whenever the craving strikes.
Customization Ideas: Make These Peanut Butter Oreo Cheesecake Bars Truly Your Own!
This recipe provides a fantastic foundation for an already incredible dessert, but don’t hesitate to get creative and customize your Peanut Butter Oreo Cheesecake Bars to suit your personal tastes or to explore new flavor combinations! Here are a few ideas to inspire you and make this recipe uniquely yours:
- Experiment with Different Oreo Flavors: While classic Oreos are a winner, consider using other varieties! Mint Oreos could add a refreshing twist, Golden Oreos would create a lighter, vanilla-flavored base, or explore seasonal varieties for a unique holiday-themed bar.
- Introduce More Nutty Additions: For an extra layer of texture and flavor, swirl in some chopped roasted peanuts or miniature peanut butter chips directly into the cheesecake filling before baking.
- Explore Chocolate Variations: Instead of the classic dark chocolate ganache drizzle, melt some white chocolate or milk chocolate for a different topping. You could also mix in chocolate chips (milk, dark, or white) directly into the cheesecake batter for an extra chocolatey burst throughout.
- Alternate Cookie Crusts: While Oreos are iconic, don’t limit yourself! A classic graham cracker crust offers a warm, honeyed base, or try a Nilla Wafer crust for a vanilla-forward foundation. Even crushed shortbread cookies could make a delightful crust.
- Add a Salted Caramel Drizzle: For an additional layer of complexity and indulgence, a drizzle of homemade or high-quality store-bought salted caramel sauce would be an exquisite addition to the top of these bars, creating an irresistible sweet-and-salty combination.
If you’re a devoted fan of the irresistible peanut butter and Oreo combination, then you absolutely must give this recipe a try. It’s a delightful journey from start to finish, culminating in a dessert that is both comforting and extraordinarily decadent. These Peanut Butter Oreo Cheesecake Bars are more than just a sweet treat; they’re an experience waiting to be savored, perfect for sharing or keeping all to yourself. Happy cheesecake making!
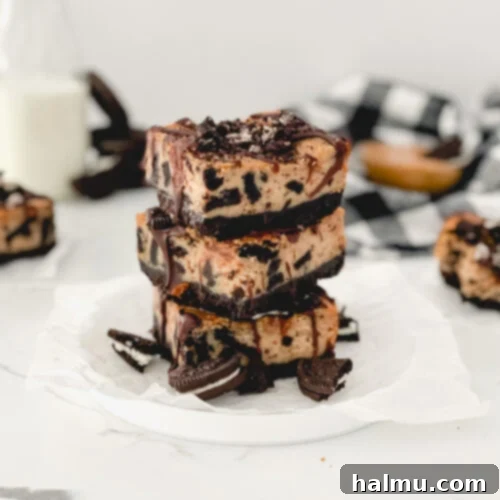
Peanut Butter Oreo Cheesecake Bars
Print Recipe
RATE THIS RECIPE
Ingredients
For the Oreo Crust
- 20 Oreo cookies, finely crushed
- 3 Tablespoons (42g) unsalted butter, melted
For the Peanut Butter Cheesecake Filling
- 1 lb (454g) full-fat cream cheese, at room temperature
- ⅔ cup (140g) granulated sugar
- ½ cup (125g) creamy peanut butter (natural or conventional)
- 2 Tablespoons (32g) whole milk, at room temperature
- 1 Tablespoon (10g) all-purpose flour
- 1 Tablespoon (13g) pure vanilla extract
- 8 Oreo cookies, coarsely chopped, plus more for topping (if desired)
Ganache Drizzle (optional)
- ¼ cup (56g) dark chocolate, finely chopped or chips
- ¼ cup (56g) heavy cream
SHOP INGREDIENTS
Instructions
- Preheat your oven to 350° F (175° C). Lightly grease an 8” x 8” square baking pan with cooking spray. For easy removal of the cheesecake bars, line the pan with parchment paper, allowing an overhang on all four sides to create a convenient “sling.”
- Prepare the Oreo Crust: In the bowl of a food processor, add the 20 Oreo cookies and pulse until they form fine, even crumbs. If you don’t have a food processor, you can place the Oreos in a sturdy zip-top bag and crush them using a rolling pin until very fine. Transfer the crumbs to a medium bowl and combine them thoroughly with the 3 tablespoons of melted butter. Press this mixture evenly and very firmly into the bottom of your prepared pan. Use the back of a spoon or a flat-bottomed glass to compact it well. Bake the crust for 8 minutes until lightly set. Once baked, set the crust aside to cool slightly on a wire rack while you prepare the filling, and keep the oven on.
- Craft the Peanut Butter Cheesecake Filling: In a large mixing bowl, using either a handheld electric mixer or a stand mixer fitted with a paddle attachment, beat the softened, room-temperature cream cheese and granulated sugar together until the mixture is completely smooth, light, and free of any lumps. Scrape down the sides of the bowl as needed to ensure even mixing. This step is crucial for achieving a silky cheesecake texture.
- Add the creamy peanut butter, room-temperature milk, all-purpose flour, and pure vanilla extract to the cream cheese mixture. Mix on low speed, just until all the ingredients are well combined and the filling appears smooth. Be careful not to overmix, as this can incorporate too much air. Gently fold in the 8 coarsely chopped Oreo cookies using a spatula, distributing them evenly throughout the filling.
- Carefully pour the peanut butter cheesecake filling over the pre-baked and slightly cooled Oreo crust in the prepared pan. Use an offset spatula or the back of a spoon to spread the filling evenly across the crust. Bake for 45-50 minutes, or until the top of the cheesecake appears lightly golden brown around the edges and the edges just begin to show slight cracks. The center of the cheesecake should still have a slight, gentle wobble when the pan is carefully nudged, as it will continue to set as it cools.
- Remove the cheesecake from the oven and allow it to cool completely at room temperature on a wire rack. This gradual cooling helps prevent significant cracking. Once it has reached room temperature (which can take 1-2 hours), transfer the pan to the refrigerator and chill for at least 4 hours, or preferably overnight, to ensure it is thoroughly set and cold before cutting. Proper chilling is vital for clean slices and optimal texture.
- Once completely cooled and chilled, use the parchment paper sling to carefully lift the entire cheesecake out of the pan. Place it on a clean cutting board and cut it into 9 equally sized bars. For the cleanest cuts, remember to use a sharp knife that has been run under hot water and wiped clean between each slice.
- Prepare the Ganache Topping (optional): In a small, microwave-safe bowl, combine the finely chopped dark chocolate and heavy cream. Heat in 20-second increments in the microwave, stirring well after each interval, until the chocolate is completely melted and the ganache is smooth and glossy. Be careful not to overheat.
- Drizzle the warm chocolate ganache over the chilled Peanut Butter Oreo Cheesecake Bars using a spoon or a piping bag with a small hole. For an extra flourish, sprinkle more coarsely crushed Oreos on top if desired. Serve immediately and enjoy every decadent bite of these irresistible bars!
Notes
- Peanut Butter Choice: You have the flexibility to use either natural peanut butter (typically with no added sugar, requiring stirring) or regular/conventional peanut butter (like Skippy or Jif, which contains added sugars and oils for creaminess). Natural peanut butter will result in a slightly less sweet, tangier cheesecake, emphasizing the pure peanut flavor. Conventional peanut butter will contribute more sweetness and a richer, perhaps more classic “peanut butter dessert” taste. Both are delicious, so choose based on your preference!
- Gluten-Free Option: This recipe can be easily adapted to be gluten-free by simply using gluten-free Oreo cookies for both the crust and the filling, and substituting the all-purpose flour with a high-quality gluten-free all-purpose flour blend.
- Make Ahead: These delicious Peanut Butter Oreo Cheesecake Bars are an excellent make-ahead dessert! You can prepare them completely the day before your event and let them chill in the refrigerator overnight. This extended chilling ensures they are perfectly set for easy slicing and optimal serving.
- Storage Tips: Store any leftover cheesecake bars in an airtight container in the refrigerator for up to 3-4 days. For longer storage, individual slices can be wrapped tightly in plastic wrap and then placed in a freezer-safe bag or container, where they will keep well for 1-2 months. Thaw in the refrigerator before serving.
