This post may contain affiliate links. Please read my full disclosure policy.
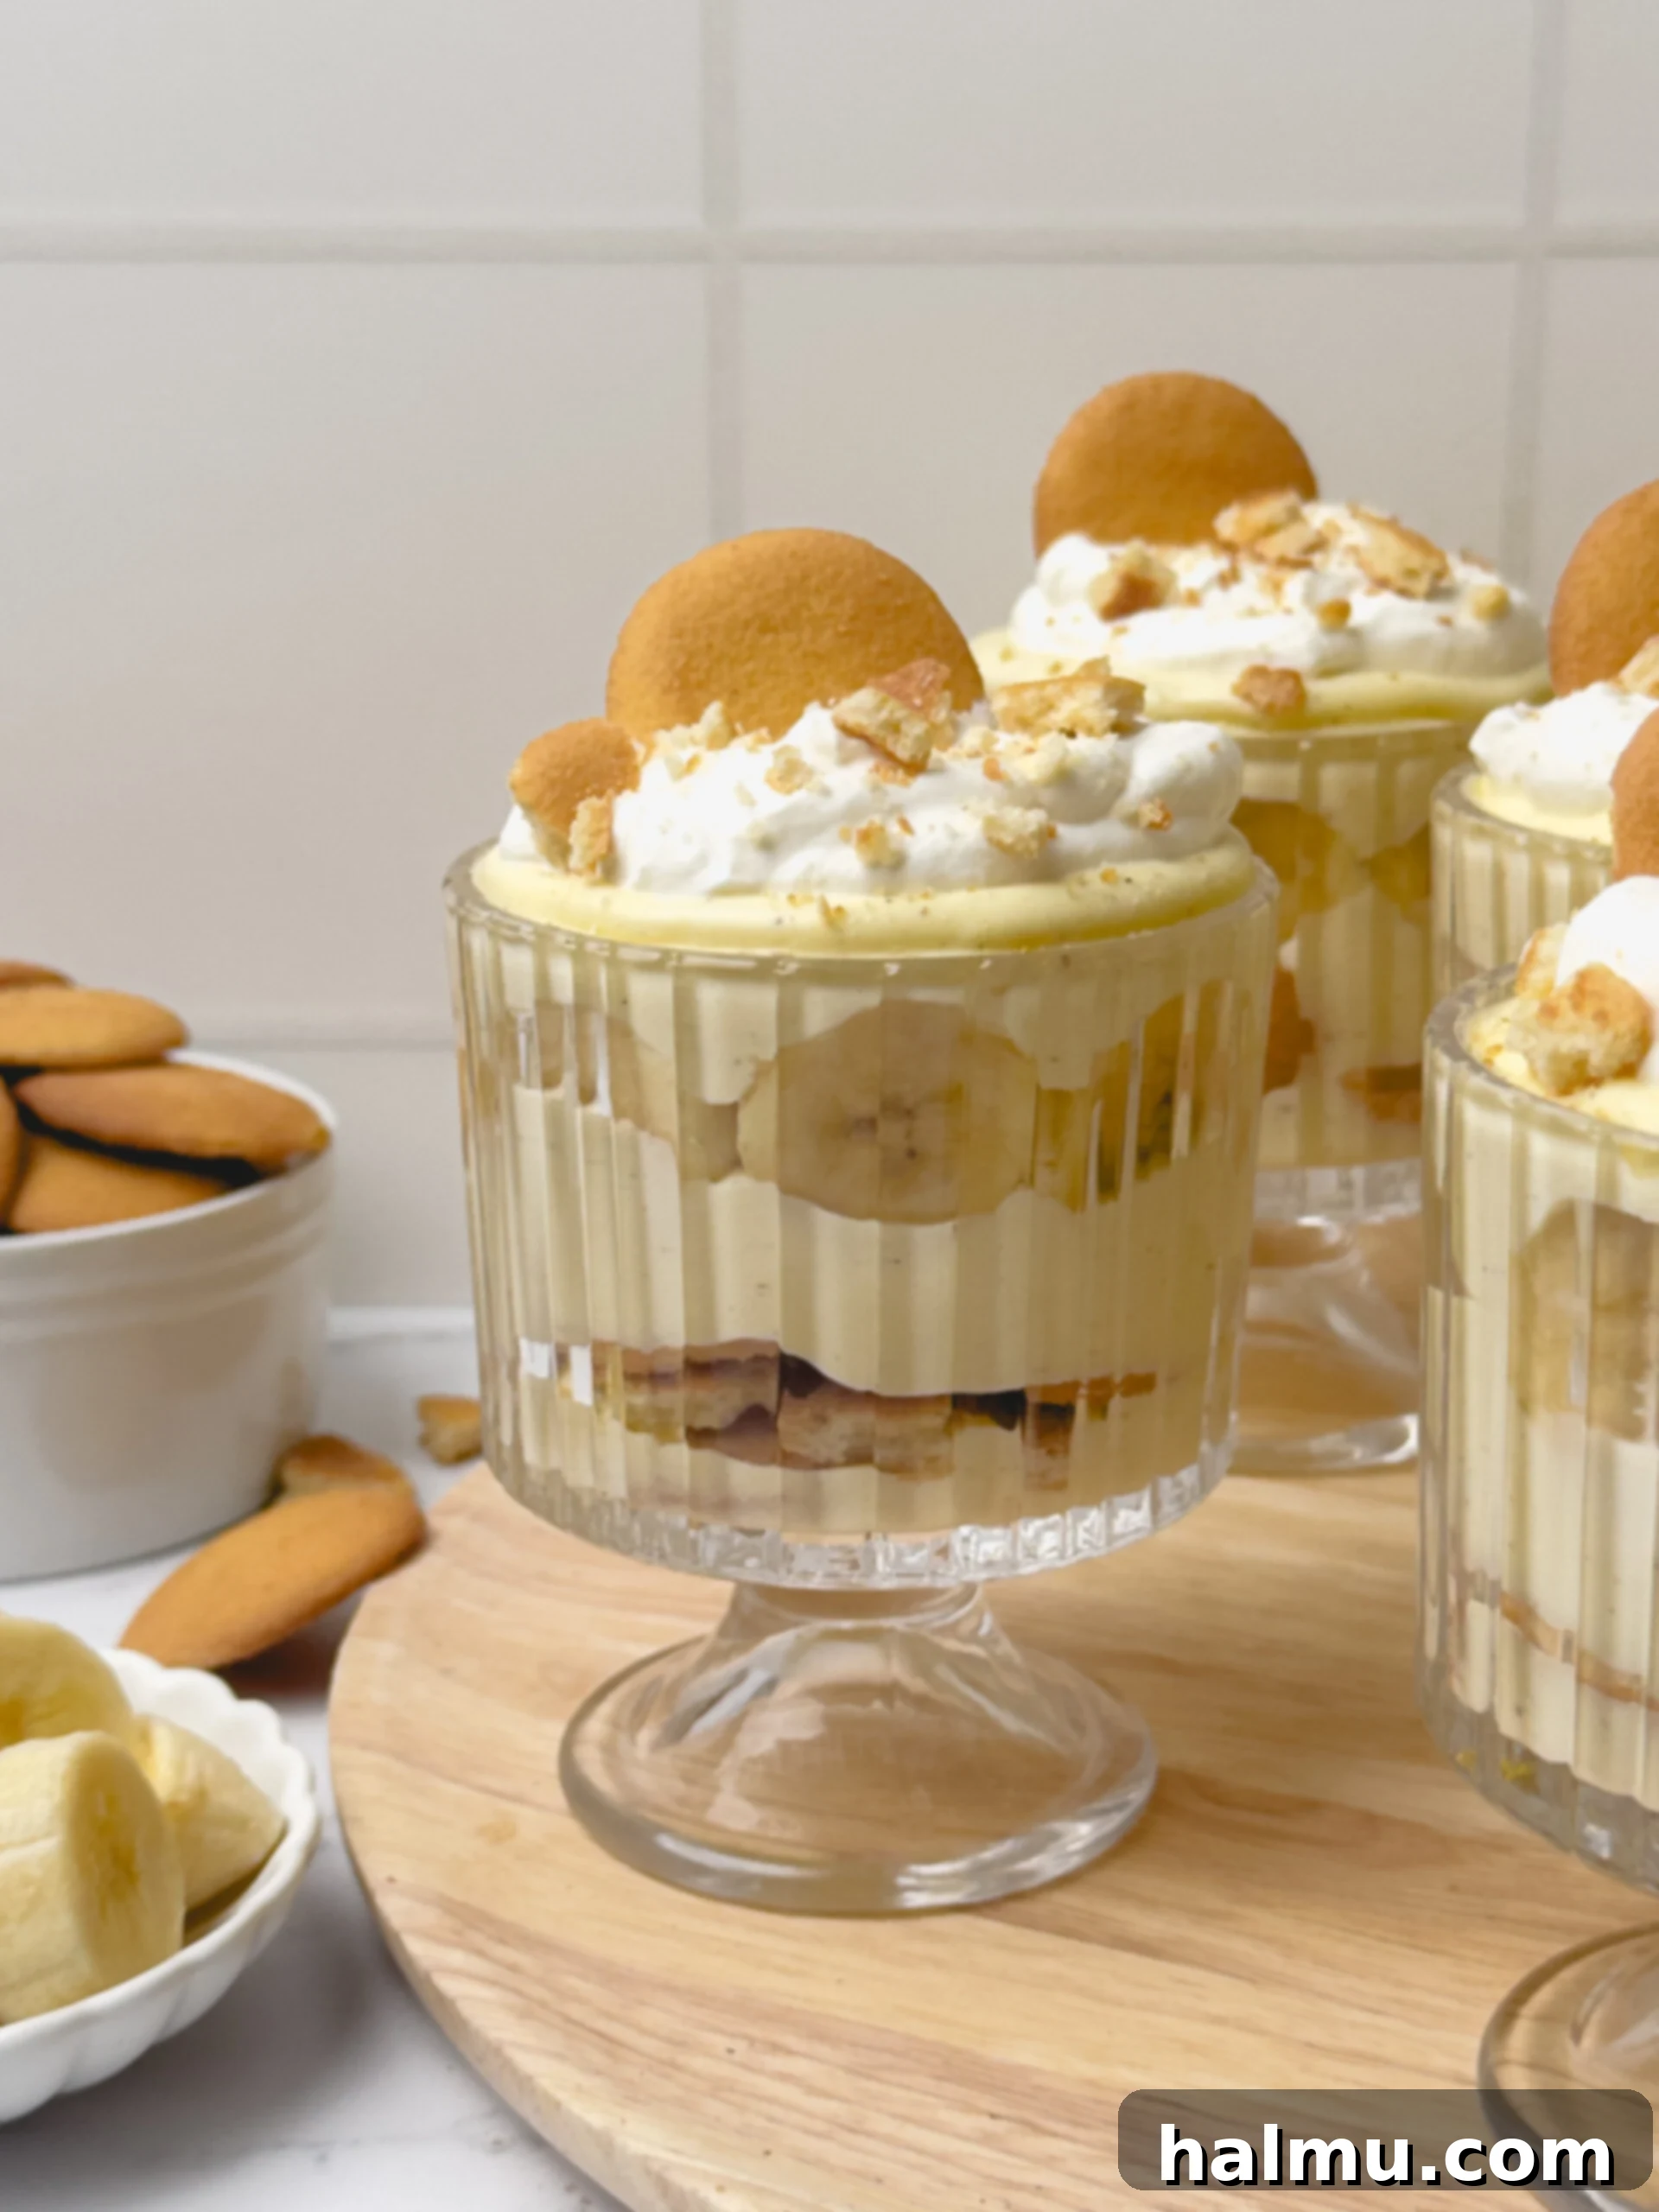
Delightful Individual Banana Pudding Cups: A No-Bake Classic Dessert
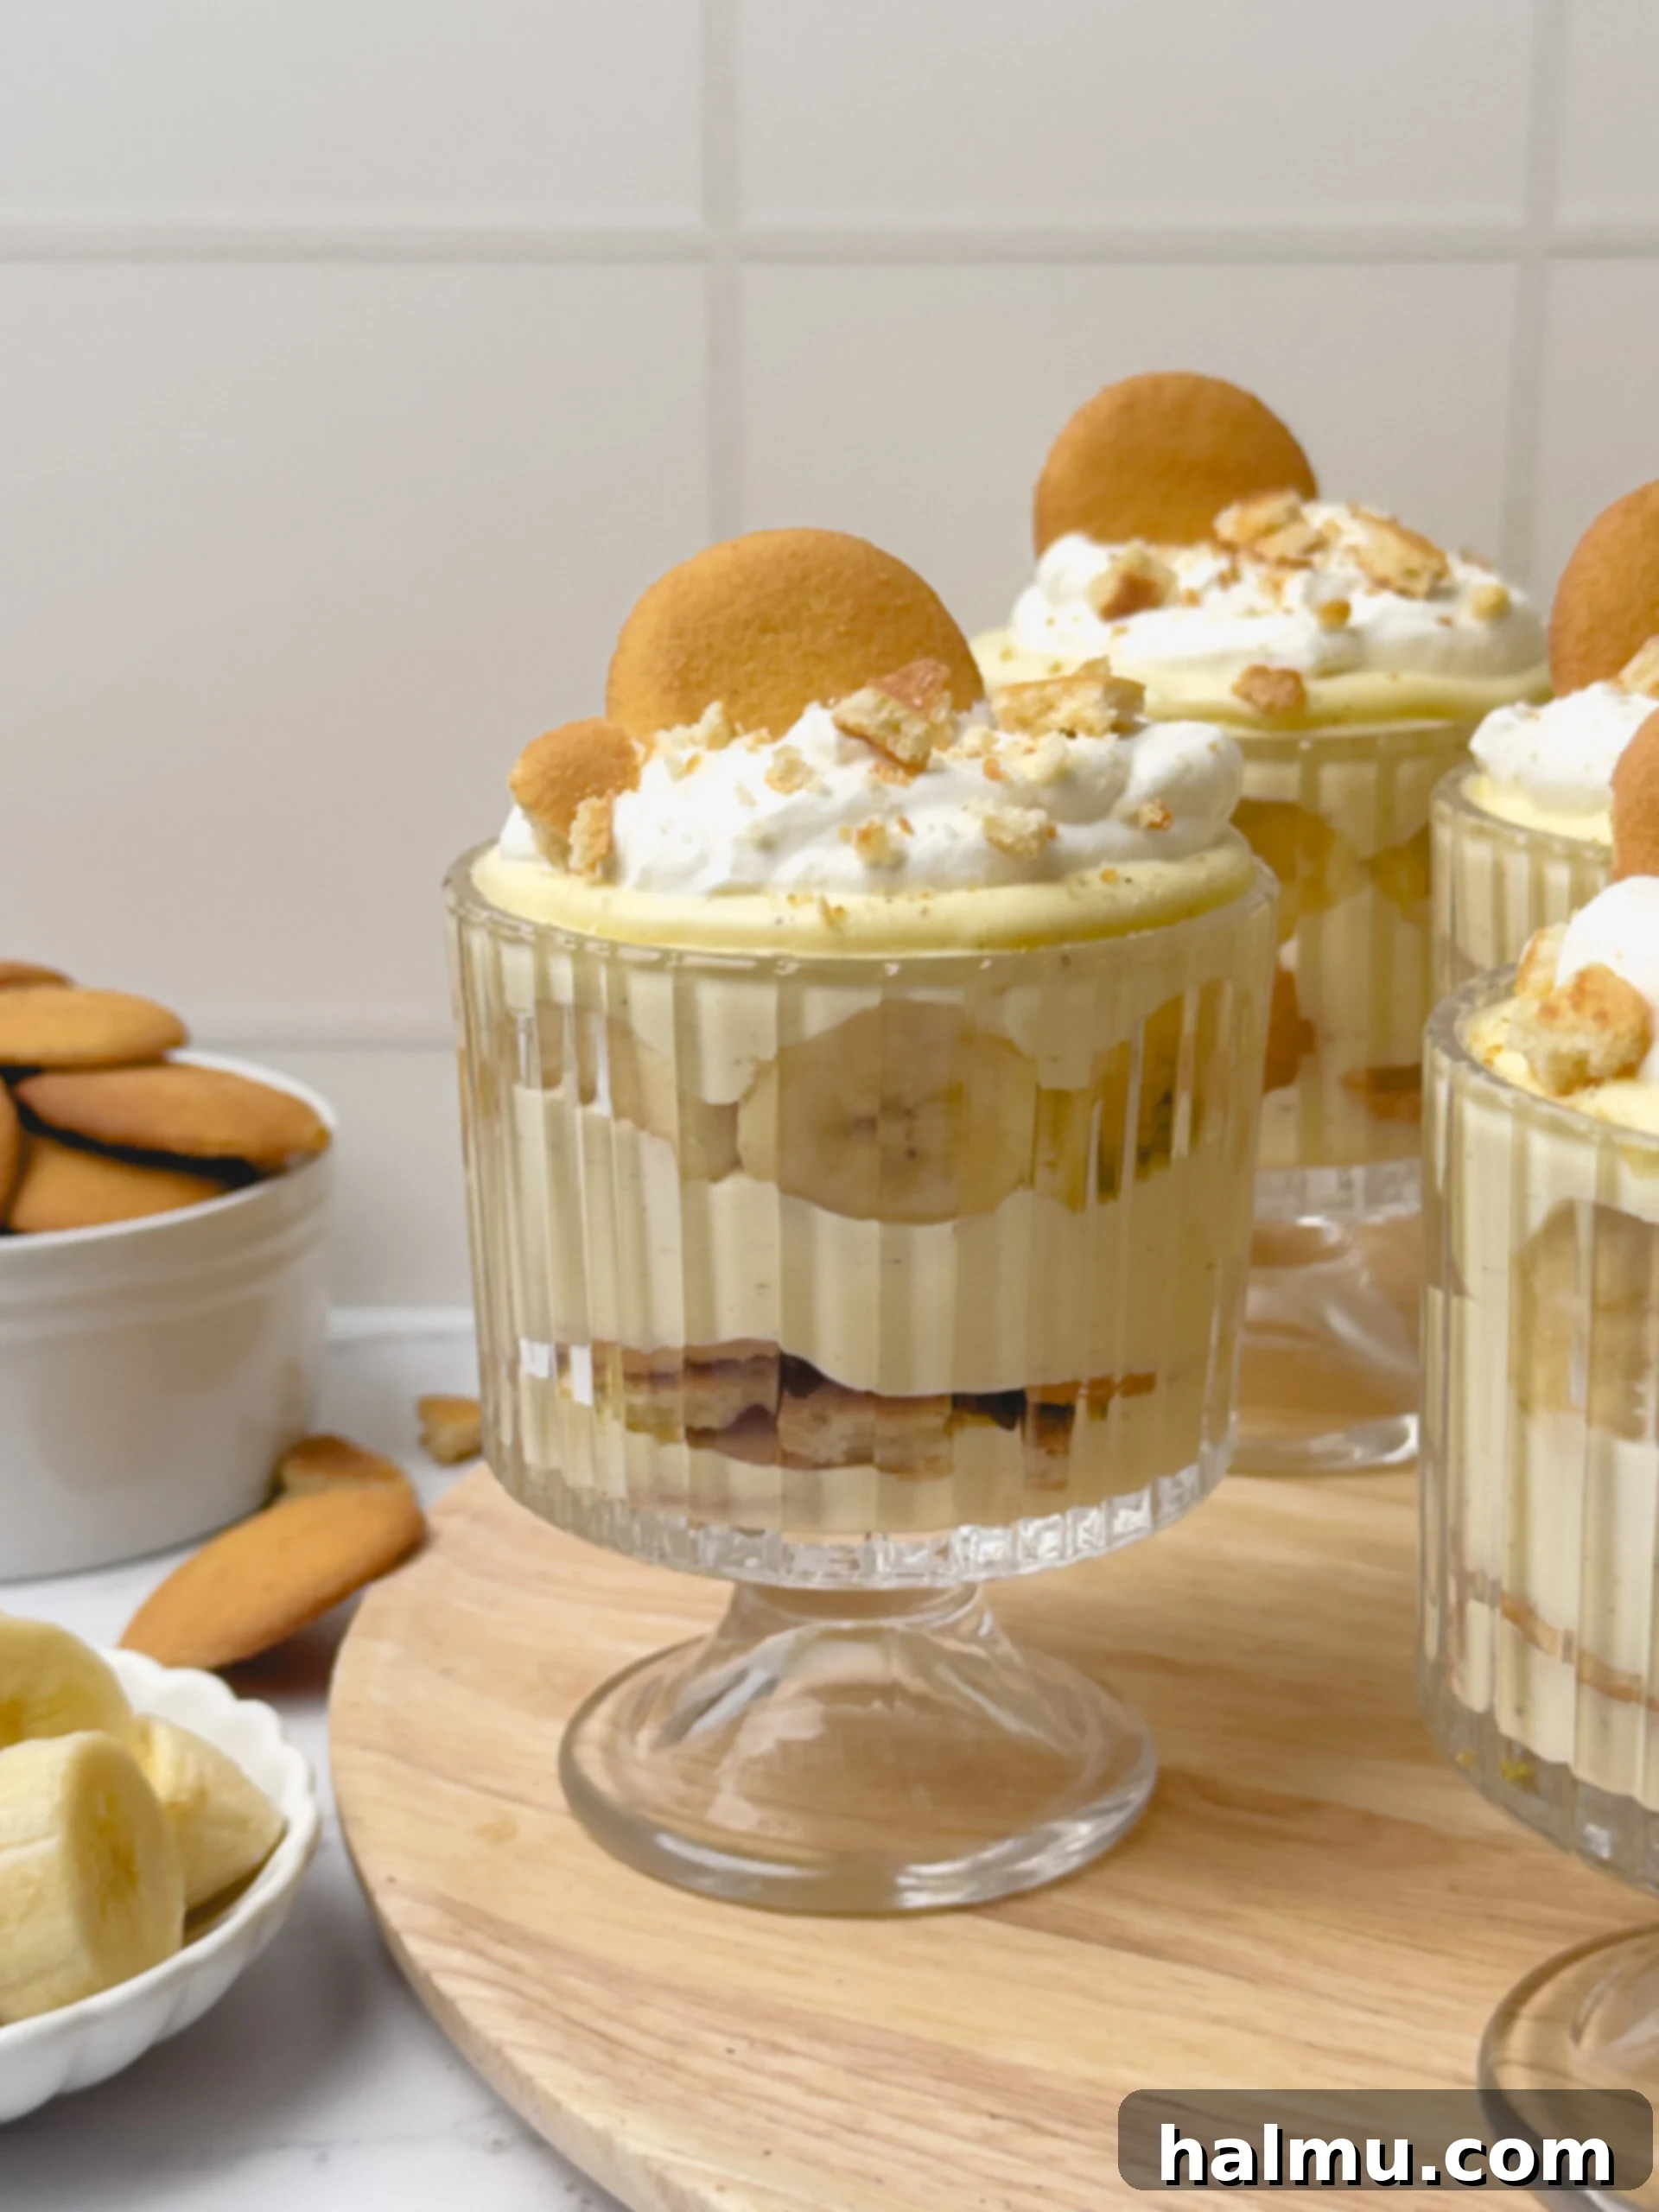
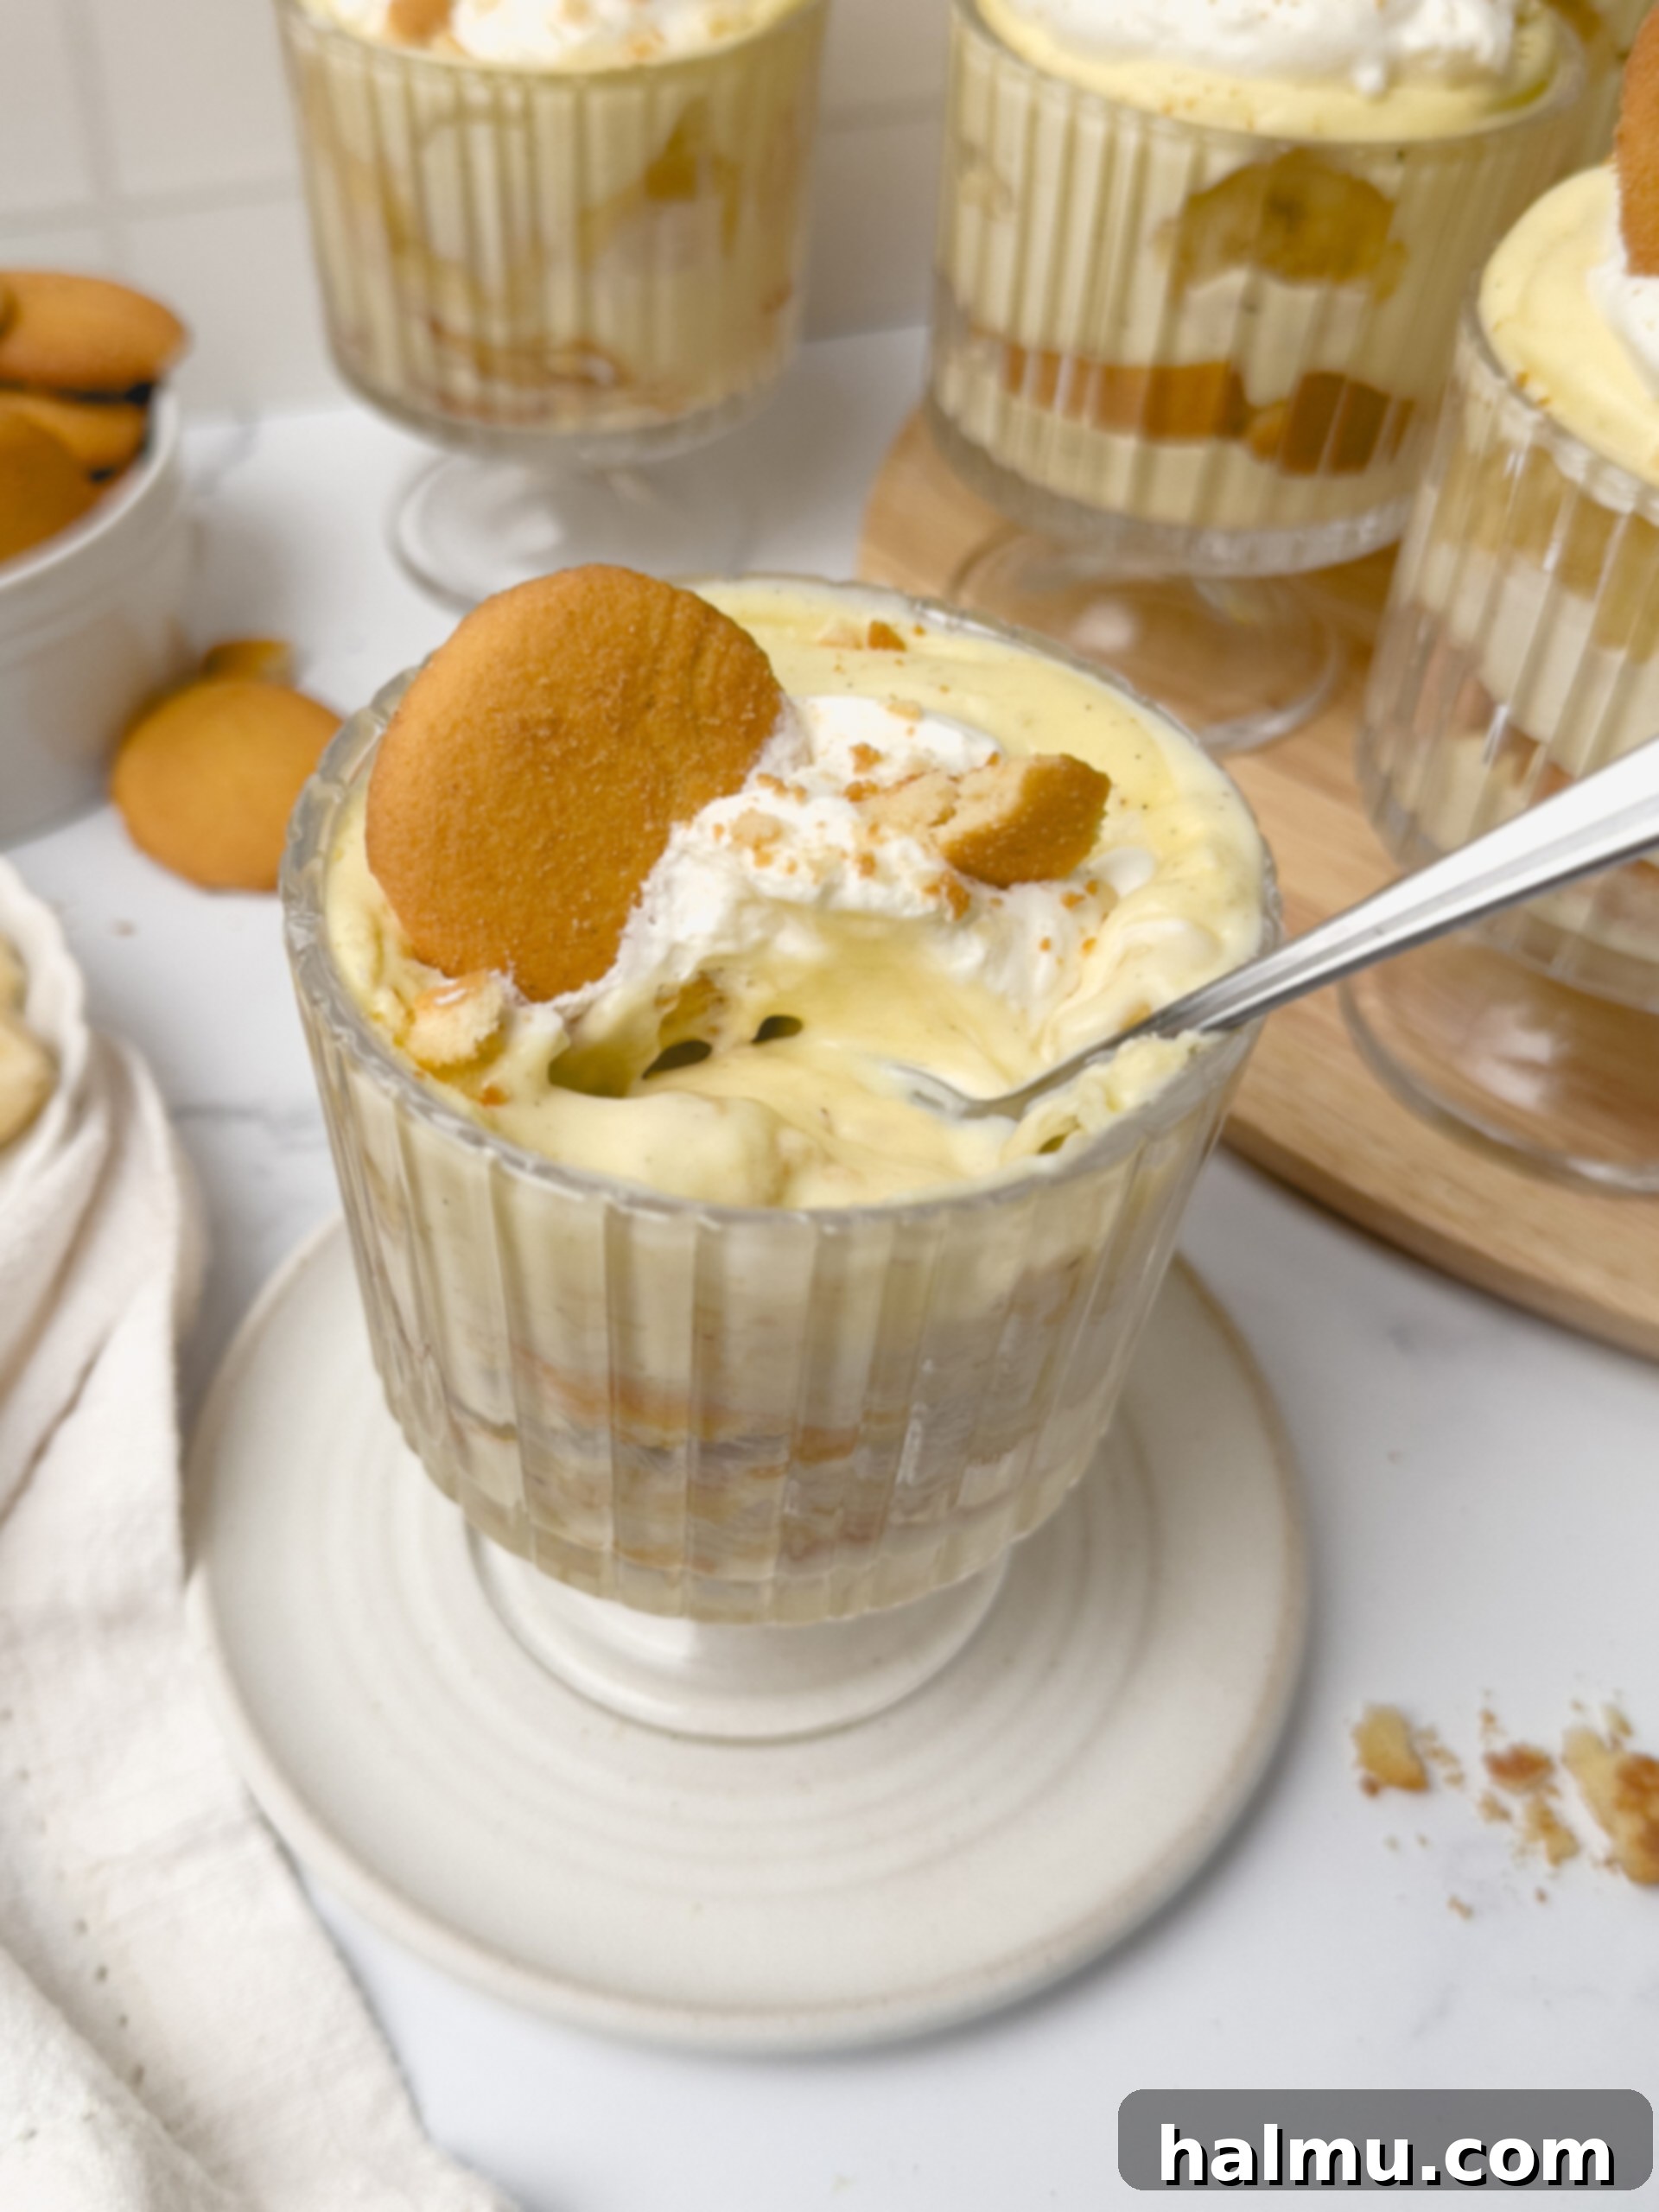
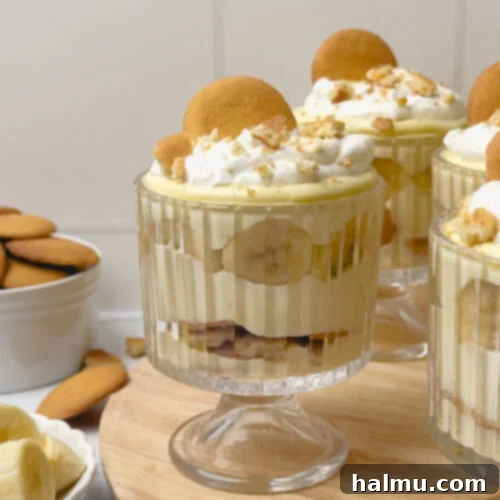
Indulge in the nostalgic charm of classic banana pudding reinvented into adorable, perfectly portioned individual banana pudding cups. This beloved Southern dessert combines layers of crisp vanilla wafer cookies, slices of fresh, sweet bananas, velvety homemade vanilla custard, and generous dollops of fluffy whipped cream. It’s a symphony of textures and flavors that captures the essence of the original, but in a convenient and elegant single-serving format.
Perfect for gatherings, special occasions, or simply a sweet treat at home, these no-bake banana pudding cups are incredibly easy to prepare and disappear fast! Say goodbye to artificial flavors and embrace the rich, authentic taste of real bananas paired with a truly decadent vanilla pastry cream. Discover how to create this irresistible dessert that promises a light, creamy, and utterly satisfying experience with every spoonful.
Why You’ll Adore These Banana Pudding Cups
Perfectly Portioned Individual Servings – Serving desserts can be a breeze when each guest gets their own charming cup! Layering this classic treat in small dessert cups not only makes them visually appealing but also incredibly convenient. No slicing, no serving, just pure enjoyment, ensuring everyone gets a beautiful, un-smashed portion.
Authentic Fresh Banana Flavor – Unlike many store-bought options that rely on artificial banana flavoring, our recipe champions the natural sweetness and aroma of real, ripe bananas. Each slice contributes to an authentic, wholesome taste that elevates the entire dessert, making it undeniably fresh and vibrant.
Luxuriously Creamy Vanilla Pastry Cream – The heart of this banana pudding is its scratch-made vanilla custard. We combine rich egg yolks, sugar, and milk with a hint of vanilla bean paste to create a silky, smooth pastry cream. This exquisite base is then gently folded with fluffy homemade whipped cream, resulting in a pudding that is light, airy, and melts in your mouth, far superior to any boxed mix.
Effortless No-Bake Treat – When the weather is warm, or you simply prefer to keep your oven off, this banana pudding recipe is your go-to. It requires no baking, making it an ideal refreshing dessert for summer picnics, barbecues, or any time you need a cool, delightful treat without the fuss of turning on the oven.
A Touch of Nostalgia – Banana pudding is a timeless comfort food that evokes fond memories for many. This recipe honors that tradition, delivering all the beloved flavors of a classic Southern banana pudding in an easy-to-manage format, perfect for creating new cherished memories.
Customizable & Versatile – While vanilla wafers are traditional, these cups offer flexibility. You can experiment with different types of cookies or add a sprinkle of cinnamon or nutmeg to the pudding for a unique twist. They’re simple enough for everyday indulgence yet elegant enough for special occasions.
How to Craft Homemade Banana Pudding Cups: Step-by-Step Guide
Creating these individual banana pudding cups is a rewarding process, resulting in a dessert that tastes far superior to anything store-bought. Follow these detailed steps for a perfect outcome every time:
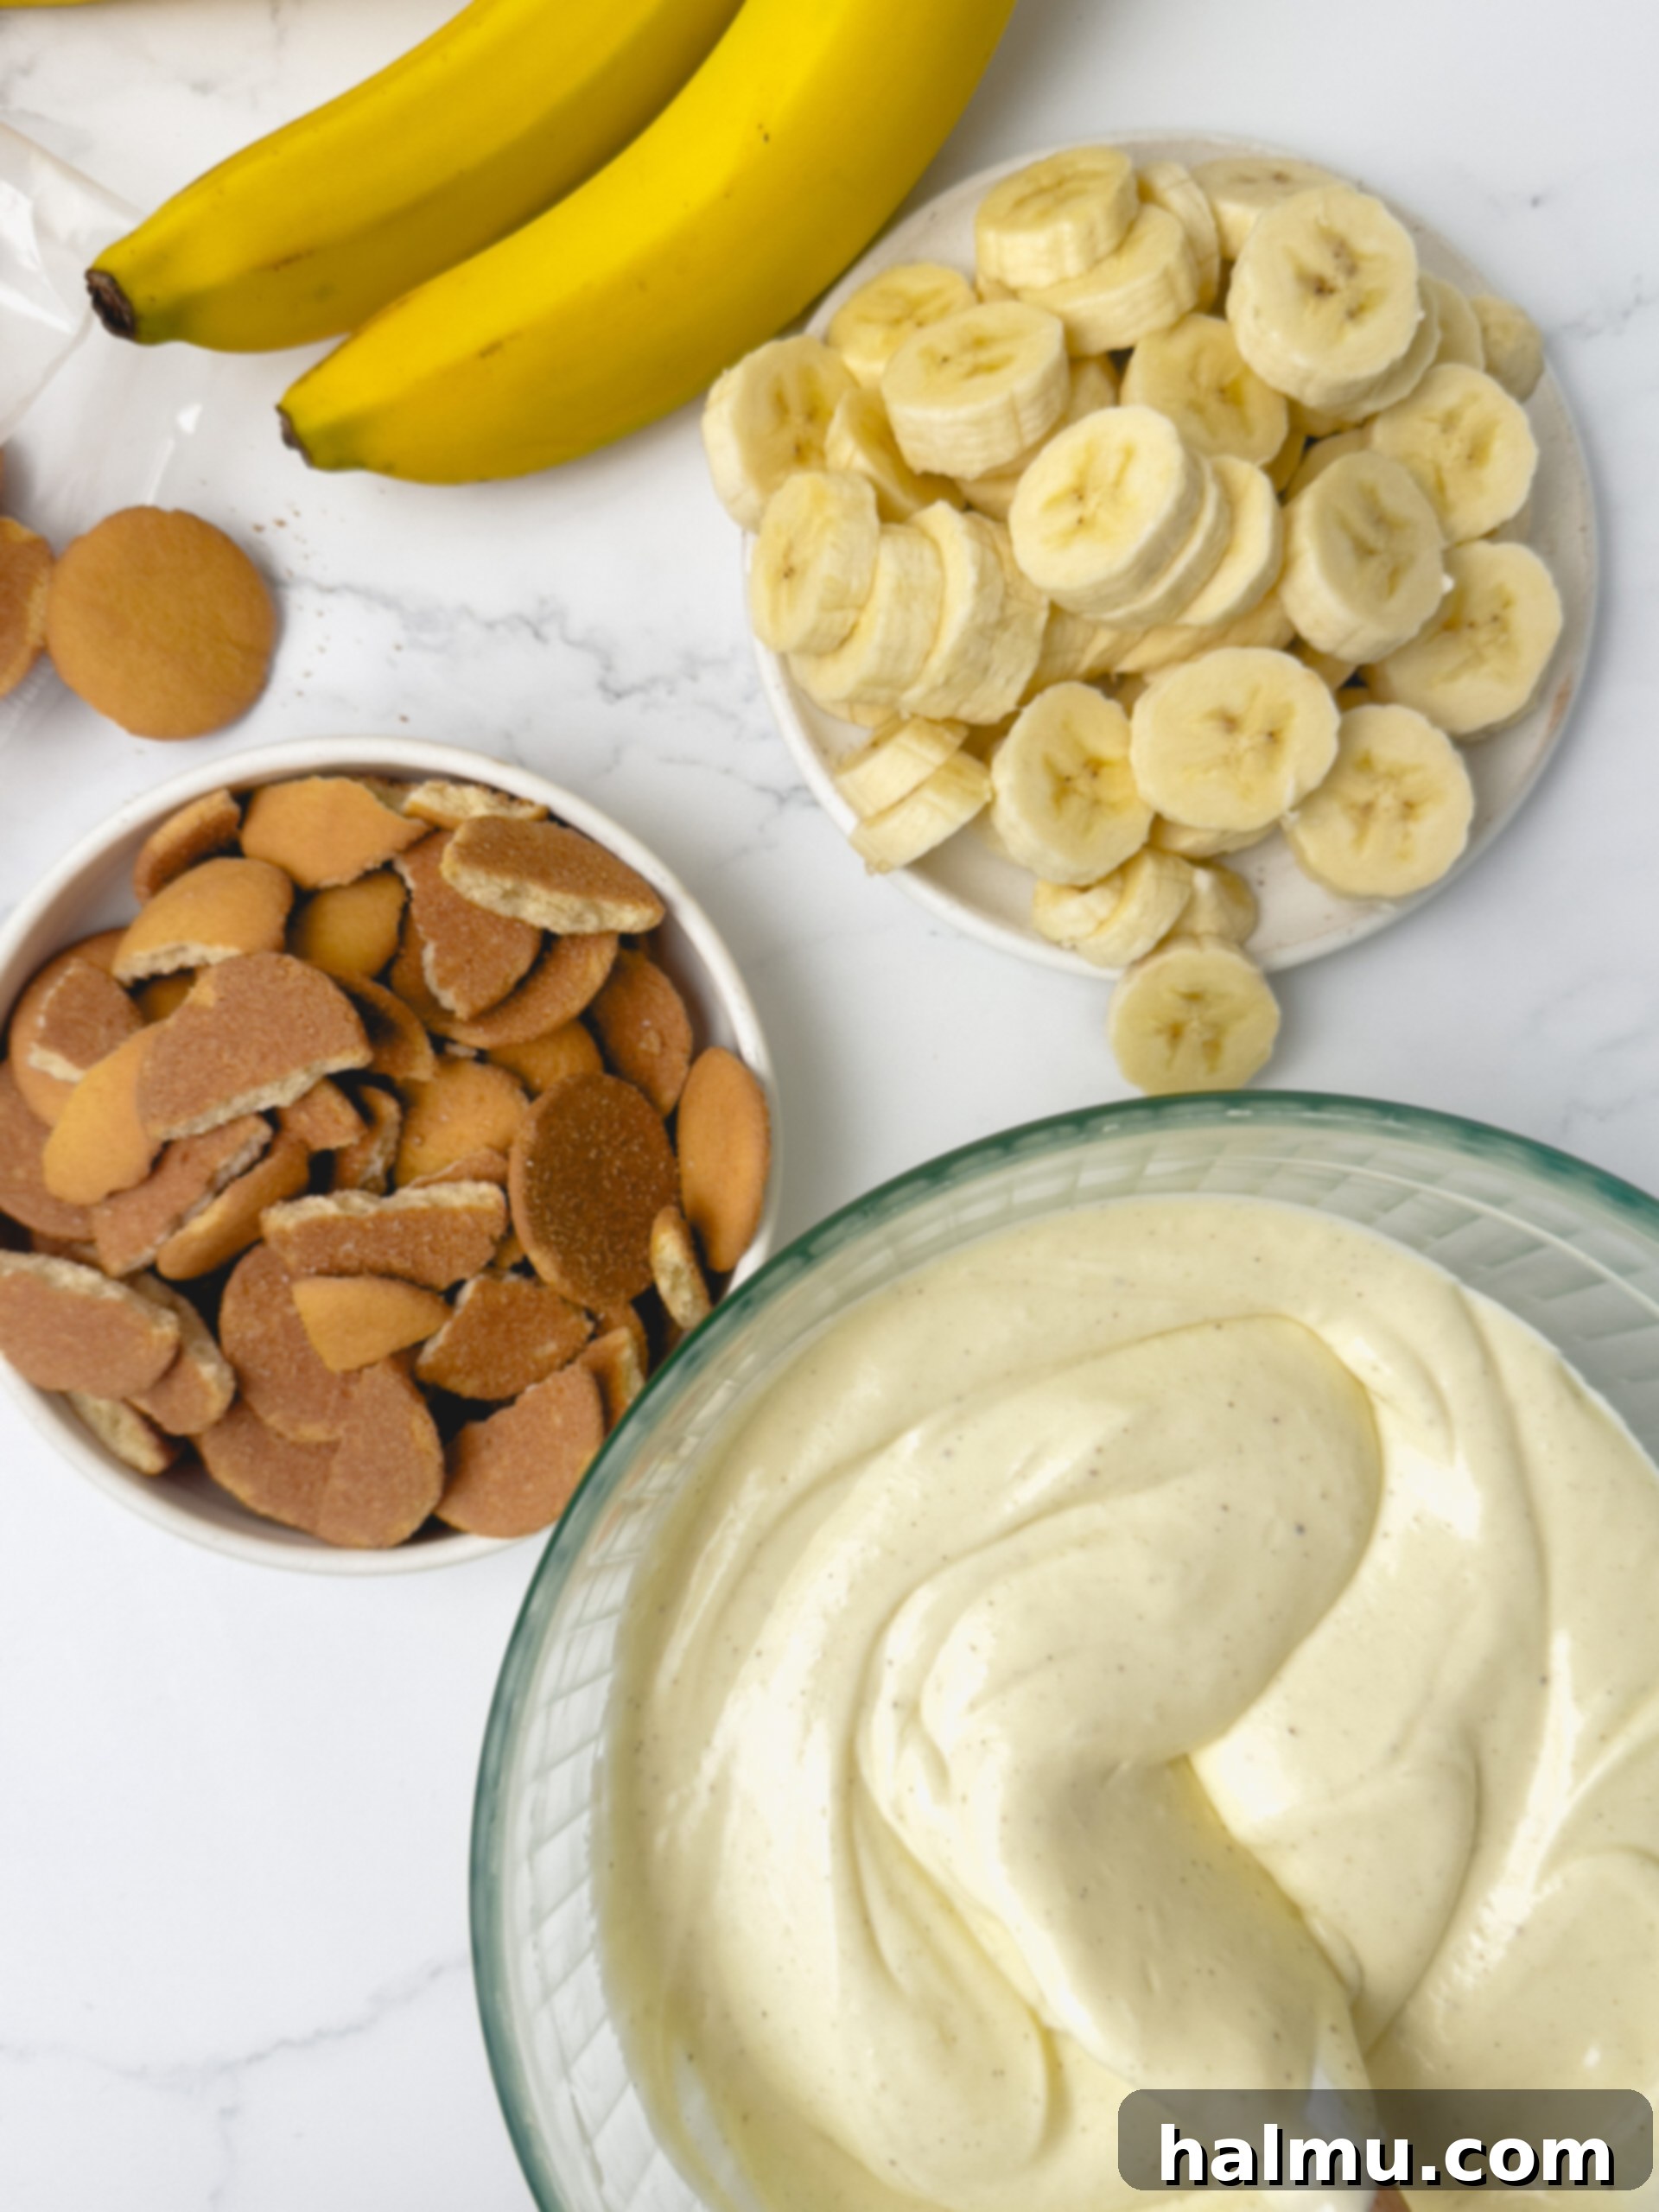
- Prepare the Silky Vanilla Pastry Cream. In a sturdy medium saucepan, combine the egg yolks, granulated sugar, cornstarch, vanilla bean paste, and a pinch of salt. Whisk these ingredients vigorously until the mixture becomes pale yellow and well combined. This initial whisking helps to ensure a smooth custard. Gradually, and while continuously whisking, slowly stream in the whole milk. The key here is to add the milk slowly to temper the egg yolks, preventing them from scrambling.
- Cook the Custard to Perfection. Place the saucepan over low heat, continuing to whisk constantly. This constant motion is crucial to prevent the custard from sticking to the bottom and ensure an even, smooth texture. Cook for approximately 10-15 minutes, or until the mixture thickens considerably and begins to gently bubble. Once thickened, remove the pastry cream from the heat. For an extra smooth finish, strain the warm custard through a fine-mesh sieve into a clean bowl. This removes any potential lumps. Stir in the cubed unsalted butter until it’s fully melted and incorporated, adding richness and shine. Cover the surface of the custard directly with plastic wrap to prevent a skin from forming and chill in the refrigerator until completely cool, ideally for at least 2-3 hours.
- Whip Up the Dreamy Whipped Cream. Once the pastry cream is thoroughly chilled, it’s time to prepare the whipped cream. In the bowl of a stand mixer (or using a hand mixer) fitted with a whisk attachment, combine the cold heavy cream, powdered sugar, and vanilla extract. Start mixing on low speed until the ingredients are just combined. Gradually increase the speed to medium-high and whip until the cream thickens and forms beautiful medium-stiff peaks. Be careful not to over-whip, or it will become grainy.
- Gently Combine for the Pudding Mixture. Carefully fold about half of the freshly whipped cream into the cooled vanilla pastry cream. Use a rubber spatula and a gentle folding motion to incorporate the whipped cream without deflating it. This creates a light, airy, and creamy pudding. Reserve the remaining whipped cream for topping the individual cups later.
- Prepare the Fresh Bananas. Right before you are ready to assemble the cups, peel and slice your ripe bananas into uniform ¼-inch thick rounds. Slicing them just before assembly helps to minimize browning.
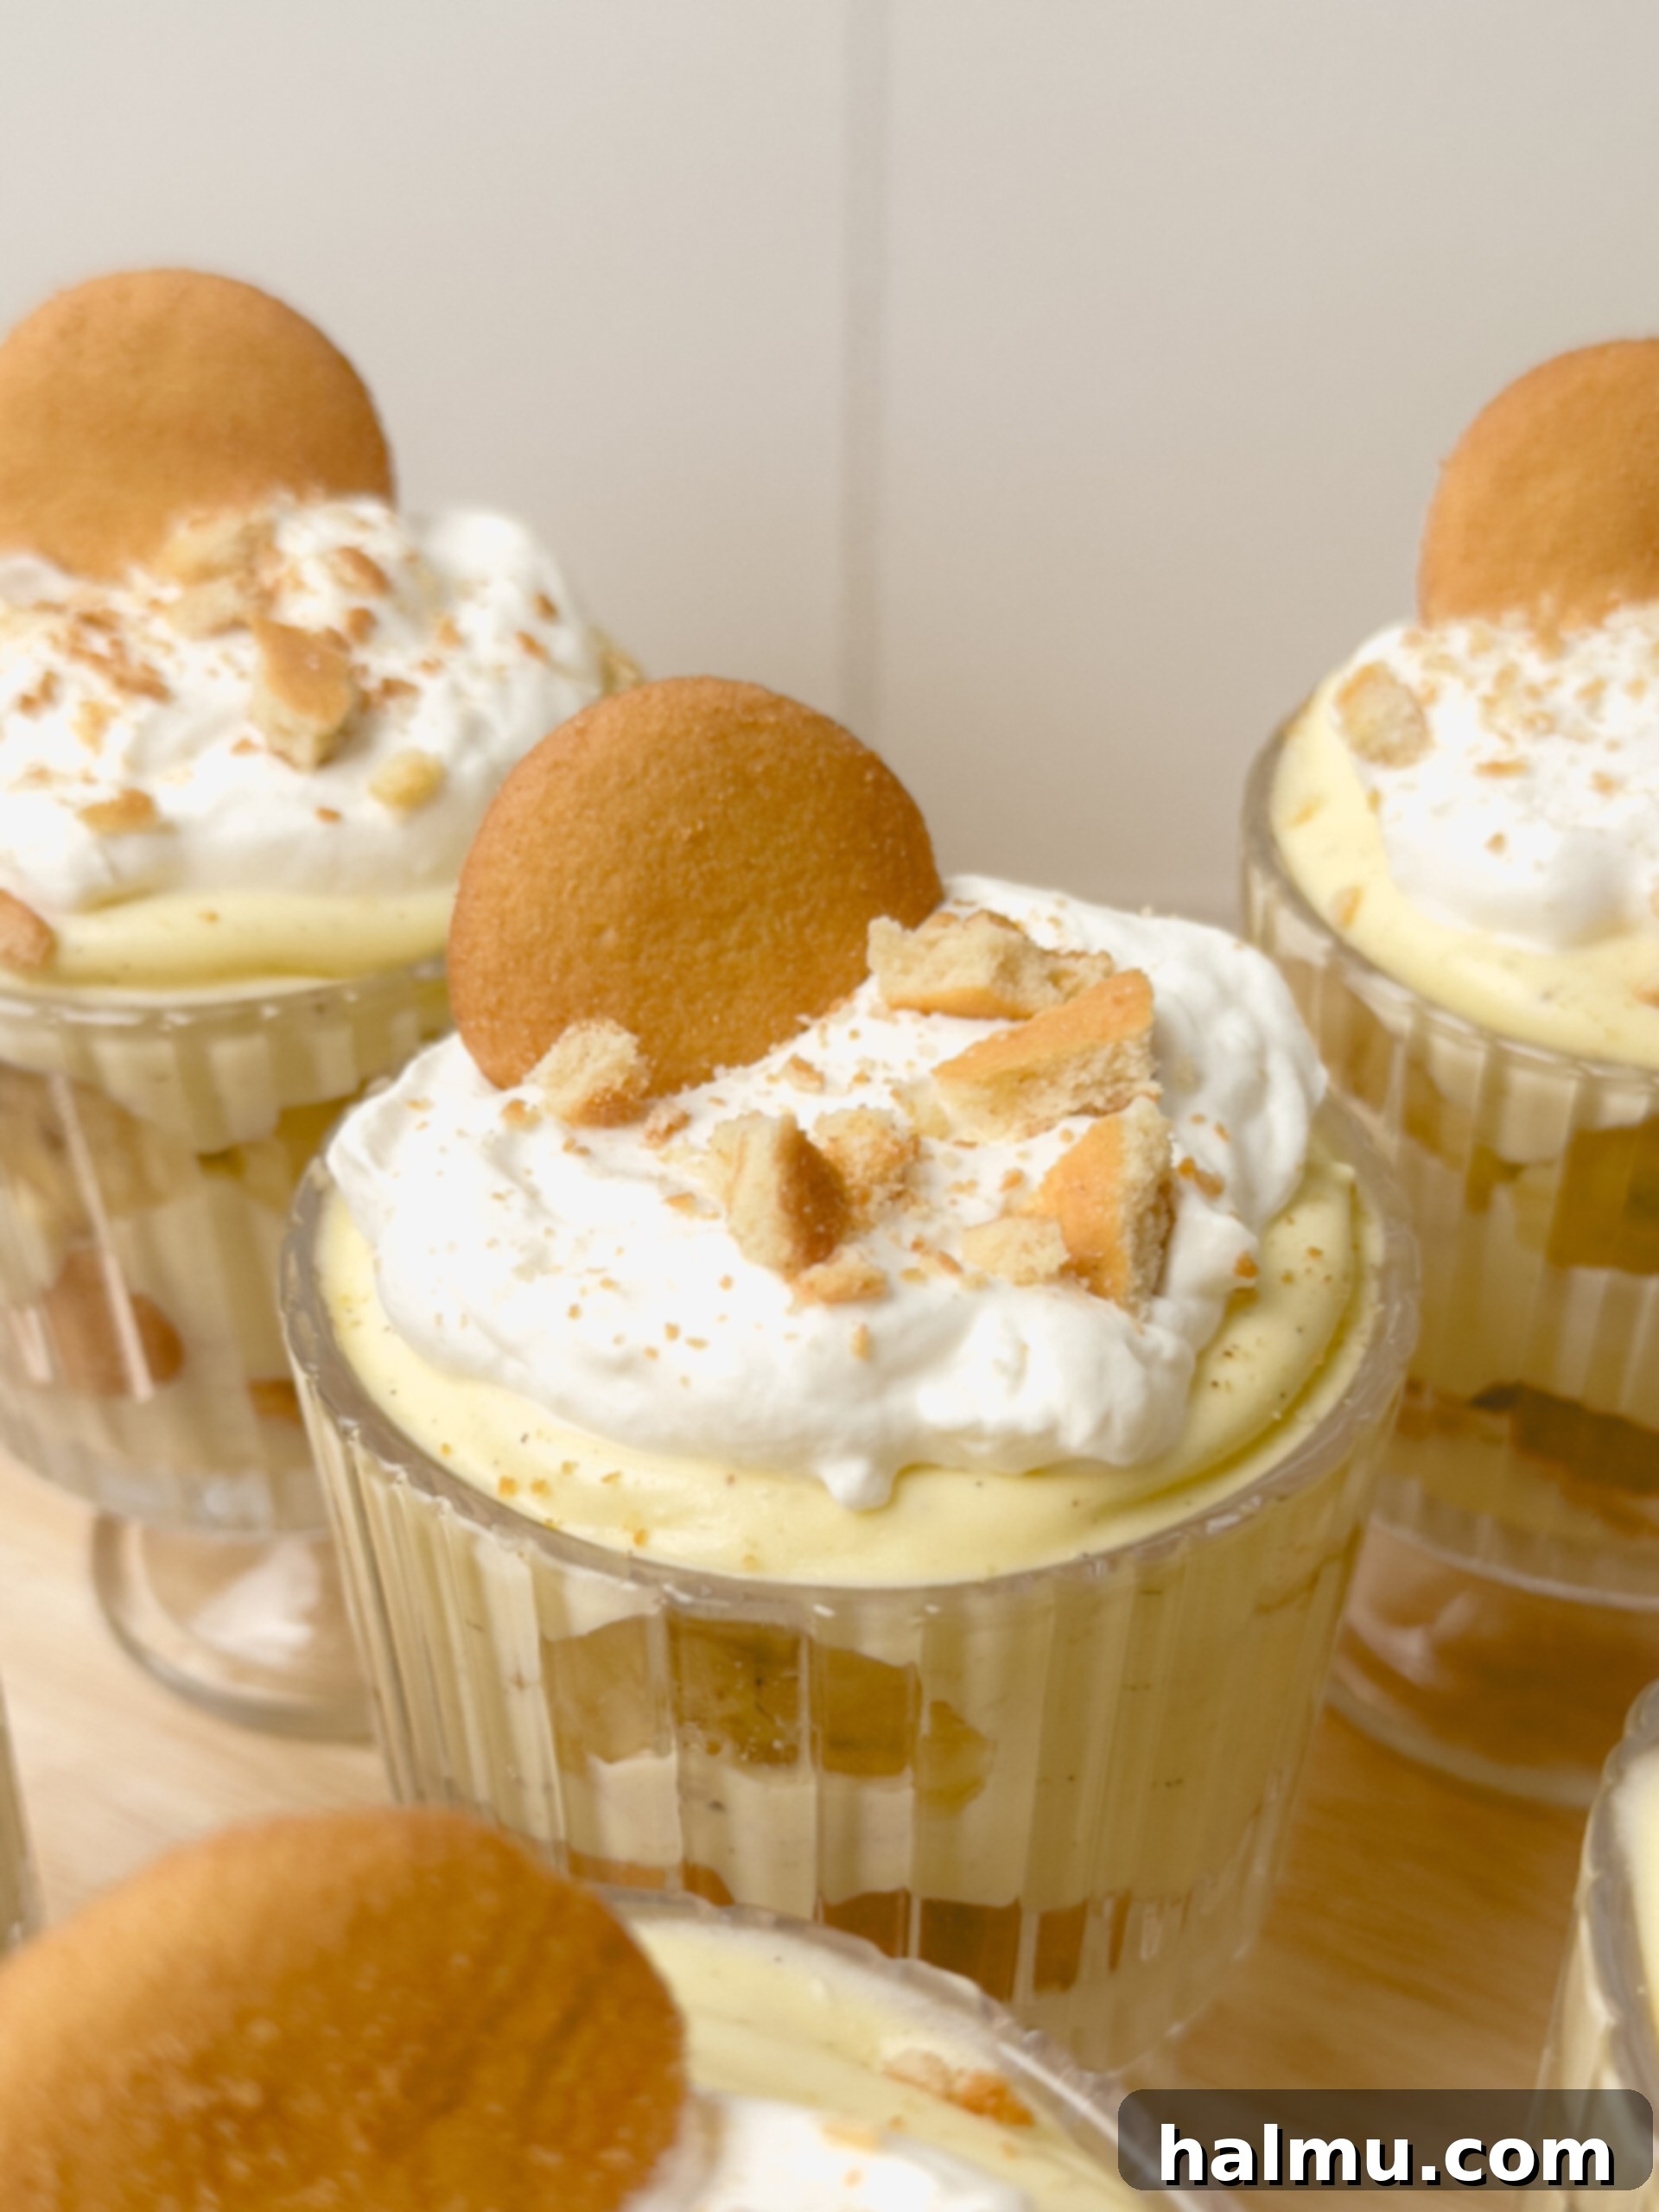
- Thoughtful Assembly of the Cups. Begin by breaking vanilla wafers into smaller pieces and layering them into the bottom of your chosen serving cups (8-ounce parfait cups are ideal). Add a generous scoop of the combined pudding mixture, ensuring it covers the cookie layer evenly. Next, arrange a layer of the freshly sliced bananas over the pudding. Follow with another scoop of the pudding mixture to top it off. Use a small offset spatula or the back of a spoon to gently smooth the pudding across the top for a neat finish.
- Crown with Whipped Cream. Add a generous dollop (or pipe using a star tip for a decorative touch) of the reserved whipped cream onto the top of each pudding cup. Carefully cover each cup with plastic wrap, pressing it lightly against the whipped cream to prevent drying out and absorb any fridge odors.
- Chill for Optimal Texture and Flavor. Place the assembled cups in the refrigerator for at least 2 hours. This chilling time is essential, allowing the flavors to meld beautifully and, more importantly, for the vanilla wafer cookies to soften slightly, achieving that perfect, tender-crisp texture. Then, grab a spoon and dive into your delicious homemade banana pudding cups!
Recipe FAQs for Perfect Banana Pudding Cups
Can these banana pudding cups be made in advance?
While the banana pudding cups require at least 2 hours to chill and allow the cookies to soften, I generally recommend making them only a few hours before serving. The fresher the bananas, the better! If made too far in advance, the bananas will start to oxidize and turn brown, and the cookies can become overly soggy. For best results, prepare them no more than 4-6 hours prior to enjoyment.
How long will leftover banana pudding cups last in the fridge?
These delightful treats are best enjoyed fresh. However, if you have any leftovers, they will keep well in an airtight container in the refrigerator for up to one to two days. Beyond that, the quality of the bananas and cookies will significantly diminish, becoming less appealing in texture and appearance.
What kind of bananas should I use?
For the best flavor and texture, use ripe but firm bananas. They should have a few brown speckles on the peel, indicating sweetness, but still be firm enough to hold their shape when sliced. Overly ripe, mushy bananas will break down too much in the pudding, while underripe bananas won’t offer enough sweetness or characteristic banana flavor.
Essential Tools for Your Kitchen
What size cups should I use for individual servings?
I found that 8-ounce footed parfait cups are ideal for this recipe, yielding 6 beautifully portioned cups. However, feel free to use any small glass jars, ramekins, or even small plastic dessert cups. If you prefer smaller portions or wish to make more servings, simply use smaller cups and adjust your layering accordingly.
Can I use store-bought pudding mix to save time?
While I highly recommend making the vanilla pastry cream from scratch for the absolute best flavor and texture (it comes together surprisingly quickly!), a box pudding mix can be used if you are truly in a pinch. If you opt for a store-bought mix, still make sure to fold in some homemade whipped cream to lighten it up and give it a more luxurious, creamy consistency, mimicking the scratch-made version as much as possible.
What other cookies can I use besides vanilla wafers?
Nilla wafers are the quintessential cookie for banana pudding, providing that classic texture and flavor. However, don’t hesitate to get creative! Graham crackers offer a nice crunch and earthy flavor, while shortbread cookies add a buttery richness. For a fun, spiced twist, try using Biscoff cookies – their unique cinnamon notes pair wonderfully with banana.
How can I prevent the bananas from browning?
The best way to minimize banana browning is to slice them right before assembly. For extra protection, you can lightly toss the banana slices in a tiny amount of lemon juice or a fruit preservative like Fruit-Fresh. However, avoid using too much, as it can alter the flavor of the pudding. The pudding and whipped cream layers also help to create a barrier against the air.
Serving Suggestions for Your Banana Pudding Cups
These individual banana pudding cups are delightful on their own, but a few simple touches can elevate them even further. Consider garnishing with a sprinkle of cinnamon, a few extra vanilla wafer crumbles, or a thin banana slice just before serving. For a richer presentation, drizzle a touch of caramel sauce over the top of the whipped cream. They are perfect for dessert tables at parties, simple family dinners, or as a comforting treat after a long day.
More Individual Dessert Recipes You’ll Love
If you enjoy the convenience and charm of single-serving desserts, explore these other delightful recipes perfect for individual enjoyment:
- Lemon Meringue Pie Jars
- S’more Pudding Cups
- Lemon Gingersnap Tiramisu
- Mini Oreo Cheesecakes
- Vanilla Bean Crème Brûlée
Baking Tip: Weigh Your Ingredients! The Secret to Consistent Results
For the most consistent and professional baking results, I cannot emphasize enough the importance of using a kitchen scale to weigh your ingredients rather than relying on volumetric measuring cups. Weighing ingredients in grams provides unparalleled accuracy, eliminating discrepancies that can arise from packing flour differently or unevenly spooning sugar. This precision leads to more consistent outcomes with your recipes, a higher success rate every single time you bake, and ultimately, a superior final product. As an added bonus, using a scale often means fewer dirty dishes, which translates to an easier cleanup! I meticulously provide gram measurements in all my recipes, and this is the scale I personally love and recommend.
I genuinely hope you enjoy creating and savoring these delightful individual banana pudding cups. If you make this recipe and love it as much as I do, please be sure to leave a comment and a rating below. Your feedback means the world! Happy baking!
Banana Pudding Cups
Print Recipe
RATE THIS RECIPE
Ingredients
For the Vanilla Pastry Cream
- 6 large egg yolks
- ½ cup (108g) granulated sugar
- 3 Tablespoons (28g) cornstarch
- 2 teaspoons vanilla bean paste
- ¼ teaspoon salt
- 2 cups (480mL) whole milk
- 3 Tablespoons (42g) unsalted butter, cut into cubes
For the Whipped Cream
- 1½ cups (360mL) heavy cream
- ¼ cup (30g) powdered sugar
- 1 teaspoon vanilla extract
For Assembly
- 4 medium, ripe bananas
- 11- ounce box Nilla wafers
SHOP INGREDIENTS
Instructions
- Vanilla Pastry Cream: In a medium saucepan, whisk together the egg yolks, sugar, cornstarch, vanilla bean paste, and salt until well combined and lightened in color. Slowly stream the milk into the egg mixture while whisking constantly to temper the yolks.
- Cook over low heat, whisking constantly until the mixture thickens and begins to bubble (about 10-15 minutes). Remove from heat and strain through a fine-mesh sieve. Stir in the butter until melted. Cover the surface of the custard directly with plastic wrap and chill in the fridge until completely cooled (2-3 hours).
- For the Whipped Cream: When ready to assemble, make the whipped cream. In a stand mixer bowl with a whisk attachment (or using a hand mixer), add heavy cream, powdered sugar, and vanilla extract. Mix on low until combined, then increase to medium-high speed and whip until medium-stiff peaks form.
- Fold about half of the whipped cream into the cooled pastry cream using a rubber spatula until fully combined. Reserve the remaining whipped cream for topping the cups.
- Assembly: Just before assembling, slice the bananas into ¼-inch thick rounds. In individual dessert cups, create a layer of broken Nilla wafers. Add a scoop of the pudding mixture, followed by a layer of sliced bananas, then another scoop of pudding. Smooth the top layer of pudding gently.
- Top each cup with a generous dollop of the reserved whipped cream. Cover carefully with plastic wrap (touching the whipped cream surface) and chill in the fridge for at least 2 hours to allow the cookies to soften. Garnish with more Nilla wafers if desired, then serve and enjoy!

HI THERE!
I’m Rachel
I’m the dessert lover, recipe developer, and content creator behind Sweet Kitchen Cravings. Here you’ll find classic yet special recipes that are sure to impress your loved ones!
MORE ABOUT RACHEL
Craving More?
Get the newest recipes delivered straight to your inbox!
