This post may contain affiliate links. Please read my full disclosure policy.
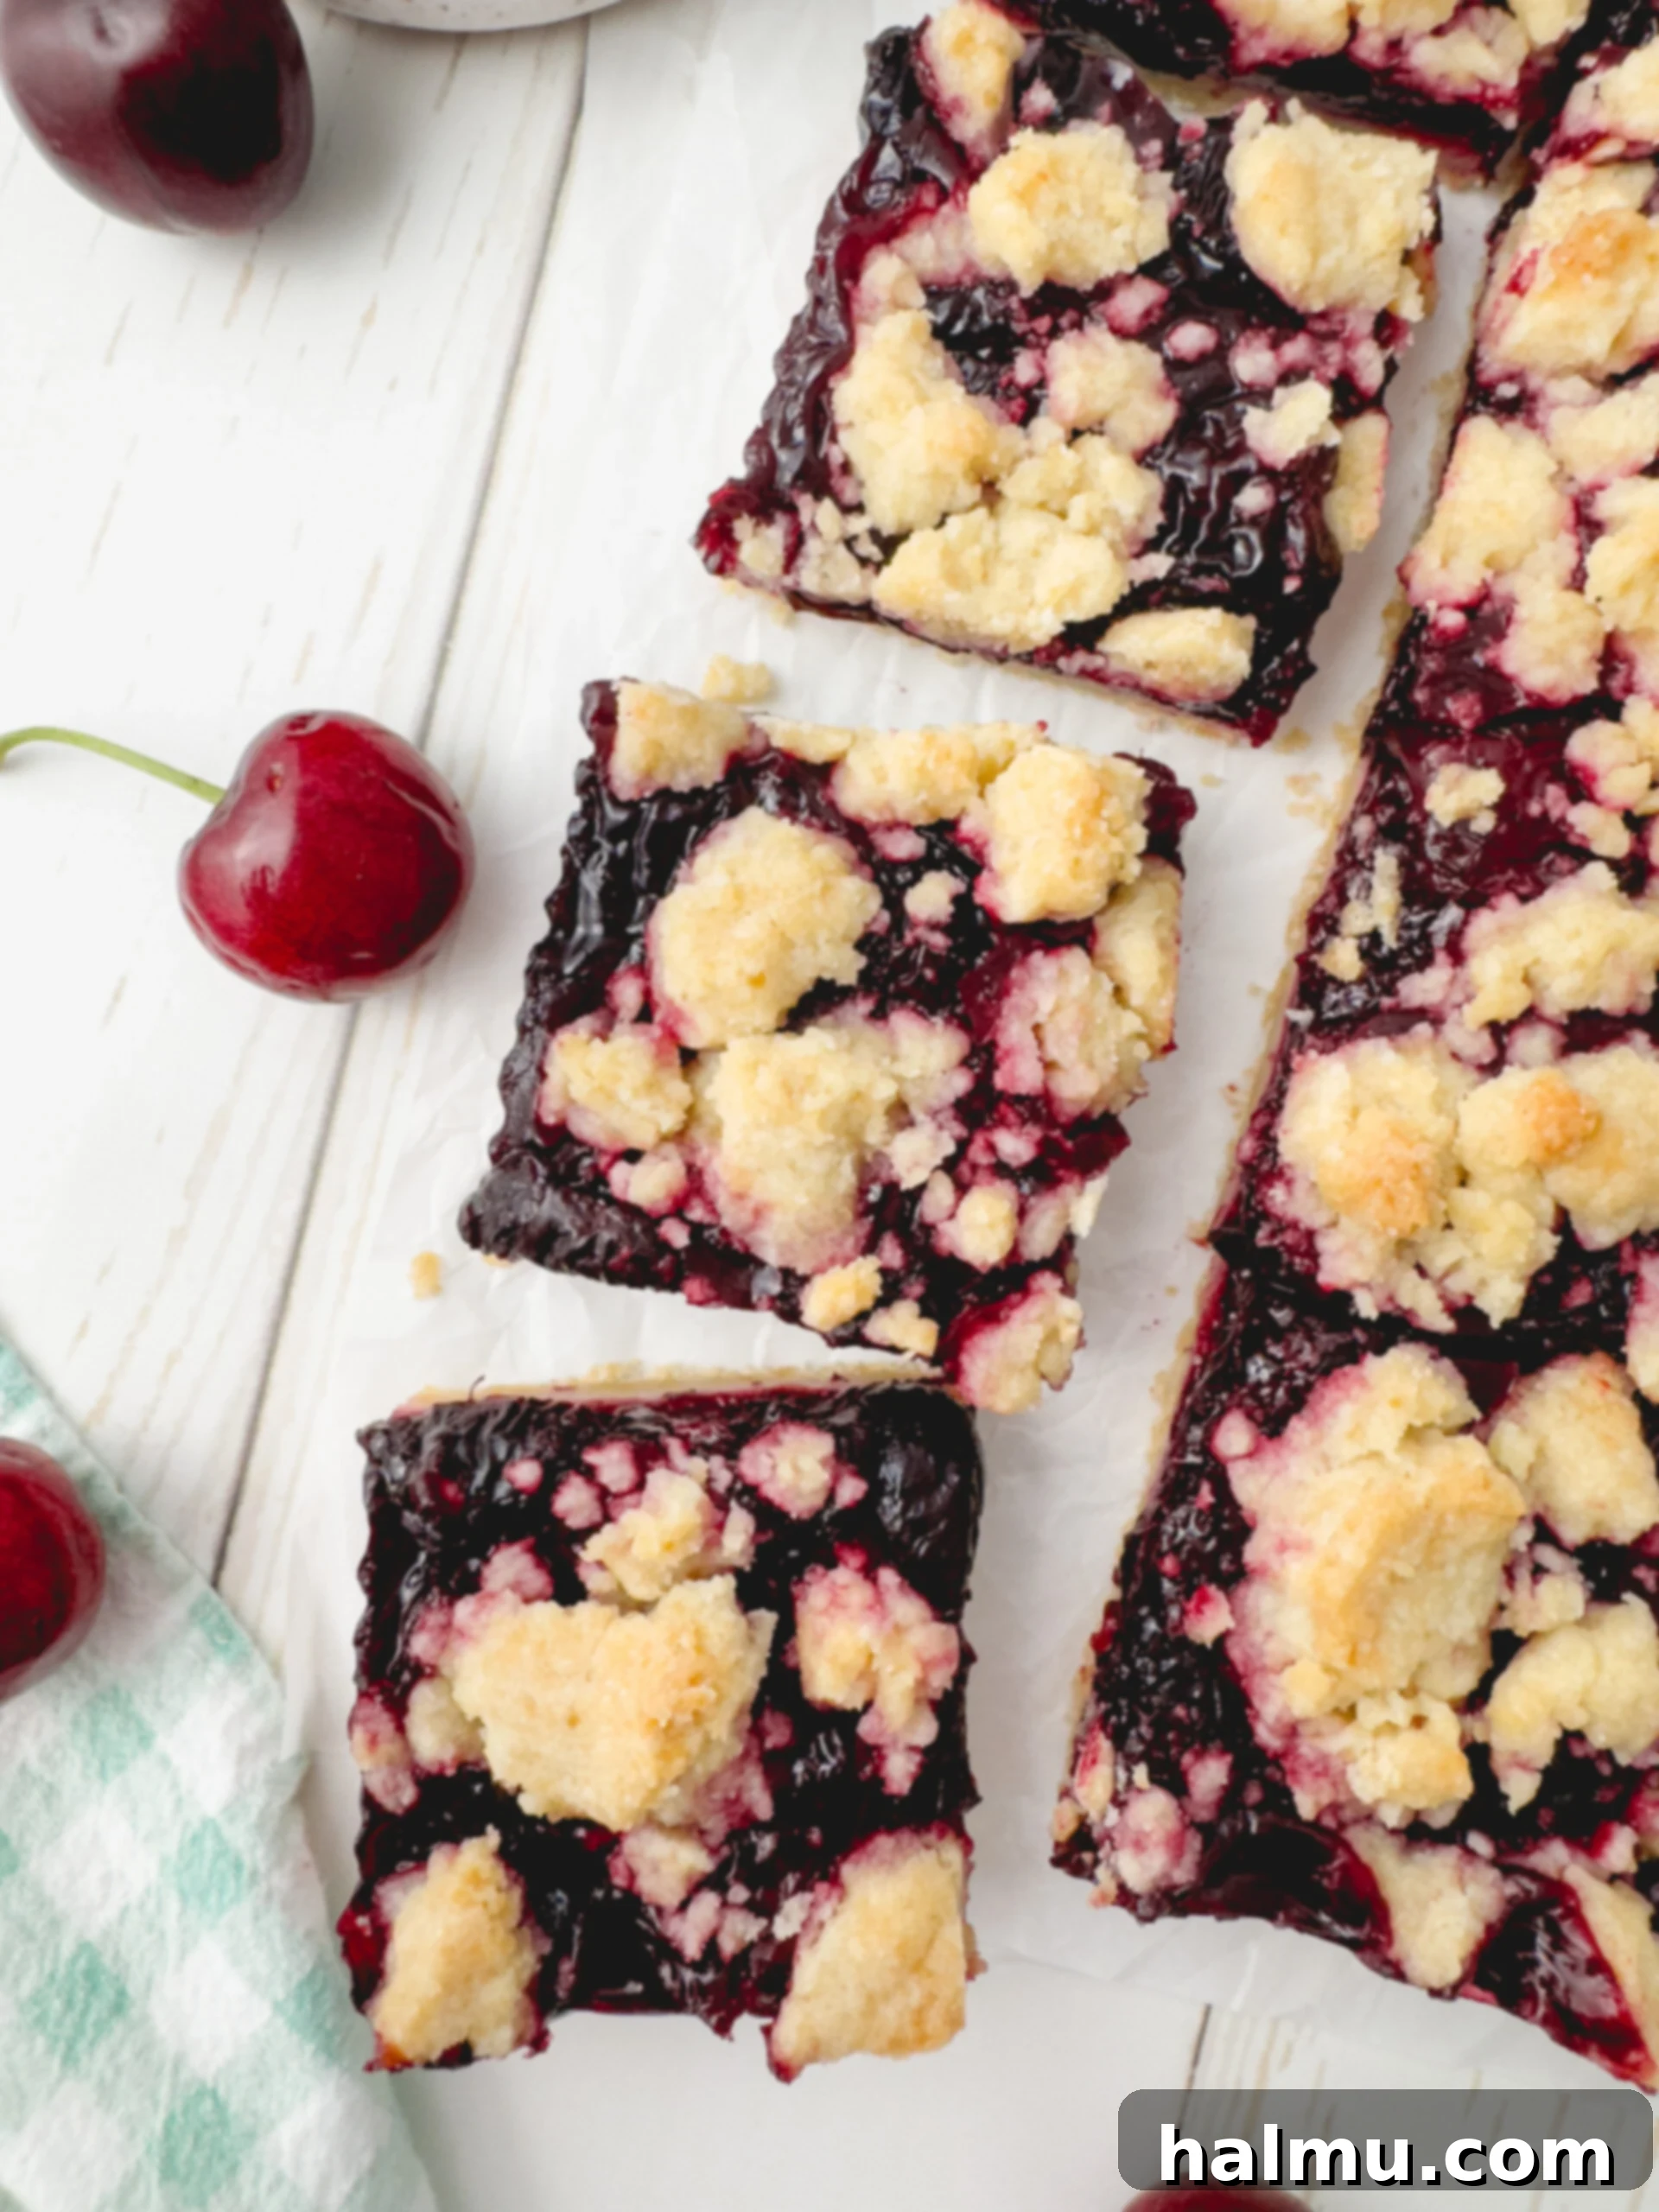
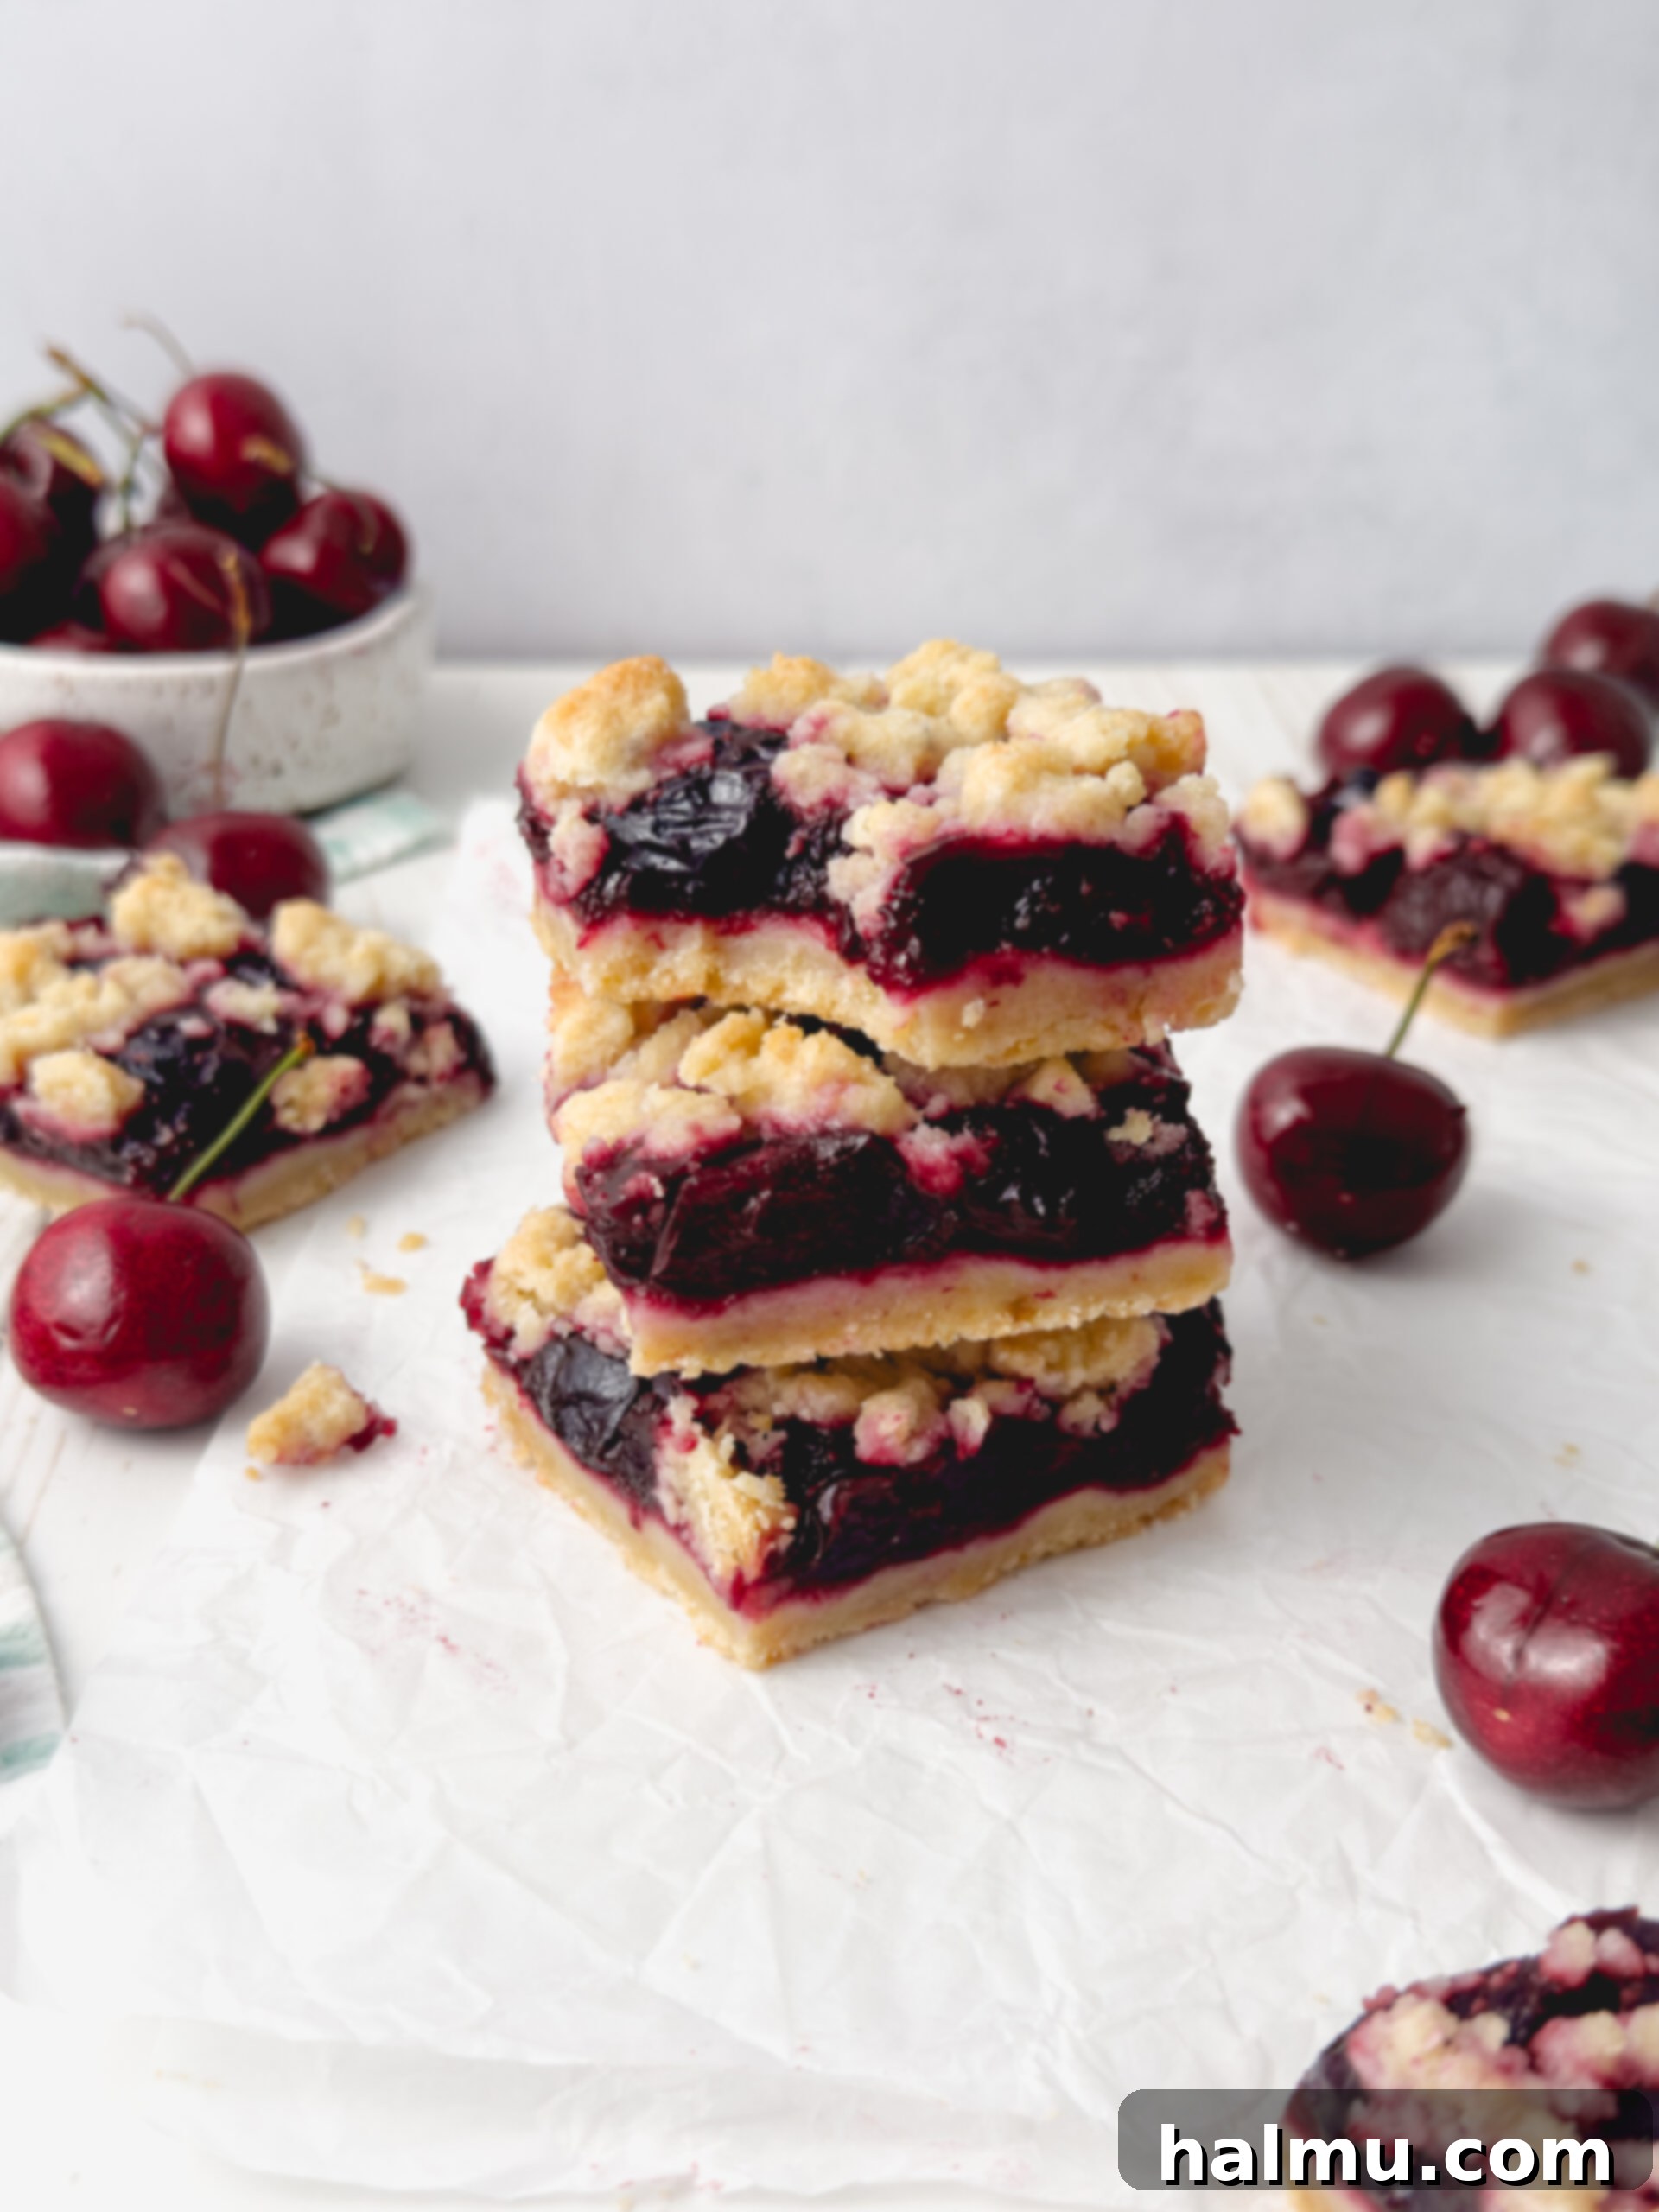
As cherry season graces us with its vibrant bounty, my kitchen beckons for a classic dessert that truly celebrates this exquisite fruit: homemade Cherry Crumb Bars. These delightful bars are a testament to simple elegance, beginning with a rich, buttery shortbread base that melts in your mouth. This tender foundation is generously layered with a luscious, homemade cherry compote, bursting with bright, sweet-tart flavors. Finally, the bars are crowned with an irresistible topping of more crumbly shortbread, creating a symphony of textures and tastes in every bite.
What makes these Cherry Crumb Bars truly special is their incredible versatility and ease of preparation. Whether you have access to peak-season fresh cherries or prefer the convenience of frozen ones, this recipe adapts beautifully, allowing you to savor the taste of summer any time of the year. Perfect for picnics, potlucks, or simply a comforting treat at home, these bars promise a delightful baking experience and a truly satisfying dessert that will impress family and friends alike. Get ready to bake a batch of pure cherry bliss!
Crafting Irresistible Cherry Crumb Bars: A Step-by-Step Guide
Unlock the secrets to baking the perfect cherry crumb bars with this comprehensive guide. From preparing the vibrant cherry filling to mastering the crumbly shortbread, we’ll walk you through each step to ensure your dessert is nothing short of spectacular. These bars are a delightful fusion of tender crust, sweet-tart fruit, and a golden, crunchy topping.
Prepare the Luscious Cherry Filling
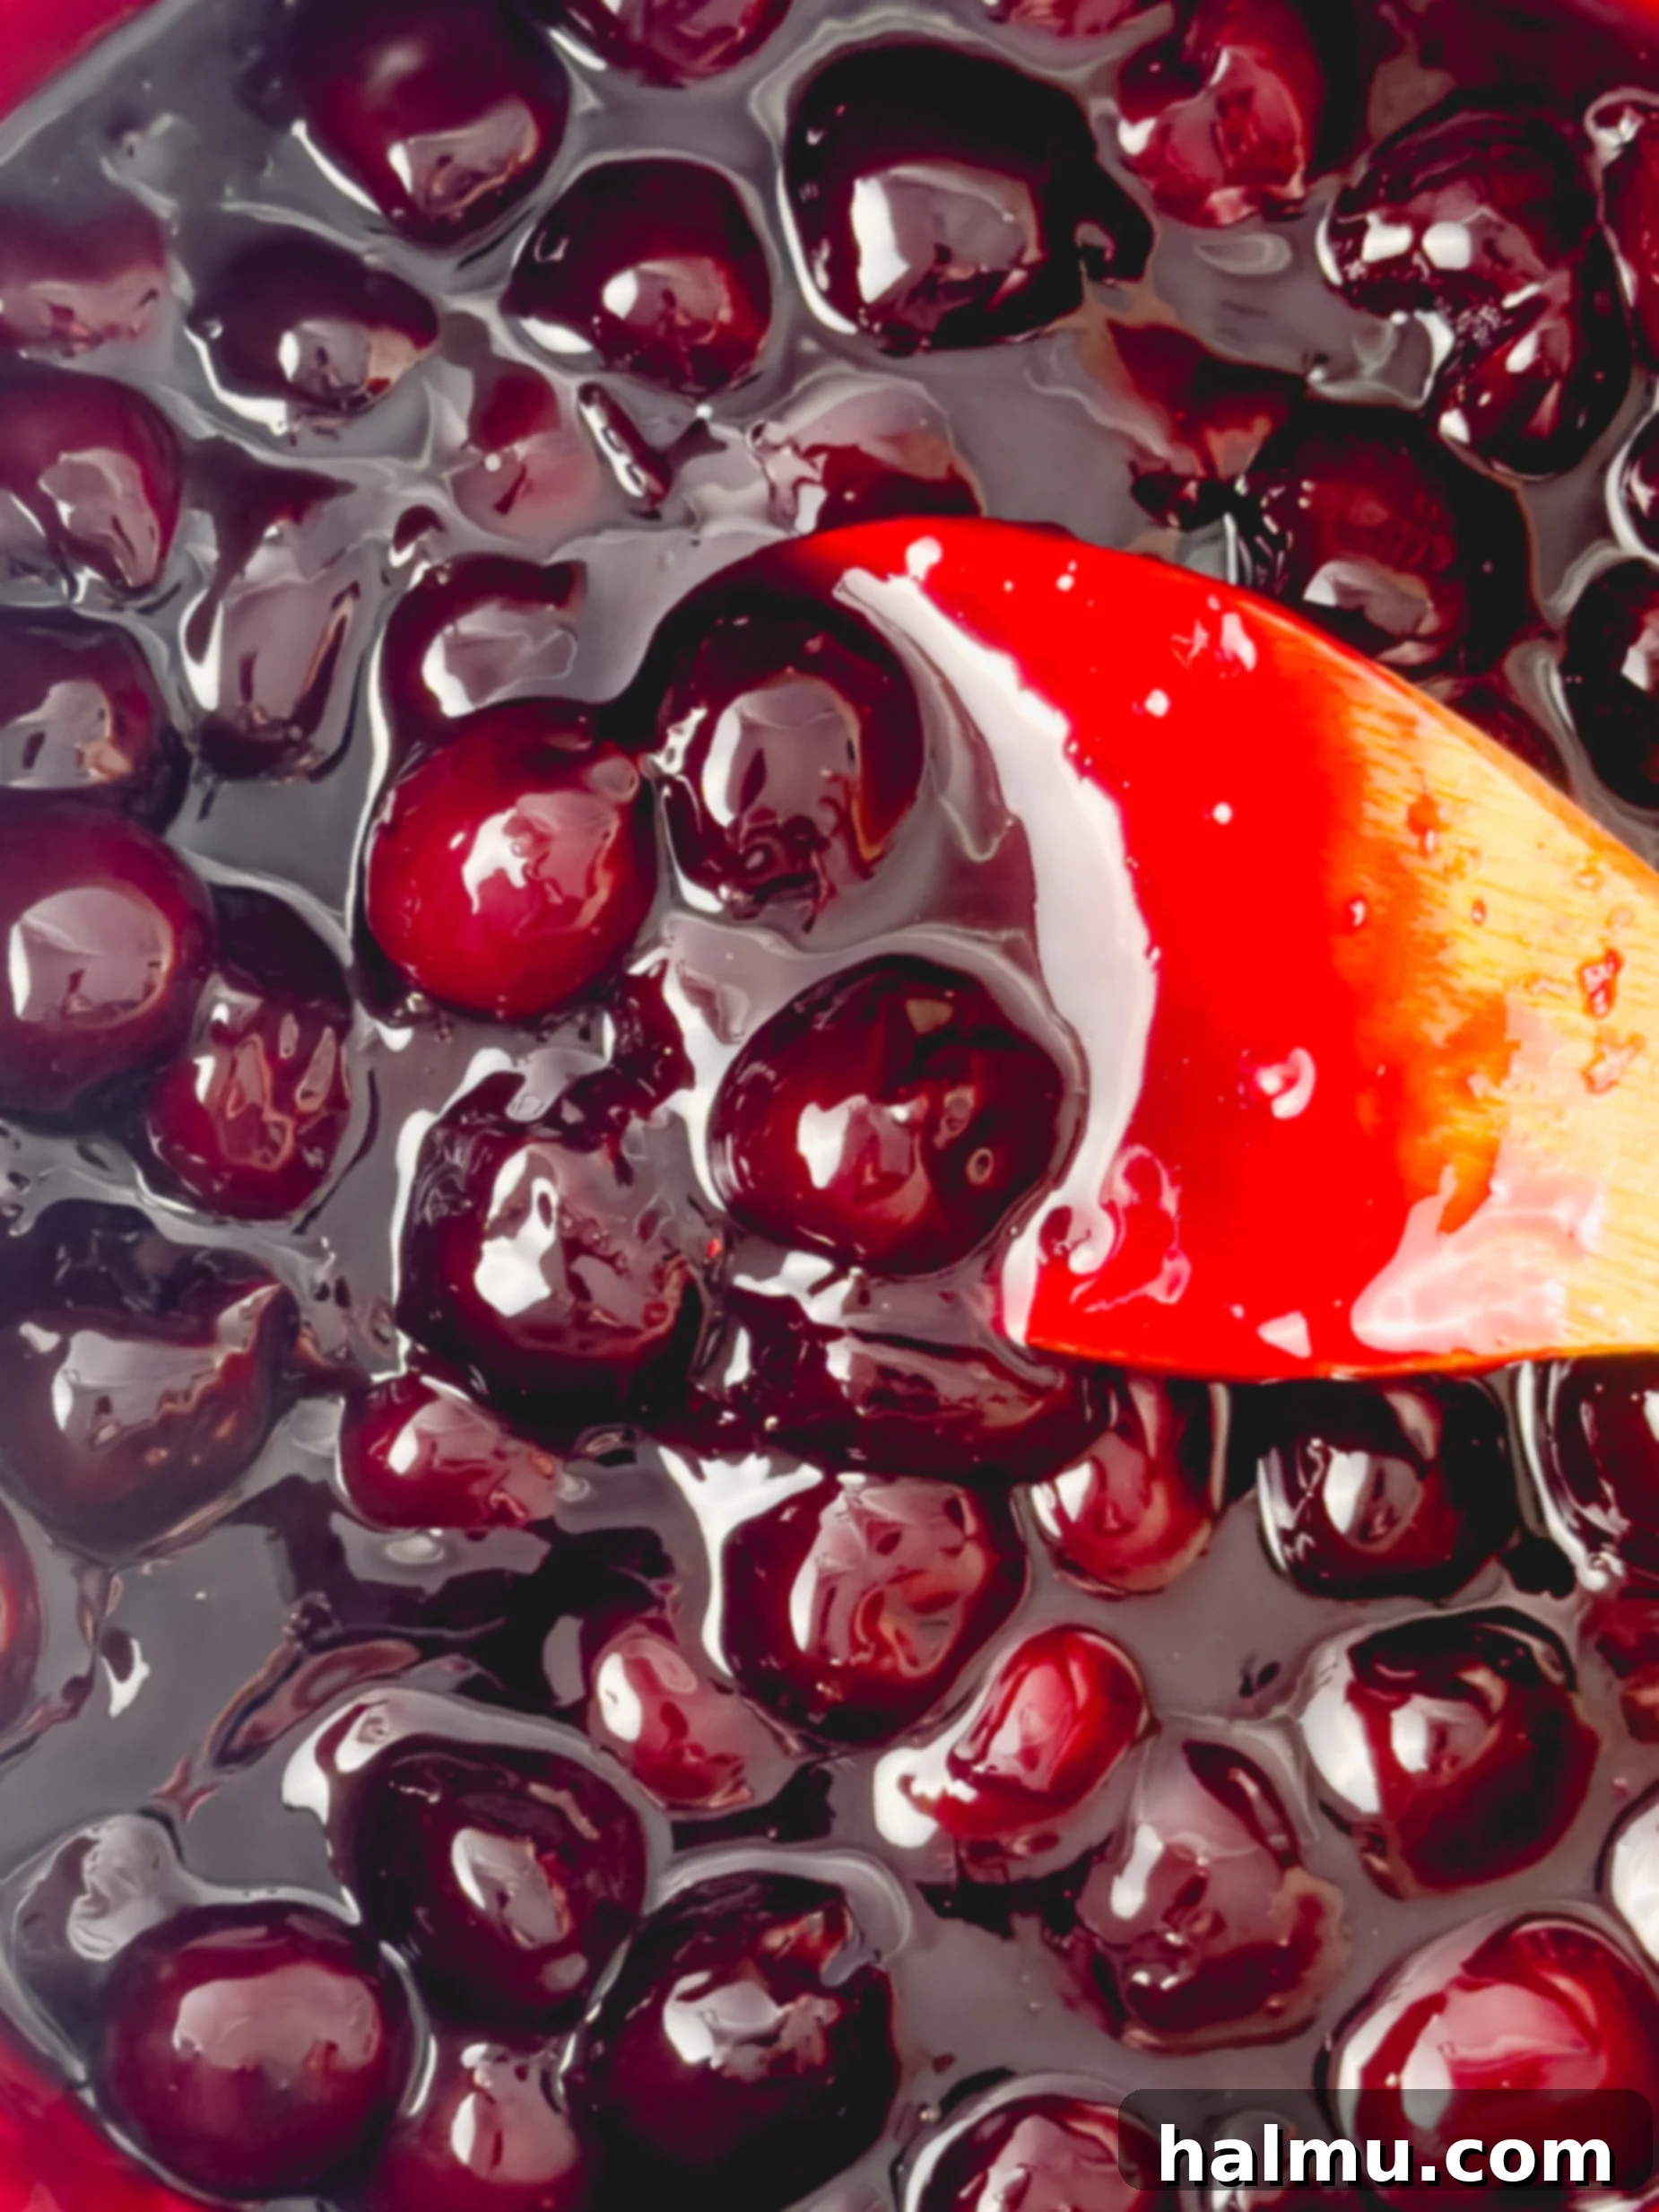
The heart of these cherry crumb bars is undoubtedly the vibrant, homemade cherry filling. To begin, combine your choice of fresh or frozen pitted cherries with granulated sugar, cornstarch, fresh lemon juice, lemon zest, and a touch of water in a medium saucepan. Place the saucepan over medium heat, stirring occasionally to prevent sticking. As the mixture gently simmers, the cherries will begin to soften and release their natural juices, gradually breaking down. The cornstarch, along with the natural pectin in the cherries, will work its magic, transforming the liquid into a thick, glossy, and intensely flavorful compote. The lemon juice and zest are crucial here, providing a bright counterpoint to the cherries’ sweetness, elevating the overall flavor profile. Continue cooking for about 10-15 minutes, or until the filling reaches a thick, spoonable consistency. Once complete, remove it from the heat and set it aside to cool completely before assembly. This cooling step is essential to prevent a soggy crust.
Craft the Perfect Shortbread Crust and Crumb Topping
One of the brilliant aspects of this recipe is that both the tender bottom crust and the delightful crumb topping are made from the same versatile shortbread dough. This simplifies the process while ensuring consistent flavor and texture throughout the bar. In a large mixing bowl, whisk together the dry ingredients: all-purpose flour, granulated sugar, light brown sugar (for added depth and moisture), baking powder (to give a slight lift to the crumbles), and a pinch of salt (to balance the sweetness). Once the dry ingredients are thoroughly combined, pour in the melted unsalted butter and a splash of vanilla extract. Mix everything until the ingredients are just combined and the mixture forms a coarse, sandy texture. The key is to achieve a dough that clumps together when pressed firmly between your fingers, yet crumbles apart easily. This texture is ideal for both pressing into a cohesive crust and scattering as a delightful, golden topping.
Assemble Your Delicious Cherry Crumb Bars
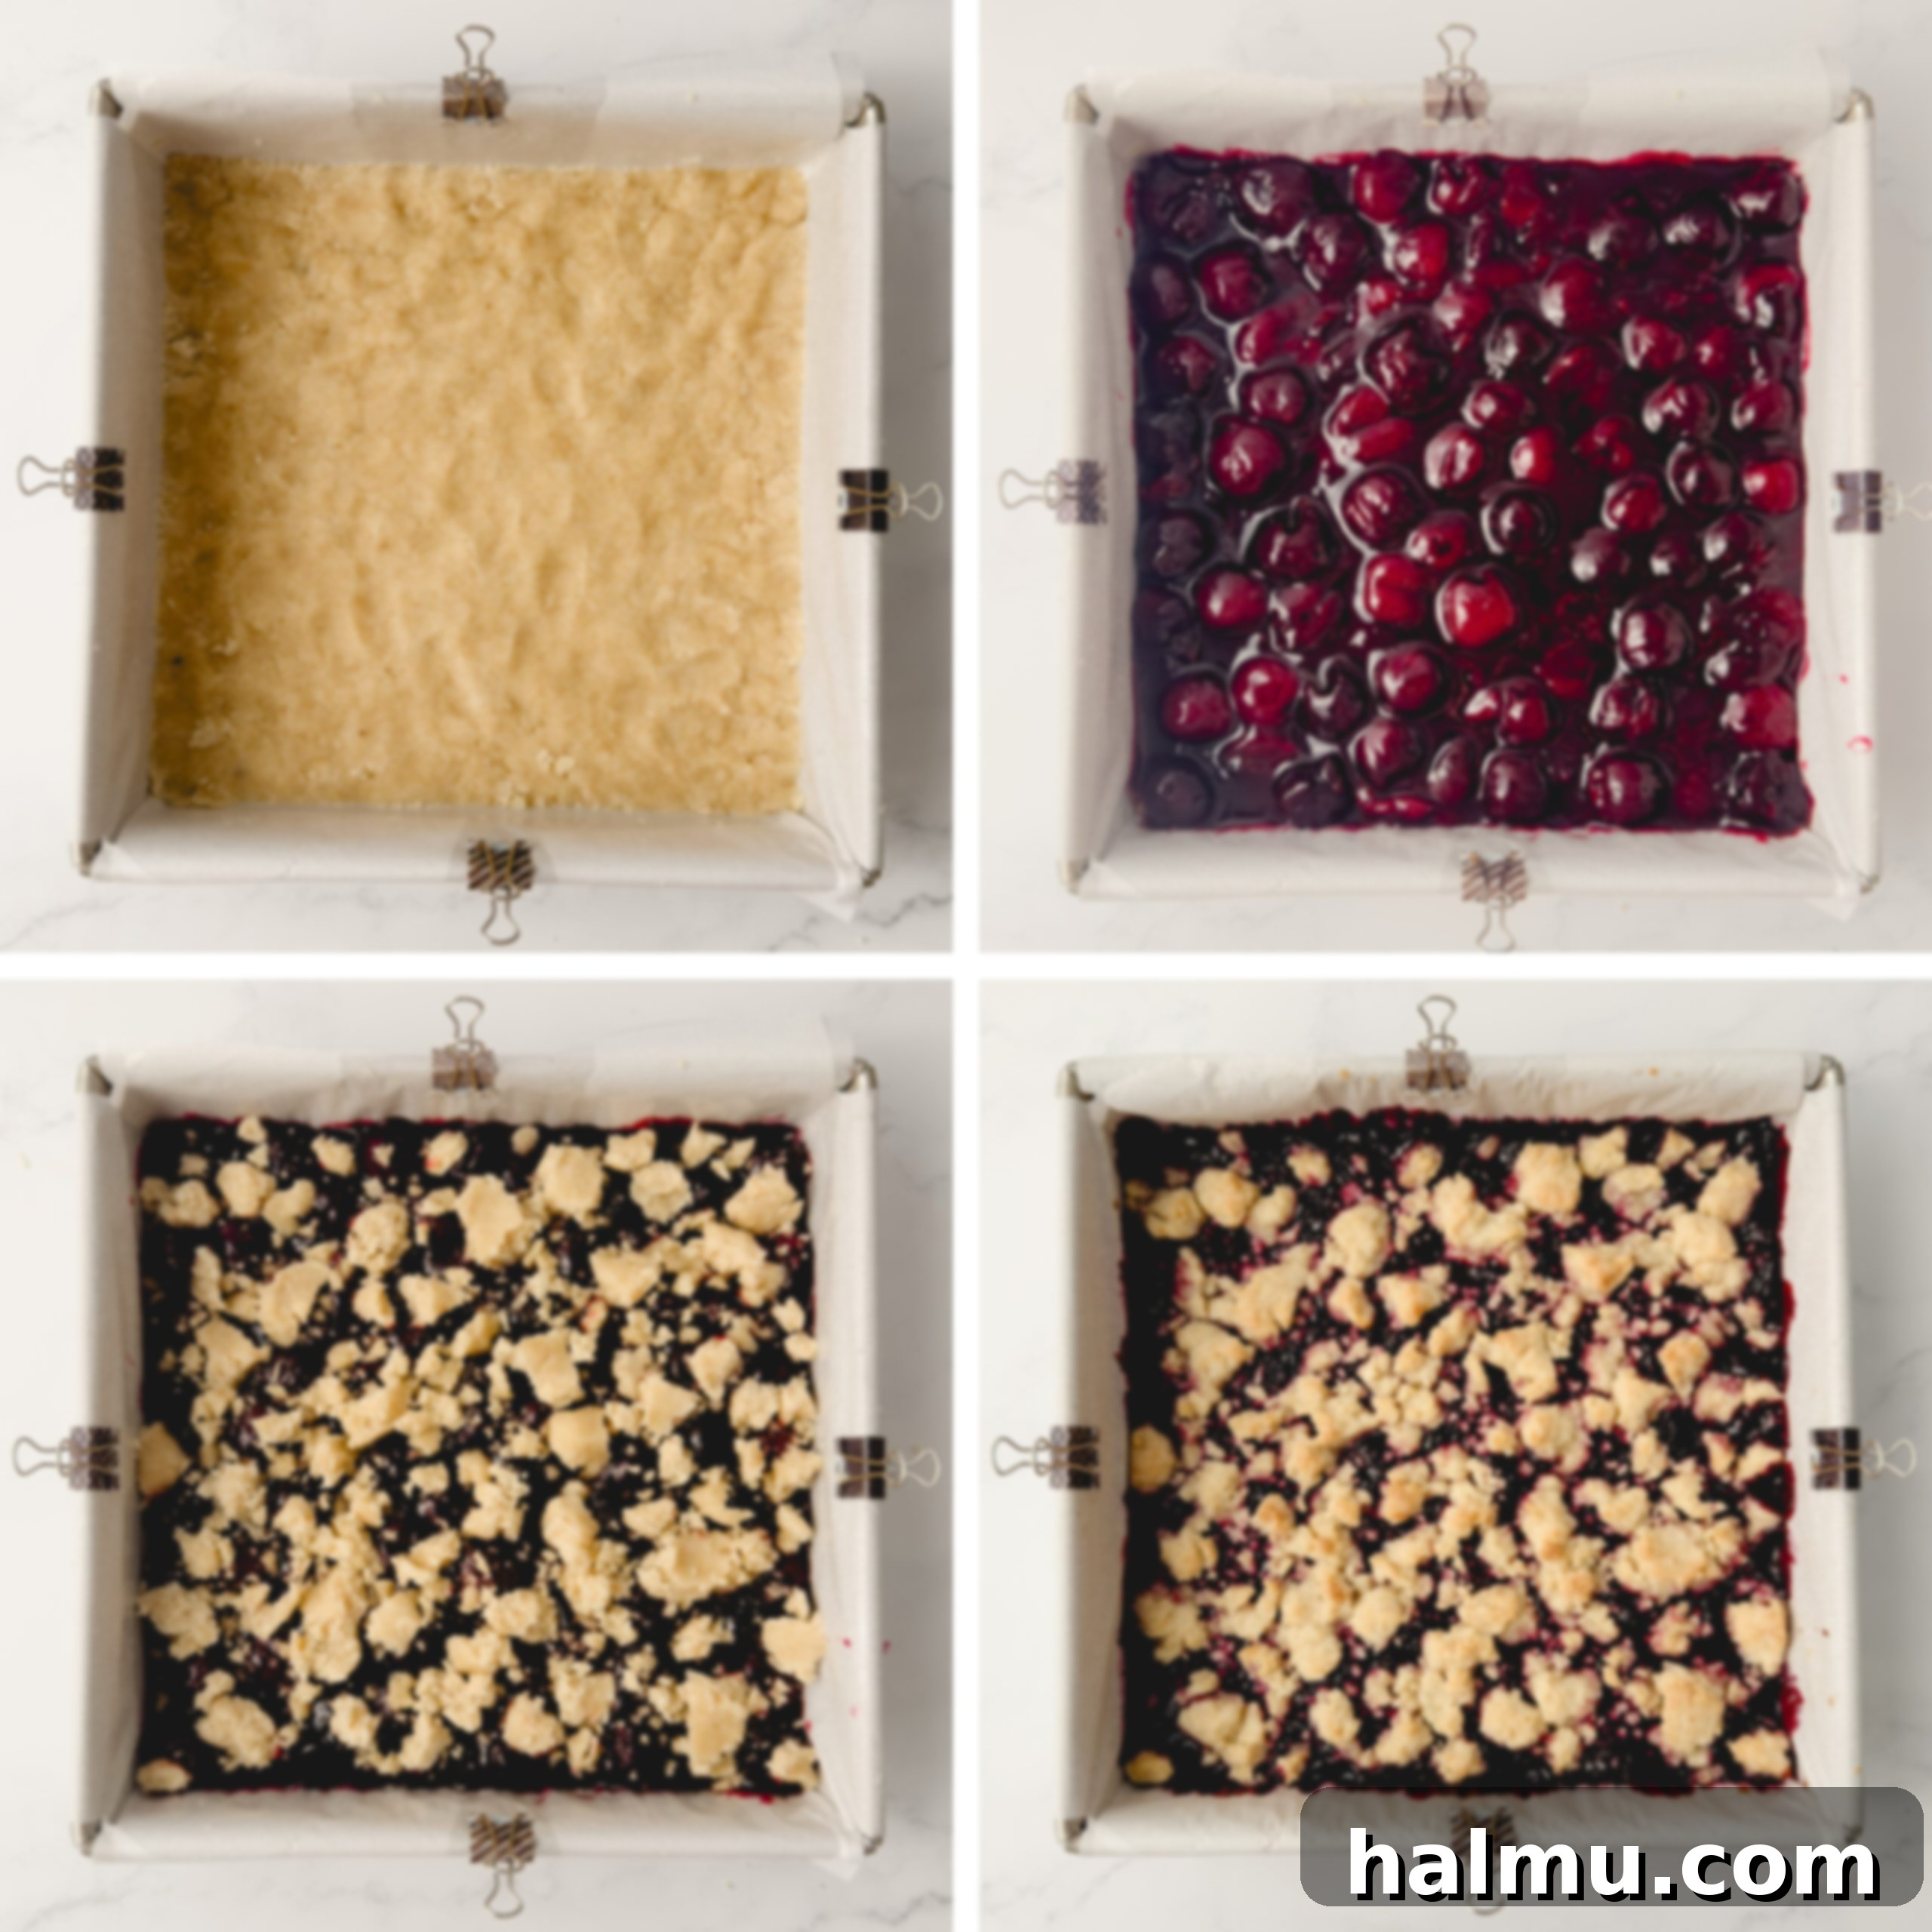
With your homemade cherry filling cooled and your shortbread dough ready, it’s time for assembly. First, prepare a 9-inch square baking pan by lining it with parchment paper, allowing for an overhang on all four sides. This “parchment sling” will make it incredibly easy to lift the baked bars out of the pan for clean slicing. Lightly grease the parchment paper with cooking spray or butter. Next, take approximately two-thirds of your prepared shortbread dough and evenly press it firmly into the bottom of the lined pan. You can use the bottom of a measuring cup or a flat-bottomed drinking glass to help create a smooth, compact, and even layer. This firm base is crucial for structural integrity. Once the crust is ready, pour the cooled cherry filling over the shortbread layer, spreading it gently with a small offset spatula to create an even, vibrant layer. Finally, crumble the remaining one-third of the shortbread dough evenly over the entire top of the cherry filling, creating that signature crumbly texture that defines these bars.
Bake to Golden Perfection & Chill for Optimal Slicing
Now comes the moment of truth: baking! Preheat your oven to 350°F (175°C). Carefully transfer your assembled cherry crumb bars to the preheated oven and bake for approximately 32-35 minutes. You’ll know they are perfectly baked when the cherry filling begins to bubble enticingly around the edges of the pan, indicating it’s heated through and properly set. Simultaneously, the shortbread crumble topping should achieve a beautiful golden-brown hue, signaling its crisp texture and rich, toasted flavor. Once baked, remove the pan from the oven and resist the urge to slice immediately! Allowing the bars to cool completely to room temperature is paramount for the filling to fully set and the shortbread to firm up. For the cleanest, most precise slices, transfer the cooled bars to the refrigerator for at least an hour to thoroughly chill. While these delightful bars can be enjoyed at room temperature, chilling them truly enhances their texture and makes them much easier to cut into neat, presentable squares. Serve them as is, or with a dollop of whipped cream or a scoop of vanilla ice cream for an extra special treat.

Cherry Crumb Bars FAQs: Your Questions Answered
What is the best way to store Cherry Crumb Bars?
Proper storage is key to maintaining the freshness and delicious texture of your cherry crumb bars. For short-term storage, you can keep them in an airtight container at room temperature for up to 3 days. If you prefer them chilled or need to store them for a longer period, they will last beautifully in the refrigerator for up to 5 days. Layering them with parchment paper in between slices will prevent them from sticking together. For extended enjoyment, these bars freeze exceptionally well. Place them in a freezer-safe, airtight container for up to 3 months. When you’re ready to indulge, simply transfer the frozen bars to the fridge and allow them to thaw for several hours before serving. This ensures they retain their wonderful flavor and texture.
Should I use fresh or frozen cherries for this recipe?
This recipe is wonderfully adaptable, allowing you to use either fresh or frozen cherries, depending on availability and personal preference. Fresh cherries, when in season, offer a bright, unparalleled flavor and firm texture. If opting for fresh, remember to thoroughly clean, de-stem, and pit them before use. A cherry pitter can be a handy tool for this task, saving you time and effort. Frozen cherries are an excellent alternative, especially when fresh cherries are out of season or when you want to bypass the pitting process. While frozen cherries may release a bit more liquid and require a slightly longer cooking time for the compote, they will still yield a delicious filling. Simply add them directly to the saucepan from frozen, and they will thaw and cook down beautifully.
Are sweet or sour cherries best for Cherry Crumb Bars?
For this particular cherry filling recipe, I’ve specifically developed it with sweet cherries in mind, such as Bing or Rainier varieties. Their natural sweetness balances beautifully with the lemon juice, resulting in a perfectly harmonious flavor profile that is both rich and bright. If you prefer to use sour cherries, also known as tart cherries (like Montmorency), you will need to adjust the amount of granulated sugar in the filling. Sour cherries have a much more intense tartness, so I recommend increasing the sugar by at least ¼ to ½ cup, or even more, to achieve a balanced sweetness that complements the crumbly shortbread. Taste the filling as it cooks and adjust to your preference. While the flavor will be different, tart cherry bars can be equally delicious, offering a bolder, more intensely fruity experience.
Favorite Baking Tools
See more in my Amazon Storefront
Can Cherry Crumb Bars be made in an 8” x 8” pan instead of 9” x 9”?
Absolutely! If an 8” x 8” square pan is what you have on hand, it will work perfectly for this recipe. Keep in mind that using a smaller pan will result in slightly thicker bars compared to those baked in a 9” x 9” pan. Because the bars will be denser, you might need to increase the baking time by an additional 5-10 minutes. It’s always a good idea to keep an eye on them towards the end of the baking cycle. Look for the filling to be bubbling around the edges and the crumb topping to be beautifully golden brown. A slightly thicker bar means more of that delightful filling and crumb in each bite!
Will it work if I cut the cherries smaller?
Yes, you certainly can chop your cherries into smaller pieces if you prefer a less chunky filling. This can be a great option if you have very large cherries or simply desire a smoother texture throughout the compote. If you are using fresh cherries, you can chop them before cooking. For frozen cherries, which tend to soften quickly, you can easily break them down while they are cooking. A wooden spoon can be used to gently press and break them in half once they’ve softened, or for a more uniform texture, a potato masher can efficiently break them down to your desired consistency. Experiment to find the chunkiness level that you and your loved ones enjoy most!
Can I use canned cherry pie filling as a substitute?
While I wholeheartedly recommend making the homemade cherry compote from scratch for its superior flavor and texture, I understand that sometimes time is of the essence. In such cases, canned cherry pie filling can be a convenient substitute. If you choose to go this route, simply swap in the desired amount of canned filling for the homemade version. Be mindful that canned fillings often contain added sugars and thickeners, so you may want to adjust the overall sweetness of the recipe or skip any additional sugar in the filling preparation step. You might also want to drain any excess liquid from the canned filling to prevent the bars from becoming too moist. This shortcut offers a quicker path to your cherry crumb bar cravings, though the homemade touch truly elevates the experience.
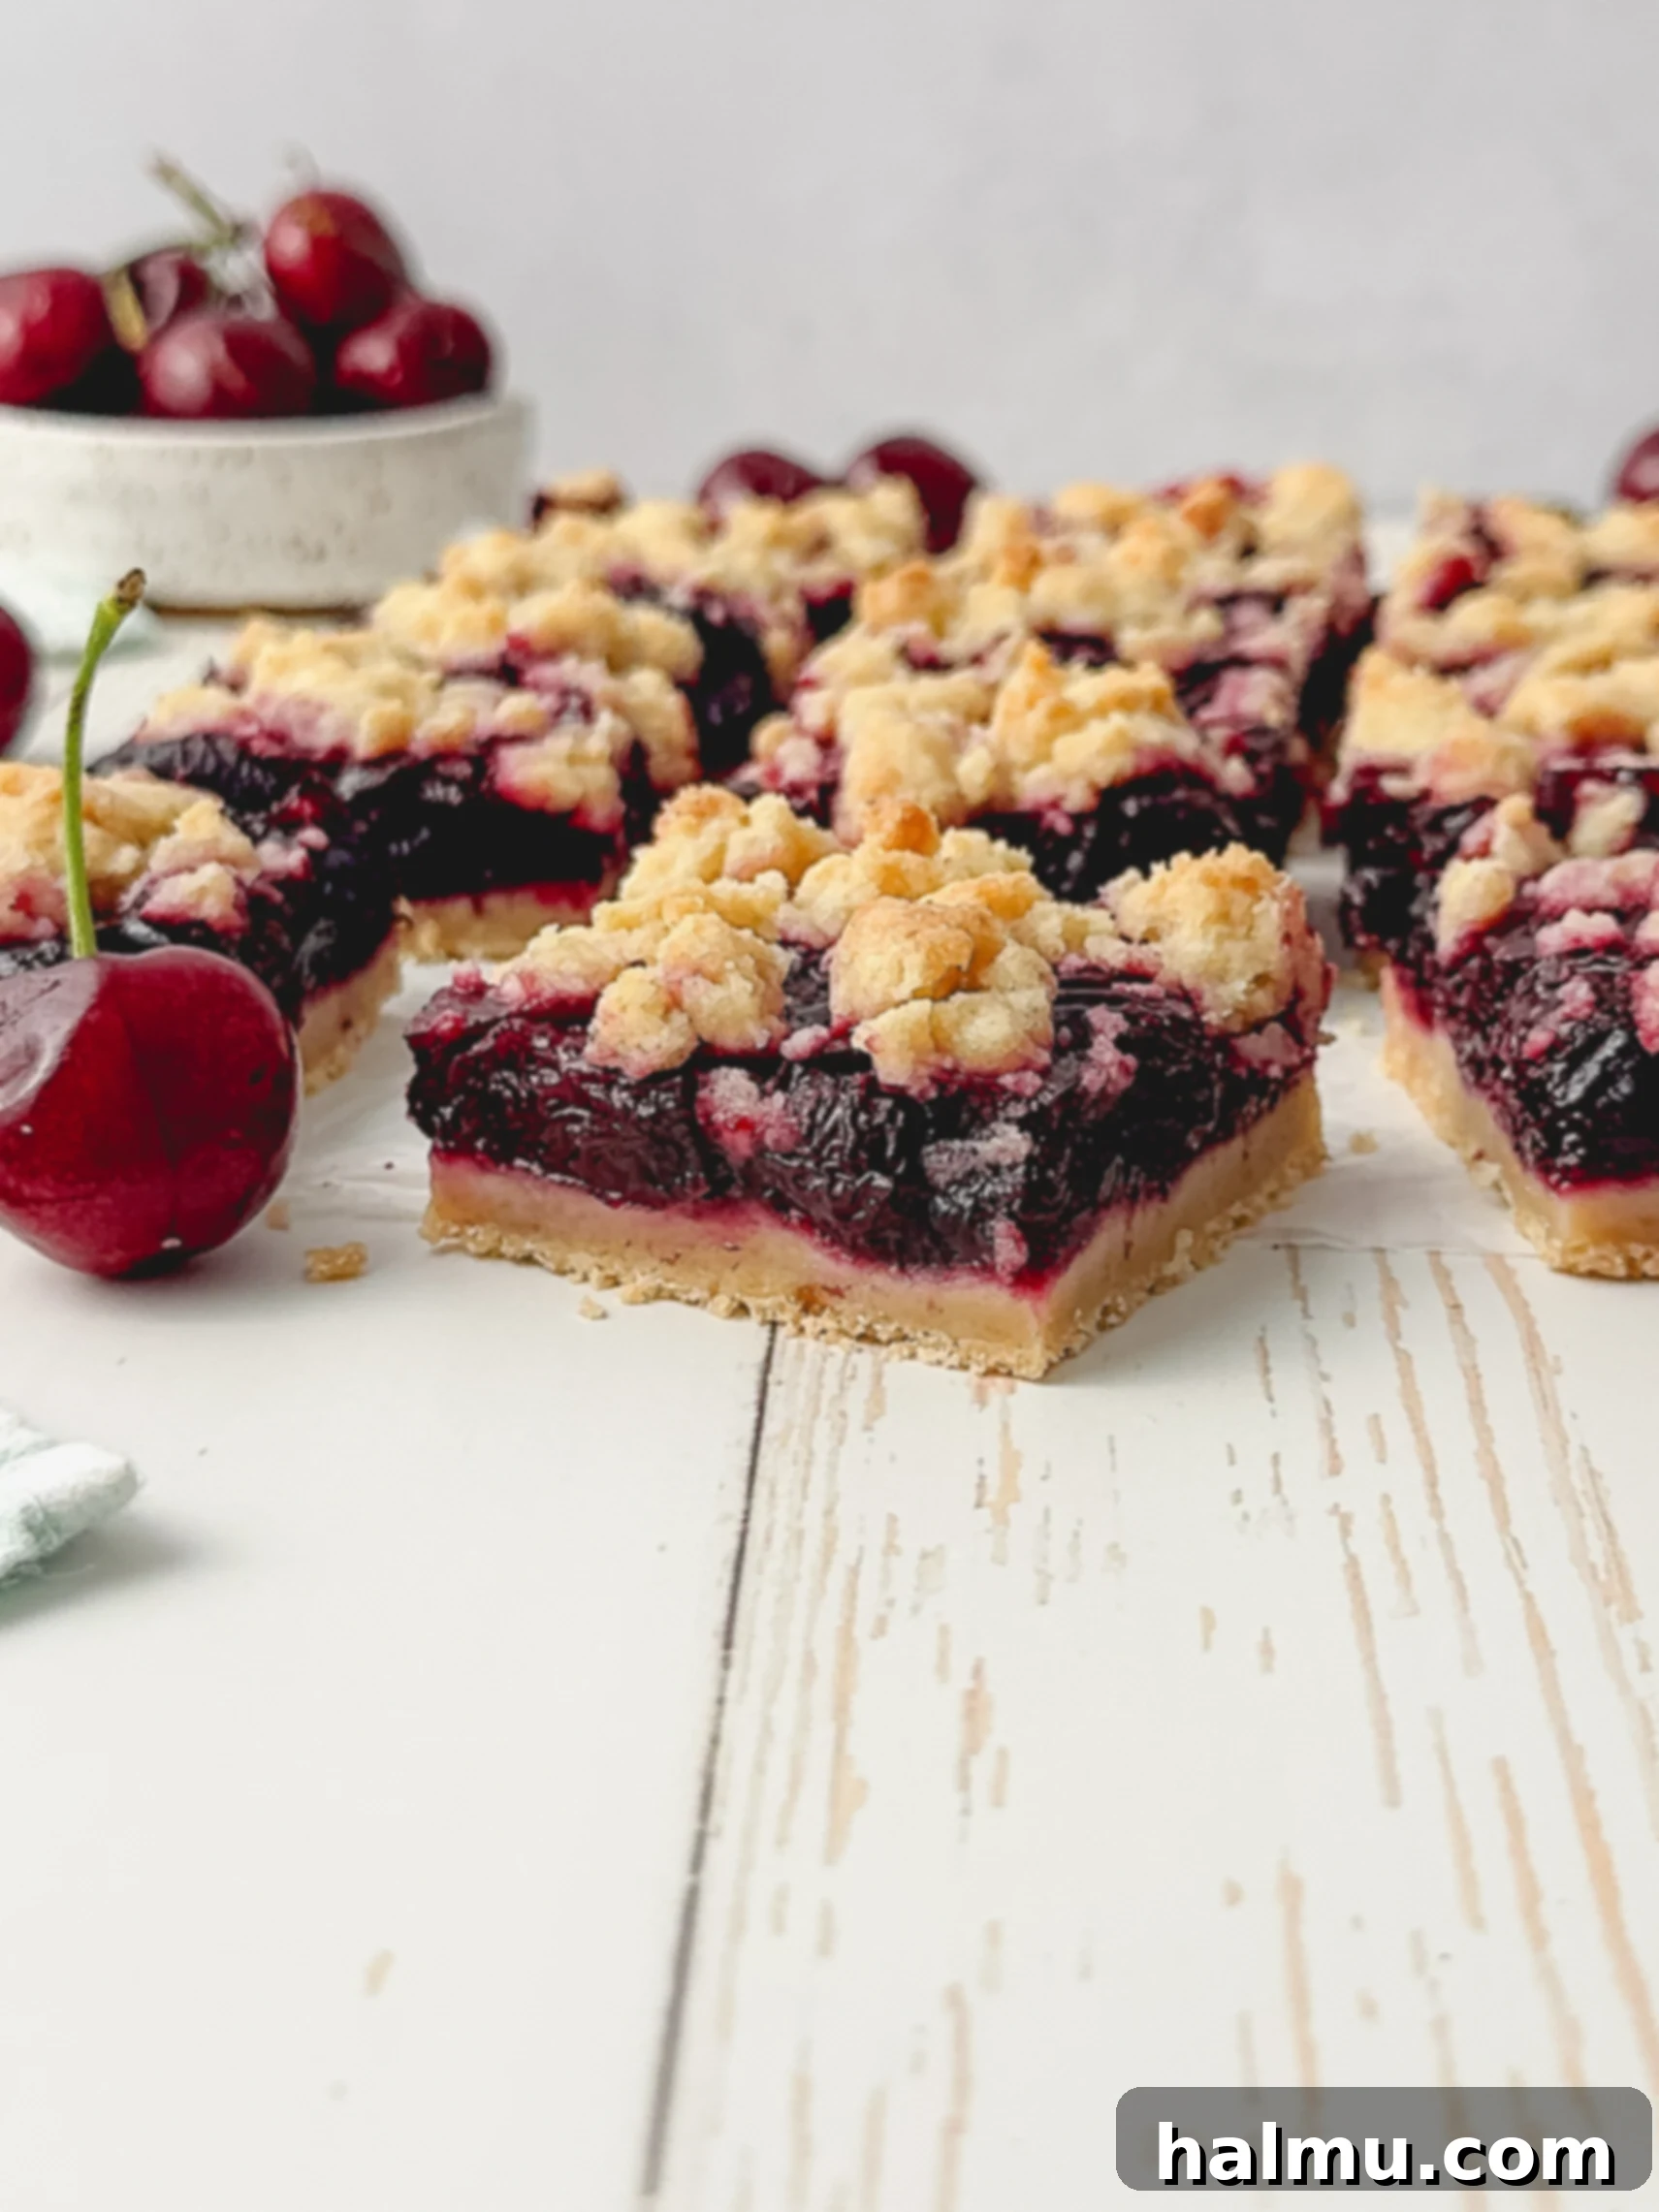
Essential Tips for Baking the Best Cherry Crumb Bars
- Allow the Filling to Cool Completely: This is a crucial step that often gets overlooked. After you’ve cooked your homemade cherry compote, it is vital to let it cool down significantly, preferably to room temperature or even slightly chilled, before spreading it over the shortbread crust. Pouring hot filling onto the raw dough can cause the crust to become soggy and prevent it from baking properly, leading to a less desirable texture. Patience here will be rewarded with perfectly crisp shortbread and a beautifully set filling.
- Master the Art of Slicing with a Hot Knife: Achieving clean, picture-perfect slices of cherry crumb bars can be a bit challenging due to the contrast between the soft, gooey filling and the firm, crumbly shortbread. For professional-looking cuts, I highly recommend using a large, sharp knife dipped in hot water. Before each cut, dip the blade into a glass of hot water, wipe it clean and dry with a towel, then slice through the bar. Wipe the knife again and repeat for every cut. This simple technique warms the blade, allowing it to glide smoothly through the layers without dragging or tearing, resulting in impeccably neat squares.
- Serve Chilled for Optimal Enjoyment: While these bars are delightful at room temperature, I personally find them most enjoyable when served cold straight from the refrigerator. Chilling the bars not only makes them significantly easier to slice, resulting in cleaner edges and less mess, but it also enhances their textural contrast. The cold, firm shortbread base and crumb topping provide a wonderful counterpoint to the slightly set, cool cherry filling. For an extra touch of indulgence, consider serving them with a scoop of premium vanilla bean ice cream or a dollop of freshly whipped cream.

Baking Tip: Weigh Your Ingredients for Consistent Results!
For truly consistent and professional-level baking results, I cannot stress enough the importance of using a digital kitchen scale to weigh your ingredients. While measuring cups can be convenient, they often lead to inaccuracies due to variations in how ingredients are scooped and leveled. Weighing, on the other hand, provides the most precise measurements, ensuring your recipes turn out perfectly every single time. This accuracy leads to a significantly higher success rate in your baking endeavors. As an added bonus, using a scale often means fewer measuring utensils to wash, making for an easier cleanup! I meticulously provide gram measurements in all my recipes, and this is the reliable scale I personally love and recommend for all your baking needs.
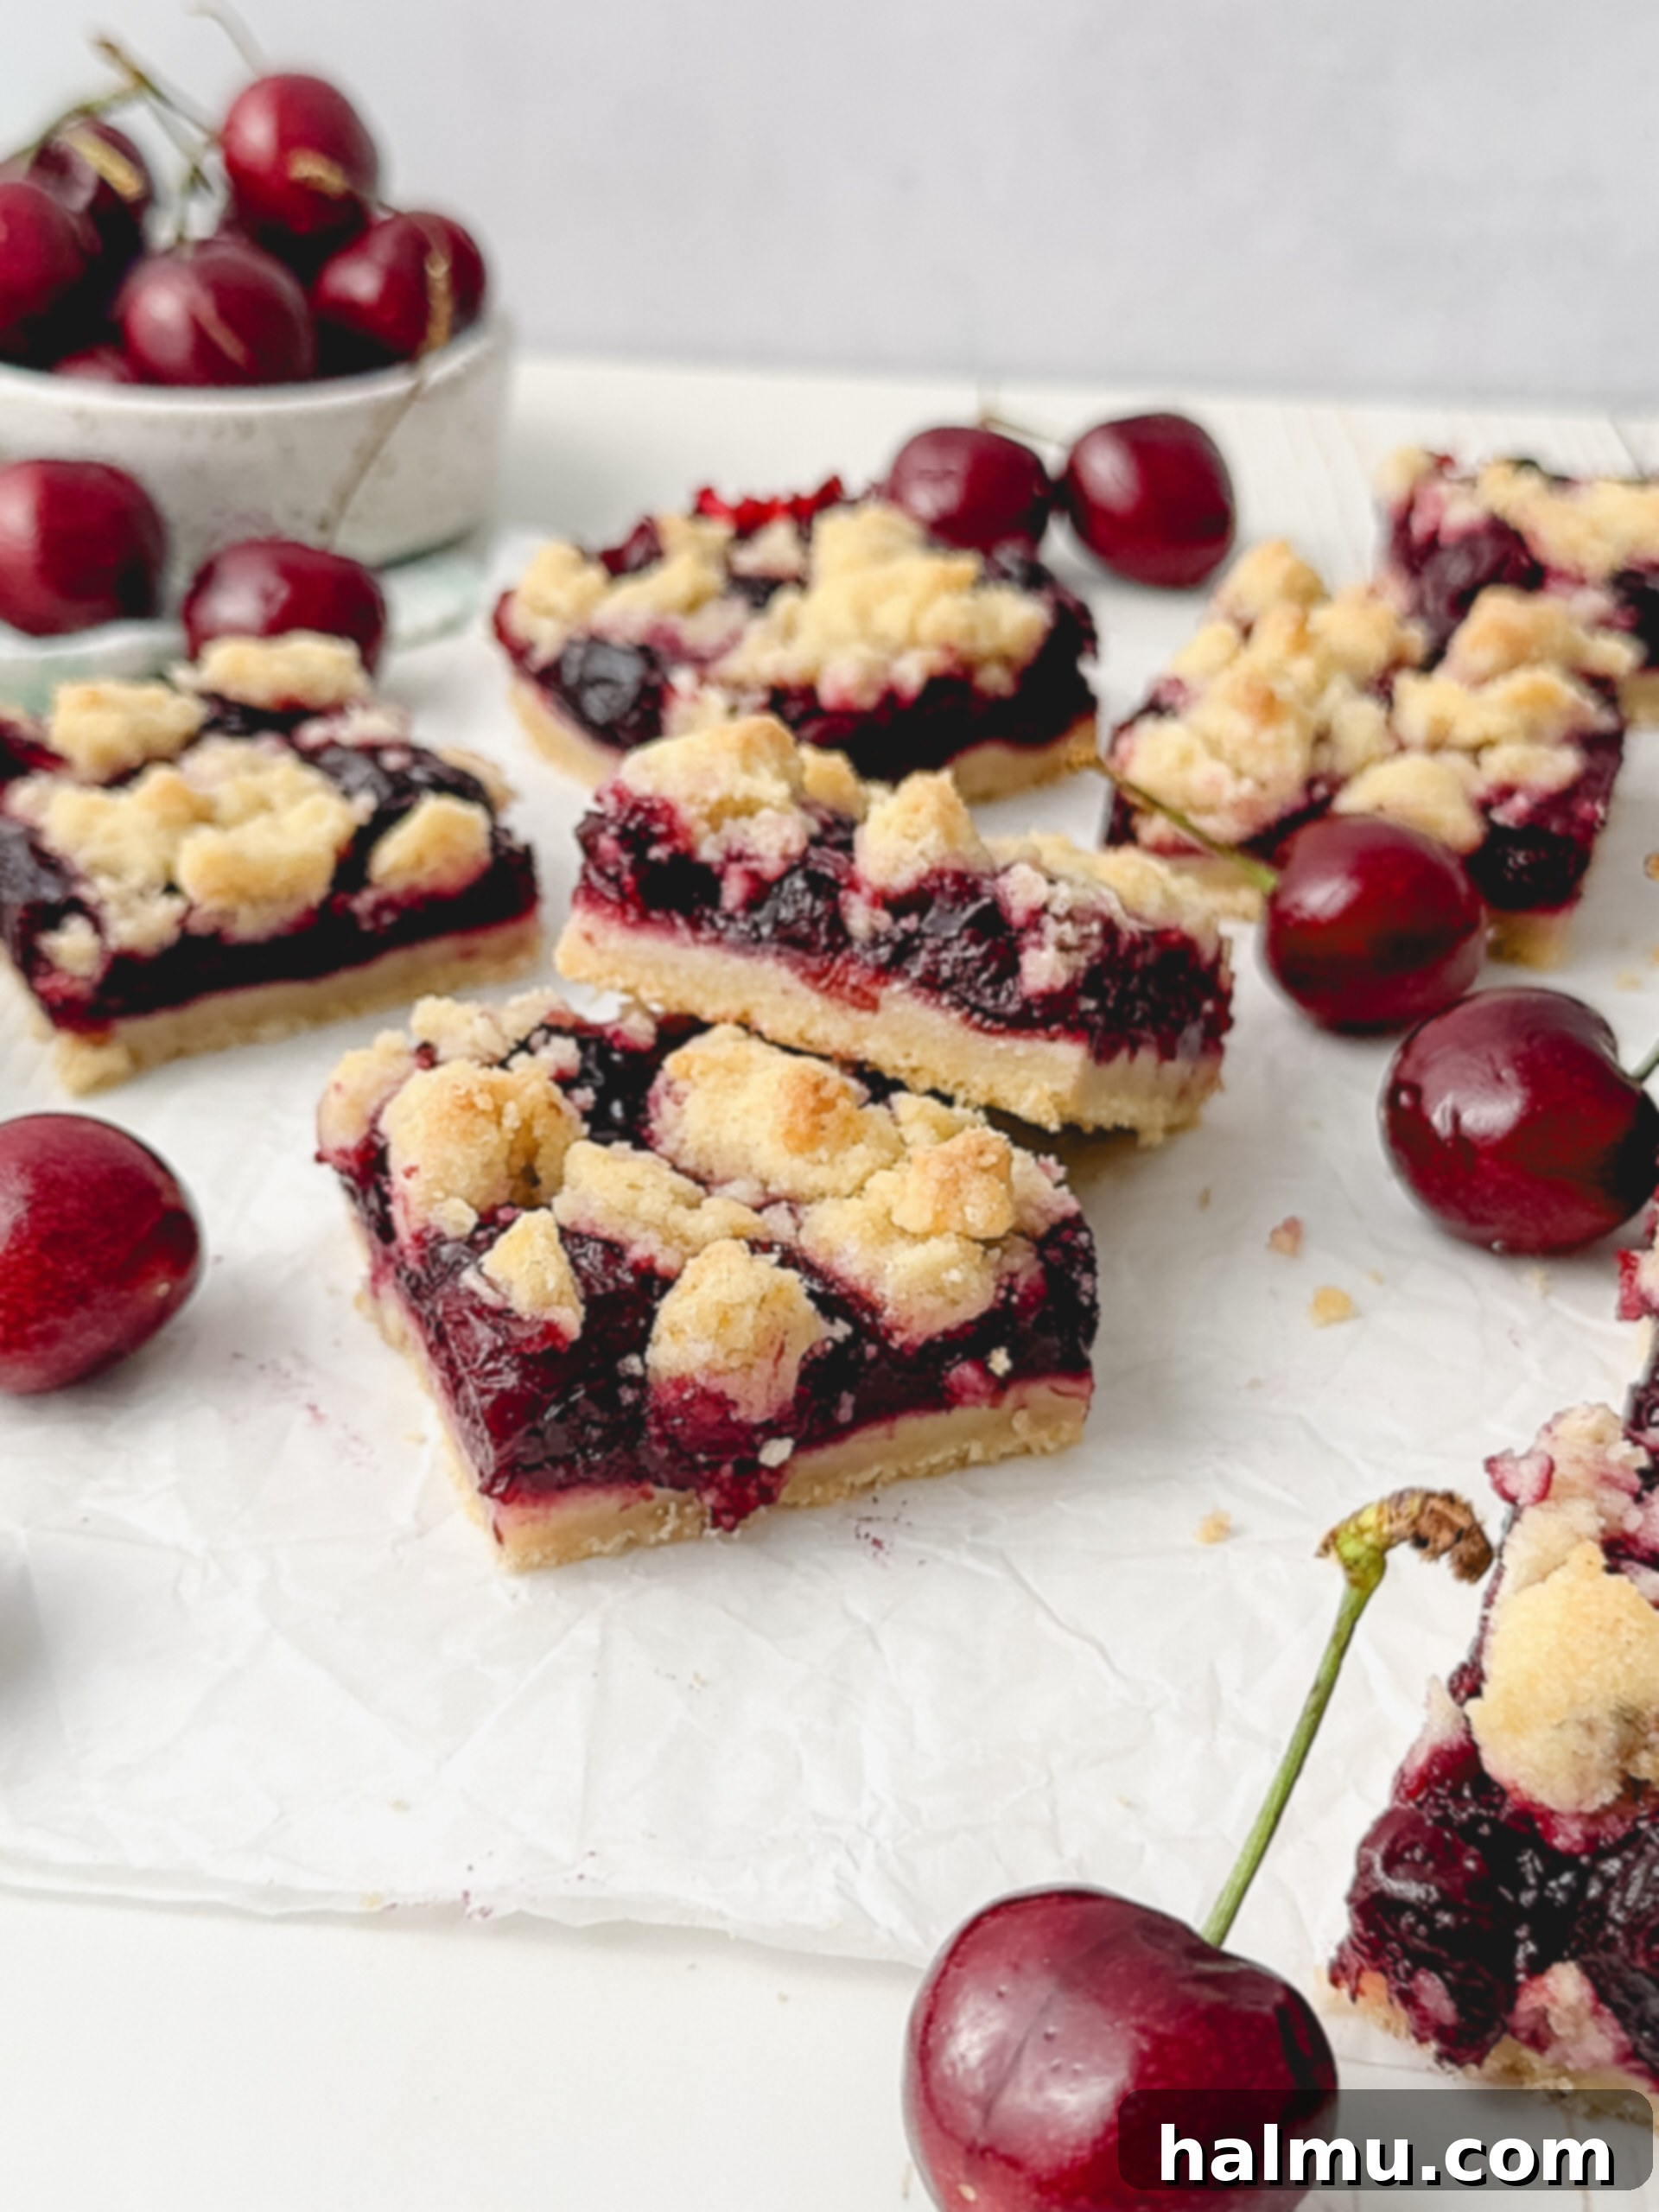
More Delicious Fruit Desserts You’ll Love
If you’ve fallen in love with these delightful Cherry Crumb Bars, then you’re in for a treat! Our collection of fruit-filled desserts is brimming with equally satisfying and flavorful options that celebrate seasonal produce. From vibrant berries to juicy stone fruits, there’s a perfect bake waiting for every craving. Explore some of our other cherished recipes:
- Peaches & Cream Crumb Cake: A moist cake infused with juicy peaches and topped with a sweet crumble.
- Mixed Berry Streusel Bars: A versatile recipe highlighting a medley of your favorite berries, all under a buttery streusel.
- Blueberry Nectarine Upside-Down Cake: A stunning cake where caramelized blueberries and nectarines create a beautiful topping.
- Cranberry Apple Crisp: A warm and comforting dessert, perfect for cooler weather, with tart cranberries and sweet apples.
- Blueberry Almond Skillet Crisp: A rustic and easy-to-make crisp, combining the flavors of blueberries and toasted almonds.
Each recipe is designed to bring joy and deliciousness to your kitchen. We hope you enjoy baking and sharing these fruit-filled delights as much as we do!
If you embark on this delightful baking adventure and create these Cherry Crumb Bars, we would be absolutely thrilled to hear about your experience! Your feedback and comments are invaluable. Don’t forget to leave a review below and share your photos on social media. Happy baking, and may your kitchen be filled with the wonderful aroma of homemade goodness!
Cherry Crumb Bars
Ingredients
For the Cherry Filling
- 4 cups (24oz/680g) pitted cherries, fresh or frozen
- ½ cup (100g) granulated sugar
- 2 Tablespoons (30g) fresh lemon juice
- 2 Tablespoons (30g) water
- 2 Tablespoons (20g) cornstarch
- zest of half a lemon
- 1 teaspoon vanilla extract
For the Shortbread Crust & Crumbs
- 2 cups (260g) all-purpose flour
- ½ cup (100g) granulated sugar
- ¼ cup (50g) brown sugar
- ¾ teaspoon baking powder
- ¼ teaspoon salt
- ¾ cup (170g) unsalted butter, melted
- 1 teaspoon vanilla extract
Instructions
- Cherry Filling: In a medium saucepan combine the cherries, sugar, lemon juice, water, cornstarch, and lemon zest.
- Cook the cherry mixture over medium heat, stirring frequently, until the cherries soften and the mixture thickens and starts to boil, about 10-15 minutes.
- Allow the filling to boil for about 1 minute while continually stirring then remove from the heat. Stir in the vanilla extract. Set aside to cool.
- Preheat oven to 350°F (175°C). Line a 9” x 9” square pan with parchment paper to create a sling, with an overhang on all four sides. Lightly grease the parchment with cooking spray.
- Shortbread Crust & Crumbs: In a large mixing bowl, combine the flour, sugars, baking powder, and salt with a fork. Add the melted butter and vanilla. Mix until the mixture is fully combined and crumbly.
- Assembly: Add about ⅔ of the shortbread mixture to the bottom of the prepared pan and press down until firmly packed. You can use the bottom of a measuring cup or drinking glass to help press it out evenly.
- Pour the cooled cherry filling (it’s fine if it’s slightly warm) over the base and spread out in an even layer using a small offset spatula. Crumble the remaining shortbread mixture into small pieces over the top in an even layer.
- Bake the bars at 350°F (175°C) for 32-35 minutes, or until the filling is bubbling around the edges and the shortbread starts to turn golden brown.
- Allow the bars to cool completely to room temperature then chill in the fridge to set before slicing and serving.

HI THERE!
I’m Rachel
I’m the dessert lover, recipe developer, and content creator behind Sweet Kitchen Cravings. Here you’ll find classic yet special recipes that are sure to impress your loved ones!
MORE ABOUT RACHEL
