This post may contain affiliate links. Please read my full disclosure policy for more information.
Indulge in the Ultimate No-Bake Double Layer Pumpkin Pie: A Fall Favorite
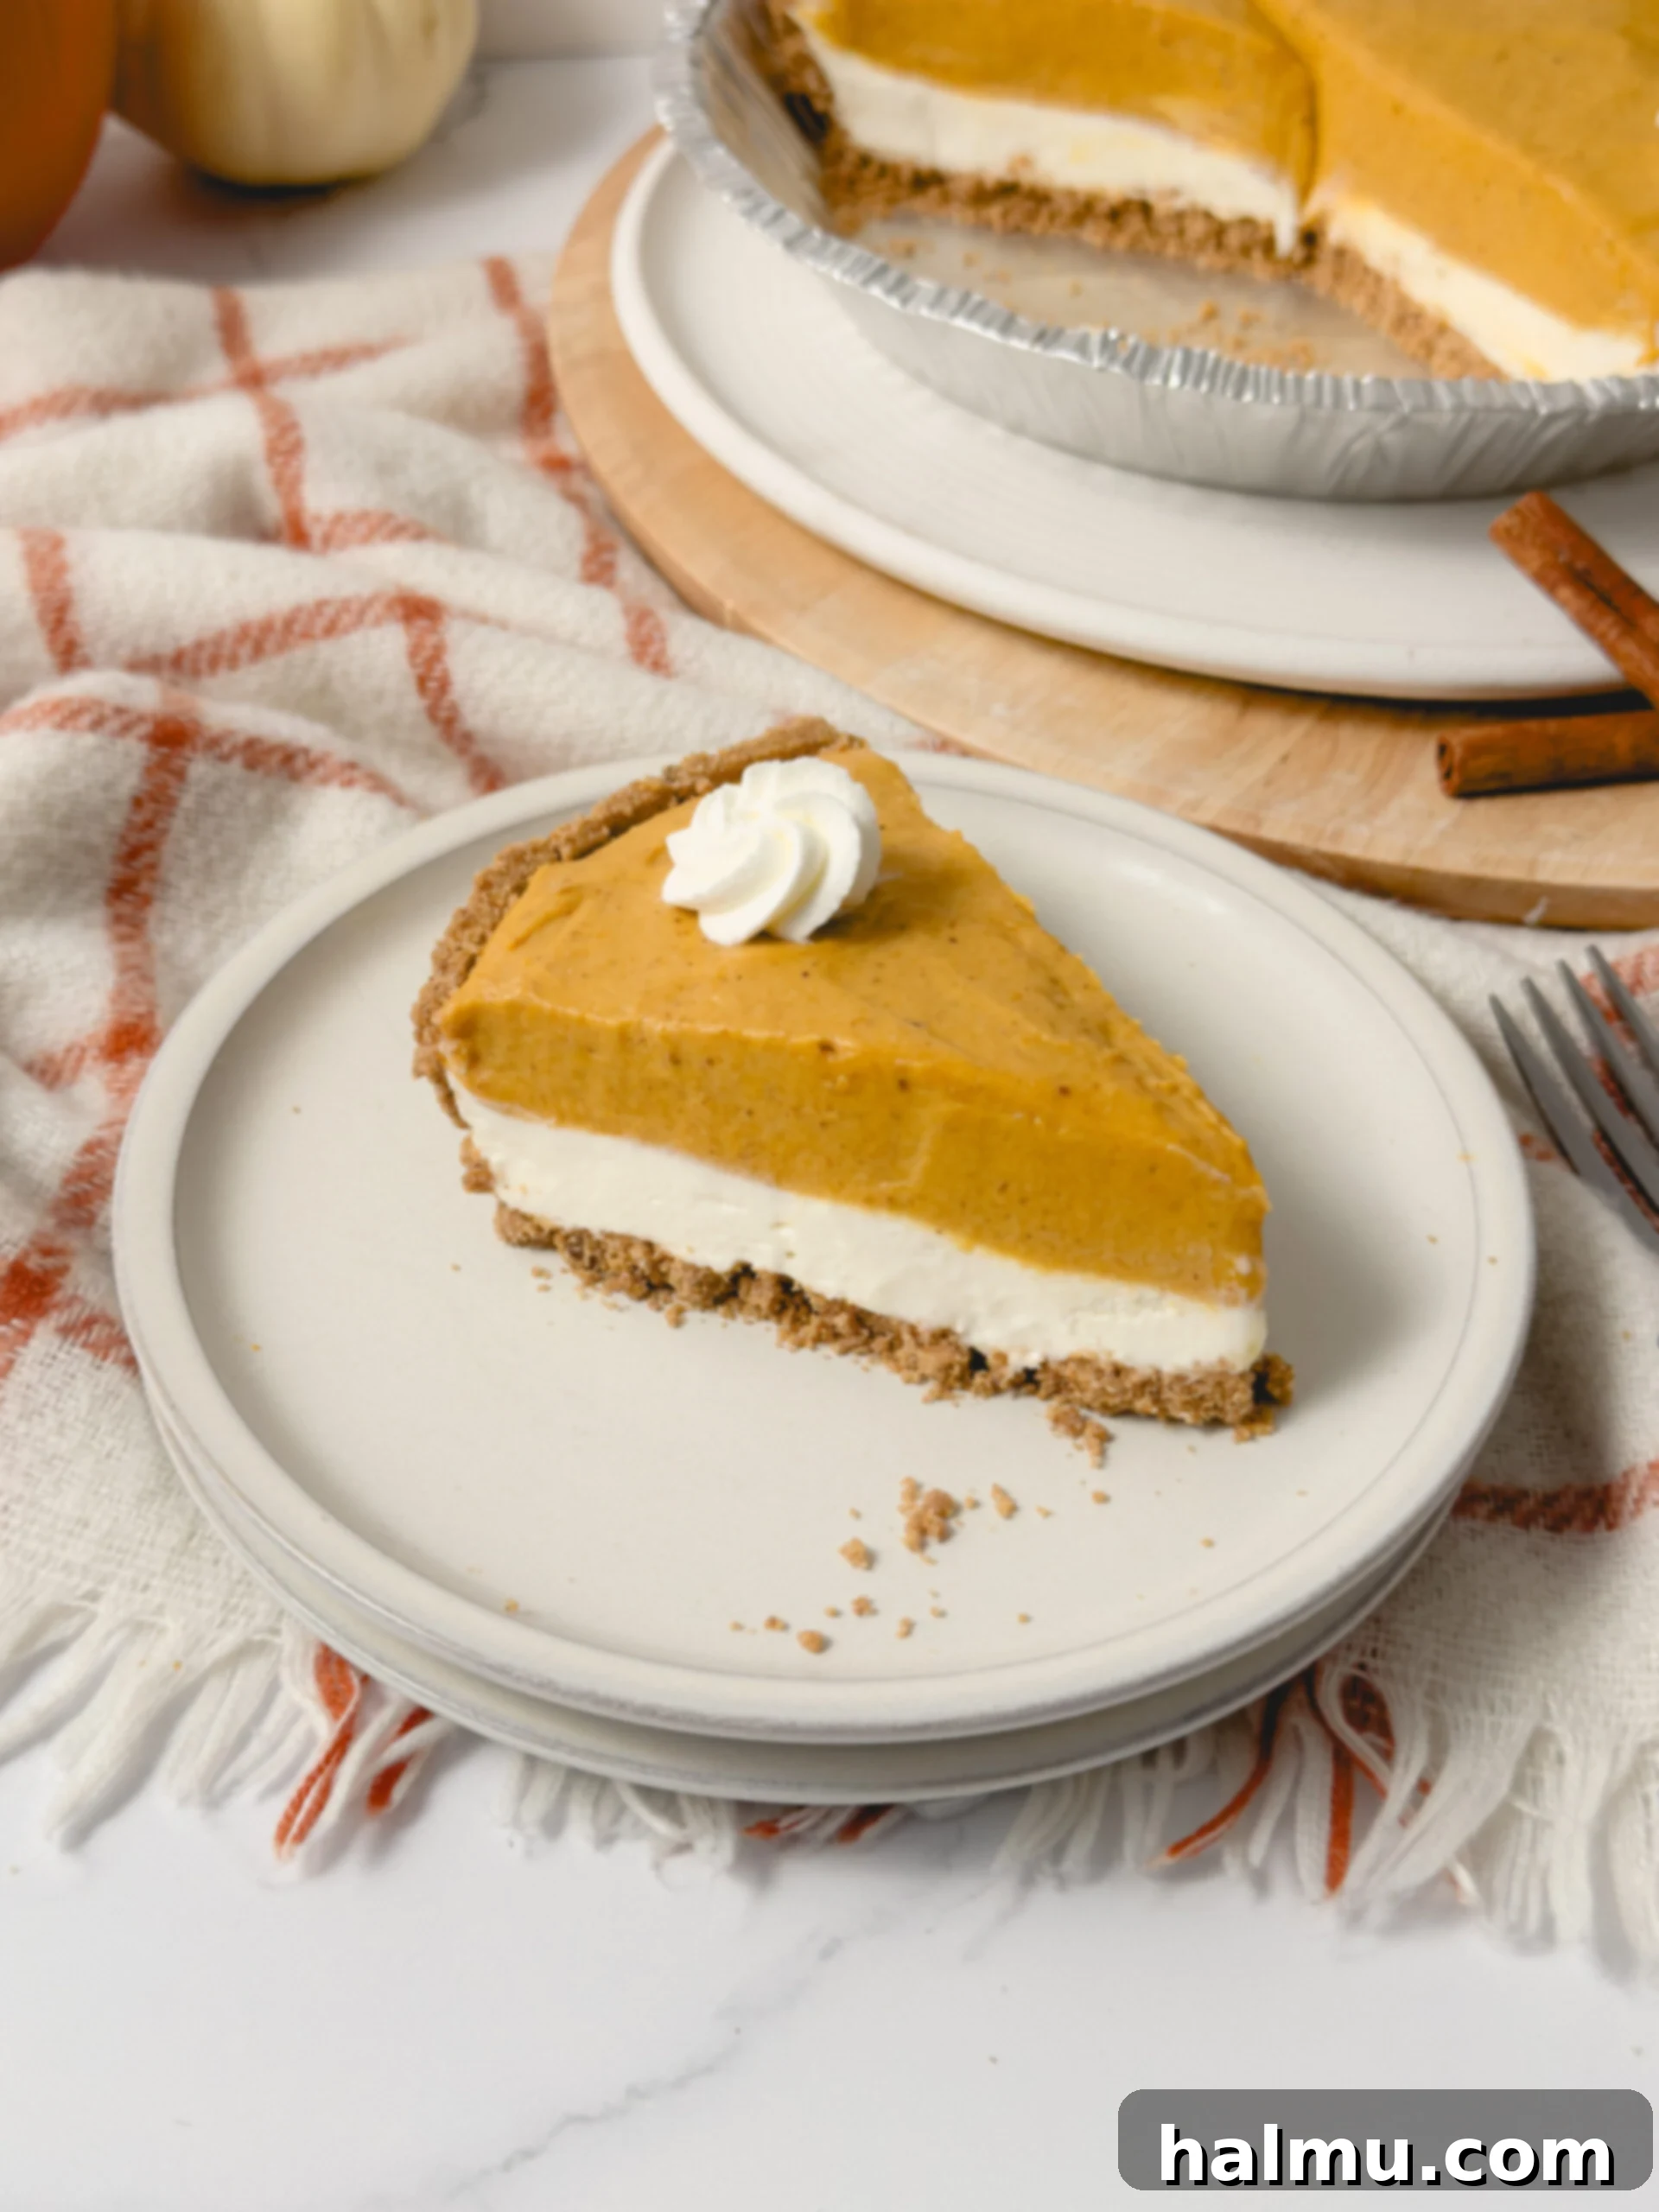
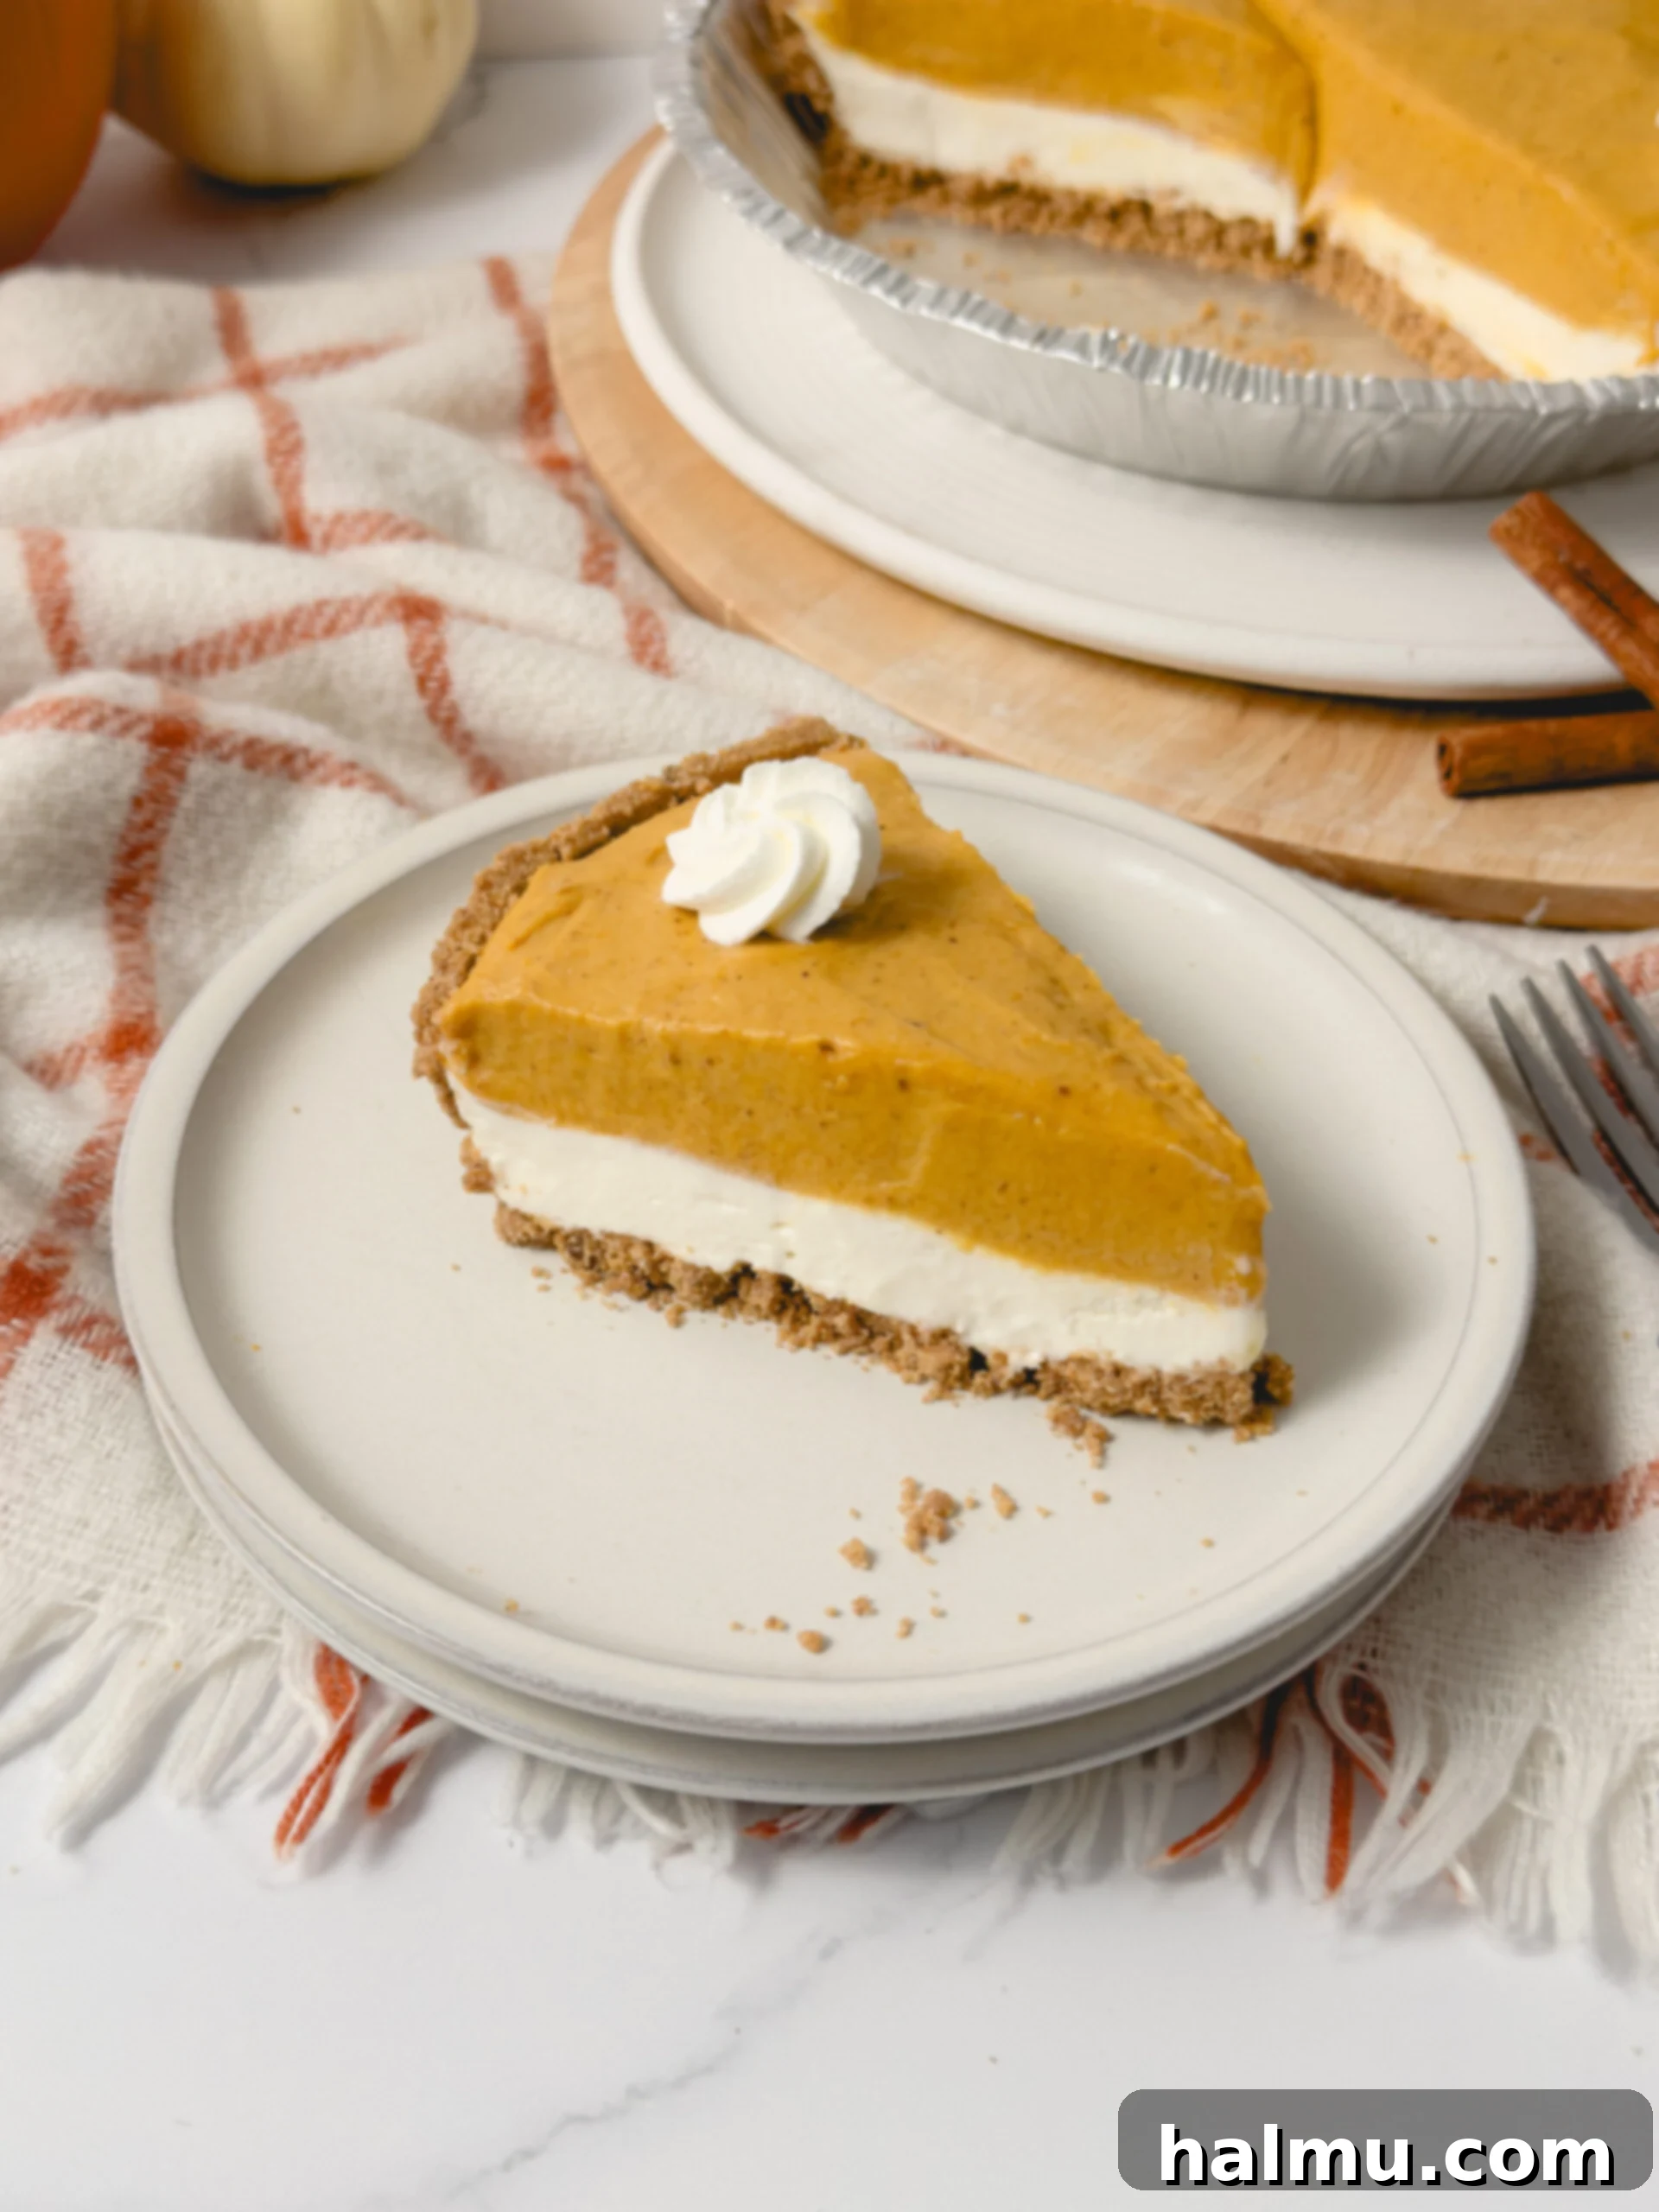
As autumn leaves begin to fall and the air turns crisp, there’s nothing quite like the comforting aroma and taste of pumpkin. This Double Layer Pumpkin Pie is destined to be the star of all your fall gatherings, offering an irresistible twist on a classic seasonal dessert. Imagine: a rich, velvety pumpkin custard, perfectly spiced, resting atop a luscious cream cheese-infused whipped cream layer, all nestled within a buttery graham cracker crust. It’s a delightful combination that marries the best qualities of a classic pumpkin pie with the creamy indulgence of a cheesecake, creating a dessert that’s both familiar and excitingly new.
What makes this pumpkin pie truly exceptional is its effortless preparation. Forget turning on your oven and worrying about cracked custards or soggy crusts. This is a wonderfully easy, no-bake recipe, perfect for home bakers of all skill levels. My mom has always made a cherished version of this for Thanksgiving, using instant vanilla pudding and Cool Whip, inspiring me to create my own elevated rendition with rich, scratch-made fillings. The result is a stunning, irresistible dessert that requires minimal fuss but delivers maximum flavor and elegance.
Whether you’re hosting Thanksgiving dinner, a cozy Friendsgiving celebration, or simply craving a taste of fall, this no-bake double layer pumpkin pie promises to impress. Its contrasting textures and harmonious flavors make every bite a pure delight. Get ready to create a dessert that will have everyone asking for the recipe!
Crafting Your Double Layer Pumpkin Pie: A Step-by-Step Guide
Creating this magnificent double layer pumpkin pie is surprisingly straightforward. Each component is designed for simplicity without compromising on taste or texture. Follow these easy steps to bring this autumnal masterpiece to life in your kitchen.
Step 1: Prepare the Silky Pumpkin Pudding
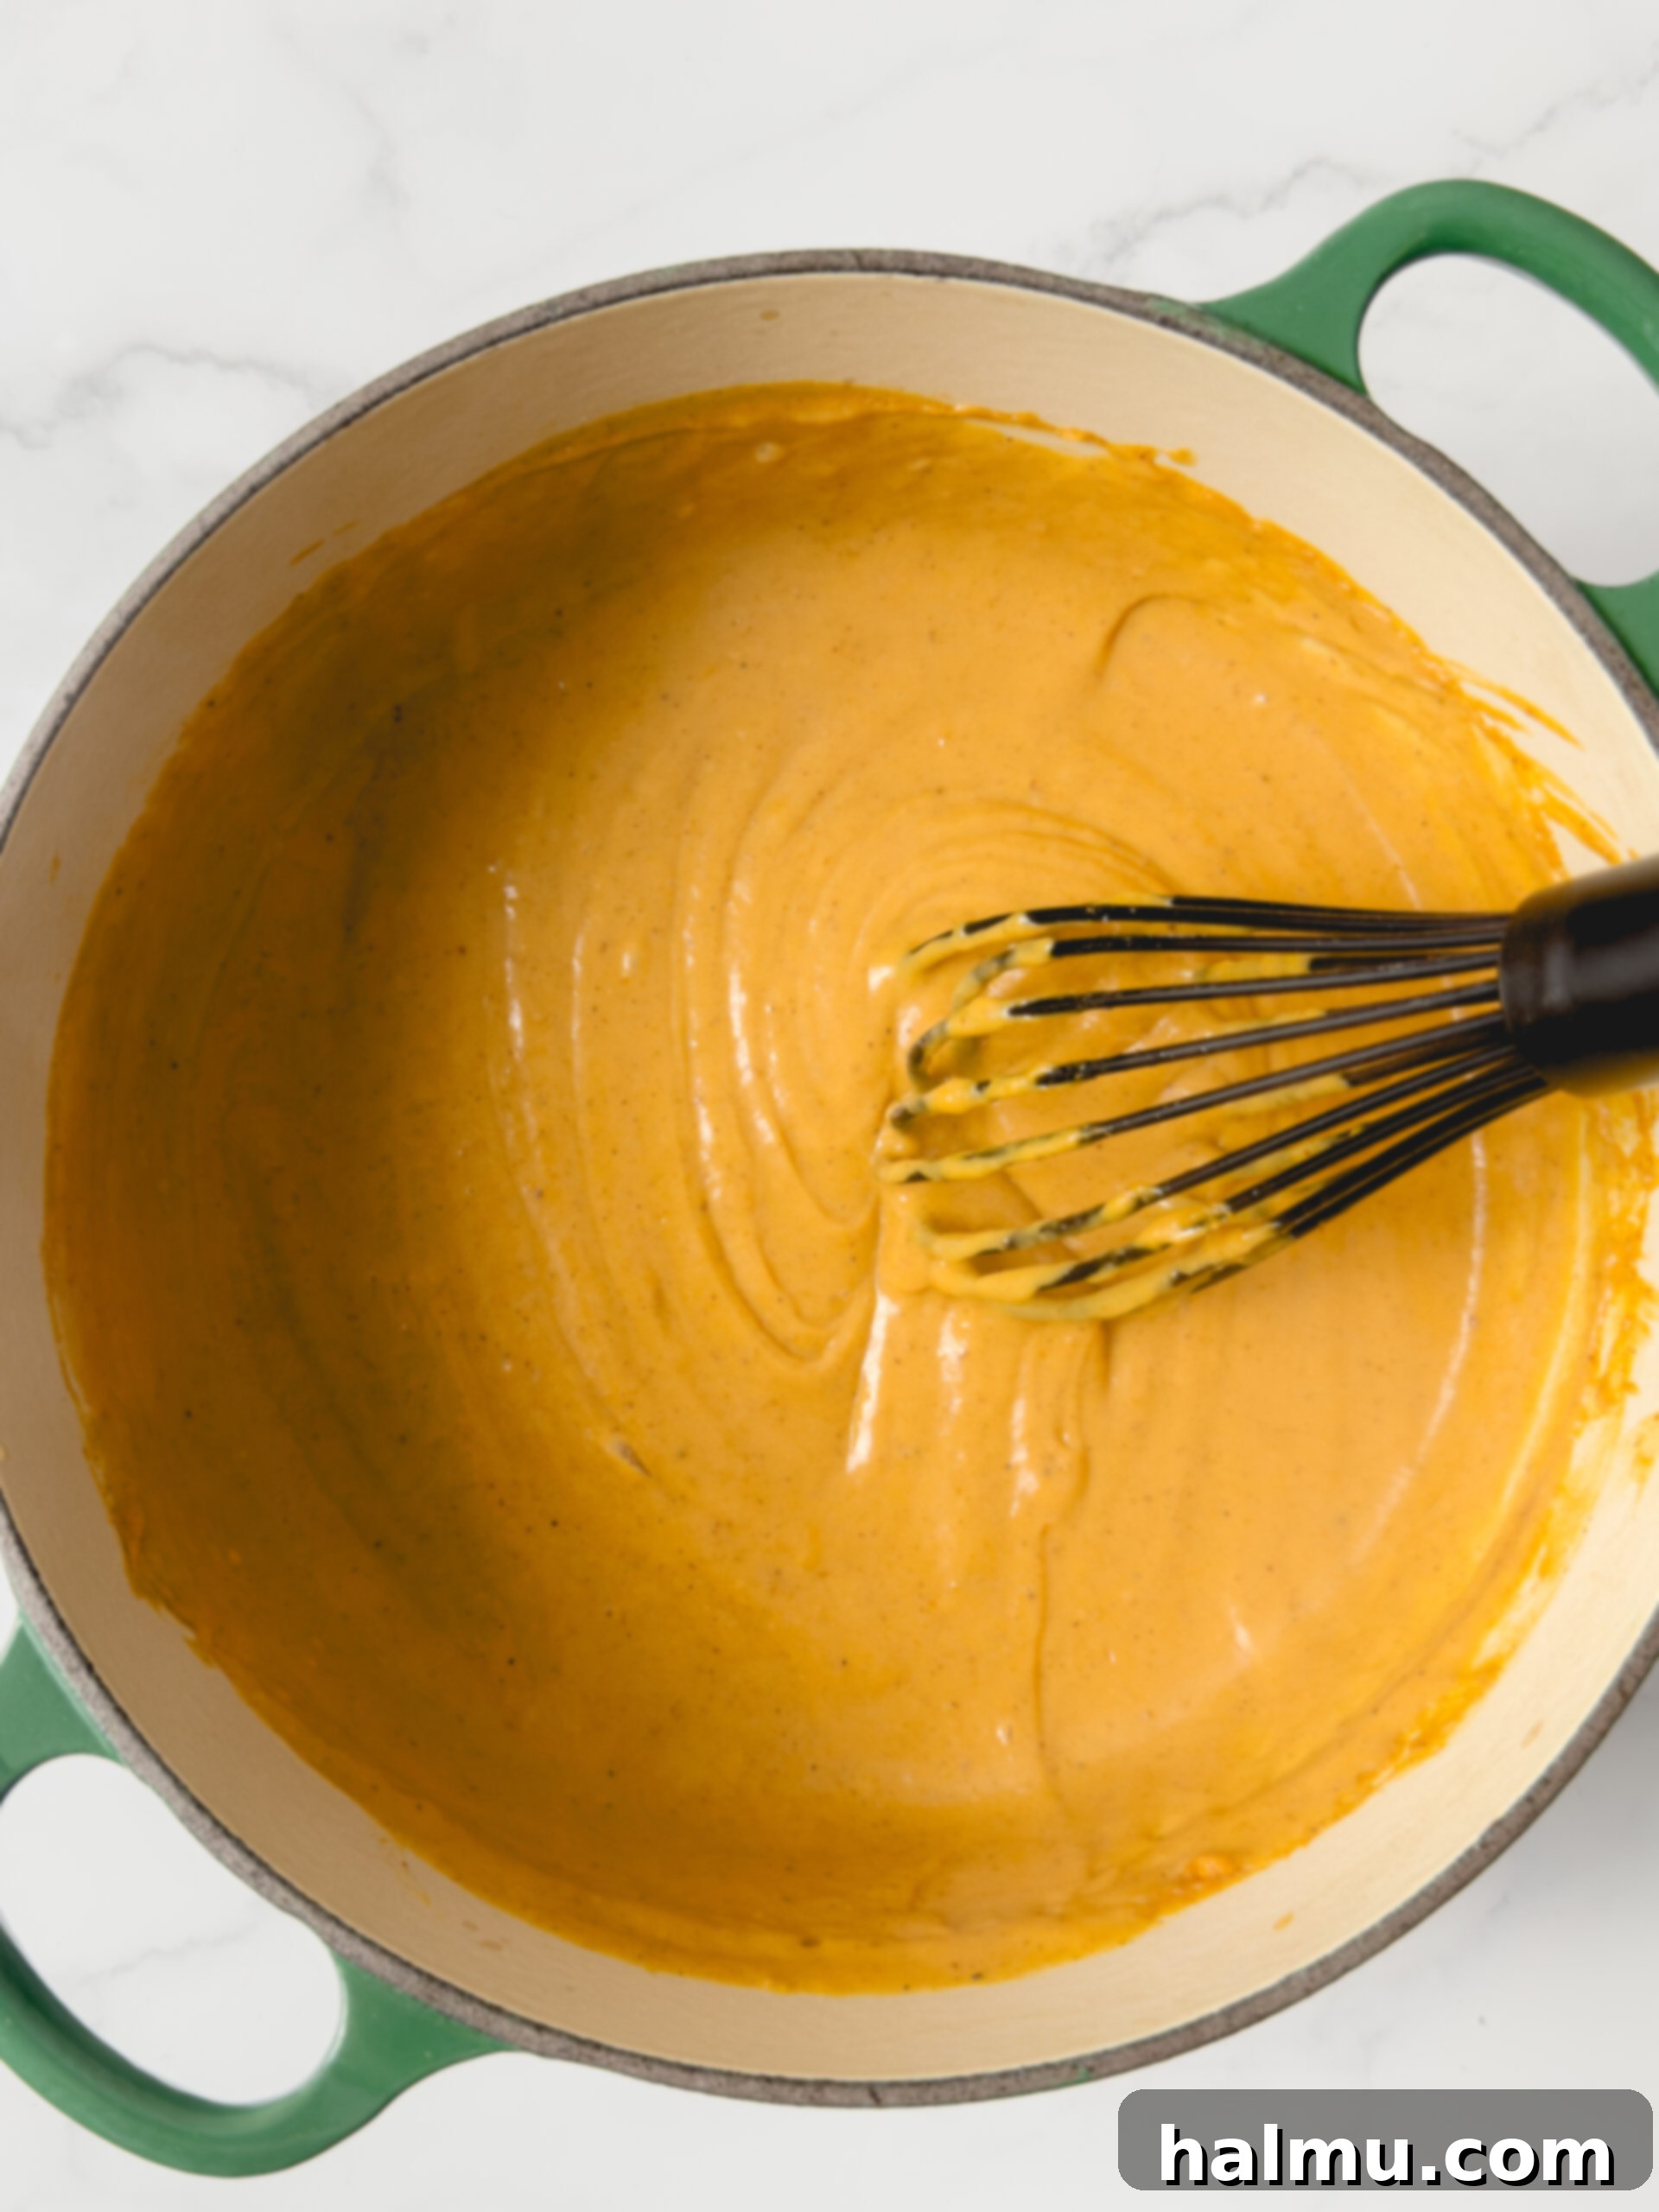
The pumpkin layer in this pie captures all the rich, warm flavors of a classic pumpkin pie filling, but without the need for baking. It’s an incredibly smooth and flavorful custard that forms the heart of this dessert. To begin, combine brown sugar, cornstarch, and your favorite fall spices like cinnamon and nutmeg in a medium saucepan. These dry ingredients are crucial for both flavor and thickening. Next, whisk in pure pumpkin puree, whole milk, and rich heavy cream until everything is perfectly smooth. The combination of milk and cream gives the pudding its luxurious, velvety texture.
Place the saucepan over medium heat, whisking constantly to prevent lumps and ensure even cooking. As the mixture heats, you’ll notice it gradually thickening and beginning to bubble, indicating that the cornstarch is activating. Continue to cook and whisk for about a minute after it starts to boil to ensure it reaches the right consistency. Finally, remove the pudding from the heat and stir in a splash of vanilla extract for depth of flavor, along with a few small cubes of unsalted butter. The butter not only adds richness but also gives the pumpkin pudding a beautiful, glossy shine. Once prepared, transfer the pudding to a heat-safe bowl and cover the surface directly with plastic wrap to prevent a skin from forming. This pumpkin filling must cool completely before layering, so a trip to the refrigerator is essential.
Step 2: Whip Up the Cream Cheese Layer
The second layer is a delightfully light and fluffy cream cheese whipped cream that provides a perfect contrast to the rich pumpkin. This creamy, tangy layer is what gives the pie its “cheesecake” essence. Start by beating softened cream cheese in a bowl until it’s perfectly smooth and free of any lumps. It’s important for the cream cheese to be at room temperature to achieve this silky texture.
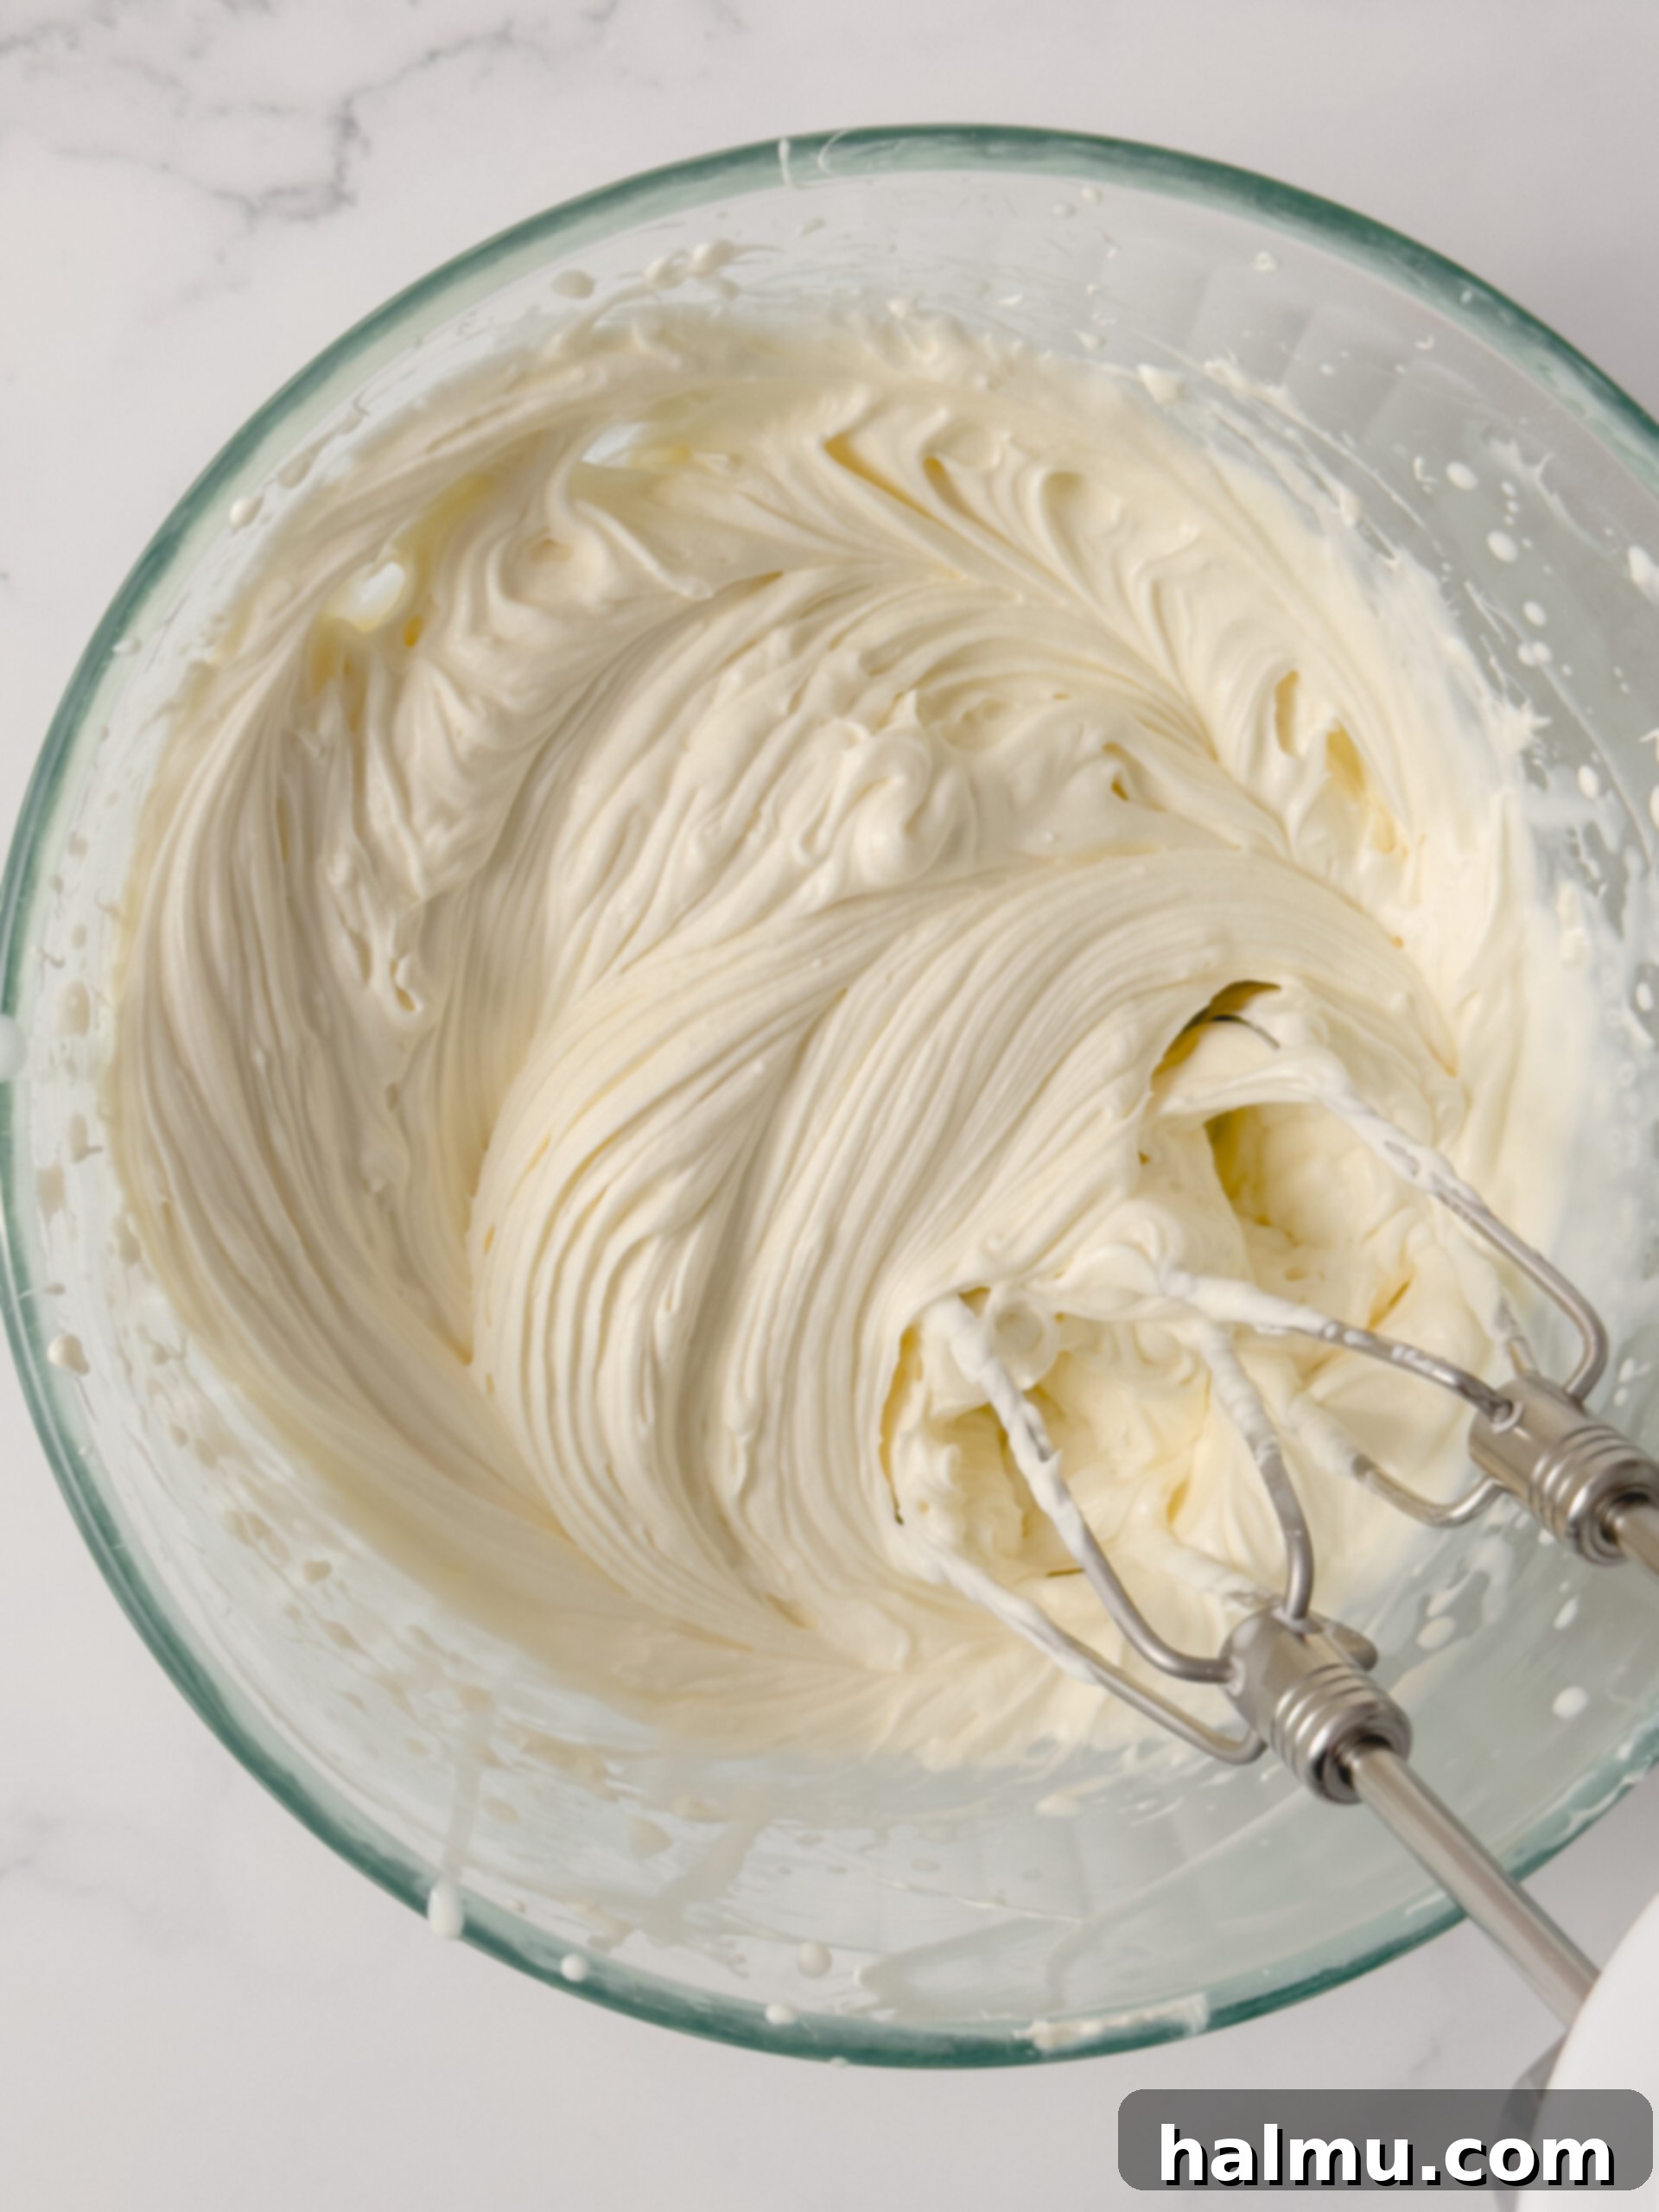
Next, add powdered sugar and a hint of vanilla extract to the cream cheese, mixing just until fully combined. Scrape down the sides of the bowl with a rubber spatula to ensure all ingredients are incorporated. Then, with your mixer running at a medium-low speed, slowly stream in the heavy cream. Continue whipping until the mixture begins to thicken slightly. Increase the mixer speed to high and whip until the mixture forms stiff peaks, indicating a light, airy, and stable whipped cream. Be careful not to overmix, as this can cause the cream to separate. The result is a wonderfully thick and stable cream cheese whipped cream, ready to form the decadent base of your pie.
Step 3: Artfully Layer the Fillings
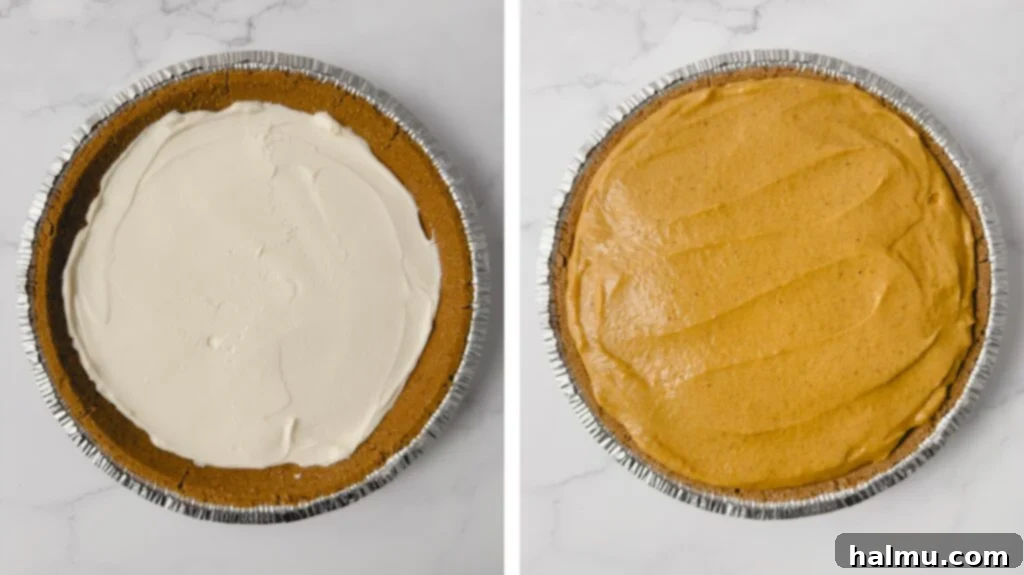
For the foundation of this exquisite pie, we use a convenient pre-made graham cracker pie crust. This saves time and ensures a perfectly crisp base without any baking. Once your pumpkin pudding has completely cooled (this is crucial!), and your cream cheese whipped cream is ready, it’s time for assembly. First, gently spoon the cream cheese whipped cream into the bottom of the graham cracker crust. Using a small offset spatula or the back of a spoon, carefully spread it out evenly to create a smooth, consistent layer.
Next, give your chilled pumpkin pudding a good stir to ensure it’s smooth and easy to spread. Then, carefully spoon the pumpkin pudding on top of the cream cheese layer. Spread it out smoothly, taking care not to disturb the layer beneath. The goal is to achieve two distinct, beautiful layers. A smooth top layer will give your pie a professional, appealing finish. This precise layering is key to the aesthetic appeal and textural balance of the Double Layer Pumpkin Pie.
Step 4: Chill to Perfection and Serve
Patience is a virtue, especially when making no-bake pies! This Double Layer Pumpkin Pie needs ample time to set properly and allow the flavors to meld beautifully. After layering, the pie must chill in the refrigerator for a minimum of 2 hours. For the best results, and to ensure a perfectly firm and sliceable pie, I highly recommend letting it chill overnight. This extended chilling time is vital for both the cream cheese and pumpkin layers to firm up and create clean, distinct slices.
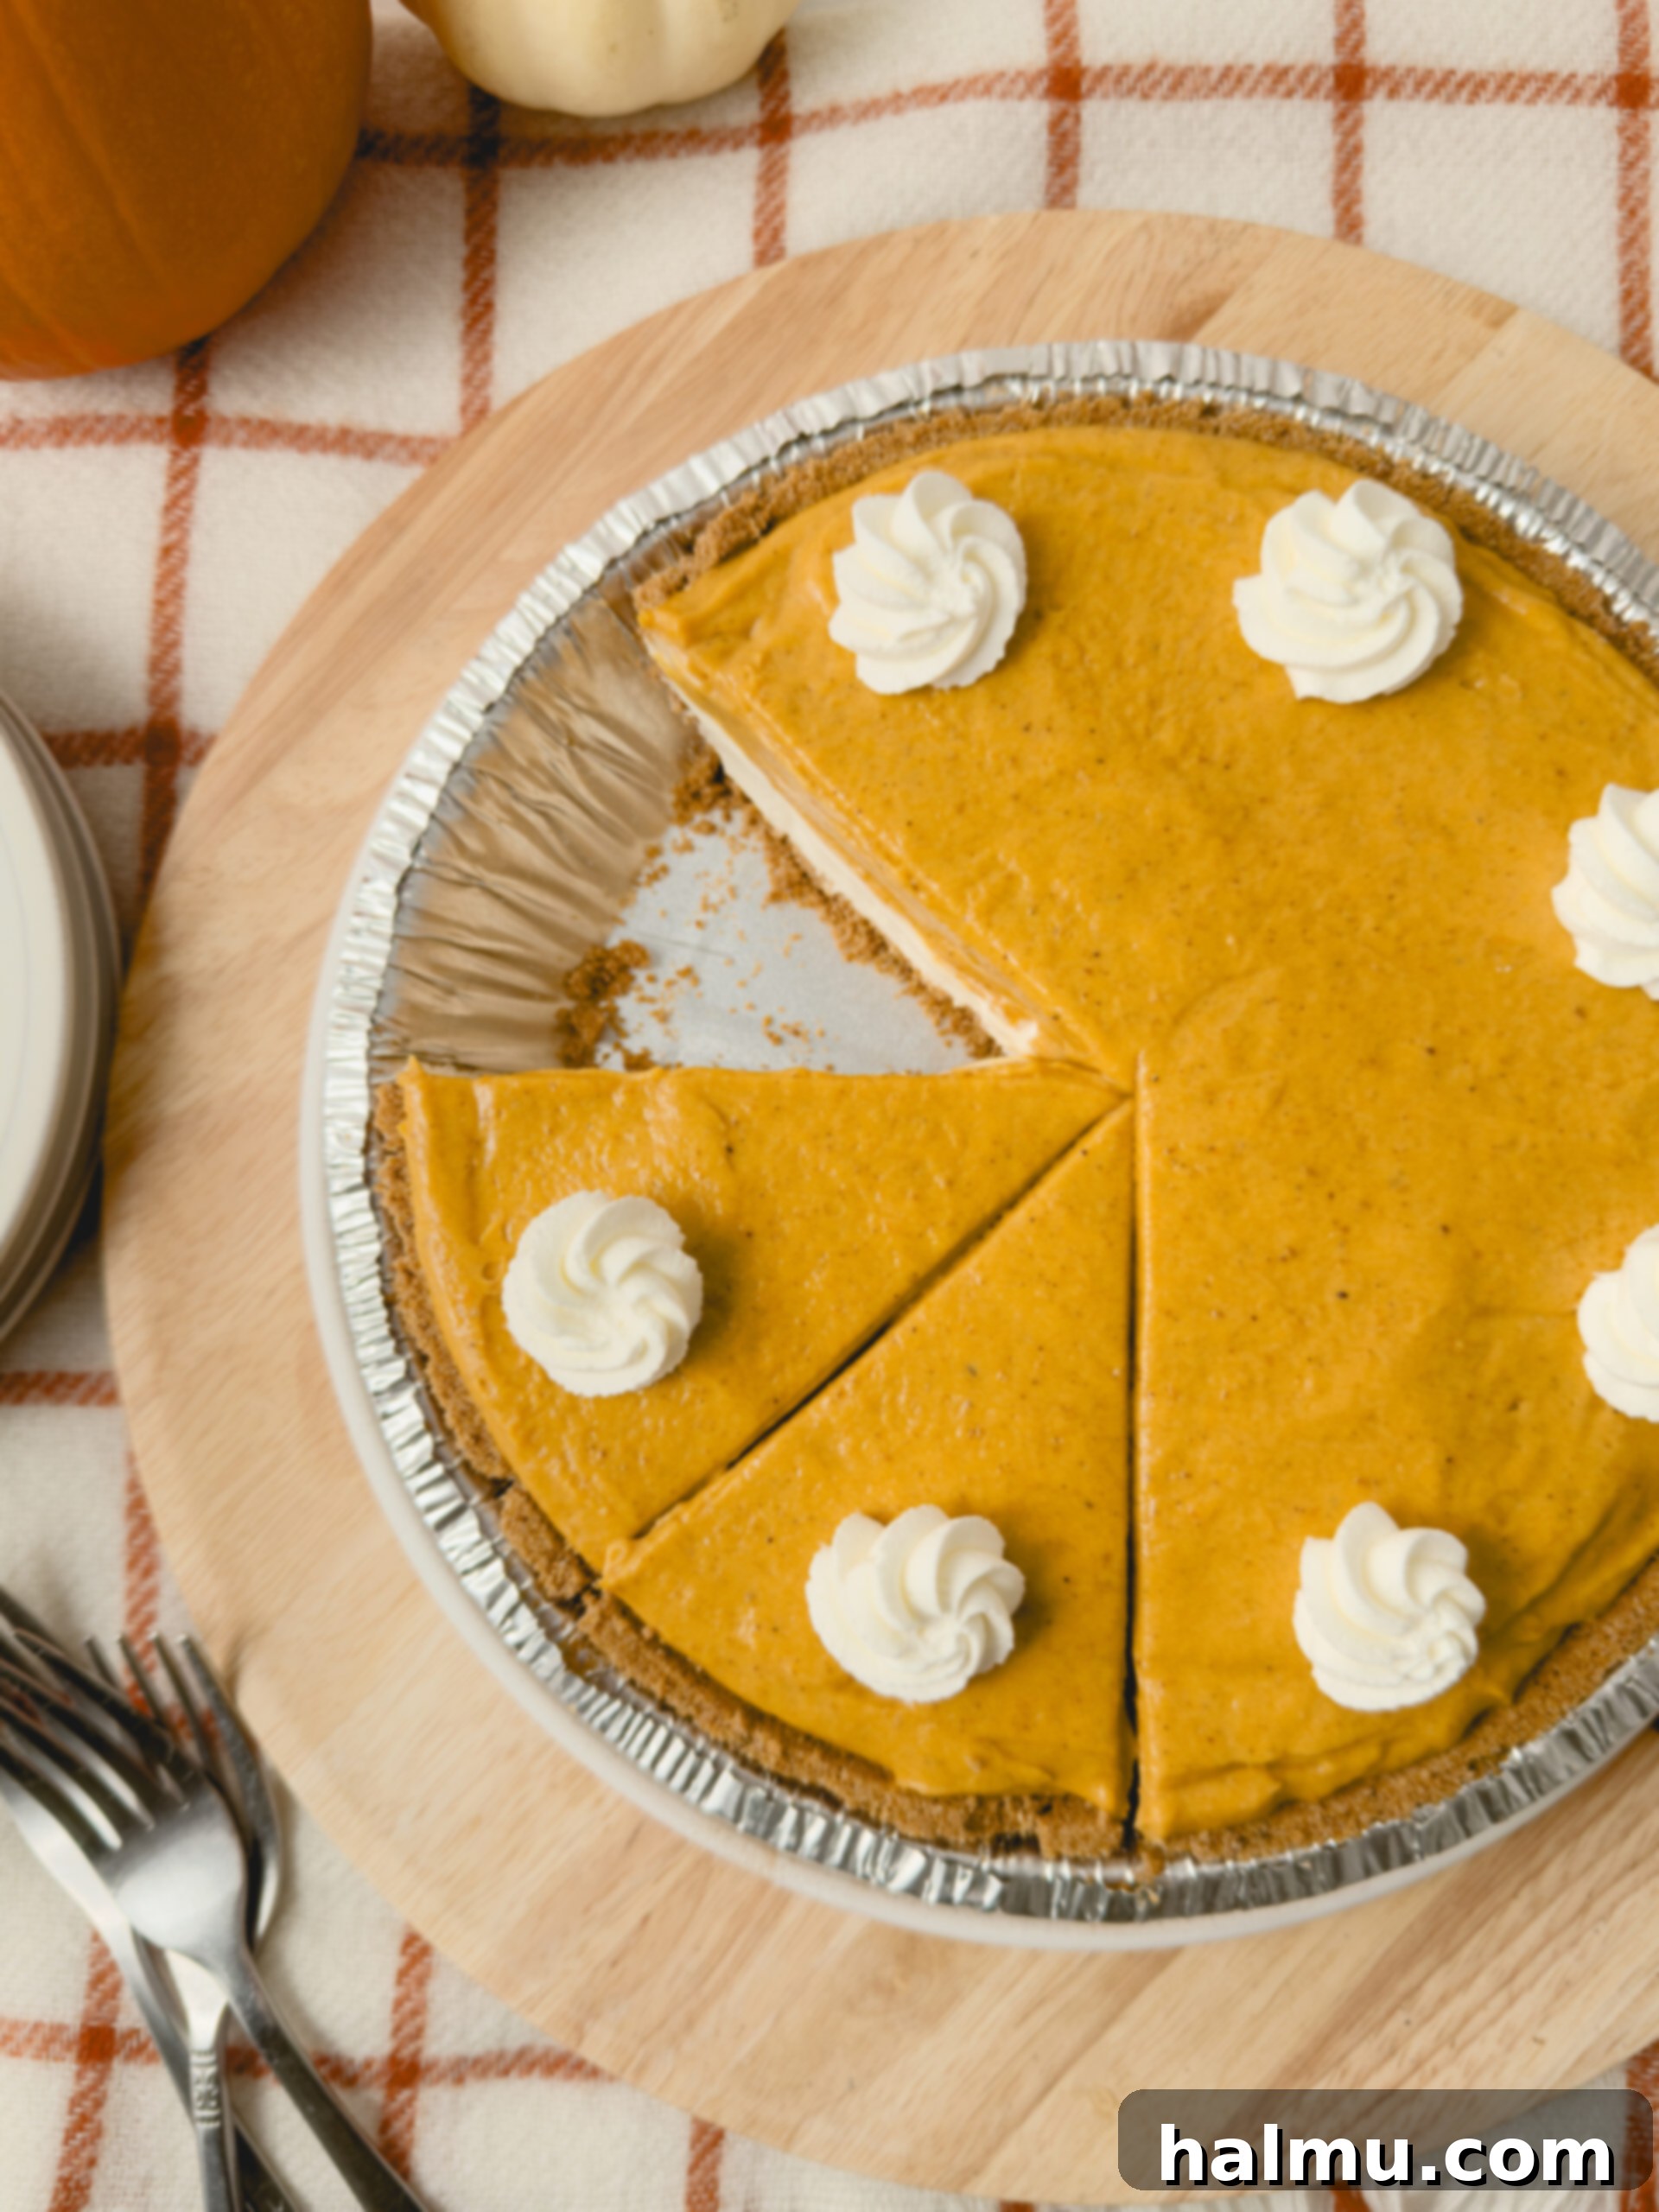
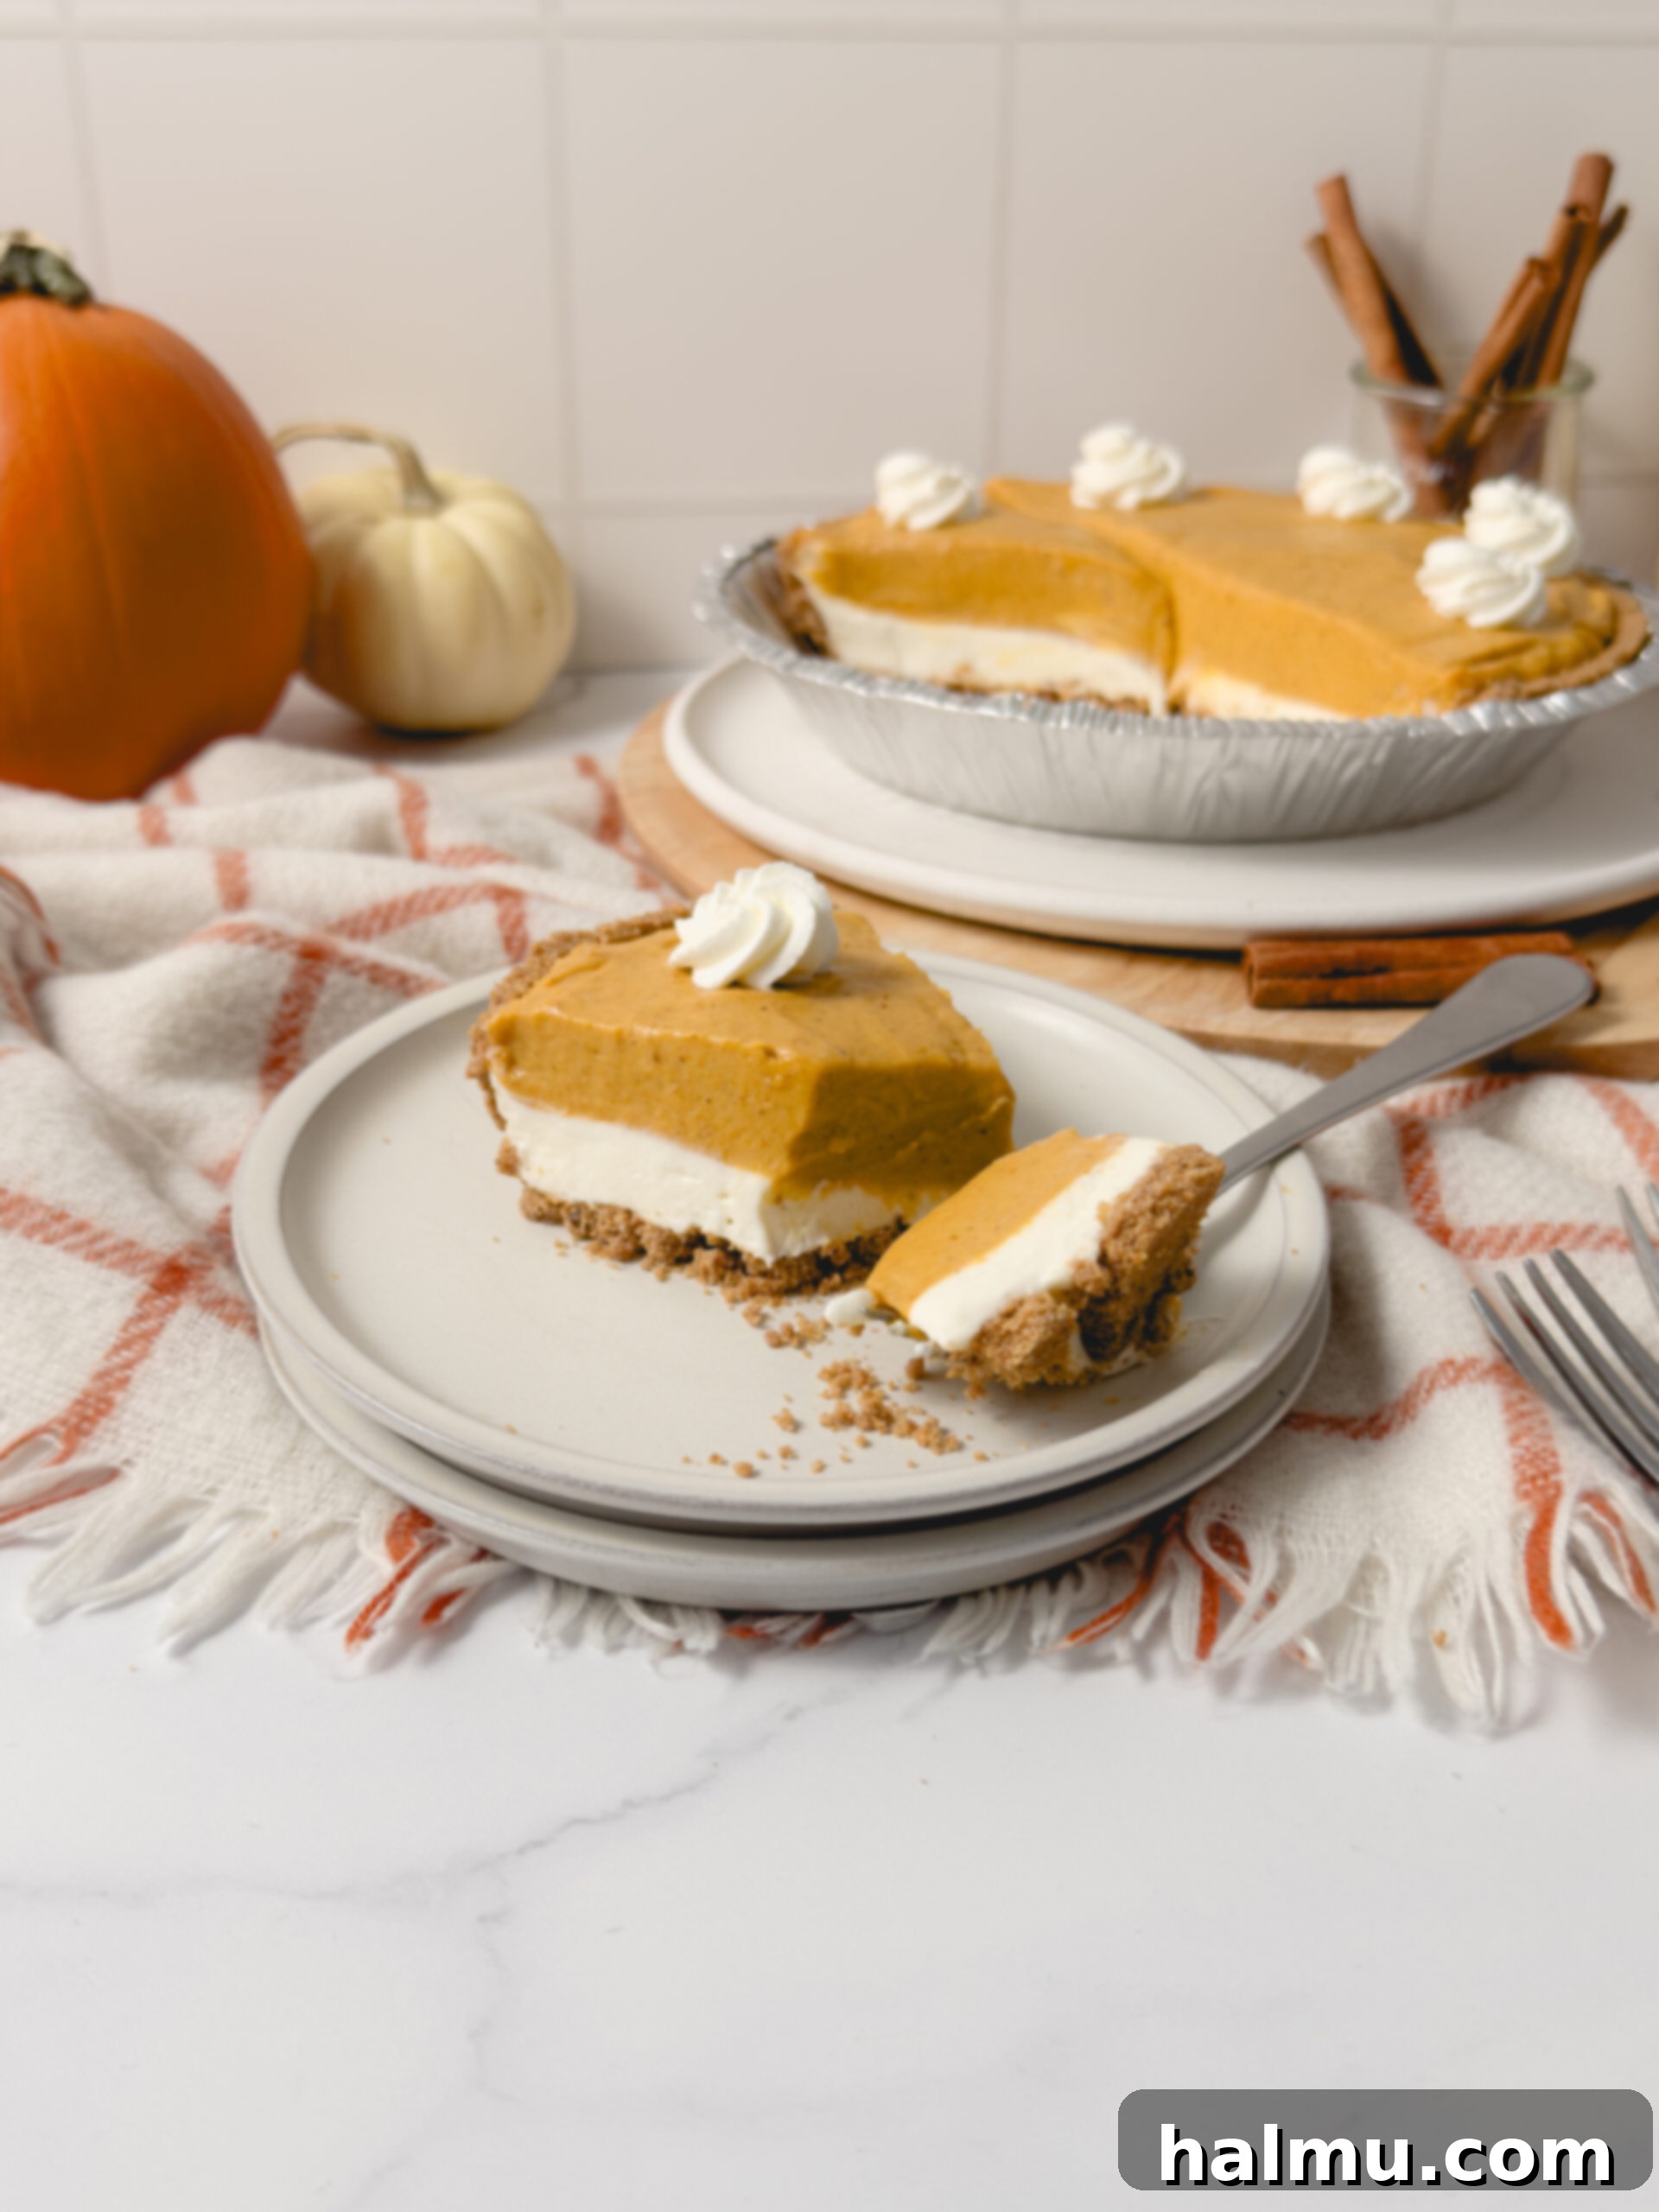
Once the pie has chilled completely and is firm to the touch, it’s ready for its grand debut. For an extra touch of elegance and festivity, you can pipe whipped cream rosettes around the edges using a star tip, or simply dollop some fresh whipped cream on top of each slice just before serving. A sprinkle of cinnamon or a dash of nutmeg can also add a beautiful finish. Then, slice into generous portions, serve, and prepare for rave reviews! This pie is not just a dessert; it’s an experience.

Double Layer Pumpkin Pie FAQs
Here are answers to some common questions about this delightful double layer pumpkin pie, ensuring your baking experience is as smooth as your pie filling!
What is the best way to store the pie?
To maintain its freshness and structural integrity, your Double Layer Pumpkin Pie should always be stored in the refrigerator. After serving, cover any remaining pie tightly with plastic wrap to prevent it from drying out or absorbing odors from other foods. When properly stored, this pie will stay fresh and delicious for up to 3 days. For best flavor and texture, I recommend consuming it within this timeframe.
How far in advance can it be made?
This no-bake pie is a fantastic make-ahead dessert, which is perfect for busy holiday seasons or when entertaining guests. Since it requires significant chilling time to set, preparing it in advance is highly recommended. You can comfortably make the pie 1 to 2 days before you plan to serve it. Just be sure to cover it well with plastic wrap and keep it refrigerated. If you plan to add whipped cream rosettes or other garnishes, it’s best to do so right before serving to keep them looking fresh and firm.
Can the pie be made gluten-free?
Absolutely! This Double Layer Pumpkin Pie can easily be adapted to be gluten-free. Both the luscious cream cheese whipped cream and the velvety pumpkin pudding fillings are naturally gluten-free. The key to making this pie gluten-free lies in your choice of crust. Simply ensure that the pre-made graham cracker pie crust you select is specifically labeled as gluten-free. Many brands offer excellent gluten-free graham cracker crusts; for example, the Mi-Del brand is a popular and reliable choice.

Expert Tips for the Best Double Layer Pumpkin Pie
Achieving pie perfection is easier than you think with these expert tips. Follow these guidelines to ensure your Double Layer Pumpkin Pie is absolutely flawless every time.
- Always Use Pure Pumpkin Purée, Not Pie Filling: This is a crucial distinction. A common mistake that can lead to a runny pumpkin layer is accidentally using canned pumpkin pie filling instead of pure pumpkin purée. Pumpkin pie filling comes with added spices, sugar, and sometimes other ingredients that will alter the consistency and flavor of your pudding. Always opt for 100% pure pumpkin purée to guarantee the perfect, thick, and velvety texture, along with the authentic, rich pumpkin flavor this recipe demands. Check the label carefully!
- Ensure the Pumpkin Pudding is Completely Cooled: After you’ve cooked the pumpkin pudding, it’s absolutely vital to let it cool down completely before you attempt to layer it into the pie. If the pumpkin pudding is even slightly warm, it will likely melt the delicate cream cheese whipped cream layer when combined. This will cause the layers to blend together, resulting in a less appealing presentation and a compromised texture. Chilling the pudding thoroughly (until it’s firm and cold) ensures you achieve those beautifully distinct and visually stunning layers that make this pie so special.
- Give the Entire Pie Ample Chilling Time: Patience truly pays off with no-bake pies. Once assembled, resist the urge to slice into your pie immediately. The pie requires significant time in the refrigerator to fully set and firm up. A minimum of 2 hours is necessary, but for optimal results and the cleanest slices, chilling it overnight is highly recommended. Proper chilling makes the pie much easier to cut, preventing messy slices and helping each layer maintain its crisp, clean appearance. This step is essential for both structural integrity and presentation.
- Soften Cream Cheese Properly: For a lump-free and smooth cream cheese layer, ensure your cream cheese is at room temperature before you begin mixing. This allows it to whip up easily and combine seamlessly with the other ingredients, creating that desirable light and fluffy texture.
- Don’t Overmix the Whipped Cream: While you want stiff peaks for your cream cheese whipped cream, be careful not to overmix. Overmixing can cause the cream to become grainy or even separate, leading to a less desirable texture. Stop mixing as soon as firm peaks are achieved.
- Use a Pre-Made Graham Cracker Crust: While you can make your own graham cracker crust, a store-bought one saves significant time and effort, making this already easy recipe even simpler. Just ensure it’s a good quality crust that can hold up to the two rich layers.

Baking Tip: Embrace the Precision of Weighing Your Ingredients!
For consistently perfect baking results, I wholeheartedly recommend using a kitchen scale to measure your ingredients instead of traditional measuring cups. Weighing ingredients is by far the most accurate method in baking. This precision leads to more consistent outcomes with all your recipes and significantly increases your success rate every single time you bake. Beyond accuracy, using a scale also minimizes the number of dirty dishes, making cleanup a breeze! I provide gram measurements in all my recipes, and this is the kitchen scale I personally love and use in my kitchen.
More Irresistible Pies You’ll Love
If you’ve fallen in love with this Double Layer Pumpkin Pie, you’re in for a treat! Here are a few more pie recipes from Sweet Kitchen Cravings that are sure to delight your taste buds and impress your loved ones:
- Caramel Apple Cheesecake Pie: A perfect blend of sweet caramel, crisp apples, and creamy cheesecake.
- Chocolate Peanut Butter Pie: A decadent, rich pie for chocolate and peanut butter lovers.
- Chocolate Mint Cream Pie: A refreshing and creamy dessert with a delightful minty kick.
Each of these recipes offers unique flavors and textures, promising another memorable baking adventure. Happy baking!
Double Layer Pumpkin Pie
Light and fluffy cream cheese whipped cream meets silky pumpkin spice custard in a graham crust to create this Double Layer Pumpkin Pie. Combining the best of both worlds and adding a fun twist to a beloved fall classic!
Author: Rachel
Recipe Details
- Prep Time: 20 mins
- Cook Time: 10 mins
- Chill Time: 2 hrs
- Total Time: 2 hrs 30 mins
- Yield: 8 servings
Ingredients
For the Pumpkin Pudding
- ½ cup (100g) brown sugar
- 3 Tablespoons (25g) cornstarch
- ½ teaspoon cinnamon
- ¼ teaspoon nutmeg
- Pinch of salt
- 1 cup (244g) pumpkin purée
- 1 cup (240mL) whole milk
- ½ cup (120mL) heavy cream
- ½ teaspoon vanilla extract
- 2 Tablespoons (28g) unsalted butter, cut into small cubes
For the Cream Cheese Whipped Cream
- 4 ounces (113g) cream cheese, softened
- ½ cup (60g) powdered sugar
- ½ teaspoon vanilla extract
- ¾ cup (180mL) heavy cream, cold
For the Pie
- 1 (9”) graham cracker pie crust
- Whipped cream for topping, optional
Instructions
- Pumpkin Pudding: In a medium saucepan, thoroughly whisk together the brown sugar, cornstarch, cinnamon, nutmeg, and salt.
- Add the pumpkin purée, whole milk, and heavy cream to the saucepan, whisking until the mixture is completely smooth and combined.
- Cook the mixture over medium heat, whisking constantly. Continue to cook until the pudding thickens significantly and begins to bubble. Let it boil gently for about 1 minute, still whisking.
- Remove the saucepan from the heat. Stir in the vanilla extract and the small cubes of unsalted butter until the butter is fully melted and incorporated, giving the pudding a glossy finish.
- Transfer the warm pumpkin pudding to a clean, heat-safe bowl. Cover the surface of the pudding directly with plastic wrap to prevent a skin from forming as it cools. Refrigerate until the pudding is completely cool and firm, at least 1 hour.
- Cream Cheese Whipped Cream: In a large bowl, using an electric handheld or stand mixer fitted with the whisk attachment, beat the softened cream cheese until it is smooth and creamy.
- Add the powdered sugar and vanilla extract to the cream cheese, mixing on low speed just until combined. Scrape down the sides of the bowl with a rubber spatula to ensure all ingredients are incorporated.
- With the mixer running at medium-low speed, slowly and steadily stream in the cold heavy cream. Continue whipping until the mixture begins to thicken slightly.
- Increase the mixer speed to high and whip until the mixture forms stiff peaks and is light, fluffy, and free of any lumps. Be careful not to overmix, which can cause the cream to separate.
- Assembly: Take your pre-made graham cracker pie crust. Gently spoon the prepared cream cheese whipped cream mixture into the bottom of the crust. Use a small offset spatula or the back of a spoon to spread it out evenly, creating a smooth, consistent layer across the bottom.
- Once the pumpkin pudding is completely chilled and firm, give it a good stir to ensure it’s smooth and pliable. Carefully spoon this cooled pumpkin pudding on top of the cream cheese layer.
- Gently spread the pumpkin pudding out to create an even top layer, smoothing the surface for a polished look. Ensure the layers remain distinct.
- Chill and Serve: Place the assembled pie in the refrigerator to chill for at least 2 hours, or ideally, overnight. This crucial step allows the pie to set firmly, making it much easier to slice and ensuring perfect layers.
- Once the pie has thoroughly chilled and set, you can optionally garnish it with additional whipped cream rosettes around the edges using a piping bag, or simply dollop fresh whipped cream on individual slices. Slice, serve, and enjoy your delicious Double Layer Pumpkin Pie!
Did you make this recipe?
Be sure to tag @sweetkitchencravings on Instagram and share your delicious creation!

HI THERE!
I’m Rachel
I’m the dessert lover, recipe developer, and content creator behind Sweet Kitchen Cravings. Here you’ll find classic yet special recipes that are sure to impress your loved ones!
MORE ABOUT RACHEL
Facebook |
TikTok |
