This post may contain affiliate links. Please read my full disclosure policy.
Master the Art of Homemade Caramel: A Velvety Delight in 20 Minutes
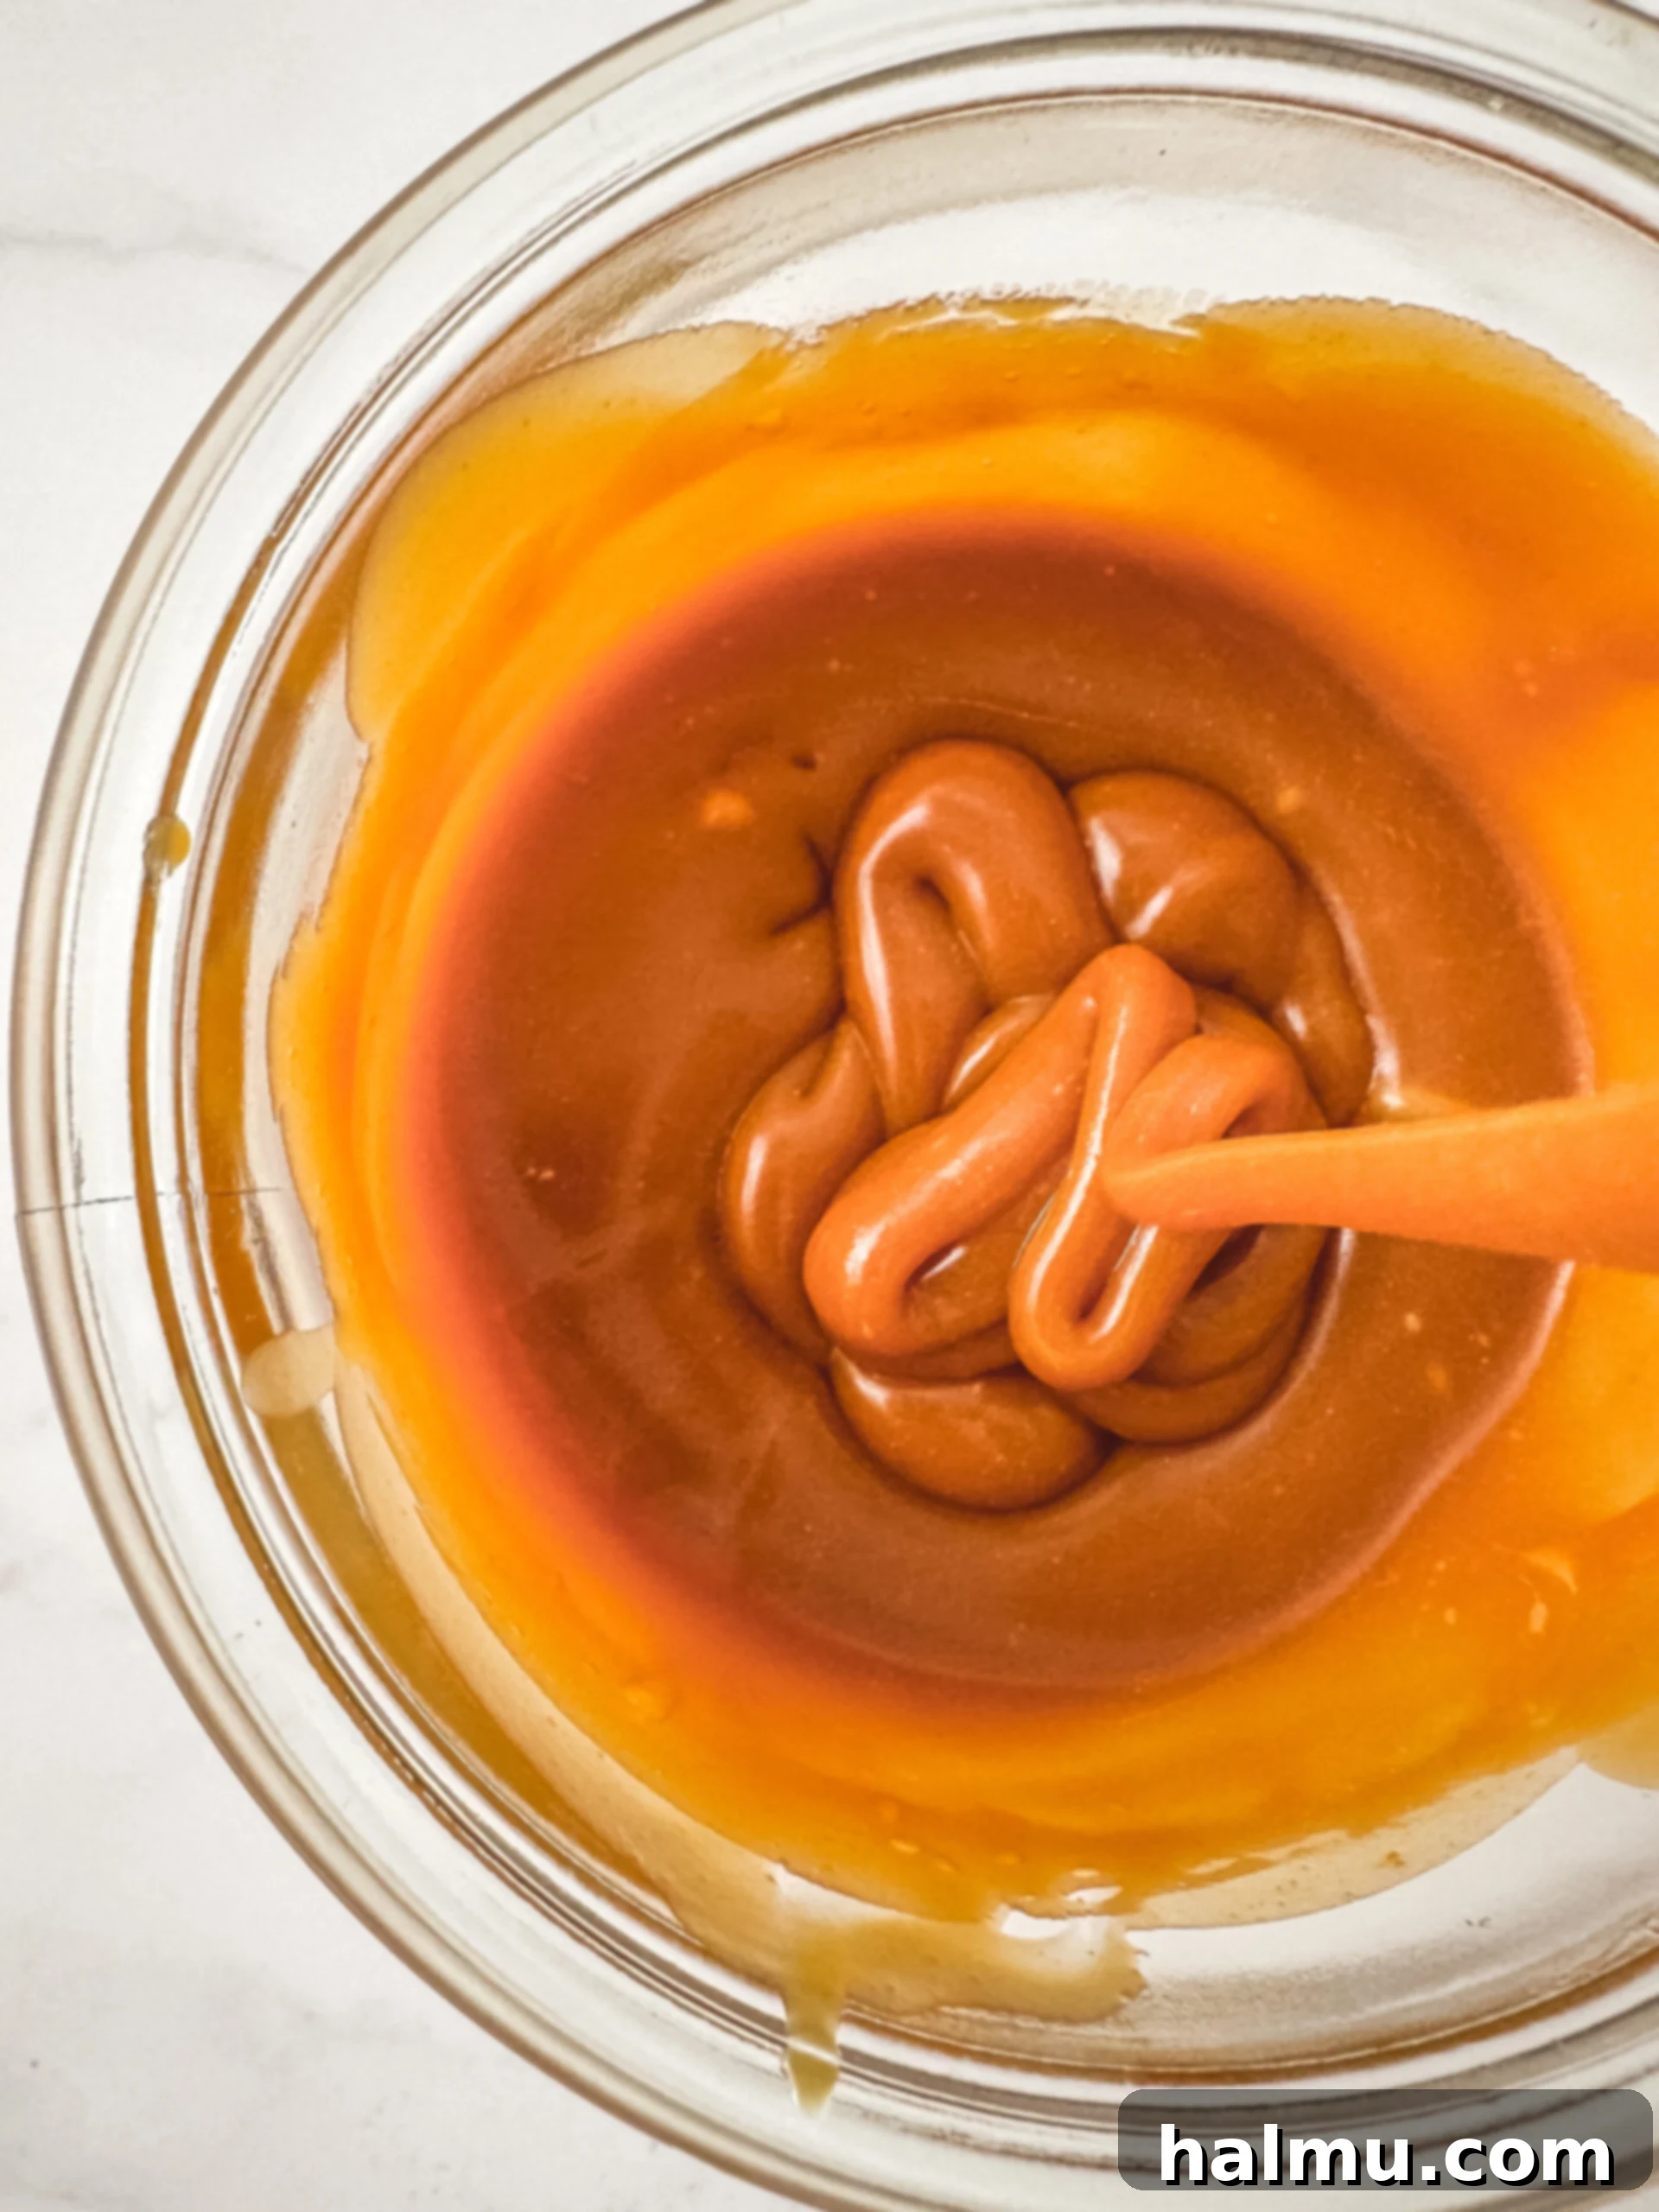
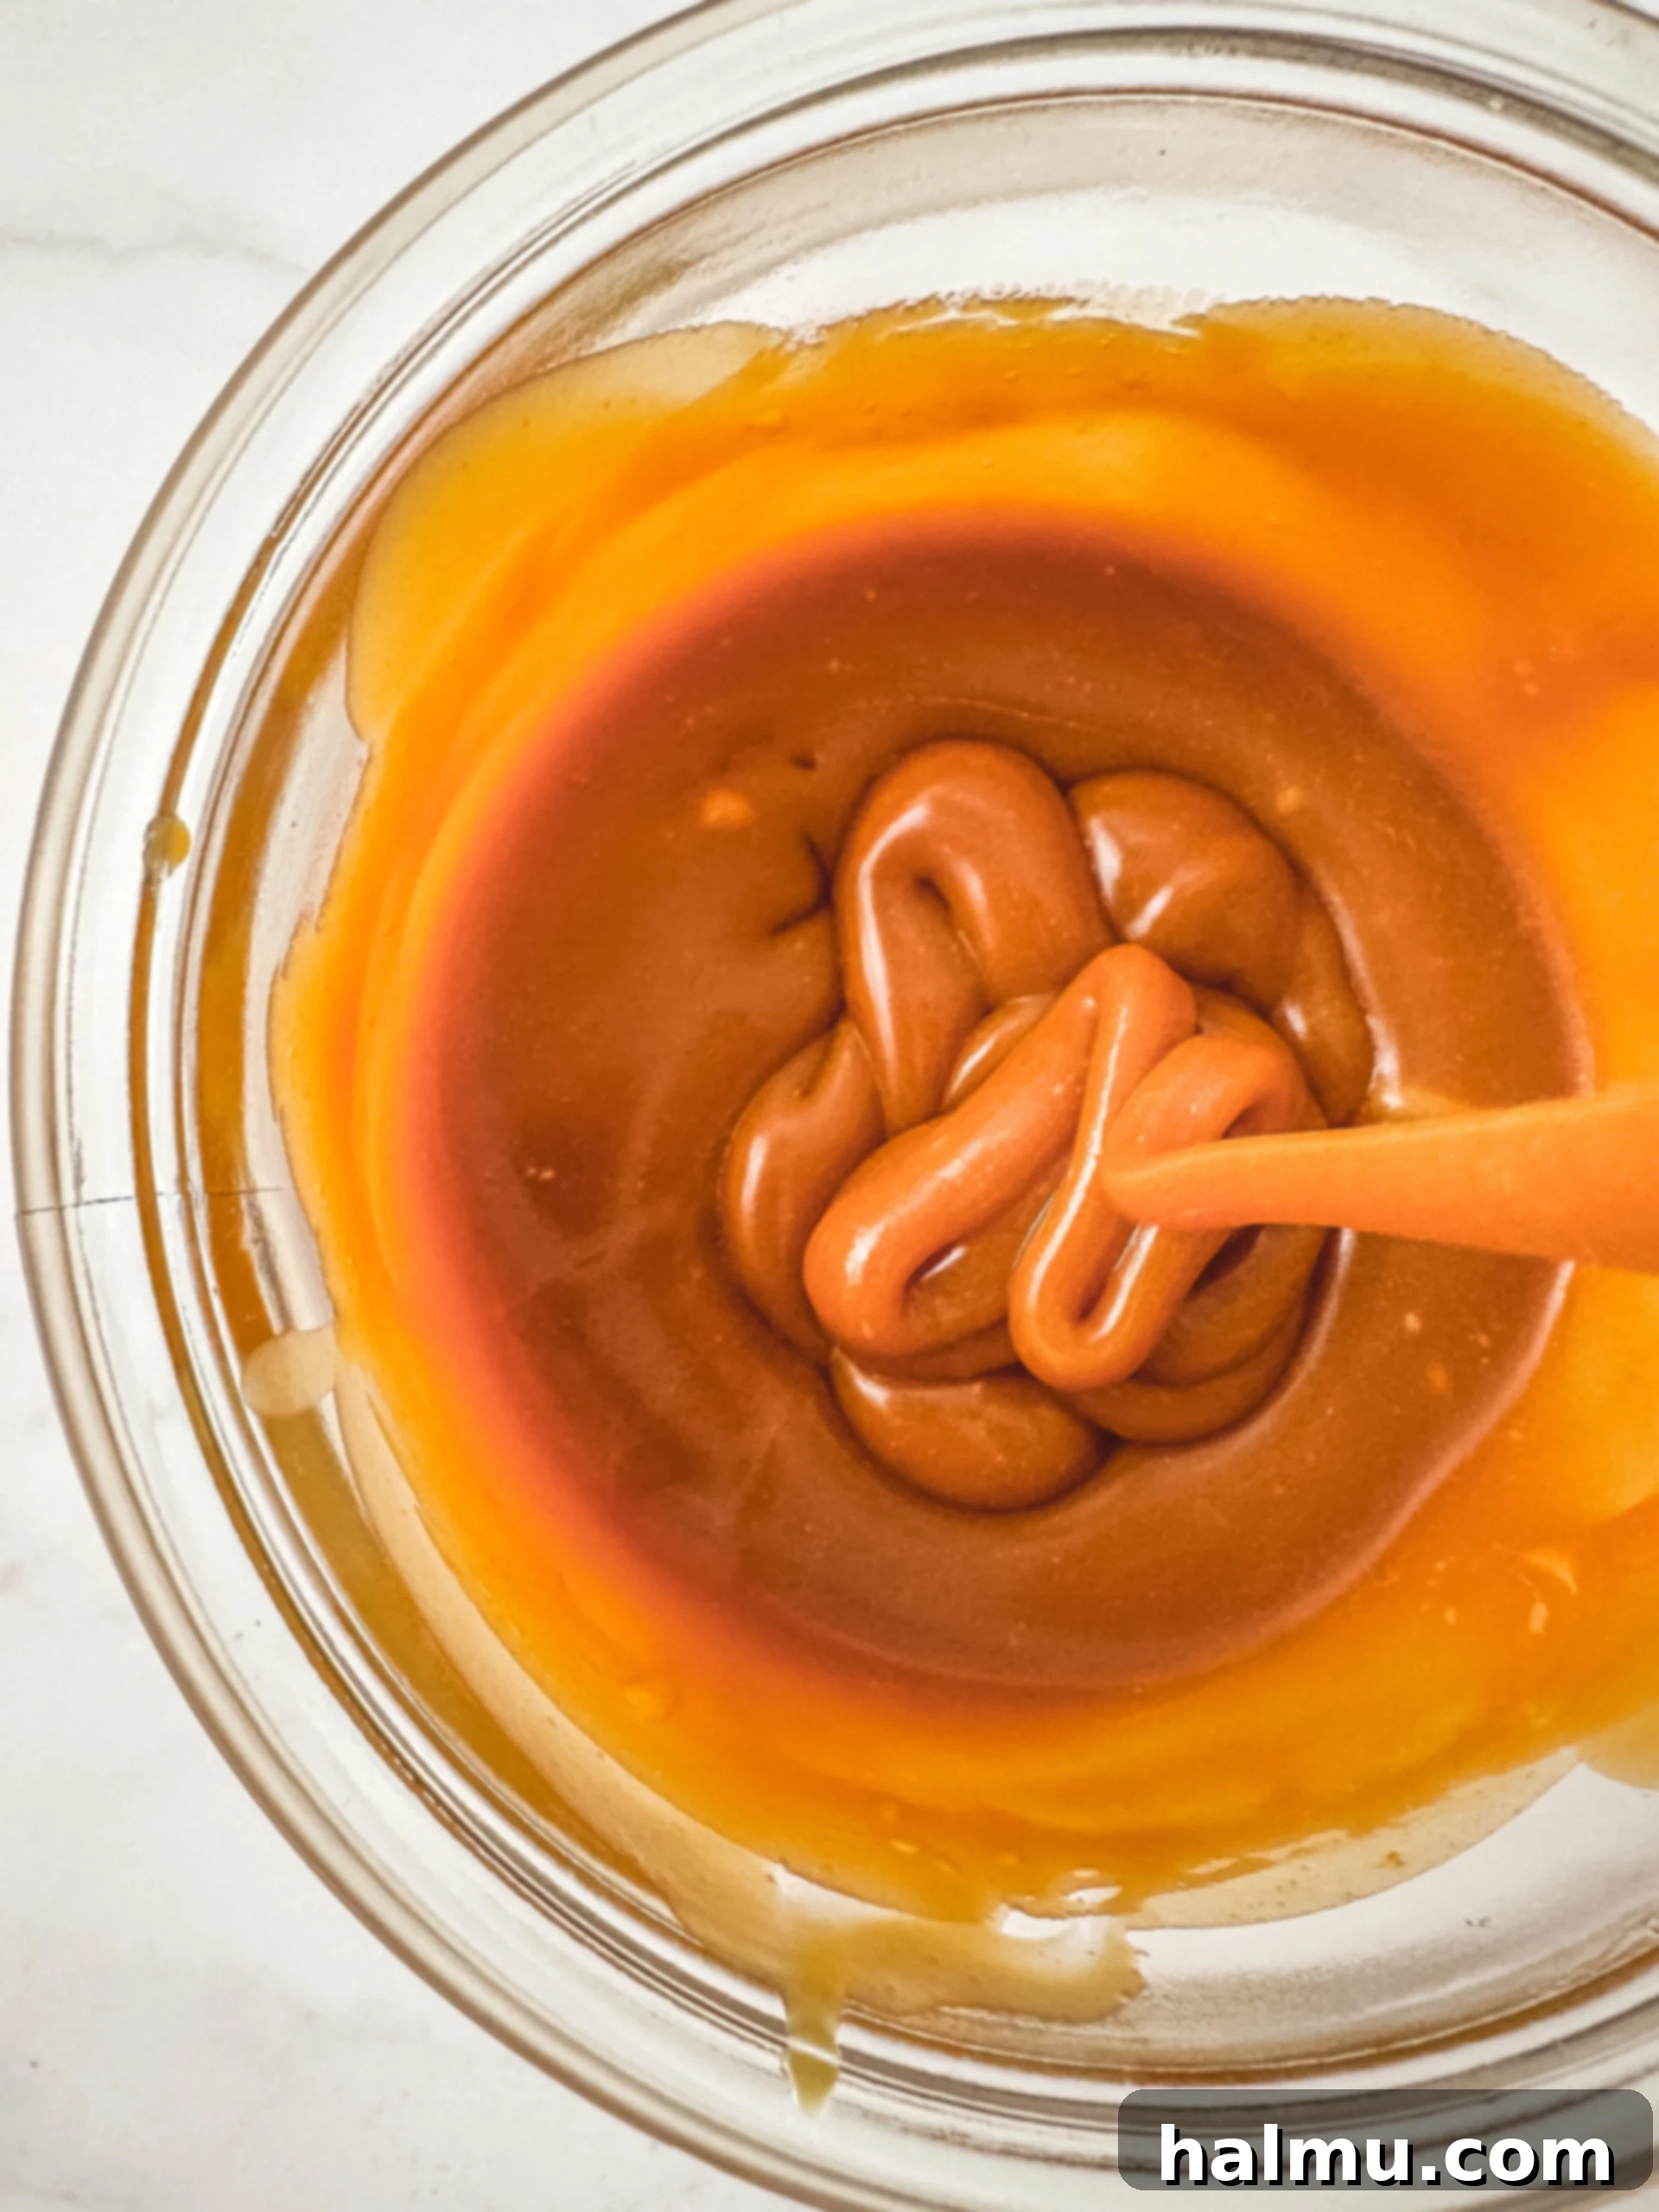
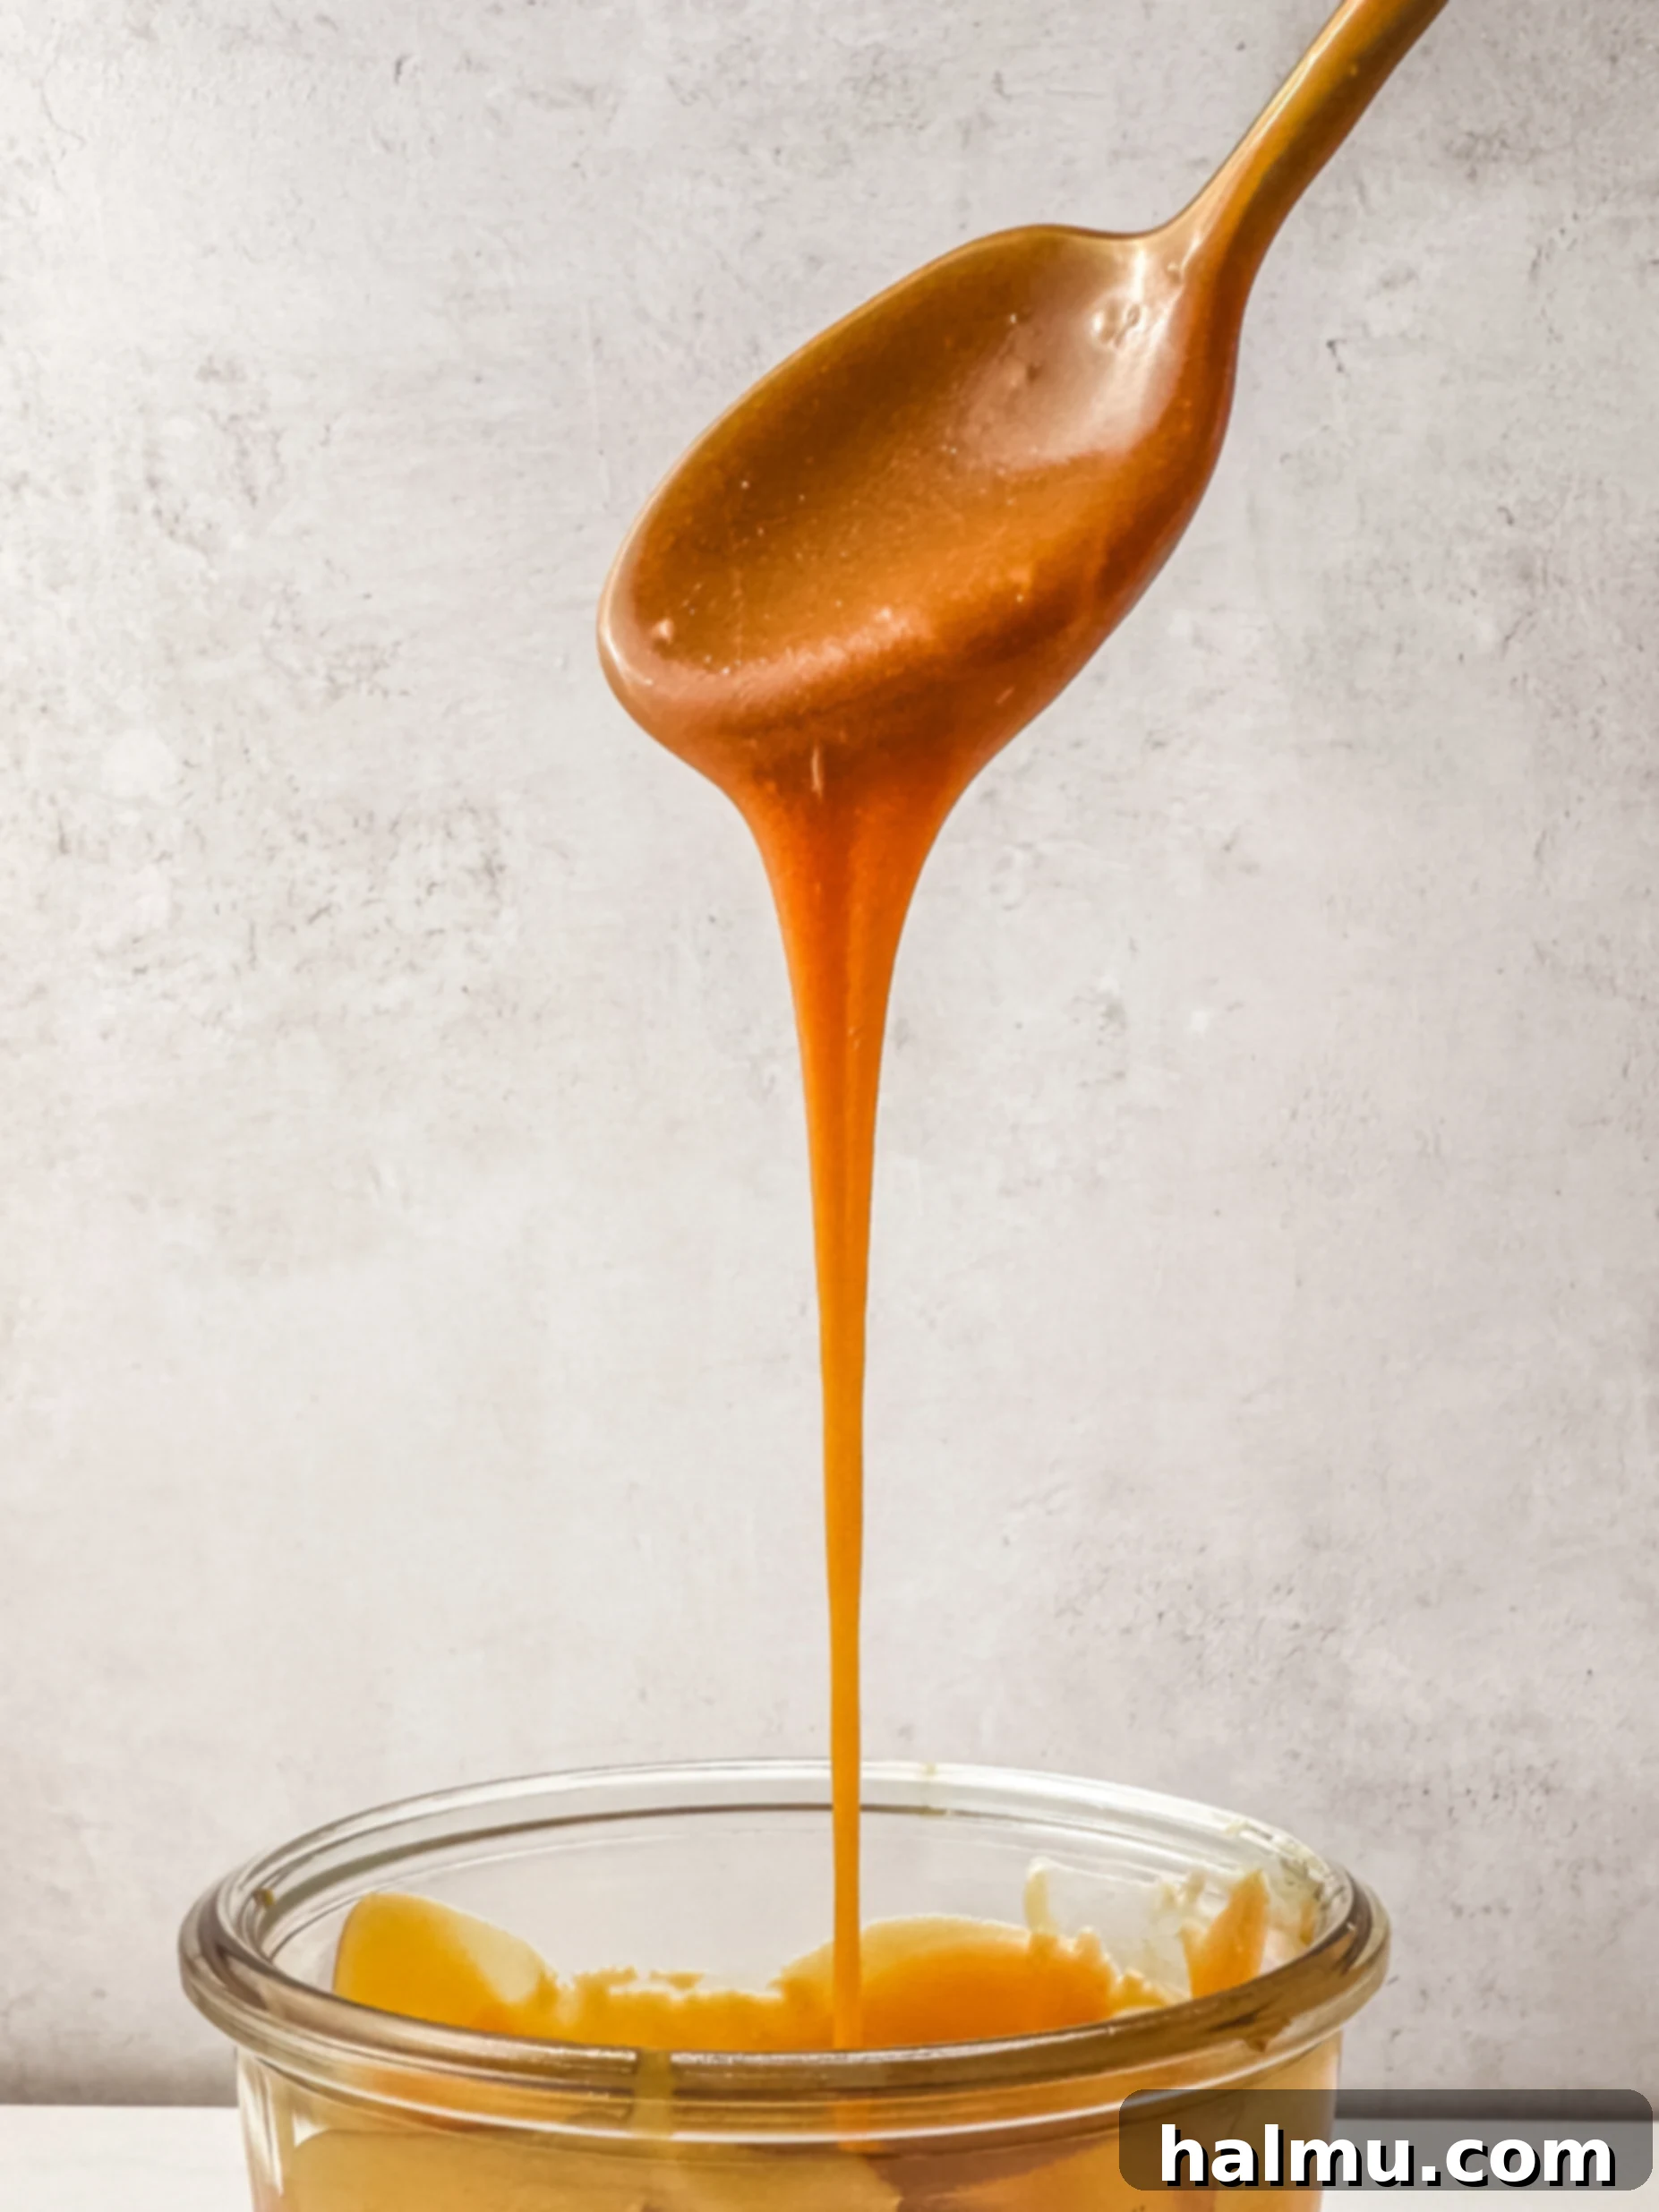
Unlock the secret to incredibly rich, creamy, and irresistibly thick homemade caramel. Forget the mediocre store-bought versions; this recipe promises a velvety sauce that’s astonishingly simple to whip up, requiring just five basic ingredients and about 20 minutes of your time. Once you experience the depth of flavor and luscious texture of freshly made caramel, your dessert game will be forever transformed. It’s not just a sauce; it’s an indulgence that elevates everything it touches.
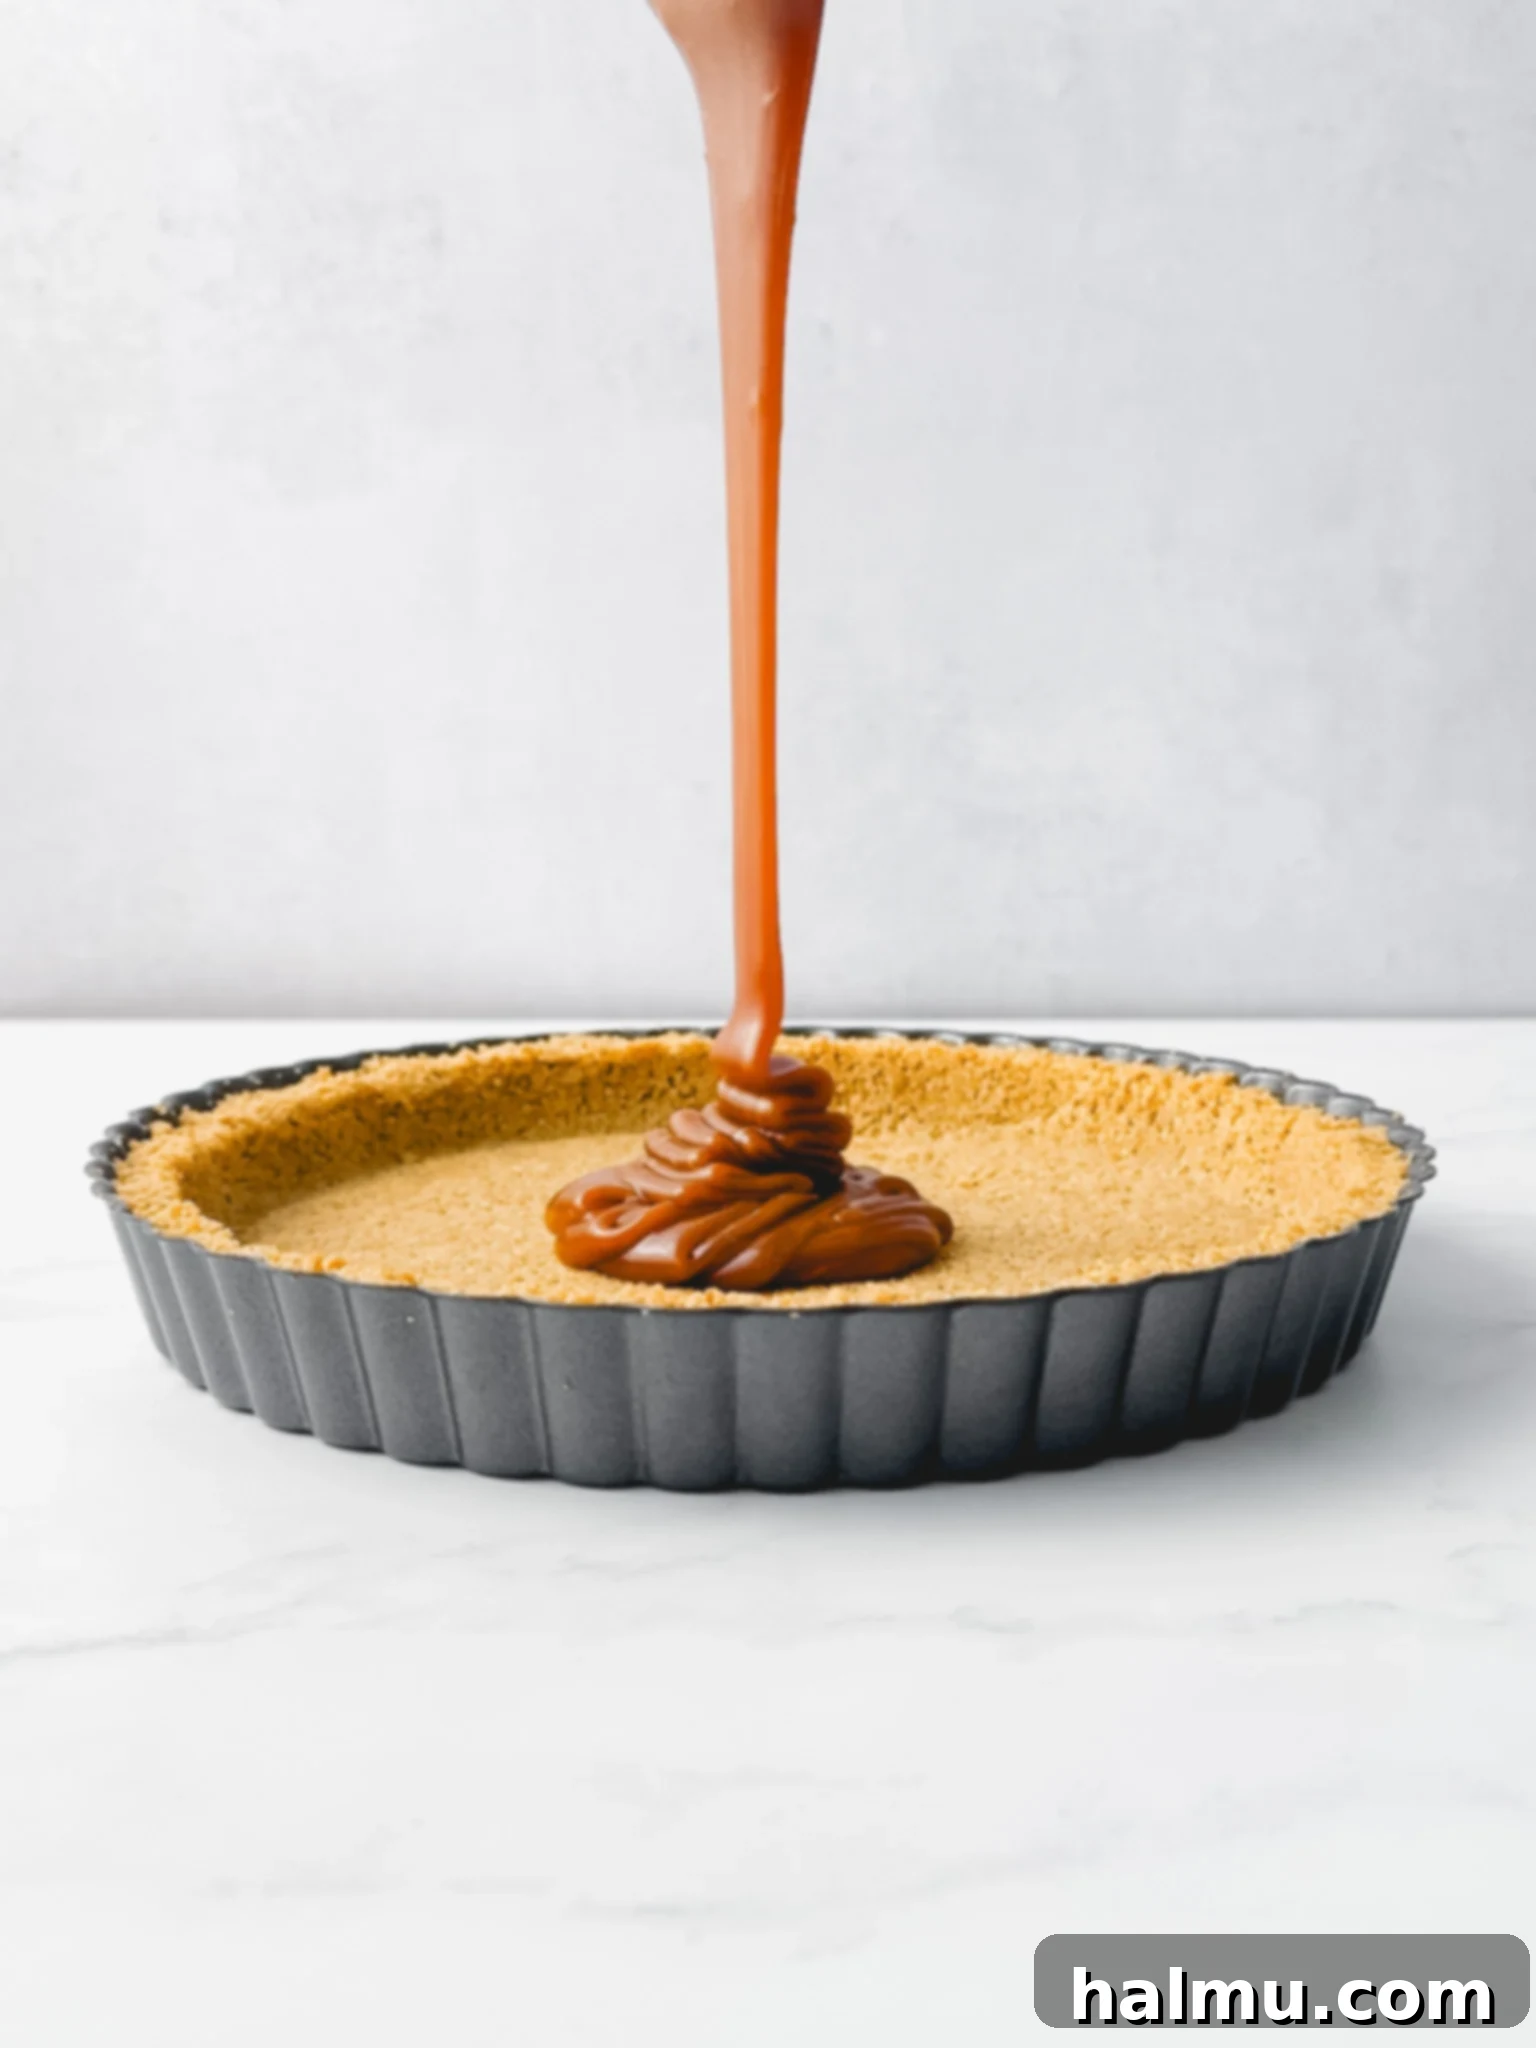
Homemade caramel offers unparalleled versatility. Serve it warm as a luxuriously smooth sauce, perfect for generously drizzling over scoops of vanilla bean ice cream, enhancing a classic apple pie, or adding a sophisticated touch to your favorite cakes. As it chills, this magical confection thickens to a stiffer consistency, making it ideal for more structural applications. Imagine it as a decadent filling for cupcakes and tarts, or spread lavishly atop a cheesecake for an unforgettable finish. Its golden hue and buttery aroma alone are enough to entice, promising a culinary experience far superior to any pre-packaged alternative.
Beyond its incredible taste, making caramel from scratch gives you complete control over the quality of ingredients and the final flavor profile. No artificial flavors, no preservatives — just pure, wholesome deliciousness. This straightforward recipe demystifies the process, turning what might seem like a daunting task into an enjoyable and rewarding kitchen adventure. Prepare to impress your friends and family, and most importantly, treat yourself to the sublime pleasure of the best homemade caramel you’ll ever taste!
Essential Ingredients for Perfect Homemade Caramel
Crafting the perfect batch of creamy caramel sauce starts with understanding the role of each key ingredient. Here’s a closer look at what makes our simple 5-ingredient recipe so effective and delicious:
- Granulated Sugar: This is the fundamental building block of any caramel. As the name suggests, caramel is essentially caramelized sugar. Using granulated sugar allows for precise control over the browning process, developing those deep, complex flavor notes we all crave. It’s crucial for achieving that characteristic golden-amber color and rich taste.
- Water: While it might seem counterintuitive to add water to sugar you intend to caramelize, a small amount is essential. Water helps the sugar dissolve uniformly and prevents premature crystallization, creating a stable syrup that boils evenly. Rest assured, the water will evaporate completely during the cooking process, leaving behind pure caramelized sugar.
- Unsalted Butter: Butter is a game-changer in caramel, contributing significantly to its richness, silkiness, and overall depth of flavor. Using unsalted butter allows you to control the exact amount of salt in your caramel, especially if you plan to make a salted caramel version. Cut into cubes and brought to room temperature, it incorporates smoothly into the hot sugar, contributing to the caramel’s delightful chewiness and glossy finish.
- Heavy Cream: This is the secret to achieving that signature creamy, luscious texture that defines exceptional caramel. Heavy cream (or whipping cream) has a high-fat content, which emulsifies with the caramelized sugar and butter, resulting in a smooth, velvety sauce. Ensure your cream is at room temperature to prevent the mixture from seizing or cooling down too rapidly when added to the hot sugar.
- Vanilla Extract: A touch of vanilla extract perfectly complements the sweet and nutty notes of caramel, adding a layer of aromatic complexity. While it’s added at the very end to preserve its delicate flavor, it plays a vital role in balancing the sweetness and enhancing the overall taste experience.
Step-by-Step Guide: Crafting Your Own Homemade Caramel
Making caramel can seem intimidating, but by following these detailed steps, you’ll achieve perfect results every time. Precision and attention are key!
1. Prepare and Cook the Sugar Syrup
Begin by combining the granulated sugar and water in a medium-sized, heavy-bottomed saucepan. A heavy-bottomed pan is crucial as it distributes heat more evenly, preventing hot spots that can lead to uneven caramelization or burning. Stir briefly just to moisten all the sugar. Next, use a clean pastry brush dipped in water to carefully brush down any sugar crystals clinging to the sides of the pan. This preventative step is vital to avoid crystallization later on, which can ruin your caramel. Place a lid on the saucepan and cook over medium heat. The lid traps steam, which helps dissolve any remaining sugar crystals on the sides. Crucially, resist the urge to stir the mixture once it begins to boil. Stirring can introduce air, causing the sugar to crystallize.
2. Caramelize the Sugar to Perfection
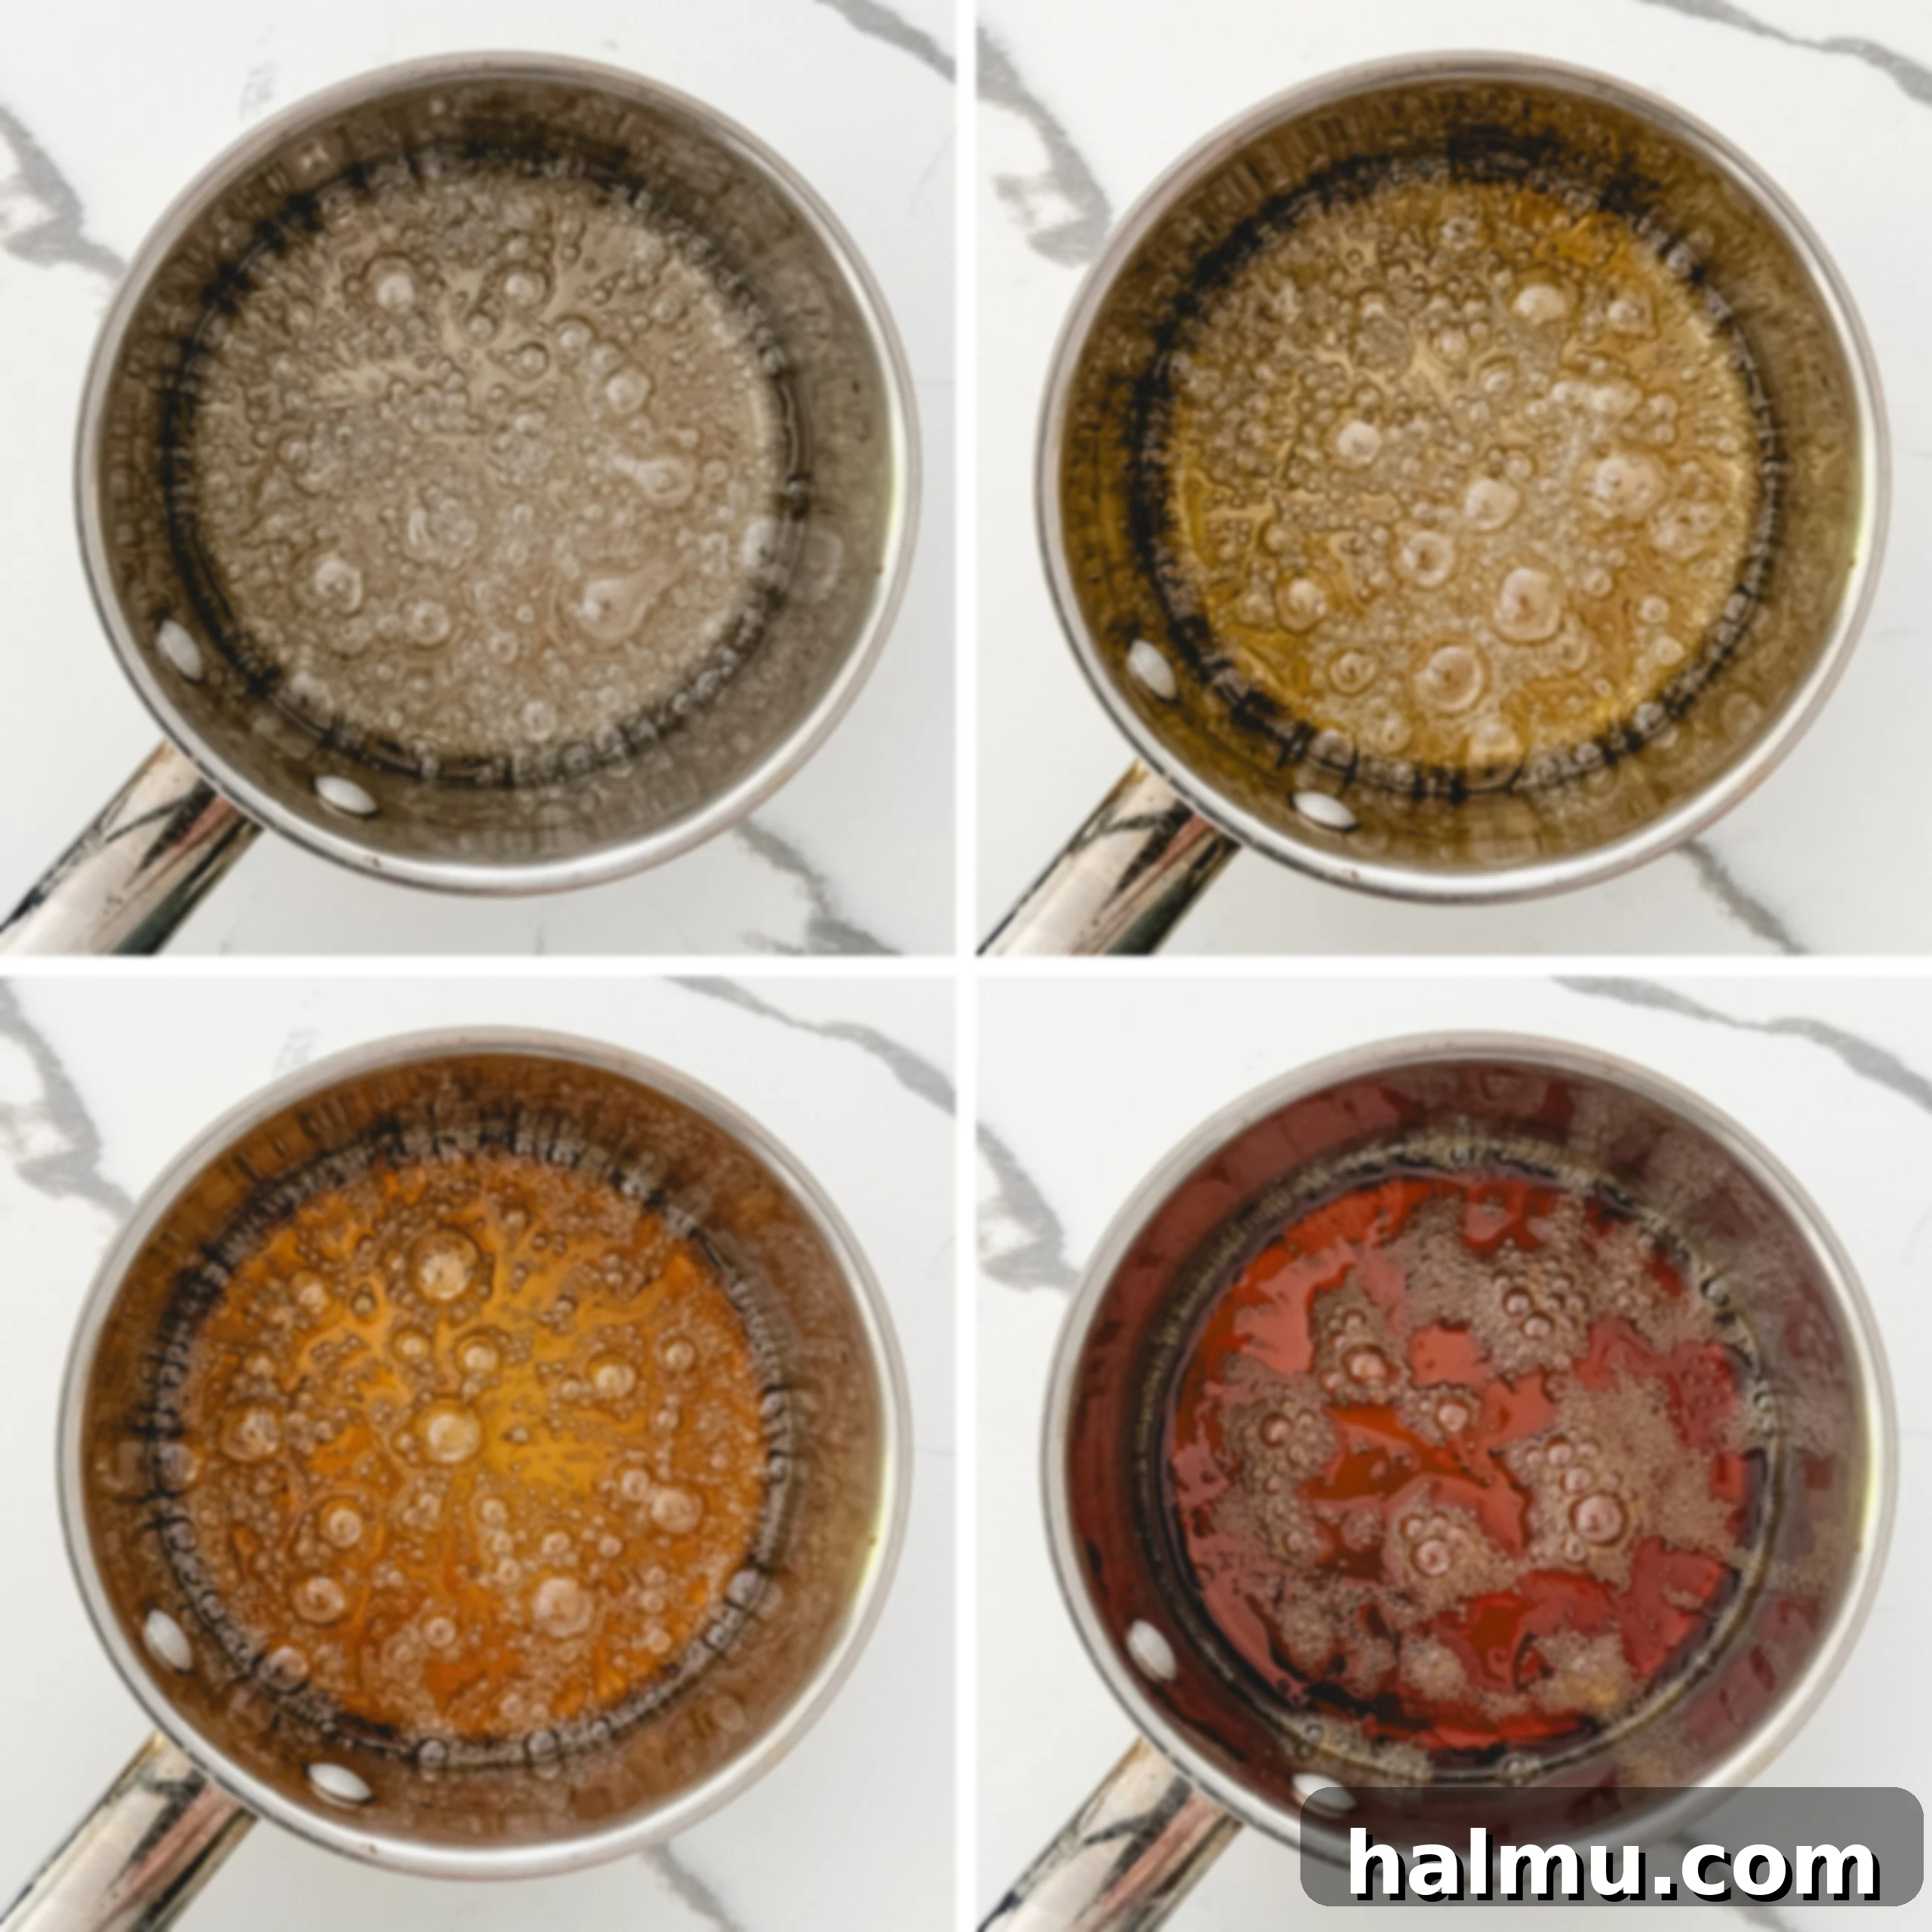
Allow the sugar to cook undisturbed under the lid until it reaches a clear boil. Once the sugar syrup is clear, you can remove the lid. Keep a close eye on the sugar as it continues to cook. You’ll notice it start to turn a light yellow, then gradually deepen in color. Gently swirl the pan occasionally to ensure even caramelization. This stage requires your full attention; sugar can go from perfectly golden to burnt in a matter of seconds. Look for a beautiful, deep golden amber color, similar to a penny. This indicates maximum flavor development without bitterness. As soon as it reaches this ideal shade, immediately remove the pan from the heat to stop the cooking process.
3. Incorporate Butter and Cream Safely
With the pan off the heat, carefully add the room-temperature butter cubes to the hot caramelized sugar. Be extremely cautious as the mixture will bubble up vigorously and release a lot of steam. This reaction is normal, but the steam can cause severe burns. Whisk continuously until the butter is fully melted and incorporated, creating a smooth, emulsified mixture. Once the butter is completely blended, slowly stream in the room-temperature heavy cream while continuing to whisk. Again, the mixture will bubble and steam, so maintain a safe distance. The cream will cool the caramel slightly and achieve that wonderfully creamy consistency. Finally, stir in the vanilla extract until fully combined.

4. Strain and Chill for Optimal Texture
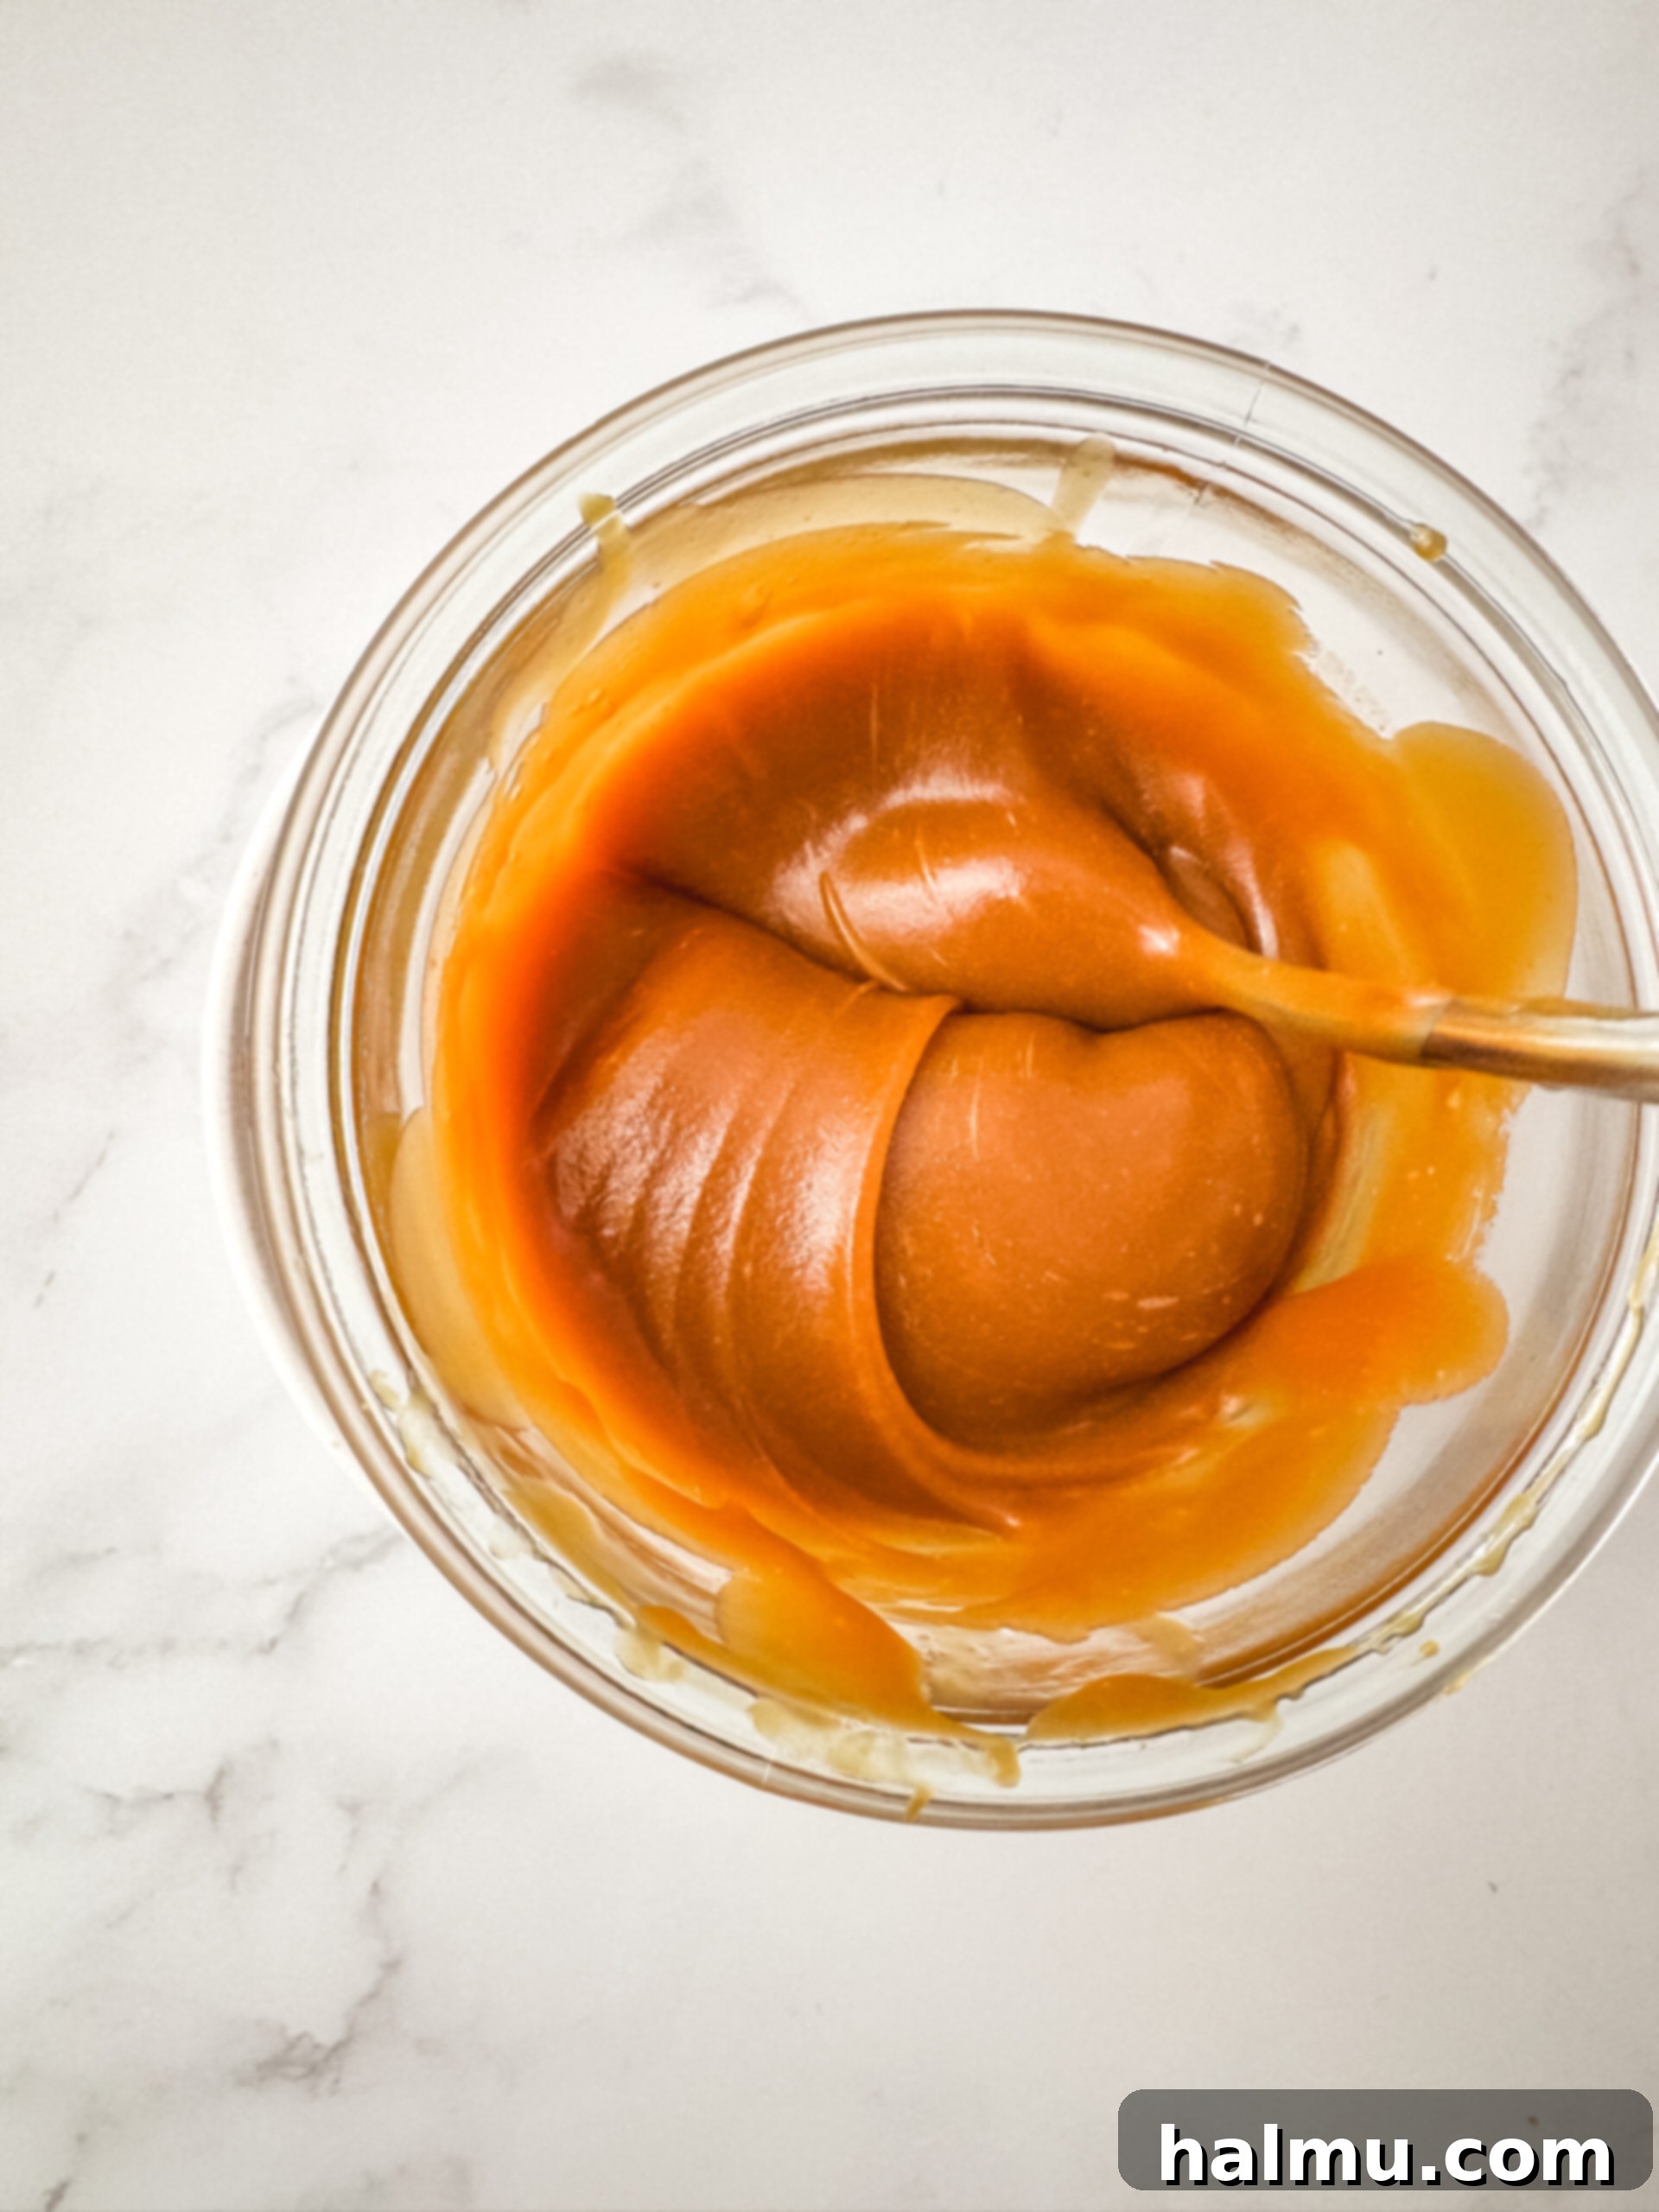
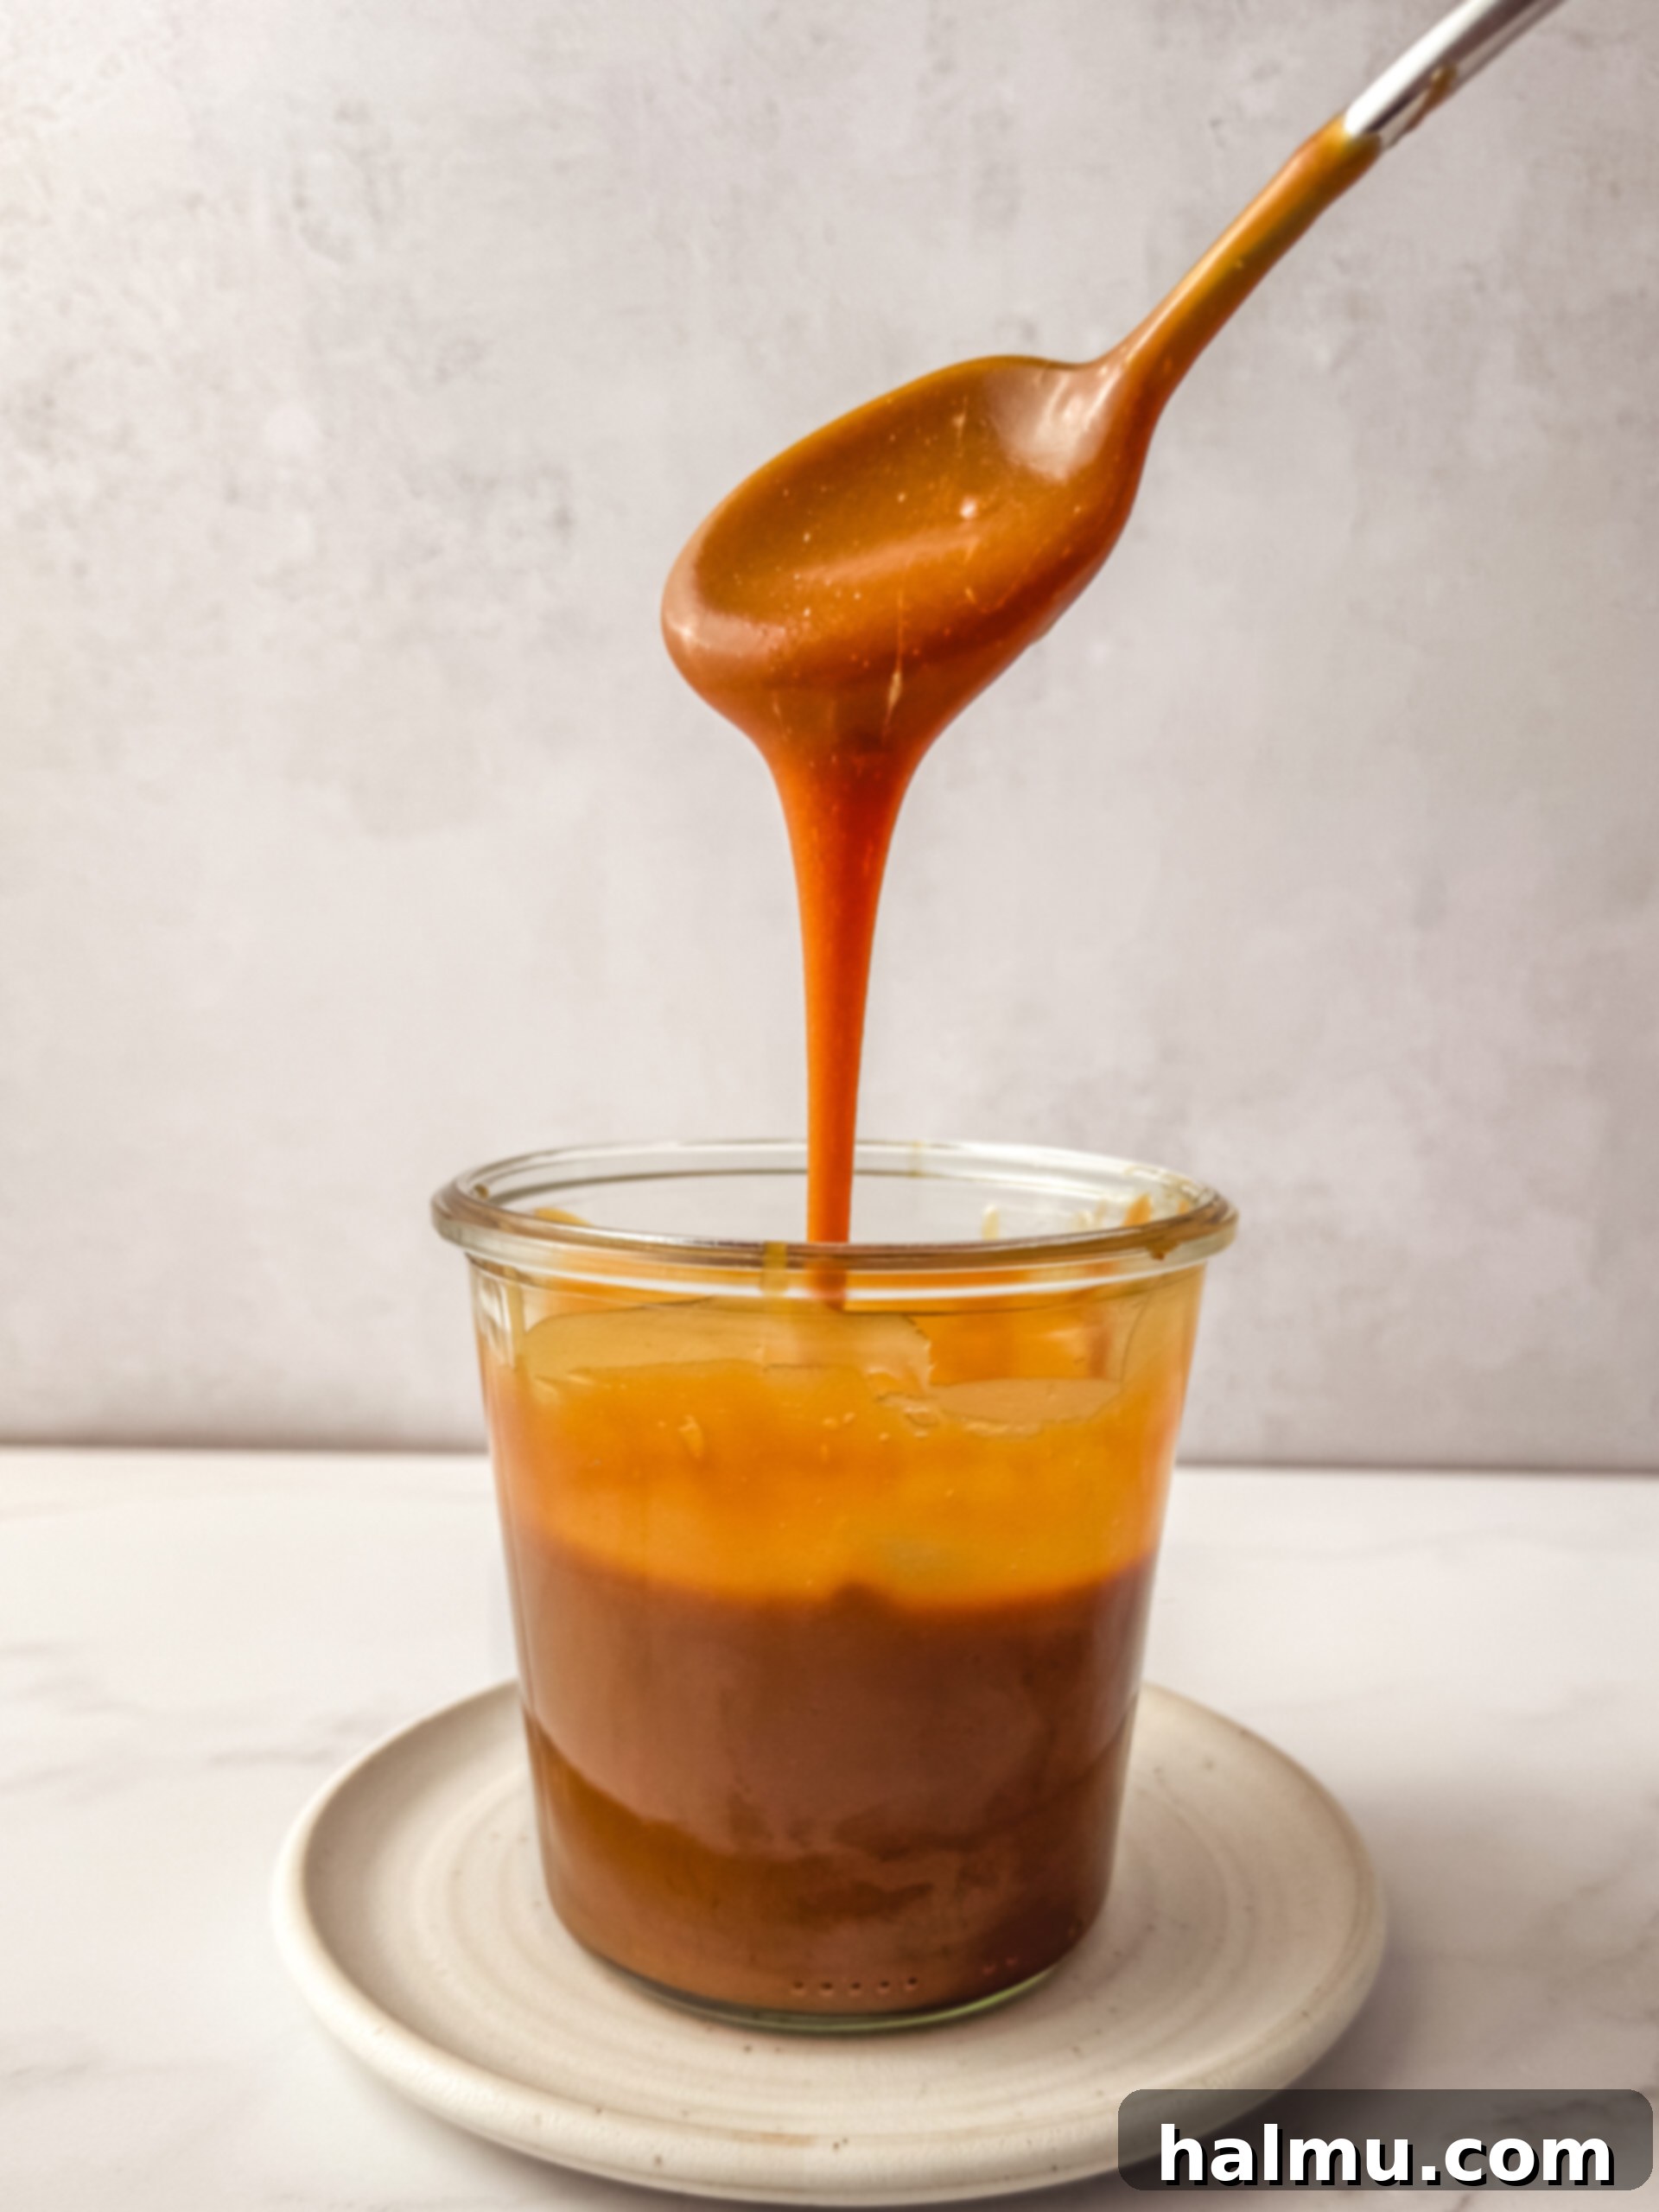
To ensure a silky-smooth caramel, pour the freshly made caramel through a fine-mesh sieve into a heat-proof container, such as a glass jar or a sturdy bowl. This step catches any tiny bits of crystallized sugar or butter solids that might affect the texture. You can serve the caramel immediately while it’s warm and pourable, perfect for drizzling. Alternatively, allow it to cool completely at room temperature before transferring it to the fridge. Chilling the caramel will cause it to thicken considerably, reaching a consistency that’s ideal for fillings, spreading, or shaping. Enjoy your perfectly crafted homemade caramel!

Homemade Caramel FAQs
Here are answers to some common questions about making and using homemade caramel:
How long does homemade caramel keep?
Store your homemade caramel in an airtight container in the refrigerator for up to 2 weeks. For longer storage, it can be frozen for up to 3 months. Always ensure it’s fully cooled before refrigerating or freezing.
How can I make this into salted caramel?
To transform your delicious homemade caramel into a salted caramel sensation, simply add ½ teaspoon of flaky sea salt (like Maldon brand) after straining the mixture into its container. Do not add the salt before straining, as the flaky pieces might get caught in the sieve. Stir it in, and just like that, you’ve got a perfectly balanced salted caramel!
Can I reheat the caramel?
Absolutely! Once the caramel has set up in the fridge, it will be quite firm. To soften it, you can gently reheat it. For small amounts, microwave it in 15-20 second increments, stirring well in between, until it reaches your desired consistency. For larger batches, place the container in a warm water bath or gently heat it in a saucepan over very low heat, stirring constantly, until it’s pourable. Always be careful not to overheat it.
How will I know if the sugar is crystallizing?
Sugar crystallization is identifiable by small, grainy clumps that begin to form on the sides of the pan or within the syrup. When you look closely, you might see a cloudy white layer or thin, glassy crystals across the top of the mixture. If left unchecked, these crystals can spread throughout the entire batch, giving your caramel a gritty texture.
What can I do if the sugar crystallizes?
Don’t despair if your sugar starts to crystallize! You can often rescue it. Slowly drizzle 1-2 tablespoons of hot water over the top of the sugar mixture in the pan. The additional water helps dissolve the sugar crystals. Cover the pan with a lid for a minute or two to let the steam work its magic, then gently swirl. Add a small amount more water as needed until the sugar crystals dissolve and the syrup boils clear and translucent again. The extra water will eventually evaporate, so it won’t affect the final thickness of your caramel.
Do I need a candy thermometer to make caramel?
No, this particular recipe is designed to be made without a candy thermometer. We rely on visual cues — specifically, the color of the caramel — to determine when it’s ready. This method requires a watchful eye, as the sugar can quickly go from a perfect deep golden amber to burnt and bitter. With a little practice, you’ll learn to recognize that ideal copper-like shade for removing it from the heat.
What kind of saucepan should I use?
A heavy-bottomed, light-colored stainless steel saucepan is ideal. The heavy bottom ensures even heat distribution, preventing scorching. A light-colored interior makes it easier to observe the subtle color changes of the caramel as it cooks, which is crucial for achieving the perfect amber hue.
Top Tips for the Best Homemade Caramel
Achieving consistently perfect caramel sauce is easier with these expert tips:
- Meticulous Preparation (Mise en Place): Before you even turn on the stove, ensure all your ingredients are measured out and your tools are ready. This includes having your butter cut into small cubes and at room temperature, your heavy cream at room temperature, and a pastry brush with a small cup of water at hand. Caramelization happens quickly, and you won’t have time to scramble for ingredients once the sugar starts cooking. This preparedness is key for safety and success.
- Stay Engaged & Don’t Wander: Making caramel demands your undivided attention. Once the sugar begins to caramelize and change color, do not step away from the stove. The transition from perfectly golden to acridly burnt can occur in a matter of seconds. Keep a watchful eye on the color, especially after removing the lid, and be ready to act quickly.
- Prevent Crystallization with a Wet Brush: Regularly brushing down the sides of the saucepan with a wet pastry brush is the most effective defense against sugar crystallization. Any stray sugar crystals on the pan’s edges can act as “seeds,” causing the entire batch to crystallize and become grainy. The initial lid-on cooking also helps by creating steam that washes down the sides of the pan.
- Use Room Temperature Dairy: Ensure both your butter and heavy cream are at room temperature. Adding cold dairy to hot sugar can cause the mixture to seize, creating a hard, lumpy caramel. Room temperature ingredients blend smoothly and reduce the risk of dramatic temperature shock.
- Embrace the Whisk: Once the butter and cream are added, vigorous and continuous whisking is essential. This helps to emulsify the fat and sugar, creating a smooth, homogenous sauce free of lumps. Keep whisking until the mixture is uniform and silky.
- Safety First: Remember that hot sugar is extremely hot and can cause severe burns. Always add butter and cream carefully, standing back to avoid steam, and use oven mitts if handling the hot pan. Never touch the hot caramel directly.
Baking Tip: Weigh Your Ingredients!
For the most consistent and professional baking results, I highly recommend using a kitchen scale to weigh your ingredients rather than relying on measuring cups. Weighing ingredients in grams offers superior accuracy, leading to more consistent outcomes and a higher success rate with your recipes, every single time. As an added bonus, using a scale often means fewer measuring utensils to wash, simplifying your cleanup! I provide gram measurements in all my recipes, and this is the scale I love to use in my kitchen.
More Delicious Ways to Use Homemade Caramel
Once you’ve made a batch of this luscious homemade caramel, you’ll find endless opportunities to enjoy its rich flavor. Here are some inspiring ideas:
- Salted Caramel S’mores Tart: Elevate this classic dessert with a layer of homemade salted caramel.
- Ice Cream Topping: Drizzle generously over your favorite ice cream flavor for an instant upgrade.
- Fruit Enhancement: Serve as a dipping sauce for apple slices or other fresh fruits.
- Drizzle over Apple Cranberry Crisp: A warm, buttery crisp becomes extraordinary with a caramel finish.
- Cheesecake Topping: Pour over a plain cheesecake for a show-stopping dessert.
- Coffee and Beverage Booster: Stir into coffee, lattes, or hot cocoa for a gourmet touch.
- Serve with warm bread pudding: The ultimate comfort food pairing.
- Layer in Caramel Pecan Bars: Add an extra layer of decadence to these already irresistible treats.
- Caramel Apples: Dip whole apples for a classic fall treat.
- Milkshakes and Smoothies: Blend into your favorite creamy drinks for a caramel twist.
- Glaze for Roasted Nuts: Toss warm roasted nuts with a bit of caramel for a sweet and savory snack.
The possibilities are truly endless! Feel free to experiment and discover your own favorite ways to incorporate this versatile and delicious caramel into your culinary creations.
If you make this recipe and love it, be sure to leave a comment below and share your experience. Happy caramel making!
Homemade Caramel Recipe
Creamy Homemade Caramel is thick, rich, and velvety. It’s perfect for incorporating into desserts, drizzling over ice cream, topping cheesecake, and so much more!
Author: Rachel
Print Recipe
Rate This Recipe
—————————————
Prep Time: 5 mins
Cook Time: 15 mins
Total Time: 20 mins
—————————————
Yield: 1.5 cups
Ingredients
- 1 cup (200g) granulated sugar
- ¼ cup (60mL) water
- 6 Tablespoons (85g) unsalted butter, at room temperature and cut into cubes
- ½ cup (120mL) heavy cream, at room temperature
- 1 teaspoon vanilla extract
Instructions
- Combine sugar and water in a small stainless steel saucepan and place over medium heat. Brush down the sides of the pan with water using a pastry brush, to prevent the sugar from crystallizing.
- Place the lid on and allow the mixture to cook undisturbed (do not stir!). Check frequently on the sugar and brush down the sides of the pan with water as needed. The mixture will be cloudy at first, then boil and become clear, before starting to caramelize. Swirl the pan occasionally once the sugar begins to caramelize.
- As soon as the sugar reaches a deep golden amber color, remove it from the heat.
- Once off the heat, carefully add the butter and whisk until combined. Slowly stream in the heavy cream while continually whisking. The mixture will bubble up vigorously when adding the butter and cream but will settle once incorporated. Stir in the vanilla.
- Pour the caramel through a fine mesh sieve into a heatproof container.
- Use the caramel warm or chill in the fridge to thicken.
Notes
- For thicker caramel like I use in my Salted Caramel S’mores Tart, only add 1/3 cup (80mL) heavy cream.
- For salted caramel, add 1/2 teaspoon flaky sea salt, such as Maldon brand.
Did you make this recipe?
Be sure to tag @sweetkitchencravings on Instagram!

HI THERE!
I’m Rachel
I’m the dessert lover, recipe developer, and content creator behind Sweet Kitchen Cravings. Here you’ll find classic yet special recipes that are sure to impress your loved ones!
MORE ABOUT RACHEL
Learn more about Rachel
TikTok
