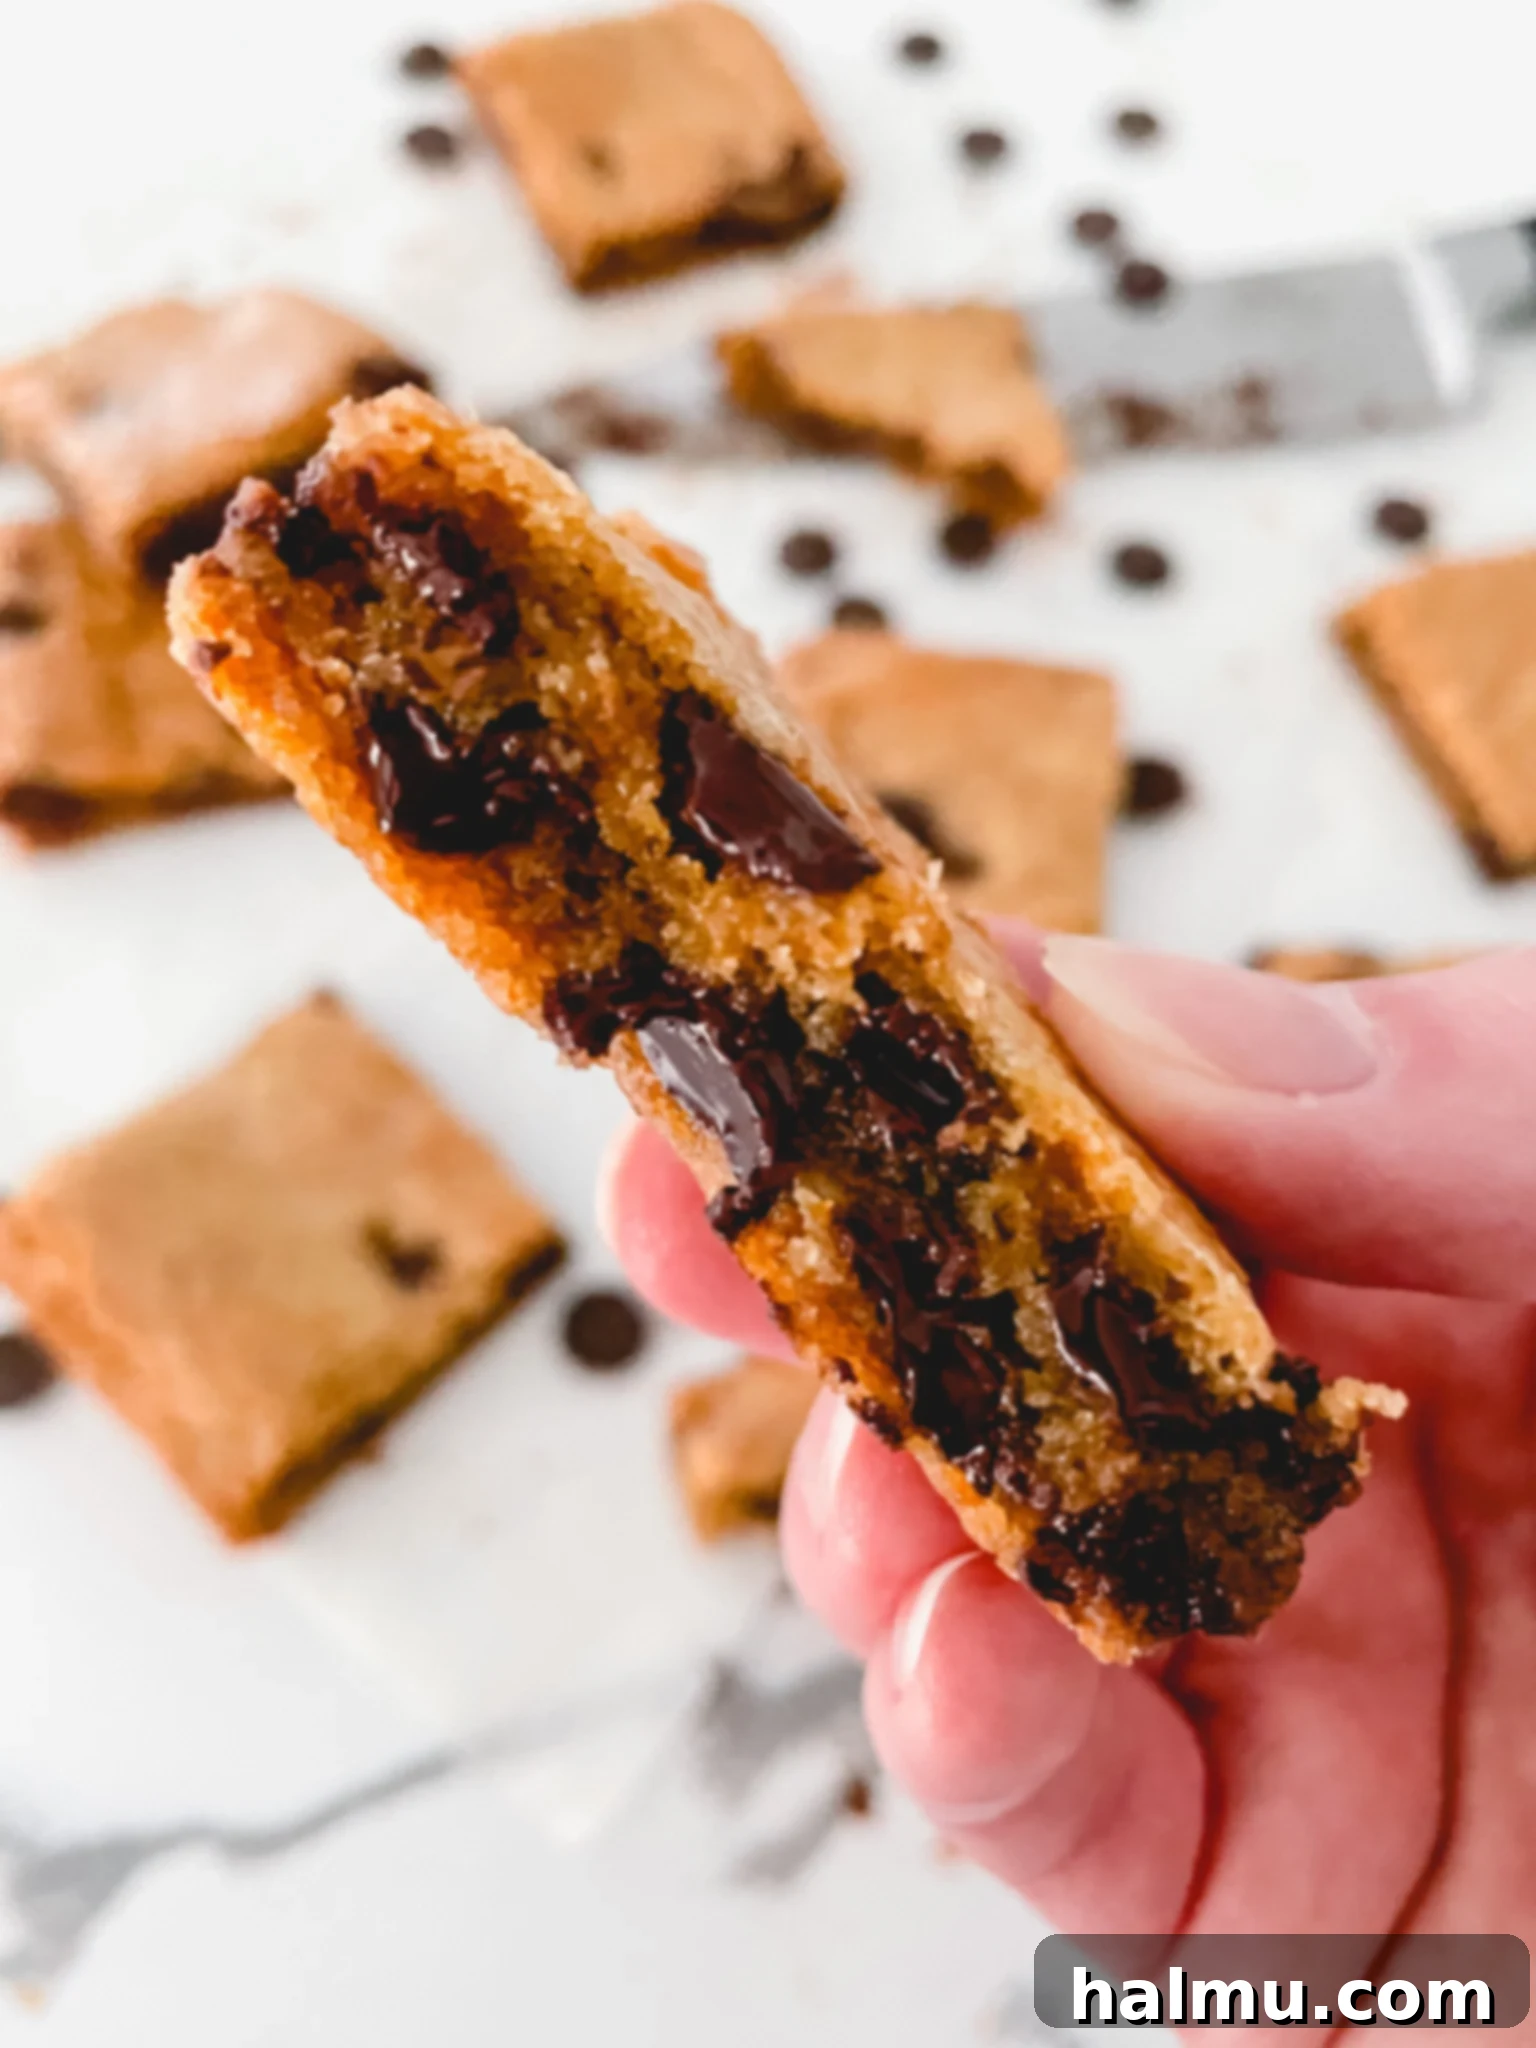
Indulge in Perfection: The Ultimate Brown Butter Blondie Bars Recipe
Prepare yourself for a truly delightful experience with our exquisite Brown Butter Blondie Bars. These aren’t just any sweet treat; they are a symphony of flavors and textures – incredibly chewy, delightfully soft, and infused with a rich, nutty brown butter essence. Imagine the perfect cross between a decadent brownie and a classic chocolate chip cookie, but even better, because these blondies are unbelievably easy to make. In fact, you can whip up a batch using just one bowl, making cleanup a breeze. Who doesn’t love a recipe that minimizes dishes?
Beyond their simple preparation, these blondie bars offer unparalleled versatility. The possibilities for add-ins are virtually limitless. Whether you prefer rich dark chocolate, creamy milk chocolate, nostalgic butterscotch chips, colorful candies, crunchy nuts, or chewy dried fruits, you can customize these blondies to perfectly suit your cravings. While we have countless ideas for future blondie creations, this classic Brown Butter Chocolate Chip Blondie recipe stands as a testament to timeless deliciousness, promising to become a cherished favorite in your baking repertoire.
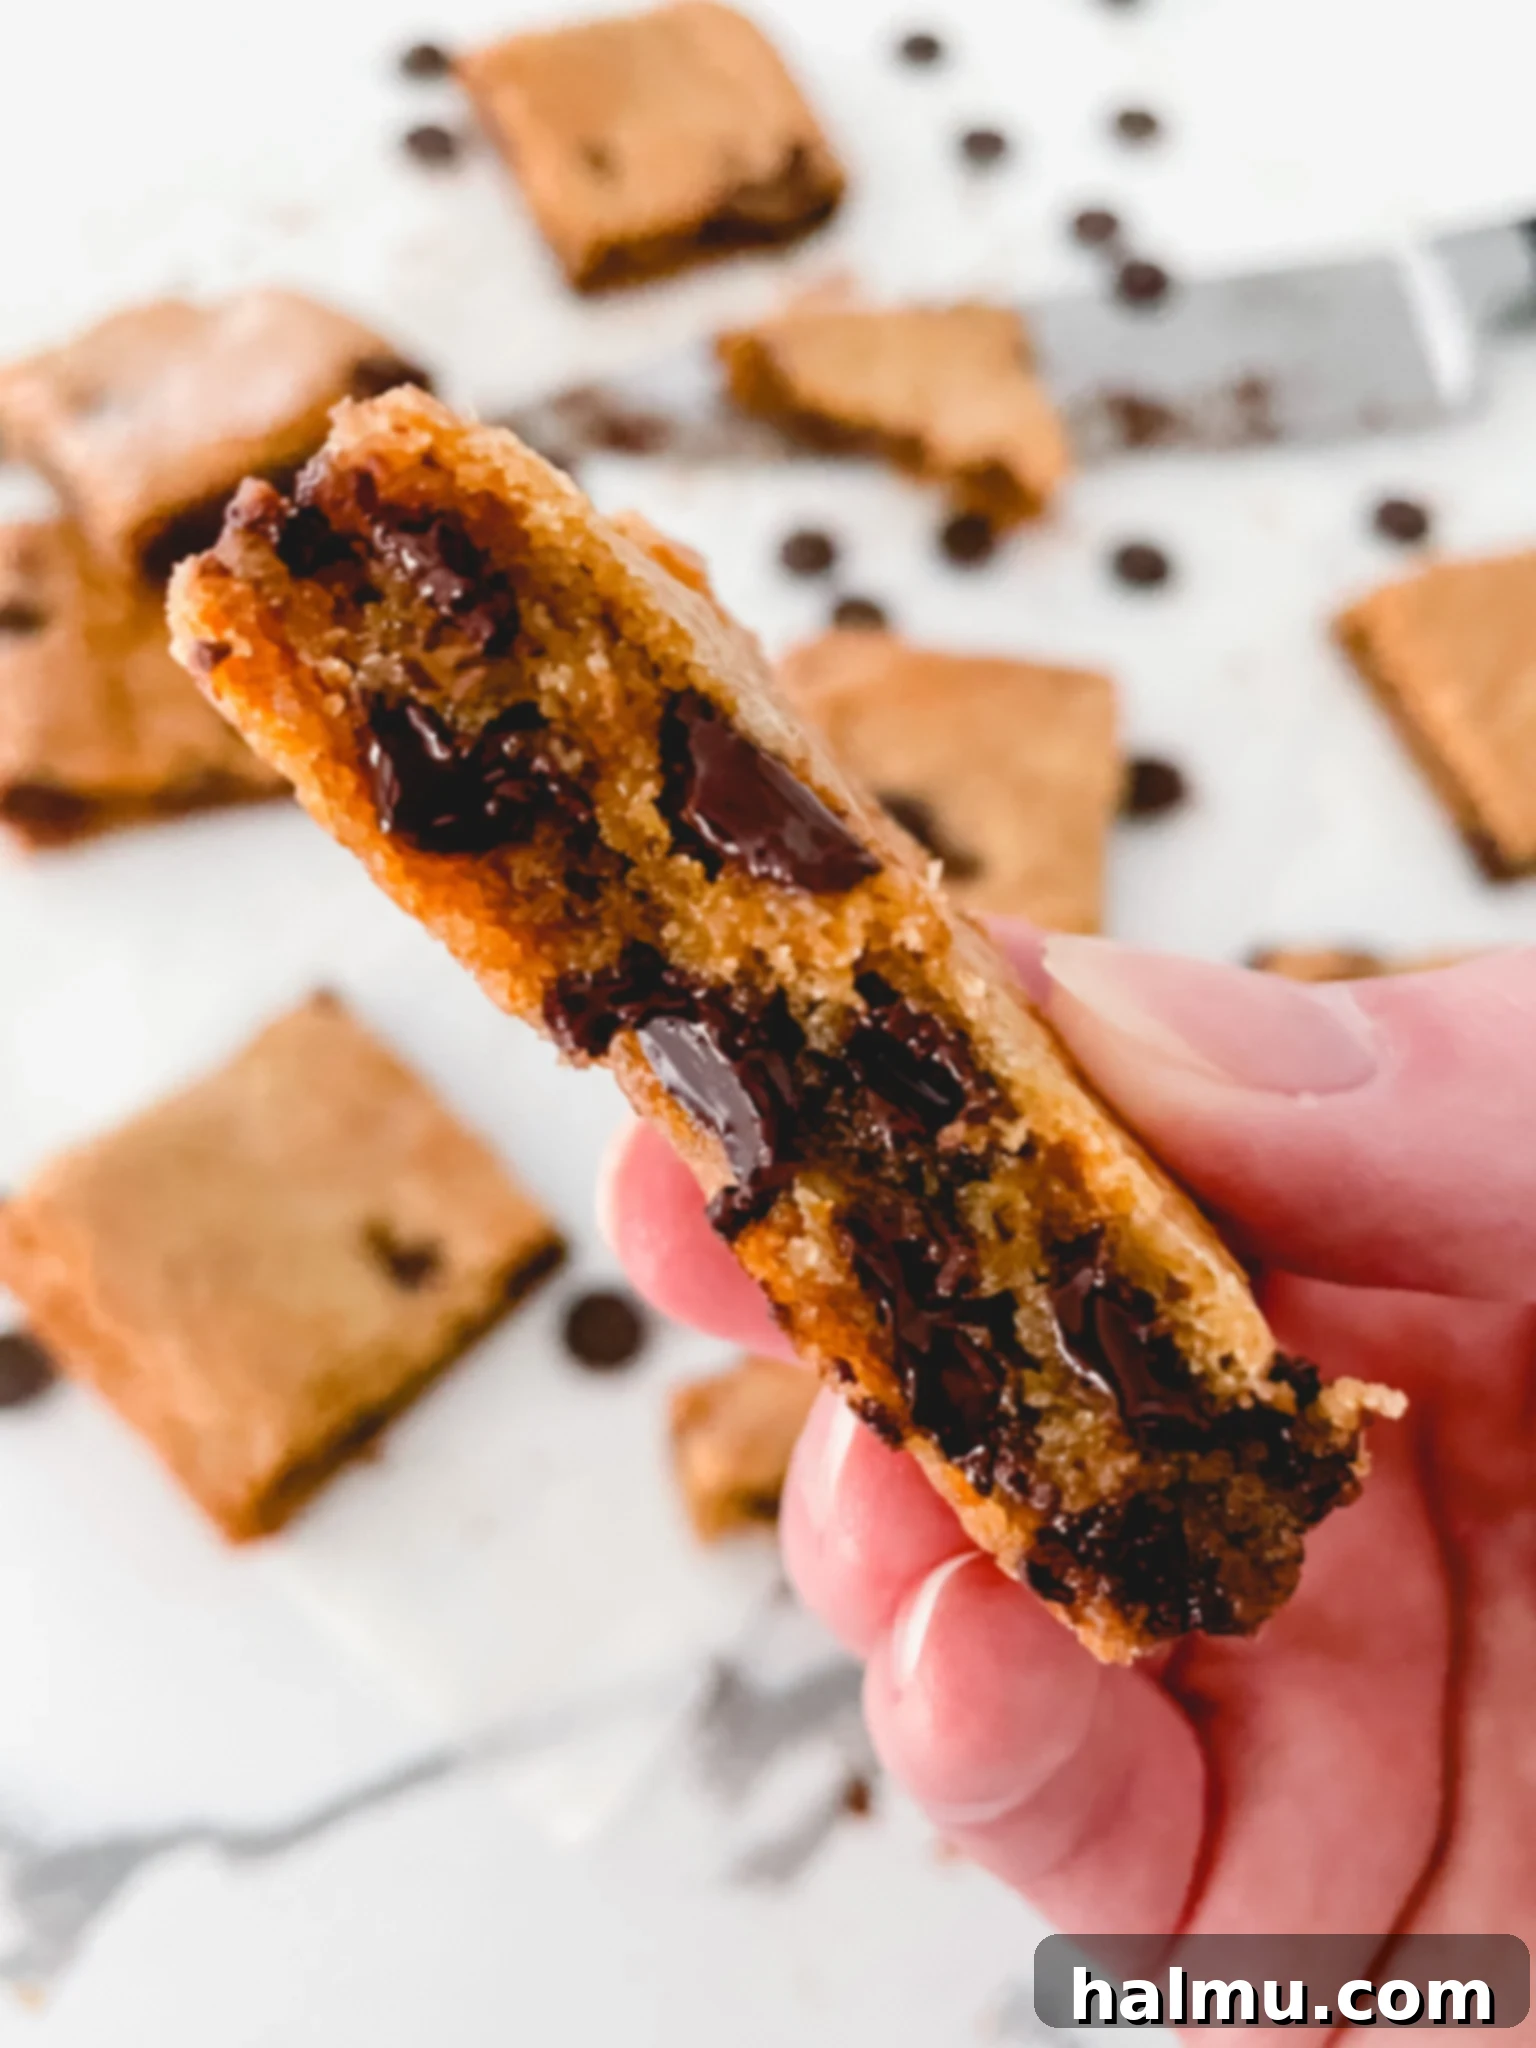
What Exactly Is a Blondie? Unveiling This Beloved Dessert
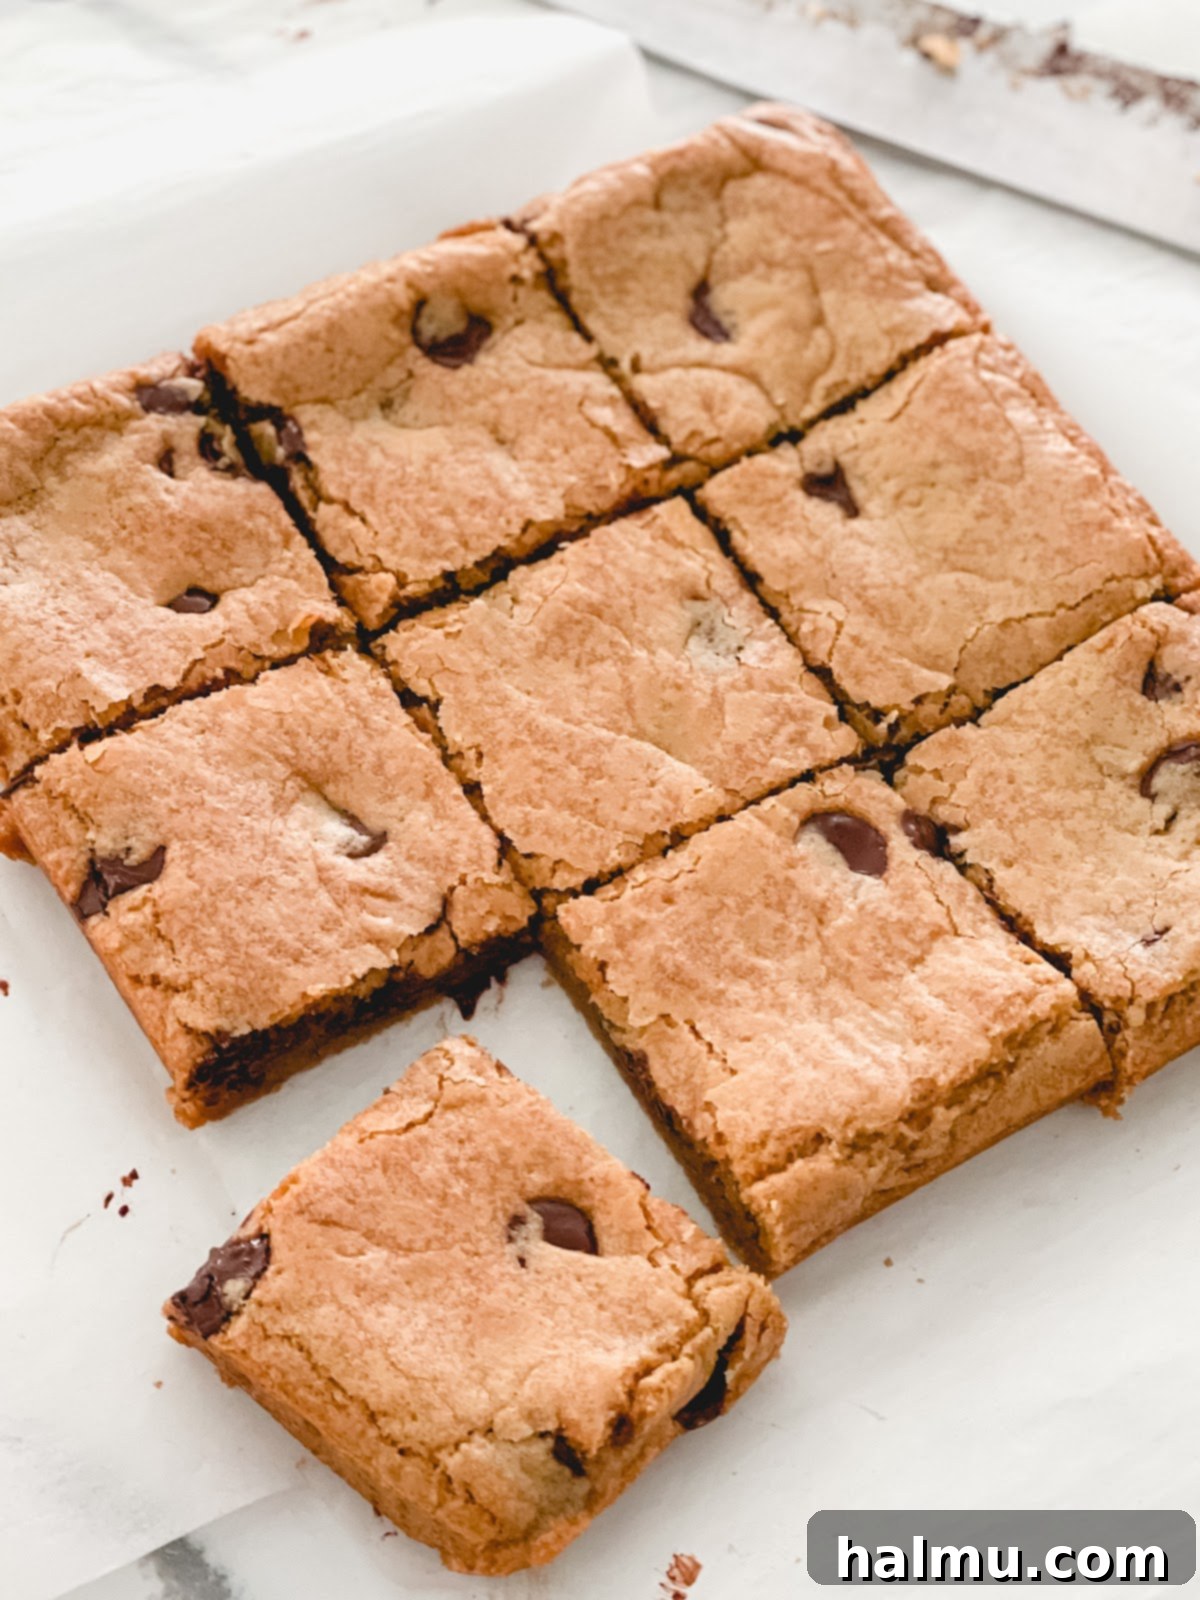
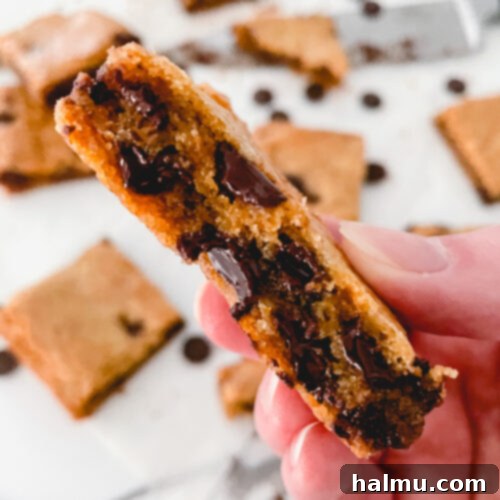
Often described as the “blonde” counterpart to a rich, dark brownie, a blondie offers a unique and equally captivating dessert experience. I like to think of it as the ultimate mash-up, a perfect hybrid between the dense, fudgy texture of a brownie and the sweet, buttery, often vanilla-infused flavor profile of a classic chocolate chip cookie. You get the best of both worlds: the delightfully chewy, slightly crisp edges that are a hallmark of a well-baked bar, combined with a wonderfully soft, gooey, and irresistibly buttery center. It’s a treat that satisfies a wide range of dessert desires.
Unlike traditional cookies that require individual scooping and rolling, blondies simplify the baking process significantly. You merely mix your ingredients, pour the batter into a baking pan, spread it evenly, and bake. This fuss-free approach means less time prepping and more time enjoying. Its distinct golden-brown hue, derived from brown sugar and often vanilla, gives it its signature “blond” appearance, making it visually distinct from its chocolate-laden cousin. Let’s dive into creating these delightful bars!
Crafting Perfection: Essential Ingredients for Brown Butter Chocolate Chip Blondies
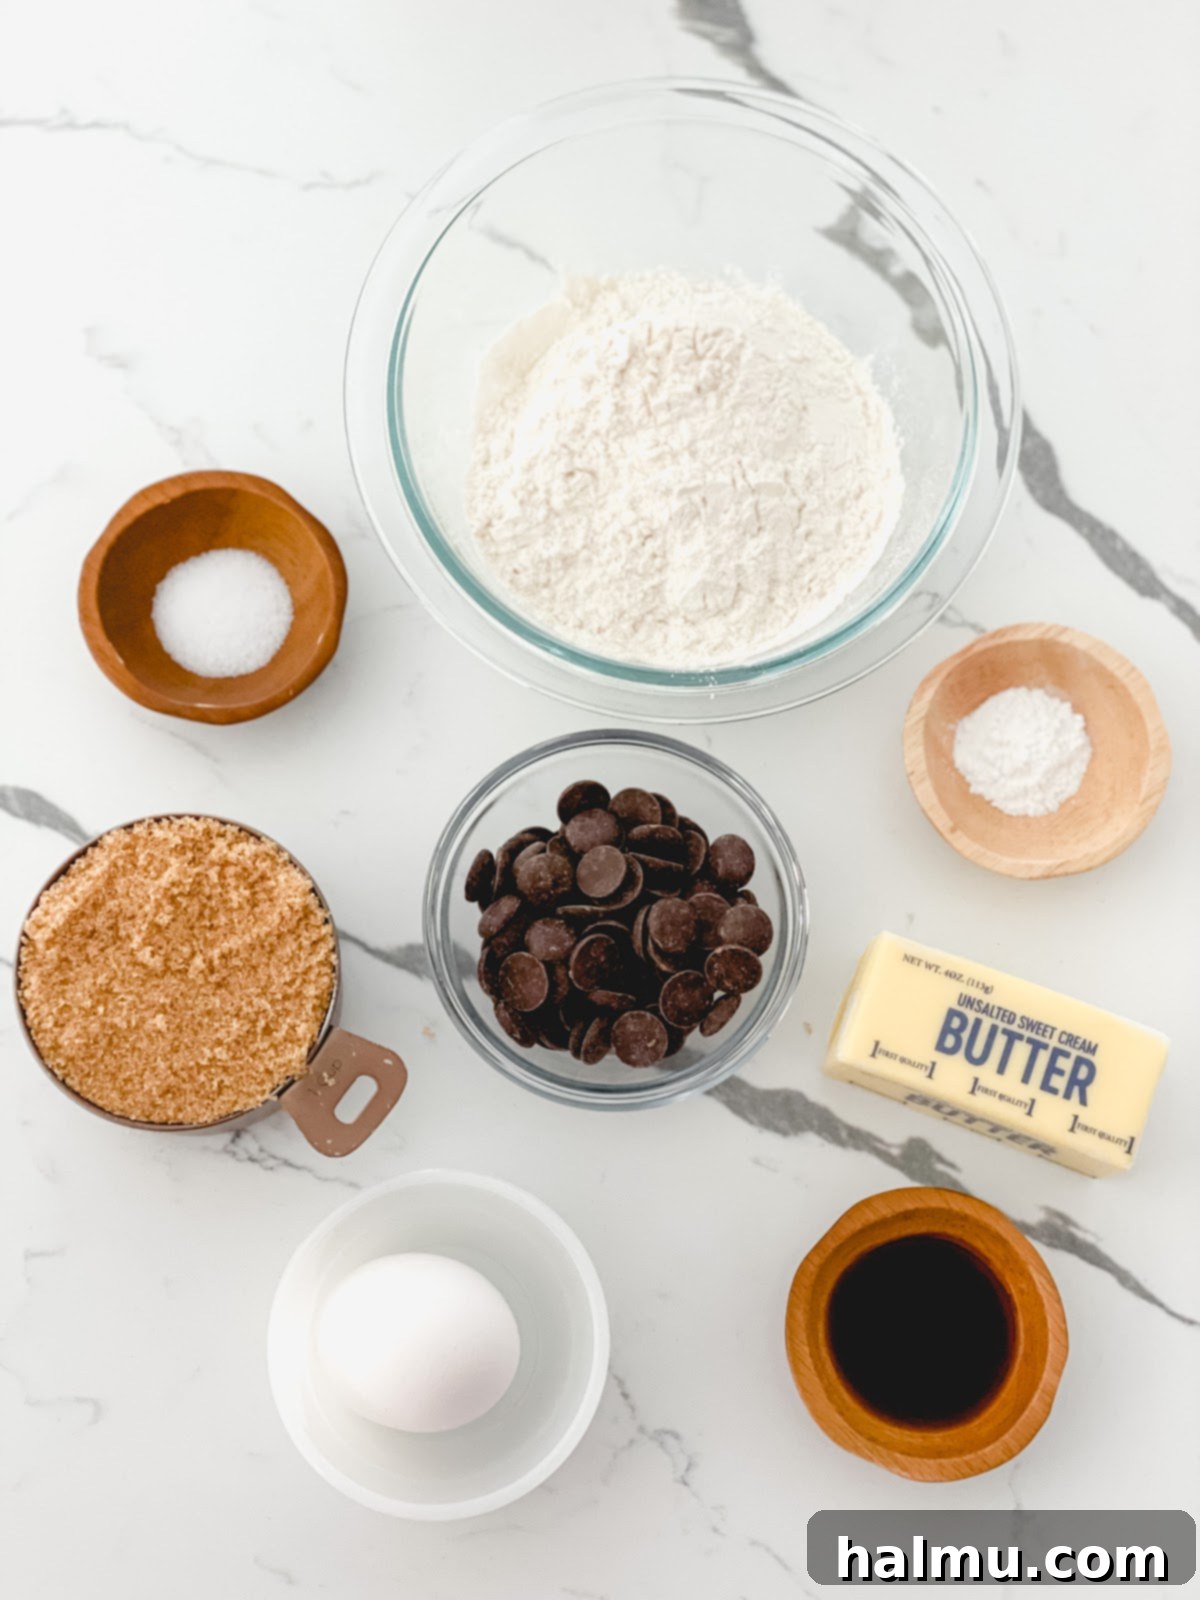
The beauty of these Brown Butter Blondie Bars lies in their simplicity, requiring just a handful of common pantry staples to achieve extraordinary flavor. You’re only eight ingredients and one bowl away from baking a batch of these profoundly satisfying treats. Here’s a breakdown of what you’ll need, along with a bit about why each plays a crucial role:
- Unsalted Butter: This forms the foundational richness, especially when transformed into brown butter, which imparts a deep, nutty flavor. Using unsalted butter allows you to control the overall saltiness of your blondies.
- Brown Sugar: The secret to their incredible chewiness and moist texture. Brown sugar, with its molasses content, adds depth of flavor and ensures a delightfully soft crumb that won’t dry out easily.
- Large Egg: Acts as a binder, providing structure and richness. Using a room-temperature egg helps it incorporate more smoothly into the batter, leading to a more uniform and tender blondie.
- Vanilla Extract: A quintessential flavor enhancer in blondies, vanilla extract beautifully complements the nutty notes of brown butter and the sweetness of chocolate, adding a warm, aromatic finish.
- All-Purpose Flour: The primary dry ingredient that provides the necessary structure without making the blondies tough. Measuring flour correctly (by weight if possible, or spooned and leveled) is key for the right texture.
- Baking Powder: A leavening agent that helps the blondies rise slightly, giving them a tender crumb without making them cakey.
- Salt: Essential for balancing the sweetness and enhancing all the other flavors. Don’t skip it; a little salt makes a big difference in baked goods.
- Chocolate Chunks or Chips: The classic add-in! These melt into gooey pockets of chocolatey goodness, providing bursts of rich flavor and a delightful textural contrast. The quality of your chocolate truly shines here.
Each ingredient contributes to the signature chewy, gooey, and rich profile of these irresistible blondie bars. Gathering them before you begin will make the baking process even smoother.
Unlocking Richness: What is Brown Butter and Why It’s a Game Changer
Brown butter, known in French as beurre noisette, is exactly what its name suggests – butter that has been gently cooked until its milk solids caramelize and turn a beautiful golden brown. While the concept sounds simple, the transformation in flavor is anything but. This process elevates ordinary butter to an ingredient with incredible depth, characterized by a complex, nutty, and slightly toasty aroma that can only be described as heavenly.
The magic happens as the water in the butter evaporates, allowing the milk solids to toast. This Maillard reaction, a chemical process responsible for the browning and flavor development in many foods, imparts new, delicious compounds. The result is a richer, more sophisticated flavor profile that adds an unparalleled warmth and complexity to any dish, both sweet and savory. In these blondies, brown butter isn’t just an ingredient; it’s the star that provides a nuanced, caramel-like base, making them stand out from any other blondie you’ve tasted.
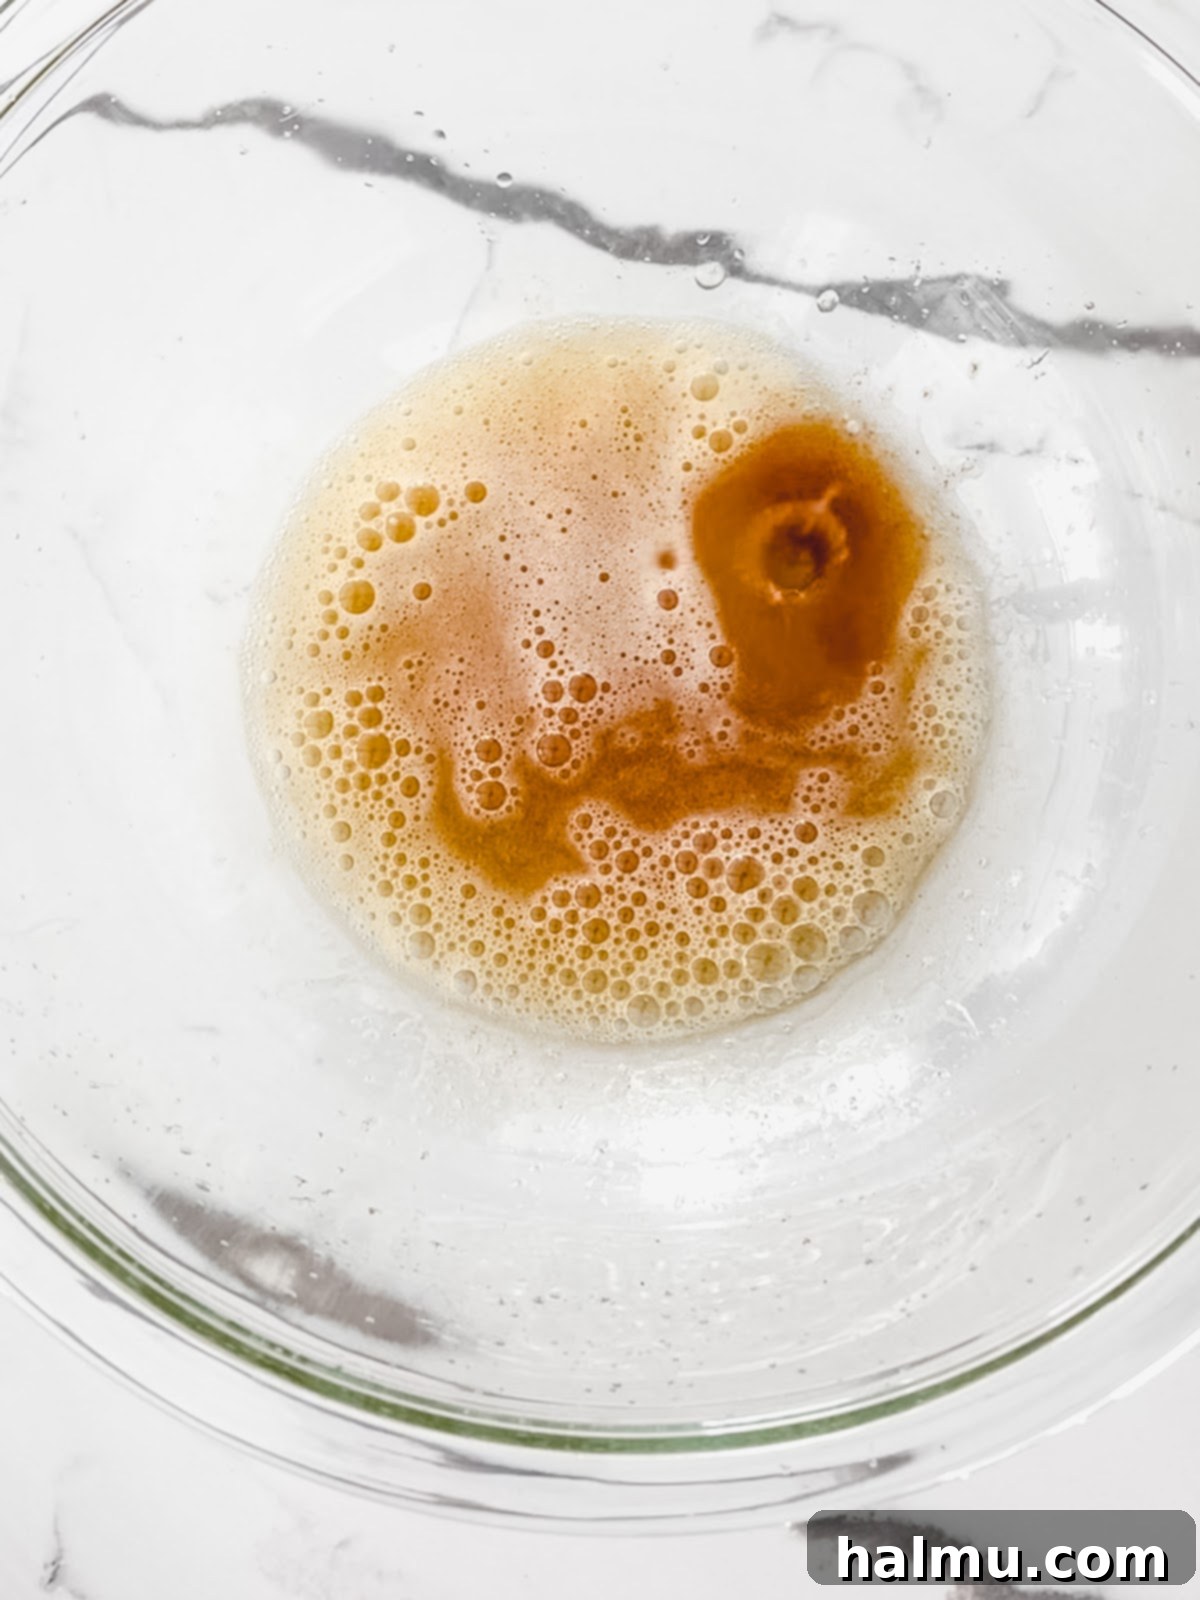
Mastering the Technique: How to Make Perfect Brown Butter
Creating brown butter is a straightforward process, but it demands your full attention. The key is to watch it closely, as it can go from perfectly browned and nutty to unpleasantly burnt in a matter of seconds. Trust us, burnt butter has a bitter, acrid taste you want to avoid! Follow these steps carefully to achieve that golden, aromatic liquid gold:
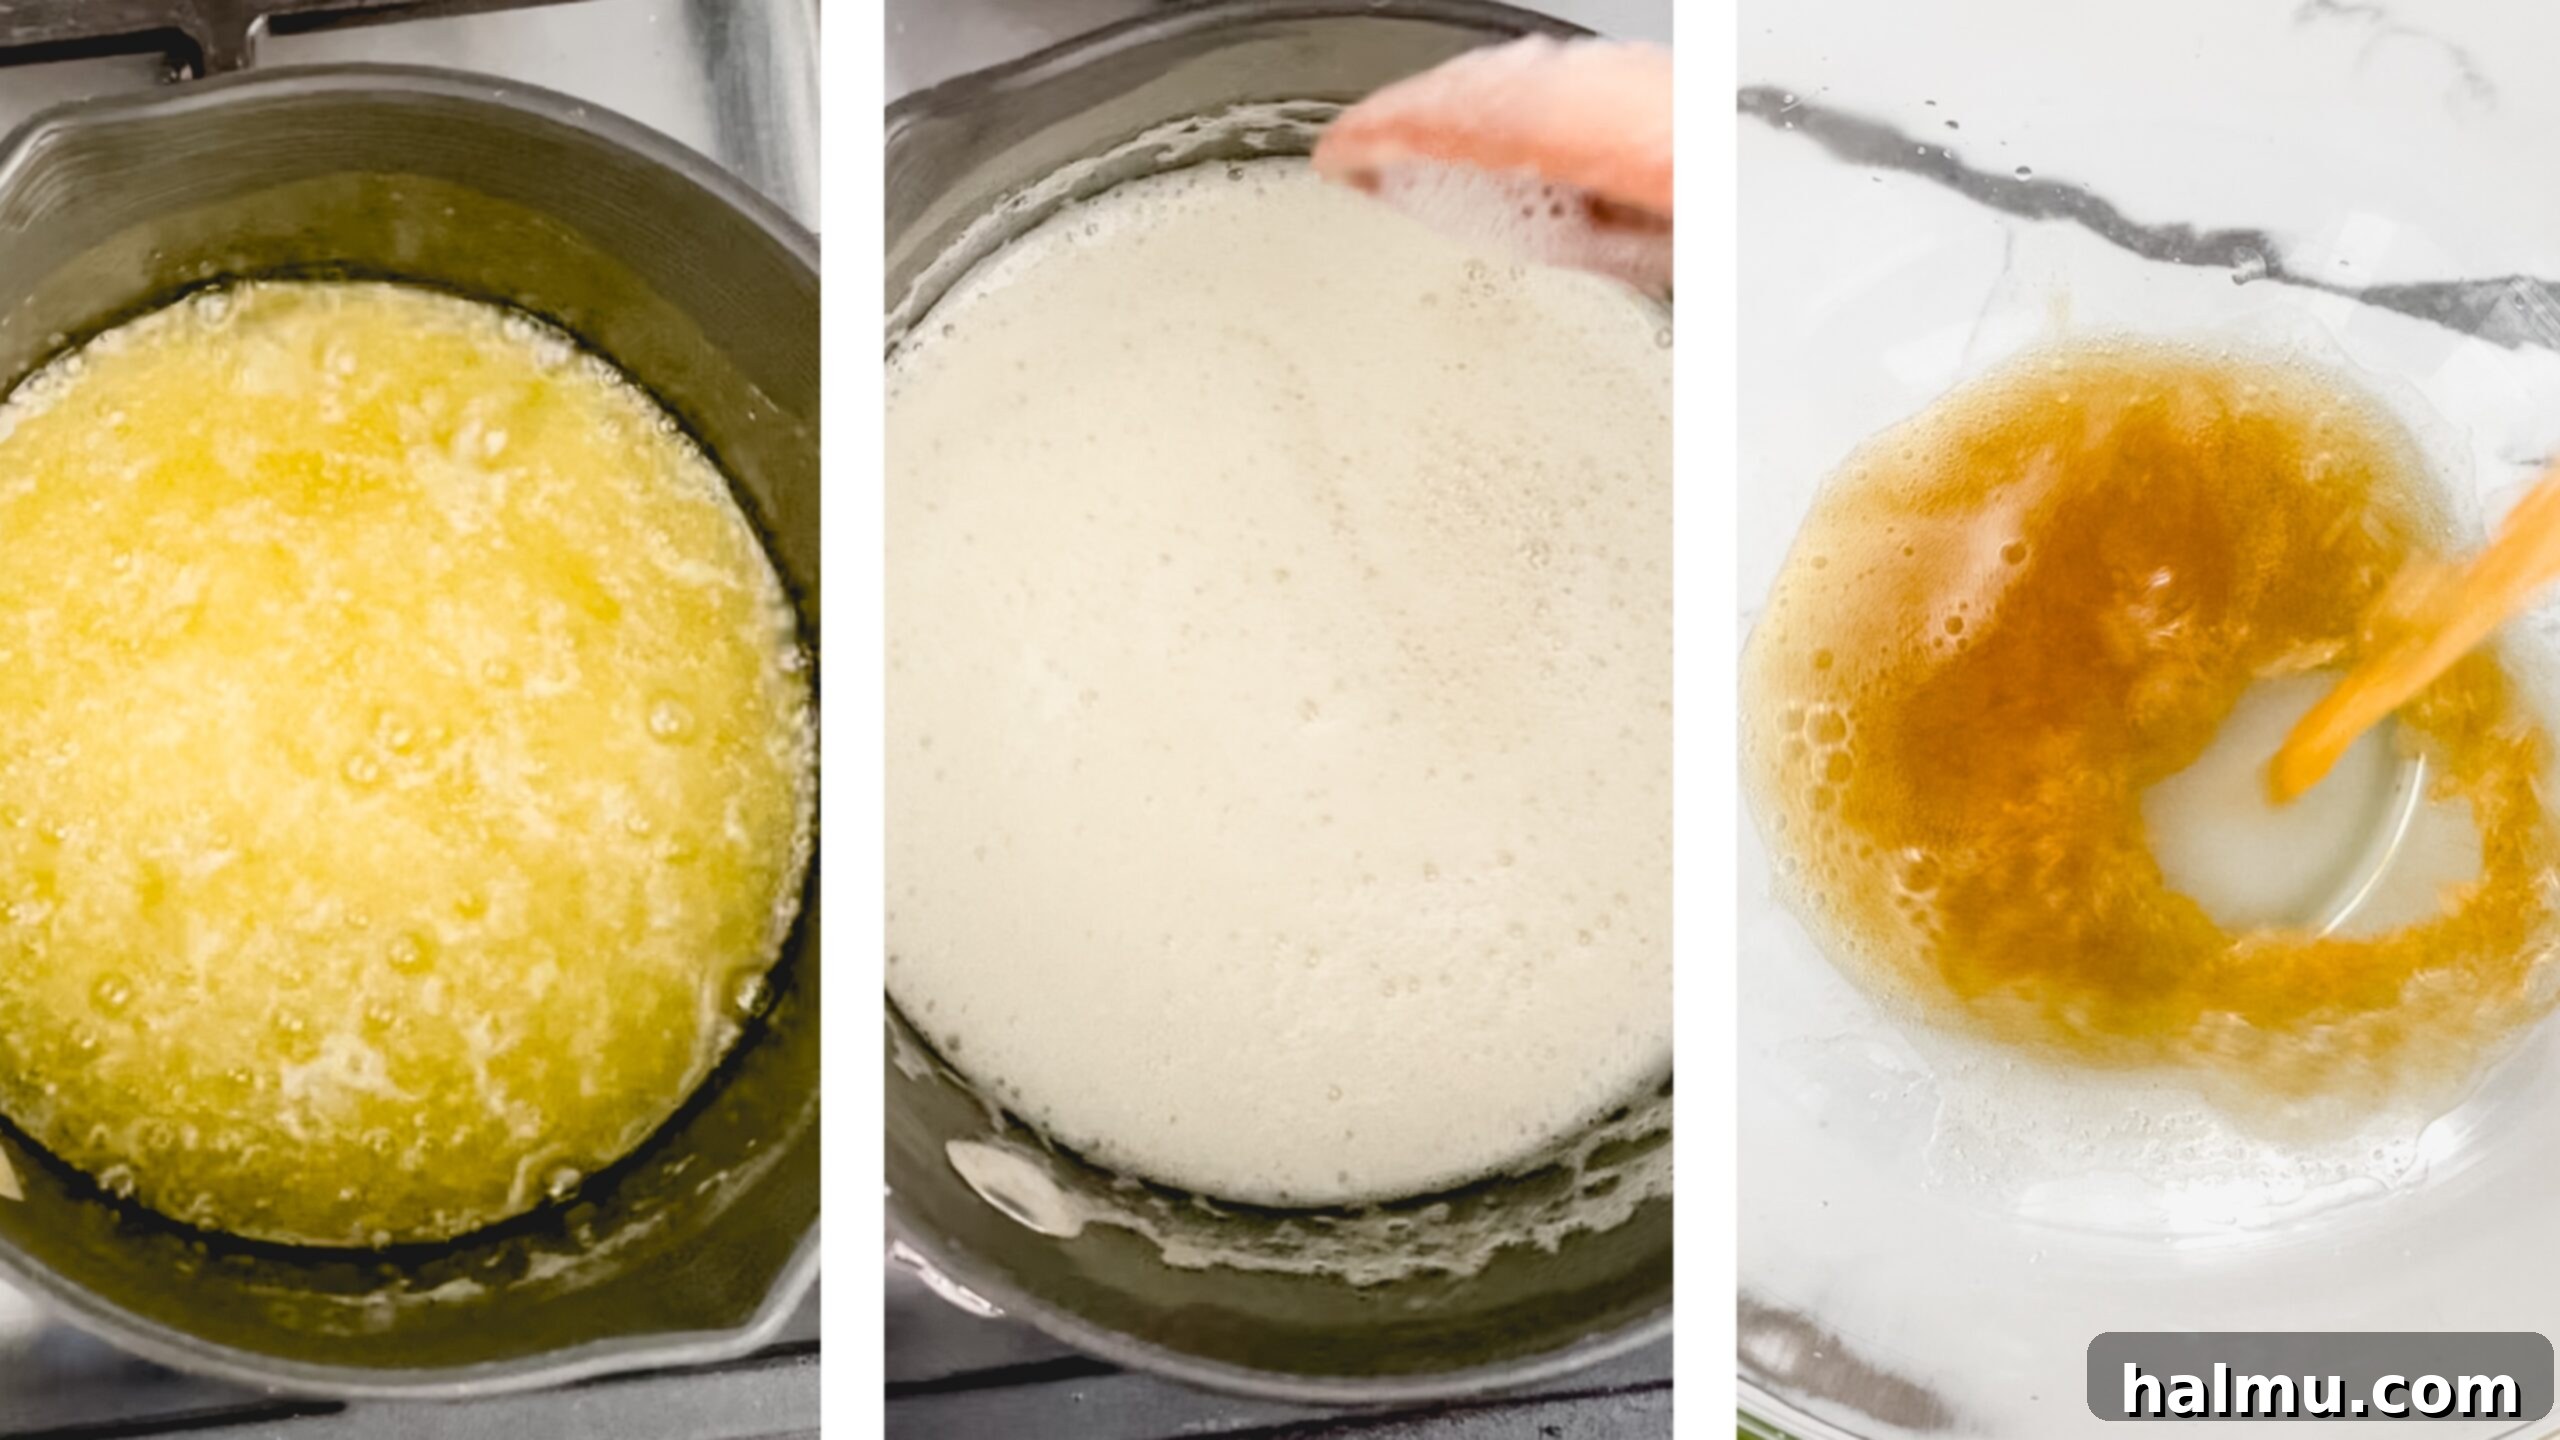
- Melt the Butter: Begin by placing your unsalted butter in a light-colored saucepan. A light-colored pan is crucial because it allows you to clearly see the changing color of the butter’s milk solids, preventing accidental burning. Melt the butter over medium-low heat.
- Constant Stirring is Key: Once the butter has completely melted, start stirring constantly. Do not walk away from the stove! This continuous stirring ensures even browning and prevents the milk solids from sticking and burning on the bottom of the pan.
- Observe the Transformation: Initially, the butter will melt into a clear liquid. As it heats further, it will begin to foam on the surface. Don’t be alarmed by the foam; this is a normal part of the process.
- Monitor the Color: With the foamy top, it can sometimes be tricky to discern the color of the melted butter underneath. Use a spatula or spoon to periodically push the foam aside and peek at the butter below. You’re looking for a change from clear to golden, then to a rich, amber hue.
- Identify Readiness: You’ll know your brown butter is perfectly ready when three distinct indicators are present:
- Deep Golden Brown Color: The liquid butter will have transformed into a beautiful, deep golden-brown, resembling caramel.
- Toasted Milk Solids: Small, dark brown specks will appear and settle at the bottom of the pan. These are the toasted milk solids, and they are packed with flavor!
- Nutty, Toasty Aroma: Perhaps the most telling sign is the incredible fragrance. The butter will emit a distinctly nutty, almost caramel-like aroma that is truly heavenly. This is your cue!
- Remove Immediately: As soon as you observe these signs, immediately remove the saucepan from the heat. Pour the hot brown butter (including all those delicious browned bits!) into a heatproof bowl or measuring cup to stop the cooking process. Allowing it to remain in the hot pan could cause it to continue browning and burn. Let it cool completely before incorporating it into your blondie batter.
This careful process ensures that your blondies will be infused with the complex, aromatic flavor that only perfectly browned butter can provide.
Elevating Flavor: Choosing the Best Chocolate and Creative Add-ins for Your Blondies
The chocolate in your blondies can truly elevate the experience, so don’t shy away from using high-quality options! The difference it makes in flavor and texture is significant. My personal favorites, which are also readily available, include brands like Guittard and Ghirardelli. Their chocolate offers a superior melt and richer flavor profile compared to standard baking chips.
For those who prefer a more balanced sweetness, I highly recommend using darker chocolate, typically in the 60%-70% cacao range. This deeper chocolate flavor beautifully complements the sweetness of the blondie base and the nutty notes of the brown butter. However, the beauty of blondies is their adaptability – feel free to use whatever type of chocolate you love, whether it’s milk chocolate for a sweeter profile, semi-sweet for a classic touch, or even white chocolate for a different twist.
Another fantastic option is to use a high-quality chocolate bar, such as Ghirardelli or Lindt, and chop it yourself. Chopping a chocolate bar creates varying sizes of chocolate pieces – from fine shards that melt into the batter to larger chunks that create decadent pockets of gooey chocolate in every bite. This textural variety adds an extra layer of enjoyment to your blondies. Beyond chocolate, consider experimenting with other delightful add-ins like toasted pecans or walnuts for an earthy crunch, shredded coconut for tropical notes, or even a swirl of caramel or peanut butter for an indulgent twist. The possibilities are endless, allowing you to tailor each batch to your specific preferences.
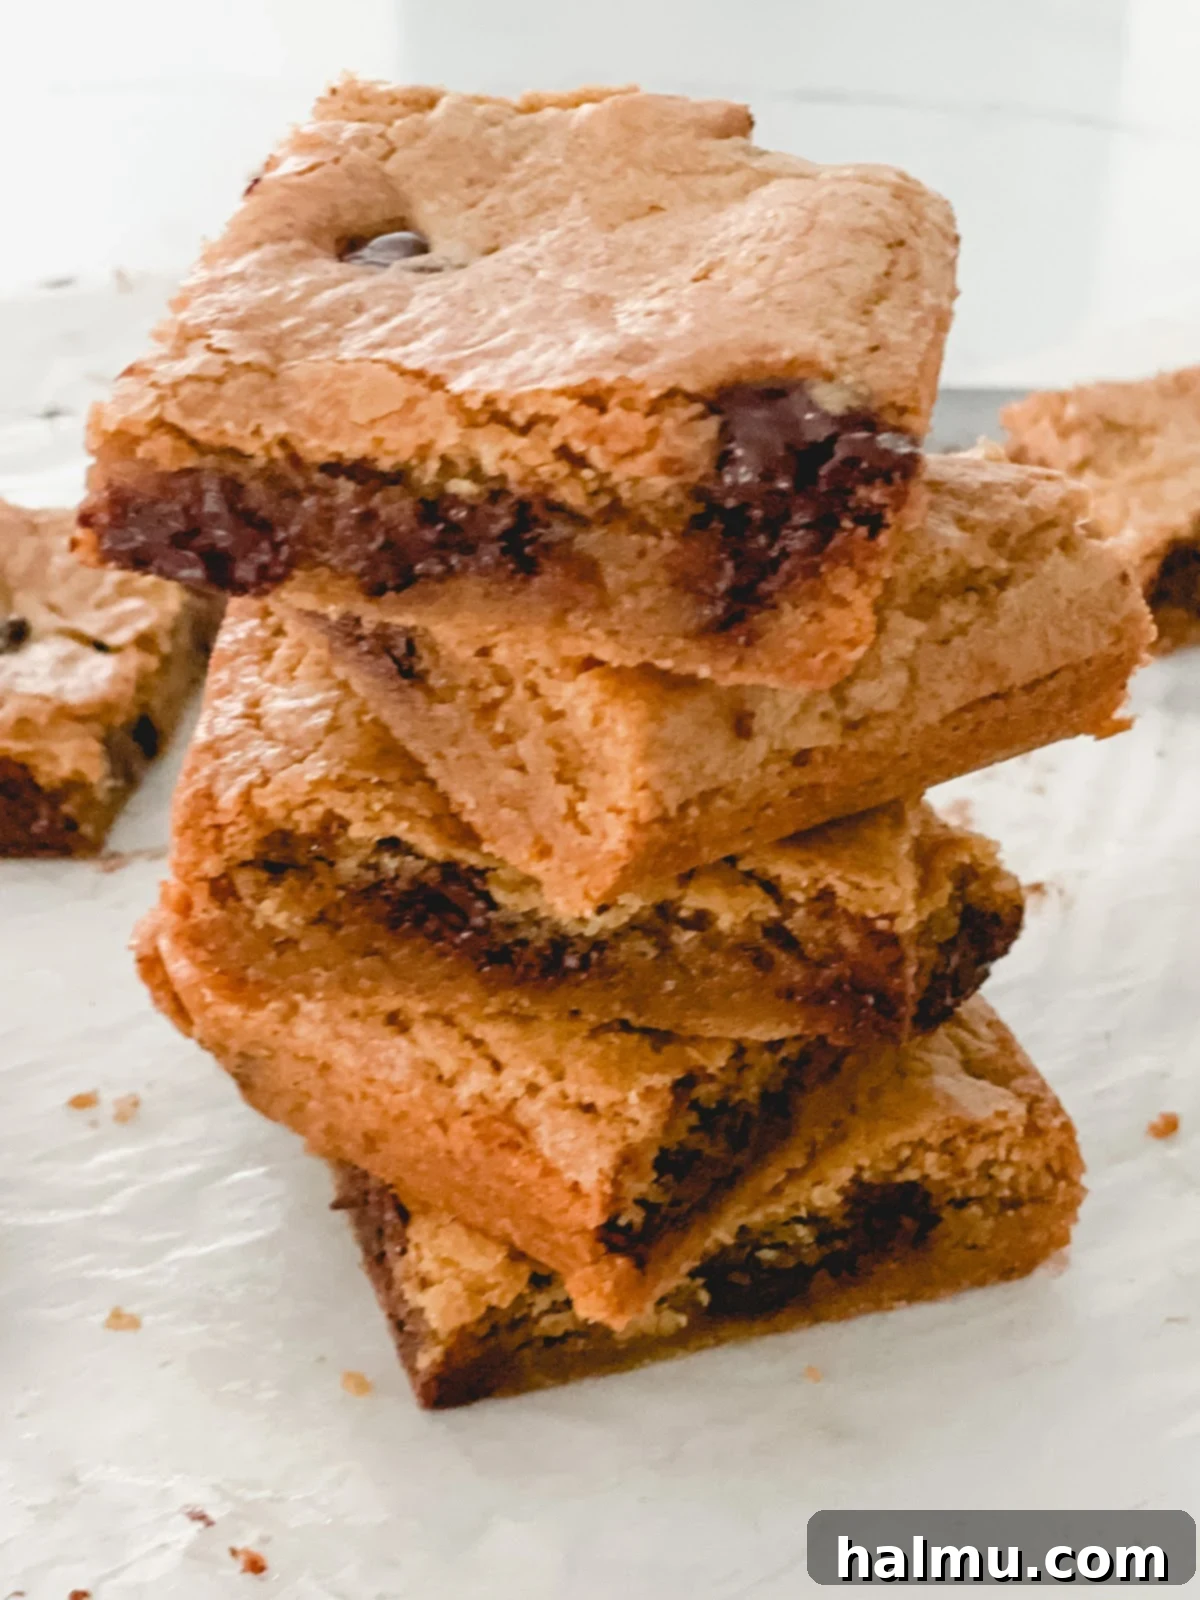
Expert Tips for Baking Flawless Brown Butter Blondie Bars
Achieving the perfect blondie bar is simple with a few helpful tips:
- Don’t Overmix: Once you add the flour, mix only until just combined. Overmixing develops the gluten in the flour, which can lead to tough, dry blondies instead of the desired chewy and tender texture.
- Room Temperature Egg: A room temperature egg emulsifies better with the fat and sugar, creating a smoother, more uniform batter and a more consistent texture in the final baked good.
- Cool Brown Butter: Ensure your brown butter has cooled completely before adding it to the sugar and egg. Hot butter can cook the egg, resulting in scrambled egg bits in your batter, or affect the texture of the finished blondie.
- Parchment Paper Sling: Lining your baking pan with parchment paper, leaving an overhang on the sides, creates a convenient “sling.” This allows you to easily lift the entire slab of blondies out of the pan once cooled, making cutting much simpler and cleaner.
- Don’t Overbake: Blondies are notoriously easy to overbake. They should appear slightly underdone in the center when you pull them from the oven, with golden-brown edges. A toothpick inserted into the center should come out with moist crumbs, not wet batter, but not completely clean either. They will continue to set as they cool. Overbaking leads to dry, crumbly blondies.
- Cool Completely Before Cutting: Patience is a virtue here! Cutting warm blondies often results in a messy, crumbly experience. Allow them to cool completely in the pan before lifting and cutting into squares. This ensures clean cuts and the perfect chewy texture.
Storing Your Delicious Brown Butter Blondies
To keep your Brown Butter Blondie Bars fresh and delicious, proper storage is key:
- Room Temperature: Store blondies in an airtight container at room temperature for up to 3-4 days. This helps maintain their soft, chewy texture.
- Refrigeration: While not strictly necessary, you can refrigerate blondies for a slightly longer shelf life (up to a week). Bring them back to room temperature before serving for the best texture.
- Freezing: Blondies freeze beautifully! Wrap individual bars or the entire cooled slab tightly in plastic wrap, then place in a freezer-safe bag or container. They can be frozen for up to 3 months. Thaw at room temperature before enjoying.
Endless Possibilities: Creative Blondie Variations
The beauty of a classic blondie recipe like this brown butter version is its incredible adaptability. Once you master the basic technique, the door opens to a world of delicious variations. Here are just a few ideas to inspire your next baking adventure:
- Nutty Delights: Incorporate chopped toasted walnuts, pecans, or almonds for added crunch and earthy flavor. Pair with white chocolate chips for a delightful contrast.
- Butterscotch Bliss: Swap out some or all of the chocolate chips for butterscotch chips for a nostalgic, caramel-like sweetness.
- Tropical Twist: Add shredded coconut and macadamia nuts for a taste of the tropics. A drizzle of white chocolate on top once cooled would be heavenly.
- Candy Crush: Fold in chopped candies like M&M’s, Rolo pieces, or peanut butter cups for a fun, colorful, and extra indulgent treat.
- Fruity Fusion: Introduce dried cranberries, cherries, or apricots for a chewy, slightly tart element that balances the sweetness.
- Spiced Comfort: Add a pinch of cinnamon, nutmeg, or cardamom to the dry ingredients for a warm, spiced blondie, especially delightful during cooler months.
- Swirl Sensations: After spreading the batter, dollop spoonfuls of peanut butter, Nutella, or caramel sauce on top and swirl gently with a knife for beautiful patterns and added flavor dimensions.
Don’t be afraid to get creative! The brown butter base provides a rich canvas for countless flavor combinations, ensuring your blondies are always a hit.
Now that you’re equipped with all the knowledge and a fantastic recipe, the only real decision left is: will you reach for a perfectly chewy corner piece or a soft, gooey middle piece? Personally, I’m always a corner-piece kind of girl, but one thing is certain – every single square of these Brown Butter Chocolate Chip Blondies will vanish quickly. They are simply too irresistible to last long! Get ready to bake, share, and savor the pure joy of homemade blondies. Happy Blondie Baking!
Brown Butter Blondie Bars
Print Recipe
RATE THIS RECIPE
Ingredients
- ½ cup (1 stick or 113g) unsalted butter
- 1 cup (200g) brown sugar
- 1 large egg, at room temperature
- 2 teaspoons vanilla extract
- 1 cup (120g) all-purpose flour
- ½ teaspoon baking powder
- ½ teaspoon salt
- ½ cup (85g) chocolate chunks or chips
SHOP INGREDIENTS
Instructions
- Preheat oven to 350°F (175°C). Lightly grease an 8” x 8” square baking pan with cooking spray. Line the pan with parchment paper, allowing it to overhang on all four sides to create a convenient sling.
- In a small, light-colored saucepan, melt the butter on the stove over medium-low heat. Continue to stir constantly as the butter cooks, until it transforms into a foamy, deep golden-brown liquid. You’ll recognize it’s done when you observe darker brown bits (toasted milk solids) forming at the bottom of the pan and a distinct, nutty, aromatic smell fills your kitchen. Immediately remove from heat and pour into a heatproof bowl to cool completely.
- In a large mixing bowl, combine the cooled brown butter and brown sugar. Whisk them together vigorously for about 2 minutes, until the mixture is well combined and has a uniform consistency.
- Add the room temperature egg and vanilla extract to the butter-sugar mixture. Mix until all ingredients are thoroughly incorporated, ensuring a smooth and cohesive batter.
- Gently fold in the all-purpose flour, baking powder, and salt. Mix only until the dry ingredients are just combined with the wet ingredients. Be careful not to overmix, as this can lead to tough blondies.
- Carefully fold in your chosen chocolate chunks or chips, distributing them evenly throughout the batter.
- Pour the blondie batter into the prepared 8×8 inch pan and press it down evenly into a flat layer.
- Bake for 20-25 minutes, or until the edges are beautifully golden brown and a toothpick inserted into the center comes out with moist crumbs (not wet batter, but not completely clean). Remember, blondies should appear slightly underbaked in the middle for the ultimate chewy texture.
- Allow the blondies to cool completely in the pan on a wire rack before attempting to cut them. This ensures they set properly and makes for clean, perfect squares. Then, lift with the parchment paper sling, cut, and enjoy your delicious creation!
