This post may contain affiliate links. Please read my full disclosure policy.
Indulge in Autumn’s Best: The Ultimate No-Bake Caramel Apple Cheesecake Pie
As the leaves begin to change and a crisp coolness fills the air, our cravings naturally turn to comforting, spiced, and decadent desserts. Among the quintessential flavors of fall, caramel and apples stand out as an iconic duo, evoking warmth and nostalgia. Imagine these beloved tastes combined with the creamy luxury of cheesecake, all nestled in a delightful pie. This is precisely what you get with our sensational Caramel Apple Cheesecake Pie – a show-stopping dessert that’s guaranteed to impress and become a staple in your autumn baking repertoire.
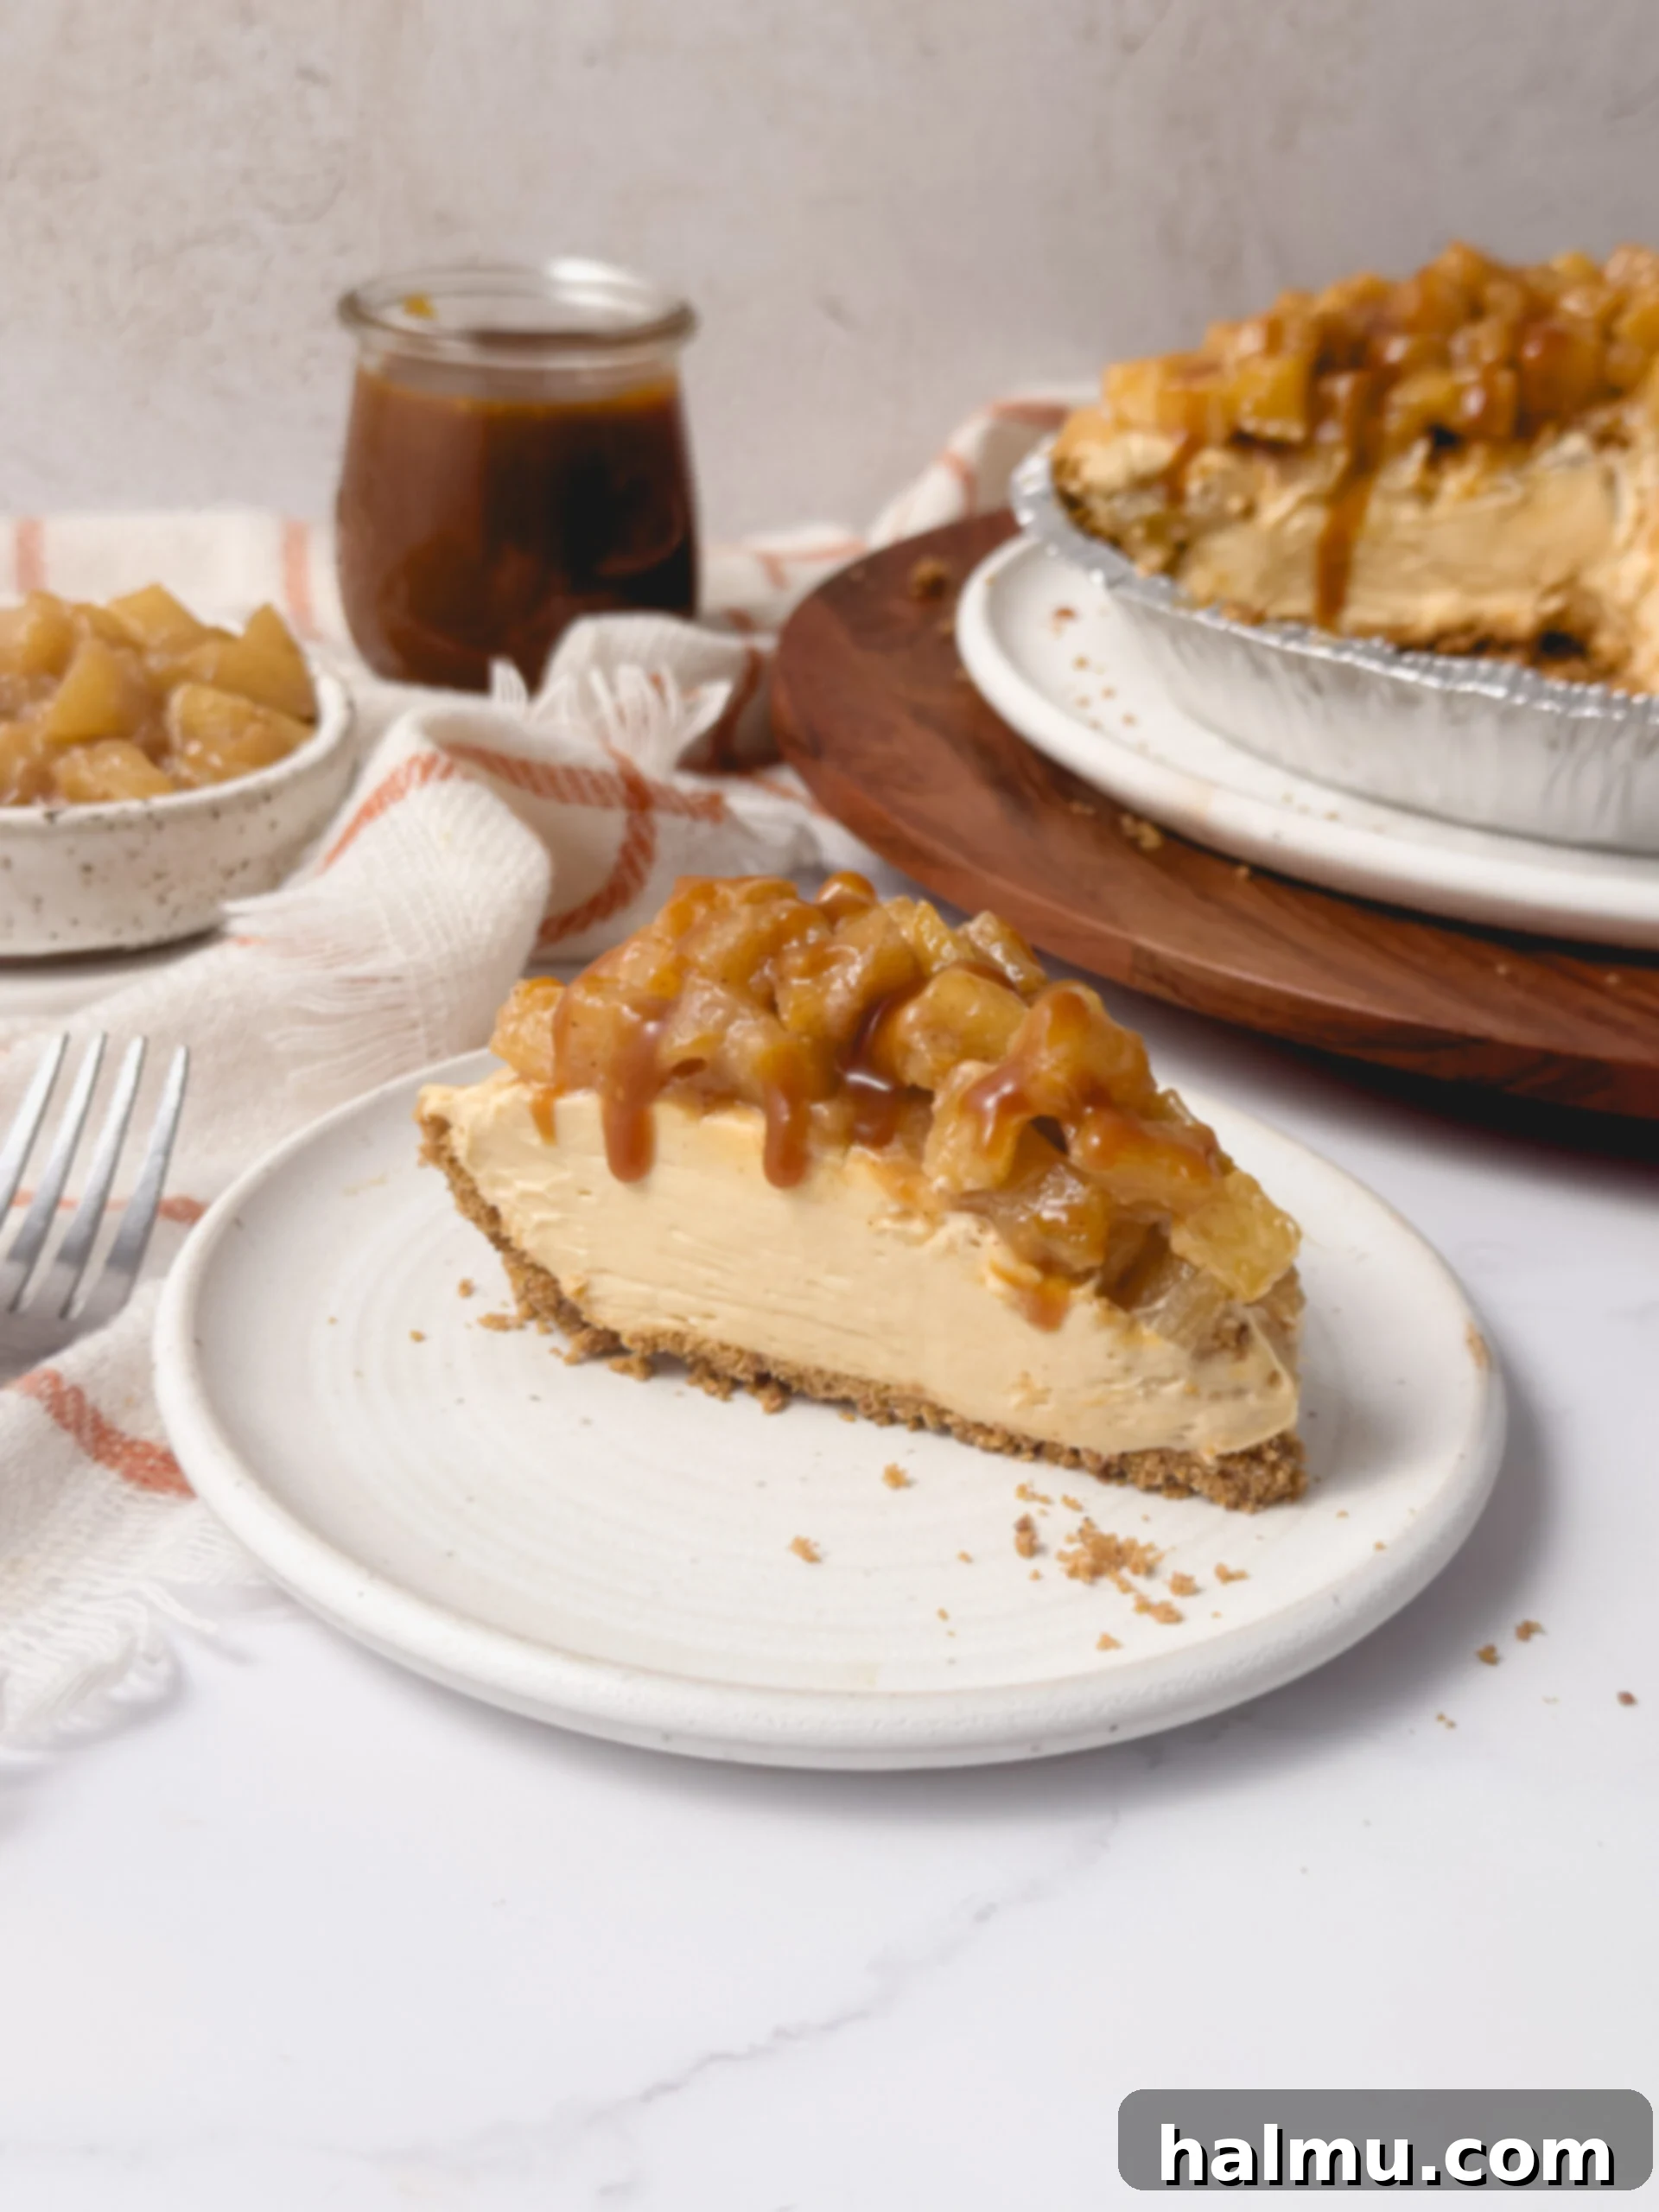
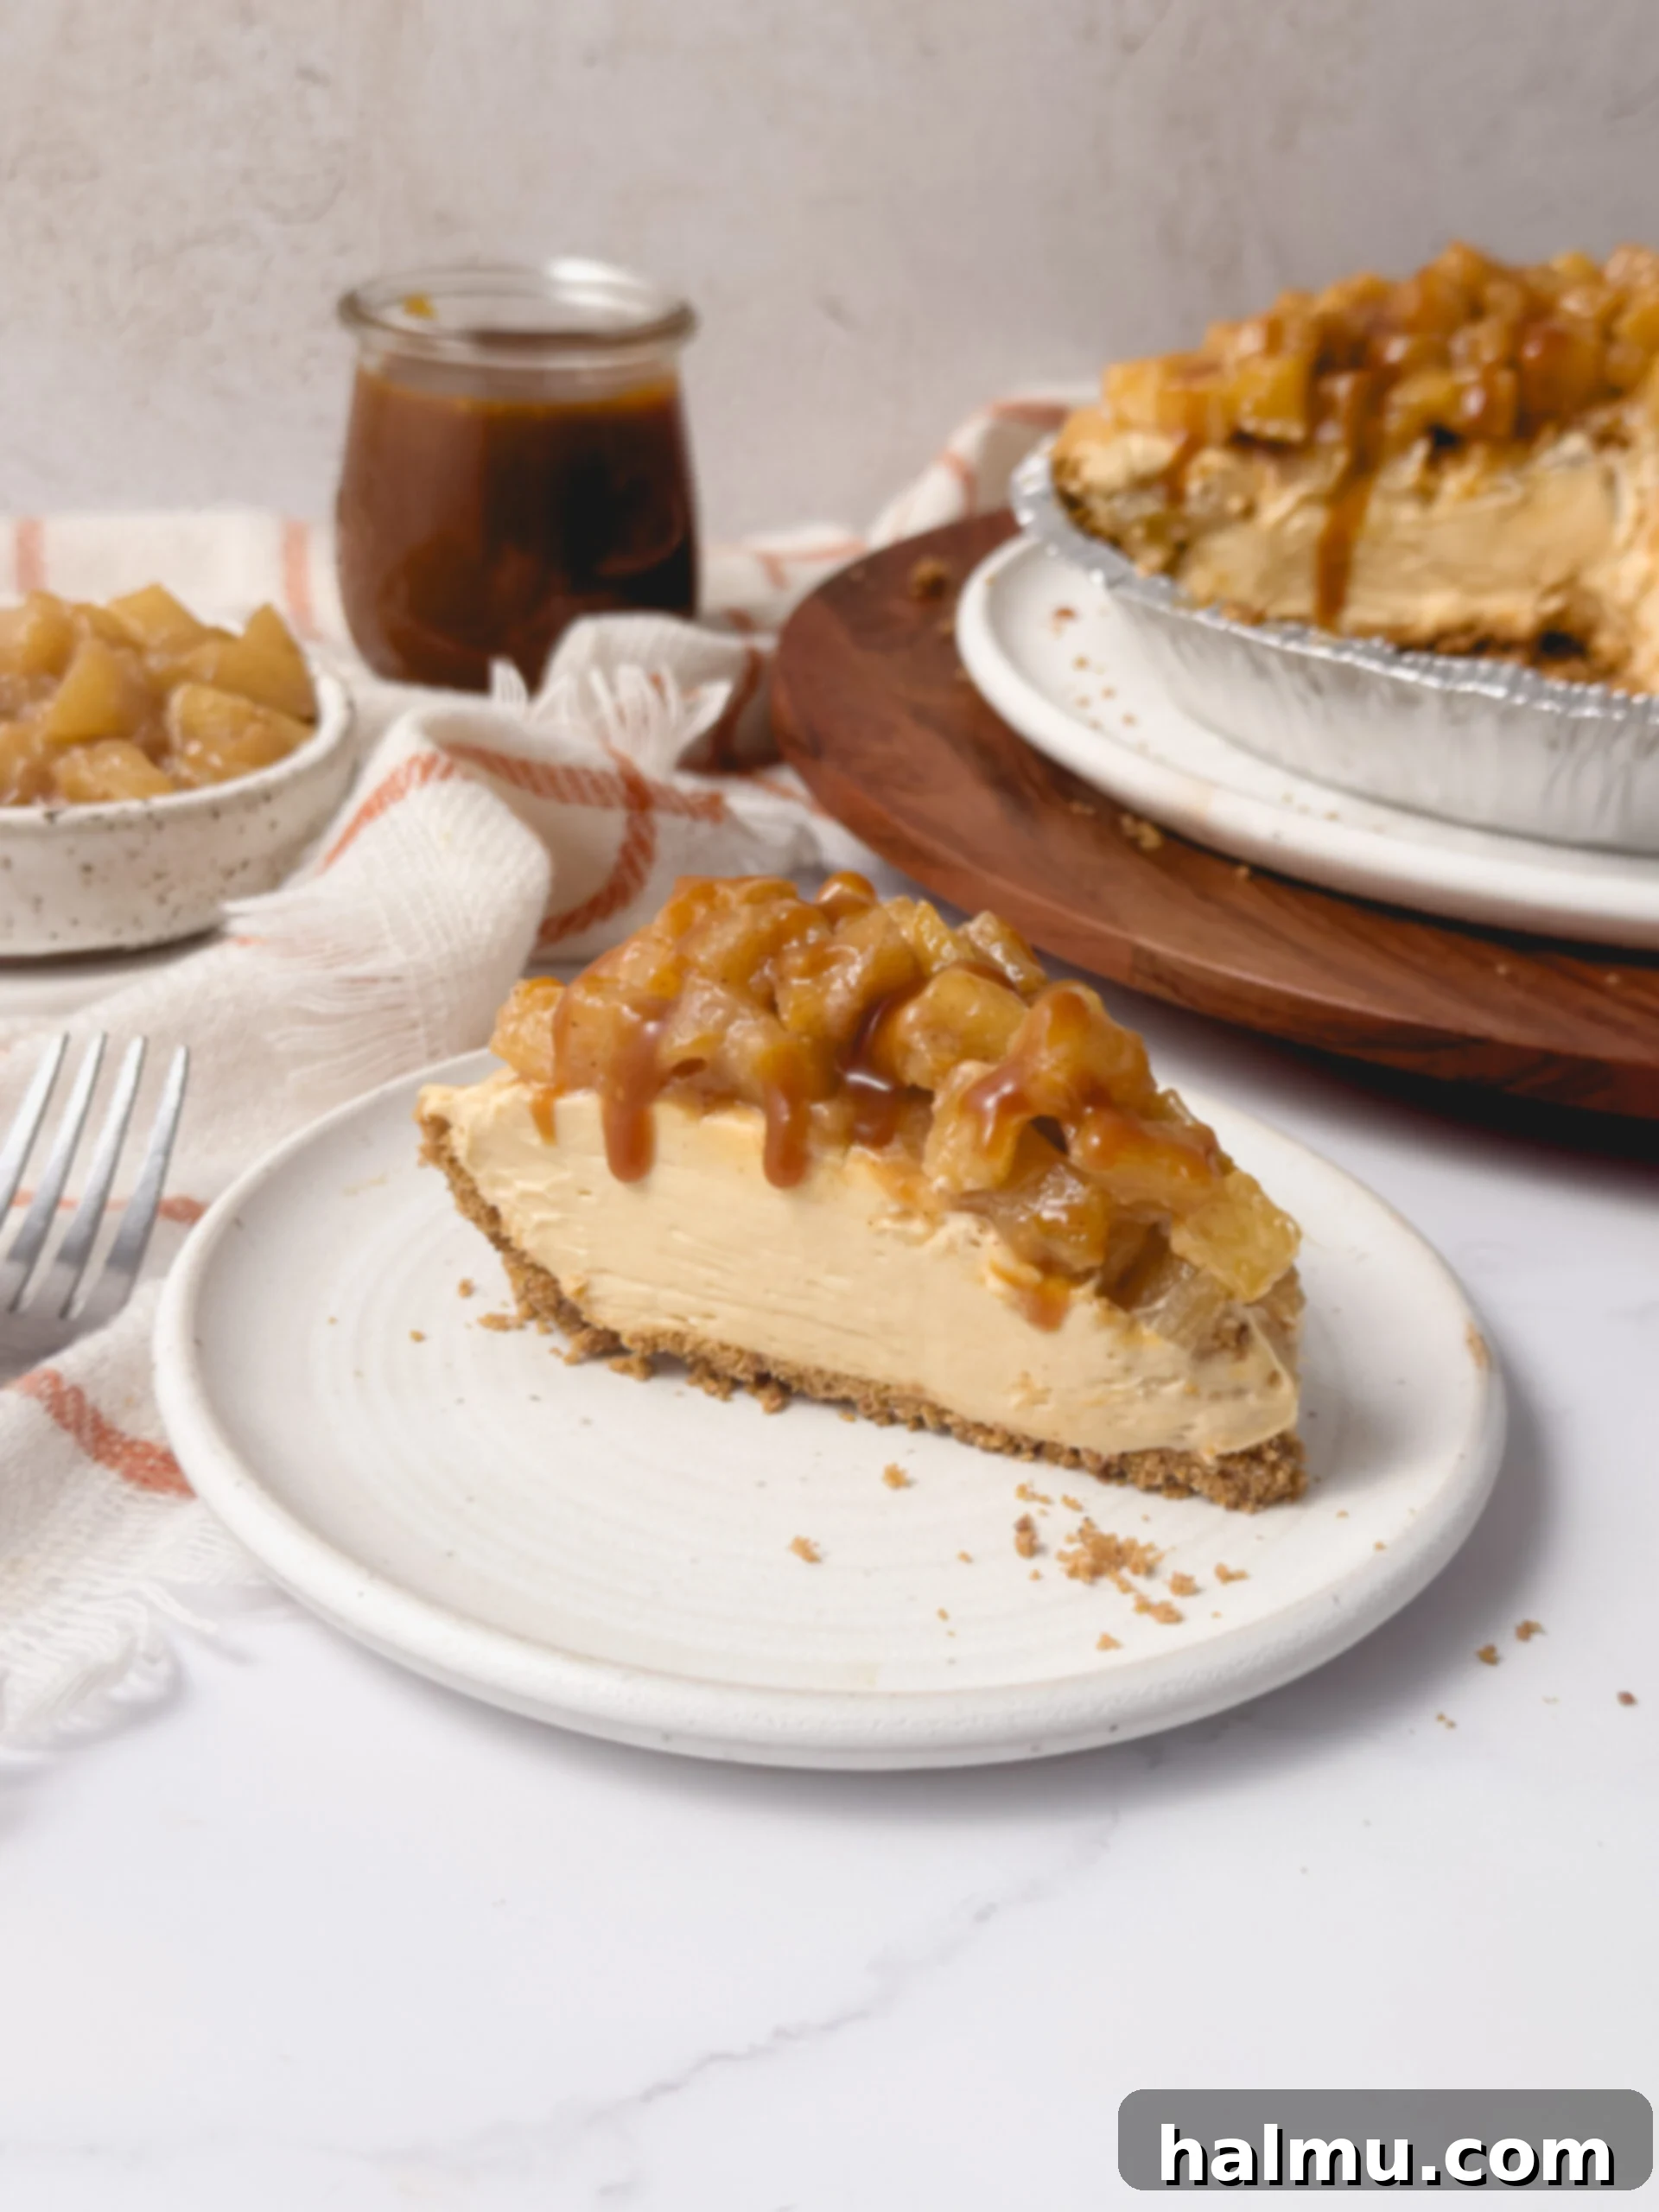
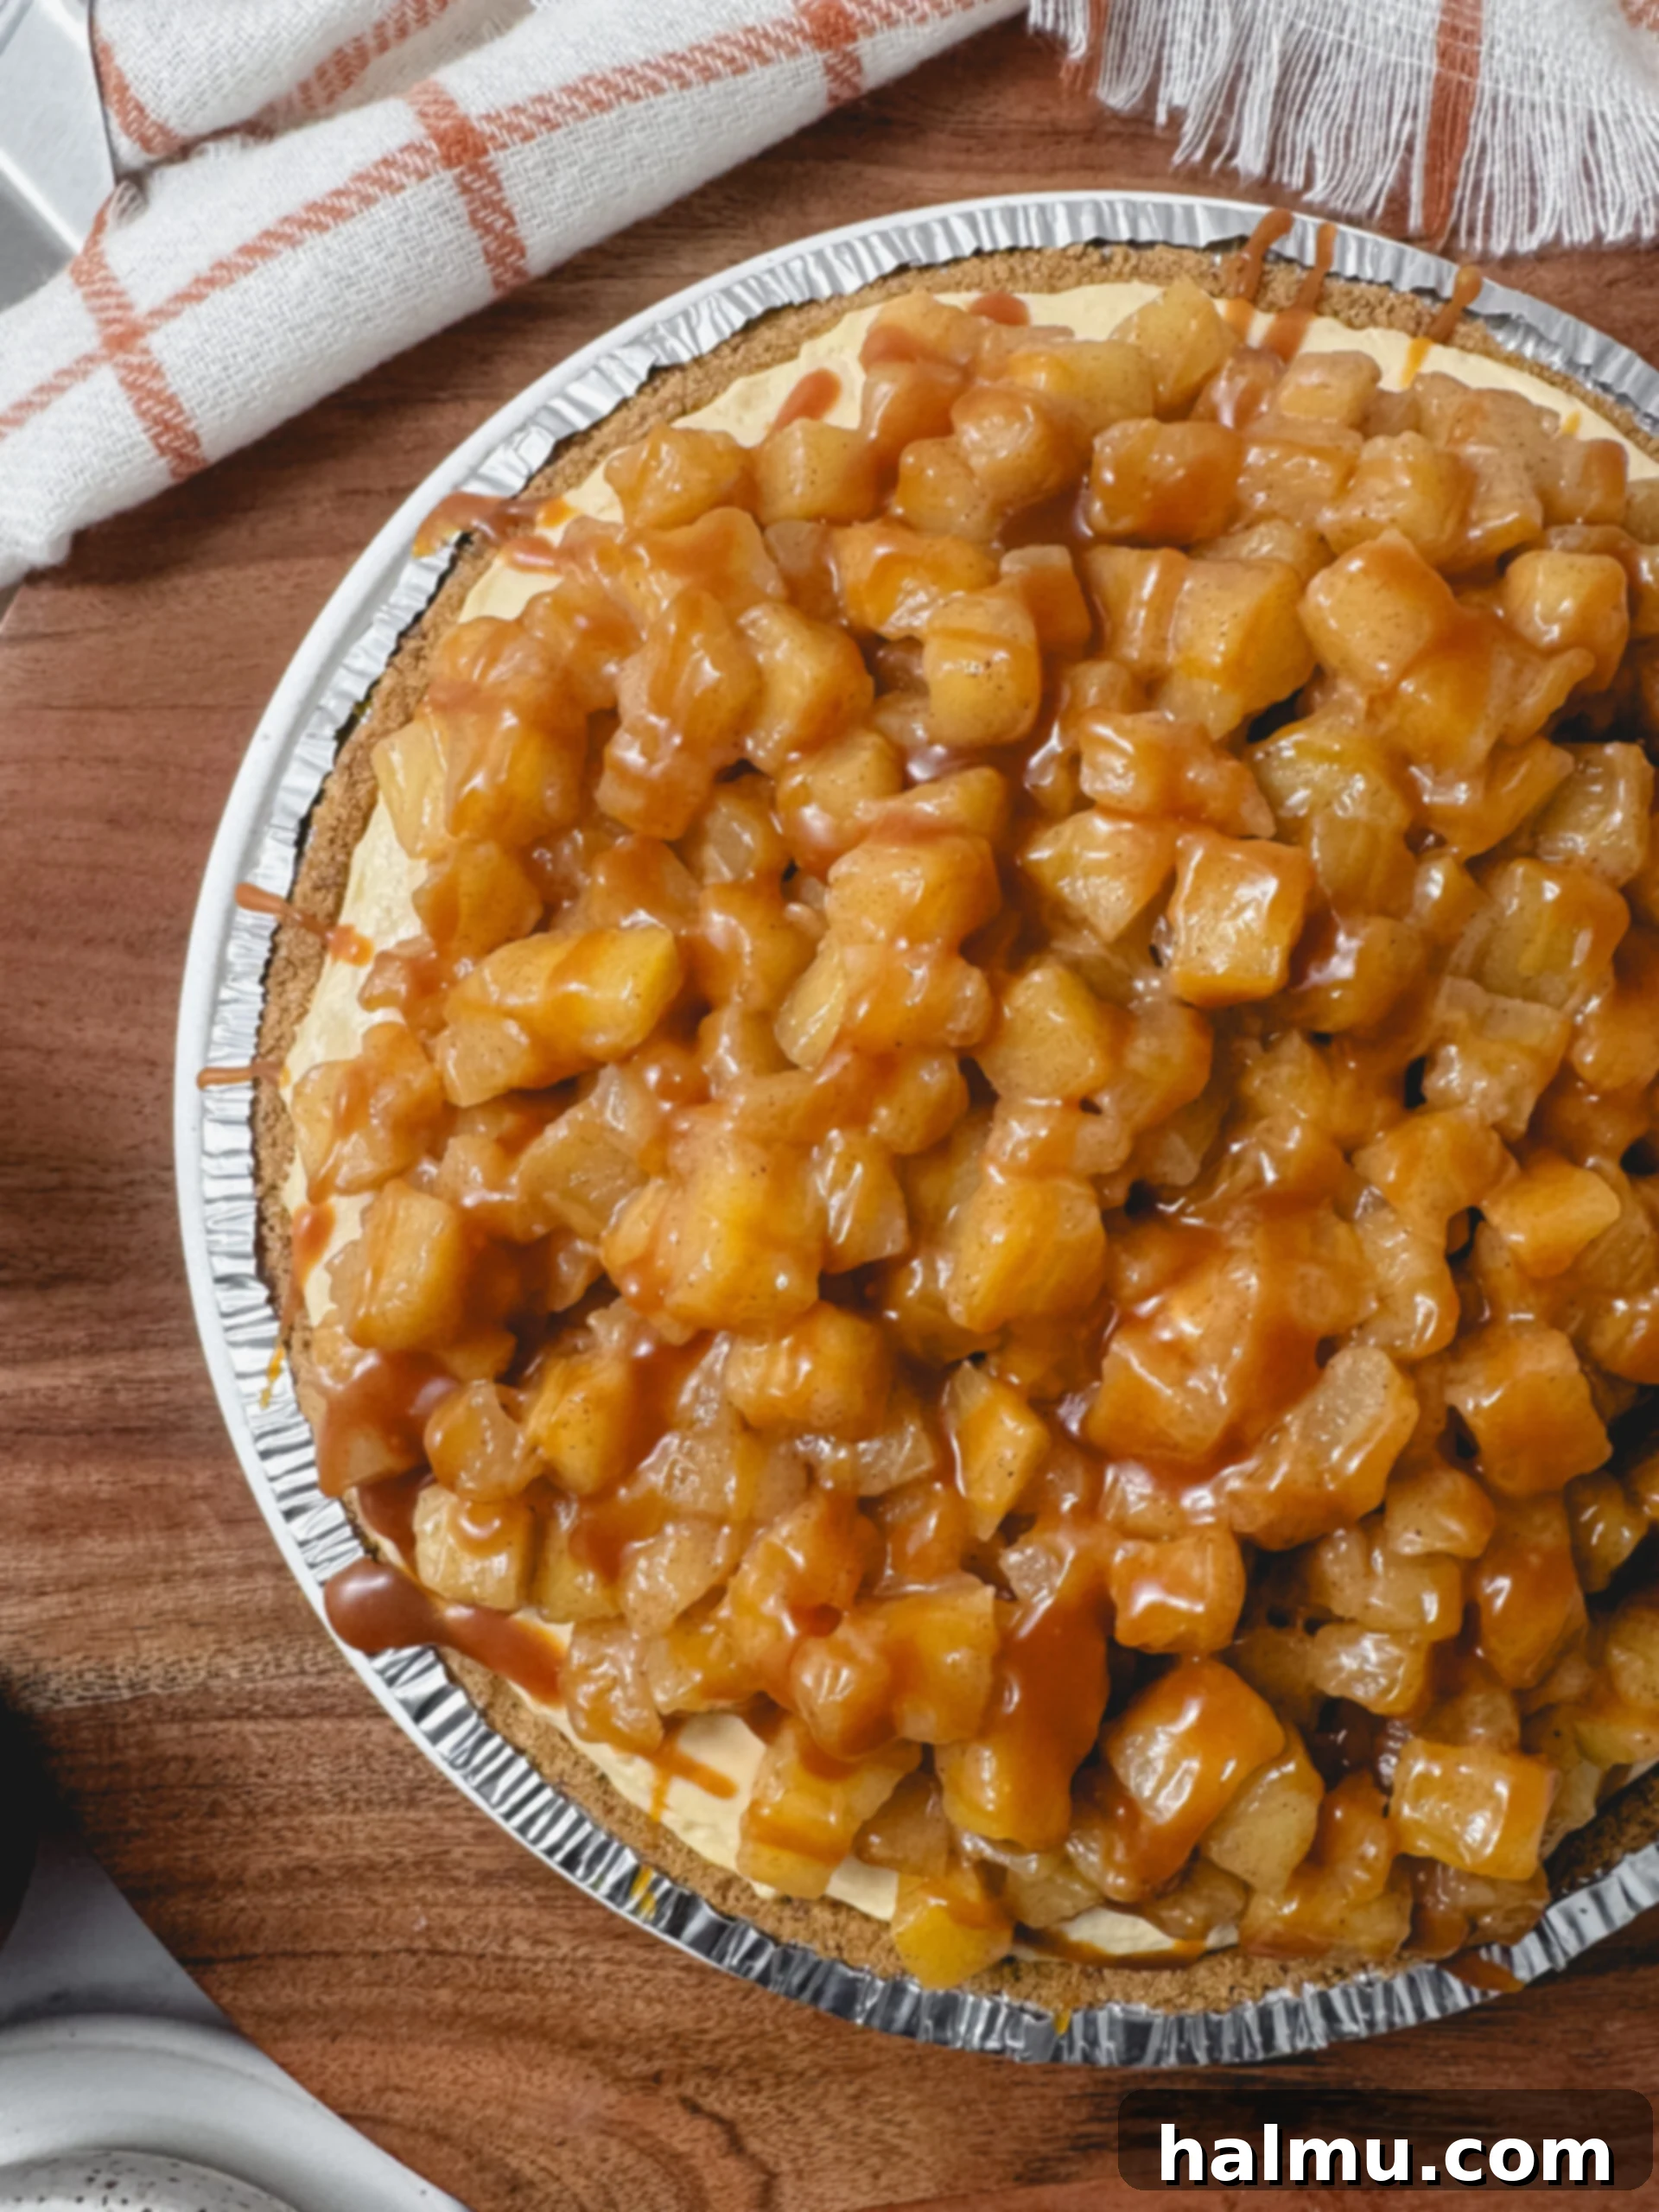
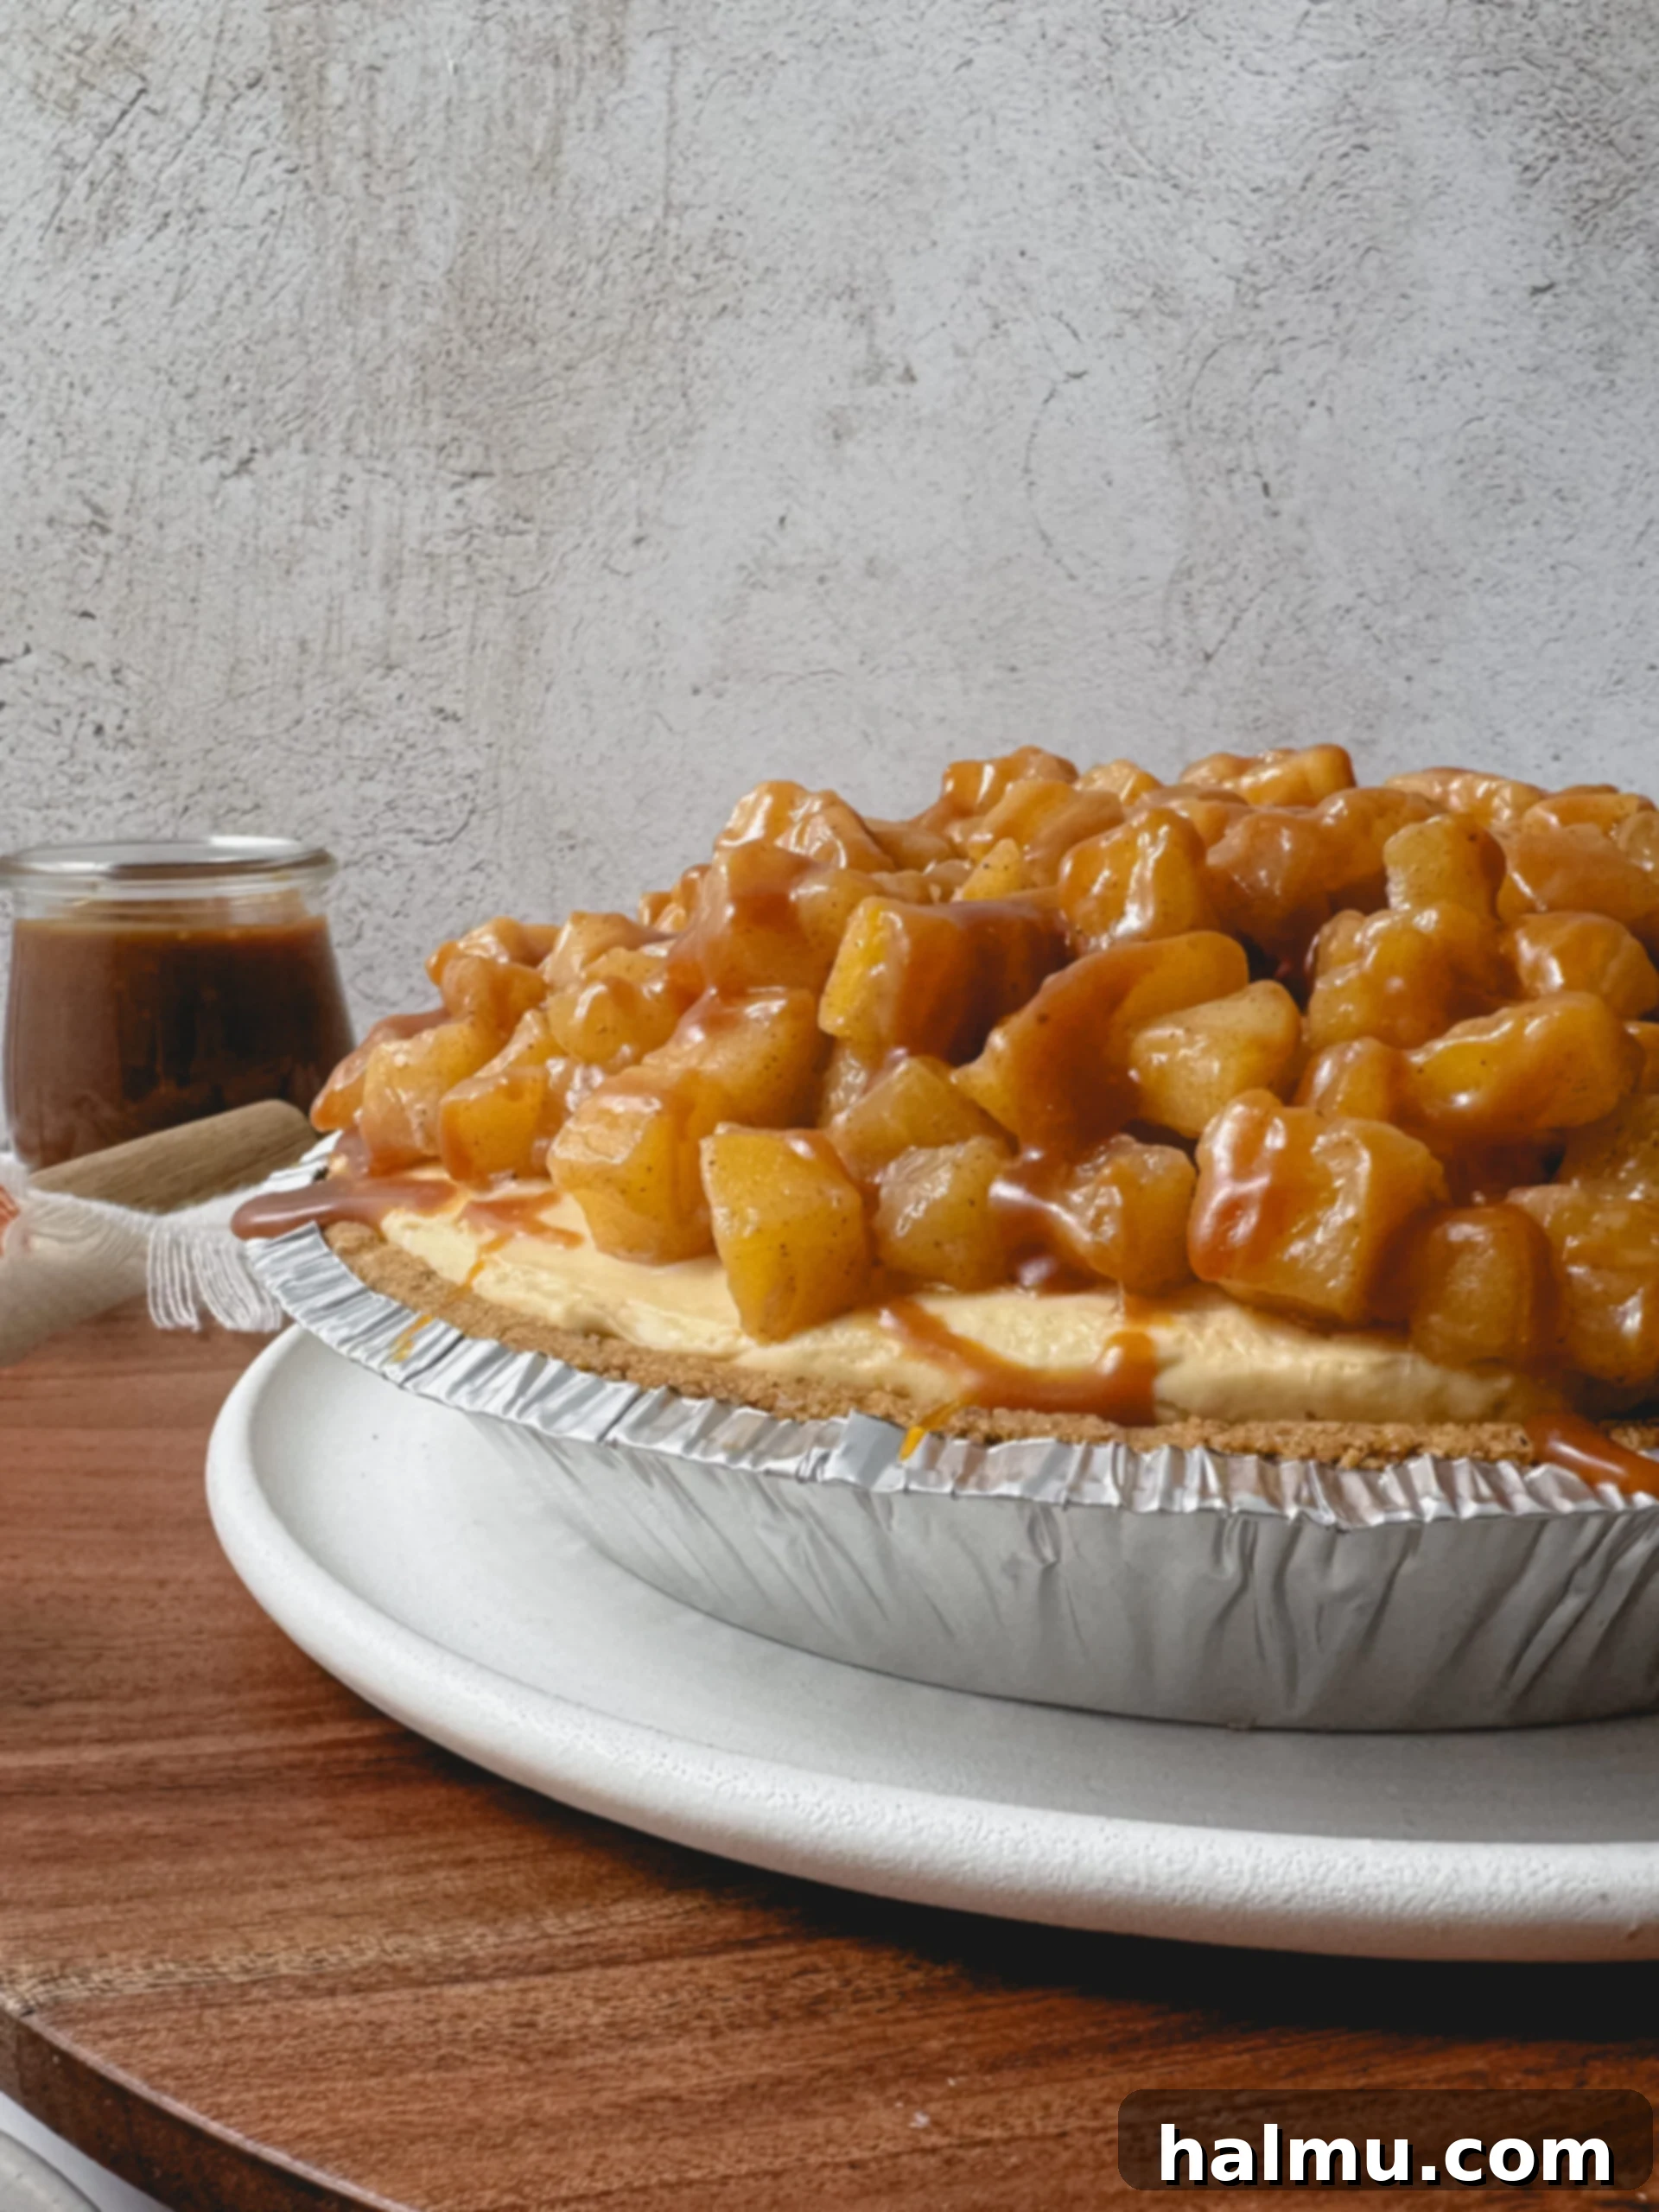
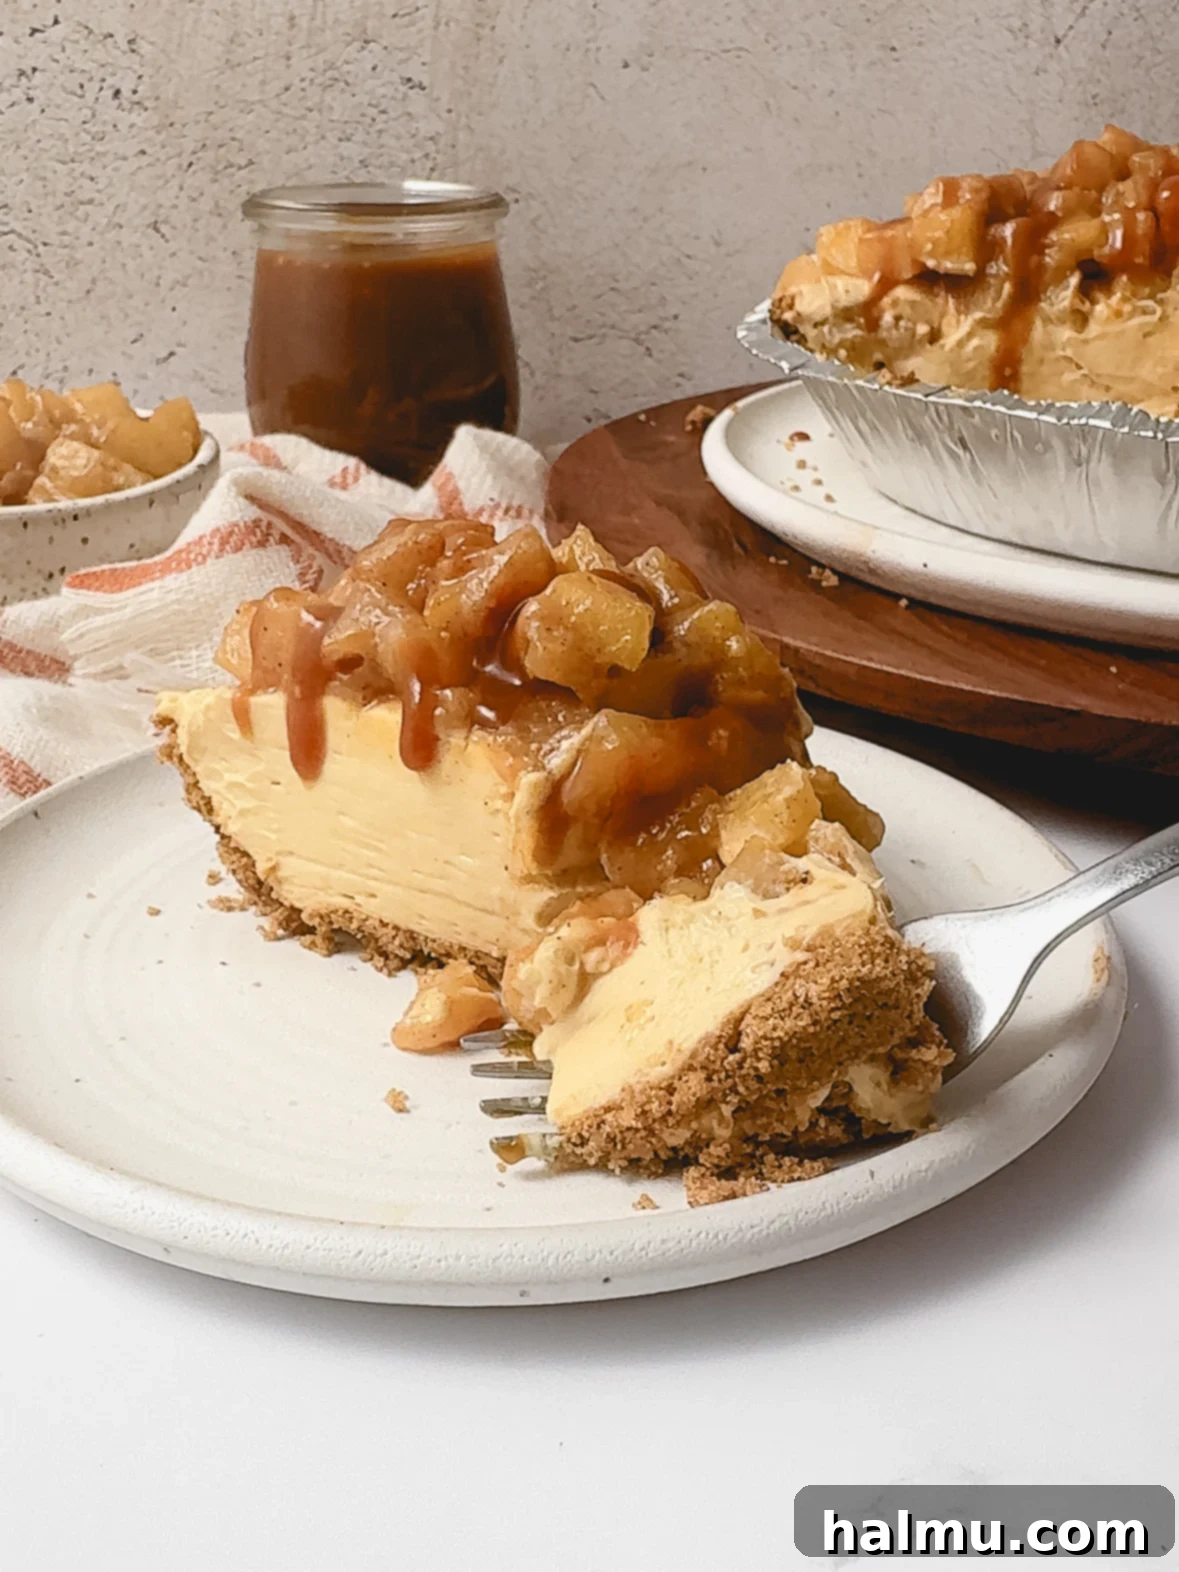
This exquisite no-bake pie masterfully brings together a delightful medley of textures and flavors. It starts with a classic, buttery graham cracker crust, providing the perfect foundation. Next, a velvety smooth, no-bake caramel cheesecake filling offers a rich, tangy, and sweet counterpoint. Piled high on top are tender, cinnamon-spiced apples, cooked down to a luscious compote. The grand finale is a generous drizzle of homemade salted caramel sauce, tying all the components together with its irresistible buttery sweetness. It’s not just a dessert; it’s an experience – the ultimate fall treat, effortlessly perfect for sharing memorable moments with friends and family during holidays or any cozy gathering.
Crafting Your Caramel Apple Cheesecake Pie: A Step-by-Step Guide
Creating this magnificent dessert is a rewarding process, and each component plays a crucial role in the overall symphony of flavors. Let’s delve into how to prepare each delicious layer.
The Secret to Success: Homemade Salted Caramel Sauce
While store-bought caramel can work in a pinch, there’s truly nothing like homemade salted caramel sauce to elevate this pie to extraordinary levels. Its buttery, rich, and complex flavor is what brings all the elements of this dessert into perfect harmony. As it cools, the caramel transforms into a thick, creamy consistency, making it ideal for incorporating into the cheesecake filling and, of course, for generously drizzling over the top for that stunning, glossy finish.
Many home bakers find the idea of making caramel from scratch a bit daunting, but it’s surprisingly simple and requires only a few basic ingredients: sugar, water, butter, heavy cream, vanilla, and a pinch of flaky sea salt. The key is patience and attention to detail. The process involves carefully melting sugar and water, allowing it to caramelize to a beautiful amber hue, then whisking in butter and cream. This homemade caramel offers a depth of flavor that mass-produced versions simply can’t match, making it an absolute must-try for the fall season and beyond. It’s also incredibly versatile, perfect for enhancing everything from coffee to ice cream, ensuring no drop goes to waste!
Luxurious No-Bake Caramel Cheesecake Filling
The heart of this pie is its luscious, creamy, and undeniably decadent no-bake cheesecake filling. This exquisite base provides a wonderful contrast to the spiced apples and the rich caramel. The filling begins with a harmonious blend of softened cream cheese, rich brown sugar, and fragrant vanilla extract. These ingredients are beaten together until wonderfully smooth and airy, ensuring a perfect texture. Next, heavy cream is gradually whipped into the mixture, adding lightness and helping the filling achieve its delightful thickness.
The final touch for this extraordinary filling is the careful incorporation of a portion of your freshly made, cooled salted caramel sauce. This infuses every bite with that signature caramel warmth and sweetness, creating a truly irresistible base. Once thoroughly mixed, this delightful filling is spread into a pre-made graham cracker pie crust. Using a pre-made crust is a fantastic time-saver, allowing you to focus on the other delicious components. After the filling is in the crust, the pie needs to be refrigerated until it is completely set, which typically takes at least 4 hours, or ideally, overnight. This crucial chilling period ensures a firm, sliceable cheesecake that holds its shape beautifully.

Sweet and Spiced Apple Compote
No caramel apple dessert is complete without perfectly cooked apples, and our apple compote delivers just that. Fresh apples, ideally a variety that holds its shape well when cooked yet softens beautifully, are chopped into small, bite-sized pieces. These apple pieces are then combined with a touch of butter, golden brown sugar for added depth, a splash of fresh lemon juice to balance the sweetness and prevent browning, and a generous sprinkle of warming cinnamon. This mixture is then gently cooked on the stovetop until the apples become wonderfully tender, coated in a glossy, fragrant cinnamon-infused sauce.
The process transforms humble apples into a luxurious compote that perfectly complements the creamy cheesecake. The lemon juice ensures a bright, fresh flavor that cuts through the richness, while the cinnamon infuses the apples with that quintessential autumnal spice. Once cooked to perfection, the compote is set aside to cool completely. This cooling step is vital, as adding warm compote to the chilled cheesecake would cause it to melt and lose its structure. Once cooled, this delectable compote is generously piled high on top of the perfectly set, chilled caramel cheesecake, ready for the final lavish caramel drizzle.
Frequently Asked Questions About Caramel Apple Cheesecake Pie
What are the best apples to use for this pie?
For baking, the best apples are those that hold their shape well and offer a good balance of tartness and sweetness. My personal favorite, and a top choice for many bakers, is the Honeycrisp apple. It boasts a delightful crisp texture and a fantastic sweet-tart flavor profile that shines through in the compote without becoming mushy. However, you have several excellent options depending on your preference! Other great choices include Granny Smith (for a tarter kick), Fuji (sweet and firm), Gala (mildly sweet), or Braeburn (tart with a hint of spice). Feel free to use your preferred apple variety or even a mix to create a more complex flavor.
How far in advance can this pie be made?
This pie is wonderfully adaptable for making ahead, which is perfect for holiday planning or busy schedules! The caramel cheesecake filling can be prepared up to a day in advance. After preparing, simply add it to the pie crust, cover it tightly with plastic wrap to prevent it from drying out, and refrigerate until you’re ready to assemble. Both the apple compote and the homemade caramel sauce are also excellent make-ahead components; they can be prepared up to one week in advance and stored separately in airtight containers in the refrigerator. Just ensure they are completely cooled before assembling the pie for the best results.
What is the best way to store the assembled pie?
While this pie is absolutely best enjoyed fresh, shortly after it’s fully assembled, any leftovers can be stored. To keep it fresh, cover the pie loosely with plastic wrap or aluminum foil and place it in the refrigerator. It will maintain its delicious flavor and texture for up to 2 days. Beyond that, the crust might start to soften, and the textures might change slightly, though it would likely still be safe to eat for a little longer. For optimal enjoyment, savor it within the first 48 hours.
What can the leftover caramel sauce be used for?
Don’t let any of that glorious homemade caramel go to waste! There are countless delicious ways to enjoy leftover salted caramel sauce. Of course, you can always serve the pie with extra caramel on the side, allowing everyone to drizzle more over their individual slices. Beyond the pie, it’s fantastic over a scoop of vanilla bean ice cream, swirled into coffee or hot chocolate, drizzled over bread pudding, or even incorporated into other fall treats like apple crisp or oatmeal. It also makes a wonderful topping for pancakes, waffles, or a simple bowl of yogurt. Get creative – the possibilities are endless!

Baking Tip: Embrace the Kitchen Scale!
For any aspiring or experienced baker, investing in a good kitchen scale is a game-changer. I wholeheartedly recommend using a kitchen scale to weigh your ingredients rather than relying on traditional measuring cups. Why? Because it is, without a doubt, the most accurate way to bake. Cups can vary, and ingredients can be packed differently, leading to inconsistent results. Weighing ensures precise measurements every single time, giving you more consistent and reliable outcomes with your recipes, and ultimately, a higher success rate. As an added bonus, using a scale often means fewer measuring cups to wash, which translates to easier cleanup! I provide gram measurements in all my recipes, and this is the scale I personally love and use.
Essential Tips for the Best Caramel Apple Cheesecake Pie Every Time
- Allow Adequate Chill Time for the Cheesecake: This is arguably the most critical step for any no-bake cheesecake. Since our cheesecake filling isn’t baked to set, it relies entirely on refrigeration to firm up and achieve that desirable creamy, yet sliceable, texture. I strongly recommend allowing it to chill for a minimum of 4 hours, or even better, overnight in the refrigerator. This ensures the filling is perfectly set and will hold its elegant shape when you cut into the pie. Remember to cover the top with plastic wrap to prevent any drying or absorption of fridge odors.
- Ensure Caramel is Fully Cooled: The temperature of your homemade caramel sauce is paramount. It must be completely cooled to at least room temperature, or even slightly cooler, before you incorporate it into the cheesecake filling or drizzle it over the assembled pie. Adding warm caramel to the creamy cheesecake filling will cause it to melt, resulting in a runny, unappealing consistency. Similarly, hot caramel on top of the pie can compromise the cheesecake’s structure. Patience here is key for a beautifully set and structured dessert.
- Serve Apple Compote at Room Temperature: For the best flavor and texture contrast, aim to serve the apple compote at room temperature. I recommend preparing the apple compote a couple of hours before you plan to serve the pie, allowing it ample time to cool naturally. If you need to prepare your compote further in advance (which is a great time-saving strategy!), store it in an airtight container in the fridge. Before serving, gently warm it in the microwave in short 20-second increments, stirring after each, until it becomes glossy and syrupy again. Always ensure it cools back down to room temperature before placing it on top of the chilled cheesecake to avoid any melting mishaps.
- Use Room Temperature Cream Cheese for the Filling: For an exceptionally smooth and lump-free cheesecake filling, it’s crucial that your cream cheese is at room temperature. This allows it to cream easily with the brown sugar and vanilla, ensuring a consistent texture. Cold cream cheese will result in a lumpy filling that is hard to mix evenly.
- Choose a Sturdy Pie Plate: A good quality pie plate, especially a deep-dish one, will help your pie hold its shape and make serving easier. Using a pie plate with a removable bottom can also simplify the process of slicing and presenting, if you’re aiming for a pristine presentation.
More Delicious Fall Recipes You’ll Love
If you’re embracing the cozy flavors of autumn, you’ll surely enjoy these other delightful recipes perfect for the season:
- Apple Cheesecake Pop-Tarts
- Pumpkin Cinnamon Streusel Muffins
- Chocolate Caramel Pecan Bars
- Pumpkin Spice Crème Brûlée Bars
We truly hope you enjoy making and sharing this incredible Caramel Apple Cheesecake Pie! If you try this recipe and love it as much as we do, please be sure to leave a comment below and share your experience. Happy baking, and may your kitchen be filled with the wonderful aromas of fall!
Caramel Apple Cheesecake Pie
This Caramel Apple Cheesecake Pie captures all the cherished flavors of fall with its crisp graham cracker crust, a velvety no-bake caramel cheesecake filling, a luscious cinnamon-spiced apple compote, and a generous drizzle of homemade salted caramel sauce. It’s the ultimate easy and impressive fall dessert!
Author: Rachel
Print Recipe
RATE THIS RECIPE
Prep Time: 20 mins
Cook Time: 25 mins
Chill Time: 4 hrs
Total Time: 4 hrs 45 mins
Yield: 10 servings
Ingredients
For the Salted Caramel Sauce
- 1 cup (200g) granulated sugar
- ¼ cup (60mL) water
- 6 Tablespoons (85g) unsalted butter, at room temperature and cut into cubes
- ½ cup (120mL) heavy cream, at room temperature
- 1 teaspoon vanilla extract
- ½ teaspoon flaky sea salt, such as Maldon
For the Caramel Cheesecake Filling
- 16 oz (2 blocks or 452g) cream cheese, softened
- ½ cup (100g) brown sugar
- 2 teaspoons vanilla extract
- ⅔ cup (160mL) heavy cream
- ⅓ cup salted caramel sauce, cooled (from ingredients above)
- 1 9” graham cracker pie crust, pre-made
For the Apple Compote
- 3 medium Honeycrisp apples, peeled, cored, and finely chopped
- 2 Tablespoons (28g) unsalted butter
- ¼ cup (56g) brown sugar
- 1 Tablespoon (14g) fresh lemon juice
- 1 teaspoon cinnamon
- 2 teaspoons cornstarch
- 1 Tablespoon water
Instructions
Caramel Sauce: In a small, heavy-bottomed stainless steel saucepan, combine the granulated sugar and water. Place the saucepan over medium heat. Using a pastry brush dipped in water, carefully brush down any sugar crystals from the sides of the pan to prevent crystallization. This step is crucial for smooth caramel.
Once the mixture is combined, place the lid on the saucepan and allow it to cook undisturbed for a few minutes. Do not stir the mixture. Check frequently, brushing down the sides of the pan with water as needed. Initially, the mixture will appear cloudy, then it will come to a boil and become clear before it starts to caramelize and turn golden. Once the sugar begins to caramelize, you can occasionally swirl the pan to ensure even coloring, but still avoid stirring. As soon as the sugar reaches a deep golden amber color (like a penny), immediately remove it from the heat to prevent burning.
Off the heat, carefully and slowly add the cubed, room-temperature butter to the hot caramel. Whisk continuously until the butter is fully melted and incorporated. Next, gradually stream in the room-temperature heavy cream while continuing to whisk. The mixture will bubble up vigorously at this stage, so be cautious, but it will settle down once the cream is fully incorporated. Finally, stir in the vanilla extract and flaky sea salt.
Pour the freshly made caramel sauce through a fine mesh sieve into a heatproof container. This step removes any potential crystallized sugar bits, ensuring a perfectly smooth sauce. Allow the caramel to cool completely to room temperature before using it in the cheesecake filling or as a drizzle. You can place it in the fridge to speed up the cooling process, but ensure it’s not too thick before mixing into the cheesecake.
Caramel Cheesecake Filling: In the bowl of a stand mixer fitted with a whisk attachment (or using a hand mixer), combine the softened cream cheese and brown sugar. Beat on medium speed until the mixture is completely smooth and free of lumps. Mix in the vanilla extract. Take a rubber spatula and scrape down the sides and bottom of the bowl to ensure all ingredients are well combined.
With the mixer on low speed, slowly stream in the heavy cream. Once the cream is fully incorporated into the cream cheese mixture, increase the mixer speed to high and whip for approximately 20-30 seconds, or until the mixture becomes thick and holds soft peaks. Gently fold in ⅓ cup of the cooled homemade caramel sauce until it is fully incorporated and distributed evenly throughout the cheesecake mixture.
Spoon the caramel cheesecake filling into the pre-made 9-inch graham cracker pie crust. Using a small offset spatula or the back of a spoon, spread the filling out evenly and smooth the top. Cover the pie tightly with plastic wrap and transfer it to the refrigerator. Allow it to chill and set for at least 4 hours, or ideally, overnight. This crucial chilling time is what gives the no-bake cheesecake its firm and sliceable texture.
Apple Compote: Begin by chopping your peeled and cored apples into small, uniform pieces. In a medium saucepan, melt the unsalted butter over medium-low heat. Add the chopped apples, brown sugar, fresh lemon juice, and cinnamon to the pan. Stir well to combine all the ingredients. Cook the mixture, stirring occasionally, until the apples become tender, which should take about 10 minutes. While the apples are cooking, combine the cornstarch and 1 tablespoon of water in a small bowl to create a slurry. Once the apples are soft and the mixture is gently bubbling, stir in the cornstarch slurry. Continue to stir for about 30 seconds as the mixture thickens to a glossy, syrupy consistency. Remove the compote from the heat and set it aside to cool completely to room temperature.
Assemble and Serve: Once the cheesecake pie is thoroughly chilled and set, and the apple compote has cooled to room temperature, it’s time to assemble. Spoon the cooled apple compote generously over the top of the chilled cheesecake filling, spreading it evenly. Finish the pie by drizzling a lavish amount of the remaining homemade salted caramel sauce over the apple compote. Slice the pie into individual servings, offer any extra caramel for drizzling, and enjoy this spectacular fall dessert!
Did you make this recipe?
Be sure to tag @sweetkitchencravings on Instagram! We love seeing your creations.

HI THERE!
I’m Rachel
I’m the dessert lover, recipe developer, and content creator behind Sweet Kitchen Cravings. Here you’ll find classic yet special recipes that are sure to impress your loved ones!
MORE ABOUT RACHEL
