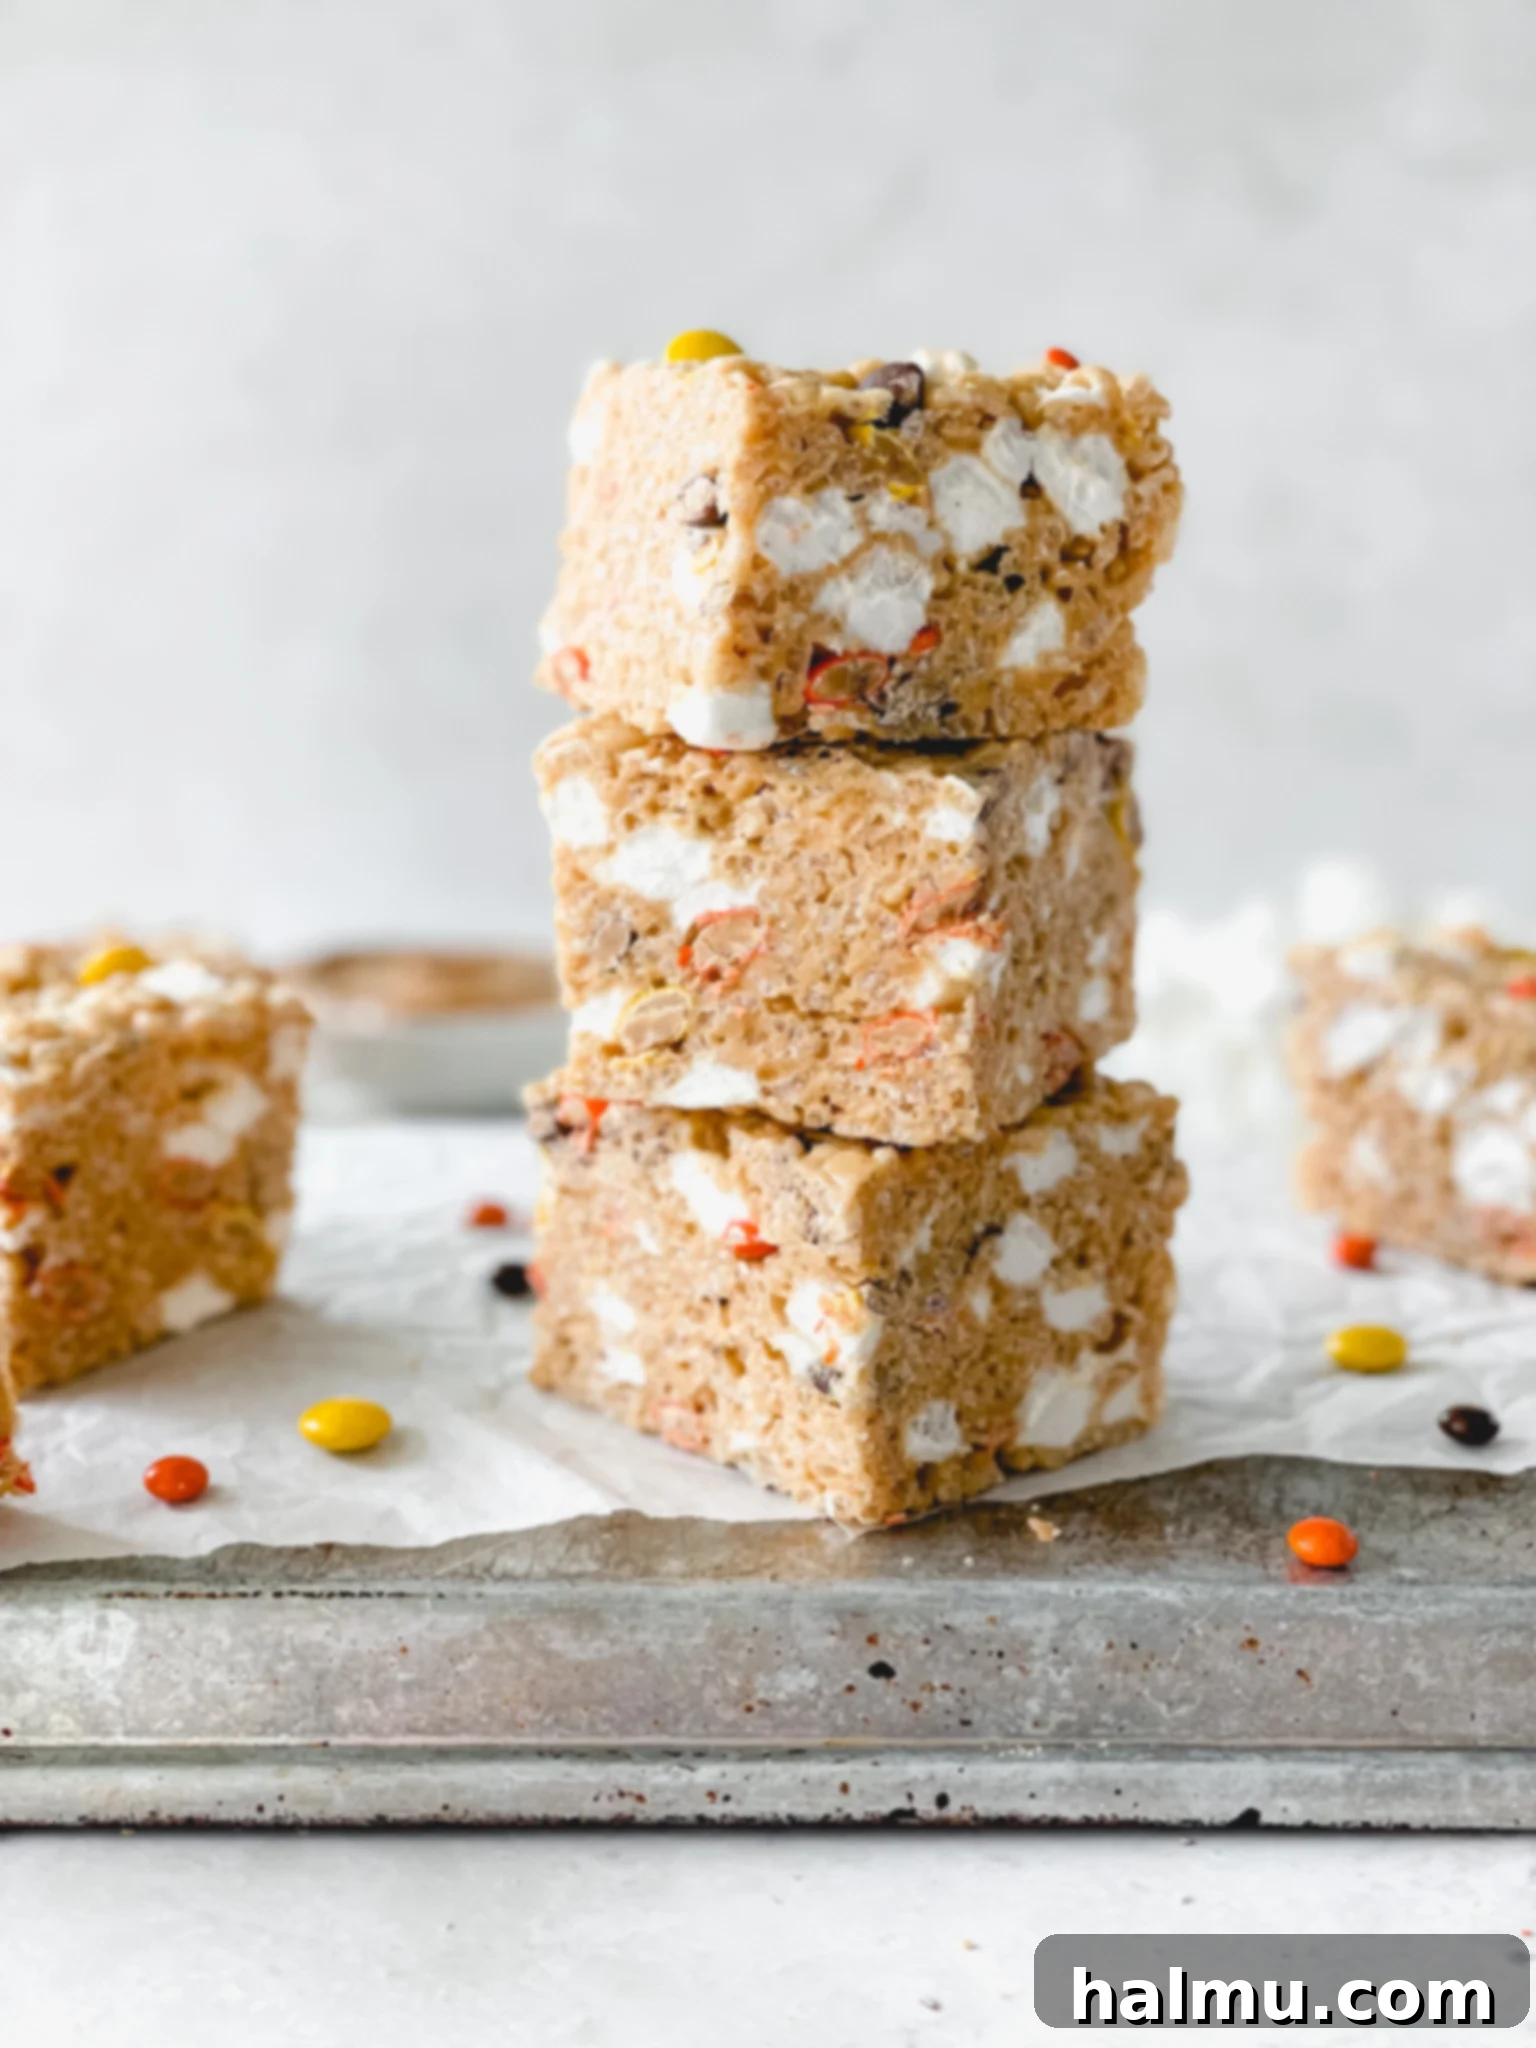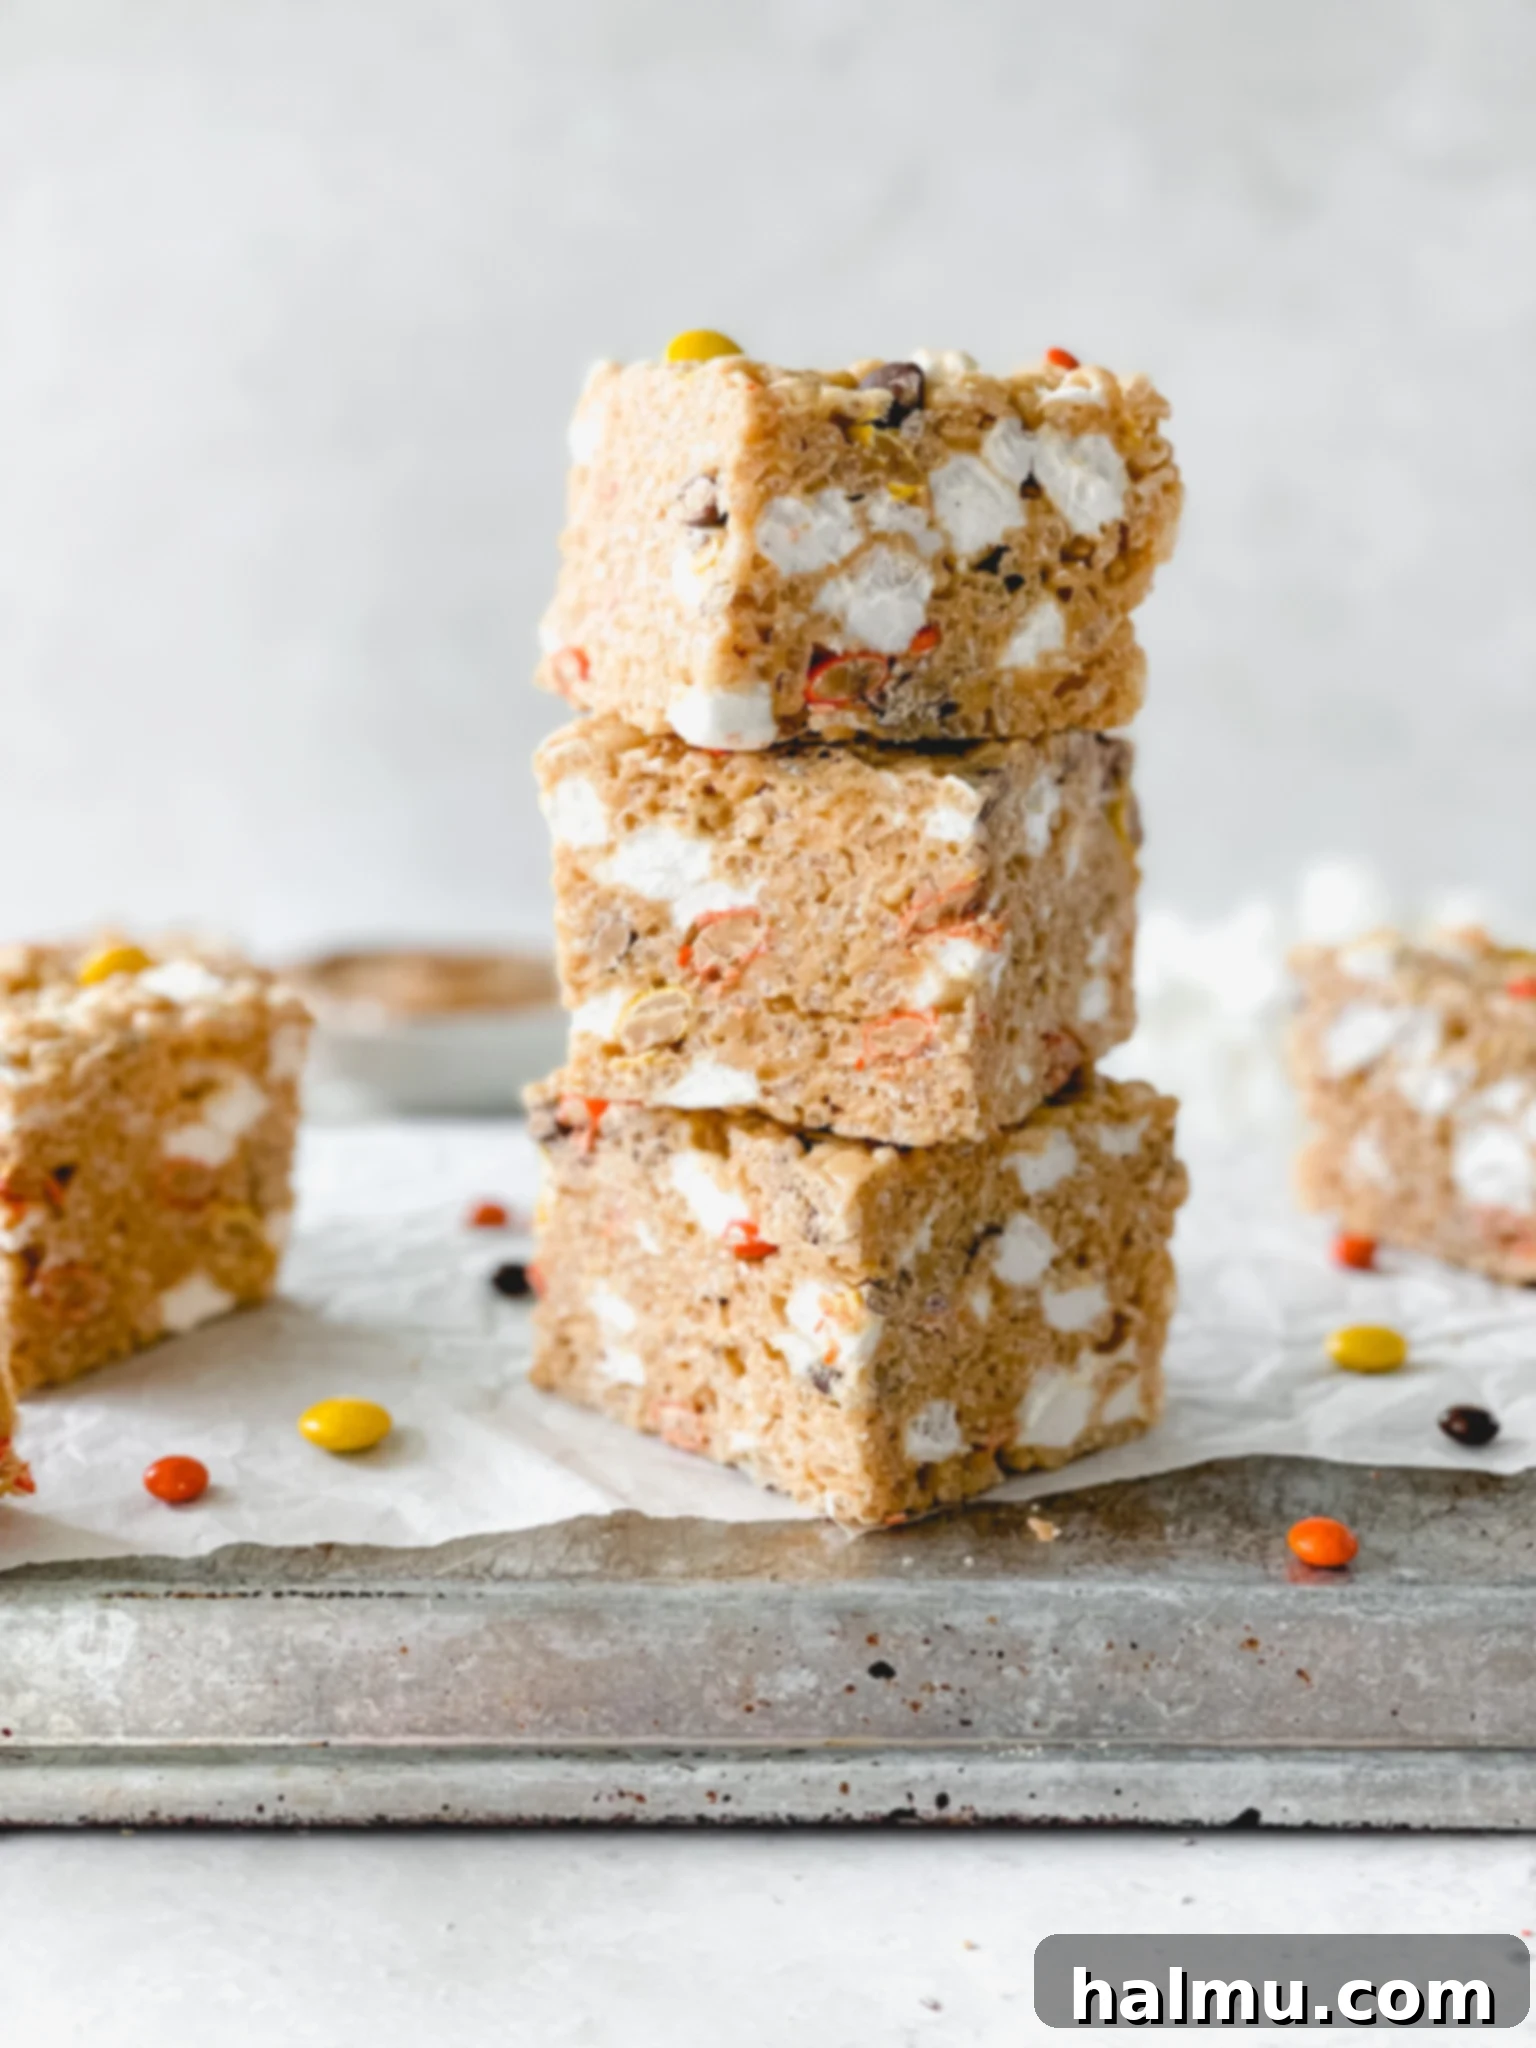
Irresistible Reese’s Pieces Rice Krispie Treats: A Brown Butter & Peanut Butter Dream
Prepare to elevate your dessert game with these truly irresistible Reese’s Pieces Rice Krispie Treats. Forget the basic versions from your childhood; this recipe takes a nostalgic classic and transforms it into a sophisticated, yet utterly simple, delight. We begin with a foundation of rich, nutty brown butter, a secret ingredient that infuses the treats with an unparalleled depth of flavor. This isn’t just melted butter; it’s butter toasted to perfection, bringing out warm, caramel-like notes that perfectly complement the star of the show.
Beyond the brown butter, we incorporate creamy peanut butter, which melts seamlessly with the marshmallows, creating a wonderfully soft and chewy texture. But what truly sets these treats apart are the generous additions of Reese’s Pieces candies and extra marshmallows. The candies provide bursts of classic peanut butter and chocolate flavor, while the reserved marshmallows ensure a delightful, pillowy chewiness in every single bite. The result is a treat that is nutty, perfectly sweet, incredibly soft, and packed with layers of delightful texture.
My journey to perfecting these treats began years ago when I first discovered Smitten Kitchen’s acclaimed salted brown butter crispy treats. Deb’s recipes are consistently brilliant, and her rendition of this classic dessert instantly captured my heart. Inspired by her genius, I decided to adapt the recipe, infusing it with my personal love for peanut butter and the iconic Reese’s Pieces. The brown butter is truly the game-changer here, transforming a simple dessert into something extraordinary. If you share my passion for the rich, complex flavor of brown butter, I highly recommend exploring my other creations like Brown Butter Blondie Bars and the indulgent Brown Butter Toffee Cookie Skillet.
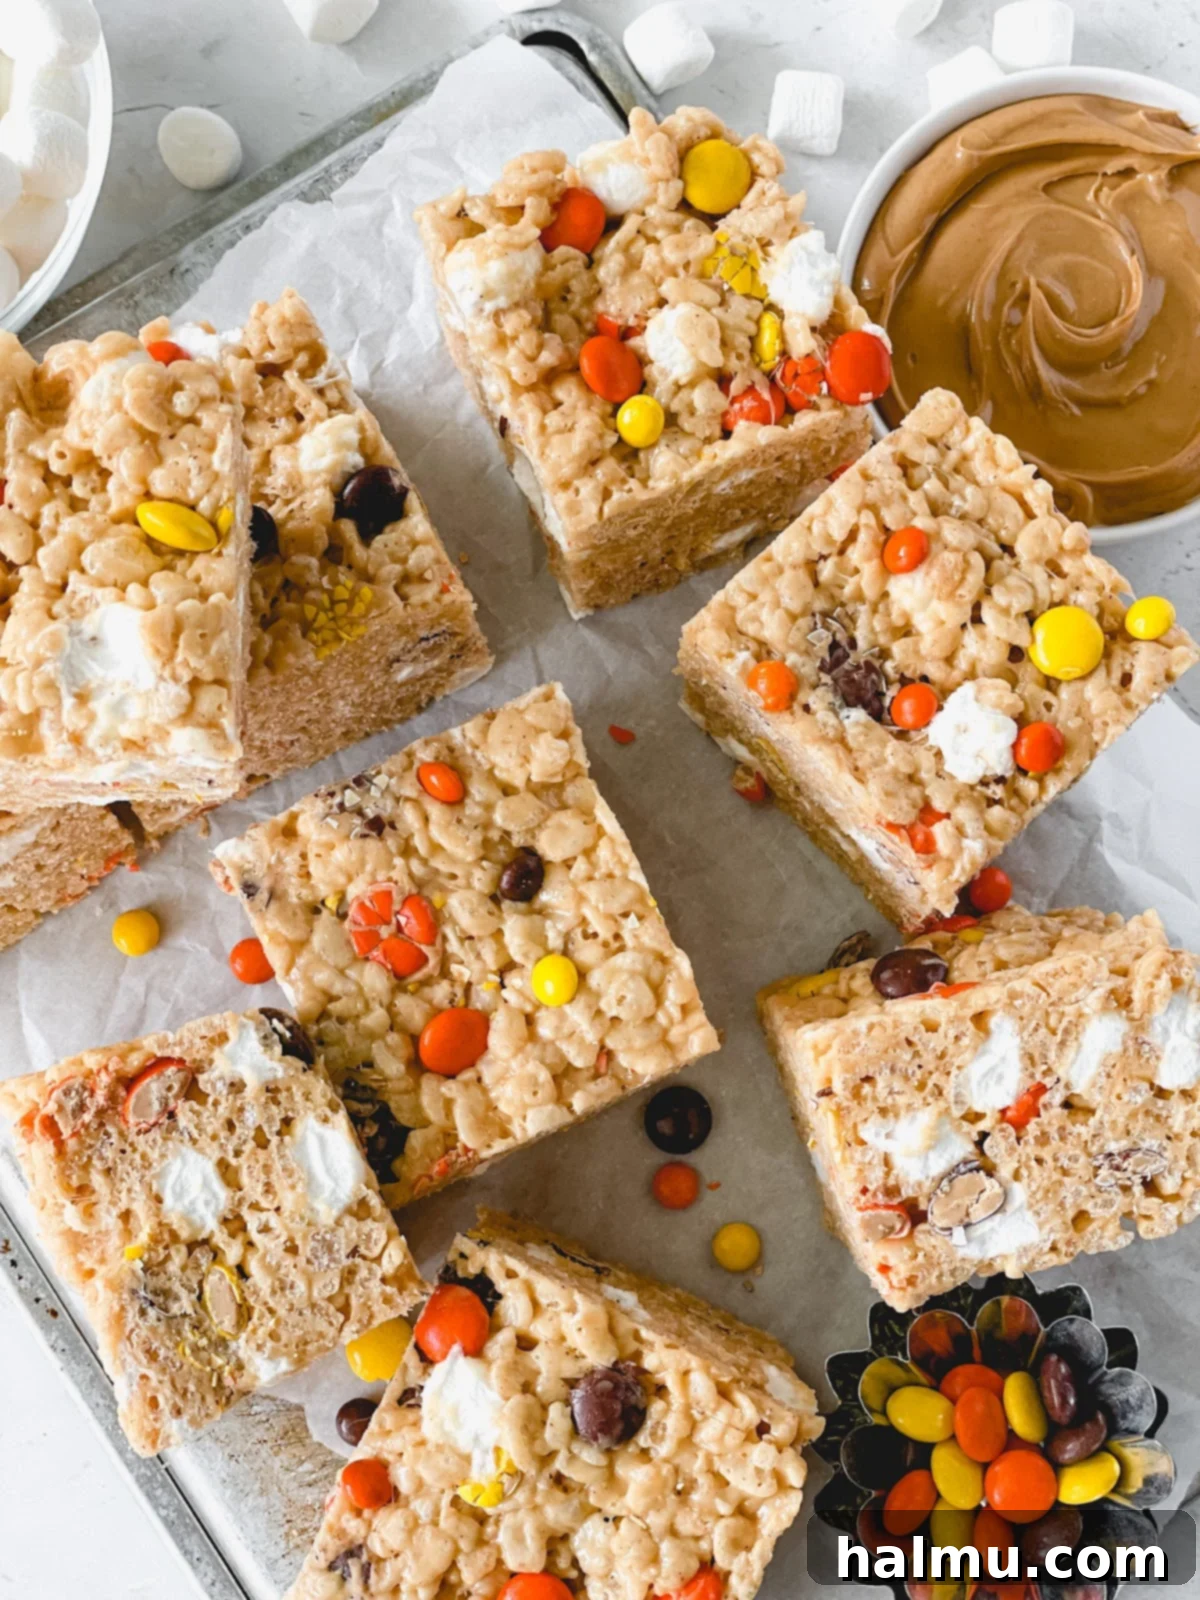
Key Ingredients for the Perfect Reese’s Pieces Rice Krispie Treats
Crafting the ultimate Rice Krispie treat requires careful attention to a few key ingredients. Here’s a closer look at what makes this recipe truly special and why certain choices are crucial for achieving that perfect balance of flavor and texture:
- Peanut Butter: For these treats, you’ll want to reach for creamy, conventional peanut butter brands like Skippy or Jif. These varieties contain added sugar and stabilizers that contribute to the ideal soft, spreadable texture when melted. Natural peanut butter, while delicious in its own right, tends to be too oily and runny for this application, which can result in a greasier, less cohesive treat. The conventional kind melts seamlessly into the brown butter, creating a smooth, rich base that binds everything together beautifully.
- Marshmallows: Mini marshmallows are the secret weapon here. Their smaller size allows them to melt more quickly and evenly, ensuring a smooth, uniform marshmallow base. We use a unique technique: melting three-quarters of the marshmallows initially, then stirring in the remaining quarter at the end. This clever trick guarantees a delightful combination of soft, melty marshmallow and pockets of chewy, intact marshmallow throughout every bite, adding incredible textural interest. Remember, fresh marshmallows are paramount! Stale or older marshmallows often struggle to melt properly, leading to a lumpy, less desirable consistency. Always check the freshness of your bag before you start.
- Reese’s Pieces: Without a doubt, these iconic peanut butter candies are the star of the show. Their vibrant colors and unmistakable flavor are what give these treats their signature appeal. I love using a mix of mini and regular-sized Reese’s Pieces; the minis, often found in the ice cream topping aisle, disperse wonderfully throughout the mixture, while the regular-sized ones offer a satisfying crunch. If you can only find regular-sized, that’s perfectly fine—just use them all. I also recommend reserving a few extra candies to press into the top of the treats once they’re in the pan, adding an appealing visual touch and an extra burst of flavor.
The Secret to Superior Flavor: Mastering Brown Butter
Brown butter, or *beurre noisette*, is a culinary game-changer that adds a complex, nutty, and toasted depth to any dish, especially these Rice Krispie Treats. While it’s incredibly simple to make, it requires your full attention. The line between perfectly browned and sadly burnt butter is very thin, so stay vigilant! Follow these steps closely to achieve that golden, aromatic perfection:
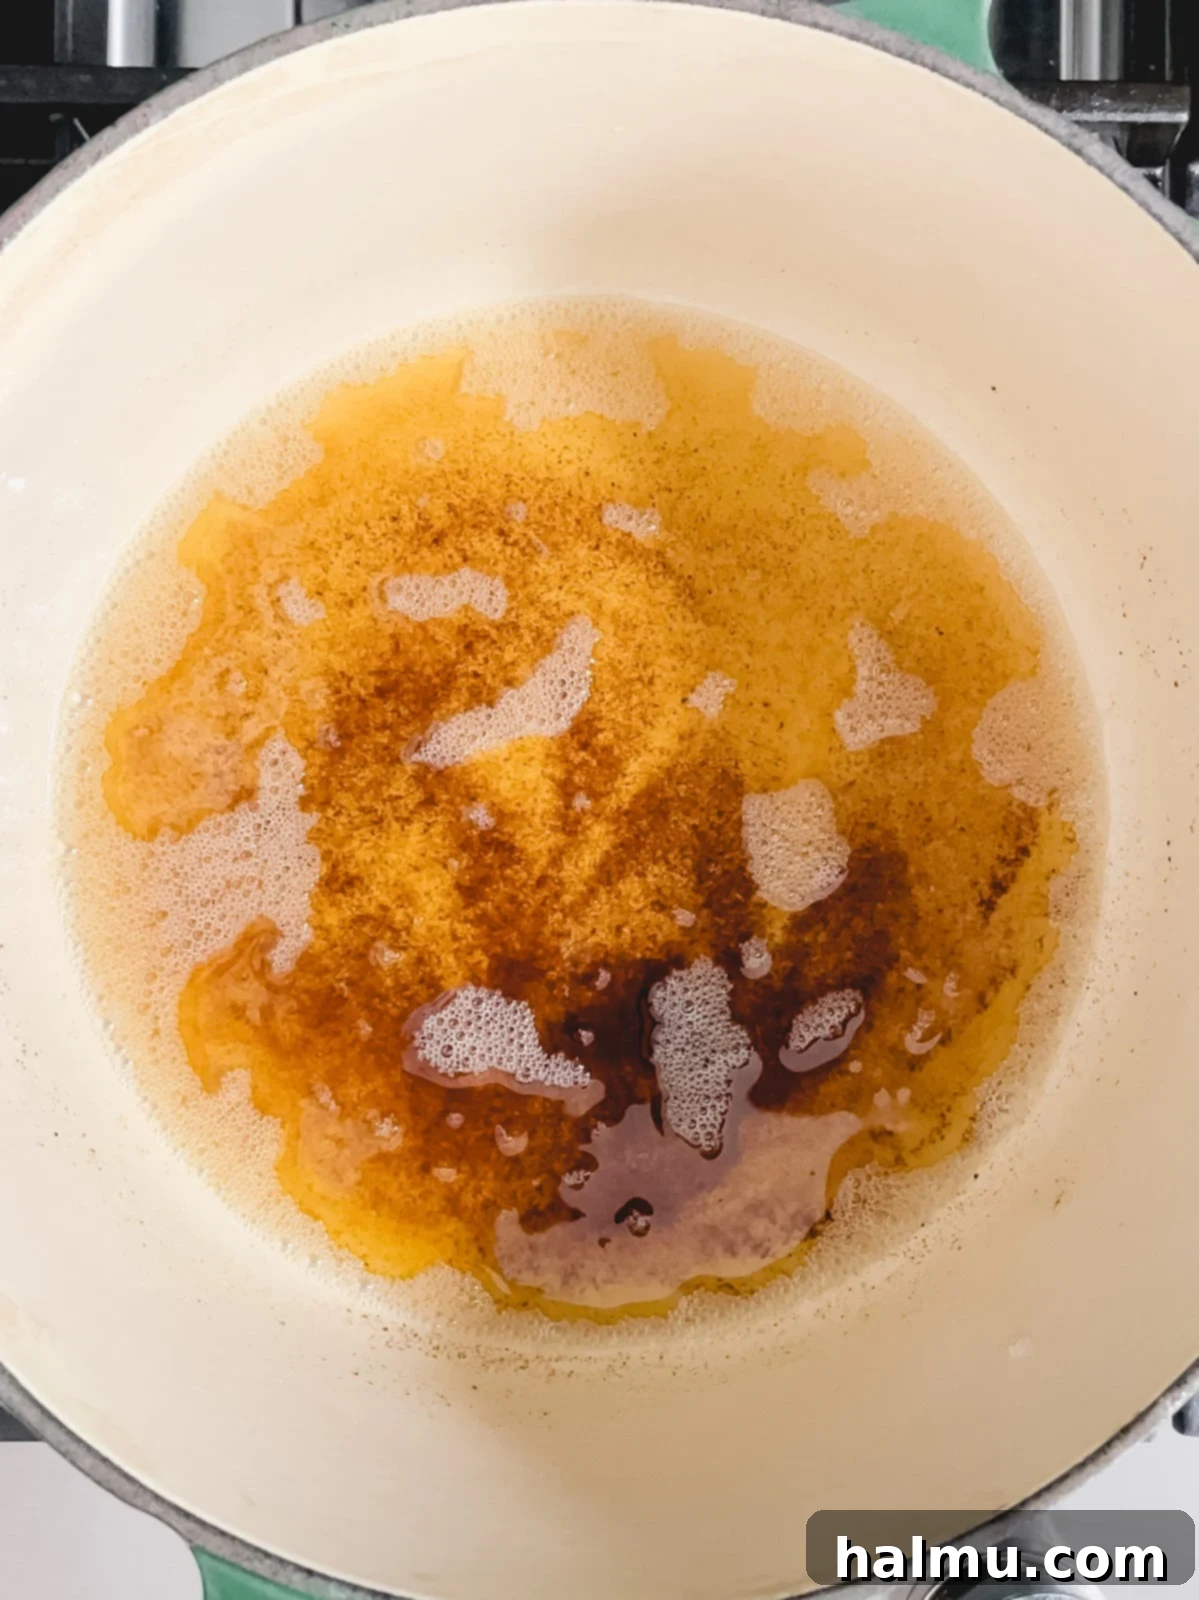
- Start Melting: Begin by melting your unsalted butter in a light-colored saucepan over medium-low heat. A light-colored pan is essential because it allows you to clearly see the color changes of the butter solids, which is crucial for preventing burning.
- Stir Constantly: Once the butter has completely melted, this is the critical phase. You *must* stir constantly from this point forward. Do not walk away from the stove for even a second. The milk solids will separate and begin to toast, and stirring ensures even browning and prevents scorching.
- Observe the Stages: The butter will first become foamy on top. This foam can sometimes obscure the color beneath, so keep stirring and peeking. Beneath the foam, the butter will gradually start to turn a light golden color.
- Recognizing Perfection: You’ll know your brown butter is ready when several key indicators are present:
- Deep Golden Brown Color: The liquid butter will take on a rich, amber hue, reminiscent of a toasted hazelnut.
- Toasted Specks: Small, dark brown specks (these are the toasted milk solids) will appear at the bottom of the pan. These tiny bits are packed with incredible flavor.
- Nutty Aroma: Perhaps the most telling sign is the aroma. The butter will release a distinct, warm, and nutty fragrance that is truly heavenly. This is your cue to remove it from the heat immediately.
Once you achieve these signs, promptly remove the pan from the heat to stop the cooking process and prevent the butter from burning.

Step-by-Step: Crafting Your Reese’s Pieces Rice Krispie Treats
Now that you’ve mastered the art of brown butter, let’s bring it all together to create these irresistible treats. The process is straightforward, but each step plays a vital role in achieving the perfect texture and flavor.
- Prepare Your Pan: First, lightly grease an 8″ x 8″ square baking pan with cooking spray or butter. This crucial step will ensure your treats don’t stick and slide out easily once cooled. Set it aside for later.
- Brown the Butter: Begin by browning your butter in a large, heavy-bottomed pot. This pot will serve as your mixing bowl for the rest of the ingredients, so choose one with ample space. Follow the detailed steps outlined above to achieve that perfectly nutty, golden brown butter. Remember to keep a close eye on it to prevent burning!
- Add Peanut Butter and Marshmallows: As soon as your butter reaches that ideal brown hue and nutty aroma, stir in the creamy peanut butter. Continue stirring until the peanut butter has fully melted and is smoothly incorporated with the brown butter. Immediately turn off the heat. Then, add three-quarters of your mini marshmallows to the pot. The residual heat from the warm butter and peanut butter mixture should be sufficient to melt the marshmallows. Stir gently but continuously until they are mostly melted and smooth. If they seem hesitant to melt, you can briefly return the pot to very low heat, stirring constantly, but be careful not to scorch them.
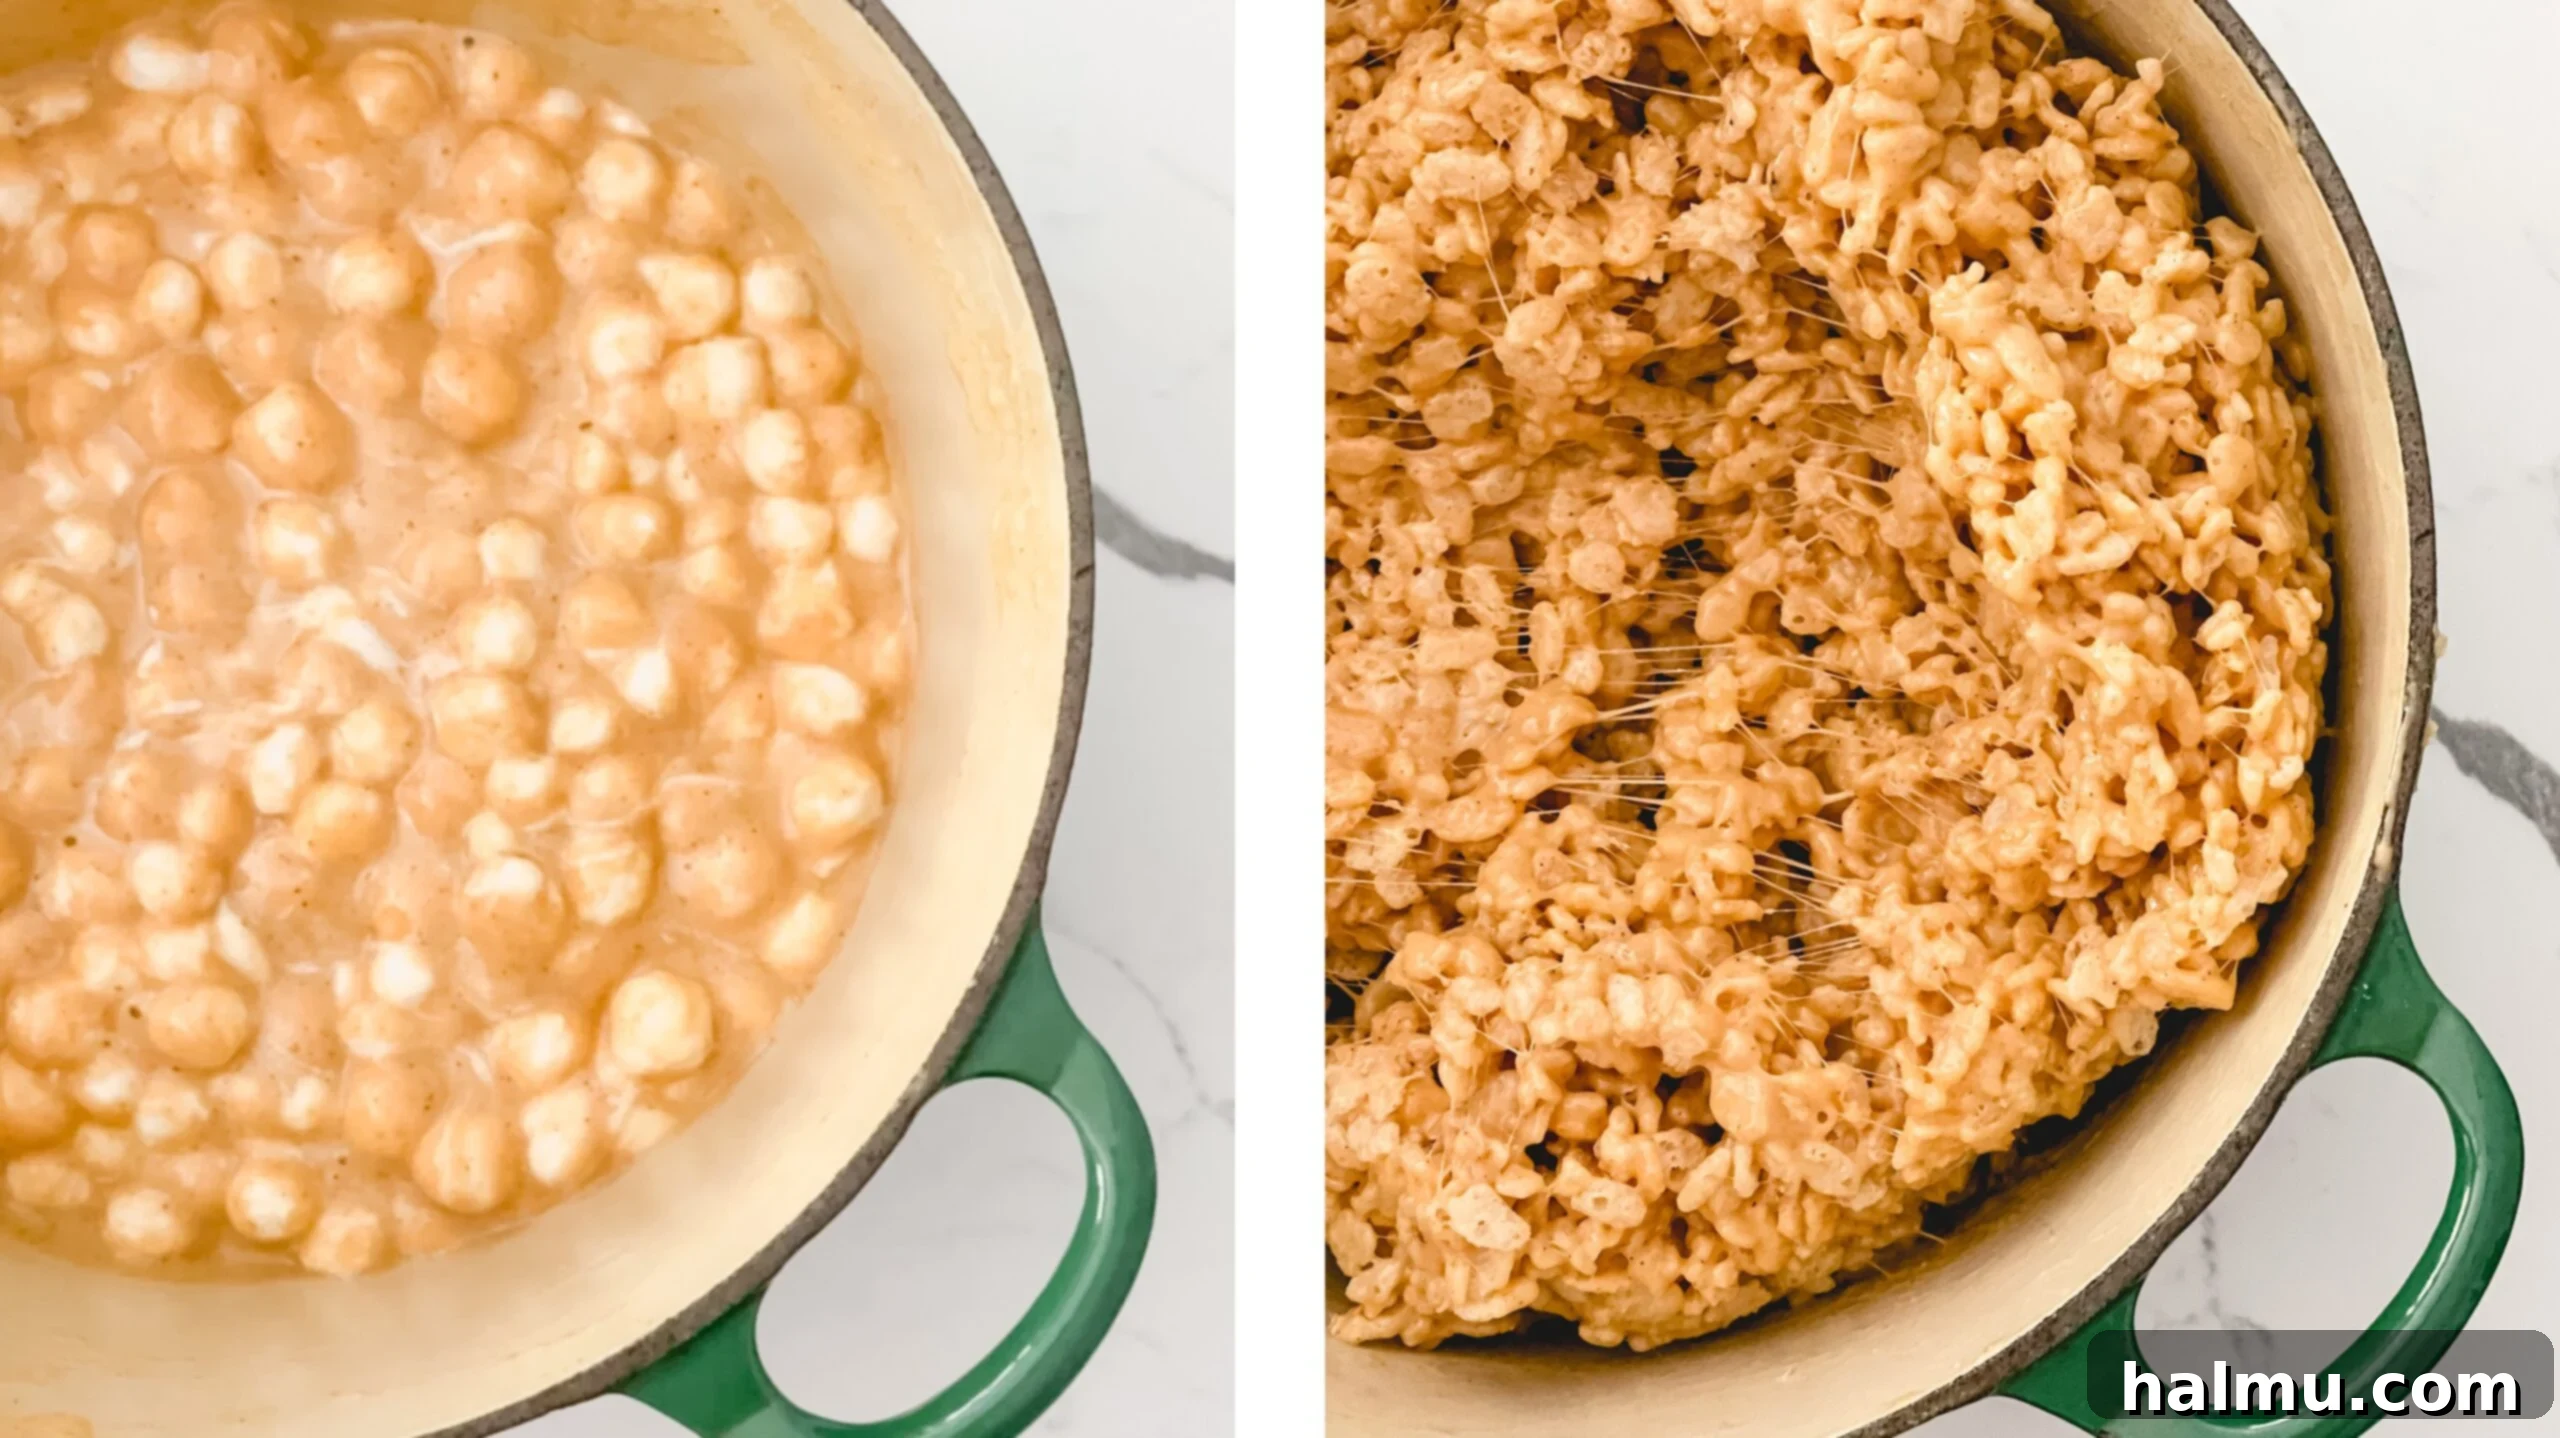
- Mix in the Cereal: Once the butter, peanut butter, and marshmallows have completely melted into a smooth, gooey mixture, add all of your rice krispie cereal to the pot. For easier mixing and to prevent the sticky mixture from clinging to your spatula, lightly spray your spatula with cooking spray. Gently fold the cereal into the marshmallow mixture until every piece is evenly coated. Be careful not to crush the cereal, as this will affect the texture of your finished treats.
- Incorporate Extra Marshmallows and Reese’s Pieces: This is where the magic happens for extra texture and flavor! At this stage, for best distribution, I find it easiest to transfer the entire mixture onto a lightly greased counter surface. Then, with hands lightly greased (or wearing cooking spray-coated gloves), gently fold in the remaining quarter of marshmallows and all of the Reese’s Pieces candies. This hands-on approach ensures an even distribution of those delightful chewy marshmallow pockets and bursts of peanut butter candy throughout. If you prefer, you can certainly do this step directly in the pot using a greased spatula, though it might require a bit more effort to mix everything in thoroughly.
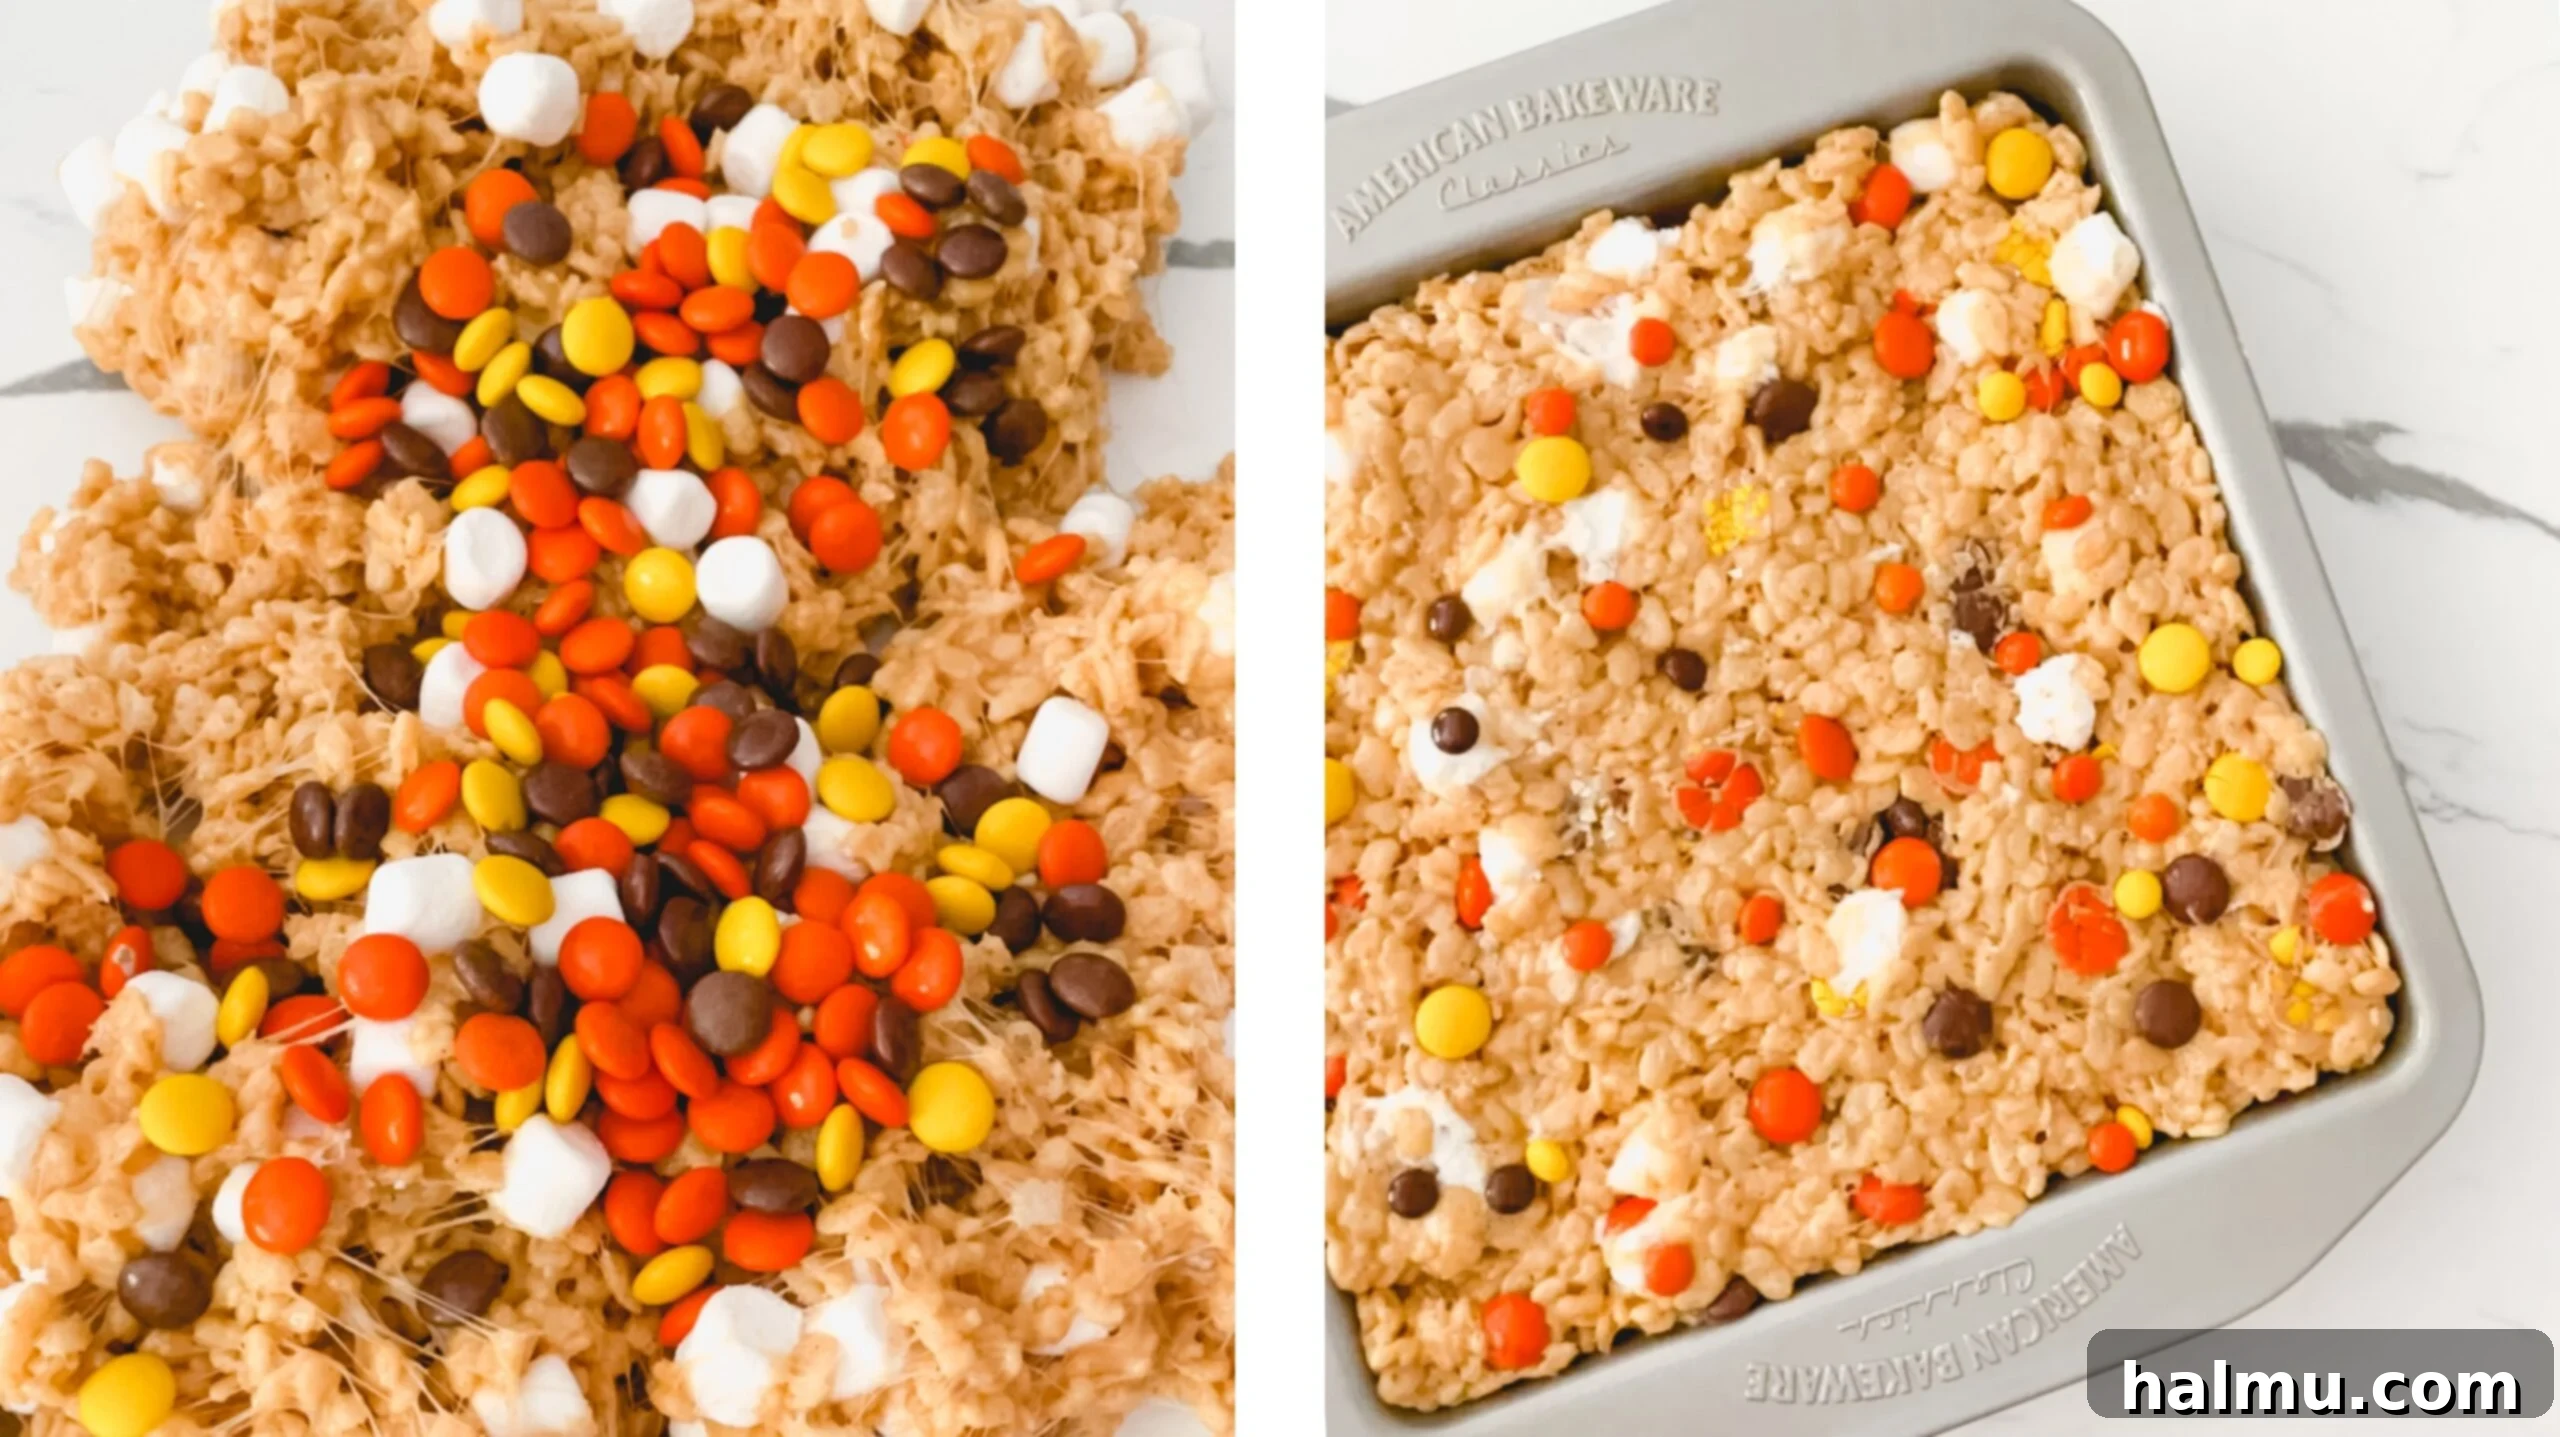
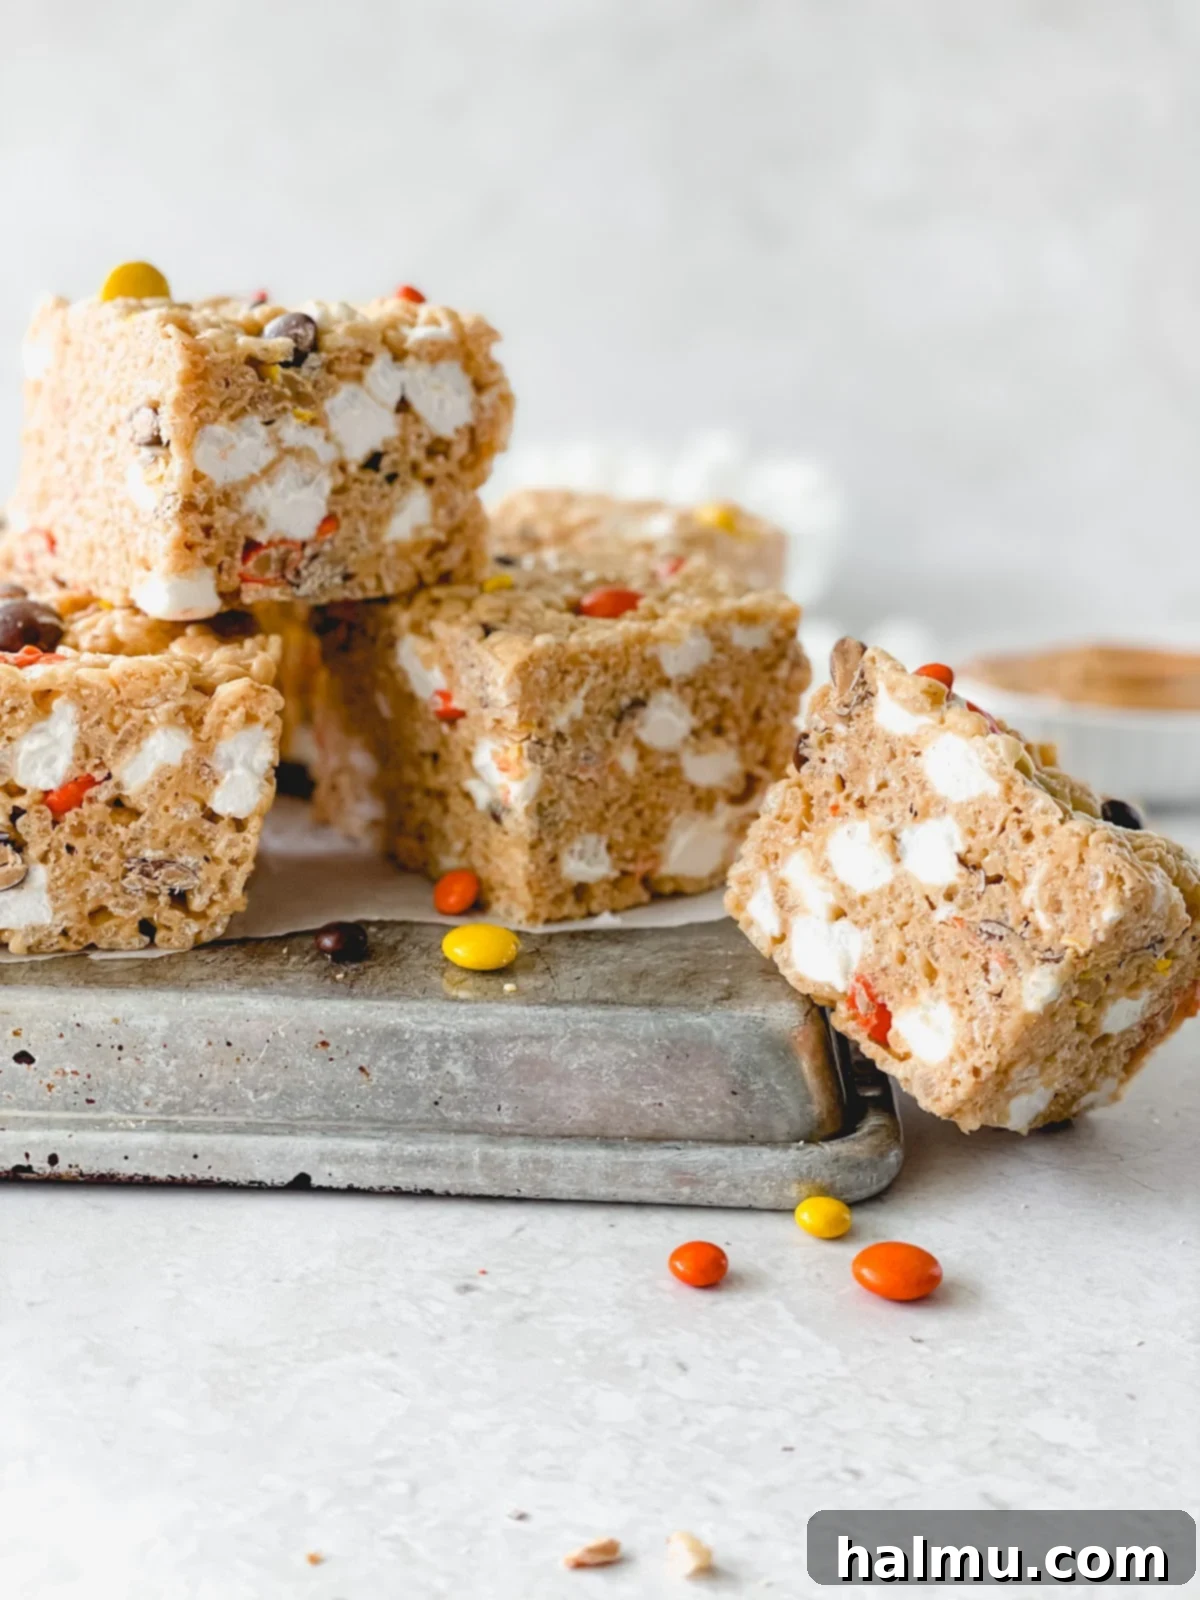
- Press into Pan: Transfer the mixture into your prepared baking pan. The way you press the mixture will affect the final density of your treats. For a thick, dense, and chewy treat, use an 8” x 8” square pan and firmly pack the mixture down using your greased hands or a greased spatula. If you prefer a slightly thinner or less dense treat, opt for a larger 13” x 9” baking pan and press the mixture down more lightly. Feel free to press a few extra Reese’s Pieces onto the top for an appealing finish.
- Cool, Cut, and Enjoy: While it’s incredibly tempting to dive in immediately, these treats are much easier to cut cleanly once they have cooled completely. Allowing them to cool and set firm will give you crisp edges and prevent a sticky mess. A bench scraper is an excellent tool for neat cuts, but a large, sharp knife will work just as well. Cut them into traditional squares, or get creative with cookie cutters to shape your Reese’s Pieces Rice Krispie Treats into fun designs. Then, savor every nutty, chewy, peanut butter-filled bite!
More Sweet Treats You’ll Love
- Chocolate Peanut Butter Snack Cake
- Peanut Butter Oreo Cheesecake Bars
- Strawberry Crunch Cheesecake
- Chocolate Caramel Pecan Bars
- Chocolate Chip Banana Cake with Chocolate Frosting
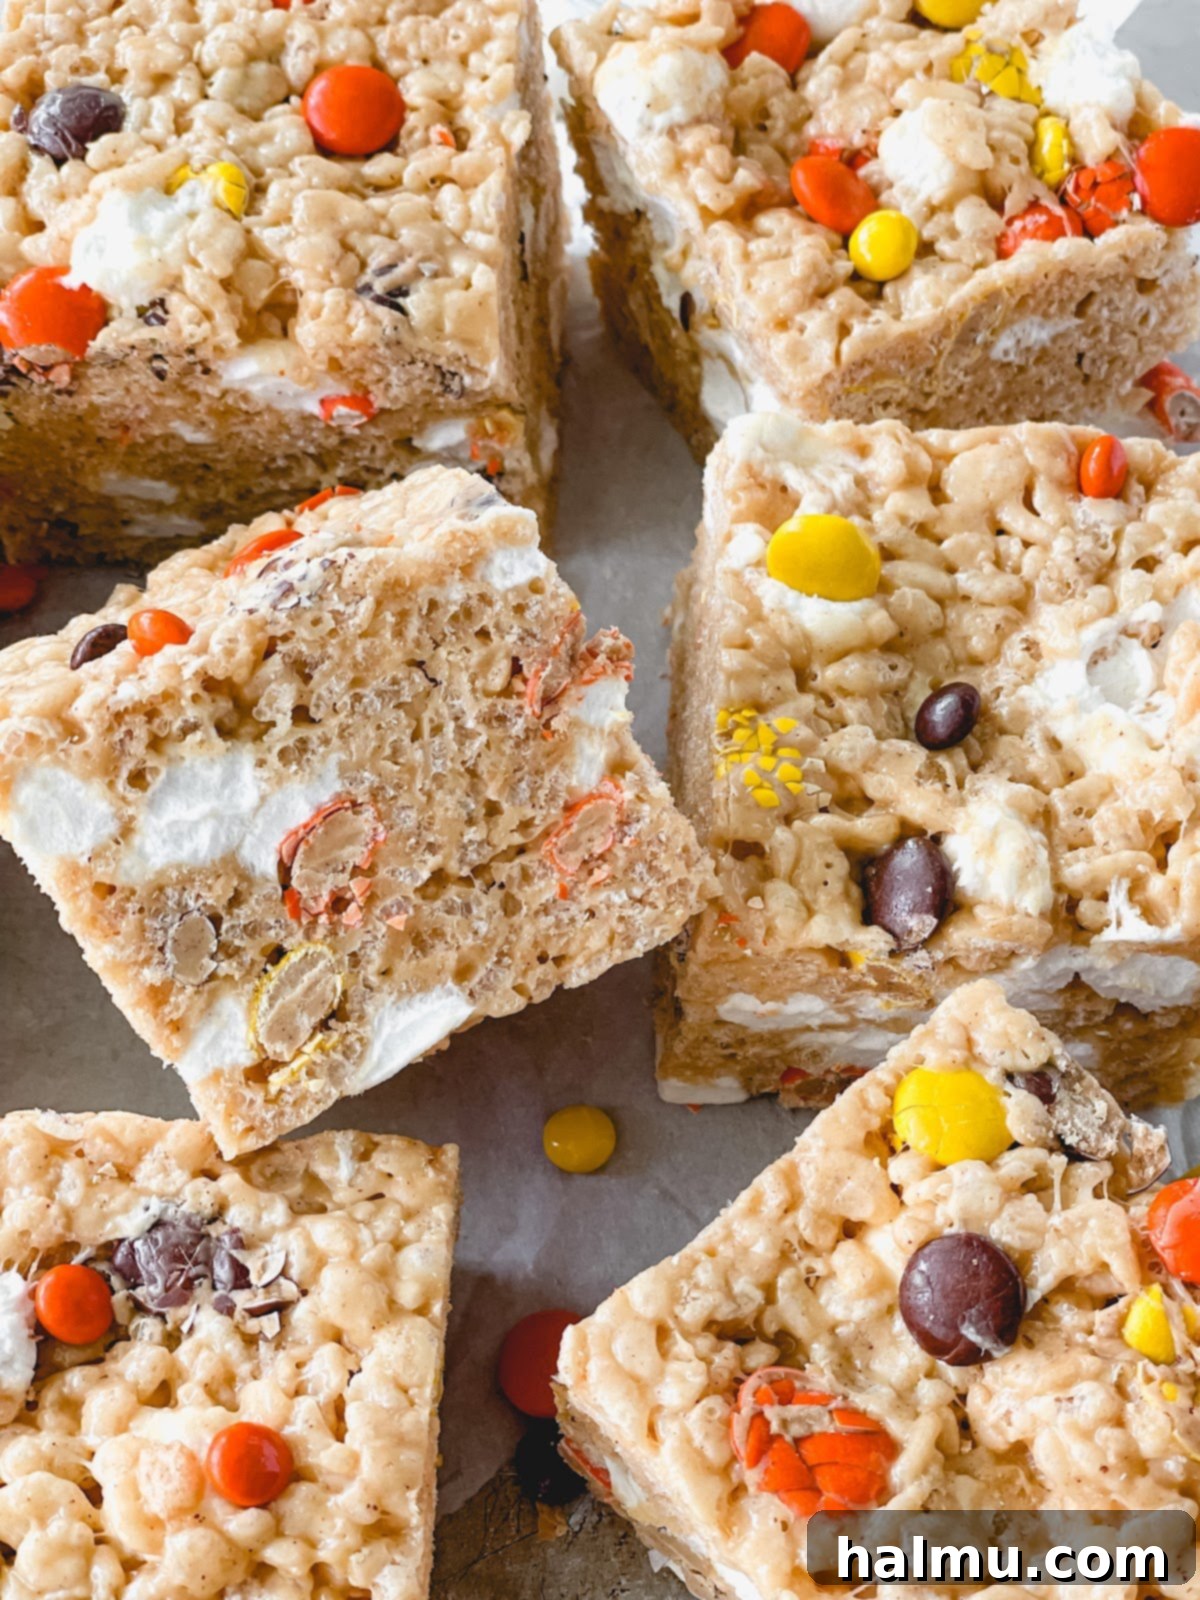
I genuinely hope you enjoy making and devouring these elevated Reese’s Pieces Rice Krispie Treats as much as I do. They’re a fantastic twist on a beloved classic, perfect for any occasion or simply as a comforting snack. If you try this recipe, please be sure to leave a comment below and share your creations by tagging @sweetkitchencravings on Instagram or TikTok. For my Pinterest enthusiasts, you can easily save my recipes to your collection there. Happy krispie treat making!
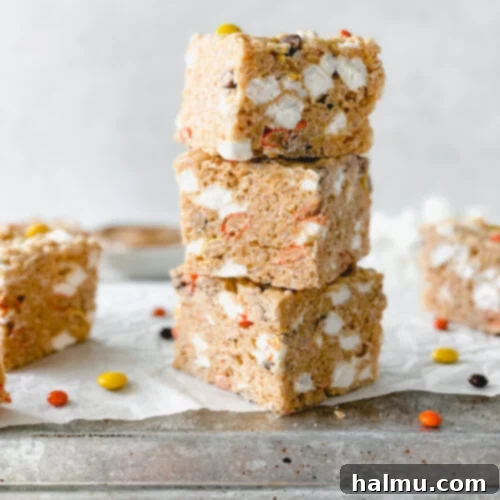
Reese’s Pieces Rice Krispie Treats
These Reese’s Pieces Rice Krispie Treats offer a delightful twist on the classic. They’re bursting with the rich flavor of toasty brown butter, the creaminess of peanut butter, perfectly melty marshmallows, and of course, an abundance of colorful Reese’s Pieces candies. A dream come true for any peanut butter enthusiast!
Author: Rachel
Ingredients
- ½ cup (113g) unsalted butter
- ½ cup (120g) creamy peanut butter
- 16 oz. (455g) mini marshmallows, divided
- 6 cups (160g) rice cereal
- ¾ cup (190g) Reese’s Pieces candies, a mixture of regular and mini-sized
Instructions
- Lightly grease an 8” x 8” square baking pan with cooking spray or butter. Set aside.
- In a large pot, add the butter and melt over medium-low heat. Stirring constantly, brown the butter until it becomes foamy and a deep golden brown color. You’ll know it’s done when you see darker brown bits on the bottom and the butter has a distinct nutty aroma.
- As soon as the butter is browned, add the peanut butter and stir continually until melted and smoothly combined.
- Turn off the heat and add 12 ounces of marshmallows to the pot, reserving the remaining 4 ounces for later. Stir until the marshmallows have completely melted and the mixture is smooth.
- Add the rice krispies cereal to the pot and mix gently until they are completely coated with the marshmallow mixture.
- Add in the remaining 4 ounces of marshmallows and the Reese’s Pieces candies (reserving some for topping, if desired). Stir until they are evenly distributed throughout the mixture. Alternatively, for easier mixing, you can pour the rice krispie marshmallow mixture onto a lightly greased counter and mix in the extra marshmallows and Reese’s Pieces with greased, gloved hands.
- Pour the mixture into the prepared pan. Spread it evenly and press down firmly with your hands or a greased spatula. Press any reserved Reese’s Pieces candies into the top for decoration, if desired.
- Allow the treats to cool and set completely before cutting. This will ensure cleaner cuts and a firmer texture. Cut into squares and enjoy your homemade Reese’s Pieces Rice Krispie Treats!
Notes
- Peanut Butter: For the best results, use a traditional variety of creamy peanut butter (like Skippy or Jif) rather than natural peanut butter, which can be too oily and separate in the mixture.
- Reese’s Pieces: I recommend using about ½ cup (125g) of regular-sized Reese’s Pieces and ¼ cup (64g) of mini-sized for a varied texture. Don’t forget to reserve some for sprinkling on top!
- Pan Size: For a thinner or slightly less dense rice krispie treat, you can use a 13” x 9” baking pan instead and lightly compact the mixture. Adjusting the pan size changes the thickness and chewiness.
- Storing: Keep these delightful treats in an airtight container at room temperature for up to 2 days to maintain their freshness. For longer storage, wrap them tightly in plastic wrap, place them in a zip-top bag, and freeze for up to 3 months.
Did you make this recipe?
Be sure to tag @sweetkitchencravings on Instagram! We love seeing your delicious creations.
