Irresistible Caramel Cone Crunch Cookies: Your Homemade Ben & Jerry’s Inspired Treat
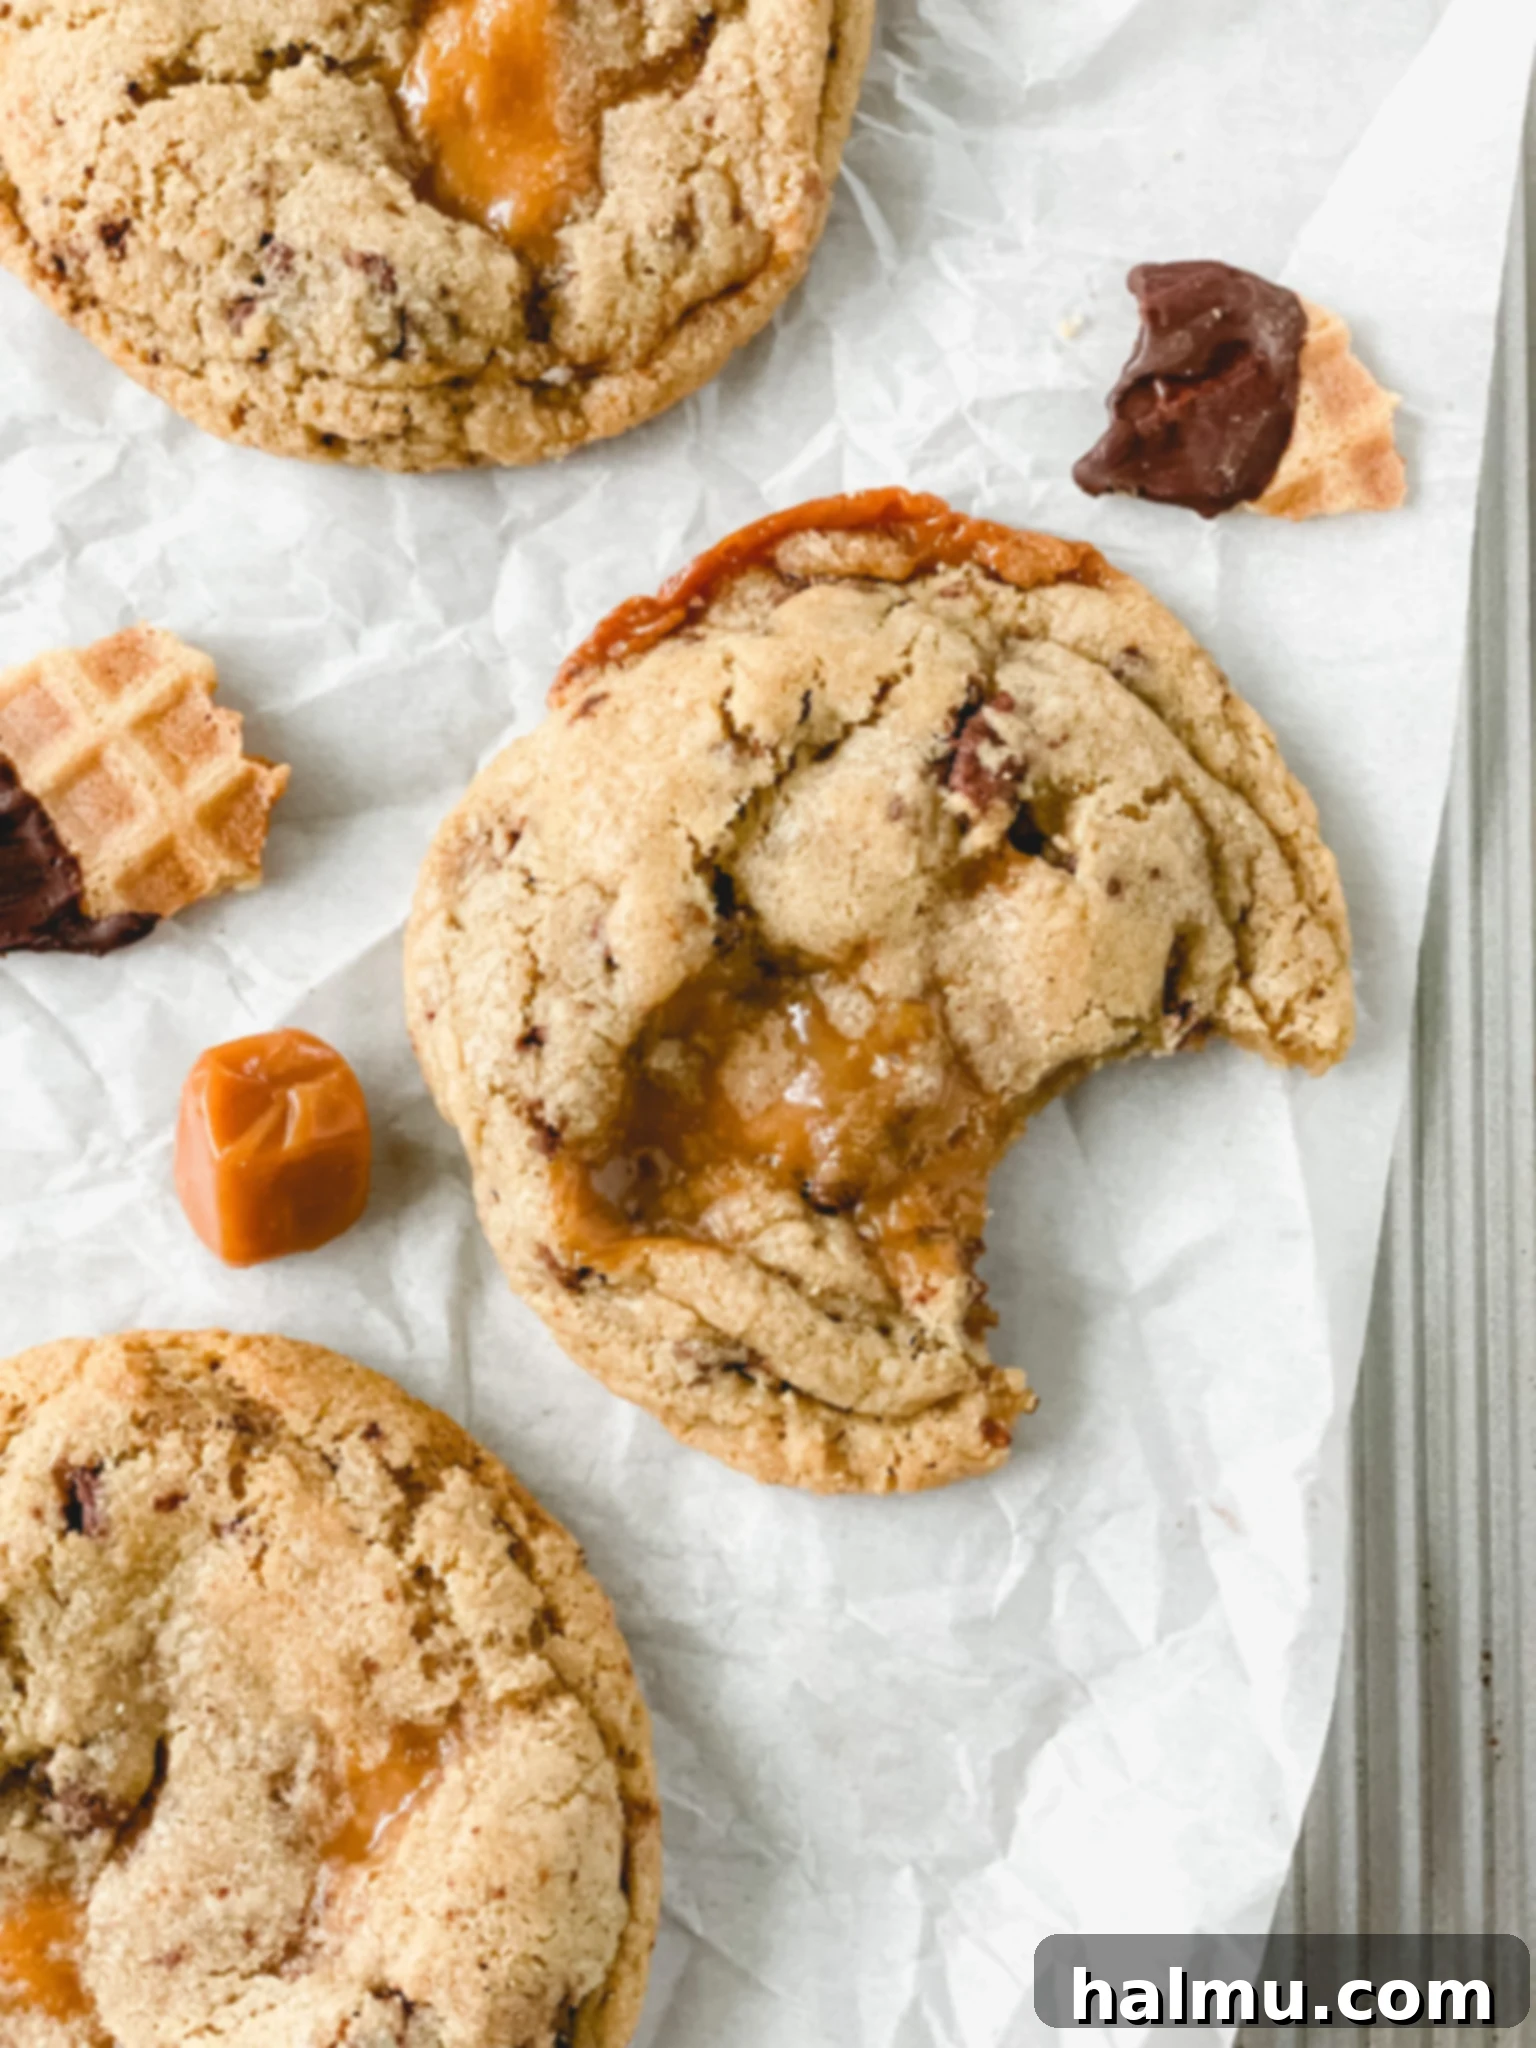
Prepare to embark on a delectable baking adventure with these Caramel Cone Crunch Cookies – my delightful homemade interpretation of the beloved Ben & Jerry’s “Americone Dream” ice cream. This iconic flavor, a symphony of vanilla ice cream, rich fudge-covered waffle cone pieces, and luscious caramel swirls, was simply begging to be transformed into an equally irresistible cookie. My mission was clear: capture every essence of that creamy, crunchy, caramel-laden bliss in a single, perfect bite. To achieve this, I first created crunchy, dark chocolate-covered waffle cone pieces, replicating that satisfying “crunch” factor. For the dreamy caramel element, I opted for soft caramel candies, ensuring those coveted, melty pools of creamy goodness in every cookie. The result? A truly unforgettable cookie experience that brings your favorite ice cream flavor to life in a whole new way.

Crafting the Perfect Cookie: Our Journey to Caramel Cone Crunch Perfection
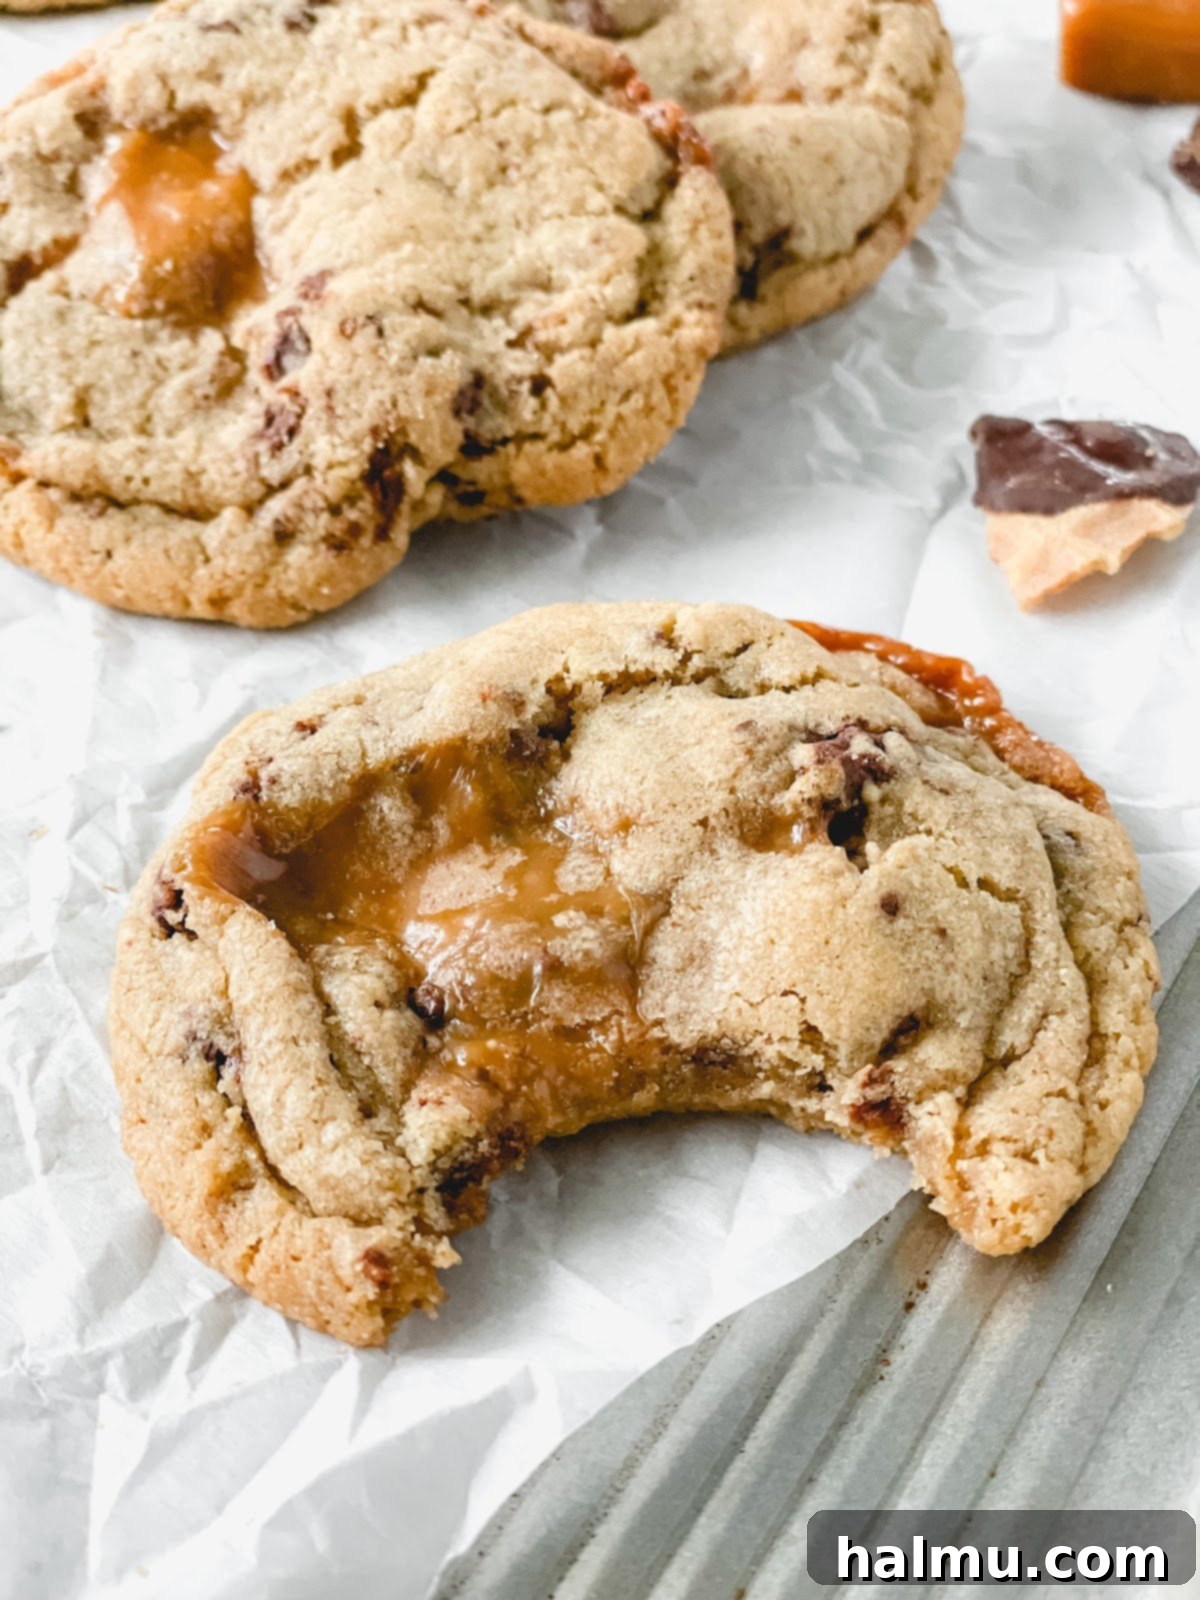
My journey to perfecting these Caramel Cone Crunch Cookies wasn’t without its delicious detours. The caramel, in particular, presented a delightful challenge. The goal was to achieve a soft, gooey caramel that would melt beautifully within the cookie, rather than becoming a hard, sticky chew. After several delicious rounds of trial and error, I discovered that Werther’s soft caramels were the undisputed champions for this recipe. Their texture is simply ideal, creating those irresistible, molten pockets of caramel without overpowering the cookie. However, a crucial secret to success emerged during testing: refrigerating the cookie dough overnight. This step not only allows the flavors to meld and deepen, resulting in an even more exquisite taste, but it also significantly helps prevent the soft caramels from spreading excessively during baking. What remained consistent throughout all my test batches, regardless of how perfectly round or slightly free-form the cookies turned out, was their undeniable deliciousness every single time!
Key Ingredients for Unforgettable Caramel Cone Crunch Cookies
While many of the ingredients for these crave-worthy cookies are likely staples in your pantry, a few key items elevate them to extraordinary status. Let’s delve into the specific choices that make these Caramel Cone Crunch Cookies truly special:
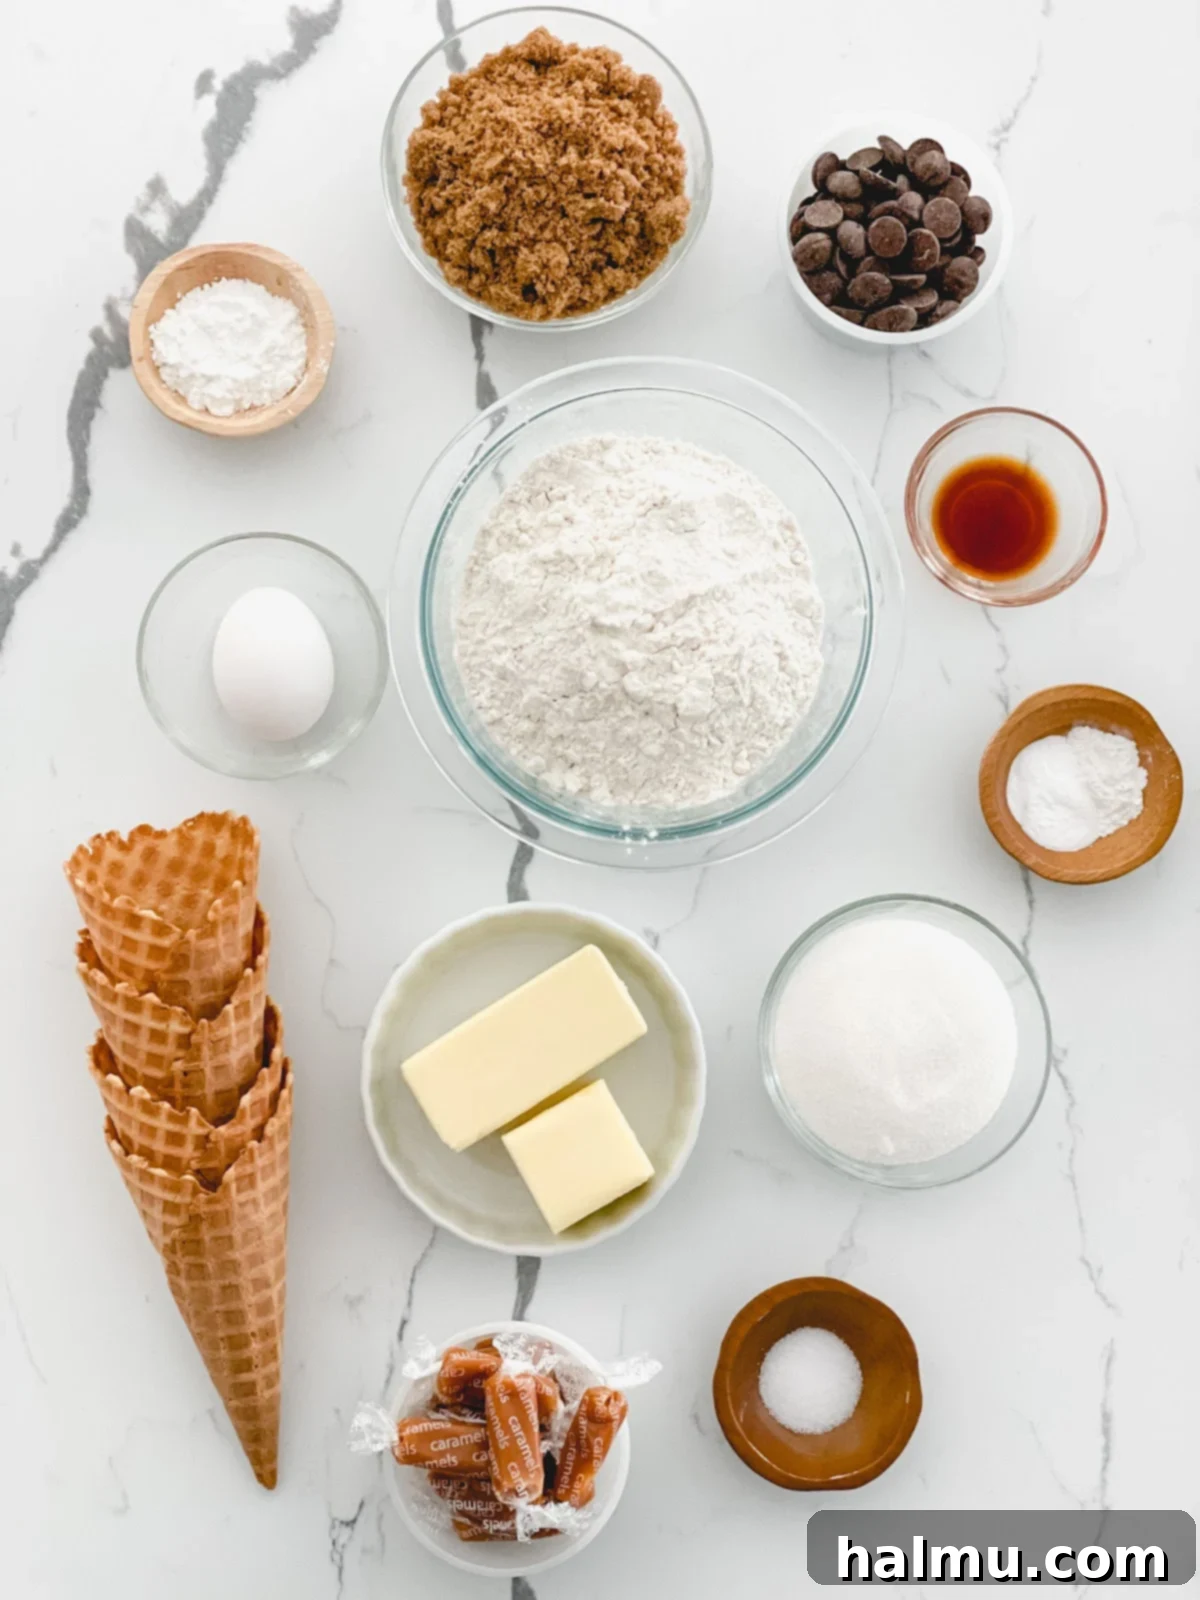
- Waffle Cones: These crispy vessels of pure joy are absolutely essential for the “crunch” in our Caramel Cone Crunch Cookies. You’ll typically find them in the ice cream aisle or with other dessert toppings at your local grocery store. While sugar cones can be a decent substitute if waffle cones are unavailable, I strongly advise against using cake cones, as their softer texture won’t provide the desired crunch. For the truly ambitious bakers with the right equipment, crafting your own homemade waffle cones can add an extra layer of freshness and flavor!
- Dark Chocolate Chips: My go-to choice for most of my baking endeavors, and especially perfect here, is dark chocolate. I prefer a variety with a cacao content between 60% and 72%. The slight bitterness of dark chocolate provides a beautiful contrast to the sweetness of the caramel and cookie dough, creating a perfectly balanced flavor profile. If you lean towards a slightly sweeter cookie, semi-sweet chocolate chips are an excellent alternative and will still deliver that essential chocolatey goodness.
- Soft Caramels: This is where the magic truly happens! Through extensive testing, I’ve found that Werther’s soft caramels are unmatched for creating those signature pools of gooey, melt-in-your-mouth caramel within each cookie. Unlike harder caramels that can become too chewy or sticky, these melt into a luscious, buttery indulgence. It’s important to note that these soft caramels tend to make the cookies spread slightly more in the oven, which is precisely why the dough chilling step is so crucial. Even with chilling, you might still experience a bit of caramel oozing – but honestly, who could complain about a little extra chewy caramel goodness?
- Unsalted Butter, Brown Sugar, and Granulated Sugar: The foundation of any great cookie dough! Using unsalted butter allows you to control the overall saltiness of your cookies. Room temperature butter is key for creaming effectively, creating a light and airy base. Brown sugar adds a wonderful chewiness and a rich, molasses-like depth of flavor, while granulated sugar contributes to the crispy edges and overall sweetness.
- All-Purpose Flour, Cornstarch, Baking Soda, and Baking Powder: This carefully balanced blend of dry ingredients ensures the perfect texture. All-purpose flour provides the structure. A touch of cornstarch helps keep the cookies soft and tender, preventing them from becoming too dry. Both baking soda and baking powder are leavening agents that work together to give the cookies their ideal lift and slightly chewy texture.
- Egg and Vanilla Extract: The egg acts as a binder, helping to hold all the ingredients together, while also adding moisture and richness. Vanilla extract, a classic cookie enhancer, provides a warm, aromatic base that complements all the other flavors beautifully.

Step-by-Step Guide: How to Bake Caramel Cone Crunch Cookies
Creating these delightful Caramel Cone Crunch Cookies is a straightforward process, but a few key steps ensure optimal results. Follow these instructions carefully to bake your perfect batch:
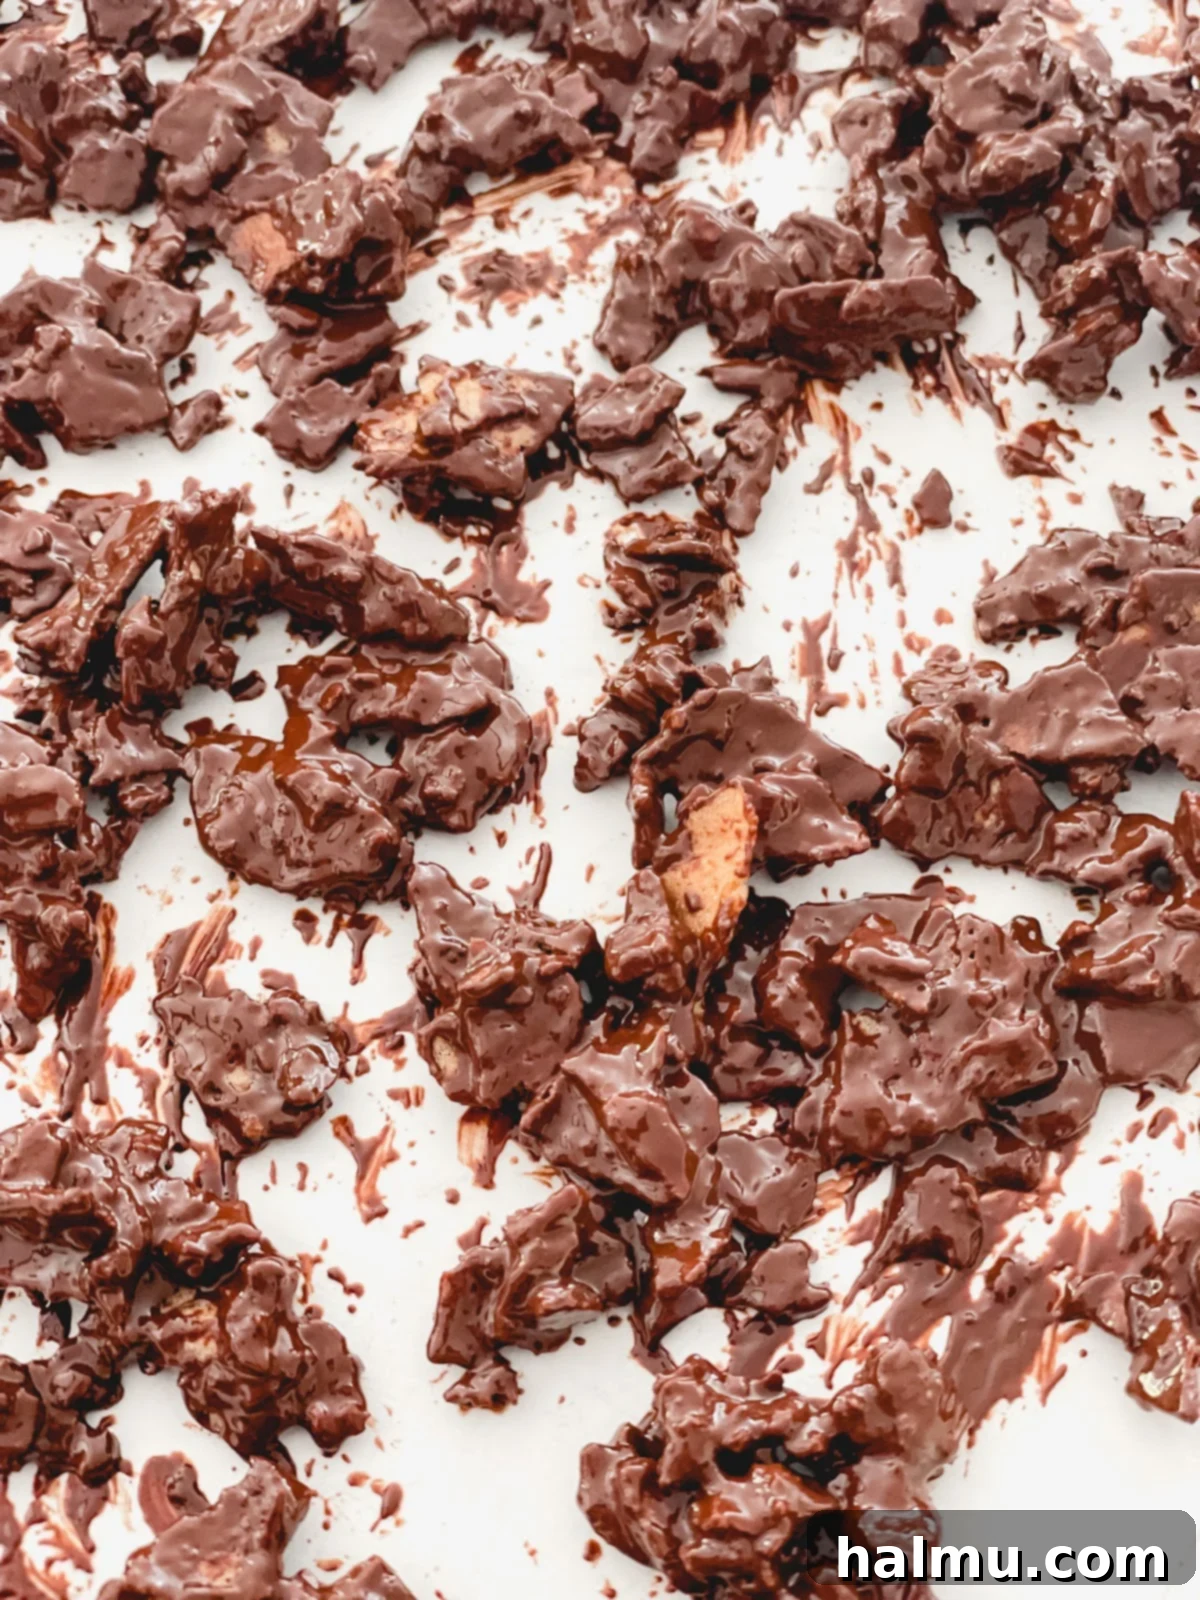
- Make the Chocolate-Covered Waffle Cone Pieces: Begin by gently crushing your waffle cones into bite-sized pieces. Aim for varied sizes, from small crumbs to slightly larger chunks, for interesting texture. Next, melt your chosen dark or semi-sweet chocolate chips in a microwave-safe bowl, stirring every 20-30 seconds until smooth and creamy. Add the crushed waffle cone pieces to the melted chocolate and stir carefully until every piece is evenly coated. Spread this mixture out in a single layer on a piece of parchment paper. For quick setting, place them in the freezer for about 10-15 minutes. Once hardened, you can break up any larger clusters with your hands or a rolling pin to achieve the perfect size for mixing into your cookie dough.
- Mix the Classic Cookie Dough Base: This forms the delicious foundation of our cookies. In the bowl of a stand mixer fitted with a paddle attachment, cream together the softened unsalted butter, brown sugar, and granulated sugar. Beat on medium speed for about 2 minutes, or until the mixture is light, fluffy, and noticeably paler in color. This creaming process incorporates air, contributing to the cookie’s texture. Scrape down the sides of the bowl thoroughly with a spatula to ensure everything is well combined. With the mixer on low speed, add the large egg and vanilla extract, mixing until just combined. Scrape the bowl once more.
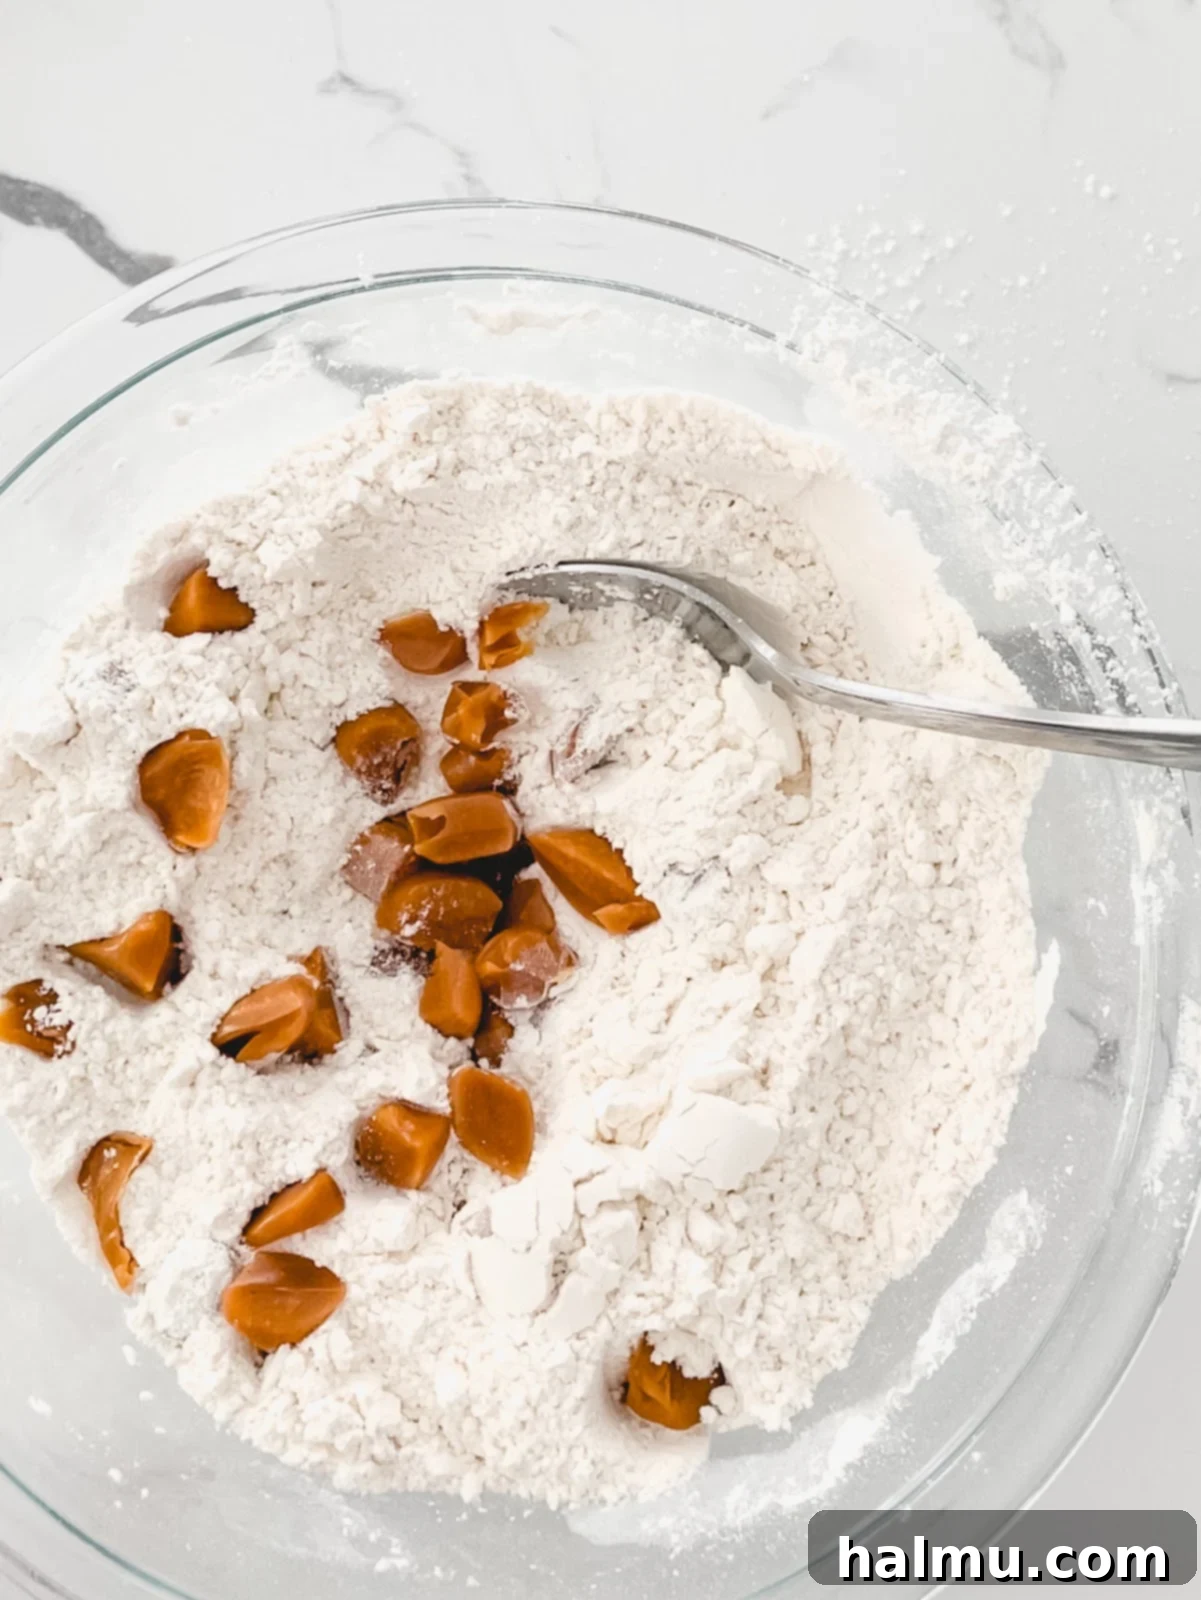
- Coat the Caramels in Flour: In a separate medium bowl, whisk together the all-purpose flour, cornstarch, baking soda, baking powder, and salt. Now, unwrap your Werther’s soft caramels. Using kitchen scissors, cut each caramel into 4 to 5 smaller pieces. Let these caramel pieces fall directly into the bowl of dry ingredients. Toss the caramels with the flour mixture until they are lightly coated. This crucial step prevents the caramel pieces from sticking together and helps them maintain their individual shape within the cookie, creating those lovely pockets of molten caramel.
- Combine Wet and Dry Ingredients, Then Fold in Mix-ins: Add the flour mixture (with the coated caramels) to the wet ingredients in the stand mixer. Mix on low speed until just a few streaks of flour remain. Be careful not to overmix, as this can lead to tough cookies. Now, gently fold in your prepared chocolate-covered waffle cone pieces until they are evenly distributed throughout the dough.
- Scoop the Cookies and Refrigerate: Using a cookie scoop (I recommend a size 24 scoop, holding about 1.33 ounces or 3 Tablespoons, to ensure each cookie gets a good amount of mix-ins), scoop the cookie dough onto a baking sheet lined with parchment paper. Place the scooped dough balls close together. Cover the baking sheet tightly with plastic wrap and refrigerate the dough for a minimum of 2 hours, or ideally, overnight. This chilling period is absolutely essential for allowing the flavors to develop and, more importantly, for preventing the soft caramels from spreading too much during baking, ensuring your cookies hold their shape beautifully.
- Bake the Cookies to Golden Perfection: When ready to bake, preheat your oven to 350°F (175°C). Line two baking sheets with fresh parchment paper or silicone baking mats. Arrange the chilled cookie dough scoops on the prepared baking sheets, ensuring they are at least 2 inches apart to allow for spreading. Bake for 10-12 minutes, or until the edges are lightly golden brown and the centers appear just set. The cookies may look slightly underdone in the middle, but they will continue to set as they cool.
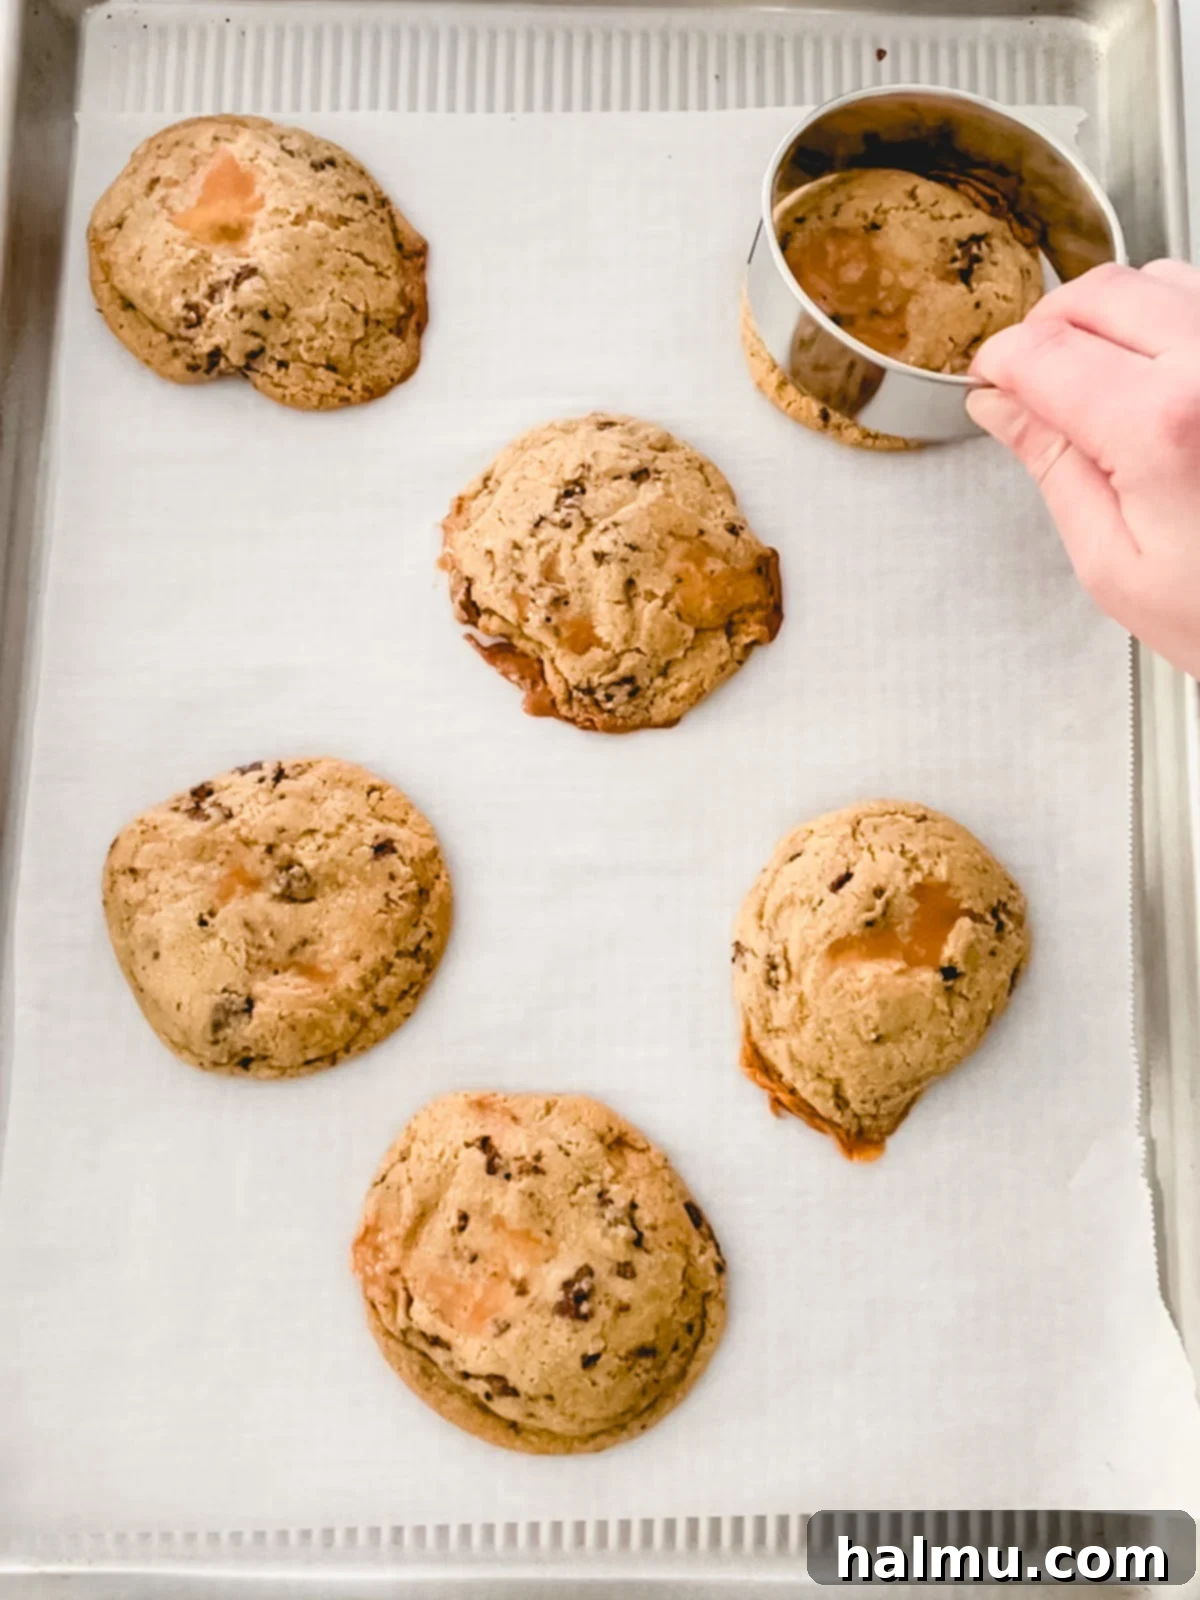
- Reshape and Cool: As soon as the cookies come out of the oven, while they are still warm and pliable, use a large round metal cookie cutter (slightly larger than your cookies) to gently shape them into perfect circles. Simply place the cutter around each cookie and gently swirl it to nudge any oozing caramel or uneven edges back into place. This quick trick creates beautiful, bakery-worthy cookies. Allow the cookies to cool on the baking sheets for at least 10 minutes before transferring them to a wire rack to cool completely. Then, they’re ready to be devoured!
Expert Tips for Your Best Caramel Cone Crunch Cookies
Achieving cookie perfection is all about the details. Here are some expert tips to ensure your Caramel Cone Crunch Cookies are nothing short of spectacular:
- Precision Caramel Chopping: The Werther’s soft caramels are wonderfully gooey, but their original size can be a bit large for even distribution. I’ve found that chopping each caramel into 4-5 smaller pieces using kitchen scissors is ideal. This ensures that every single bite of your cookie contains a delightful piece of melty caramel. To make this process quick and mess-free, chop them directly over your bowl of dry ingredients. Remember to wait until you are ready to incorporate them into the dough before unwrapping to prevent them from sticking together and forming one giant caramel cluster.
- The Crucial Chill Time: Do not, I repeat, do not skip refrigerating the cookie dough! This step is paramount for several reasons. Firstly, chilling allows the flour to fully hydrate, resulting in a more tender and flavorful cookie. Secondly, and perhaps most importantly for this specific recipe, the cold dough helps to slow down the melting rate of the soft caramels in the oven. Without chilling, the caramels will melt too quickly, causing the cookies to spread excessively and the caramel to bubble out and burn. While still delicious, the cookies won’t hold their shape as well. I recommend a minimum of 2 hours, but an overnight chill (8-12 hours) yields the best results, allowing flavors to deepen and textures to improve.
- Reshaping for Bakery-Style Appeal: Even with chilling, some of the gloriously gooey caramel might still seep out slightly during baking. If you desire perfectly round, bakery-style cookies, this simple trick is a game-changer. Immediately after taking the cookies out of the oven, while they are still piping hot and soft, use a round metal cookie cutter (slightly larger than your cookies) and gently swirl it around each cookie. This action pushes the warm edges and any errant caramel back into place, forming a beautifully shaped cookie. Act quickly, as the caramel and dough will stiffen as they cool.
- Ingredient Temperature Matters: For the best cookie dough consistency, ensure your unsalted butter and large egg are at room temperature. Room temperature butter creams more easily with the sugars, creating a lighter, fluffier base with better emulsification. A cold egg can cause the butter to seize, resulting in a less smooth dough. Planning ahead to let these ingredients sit out for about 30-60 minutes before baking makes a noticeable difference.
- Don’t Overmix: Once you add the dry ingredients to the wet, mix only until just combined. Overmixing develops the gluten in the flour, which can lead to tough, dense cookies instead of soft, chewy ones. A few streaks of flour remaining are perfectly fine; they will disappear during baking.
- Use Parchment Paper or Silicone Mats: Always line your baking sheets with parchment paper or silicone baking mats. This prevents sticking, promotes even baking, and makes for easy cleanup, especially with gooey caramels involved. Avoid baking directly on an unlined sheet or using excessively greased sheets, which can cause cookies to spread more.
Frequently Asked Questions (FAQs)
Here are answers to some common questions you might have about making these delicious Caramel Cone Crunch Cookies:
- Can I use a different type of caramel? While Werther’s soft caramels are highly recommended for their perfect melt and consistency, you can experiment with other soft caramel candies. Avoid hard caramels or liquid caramel sauces, as they will behave very differently in the oven. If trying a different brand, monitor closely for spread during baking and adjust chilling time if needed.
- What if I don’t have waffle cones? If waffle cones are truly unavailable, sugar cones are the next best alternative for their similar crisp texture. You could also try pretzel sticks for a salty-sweet crunch, though this will significantly change the flavor profile. As mentioned, avoid cake cones.
- How do I store these cookies? Store cooled Caramel Cone Crunch Cookies in an airtight container at room temperature for up to 3-4 days. For longer storage, you can freeze them for up to 3 months. Thaw at room temperature before enjoying.
- Can I freeze the cookie dough? Yes, absolutely! Scoop the dough into balls and place them on a parchment-lined baking sheet. Freeze until solid, then transfer the frozen dough balls to an airtight freezer-safe bag. They can be stored for up to 2-3 months. When ready to bake, you can bake them from frozen, adding an extra 2-4 minutes to the baking time.
- My cookies spread too much, even with chilling. What went wrong? Excessive spreading can be due to several factors: your butter might have been too soft (verging on melted), your oven temperature might be too low, or your baking powder/soda could be old. Ensure your butter is just softened (press an indentation with your finger, it should hold its shape). Always check your oven temperature with an oven thermometer, as they can be inaccurate.

Variations to Explore
While these Caramel Cone Crunch Cookies are perfect as is, feel free to unleash your inner baker and try some exciting variations:
- Nutty Delight: Add ½ cup of chopped pecans or walnuts to the cookie dough along with the waffle cone pieces for an extra layer of crunch and flavor.
- Spice It Up: A pinch of cinnamon or a tiny dash of nutmeg in the dry ingredients can add a warm, cozy note that beautifully complements the caramel and chocolate.
- Different Chocolate: Instead of dark or semi-sweet, try milk chocolate for an even sweeter, creamier profile, or white chocolate for a different flavor dynamic.
- Mini Cookies: For a bite-sized treat, use a smaller cookie scoop (e.g., 1 tablespoon). Adjust baking time accordingly, likely to 8-10 minutes.
- Salted Caramel Boost: Sprinkle a touch of flaky sea salt over the cookies immediately after they come out of the oven to enhance the caramel’s sweetness and add a gourmet touch.
The delightful combination of crispy waffle cones and rich, gooey caramel truly evokes the feeling of summer. What better way to welcome the season, or simply brighten any day, than with a batch of these glorious Caramel Cone Crunch Cookies? They are a celebration of flavor and texture, guaranteed to bring smiles to everyone who tries them. Happy cookie baking!
Caramel Cone Crunch Cookies
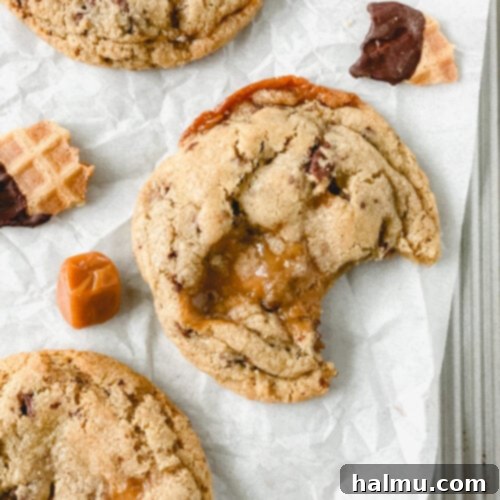
Crunchy chocolate-covered waffle cones and pools of creamy caramel. These Caramel Cone Crunch Cookies are the perfect bite of summer and my version of the “Americone Dream” ice cream, in a cookie!
Rating: 5 out of 5 stars (1 vote)
Author: Rachel
Prep Time: 30 mins
Cook Time: 15 mins
Total Time: 45 mins
Yield: 18 cookies
Ingredients
- ½ cup (98g) dark or semi-sweet chocolate chips
- 3 waffle cones (about 60g), crushed
- ¾ cup (170g) unsalted butter, at room temperature
- ¾ cup (152g) brown sugar
- ½ cup (108g) granulated sugar
- 1 large egg, at room temperature
- 1 teaspoon vanilla extract
- 2 cups (260g) all-purpose flour
- 1 Tablespoon cornstarch
- 1 teaspoon baking soda
- ½ teaspoon baking powder
- ½ teaspoon salt
- 16 individual Werther’s soft caramels
Instructions
- Heat the chocolate in the microwave in 20-second increments, stirring in between until melted. Add the crushed waffle cones to the melted chocolate and stir until the pieces are coated.
- Spread the mixture as evenly as possible onto a baking sheet lined with parchment. Freeze until chocolate is set.
- In the bowl of a stand mixer fitted with a paddle attachment, cream the butter, brown sugar, and granulated sugar until fluffy and light in color, about 2 minutes.
- Scrape the bowl well then with the mixer on low speed, add the egg and vanilla. Mix until well combined. Scrape the bowl again.
- In another bowl, combine the flour, cornstarch, baking soda, baking powder, and salt. Using kitchen scissors, cut each caramel into 4 or 5 pieces, allowing them to fall into the bowl of flour. Coat the caramels with the flour mixture to prevent them from sticking together.
- Add the flour with the caramels to the mixing bowl. Mix until only a few streaks of flour remain.
- Break up the chocolate-covered waffle cones into smaller pieces and add to the bowl. Mix just until all the ingredients are combined.
- Scoop the cookies onto a baking sheet lined with parchment paper, using a 3 Tablespoon (size 24 or 1.33 oz.) cookie scoop. Cover with plastic wrap and refrigerate for 2 hours or overnight before baking.
- Preheat oven to 350°F (175°C). Line 2 baking sheets with parchment paper or a silicone mat. Place the chilled cookie dough scoops on the prepared baking sheets, spacing them at least 2 inches apart.
- Bake for 10-12 minutes or until the edges are set and lightly golden brown. Use a large round metal cutter to reshape the cookies and push in any caramel that leaked out. Allow to cool for at least 10 minutes and enjoy!
Did you make this recipe? Be sure to tag @sweetkitchencravings on Instagram!
