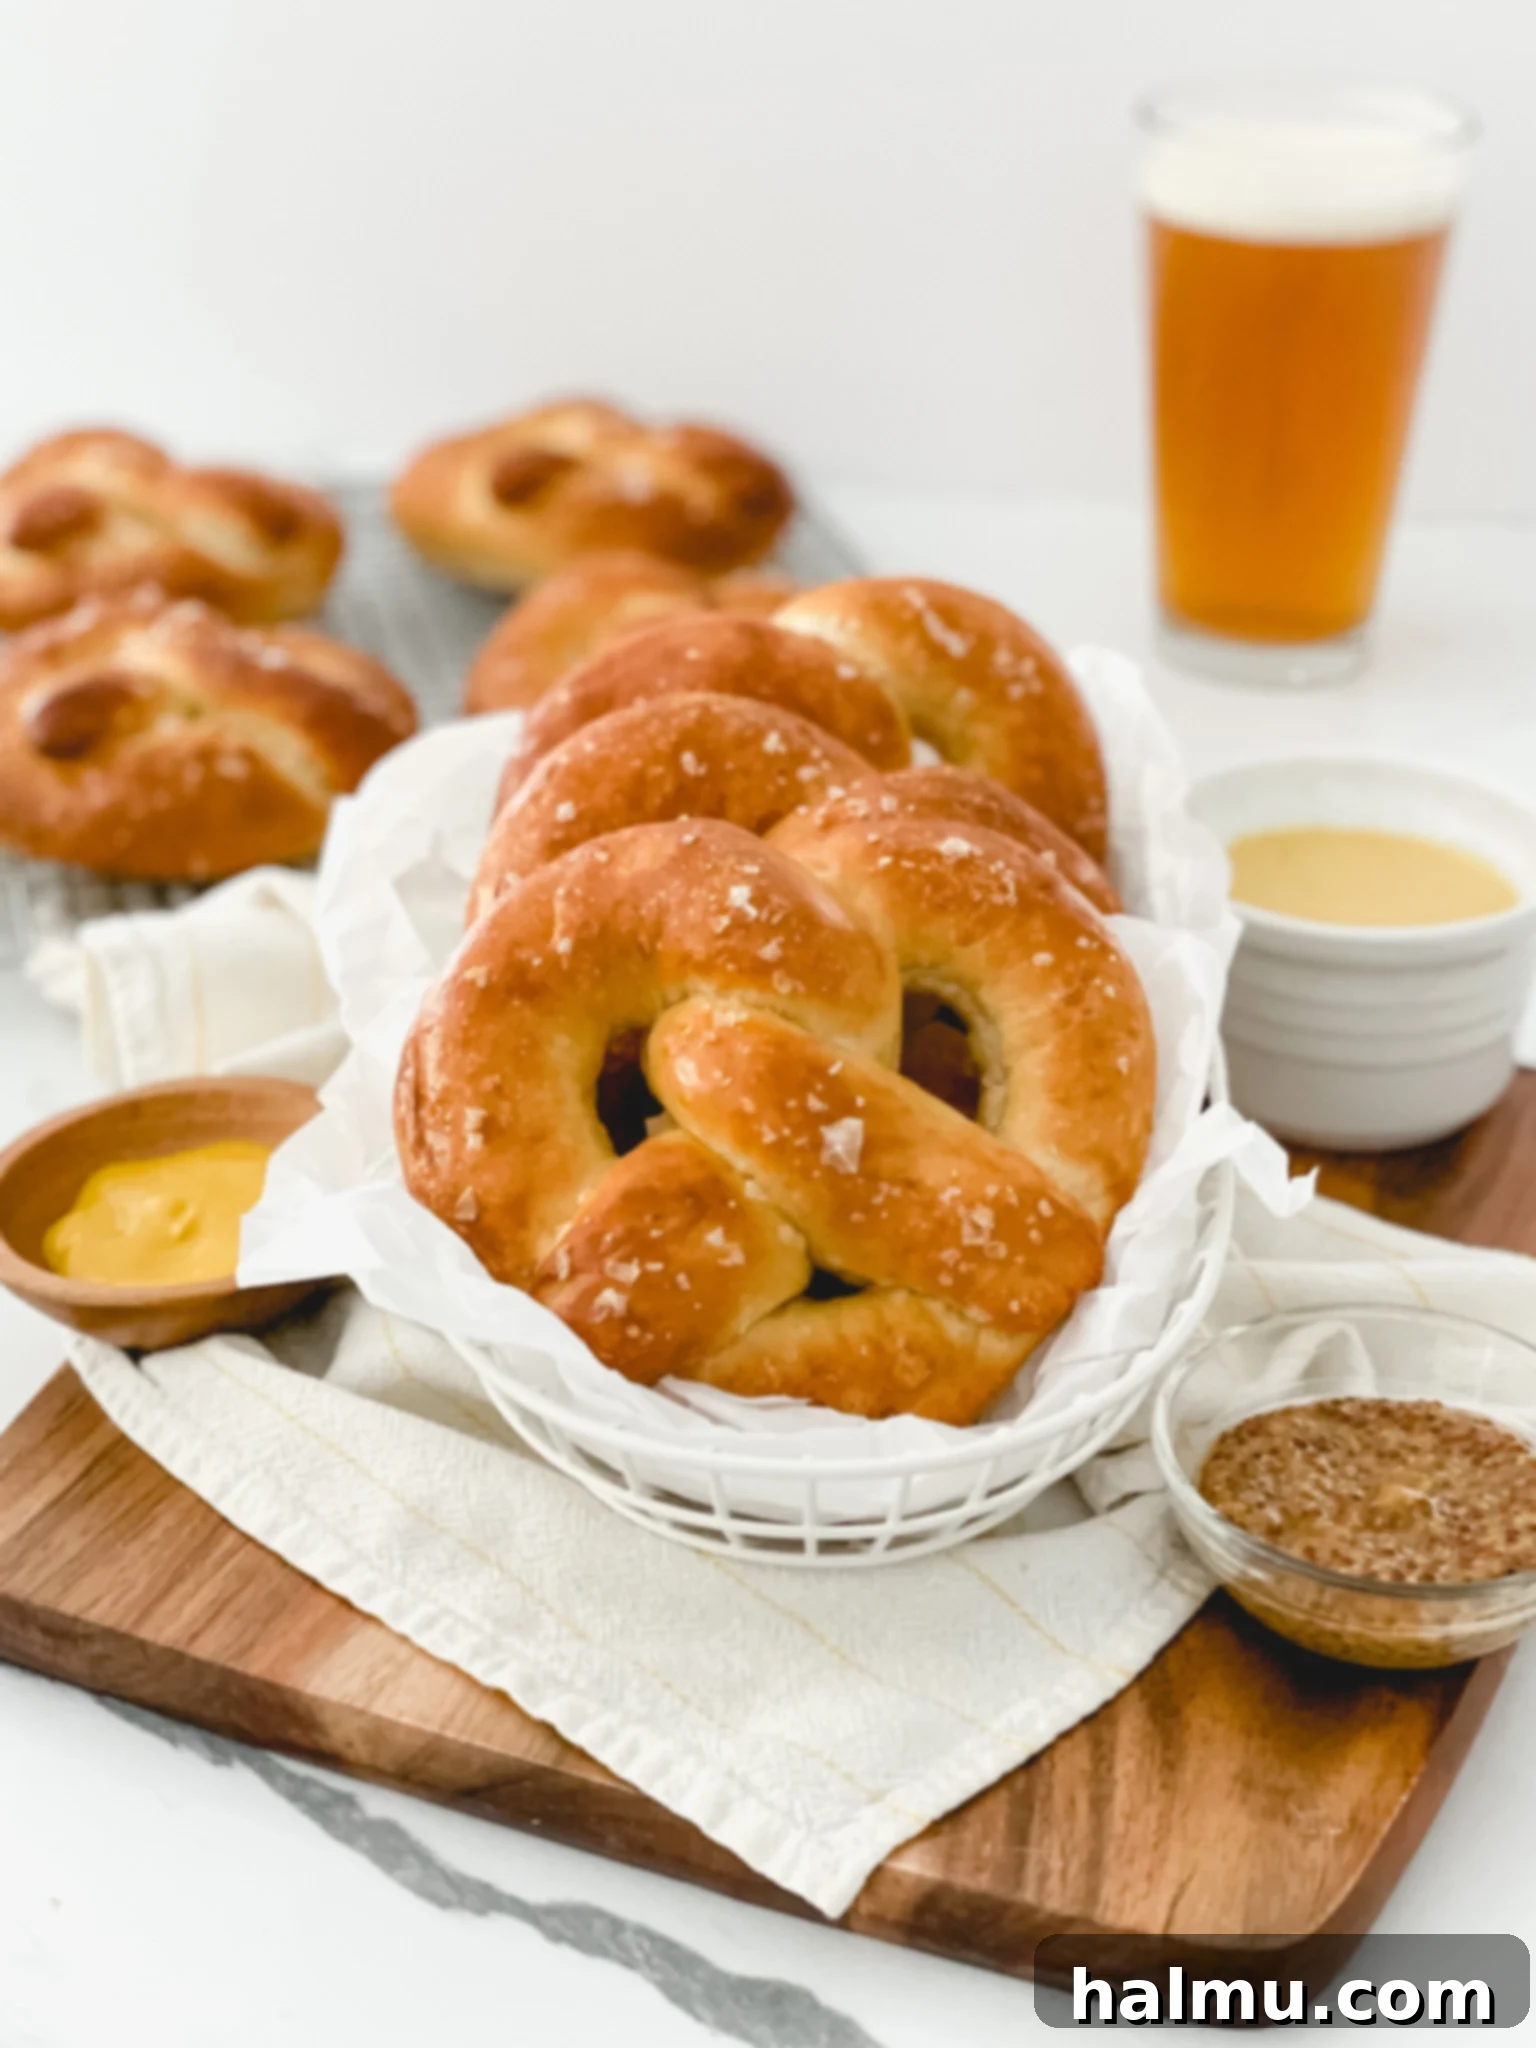
The Ultimate Guide to Crafting Perfect Homemade Soft Pretzels
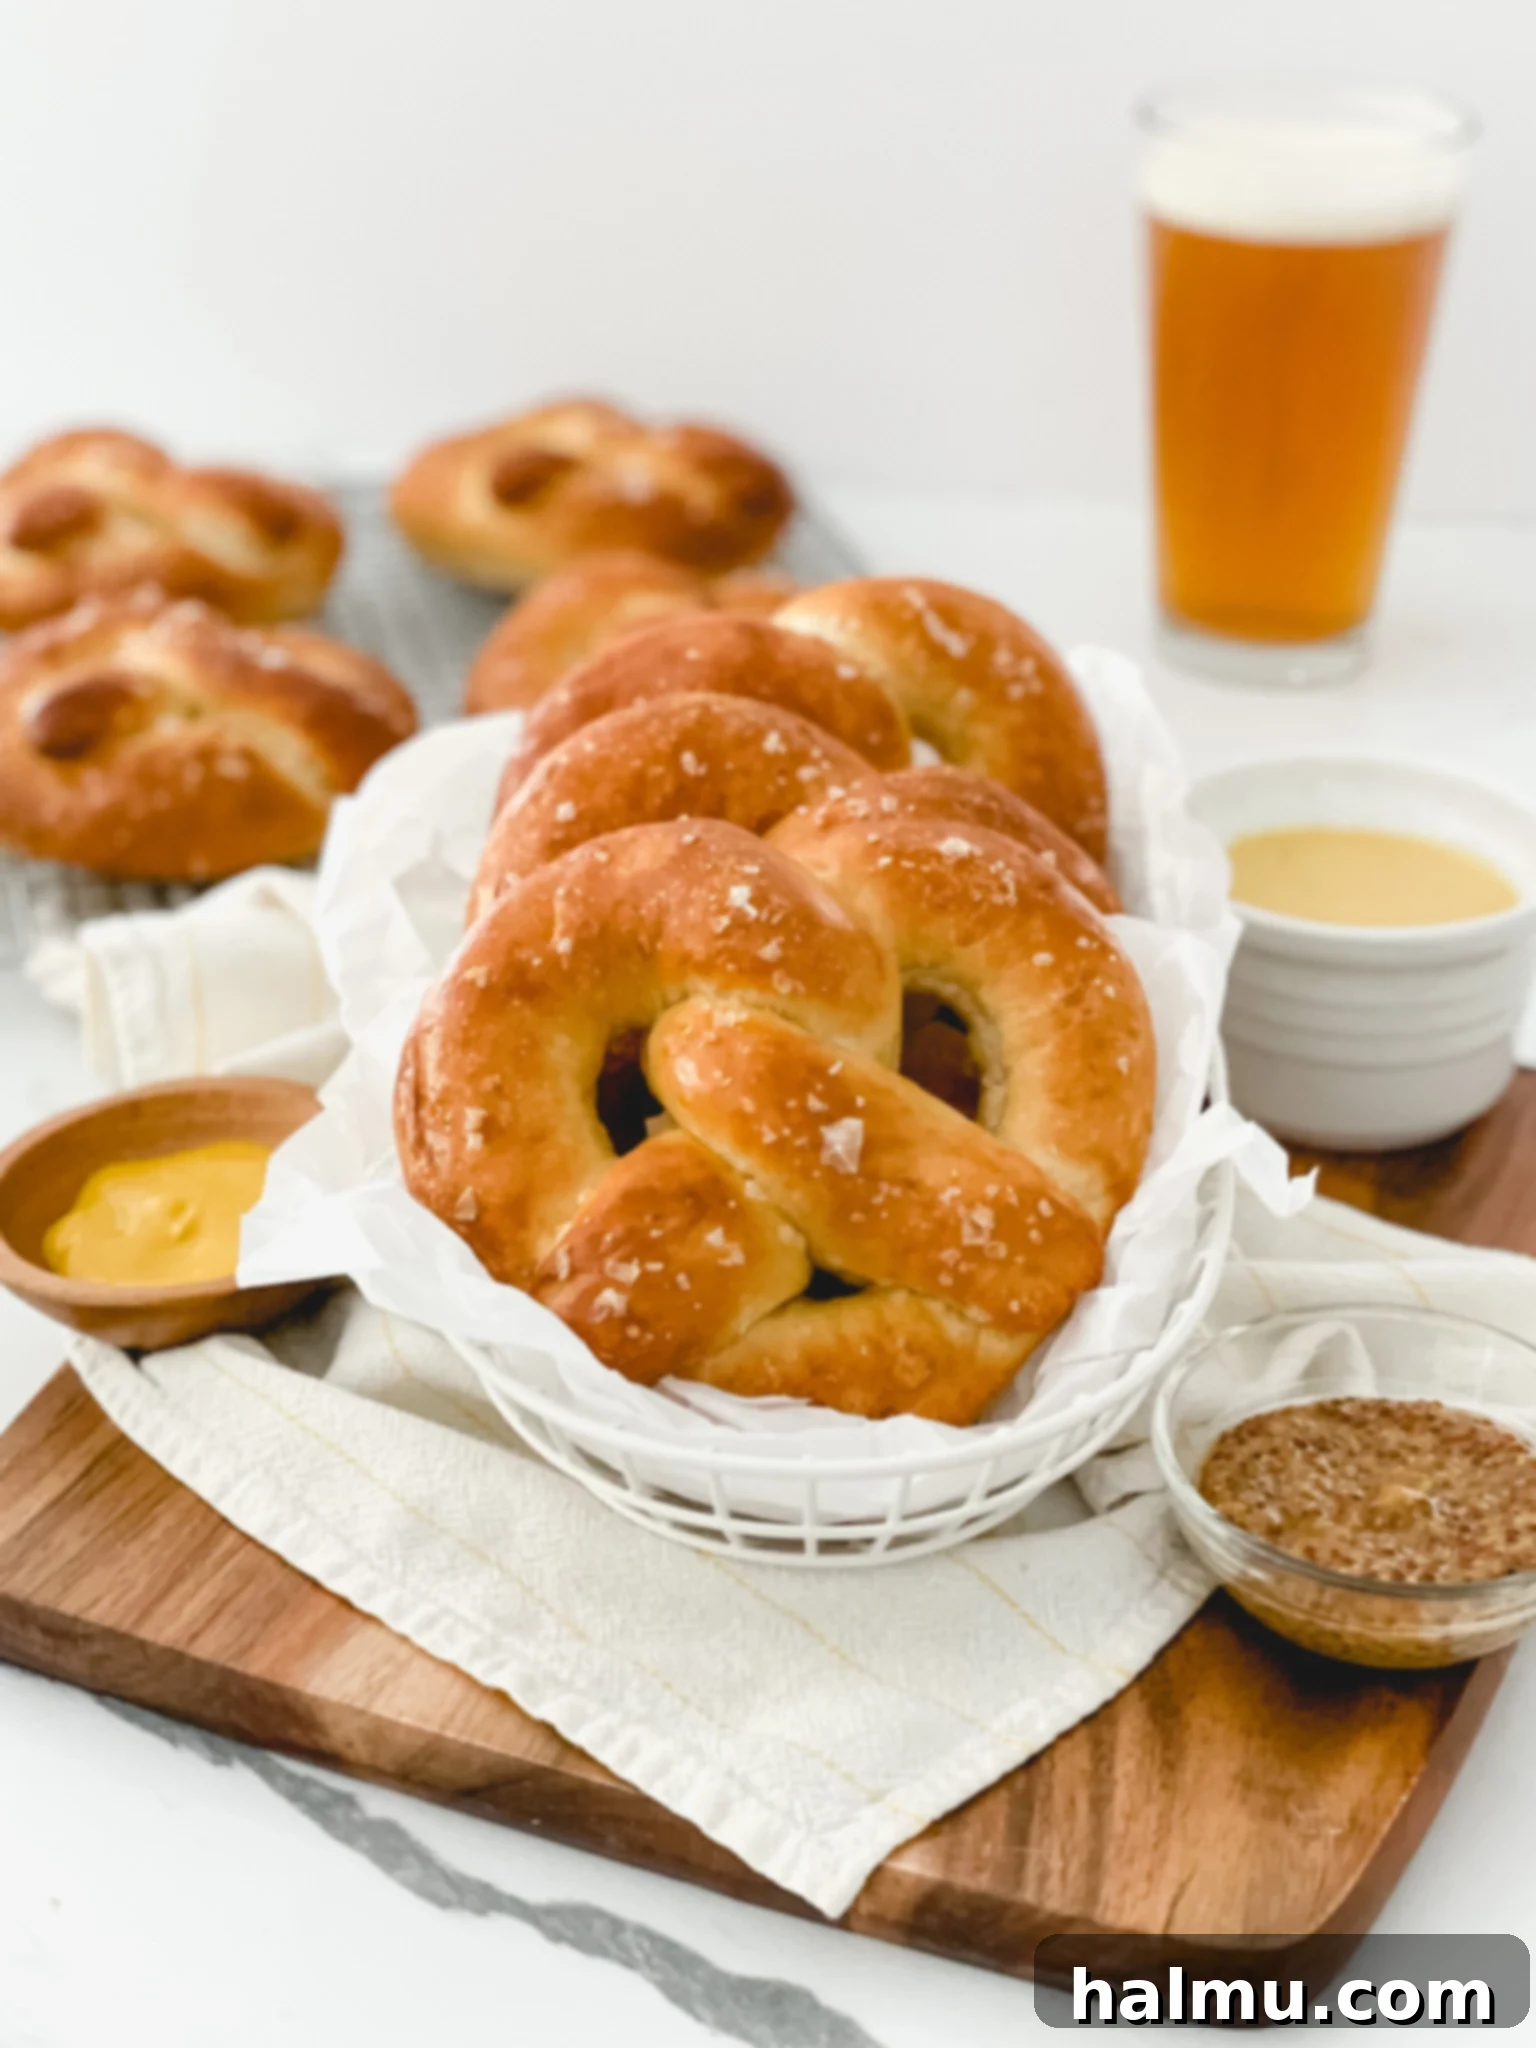
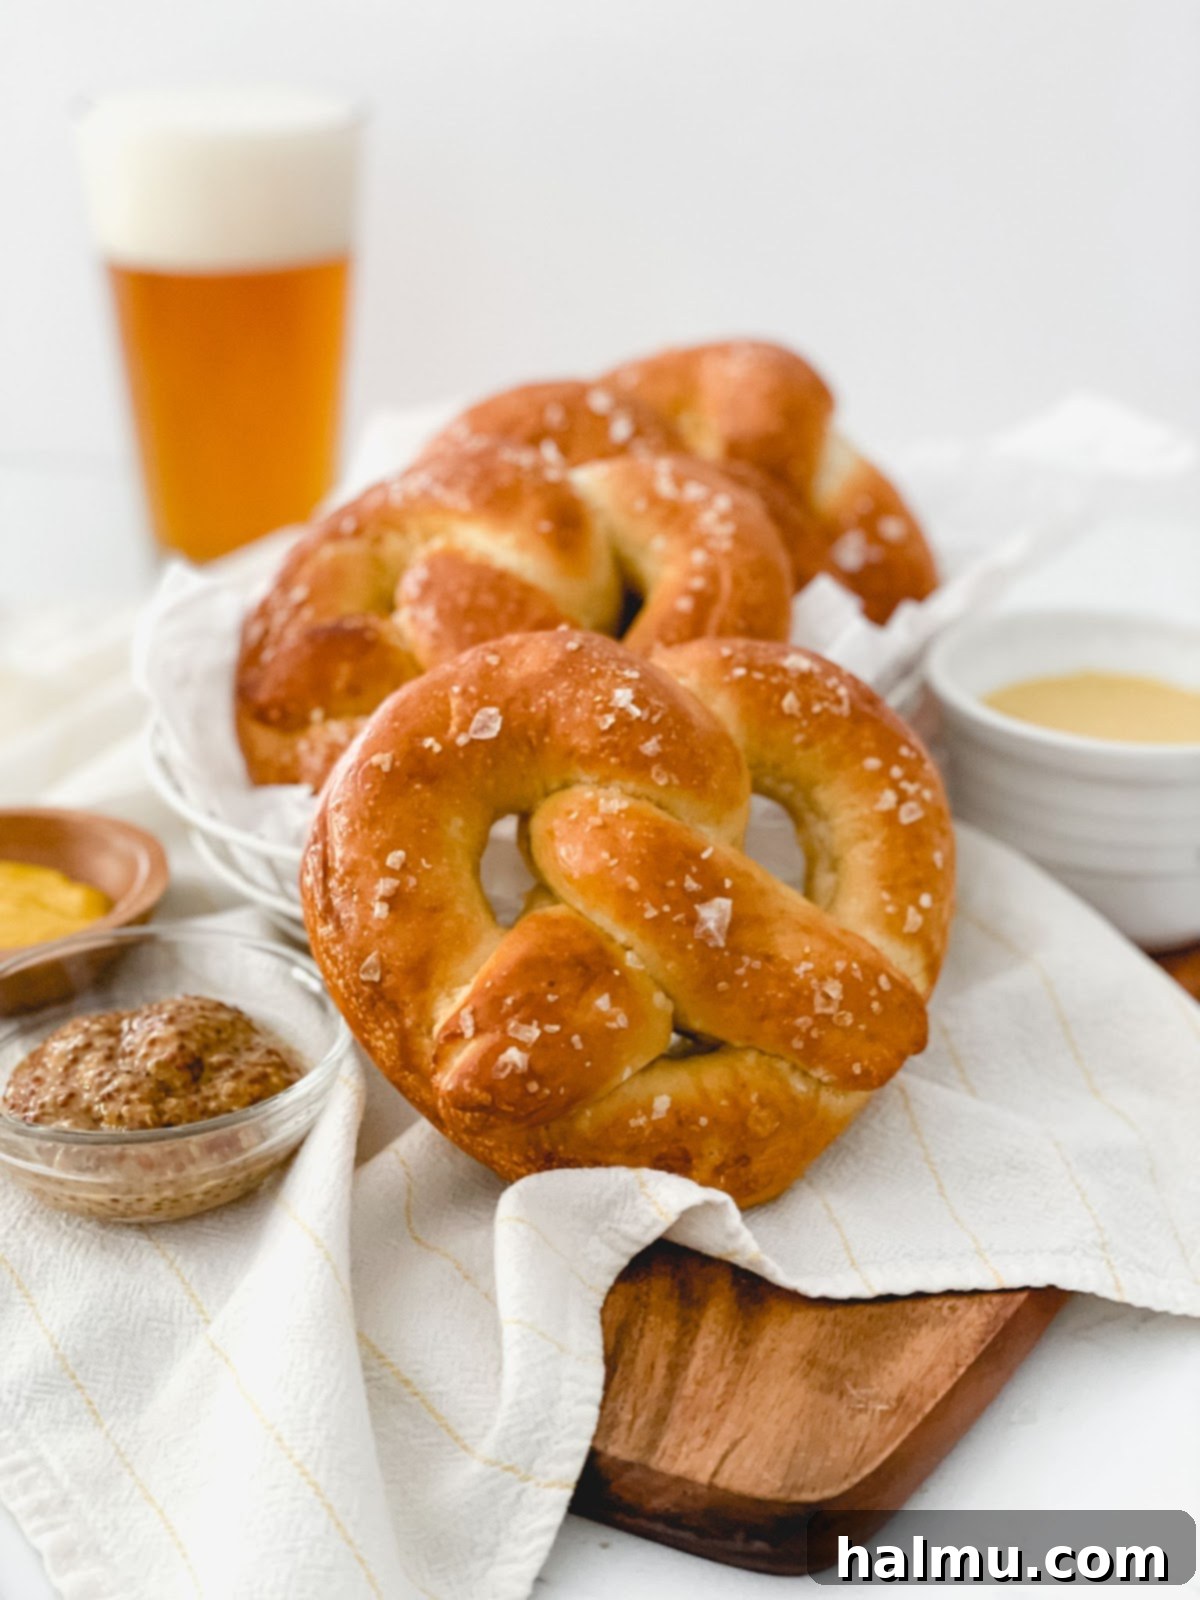
There’s an undeniable magic in a perfectly made soft pretzel. That enticing aroma, the satisfying golden-brown crust, and the signature chewy interior – it’s a culinary experience that brings comfort and joy. For years, I’ve embarked on a quest to perfect the art of homemade soft pretzels, meticulously testing and refining this recipe to achieve unparalleled results. The pretzels you’re about to discover boast a thin, delicately crisp golden exterior that gives way to a wonderfully dense and remarkably chewy inside. They are truly exceptional on their own, especially when savored warm straight from the oven, but their versatility shines when paired with an array of delectable dips and spreads.
Forget the store-bought versions; once you experience the freshness and incredible texture of these homemade beauties, there’s no turning back. Whether you’re planning a cozy movie night, a lively game day gathering, or simply craving a delicious snack, this recipe will transform your kitchen into a pretzel bakery. Dive into the delightful process and prepare to impress your taste buds and loved ones with these irresistible treats.
Beyond Savory: Indulge Your Sweet Tooth with Pretzel Perfection
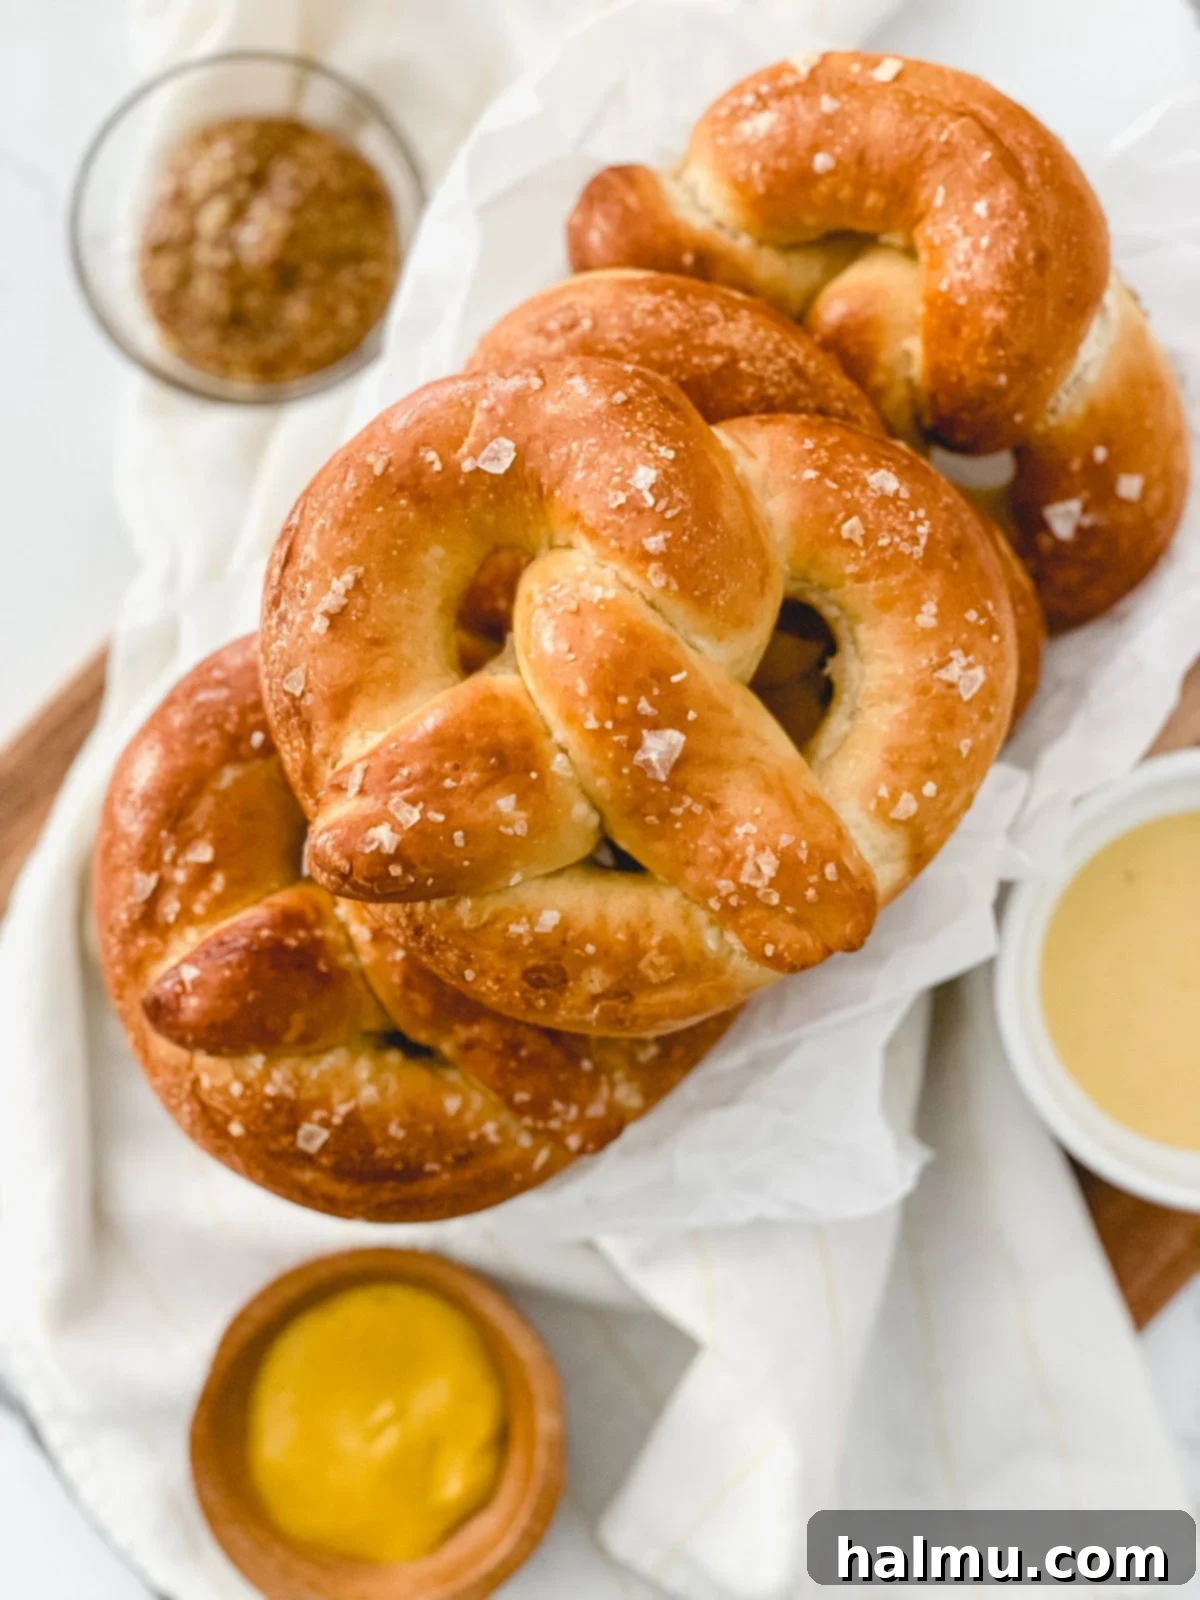
As someone with an undeniable sweet tooth, my mind is constantly buzzing with ideas for adding a delightful sweet twist to classic recipes. These homemade soft pretzels are no exception, offering a fantastic canvas for sweet indulgence. Imagine them slathered with melted butter and generously coated in a shimmering cinnamon sugar mixture. To achieve this sweet transformation, simply omit the flaky salt before baking. Once the pretzels emerge from the oven, brush them liberally with melted butter, then toss them in a bowl of cinnamon sugar until fully coated. The sweet and salty contrast is simply divine!
For an even more decadent experience, serve your sweet pretzels with an assortment of luscious dipping options. A rich cream cheese icing offers a tangy counterpoint, while warm caramel sauce adds a buttery, sticky sweetness. For chocolate lovers, a velvety melty chocolate ganache provides an intensely satisfying dip. These sweet variations prove just how incredibly versatile homemade pretzels can be, moving effortlessly from savory snack to an irresistible dessert.
Mastering the Art: How to Make Irresistible Homemade Soft Pretzels
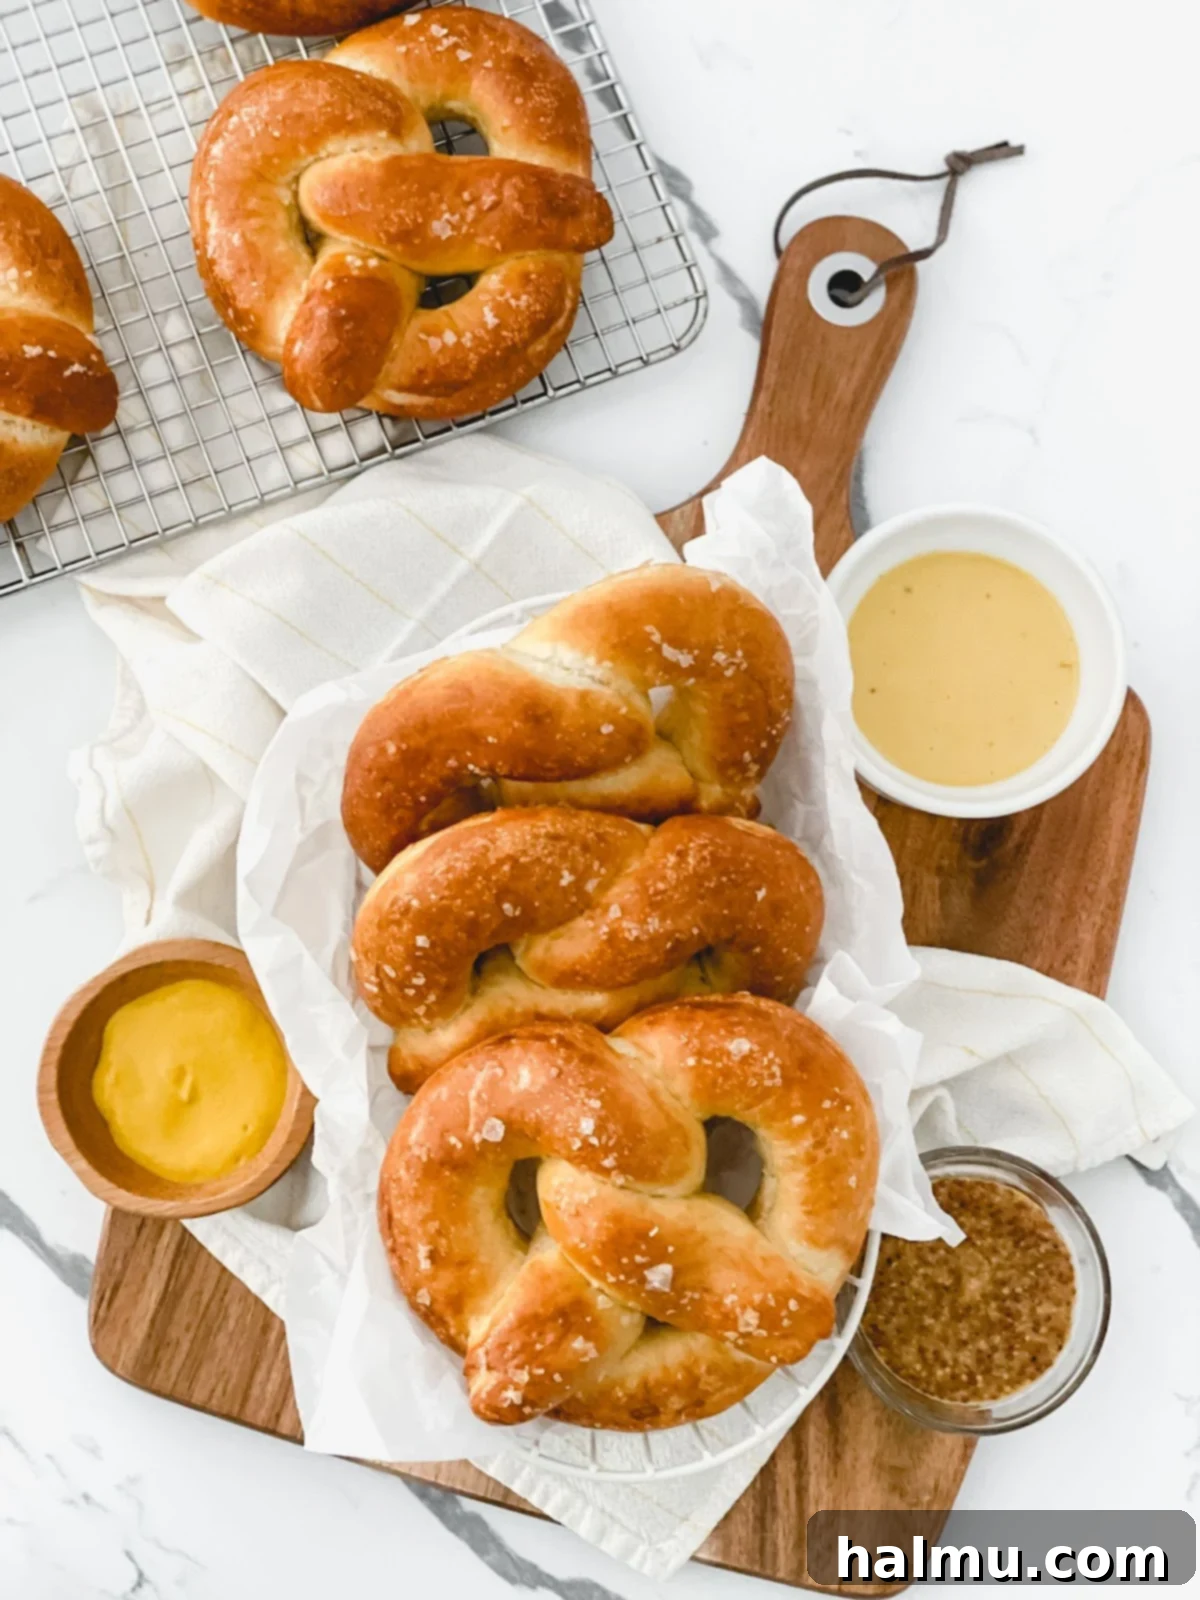
You might be surprised at how accessible and enjoyable the process of making these soft pretzels is. While they appear complex, the steps are straightforward and the result is incredibly rewarding. The dough itself comes together remarkably quickly, primarily relying on a stand mixer to do the heavy lifting. One of the best parts? It only requires a single rise, significantly streamlining the baking process compared to many other bread recipes. This efficiency means you’ll be enjoying fresh, warm pretzels in no time.
After the dough has been prepared and has gracefully doubled in size, the fun part begins: shaping! For consistent results, I highly recommend weighing the entire dough ball and dividing it by eight to ensure each pretzel is uniform in size. Each of these individual dough portions will then be rolled into a long, slender rope, which you’ll artfully fold into the classic pretzel shape. Don’t worry if your first few aren’t perfect; practice makes perfect, and they’ll taste delicious no matter the form. Following the shaping, each pretzel takes a crucial, quick dip into a baking soda bath—a simple yet transformative mixture of boiling water and baking soda. This bath is what gives pretzels their distinct flavor and helps achieve that beautiful golden-brown crust. Finally, each pretzel is brushed with an egg wash, sprinkled with a generous pinch of flaky salt, and baked to golden perfection!
The Science Behind the Deliciousness: Key Ingredients Explained
Understanding the role of each ingredient is fundamental to baking success. In this recipe, every component plays a vital part in achieving the perfect soft pretzel texture and flavor:
- Water: The liquid base for our dough, water activates the yeast and hydrates the flour, allowing gluten to develop. Using cold water here is intentional; it helps to control the yeast activity during the initial mixing stage, providing a more gradual rise and deeper flavor development.
- Instant Yeast: This magical ingredient is the leavening agent that makes our pretzels light and airy. Instant yeast is fantastic because it doesn’t require proofing (dissolving in warm water first) and can be mixed directly with the dry ingredients, saving you a step and ensuring a consistent rise.
- Bread Flour: The star of the show for that signature chewy texture. Bread flour has a higher protein content than all-purpose flour, which means it develops more gluten when kneaded. This strong gluten network is what gives pretzels their elasticity and chewiness, preventing them from becoming too cake-like.
- Molasses: Just a touch of molasses adds a subtle depth of flavor, a beautiful rich color to the crust, and aids in the Maillard reaction during baking, contributing to that distinctive pretzel aroma and taste. It’s a small but mighty ingredient!
- Salt: Essential for flavor balance, salt not only enhances the taste of the pretzels but also plays a crucial role in controlling yeast activity. It helps to strengthen the gluten structure, contributing to the dough’s elasticity.
- Unsalted Butter: Softened butter enriches the dough, making the pretzels more tender and adding a lovely buttery flavor. It also contributes to the smooth, supple texture of the dough, making it easier to handle and shape.
The Essential Baking Soda Bath: A Culinary Game Changer
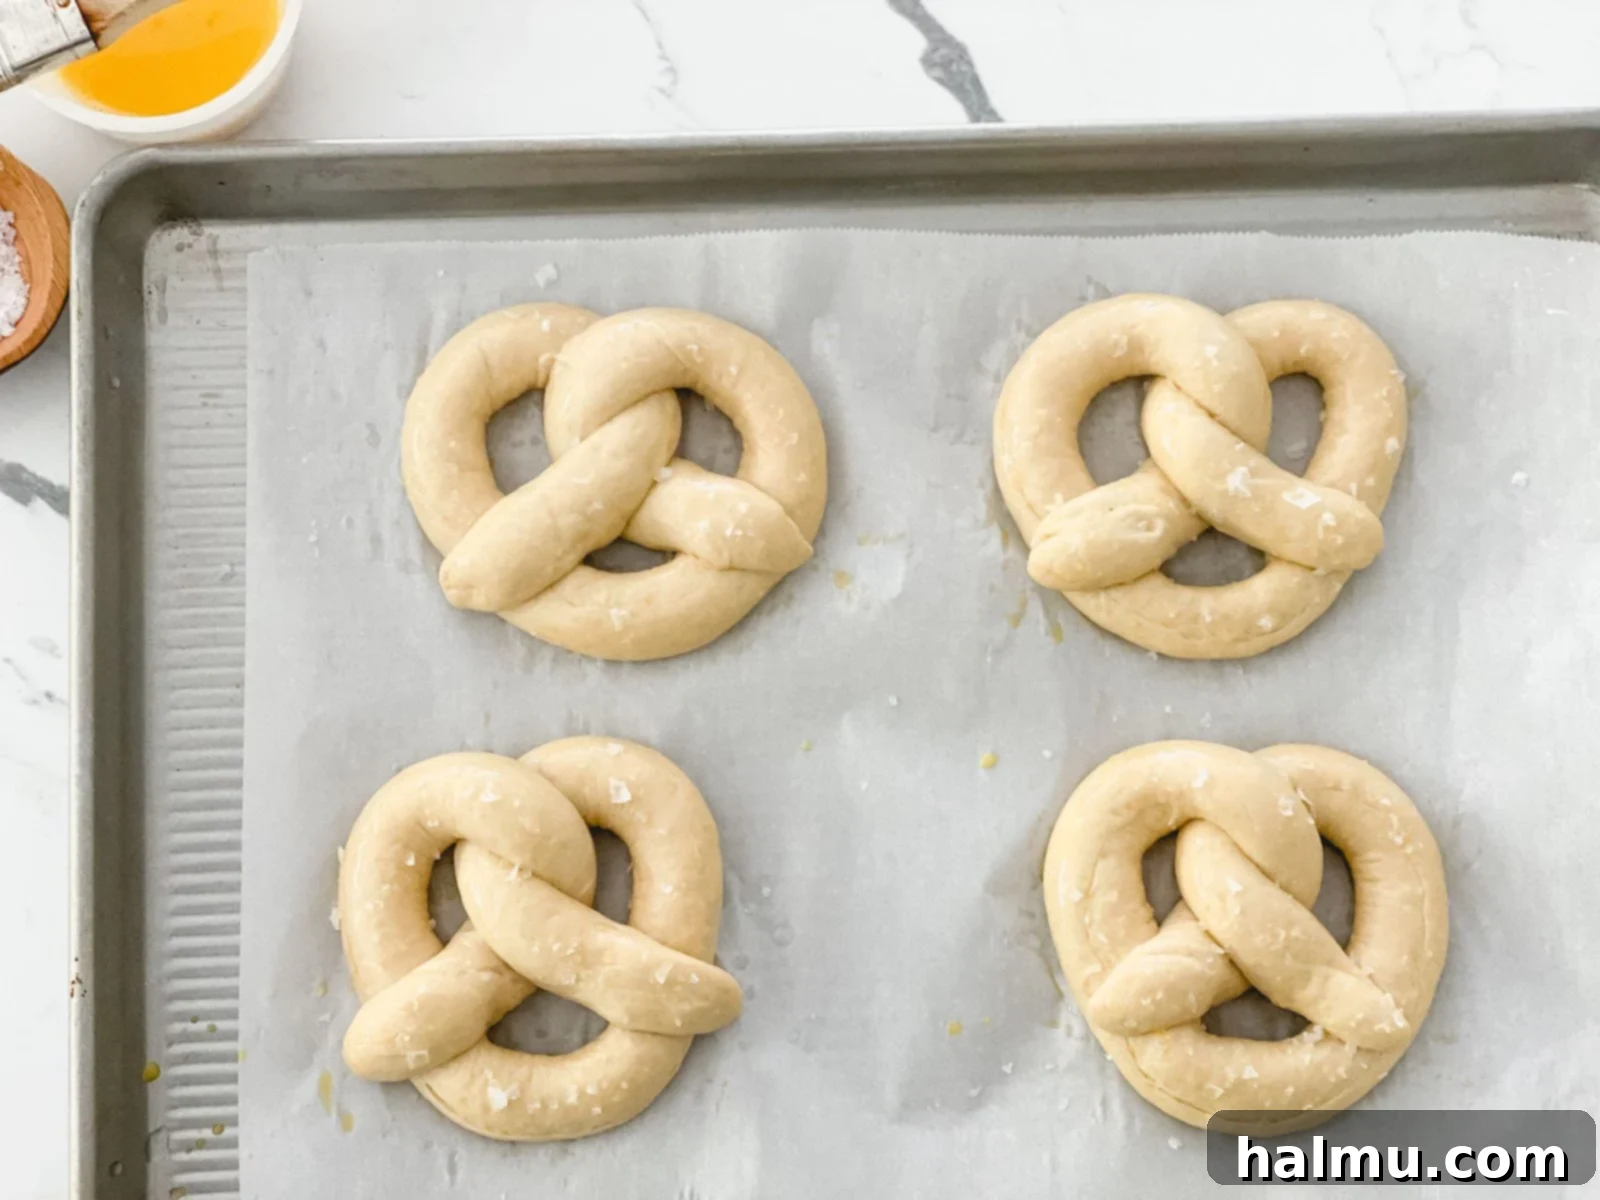
The baking soda bath is arguably the most crucial step in achieving that authentic soft pretzel character. This quick dip in an alkaline solution isn’t just a tradition; it’s a scientific marvel that transforms your dough. When the raw pretzel dough hits the boiling baking soda solution, several key reactions occur:
- Maillard Reaction Enhancement: The baking soda significantly increases the pH of the pretzel surface. This alkaline environment accelerates the Maillard reaction (the chemical reaction responsible for browning and flavor development) during baking. This is why pretzels get their distinct dark brown crust and rich, complex flavor that cannot be achieved with just an egg wash.
- Crust Formation and Chewiness: The hot bath gelatinizes the starches on the surface of the dough, creating a thin, protective layer. This layer crisps up beautifully in the oven, giving the pretzel its iconic slightly firm yet crisp exterior while locking in moisture to ensure a dense, chewy interior.
- Distinctive Flavor Profile: The alkalinity imparts a subtle, unmistakable “pretzel” flavor that is often described as slightly malty or savory. Without this step, your pretzels would simply taste like regular bread.
While some traditional pretzel recipes call for a lye bath (sodium hydroxide), which yields an even darker, glossier crust and more intense flavor, baking soda is a safe and highly effective alternative for home bakers. Do not skip this step! It’s simple, but it makes all the difference in achieving the perfect texture, color, and flavor profile that defines a truly great soft pretzel.
The Art of Shaping Pretzels
Shaping pretzels might seem intimidating at first, but with a little practice, you’ll find it quite enjoyable. Consistency in length and thickness is key for even baking. Here’s how to master the classic pretzel twist:
- Roll a long rope: Start by rolling each portion of dough into a thin, even rope, approximately 20-22 inches long. Aim for consistent thickness throughout to ensure uniform cooking.
- Create a teardrop shape: Bring the two ends of the rope together to form an inverted “U” or teardrop shape.
- Cross and twist: Cross the ends over each other, creating an “X” shape. Then, twist them once, as if tying a knot.
- Fold down: Fold the twisted ends down towards the bottom curve of the pretzel shape.
- Gently press: Lightly press the ends into the main body of the dough to secure the shape.
- Adjust as needed: If necessary, gently stretch or reshape the dough to achieve your desired pretzel form. Don’t be afraid to adjust until it looks just right.

If you’re pressed for time, prefer a different presentation, or simply aren’t in the mood for the classic pretzel shape, there are plenty of delicious alternatives! You can easily transform the dough into pretzel rolls, perfect for sandwiches, or slice it into pretzel sticks for easy dipping. For a fun, bite-sized snack, make pretzel bites – simply cut the ropes into small pieces before their baking soda bath and baking. These variations are just as flavorful and equally satisfying!
Expert Tips for Flawless Homemade Soft Pretzels Every Time
Achieving the perfect soft pretzel isn’t just about following the steps; it’s about understanding the nuances of baking. These expert tips will help you bake pretzels that are consistently amazing:
- Precision is Key: Use a Kitchen Scale for Ingredients. Baking is a science, and nowhere is precision more crucial than in bread making. Cups and spoons can vary greatly in how much they hold depending on how ingredients are packed, leading to inconsistent results. Investing in an inexpensive kitchen scale is a game-changer. Weighing your ingredients, especially flour, ensures you have the exact ratios needed for the ideal dough hydration and texture. You’ll notice all my baking recipes include gram measurements for this very reason – it guarantees accuracy and success every time.
- Develop the Perfect Chew: Don’t Undermix the Dough. That classic, irresistible chewy texture of a soft pretzel doesn’t happen by accident; it’s the result of well-developed gluten. The yeast needs ample time to work its magic and for the gluten strands to strengthen. After all the ingredients have come together in your stand mixer, continue mixing on low speed for at least 10 minutes. You’re looking for a dough that is completely smooth, elastic, pulls away cleanly from the sides of the bowl, and is no longer excessively sticky to handle. This thorough kneading is non-negotiable for achieving the desired chewiness.
- The Golden Standard: Never Skip the Baking Soda Bath. As discussed, the baking soda bath is fundamental to authentic soft pretzels. This quick dip in boiling water and baking soda is what sets pretzels apart. It helps create that beautiful, deep golden-brown crust, ensures a delightfully chewy interior, and imparts the distinctive “pretzel” flavor. It’s a simple step, but its impact on the final product is profound and cannot be overstated.
- Temperature Matters: Oven and Dough. Ensure your oven is fully preheated to the specified temperature before baking. A hot oven creates a quick burst of steam, helping the pretzels rise rapidly and achieve a good crust. Also, be mindful of your dough’s temperature during the rise; a warm, draft-free spot is ideal for consistent proofing.
- Freshness First: Serving and Storage. Soft pretzels are best enjoyed warm and fresh from the oven. If you have leftovers, store them in an airtight container at room temperature for up to two days. For longer storage, freeze cooled pretzels in a freezer-safe bag. To reheat, a few minutes in a toaster oven or a quick zap in the microwave (then a quick toast for texture) will bring them back to life.
What to Serve With Homemade Soft Pretzels: A World of Dips and Toppings
Homemade soft pretzels are incredibly versatile, serving as the perfect vehicle for a wide array of flavors. From rich and savory to sweet and indulgent, there’s a pairing for every palate. Here are some fantastic ideas to elevate your pretzel experience:
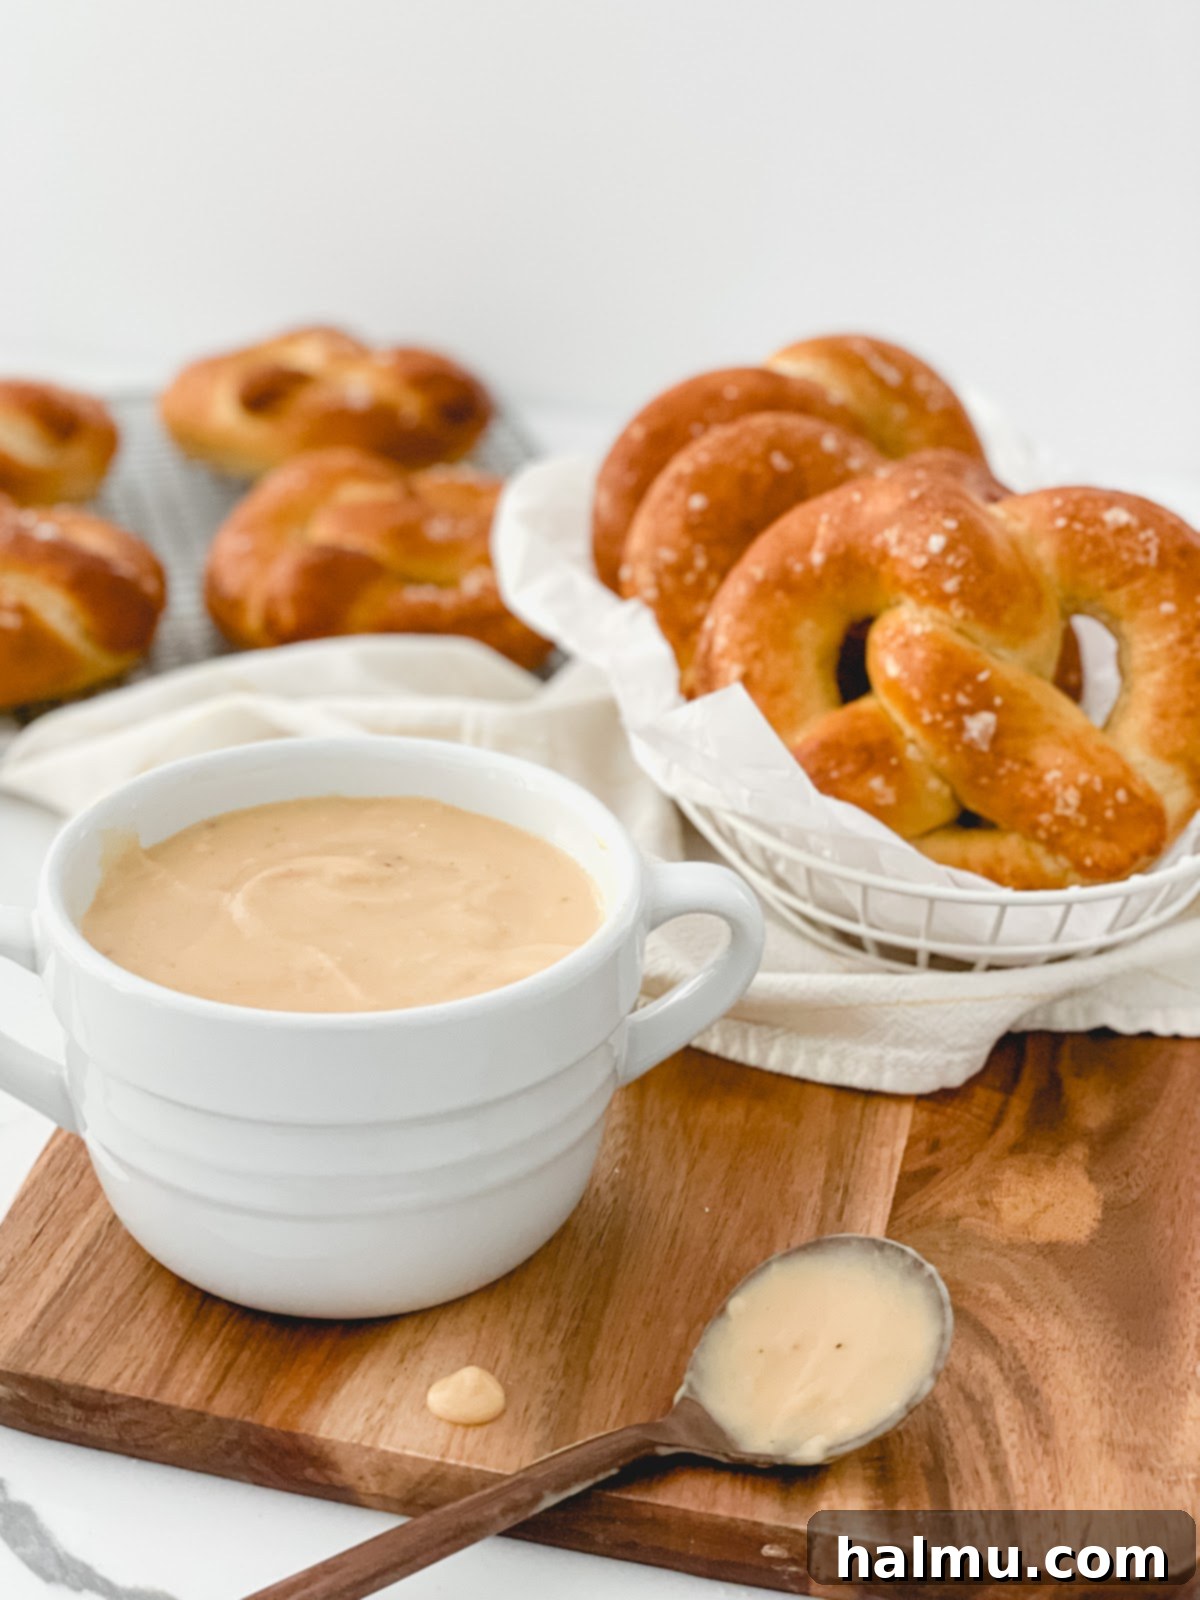
- Warm Beer Cheese Dip: A classic combination! The creamy, tangy, and slightly bitter notes of a good beer cheese dip are the quintessential complement to a warm, salty pretzel. It’s a match made in heaven, especially for game days.
- Spinach Artichoke Dip: The cheesy, garlicky goodness of a warm spinach artichoke dip offers a delightful contrast to the pretzel’s chewiness. It’s a hearty and satisfying option that’s always a crowd-pleaser.
- Queso Dip: For those who love a bit of spice, a smooth and creamy queso dip brings a Tex-Mex flair. The richness of the cheese with a hint of jalapeño or chili makes for an exciting bite.
- Mustard Variety: Don’t underestimate the power of a good mustard!
- Yellow Mustard: Simple and classic, offering a sharp tang.
- Whole Grain Mustard: Adds texture and a deeper, more complex, earthy flavor.
- Dijon Mustard: A sophisticated choice with a spicy, pungent kick.
- Hot Mustard: For those who like to feel the heat, this delivers a sinus-clearing punch.
- Honey Mustard: A sweet and tangy blend that’s universally loved, especially by younger palates.
- Cream Cheese Icing: For a truly delightful sweet & salty treat, a smooth cream cheese icing offers a tangy sweetness that pairs wonderfully with the pretzel’s saltiness. This is particularly good if you’ve opted for a cinnamon sugar pretzel variation.
- Melted Chocolate Ganache or Nutella: Dip your pretzels into rich, warm chocolate ganache or a creamy hazelnut spread like Nutella for an indulgent dessert experience. The salt from the pretzel perfectly balances the sweetness.
- Caramel Sauce: A warm, buttery caramel sauce makes for another fantastic sweet dip, especially delicious with a dash of sea salt sprinkled on top.
- Garlic Butter: For a savory twist, brush warm pretzels with garlic butter, then sprinkle with Parmesan cheese and herbs for a delicious, aromatic snack.
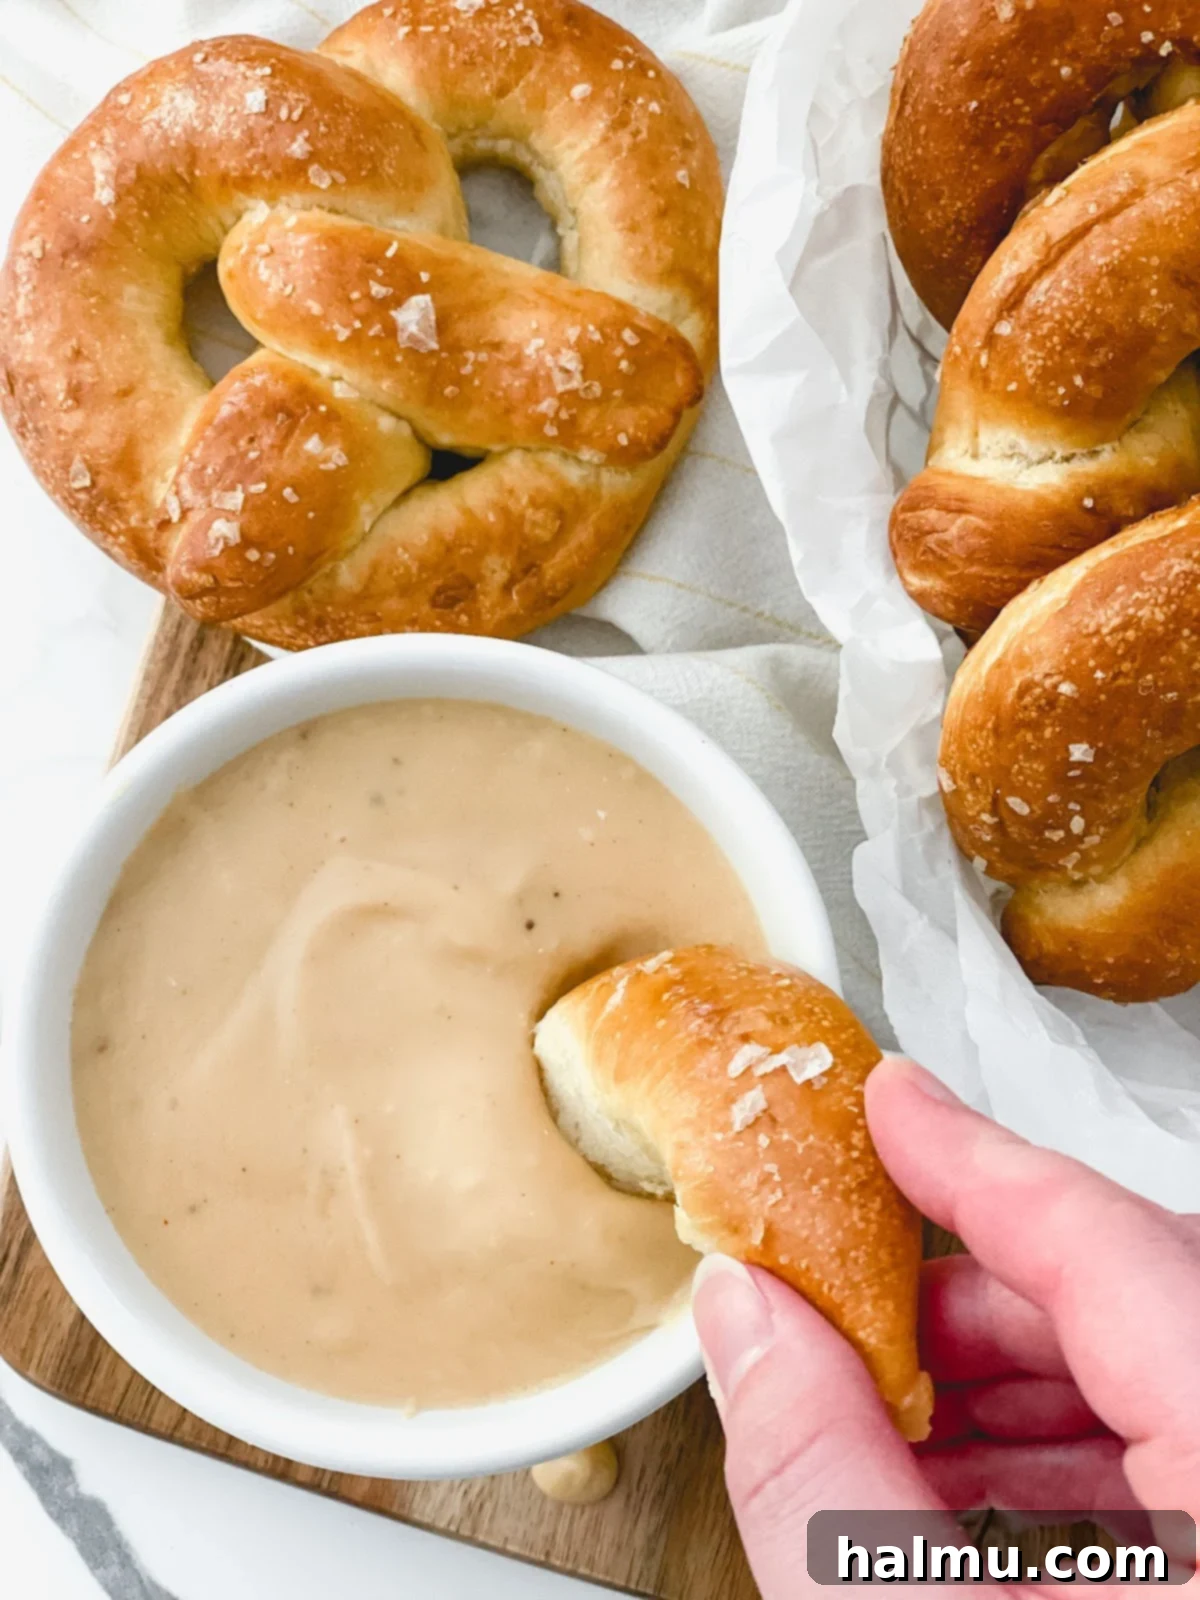
These homemade soft pretzels are truly a blank canvas for culinary creativity, offering endless possibilities from savory appetizers to sweet desserts. Their adaptability in size and shape, combined with the vast array of dips and spreads you can pair them with, makes them a perennial favorite. I eagerly anticipate seeing how you choose to enjoy these delicious creations. Happy pretzel-making!

Homemade Soft Pretzels
These Homemade Soft Pretzels are so quick and easy to make, delivering a delightful balance of slightly crisp exterior, satisfying chewiness, and incredible freshness. They’re the perfect snack for any occasion, especially a lively game day!
Author: Rachel
Ingredients
Pretzel Dough
- 1¼ cup (297g) cold water
- 2 teaspoons (7g) instant yeast
- 3 ¾ cups (497g) bread flour
- 1½ teaspoons (8g) molasses
- 1½ teaspoons (9g) salt
- 2 Tablespoons (30g) unsalted butter, softened and cut into pieces
Baking Soda Bath
- ⅓ cup (93g) baking soda
- 4 cups (32oz) boiling water
Topping
- 1 egg, beaten with 1 Tablespoon water (for egg wash)
- Flaky salt for sprinkling (Maldon brand recommended)
Instructions
- In the bowl of a stand mixer fitted with a dough hook attachment, combine the cold water and instant yeast. Add the remaining dough ingredients in the following order: bread flour, molasses, salt, then softened butter. Mix on low speed until the dough comes together, then continue to mix for about 10 minutes until the dough is strong, smooth, and forms into a cohesive ball.
- Once kneaded, form the dough into a smooth ball and place it in a large bowl lightly greased with cooking spray or oil. Cover the bowl tightly with plastic wrap and allow the dough to rise in a warm spot until it has doubled in size, which typically takes about 1 hour.
- When the dough is ready, gently remove it from the bowl and lightly press out any accumulated air bubbles. Divide the dough into 8 equal portions. For best results, use a kitchen scale to ensure consistent pretzel sizes.
- Take each dough portion and roll it into a long rope, approximately 22 inches in length. To shape each pretzel, bring the ends of the rope together to form a teardrop shape. Cross the ends over each other, creating an “X,” and twist once. Fold the twisted ends down towards the bottom curve of the pretzel and gently press them into the dough to secure the shape. Place the formed pretzels on two baking sheets lined with parchment paper or silicone mats. Set aside.
- Preheat your oven to 425°F (220°C).
- In a large glass or heat-proof bowl, carefully add the boiling water and baking soda. Stir well to ensure all the baking soda completely dissolves.
- Carefully dip each pretzel into the prepared baking soda bath. Submerge it for about 20-30 seconds, using a spatula to gently press it down to ensure it’s fully coated. Lift the pretzel out, allowing any excess water to drip off, then place it back onto the prepared baking sheets.
- Using a pastry brush, generously brush the egg wash all over the top surface of each dipped pretzel. Immediately sprinkle flaky salt evenly over the pretzels.
- Bake the pretzels for 8-10 minutes, or until they achieve a deep golden-brown color. For even baking, rotate the baking sheets once halfway through the cooking time.
- Enjoy your homemade soft pretzels warm from the oven or at room temperature. They are truly best when fresh!
Notes
- Serving Suggestion: These pretzels pair perfectly with a rich Warm Beer Cheese Dip!
- Storage: Store cooled pretzels in an airtight container at room temperature for up to 2 days. For longer storage, freeze them for up to 1 month and reheat as desired.
- Sweet Variation: For a sweet treat, omit the flaky salt before baking. Once baked, brush with melted butter and toss in cinnamon sugar. Serve with cream cheese icing, caramel, or chocolate ganache.
