This post may contain affiliate links. Please read my full disclosure policy.
Irresistible No-Bake Mini Egg Cheesecakes: Your Perfect Spring Dessert
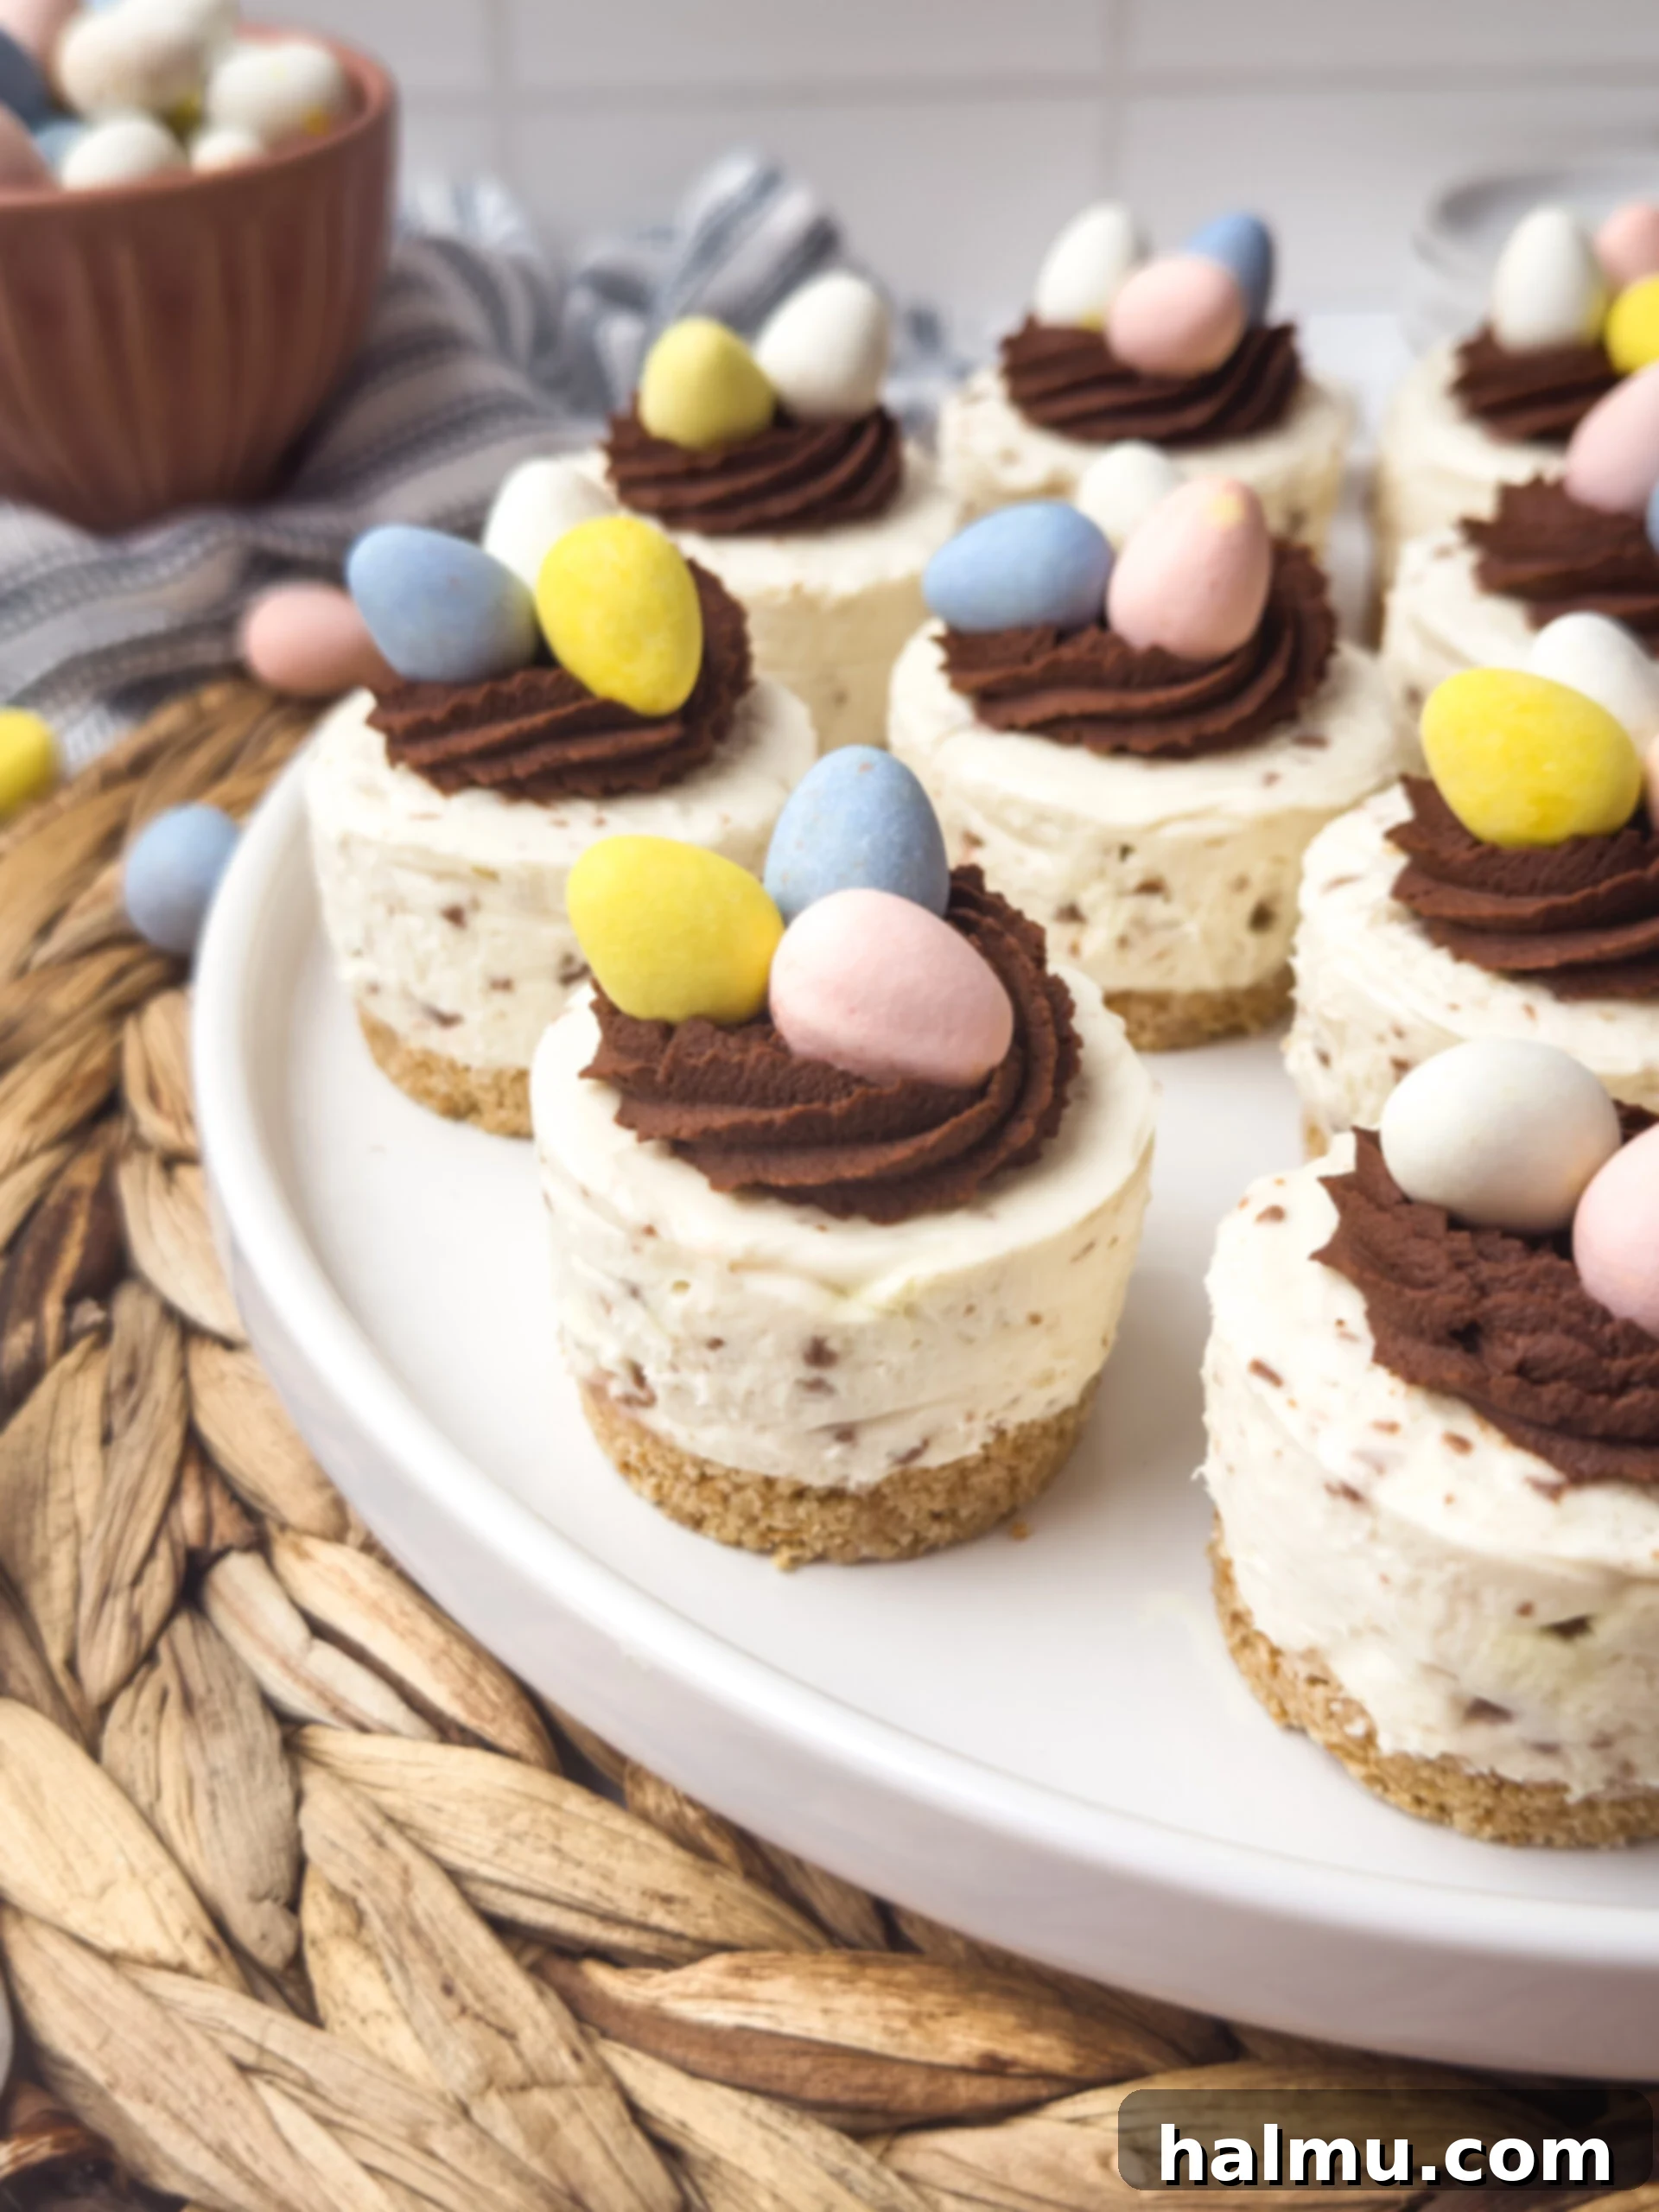
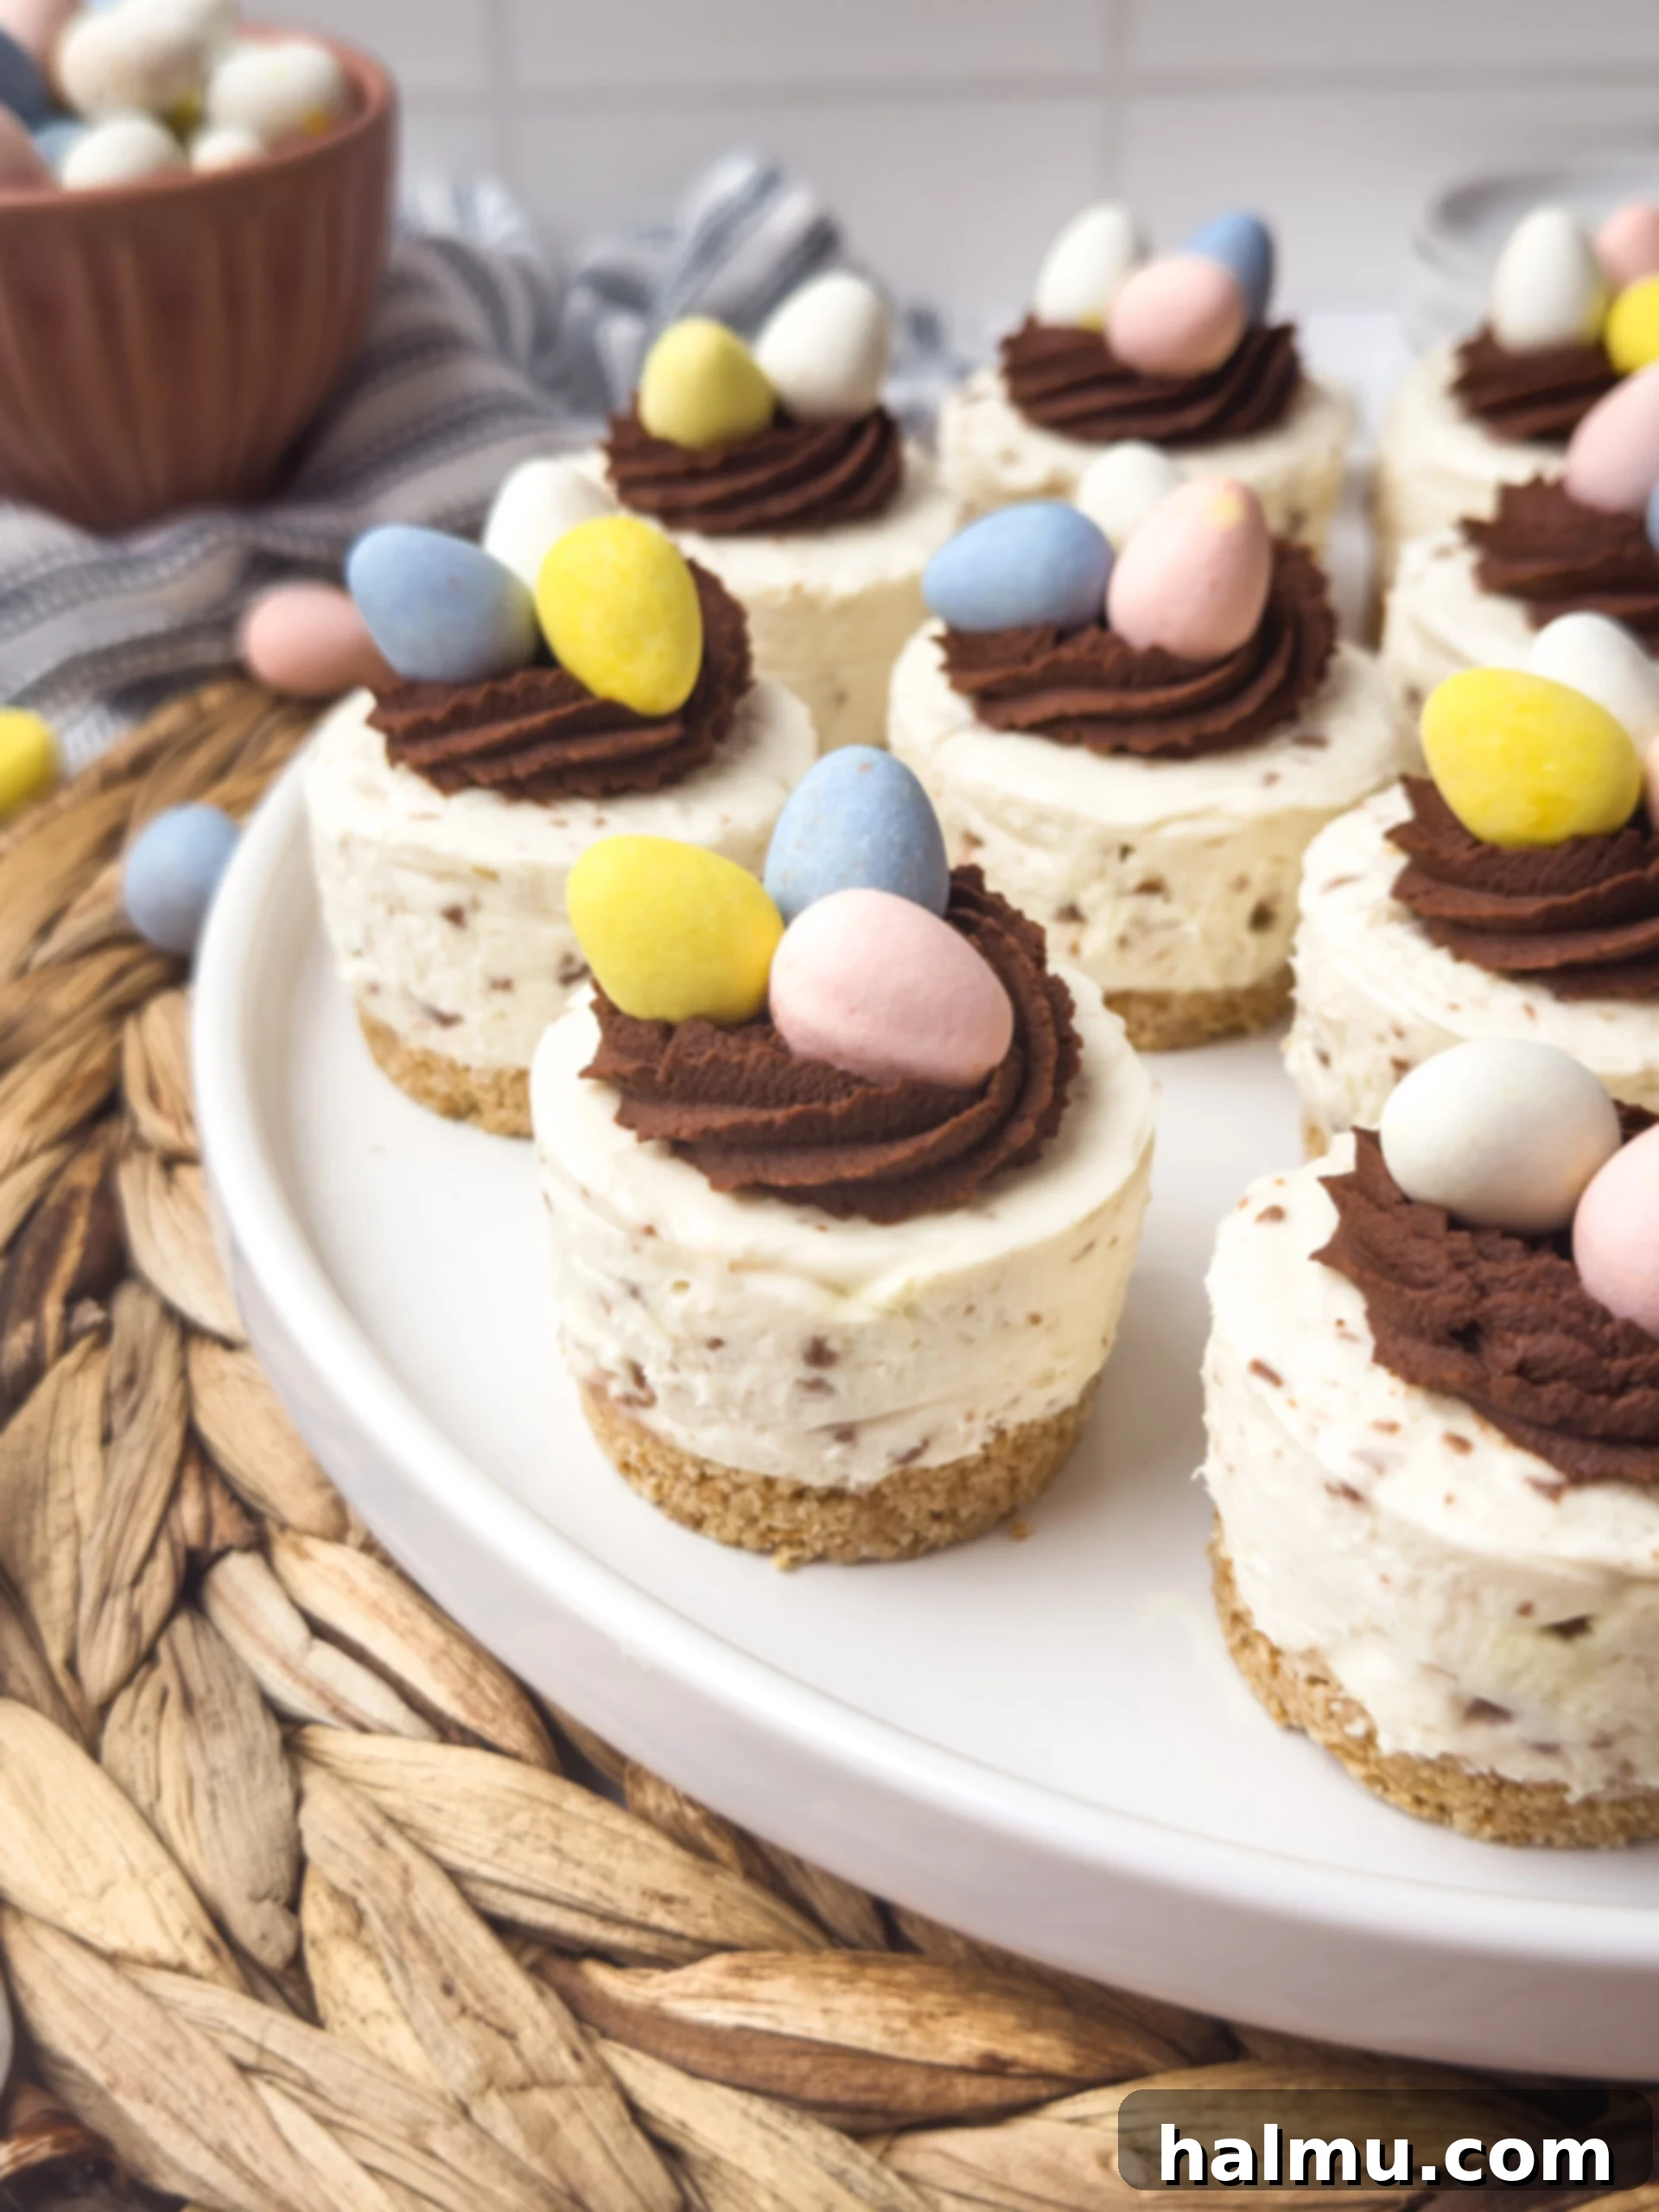
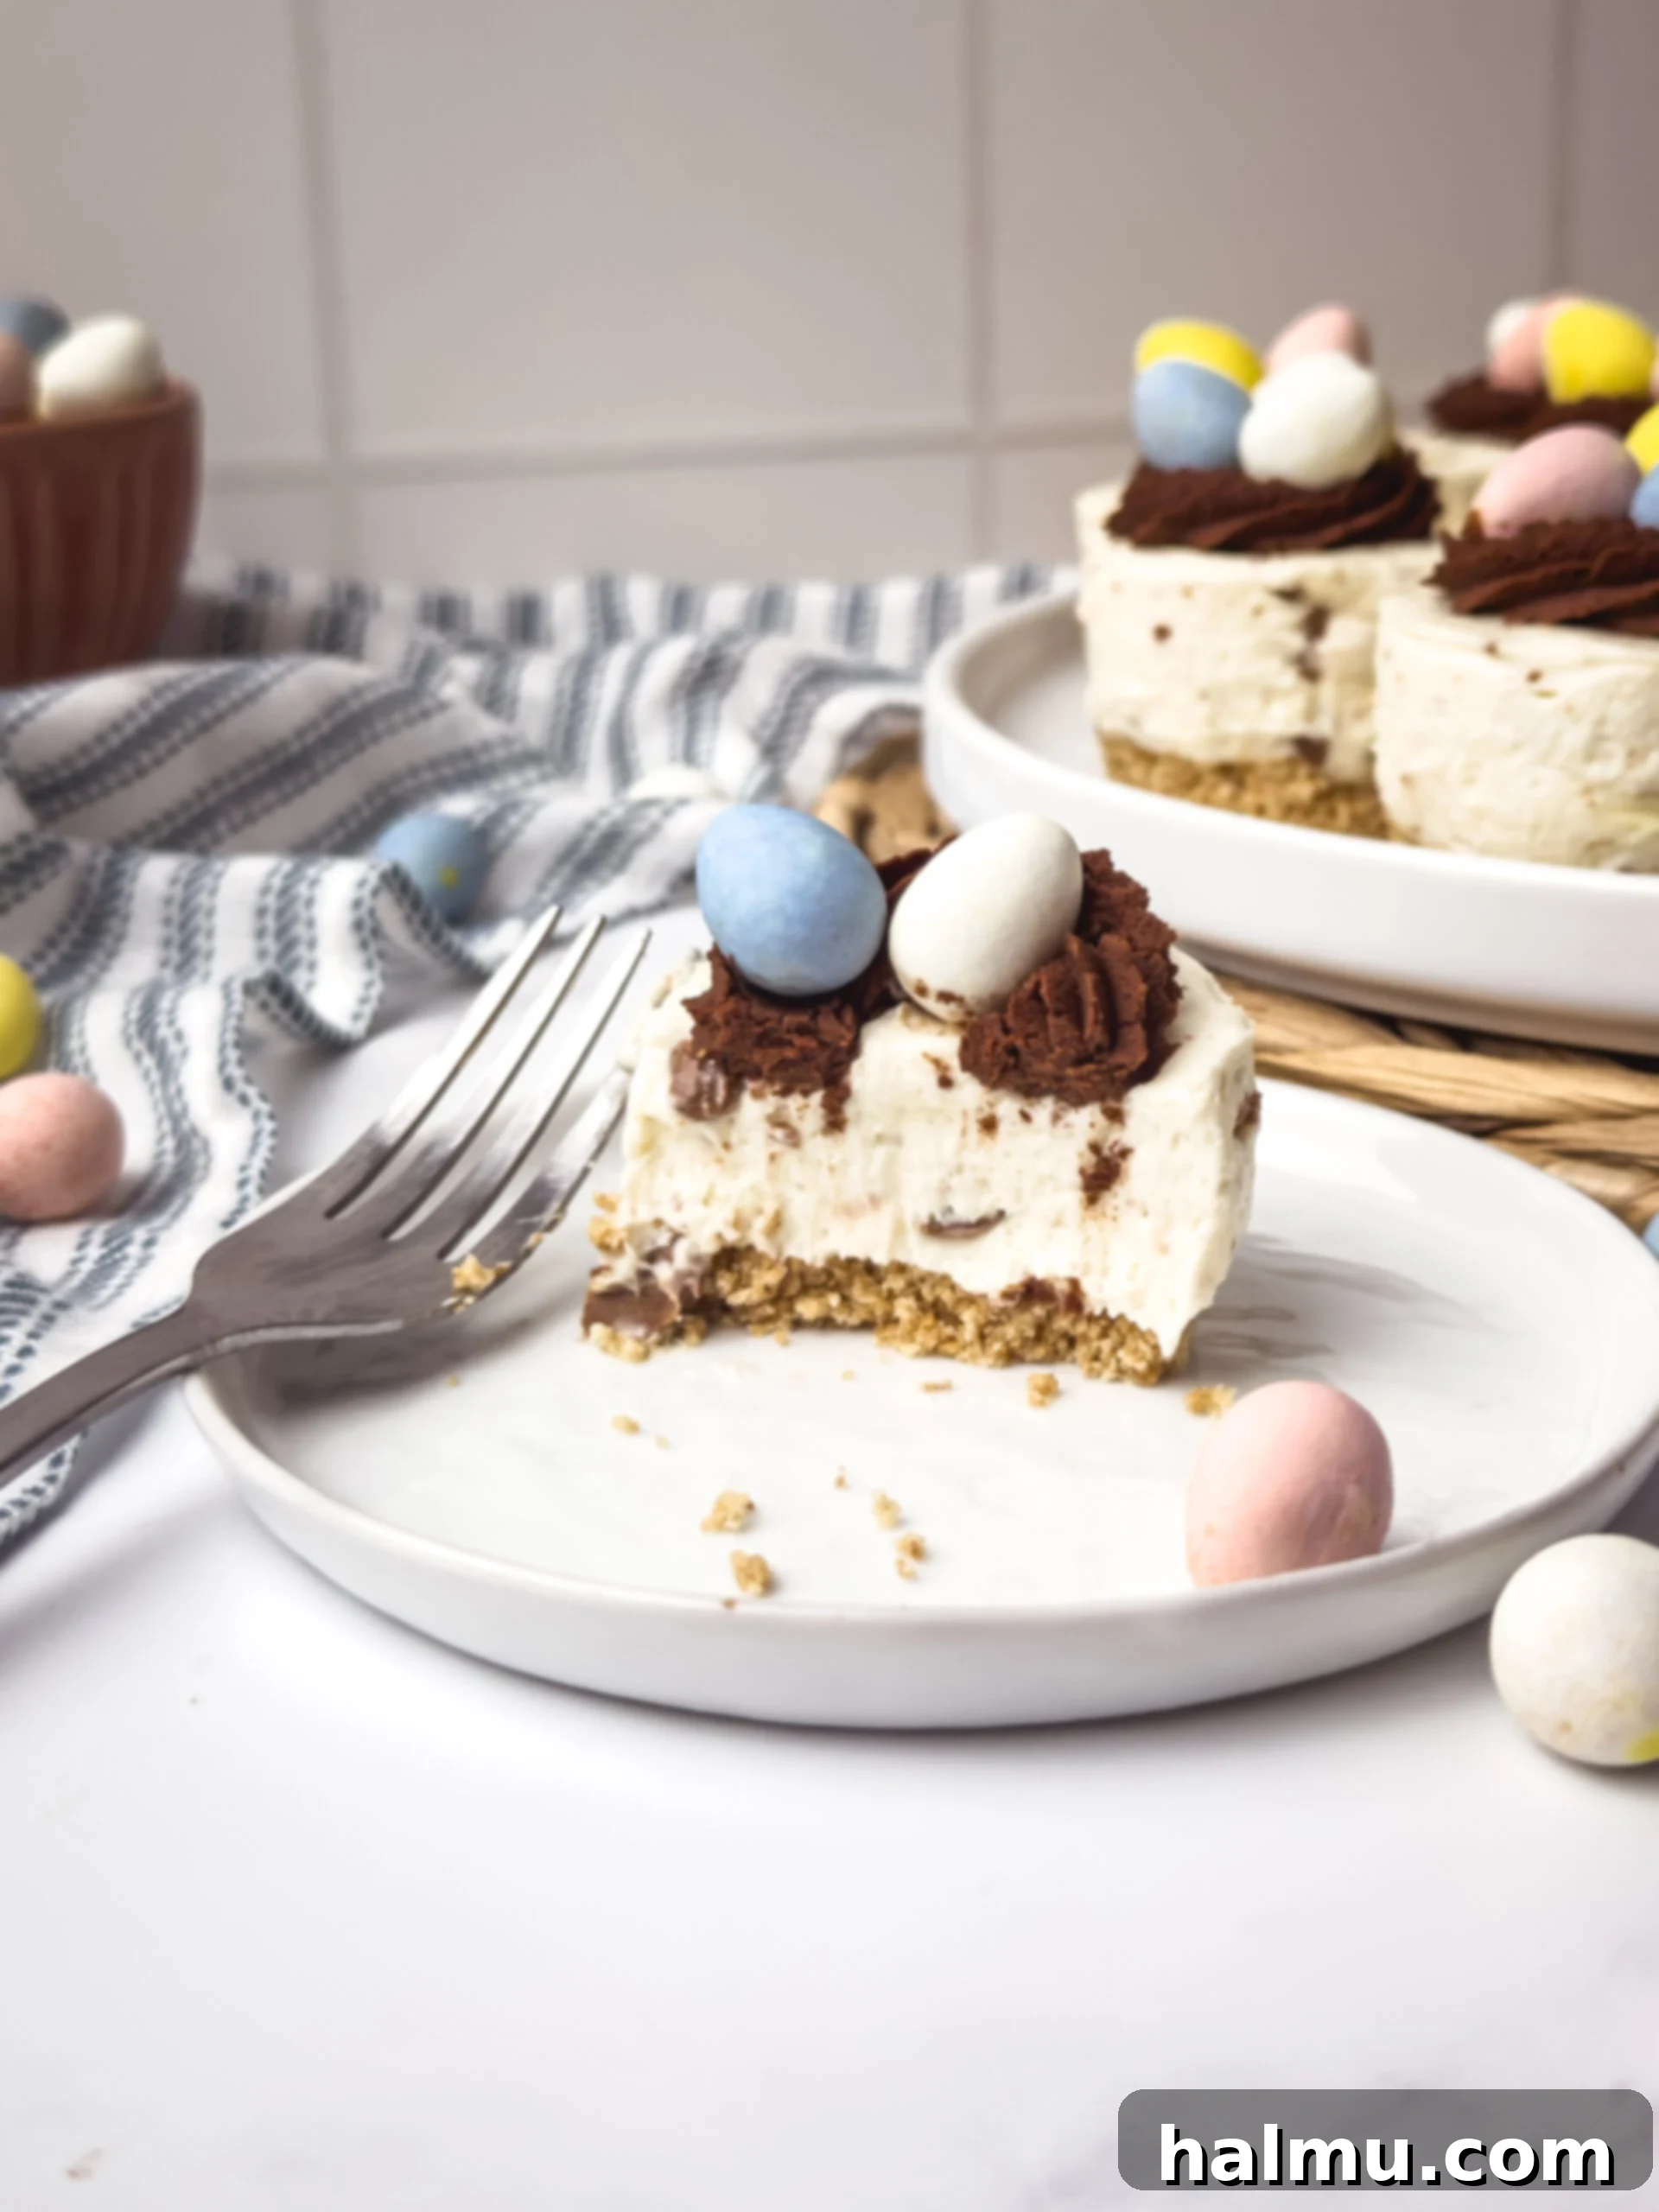
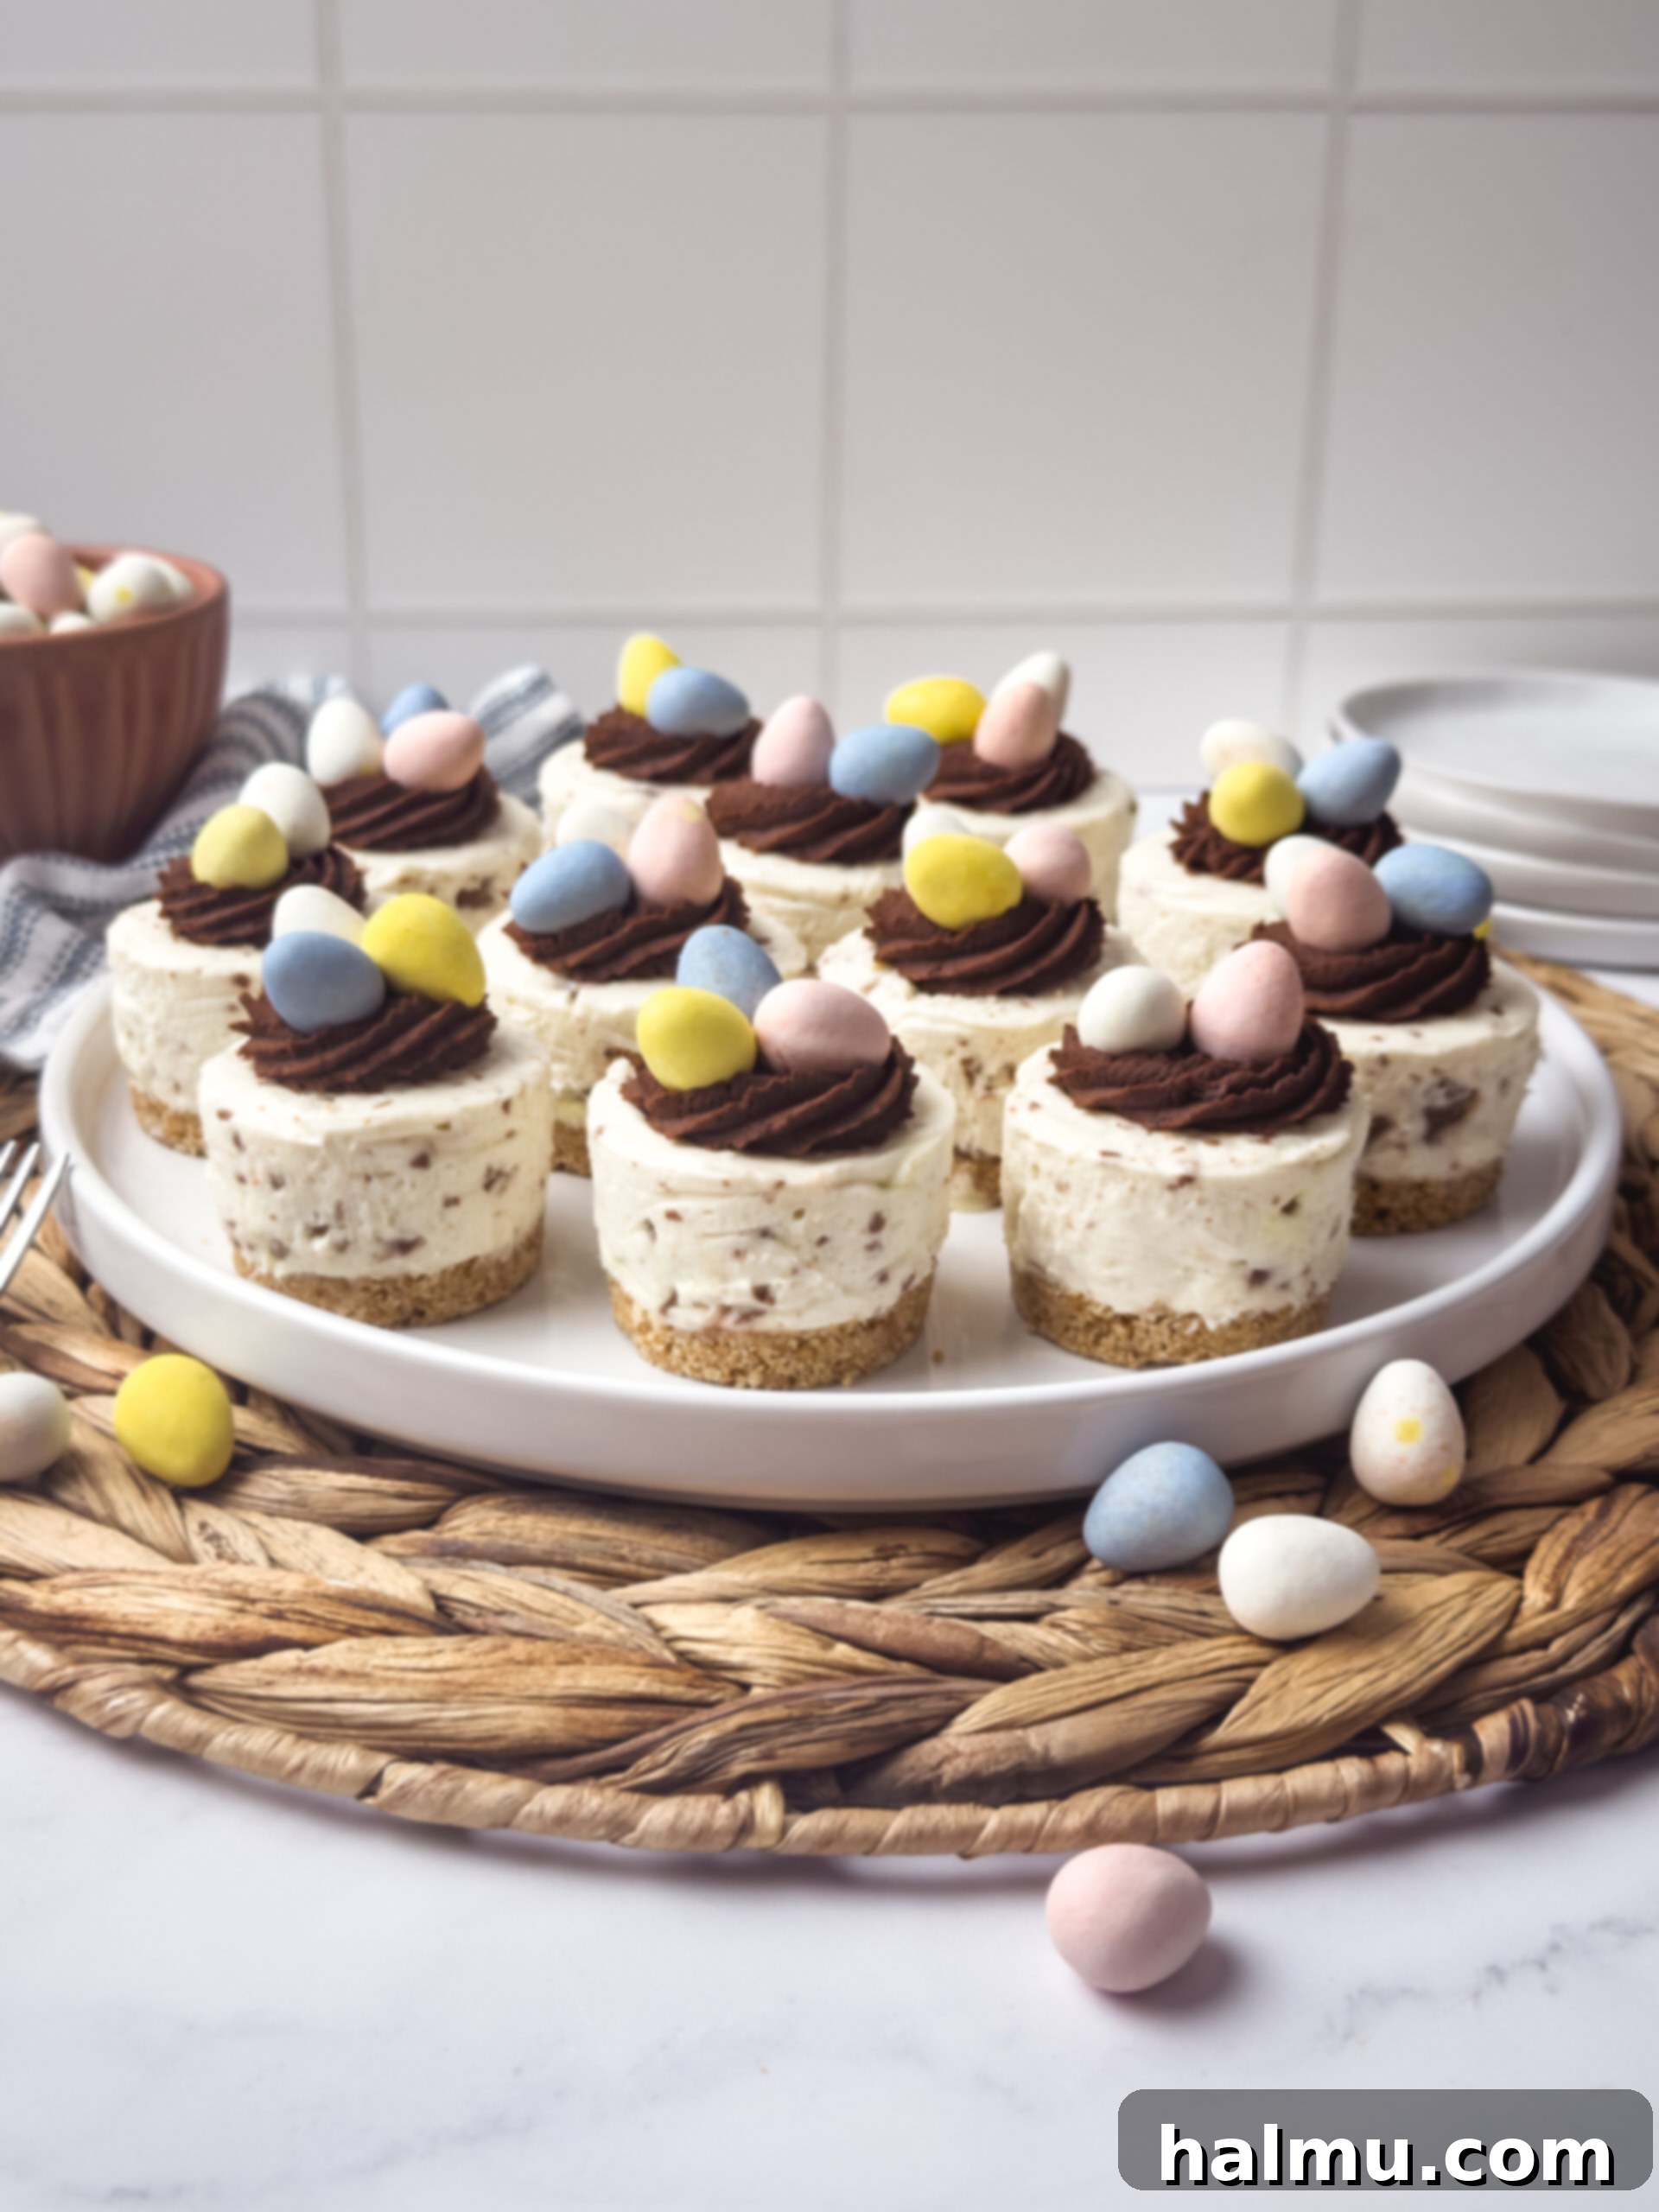
Embrace the vibrant flavors and festive spirit of spring with these utterly irresistible No-Bake Mini Egg Cheesecakes. As the days grow longer and flowers bloom, nothing signals the arrival of the season quite like the sight of colorful, candy-coated chocolate mini eggs. This dessert takes those beloved springtime treats and transforms them into an elegant, yet delightfully easy-to-make, indulgence that’s perfect for Easter gatherings, springtime celebrations, or simply satisfying your sweet tooth. Featuring a buttery, golden graham cracker crust, a velvety smooth and rich cream cheese filling, and generously speckled with delightful bits of crunchy chocolate mini eggs, each bite is a symphony of textures and flavors.
What makes these Mini Egg Cheesecakes truly exceptional, beyond their enchanting taste and charming appearance, is their incredible simplicity. This no-bake recipe liberates you from the oven, eliminating the need for a water bath, and surprisingly, requires no eggs in the filling – only the delectable chocolate ones! This makes it a stress-free option for both novice bakers and seasoned dessert enthusiasts looking for a quick and impressive treat. Get ready to create a dessert that will not only wow your guests with its professional look but also win hearts with its pure, unadulterated deliciousness.
Key Ingredients for Your No-Bake Mini Egg Cheesecakes
Crafting the perfect no-bake cheesecake relies on selecting high-quality ingredients. Here’s a detailed guide to ensure your Mini Egg Cheesecakes turn out flawlessly:
- Graham Crackers: The foundation of any great cheesecake is its crust. For this recipe, classic graham crackers provide that quintessential sweet and slightly spiced base. You have the flexibility to either grind whole graham cracker sheets into fine crumbs using a food processor or opt for the convenient shortcut of pre-made graham cracker crumbs. Ensure they are finely ground to create a compact, stable crust.
- Unsalted Butter: Melted butter is crucial for binding the graham cracker crumbs together, forming a sturdy and flavorful crust. Using unsalted butter allows you to control the overall saltiness of your dessert, though a pinch of salt can be added to the crust if desired to enhance the flavor.
- Full-Fat Cream Cheese: This is the star of your creamy filling. Always use blocks of full-fat cream cheese, such as Philadelphia brand, and ensure it’s at room temperature before mixing. Full-fat cream cheese provides the necessary richness and structure for a firm, luscious cheesecake. Avoid using whipped or low-fat cream cheese varieties that come in tubs, as they contain more water and will not set properly, resulting in a runny filling.
- Powdered Sugar (Confectioners’ Sugar): Powdered sugar not only sweetens the cheesecake filling but also contributes to its smooth, silky texture. Its fine consistency ensures that it dissolves completely, leaving no grainy residue, which is vital for a truly creamy no-bake cheesecake.
- Heavy Cream (Heavy Whipping Cream): To achieve that wonderfully light yet firm cheesecake filling, you’ll need heavy cream with a milkfat percentage of 36%-40%. This high fat content is essential for the cream to whip up to stiff peaks, providing the necessary aeration and stability for the no-bake mixture. Regular whipping cream (often 30-35% fat) will likely not whip up stiff enough, leading to a softer, less stable filling. Ensure your heavy cream is very cold before whipping for optimal results.
- Vanilla Extract: A touch of vanilla extract enhances the overall flavor profile of the cheesecake, adding a warm, aromatic depth that complements the cream cheese and chocolate beautifully. Use good quality pure vanilla extract for the best taste.
- Chocolate Mini Eggs: These are the festive heart of our dessert! The classic pastel Cadbury mini eggs are a popular choice due to their delightful crunch and creamy milk chocolate interior. However, any candy-coated milk chocolate mini eggs will work wonderfully. These add not just flavor and texture but also a charming visual appeal.
Step-by-Step Guide to Crafting Perfect No-Bake Mini Egg Cheesecakes
Creating these delightful Mini Egg Cheesecakes is an enjoyable process, and with these detailed steps, you’ll achieve professional-looking results every time.
1. Prepare the Buttery Graham Cracker Crust
The foundation of your mini cheesecakes begins with a flavorful and firm crust. Start by transforming your graham crackers into fine crumbs. You can achieve this using a food processor for speed and consistency: simply add the graham cracker sheets and pulse until they resemble fine sand. Alternatively, for a more hands-on approach, place the crackers in a sturdy zip-top bag and crush them thoroughly with a rolling pin. Once the crumbs are fine, transfer them to a medium bowl and pour in the melted unsalted butter. Mix thoroughly until all the crumbs are moistened and resemble wet sand. This ensures an even and delicious crust.
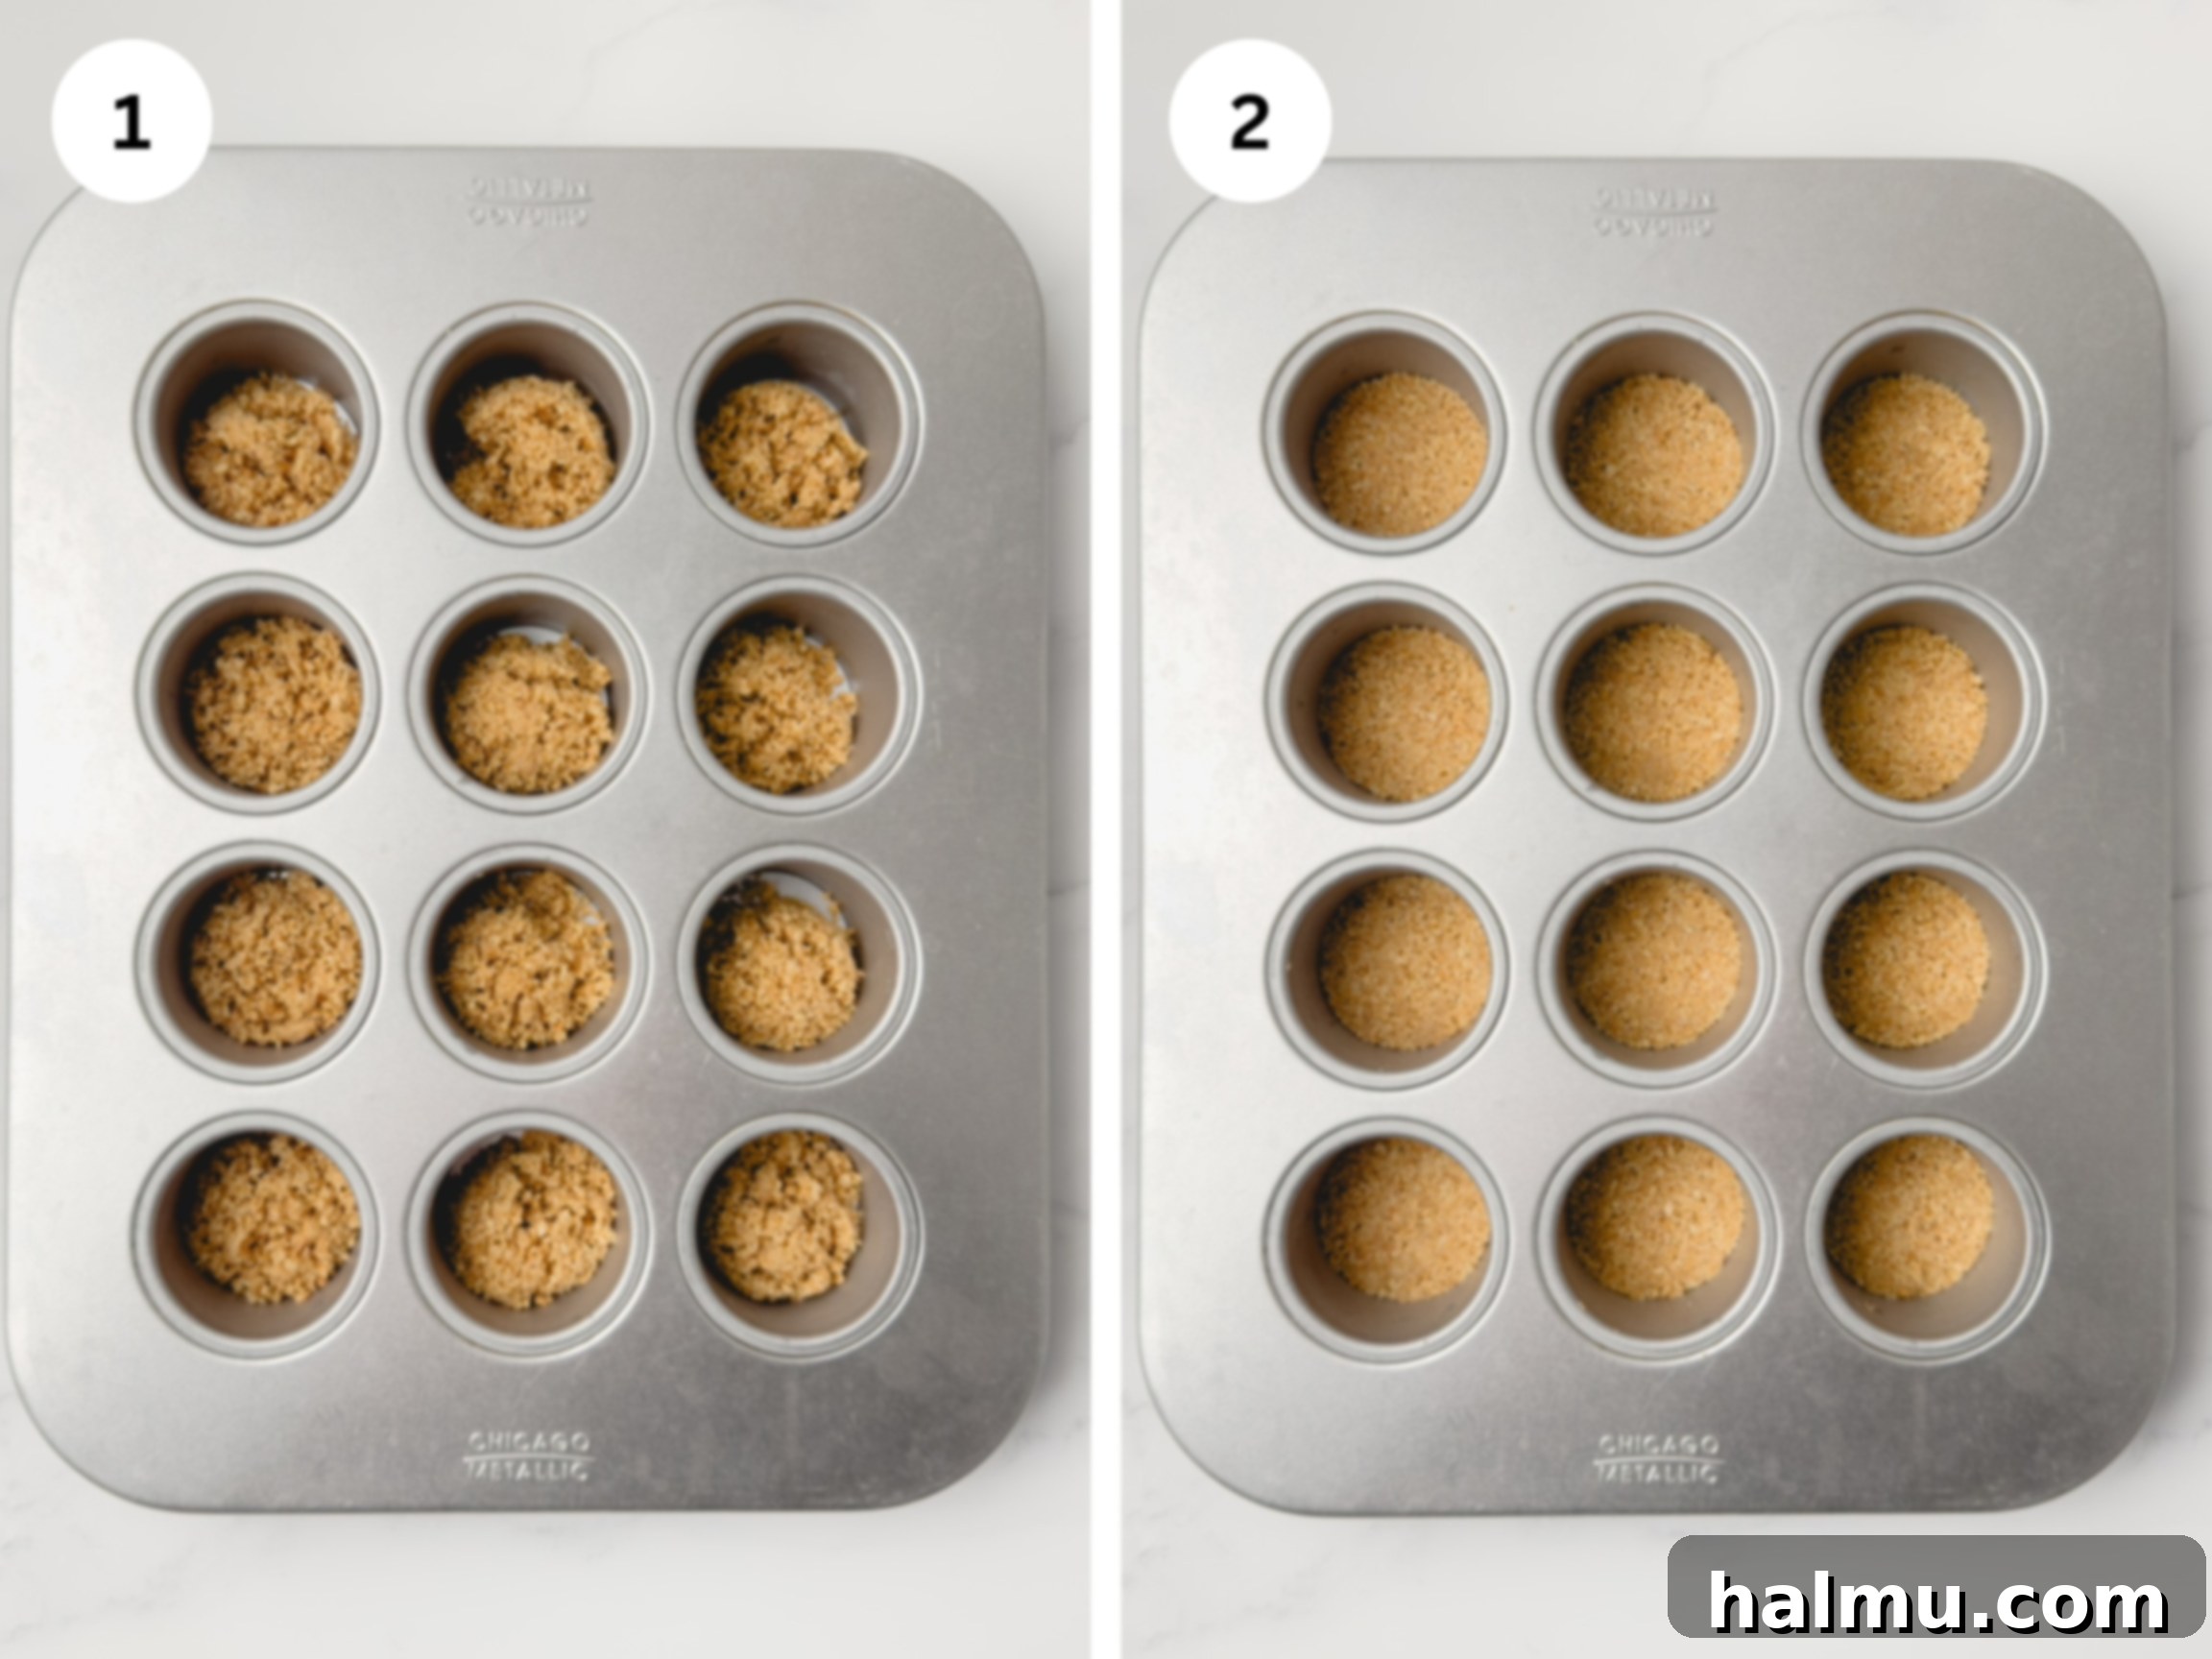
Next, evenly distribute the crumb mixture into the cavities of your mini cheesecake pan. For each cavity, aim for about one level tablespoon of the mixture. The key to a stable crust is firm compaction. Use a tart tamper or the bottom of a small, flat-bottomed glass to press the graham cracker mixture down very firmly into the base of each cavity. This creates a solid, uniform layer that won’t crumble when the cheesecakes are unmolded. Once pressed, place the cheesecake pans in the refrigerator to chill while you prepare the filling; this helps the butter solidify and further firm up the crust.
2. Crush the Chocolate Mini Eggs for the Filling
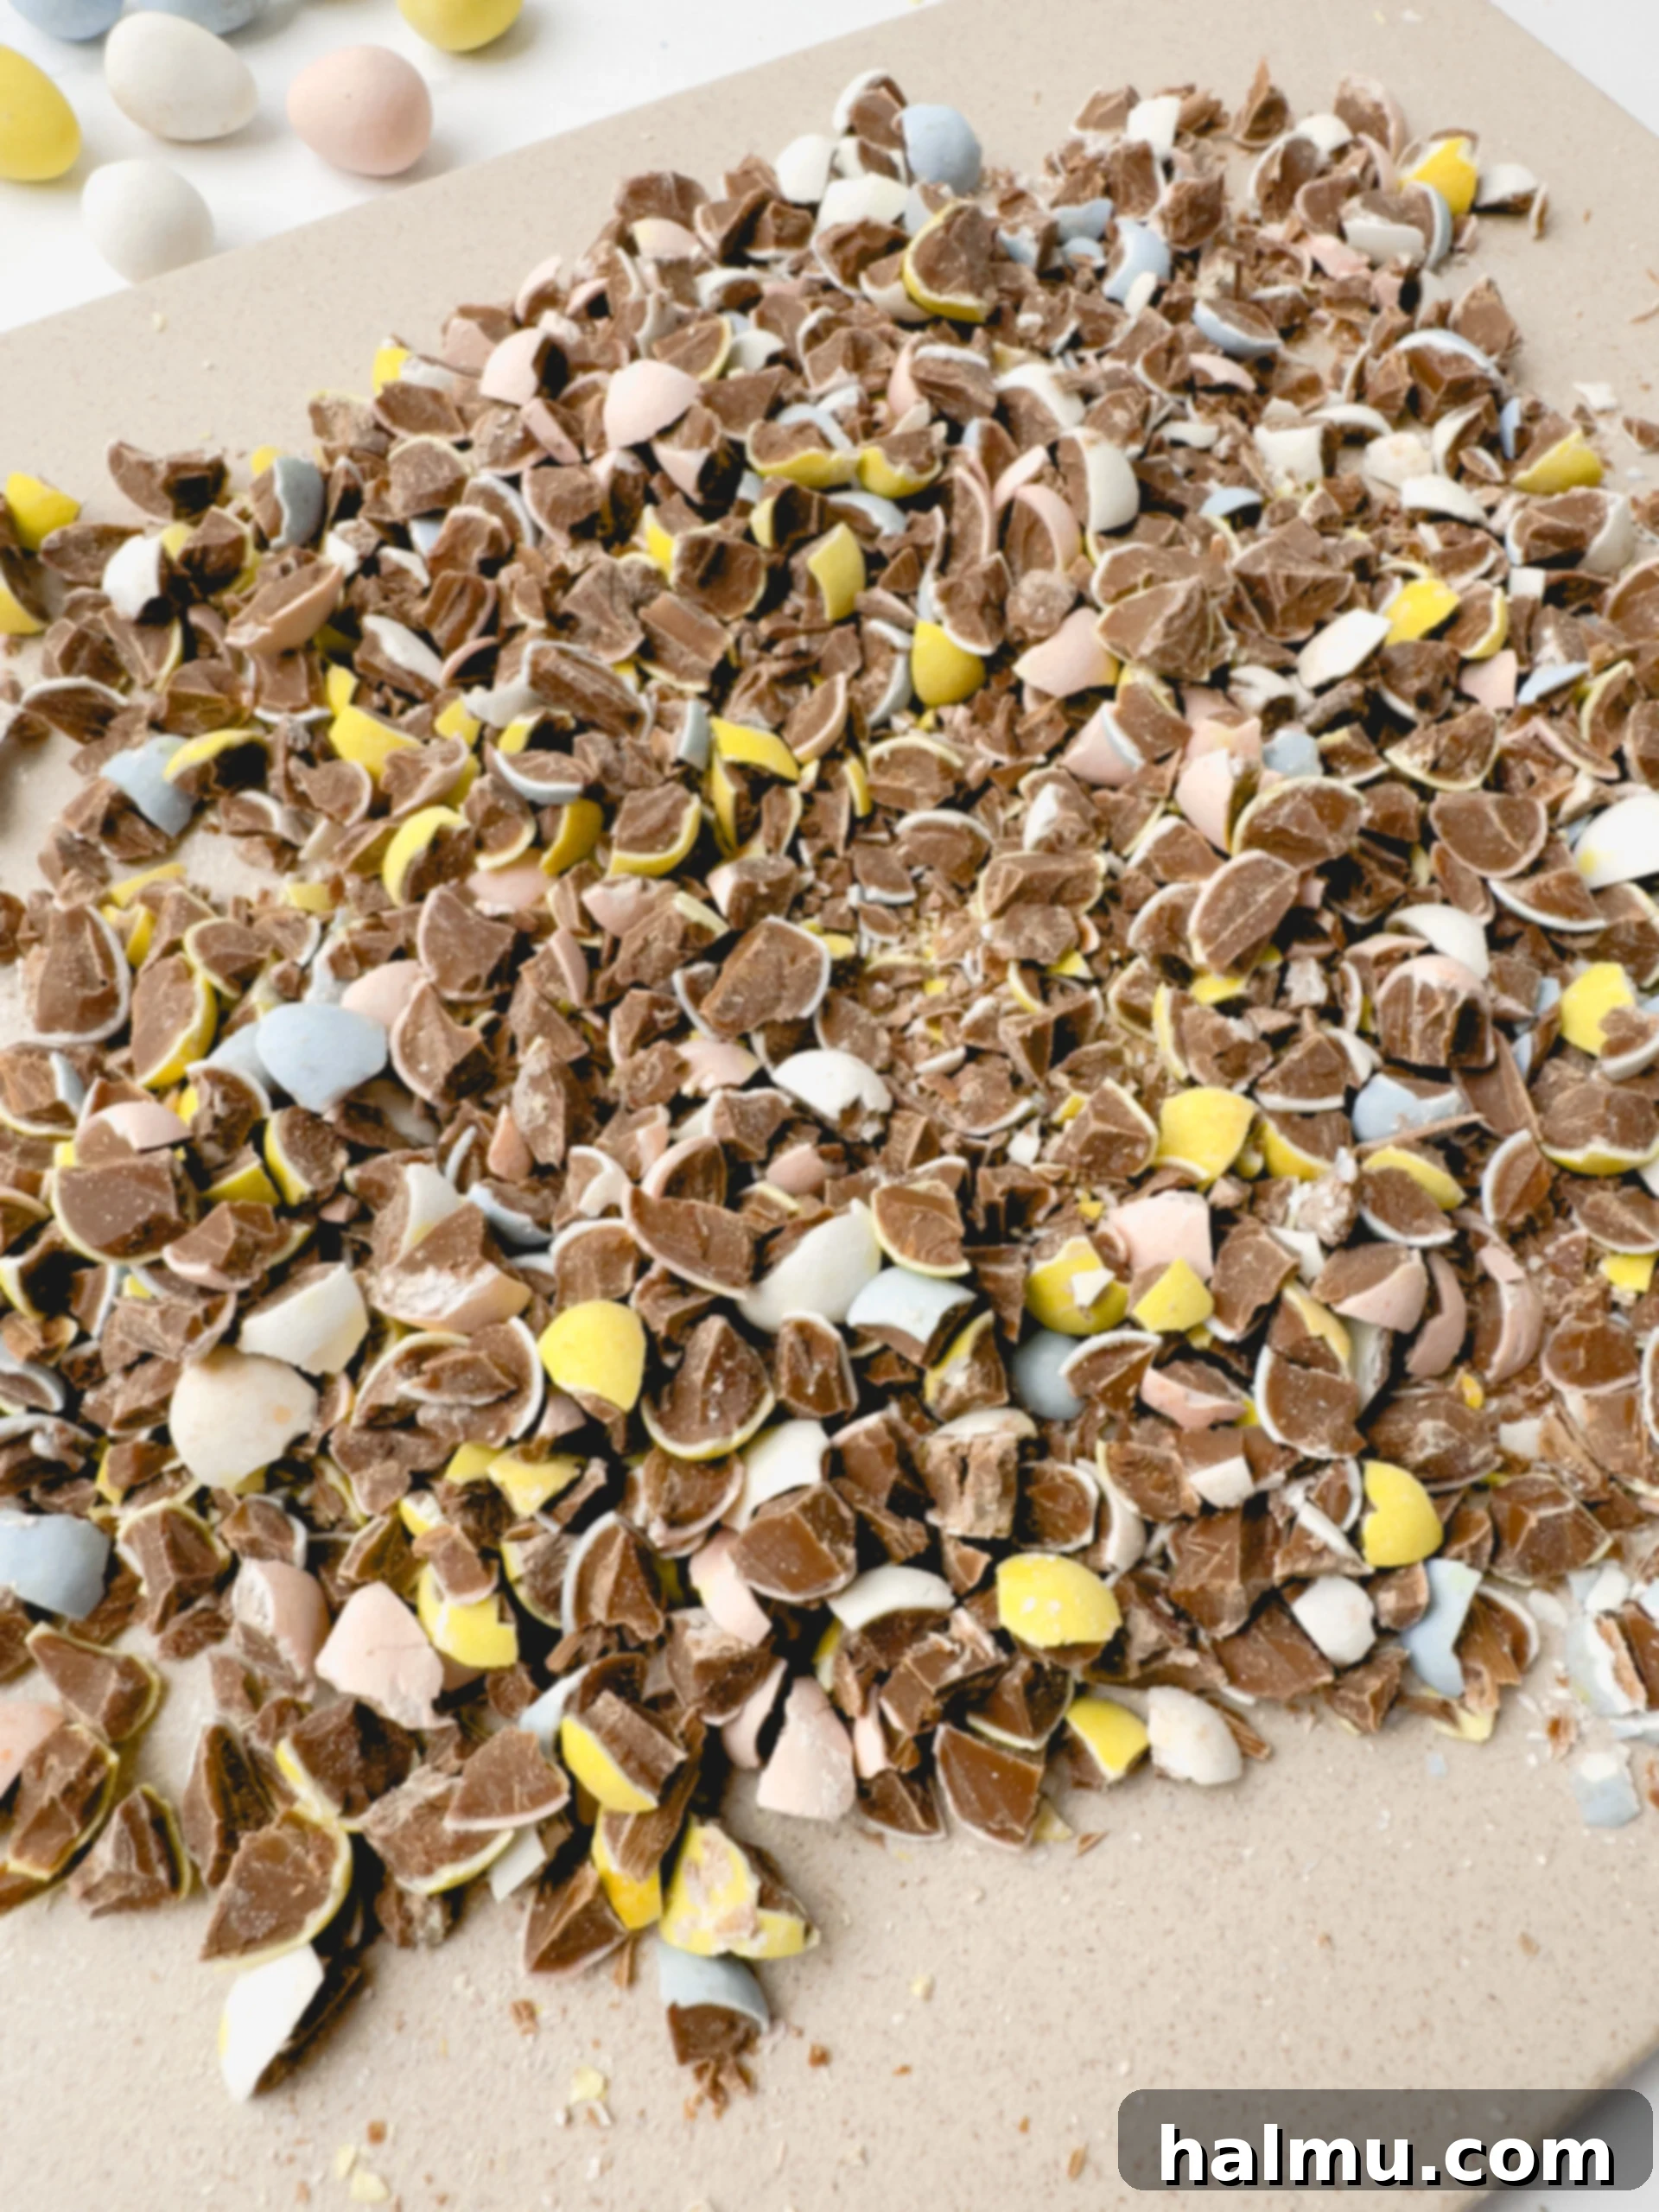
The star of these cheesecakes needs proper preparation. Crushing the chocolate mini eggs adds delightful bursts of chocolate and crunch throughout the creamy filling. Because these candy-coated eggs can be a bit challenging to chop neatly due to their tendency to roll, a two-step approach works best. First, place the mini eggs on a sturdy cutting board. Use the back (blunt side) of a large chef’s knife or a meat mallet to gently crush them. This initial crush helps to break the hard candy shell and flatten the eggs, making them easier to manage. Once crushed, you can then roughly chop them with the sharp edge of the knife to your desired consistency – some larger chunks for texture and smaller pieces for even distribution are ideal. Set the crushed mini eggs aside until they are ready to be folded into the cheesecake mixture.
3. Prepare the Velvety Cheesecake Filling
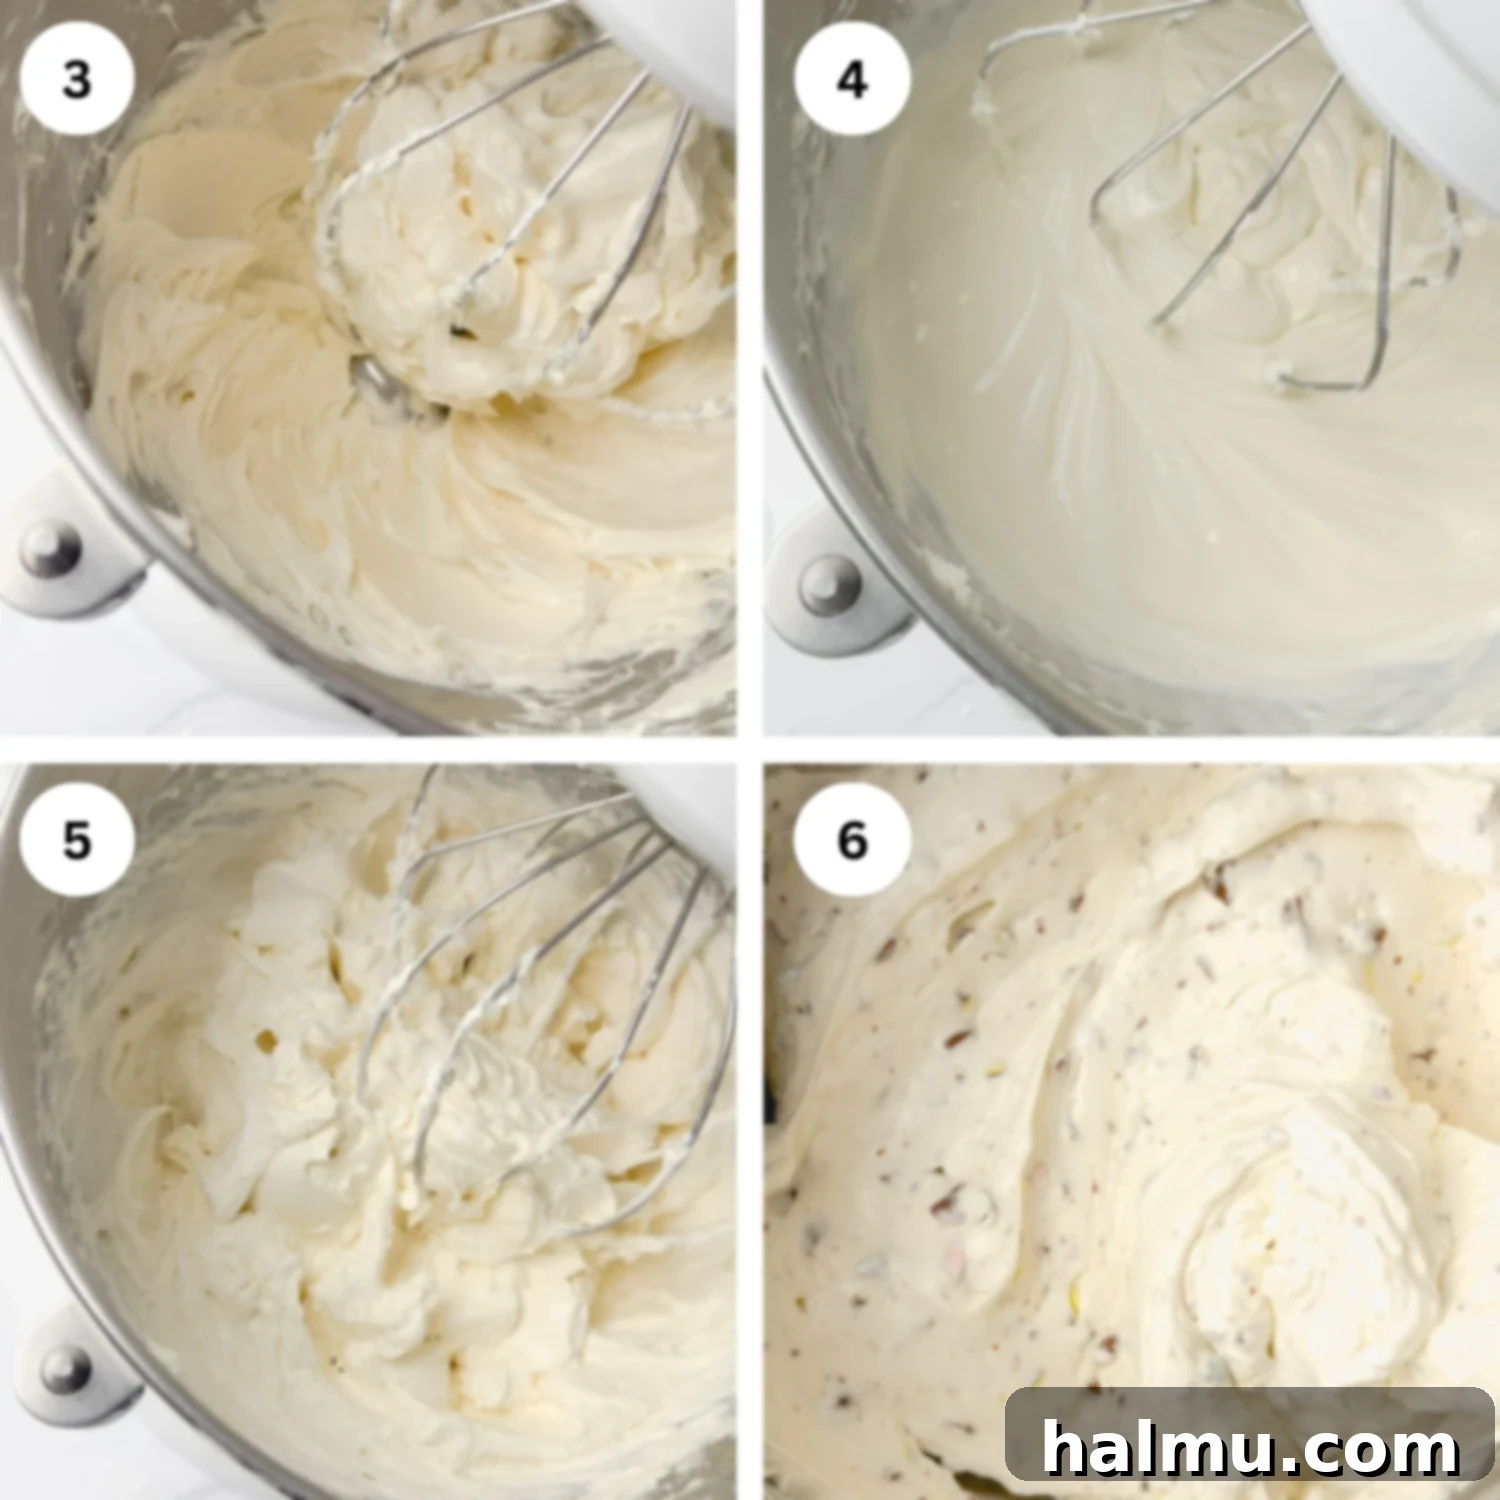
The heart of these no-bake wonders is their incredibly smooth and rich filling. In the bowl of a stand mixer fitted with a whisk attachment (or using a hand-held electric mixer), combine the room-temperature full-fat cream cheese and powdered sugar. Beat these two ingredients together on medium speed until the mixture is light, fluffy, and completely smooth, with no lumps remaining. Scrape down the sides and bottom of the bowl thoroughly with a spatula to ensure everything is well incorporated. Next, mix in the vanilla extract, beating until just combined.
With the mixer running on low speed, slowly and steadily stream in the very cold heavy cream. It’s crucial to add the cream slowly at first to allow it to fully incorporate without splashing. Once all the heavy cream has been added, increase the mixer speed to high. Whip the mixture continuously until it becomes thick, voluminous, and forms stiff peaks. This usually takes about 20-30 seconds, so be careful not to overmix, as this can cause the mixture to become grainy. The stiff peaks indicate that the filling has enough body to hold its shape. Finally, remove the bowl from the mixer and gently fold in the crushed chocolate mini eggs using a spatula. Be careful not to deflate the whipped mixture, just enough to evenly distribute the mini egg pieces.
4. Fill, Set, and Carefully Unmold Your Cheesecakes
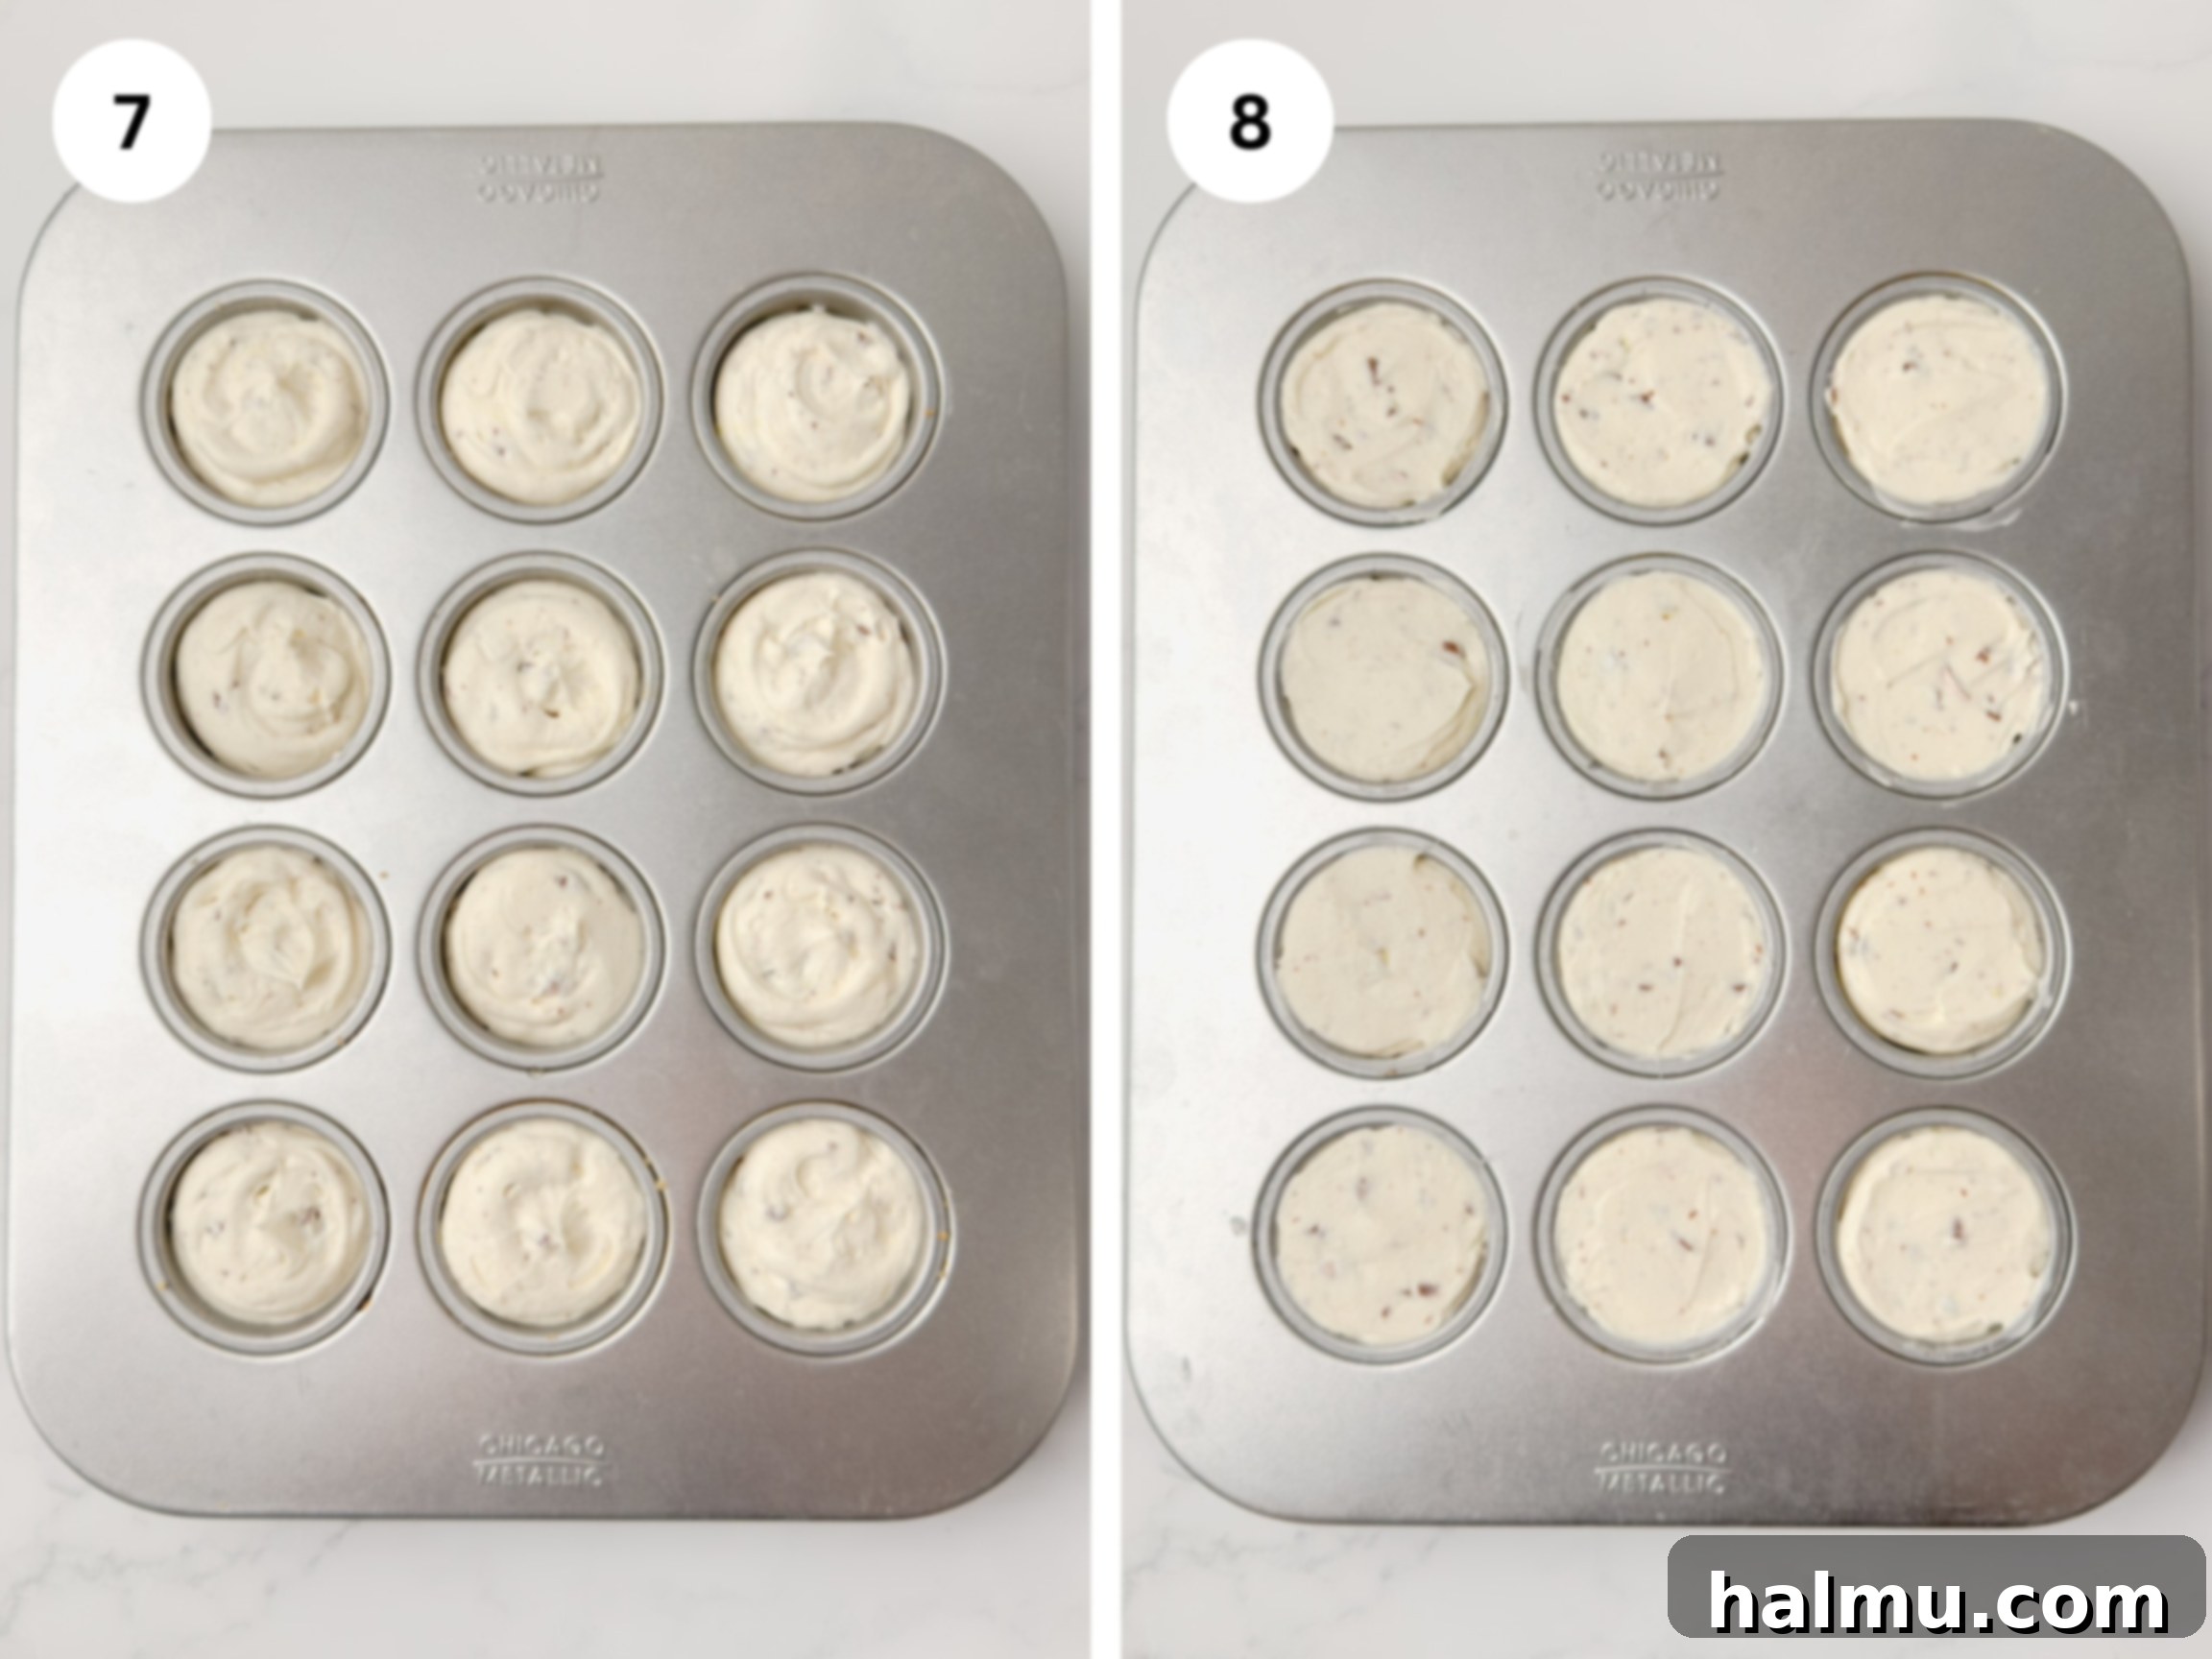
Now it’s time to fill your chilled crusts. For a neat and professional finish, transfer the cheesecake filling into a large piping bag. Pipe the creamy filling into each cavity of the mini cheesecake pan, filling them completely to the top. Once filled, use a small offset spatula or the back of a spoon to gently smooth out the tops of each cheesecake, creating an even surface. Covering the filled pans loosely with plastic wrap is important to prevent any odors from the refrigerator from being absorbed by the cheesecakes. Place the pans in the fridge for a minimum of 8 hours, or ideally overnight. This extended chill time is crucial for the cheesecakes to fully set and firm up, ensuring they hold their shape perfectly when unmolded.
Once thoroughly chilled and set, it’s time for the satisfying step of unmolding. For mini cheesecake pans with removable bases, simply push up on the bottom of each cavity to pop the cheesecake up and out. Gently slide the metal base off the crust. If you encounter any difficulty, a helpful trick is to place the entire pan in the freezer for 30-45 minutes. Then, working one cheesecake at a time, rub a wet, warm towel around the exterior sides of the cheesecake tin for a few seconds. This slight warmth helps release the cheesecake from the pan, making it much easier to push out cleanly.
5. Drizzle with Chocolate Ganache and Decorate
To elevate your Mini Egg Cheesecakes to an even more decadent level, a simple chocolate ganache topping is the perfect finishing touch. In a heat-safe bowl, combine the dark chocolate chips and heavy cream. Microwave the mixture in 20-second increments, stirring well after each interval, until the chocolate is completely melted and the ganache is smooth and glossy. Be careful not to overheat. Allow the ganache to cool and set at room temperature until it reaches a pipeable consistency – it should be thick enough to hold its shape but still soft enough to flow smoothly from a piping bag. If it’s too runny, chill it briefly, stirring occasionally. If it becomes too firm, warm it slightly in the microwave for a few seconds.
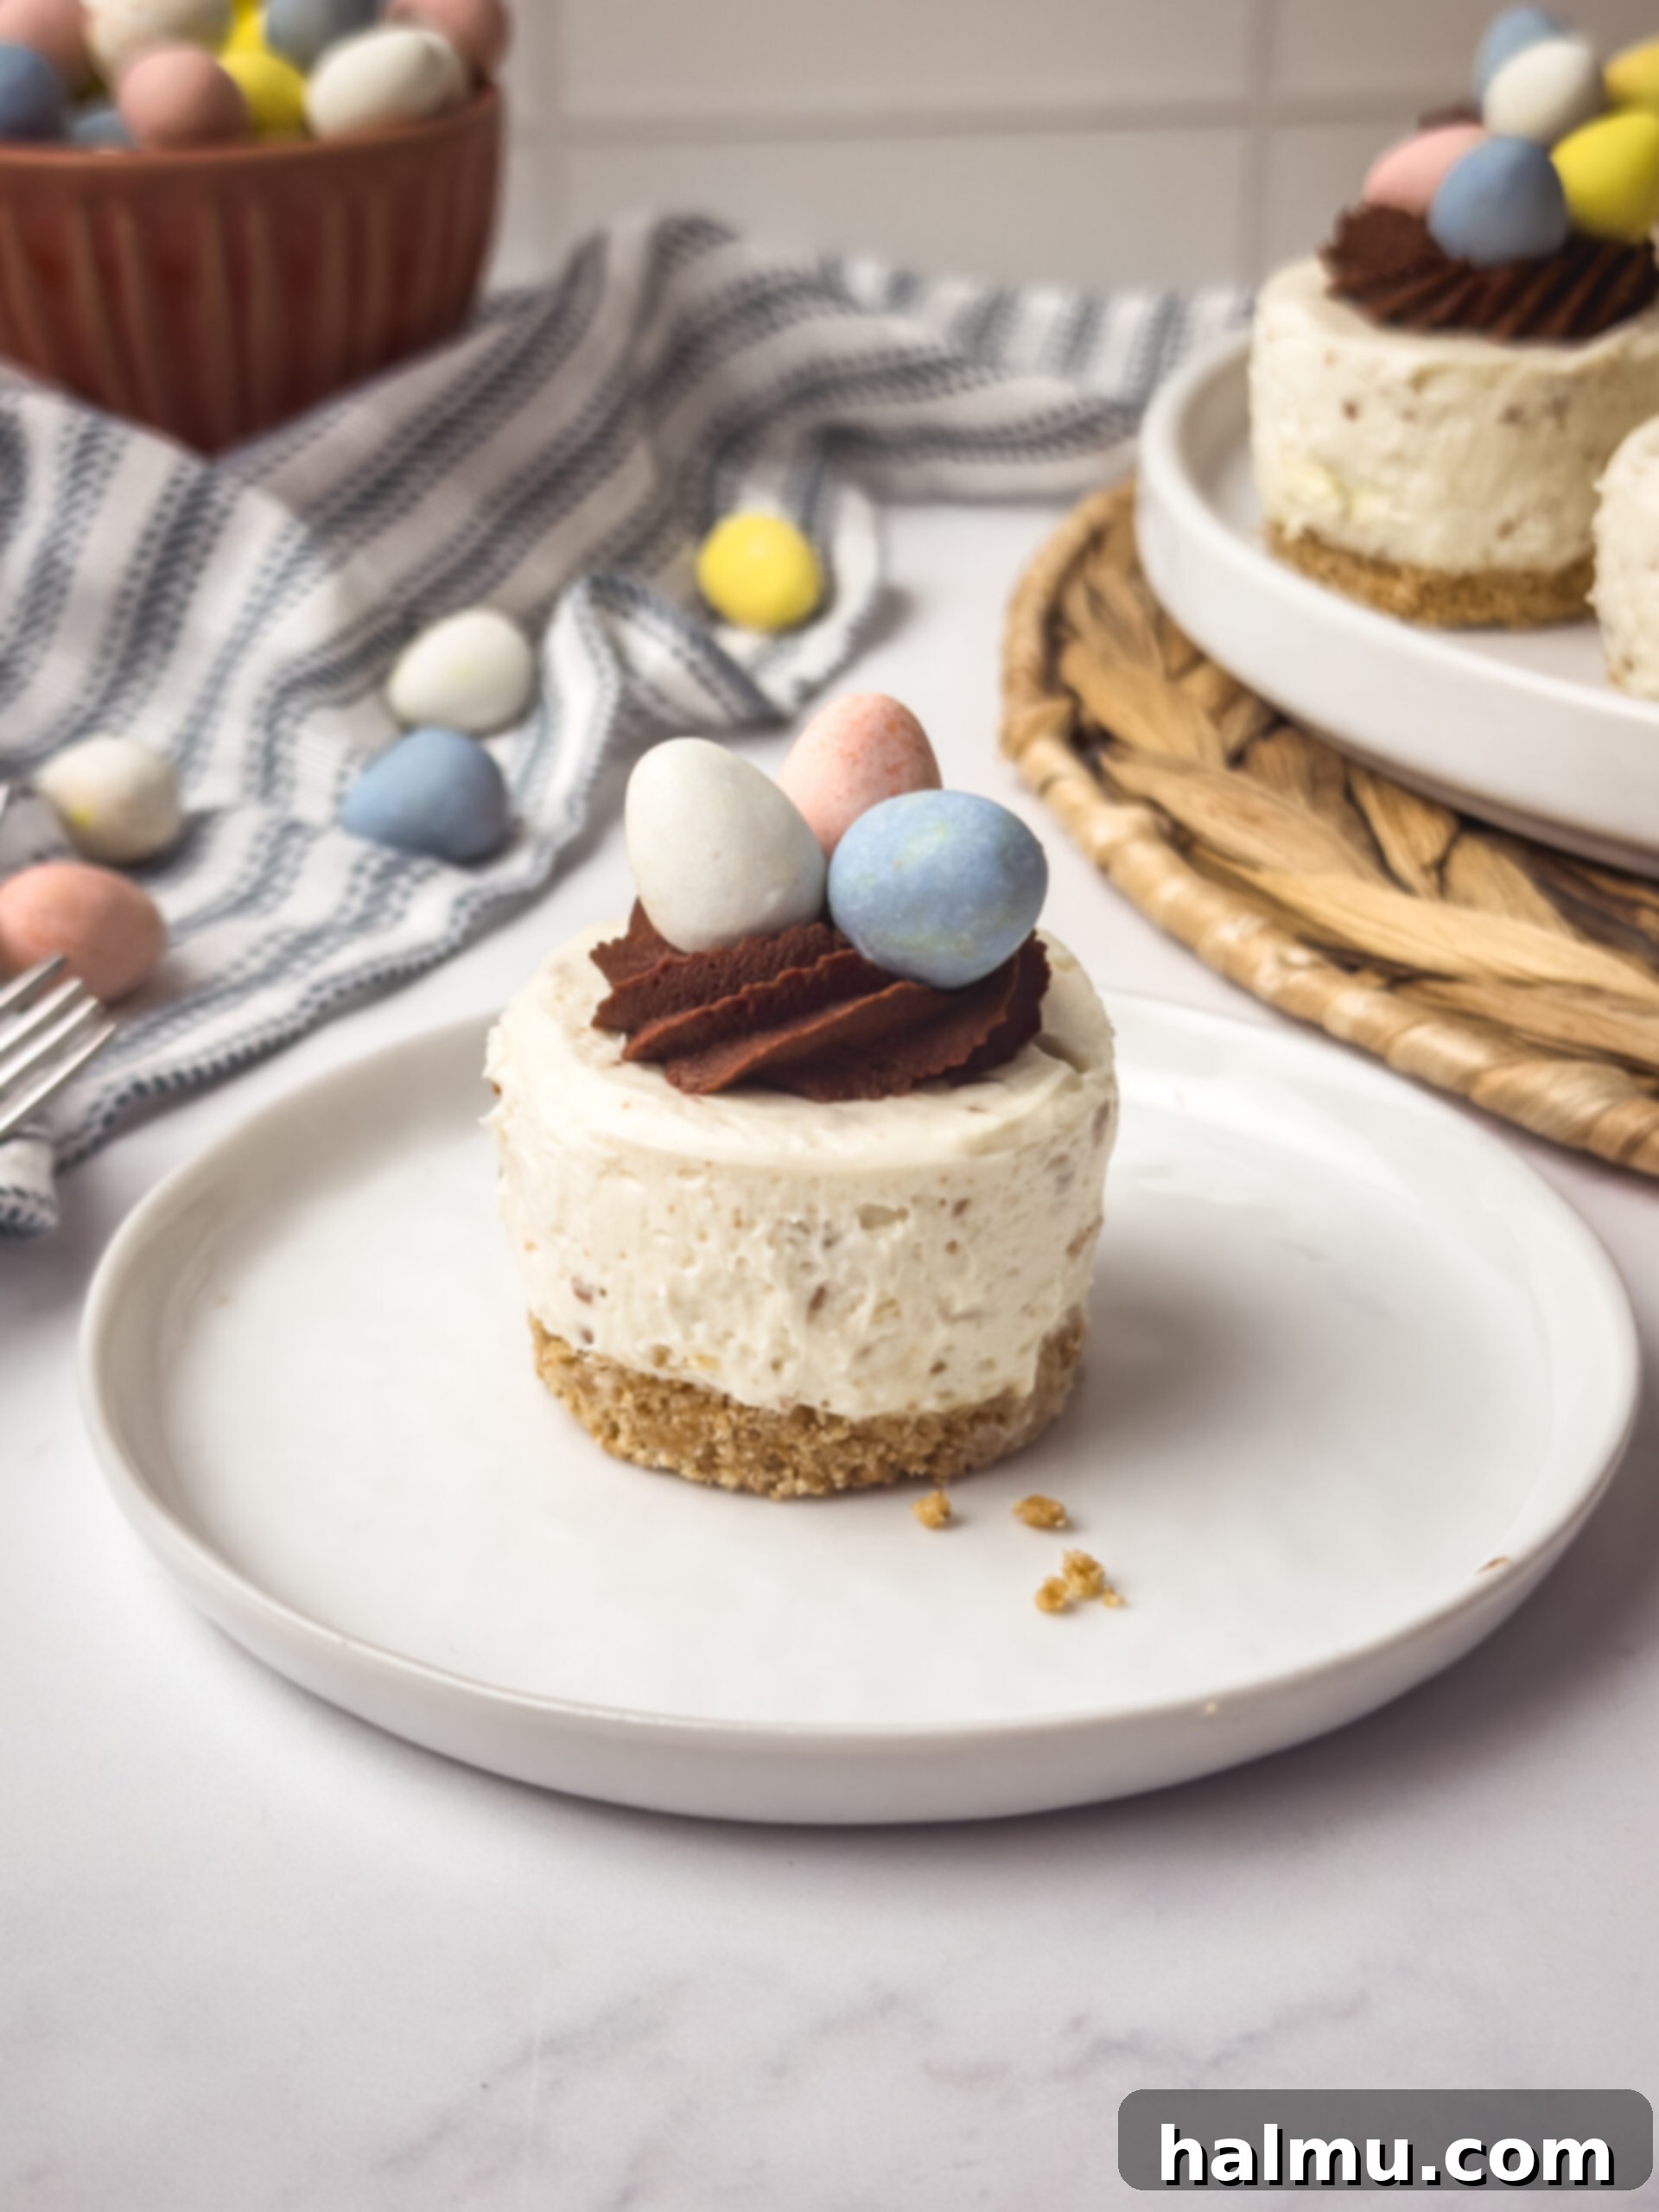
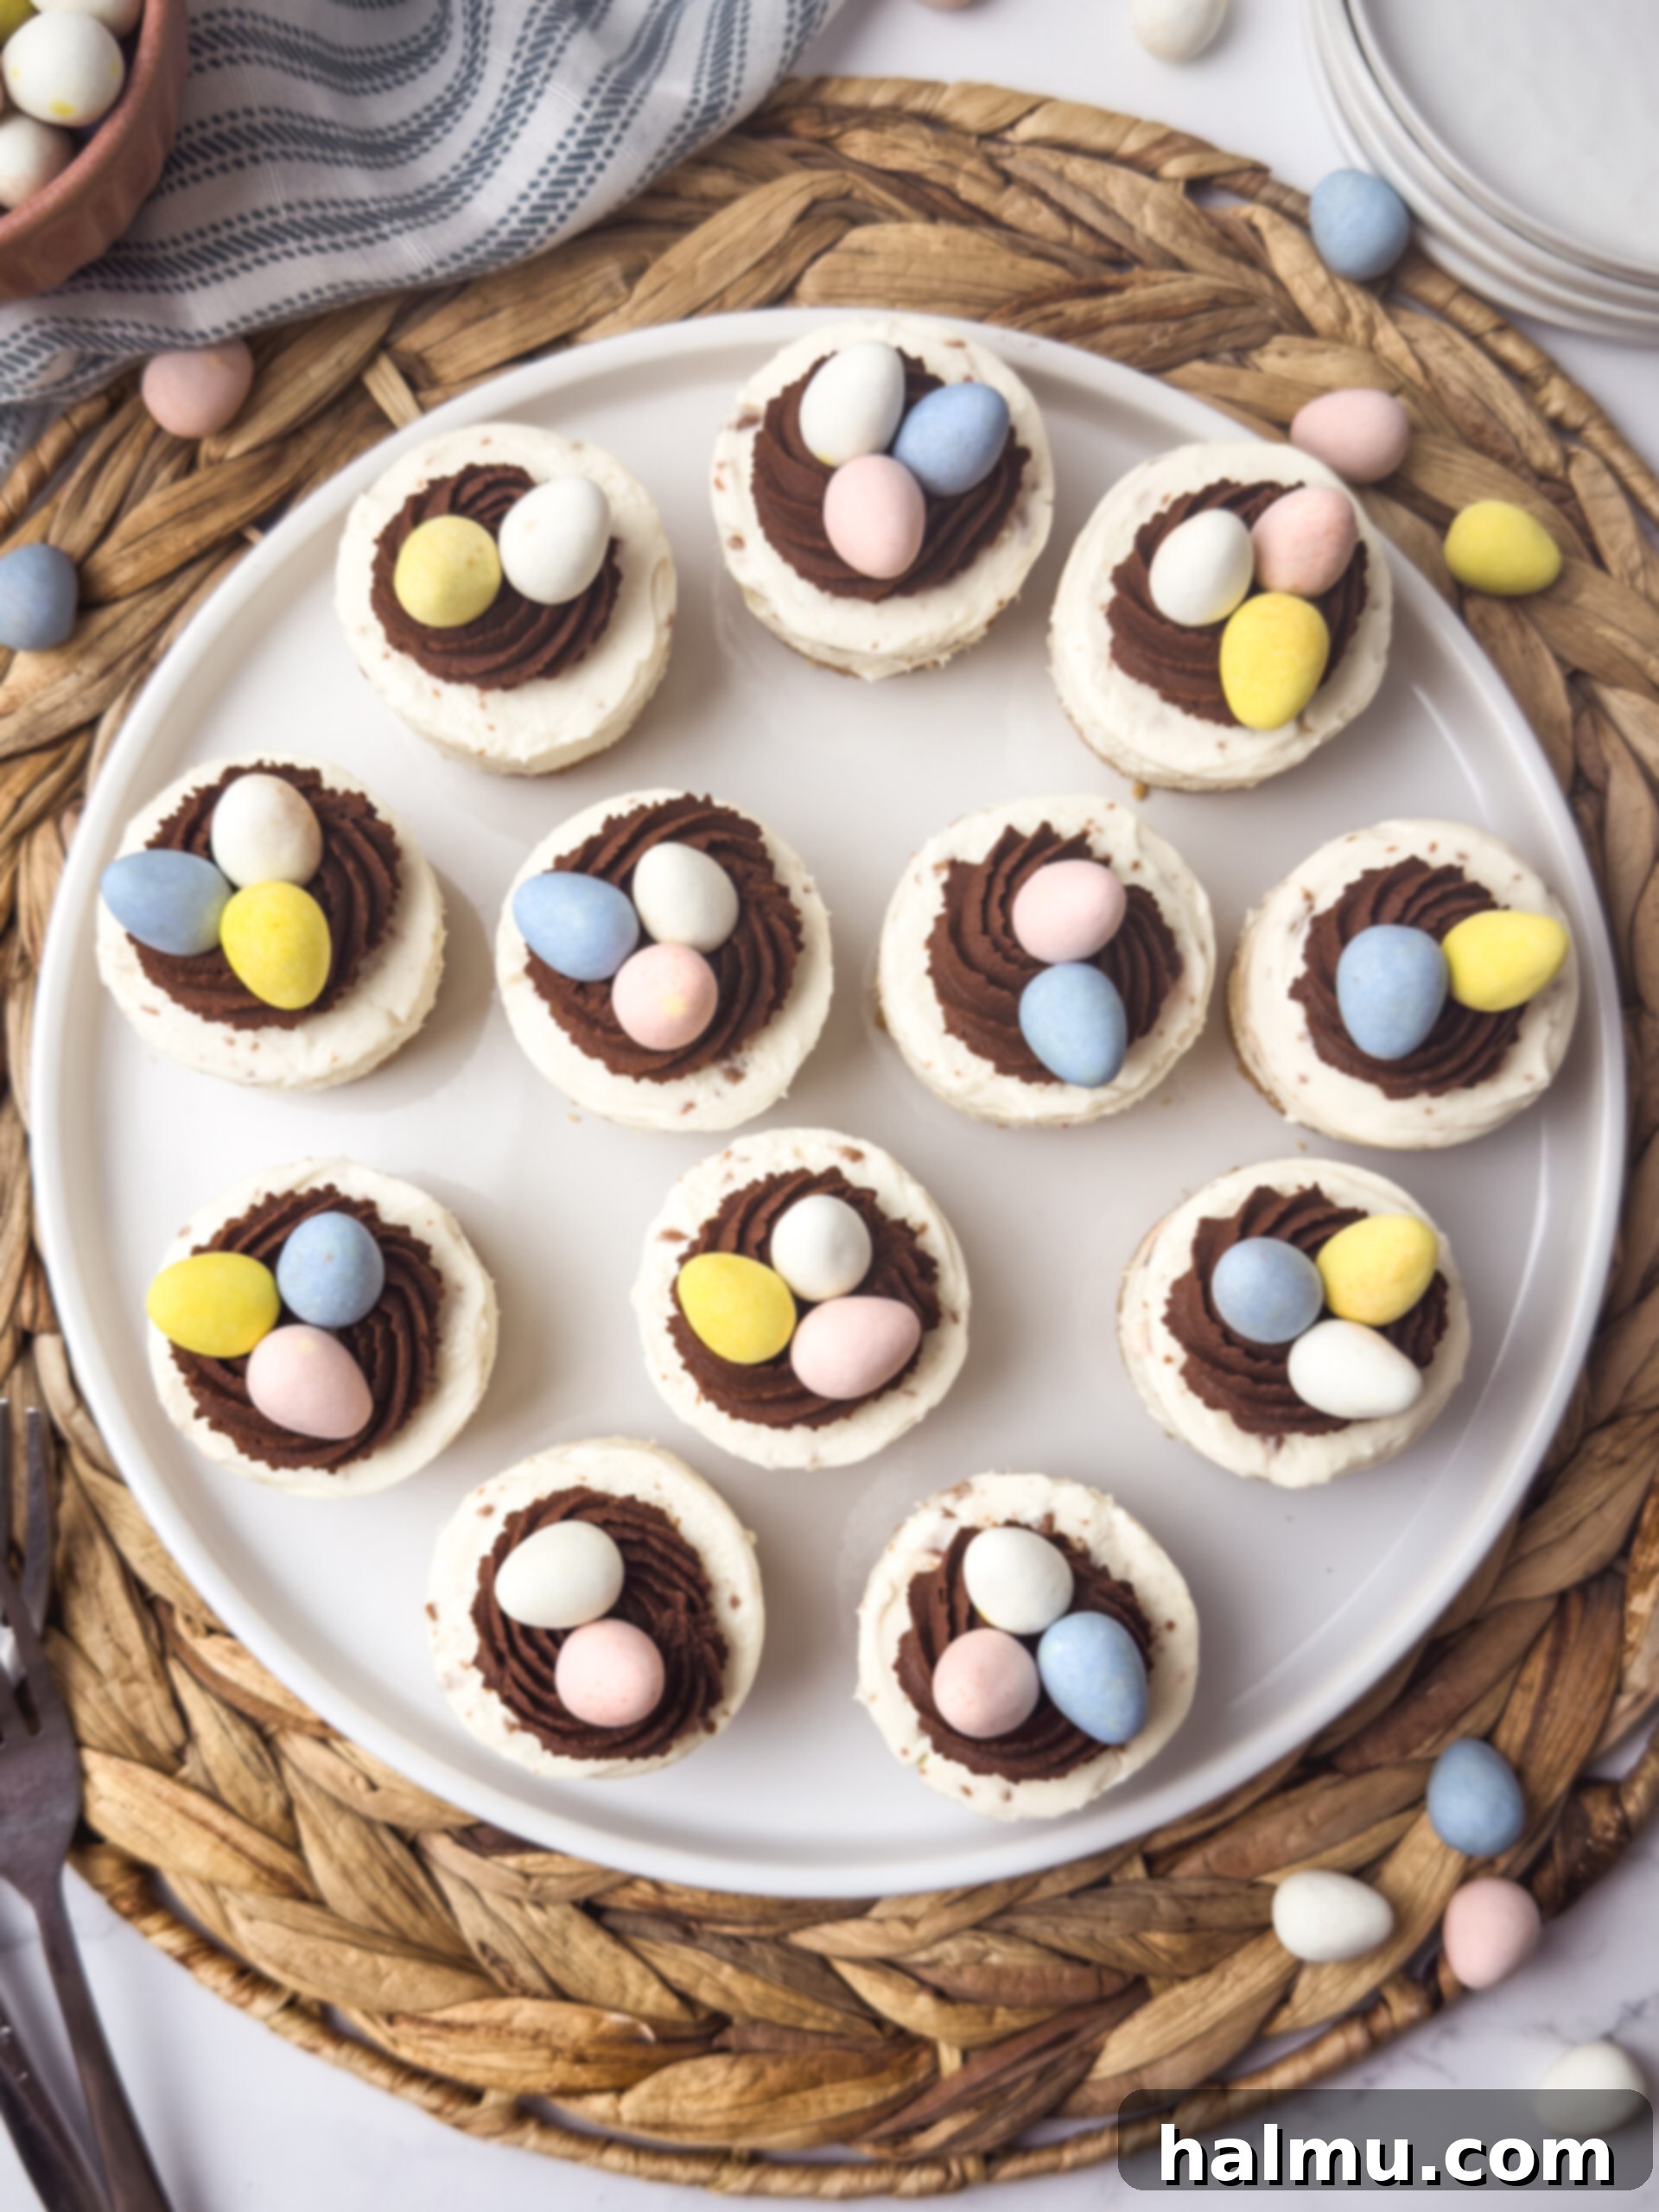
Transfer the slightly firmed ganache to a piping bag fitted with a French-style piping tip (or a star tip for a similar effect). Pipe a beautiful rosette or a small swirl on top of each cheesecake, mimicking the look of a delicate bird’s nest. Finish off your masterpieces by adorning each ganache nest with a few more whole chocolate mini eggs. This final decoration adds an extra touch of festive charm and ensures every cheesecake is a miniature work of art, ready to be served and enjoyed!
Creative Variations for Your Mini Cheesecakes
While the classic Mini Egg Cheesecake is delightful, feel free to experiment with these delicious variations to suit your taste or the occasion:
- Dark Chocolate Indulgence: If you’re a fan of a richer, less sweet chocolate experience, simply swap out the milk chocolate mini eggs for dark chocolate mini eggs. The slightly bitter notes of dark chocolate will create a more sophisticated flavor profile.
- Year-Round Chocolate Chips: Don’t limit these delightful treats to just spring! For a version you can enjoy any time of the year, substitute the mini eggs with mini chocolate chips. Milk, semi-sweet, or even white chocolate chips would be fantastic.
- Extra Chocolatey Crust: Amp up the chocolate factor by using crushed Oreo cookies (or similar chocolate sandwich cookies) instead of graham crackers for the crust. This creates a dark, rich chocolate base that pairs perfectly with the creamy filling.
- Cookie Butter Bliss: Explore other no-bake cheesecake varieties! Try a Mini Biscoff Cheesecake for a spiced cookie butter twist, or stick with another classic favorite like Mini Oreo Cheesecakes. The possibilities are endless!
- Fruit Infusion: For a fresh, tangy contrast, consider adding a thin layer of fruit curd (like lemon or raspberry) on top of the cheesecake filling before it sets, or mix finely chopped fresh berries into the cream cheese filling.
- Nutty Crunch: Add finely chopped toasted nuts, such as pecans or walnuts, to the graham cracker crust mixture for an added layer of flavor and crunch.
Recommended Baking Tools
Frequently Asked Questions About Mini Egg Cheesecakes
What is the best way to store these Mini Egg Cheesecakes?
For optimal freshness and flavor, store your Mini Egg Cheesecakes in an airtight container in the refrigerator for up to 3 days. To maintain the crispness and vibrant color of the candy-coated mini eggs, I highly recommend waiting to add the ganache and additional mini eggs on top until just before you plan to serve them. The candy coating on the mini eggs can sometimes melt or become soft when exposed to the moisture of the fridge for extended periods, affecting both their texture and appearance.
Can mini cheesecakes be frozen?
Absolutely! These no-bake mini cheesecakes freeze exceptionally well, making them a fantastic make-ahead dessert option. To freeze, place the unwrapped, un-garnished cheesecakes on a baking sheet and freeze until solid (about 1-2 hours). Once firm, transfer them to an airtight freezer-safe container, separating layers with parchment paper to prevent sticking. They can be stored in the freezer for up to 3 months. When you’re ready to enjoy them, simply transfer the frozen cheesecakes to the refrigerator and allow them to thaw for a few hours. Just like with refrigeration, I recommend adding the chocolate ganache and additional mini eggs after they have thawed and are ready for serving.
How do you cleanly remove the mini cheesecakes from the pan?
Achieving a clean release from the pan is key to a beautiful presentation. After the cheesecakes have fully set in the fridge for the recommended time, for an extra measure, place the entire pan in the freezer for about 30-45 minutes. This firms them up even more, making them less likely to stick. Working with one cheesecake at a time, gently rub a wet, warm towel around the exterior sides of the individual cheesecake tin for a few seconds. The warmth helps to slightly melt the butter in the crust and release the edges. Then, push up on the removable base to cleanly pop the cheesecake out. If you’re still having trouble, a thin knife or spatula can be run carefully around the edges before pushing.
What can I use if I don’t have a mini cheesecake pan with removable bases?
No special pan? No problem! There are several excellent alternatives. A standard cupcake or muffin pan will work perfectly. Simply line each cup with paper cupcake liners. While this method might yield slightly fewer but larger cheesecakes, the liners ensure incredibly easy removal. For an even simpler solution that requires no unmolding at all, consider layering the graham cracker crust and cheesecake filling in individual glass cups, ramekins, or small mason jars. These can be served directly from the containers, making for an elegant and fuss-free presentation, especially great for parties.
Can this recipe be made into one large cheesecake?
Yes, this versatile recipe can certainly be adapted to make one large no-bake cheesecake! If you prefer a single showstopping dessert over individual minis, simply press the graham cracker crust mixture into a large 9-inch or 10-inch springform pan. Then, add the entire cheesecake filling to the crust, smooth the top, and follow the remaining instructions for chilling. Ensure it chills for at least 8-12 hours, or overnight, to set completely before removing the springform collar and decorating. The generous size will be perfect for serving a crowd.

Pro Baking Tip: Precision with a Kitchen Scale!
For the most consistent and successful baking results, I highly recommend using a kitchen scale to weigh your ingredients instead of relying on traditional measuring cups. Weighing ingredients is significantly more accurate, which leads to more predictable outcomes for your recipes and a higher success rate every time you bake. Plus, it often means fewer dishes to wash, making cleanup a breeze! I provide gram measurements in all my recipes because of this precision, and this is the scale I personally love to use.
More Delightful Easter Dessert Recipes
Looking for more sweet treats to celebrate spring and Easter? Explore these other fantastic recipes that are sure to impress:
- Bright & Tangy Lemon Mascarpone Tart
- Fluffy & Tropical Coconut Layer Cake
- Moist Carrot Snack Cake with Brown Butter Cream Cheese Frosting
- Chewy Mini Egg Oat Cookies
- Elegant Lemon Brulee Bars
- Delicate Chantilly Crepe Cake
We hope you enjoy making and sharing these Mini Egg Cheesecakes as much as we do! If you whip up this recipe and fall in love with it, please be sure to leave a comment and a star rating below. Your feedback helps other bakers discover and enjoy these wonderful treats. Happy baking!
Mini Egg Cheesecakes Recipe Card
These Mini Egg Cheesecakes are a celebration of spring in every bite! Featuring a buttery graham cracker crust, a rich and creamy no-bake cheesecake filling, and generously studded with colorful, crunchy milk chocolate mini eggs, this dessert is the perfect festive treat for Easter or any springtime occasion.
Author: Rachel
Prep Time: 50 mins
Chill Time: 8 hrs
Total Time: 8 hrs 50 mins
Yield: 24 mini cheesecakes
Ingredients
For the Graham Cracker Crust
- 12 sheets (190g) graham crackers, finely crushed
- 6 Tablespoons (85g) unsalted butter, melted
For the Cheesecake Filling
- 12 ounces (340g) candy-coated chocolate mini eggs, roughly chopped (plus more for topping)
- 24 ounces (3 blocks or 681g) full-fat cream cheese, at room temperature
- 1½ cups (180g) powdered sugar
- 1 Tablespoon vanilla extract
- 1½ cups (360ml) heavy cream (36-40% milkfat), very cold
For the Chocolate Ganache (Optional)
- ½ cup (84g) dark chocolate chips
- ⅓ cup (84g) heavy cream
Instructions
- Prepare the Graham Cracker Crust: In a food processor, pulse the graham crackers until they form fine crumbs. Add the melted butter and pulse again until the mixture is fully combined and resembles wet sand.
- Evenly portion the crumb mixture into two 12-count mini cheesecake pans (about 1 Tablespoon per cavity). Use a tart tamper or the bottom of a small glass to press down firmly and compact the crust into the bottom of each tin. Place the pans in the fridge to chill while you prepare the cheesecake filling.
- Prepare the Cheesecake Filling: Crush the chocolate mini eggs using the back of a large knife, then roughly chop them into varied sizes.
- In the bowl of a stand mixer fitted with a whisk attachment, beat the room-temperature cream cheese and powdered sugar together until the mixture is completely smooth and well combined. Scrape down the sides of the bowl, then mix in the vanilla extract.
- With the mixer on low speed, slowly stream in the cold heavy cream. Once the cream is incorporated, increase the mixer to high speed and whip until the mixture is thick and forms stiff peaks (approximately 20-30 seconds). Be careful not to overmix. Remove the bowl from the mixer and gently fold in the crushed chocolate eggs using a spatula.
- Transfer the cheesecake filling to a large piping bag and pipe it into each prepared cavity of the mini cheesecake pans, filling them to the top. Lightly smooth the tops of the cheesecakes with a small offset spatula or the back of a spoon. Cover the pans loosely with plastic wrap and refrigerate for at least 8 hours, or preferably overnight, to allow them to fully set.
- Once the cheesecakes are set, carefully remove them from the tins. If using a mini cheesecake pan with removable bases, gently push up from the bottom, then slide off the metal base. If you find them difficult to remove, place the pans in the freezer for 30-45 minutes, then rub a wet, warm towel around the exterior sides of each tin before pushing them out.
- Prepare the Chocolate Ganache (Optional): Combine the dark chocolate chips and heavy cream in a heat-safe dish. Warm in the microwave in 20-second increments, stirring in between, until the chocolate is fully melted and the ganache is smooth. Allow the ganache to cool at room temperature until it is firm enough to pipe (it should be slightly thickened but still fluid).
- Fill a piping bag fitted with a French-style piping tip (or a star tip) with the slightly firm ganache. Pipe a small rosette or swirl on top of each cheesecake to resemble a nest.
- Finally, top each cheesecake with additional whole chocolate mini eggs for a festive and delicious finish. Serve immediately or store in the fridge. Enjoy!
Notes
- Cheesecake Pan Alternatives: If you don’t have a mini cheesecake pan with removable bases, you can use a standard cupcake or muffin pan lined with cupcake liners for easy removal. Alternatively, layer the crust and filling in individual serving cups or small mason jars for a no-unmolding-required dessert.
- Storage Recommendations: Store the finished cheesecakes in an airtight container in the refrigerator for up to 3 days. For best results and to keep the candy coating firm, add the ganache and extra mini eggs as a garnish just before serving.
- Freezing Instructions: These cheesecakes freeze beautifully for up to 3 months. Freeze them without the ganache and mini egg toppings. Thaw in the refrigerator for a few hours before garnishing and serving.
Did you make this recipe?Be sure to tag @sweetkitchencravings on Instagram!

HI THERE!
I’m Rachel
I’m the dessert lover, recipe developer, and content creator behind Sweet Kitchen Cravings. Here you’ll find classic yet special recipes that are sure to impress your loved ones!
MORE ABOUT RACHEL
