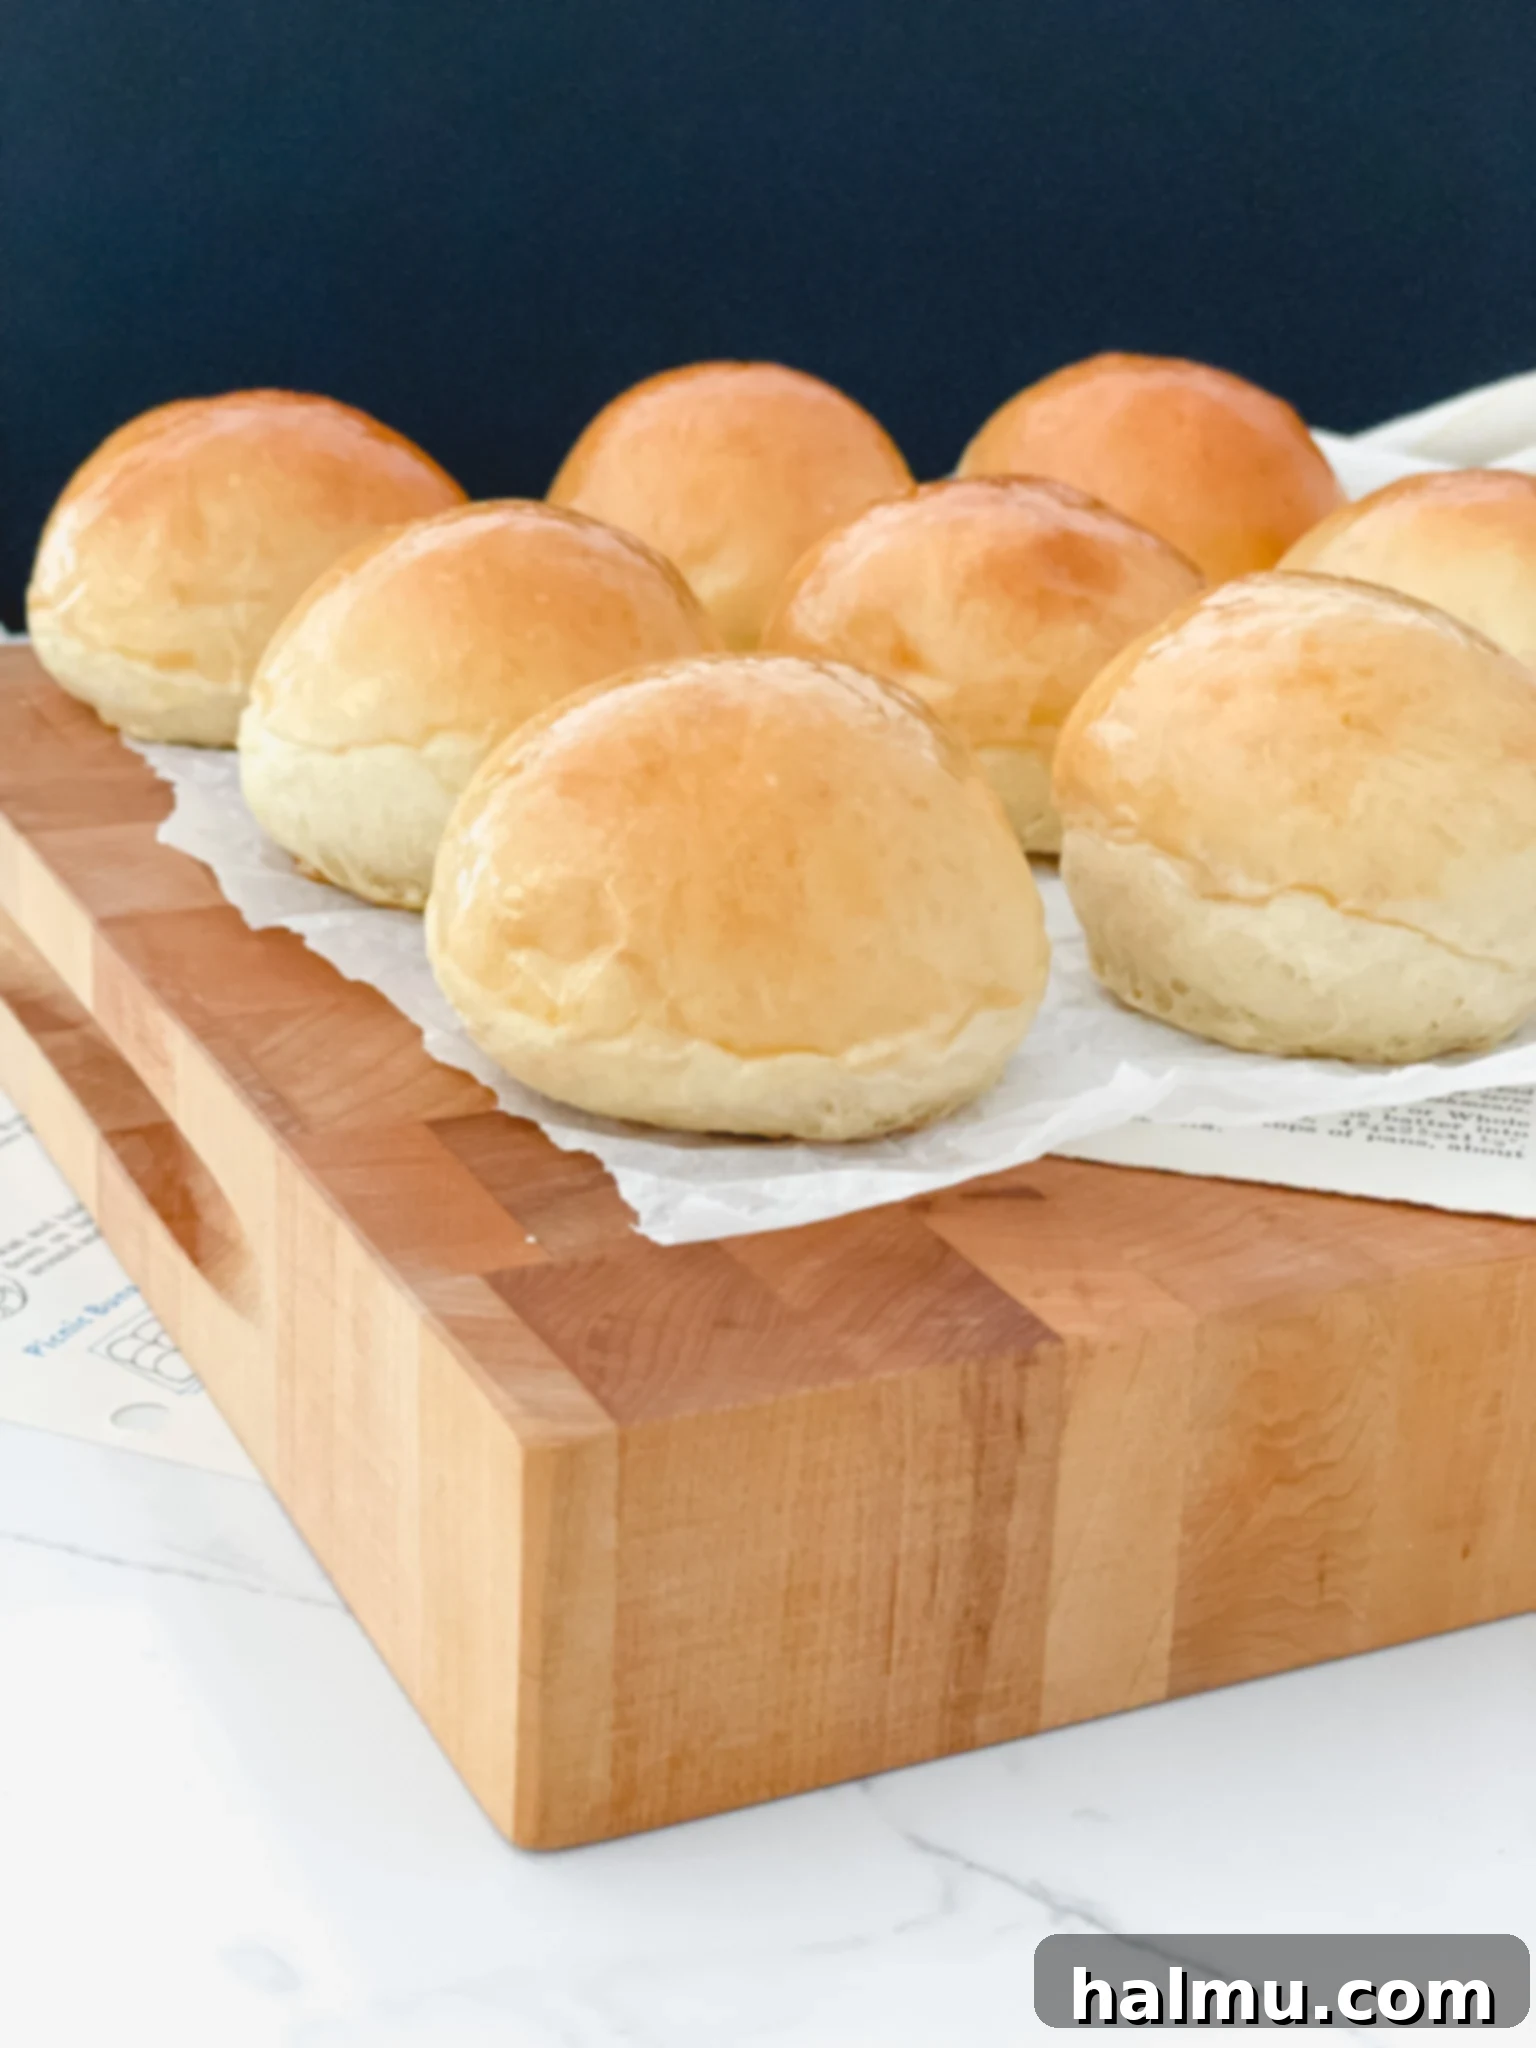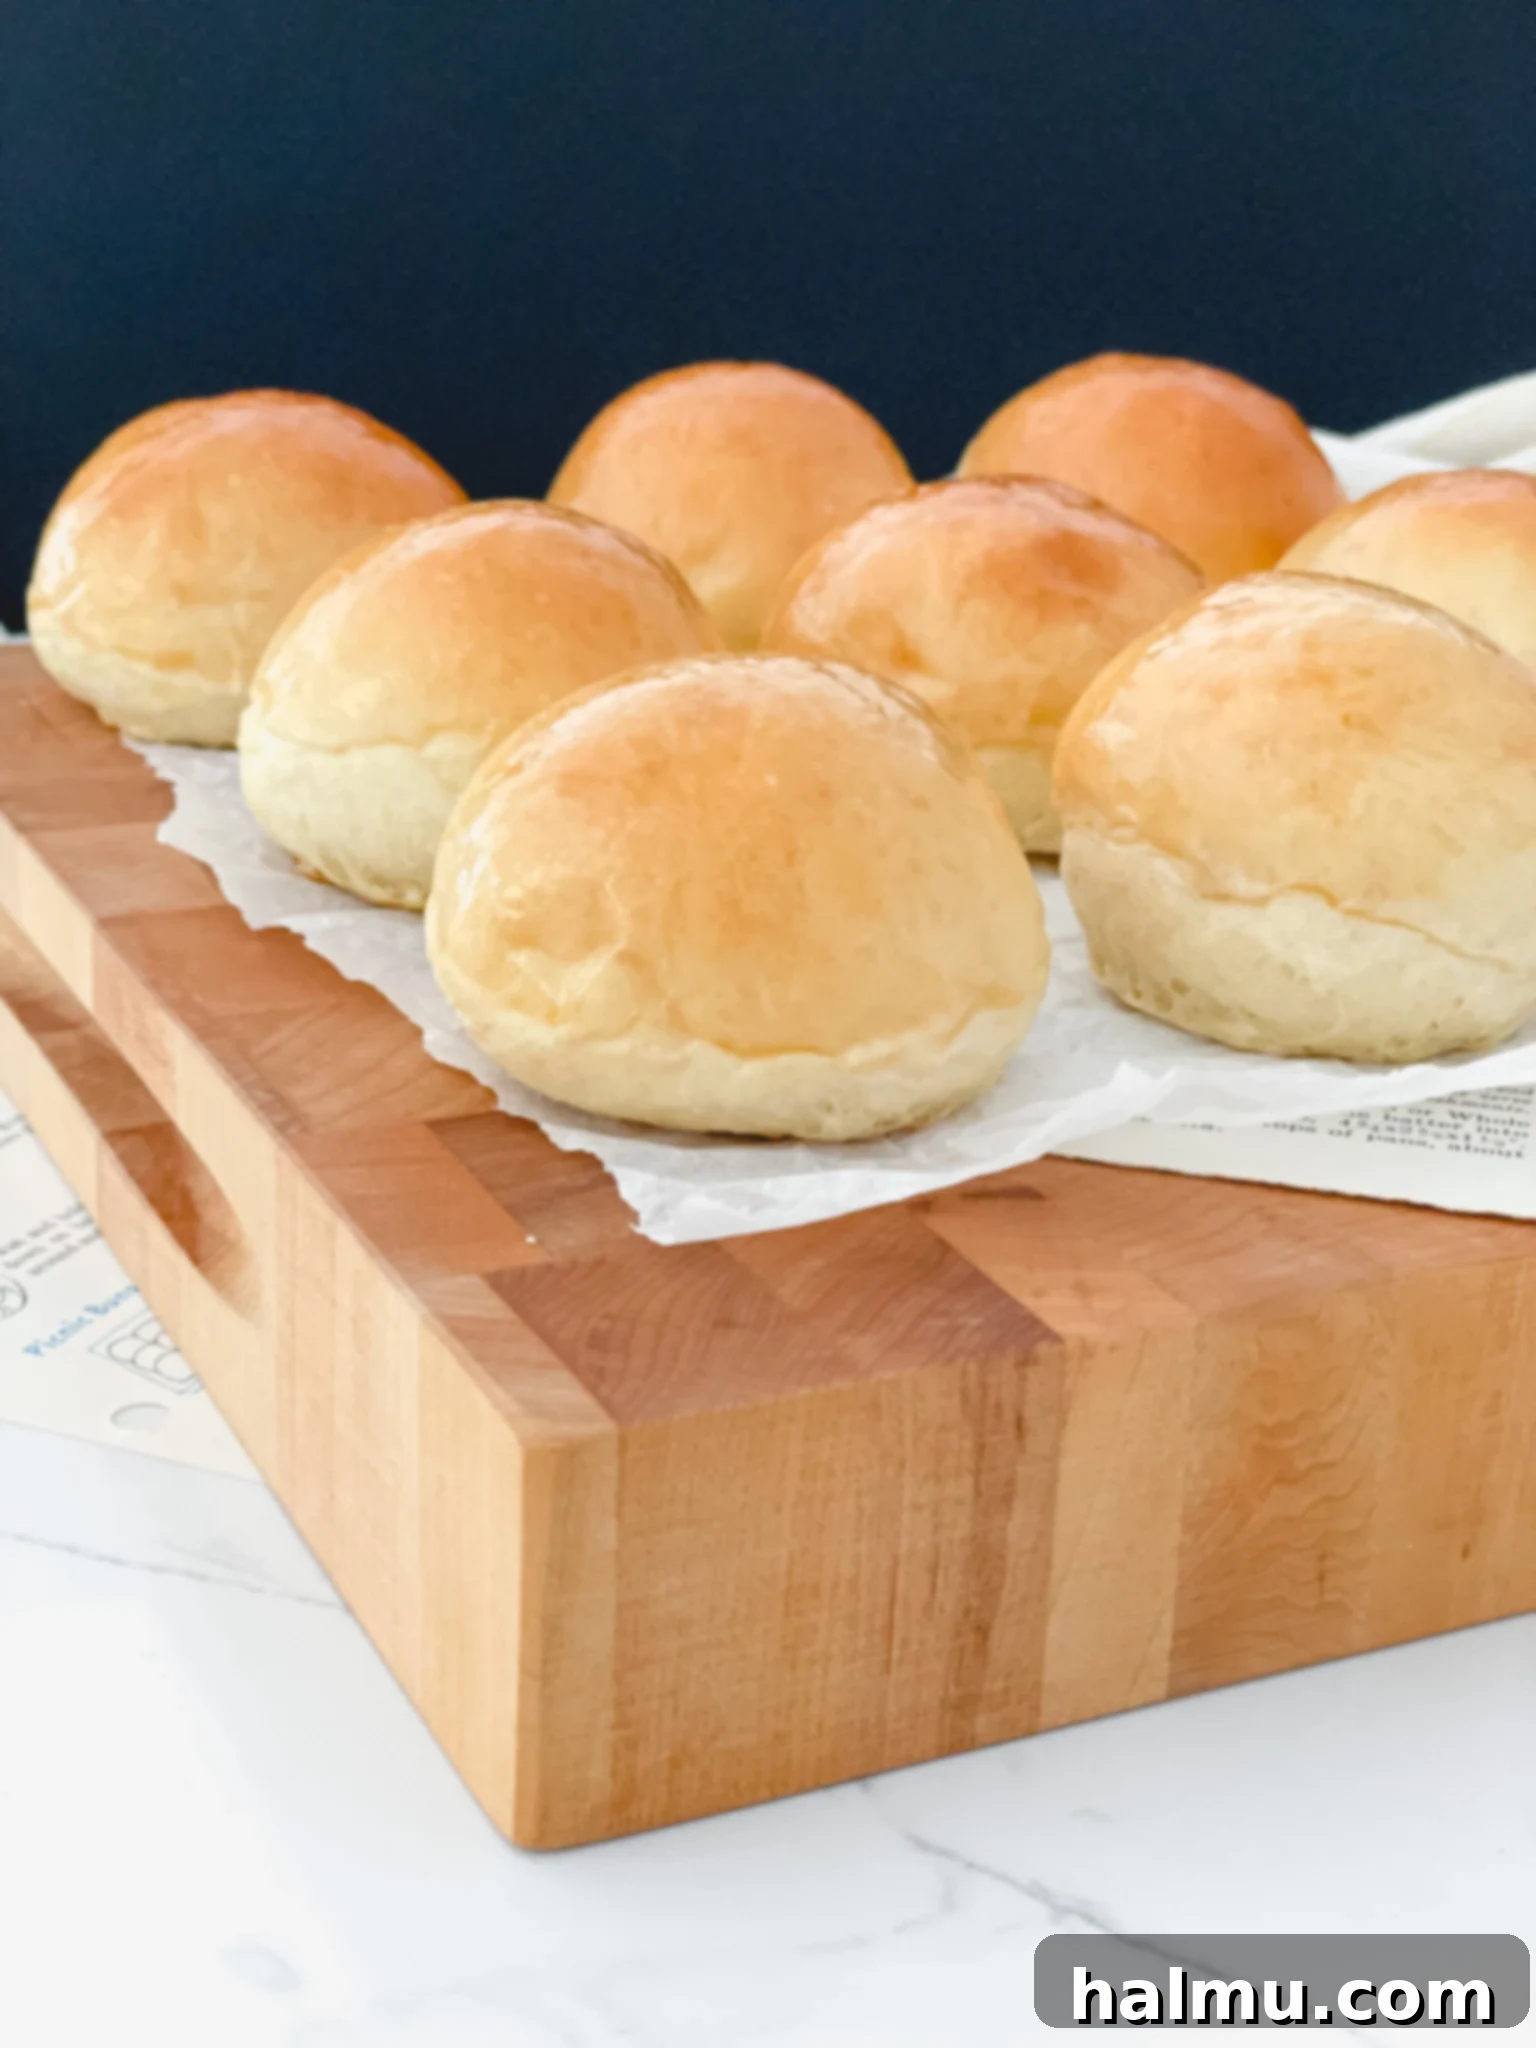
There’s something uniquely satisfying about biting into a perfectly baked, homemade bun. These **Mini Brioche Slider Buns** are the epitome of that satisfaction: light, incredibly buttery, and so pillowy soft they practically melt in your mouth. Crafted from a rich dough made with whole milk, generous amounts of butter, and fresh eggs, they boast a tender, delicate crumb that’s simply irresistible. This streamlined recipe requires just seven essential ingredients and can transform from simple components into delightful mini buns within just a few hours. While brioche dough is versatile enough for any shape or size, creating these in an adorable mini version undeniably enhances the experience, making every bite feel like a special treat. These baby brioche buns are no exception – small, golden clouds of deliciousness that will quickly become a household favorite.

Understanding the Magic of Brioche Dough
Brioche is a classic French bread renowned for its rich, tender texture, which is achieved by incorporating a generous amount of butter and eggs into the dough. This luxurious bread beautifully bridges the gap between sweet and savory culinary creations. You’ll often find it gracing the tables as elegant pastries, braided loaves perfect for a decadent French toast, or as the ideal base for gourmet sandwiches. The beauty of brioche lies in its adaptability; its slightly sweet, rich flavor complements a wide array of fillings. For instance, these **Mini Brioche Slider Buns** are perfectly suited for juicy beef sliders, savory pulled pork, crispy chicken sandwiches, or simply served warm alongside your favorite meal as an elevated dinner roll. Once you experience the unparalleled taste and texture of homemade brioche, you’ll find yourself reaching for this recipe again and again, eager to create these versatile and incredibly delicious buns.
The Science Behind Perfect Brioche
What makes brioche so special? It’s the high fat content from butter and the protein-rich eggs. These ingredients not only contribute to the signature golden hue and melt-in-your-mouth tenderness but also inhibit gluten development to some extent, preventing the bread from becoming overly chewy. Instead, you get a bread that’s soft, airy, and yet substantial enough to hold up to various fillings. This balance is what distinguishes a truly great brioche, making it a beloved choice for bakers and food enthusiasts alike. The extra fat and protein enrich the dough, leading to a softer crumb and a longer shelf life compared to leaner bread varieties.

Essential Ingredients for Your Homemade Brioche Buns
Crafting the perfect **homemade brioche buns** starts with selecting the right ingredients. Each component plays a crucial role in achieving that signature rich flavor and unbelievably soft texture. Here’s a closer look at what you’ll need and why:
- Milk: Opt for **whole milk** – there’s really no substitute here. Brioche dough is inherently rich and high in fat, and the fat content in whole milk contributes significantly to the dough’s moisture, tenderness, and luxurious crumb. Low-fat or plant-based alternatives simply won’t yield the same desired results, potentially leading to a drier, less flavorful bun. The lactose in whole milk also contributes to the beautiful browning of the crust.
- Butter: Unsalted butter is key. Cut your butter into small pieces before adding it to the warm milk. This ensures that any butter not fully melted by the warmth of the milk will still easily blend into the dough during mixing. Butter is the soul of brioche, imparting its characteristic richness, flavor, and incredible softness. It also contributes to the beautiful golden crust and the tender, flaky crumb. Using unsalted butter allows you to control the exact amount of salt in the recipe.
- Instant Yeast: This recipe calls for instant yeast (often labeled “quick rise”), which is a baker’s best friend for its convenience. Unlike active dry yeast, instant yeast doesn’t require a separate activation step, saving you about 10 minutes of waiting time. Simply add it directly to your warm milk and butter mixture with a quick stir, and you’re good to go. If active dry yeast is all you have, remember to proof it first by dissolving it in the warm milk (around 105-115°F or 40-46°C) for about 5-10 minutes until foamy.
- All-purpose Flour: For these **soft and buttery buns**, all-purpose flour is your go-to. Its moderate protein content creates a tender crumb without excessive chewiness. Using bread flour, with its higher protein content, would lead to more gluten development, resulting in a tougher, chewier texture – ideal for rustic loaves or chewy bagels and homemade soft pretzels, but not for the delicate nature of brioche. All-purpose flour strikes the perfect balance for a light and airy yet rich bun.
- Granulated Sugar: Beyond adding a subtle sweetness to balance the richness, sugar acts as vital food for the yeast, helping it activate and produce carbon dioxide, which gives the buns their airy texture. It also aids in browning the crust, contributing to that beautiful golden finish, and helps retain moisture, keeping the buns fresh longer.
- Salt: A small amount of salt is crucial for flavor development, enhancing the overall taste of the brioche. It also plays a role in regulating yeast activity, preventing it from working too quickly, and strengthening the gluten structure, which contributes to the dough’s elasticity and ability to hold its shape during proofing. Without salt, bread can taste bland and dough can be difficult to manage.
- Large Eggs: Eggs are a cornerstone of brioche, providing richness, moisture, and structure. They contribute to the dough’s beautiful golden color, luxurious texture, and overall tenderness, making the buns incredibly soft and cake-like. The protein in eggs helps build a strong yet flexible dough network, ensuring the buns rise beautifully and maintain their shape.

Mastering the Art of Mini Brioche Slider Buns: A Step-by-Step Guide
Baking homemade bread might seem daunting, but making these **mini brioche slider buns** is a truly rewarding and approachable process. Follow these steps carefully to achieve perfectly soft, golden, and delicious results every time. Remember, patience is a key ingredient in bread baking.
- Prepare and Mix the Dough: Begin by gently warming the whole milk and cut butter pieces in a small saucepan over low heat until the butter is mostly melted and the mixture reaches about 90°F (32°C). This warmth is crucial for activating the yeast without being too hot to kill it. Transfer this mixture to the bowl of a stand mixer fitted with a dough hook. Add the instant yeast and give it a quick stir to combine. Next, add the all-purpose flour, granulated sugar, and salt to the bowl. Mix on low speed just until the flour is mostly incorporated, forming a shaggy dough. Finally, add the large eggs one at a time, allowing each to be absorbed before adding the next. Once all eggs are in, increase the mixer speed to medium-high and continue mixing for approximately 5 minutes. The goal is a soft, smooth, and elastic dough that pulls cleanly away from the sides of the bowl. Don’t be afraid to scrape down the sides of the bowl a couple of times to ensure all ingredients are well combined and evenly mixed. The dough should pass the “windowpane test,” meaning you can stretch a small piece thin enough to see light through it without tearing.
- First Rise (Bulk Fermentation): Once your brioche dough is perfectly kneaded, form it into a smooth ball and place it in a large, lightly oiled bowl, turning to coat all sides. Cover the bowl loosely with plastic wrap or a clean kitchen towel to prevent a crust from forming. The rising time, also known as proofing or bulk fermentation, will largely depend on your room’s temperature. A warmer environment (around 70-75°F or 21-24°C) will accelerate the process, while a cooler room will require more time. A good rule of thumb is to set a timer for 45 minutes, then check the dough’s progress. It’s ready when it has visibly doubled in size. If your kitchen is cool, you might place the bowl in a slightly warm (but turned off) oven with just the oven light on, or near a sunny window to encourage rising. Avoid excessively hot spots, which can overproof the dough.
- Divide the Dough for Uniformity: Achieving consistently sized buns is key for even baking and a professional look. This is where a kitchen scale becomes an invaluable tool. Gently deflate the risen dough on a lightly floured surface to release any large air bubbles. Using a bowl scraper or bench scraper, divide the dough into approximately 29 equal pieces, with each piece weighing around 40 grams. This precision ensures every mini brioche bun bakes evenly, maintains a similar texture, and looks fantastic on your serving platter.
- Expert Shaping of Your Brioche Buns: Shaping is an essential step that can seem challenging at first, but with a little practice, it becomes second nature. For each dough portion, work on a clean, unfloured surface (the slight stickiness helps create tension). Take a piece of dough and flatten it slightly. Then, pinch the edges of the dough together, gathering them towards the center and pulling them down to create a tight seam at the bottom. This seam should be completely closed and on the underside of the bun. Next, cup your hand over the dough ball, lightly pressing the side of your hand against the counter, and roll it in a circular motion. This action creates surface tension on the top of the dough ball, resulting in a smooth, taut, and perfectly round surface for your bun. Once shaped, give the bottom seam one final pinch to ensure it remains sealed during the second proofing and baking. Place the shaped dough ball seam-side down on a parchment-lined baking sheet, leaving at least 2 inches (5 cm) between each bun to allow for adequate expansion.
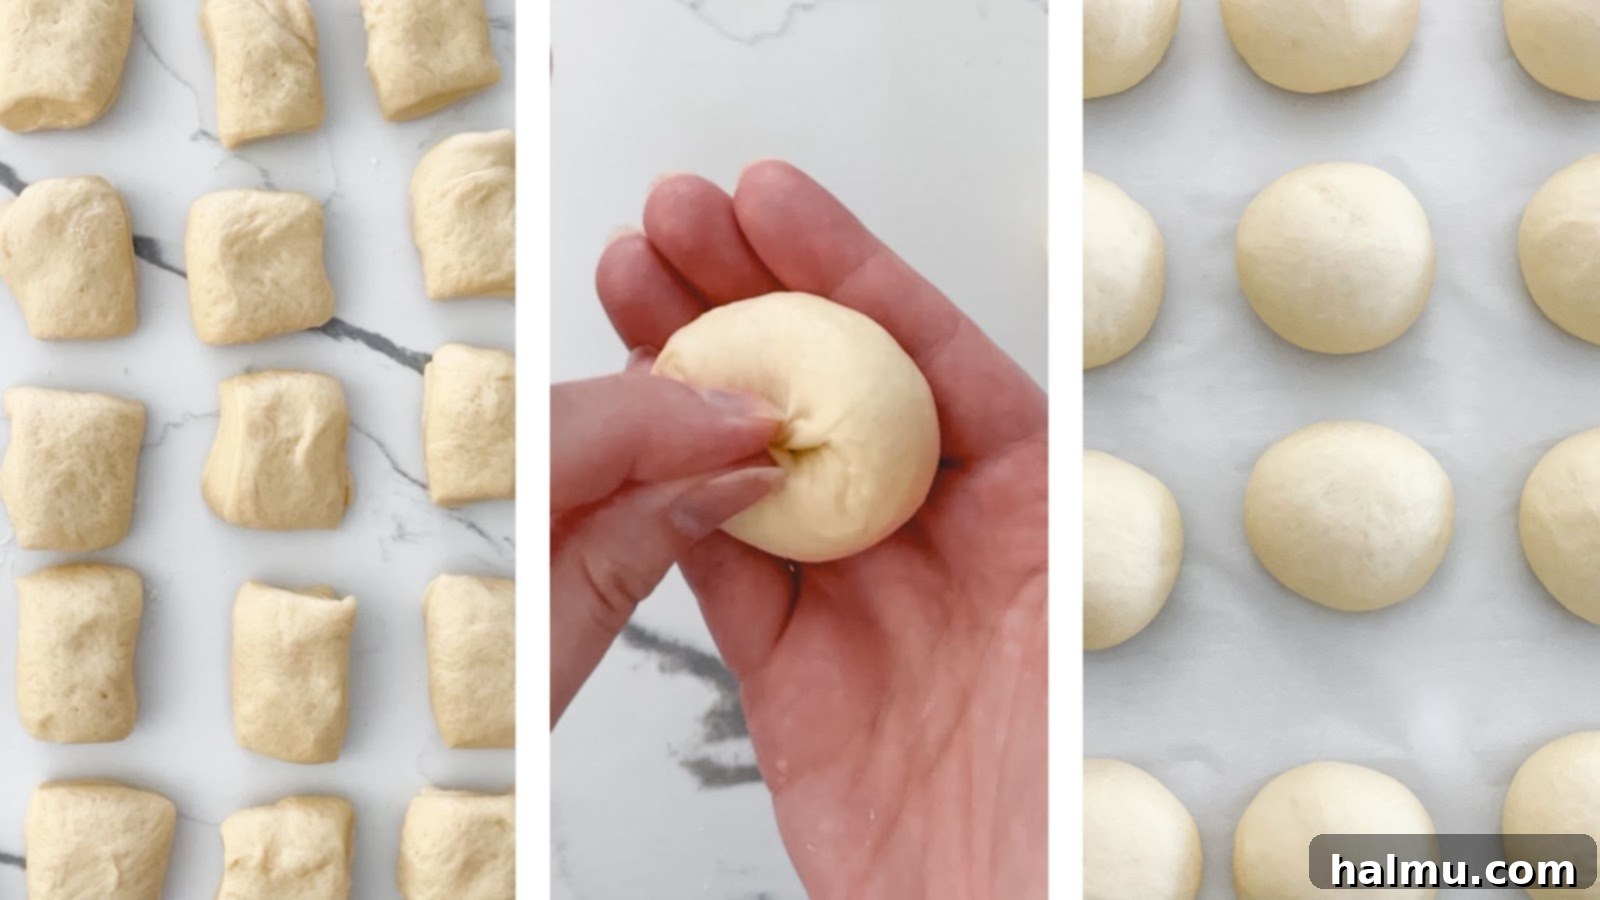
- Second Rise (Final Proofing): After shaping, your mini brioche buns need a second rise to become light and airy. This crucial step, often called final proofing, allows the yeast to produce more gas, creating a more open and tender crumb. Loosely cover the baking sheets with plastic wrap (lightly greased on the side touching the dough to prevent sticking) to prevent the dough from drying out. Just like the first rise, the duration will depend on your room’s temperature, usually taking about 45 minutes to 1 hour. The buns are ready to bake when they have visibly doubled in size and look visibly puffy. A gentle poke with your finger should leave a slight indentation that slowly springs back. If it springs back immediately, it needs more time; if it collapses, it’s overproofed.
- Bake to Golden Perfection and Serve: Preheat your oven to 350°F (175°C). Just before baking, gently brush the tops of each brioche bun with an egg wash (typically one large egg beaten with a tablespoon of water). This egg wash is vital for achieving that beautiful, glossy, deep golden-brown crust that makes brioche so visually appealing and adds a subtle richness to the exterior. Bake for approximately 12-14 minutes, or until the buns are perfectly golden brown and shiny. The internal temperature should register around 190-200°F (88-93°C). Once baked, immediately transfer them to a wire rack to cool slightly before serving. These versatile buns are incredible served warm as the foundation for your favorite sliders or sandwiches, or simply enjoyed whole as a luxurious dinner roll. Their delicate flavor also makes them wonderful for sweet applications.

Top Tips for Baking the Best Mini Brioche Slider Buns
Achieving bakery-quality **homemade brioche buns** is easier than you think with a few expert tips. These insights will help you navigate the nuances of brioche baking, ensuring consistently perfect results every time, even if you’re a beginner bread baker.
- Embrace a Kitchen Scale for Precision: This is arguably the most impactful tip for any baking endeavor, and especially for brioche. Measuring your ingredients by weight (grams) instead of volume (cups) provides unparalleled accuracy. Baking is a science, and precise measurements lead to consistent results. Not only does it reduce the number of dishes you’ll use, but it also guarantees the correct ingredient ratios for the perfect dough texture and yield. If you don’t own one, consider investing in a reliable kitchen scale – it’s an inexpensive tool that will revolutionize your baking.
- Avoid Overmixing the Dough: While kneading is crucial for developing gluten, overmixing brioche dough can lead to an undesirable outcome. Excessive mixing can overdevelop the gluten, resulting in a tough, dense, and chewy bun – the opposite of the soft, tender crumb we’re aiming for. Keep a close eye on your dough while it’s mixing in the stand mixer; it should become smooth, elastic, and pull away from the bowl’s sides. Once it reaches this stage, stop mixing. As a precise indicator, the ideal temperature for finished brioche dough is around 78°F (25°C).
- Master the Art of Proofing (Don’t Overproof!): Proofing is the yeast’s time to shine, allowing the dough to rise and develop flavor. However, overproofing can be detrimental. If the dough rises too much, the gluten structure stretches beyond its limit, and the trapped gases can escape. This often leads to a deflated, collapsed dough when handled or baked, resulting in a dense, heavy bun. The rising time is highly variable based on your room’s temperature and humidity. Start checking your dough around the 45-minute mark. It should double in size. A gentle poke test is your friend: if the indentation springs back too quickly, it needs more time; if it collapses and stays deflated, it’s likely overproofed.
- Freeze for Future Enjoyment: One of the best qualities of these **homemade brioche buns** is how wonderfully they freeze. Since this recipe yields a generous batch of about 29 mini buns, freezing is an excellent way to ensure you always have fresh-tasting brioche on hand. Once completely cooled, wrap individual buns or small batches tightly in plastic wrap, then place them in a freezer-safe ziploc bag. They can be stored in the freezer for up to three months without significant loss of quality. To enjoy, simply pull out the desired number of buns a few hours before you plan to use them and let them thaw at room temperature. For an extra touch of warmth and freshness, you can briefly reheat them in a preheated oven (around 300°F/150°C) for a few minutes until soft.
- The Perfect Egg Wash: Don’t skip the egg wash! A simple mixture of one large egg beaten with a tablespoon of water or milk creates that signature glossy, deep golden crust that makes brioche so visually appealing and adds a subtle richness to the exterior. This step is what gives your buns that professional, bakery-fresh look.

Explore More Irresistible Bread Recipes
If you’ve fallen in love with the process of making these **soft and buttery buns**, you’re in for a treat! The world of homemade bread is vast and rewarding. Expanding your baking repertoire can bring immense joy and delicious rewards to your kitchen. Here are some other delightful bread recipes to explore and master:
- Almond Cream Brioche Buns
- Homemade Soft Pretzels
- Soft & Chewy Bagels
- Homemade English Muffins
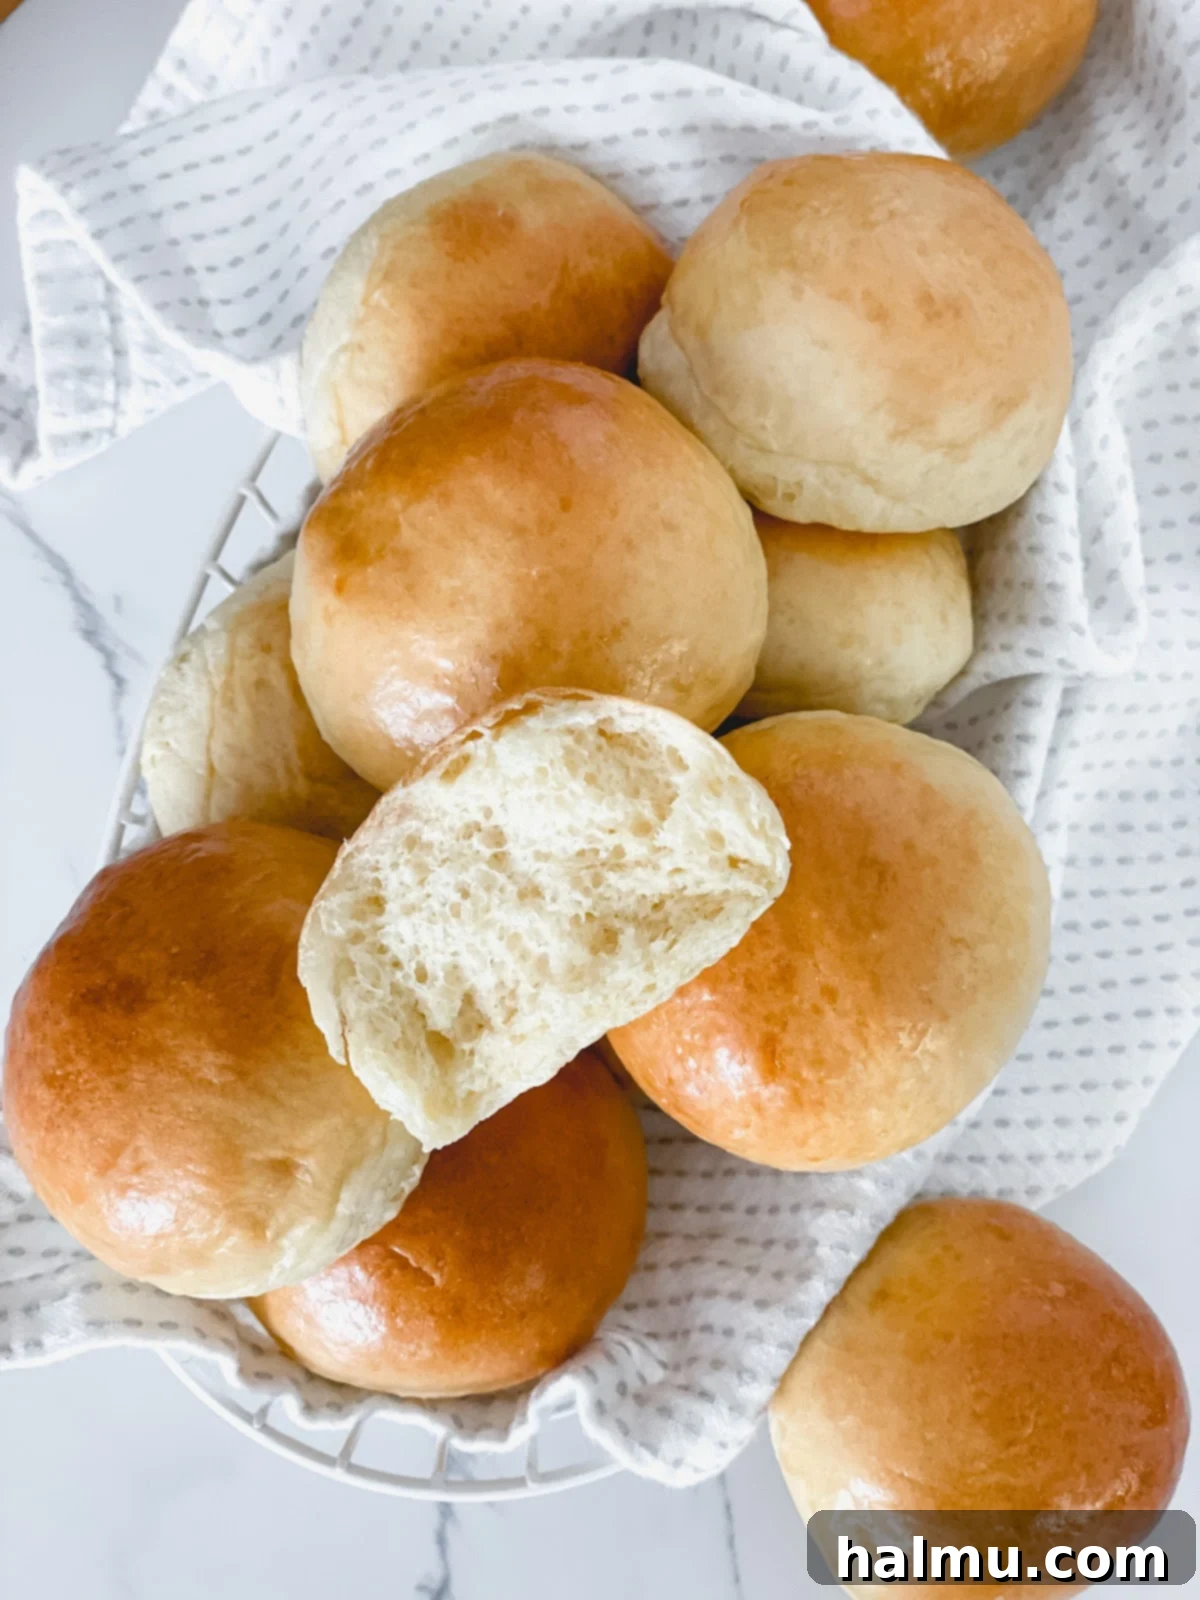
Embarking on the journey of making bread from scratch can feel a little intimidating at first, but these **Mini Brioche Slider Buns** are truly a fantastic starting point. Their forgiving nature and incredibly delicious outcome will build your confidence, and you’ll find yourself making them all the time, with each batch turning out even better than the last. There’s immense satisfaction in creating something so delightful with your own hands, sharing it with loved ones, and savoring the homemade goodness. We hope you enjoy every moment of baking these delectable brioche buns! If you give this recipe a try, we’d be thrilled to see your creations. Be sure to follow and tag us on Instagram, Facebook, or TikTok so we can admire your culinary masterpieces. Happy Brioche Baking!
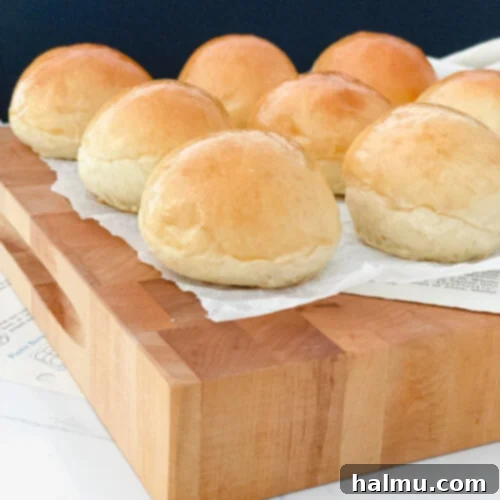
Mini Brioche Slider Buns
You will be addicted to these buttery, golden Mini Brioche Slider Buns as soon as they hit your mouth. They have a fluffy and delicate texture that makes them the perfect bun for a slider or sandwich or just enjoyed all on their own.
Author: Rachel
Recipe Details
- Prep Time: 45 mins
- Cook Time: 15 mins
- Rest Time: 2 hrs 30 mins
- Total Time: 3 hrs 30 mins
- Yield: 29 mini buns
Ingredients
- 1 ⅛ cup (10oz or 278g) whole milk
- ½ cup (1 stick or 113g) unsalted butter, cut into small pieces
- 4 ½ teaspoons (15g) instant yeast
- 4 ⅓ cup (608g) all-purpose flour
- 2 ½ Tablespoons (30g) granulated sugar
- 1 ½ teaspoons (9g) salt
- 3 large eggs
- Egg wash (1 large egg beaten with 1 Tablespoon water)
Instructions
- In a small saucepan, add the milk and butter and heat on low until the mixture reaches 90°F (32°C). Add the milk and butter to the bowl of a stand mixer fitted with a dough hook attachment. Add the yeast to the bowl and give it a quick stir.
- Add the flour, sugar, and salt to the bowl. Mix on low speed just until most of the flour is incorporated. Add the eggs then mix on medium-high speed for about 5 minutes, or until the dough is very smooth and has pulled away from the sides of the bowl. Scrape the sides and bottom of the bowl a couple of times during the process.
- Form the dough into a ball and place it in a large bowl greased with cooking spray or oil. Cover with plastic wrap and allow it to rise in a warm spot until doubled in size, about 1 – 1 ½ hours.
- Line 2 baking sheets with parchment paper or silicone mats. Once the dough is ready, remove it from the bowl onto a lightly floured surface. Gently press out any air bubbles.
- Using a bowl scraper or a knife, divide the dough into 29 equal pieces, using a scale to weigh each one to about 40 grams.
- For each piece of dough, tuck the dough on top of itself and roll into a smooth ball shape, making sure the seam is on the bottom. Repeat for the remaining dough pieces, dividing them evenly between the 2 baking sheets and spacing the dough balls at least 2 inches apart.
- Loosely cover the baking sheets with plastic wrap and allow to rise in a warm spot until doubled in size, about 45 minutes to 1 hour.
- Preheat oven to 350°F (175°C). Brush the buns with egg wash and bake for 12-14 minutes or until golden brown.
- Allow the buns to cool completely before slicing. Enjoy!
Notes
- Shaping: Refer to the detailed instructions in the “How to Make Mini Brioche Slider Buns” section of this post for more guidance on shaping the buns.
- Recipe Yield: This recipe makes approximately 29 mini slider buns when each piece of dough is weighed at 40 grams. For larger, more traditional-sized buns, you can divide the dough into 90-95 gram pieces, which should yield about 12 large buns.
- Storing: Baked brioche buns can be stored at room temperature in an airtight container for up to 2 days for optimal freshness.
- Freezing: For longer storage, wrap the completely cooled buns tightly in plastic wrap and then place them in a freezer-safe ziploc bag. They will keep well in the freezer for up to 3 months. Thaw at room temperature for a few hours before enjoying.
Did you make this recipe? Be sure to tag @sweetkitchencravings on Instagram!
