Indulge in the Magic of Ginger Molasses Cookie Sandwiches with Cream Cheese Frosting
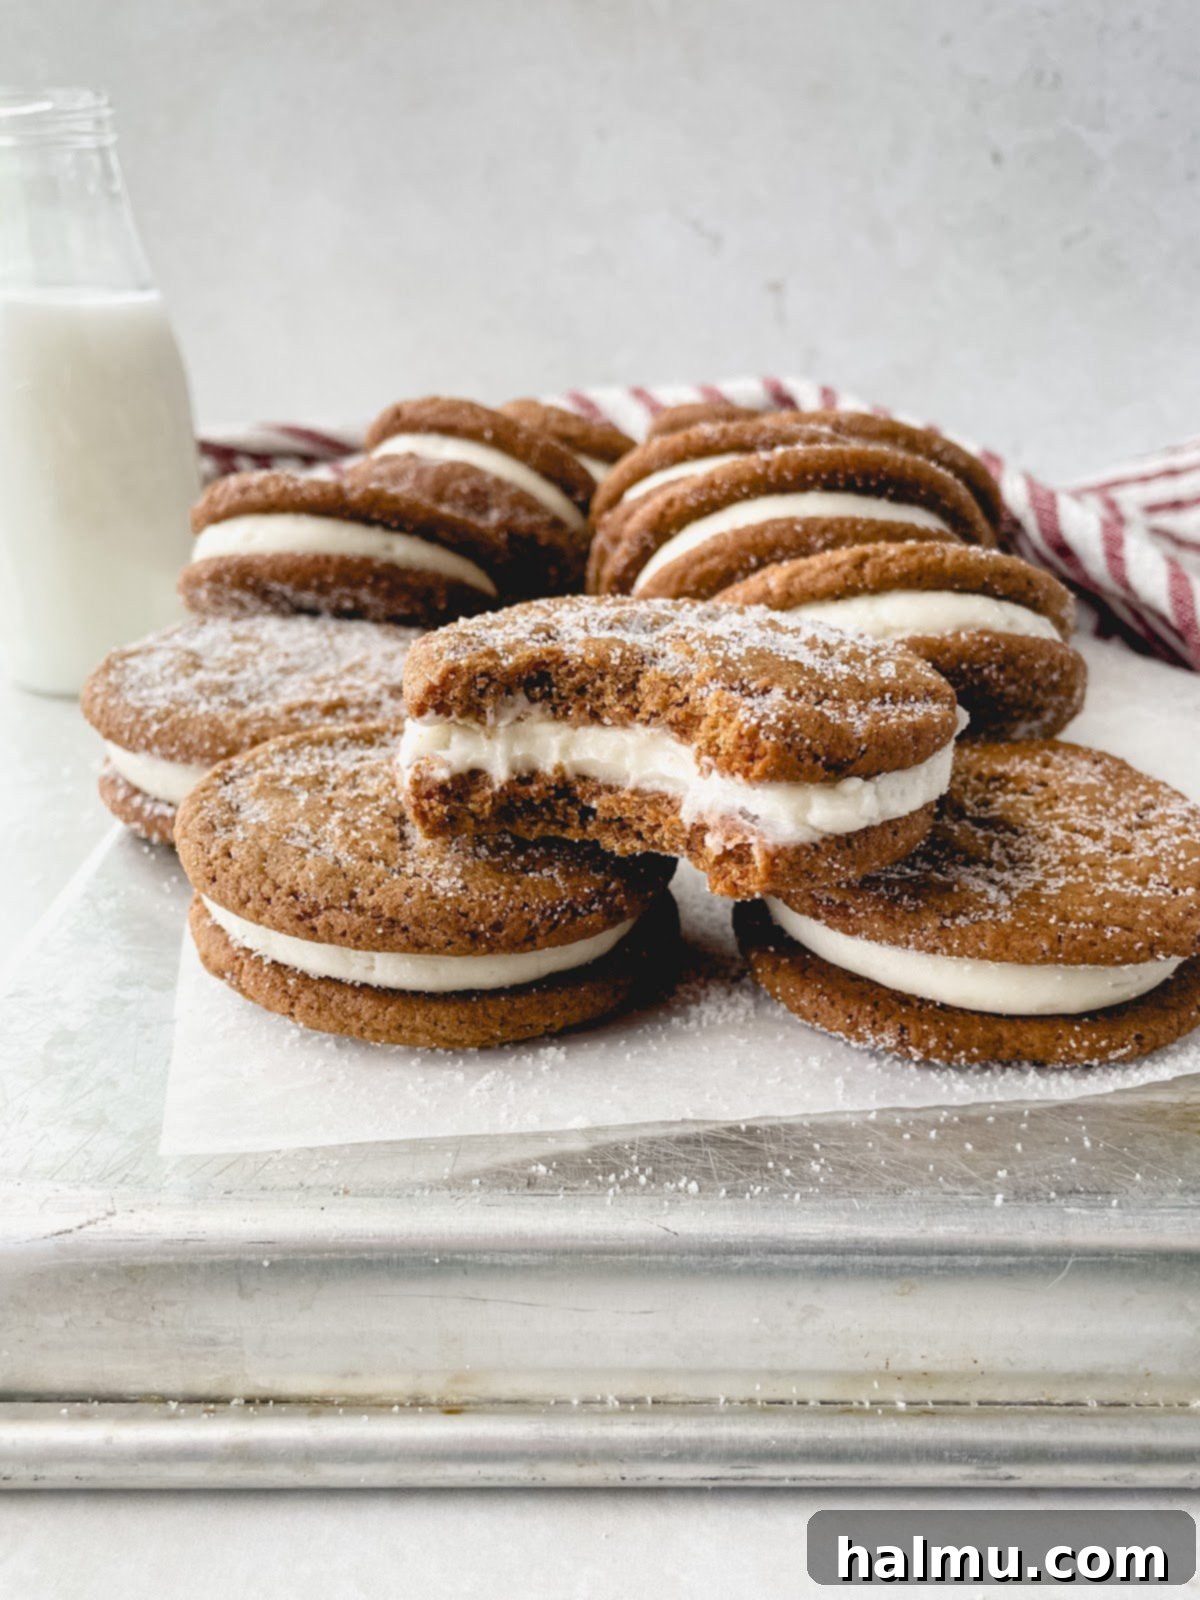
As the festive season approaches, it’s time to kick off Christmas cookie season with an irresistible treat that will capture everyone’s hearts and taste buds: these spectacular Ginger Molasses Cookie Sandwiches. Imagine two perfectly soft and wonderfully chewy cookies, infused with the warm, aromatic spices of ginger and cinnamon, and the rich sweetness of molasses. Each cookie is delicately coated in fine granulated sugar, adding a delightful sparkle and a hint of crunch. Sandwiched between these spicy delights is a generous, creamy layer of luscious cream cheese frosting, creating a harmonious balance of sweet, spicy, and tangy flavors.
I must admit, I wasn’t always the biggest fan of traditional ginger molasses cookies. However, this particular recipe has truly become an exception to my rule. During the testing phase, I found myself repeatedly sneaking bites – they are truly that good! These sweet treats are not just cookies; they are a festive experience waiting to adorn your holiday table and fill your cookie tins. Get ready to bake a batch that will disappear as quickly as they appear!

Why These Holiday Cookie Sandwiches Will Become Your New Favorite
These Ginger Molasses Cookie Sandwiches aren’t just another addition to your holiday baking list; they are designed to be a standout. Their unique blend of textures and flavors makes them utterly unforgettable and perfect for any festive gathering or cozy night in. Here’s why you’ll absolutely adore them:
- Soft & Chewy Perfection: The cookies themselves are the epitome of comfort – incredibly soft on the inside with just the right amount of chewiness, making every bite melt in your mouth.
- Irresistible Flavor Combination: The classic warmth of ginger and cinnamon, paired with the deep, rich notes of molasses, creates a comforting and complex flavor profile that is quintessentially holiday.
- Creamy Indulgence: The tangy sweetness of the cream cheese frosting is the ideal complement to the spiced cookies. It cuts through the richness beautifully, adding a smooth, decadent layer that elevates the entire sandwich.
- A Festive Presentation: Dusted with sugar, these cookie sandwiches sparkle, making them visually appealing and a delightful centerpiece for any holiday dessert spread. They look as good as they taste!
- Perfect for Holidays: Whether you’re hosting a party, looking for a special gift, or simply want to treat your family, these cookies are versatile and universally loved. They bring a touch of homemade warmth and joy to any occasion.
The Art of Crafting Perfect Ginger Molasses Cookie Sandwiches
Creating these delightful cookie sandwiches is a rewarding process, and surprisingly straightforward. There are a few key steps and tips to ensure your cookies and frosting turn out perfectly every time. Follow this detailed guide to achieve baking success.
Mastering the Ginger Molasses Cookies
This cookie dough is remarkably forgiving and doesn’t even require any chilling time before baking, which means you can enjoy these treats sooner! Here’s how to make them:
- Creaming Butter and Sugar: Begin by creaming together room-temperature butter and brown sugar until the mixture is light, fluffy, and significantly paler in color. This process incorporates air, which is crucial for the cookies’ tender texture.
- Incorporating Wet Ingredients: Next, add the egg and vanilla extract. It’s vital to mix thoroughly at this stage, ensuring everything is well combined. Don’t forget to scrape down the sides and bottom of the bowl multiple times to ensure an even mixture and prevent any unmixed pockets.
- Adding Dry Ingredients and Molasses: Gradually add all your dry ingredients – flour, cornstarch, cinnamon, ground ginger, baking soda, baking powder, and salt – along with the molasses. Mix just until everything is combined. Overmixing at this point can lead to tough cookies, so stop as soon as the flour streaks disappear.
- Portioning and Baking: Use a small cookie scoop (I highly recommend a size 60, approximately 0.56 oz, for consistent results) to portion out 12 cookies onto a baking sheet lined with parchment paper. Bake them in a preheated oven at 350°F (175°C) for about 10-12 minutes, or until the edges are lightly golden and the centers are still slightly soft.
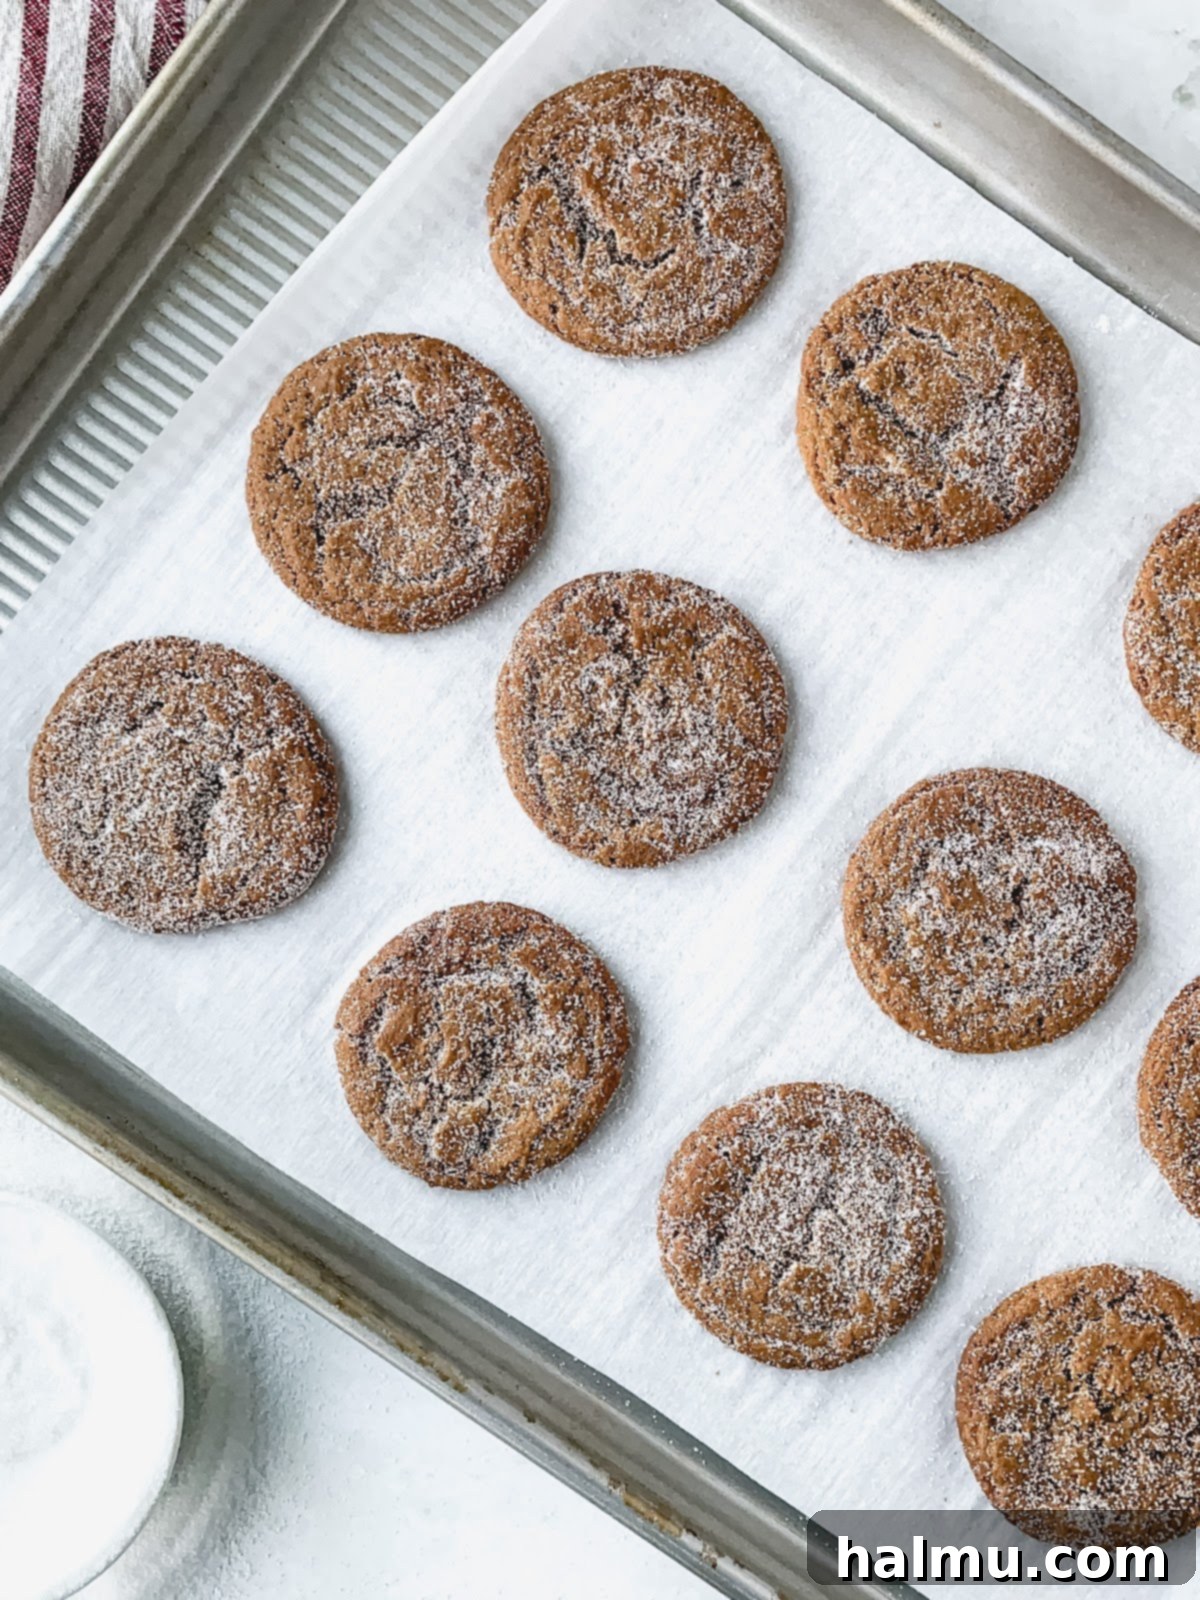
- Cooling and Sugaring: Once baked, allow the cookies to cool on the baking sheet for 10-15 minutes. This cooling period is essential as it allows them to firm up without breaking. While they are still slightly warm but firm enough to handle, dip the tops of each cookie into granulated sugar. This creates a beautiful, sparkling finish and an extra layer of sweetness and texture. Transfer them to a wire rack to cool completely before frosting.

Whipping Up Dreamy Cream Cheese Frosting
The cream cheese frosting is the heavenly filling that brings these sandwiches to life. It comes together quickly with the help of an electric stand mixer or a hand mixer.
- Room Temperature is Key: For the smoothest, lump-free frosting, ensure both your cream cheese and unsalted butter are at room temperature. This allows them to cream together seamlessly without any stubborn chunks.
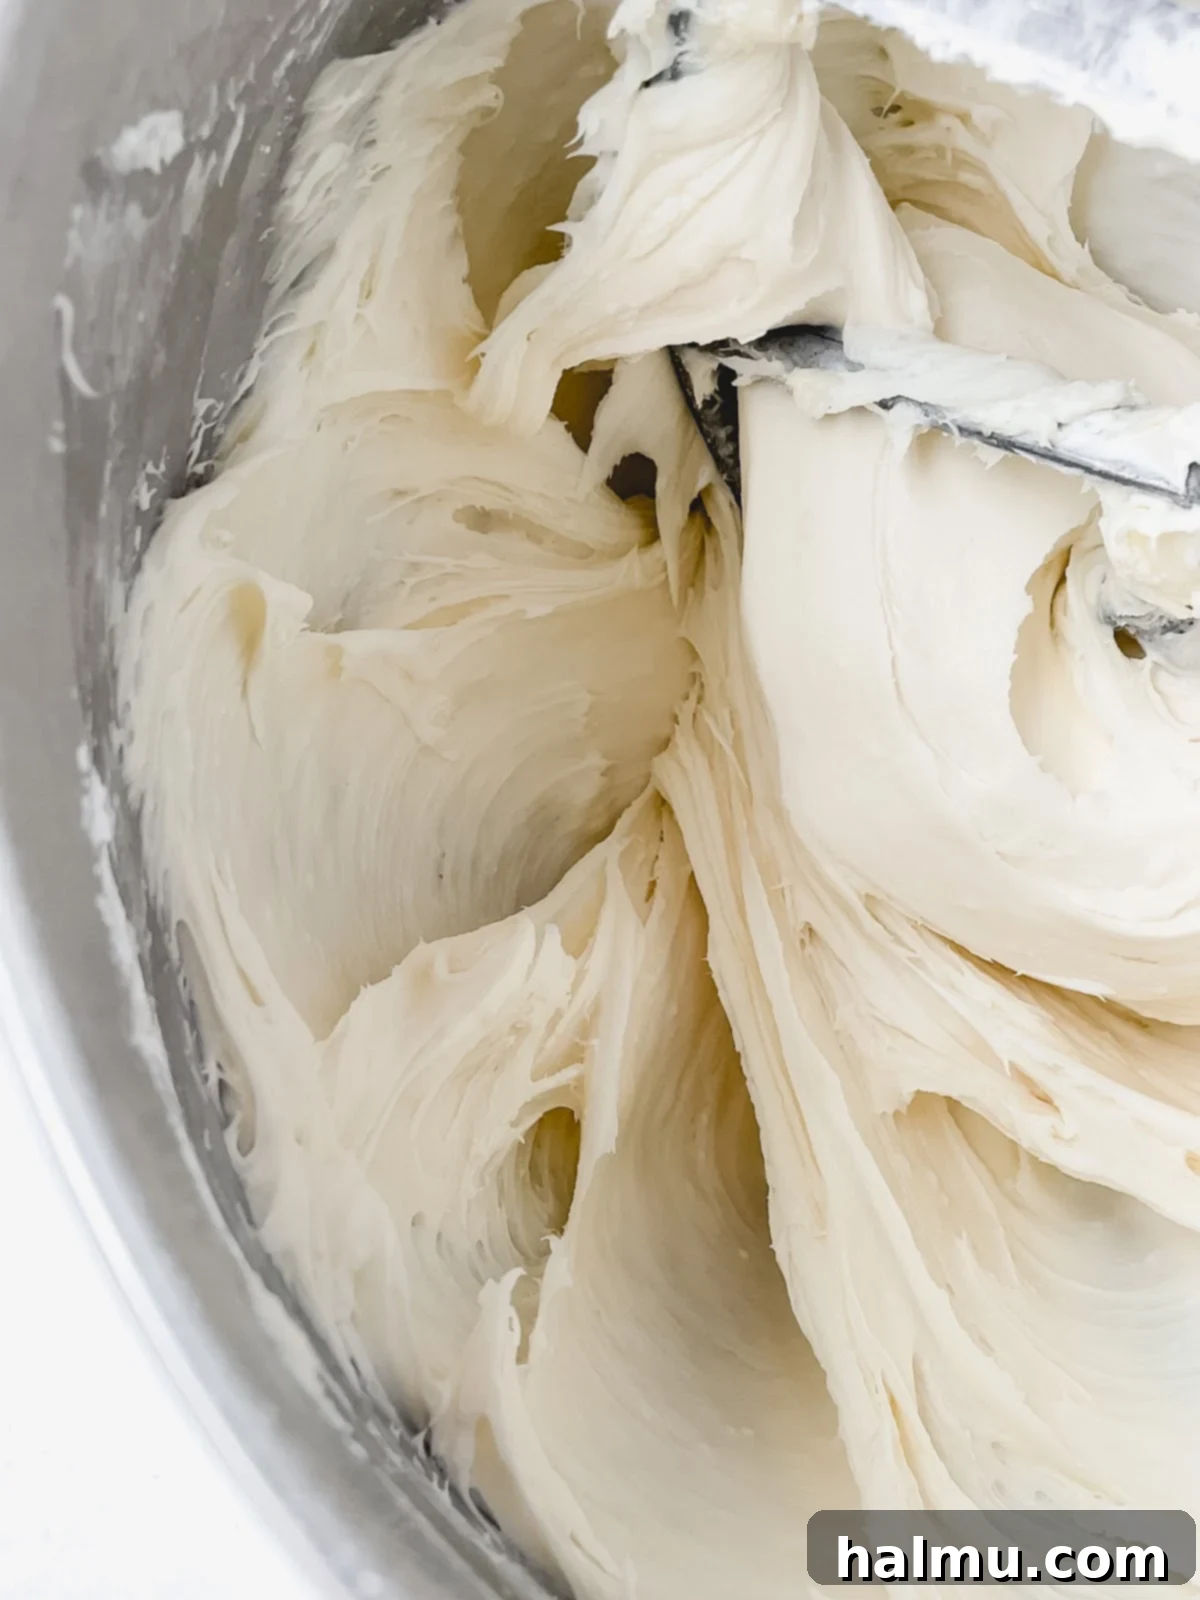
- Beat Until Smooth: In your mixer, beat the cream cheese and butter together until the mixture is light, airy, and completely smooth. This should only take a couple of minutes.
- Adding Remaining Ingredients: Gradually add the powdered sugar, milk, and vanilla extract. Mix on low speed initially to prevent a cloud of sugar, then increase to medium speed. Mix just until all ingredients are fully combined and the frosting is smooth and creamy.
- Avoid Overmixing: Be careful not to overmix the cream cheese frosting. Overmixing can incorporate too much air, making it runny and difficult to pipe, or cause it to separate. Stop mixing as soon as it reaches a homogenous, spreadable consistency.

Expert Assembly: Bringing Your Cookie Sandwiches Together
Once your cookies are baked, cooled, and beautifully sugared, and your luscious frosting is ready, it’s time for the most satisfying part: assembling your cookie masterpieces!
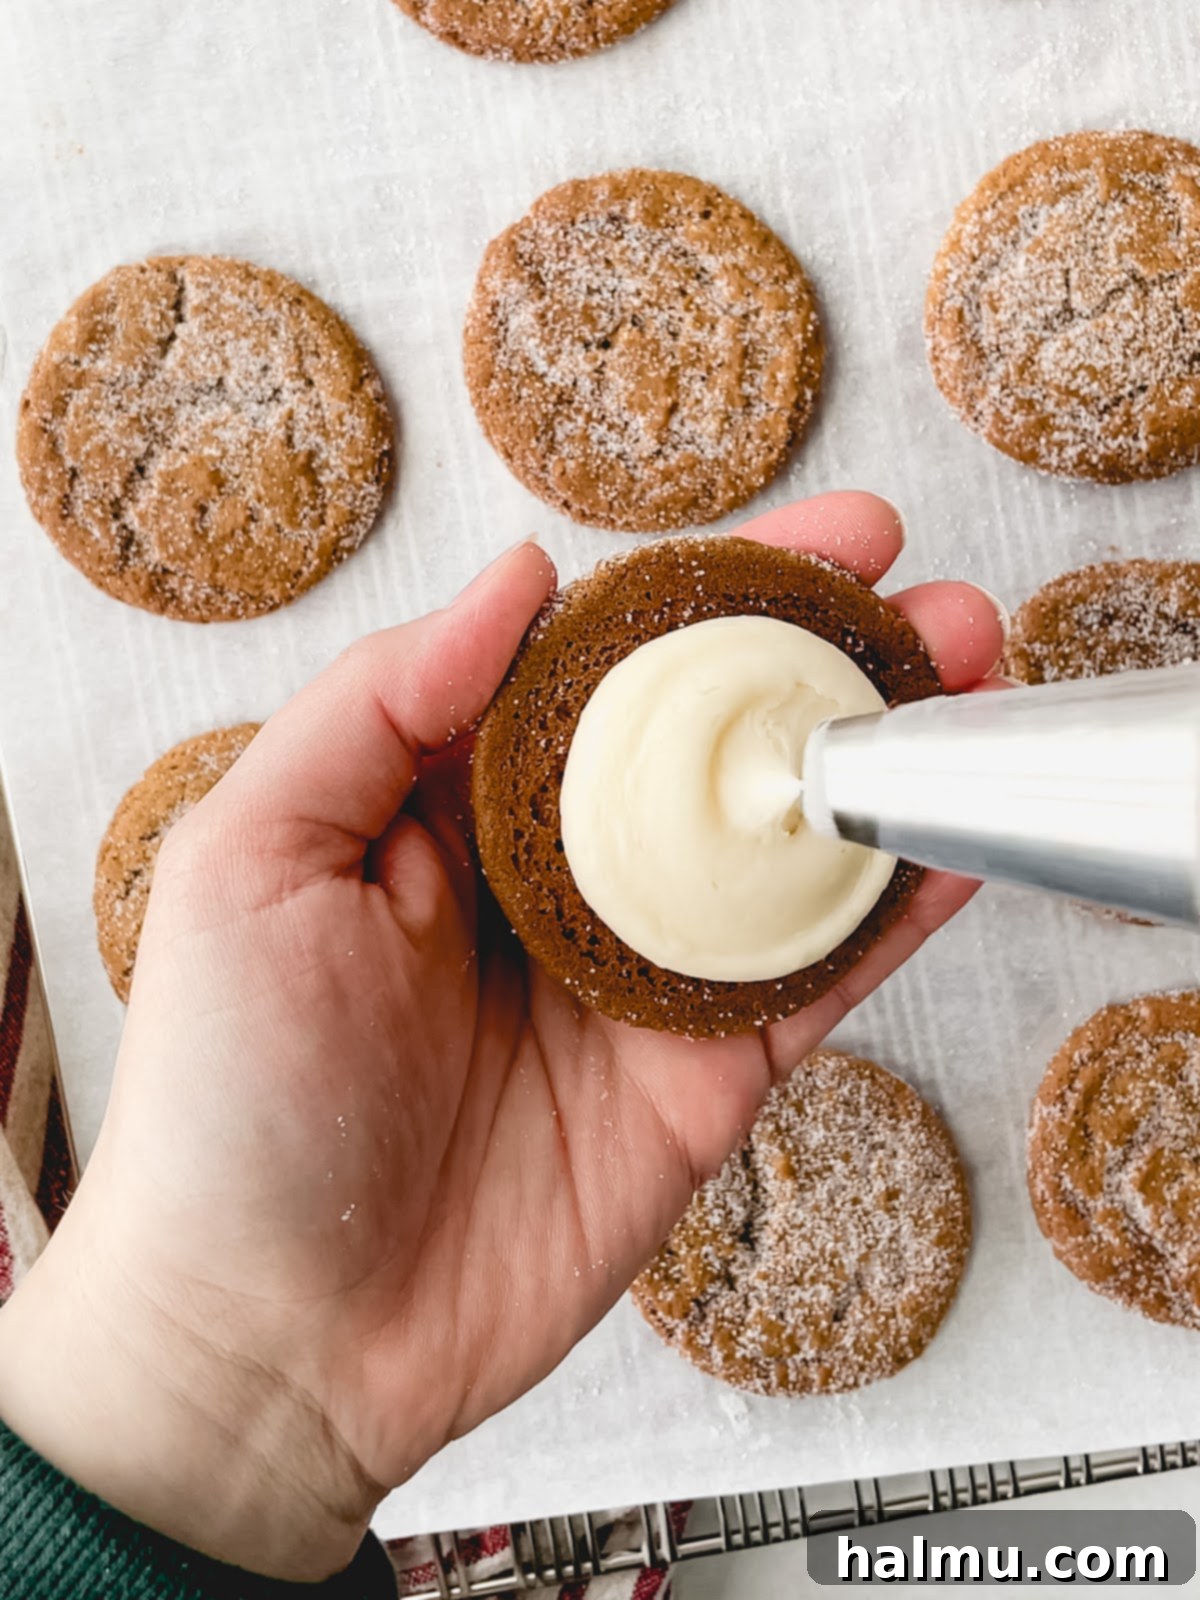
- Prepare Your Piping Bag: Fit a large round piping tip (like an Ateco 806) onto a piping bag. If you don’t have a specific tip, simply cut a roughly 1/2-inch hole at the end of your piping bag. Fill the bag with your cream cheese frosting.
- Frosting Application: Take one ginger molasses cookie and position it with the flat, unsugared side facing up. Pipe a generous dollop or swirl of frosting onto the center of this cookie. The key is to provide enough frosting to reach the edges when pressed, but not so much that it gushes out excessively.
- Gentle Press and Seal: Carefully place another cookie, with its flat side down, onto the frosting. Gently press the two cookies together. Apply even pressure until the frosting softly pushes out to the very edges of the cookies, creating a neat, full sandwich. Repeat this process with all your remaining cookies and frosting, then prepare to enjoy the delicious results!

Frequently Asked Questions About Ginger Molasses Cookie Sandwiches
Baking can sometimes lead to questions, and we’re here to help! Here are answers to some common queries about making these delicious Ginger Molasses Cookie Sandwiches.
Choosing Your Sugar: Granulated vs. Coarse Sugar
Yes, you absolutely can! If you prefer a more pronounced crunch and a thicker sugar coating, crystal or coarse sanding sugar is an excellent alternative to granulated sugar. However, the application method differs slightly. If you opt for coarse sugar, I recommend rolling the raw cookie dough balls in the crystal sugar *before* baking. This allows the coarser sugar to adhere well and “bake in,” preventing it from falling off easily. With granulated sugar, I’ve found it tends to dissolve somewhat during baking. Therefore, for a beautiful, sparkling finish and better adherence, I prefer to dip the granulated sugar onto the cookies *after* they’ve baked and cooled slightly, once they’ve firmed up but are still warm enough for the sugar to stick.
Dealing with Stiff Frosting: Solutions for Smooth Piping
If your cream cheese frosting feels too stiff or firm to pipe smoothly, there are a couple of easy fixes. First, simply let it sit at room temperature for a while. The butter and cream cheese will naturally soften, bringing the frosting to a more pliable consistency. If you’re short on time, you can carefully place the frosting in a heat-safe bowl and microwave it in very short 10-second increments. After each increment, stir the frosting thoroughly. Be extremely cautious not to melt it; you’re just looking to soften it slightly. Remember, starting with room-temperature cream cheese and butter from the outset is the best way to achieve that perfect, pipable consistency without extra troubleshooting.
Piping Frosting Like a Pro: Tips and Alternatives
For a clean and professional look, I personally love using large plastic disposable piping bags paired with a large round piping tip. My go-to size for these cookies is an Ateco 806 tip, but any large round tip will work beautifully. If you don’t have any piping tips on hand, don’t worry! You can still achieve a great result. Just snip off the end of your piping bag to create a hole about the same size as your desired tip opening, and pipe the frosting directly without a tip. Another convenient option, if you prefer not to use a piping bag at all, is to use a small cookie scoop (the same one you used for the cookies!) to portion the frosting onto the cookies. This gives a rustic yet charming look.

Preparing Frosting in Advance: Storage and Handling
Yes, you can absolutely make the cream cheese frosting ahead of time! It’s a great way to spread out your baking tasks during the busy holiday season. Once prepared, store the frosting in an airtight container in the refrigerator. However, keep in mind that cold frosting will be quite stiff and too firm to pipe directly from the fridge. To ensure a smooth, pipable consistency, you’ll need to let the cold frosting sit out at room temperature for a couple of hours before filling your piping bag and assembling your cookies. It’s also important to note that freshly baked cookies are still somewhat delicate. Attempting to sandwich them with cold, stiff frosting might make them prone to breaking. Allowing both the cookies to cool completely and the frosting to soften ensures a smooth, easy assembly process.
Optimal Storage for Your Cookie Creations
Given that the frosting contains cream cheese, these delightful cookie sandwiches require refrigeration to stay fresh and safe. Store them in an airtight container in the fridge for up to 3 days. You’ll find that the cookies often become even softer and chewier after a night in the fridge, enhancing their delicious texture! For longer storage, these cookie sandwiches freeze exceptionally well. Simply place the assembled sandwiches in an airtight freezer-safe container, separating layers with parchment paper if stacking. To enjoy, transfer them from the freezer to the refrigerator to thaw overnight, or for several hours prior to serving. They’ll be just as delicious as when they were freshly made!

Discover More Irresistible Cookie Recipes
If you’ve fallen in love with these Ginger Molasses Cookie Sandwiches and are looking for more baking inspiration, explore some of our other cherished cookie recipes. Each one is crafted to bring joy to your kitchen and delight to your palate!
- Caramel Cone Crunch Cookies
- Peanut Butter Oreo Cookies
- Brown Butter Toffee Cookie Skillet
- Cranberry Pistachio Biscotti
- Lemon Curd Cookies
Finally, we absolutely love seeing your culinary creations! If you decide to make this delightful recipe, please share your experience by leaving a comment below. Don’t forget to tag @sweetkitchencravings on Instagram or TikTok. If Pinterest is more your style, you can save my recipes to your collection there for easy access later. Happy cookie baking, and enjoy every sweet moment of the holiday season!

Ginger Molasses Cookie Sandwiches
Rachel
Print Recipe
RATE THIS RECIPE
45 minutes
12 minutes
1 hour
19
sandwiches
Ingredients
For the Ginger Molasses Cookies
-
¾
cup
(170g) unsalted butter
,
at room temperature -
1
cup
tightly packed (220g) brown sugar
-
1
large
egg
,
at room temperature -
1
teaspoon
vanilla extract
-
2 ½
cups
(312g) all-purpose flour
-
1
Tablespoon
cornstarch
-
1
teaspoon
cinnamon
-
1
teaspoon
ground ginger
-
1
teaspoon
baking soda
-
½
teaspoon
baking powder
-
½
teaspoon
salt
-
¼
cup
(90g) molasses
-
½
cup
(100g) granulated sugar
For the Cream Cheese Frosting
-
8
oz
(1 block or 227g) cream cheese
,
at room temperature -
10
Tablespoons
(140g) unsalted butter
,
at room temperature -
4
cups
(500g) powdered sugar
-
2
teaspoons
milk
-
1
teaspoon
vanilla extract
Prevent your screen from going dark
SHOP INGREDIENTS
Instructions
Ginger Molasses Cookies: Preheat oven to 350°F. Line 3 baking sheets with parchment paper or a silicone mat.
- In the bowl of a stand mixer fitted with a paddle attachment, cream the butter and brown sugar until fluffy and light in color, about 1 minute.
- Scrape the bowl well then with the mixer on low speed, add the egg and vanilla. Mix until well combined. Scrape the bowl again.
- Add the flour, cornstarch, cinnamon, ginger, baking soda, baking powder, salt and molasses. Mix just until combined.
- Scoop the cookies onto a baking sheet lined with parchment paper, using a small cookie scoop (size 60 or .56 oz).
- Place the cookie dough balls on the prepared baking sheets, spacing them at least 2 inches apart. Bake for 10-12 minutes, until golden around the edges.
- Allow the cookies to cool for 10-15 minutes and dip the tops of each cookie in granulated sugar. Place on a wire rack to finish cooling.
Cream Cheese Frosting: Beat the cream cheese and butter with an electric mixer until smooth with no lumps remaining. Add powdered sugar, milk, and vanilla and mix just until fully combined but be careful not to overmix.
Assembly: Fill a piping bag with a large round piping tip and fill it with the cream cheese frosting. Take one cookie and pipe a large mound of frosting in the center, on the flat, unsugared side. Take another cookie and gently press the unsugared side onto the frosting while pressing to push the frosting out just to the edges.
- Repeat will all the cookies and enjoy!
Notes
- Storing: Keep the cookie sandwiches in an airtight container in the fridge for up to 3 days.
Did you make this recipe?
Be sure to tag
@sweetkitchencravings on Instagram!
