This post may contain affiliate links. Please read my full disclosure policy.
The Ultimate Guide to Making Soft & Chewy Mini Frosted Sugar Cookies
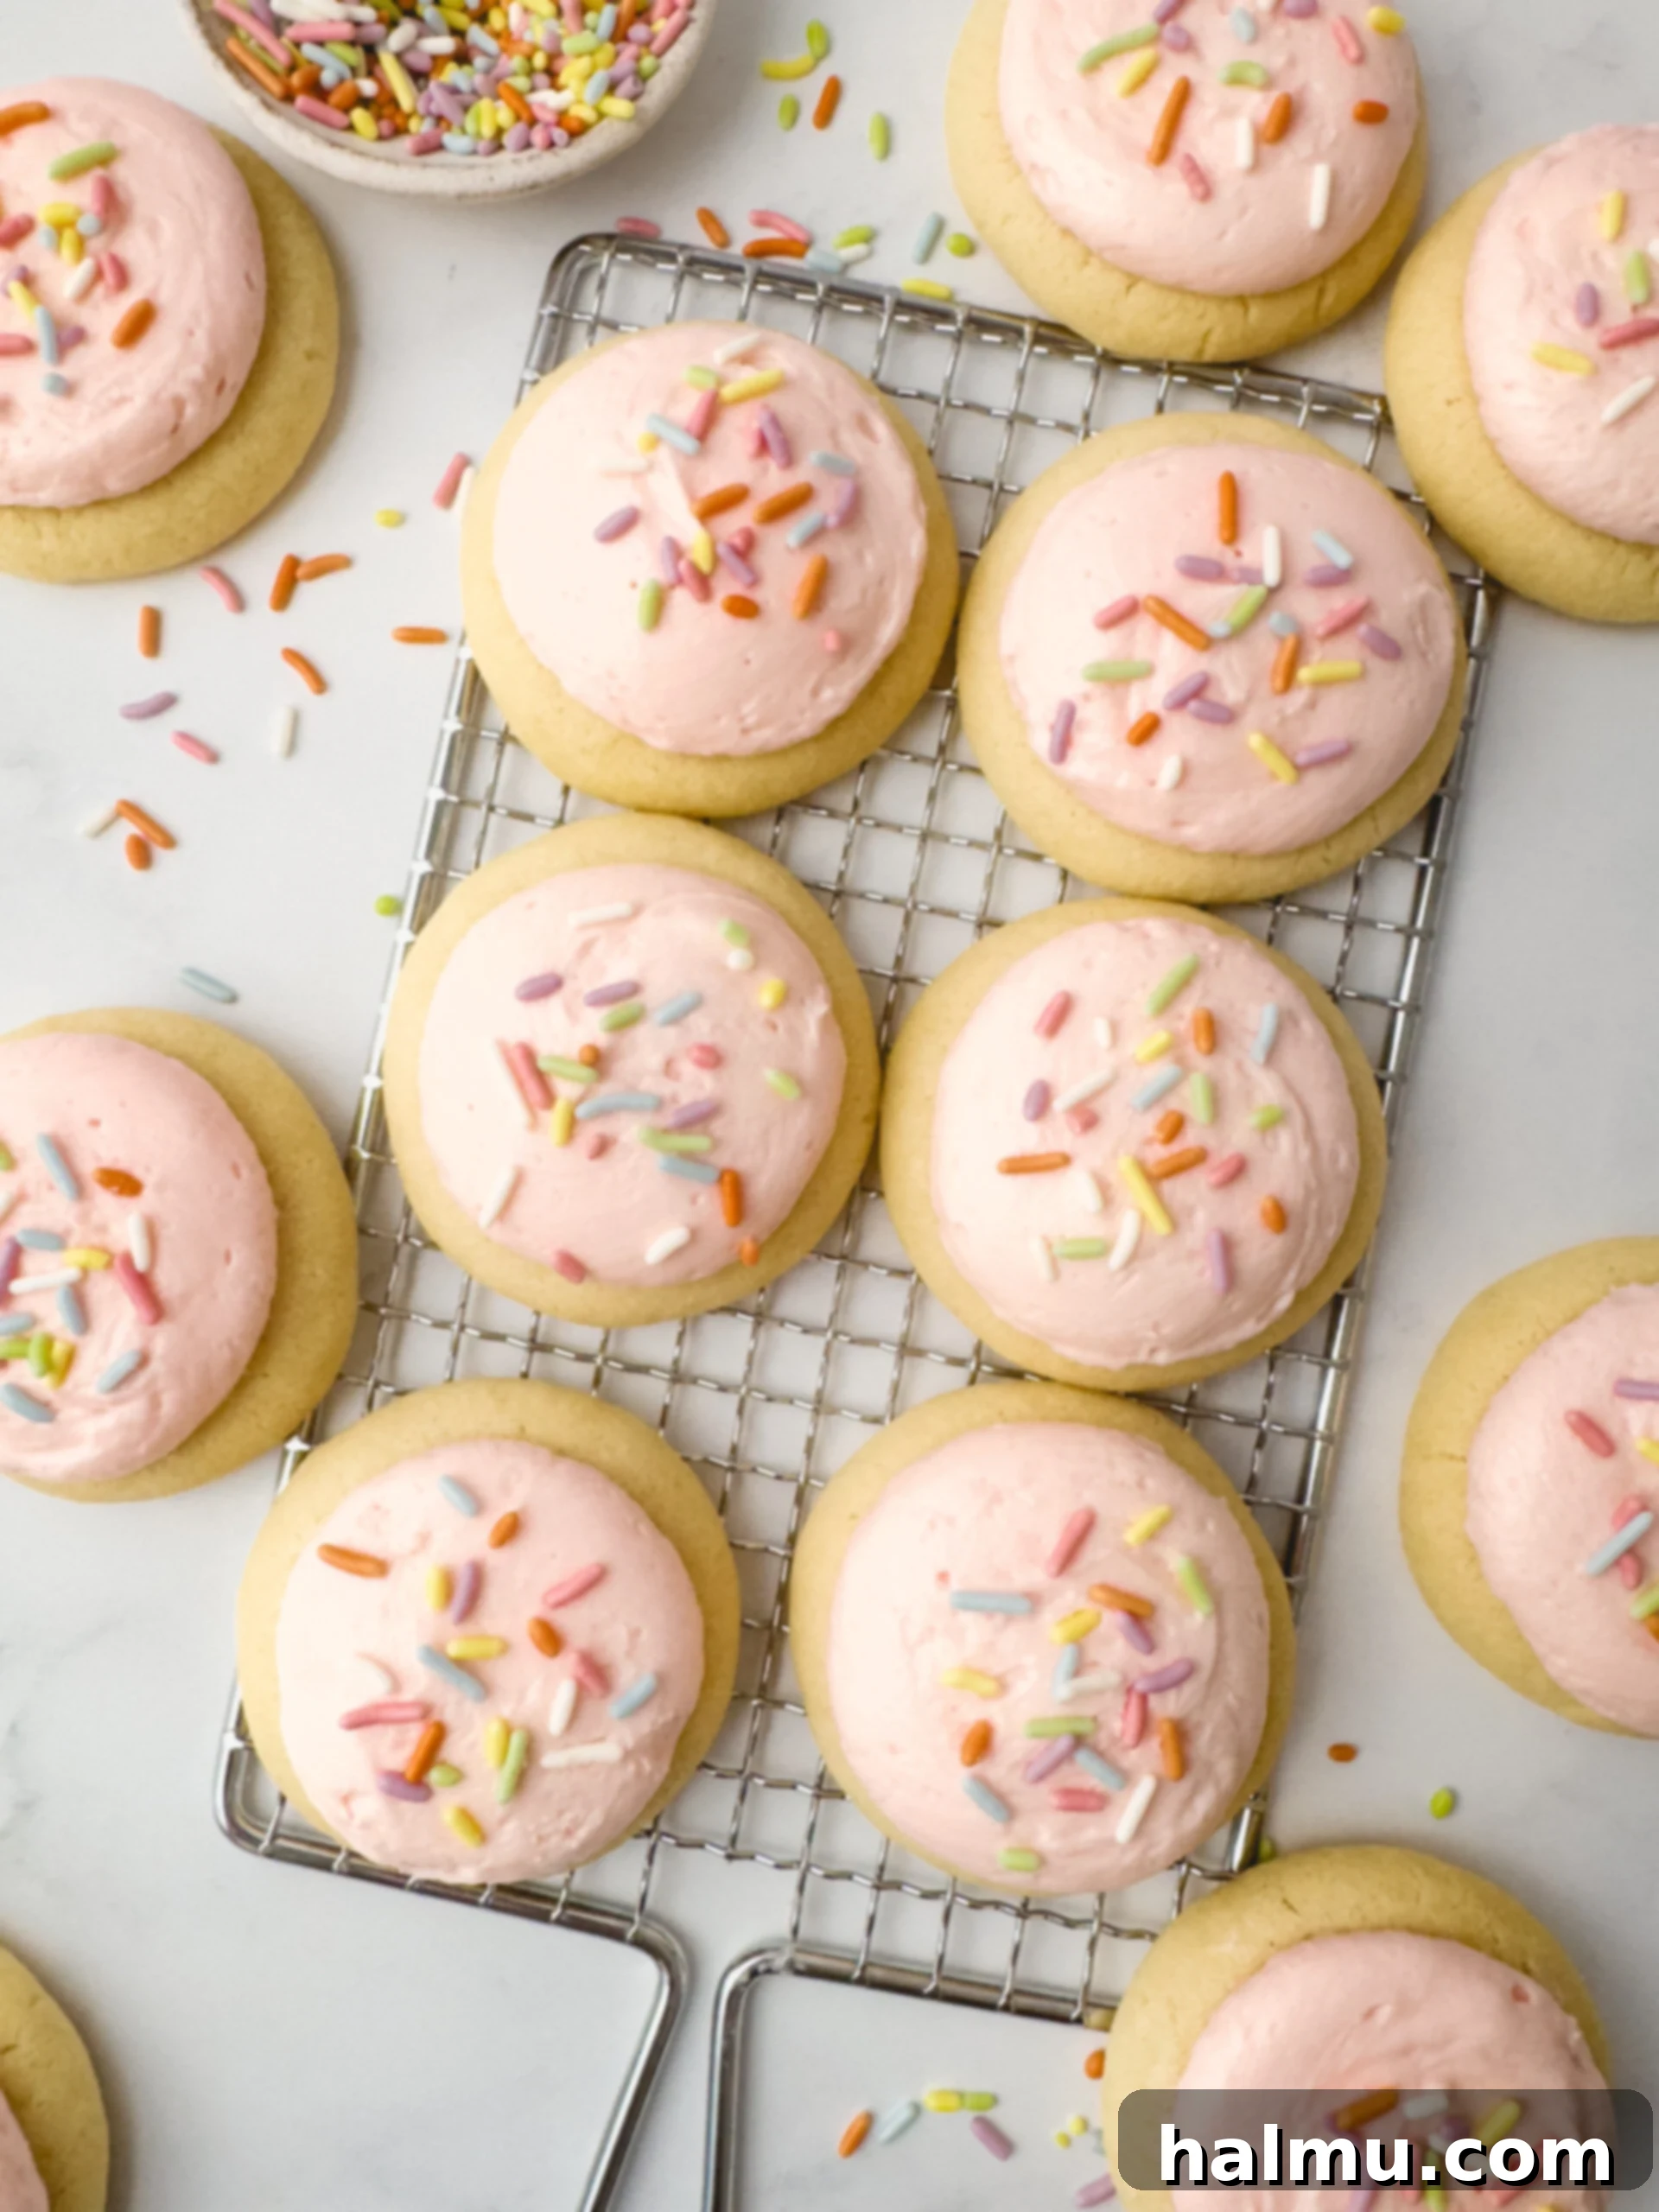
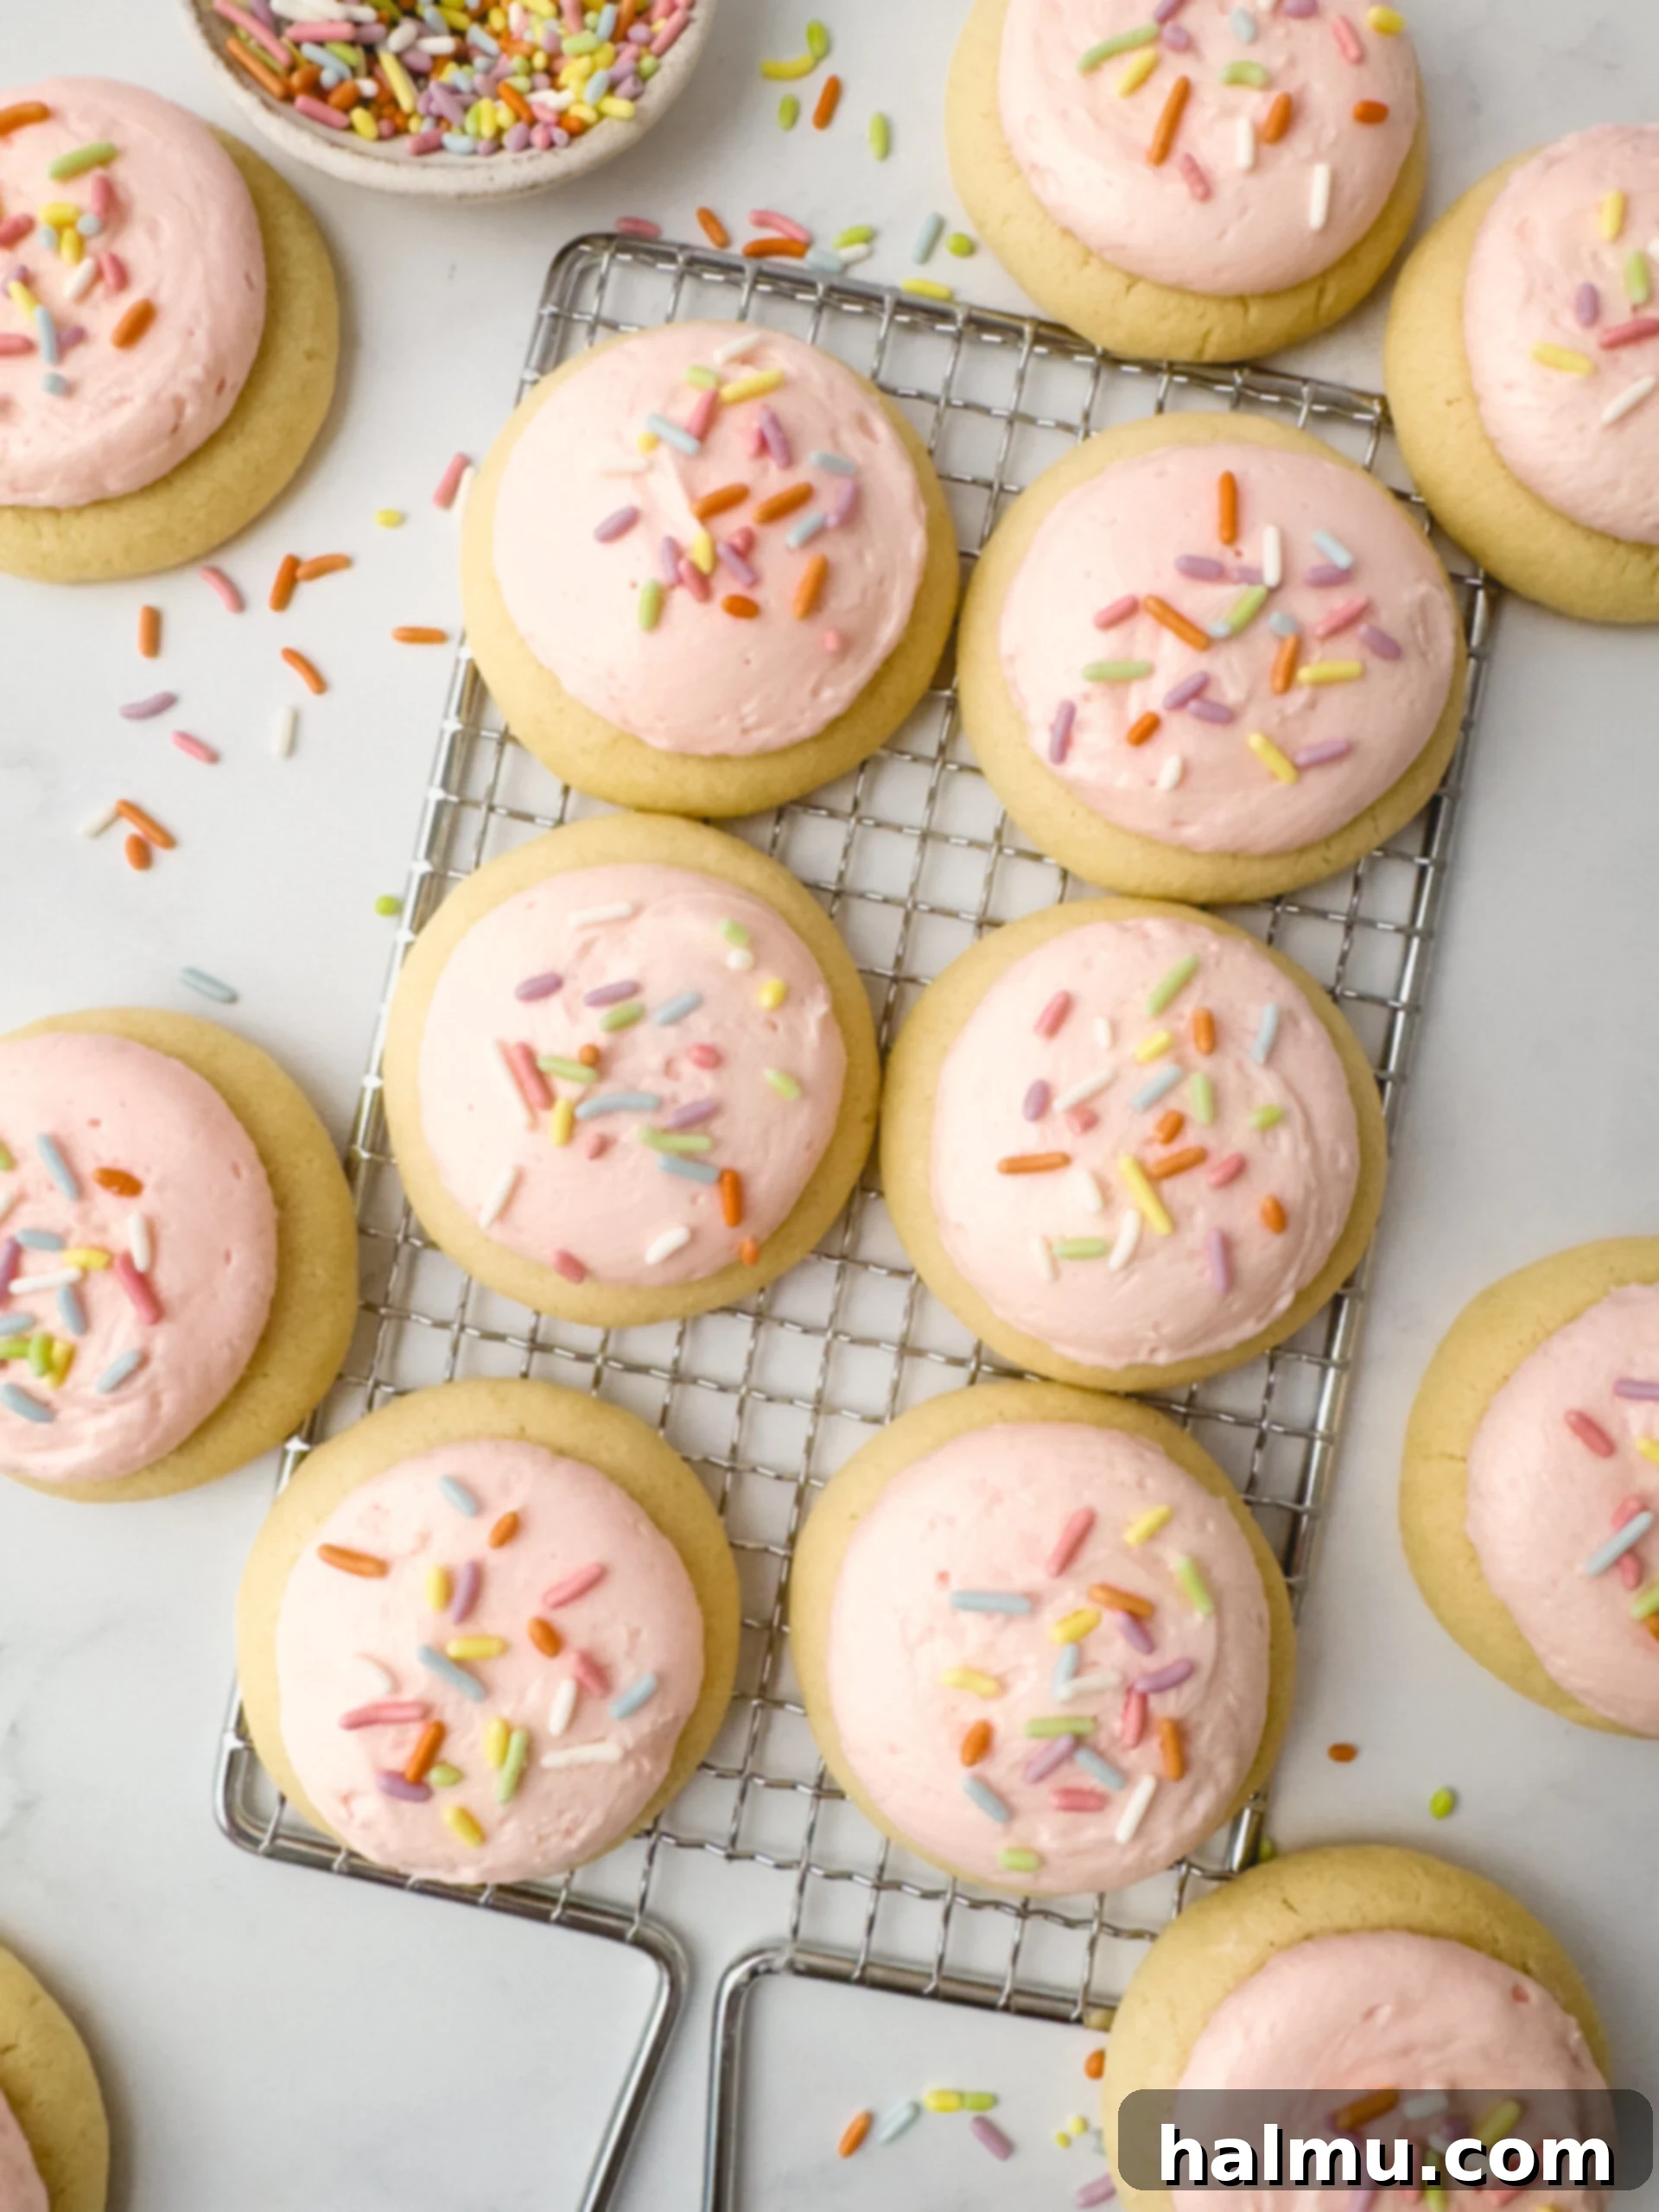
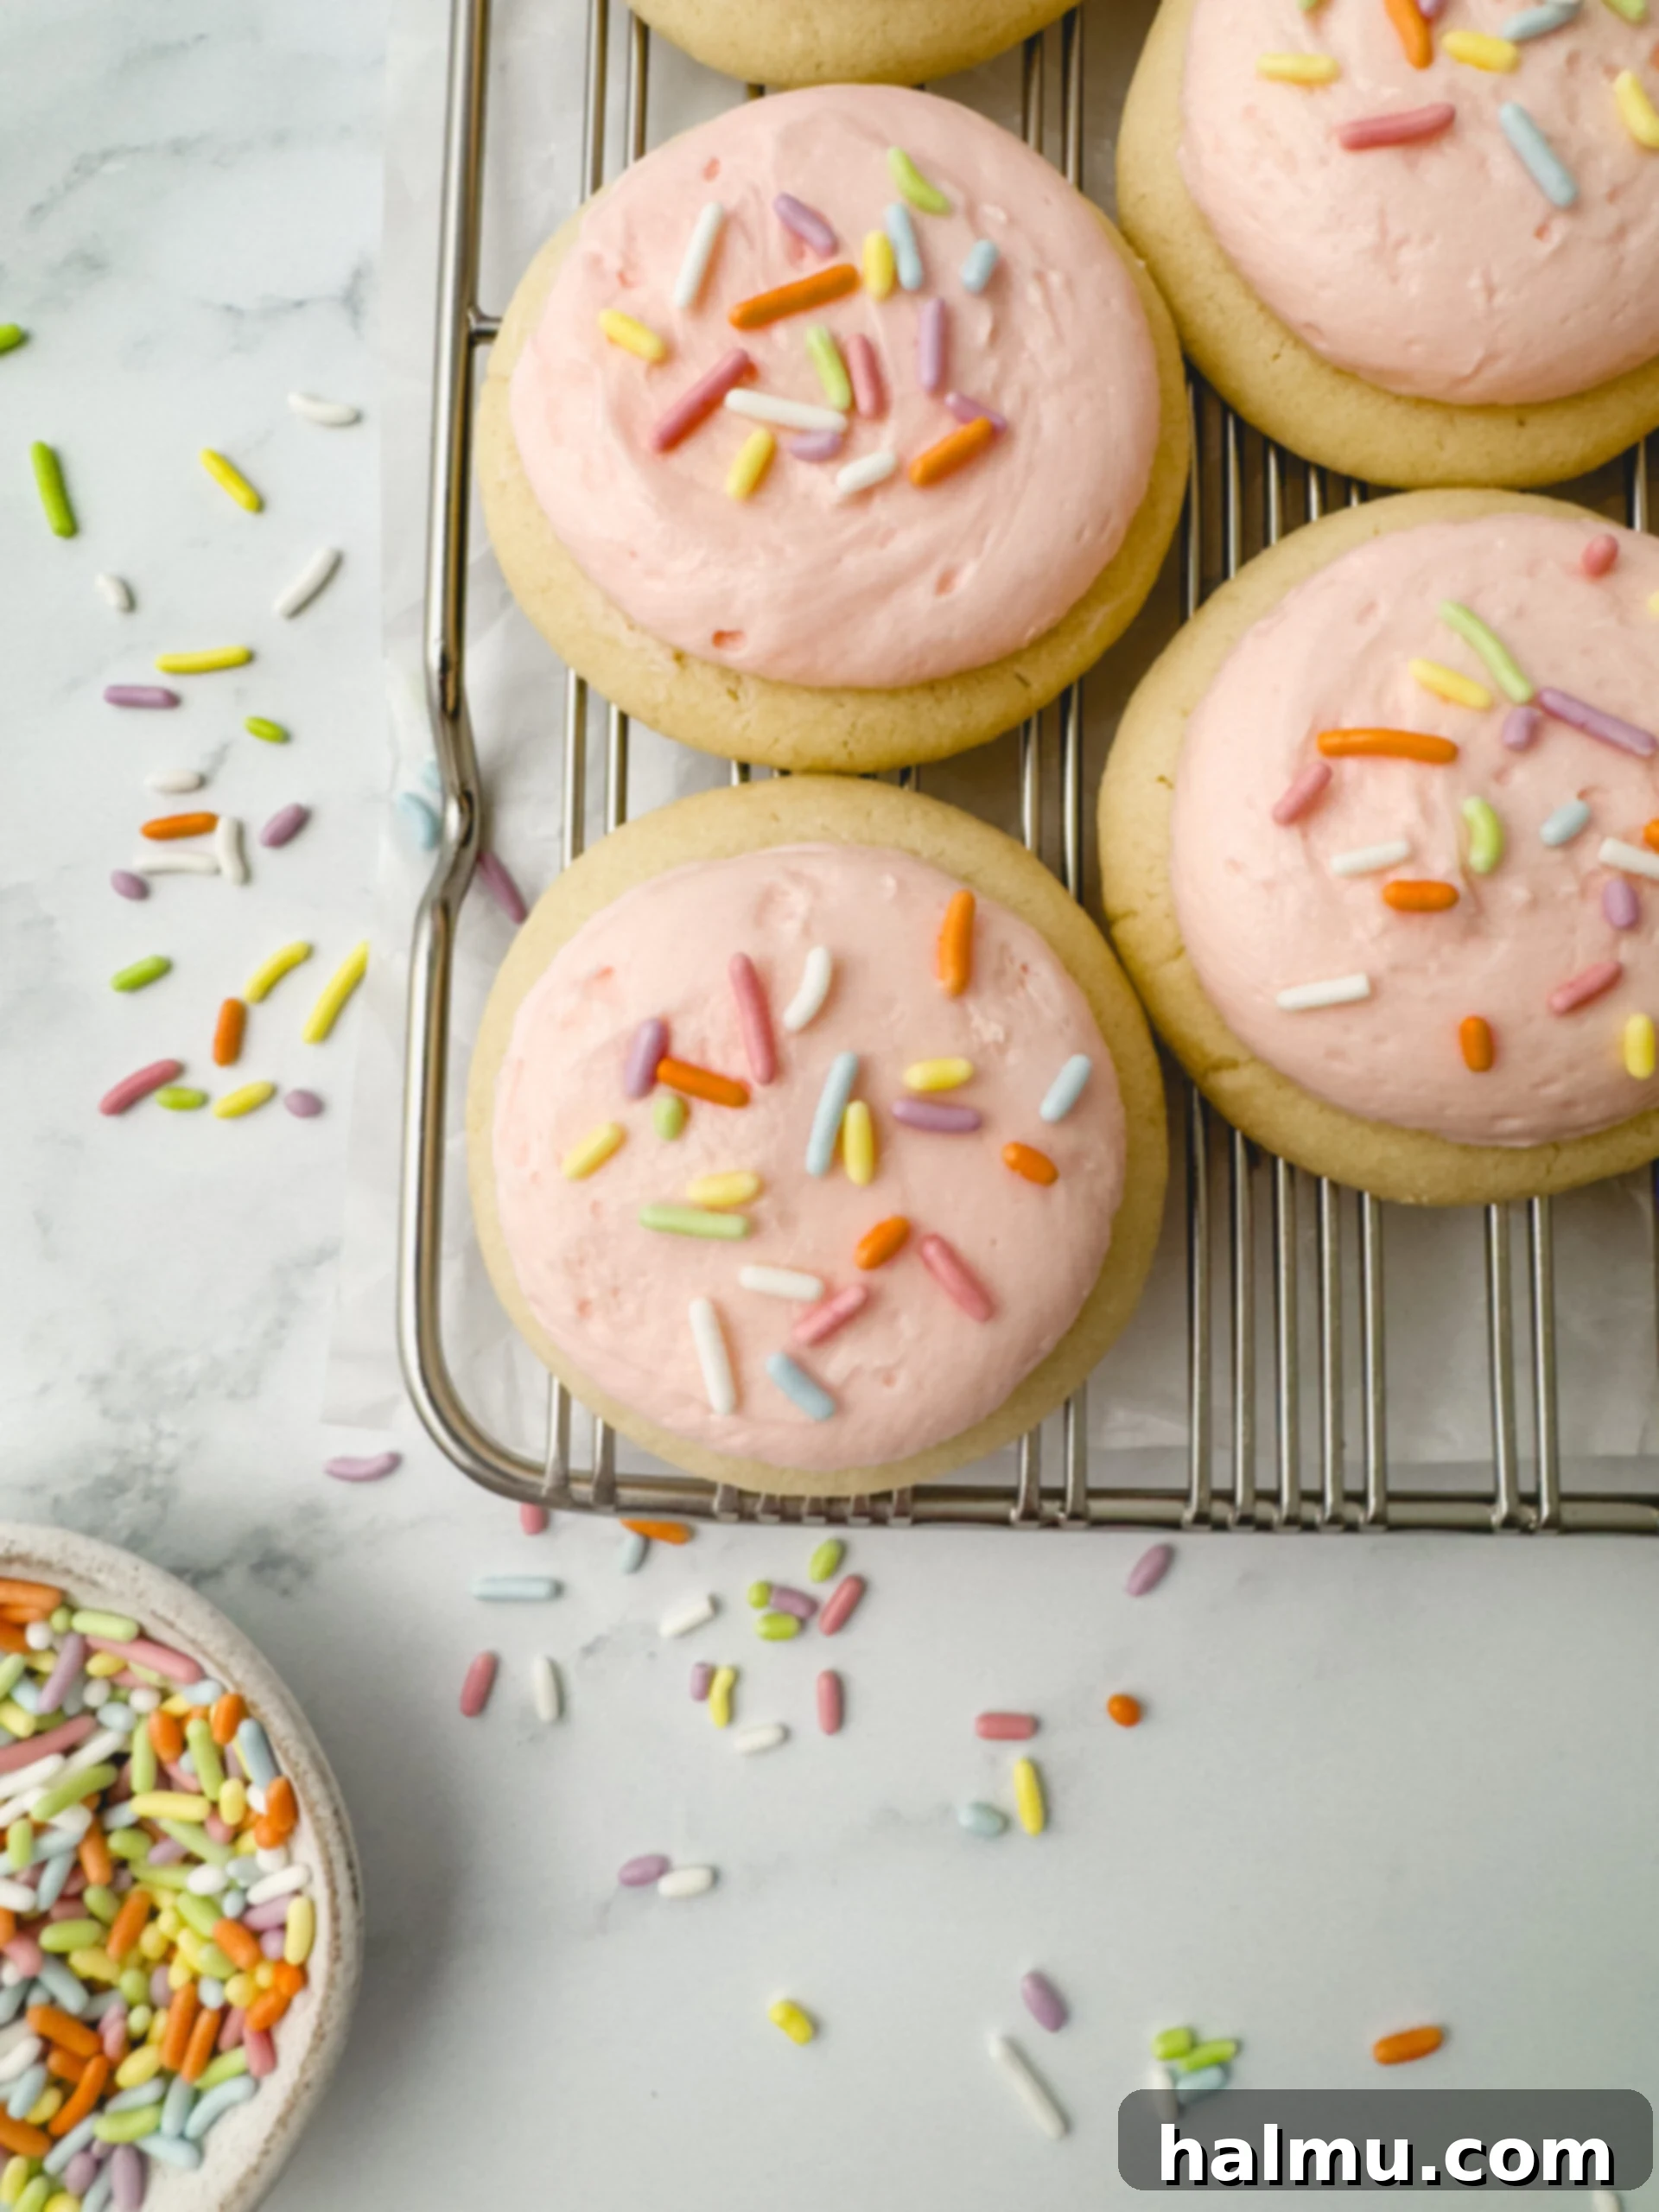
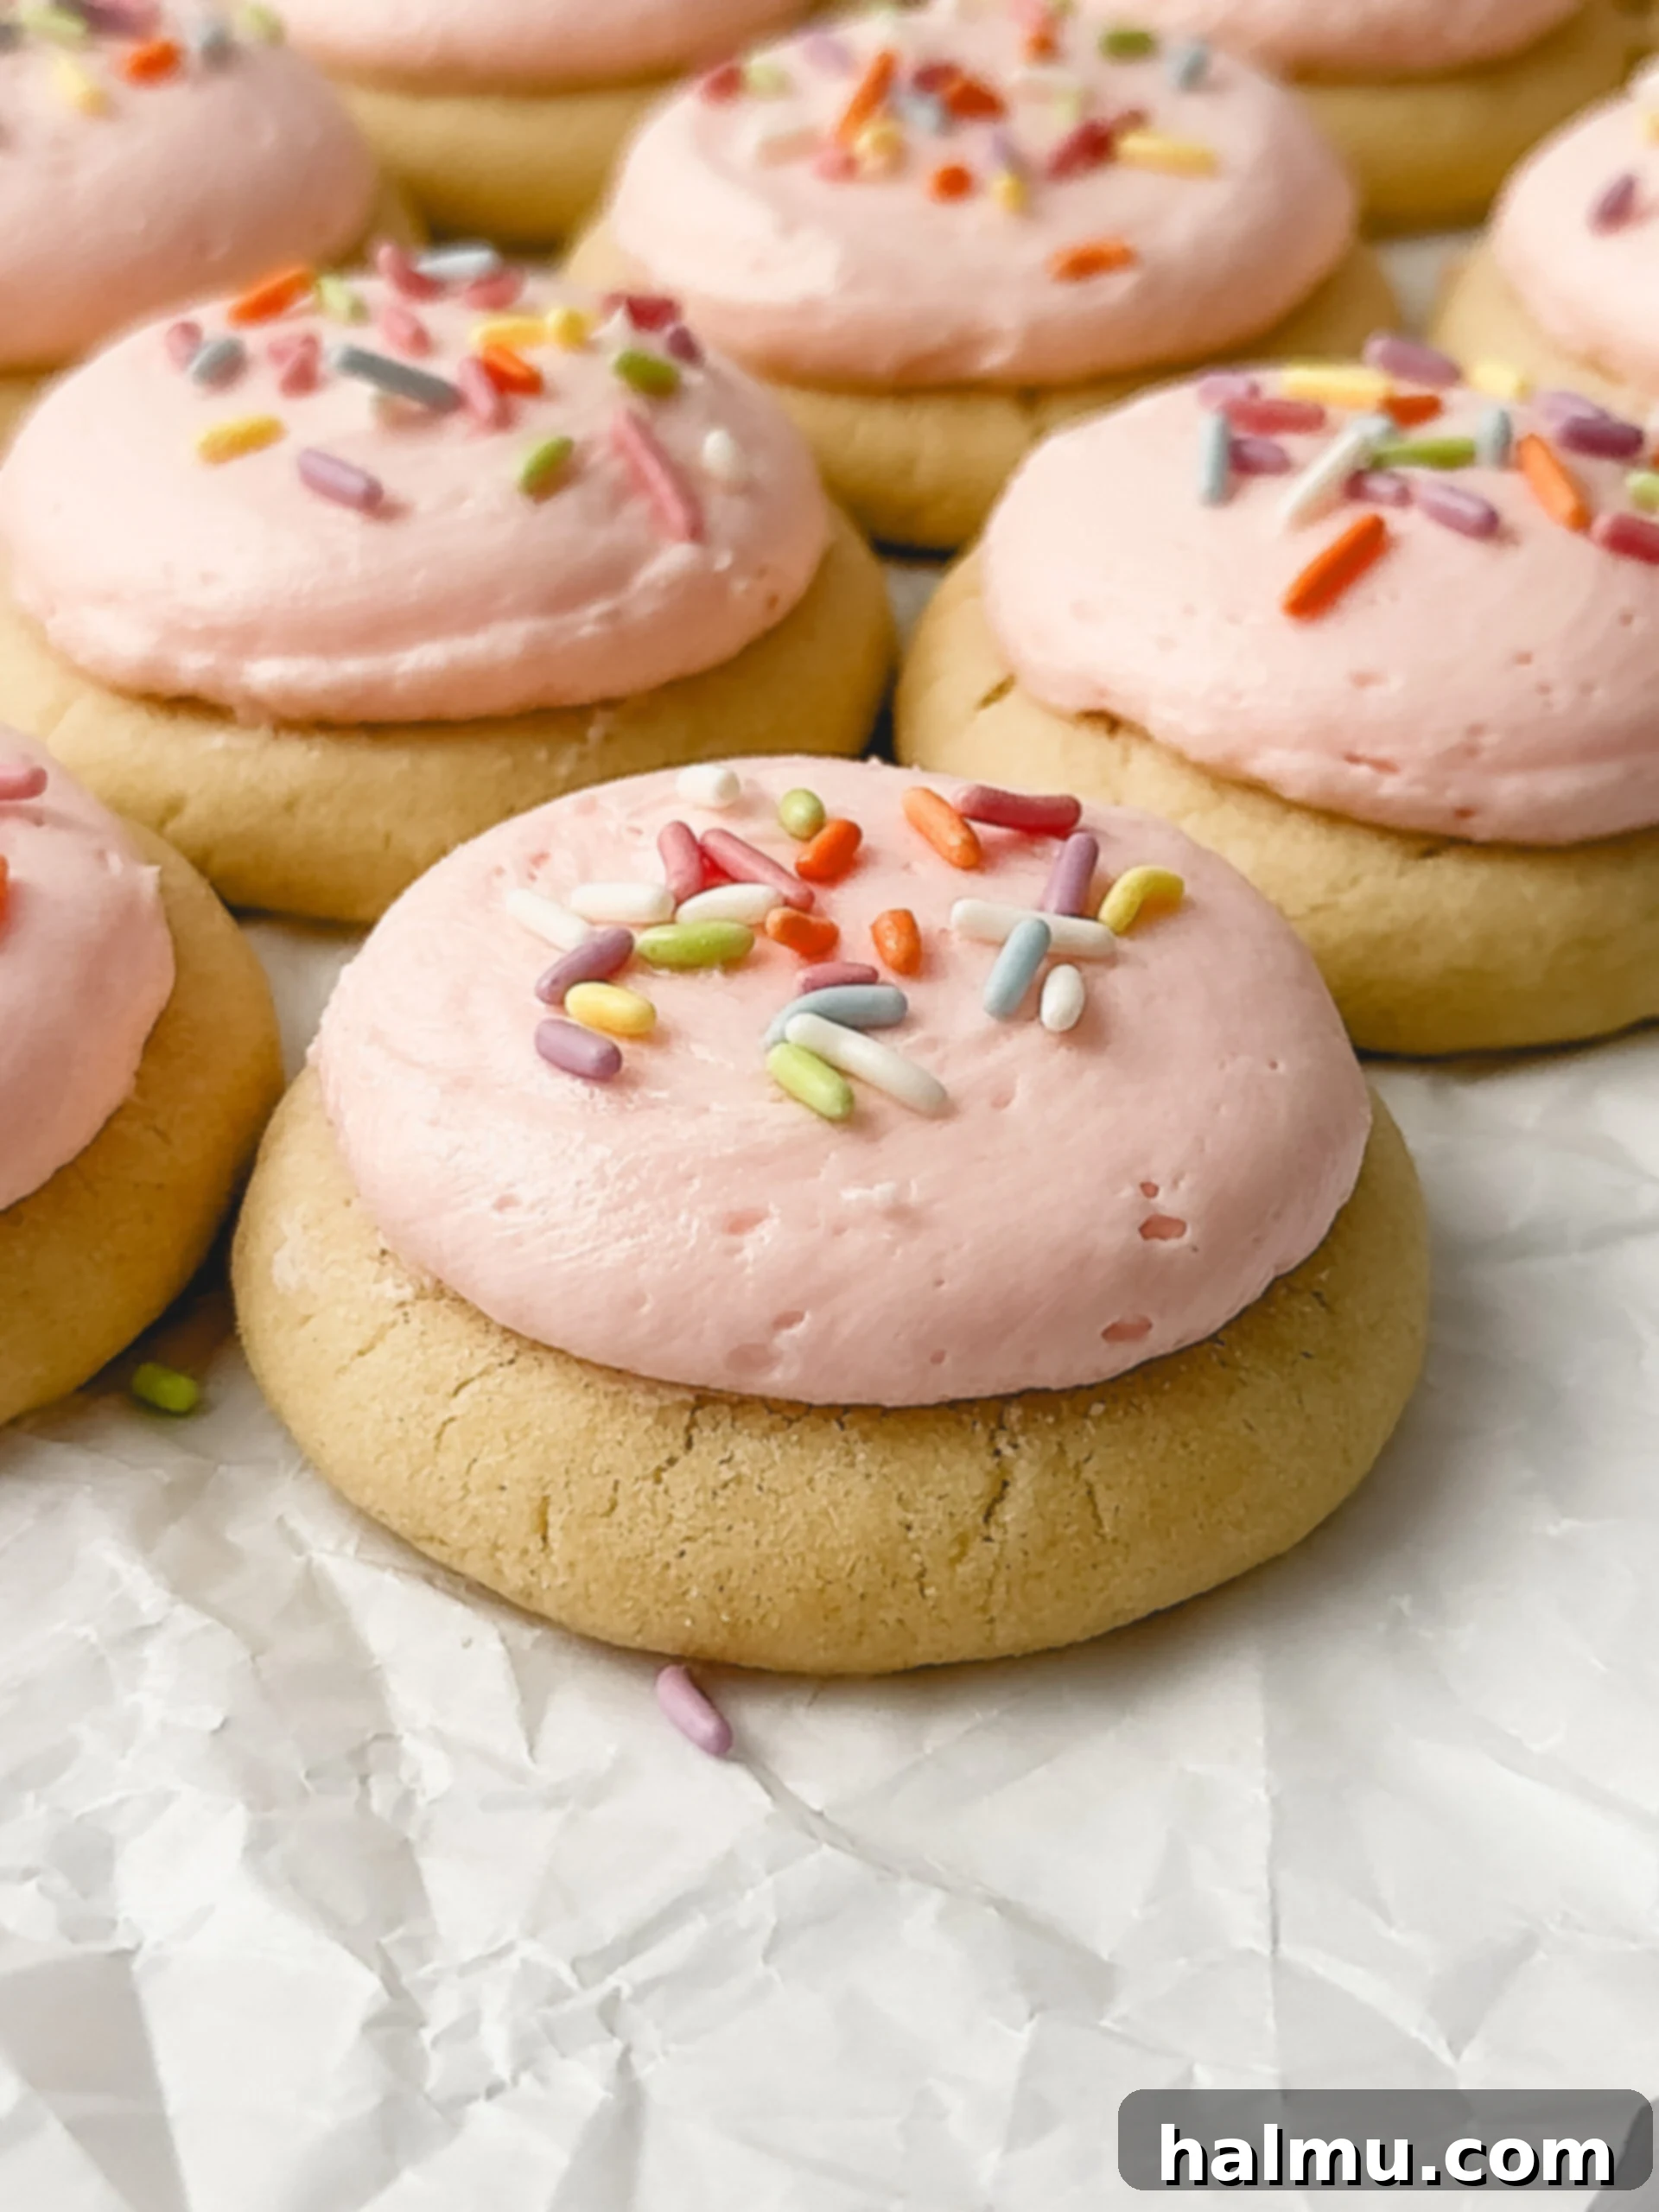
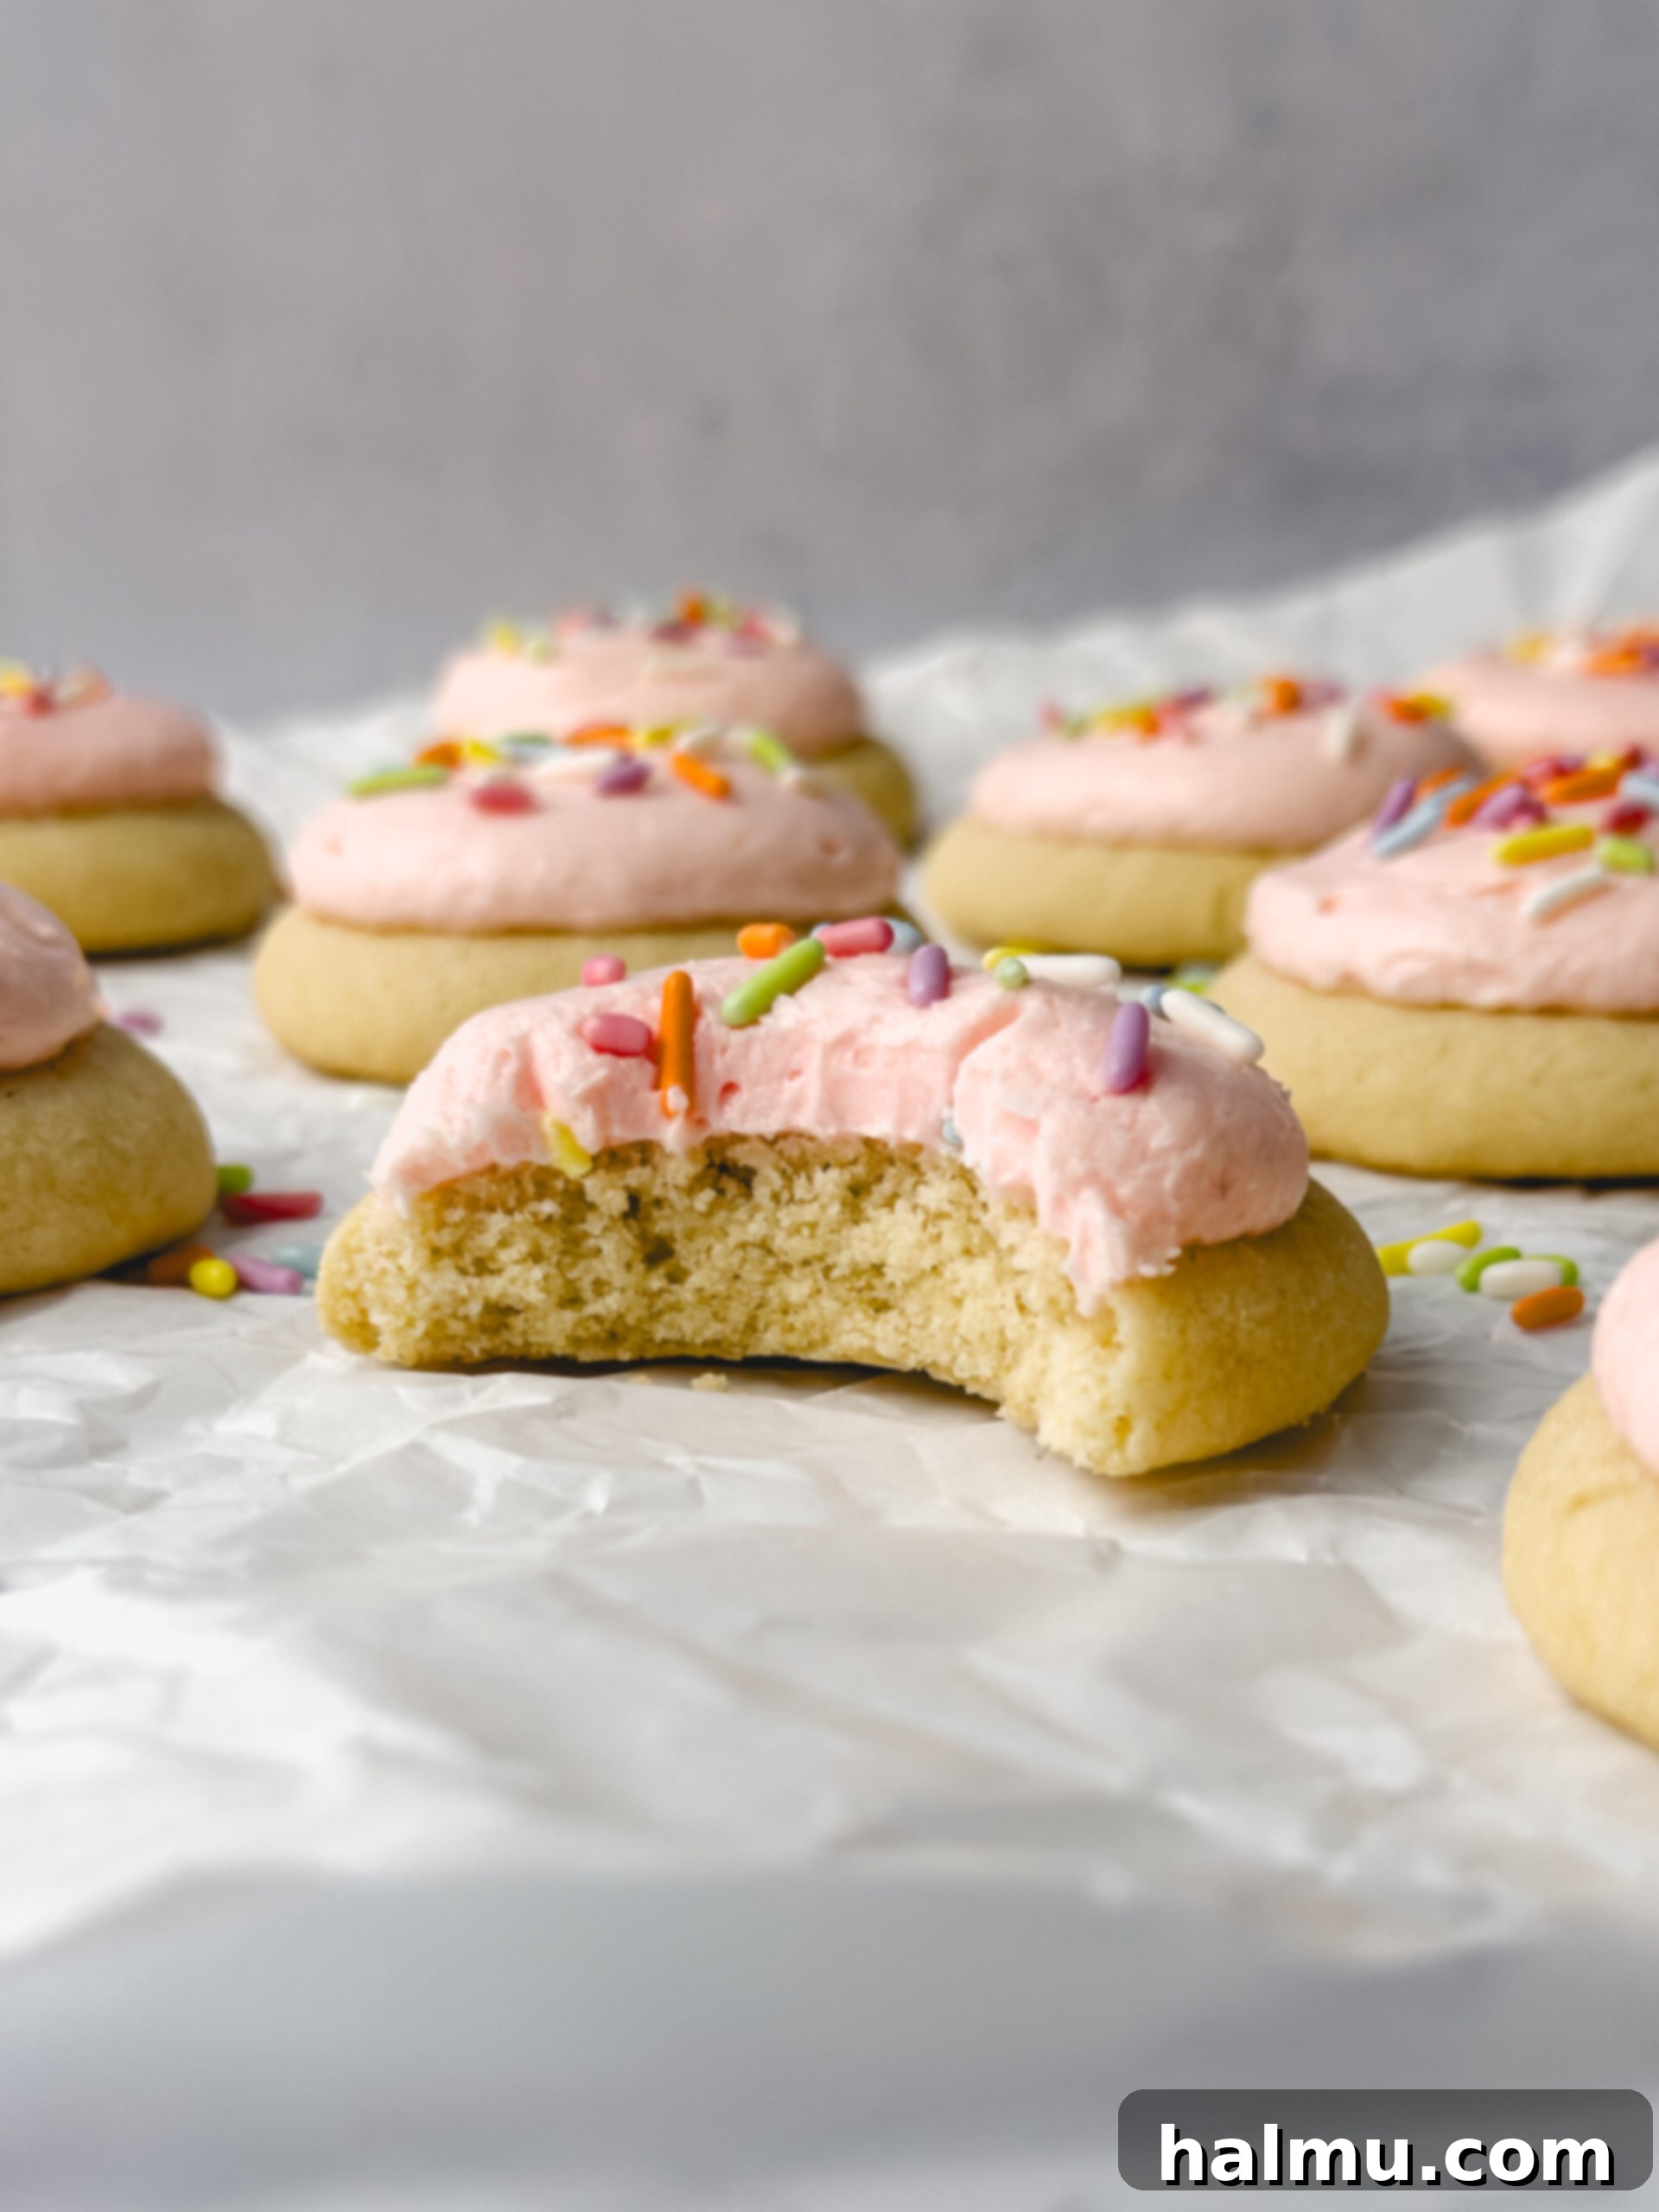
Indulge in the delightful charm of these homemade Mini Frosted Sugar Cookies. They boast a perfectly soft, yet satisfyingly thick and subtly chewy texture, crowned with a cloud of fluffy vanilla buttercream and a playful scattering of colorful sprinkles. My goal was to capture the nostalgic essence of those beloved grocery store Lofthouse cookies, and I’m thrilled to say, mission accomplished! In fact, I’d confidently declare these even superior to their store-bought counterparts. Their irresistible taste and adorable miniature size have swiftly made them my new favorite go-to treat for any occasion – be it birthdays, holidays, or simply satisfying that sudden sweet craving.
These petite confections are more than just a dessert; they are a celebration in every bite. Their vibrant appearance and comforting flavor make them a staple for festive gatherings, charming party favors, or a simple pick-me-up during a quiet afternoon. Once you try this recipe, you’ll understand why these mini frosted sugar cookies are destined to become a treasured favorite in your baking repertoire.
Why You’ll Fall in Love with These Cookies
- Soft & Chewy Perfection – The foundation of these cookies is a thick sugar cookie base that delivers an exquisite balance of softness and chewiness. Each bite offers the classic, comforting notes of buttery vanilla, a flavor profile that evokes warmth and nostalgia. The miniature size not only makes them incredibly cute and appealing but also perfect for guilt-free snacking, sharing with friends, or serving at events where portion control is appreciated. They disappear quickly, but the memory of their delightful texture lingers.
- Dreamy Vanilla Buttercream – What’s a sugar cookie without its frosting? Our classic fluffy vanilla buttercream is incredibly easy to prepare, requiring just five essential ingredients. It’s the ideal creamy complement to the soft cookie base, creating a harmonious blend of textures and flavors. For that iconic, cheerful appearance reminiscent of the original frosted sugar cookies, a touch of light pink food coloring can be added, making them even more visually appealing and irresistible. This frosting isn’t just a topping; it’s an integral part of the cookie experience.
- Effortless & Efficient Baking – We all love homemade treats, especially when they don’t demand an entire day in the kitchen. This recipe shines in its simplicity and speed. The cookie dough comes together in a flash, and perhaps the best part? It only needs a mere 30 minutes of chilling time – a fraction of what many other sugar cookie recipes require. The vanilla buttercream can be whipped up in approximately 5 minutes, meaning you can go from craving to indulging in these delicious mini frosted sugar cookies in surprisingly little time. This makes them perfect for spontaneous baking sessions or last-minute party preparations.
How to Craft These Irresistible Mini Frosted Sugar Cookies
1. Preparing the Velvety Cookie Dough
The journey to these exceptional cookies begins with creaming together butter, granulated sugar, and a hint of vegetable oil. The addition of vegetable oil is a key component here, as it plays a crucial role in ensuring the cookies remain wonderfully tender and moist, preventing them from becoming dry or crumbly. After this, large eggs and fragrant vanilla extract are incorporated, infusing the dough with richness and flavor. Finally, the dry ingredients are added, which include all-purpose flour, a tablespoon of cornstarch, baking powder, baking soda, and a touch of salt. The cornstarch is another secret ingredient, contributing significantly to the cookies’ characteristic softness and aiding in their delightful thickness. Once fully mixed, the dough requires a brief refrigeration period of at least 30 minutes. This chilling process is essential; it not only firms up the dough, making it easier to handle, but also helps prevent the cookies from spreading too much during baking, ensuring they maintain their perfect mini shape and chewy texture.
2. Baking for Optimal Softness
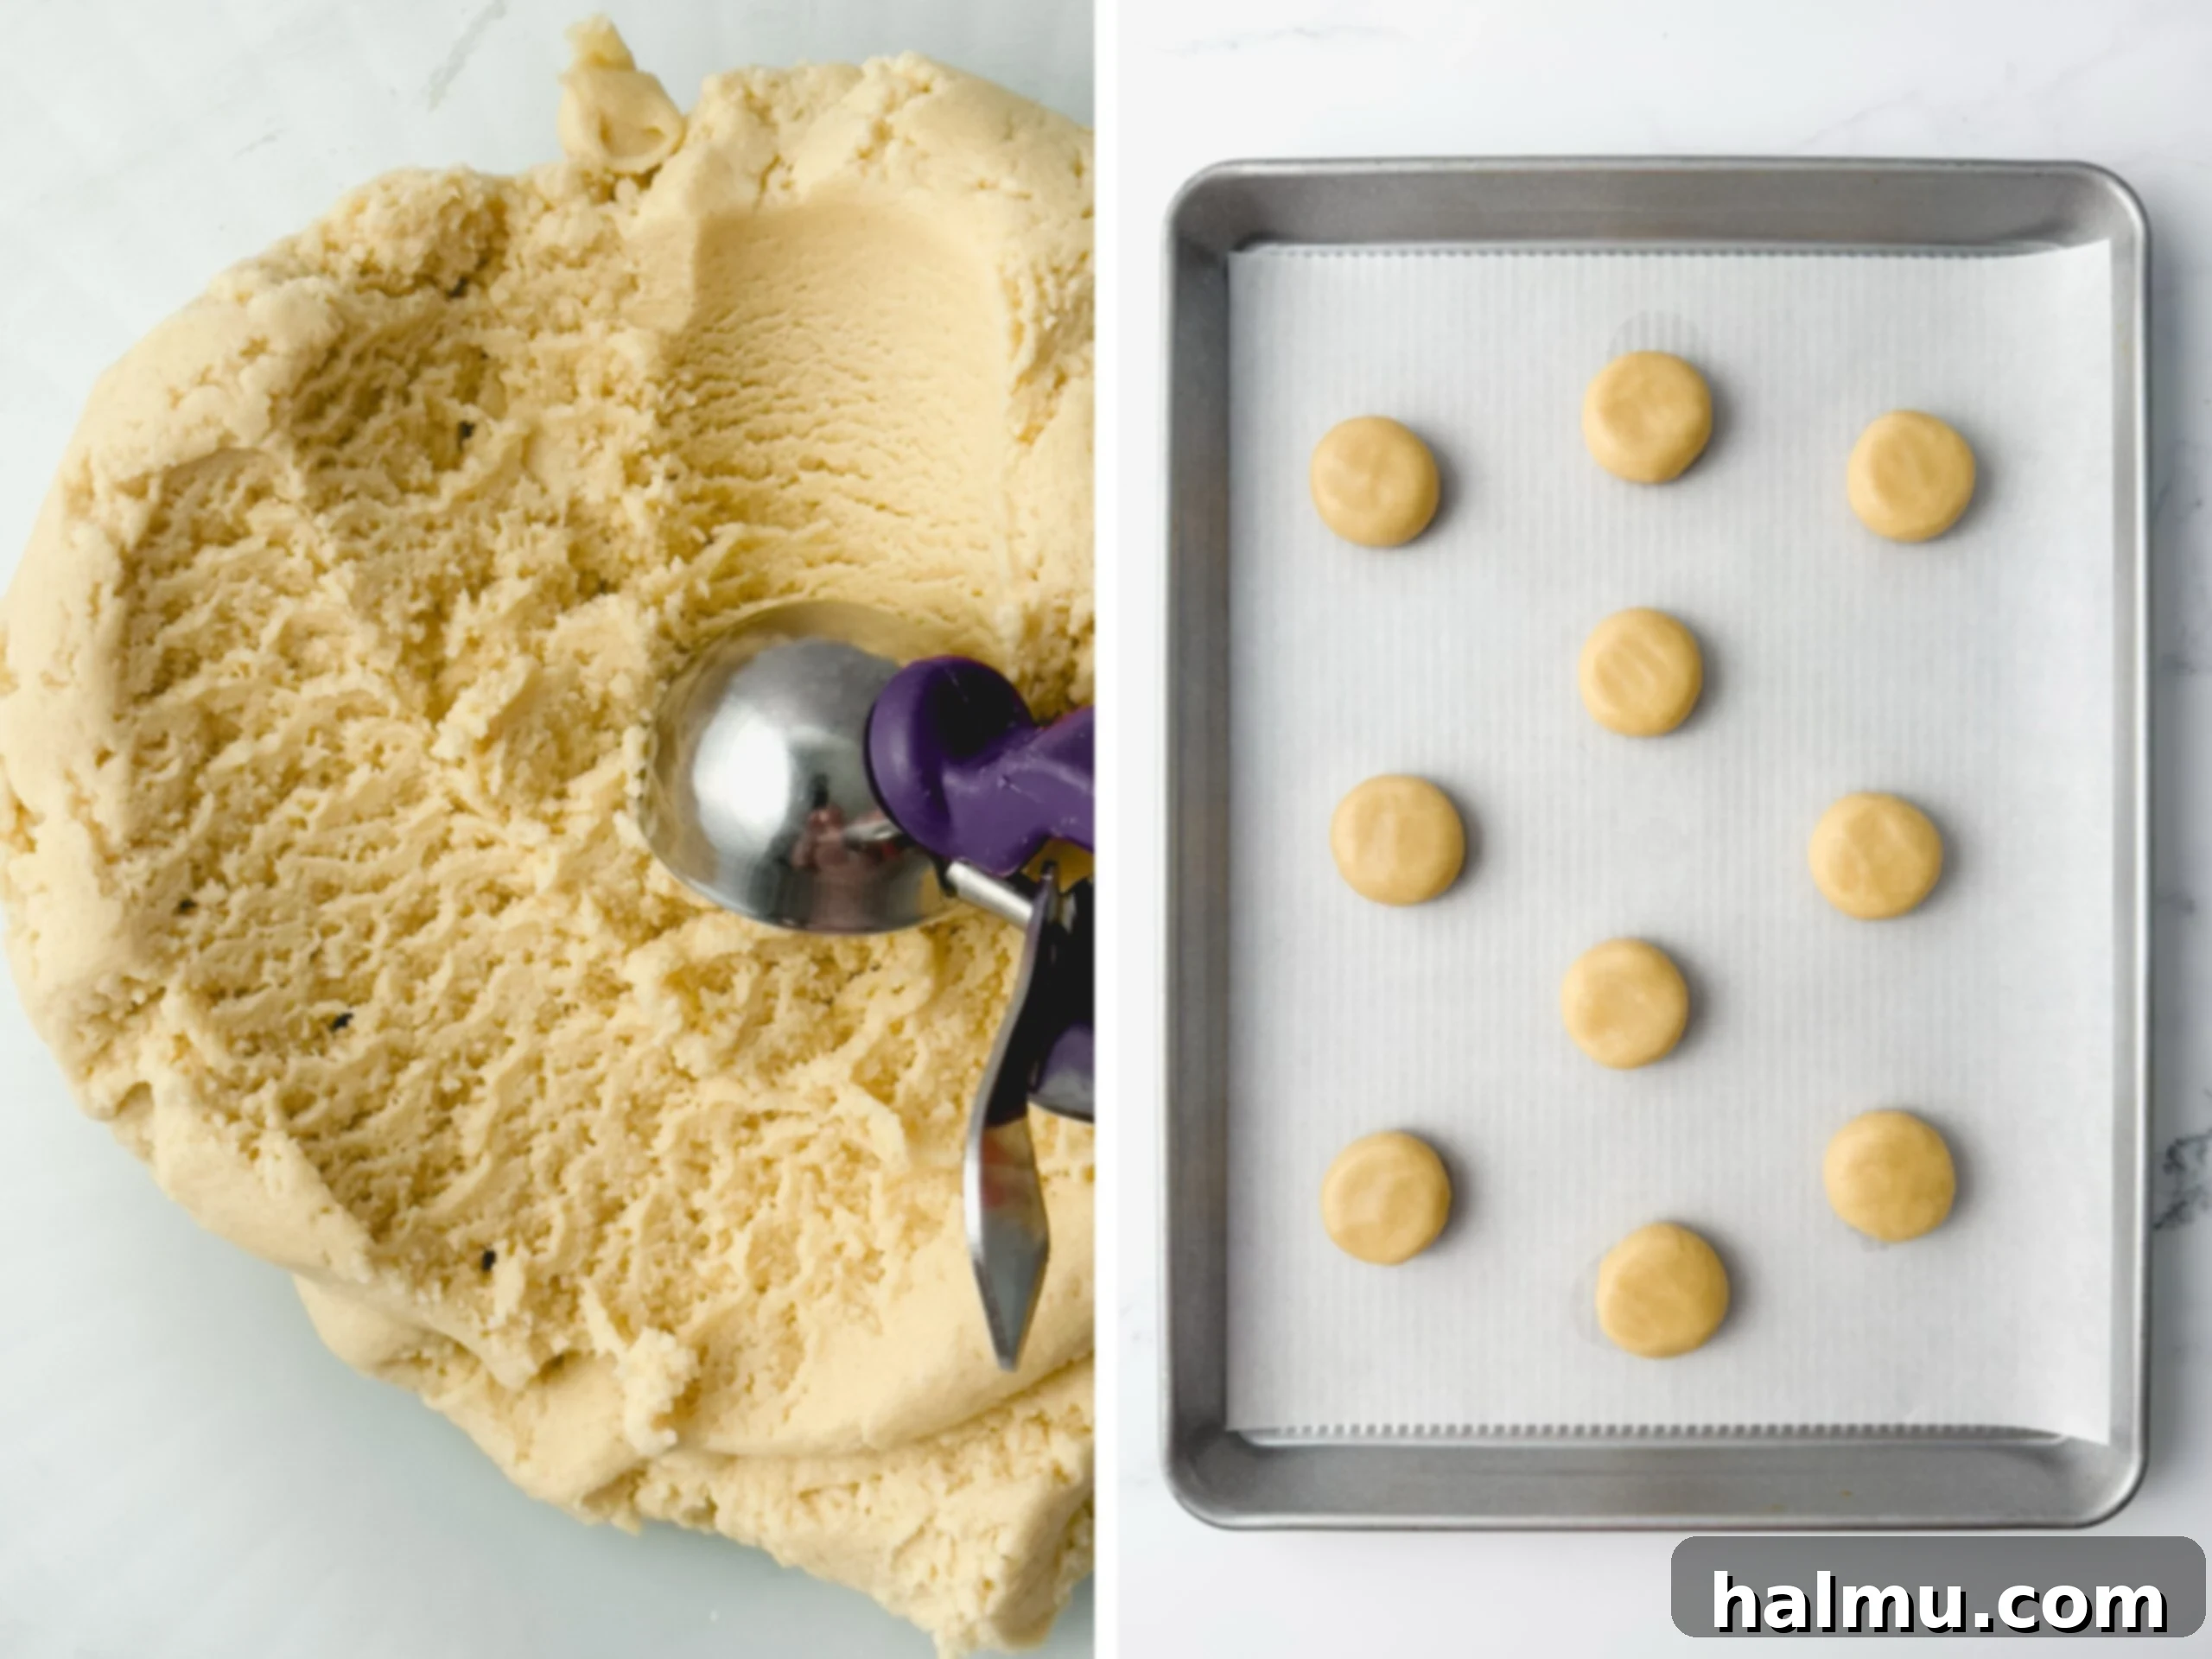
Once the dough has sufficiently chilled and is firm enough to work with, it’s time to shape and bake. Using a #40 cookie scoop (which typically holds about 1½ tablespoons of dough) ensures consistent sizing for your mini cookies. Each scoop is then gently rolled into a neat ball and placed onto a baking sheet thoughtfully lined with parchment paper – a crucial step to prevent sticking and encourage even baking. Lightly press down on the top of each dough ball to flatten it slightly; this encourages a beautiful, even rise and prevents overly round cookies. The cookies are then baked in a preheated oven at 350°F (175°C) for approximately 10 to 12 minutes. Look for visual cues: the centers of the cookies should appear pale and set, while the edges should exhibit just a hint of golden brown. Overbaking can lead to dry cookies, so keep a watchful eye! Once baked, transfer them to a wire rack to cool completely before moving on to the frosting stage.
3. Whipping Up Dreamy Vanilla Buttercream
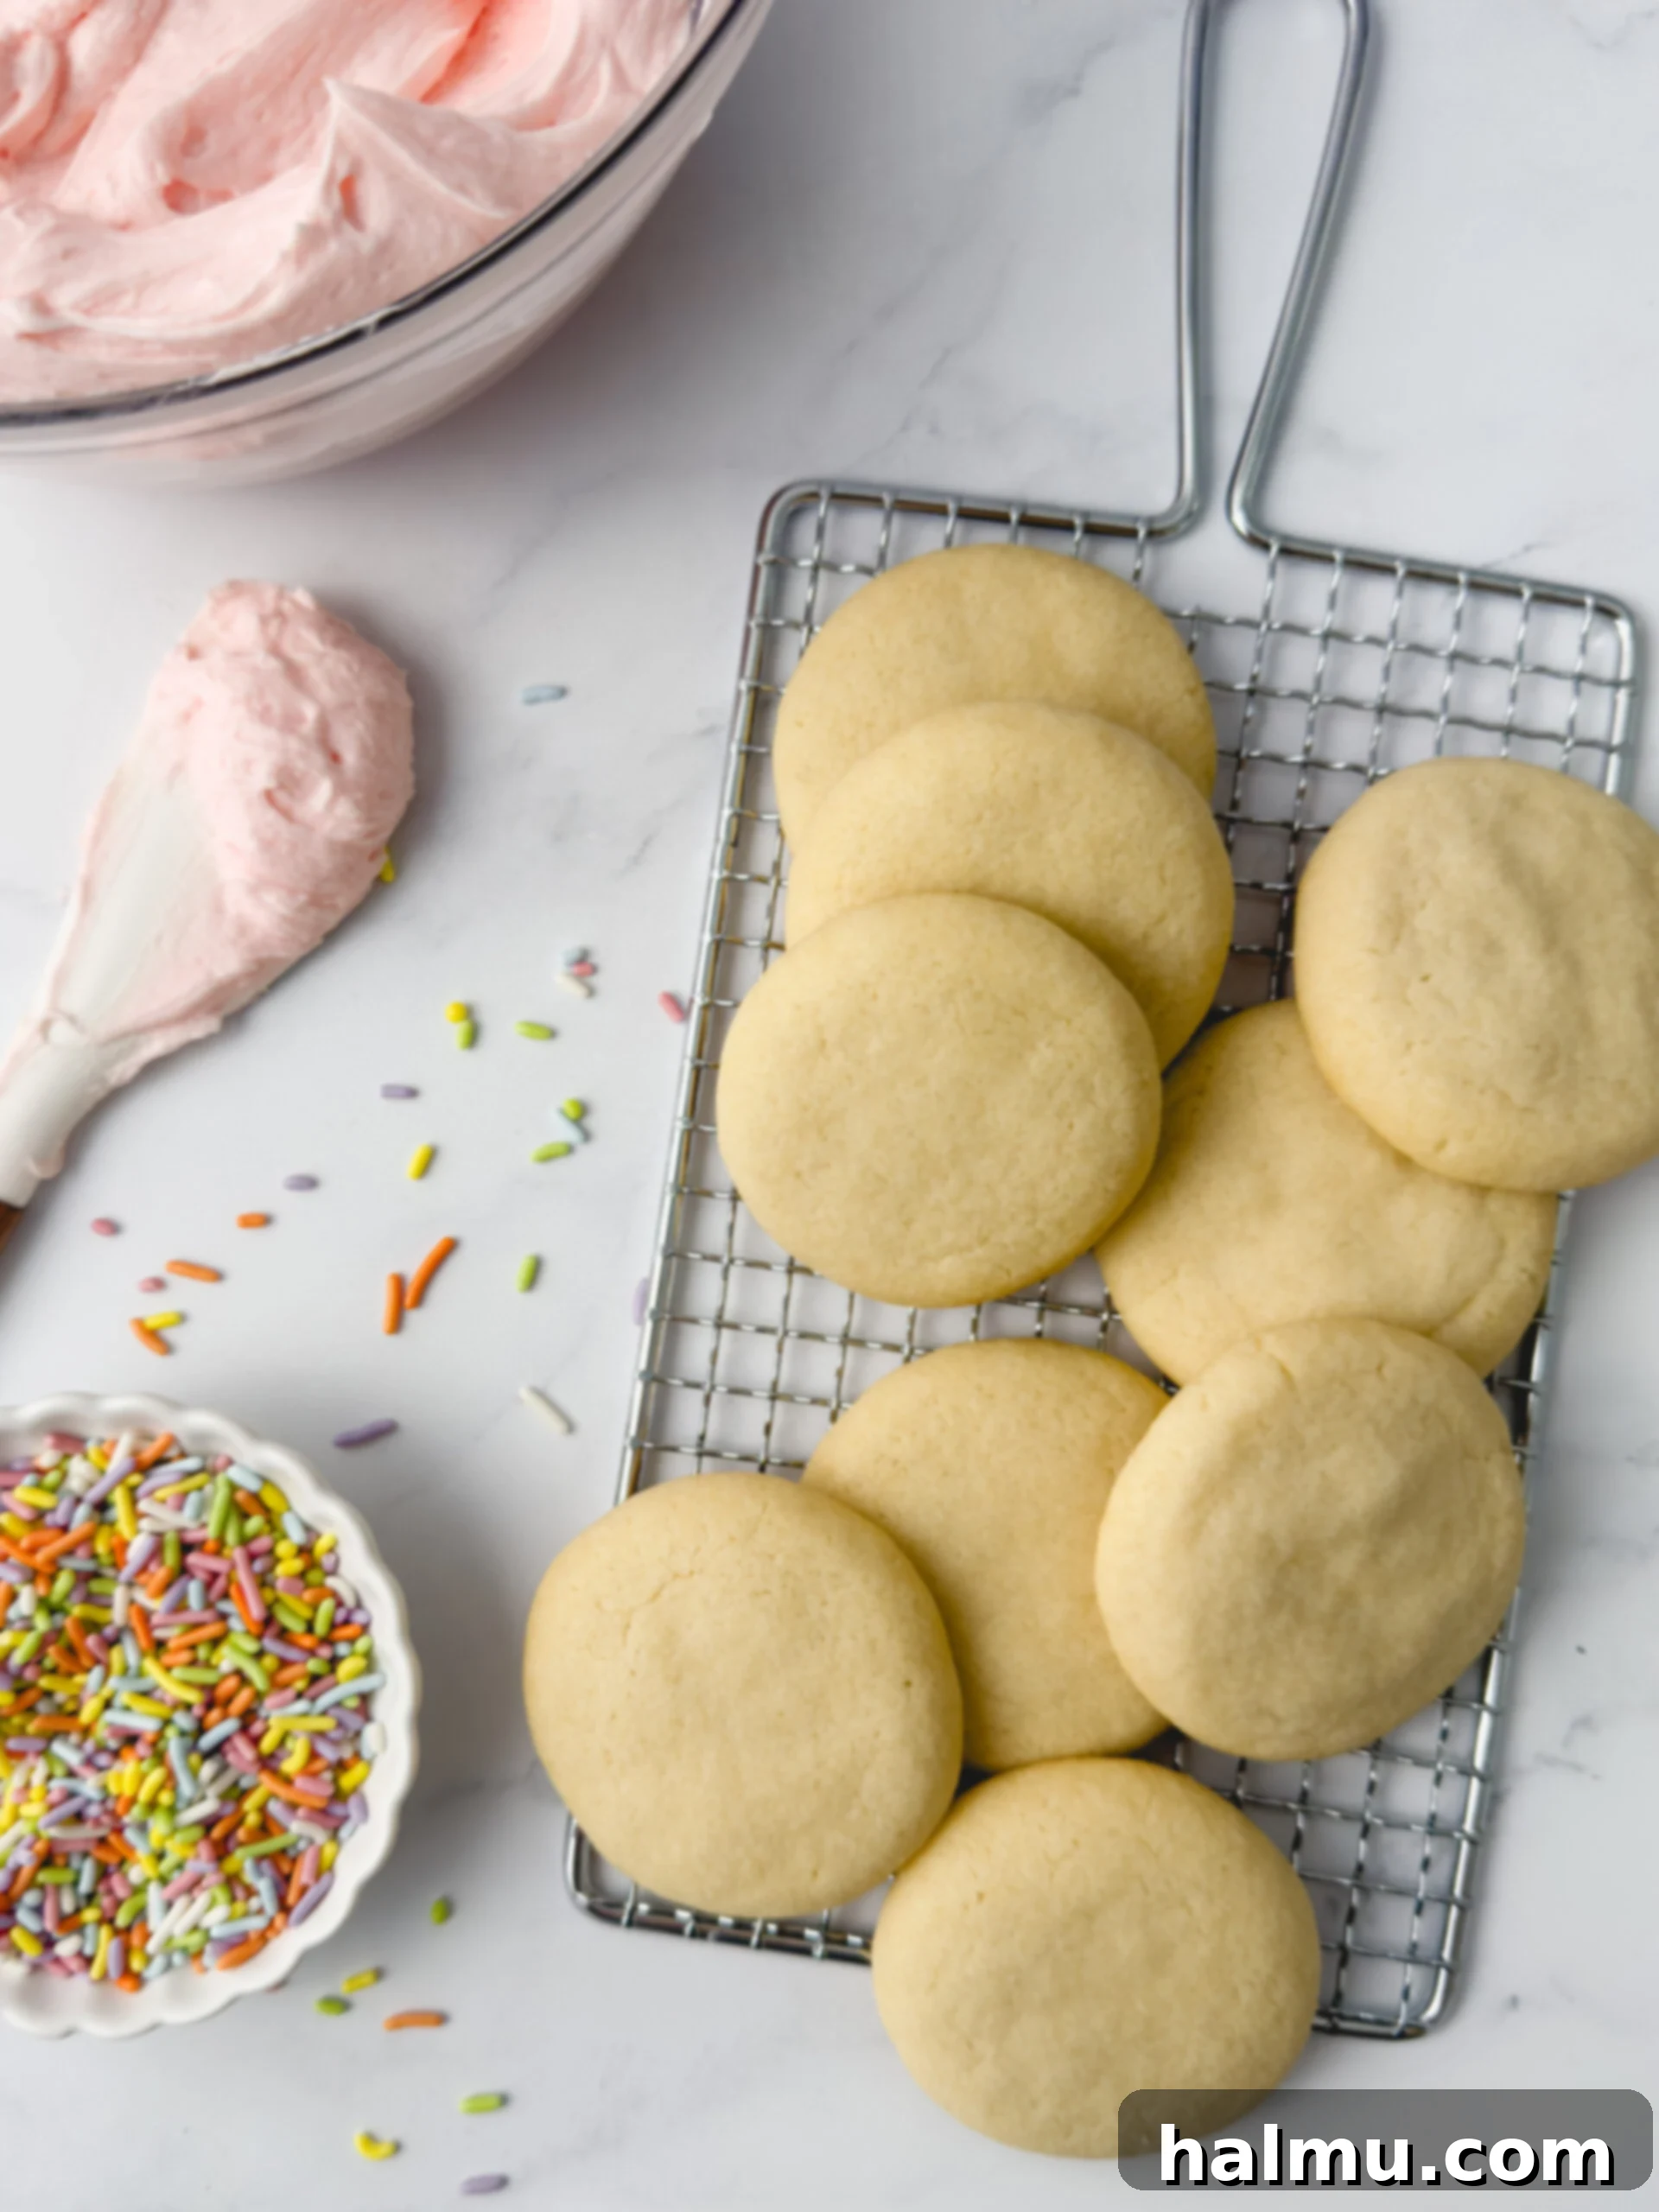
The iconic fluffy vanilla buttercream is surprisingly simple to make, requiring just five common ingredients and coming together in a matter of minutes. Begin by creaming softened unsalted butter with an electric mixer until it’s perfectly smooth and wonderfully creamy – this step is vital for a light, airy frosting. Next, gradually add sifted powdered sugar, pure vanilla extract, a pinch of salt to balance the sweetness, and heavy cream. Start mixing on a low speed initially to avoid a cloud of powdered sugar, then increase to medium-high. Mix for about 2 minutes, or until the buttercream achieves a completely smooth, light, and airy consistency. You have the option to keep the buttercream a classic white, or personalize it with food coloring. For that charming, Lofthouse-style look, I recommend adding just a touch of light pink gel food coloring, such as Americolor Soft Pink, for a delicate hue that enhances their visual appeal.
4. Decorating with a Festive Touch
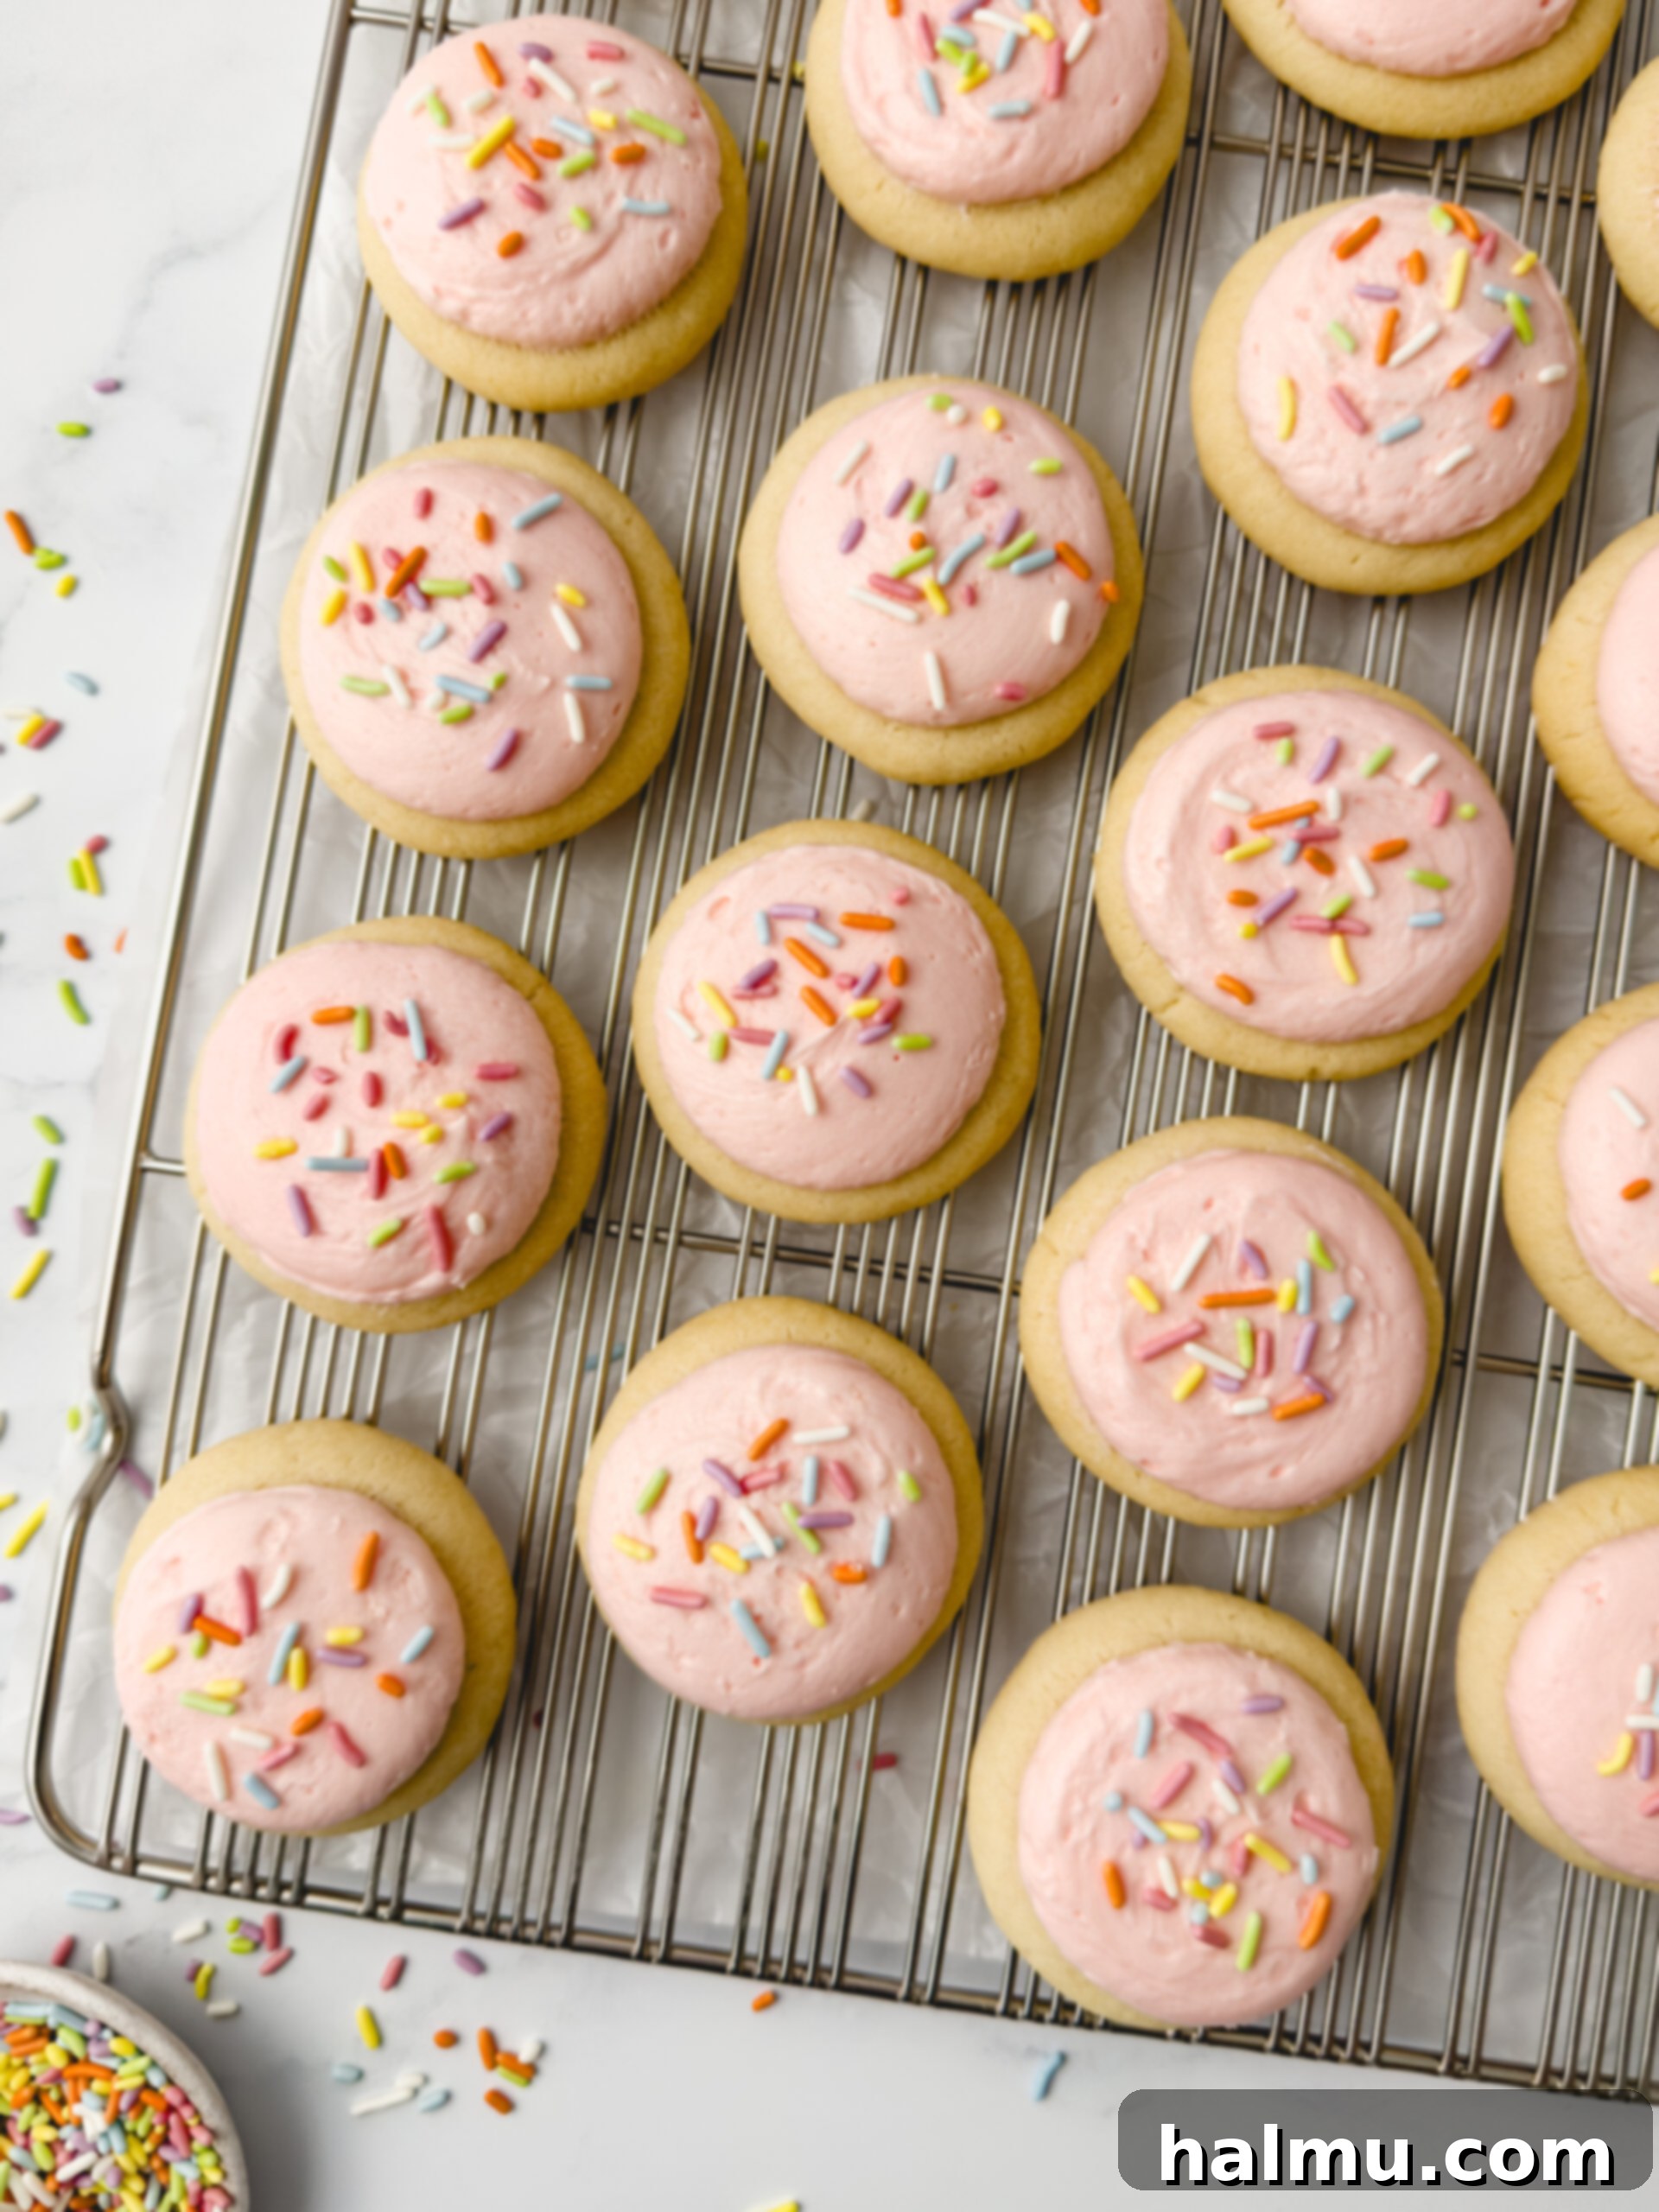
Now comes the most exciting part: frosting your beautifully baked mini sugar cookies! There are several techniques you can employ, each yielding a slightly different aesthetic. You can use a small offset spatula to spread the frosting smoothly over the tops, or for a simpler approach, use a cookie scoop to dollop a generous amount of frosting onto each cookie. For a more polished and festive look, the piping method is fantastic. I opted for a piping bag fitted with a large round tip to create a classic, domed swirl. After piping, a small offset spatula can be used to gently smooth any areas that need refining, ensuring an even and inviting surface. The key is to frost each cookie individually and then immediately add your choice of fun, colorful sprinkles. This quick action ensures the sprinkles adhere perfectly before the buttercream begins to set, creating a delightful and celebratory finish that’s sure to bring smiles.
Frequently Asked Questions About Frosted Sugar Cookies
What is the optimal way to store these delicious cookies?
To maintain their exceptional softness and chewiness, these frosted sugar cookies should be stored in an airtight container at room temperature. They will remain fresh and delightful for up to 3 days. If you need to extend their shelf life, they can be refrigerated for up to 5 days. However, for the absolute best texture and flavor experience, I highly recommend allowing refrigerated cookies to come back to room temperature for a couple of hours before serving. This allows the buttercream to soften and the cookie base to regain its perfect texture, ensuring every bite is as delicious as freshly baked.
Can these frosted cookies be frozen for later enjoyment?
Absolutely, these cookies freeze beautifully, even with their fluffy frosting and colorful sprinkles already applied! To freeze, place the frosted cookies in a single layer on a baking sheet and flash freeze for about 30 minutes until the frosting is firm. Then, transfer them to an airtight freezer-safe container, separating layers with parchment paper to prevent sticking. They can be stored in the freezer for up to 3 months. When you’re ready to enjoy them, simply take them out of the freezer and allow them to thaw at room temperature for several hours. This method ensures you always have a delightful treat on hand for any spontaneous craving or unexpected guest.
Is chilling the cookie dough truly necessary?
Yes, chilling the cookie dough is a crucial step that should not be skipped, even if it’s for just 30 minutes! This refrigeration period serves a vital purpose: it solidifies the butter in the dough, which in turn prevents the cookies from spreading excessively during baking. Without chilling, your cookies might flatten too much and lose their desirable thick, chewy texture. The brief chill also allows the flavors to meld and the gluten to relax, resulting in a more tender and flavorful cookie that holds its shape beautifully. It’s the secret to achieving that perfect combination of a nice thick and slightly chewy cookie.
Is it possible to make these cookies larger than mini-sized?
While this recipe is specifically designed for charming mini-sized cookies, you absolutely have the flexibility to adjust their size to your preference. For a standard-sized, larger cookie, I recommend using a #24 cookie scoop (which holds approximately 3 tablespoons of dough). This adjustment will typically yield around 14 larger cookies from the same batch of dough. Keep in mind that when increasing the size, you may need to adjust the baking time slightly, adding a few extra minutes until the edges are lightly golden and the centers are set. Always monitor them closely to ensure they don’t overbake and maintain their soft, delicious quality.
Recommended Baking Tools
Creative Variations to Inspire You
One of the many reasons to adore these mini frosted sugar cookies is their incredible versatility. They serve as a perfect canvas for your creativity, allowing you to easily adapt them for any celebration or season. The simplest way to transform them is by changing the color of the vanilla buttercream and swapping out the sprinkles. Imagine an array of festive possibilities:
- For the joyous Christmas season, leave the frosting a pristine white and adorn your cookies with sparkling red and green sprinkles.
- To celebrate the 4th of July, opt for a mix of vibrant red, white, and blue sprinkles, creating a patriotic treat.
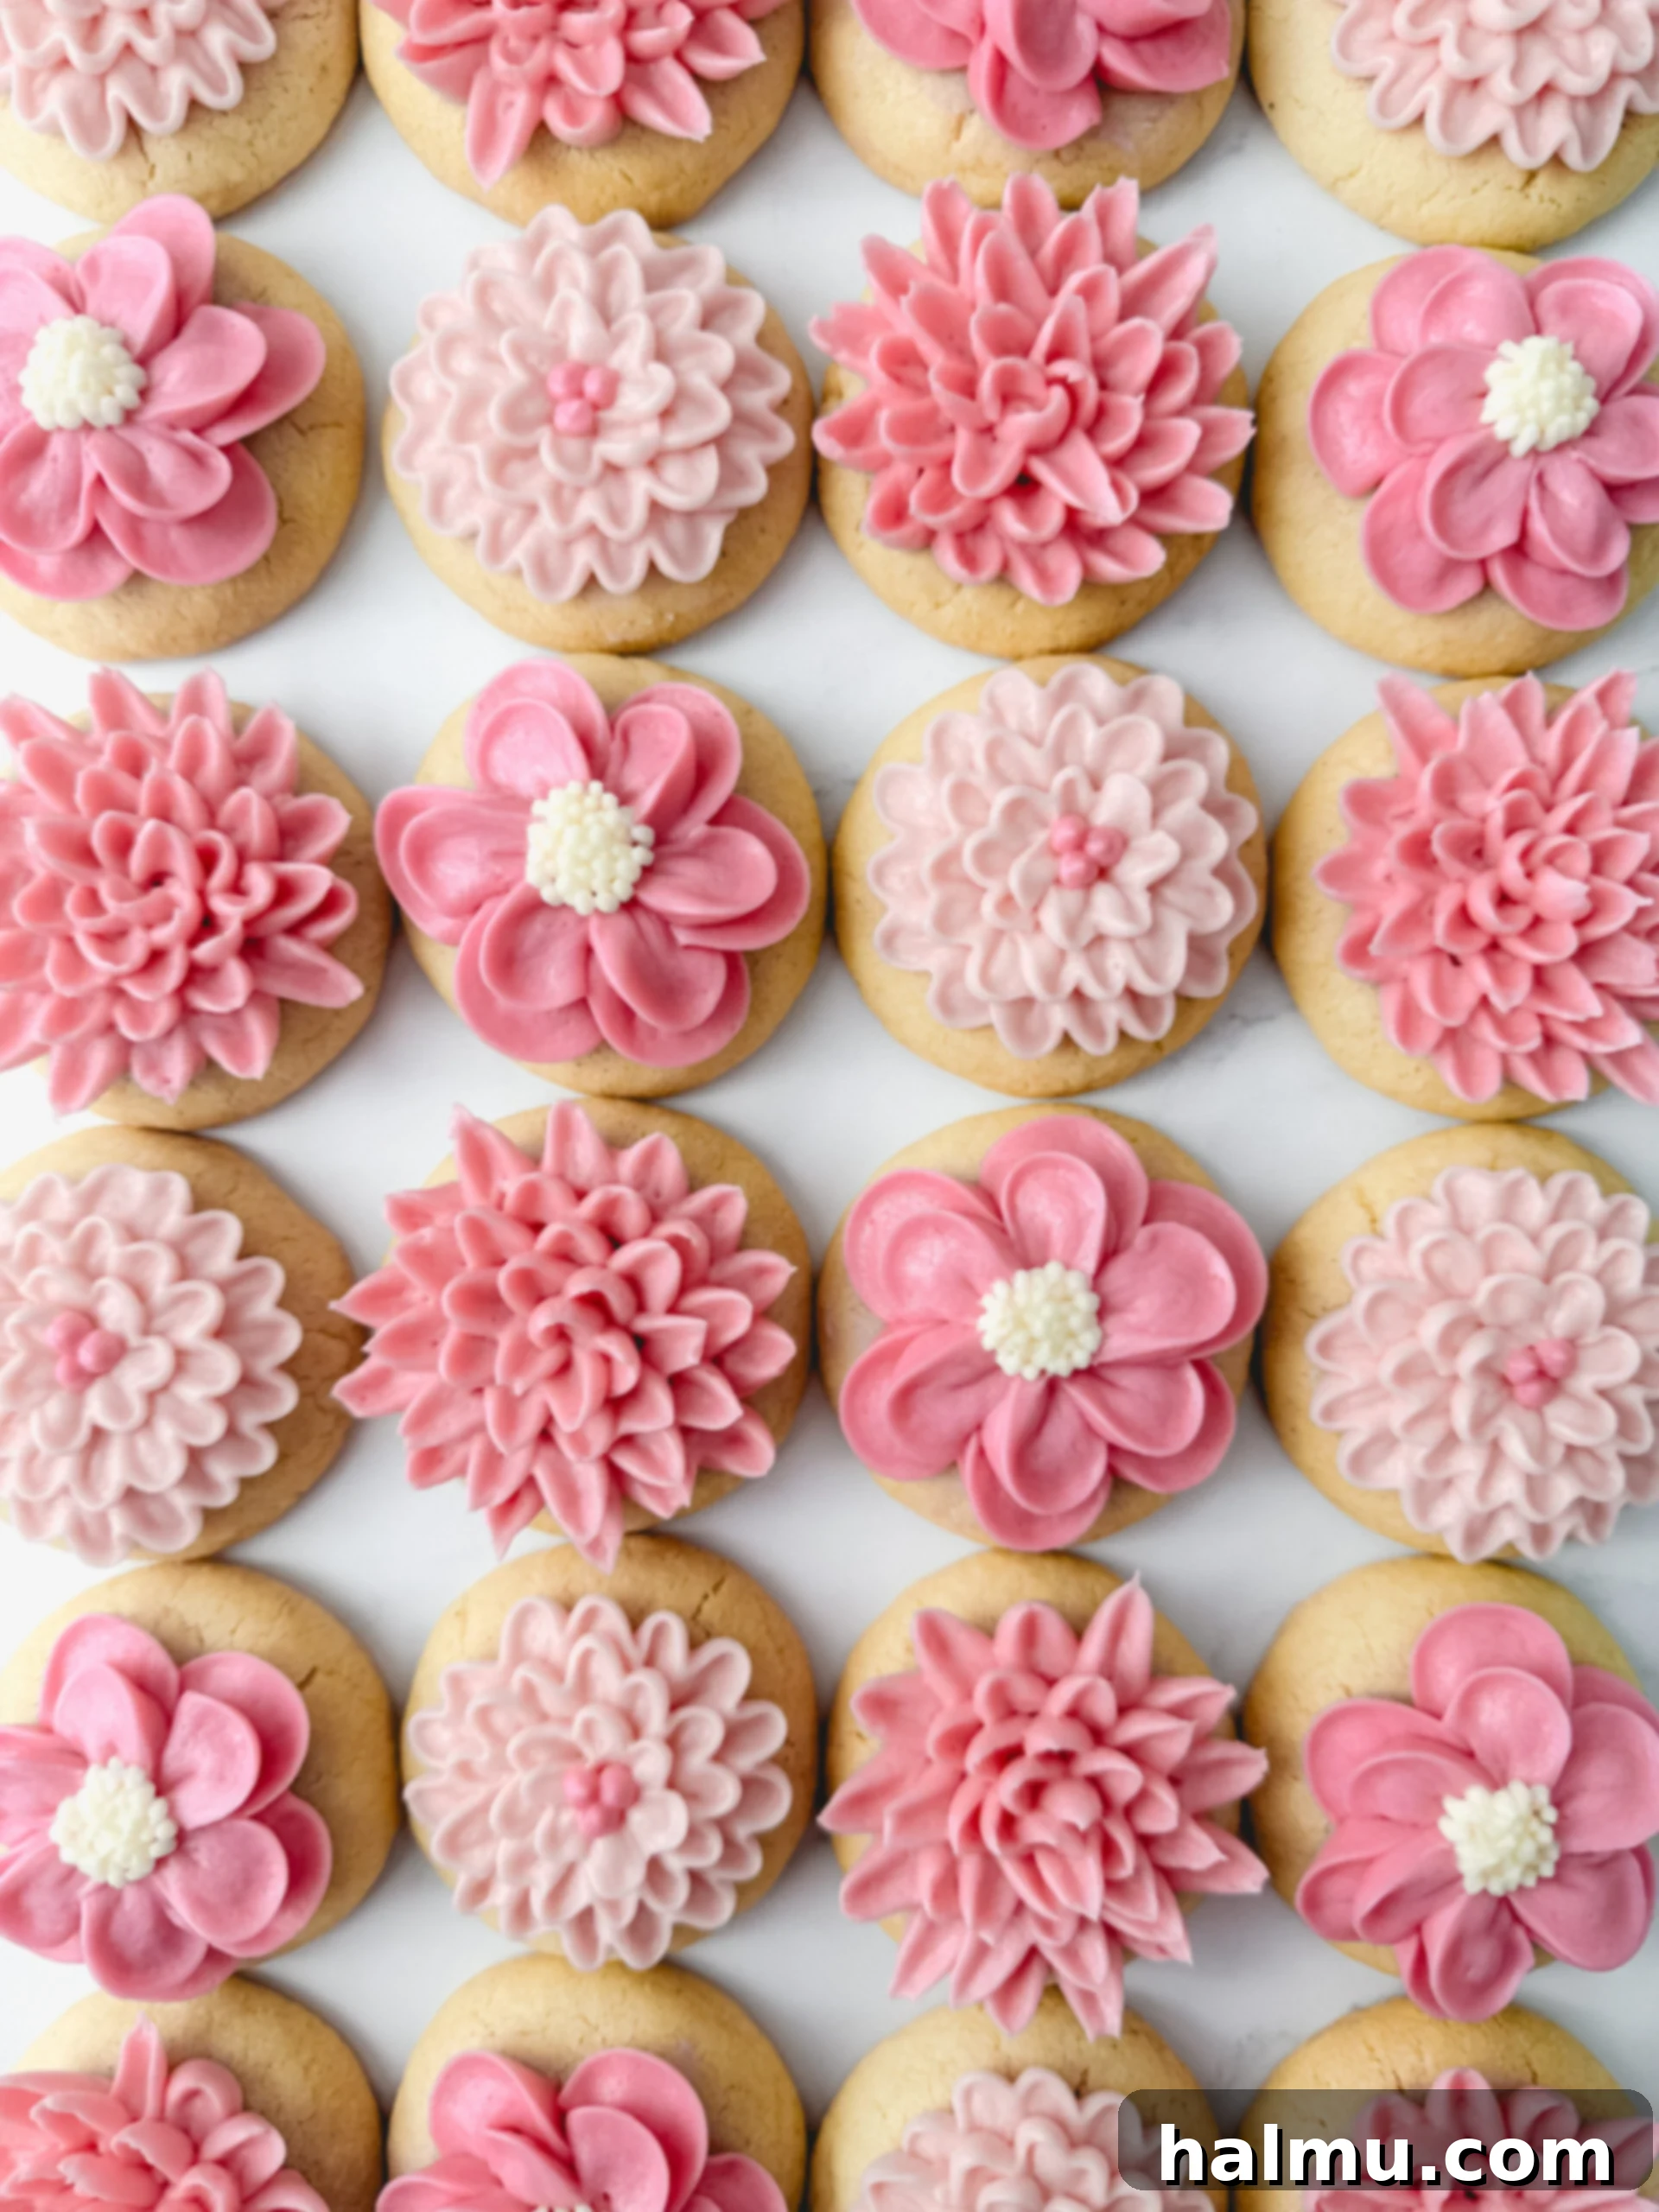
- Planning a baby shower? Consider piping on delicate, gradient-colored buttercream flowers, as pictured below. These were a massive hit at a recent event, adding an elegant and personalized touch.
- Explore different flavor extracts in your buttercream! A hint of almond, lemon zest, or even peppermint can completely change the cookie’s character.
- Experiment with various sprinkle types: nonpareils for a classic look, sanding sugar for a beautiful shimmer, or themed sprinkle mixes for holidays like Halloween or Easter.
- For a truly unique presentation, try ombré frosting where you blend two or three colors seamlessly on the cookie, creating an artistic and impressive dessert.
Expert Tips for Crafting the Best Mini Frosted Sugar Cookies
- Mastering Buttercream Consistency is Key. The texture of your buttercream can make all the difference. While the recipe aims for a perfect balance, environmental factors can sometimes affect it. If you find your frosting is a bit too thick, making it difficult to pipe or spread smoothly, simply add a very small amount of extra heavy cream – about one teaspoon at a time – and mix until you achieve that desired silky, workable consistency. Conversely, if it’s too thin, a tablespoon of sifted powdered sugar can help thicken it.
- Add Sprinkles Immediately for Best Adhesion. This tip is crucial for vibrant, sprinkle-laden cookies. Vanilla buttercream, especially when exposed to air, will begin to form a slight crust on its surface quite quickly. To ensure your colorful sprinkles adhere perfectly and generously, make sure to frost one cookie at a time and have your sprinkles ready to go. Right after piping or spreading the frosting onto a cookie, immediately shower it with sprinkles. If you wait too long, the frosting will start to set, and the sprinkles will have a much harder time sticking, potentially falling off and creating a mess.
- Patience for Perfection: Allow the Cookies to Rest. While tempting to devour them straight away, these mini frosted sugar cookies truly benefit from a short resting period. I’ve found that they become even more delightful – noticeably softer and with a more harmonious blend of flavors – after sitting in an airtight container for a few hours. For an elevated taste experience, consider making them the day before you plan to serve them and storing them overnight. This allows the moisture from the frosting to slightly rehydrate the cookie, and all the flavors to meld beautifully, resulting in an even tastier and more tender treat. This step is optional, but certainly worth the wait!

Pro Baking Tip: Precision with a Kitchen Scale!
For truly consistent and professional-level baking results, I cannot emphasize enough the importance of using a kitchen scale to weigh your ingredients rather than relying on traditional measuring cups. While cups and spoons can be prone to inconsistencies (due to varying packing methods for flour, for example), a kitchen scale provides exact gram measurements, ensuring unparalleled accuracy every single time. This precision leads to more consistent recipes, a higher success rate with your baked goods, and ultimately, a better final product. As an added bonus, weighing ingredients often means fewer measuring utensils to wash, leading to easier cleanup! I meticulously provide gram measurements in all my recipes, and this is the reliable scale I personally love and use in my kitchen.
More Frosted Cookie Recipes You’ll Adore
- Strawberry Lemonade Cookies
- Birthday Cake Cookies
- Honey Lavender Cookies
If you try this delightful recipe for Mini Frosted Sugar Cookies and absolutely love them, please be sure to leave a comment below and share your experience. Happy baking!
Mini Frosted Sugar Cookies
Print Recipe
Ingredients
For the Sugar Cookie Dough
- ½ cup (1 stick or 113g) unsalted butter, at room temperature
- 1 cup (200g) granulated sugar
- 3 Tablespoons (42g) vegetable or canola oil
- 1 large egg, at room temperature
- 1 large egg yolk, at room temperature
- 2 teaspoons vanilla extract
- 2½ cups (300g) all-purpose flour
- 1 Tablespoon (10g) cornstarch
- ½ teaspoon baking powder
- ¼ teaspoon baking soda
- ¼ teaspoon salt
For the Vanilla Buttercream
- 1 cup (2 sticks or 226g) unsalted butter, at room temperature
- 3 cups (360g) powdered sugar, sifted
- 1 teaspoon vanilla extract
- pinch of salt
- ¼ cup (60mL) heavy cream
For Decorating
- pink gel food coloring
- colorful sprinkles
SHOP INGREDIENTS
Instructions
- Sugar Cookie Dough: In the bowl of a stand mixer fitted with a paddle attachment, cream the butter and sugar until combined, about 2 minutes. Scrape down the sides of the bowl then with the mixer running on medium-low speed, slowly stream in the oil.
- Once combined, scrape down the bowl and add the eggs and vanilla extract. Mix until combined. Scrape the sides of the bowl again then add the flour, cornstarch, baking powder, baking soda, and salt. Mix just until combined.
- Cover the dough with plastic wrap and chill in the fridge for 30 minutes.
- Meanwhile, preheat oven to 350°F (175°C) and line 2 baking sheets with parchment paper or a silicone mat.
- Once the dough has chilled, use a #40 cookie scoop (about 1½ Tablespoons) to portion the dough. Roll each scoop into a ball and place them onto the prepared baking sheets, spacing them at least 1” apart. Press each dough ball down slightly with your palm to flatten.
- Bake at 350°F (175°C) for 10-12 minutes or until the centers of the cookies no longer look wet and the edges just start to turn golden brown. Allow to cool completely before frosting.
- Vanilla Buttercream: In the bowl of a stand mixer fitted with a paddle attachment, cream the butter on medium speed until smooth and creamy, about 2 minutes. Scrape down the bowl with a rubber spatula.
- Add the powdered sugar, vanilla, salt, and heavy cream to the bowl. Start mixing on low speed until the ingredients are combined, so the powdered sugar doesn’t spill out. Scrape the bowl well with a rubber spatula.
- Mix on medium-high speed for 2 minutes. The frosting should be completely smooth and creamy.
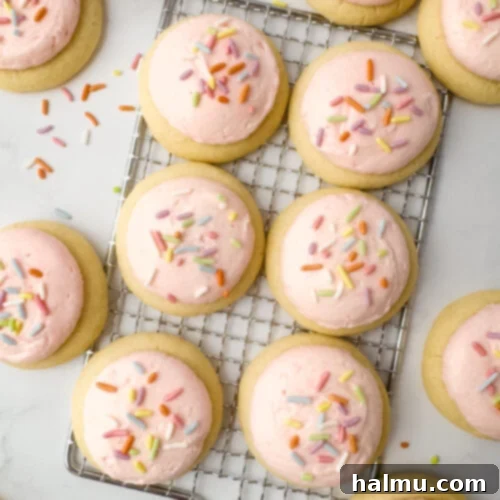
- Decorating: Use gel food coloring to dye the buttercream pink (or any color you prefer). Use a piping bag fitted with a large round tip or a cookie scoop to add a dollop of frosting to the top of each of the cooled cookies. Use a small offset spatula to smooth out the frosting. Top with sprinkles and enjoy!

HI THERE!
I’m Rachel
I’m the dessert lover, recipe developer, and content creator behind Sweet Kitchen Cravings. Here you’ll find classic yet special recipes that are sure to impress your loved ones!
MORE ABOUT RACHEL
