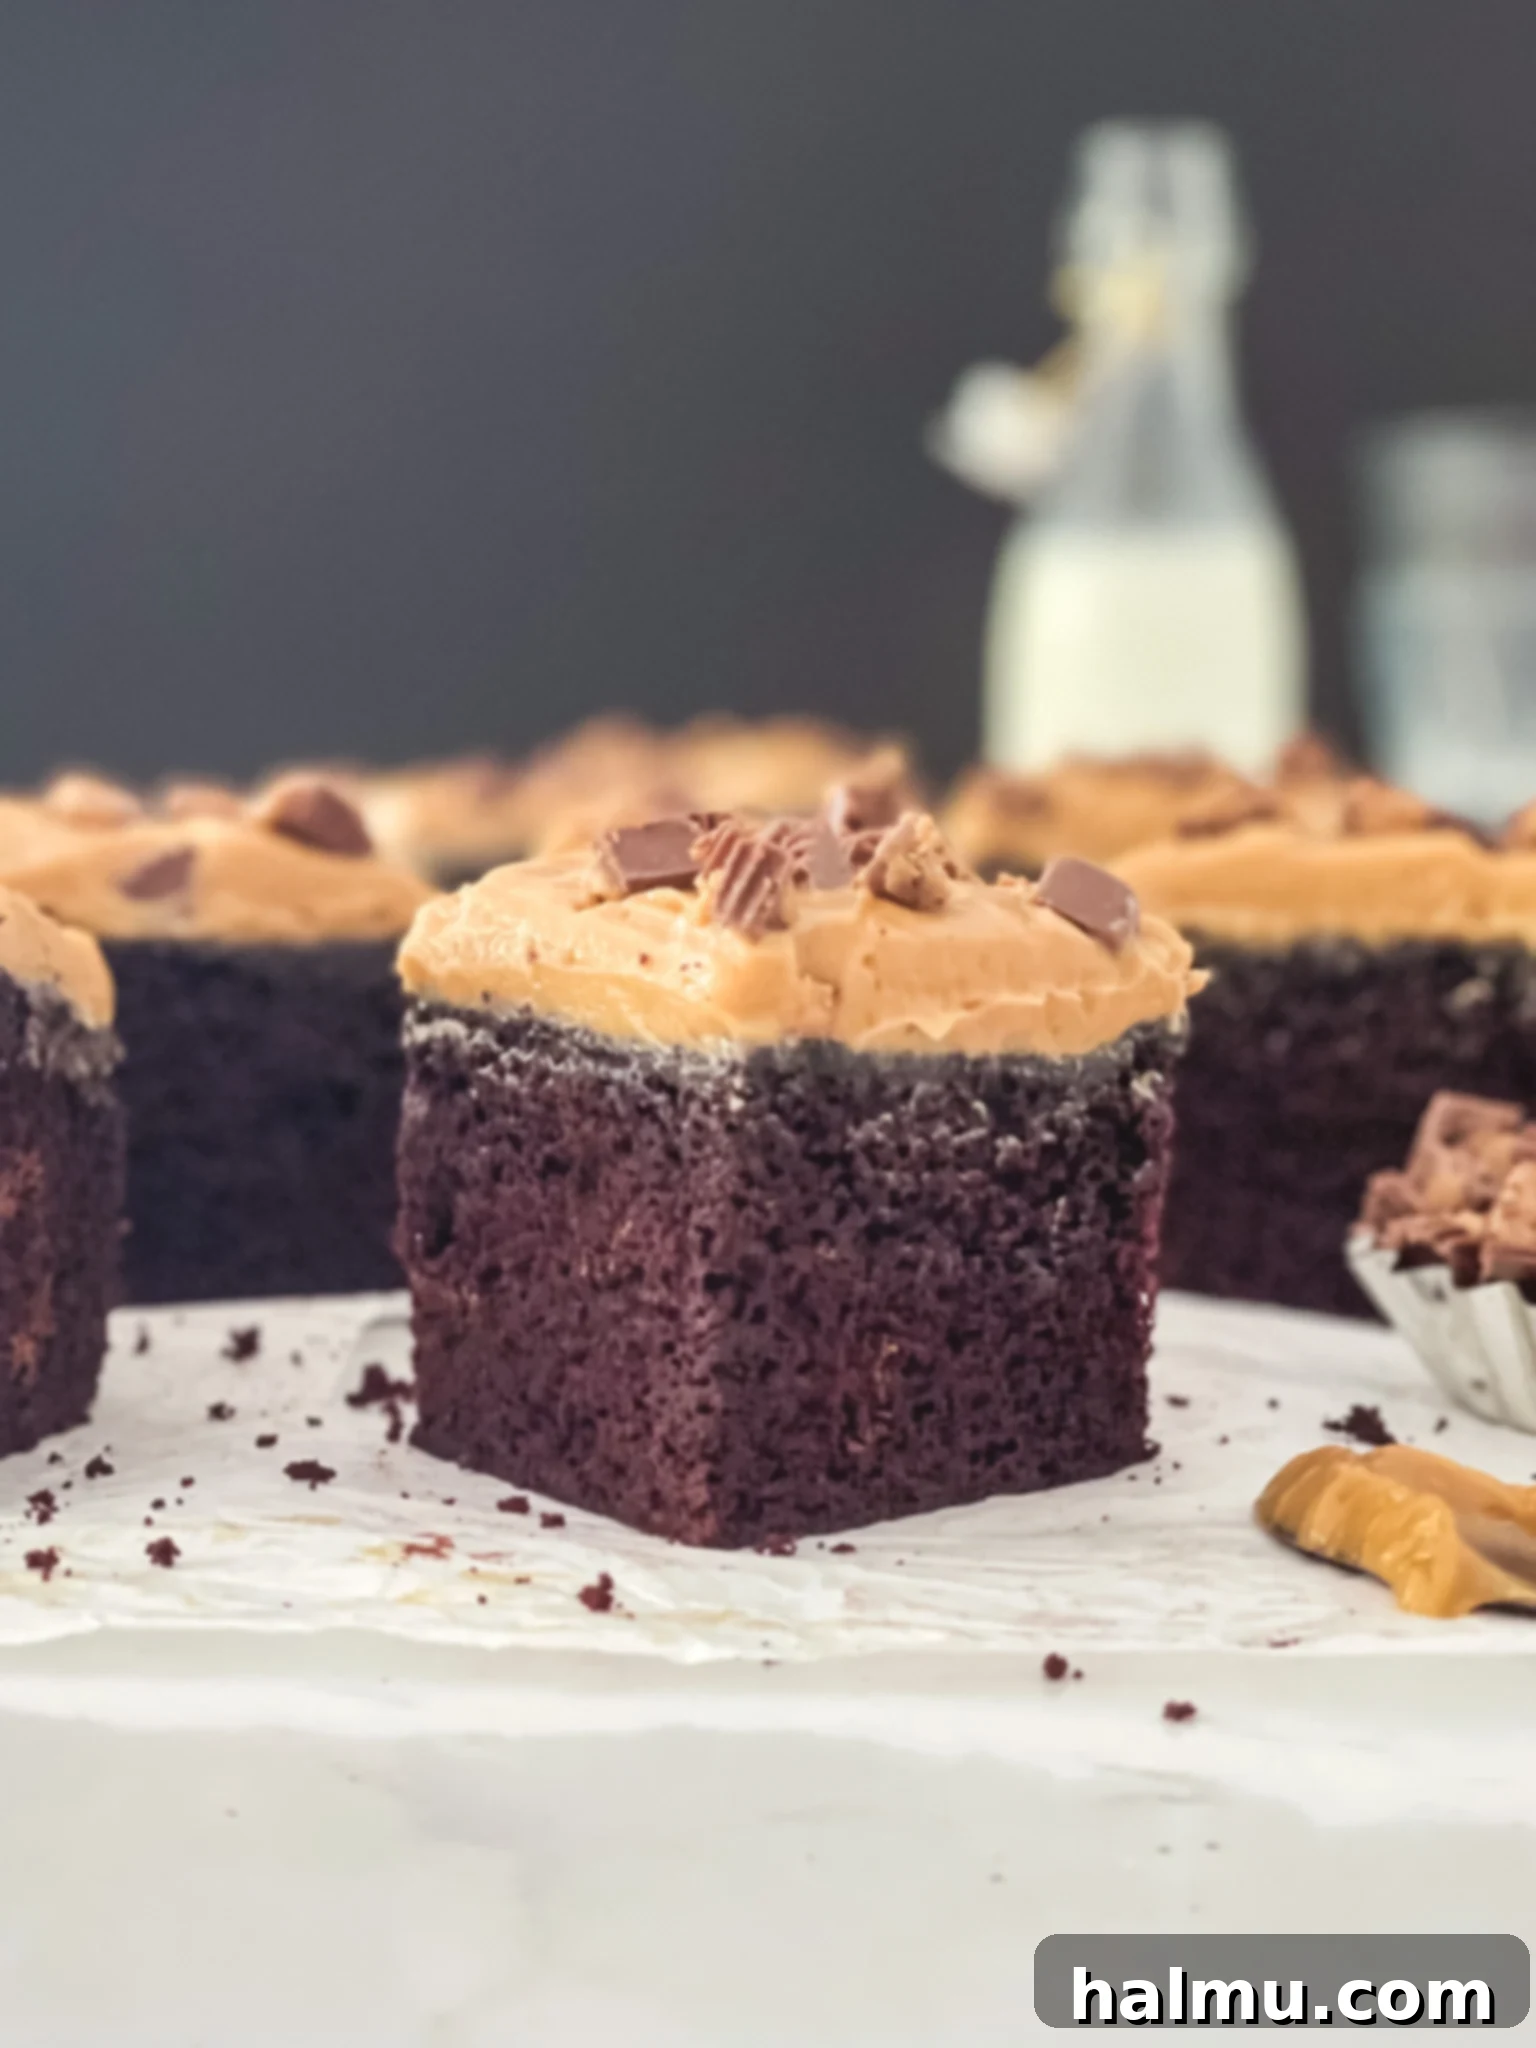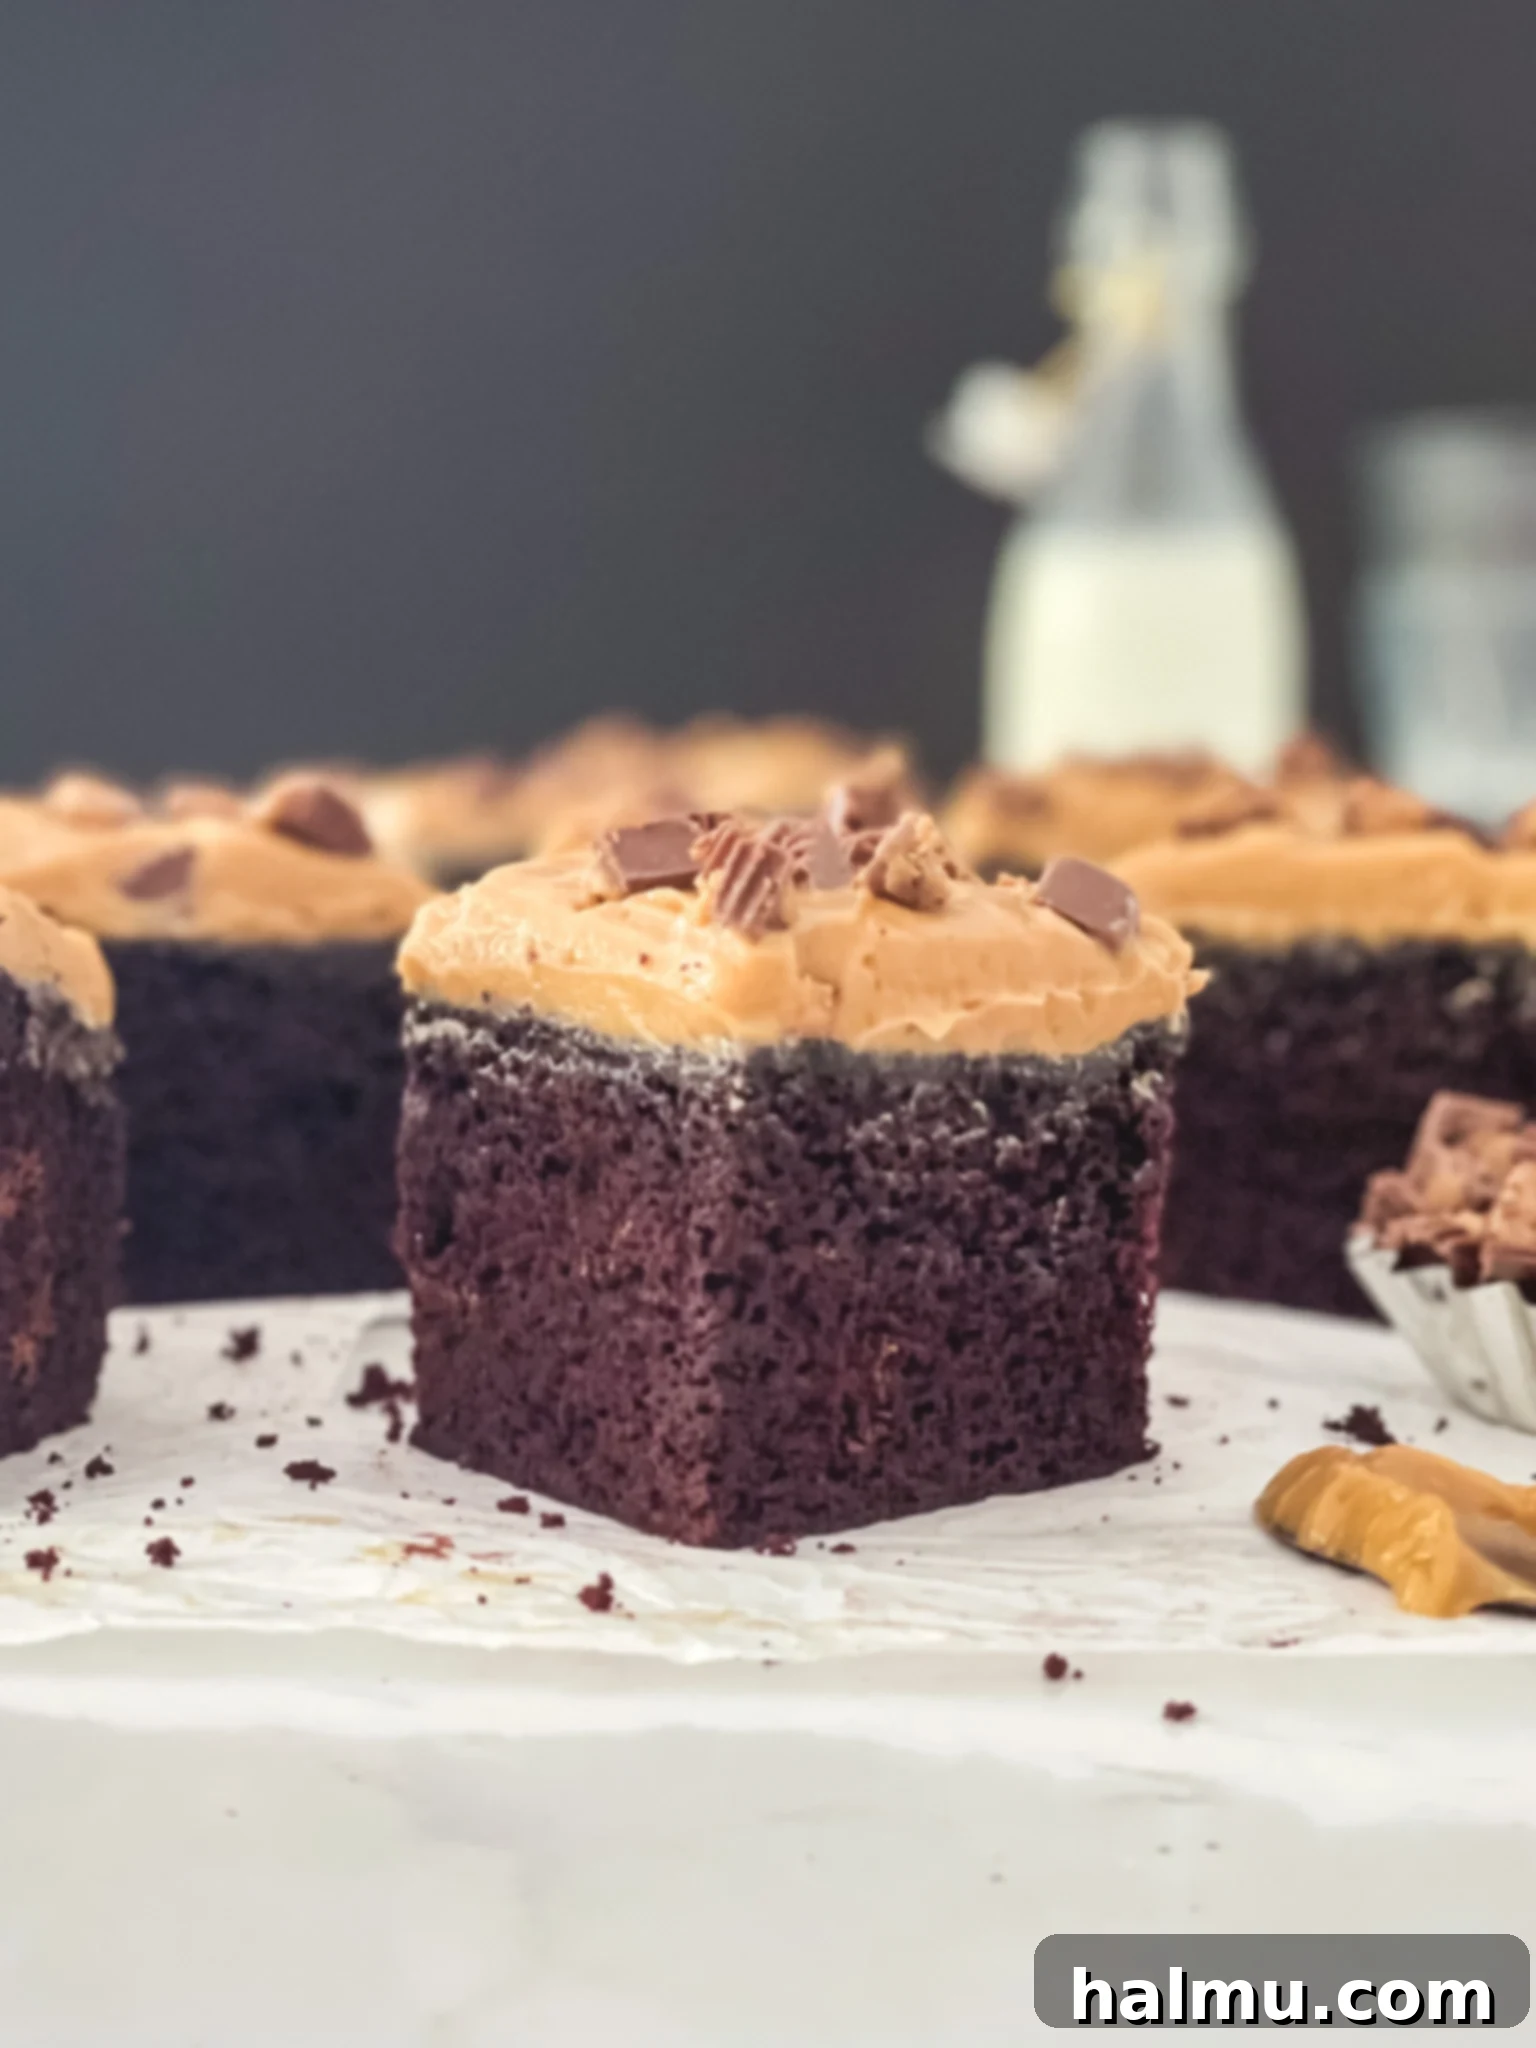
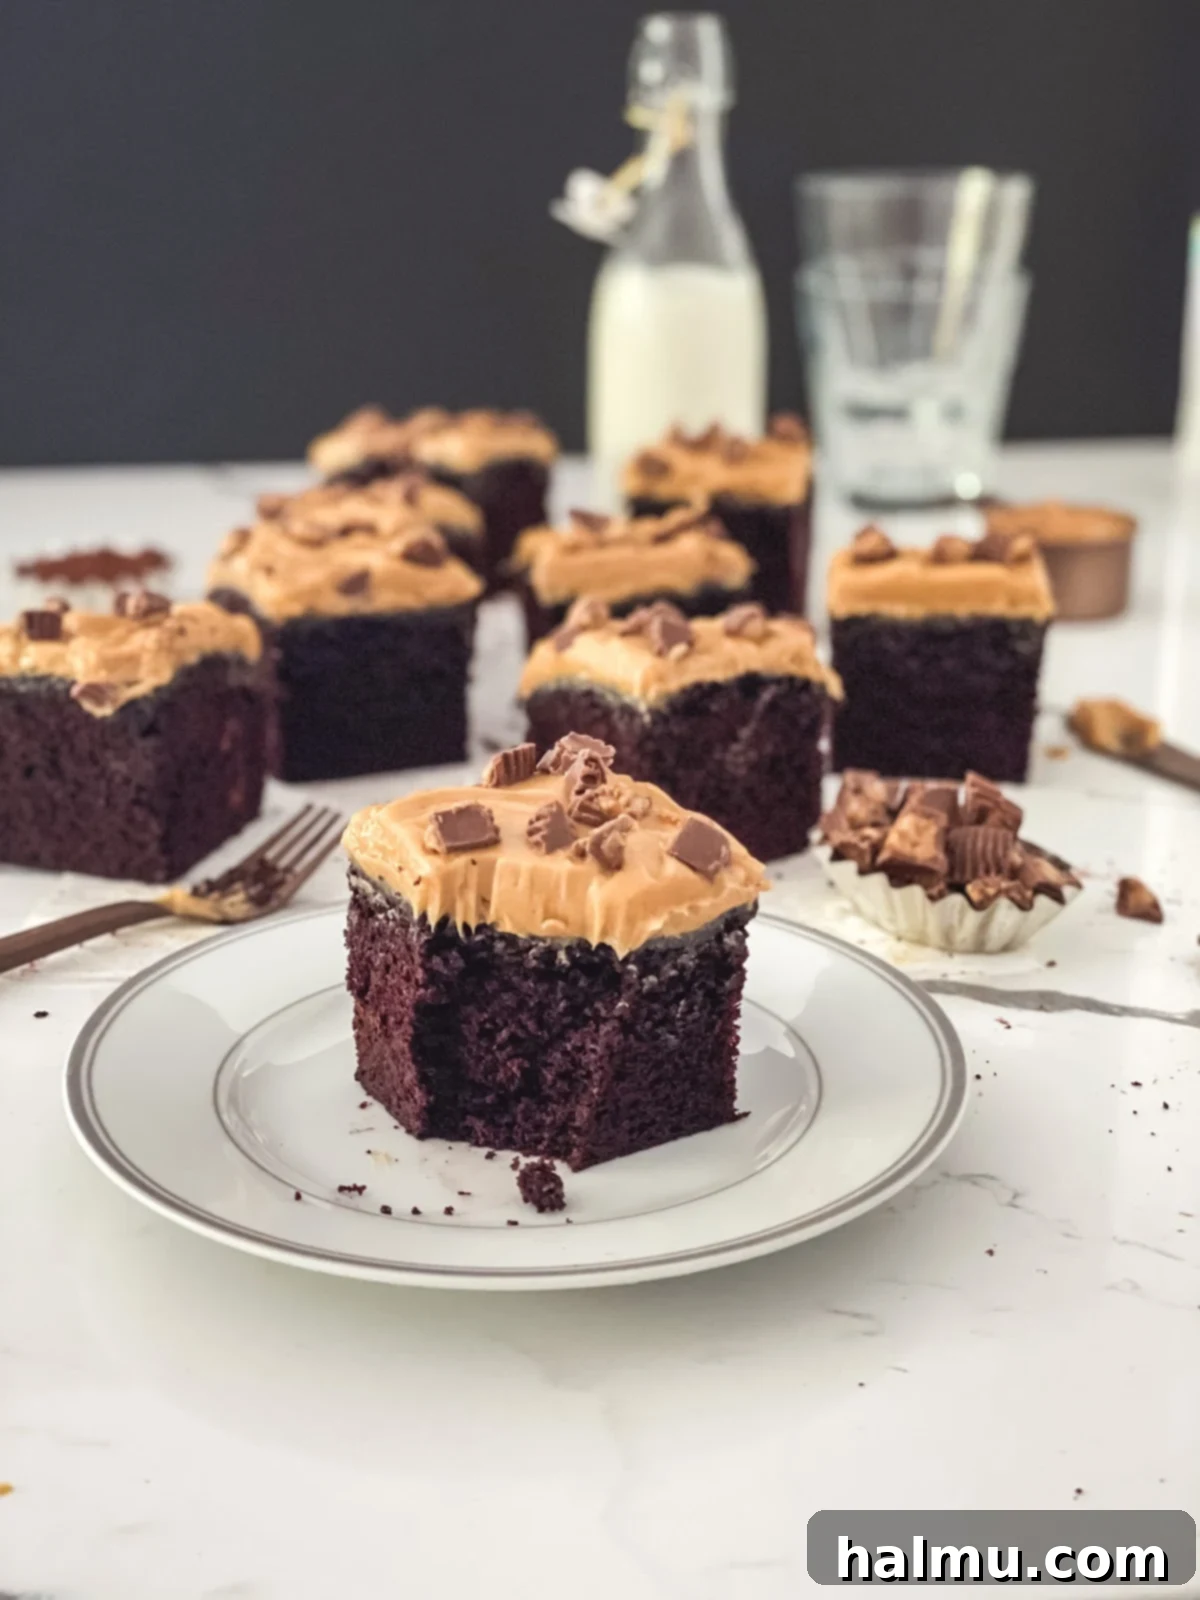
Prepare to indulge in the ultimate comfort dessert: a **Chocolate Peanut Butter Snack Cake** that perfectly balances decadence and delightful lightness. Imagine a generously thick, incredibly moist chocolate cake, baked to tender perfection, crowned with an irresistibly rich yet surprisingly light and airy peanut butter mousse. This isn’t just any dessert; it’s a contender for your new favorite go-to treat, offering a symphony of flavors and textures in every single bite. Unlike many overly sweet confections, this chocolate peanut butter masterpiece strikes a harmonious balance, delivering an indulgent experience without feeling heavy or cloying. It’s the ideal sweet escape, whether you’re craving a satisfying after-dinner delight or a simple afternoon pick-me-up. Get ready to bake a cake that’s not only simple to prepare but also promises pure, unadulterated bliss for every chocolate and peanut butter enthusiast.
The Inspiration Behind This Irresistible Chocolate Peanut Butter Snack Cake
Every truly remarkable recipe has a story, and this **Homemade Chocolate Peanut Butter Snack Cake** is no exception. Its origin traces back to one of my absolute culinary havens: Deru Market, nestled in the charming town of Kirkland, Washington. This beloved eatery holds a special place in my heart, primarily because the sheer quality, unparalleled freshness, and exquisite flavor profiles of every single item on their menu are, in my humble opinion, unmatched. Their commitment to exceptional ingredients and meticulous preparation shines through in every dish.
Among their many stellar offerings, their cakes, sold by the generous slice, always captivated me. It was virtually impossible for me to leave Deru Market without securing a colossal slice of their legendary chocolate peanut butter cake. But the allure of Deru extends beyond just dessert; their smoked turkey sandwich is a masterpiece in itself. Picture this: perfectly thin-sliced apple, the delightful tang of sharp Beecher’s cheese, and a luscious homemade aioli, all cradled within their freshly baked, airy focaccia bread. Honestly, I could happily savor that sandwich every day, perhaps followed by a slice of their famous cake, and consider myself utterly content. Just thinking about it now has me practically drooling, conjuring vivid daydreams of all their incredible food. But let’s bring our focus back to that glorious cake.
Having sampled countless cakes from numerous bakeries over the years, I can confidently say that Deru’s chocolate peanut butter creation truly *takes the cake* (pun absolutely intended!). However, life happens, and I eventually relocated from that beautiful corner of Washington. The prospect of a four-hour round trip just for a slice of cake, no matter how divine, became a luxury I simply couldn’t justify. This bittersweet reality sparked a mission: to recreate my own version, a tribute to that unforgettable flavor profile, right in my own kitchen.
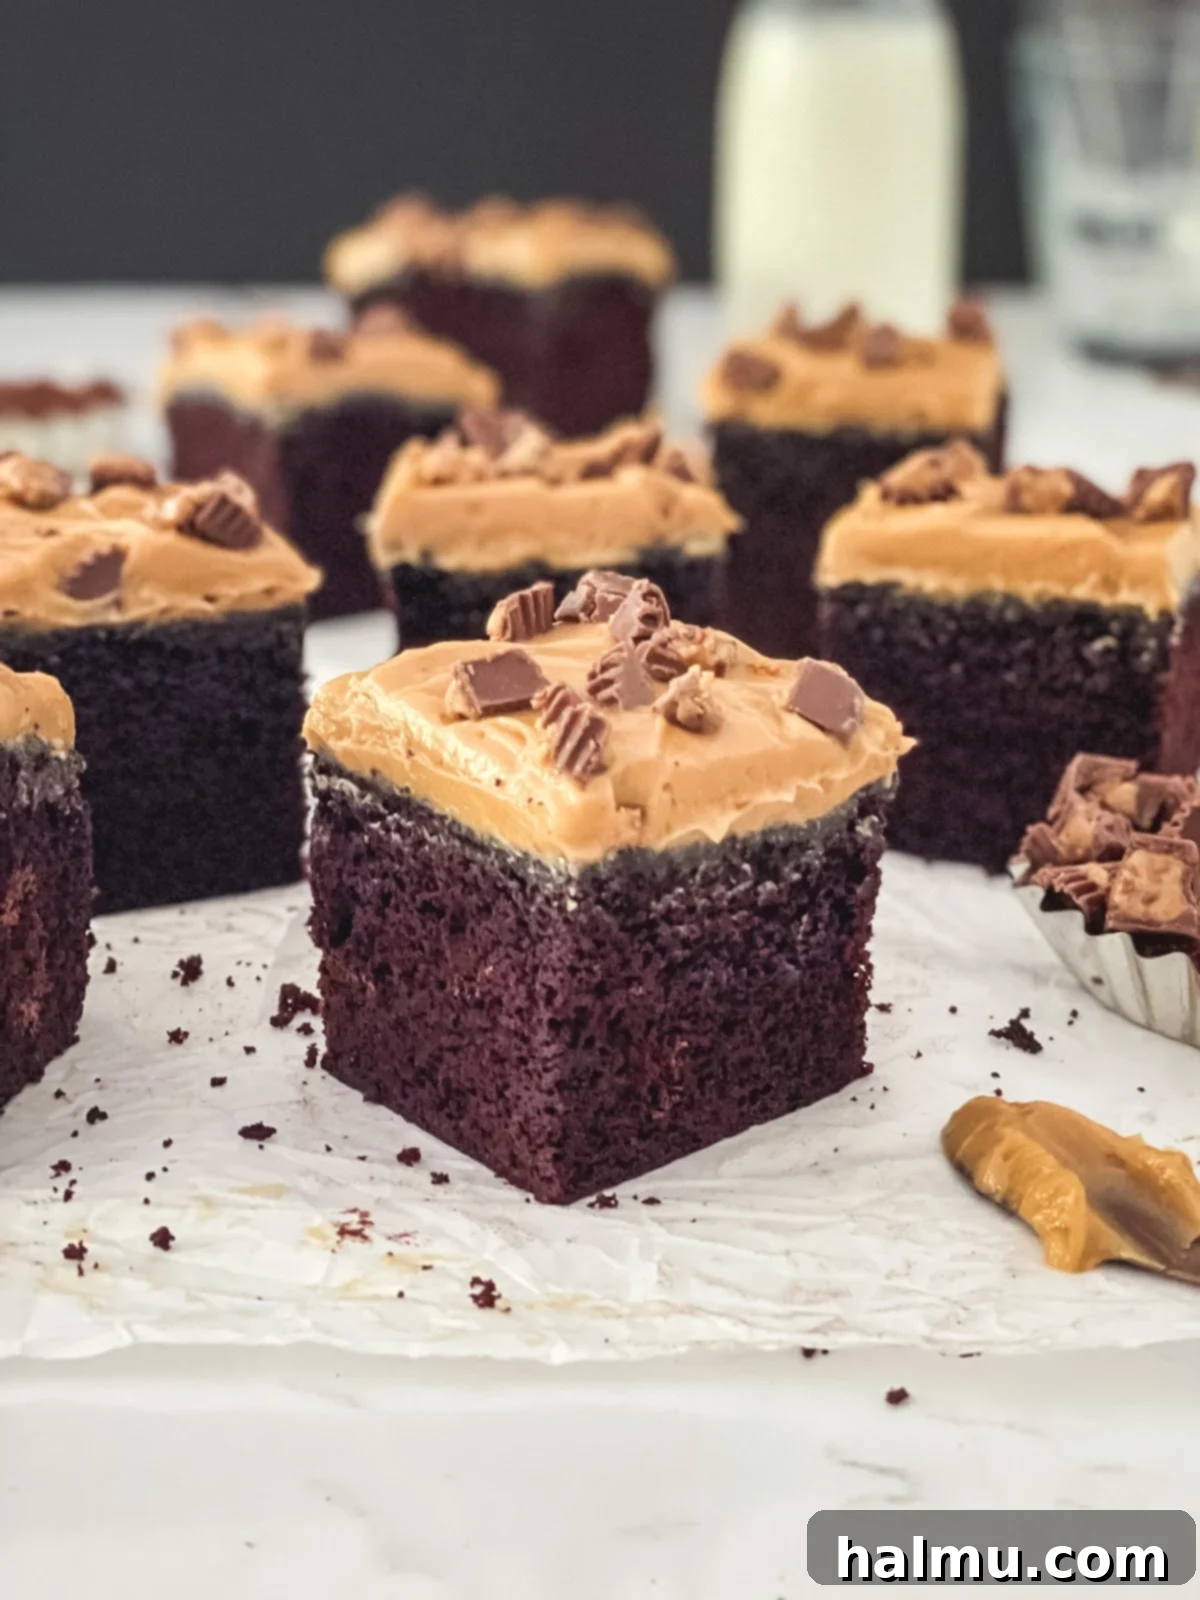
My goal was to capture the essence of Deru’s cake while making it more accessible and, dare I say, even more enjoyable for everyday indulgence. I simplified the original’s elaborate round, layered structure, transforming it into what I affectionately call my **Easy Chocolate Peanut Butter Snack Cake**. Instead of multiple frosted layers, this rendition features a single, wonderfully tall layer of rich, moist chocolate cake, generously crowned with a cloud-like peanut butter mousse frosting that is both light and exquisitely airy. This adaptation makes it perfect for sharing with family and friends, or simply savoring a square all to yourself when a craving strikes. It’s a testament to how beloved flavors can be reinvented for home bakers, bringing restaurant-quality taste right to your table without the long drive.
Essential Ingredients for Your Delicious Chocolate Peanut Butter Snack Cake
Crafting the perfect **Moist Chocolate Peanut Butter Cake** begins with understanding the essential ingredients that contribute to its incredible taste and texture. This chocolate cake recipe has long been my unwavering favorite – it’s beautifully simple, timelessly classic, and consistently delivers an unparalleled moist crumb that’s utterly irresistible. Complementing this decadent base is the star of the show: a glorious peanut butter mousse that miraculously requires only four key ingredients and whips up in mere minutes. The result is a frosting that is undeniably rich in peanut butter flavor but maintains an ethereal lightness, making it dangerously spoon-worthy! Let’s delve into the specific components you’ll need to create both the phenomenal chocolate cake and the dreamy peanut butter mousse.
For the Rich Chocolate Cake
This chocolate cake base is my absolute classic, beloved for its inherent simplicity, consistent reliability, and consistently moist results. The secret to its tender crumb and rich flavor lies in a few key components. For instance, **cake flour** is pivotal; its lower protein content compared to all-purpose flour guarantees a much softer, finer crumb, preventing the cake from becoming dense or tough. The combination of **baking soda and baking powder** works in harmony to provide the perfect lift, ensuring a light and airy texture despite its richness. A high-quality **cocoa powder** is non-negotiable here; it’s what infuses the cake with that deep, satisfying chocolate flavor that forms the perfect counterpoint to the peanut butter. Don’t forget the **butter** for richness, **sugar** for sweetness and moisture, **eggs** for structure, **vanilla** for aroma, and **salt** to balance the flavors, all brought together with a touch of **water** for ideal consistency.
For the Dreamy Peanut Butter Mousse
Now, onto the star topping: the peanut butter mousse. What makes this recipe truly outstanding is how effortlessly this luxurious topping comes together, requiring just four fundamental ingredients. It strikes an exquisite balance – rich in flavor, yet wonderfully light and airy in texture. It’s so utterly delicious, you might find yourself sneaking spoonfuls directly from the bowl! You’ll need creamy **peanut butter** as the star, softened **butter** for body, fine **powdered sugar** for sweetness and smooth texture, and cold **heavy cream** to whip into a cloud-like consistency. Make sure your ingredients are at the right temperature for optimal blending and whipping.
How to Make Your Chocolate Peanut Butter Snack Cake: A Step-by-Step Guide
Creating this delectable **Chocolate Peanut Butter Snack Cake** is a straightforward and enjoyable process. We’ll start with the chocolate cake base, move on to its ethereal peanut butter mousse, and finish with thoughtful assembly and serving. Following these steps carefully will ensure a perfect result every time.
- Mastering the Chocolate Cake Batter: The foundation of our amazing cake is built using the classic creaming method, a technique renowned for producing tender, light cakes. Begin by creaming together your softened butter and granulated sugar until the mixture transforms into a pale, light, and wonderfully fluffy consistency. This usually takes about 3-5 minutes with an electric mixer and is crucial for incorporating air, which contributes to the cake’s texture. Next, incorporate the eggs one at a time, ensuring each is fully combined before adding the next, followed by the vanilla extract for a boost of flavor. Now, gently mix in the cocoa powder until just combined. The key to a uniformly textured cake is to scrape down the sides and bottom of your mixing bowl frequently throughout this entire process. This ensures all ingredients are thoroughly incorporated, leaving no unmixed pockets of butter or flour that could lead to an uneven bake or a crumbly texture. After the cocoa, you’ll alternate between adding the dry ingredients (sifted cake flour, baking soda, baking powder, and salt) and the water. Start and end with the dry ingredients, mixing only until just combined after each addition. Overmixing at this stage can develop the gluten in the flour, leading to a dense, tough, or chewy cake, so be gentle.
- Baking Your Perfect Chocolate Cake: Once your batter is ready, pour it into your chosen baking pan. An 8” x 8” square cake pan is ideal for a generously tall cake, but a 9” x 9” pan will also work, resulting in a slightly shorter, yet equally delicious, cake. For foolproof removal and to prevent any sticking, I highly recommend lining your pan with parchment paper, leaving a slight overhang on all sides to create a convenient “sling.” This simple trick makes lifting the cooled cake from the pan incredibly easy and mess-free. Bake the cake until the center gently springs back when lightly touched, or when a toothpick inserted into the middle comes out clean. Avoid opening the oven door too frequently during baking, as this can cause the cake to sink. Allowing the cake to cool completely in the pan for about 10-15 minutes before transferring it to a wire rack will ensure it sets properly and is less likely to break.

- Whipping Up the Dreamy Peanut Butter Mousse: This light and airy mousse is surprisingly quick to assemble. In a large mixing bowl, combine the creamy peanut butter and softened butter. Beat them together with an electric mixer until the mixture is completely smooth and free of any lumps. This step is crucial for achieving that silky, uniform texture. Next, incorporate the powdered sugar, mixing until it’s just fully blended. In a separate, clean bowl, whip the heavy cream until it forms soft, billowy peaks. The goal is a light and airy consistency that will fold beautifully into the peanut butter mixture. Gently fold the whipped cream into the peanut butter base until everything is thick and smooth. Be careful not to overmix once the whipped cream is added, as this can deflate the mousse and make it less airy.
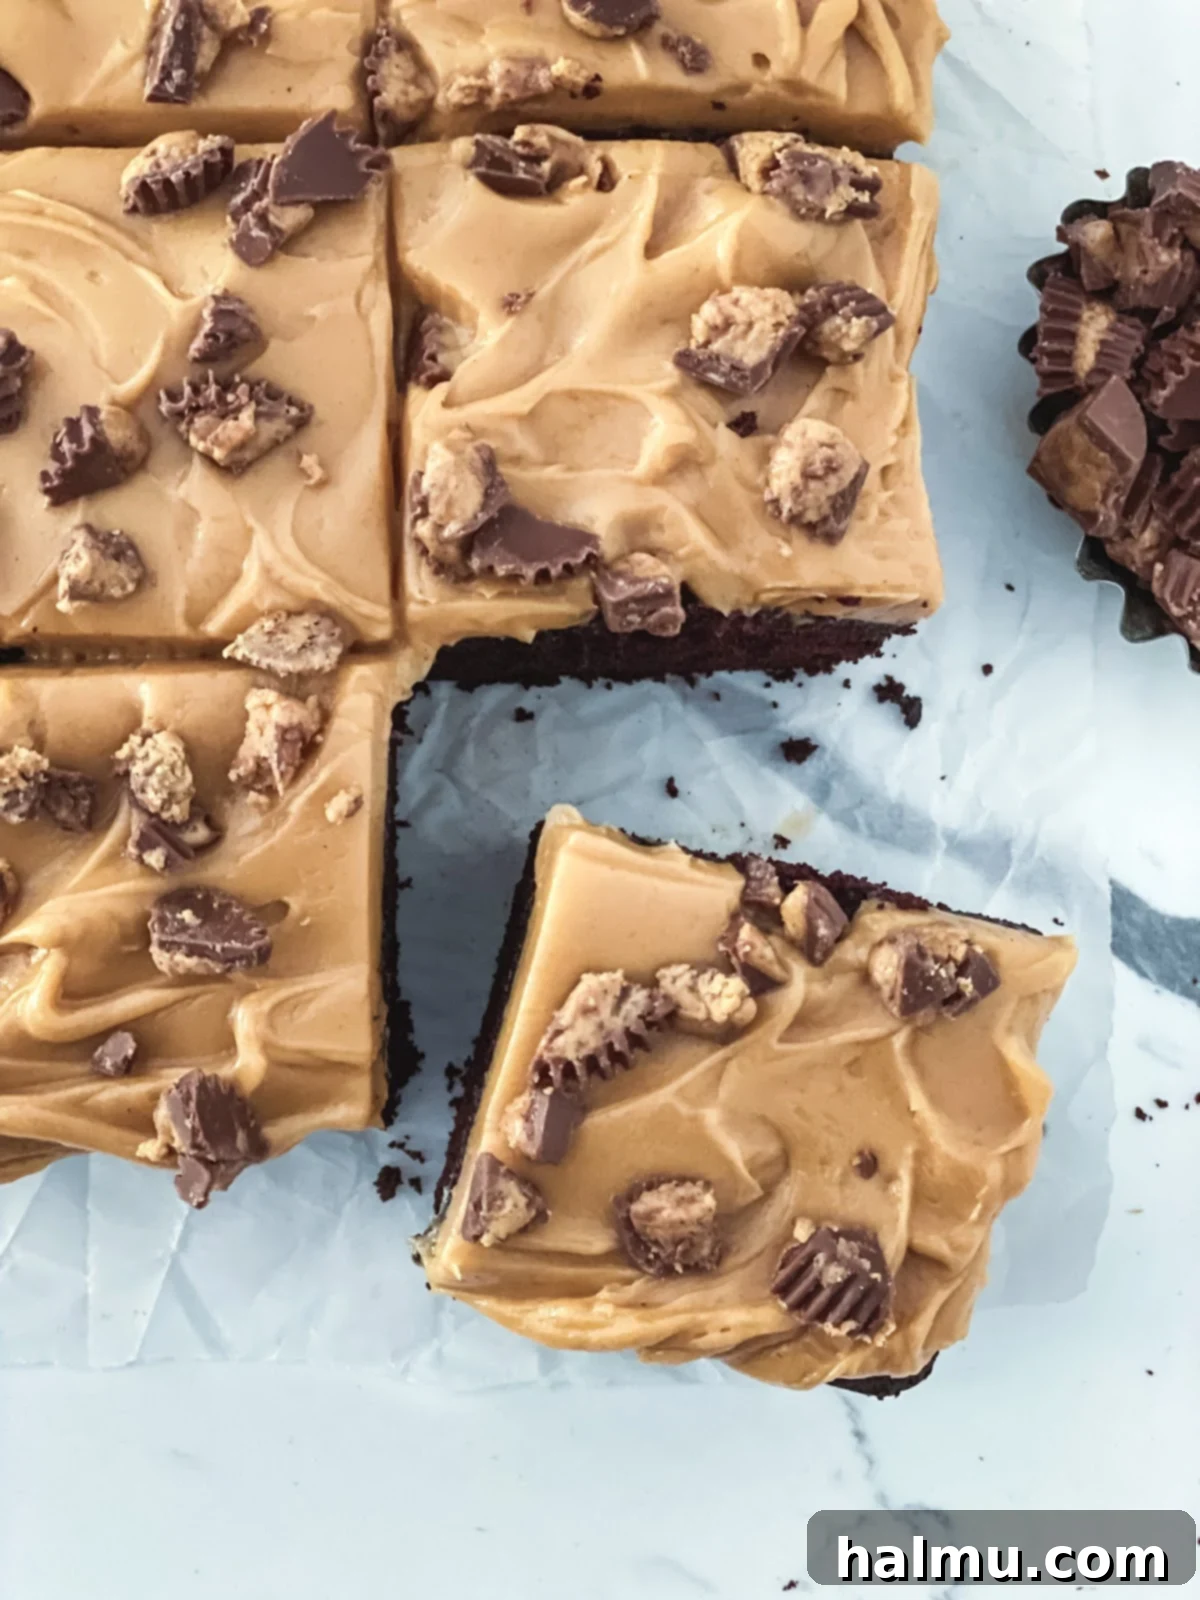
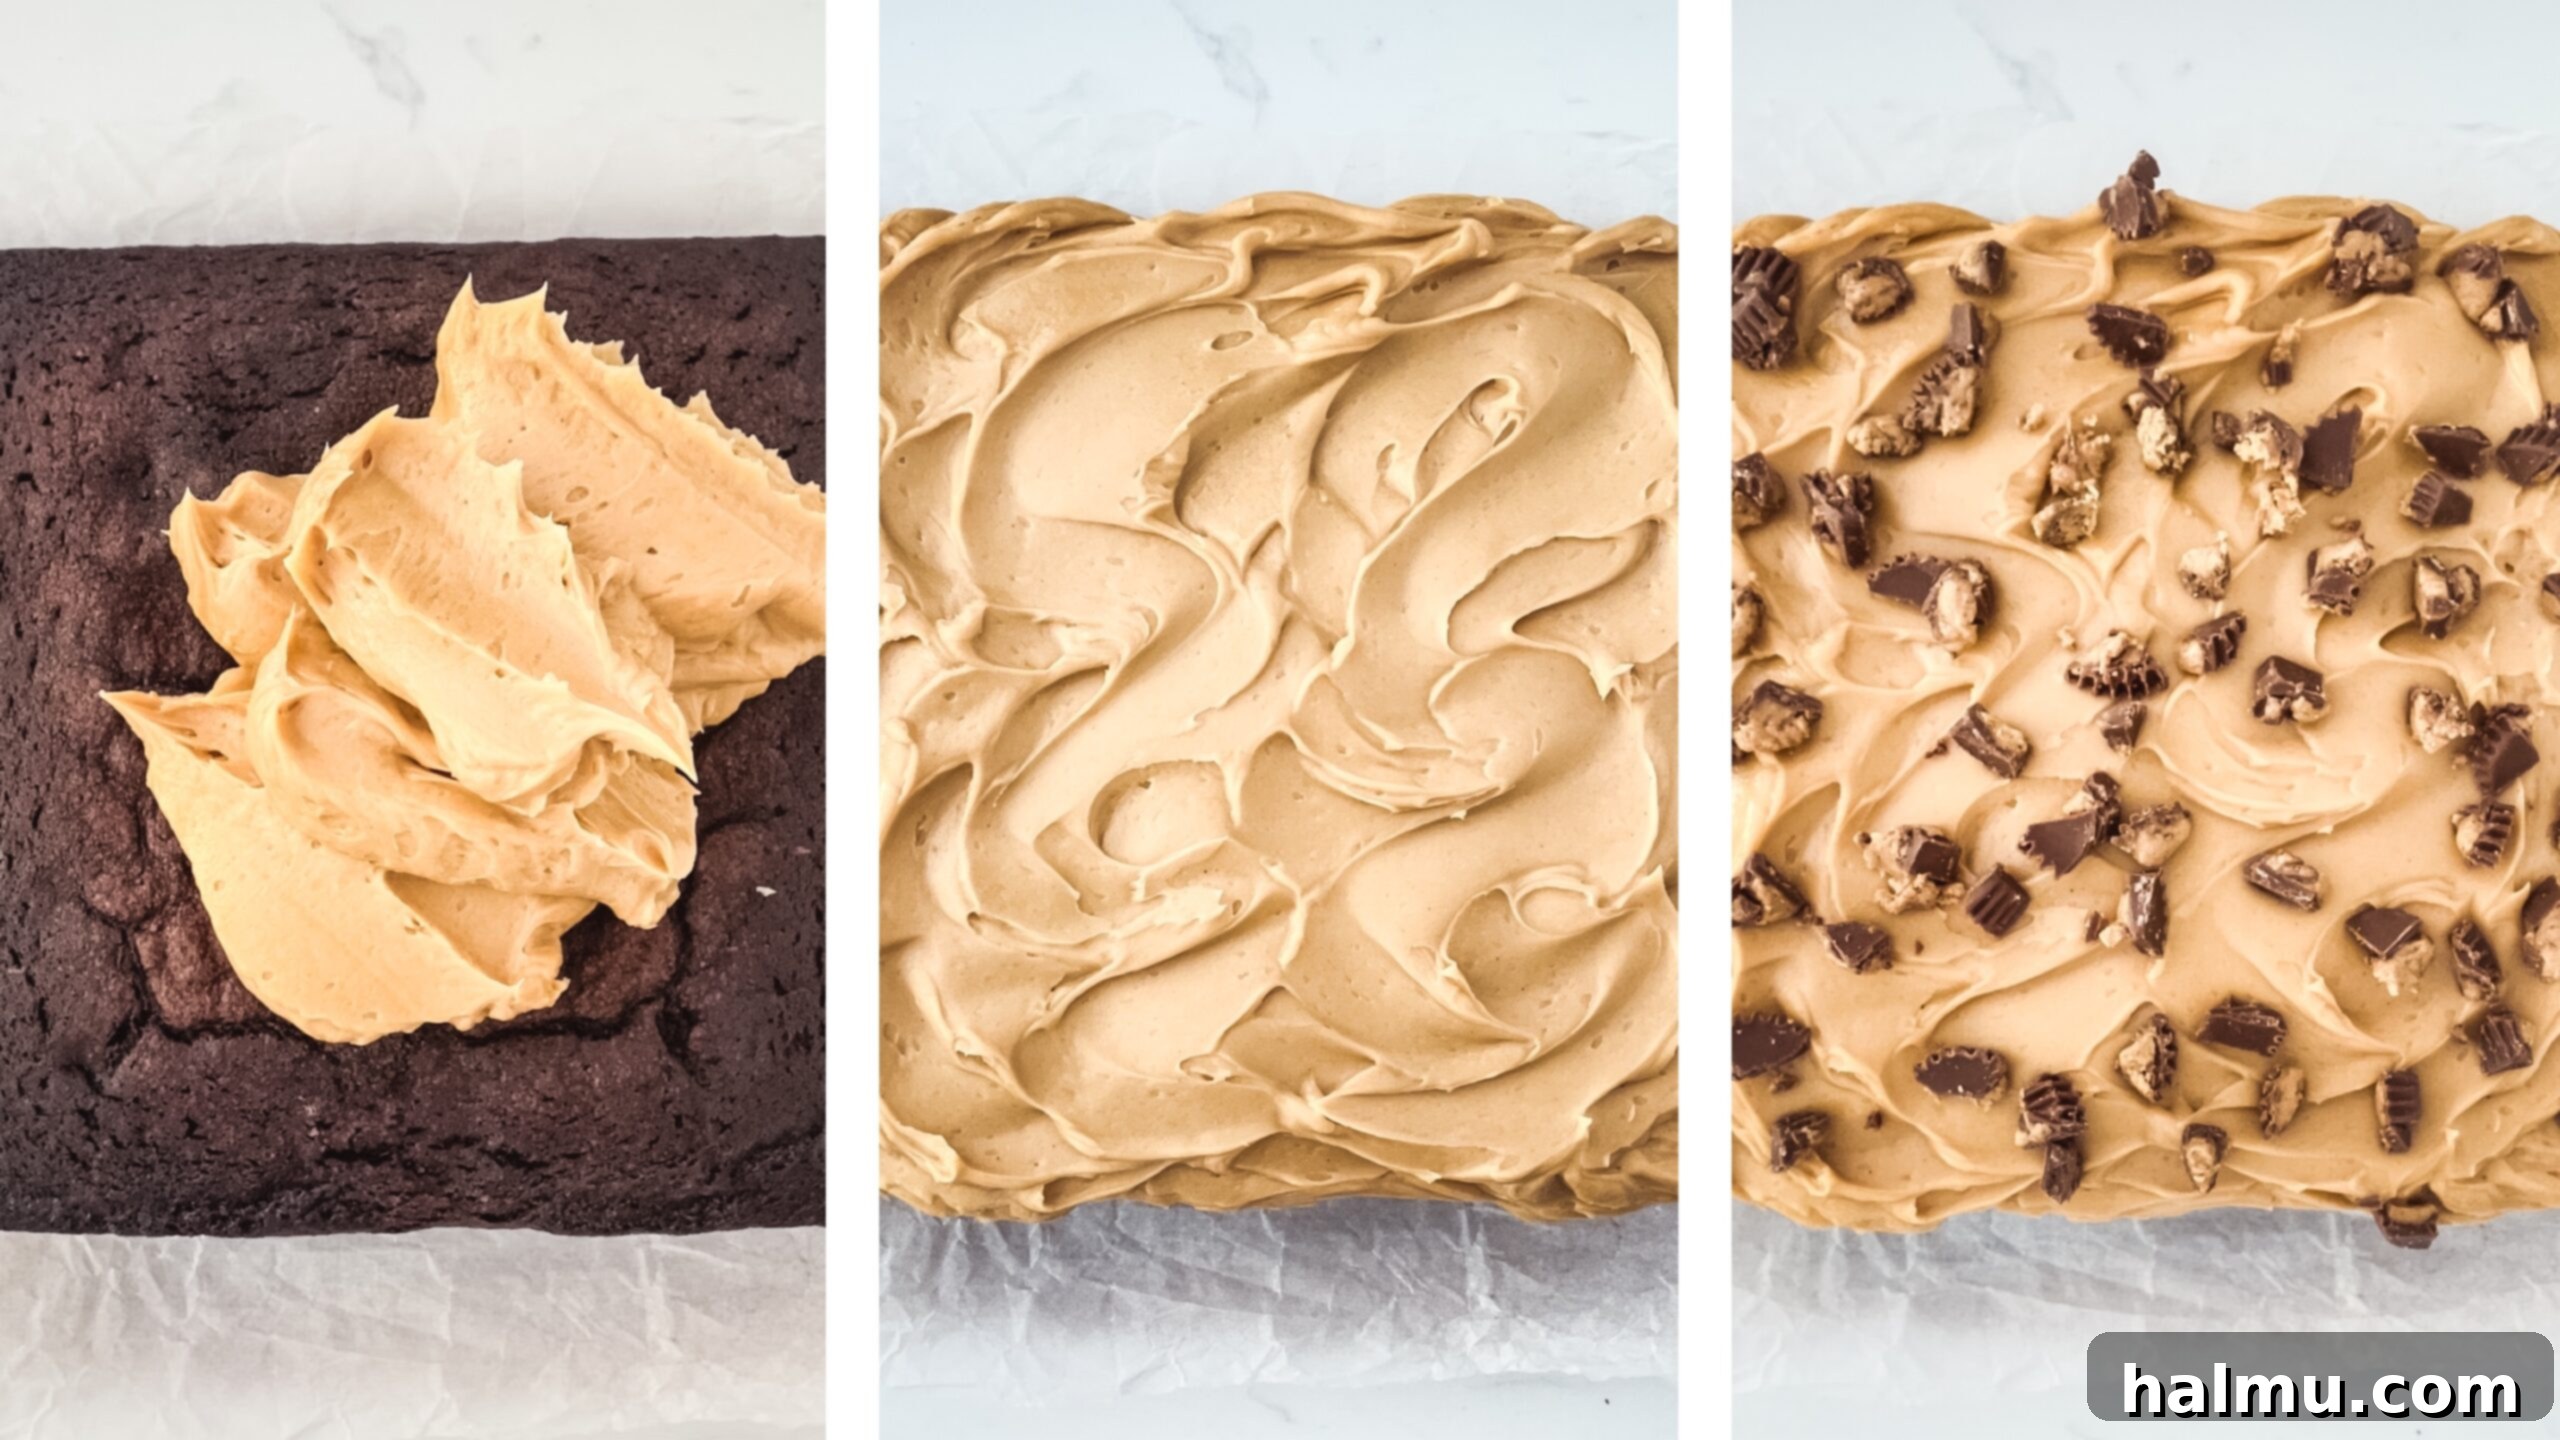
- Frosting Your Masterpiece: With your cooled chocolate cake and prepared peanut butter mousse ready, it’s time for the delicious final touch. I love to apply a generous, thick layer of the peanut butter mousse over the top of the cake, then create charming swirls or peaks with a tapered spatula. This adds a beautiful homemade aesthetic and enhances the overall sensory experience. To elevate your **Chocolate Peanut Butter Snack Cake** even further, consider sprinkling some chopped miniature peanut butter cups, colorful chocolate sprinkles, or elegant chocolate shavings over the top. These garnishes not only add visual appeal but also provide an extra burst of flavor and texture.
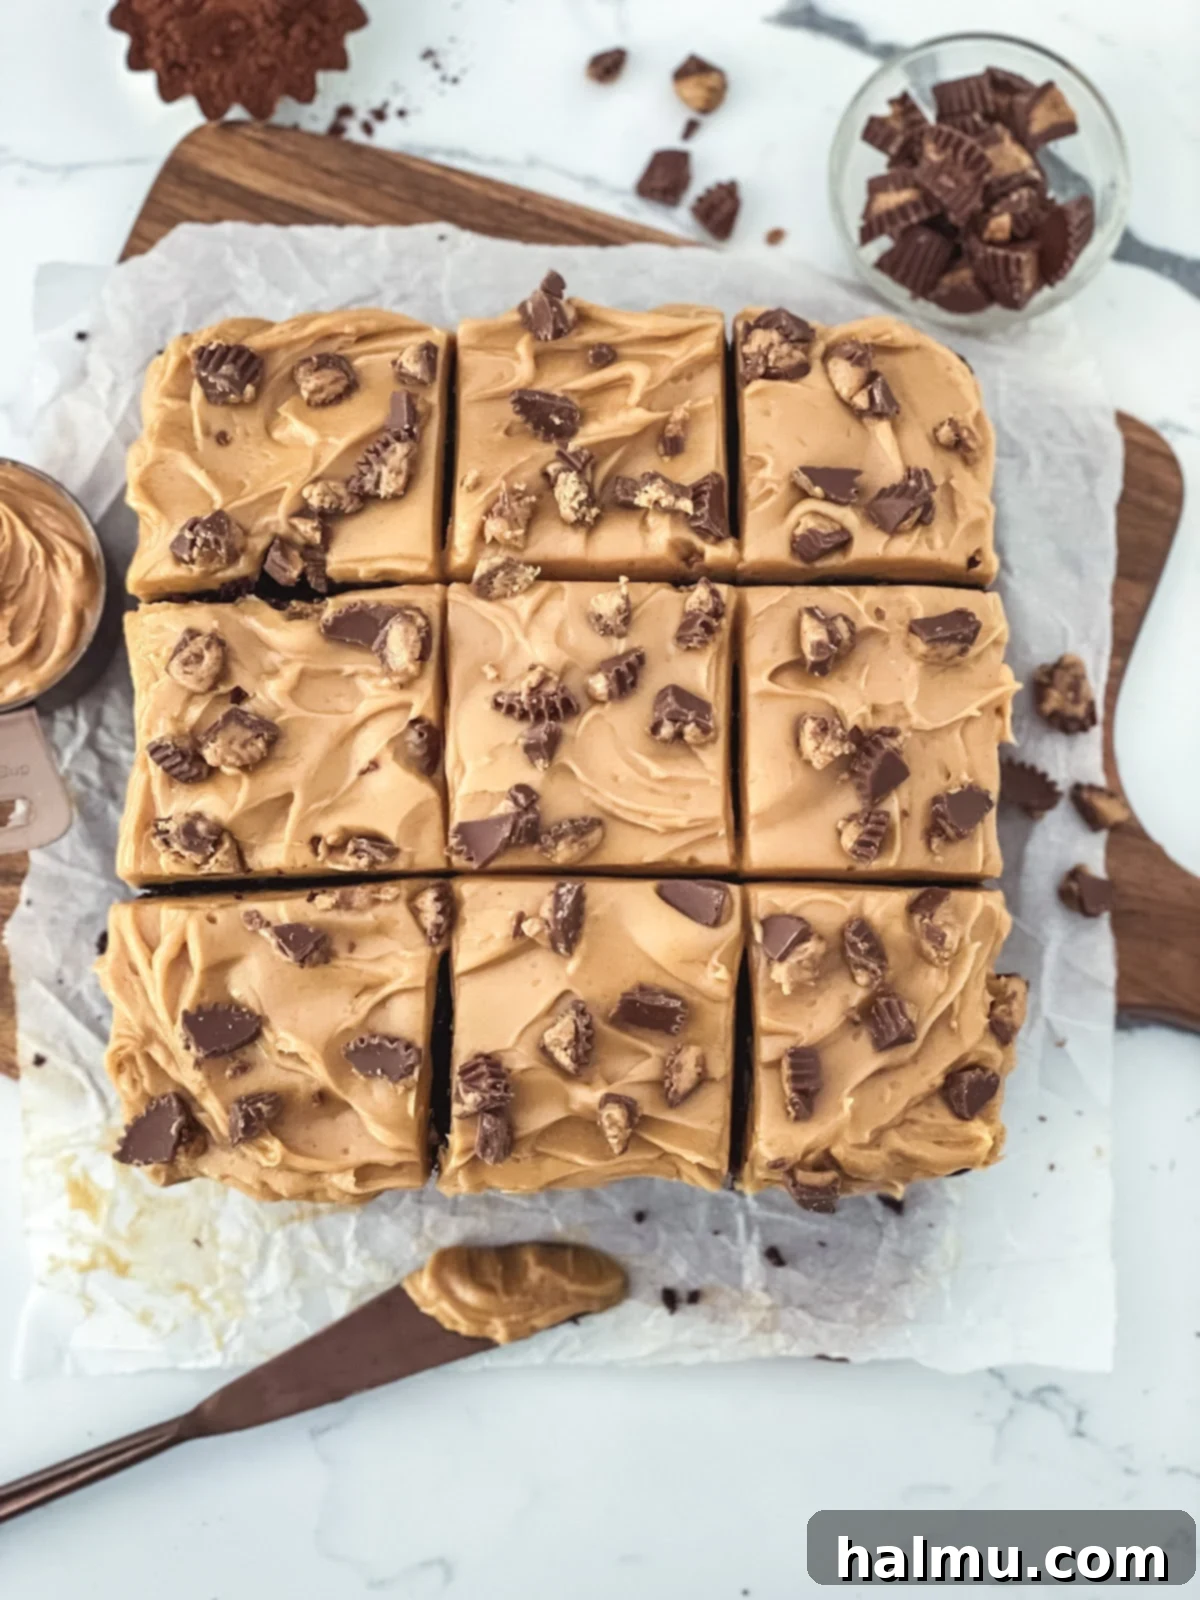
- Serve and Savor Every Scrumptious Bite: This delightful snack cake is perfect for sharing. I typically cut it into nine generous square pieces, which are substantial enough to satisfy any sweet tooth. However, feel free to adjust the portion sizes to create smaller, bite-sized treats if you’re serving a larger crowd or prefer a more modest indulgence. Due to the heavy cream content, the peanut butter mousse requires refrigeration. If you’re not planning to serve the cake immediately, be sure to store the entire cake in an airtight container in the fridge. For the best flavor and texture experience, I recommend taking the cake out of the refrigerator approximately 30 minutes before serving. This allows the chocolate cake portion to come closer to room temperature, softening its crumb, while the mousse remains beautifully chilled and creamy. Then, prepare to dive into the pure magic of this **Chocolate Peanut Butter Snack Cake**. Each bite is a perfect blend of moist chocolate, rich peanut butter, and a heavenly light texture that will leave you utterly enchanted.
Pro Tips for the Best Chocolate Peanut Butter Snack Cake
Achieving bakery-quality results with your **Chocolate Peanut Butter Snack Cake** is entirely within reach, especially if you heed these essential baking tips. These insights will help you avoid common pitfalls and elevate your homemade creation to new heights of deliciousness.
- Embrace the Precision of a Kitchen Scale: I cannot emphasize this tip enough – measuring your baking ingredients by weight, rather than by volume, is a game-changer. Using a kitchen scale offers far superior accuracy compared to traditional measuring cups. For example, a cup of flour can vary significantly in weight depending on how it’s scooped, which directly impacts the texture of your cake. Investing in an inexpensive kitchen scale will not only ensure consistent, perfect results every time but also significantly reduce the number of dishes you’ll need to wash. It’s a win-win! This is why I always include gram weights in my recipes and strongly advocate for weighing ingredients in all your baking endeavors.
- Thorough Bowl Scraping is Key: During the cake batter preparation, one of the most crucial yet often overlooked steps is diligently scraping down the sides and bottom of your mixing bowl. Ingredients like butter, sugar, and flour have a tendency to cling to the bowl, especially in the crevices, leading to uneven mixing. If these pockets of unmixed ingredients make it into the oven, they can result in streaks of butter, dense spots, or an inconsistent texture in your final baked cake. Make it a habit to pause and scrape your bowl thoroughly with a spatula at least 5-6 times throughout the mixing process to ensure every component is perfectly incorporated.
- The Art of Ingredient Temperature: For the chocolate cake, ensuring your butter and eggs are at room temperature is vital for the creaming method. Room temperature butter creams more smoothly with sugar, creating a light, airy base, and room temperature eggs incorporate more evenly into the batter, preventing curdling. For the peanut butter mousse, similarly, use softened butter to ensure it blends seamlessly with the peanut butter.
- Avoid Overmixing – Especially with Flour: Once you begin adding the dry ingredients to the cake batter, mix only until they are *just* combined. Overmixing develops the gluten in the flour, which can lead to a dense, tough, or chewy cake. A few small lumps are perfectly acceptable; it’s better to slightly undermix than to overmix at this stage.
- Chilled Mousse, Room Temperature Cake: The peanut butter mousse, thanks to its heavy cream base, absolutely requires refrigeration to maintain its stability and light, fluffy texture. I’ve found that the ultimate eating experience comes from a delightful contrast: a moist chocolate cake that’s had a chance to warm up slightly to room temperature, paired with a perfectly chilled, creamy mousse. To achieve this, prepare your mousse ahead of time and store it in the refrigerator until your cake is completely cooled and you’re ready to frost. Before spreading, give the mousse a quick stir to ensure it’s smooth and easily spreadable. Once frosted, immediately return the cake to the fridge. Then, about 30 minutes before serving, take the cake out so the chocolate cake can soften beautifully, creating that ideal blend of soft cake and refreshing, creamy frosting.
- Quality Matters: Using good quality ingredients can make a noticeable difference. Opt for a rich, unsweetened cocoa powder for a deep chocolate flavor, and a creamy, conventional peanut butter (like Jif or Skippy) for the mousse, as natural peanut butter tends to separate and can affect the mousse’s texture.

More Delicious Snack Cakes You’ll Love
If you’ve fallen in love with the simplicity and incredible taste of this Chocolate Peanut Butter Snack Cake, you’re in for a treat! Here are a few more delightful snack cake recipes that are just as easy to make and equally satisfying:
- Chocolate Pudding Cake
- Chocolate Chip Banana Snack Cake
- Carrot Snack Cake
In summary, this **Chocolate Peanut Butter Snack Cake** is more than just a dessert; it’s a celebration of two classic flavors coming together in perfect harmony. It’s remarkably simple to prepare, delivers an irresistible sweetness, and is, without a doubt, utterly scrumptious. Whether you’re an experienced baker or just starting your culinary journey, this recipe is designed for success and maximum enjoyment. Its ease of preparation combined with its incredible taste makes it an instant crowd-pleaser and a guaranteed new favorite in your recipe collection. So gather your ingredients, follow these steps, and prepare to delight your taste buds and those of your loved ones. Happy baking, friends, and enjoy every blissful bite of this chocolate peanut butter magic!
Chocolate Peanut Butter Snack Cake
Print Recipe
RATE THIS RECIPE
Ingredients
For the Chocolate Cake
- ½ cup (113g) unsalted butter
- 1 ⅓ cup (285g) granulated sugar
- ½ cup (56g) cocoa powder
- 2 large eggs
- 1 teaspoon vanilla extract
- 1 ½ cups (160g) cake flour
- 1 teaspoon baking soda
- ½ teaspoon baking powder
- ¼ teaspoon salt
- 1 cup (204g) water
For the Peanut Butter Mousse
- ¾ cup (190g) creamy peanut butter
- ¼ cup (57g) unsalted butter
- ½ cup (60g) powdered sugar
- ¾ cup (6oz / 170g) heavy cream
For the Topping
- 8-10 Reese’s Miniature Cups, chopped (optional)
SHOP INGREDIENTS
Instructions
- Chocolate Cake: Preheat oven to 325°F. Lightly grease an 8” x 8” square pan with cooking spray. Line with parchment paper to create a sling, with an overhang on all four sides.
- In the bowl of a stand mixer fitted with a paddle attachment, cream the butter and sugar until fluffy and light in color, about 5 minutes.
- Add the eggs one at a time and vanilla, combining well after each addition. Scrape the bowl then add the cocoa powder. Start on the lowest speed and increase to medium speed until well combined. Scrape the bowl again.
- Sift together the cake flour, baking soda, baking powder, and salt. Alternate adding the flour mixture and water, starting and ending with the flour. Mix until just combined after each addition and scrape down the bowl a few times during the process.
- Pour batter into the prepared pan and smooth out the top. Bake for 45-50 minutes, or until the cake springs back to the touch (or a toothpick comes out clean).
- Allow the cake to cool completely before frosting.
- Peanut Butter Mousse: In a large mixing bowl, combine the peanut butter, and butter with an electric mixer until well combined and smooth with no lumps remaining. Add the powdered sugar and mix just until fully combined.
- In a separate bowl, whip the heavy cream to soft peaks then mix into the peanut butter mixture until thick and smooth.
- Spread the peanut butter mousse on the top of the cooled cake, using a tapered spatula and pushing the frosting just to the edges and corners.
- Sprinkle the chopped mini peanut butter cups on top, if desired. Slice the cake up and enjoy!
Notes
- Peanut Butter: I recommend using a thick, conventional peanut butter like Skippy or Jif. A natural variety won’t quite work the same in this recipe.
- Storing: Store the cake in an airtight container in the fridge for up to 3 days.
