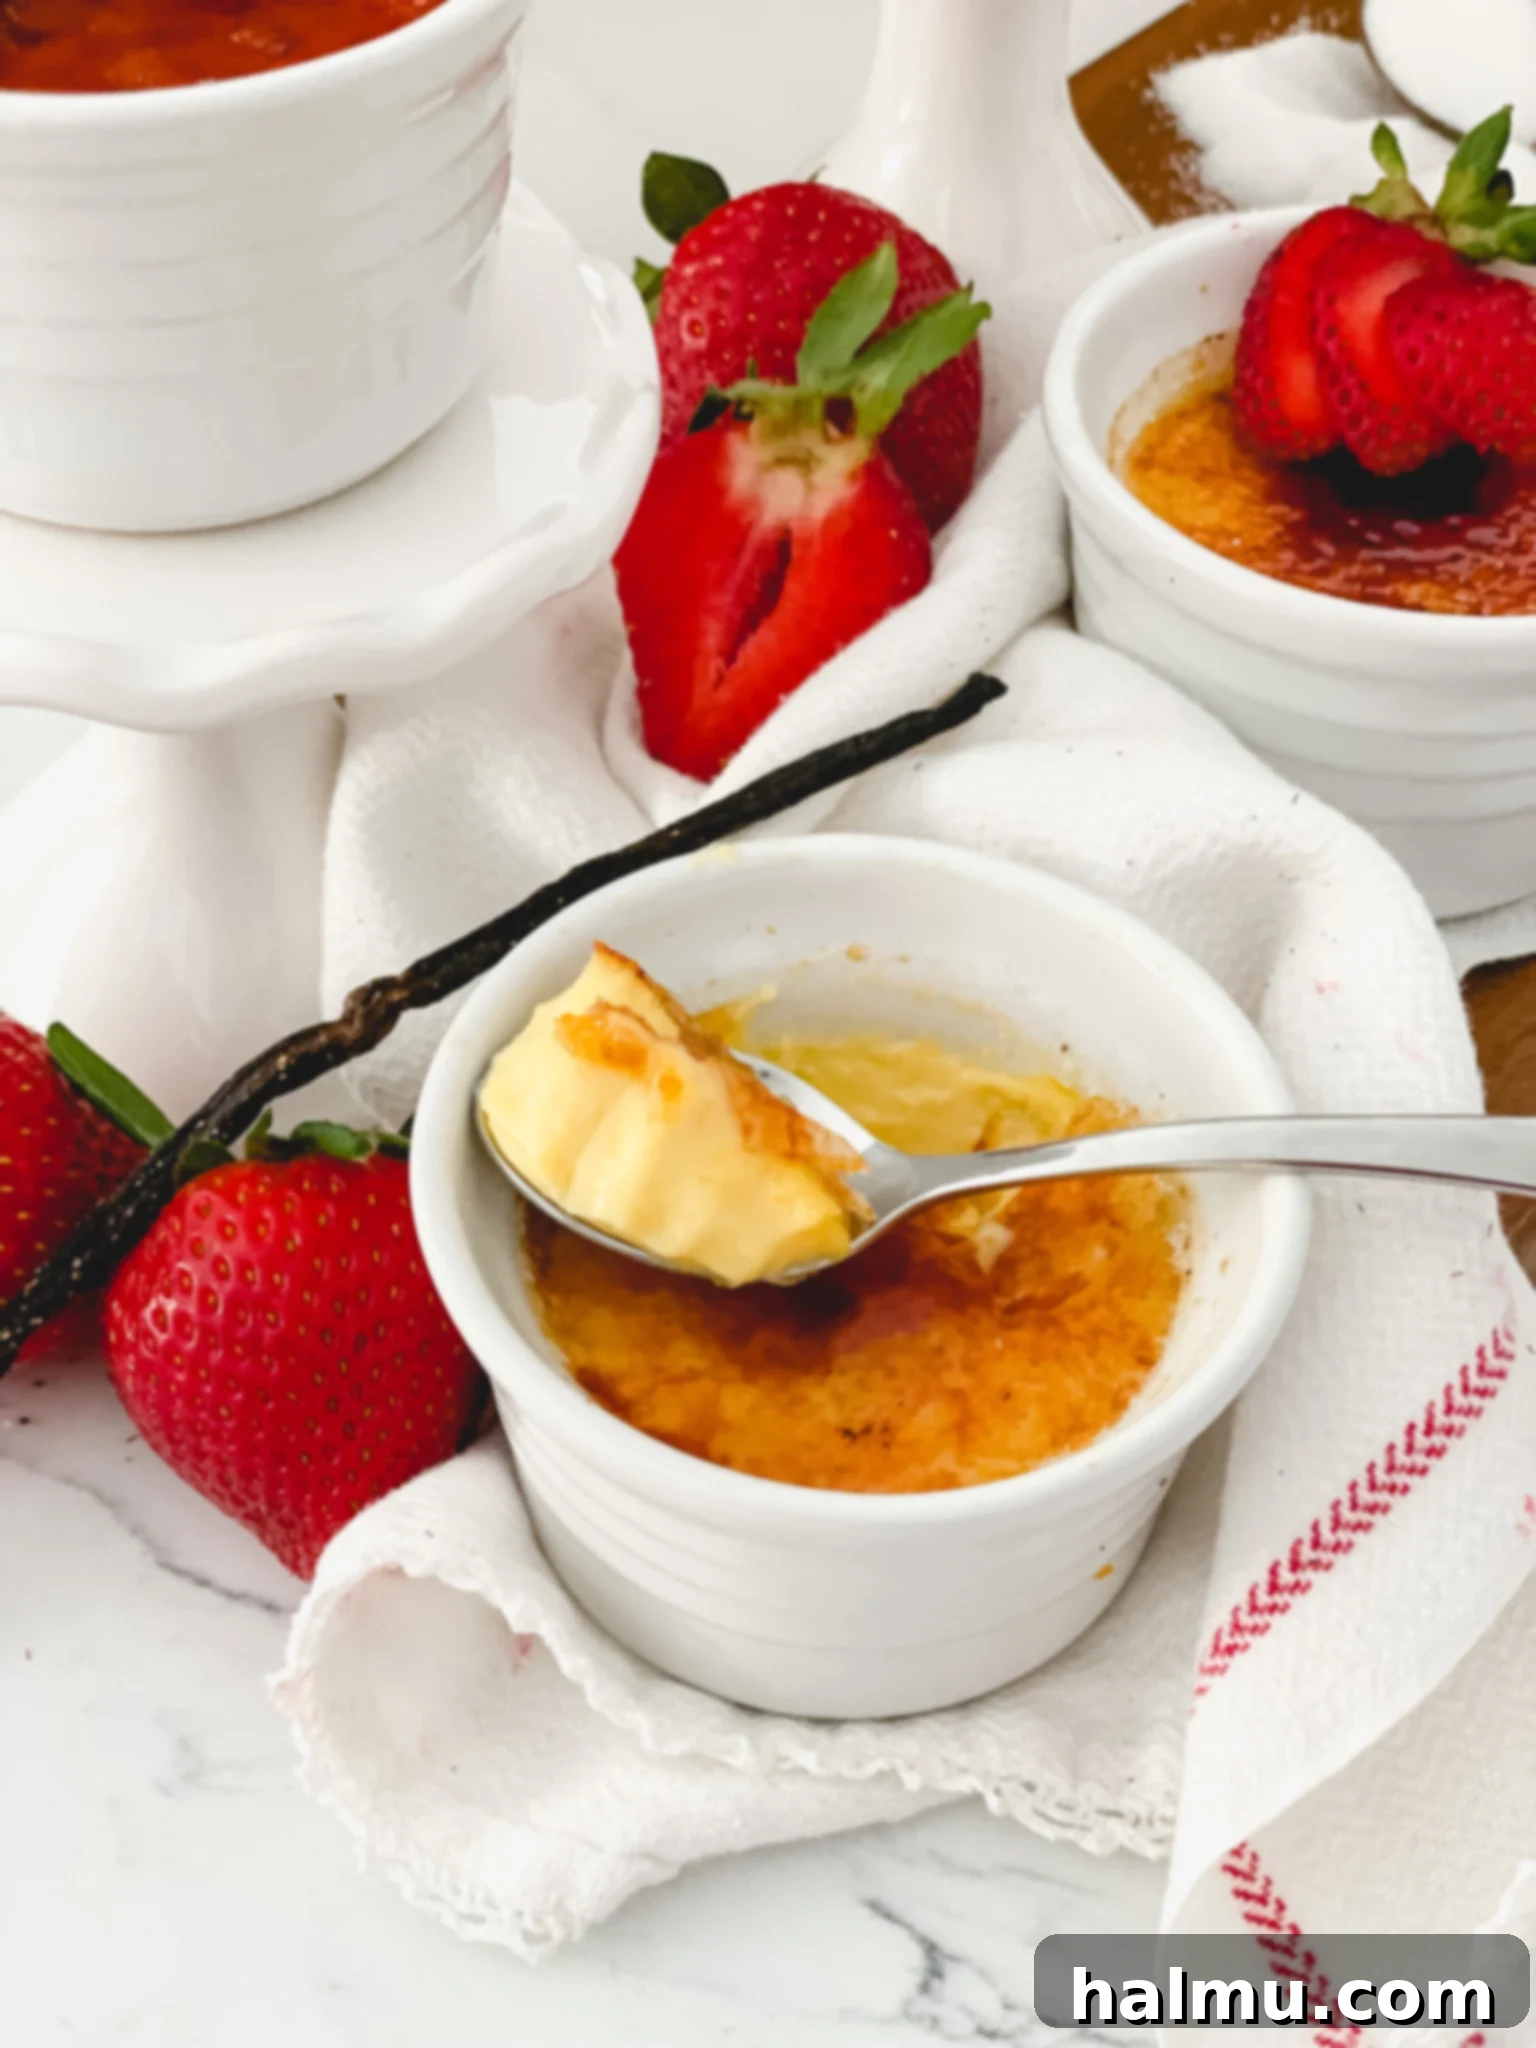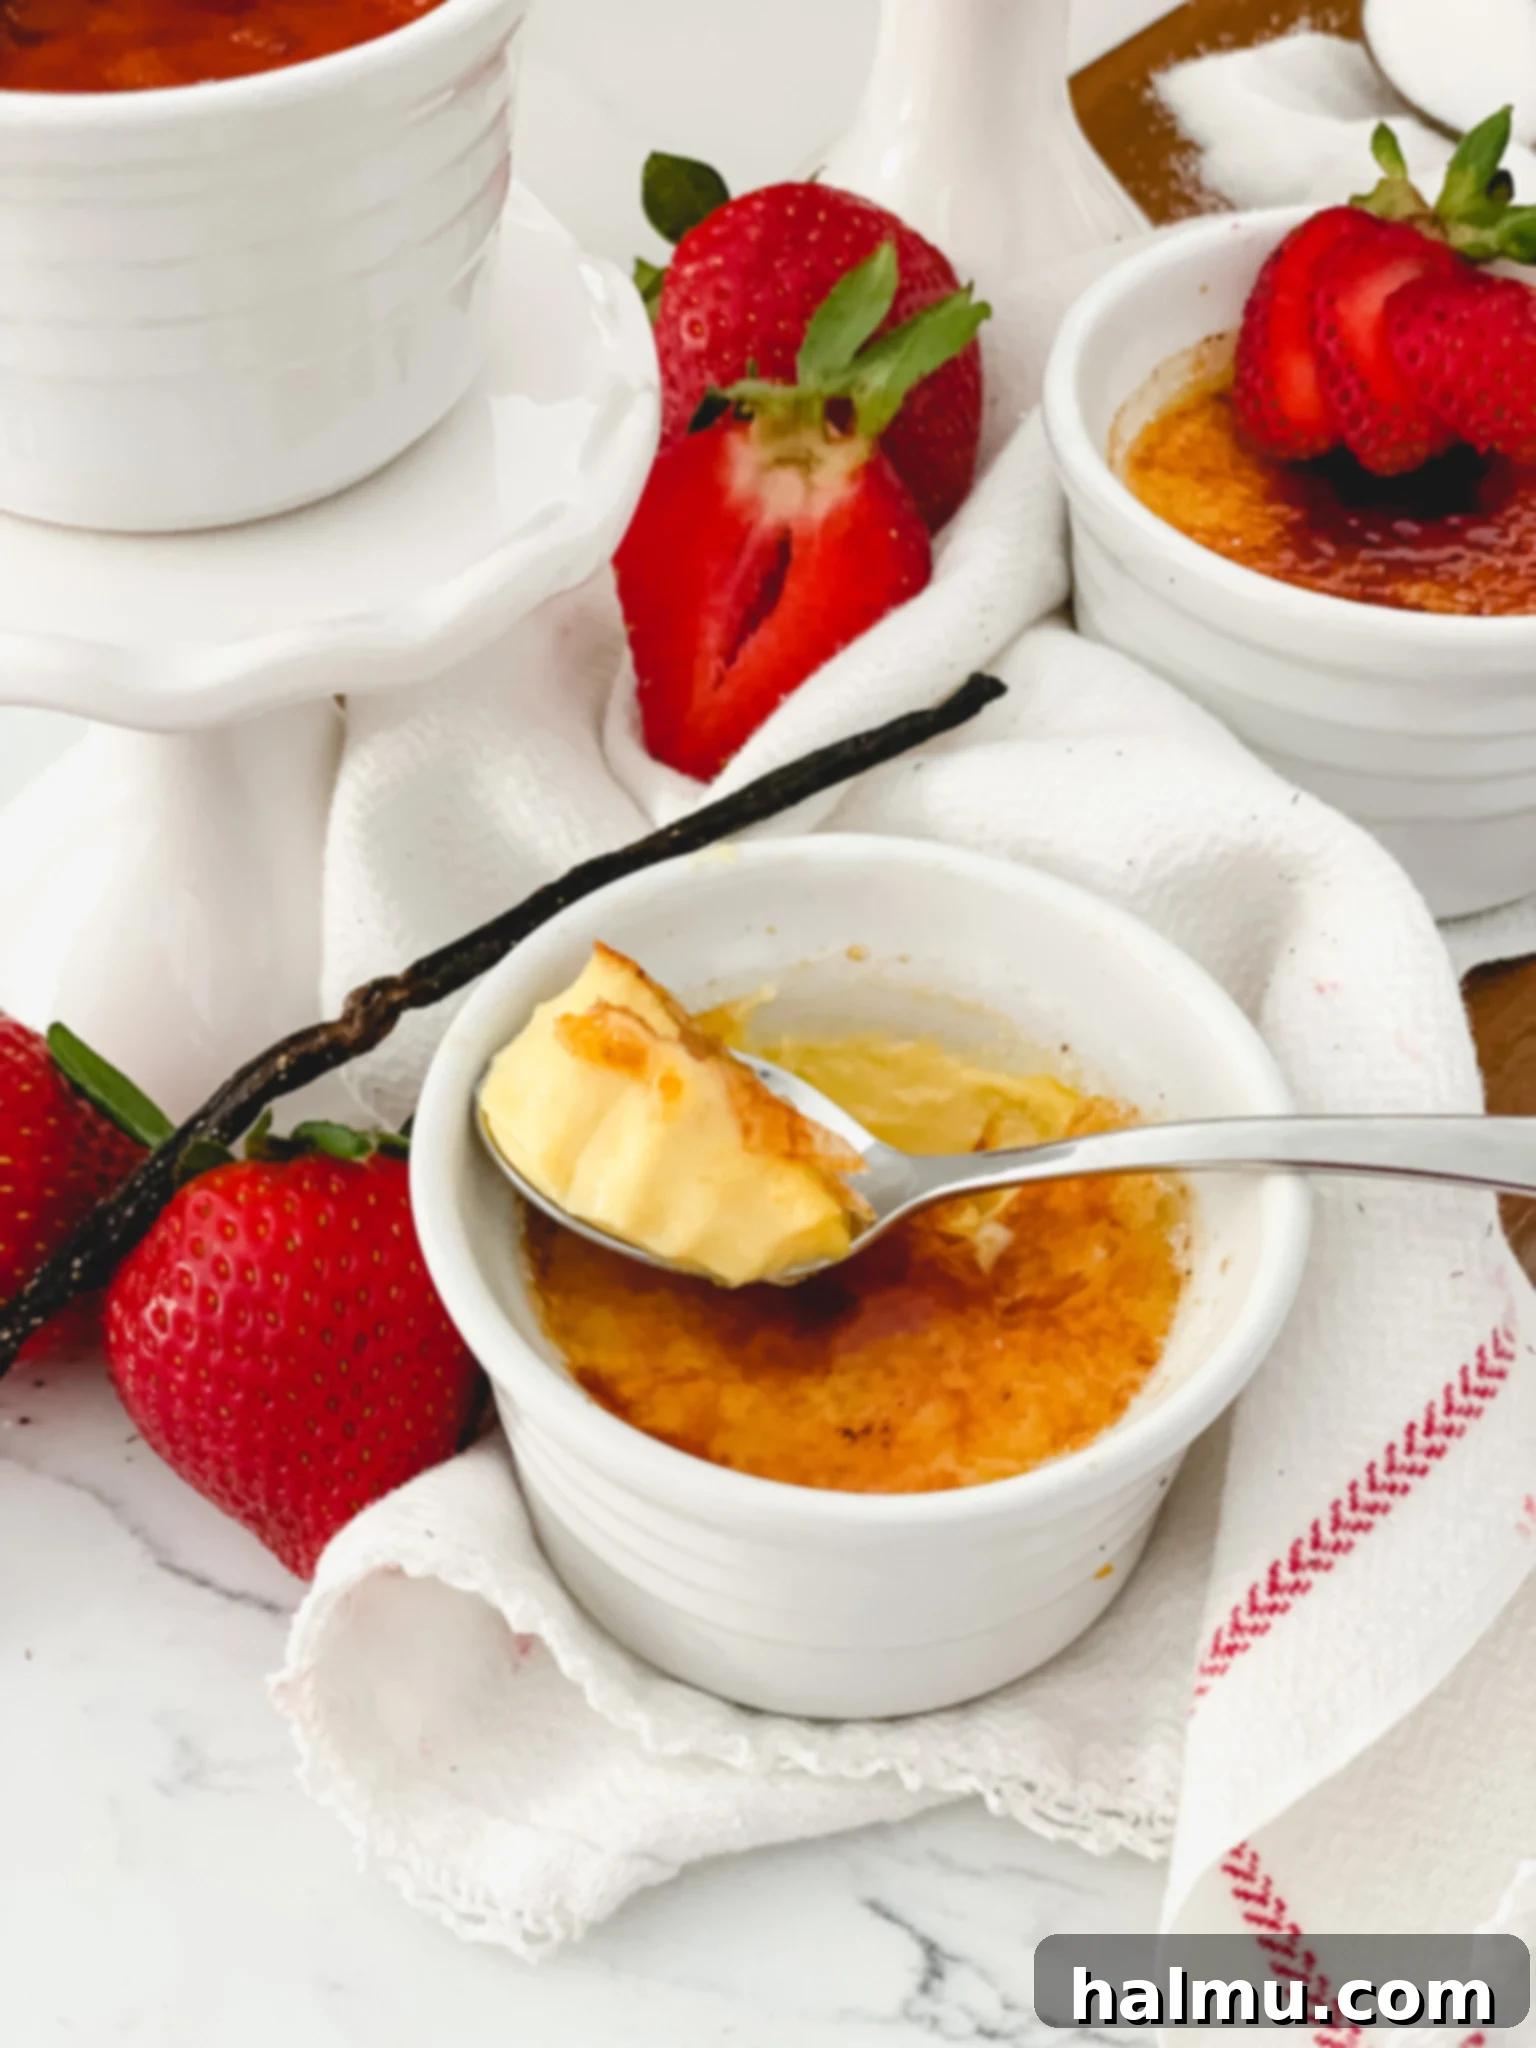
There are few desserts that capture hearts and imaginations quite like a classic Crème Brûlée. This isn’t just any dessert; it’s a culinary masterpiece that strikes a perfect balance between sophisticated elegance and heartwarming comfort. For special occasions like Mother’s Day, or simply to elevate an ordinary evening into an extraordinary one, our Vanilla Bean Crème Brûlée stands out as the ultimate choice. It’s a tribute to the timeless appeal of French patisserie, reimagined for the home kitchen with a focus on rich flavor and captivating texture.
Imagine a velvety smooth custard, deeply infused with the aromatic essence of real vanilla beans, nestled in a delicate ramekin. This luscious base is then crowned with a glistening, amber-colored layer of caramelized sugar that promises a satisfying crack with every tap of your spoon. The delightful contrast between the cool, creamy custard and the warm, brittle sugar topping is a symphony of sensations that will leave a lasting impression on anyone who tries it. While its appearance might suggest complexity, this recipe is surprisingly straightforward to master, allowing you to dazzle your guests as you perform the dramatic final flourish of torching the sugar right before their eyes.
This dessert isn’t just food; it’s an experience. The subtle sweetness of the custard, enhanced by the distinct floral and woody notes of vanilla, provides a comforting embrace. The crunch of the sugar, followed by the smooth, melt-in-your-mouth custard, creates a dynamic texture profile that keeps you coming back for more. It’s a dessert that speaks of luxury, a small indulgence that brings immense pleasure. Prepare to embark on a delightful culinary journey as we guide you through crafting this exquisite Vanilla Bean Crème Brûlée, a dessert that is destined to become a cherished favorite.
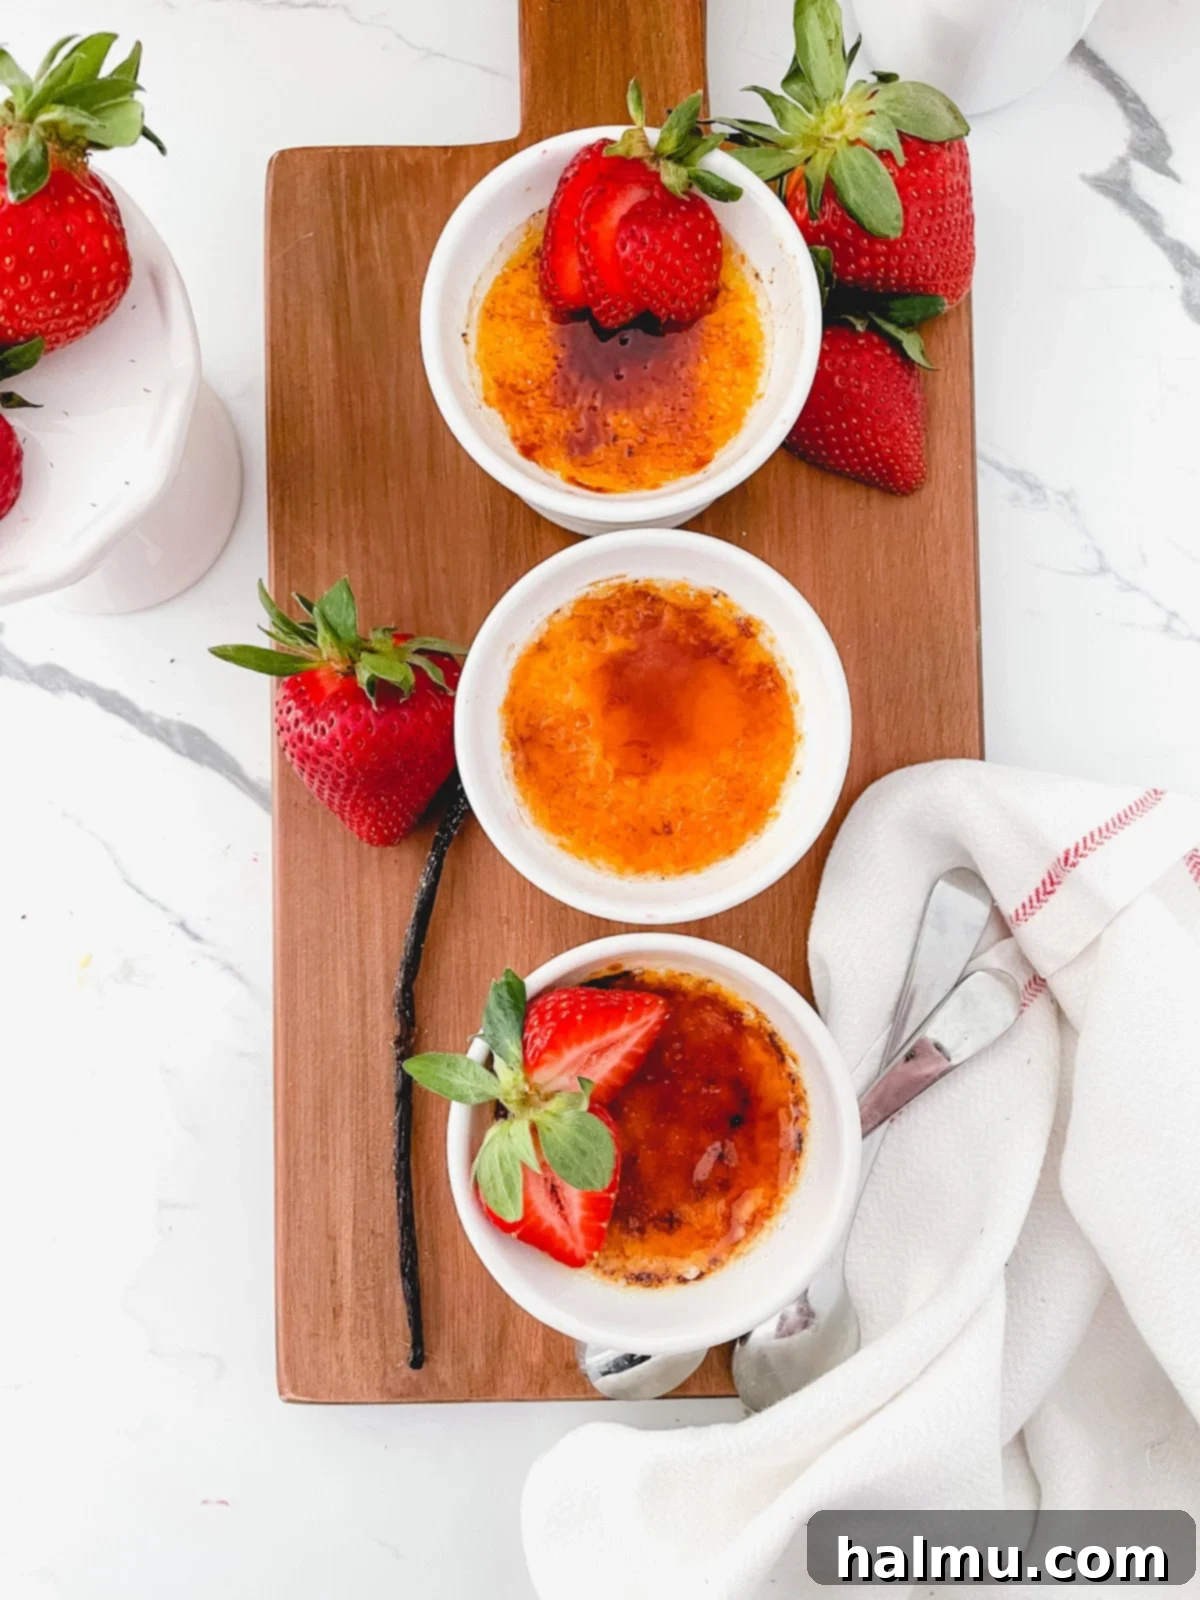
The Secret Behind Simplicity: Essential Ingredients for Perfect Crème Brûlée
The magic of Vanilla Bean Crème Brûlée lies in its simplicity. With just a handful of high-quality ingredients, you can create a dessert that tastes incredibly luxurious. Each component plays a crucial role in achieving the signature rich, creamy custard and that iconic caramelized crust. Let’s delve into the five fundamental ingredients that will transform your kitchen into a gourmet patisserie:
- Egg Yolks: These are the heart and soul of our Crème Brûlée. Egg yolks provide the foundational richness and act as the primary thickening agent for the custard, giving it that desirable silky-smooth texture. Unlike many other custards, Crème Brûlée strictly calls for yolks, as egg whites would result in a firmer, more gelatinous texture that isn’t characteristic of this classic dessert. Don’t discard those leftover egg whites! They’re perfect for a batch of light and airy meringues, delicate macarons, or a healthy breakfast omelet.
- Sugar: Granulated sugar serves a dual purpose in this recipe, acting as both a sweetener for the custard and the crucial element for the famous caramelized topping. Within the custard, sugar provides the perfect level of sweetness, allowing the delicate vanilla flavor to shine without being overpowering. When sprinkled on top and torched, it undergoes a transformation, caramelizing into a hard, brittle, and deeply flavorful shell. This process is more than just browning; it develops complex, toasted notes that perfectly complement the creamy base.
- Heavy Cream: For an undeniably rich and decadent custard, heavy cream is non-negotiable. Its high fat content (typically 36% or more) is what imparts the luxurious, velvety mouthfeel that defines Crème Brûlée. Using lighter creams or milk would result in a thinner, less satisfying custard. The fat in heavy cream also helps to create a stable emulsion with the egg yolks, preventing the custard from curdling and ensuring a consistently smooth texture throughout.
- Vanilla Extract: Given the minimalist nature of this recipe, the quality of your vanilla extract is paramount. We highly recommend using a high-quality pure vanilla extract rather than imitation vanilla. Pure vanilla extract, derived from real vanilla beans, offers a complex bouquet of flavors and aromas that imitation versions simply cannot replicate. You will genuinely taste the difference in the final product – a deeper, more nuanced vanilla presence that elevates the entire dessert.
- Vanilla Bean Paste: To truly embrace the “Vanilla Bean” in Crème Brûlée, incorporating vanilla bean paste is a wonderful choice. This paste, a concentrated blend of vanilla extract and ground vanilla beans, not only intensifies the vanilla flavor but also adds those beautiful, visible black specks throughout the custard, signaling its authenticity and quality. If vanilla bean paste isn’t readily available, a whole vanilla bean can be used instead. Simply split the bean lengthwise, scrape out the seeds, and steep both the pod and seeds with the heavy cream during the heating process to infuse maximum flavor. Should you lack both paste and a whole bean, an extra teaspoon of pure vanilla extract can serve as a suitable substitute, though you’ll miss the visual appeal of the specks.
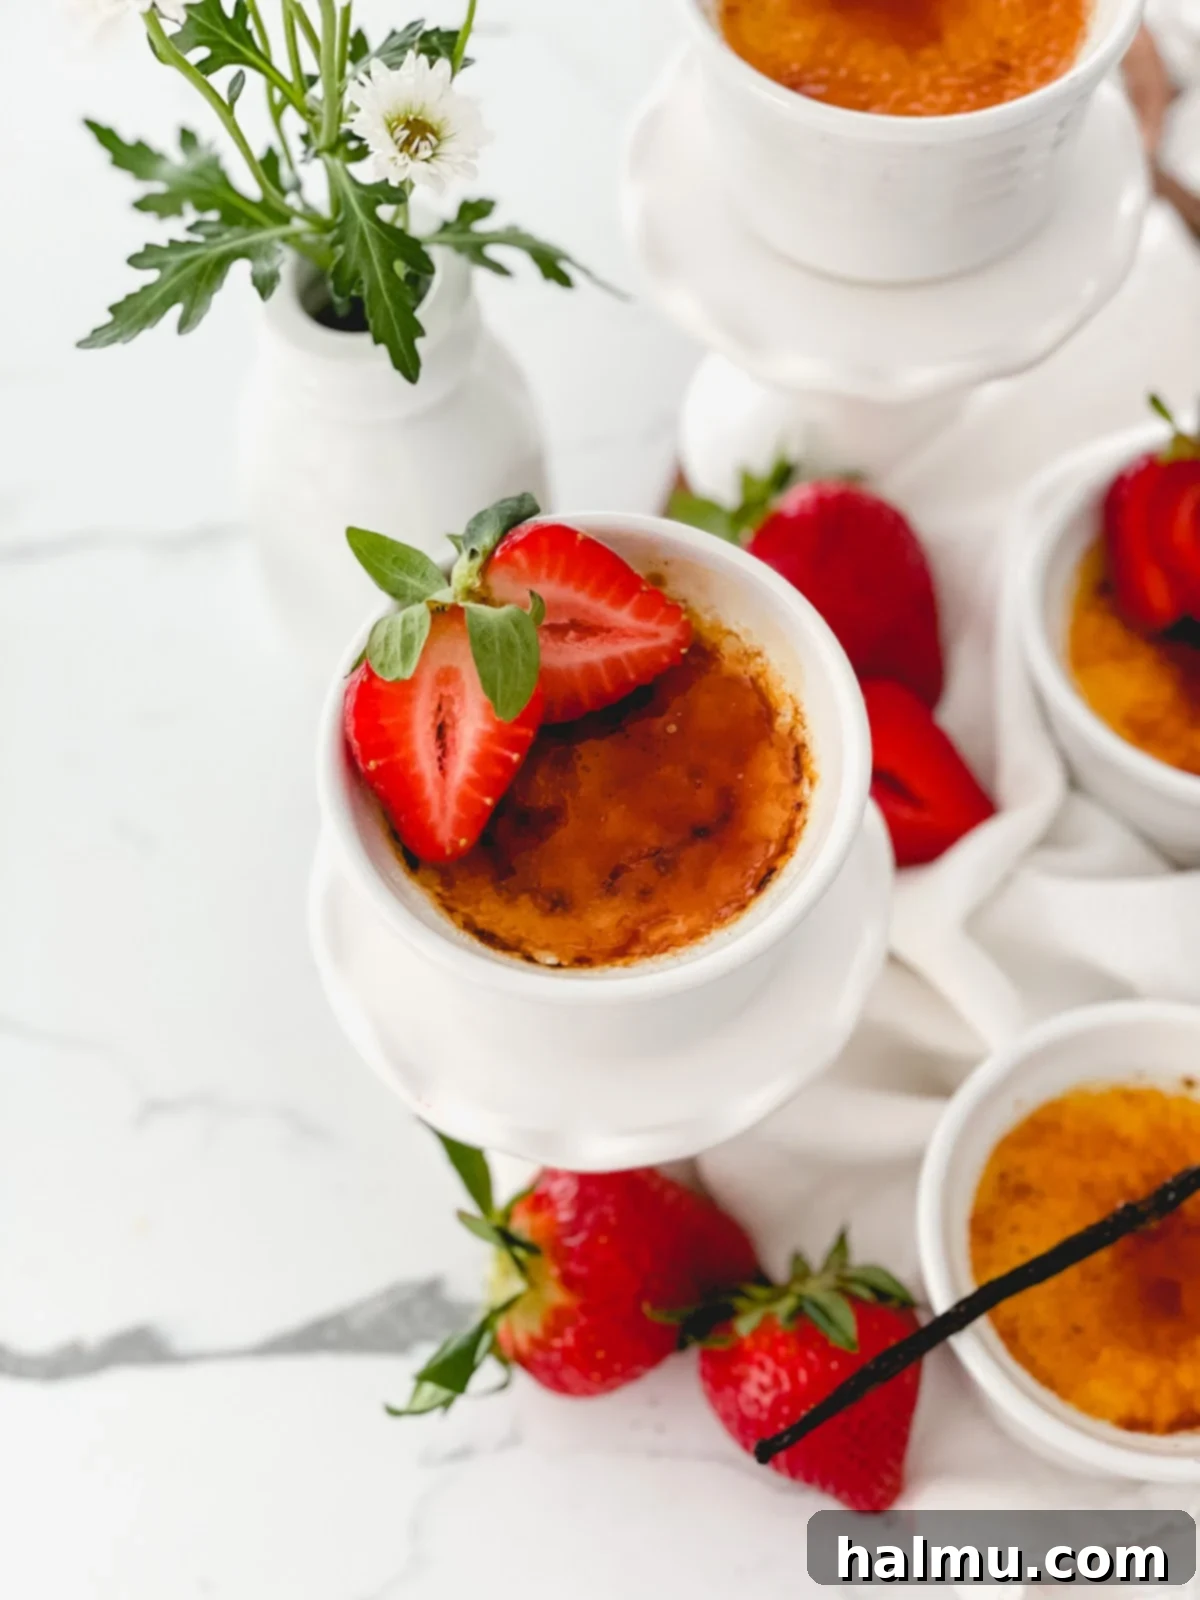
Mastering the Art: How to Make Vanilla Bean Crème Brûlée Step-by-Step
Creating a perfect Vanilla Bean Crème Brûlée is an art that’s surprisingly accessible, even for novice bakers. Each step is designed to ensure a silky-smooth custard with that signature crisp, caramelized topping. Follow these detailed instructions to achieve dessert perfection:
- Temper the eggs to perfection. The first critical step involves combining the egg yolks with sugar, whisking them vigorously until the mixture becomes thick, pale yellow, and slightly aerated. Simultaneously, gently heat your heavy cream in a small saucepan over low heat until it just begins to simmer, showing small bubbles around the edges but not coming to a rolling boil. This is crucial. Once the cream is hot, you’ll perform the delicate art of “tempering.” Slowly, in a thin, steady stream, pour the hot cream into the egg and sugar mixture while continuously whisking the eggs. This gradual addition and constant whisking prevent the eggs from scrambling, allowing them to gently come up to temperature without cooking too quickly. If you add the hot cream too fast, or stop whisking, you risk ending up with unappetizing scrambled egg bits in your custard, ruining its smooth texture.
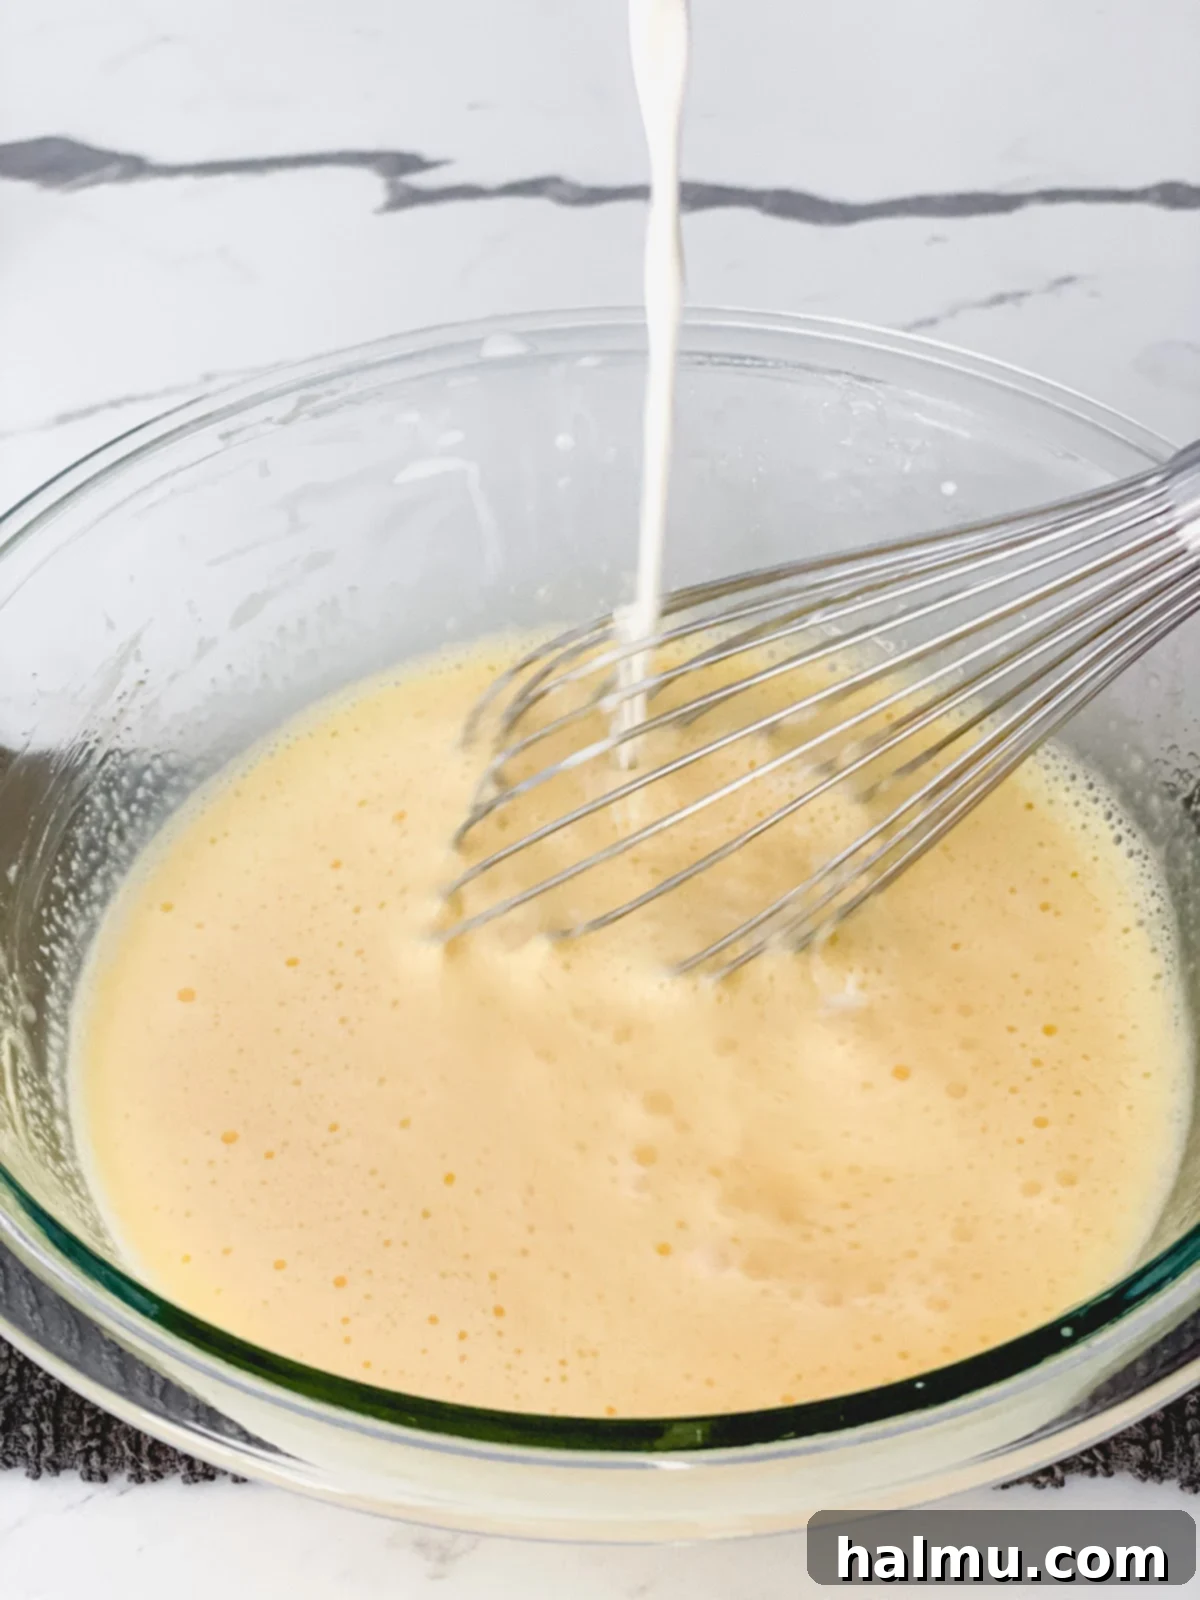
- Strain the mixture for ultimate silkiness. After successfully tempering the egg and sugar mixture with the warm cream, it’s time to stir in your vanilla extract and, most importantly, your vanilla bean paste. Once thoroughly combined, the entire mixture must be strained through a fine-mesh sieve. This step is absolutely essential for achieving that characteristic velvety, smooth Crème Brûlée texture. Even with careful tempering, tiny bits of cooked egg or undissolved sugar can sometimes remain. Straining ensures these imperfections are removed, guaranteeing a flawless, luxurious custard that will impress every palate. Don’t skip this simple yet vital step.
- Bake the ramekins in a gentle water bath. Custards, especially delicate ones like Crème Brûlée, thrive when baked in a water bath, often referred to by its French name, “bain-marie.” This method provides a moist, even, and gentle heat environment, which is paramount for preventing the custard from curdling, cracking, or becoming rubbery. The water acts as a buffer, ensuring the custard cooks slowly and uniformly, resulting in a perfectly set yet still delicate interior. To set up your water bath, first place your filled ramekins into a larger baking dish or roasting pan on the oven rack. Then, carefully pour warm (not boiling) water into the baking dish, ensuring it reaches about halfway to two-thirds up the sides of the ramekins. Pouring the water once the pan is in the oven helps prevent accidental spills or water splashing into your precious custards while transferring them.

- Refrigerate for at least 3 hours to set. Patience is a virtue when it comes to Crème Brûlée. After baking, allow the ramekins to cool completely at room temperature before transferring them to the refrigerator. They need a minimum of 3 hours to chill and fully set, but refrigerating overnight is even better for optimal texture and flavor development. Traditionally, Crème Brûlée is served cold, with only the caramelized sugar topping being slightly warm. This contrast between the cold, thick, and creamy custard and the warm, crunchy, caramelized top is a hallmark of the dessert’s appeal. The beauty of this dessert is that you can prepare the custard a day in advance, refrigerate it overnight, and then simply torch the sugar whenever you’re ready to serve, making it an excellent choice for entertaining.
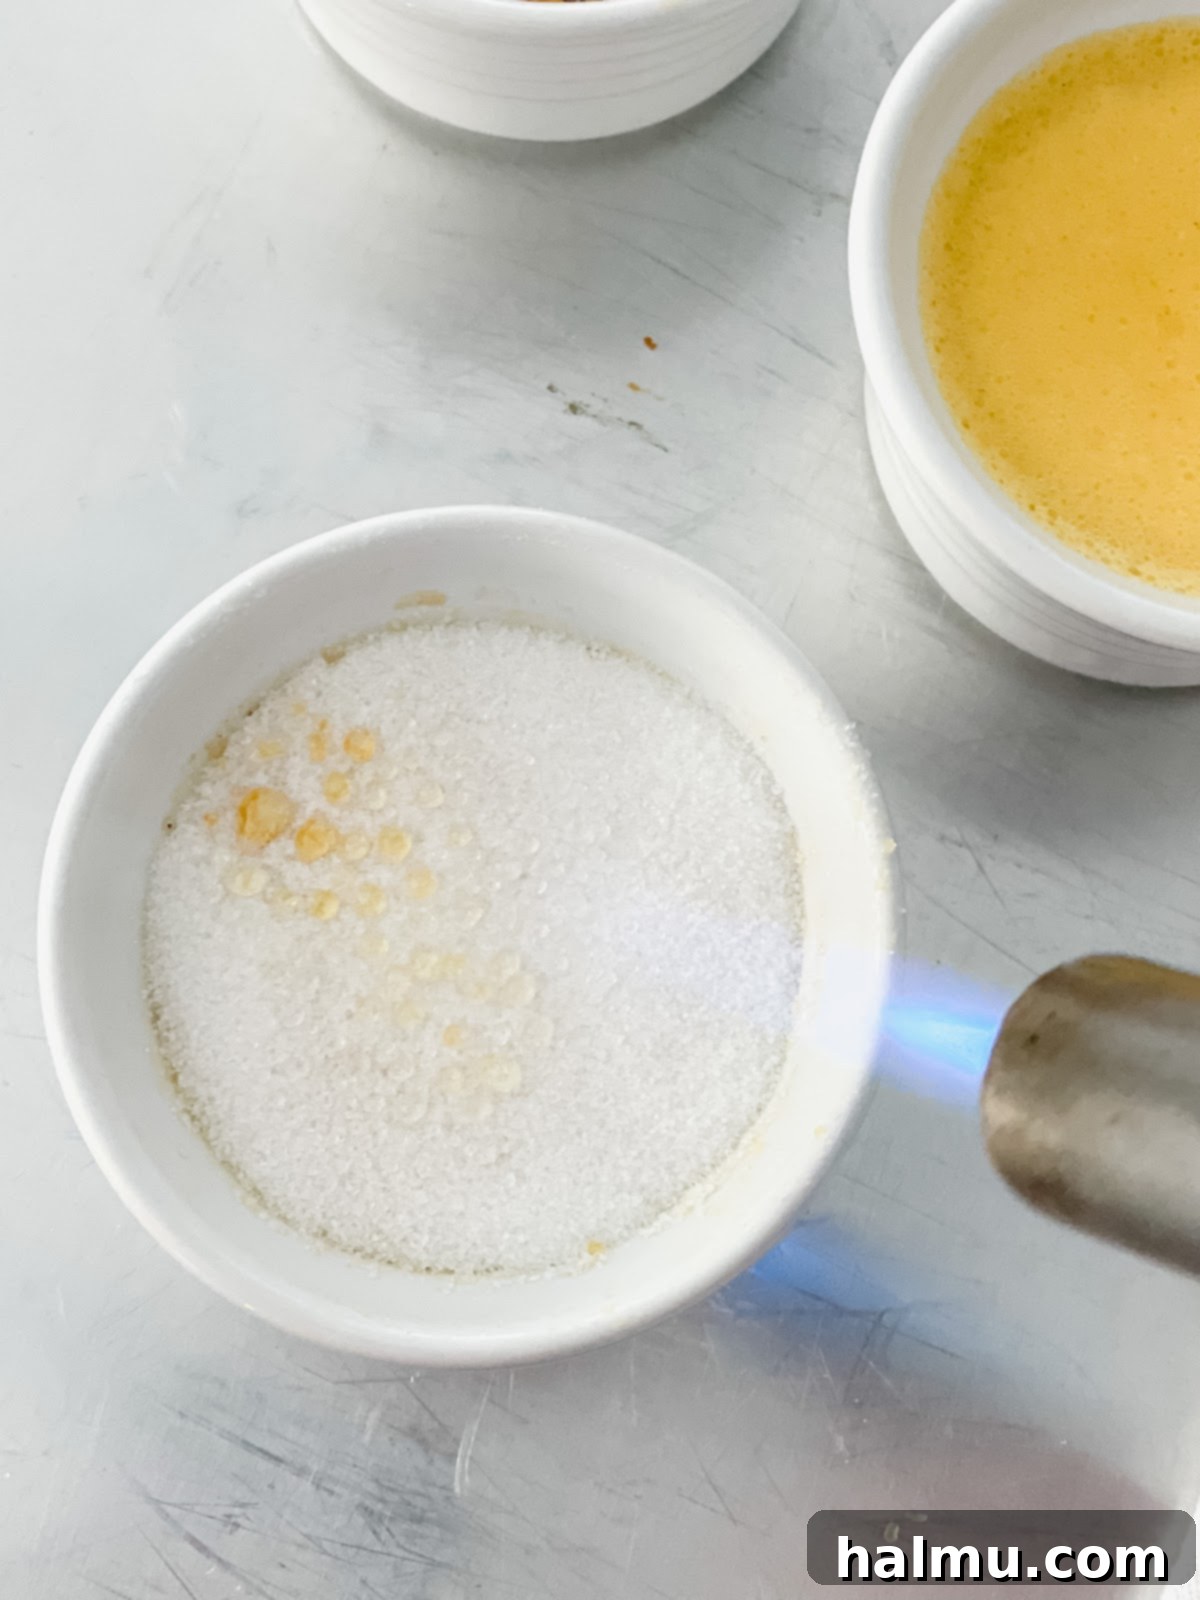
- Use a torch to caramelize the sugar with precision. The grand finale of Crème Brûlée preparation is the caramelization of the sugar topping. A kitchen torch is undoubtedly the best tool for achieving a perfectly crisp, evenly caramelized crust. Its direct and intense flame allows for precise control, quickly browning the sugar without significantly warming the cold custard below. For those without a torch, an alternative method involves preparing a sugar syrup. Cook granulated sugar with a small amount of water in a saucepan over medium heat until it caramelizes to a beautiful golden amber color. Carefully pour this hot syrup onto the cold custards and gently swirl to create an even, hardened shell. This method, while effective, requires more skill and a steady hand. Some recipes suggest using the broiler setting in an oven, but this method is generally not recommended. The broiler often caramelizes unevenly, is difficult to control, and tends to heat the entire custard, sacrificing that delightful cold-hot contrast that makes Crème Brûlée so special.
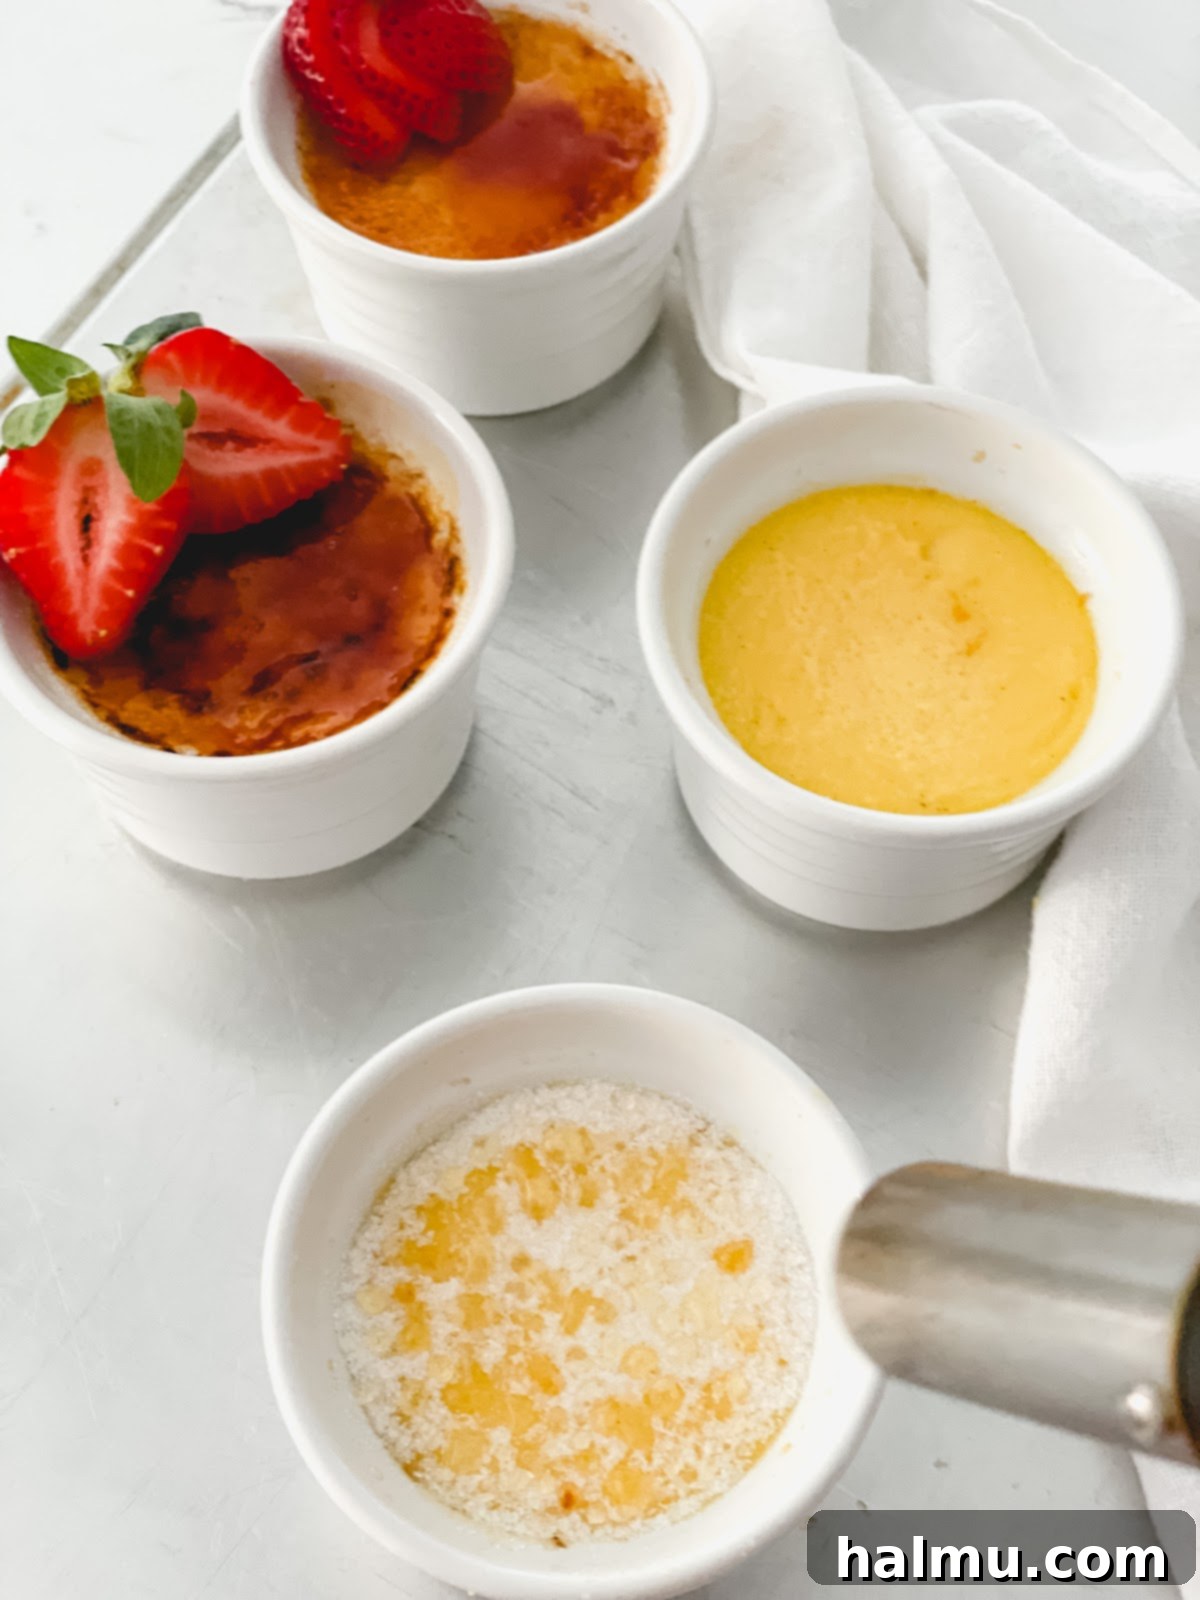
Achieving the Perfect Brûlée: Expert Tips for Torching Crème Brûlée
The act of torching the sugar atop Crème Brûlée is perhaps the most exciting and impressive part of the process. While it might seem daunting at first, with a few key techniques, you’ll master the art of the perfect, brittle crust. Follow these expert tips for a flawless finish every time:
- Torch right before serving for optimal crunch. The timing of the caramelization is critical. Always pull your cold custards directly from the refrigerator, sprinkle an even layer of granulated sugar over each, and torch them just moments before serving. The contrast between the cold custard and the warm, crunchy sugar topping is what makes Crème Brûlée truly special. Do not refrigerate the custards after torching; the moisture in the refrigerator will quickly cause the caramelized sugar to soften and melt, losing its signature hardened crust and delightful snap.
- Maintain the optimal torch distance. When using your kitchen torch, it’s essential to hold the flame a few inches (approximately 3-4 inches) away from the sugar’s surface. Positioning the flame too close can lead to instant burning, resulting in a bitter, black crust rather than a golden, caramelized one. If your torch allows for flame adjustment, a medium-high setting is generally ideal. Remember, a larger flame might require you to hold the torch slightly further away to prevent scorching and ensure even heat distribution. Experiment a little to find the sweet spot for your specific torch.
- Keep the torch in constant motion for even caramelization. To achieve a uniformly caramelized, golden-brown crust without any burnt spots, never hold the torch stationary in one place for too long. Instead, move the flame continuously in small, circular motions across the entire sugar surface. This technique ensures that the heat is evenly distributed, melting and caramelizing the sugar gradually and consistently. With a bit of practice, you’ll develop a feel for the rhythm and speed required, becoming a true Crème Brûlée torch master. The more you practice, the more confident and skilled you’ll become in creating that perfect, irresistible top.
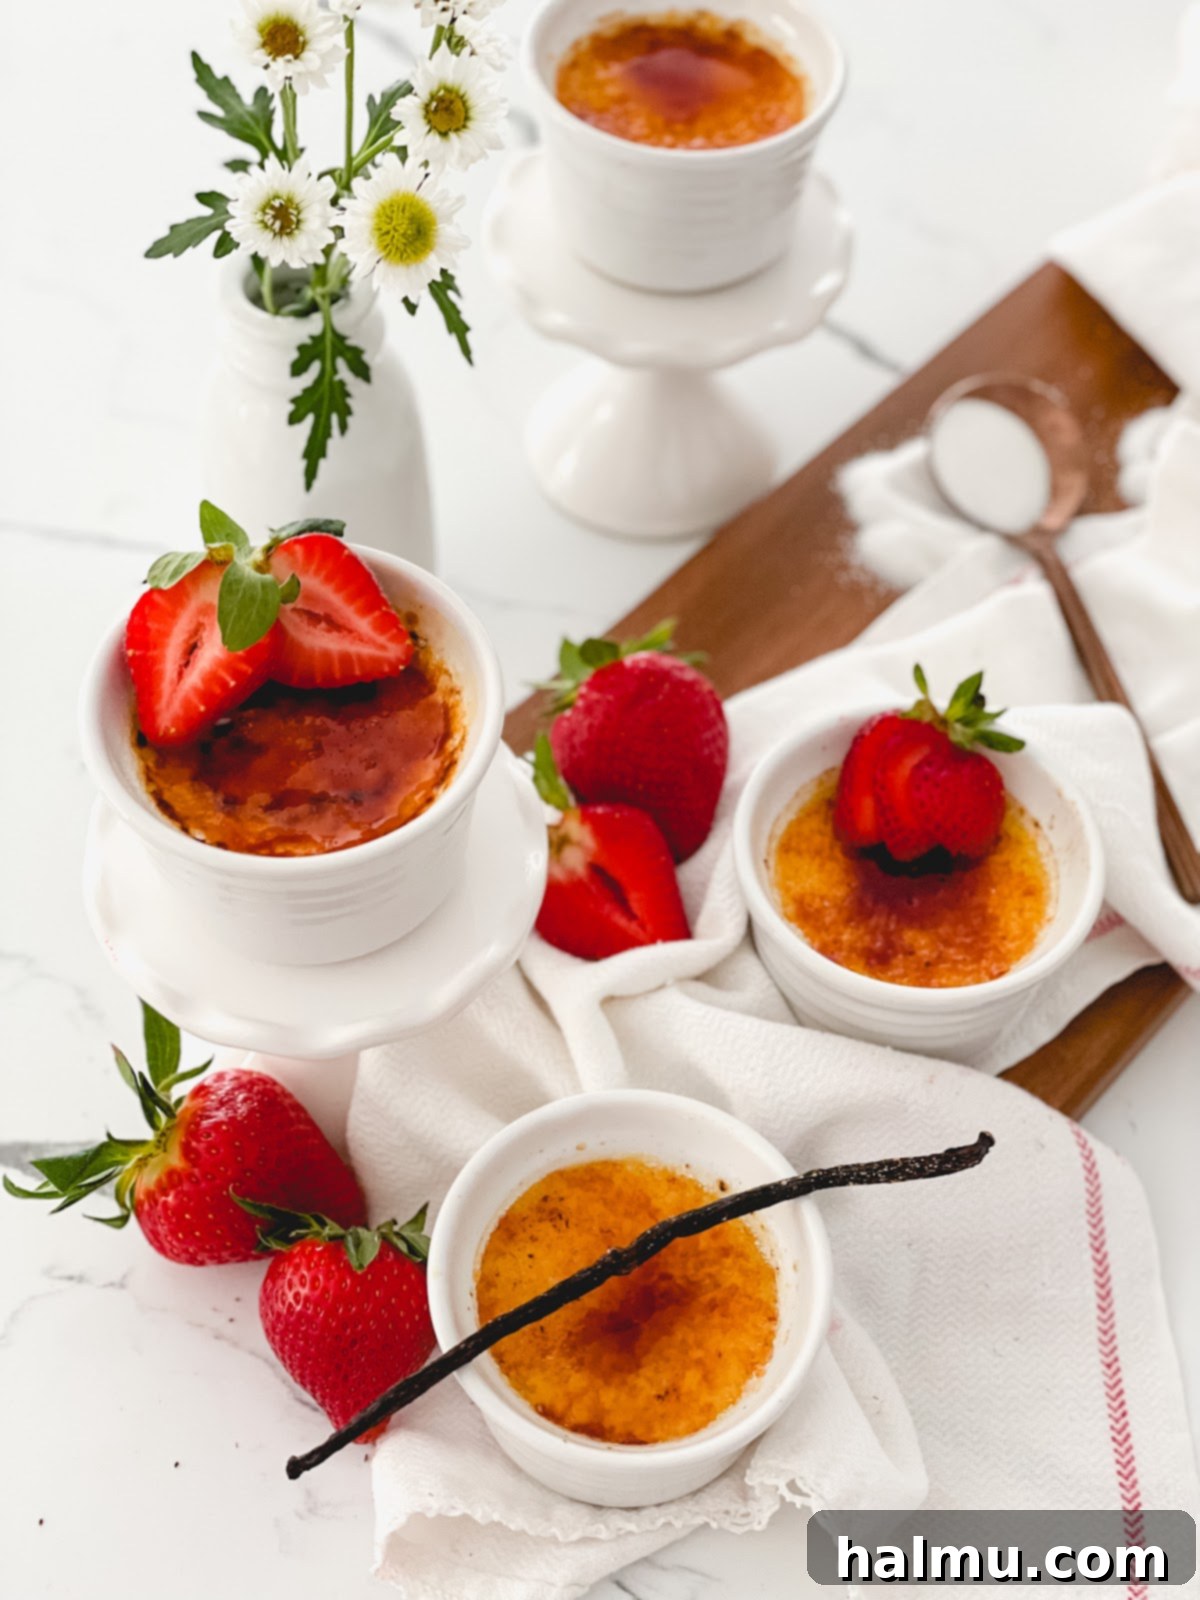
Explore More Decadent Desserts
If you’ve enjoyed crafting this exquisite Vanilla Bean Crème Brûlée, you’ll love exploring other delightful treats from our collection. Each recipe is designed to bring a touch of sweetness and elegance to your table, whether you’re looking for bright, zesty flavors or rich, comforting indulgences. Expand your baking repertoire with these equally impressive desserts:
- Lemon Brulee Bars: A zesty and refreshing twist, combining tangy lemon bars with a delightful caramelized sugar topping.
- Chocolate Espresso Truffles: Rich, intense, and utterly melt-in-your-mouth, these truffles are a chocolate lover’s dream, infused with the sophisticated kick of espresso.
- Mini Biscoff Cheesecakes: Individual servings of creamy cheesecake enhanced with the spiced, caramel notes of Biscoff cookies, perfect for any gathering.
This Vanilla Bean Crème Brûlée is more than just a dessert; it’s a statement. It’s simple enough for an aspiring home baker yet elegant enough to impress the most discerning palates. The timeless appeal of its creamy texture, rich vanilla flavor, and the exciting crunch of its caramelized topping makes it an unforgettable culinary experience. We hope you feel inspired to give this recipe a try and share the joy of homemade luxury with your loved ones. Happy Crème Brûlée making!
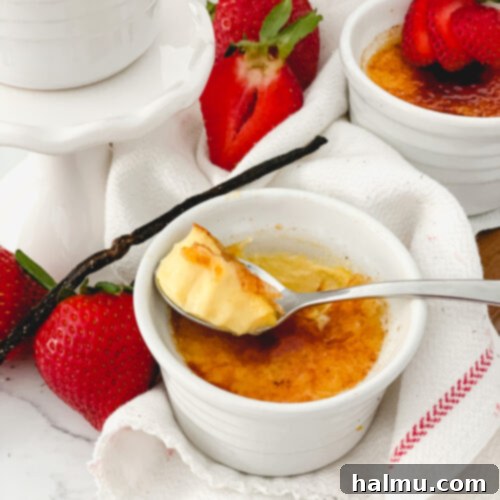
Vanilla Bean Crème Brûlée
Print Recipe
RATE THIS RECIPE
Ingredients
- 5 large egg yolks
- ⅓ cup (74g) granulated sugar, plus more for the caramelized top
- 1¼ cups (298g) heavy cream
- ½ teaspoon vanilla extract
- 1 teaspoon vanilla bean paste
SHOP INGREDIENTS
Instructions
- Preheat your oven to 350°F (175°C). Prepare a large baking dish or roasting pan that can accommodate your ramekins for the water bath.
- In a large mixing bowl, whisk together the egg yolks and granulated sugar. Continue whisking vigorously for about 2 minutes until the mixture becomes thick, pale in color, and slightly ribbons when lifted.
- In a small saucepan, gently heat the heavy cream over low heat until it just reaches a simmer, with small bubbles forming around the edges. Do not boil. Remove the cream from the heat. Slowly, in a gradual stream, pour about half of the hot cream into the egg yolk mixture while continuously whisking to temper the eggs. Once half the cream is incorporated, pour in the remaining cream and continue whisking until thoroughly combined. Stir in the vanilla extract and vanilla bean paste. For an exceptionally smooth custard, strain the entire mixture through a fine-mesh sieve into a clean bowl or measuring cup.
- Carefully place 4 oven-safe ramekins (typically 4-6 ounce capacity) into your prepared baking dish or roasting pan. Divide the vanilla bean crème brûlée mixture evenly among the ramekins.
- Once the baking dish with ramekins is on the oven rack, carefully pour warm water (from a kettle or pitcher) into the larger baking dish. Fill it until the water reaches between halfway and two-thirds up the sides of the ramekins. Bake for approximately 40 minutes, or until the edges of the crème brûlée custards are set and firm, but the centers still have a slight jiggle when gently shaken.
- Once baked, carefully remove the baking dish from the oven. Allow the ramekins to cool in the water bath for about 15-20 minutes, then remove them and let them cool completely on a wire rack at room temperature. Once cool, cover each ramekin with plastic wrap and refrigerate for a minimum of 3 hours, or ideally overnight, to allow the custards to fully set and chill.
- Just before serving, remove the cold ramekins from the refrigerator. Sprinkle an even, thin layer of granulated sugar (about 1-2 teaspoons) over the top of each custard, ensuring the entire surface is covered. Using a kitchen torch, caramelize the sugar until it melts, bubbles, and turns a beautiful golden amber color. Move the torch continuously to prevent burning. Allow the torched sugar to cool for a few minutes until it hardens and forms a crisp crust. Serve immediately and enjoy the delightful contrast of textures and flavors!
Notes
- Torching: For detailed guidance and best practices on successfully caramelizing the sugar, please refer to the “Tips For Torching Vanilla Bean Crème Brûlée” section above in this article.
