This post may contain affiliate links. Please read my full disclosure policy.
The Ultimate Apple Pie Cinnamon Rolls: A Cozy Fall Treat
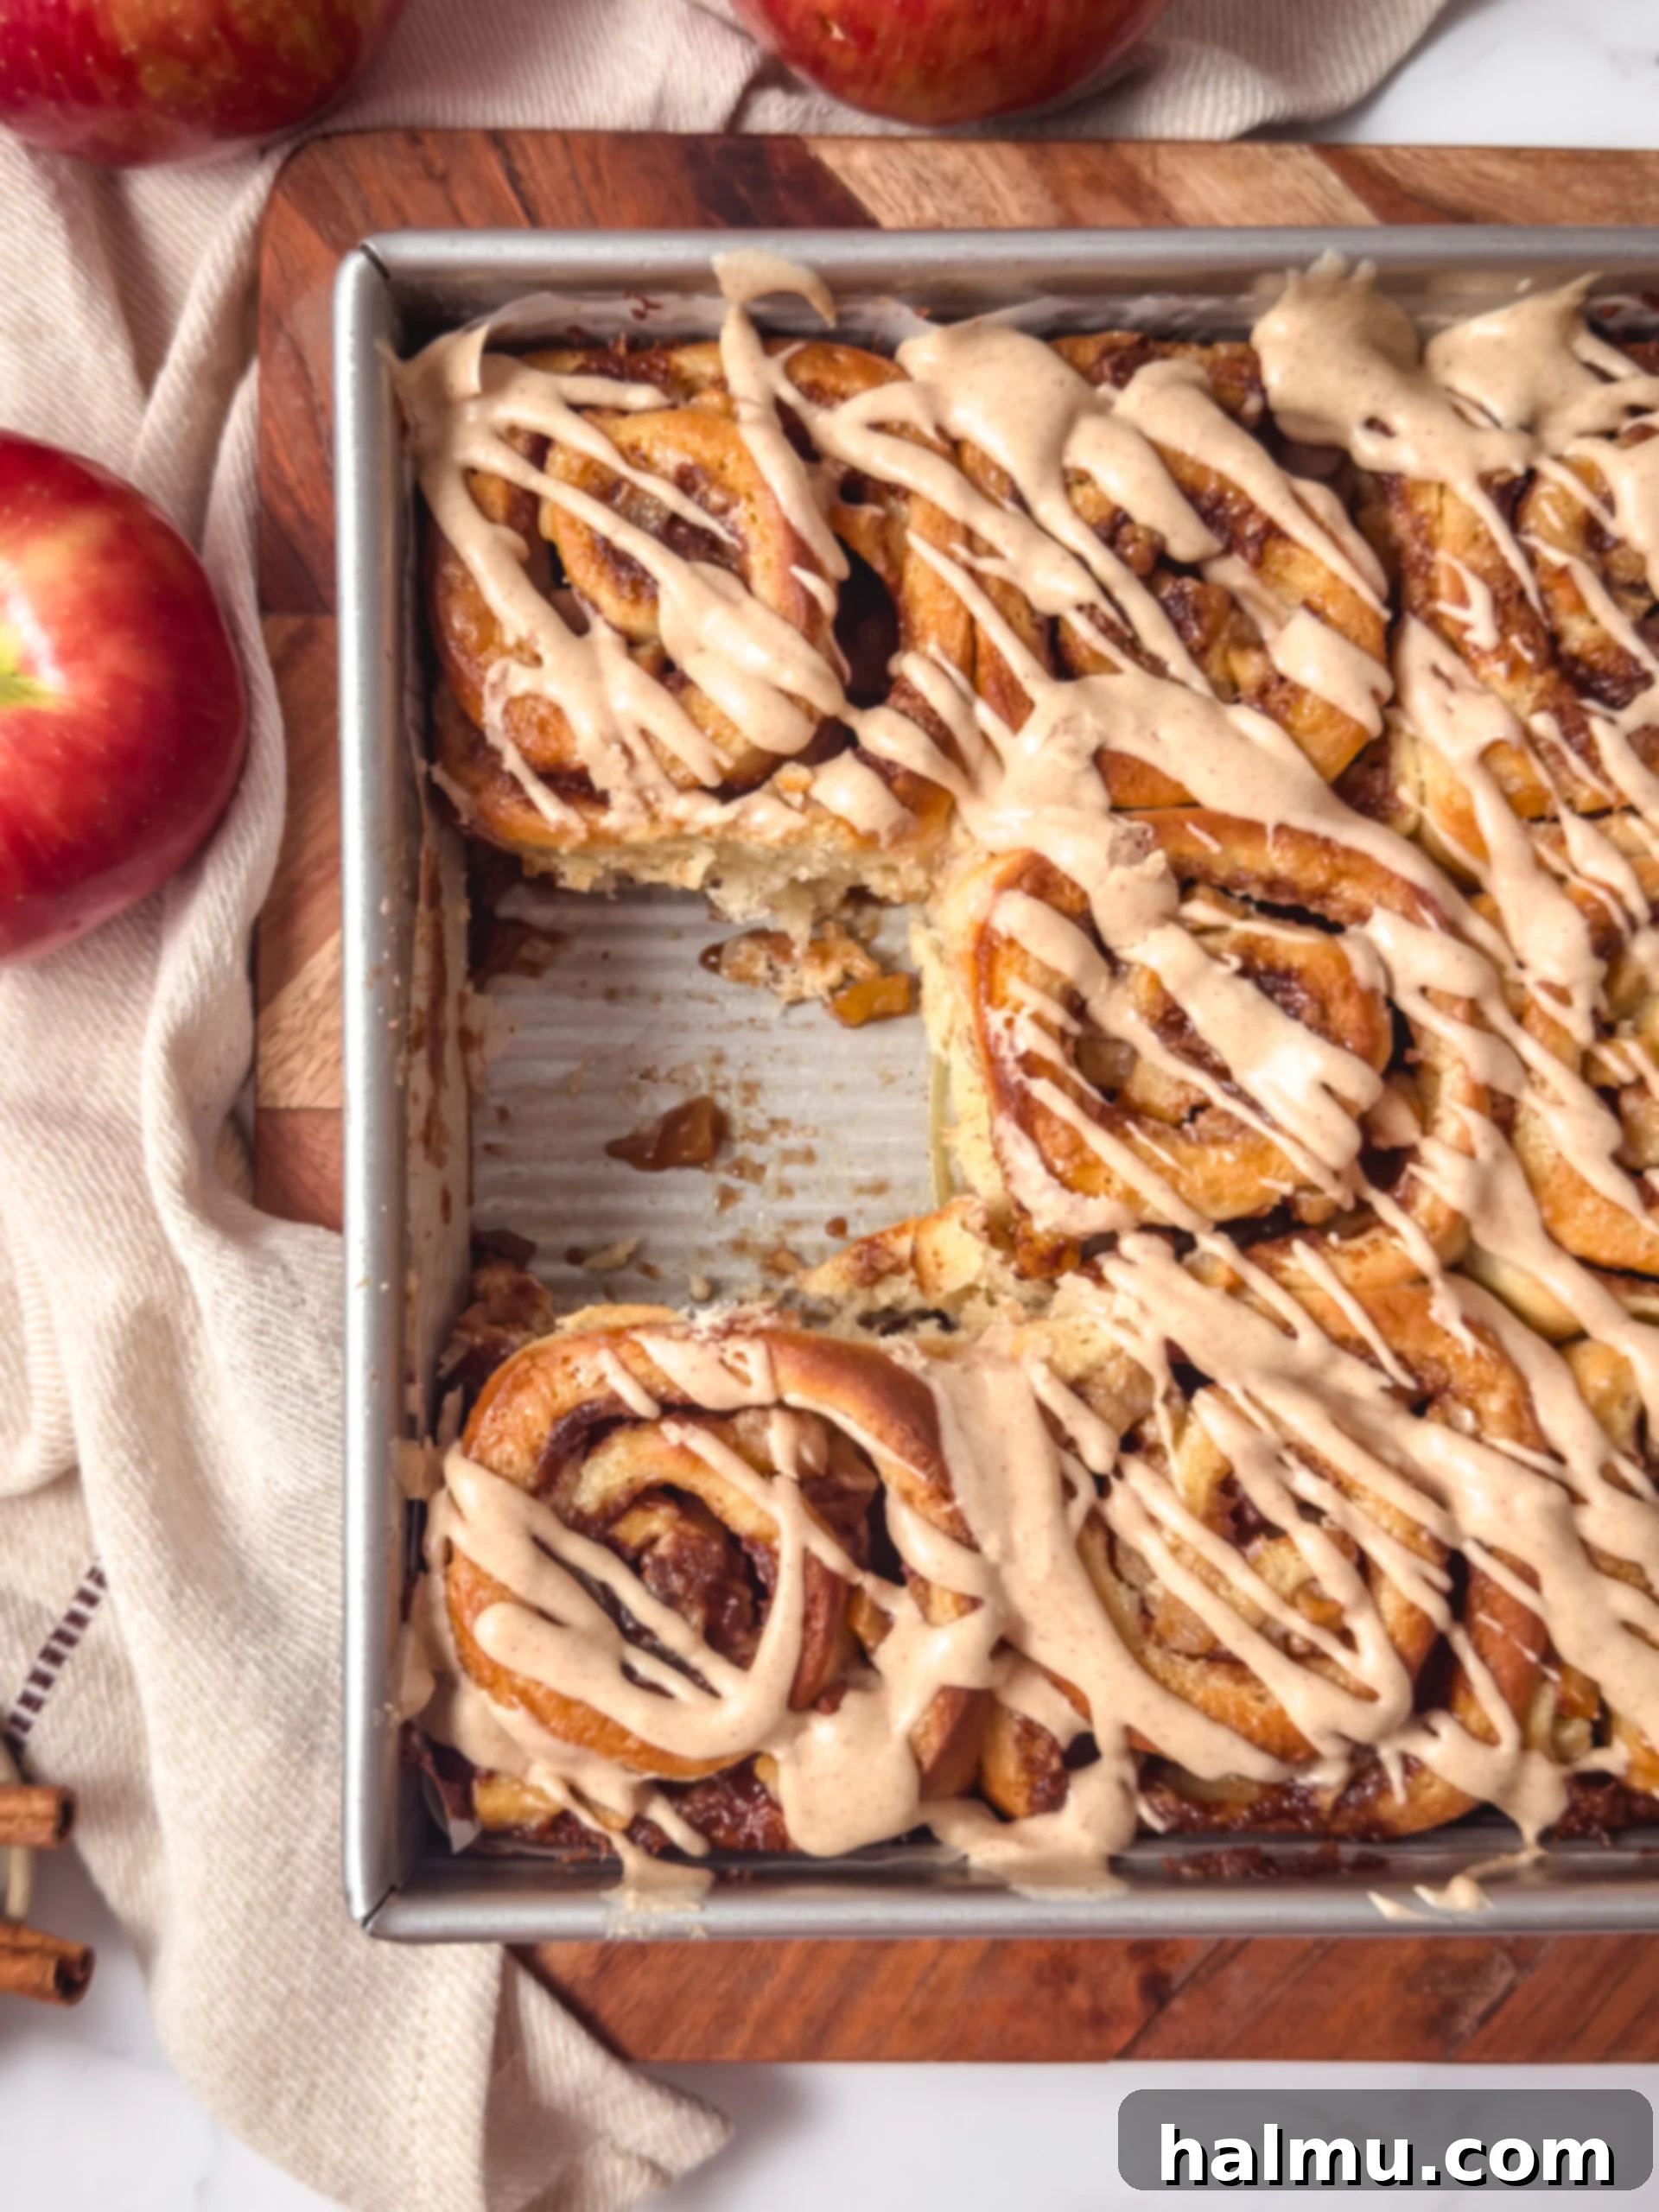
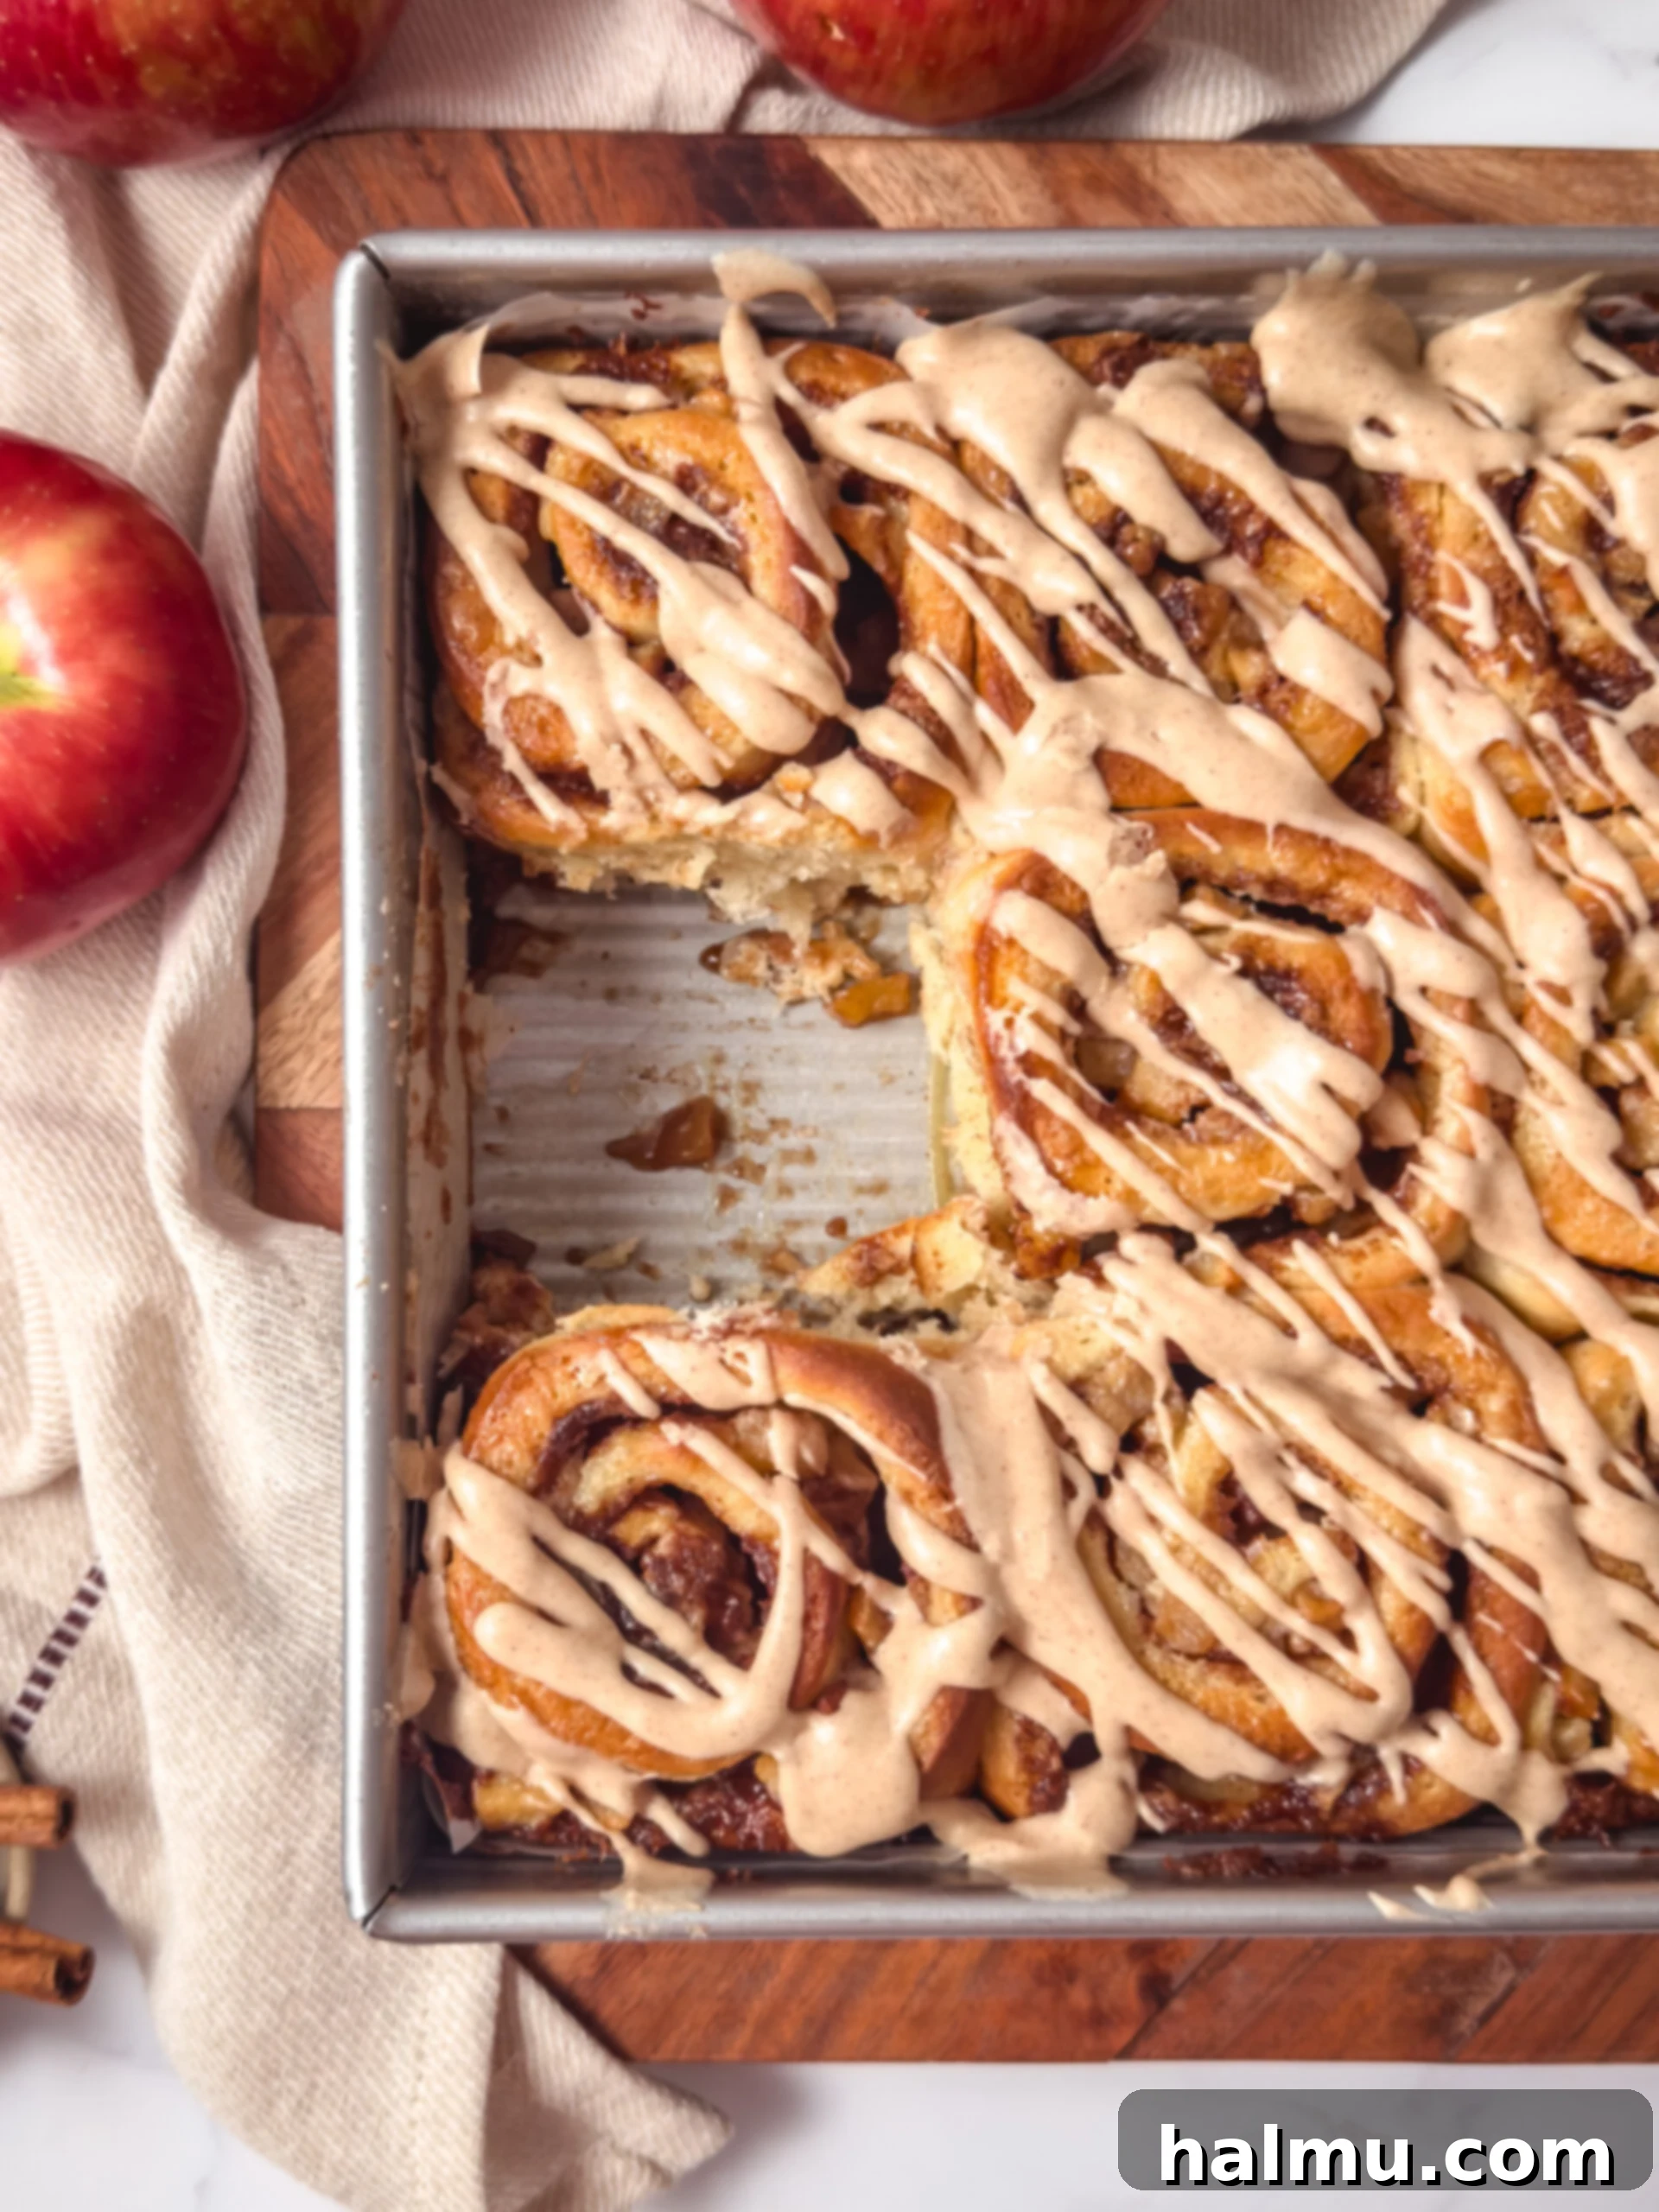
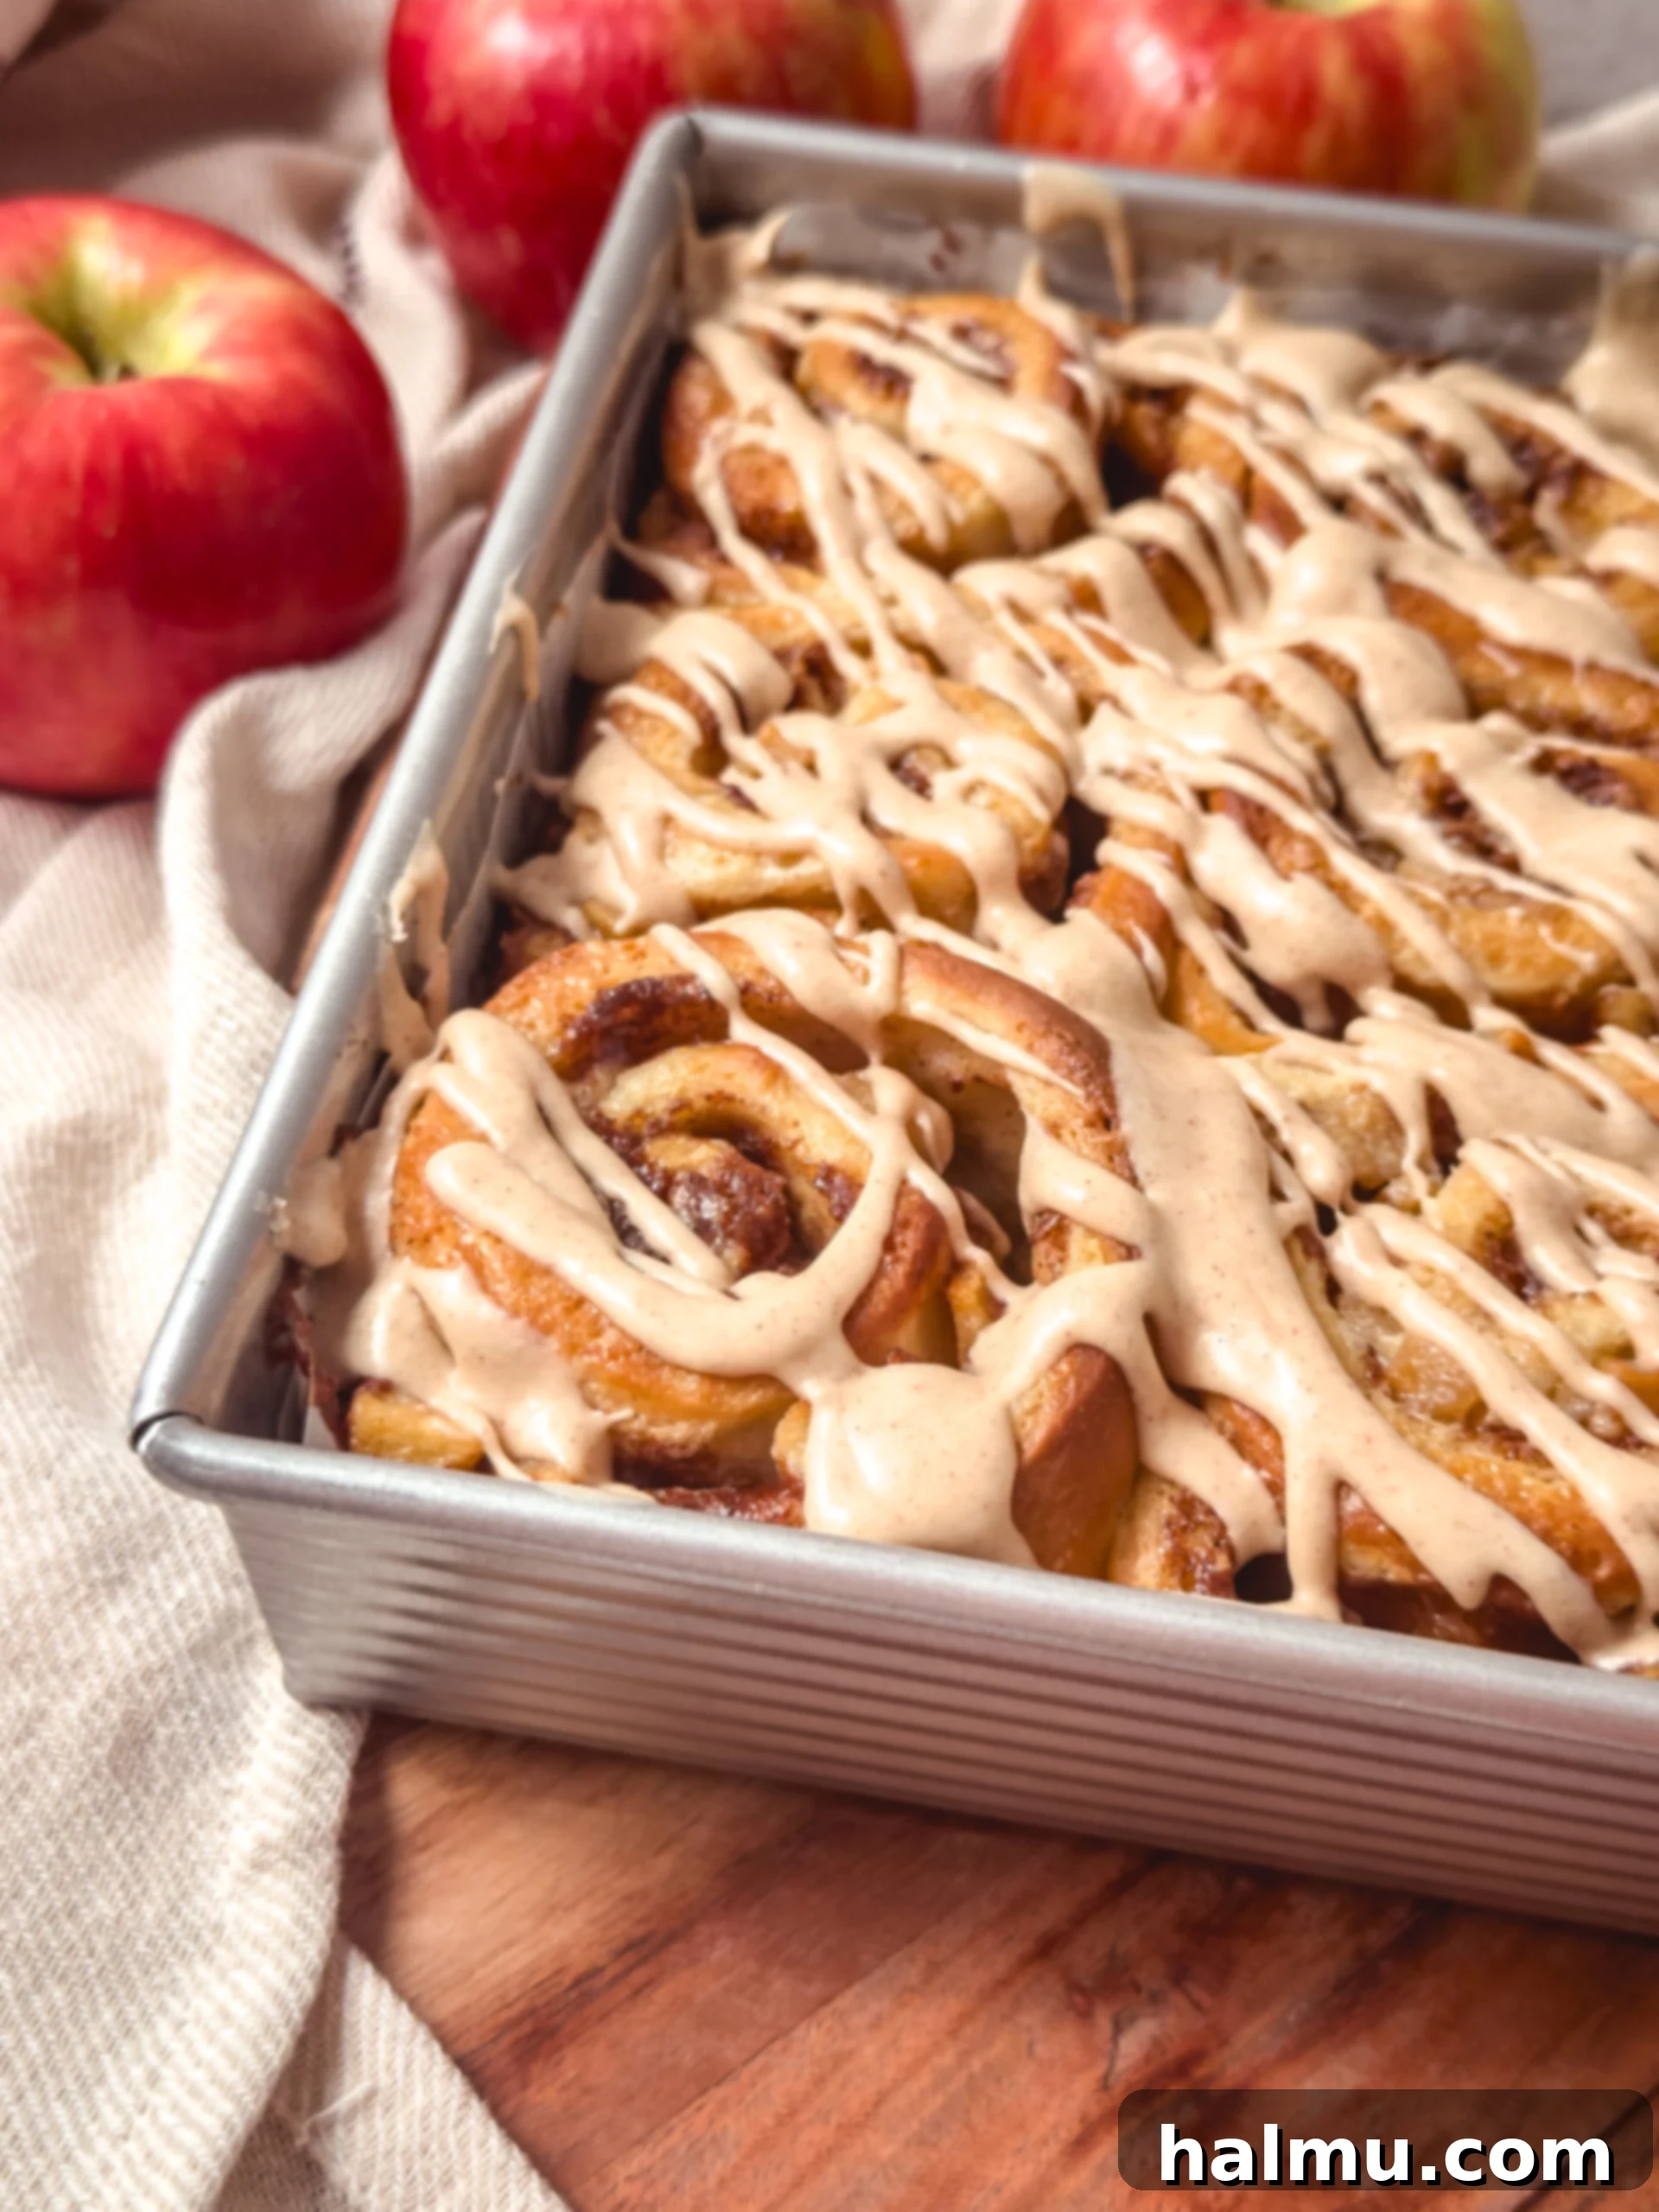
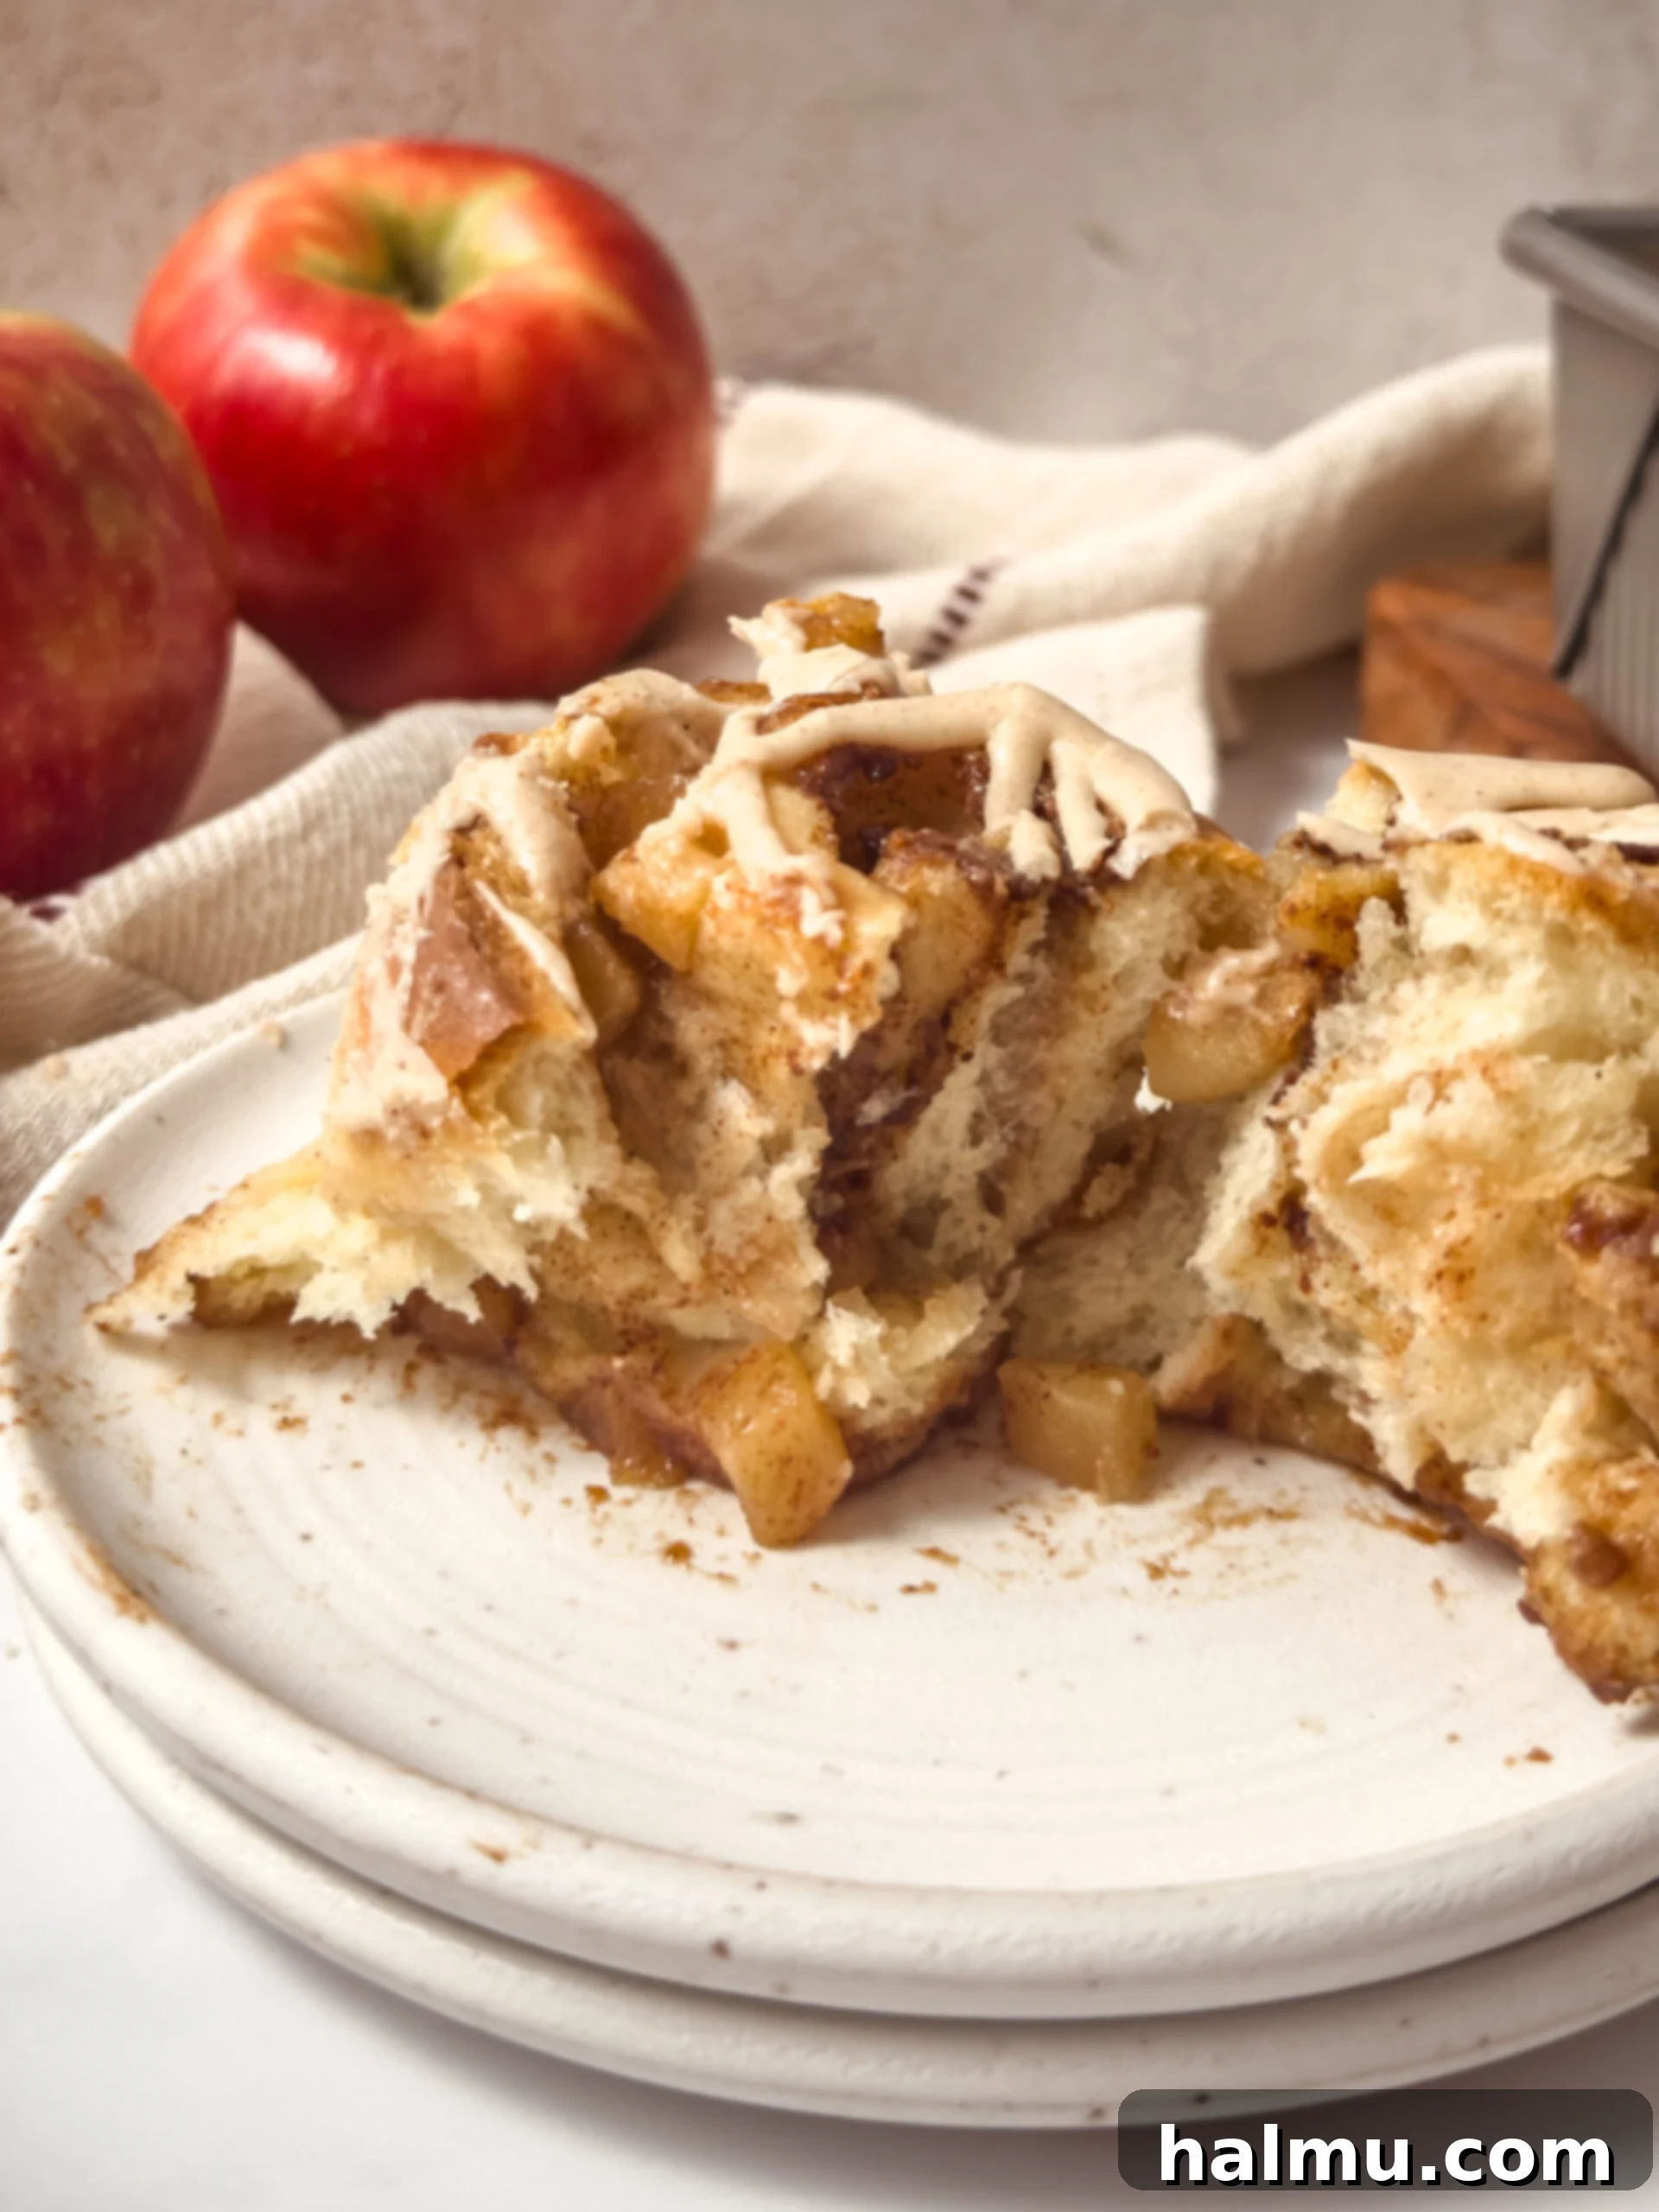
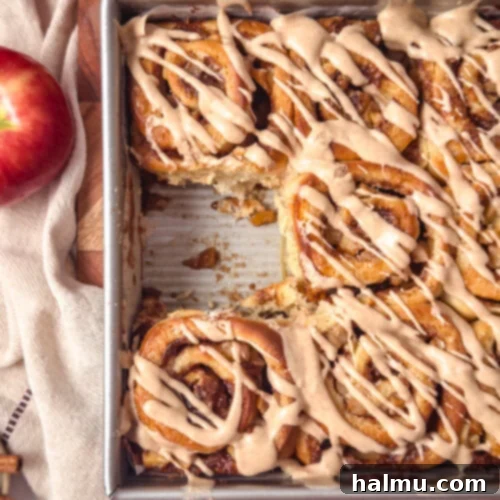
Imagine the warm, comforting embrace of homemade apple pie combined with the irresistible swirl of a cinnamon roll. If that sounds like a dream, then get ready to turn it into a delicious reality! These Apple Pie Cinnamon Rolls are a true masterpiece, offering a delightful twist on a classic comfort food. They begin with an exceptionally soft and rich brioche dough, providing a tender base that melts in your mouth. Each roll is generously layered with two distinct yet harmonious fillings: a luscious, buttery brown sugar cinnamon mixture and a vibrant, jammy spiced apple pie filling. To crown this symphony of flavors, they are drizzled with an exquisite maple glaze, adding a final touch of sweetness and warmth.
This recipe builds upon the foundation of our beloved Brown Butter Brioche Cinnamon Rolls, a proven favorite known for its unparalleled texture and depth of flavor. By infusing them with the essence of fall through a homemade apple pie filling, we’ve elevated them to an entirely new level. Each bite is a celebration of autumn, bursting with cozy spices, tender apples, and that unmistakable homemade goodness. Whether you’re seeking a special breakfast treat, a decadent brunch item, or a comforting dessert, these apple pie cinnamon rolls are guaranteed to impress and bring warmth to any occasion.

Crafting Your Perfect Apple Cinnamon Rolls: A Step-by-Step Guide
Creating these delightful apple cinnamon rolls from scratch is a rewarding experience. While it involves a few steps, each one contributes to the incredible flavor and texture. Here’s a detailed breakdown of the process to ensure your baking success.
Mixing and Kneading the Brioche Dough for Superior Softness
The journey to perfect cinnamon rolls begins with the brioche dough, renowned for its rich, buttery flavor and incredibly tender crumb. This dough comes together effortlessly in a stand mixer, which is highly recommended for achieving the desired consistency. Start by gently warming whole milk and unsalted butter. The temperature is crucial here; aim for at least 90°F (32°C) but no hotter than 110°F (43°C). This optimal temperature activates the instant yeast without killing it. Once warm, combine the milk and butter in your stand mixer bowl, then sprinkle in the instant yeast. There’s no need to proof instant yeast separately, making the process a bit faster.
Next, add the dry ingredients: all-purpose flour, granulated sugar, and salt. Following these, incorporate two large eggs, ensuring they are at room temperature to blend smoothly into the dough. Begin mixing on low speed with the dough hook attachment. Initially, the ingredients will appear shaggy and separate. As it mixes, scrape down the sides of the bowl to ensure all ingredients are incorporated. Continue mixing for approximately 5 minutes. During this time, the dough will transform, becoming visibly smoother and beginning to pull away from the sides of the bowl. It should be soft, pliable, and only slightly sticky to the touch. Proper kneading develops the gluten, giving brioche its characteristic soft and chewy texture.
Once kneaded, form the dough into a ball and place it in a lightly greased bowl. Cover it tightly with plastic wrap and allow it to rise in a warm spot for about 1 hour, or until it has visibly doubled in size. For an even more flavorful dough and easier handling, you can opt for an overnight rise in the refrigerator. This slow, cold fermentation deepens the brioche’s complex flavors and makes the dough firmer and less sticky, ideal for rolling and shaping the next day.
Preparing the Irresistible Dual Fillings
What truly sets these apple cinnamon rolls apart are their two distinct and generously layered fillings, each contributing unique flavors and textures. The first is a homemade apple pie filling, crafted to capture the essence of a classic apple pie.
Homemade Spiced Apple Pie Filling
Begin by selecting the right apples. For baking, firm, crisp varieties that hold their shape well are essential. Honeycrisp apples are an excellent choice, offering a perfect balance of tartness and sweetness along with a pleasant texture. Granny Smith apples are also a fantastic option if you prefer a more tart profile. Peel, core, and dice your chosen apples into small ¼-inch cubes, ensuring even cooking. In a medium saucepan, melt unsalted butter, then add the diced apples, brown sugar, a splash of lemon juice (which brightens the apple flavor and prevents browning), aromatic cinnamon, and fragrant vanilla extract. Cook this mixture over medium-low heat, stirring occasionally, until the apples soften slightly but still retain a bit of their bite, typically about 10 minutes. While they simmer, prepare a cornstarch slurry by whisking together a tablespoon of water with two teaspoons of cornstarch in a small bowl. Once the apple mixture is bubbling and the apples are tender, stir in the cornstarch slurry. Continue stirring for about 30 seconds to a minute until the filling thickens and becomes glossy. Remove the apple filling from the heat and transfer it to a heatproof container, allowing it to cool completely to room temperature. This cooling step is vital; a hot filling could melt the butter in the cinnamon filling and make the dough difficult to handle.
Rich Brown Sugar Cinnamon Filling
The second layer is a classic brown sugar cinnamon filling, providing that iconic cinnamon roll experience. This is much simpler to prepare. In a small bowl, combine softened unsalted butter, light or dark brown sugar (dark brown sugar will offer a deeper, molasses-rich flavor), and ground cinnamon. Mix these ingredients thoroughly until they are well combined and creamy. The softened butter ensures that the filling spreads easily and evenly across the dough, creating a buttery, sugary layer that complements the apple filling perfectly.

Expert Tips for Shaping Your Cinnamon Rolls
Once your brioche dough has completed its first rise and your fillings are cooled and ready, it’s time for the exciting part: shaping the rolls! Lightly flour your work surface, then gently press out any excess air from the risen dough before transferring it. Use a rolling pin to carefully roll the dough into a large rectangle, aiming for dimensions of approximately 12 inches by 18 inches. The precise dimensions help ensure uniformly sized rolls. If the dough springs back, allow it to rest for a few minutes before continuing to roll.
First, spread the brown sugar cinnamon filling evenly over the entire surface of the dough, extending almost to the edges. This provides the foundational sweetness and spice. Next, carefully spread the cooled apple pie filling over the top of the cinnamon filling. Ensure the apple chunks are distributed well for an even bite in every roll. Once both fillings are layered, begin rolling the dough tightly into a log. Start from one of the long sides and work your way across, maintaining consistent tension to create a neat spiral. A tight roll is key to preventing gaps in your finished rolls.
Once you have a firm log, place it seam-side down on your work surface. Use a very sharp knife, or even unflavored dental floss, to slice the log into 12 equal pieces, each measuring approximately 1½ inches wide. Using dental floss involves sliding a piece under the log, crossing the ends over the top, and pulling to cut cleanly without squishing the layers. Arrange these beautifully shaped pieces, cut-side up, into a 9-inch by 13-inch baking pan that has been lined with parchment paper. Parchment paper is a baker’s best friend here, ensuring easy removal and a much simpler cleanup later.
The Final Rise and Perfect Bake
After shaping, the cinnamon rolls need a second rise, often called proofing, to achieve their ultimate light and fluffy texture. Loosely cover the baking pan with plastic wrap to prevent the dough from drying out, then place it in a warm spot. Allow the rolls to rise for about 30-45 minutes, or until they look visibly puffed up and appear light and airy. During this time, preheat your oven to 350°F (175°C).
Just before baking, remove the plastic wrap and perform a crucial step for achieving ultra-gooey results: drizzle ⅓ cup of heavy cream evenly over the top of the rolls. This heavy cream is a game-changer; as the rolls bake, it creates a luscious, caramel-like sauce at the bottom of the pan, keeping the rolls incredibly moist and adding an extra layer of richness. This small addition makes a significant difference to the overall texture and indulgence factor.
Bake the rolls for approximately 32 minutes, or until their tops are a beautiful deep golden brown. For absolute certainty that your rolls are perfectly baked through and safe to eat, use an instant-read thermometer to check the internal temperature of the center rolls. They should register 190°F (88°C). Baking to this temperature ensures the dough is fully cooked without being dry. Once baked, remove the pan from the oven and let the rolls cool for at least 15 minutes. This allows them to set slightly and ensures the glaze melts beautifully without completely running off.
The Luscious Maple Glaze Finish
No cinnamon roll is complete without a decadent glaze, and for these apple pie cinnamon rolls, a maple glaze is the perfect complement. While the rolls are cooling, prepare the glaze by whisking together powdered sugar, a hint of cinnamon, melted butter, pure maple syrup, a splash of milk, and a dash of vanilla extract in a small bowl. Whisk until the mixture is completely smooth and free of lumps. You can adjust the consistency by adding a little more powdered sugar for a thicker glaze or a few drops of milk for a thinner, more pourable one.
Once the rolls have cooled for at least 15 minutes (they should still be warm, but not piping hot), generously drizzle the maple glaze over the top. The warmth of the rolls will slightly melt the glaze, allowing it to seep into every crevice, creating an irresistible finish. Serve these glorious apple pie cinnamon rolls immediately and savor every warm, spiced, and gooey bite!

Storing and Reheating Your Delicious Rolls
While these apple cinnamon rolls are undeniably at their peak perfection when enjoyed fresh from the oven, we understand that sometimes leftovers happen, or you might want to prepare them in advance. For the absolute best texture and flavor, we highly recommend devouring them the same day they are baked. The brioche dough is at its softest, the apple filling at its most fragrant, and the glaze perfectly melded.
Should you find yourself with any delightful leftover rolls, they can be stored in an airtight container at room temperature for up to 2 days. For extended freshness, transfer them to the refrigerator, where they will remain delicious for up to 4 days. When storing, it’s often best to glaze only the rolls you plan to eat immediately, and store the remaining glaze separately, applying it just before reheating for the freshest look and taste.
To bring refrigerated or day-old rolls back to their soft, gooey glory, reheating is a simple process. For a quick refresh, pop an individual roll into the microwave for 20-30 seconds until warm and tender. If you’re reheating a larger batch, wrap them loosely in aluminum foil and place them in an oven preheated to 325°F (160°C) for about 10-15 minutes, or until heated through. This method helps retain moisture and prevents the rolls from drying out, ensuring they are as soft and indulgent as the day they were baked. You can even freeze baked, unglazed rolls for up to 1 month. Thaw them overnight in the fridge, then reheat and glaze as desired.

Baking Tip: Embrace the Precision of a Kitchen Scale!
For consistently perfect baked goods, I cannot recommend using a kitchen scale enough to weigh your ingredients rather than relying on volume measurements like cups. Baking is a science, and precise measurements are the secret to repeatable success. Flour, for instance, can vary greatly in weight depending on how it’s scooped and packed, leading to inconsistent results. Weighing your ingredients ensures the exact ratios every time, leading to more reliable outcomes with texture, rise, and flavor.
Not only does using a scale guarantee superior accuracy and a better success rate for your recipes, but it also streamlines your baking process. You’ll find yourself with fewer measuring cups and spoons to wash, which means an easier and quicker cleanup! It’s a small investment that yields significant returns in your baking journey. I provide gram measurements in all my recipes, and this is the scale I love and use regularly for its accuracy and ease of use.
Substitutions & Variations to Customize Your Rolls
These Apple Pie Cinnamon Rolls are incredibly versatile, allowing for delightful modifications to suit your taste or what you have on hand. Don’t hesitate to get creative!
- Spice it Up: If you’re a fan of a richer, more complex spice profile, substitute the cinnamon in both the apple pie filling and the brown sugar cinnamon filling with an equal amount of apple pie spice. This blend typically includes nutmeg, allspice, and cloves, adding an extra layer of warmth perfect for fall.
- Caramel Apple Delight: Transform these into a caramel apple sensation! Instead of the maple glaze, slather them with our rich homemade caramel sauce. A sprinkle of flaky sea salt on top of the caramel would create an irresistible salted caramel apple roll.
- Classic Cream Cheese Frosting: For those who prefer a thicker, tangier, and more traditional cinnamon roll topping, swap the maple glaze for our indulgent cream cheese frosting. Its creamy texture and slight tang provide a wonderful contrast to the sweet apple and cinnamon.
- Seasonal Fruit Swaps: Adapt this recipe for other seasons by changing the fruit filling. For a taste of summer, replace the apple pie filling with a vibrant peach compote or a mixed berry compote. Adjust spices accordingly to complement your chosen fruit.
- Indulgent Serving Suggestion: For an ultimate dessert experience, serve these warm rolls with a generous scoop of vanilla bean ice cream. The cold, creamy ice cream melting into the warm, spiced roll is pure bliss. A dollop of whipped cream or a sprinkle of toasted pecans also makes for a fantastic topping.
- Nutty Crunch: Add some texture by mixing finely chopped pecans or walnuts into the brown sugar cinnamon filling, or sprinkle them over the rolls before baking.
Apple Cinnamon Roll FAQs: Your Questions Answered
Baking with yeast can sometimes feel intimidating, but these frequently asked questions will guide you through common concerns and help you achieve flawless apple cinnamon rolls every time.
Can the dough be made in advance?
Absolutely, preparing the brioche dough ahead of time is a fantastic way to break up the baking process and often yields a more flavorful dough. You can easily make the dough the night before you plan to bake and serve the cinnamon rolls. After the initial mixing and kneading (step 2 in the recipe card), instead of letting it rise at room temperature, place the greased, covered bowl in the refrigerator overnight for its first rise. The cold temperature slows down the yeast activity, allowing for a longer fermentation period that develops deeper flavors in the brioche. Additionally, chilled dough is significantly easier to roll out and handle without it becoming overly sticky, making the shaping process much smoother and more enjoyable the next day. Simply remove it from the fridge in the morning and proceed with shaping as written in the recipe.
Can I Shape the Rolls in Advance?
Yes, you can prepare the shaped rolls in advance as well, making these a perfect option for a fresh breakfast or brunch without the early morning hassle. Follow the recipe through step 10, where the rolls are shaped and placed into the baking pan. Once they are arranged in the pan, cover them tightly with plastic wrap to prevent them from drying out and refrigerate them overnight for their second rise. The cold environment will greatly slow down the proofing. The next morning, remove the rolls from the fridge and allow them to come to room temperature for about 60-90 minutes, or until they have slightly puffed up. This allows the yeast to reactivate and the rolls to achieve their desired lightness before baking. Then, bake them as instructed in the recipe, drizzling with heavy cream before they go into the oven.
Can I use active dry yeast instead of instant yeast?
Yes, active dry yeast can be successfully substituted for instant yeast, and at a 1:1 ratio. The key difference lies in the activation process. Unlike instant yeast (also known as rapid rise), which can be directly added to the other ingredients, active dry yeast needs to be activated first. To do this, combine it with the warm milk (ensure the temperature is between 90°F -110°F or 32°C – 43°C) and a pinch of sugar. Let this mixture sit for about 10-15 minutes until it becomes foamy. This indicates the yeast is active and ready to be incorporated into the rest of your ingredients. Keep in mind that rise times might vary slightly when using active dry yeast, so always observe the dough’s appearance – the rise times provided in the recipe are estimates, and visual cues (like doubling in size) are your best indicator.
What size baking pan should I use?
A standard 9” x 13” rectangle baking pan is the ideal size for this recipe, perfectly accommodating all 12 rolls. This ensures the rolls are snugly fit, which helps them rise upwards and bake into soft, cohesive buns. While a metal pan is often preferred by bakers for its even heat distribution and consistent browning, a glass baking dish will also work beautifully if that’s what you have on hand. Keep in mind that glass pans can sometimes heat up faster and retain heat longer than metal, so you might need to adjust your baking time by a few minutes or keep a closer eye on them to prevent over-browning.
How can I tell if the rolls are done baking?
Ensuring your cinnamon rolls are perfectly baked is essential for both flavor and food safety. The rolls should emerge from the oven a beautiful deep golden brown on top, indicating proper caramelization and doneness. However, the most reliable way to confirm they are fully baked in the center is by using an instant-read thermometer. Insert the thermometer into the center of one of the middle rolls – it should register an internal temperature of 190°F (88°C). This temperature ensures that the dough is cooked through, preventing a raw or gummy center, while still retaining its moist and tender texture. Trusting the thermometer removes any guesswork and guarantees a perfectly baked batch every time.

Essential Tips for the Best Apple Pie Filled Cinnamon Rolls
Achieving bakery-quality apple pie cinnamon rolls at home is entirely possible with a few insider tips. These simple recommendations will elevate your baking and ensure every batch is a resounding success.
- Choose Your Apples Wisely: The type of apple you use for the filling makes a significant difference. For the best texture and flavor, always opt for a firm, crisp apple variety that can withstand baking without turning to mush. Honeycrisp apples are my absolute favorite for their perfect balance of tartness and sweetness, coupled with a delightful crunch that holds up well when cooked. If you prefer a more pronounced tart flavor to cut through the sweetness of the rolls, Granny Smith apples are an excellent choice. Other great baking apples include Braeburn, Fuji, or Golden Delicious. Avoid softer apples like Red Delicious, which can become mealy. For even more detailed tips on apple selection and preparing the perfect apple filling, check out my apple compote recipe!
- Parchment Paper is Your Friend: Don’t underestimate the power of parchment paper! Lining your 9×13-inch baking pan with parchment paper is a simple step that offers immense benefits. It ensures easy cleanup, as no sticky residue is left on the pan. More importantly, it allows for effortless cinnamon roll removal – you can simply lift the entire batch out of the pan. If you don’t have parchment paper, a generous coating of nonstick cooking spray or butter and flour will work, but parchment definitely gives the best results with minimal fuss and mess.
- The Heavy Cream Secret: This is a non-negotiable step for achieving truly exceptional, gooey cinnamon rolls. The recipe specifically calls for ⅓ cup of heavy cream, which is drizzled over the top of the rolls just before they go into the oven. As the rolls bake, this heavy cream creates a rich, buttery, and slightly caramelized sauce at the bottom of the pan. It infuses the rolls with extra moisture, making them incredibly soft, tender, and “saucy” on the bottom, mimicking that beloved bakery texture. It’s a small step that yields remarkably decadent results and is absolutely worth the effort!
- Don’t Overmix the Dough: While brioche dough benefits from kneading, be careful not to overmix it after the flour is incorporated. Overmixing can lead to a tough dough and dense rolls. Knead just until the dough is smooth, elastic, and pulls away from the sides of the bowl.
- Room Temperature Ingredients: Ensure your eggs and softened butter for the dough (and the brown sugar cinnamon filling) are at room temperature. This allows them to incorporate more easily and evenly into the mixture, creating a smoother dough and a more consistent filling.
- Sharp Knife for Clean Cuts: When slicing your cinnamon roll log, use a very sharp, un-serrated knife. A dull knife will squish the rolls, distorting their beautiful spiral shape. Alternatively, dental floss can be used for perfectly clean cuts.
More Irresistible Brioche Recipes You’ll Love
If you’ve fallen in love with the tender, rich texture of brioche dough in these apple pie cinnamon rolls, then you’re in for a treat! We have a collection of other delightful brioche-based recipes that are sure to satisfy your cravings for soft, buttery, and incredibly flavorful baked goods. Explore these recipes and discover new ways to enjoy the magic of brioche:
- Almond Cream Brioche Buns: Delicate buns filled with a sweet, nutty almond cream.
- Raspberry Sweet Rolls: Bursting with fresh raspberry flavor, a vibrant twist on the classic.
- Nutella Brioche Buns: Indulgent buns swirled with creamy, dreamy Nutella.
- Vanilla Orange Brioche Rolls: Bright and zesty, with a delightful vanilla-orange zest.
- Chocolate Custard Brioche Donuts: Pillowy soft donuts filled with rich chocolate custard.
- Mini Brioche Slider Buns: Perfect for savory applications, incredibly soft and slightly sweet.
We hope you enjoy baking these incredible Apple Pie Cinnamon Rolls as much as we do. If you make this recipe and love it, please be sure to leave a comment and a star rating below. Your feedback helps us and other bakers in our community! Happy baking!
Apple Pie Cinnamon Rolls From Scratch
Rachel
Print Recipe
RATE THIS RECIPE
50 minutes
45 minutes
1 hour
45 minutes
3 hours
20 minutes
12
servings
Ingredients
For the Brioche Dough
- 1 cup (240g) whole milk
- 4 Tablespoons (57g) unsalted butter, cut into small cubes
- 2½ teaspoons (12g) instant yeast
- 4 cups (520g) all-purpose flour
- ⅓ cup (75g) granulated sugar
- ½ teaspoon salt
- 2 large eggs, at room temperature
For the Apple Pie Filling
- 3 medium honeycrisp apples*
- 2 Tablespoons (28g) unsalted butter
- ¼ cup (56g) light or dark brown sugar
- 1 Tablespoon (14g) lemon juice
- 1 teaspoon cinnamon
- 1 teaspoon vanilla extract
- 1 Tablespoon water
- 2 teaspoons cornstarch
For the Brown Sugar Cinnamon Filling
- ¾ cup (170g) unsalted butter, softened
- ¾ cup (150g) light or dark brown sugar
- 1½ Tablespoons cinnamon
- ⅓ cup (80g) heavy cream
For the Maple Glaze
- 1 cup (120g) powdered sugar
- ½ teaspoon cinnamon
- 3 Tablespoons (42g) butter, melted
- 2 Tablespoons maple syrup
- 2 teaspoons milk
- 1 teaspoon vanilla
SHOP INGREDIENTS
Instructions
- Brioche Dough: Add the milk and butter to a small saucepan and heat on low until the mixture reaches at least 90°F (32°C) but no warmer than 110°F (43°C). Transfer the warmed milk and butter to the bowl of a stand mixer fitted with a dough hook attachment. Stir in the instant yeast.
- Add the all-purpose flour, granulated sugar, and salt, followed by the two large eggs, to the mixer bowl. Mix on low speed until the dough comes together and a shaggy mass forms. Stop the mixer to scrape down the sides and bottom of the bowl. Continue mixing for about 5 minutes until the dough becomes smooth, elastic, and pulls away cleanly from the sides of the bowl. It should be only slightly sticky to the touch.
- First Rise: Form the dough into a ball and place it in a large bowl that has been lightly greased with cooking spray or oil. Cover the bowl snugly with plastic wrap and allow the dough to rise in a warm spot until it has visibly doubled in size, which typically takes about 1 hour. Alternatively, for a deeper flavor and easier handling, you can let the dough rise slowly in the refrigerator overnight (8-12 hours).
- Apple Pie Filling: Peel, core, and dice the apples into small ¼-inch cubes. In a medium saucepan, melt the unsalted butter. Add the diced apples, brown sugar, lemon juice, cinnamon, and vanilla extract. Stir to combine all ingredients. Place the saucepan over medium-low heat and simmer gently until the apples are tender but still hold their shape, typically about 10 minutes.
- In a separate small bowl, whisk together the water and cornstarch to create a slurry. Once the apples are soft and the mixture in the saucepan is gently bubbling, stir in the cornstarch slurry. Continue to stir constantly for about 30 seconds to a minute, until the mixture thickens and becomes glossy.
- Remove the apple filling from the heat. Transfer it to a heatproof container (a shallow dish works well to speed cooling) and set it aside to cool completely to room temperature. This is important to prevent the filling from melting the butter in the cinnamon spread during assembly.
- Brown Sugar Cinnamon Filling: In a small bowl, combine the softened unsalted butter, brown sugar, and ground cinnamon. Mix thoroughly with a fork or spatula until all ingredients are well combined and the mixture is creamy. Set aside.
- Assembly & Shaping: Line a 9” x 13” rectangular baking pan with parchment paper, leaving an overhang on the longer sides to use as handles. Once the dough has completed its first rise, gently press out any excess air and transfer it to a lightly floured surface.
- Use a rolling pin to roll out the brioche dough into a large rectangle measuring approximately 12 inches by 18 inches. Spread the prepared brown sugar cinnamon filling evenly across the entire surface of the dough, leaving a small border (about ½ inch) along one long edge. Next, carefully spread the cooled apple pie filling evenly over the top of the cinnamon filling.
- Beginning with one of the long sides, tightly roll the dough into a log, ensuring it is compact. Place the seam side down on your work surface. Use a very sharp knife or unflavored dental floss to trim off the uneven ends of the log. Then, slice the log into 12 equal-sized pieces, each approximately 1½ inches wide. Arrange these cut pieces, cut-side up, into the prepared baking pan.
- Second Rise: Loosely cover the rolls in the baking pan with plastic wrap and allow them to rise in a warm, draft-free spot until they are visibly puffed and appear light and airy, which typically takes about 30-45 minutes. During this time, preheat your oven to 350°F (175°C).
- Baking: Once the rolls have sufficiently puffed after their second rise, remove the plastic wrap. Evenly drizzle the ⅓ cup of heavy cream over the top of all the rolls in the pan. Bake for about 32 minutes, or until the tops are a deep golden brown and the center of the rolls reach an internal temperature of 190°F (88°C) when checked with an instant-read thermometer. Remove from the oven and let them cool in the pan for at least 15 minutes before glazing.
- Maple Glaze: While the rolls are cooling, prepare the glaze. In a small bowl, whisk together the powdered sugar, cinnamon, melted butter, pure maple syrup, milk, and vanilla extract until the mixture is smooth and lump-free. Once the apple cinnamon rolls have cooled for at least 15 minutes (they should still be warm), generously drizzle the maple glaze over the top. Serve and enjoy immediately for the best experience!
Notes
Make Ahead Instructions: The rolls can be prepared in advance, up to and including step 10 (shaping). After placing the shaped rolls in the baking pan, cover them tightly with plastic wrap and refrigerate overnight for their second, slow rise. The next morning, remove the rolls from the fridge and allow them to come to room temperature and slightly puff (about 60-90 minutes). Then, proceed to bake the rolls as instructed in step 11 of the recipe.
Did you make this recipe?
Be sure to tag @sweetkitchencravings on Instagram!

HI THERE!
I’m Rachel
I’m the dessert lover, recipe developer, and content creator behind Sweet Kitchen Cravings. Here you’ll find classic yet special recipes that are sure to impress your loved ones!
MORE ABOUT RACHEL
